The Conversation (0)
Sign Up
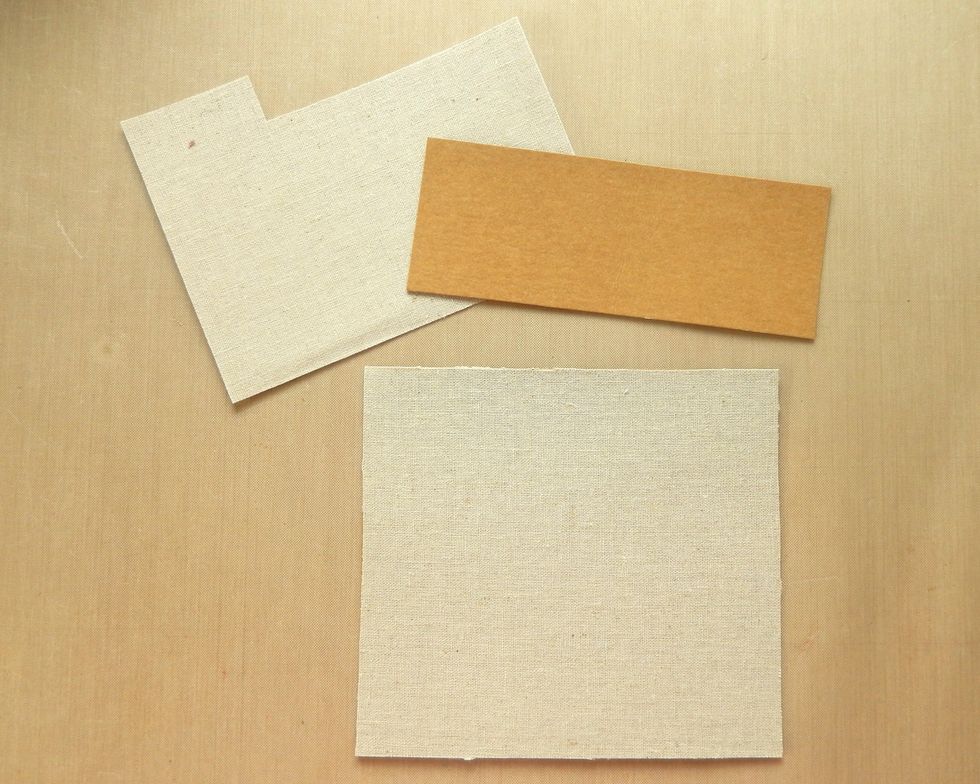
Cut a piece of substrate sheet 5.5" by 5" and cover with a self adhesive layer of textile surface. Retain the remaining portion of substrate sheet without covering it.
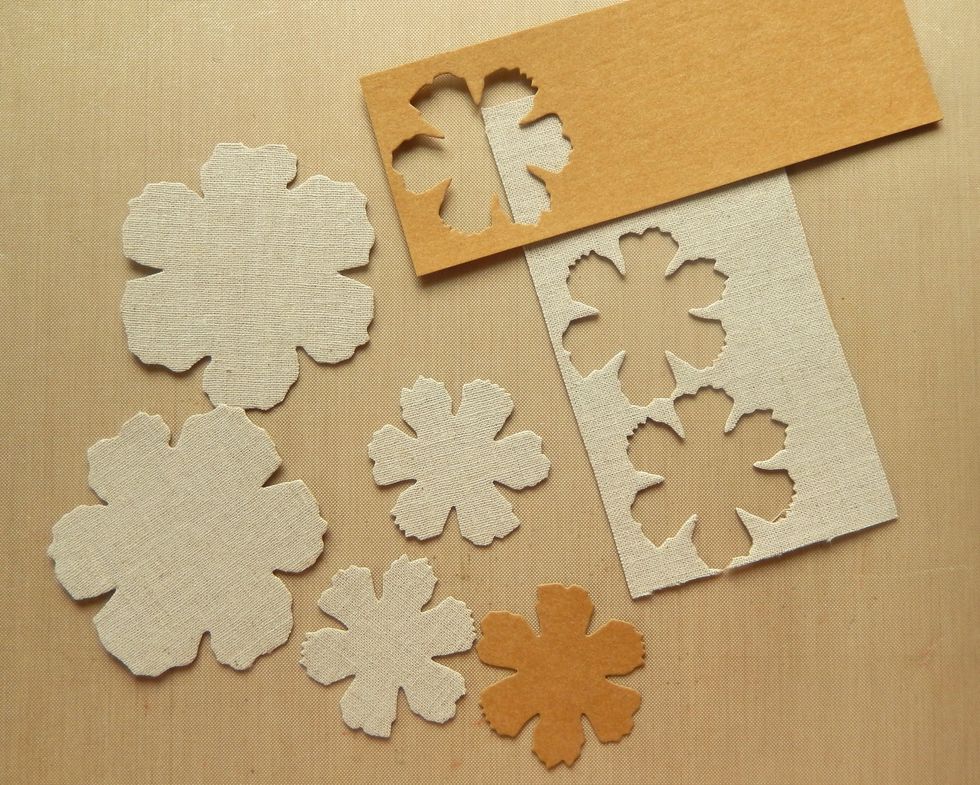
From the fabric covered sheet cut two of the smallest flowers on the Jumbo XL die and two mini flowers. Cut a further mini flower from the uncovered substrate sheet.
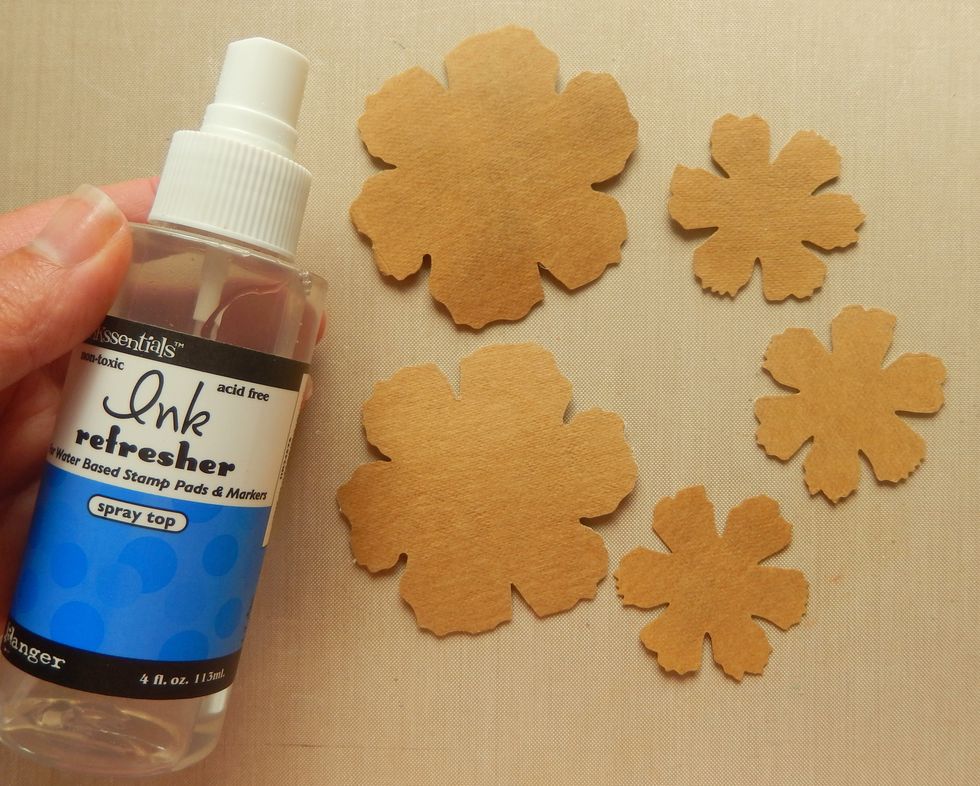
Turn all the flowers onto the revers side and mist with Ink Refresher. Work all the liquid into the substrate until it has been fully absorbed. The flowers will now be supple.

Shape each of the flowers in turn by pinching each petal to create creases in it.
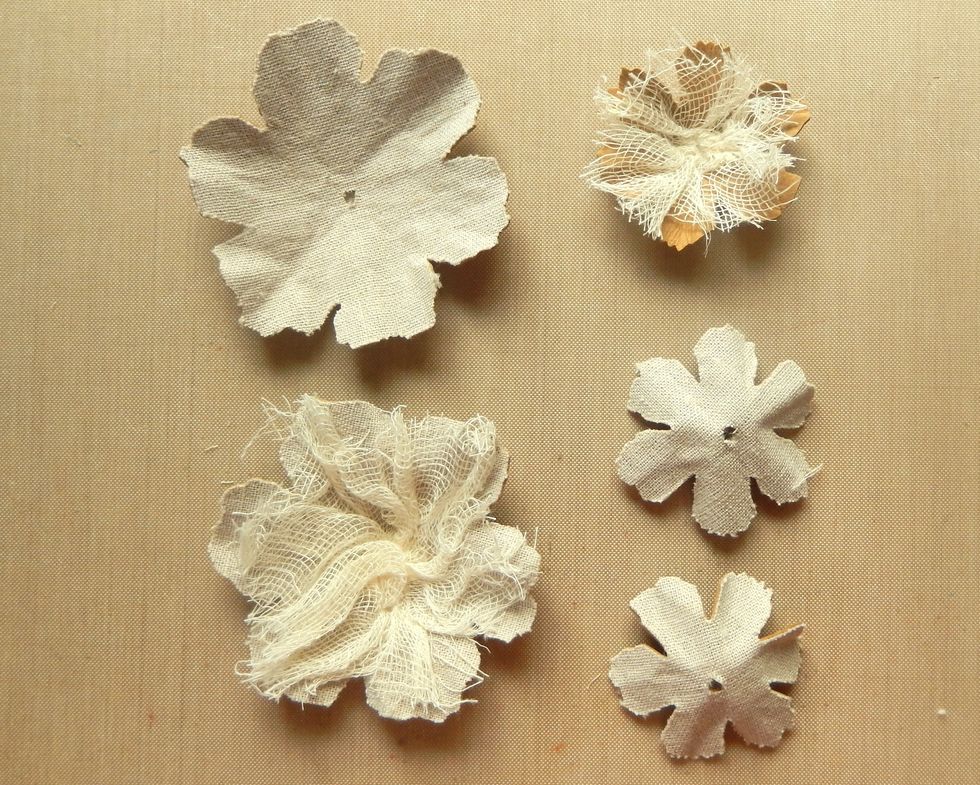
Punch a hole in the centre of each flower layer. Add an uneven piece of gauze onto one of the large fabric covered flowers and the small uncovered flower.
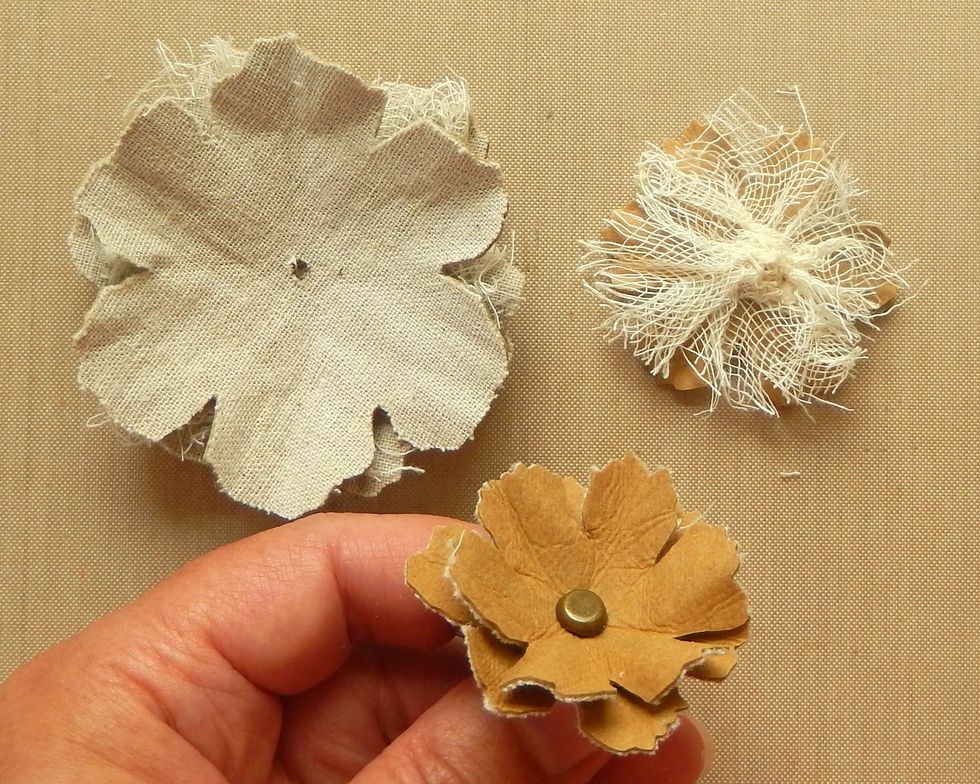
Use a brad to secure the layers of the flower together. Add the small fabric flowers upside down, the gauze covered small flower, the large fabric covered flower and the large gauze covered flower.
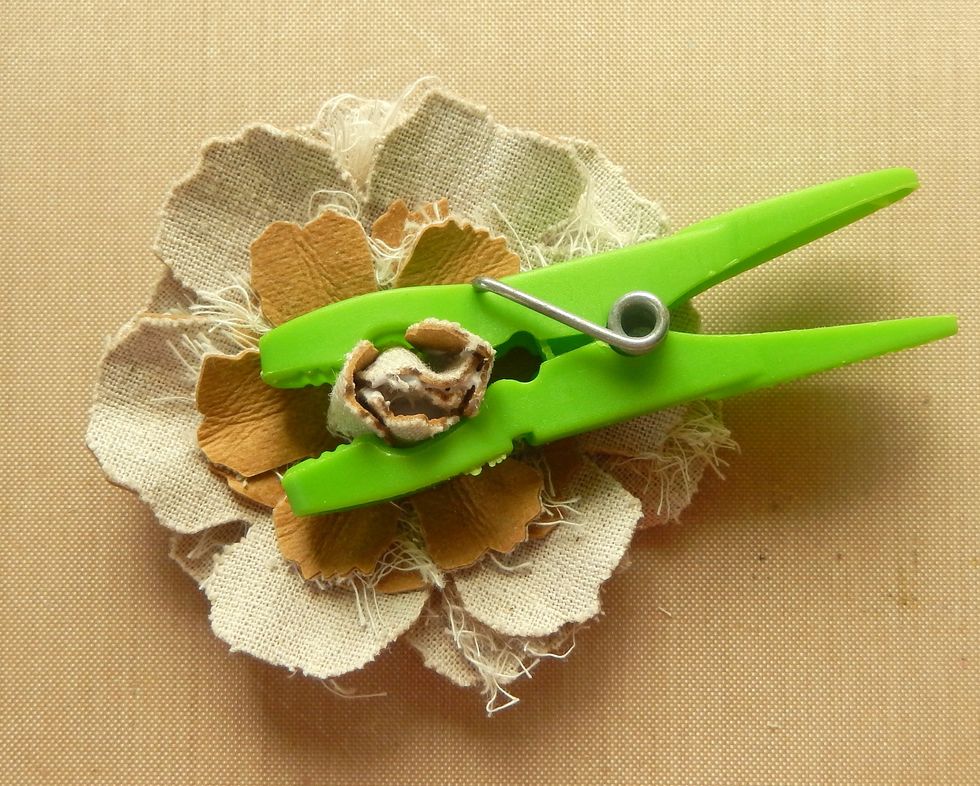
Add strong glue to the inside of the innermost layer. Scrunch together to form a bud, securing with a peg until completely dry.
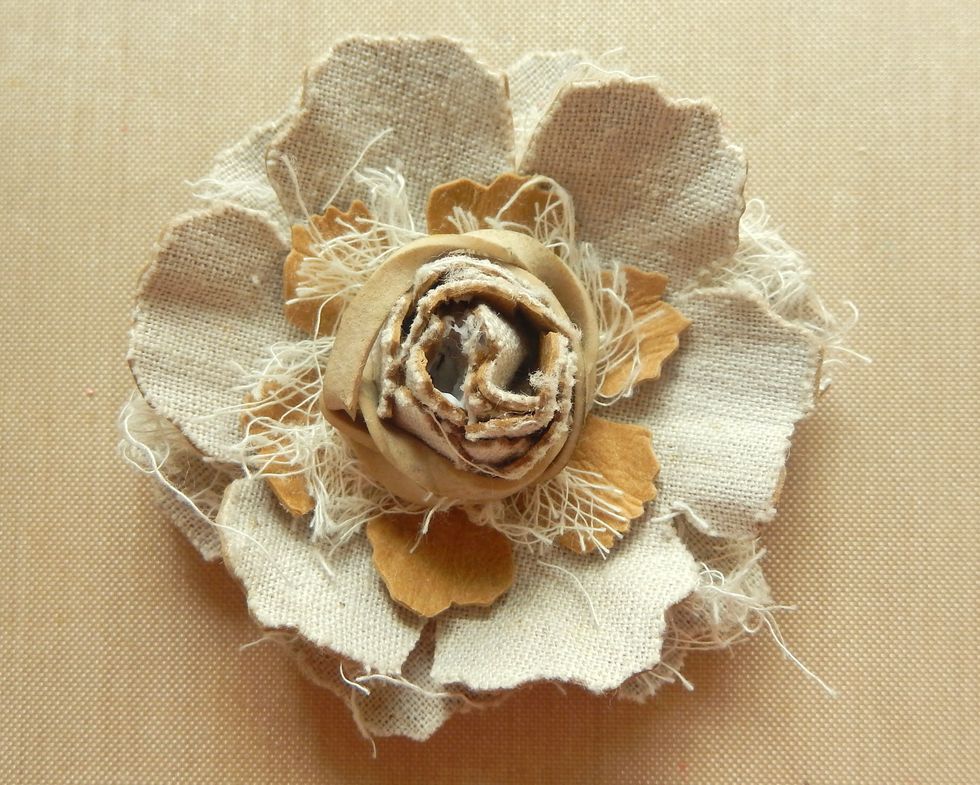
Add glue to the base inside the next inner layer, scrunch together around the central bud and secure with an elastic band until completely dry.

Use your completed bloom as it is at this stage or cut leaves to be layered underneath it from a contrasting substrate sheet.