The Conversation (0)
Sign Up
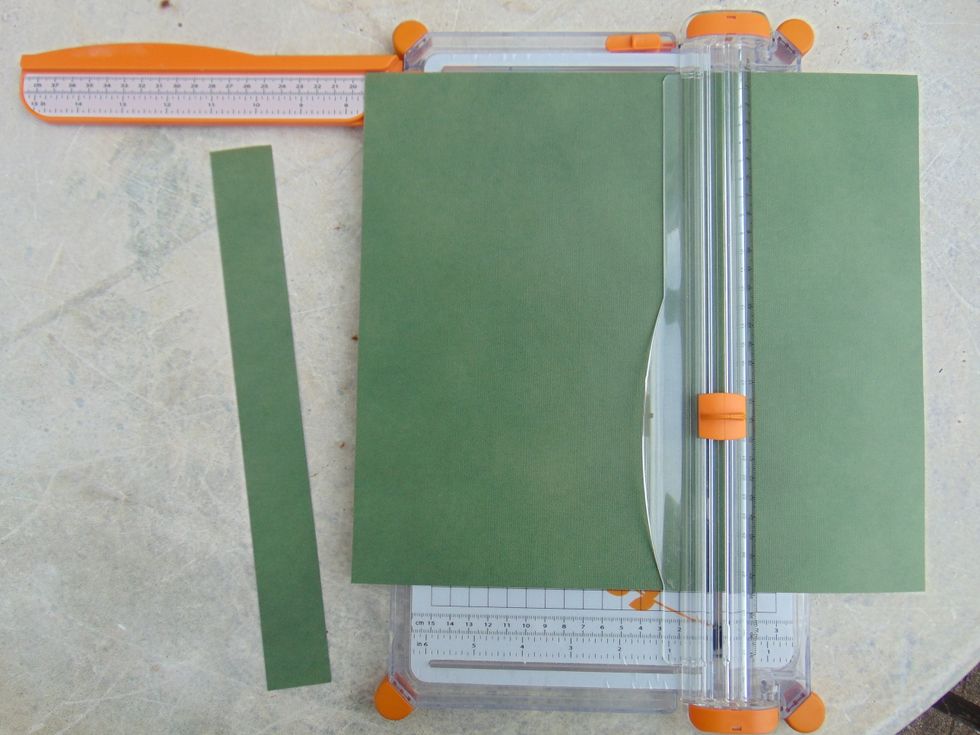
Take a piece of 12"x12" cardstock. Cut to 11"x 7 1/2".
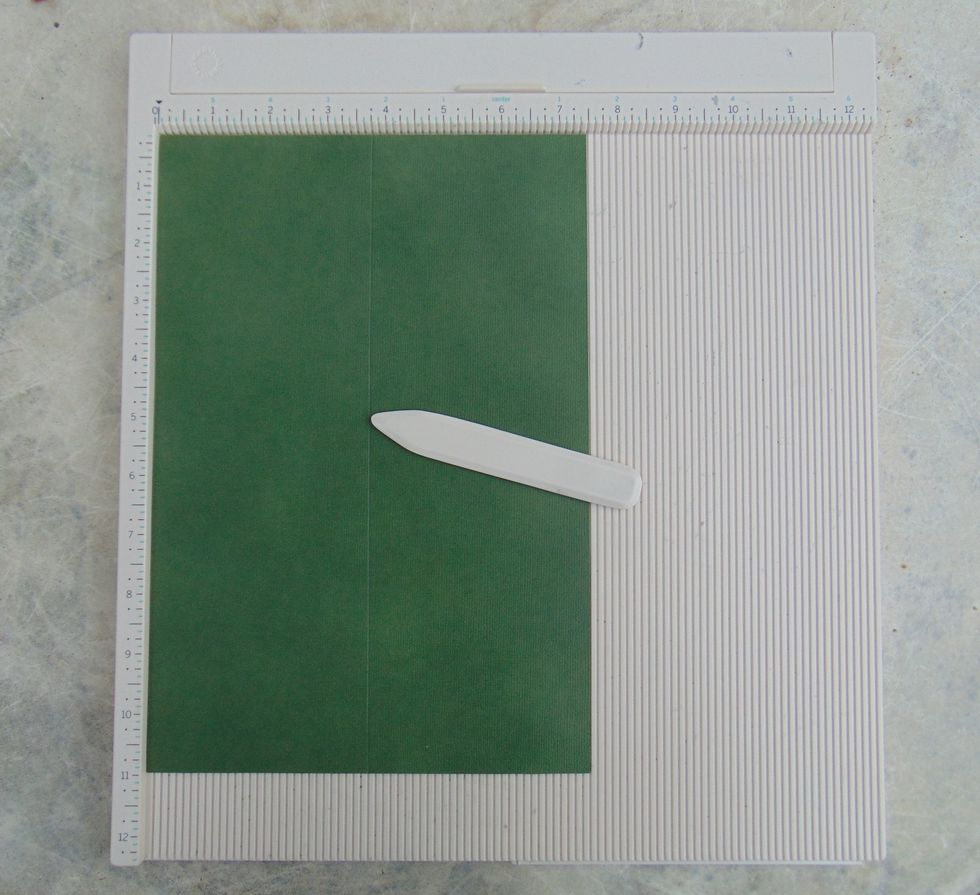
Score paper vertically from short side to short side at 3 3/4"
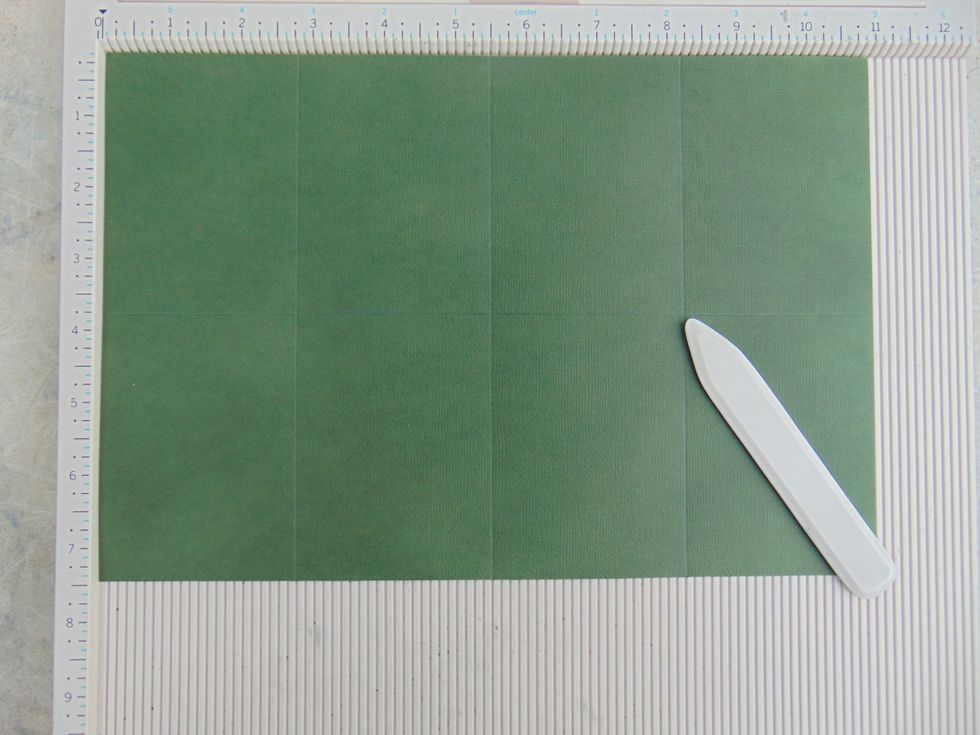
Turn paper horizontally and score at 2 3/4" 5 1/2" 8 1/4"
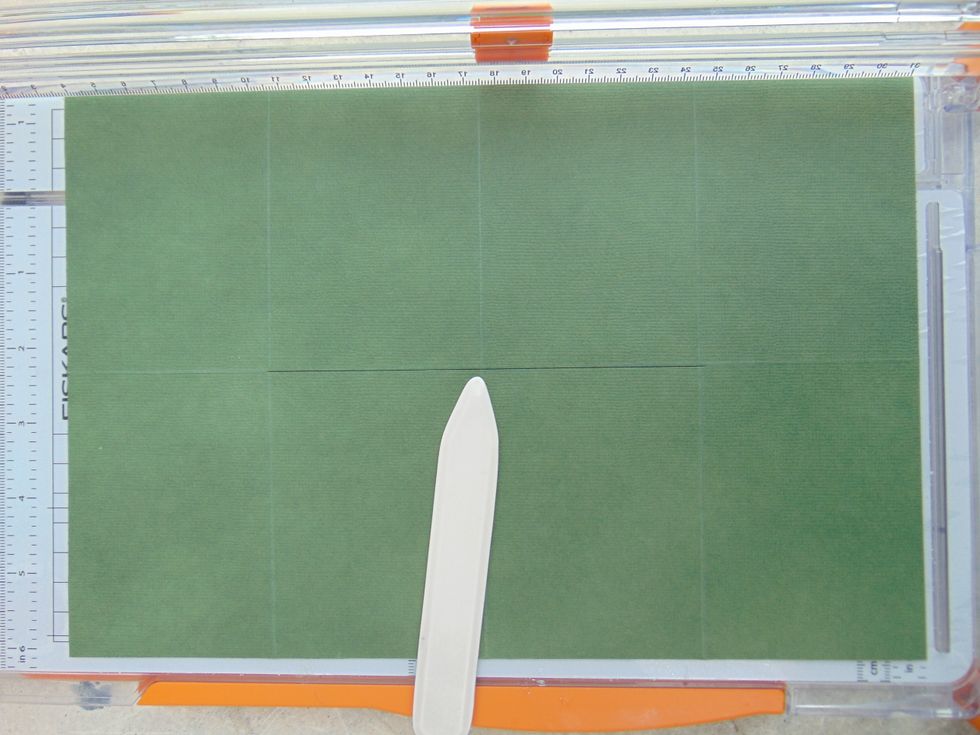
Cut a line horizontally from the 2 3/4" score line to the 8 1/4" score line.
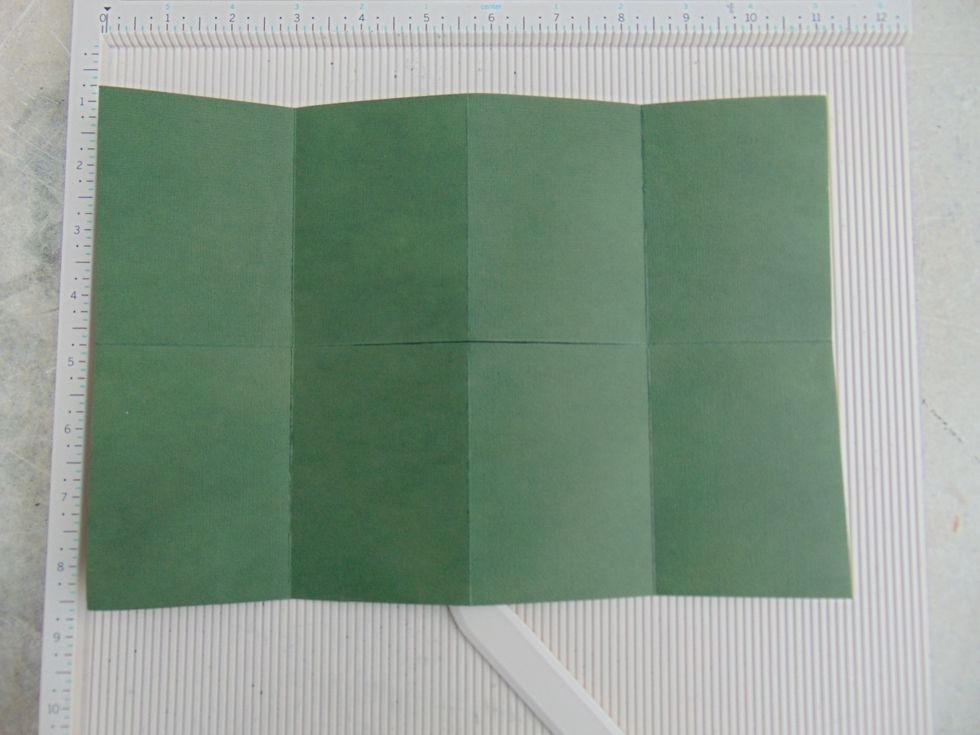
Fold all score lines in both directions, with a score board tool.
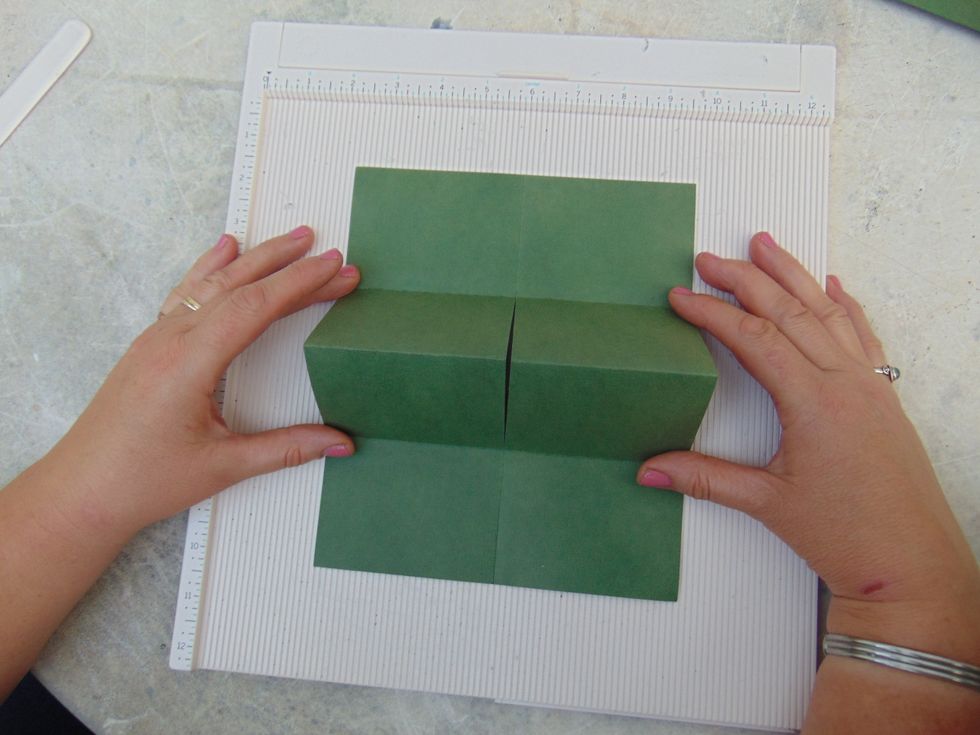
With the short sides at the top and bottom start to bring the centre fold up....
.... and push together. Keep hold of these flaps....
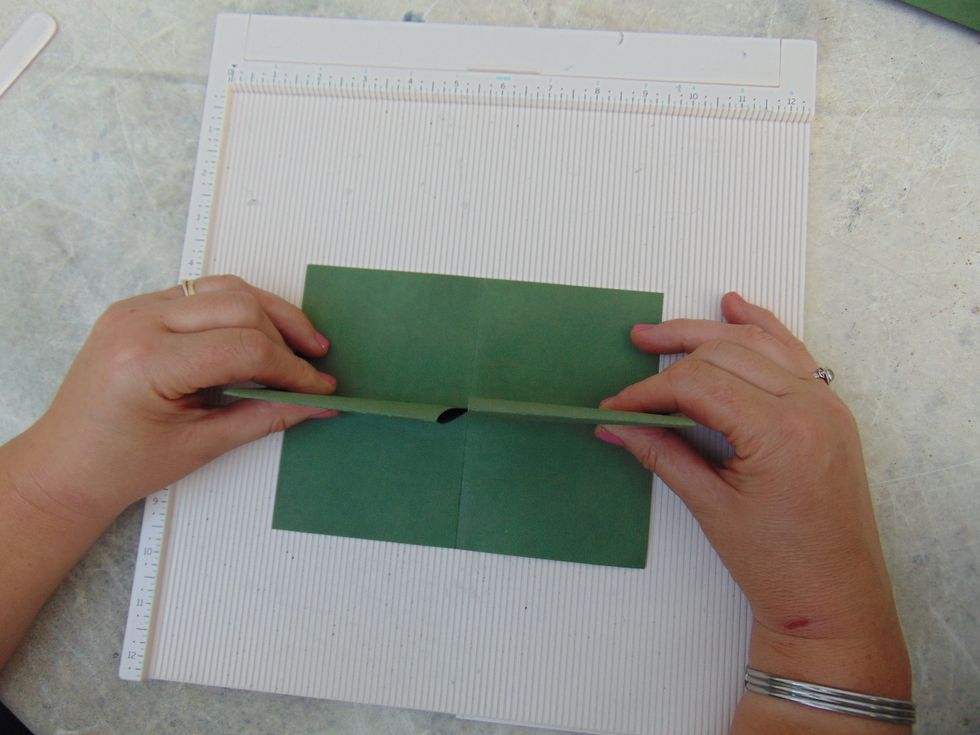
.... and pull them away from each other so you are then folding the card the other way....
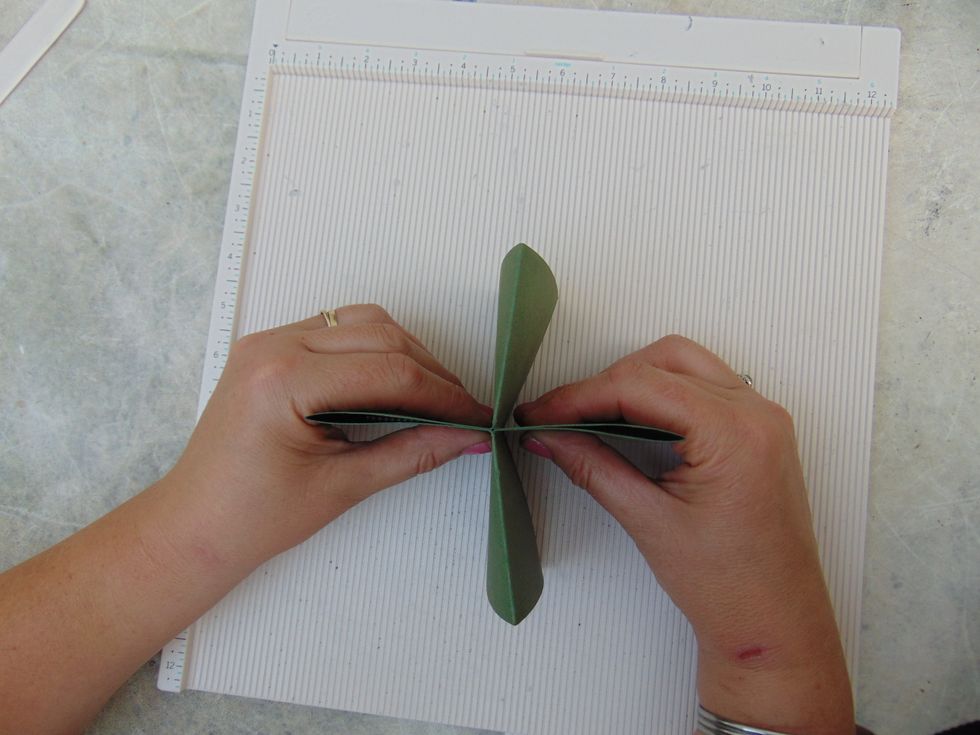
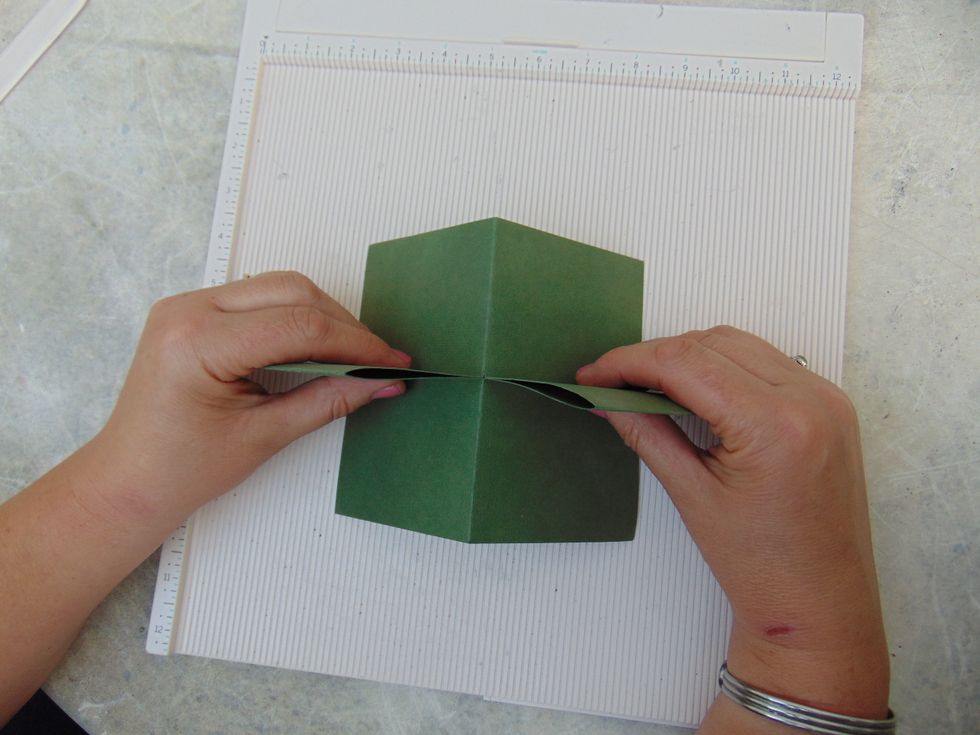
.... until you have closed this fold too. Still keeping hold of the first two flaps....
.... fold them round to meet the flap/page at the bottom and hold all three together.
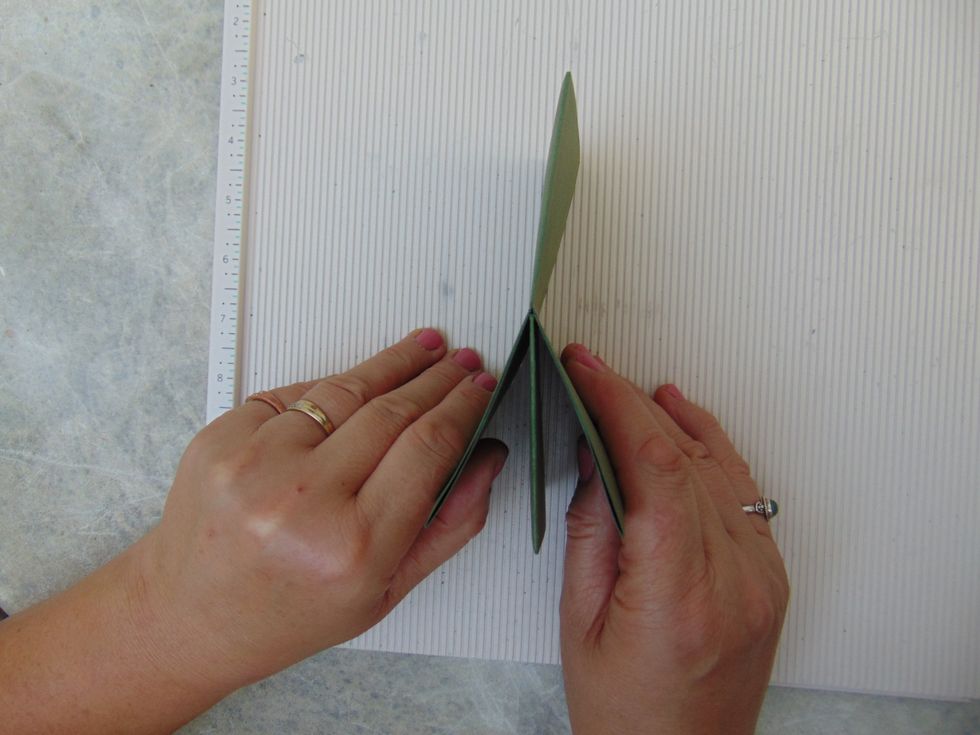
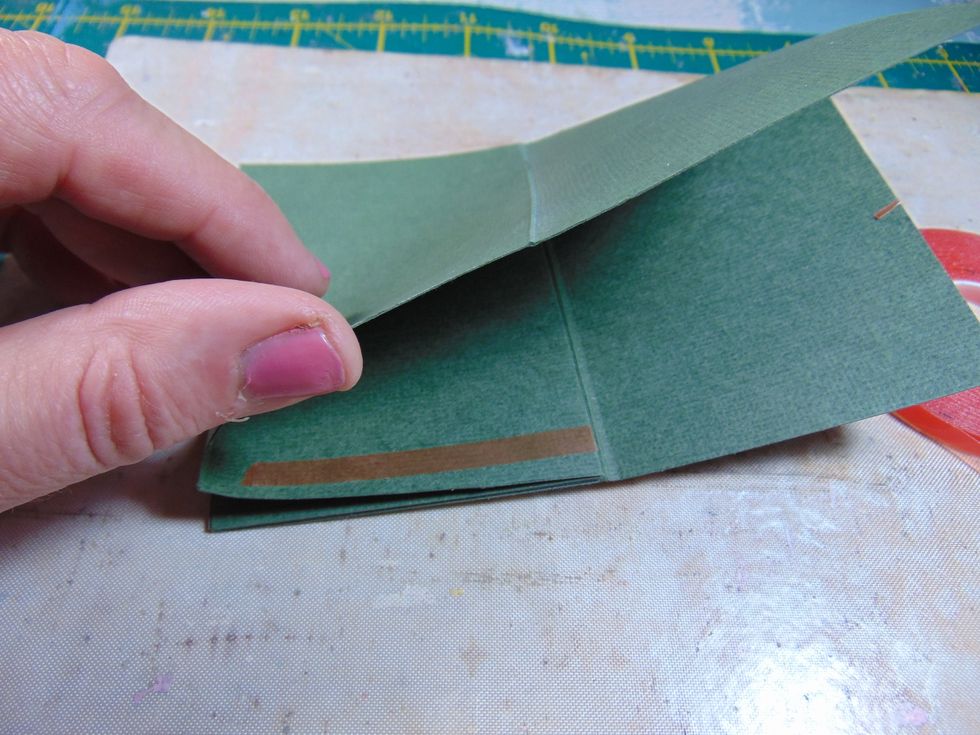
Lay down flat & using a score tool gently score along fold on the single page to stretch paper fibres, whilst doing this start to fold the single page over to the other 3 pages to create mini album...
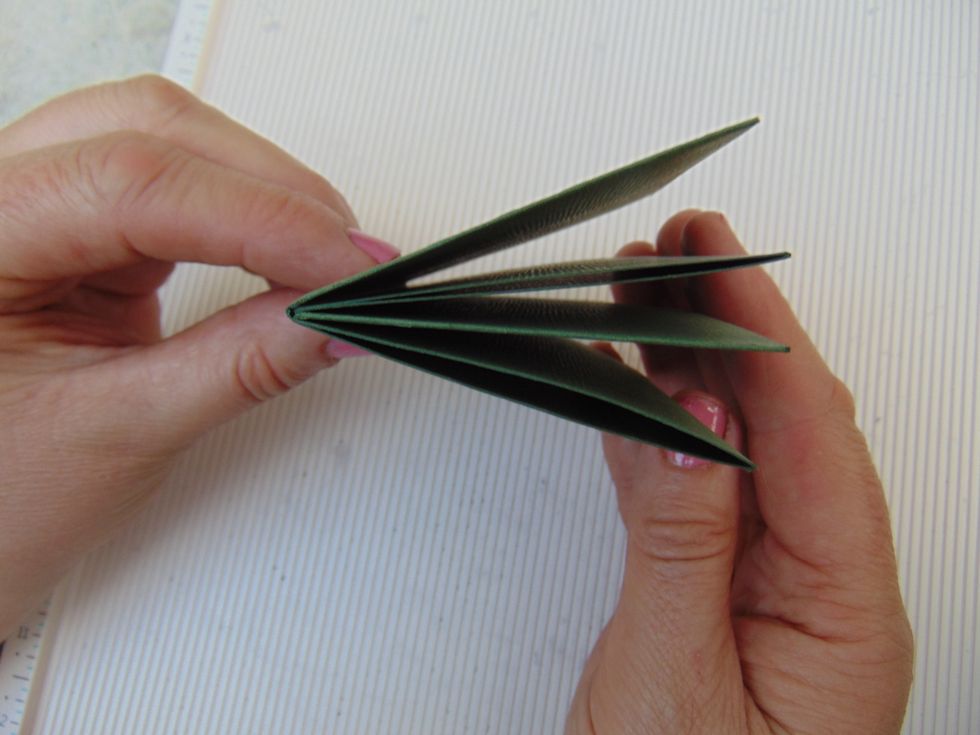
It should look like this!
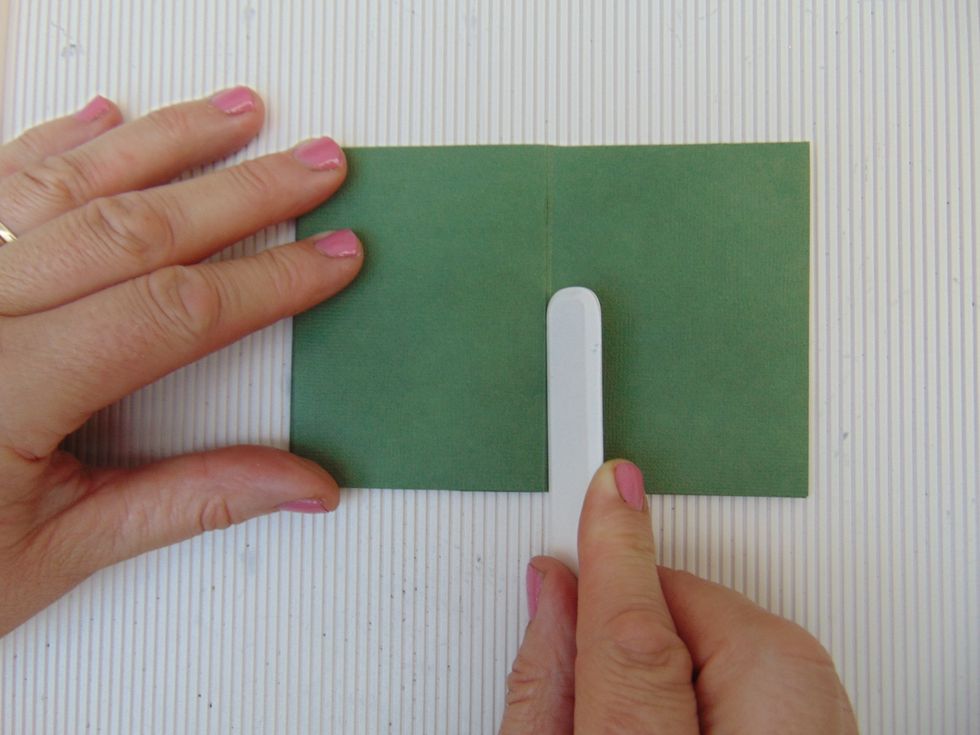
Stick together the open edges to finish the 4 pages. Now to decorate.
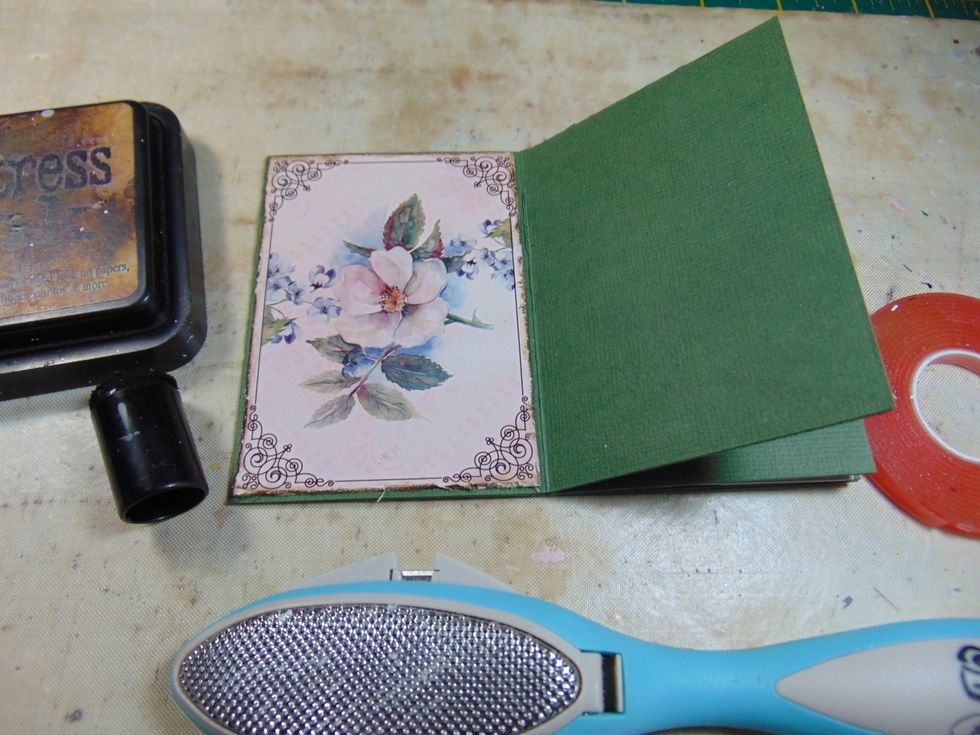
I used these cards from the August Embellishment Add on. You will need 5 of these cards for the album. Distress and ink the edges & stick. Add the same design on the inside covers of front & back.

Cut 4 pieces of PP, I used BFS Tranquillity from August kit, to fit your pages, distress & ink edges. Two are for the centre pages and one for each of the other two pages.
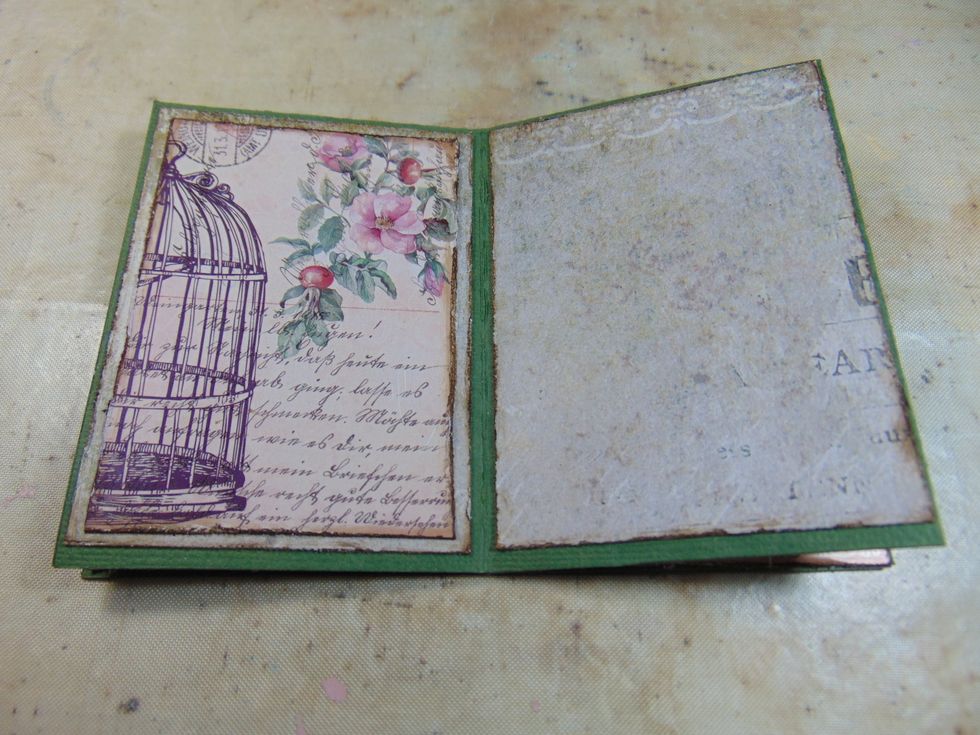
Stick papers in and add another card from Embellishment Add on, distressed and inked onto one of your centre pages.
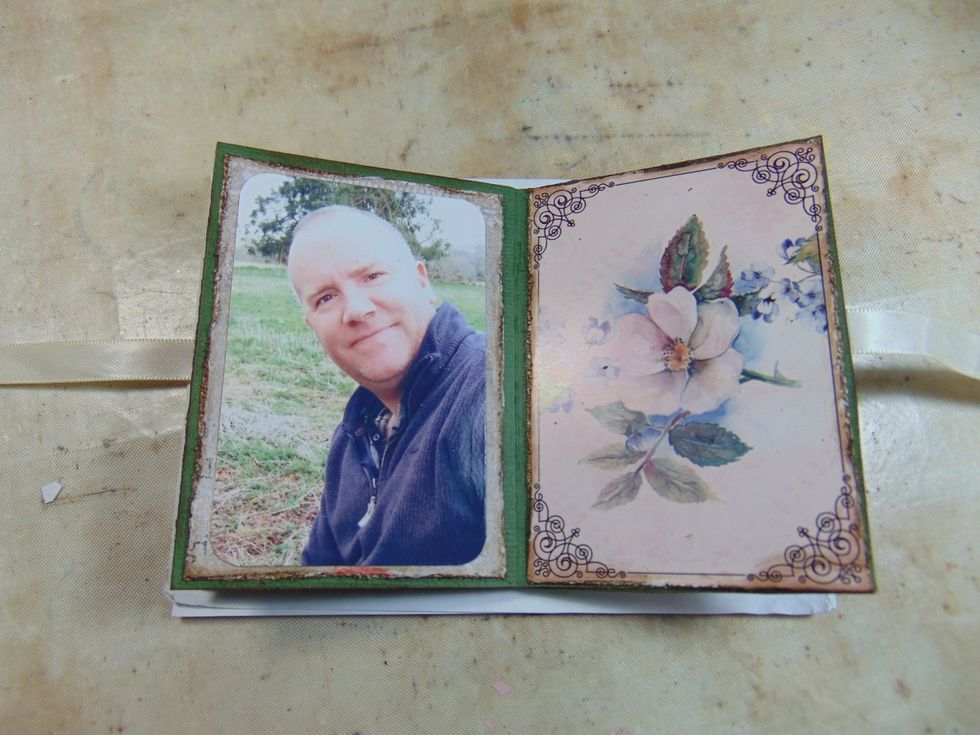
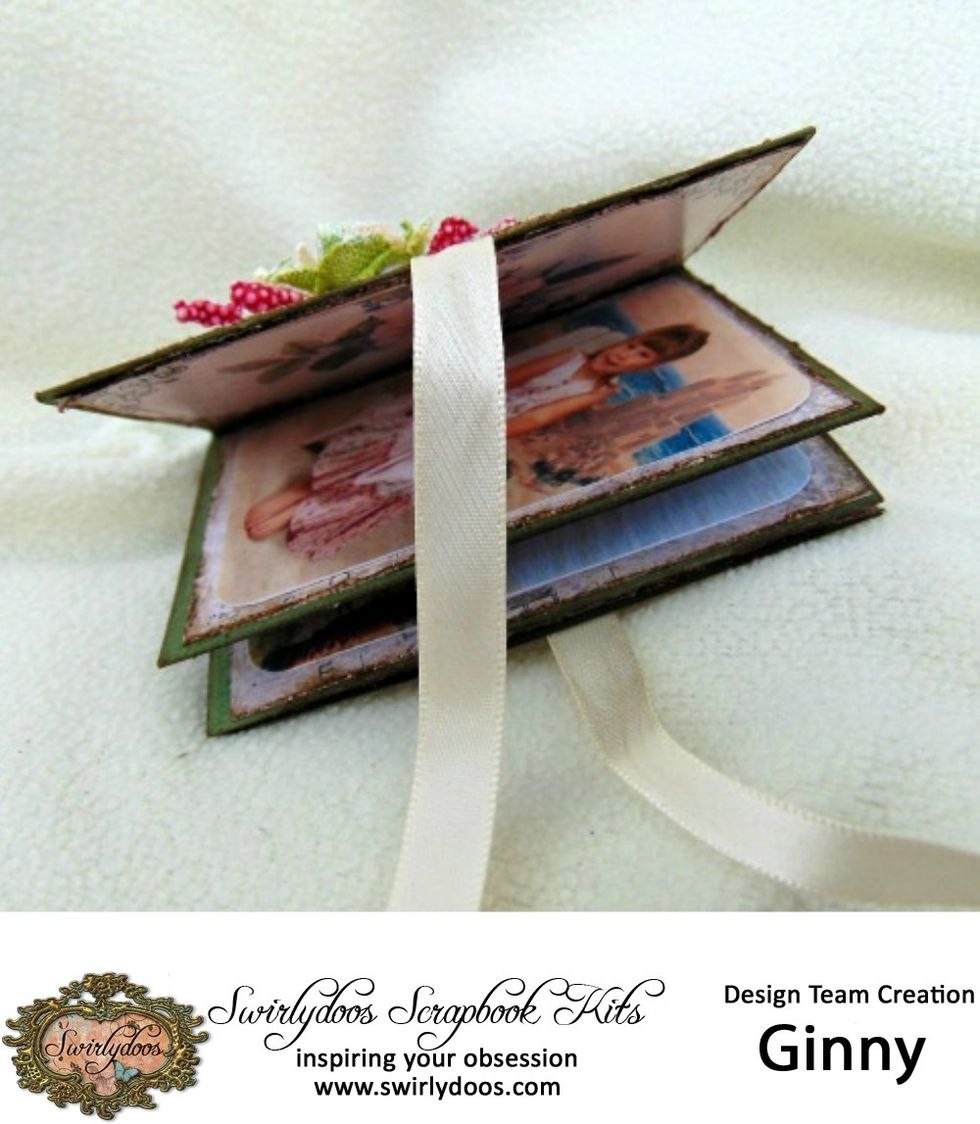
Round the corners on the photos and stick in album on top of the BFS papers. You will need 3 photos. Ink all the Cardstock edges of the mini album.
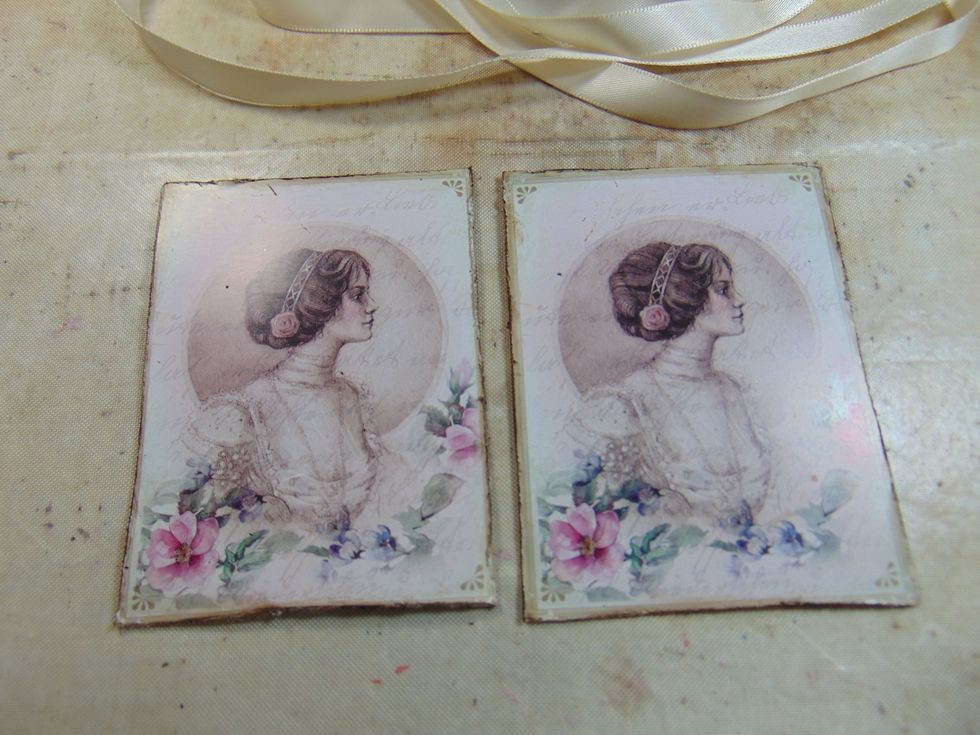
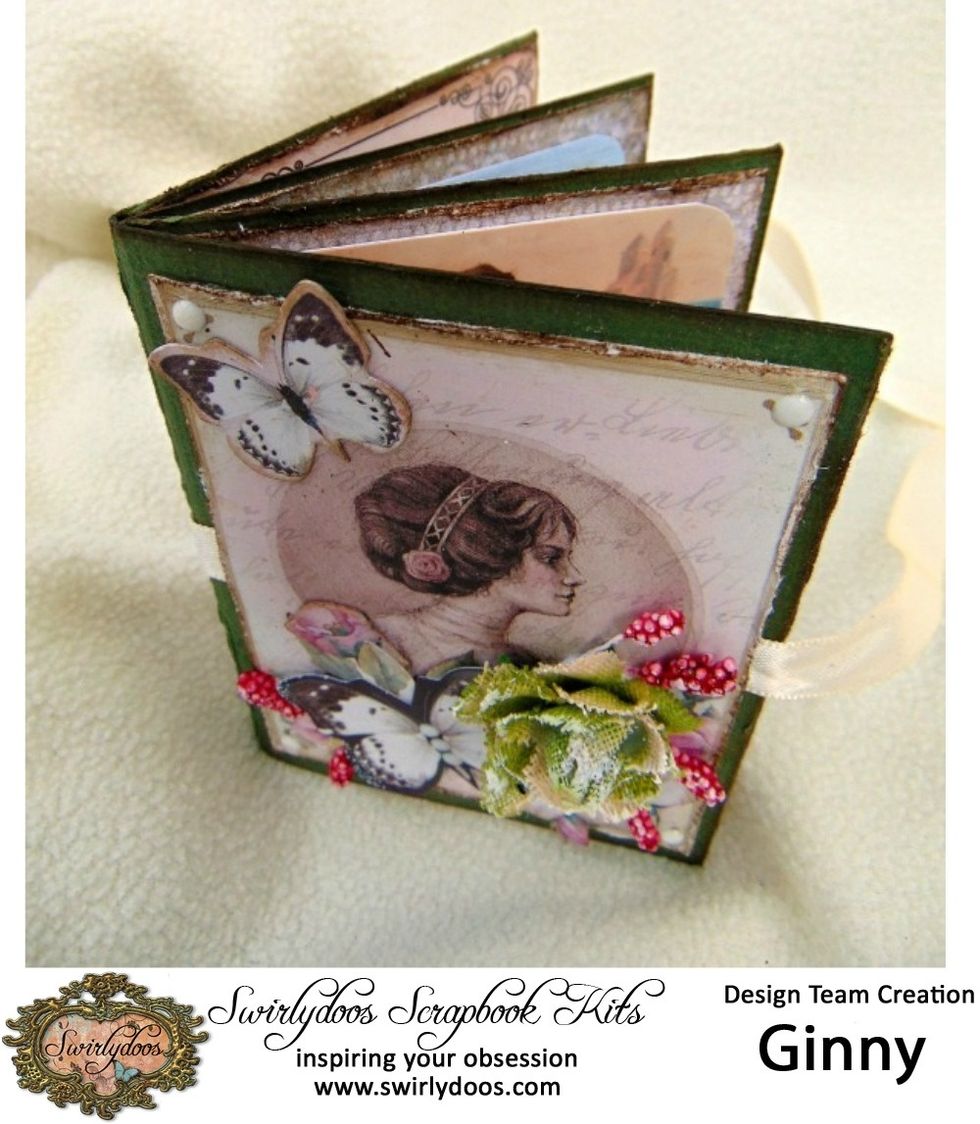
I saved these two cards for my album covers, distressed and inked.
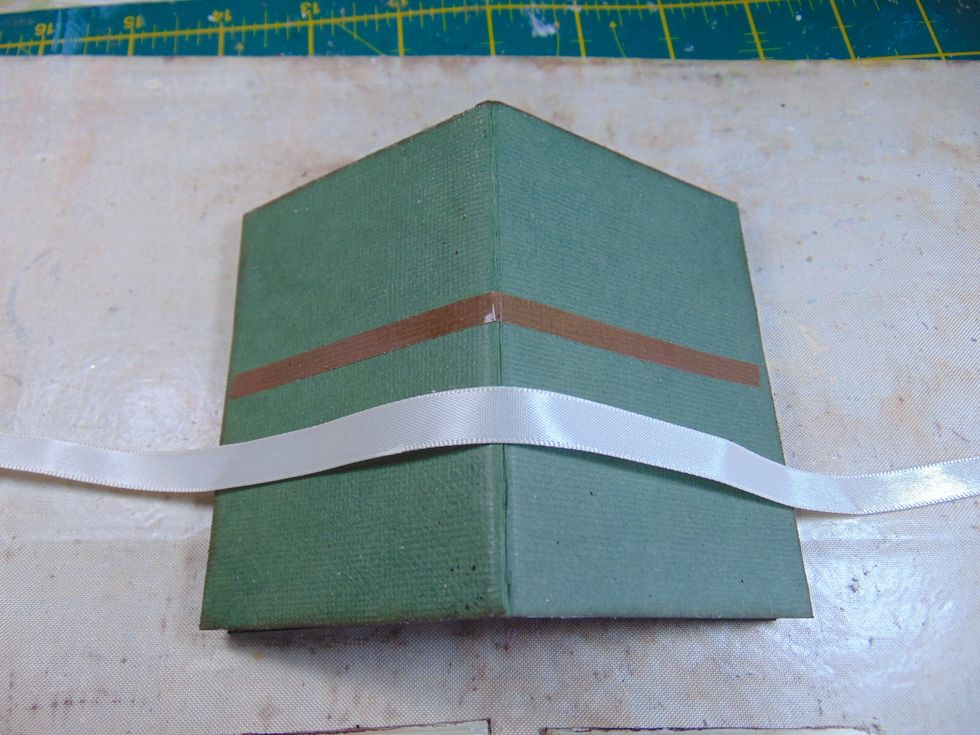
Run some strong red tape across the centre of the album front and back. Adhere some ribbon to the tape, leaving plenty of excess at each end for tying later.

Stick your album covers on over the top of the ribbon. Tie ribbon in a bow to shut album and trim the excess off.

The inked die cuts and fussy cut elements used on the front cover......
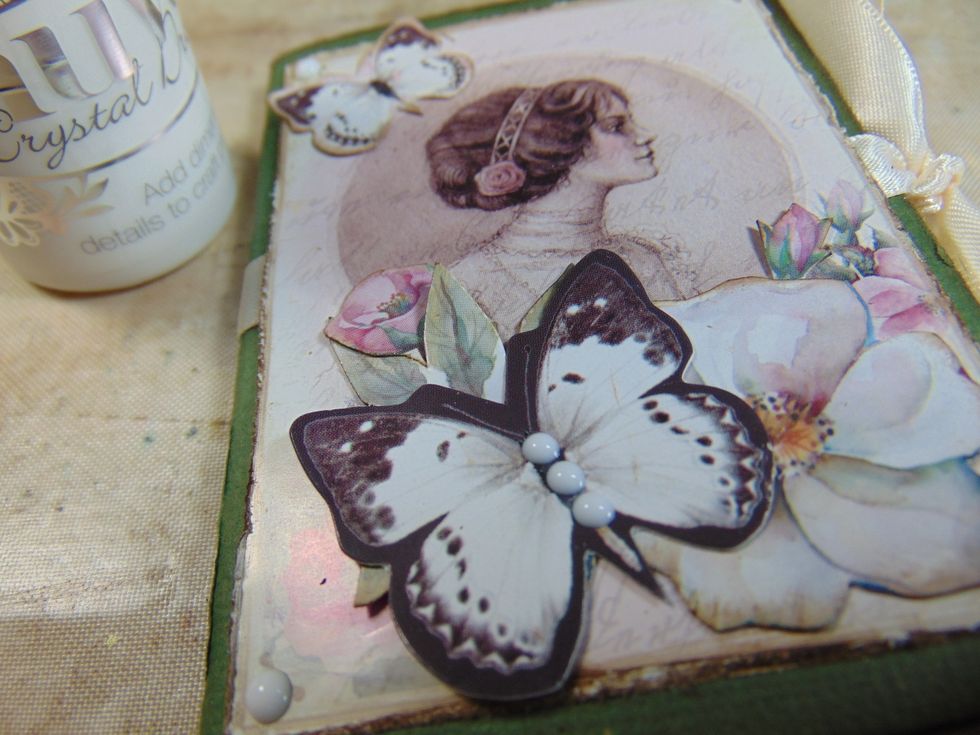
.... layer these up. Add some 3D paint dots on the butterfly and the album corners.
Add a small flower feature and dab with gesso to finish.
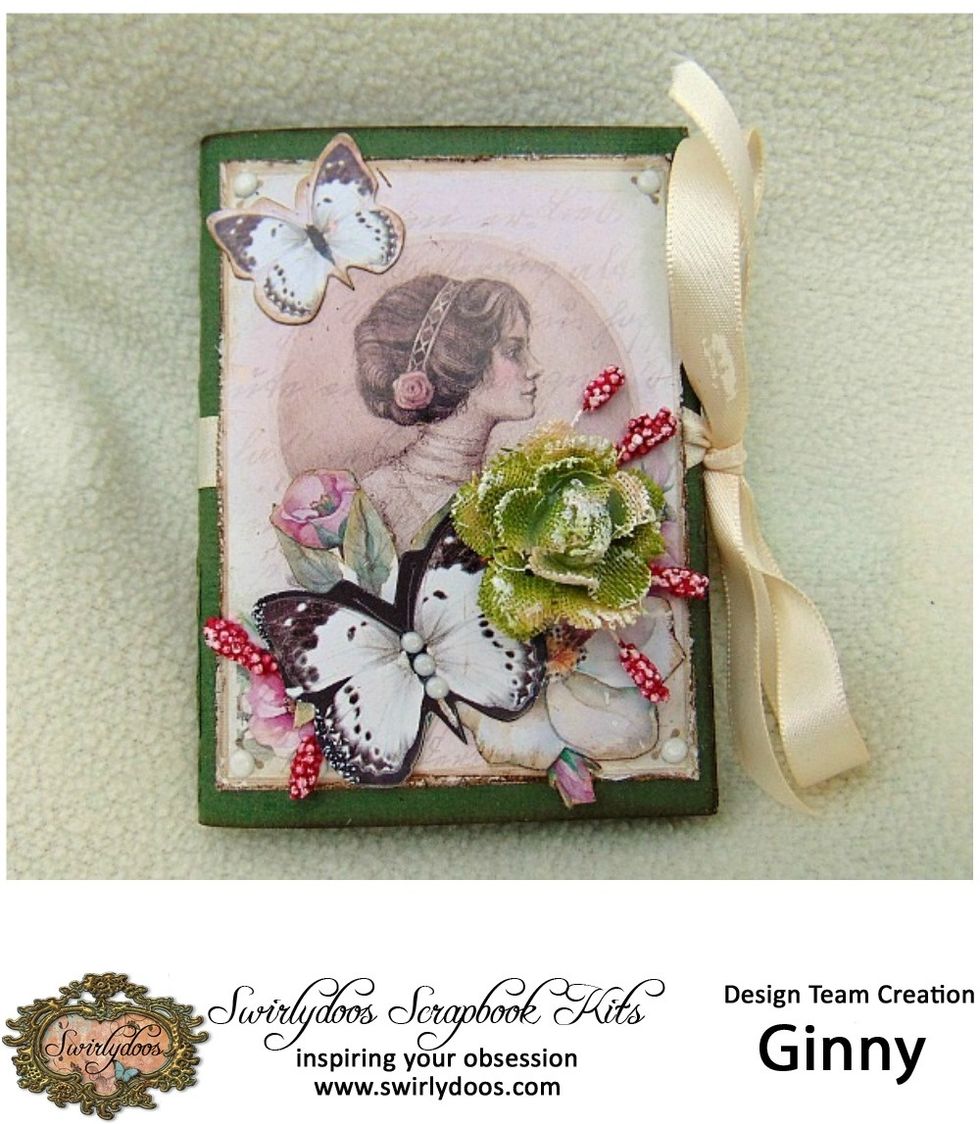
This is a design team creation for Swirlydoos Kit Club. For more information on subscribing to monthly scrapbook kits please visit us http://swirlydoos.com/ & blog at http://swirlydoos.blogspot.co.uk
This project was made using products from Swirlydoos Kit club Monthly kits. The design of the Mini Album was based on another original. More photos on my blog http://shabbypapers.blogspot.co.uk/