The Conversation (0)
Sign Up
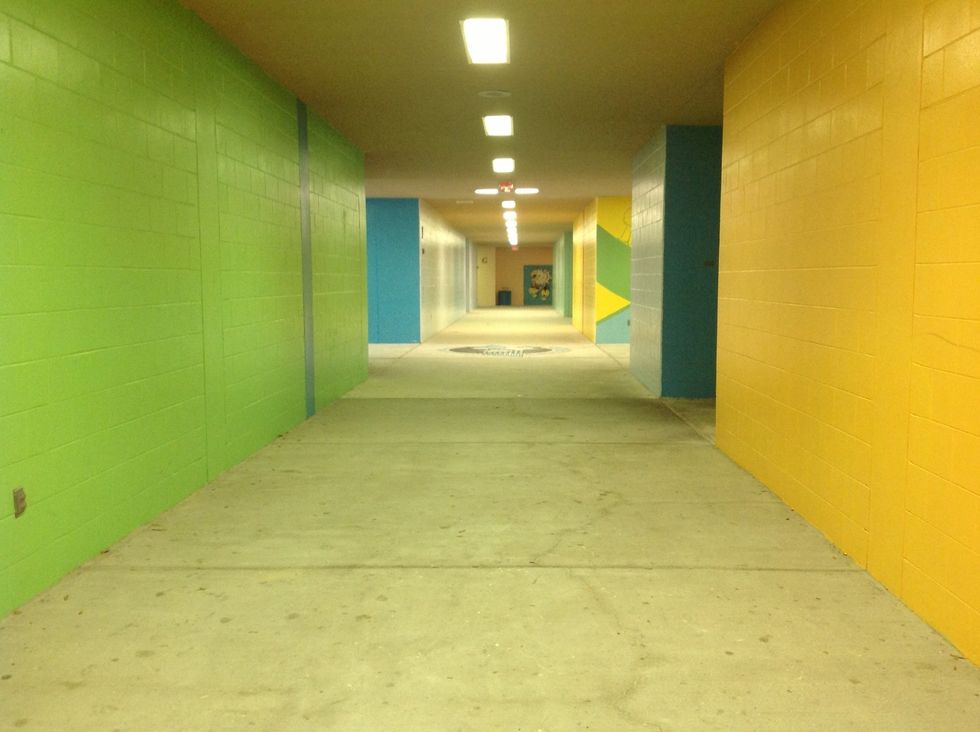
I am planning to create a fantasy hallway, so I took a picture of my school hallway as a reference.

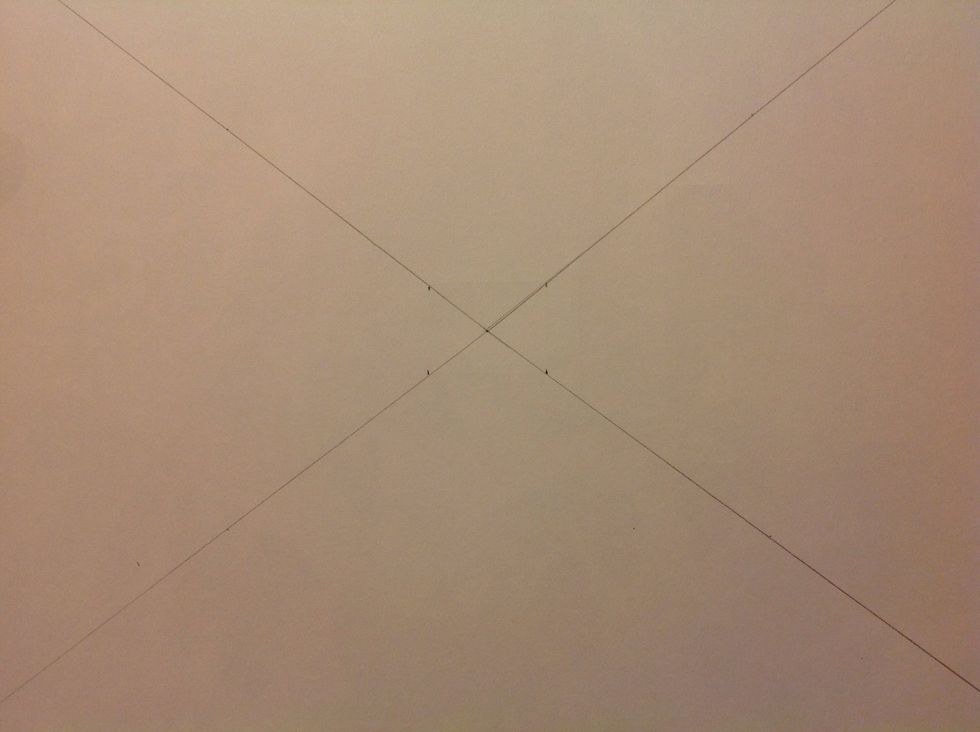
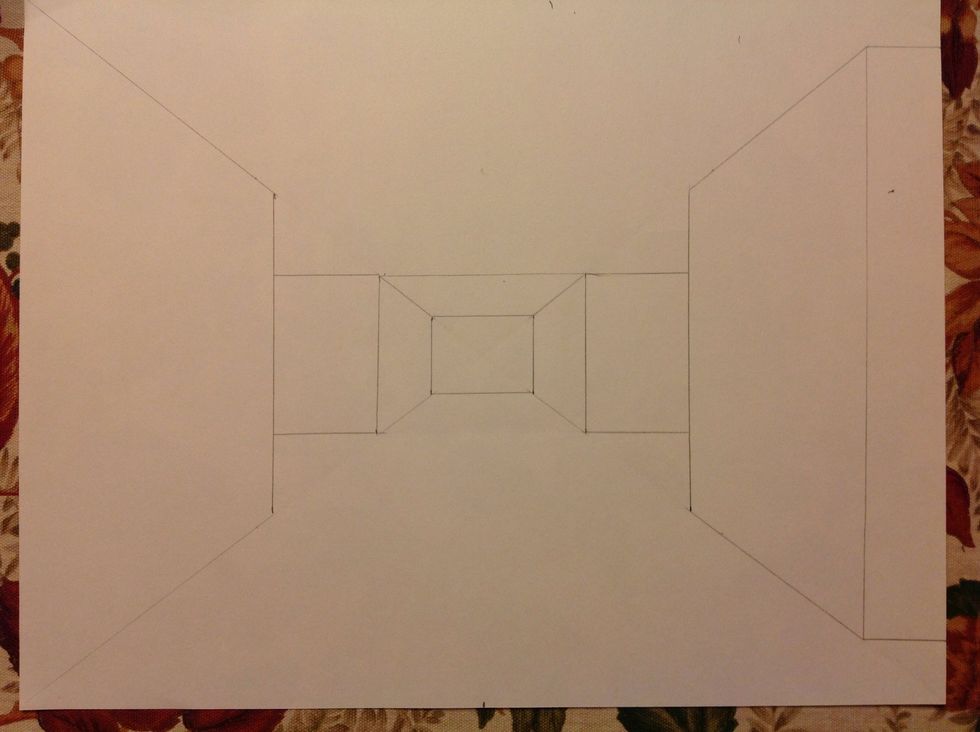
Measure to find the center of your paper. This will be your vanishing point. Lightly pencil in a diagonal line from corner to corner. Make sure your lines cross through the center point to create an x
From the center point, measure out to 1 inch on the diagonal lines and make a dot on each line. You can choose your own measurement based on the size of your paper or the image you are drawing.
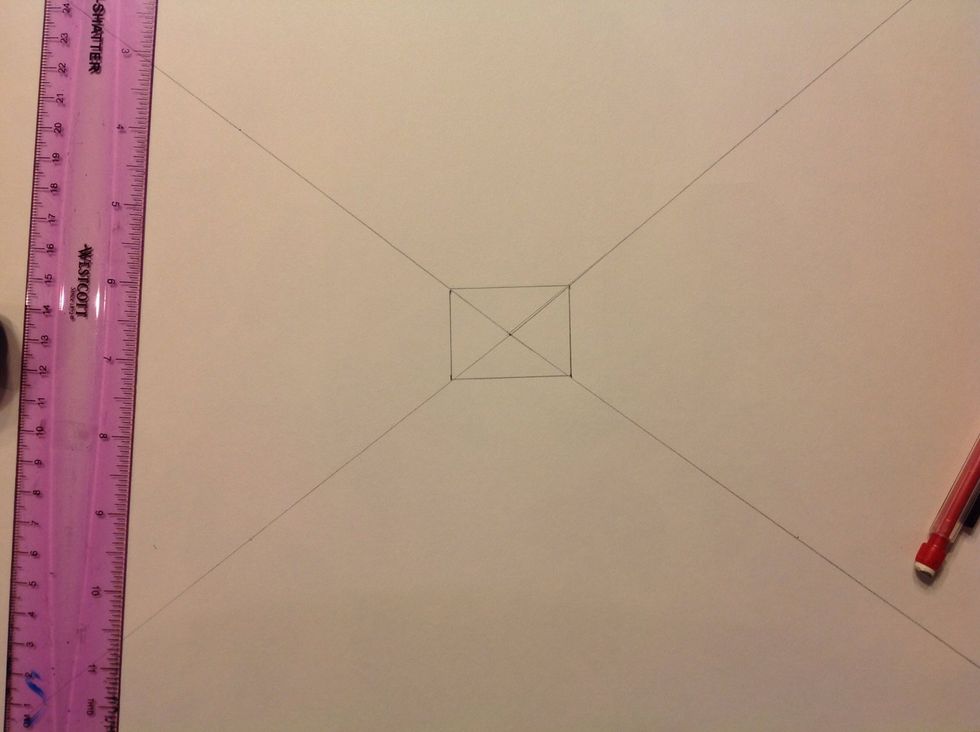
Connect your dots to create a rectangle. This will be the back wall of the hallway. The smaller it is, the further away it appears.
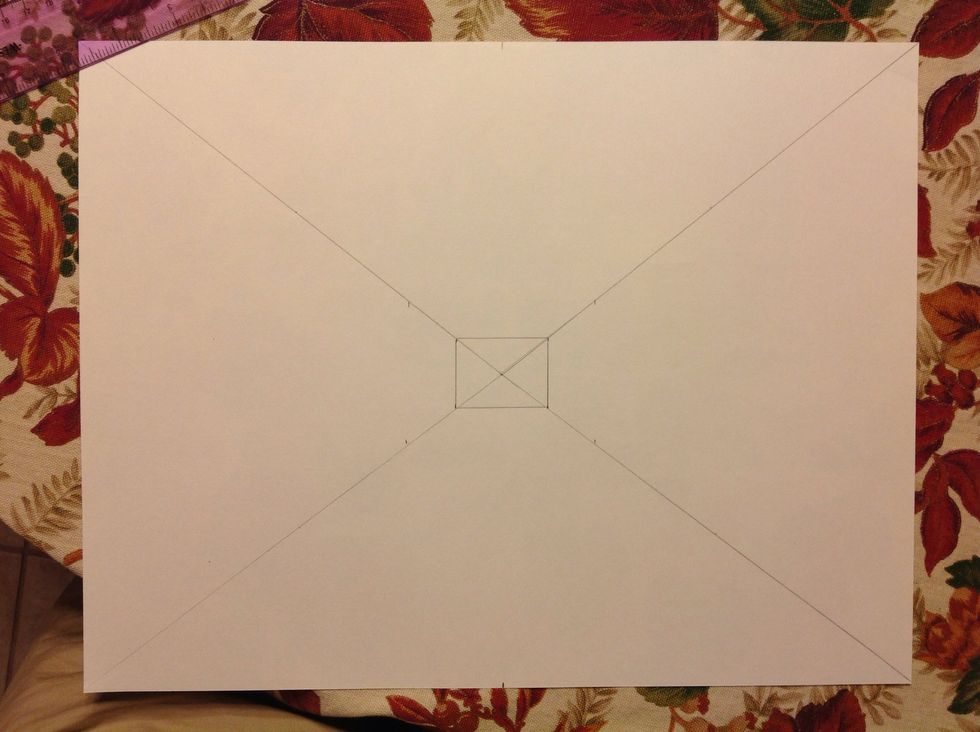
From the center point measure out to 2 inches on the diagonal lines. Make a dot at the 2 inch measurement on each line.
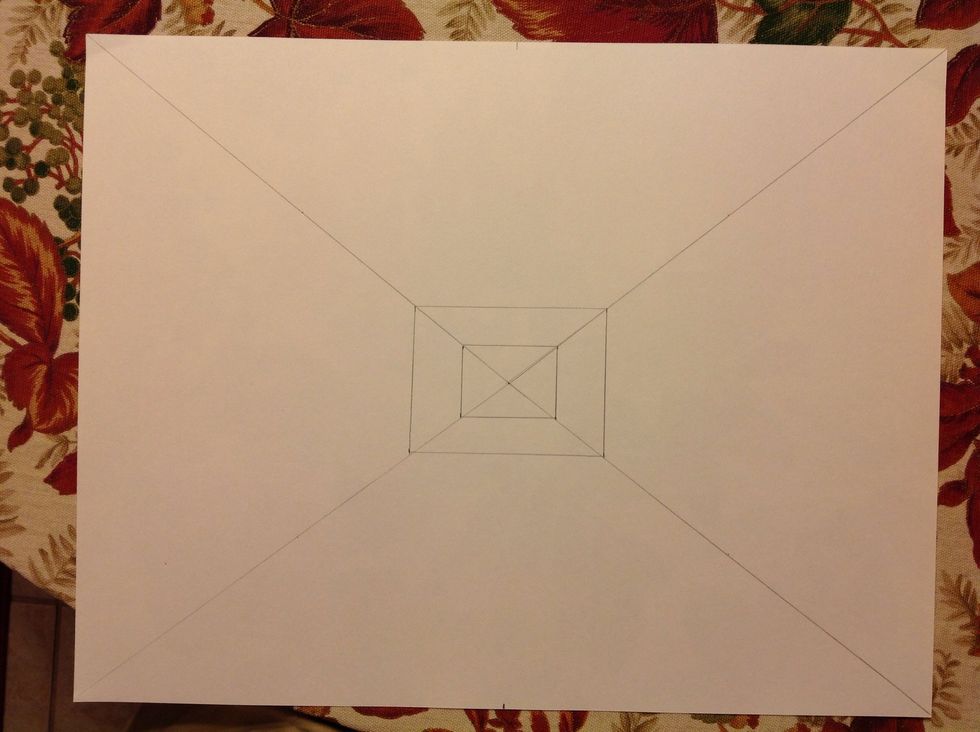
Create another rectangle with the new dots.
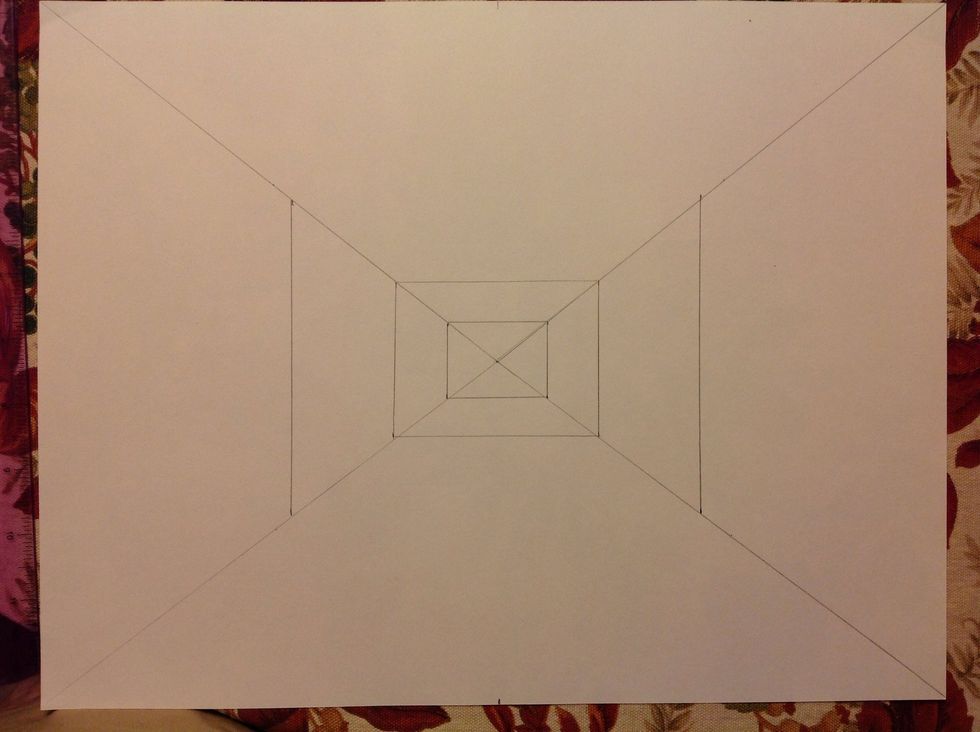
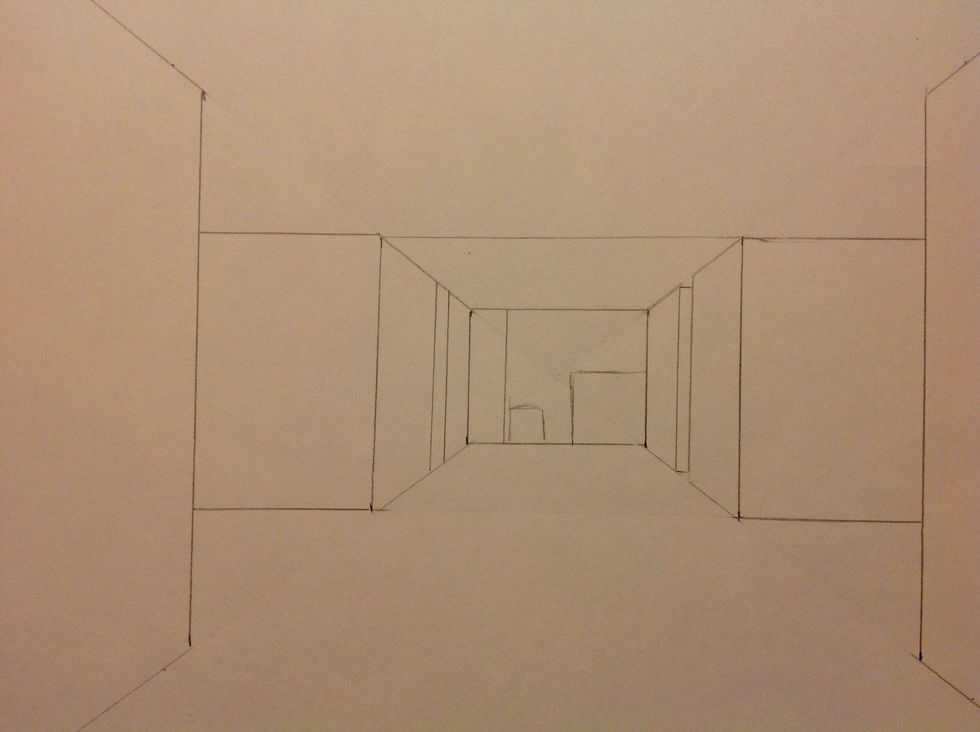
I want to draw the main intersection of the hallway. From the center point measure out to 4 inches. Draw a vertical line to connect the 2 marks on the left and right sides of the rectangle.
Lightly draw a horizontal line across the top of the rectangle until it meets with the vertical lines you drew in the last step.
Now repeat the last step on the bottom of the rectangle.
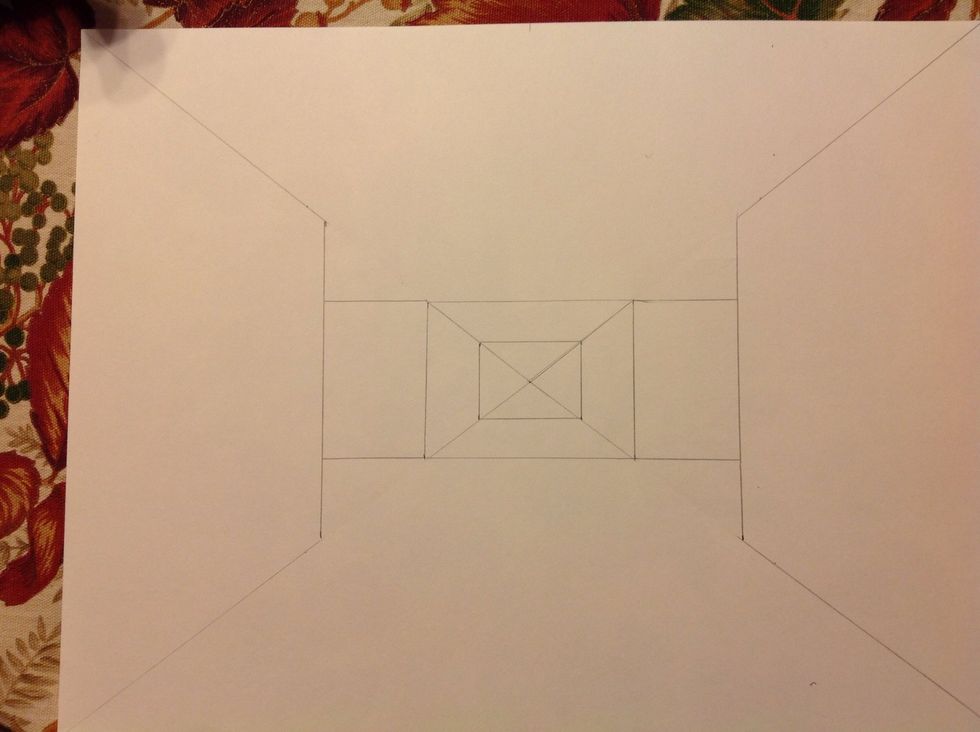
Erase the short diagonal lines that run from the corners of the rectangle to the vertical line. Refer to the image to see if your drawing matches up.
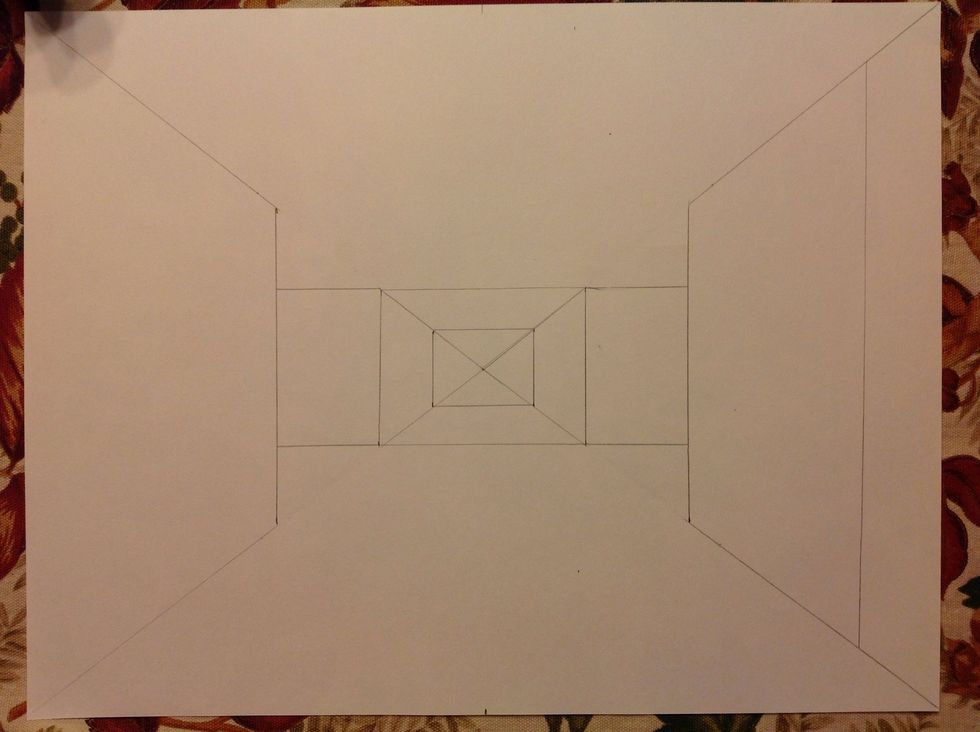
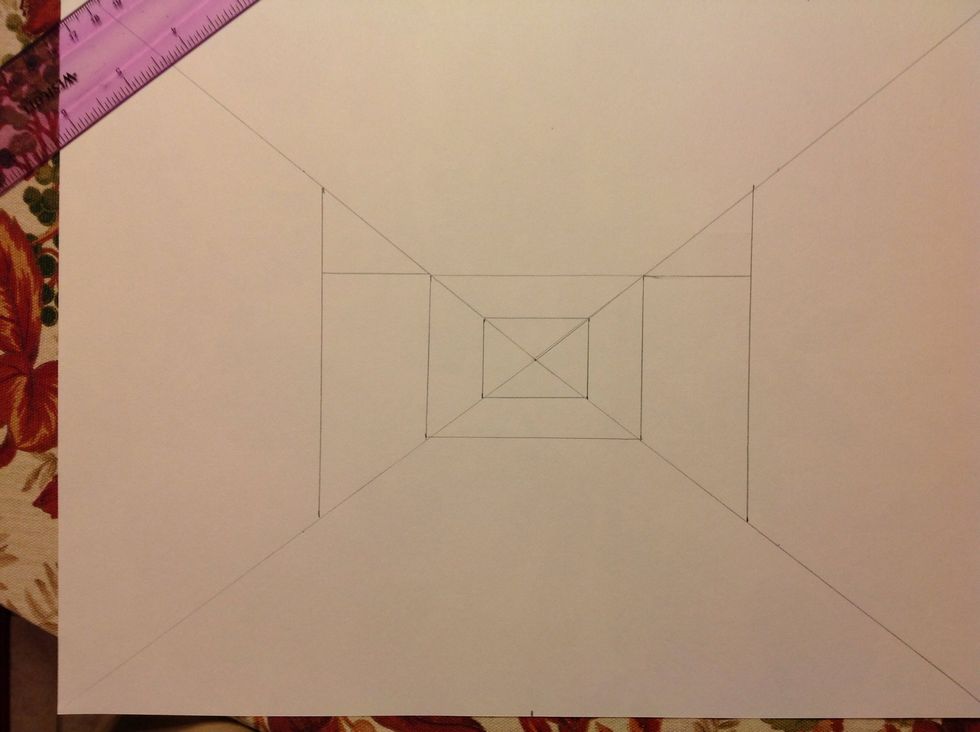
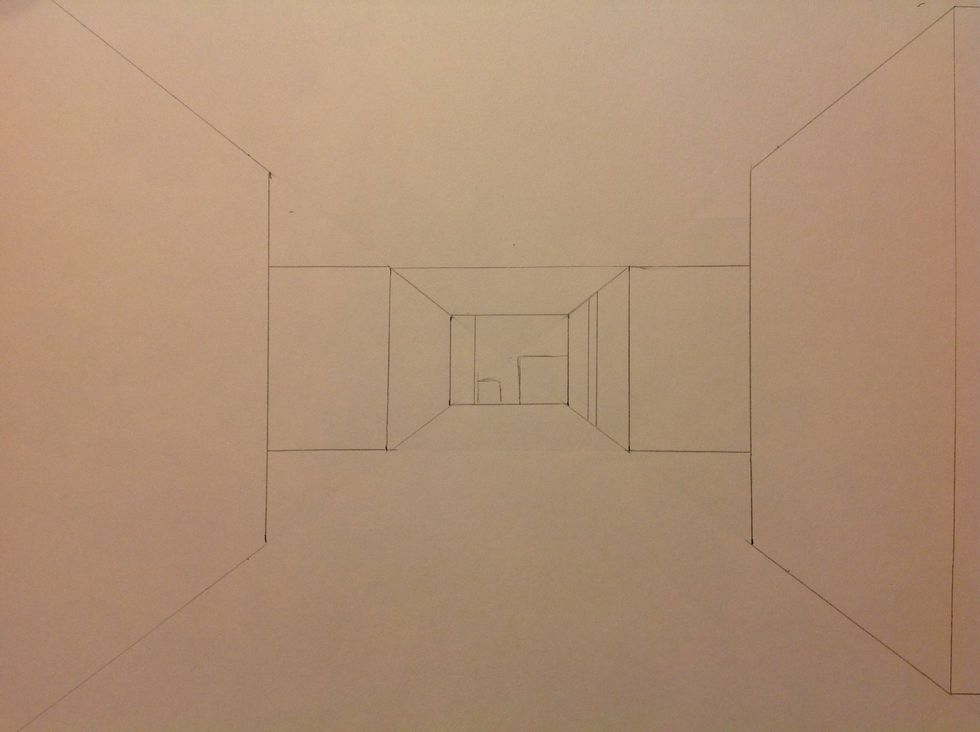
I want to draw the the break in between the hallway. Draw a parallel vertical line. The top and bottom of your line should end at the diagonals.
Draw a horizontal line from the top and bottom of the vertical line you just drew.
Erase the little diagonal lines that are left on the right side.
Erase the diagonals from the center rectangle. You can also erase the the bottom horizontal line of the second rectangle you drew.

I sketched some of the basic shapes I saw on the back wall of the picture. I may change it later, but it helps me keep track of what I am doing.
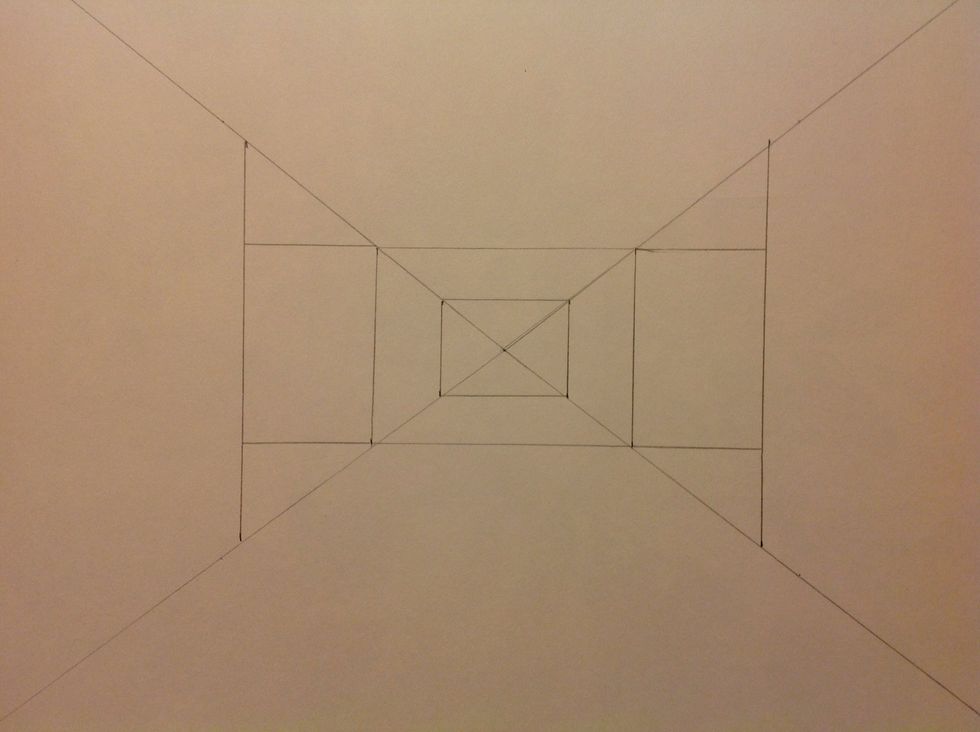
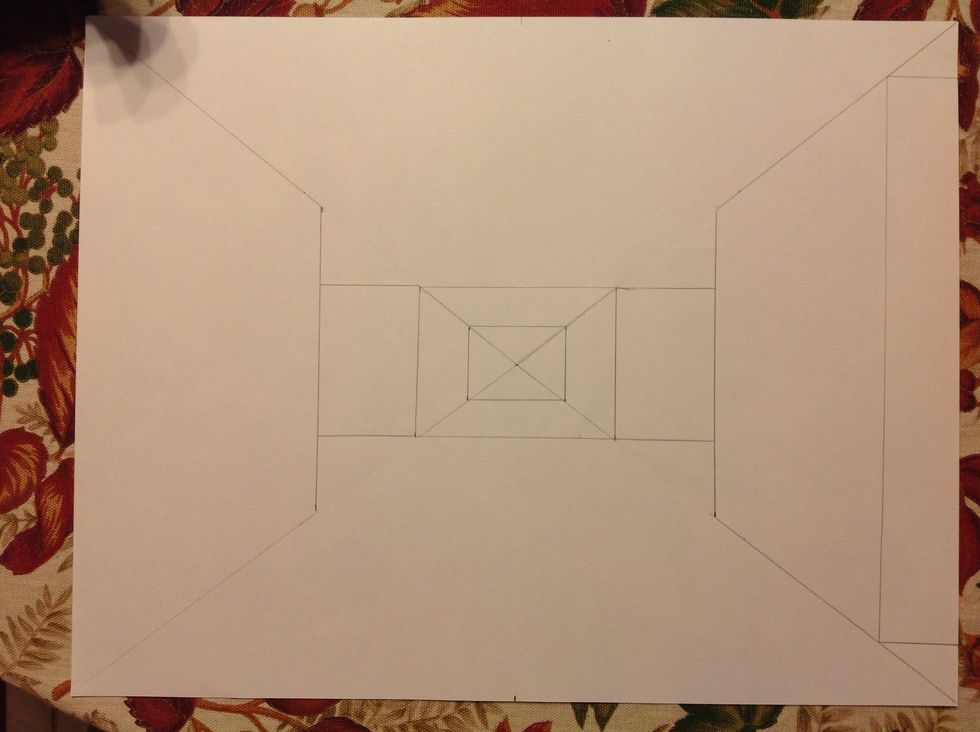
I want to recreate the space on the farthest wall to the right, so I drew two parallel vertical lines.
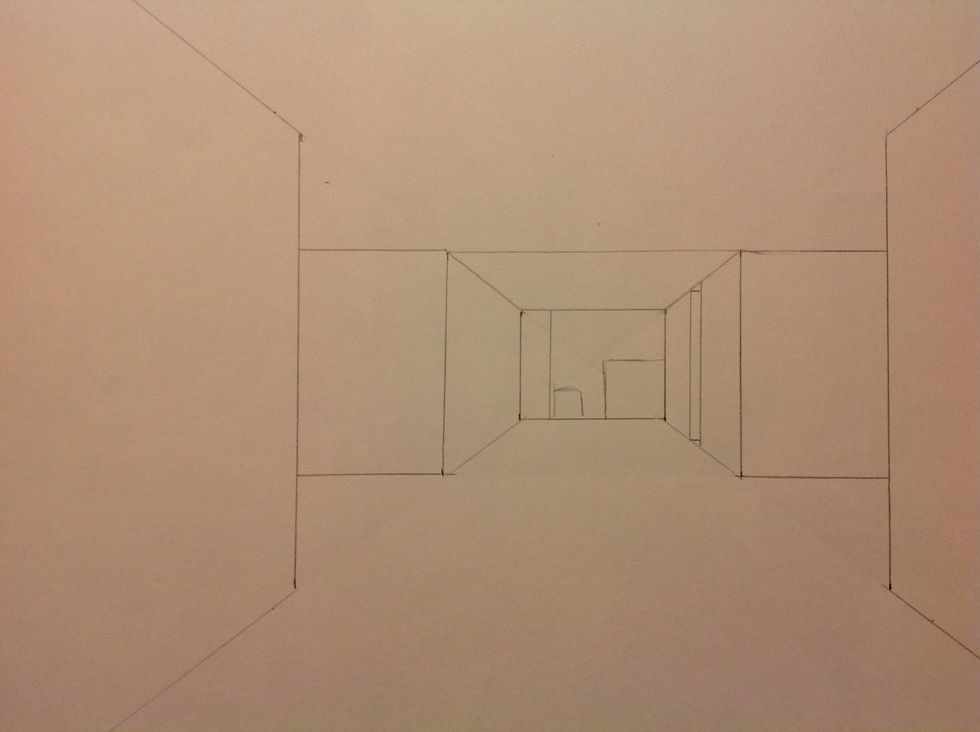
Draw a short horizontal line on the top and bottom of the first parallel line on the right.
Erase the small diagonals at the top and bottom of the line you just drew.
If you wish, repeat the same process on the left- hand side.

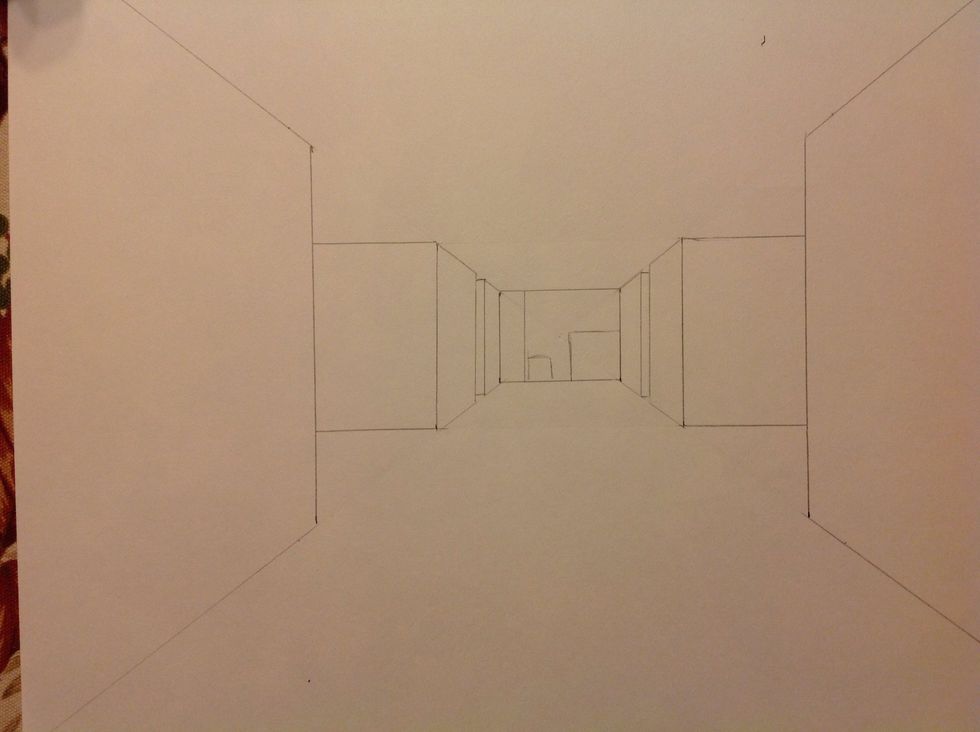
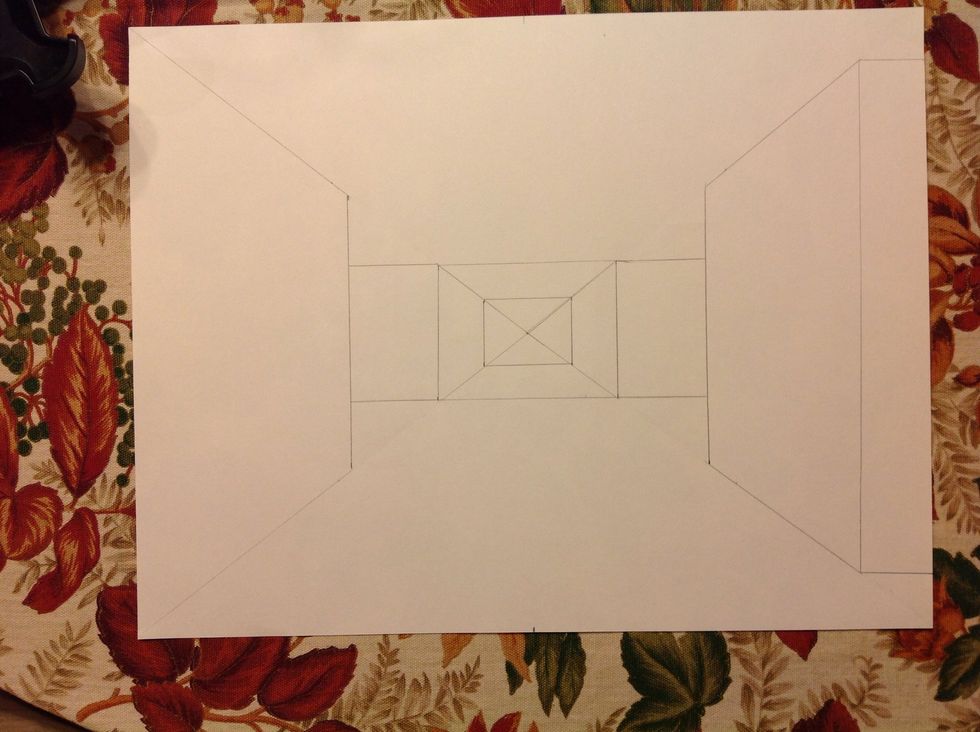
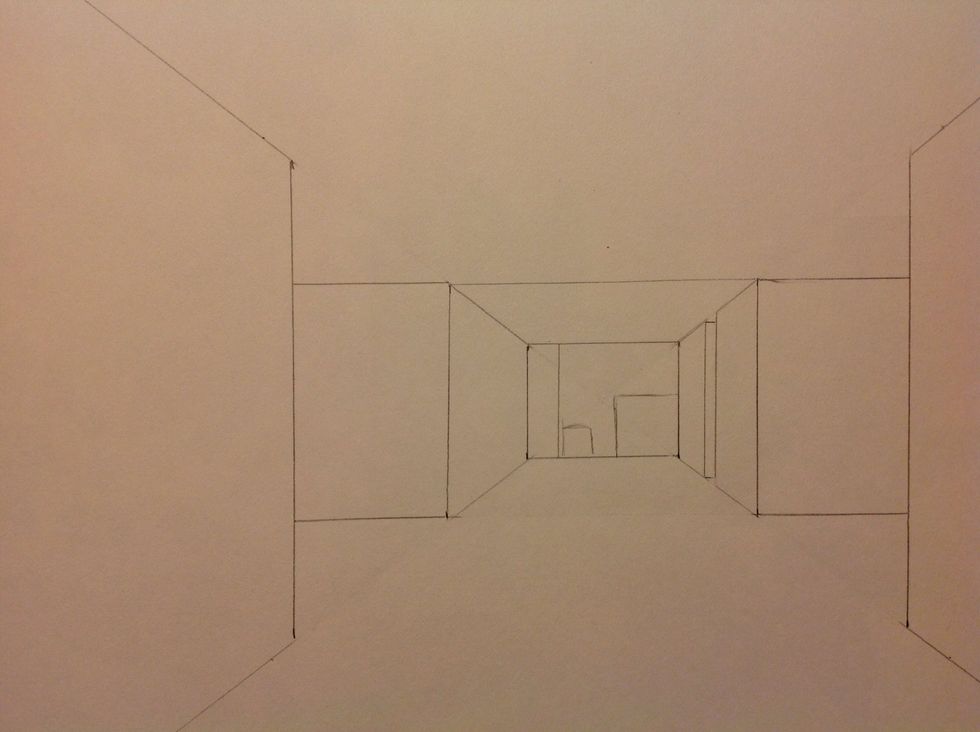
Erase the remaining horizontal line at the top of your page.
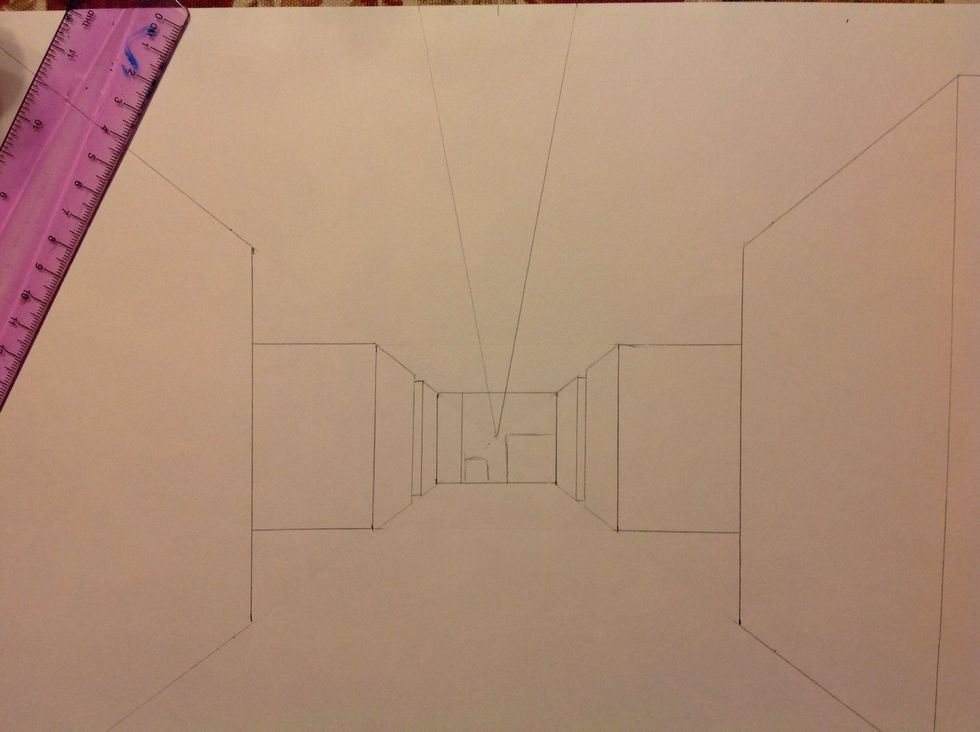
To add ceiling lights draw to diagonal lines from the vanishing point to the top edge of your paper. It should look like a "v".
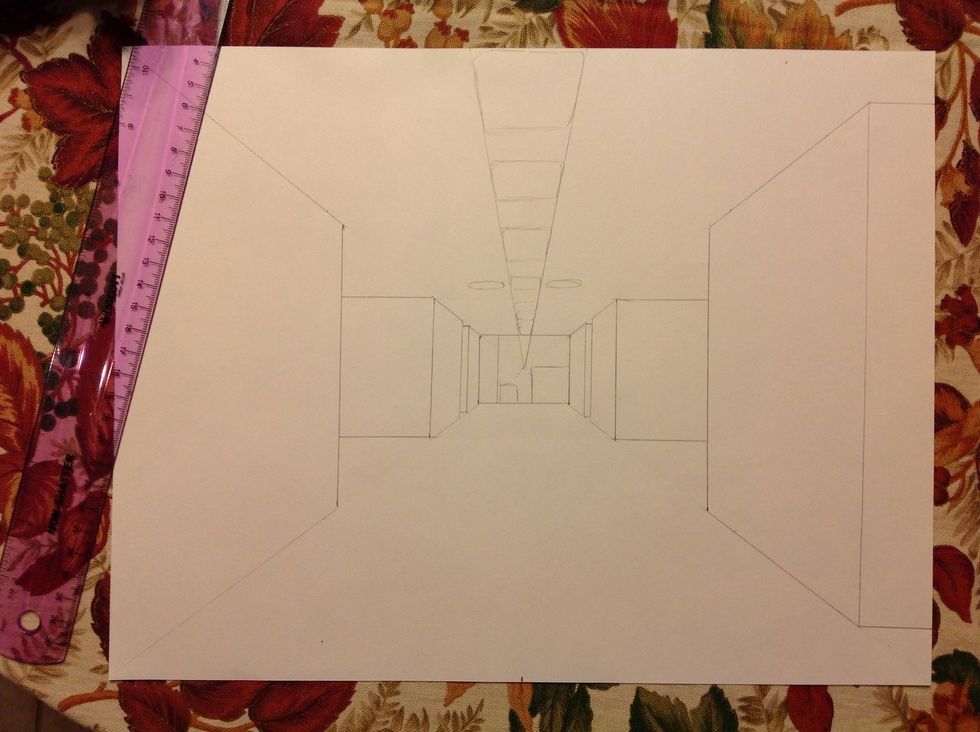
Draw the lights within the lines you just drew. They should appear larger as they get closer, and there should be more space in between them as they get closer.
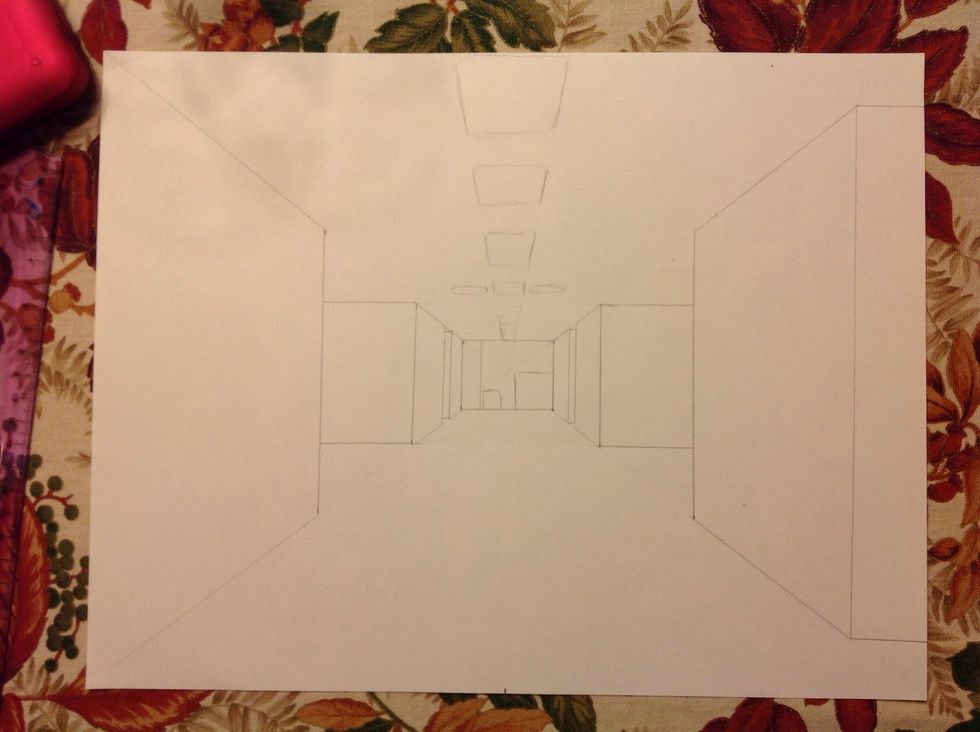
Erase your diagonal lines. You should now have a basic hallway.
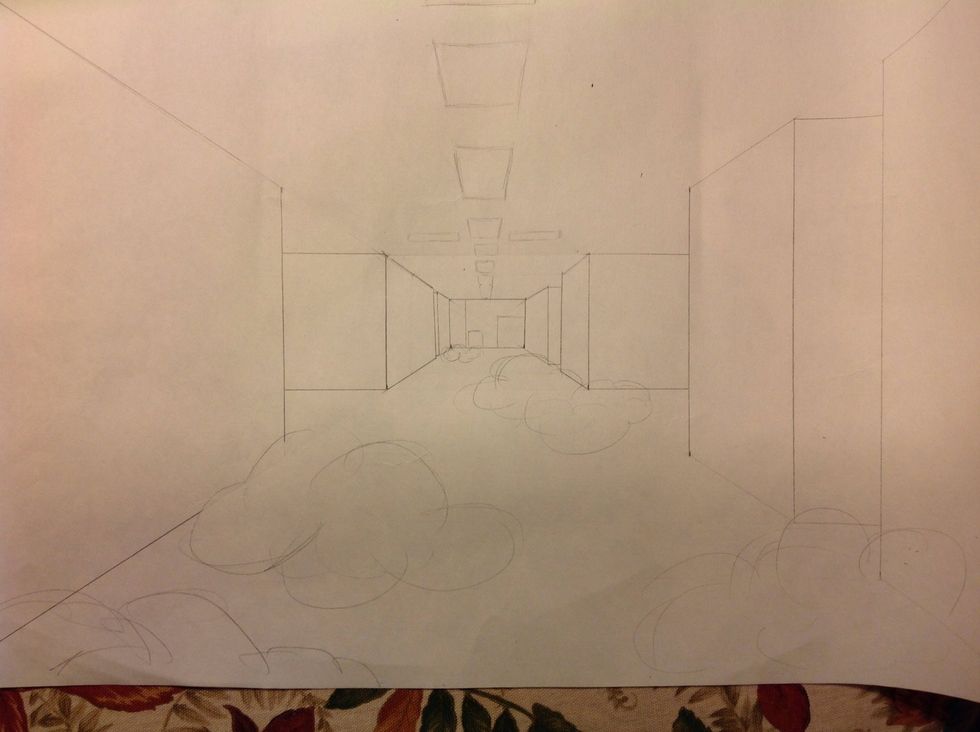
You can choose to make your hallway realistic or imaginative. I am choosing the imaginative route.
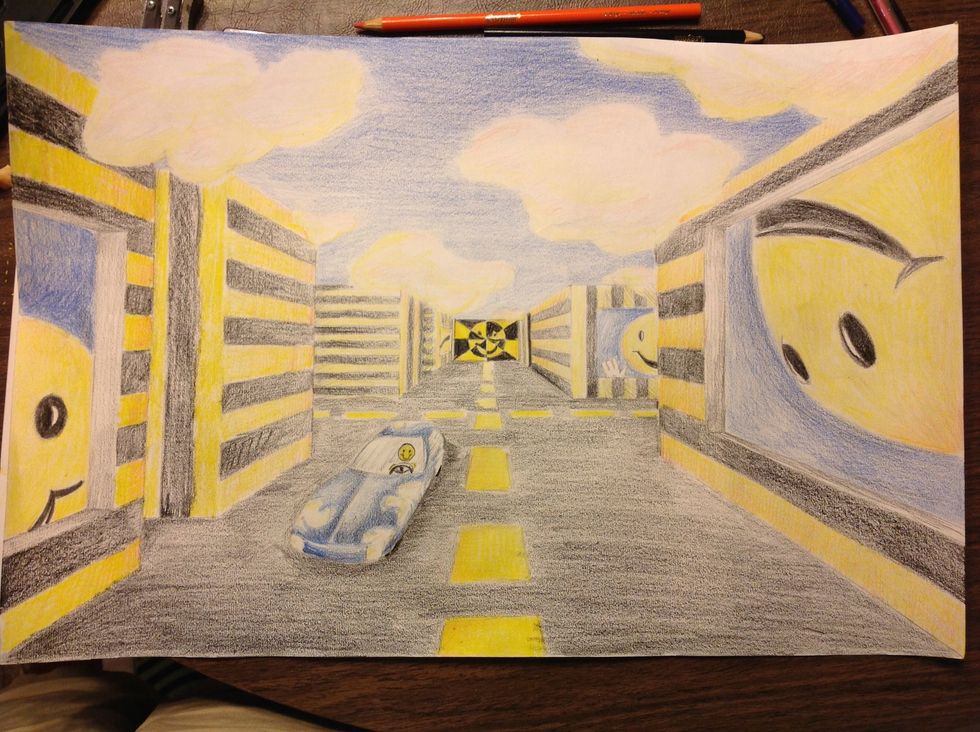
I ended up flipping my paper around, but here is my final drawing. Have fun with it.