The Conversation (0)
Sign Up

This little Halloween mixed media box has a fun, interactive mini album that fits inside. A great holiday home decor piece.
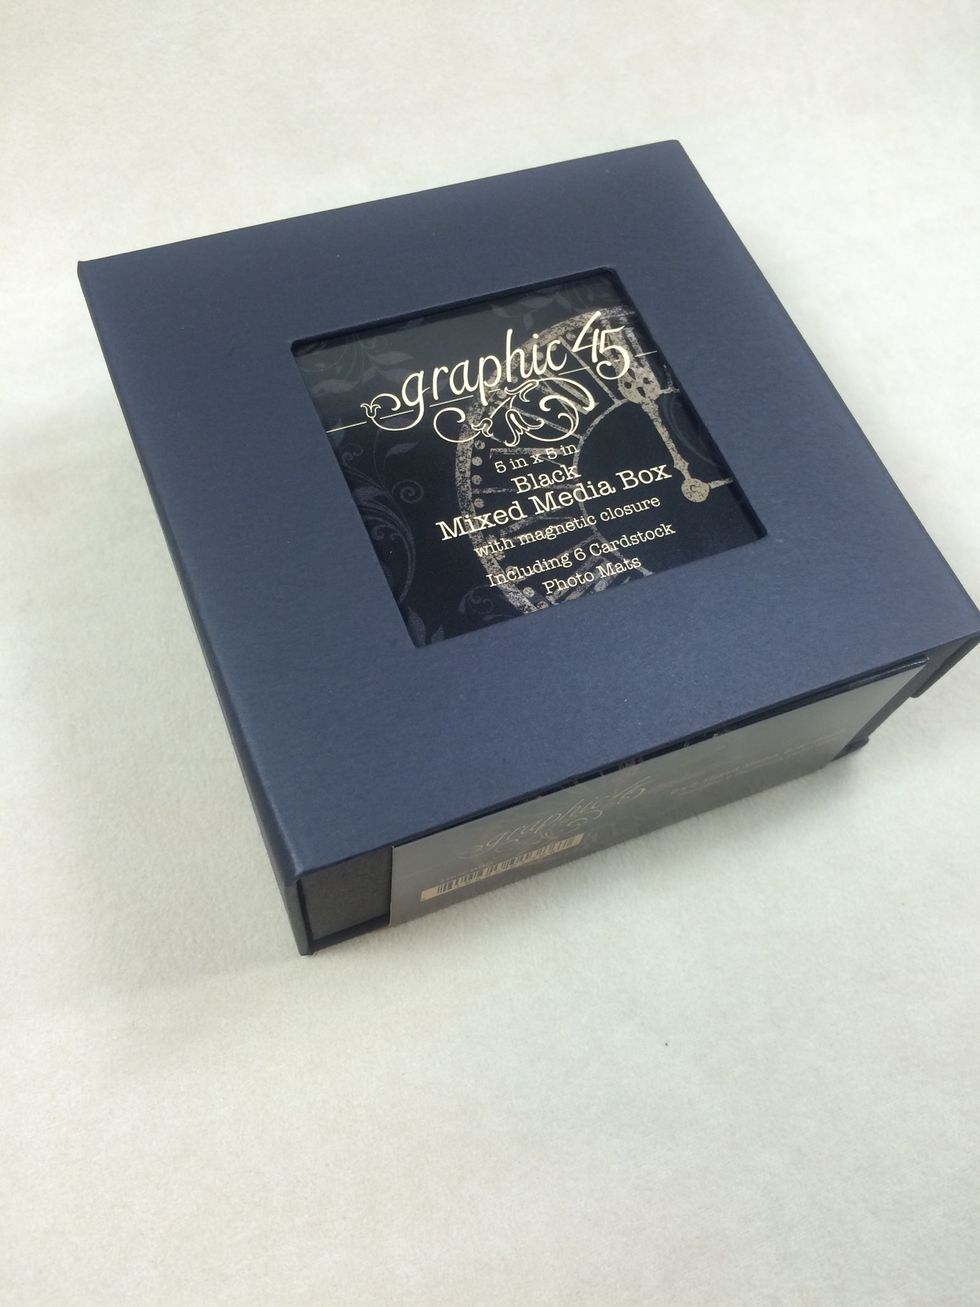
Start with a 5" x 5" black mixed media box from Graphic 45. Inside the box come six black cardstock squares.
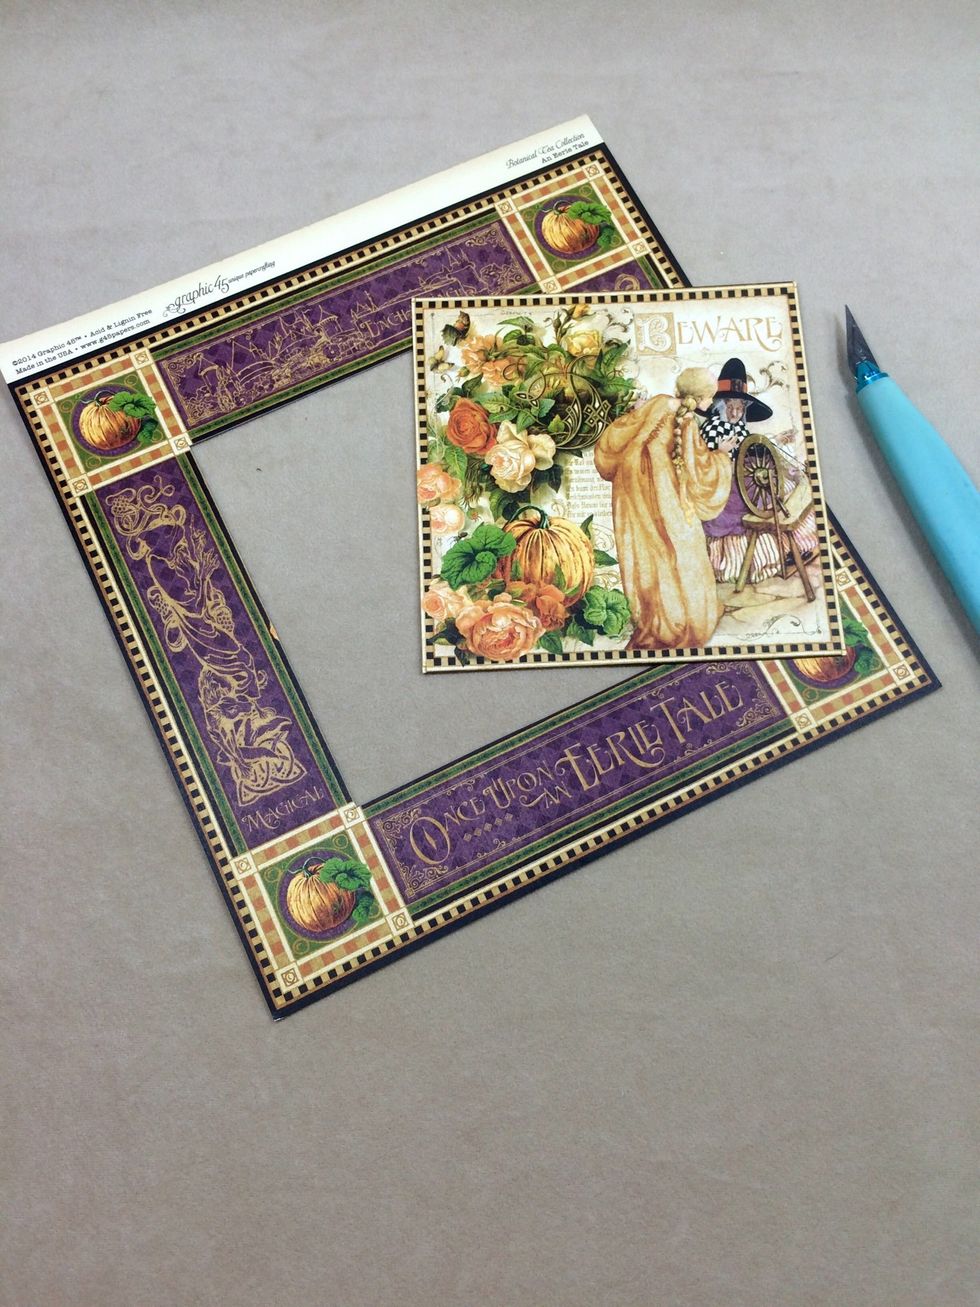
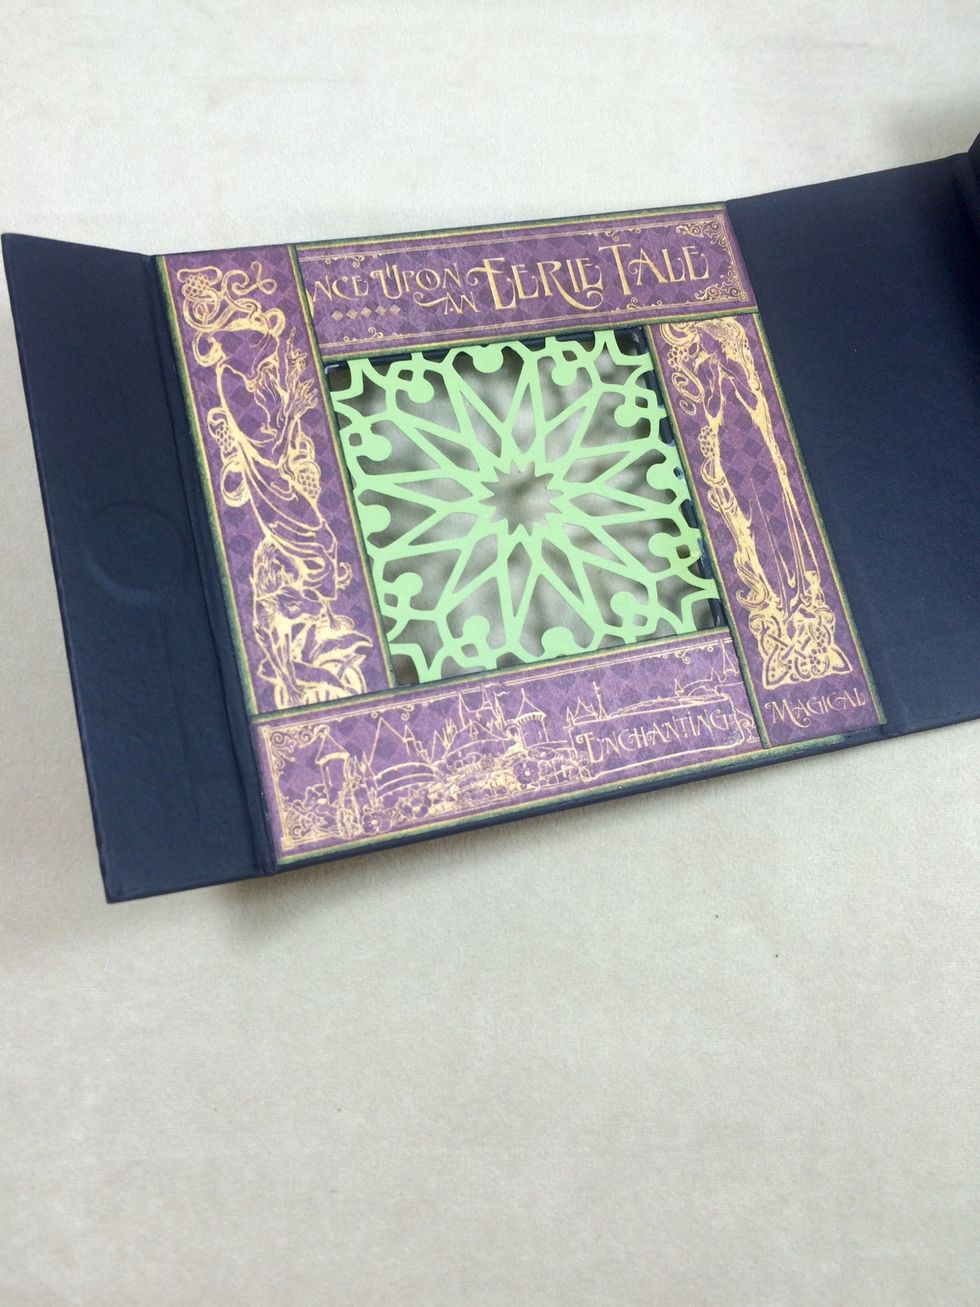
Cut away the center area of the An Eerie Tale Signature page so you have a 4 3/4" x 4 3/4" square. Ink edges with black ink.
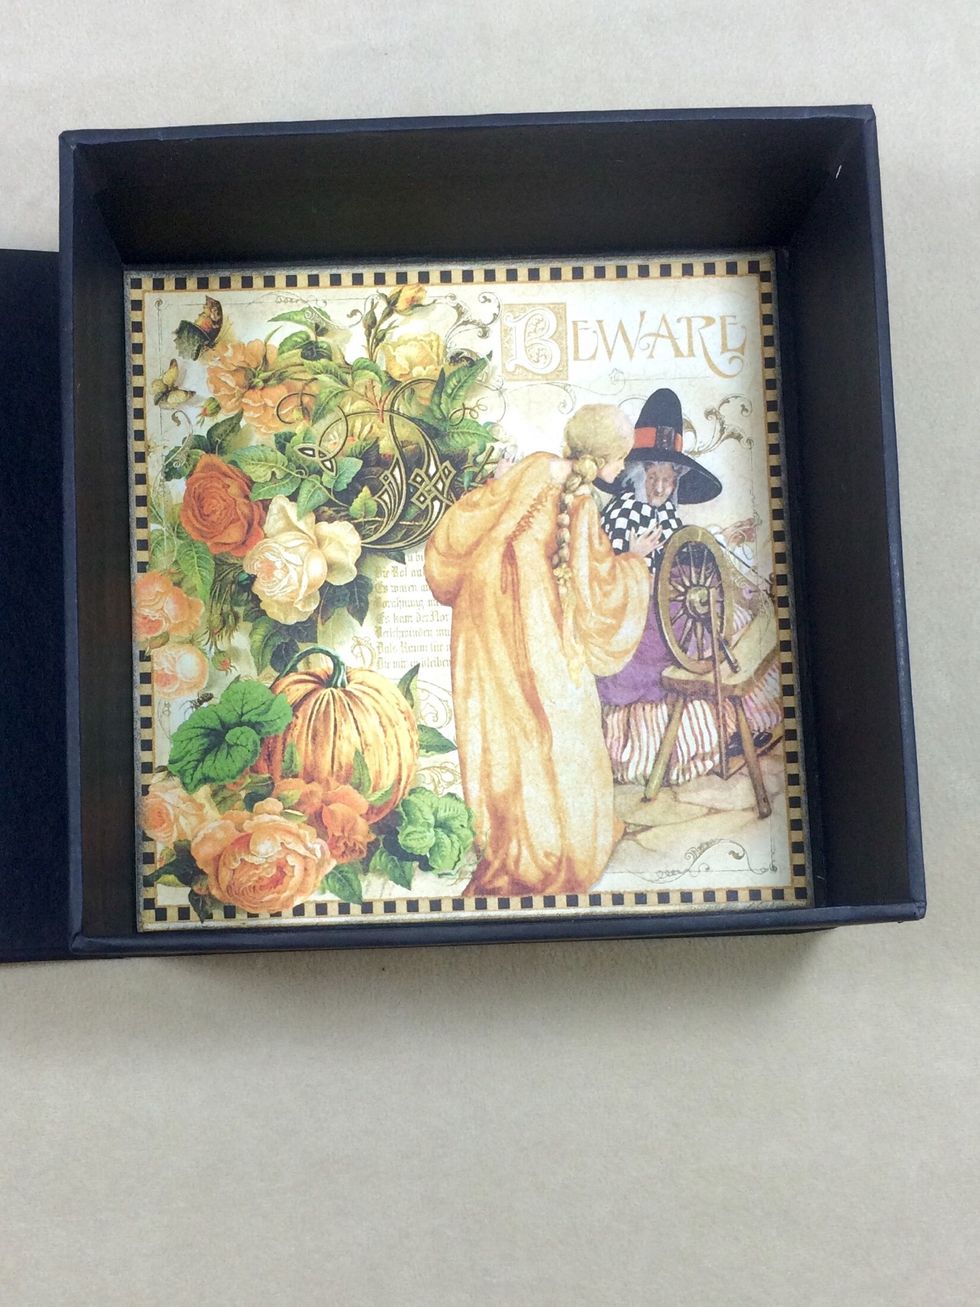
Adhere to the inside of the mixed media box.
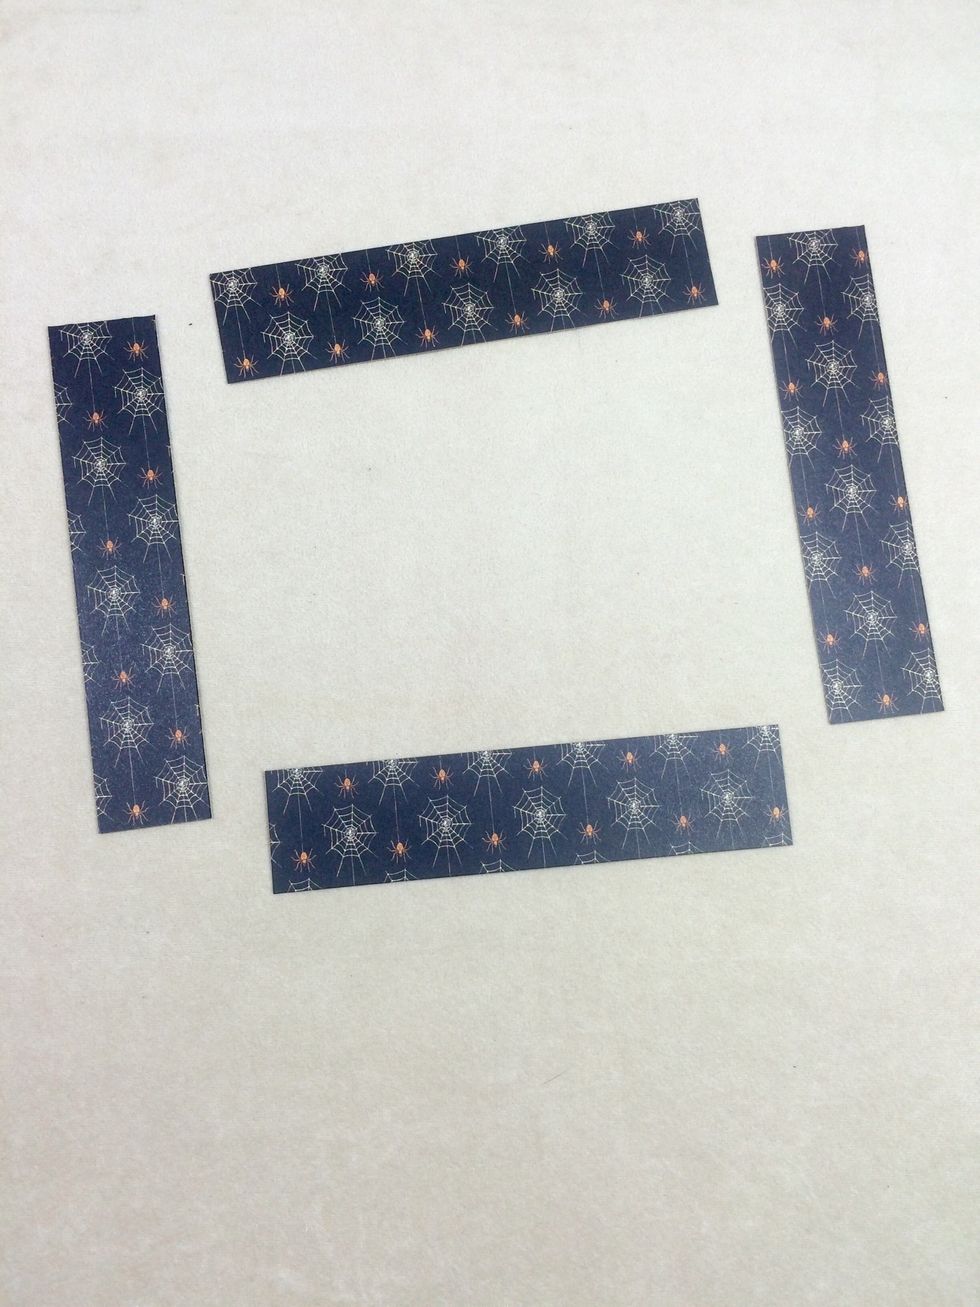
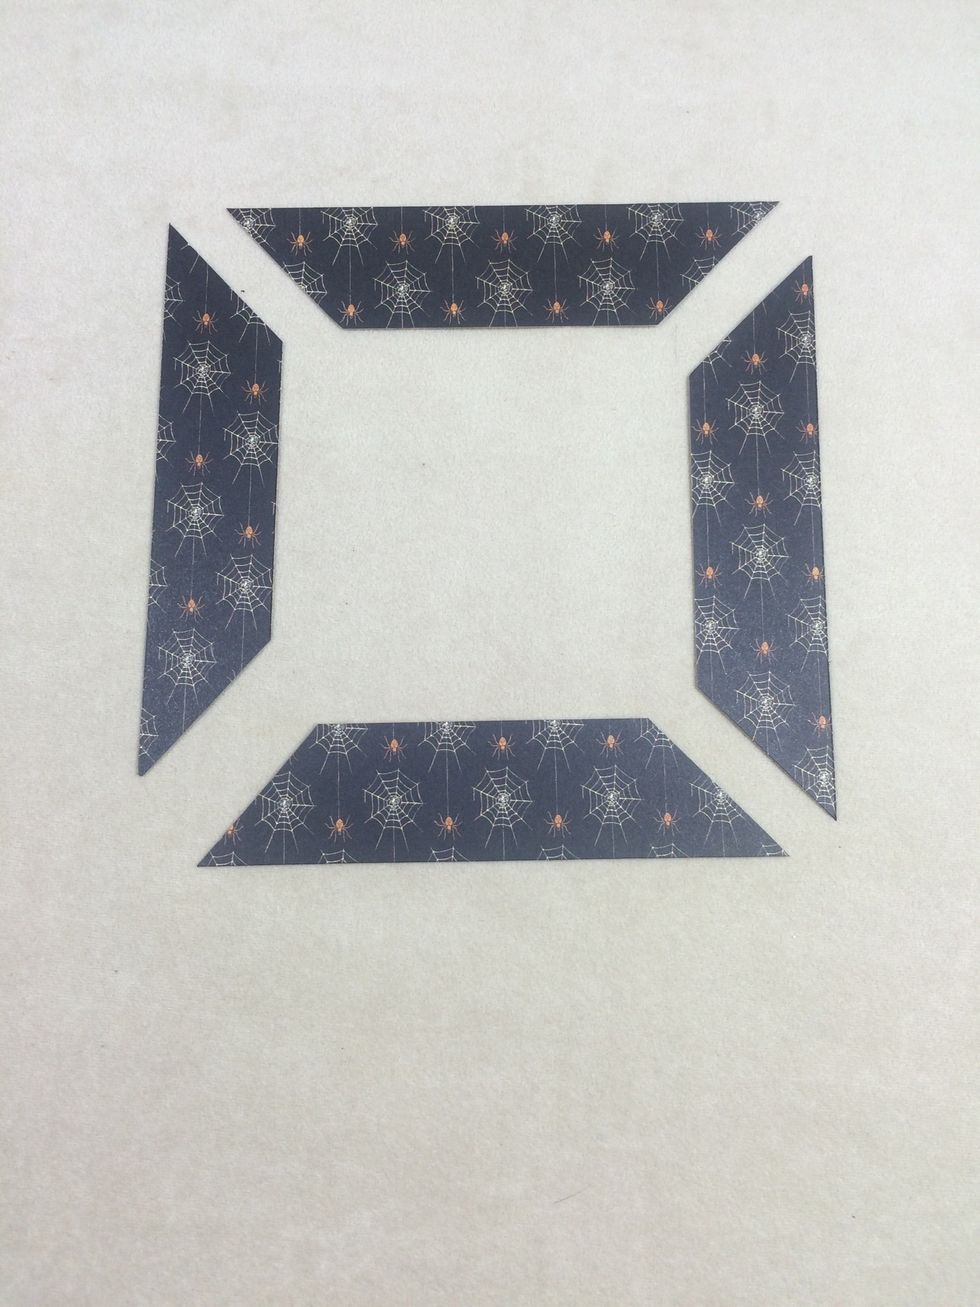
From the Gone Batty paper, cut four strips at 1 7/8" x 4 3/4" and one additional strip at 2" x 5".
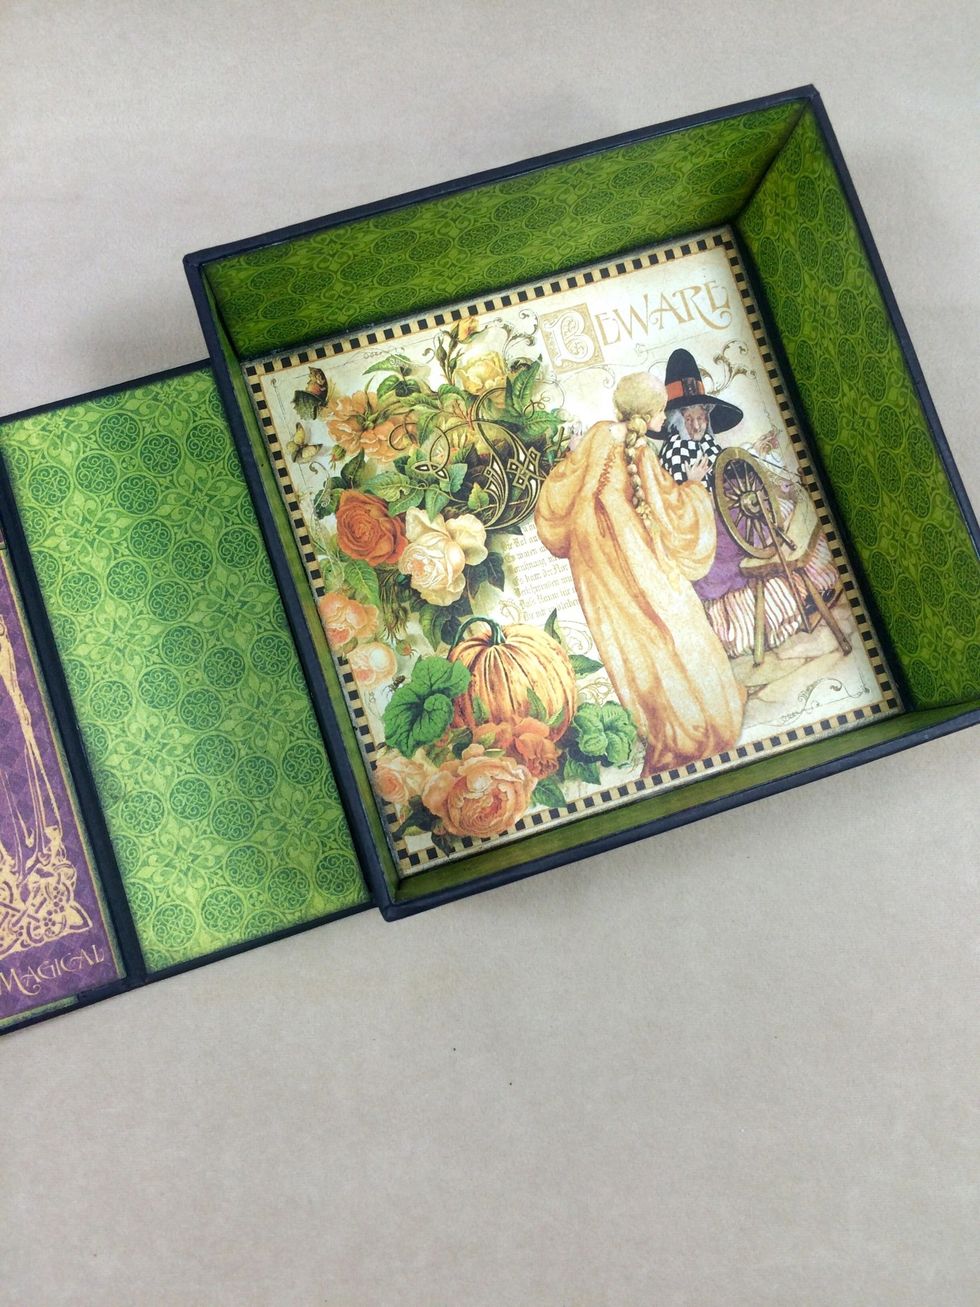
Ink edges with black ink and adhere the four strips to the inner walls of the box and the last strip to the center panel as shown.
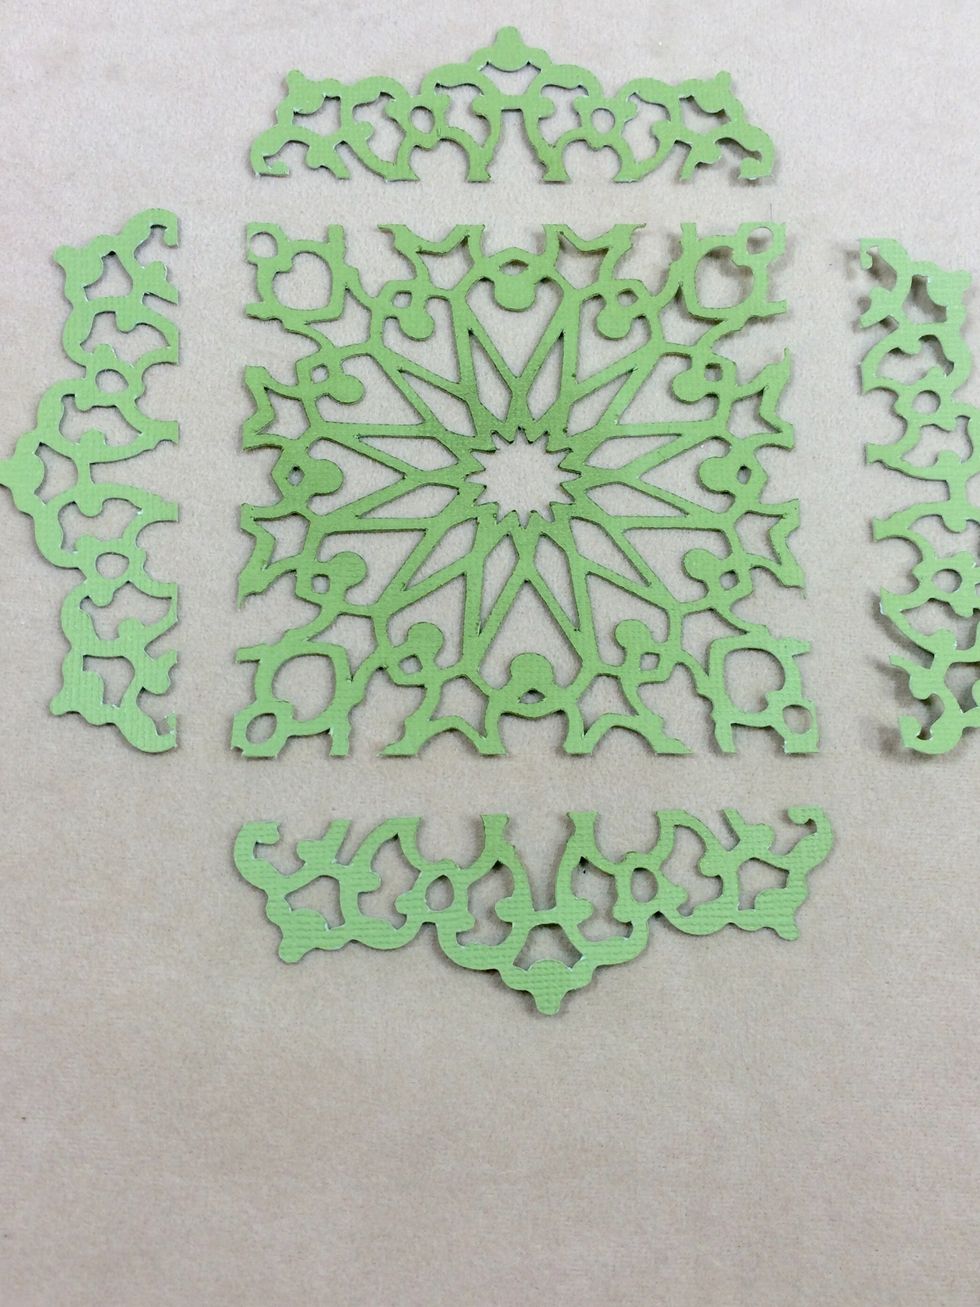
Cut a square out of a doily shape to 3 1/2" x 3 1/2", keeping the remaining pieces. Mine is cut from the Art Philosophy Cricut cartridge at 5" onto green cardstock.
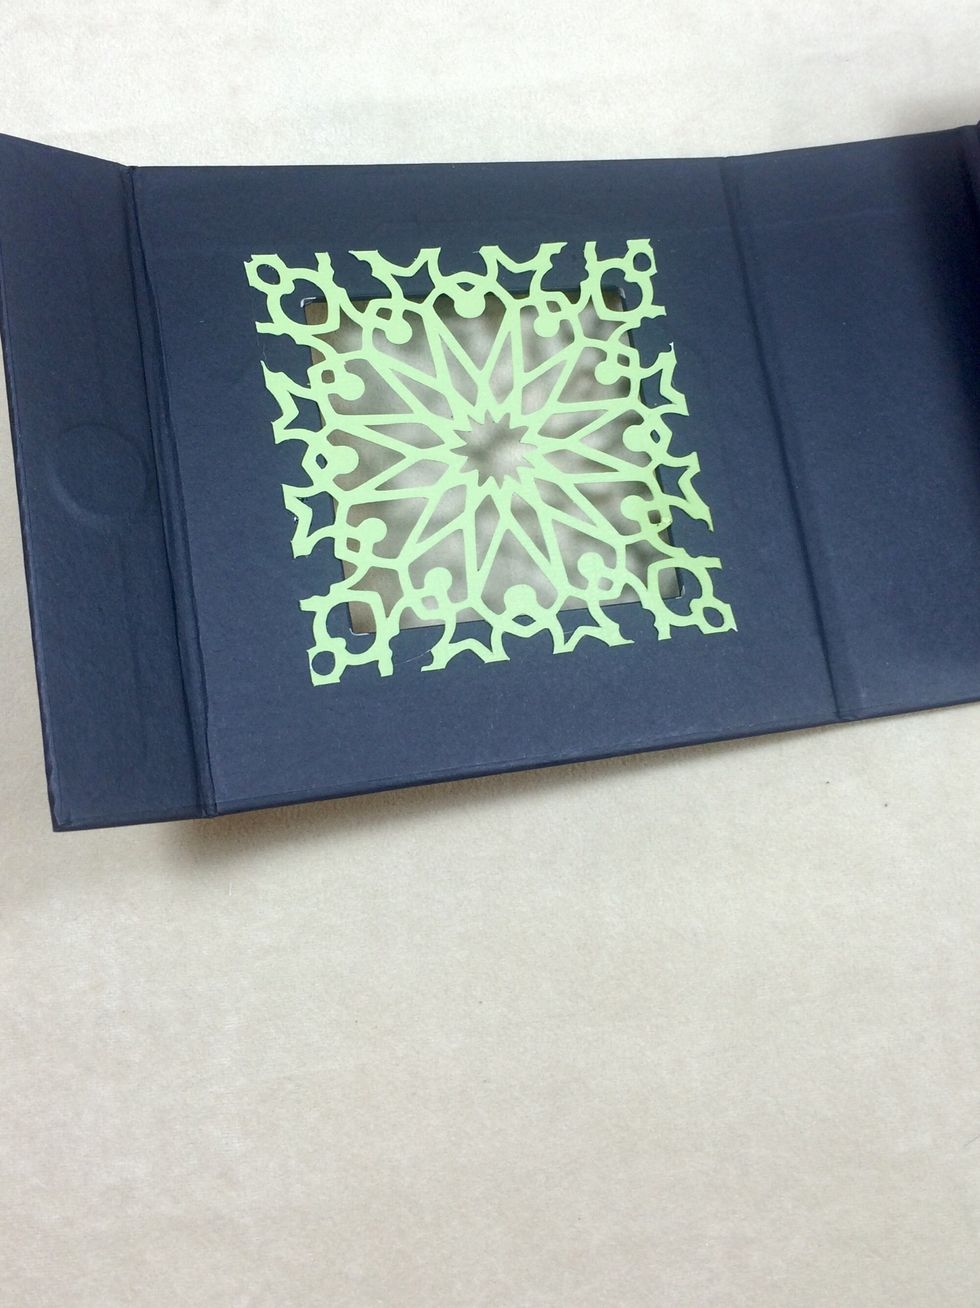
Adhere the cut square to the inside flap of the box as shown.
From the An Eerie Tale signature sheet, cut four strips from the purple area at 1 1/8" x 4 5/8". Ink edges.
Adhere strips to inner flap, overlapping as you go around.
From Run and Hide, cut four strips at 1 1/8" x 5" each.
Miter-cut the corners, then ink all edges.

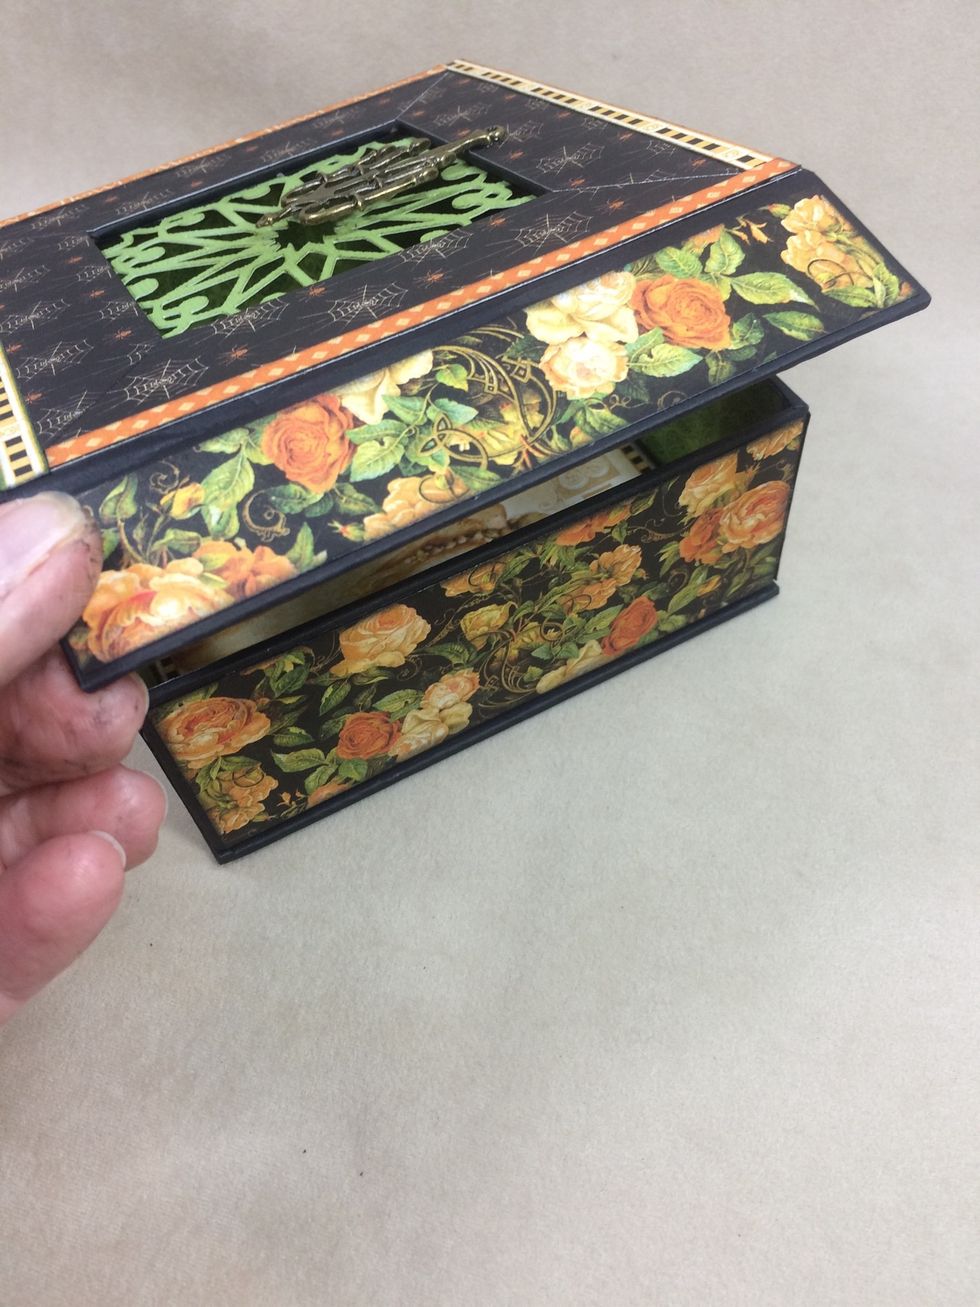
Adhere the strips to the box front as shown.

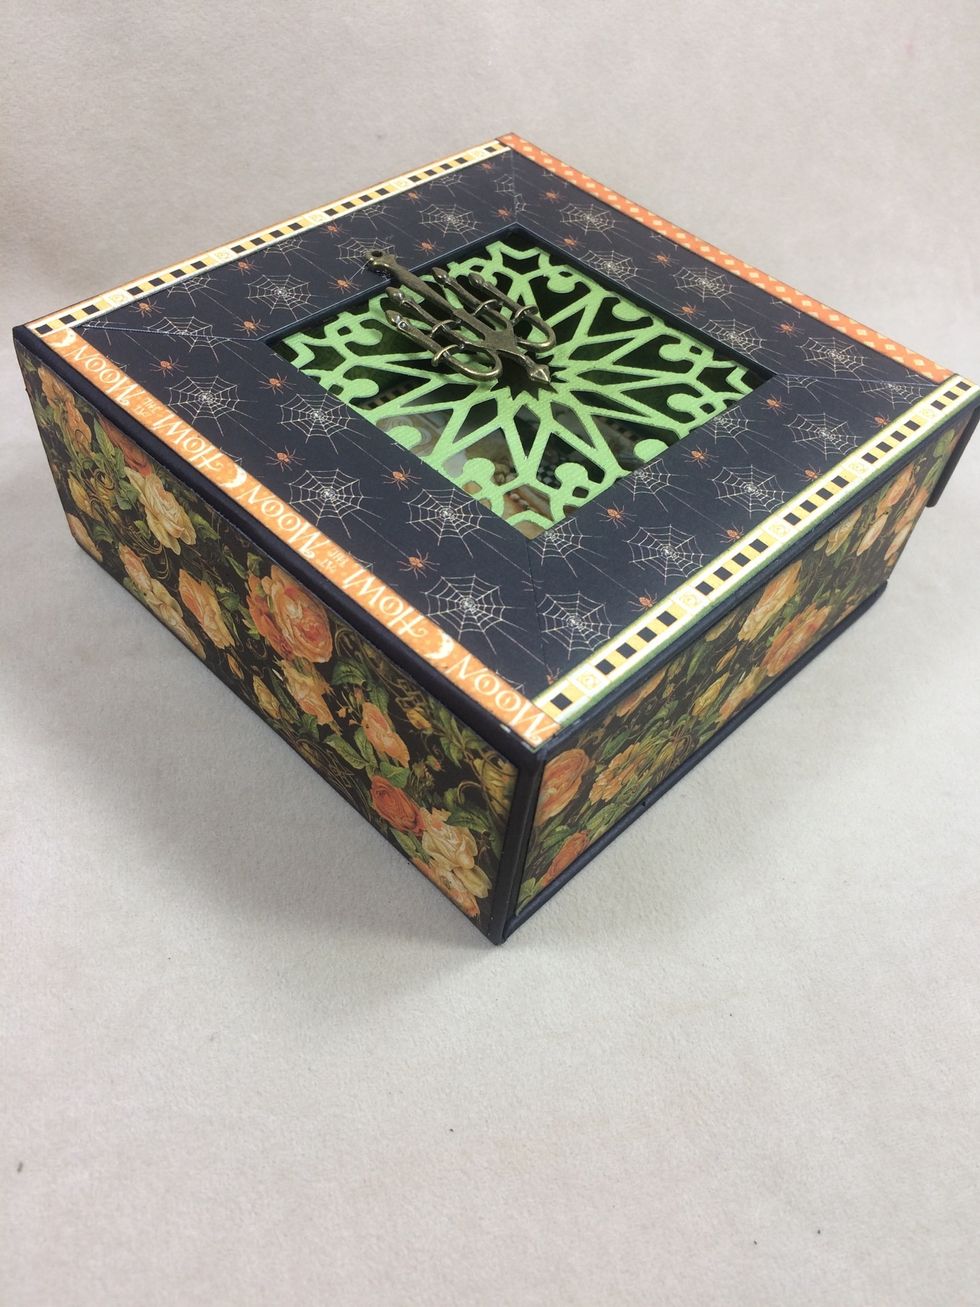
From Wicked Whimsey, cut four strips at 1/4" x 5" each. Ink edges.

Adhere these strips to the box front as shown.
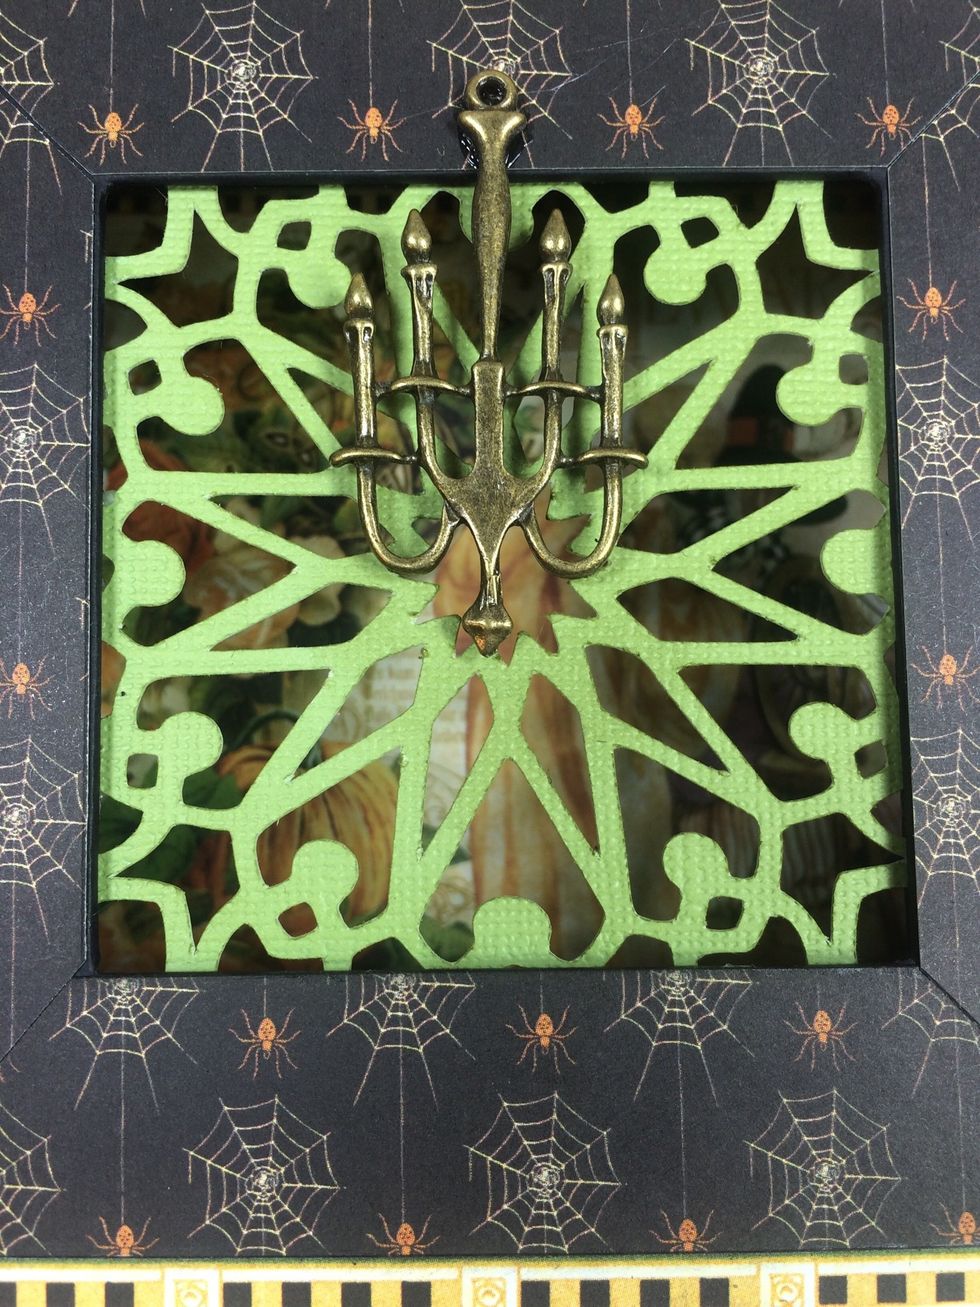
Use metal glue to adhere a spooky charm to the box front. I found this chandelier online, but check your local craft store first.
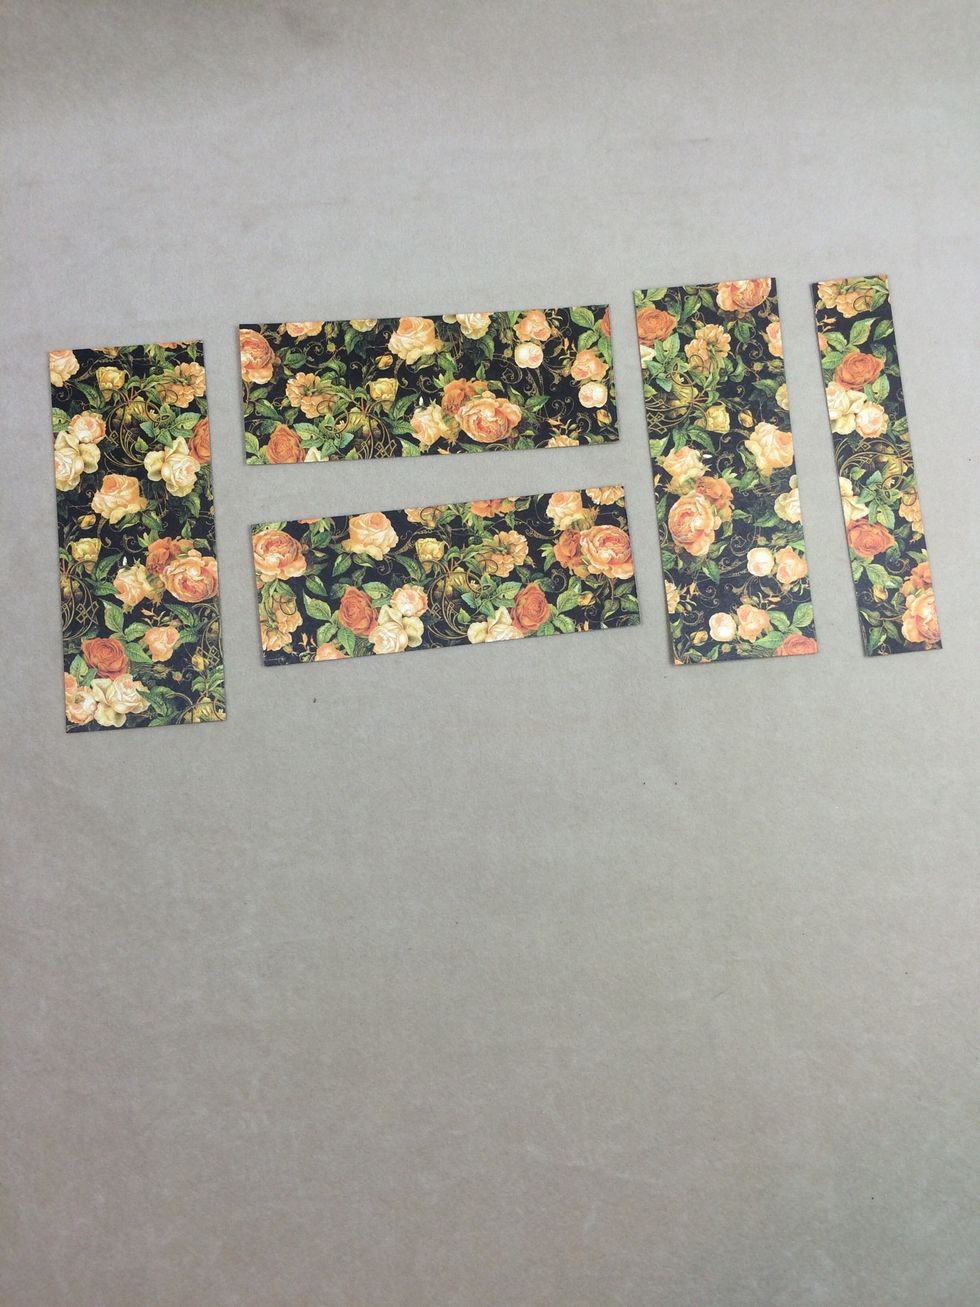
From Enchantment, cut four strips at 1 7/8" x 4 7/8", one at 2" x 5", and one at 1" x 5". (My photo doesn't show the 2" x 5" piece). Ink all edges.
Adhere the four like-sized strips to the outer walls of the inner box. Adhere the 2" x 5" strip to the spine of the outer box area.
Adhere the last strip to the magnetic flap of the box front.
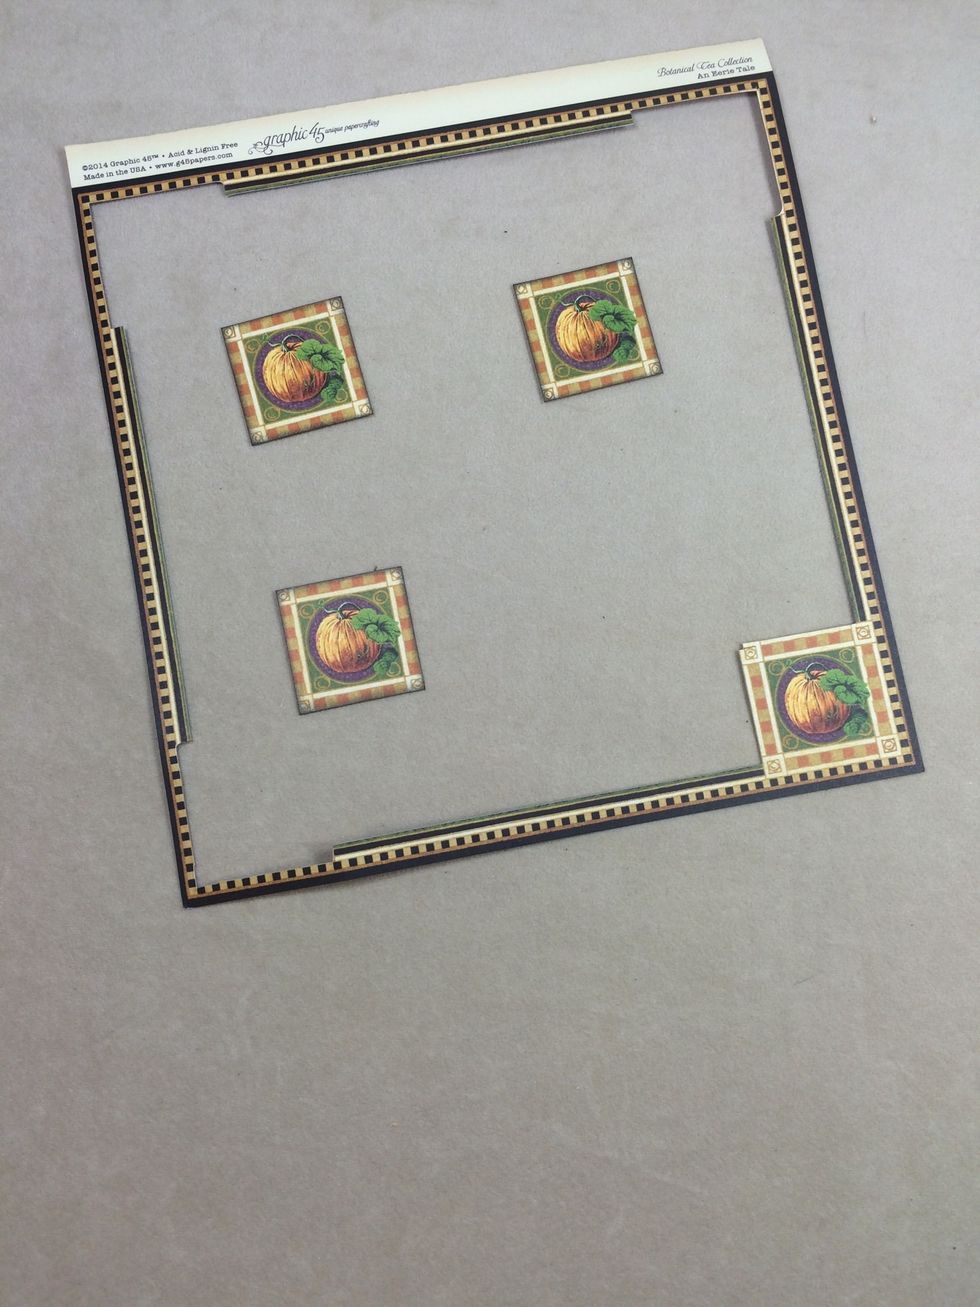
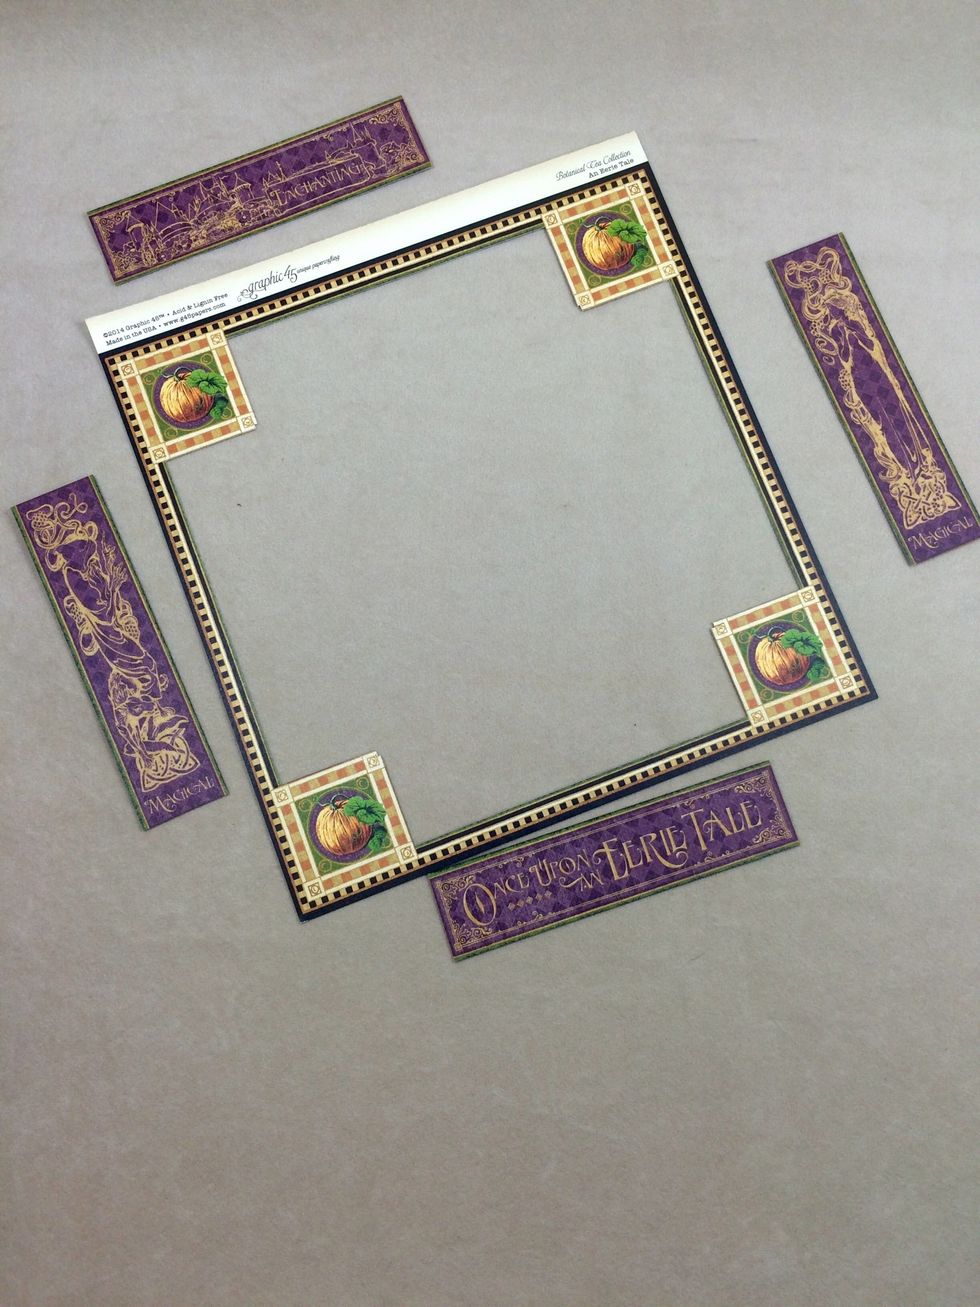
From the remaining frame of An Eerie Tale signature page, cut out 3 of the 4 pumpkin squares. (1 3/8" x 1 3/8")
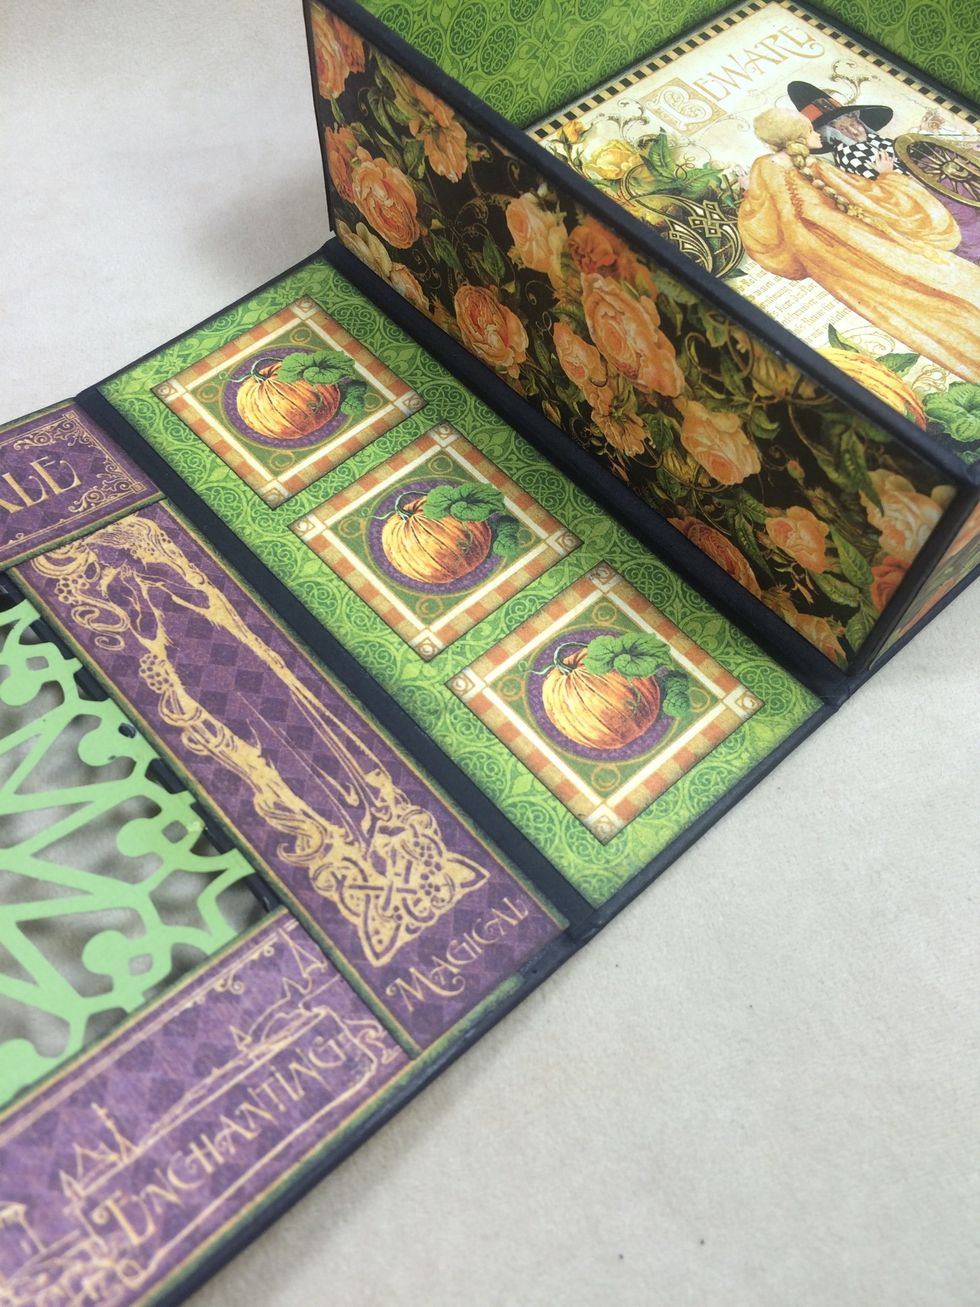
Ink their edges and adhere them to the center panel on the inside as shown.
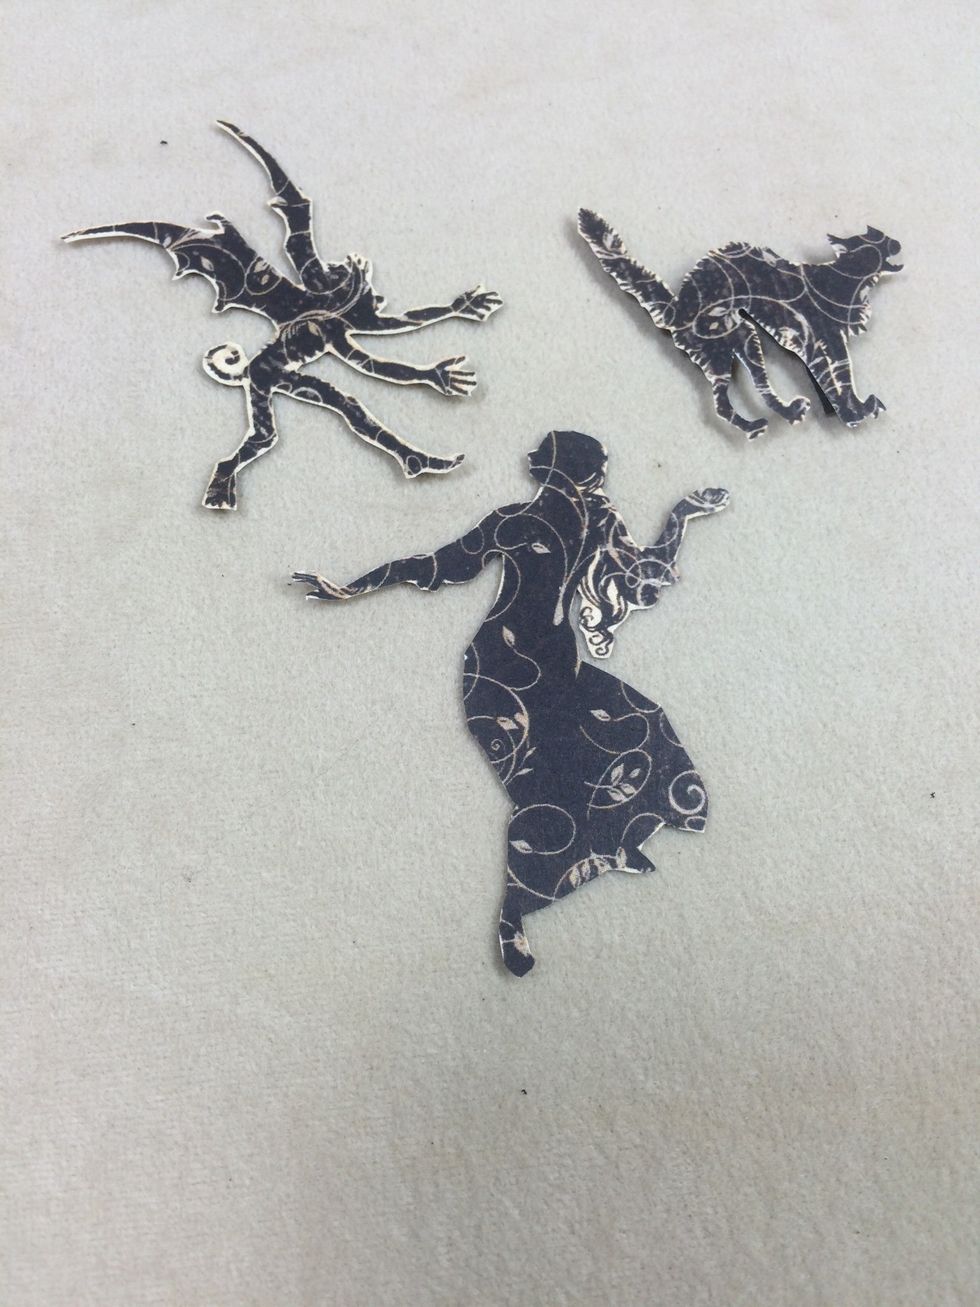
From the 12" x 12" Run and Hide paper, fussy cut a few images, leaving a bit of white space around them. (My photo shows one different image from what I actually used on the box). See next photo.
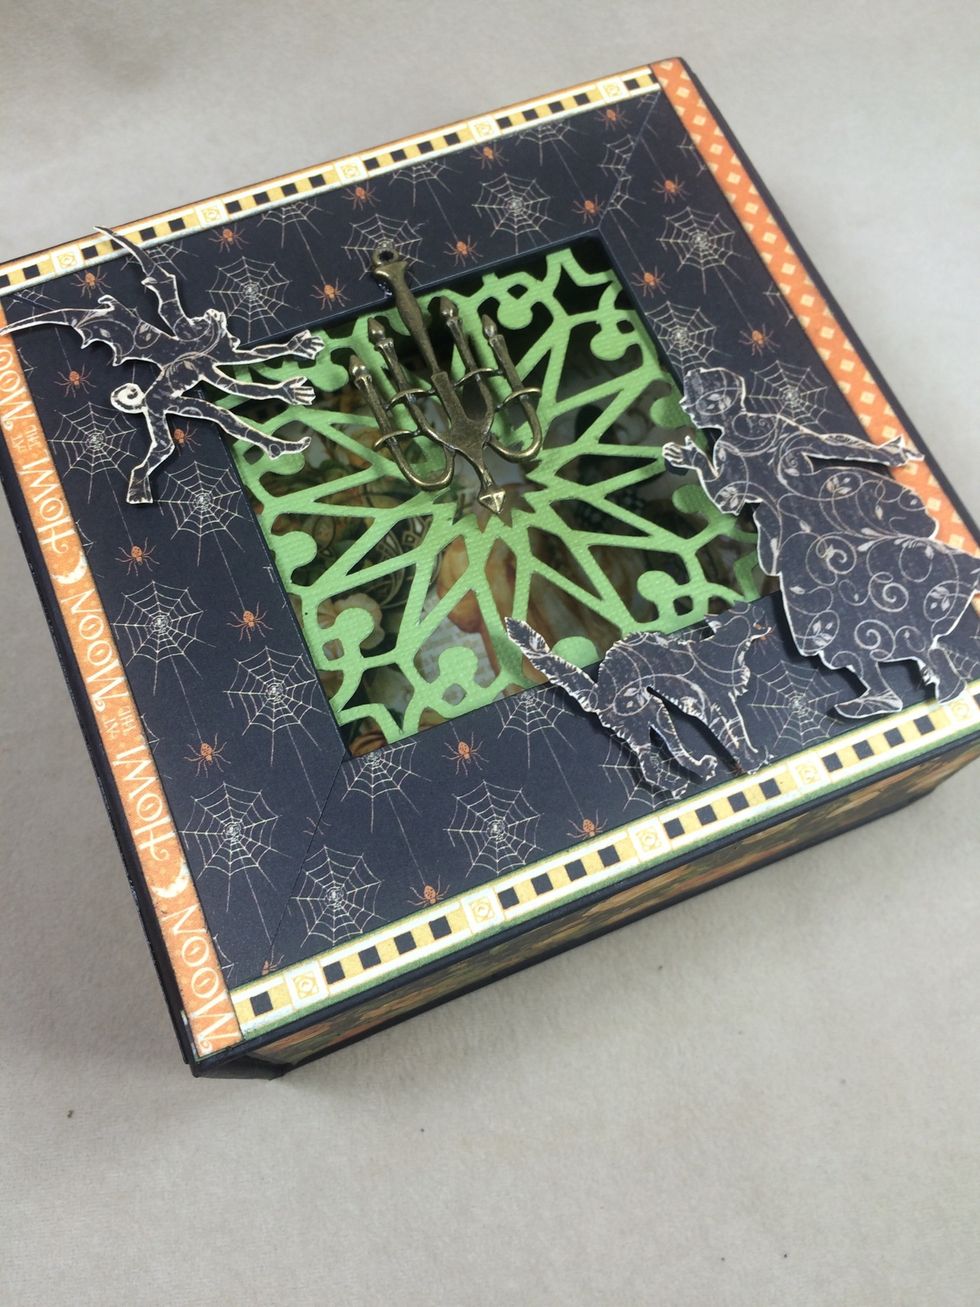
Adhere the fussy cut images with dimensional foam tape to the box front.
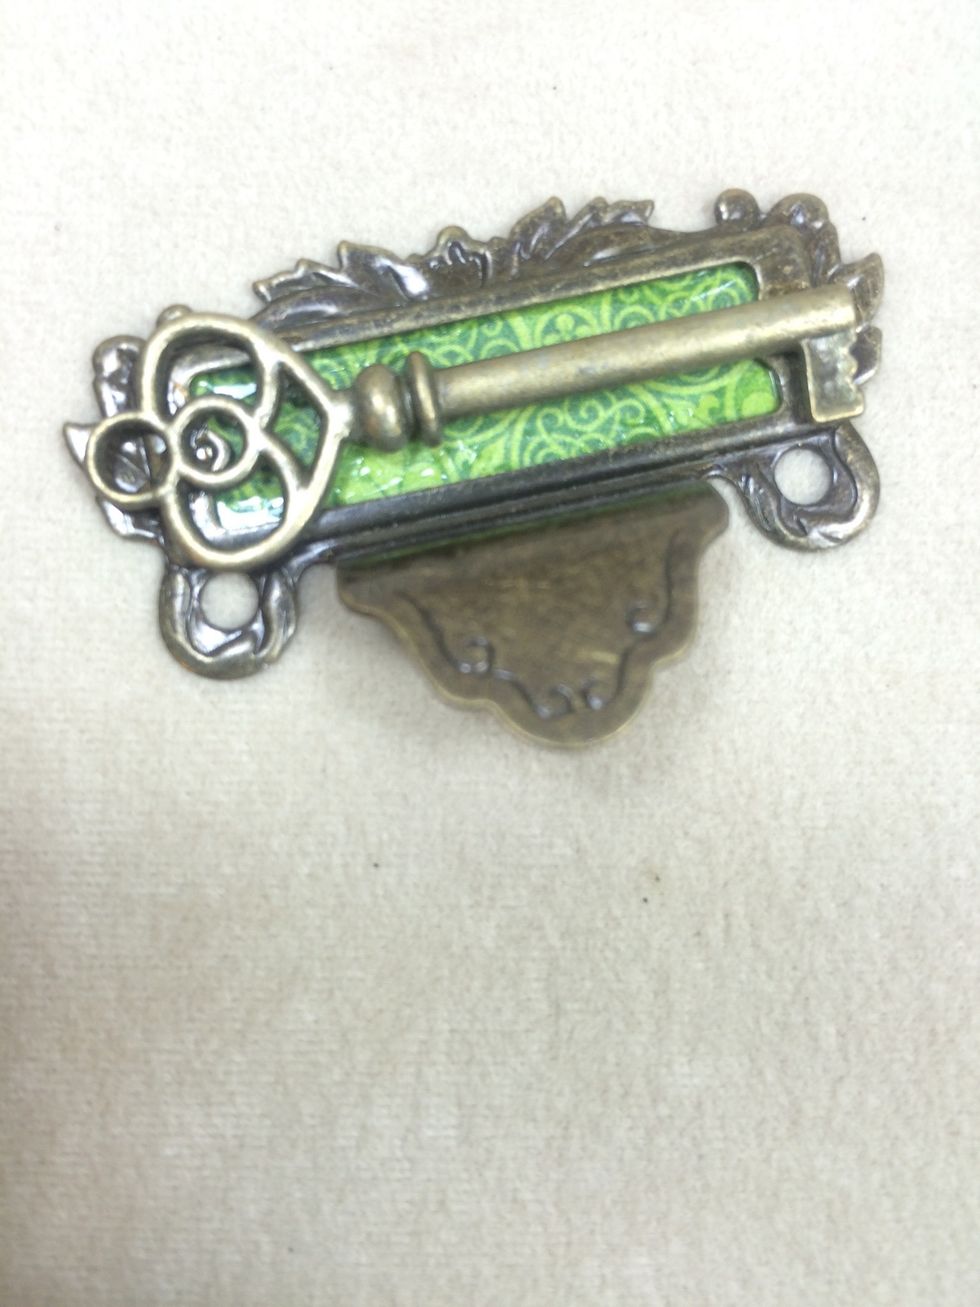
Adhere a small piece of green paper to the back of a metal label pull, then adhere a metal key with strong metal glue.
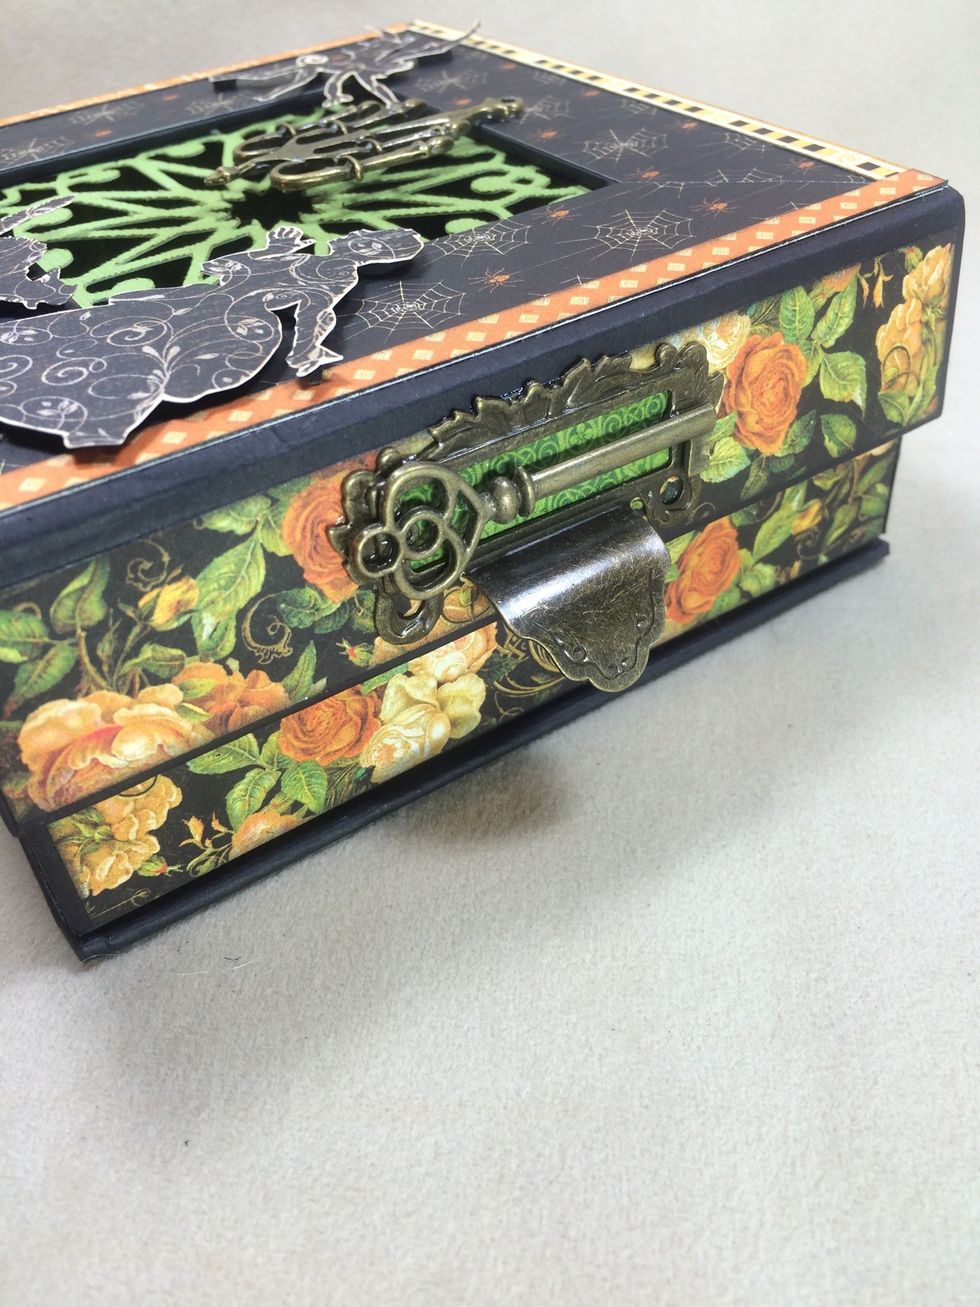
Once the glued metal pieces have dried completely, adhere this unit to the magnetic flap of the box.
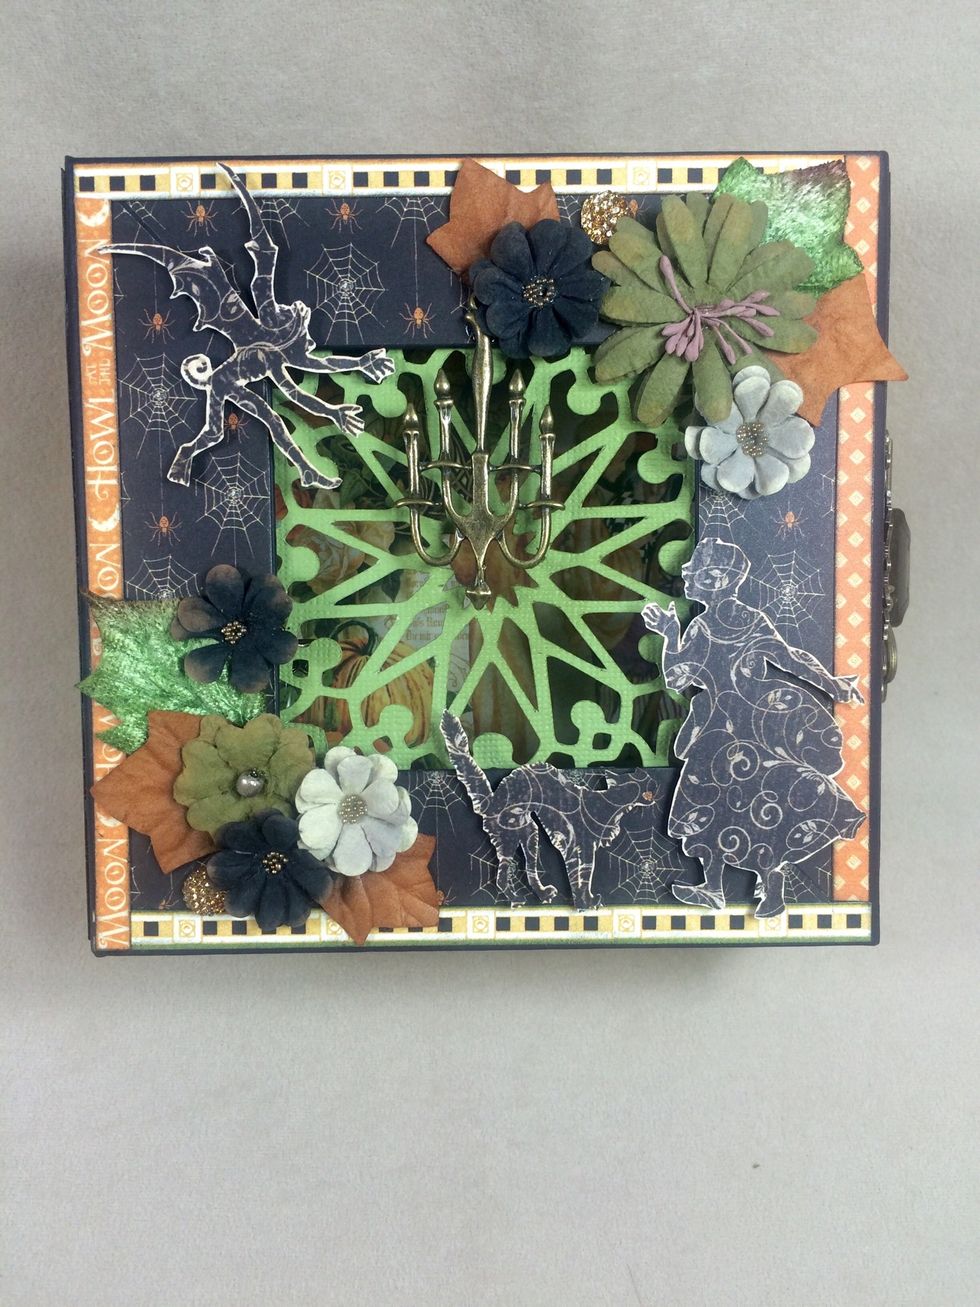
Add flowers and leaves to the box front, as desired.
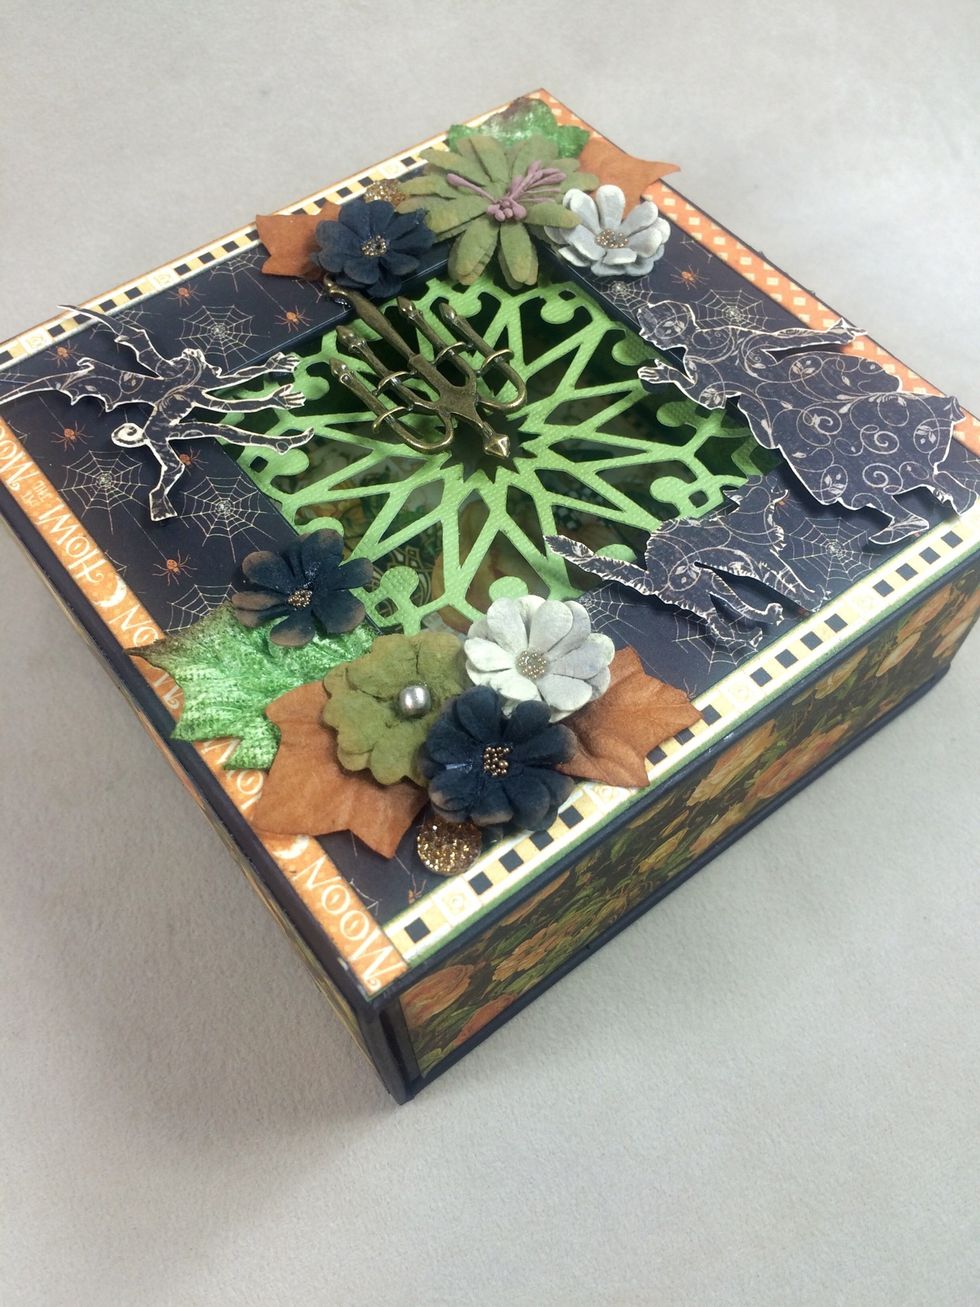
Fill in with gems or sparkly embellishments as desired.
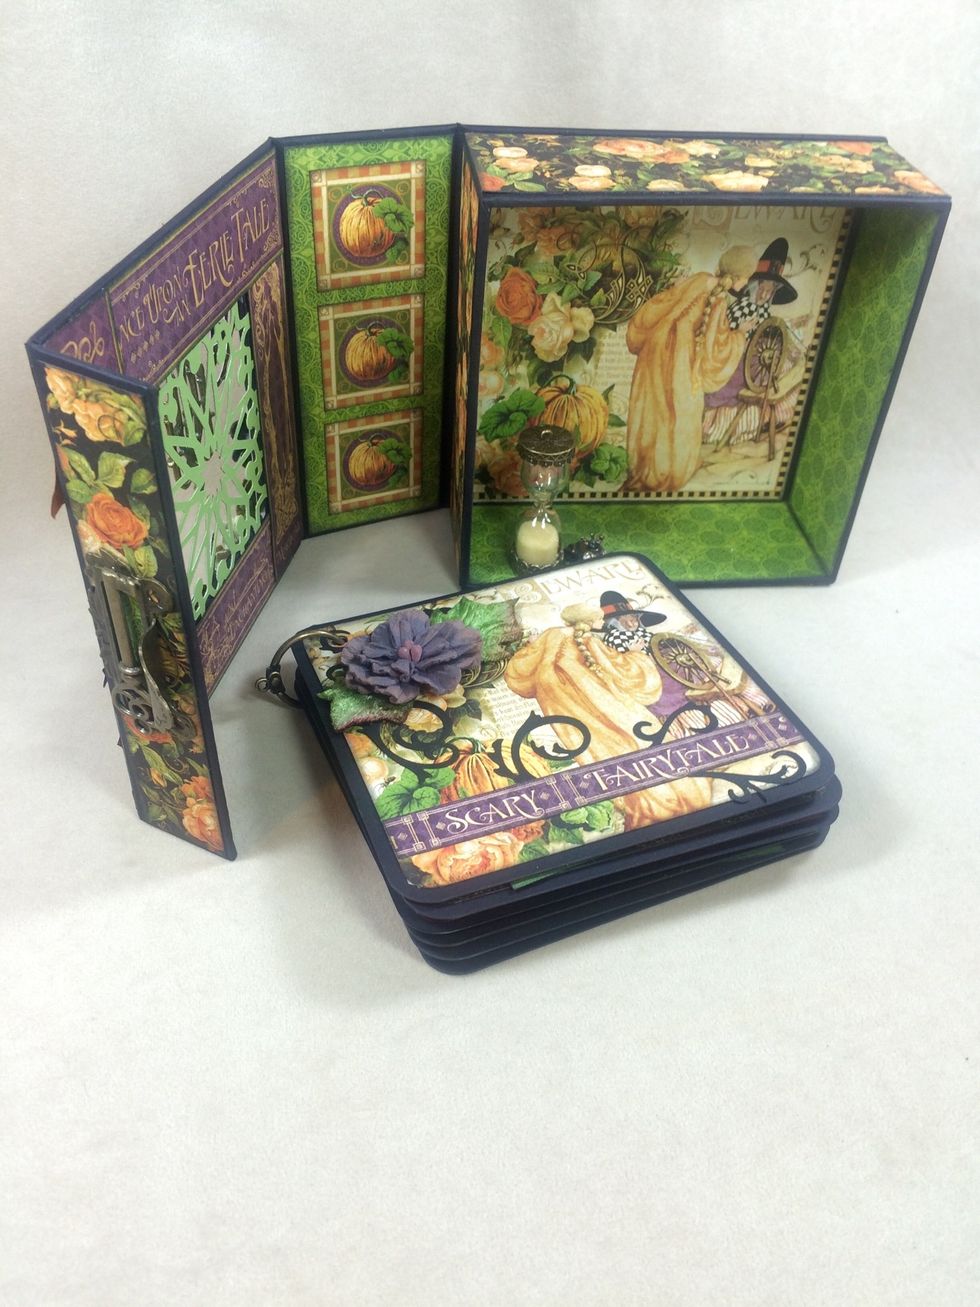
You can use the six black cardstock squares to create a mini album to fit in your mixed media box.
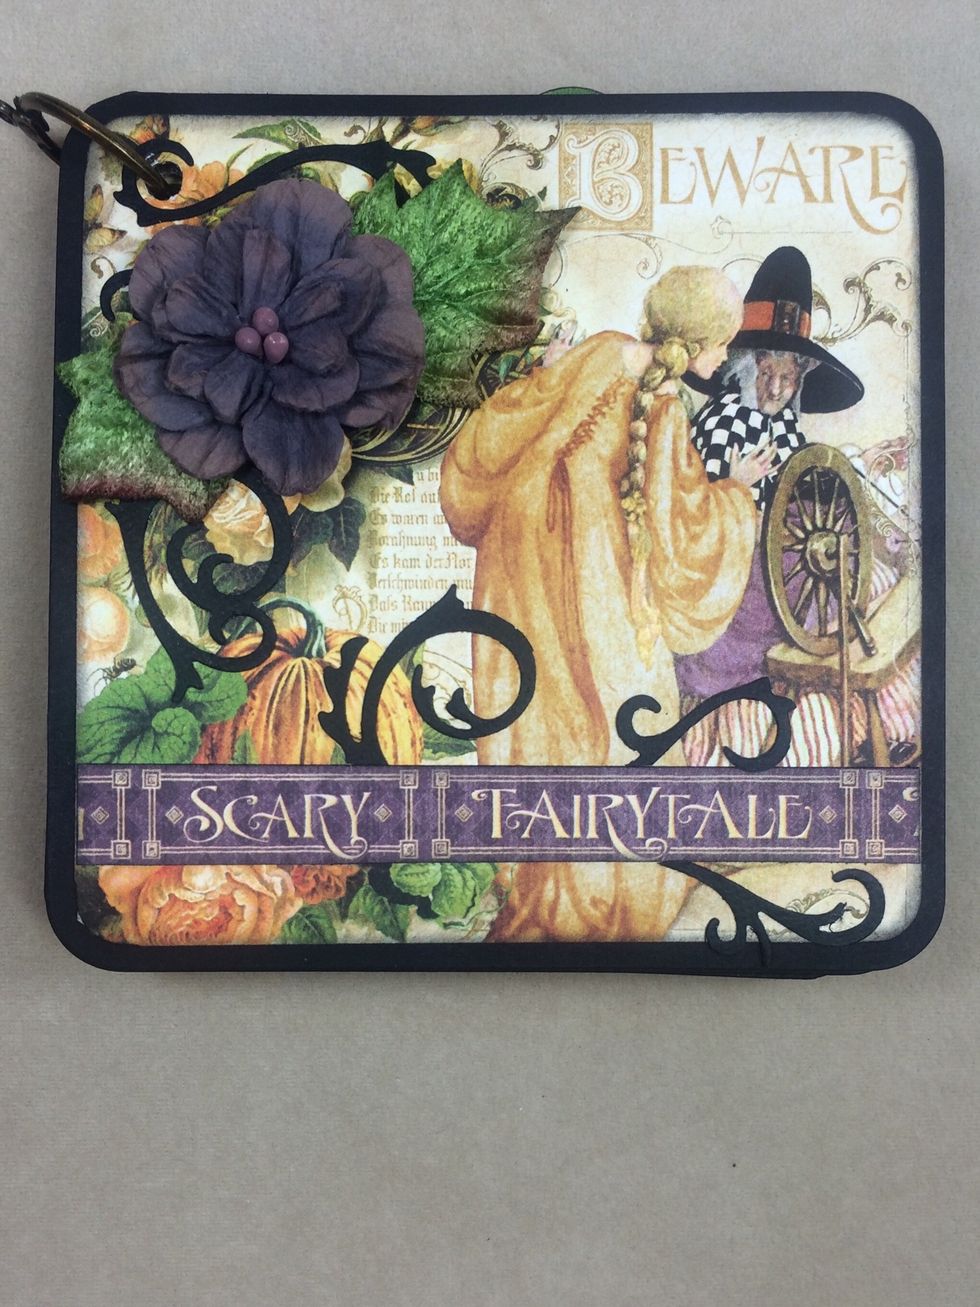
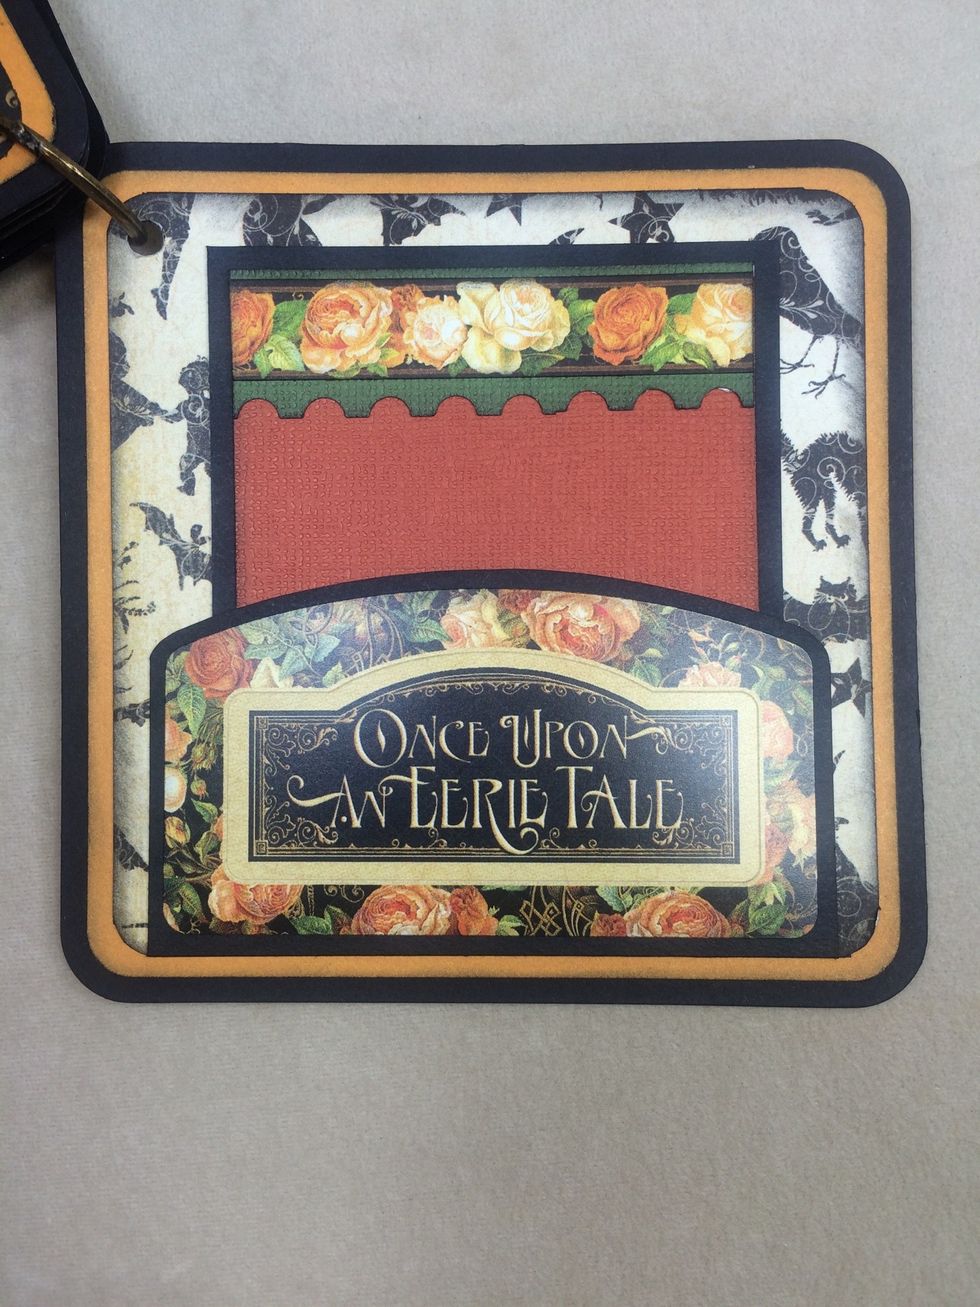
Use the remaining papers, die cuts, flowers and stickers to create mini album pages. This is my cover.
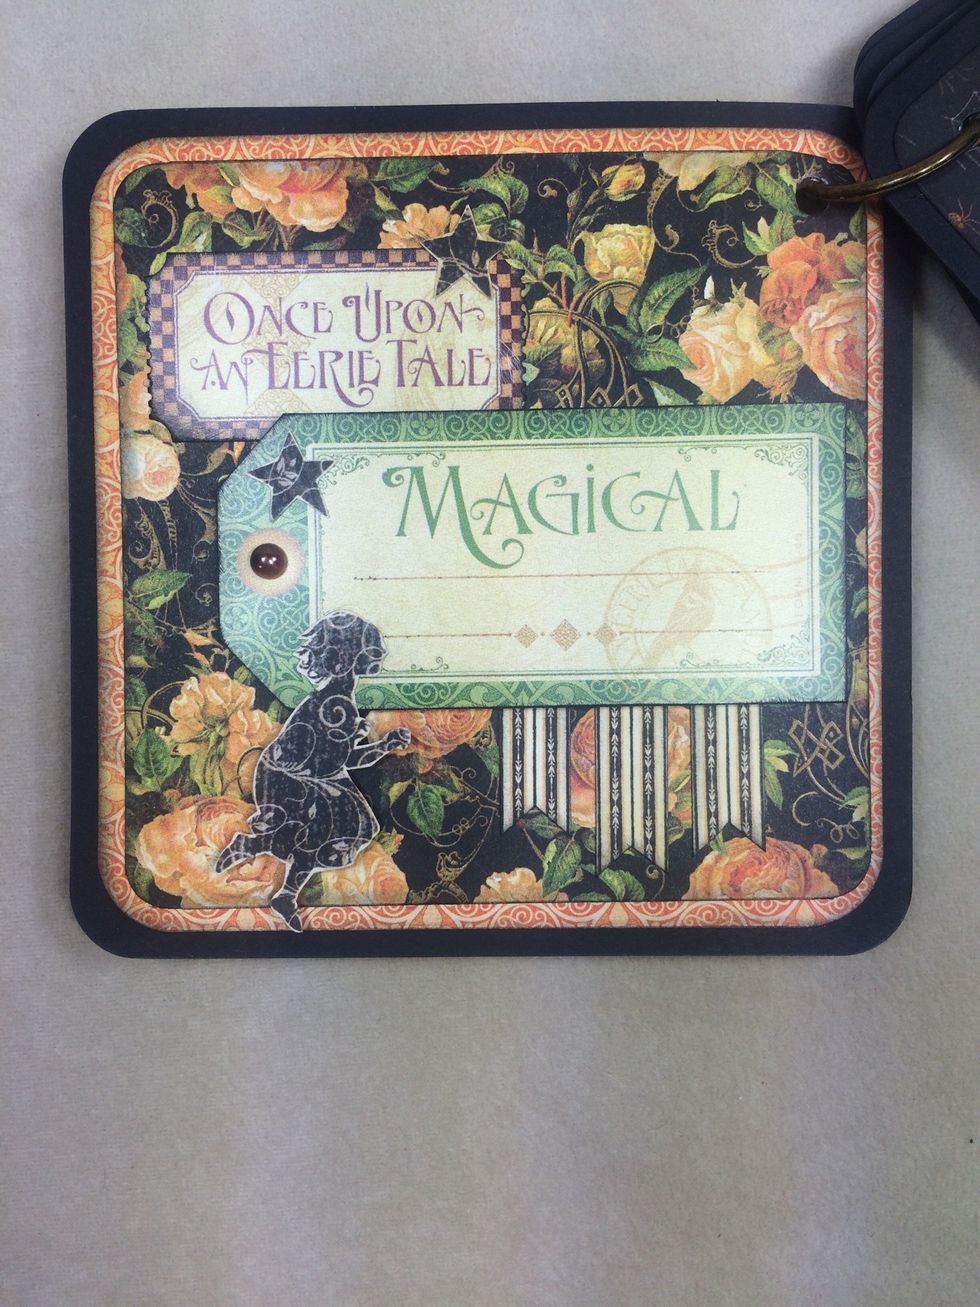
The inside front cover has paper and stickers plus another fussy cut image. Use foam tape to pop up different elements for added interest.
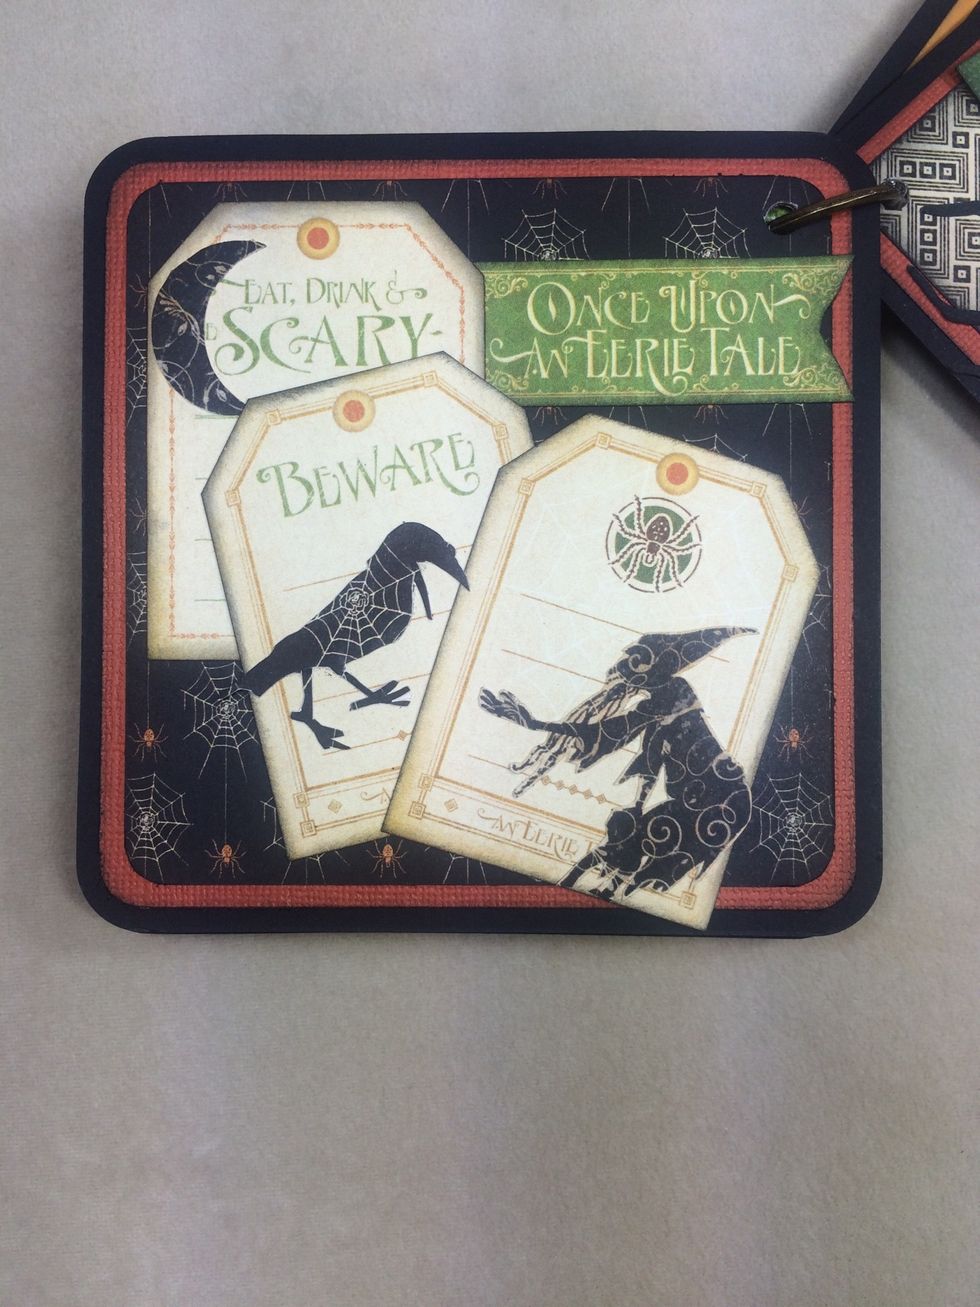
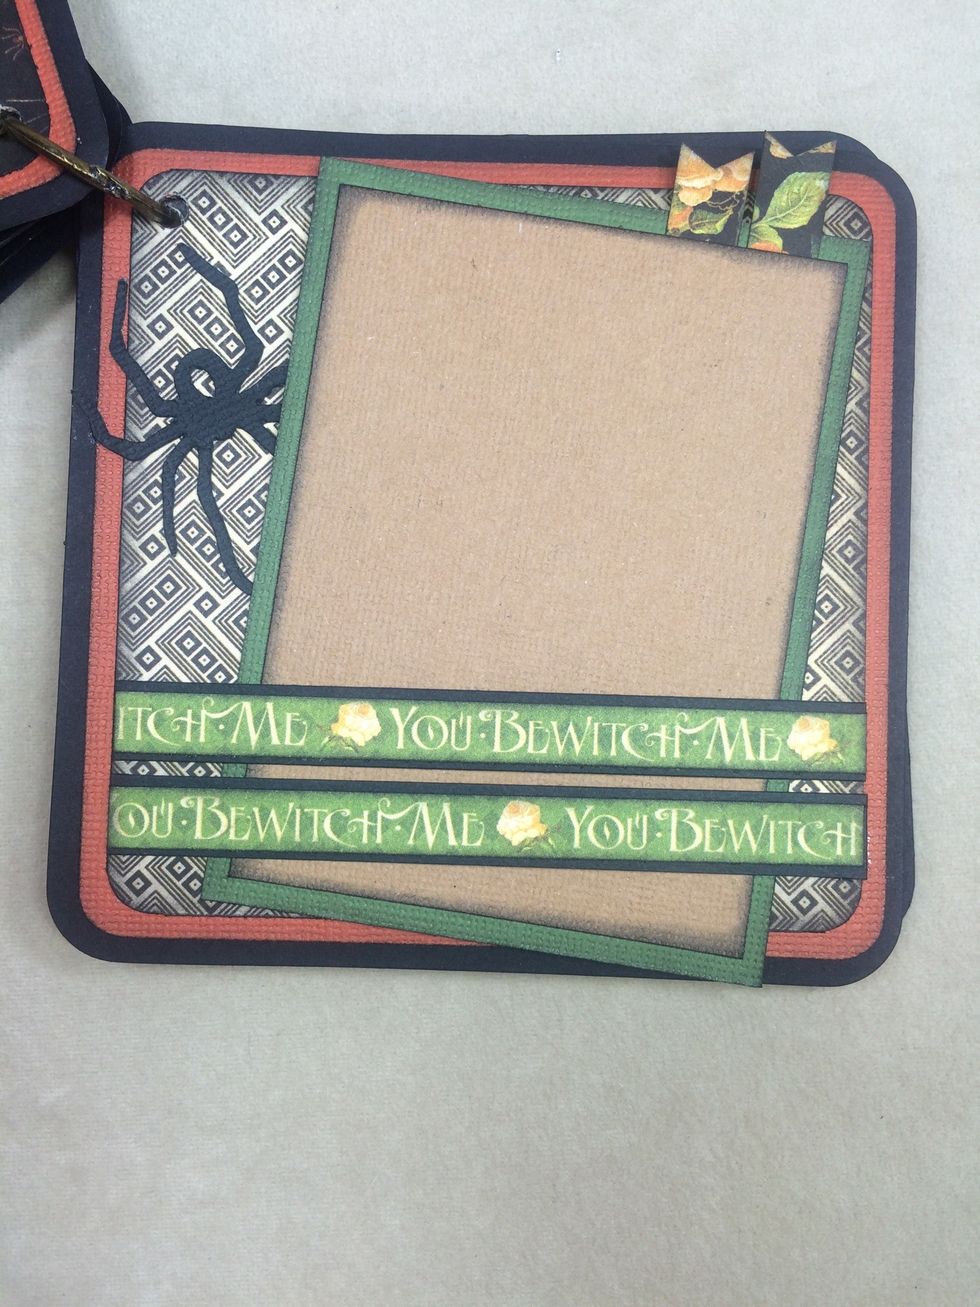
This page has a band to hold a few photo mats.
Here I used two of the doily leftovers from earlier.
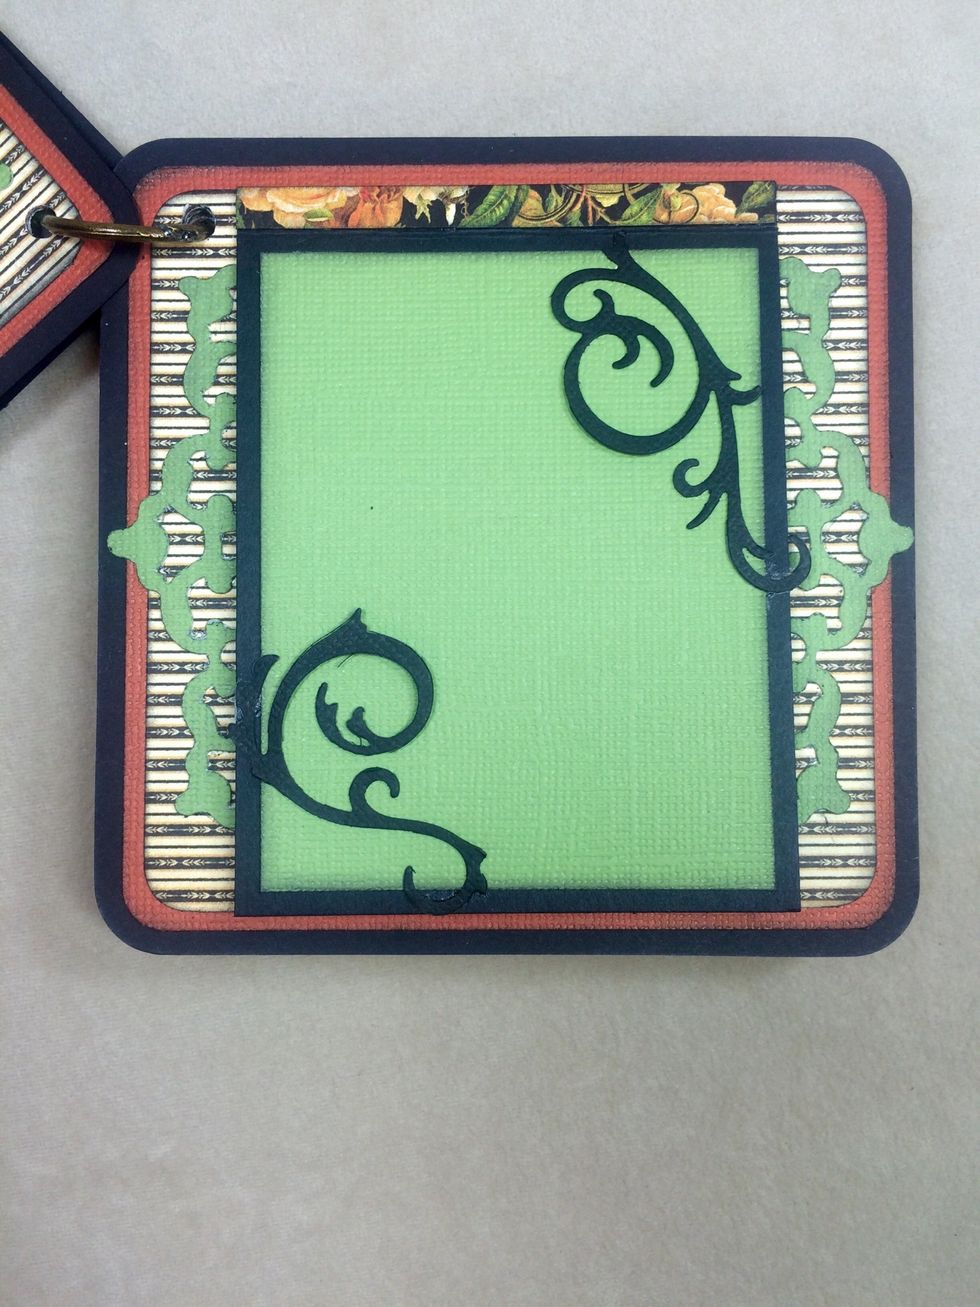
Two more doily pieces are used here. The swirly die cuts are only glued on the ends so I can insert a photo to the green mat.
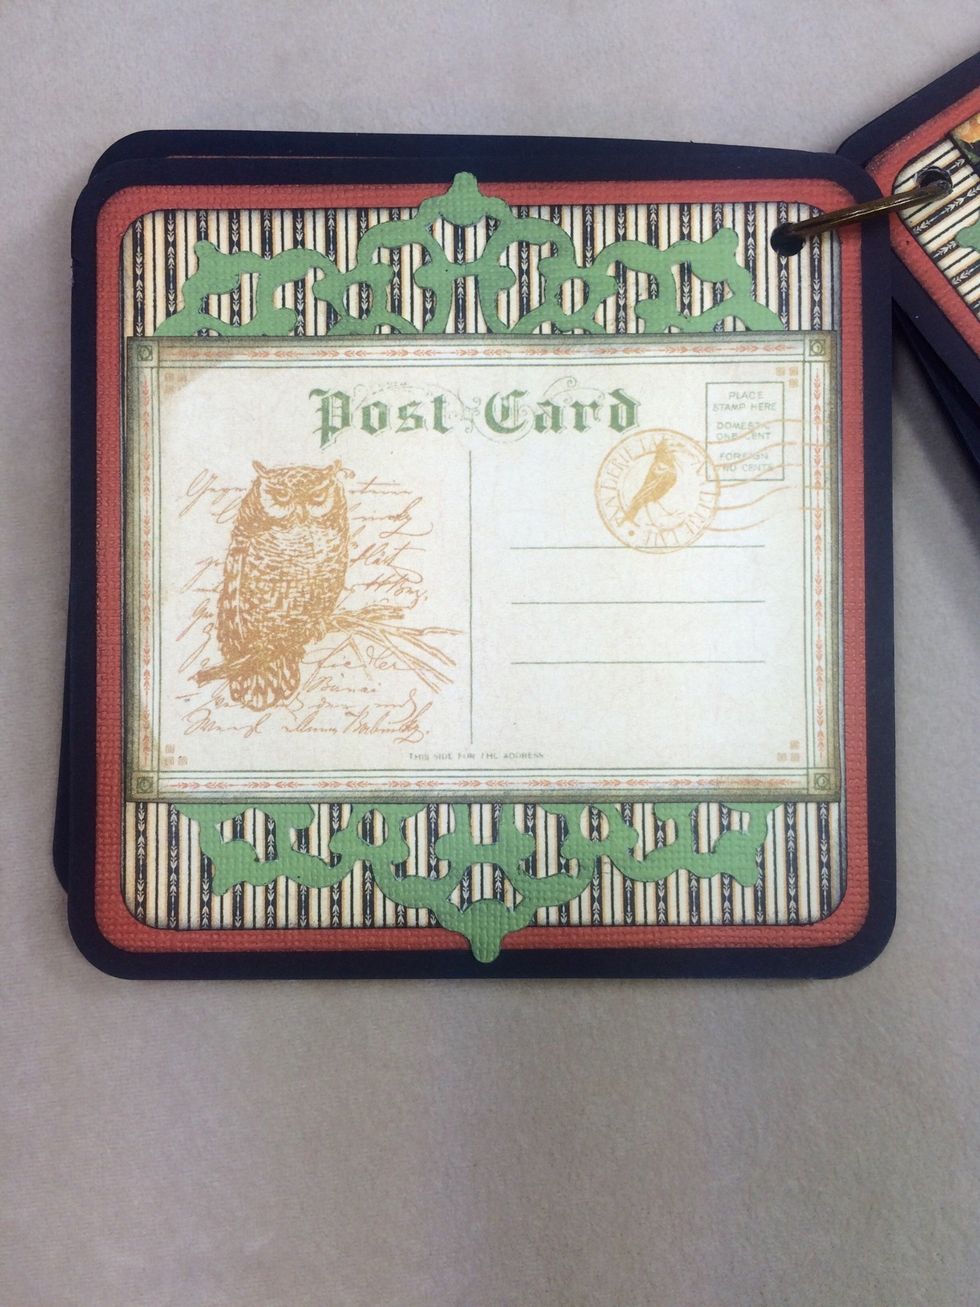
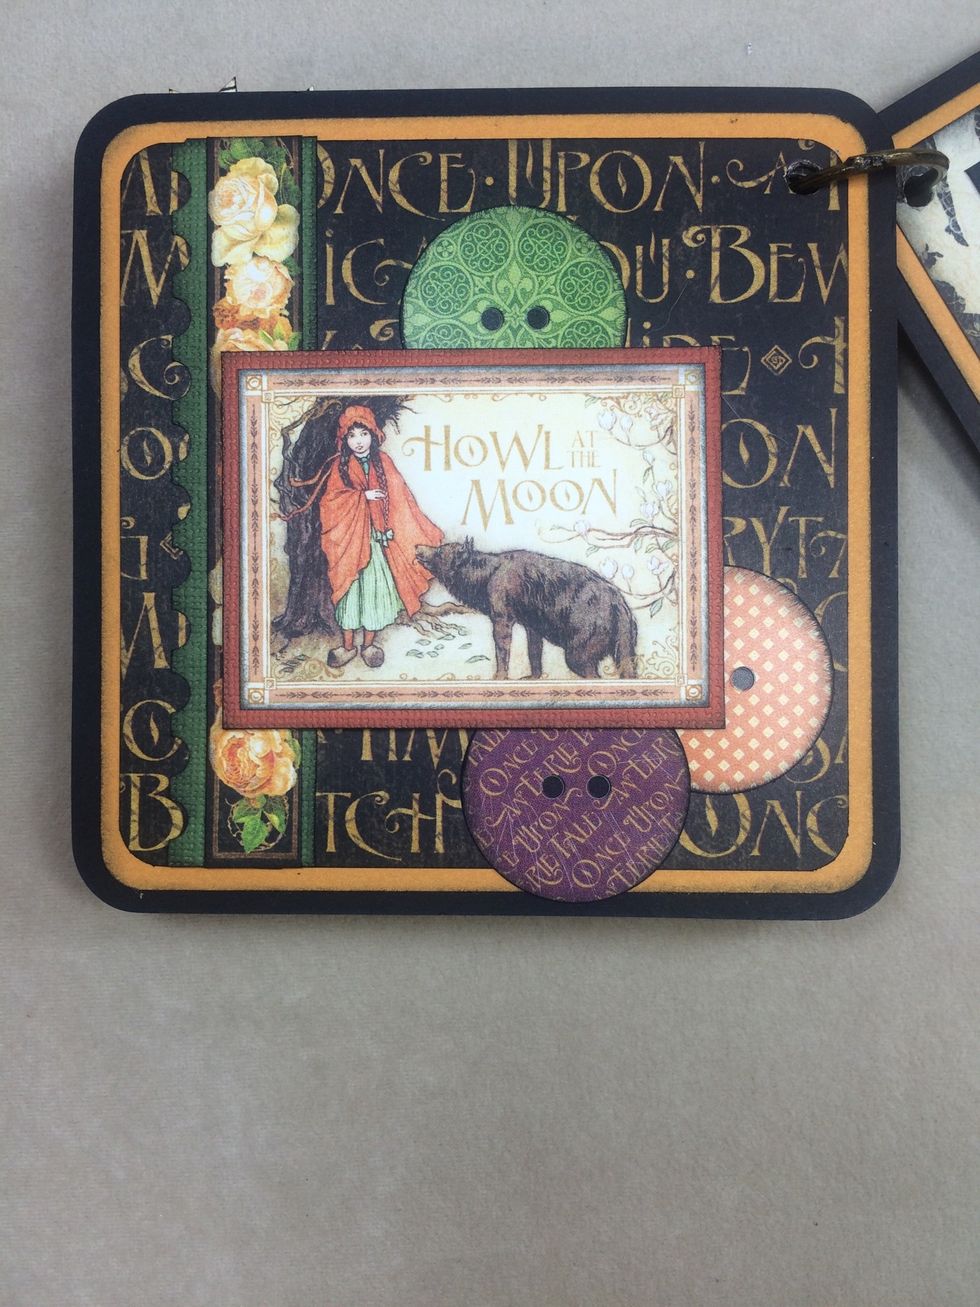
More paper and stickers. Some are popped up with foam tape.
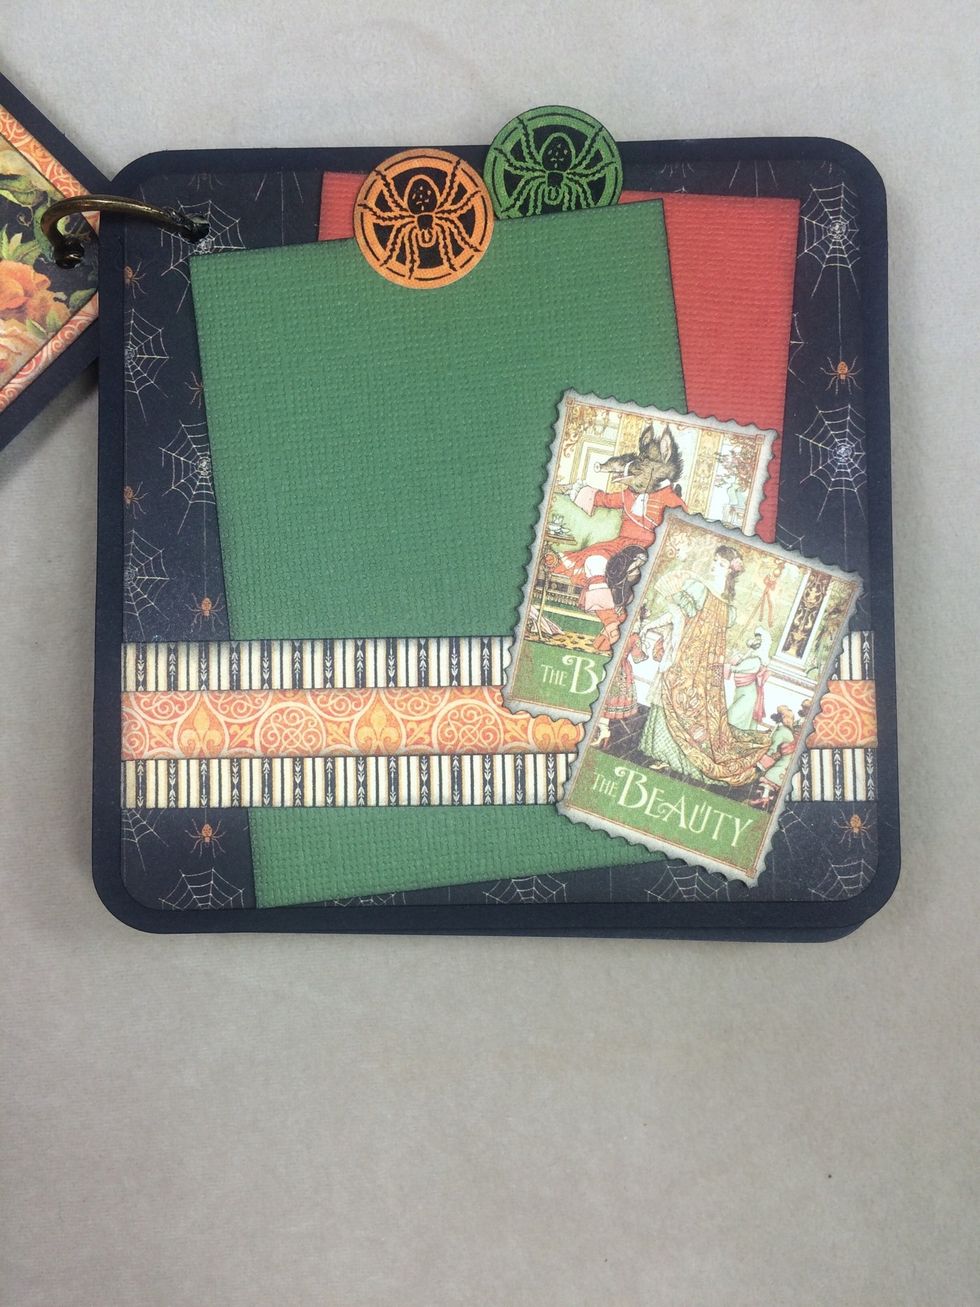
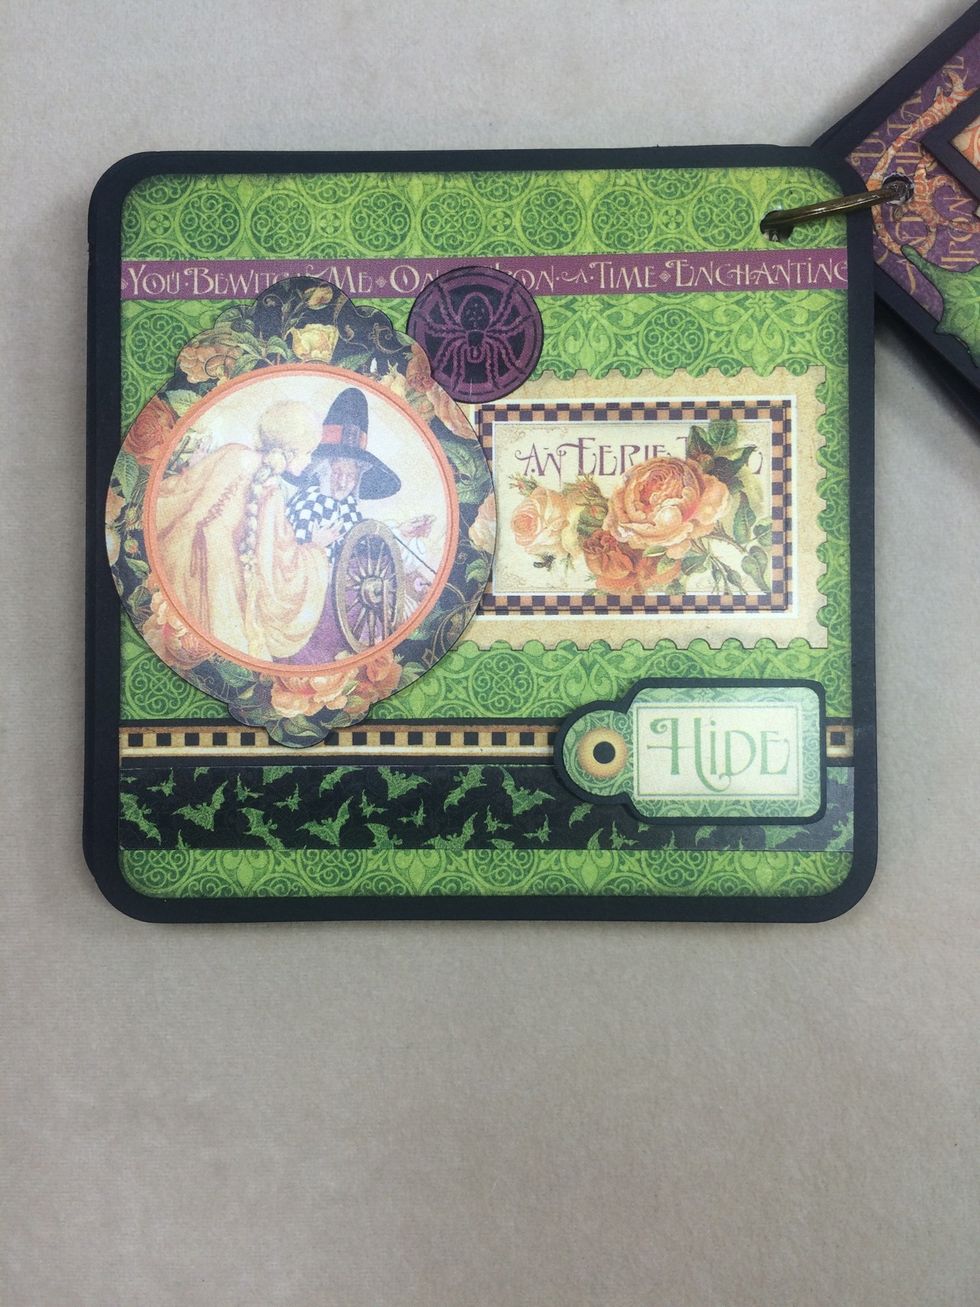
Stickers, die cuts and papers make a fun pocket page.
The cut-aparts from Fanciful Fable are great embellishments for the page. More fussy cut images adorn them.
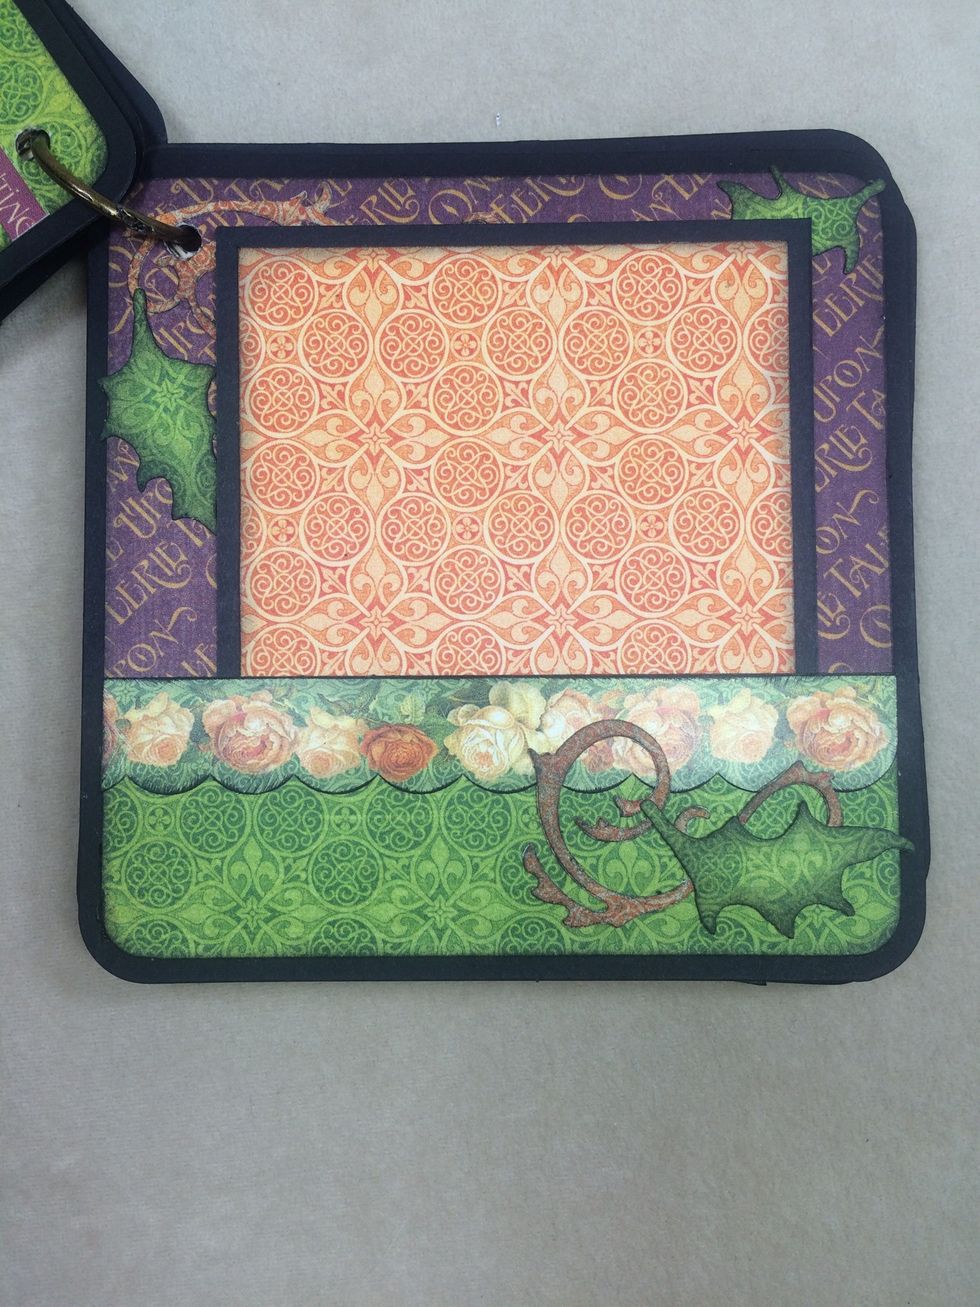
A double band is a unique way to hold a photo mat.
Layered stickers, another cut-apart and more papers pull this page together nicely.
This is the inside of the back cover. I created a pocket from this great sticker with some added cardstock for stability.
Back cover. Clean and simple. I punched holes in the upper left corner of each album page and joined them with an antique brass book ring.
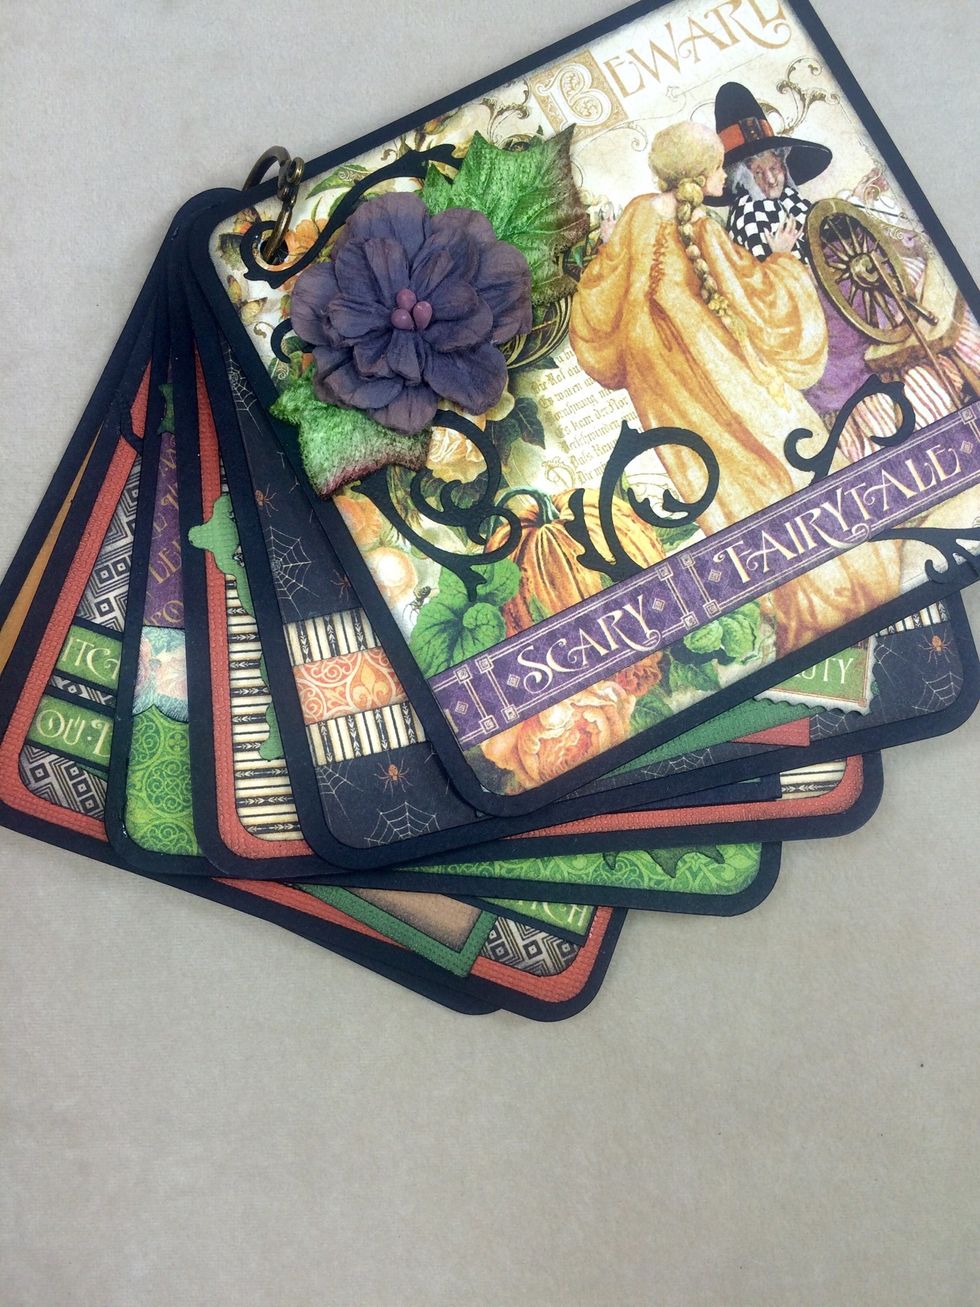
The album is done and ready for Halloween photos.
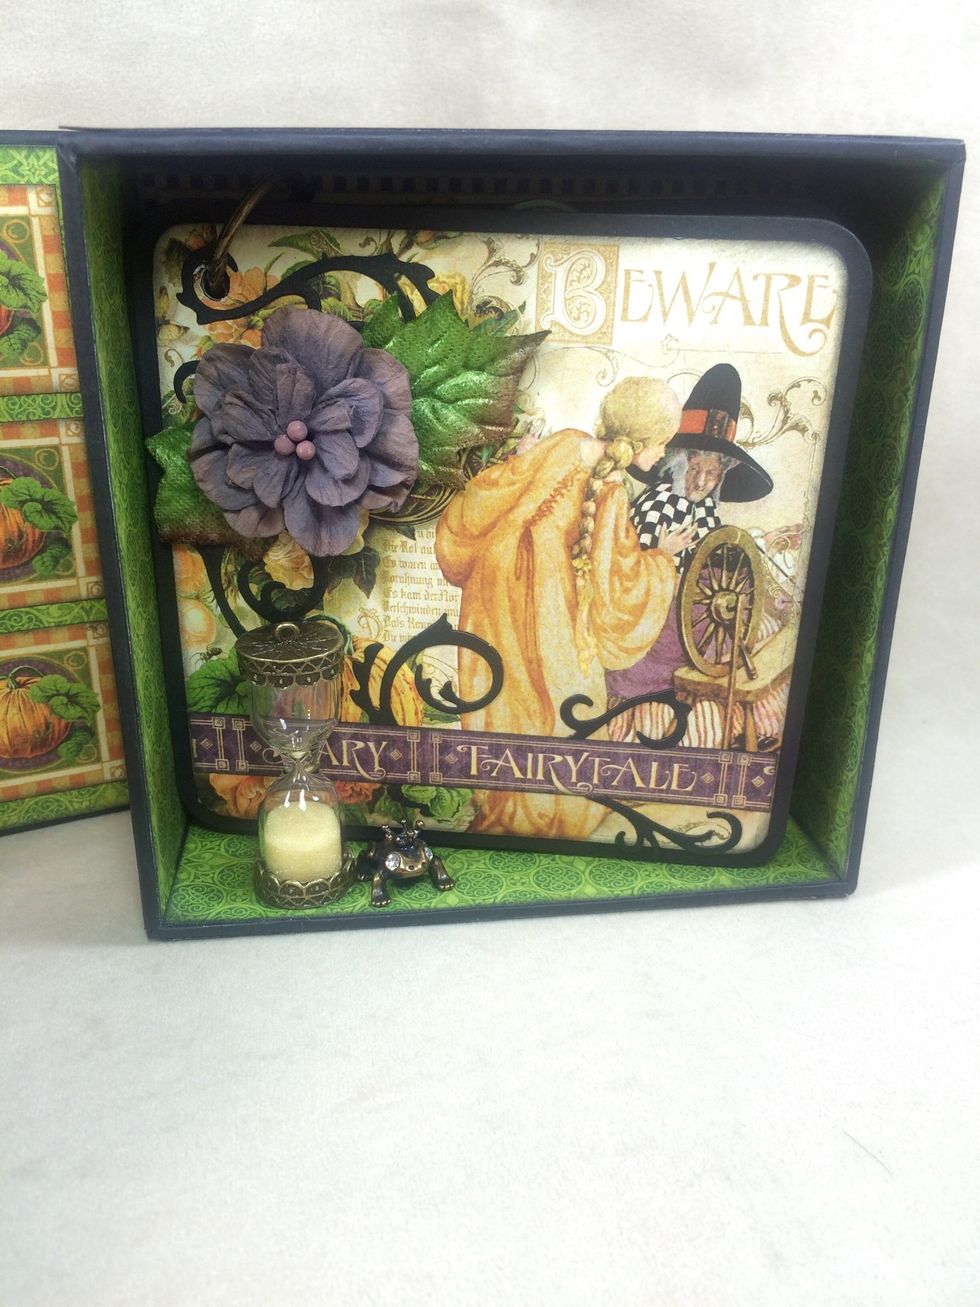
To keep the mini album in place, adhere some fun jewelry pieces to the inside with strong glue. I found this hourglass and frog prince at my local craft store.
Thanks for checking out my Snapguide! For more ideas and inspiration visit my blog at AnnettesCreativeJourney.blogspot.com