The Conversation (0)
Sign Up
Easily create a quick and adorable Halloween mini tag album to tuck into the Curiouser Curiouser Trinket Box featured on the Graphic 45 blog and in a separate Snapguide tutorial.
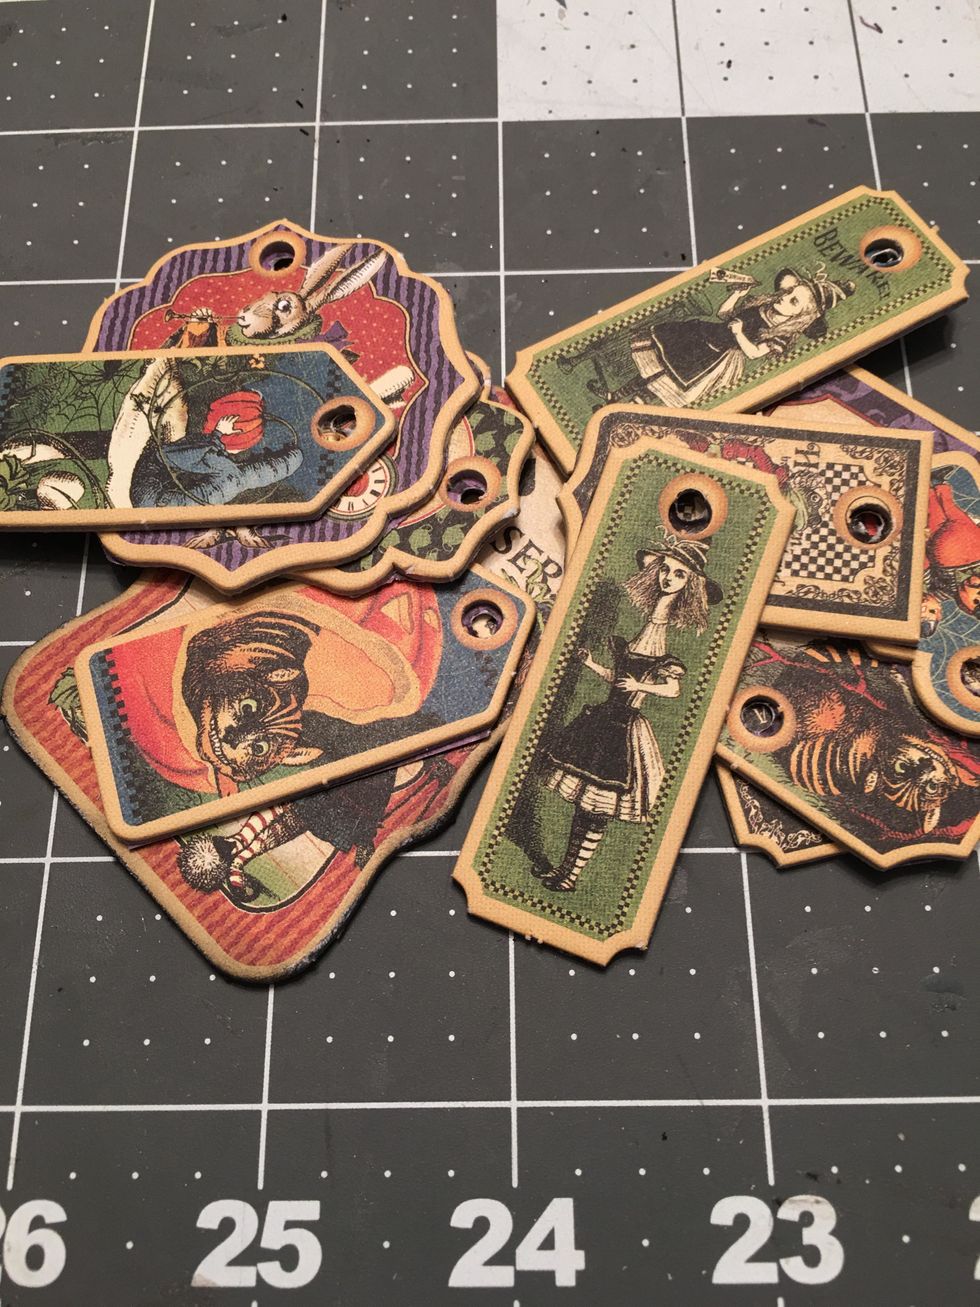
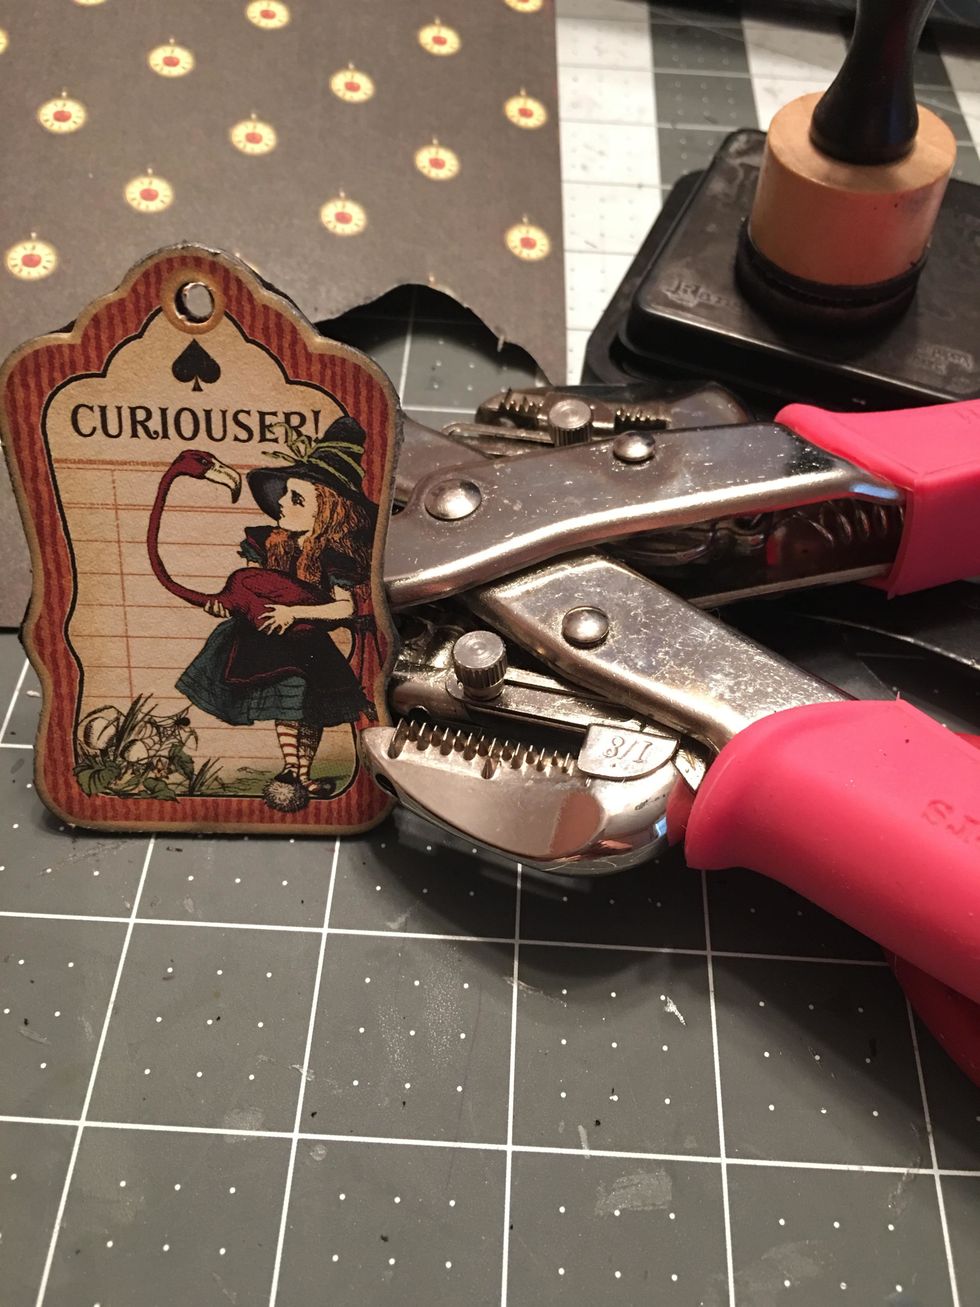
Gather your chipboard tags that you want to use in your mini album. Separate the ones that you want add to the ring of the ATC Tag Album. Prep all tags by sanding any rough edges and inking.
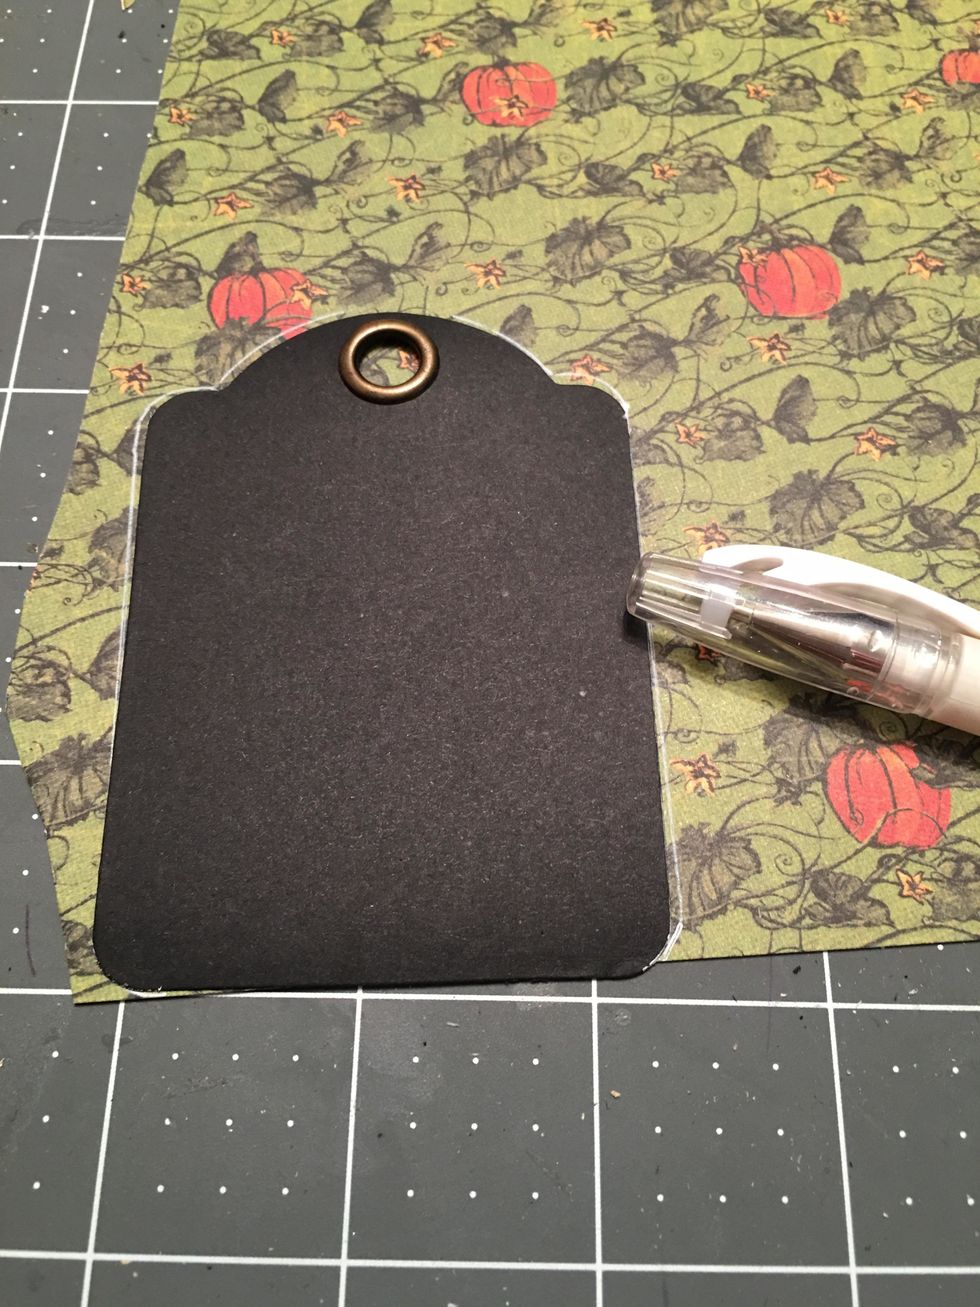
You will need to add patterned paper to the backs of tags that you want to add to the album ring. Glue the tag to the wrong side of the paper.
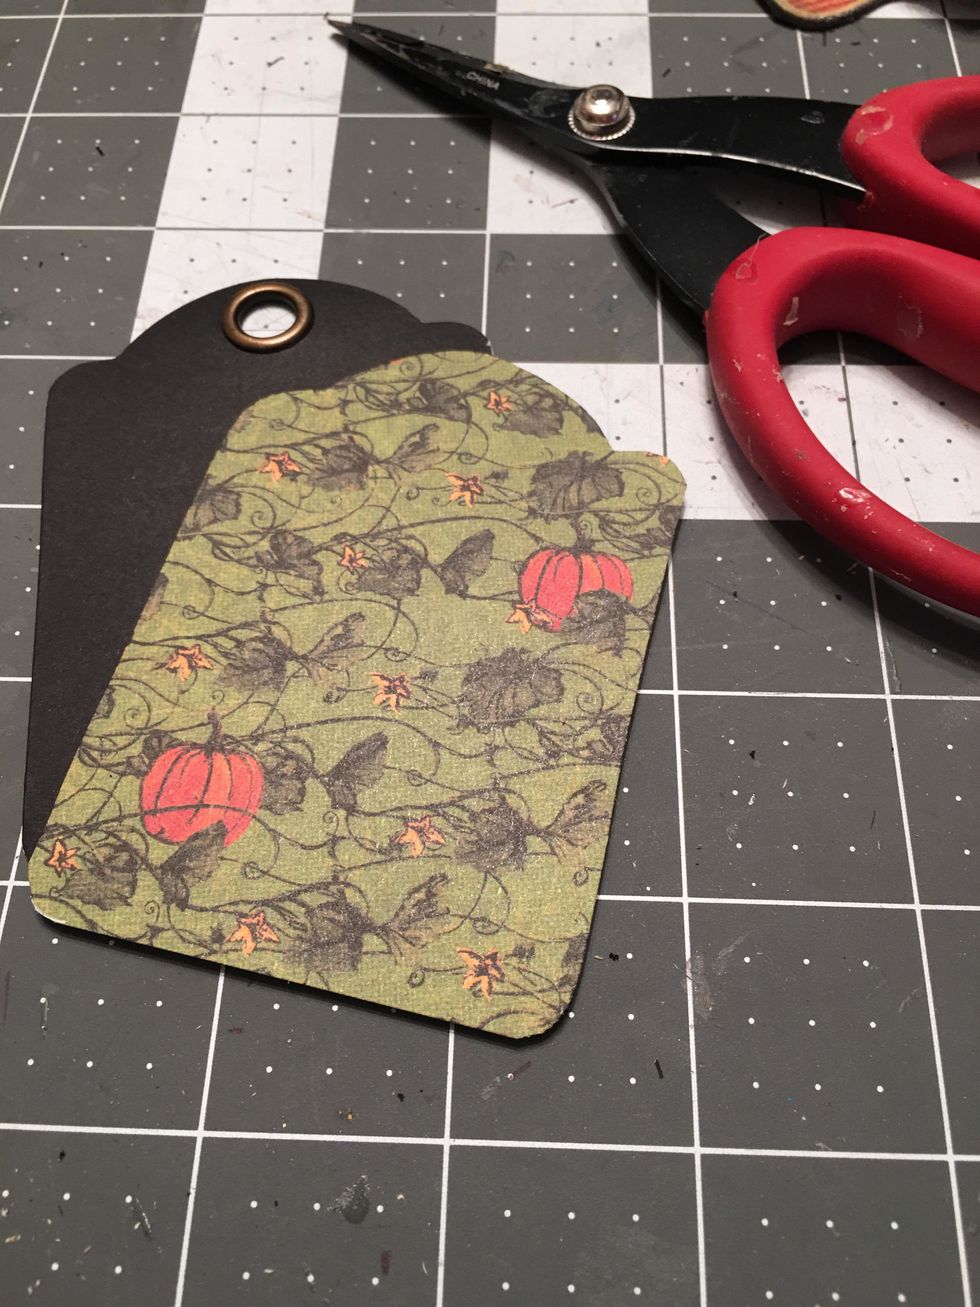
Once the glue has dried, cut the tag out with scissors and ink the edges. Now the back of the tag will be finished rather than having a cardboard back.
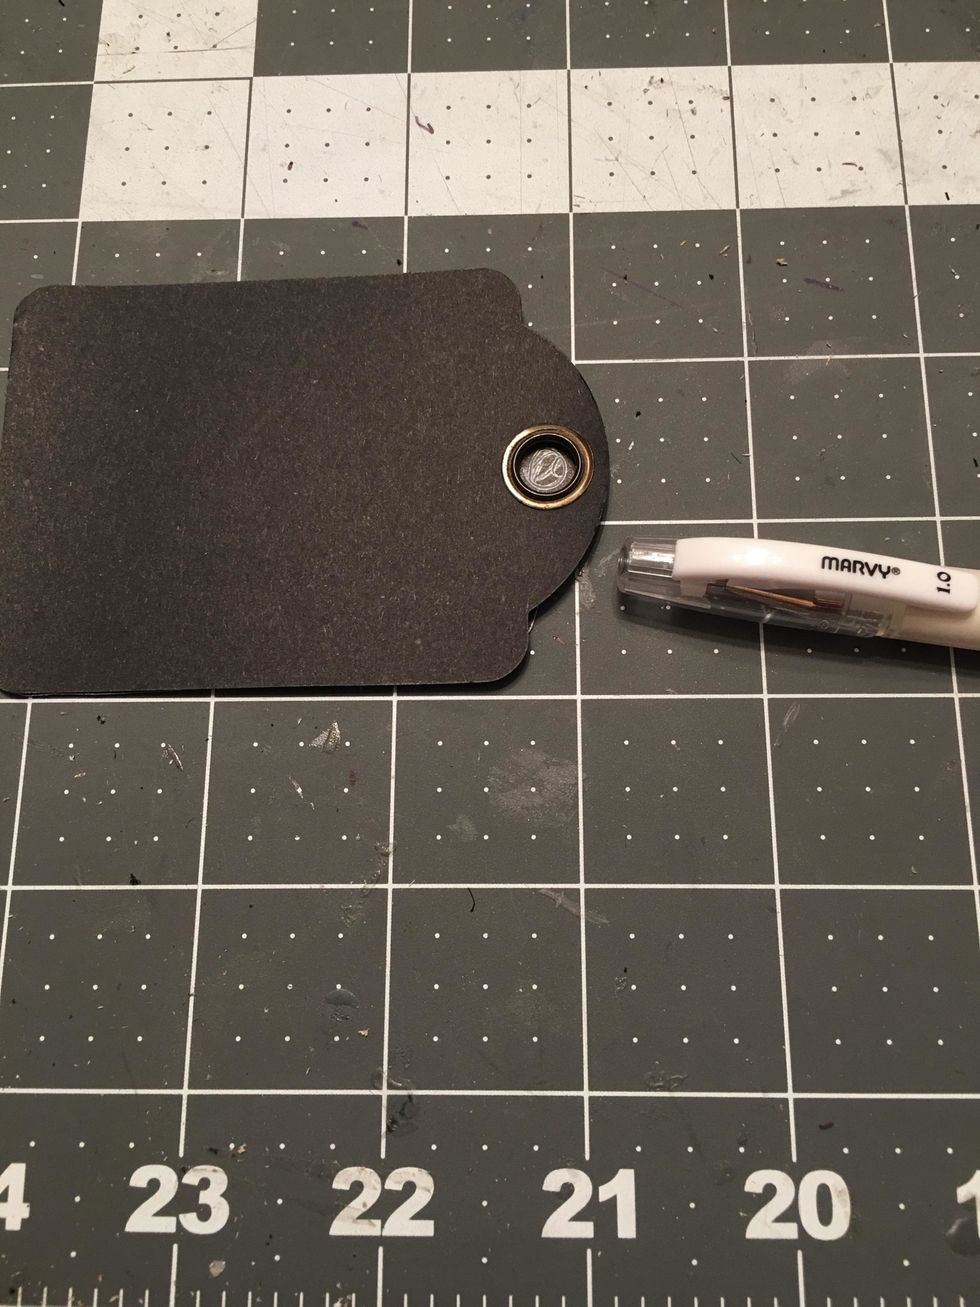
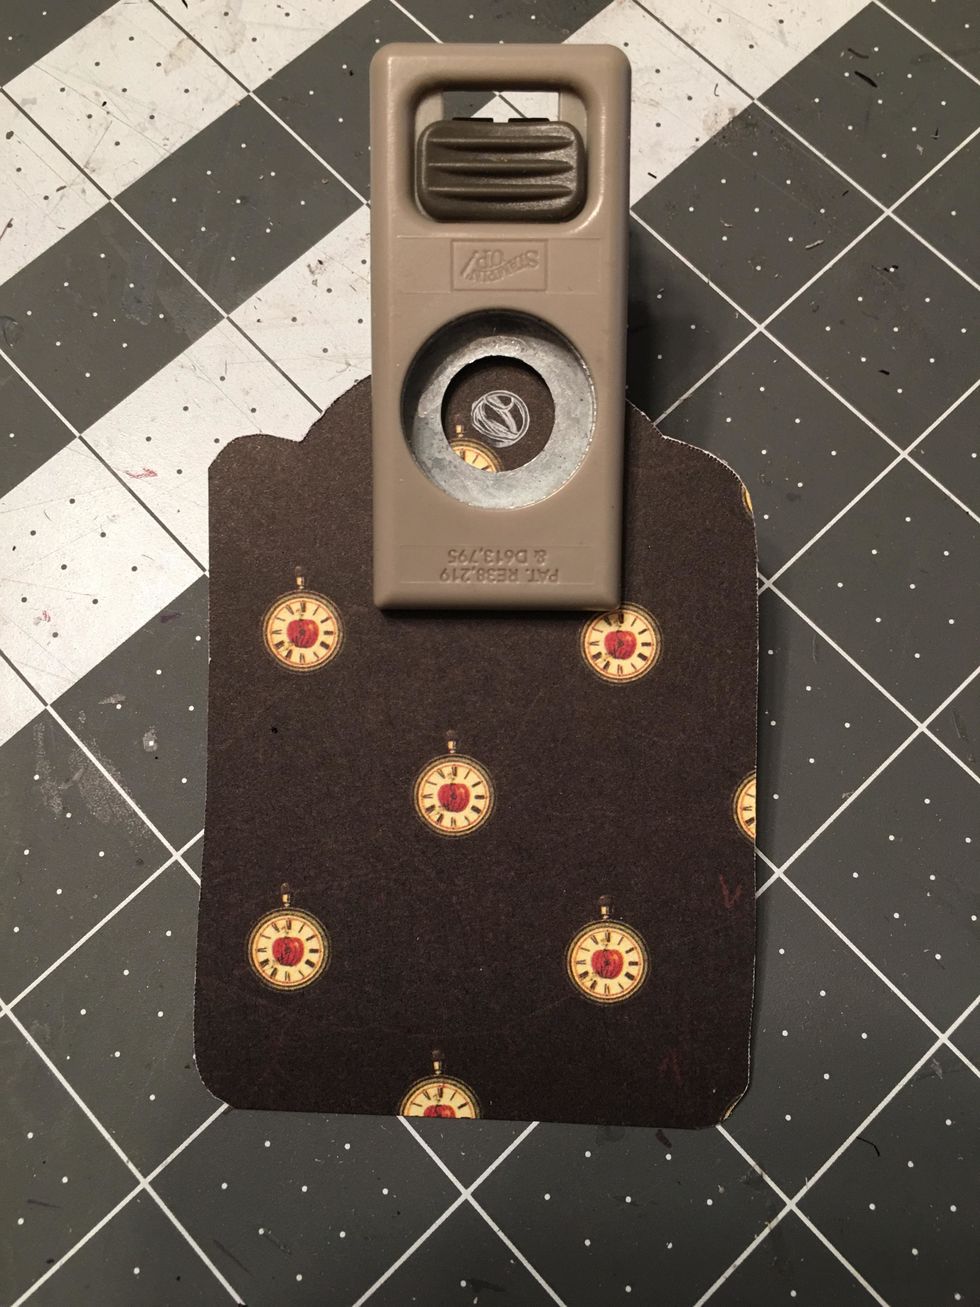
Punch out the hole of the tag where it has been covered with the patterned paper.
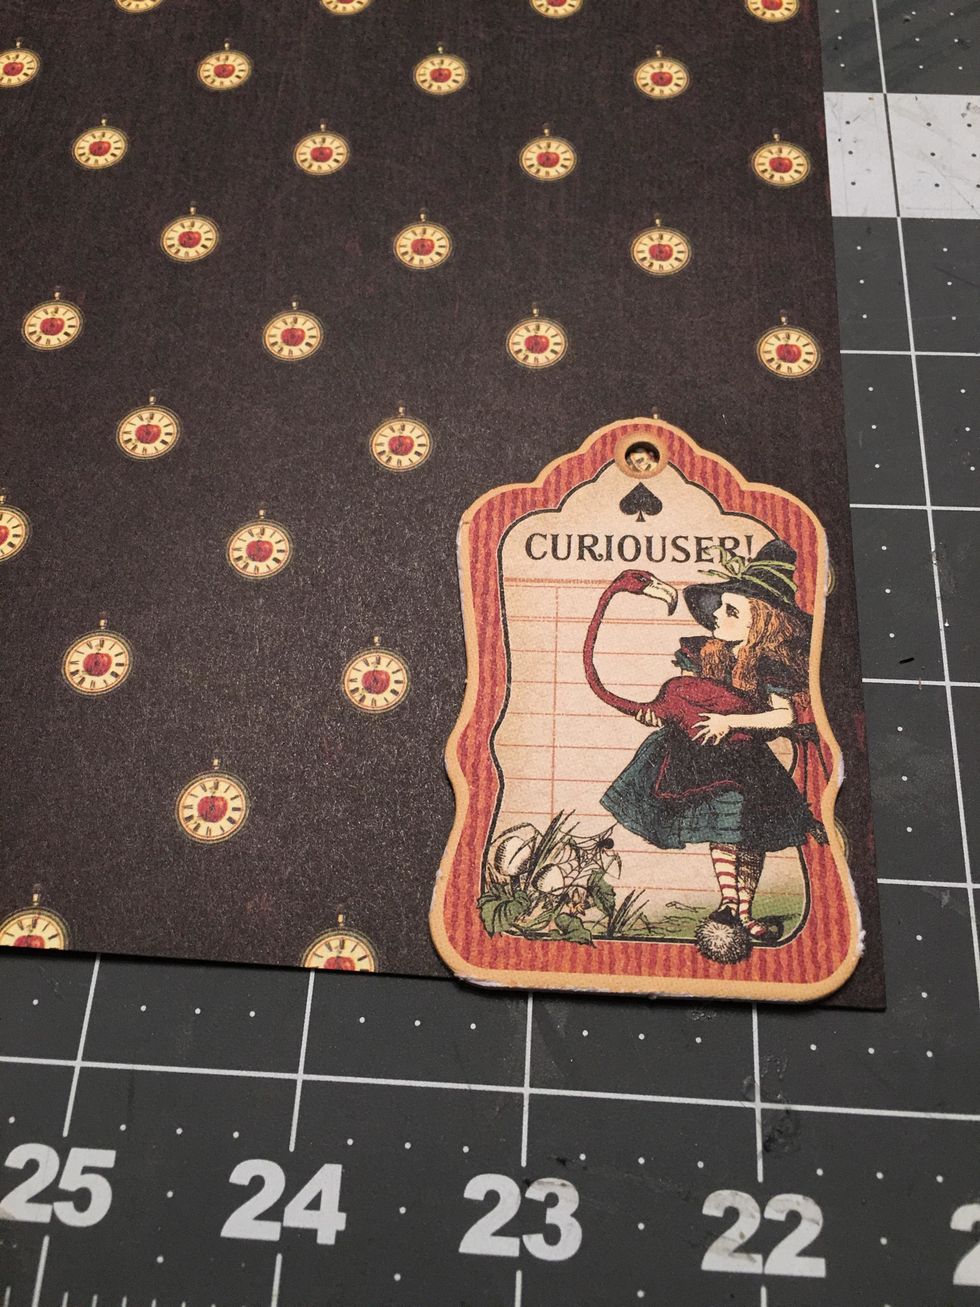
For the ATC tags of the album, you will want to pattern the front and the back of each tag. Lay the tag on to the paper (do not glue down yet) and trace around the tag with a white pen or marker pen.
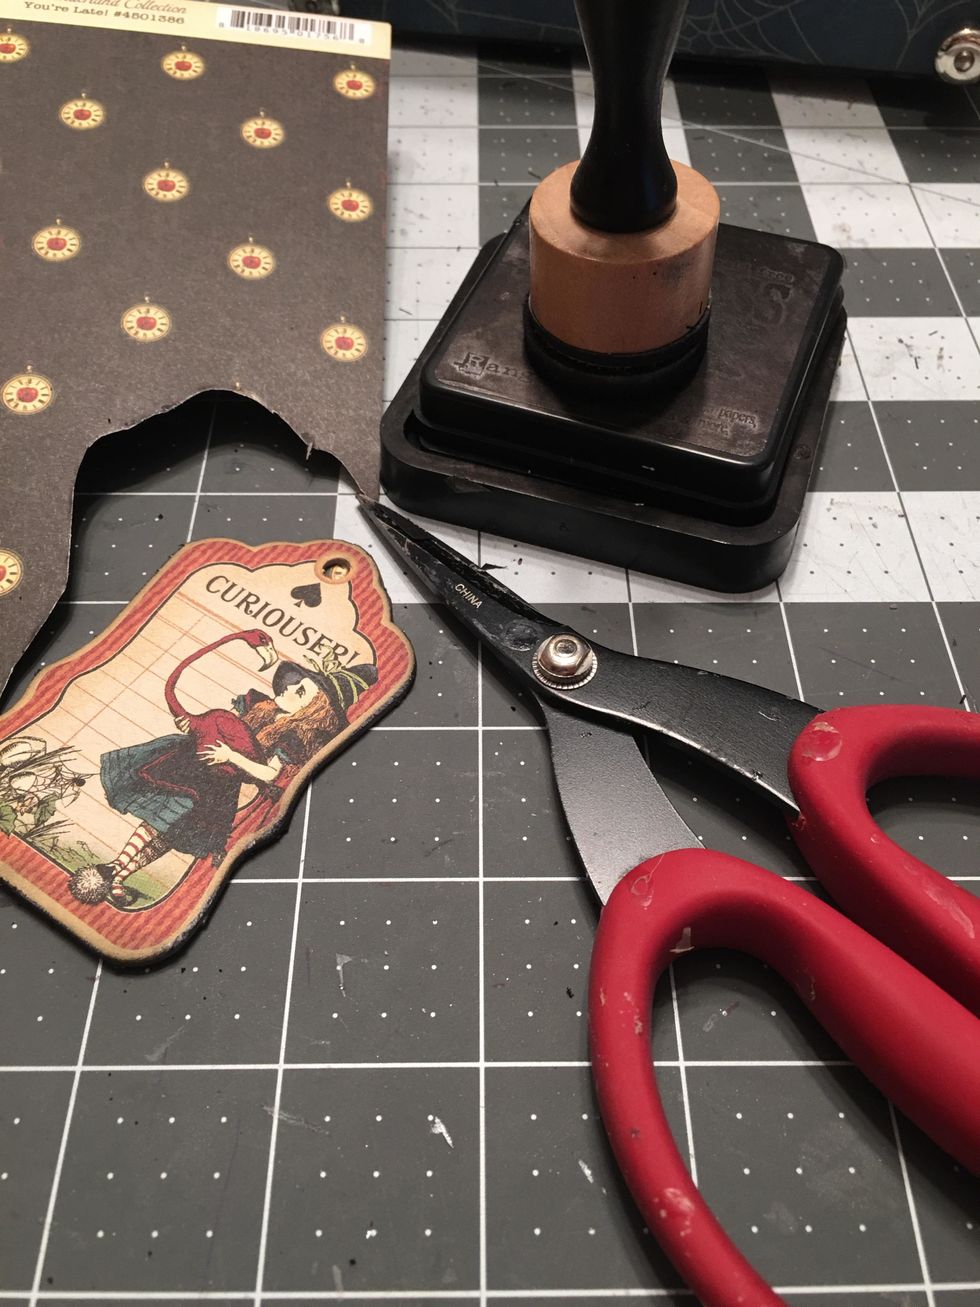
Use your scissors to cut the patterned paper out.
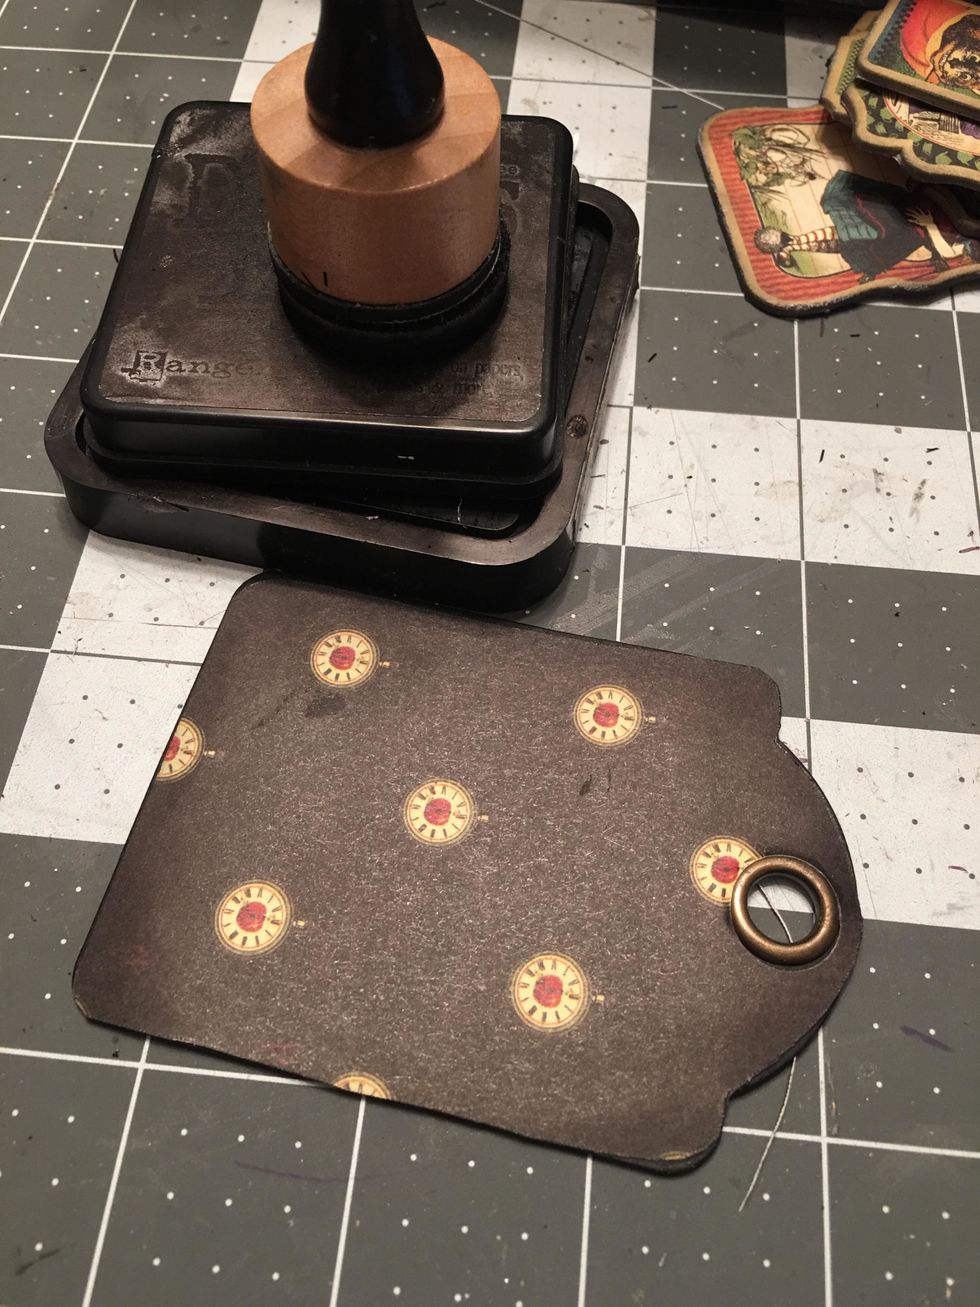
Turn it over and use a marker pen to mark the hole for the tag as shown.
Use an 1/2" hole punch to punch out the hole for the grommet of the tag. Center the mark as best you can and punch out.
Fit the patterned paper you cut out with the punched hole over the ATC tag and glue down. Ink the edges. Repeat for all the ATC tags for the album. And use the same method for the back of each tag.
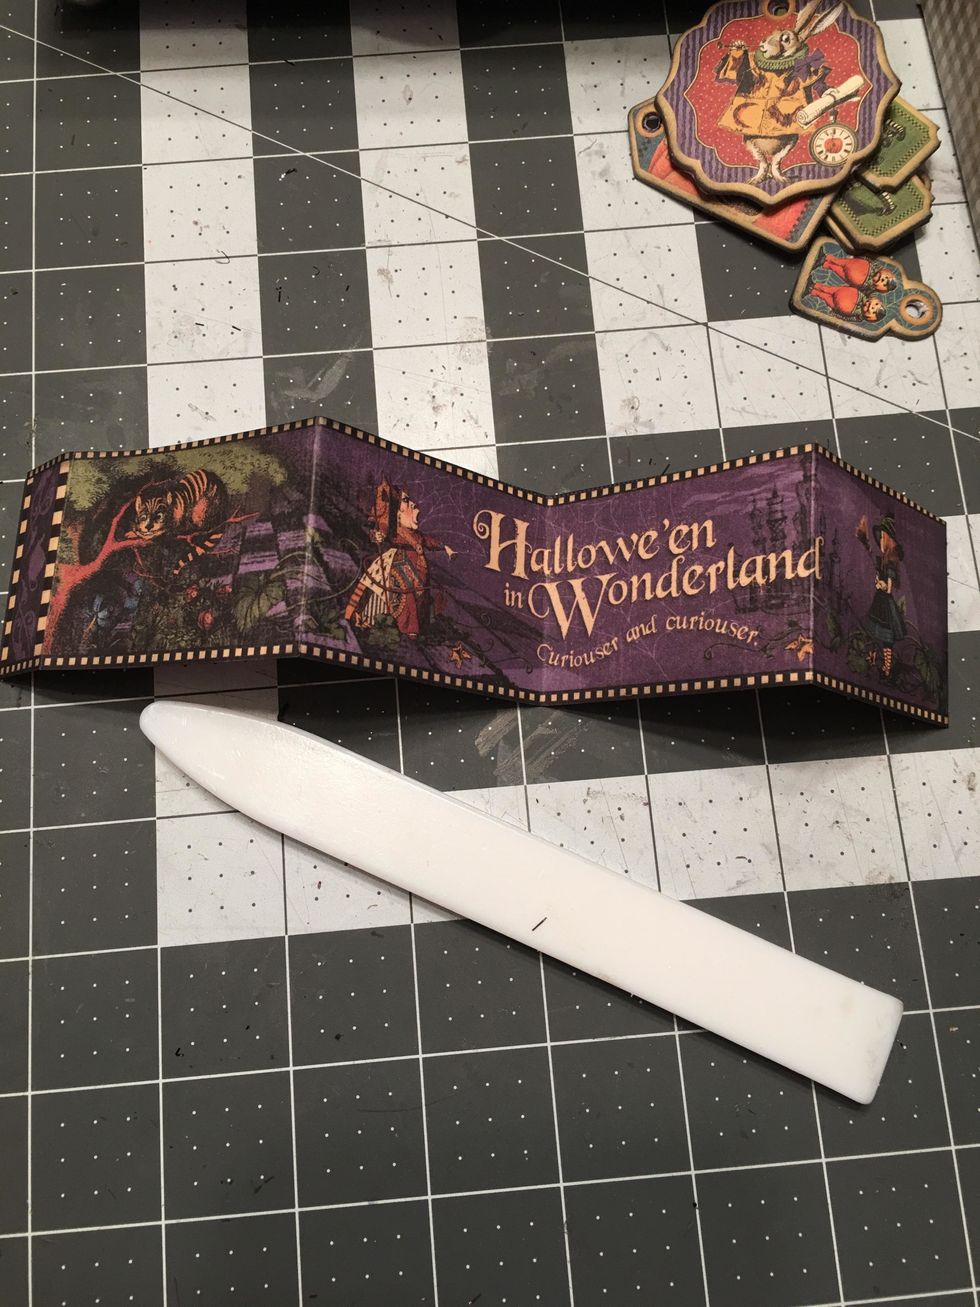
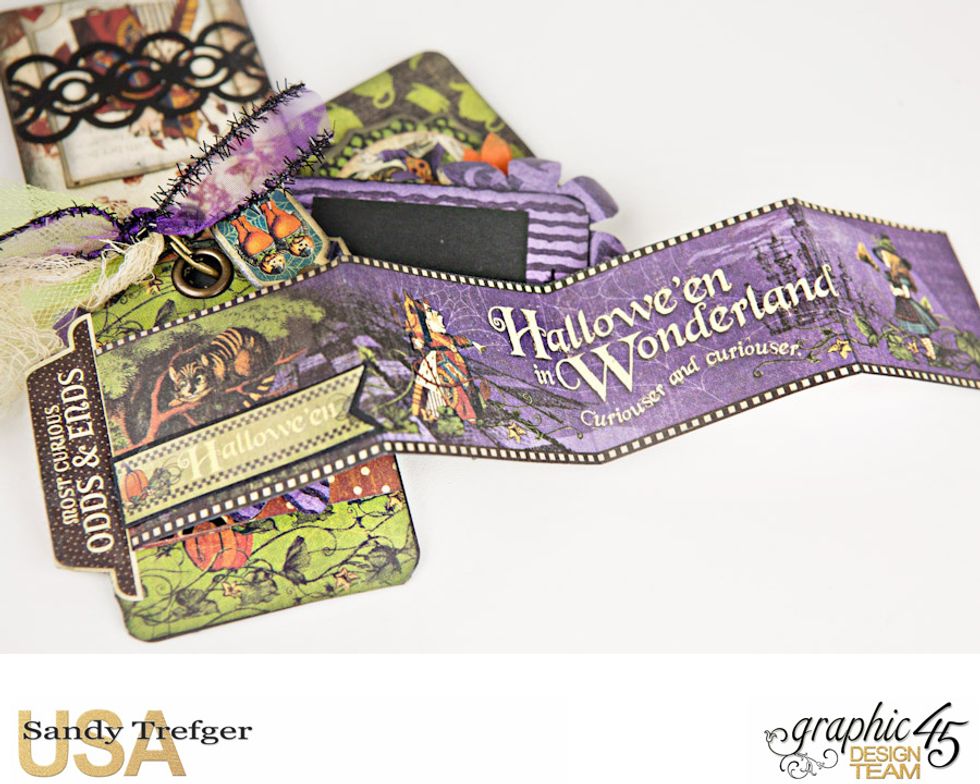
Create fun elements for your tag album such as this fold out that is cut out of the 12x12 paper. Fold into equal parts and burnish the fold lines with a bone folder.
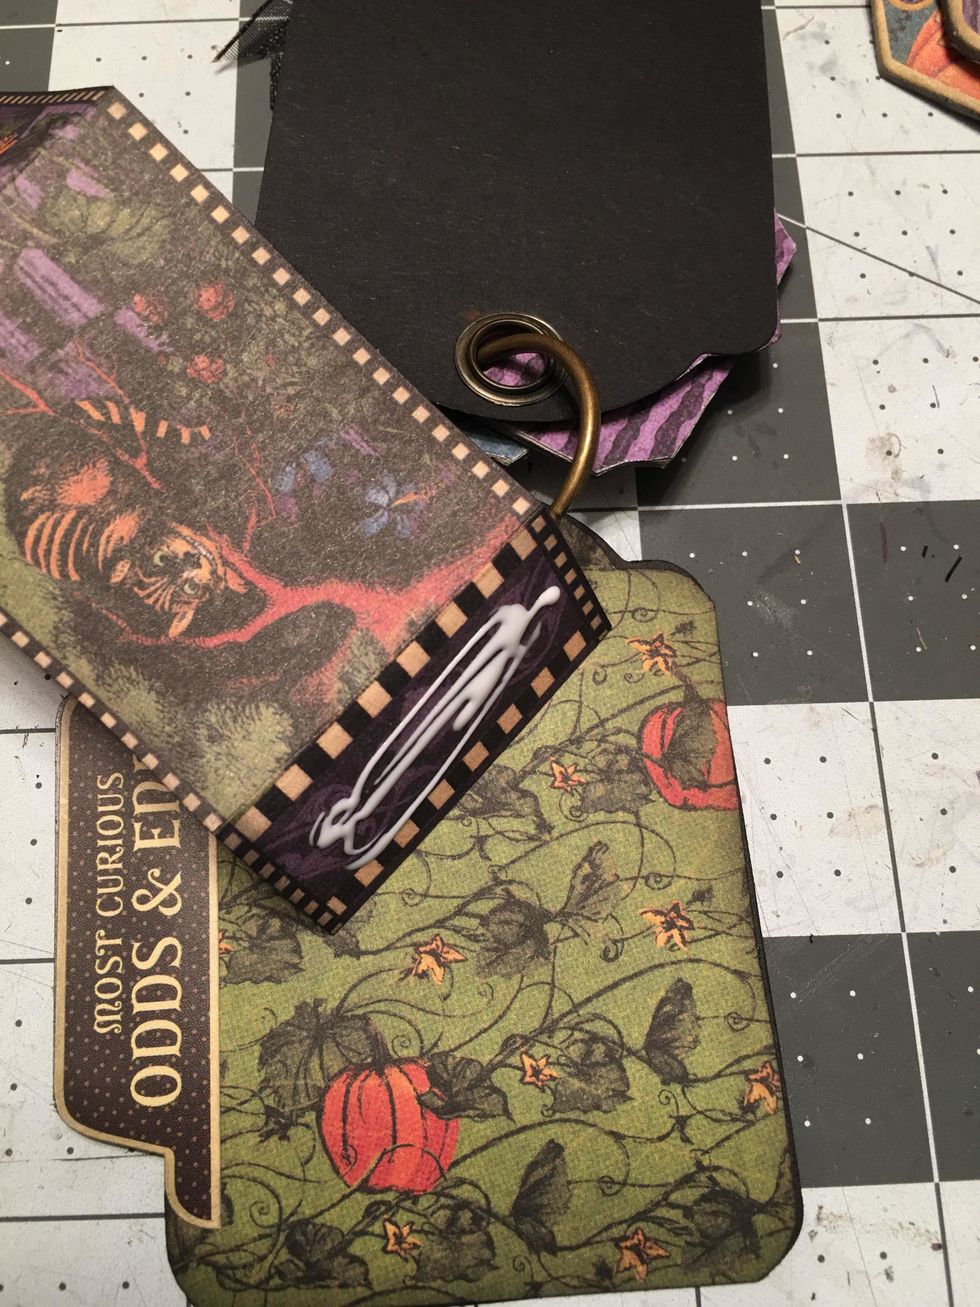
On the shortest edge piece, apply glue to the flap and glue that to one of your tag "pages."
Once the tag is glued down it will look like this and you can then fold up the booklet. You can also add tabs created out of chipboard pieces or stickers from the collection.
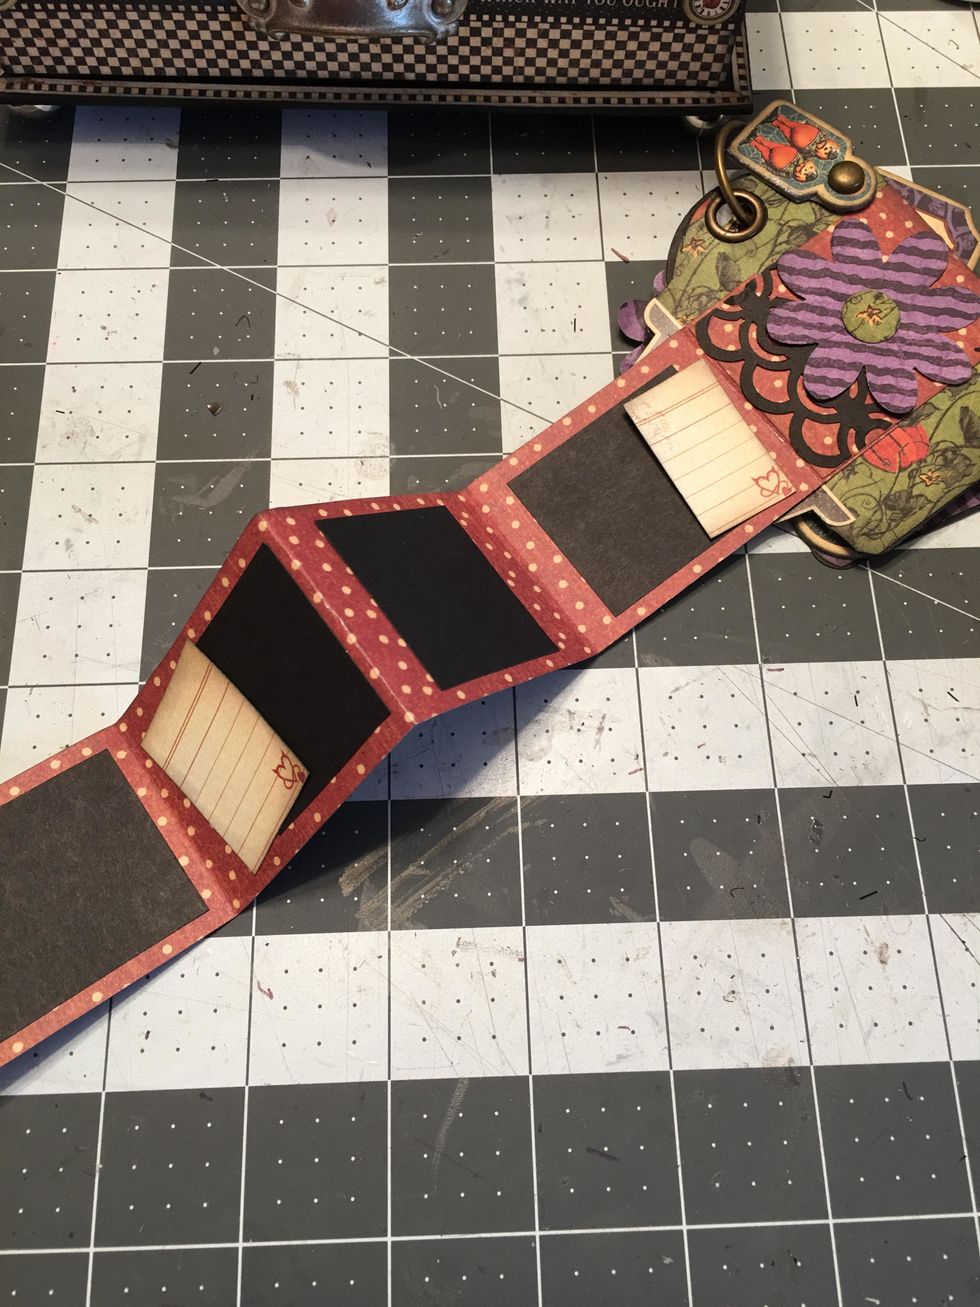
On the back side of your fold out, add small photo mats cut from black cardstock and little journaling boxes cut from the paper collection.
On the last section of the fold out, add patterned paper, a flower and a bit of black punched border.
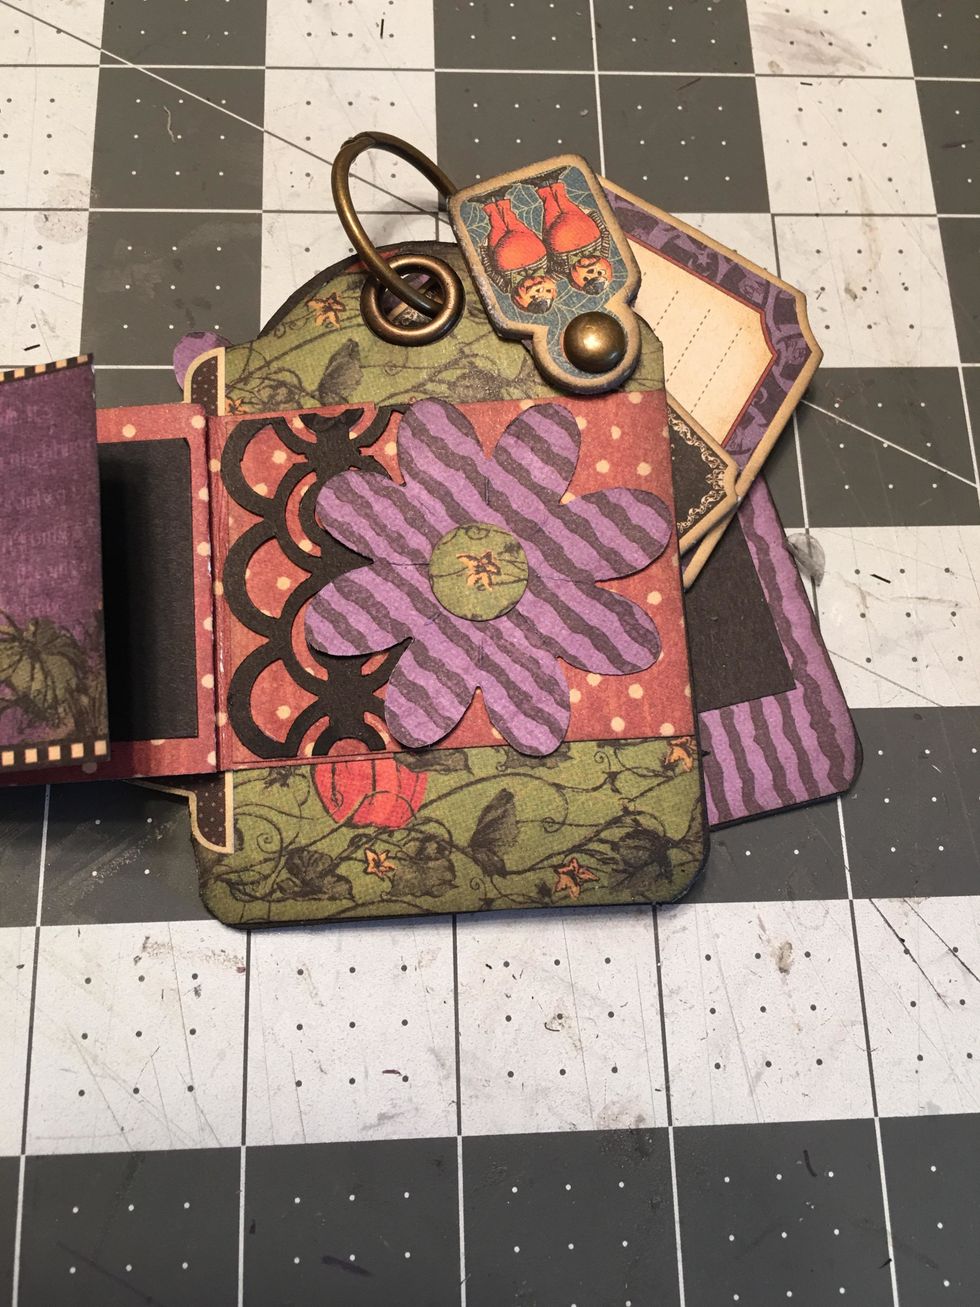
Use a brad and a small chipboard piece to create a swing closure for the fold out booklet on the tag page. It is best to add the brad BEFORE patterning the back side of the tag page.
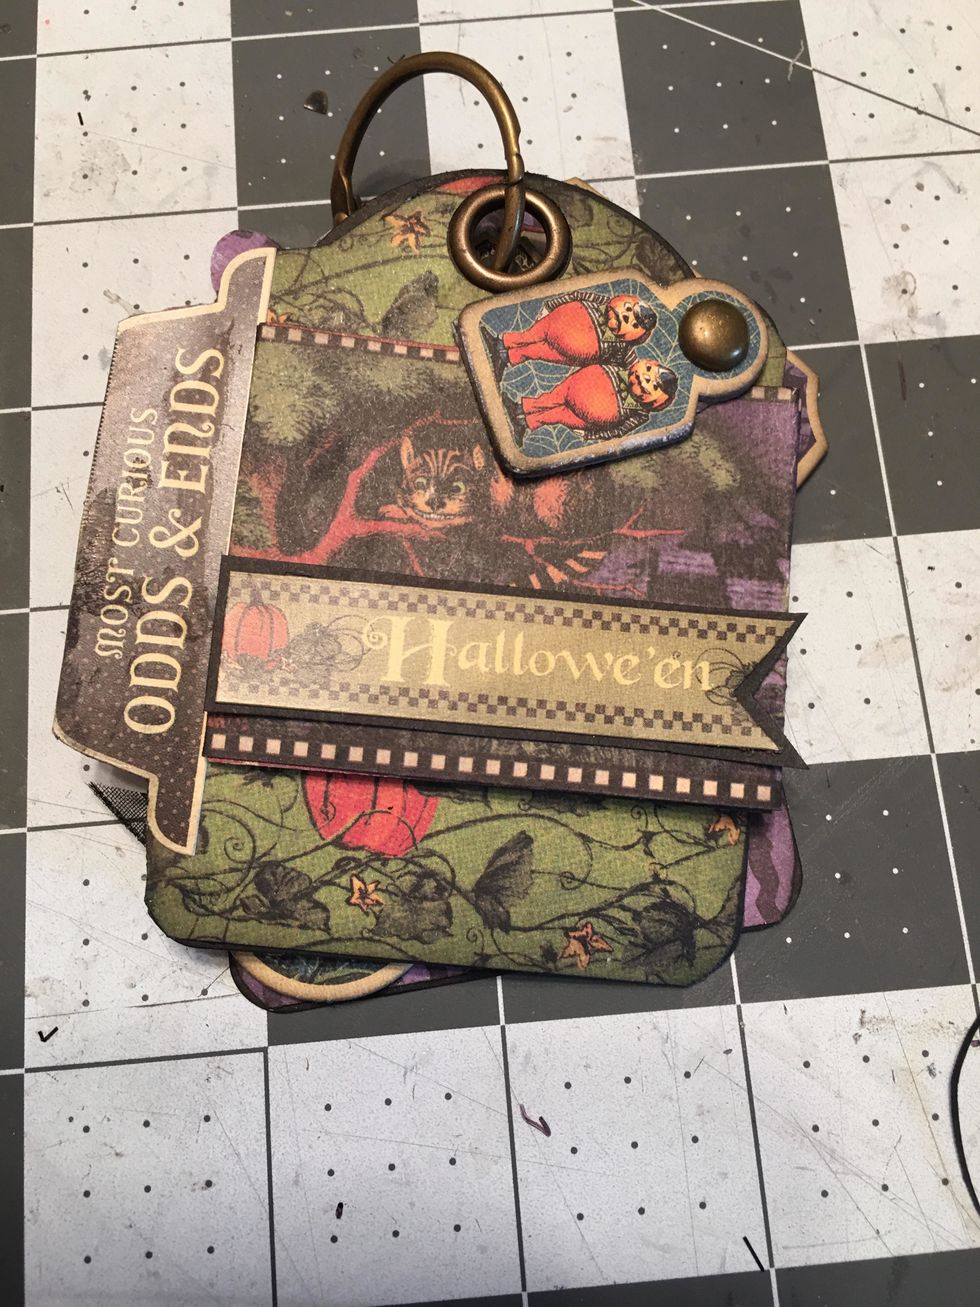
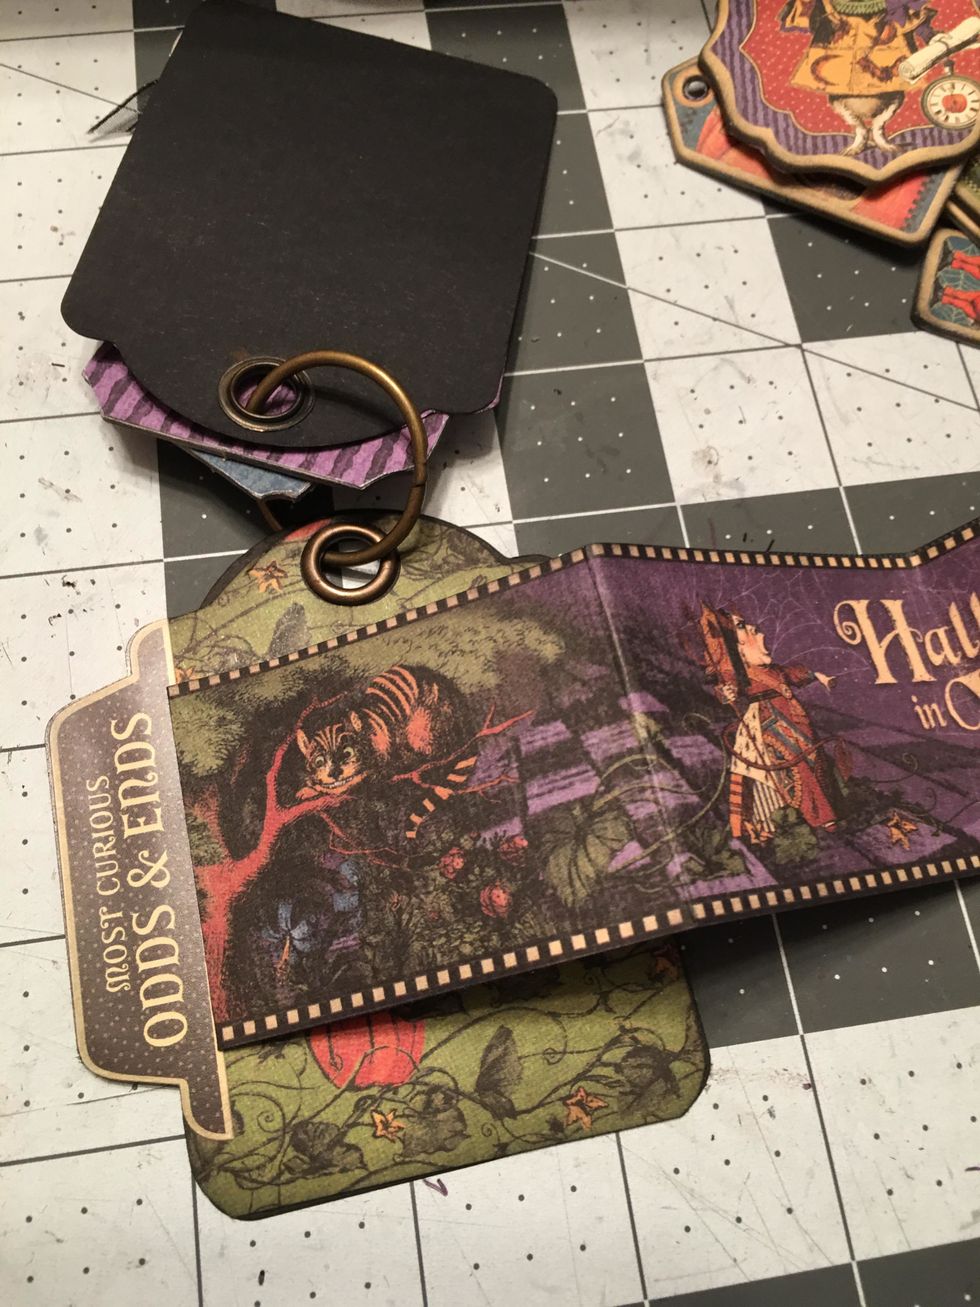
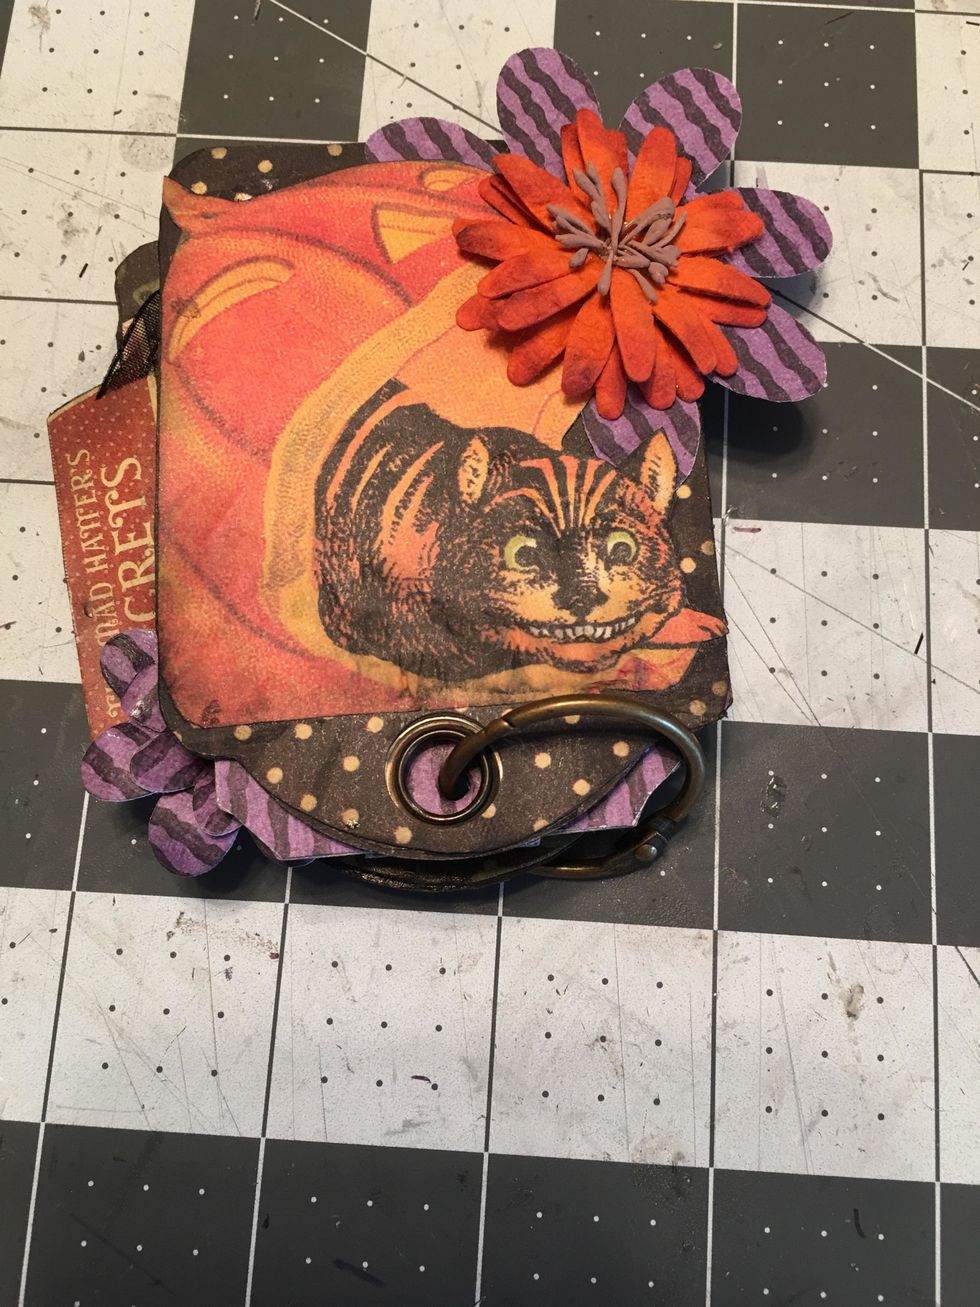
Add a Halloween banner this becomes the front cover of your tag album.
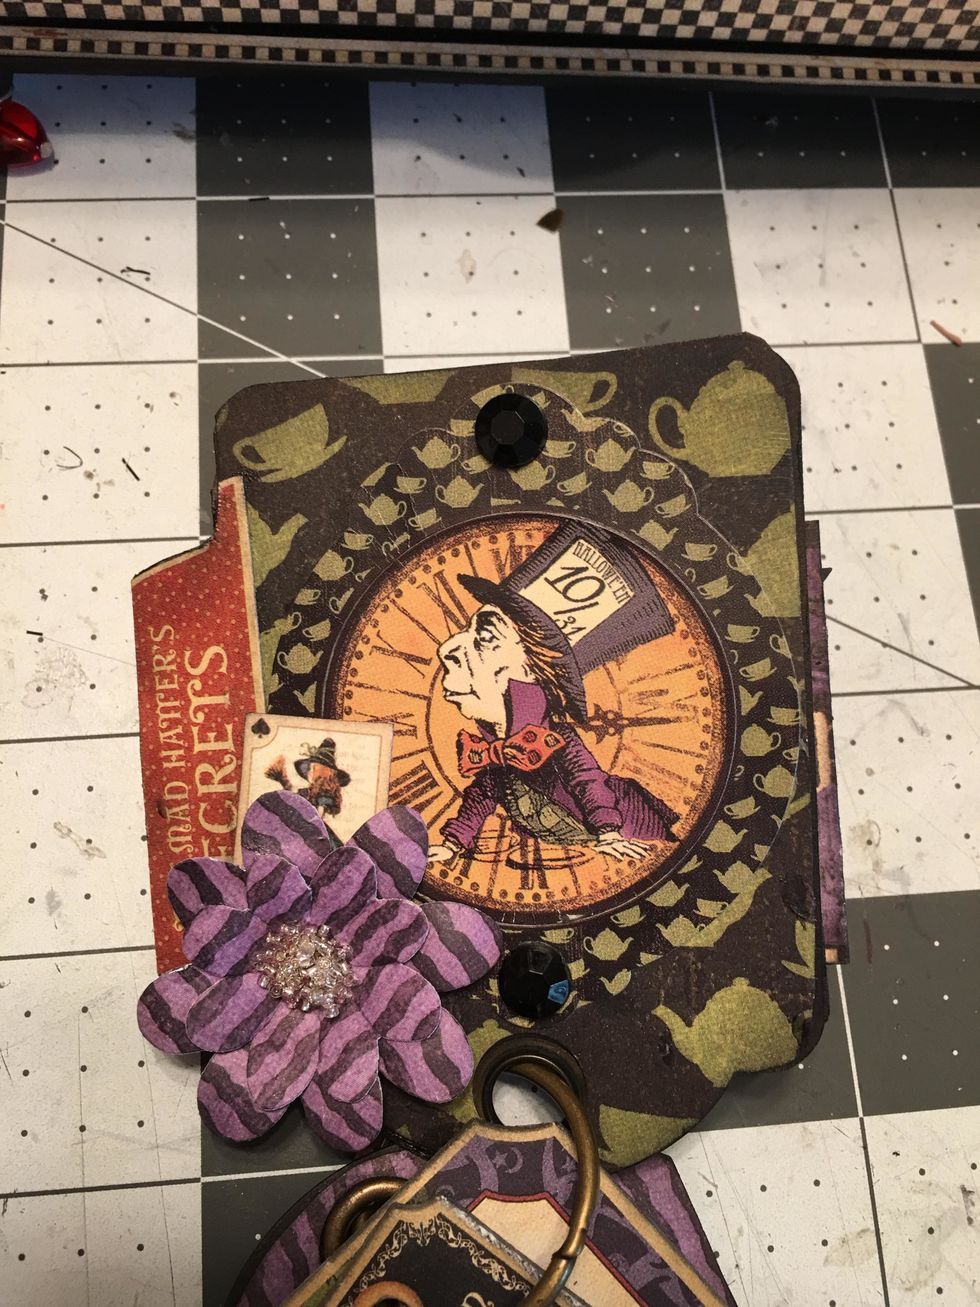
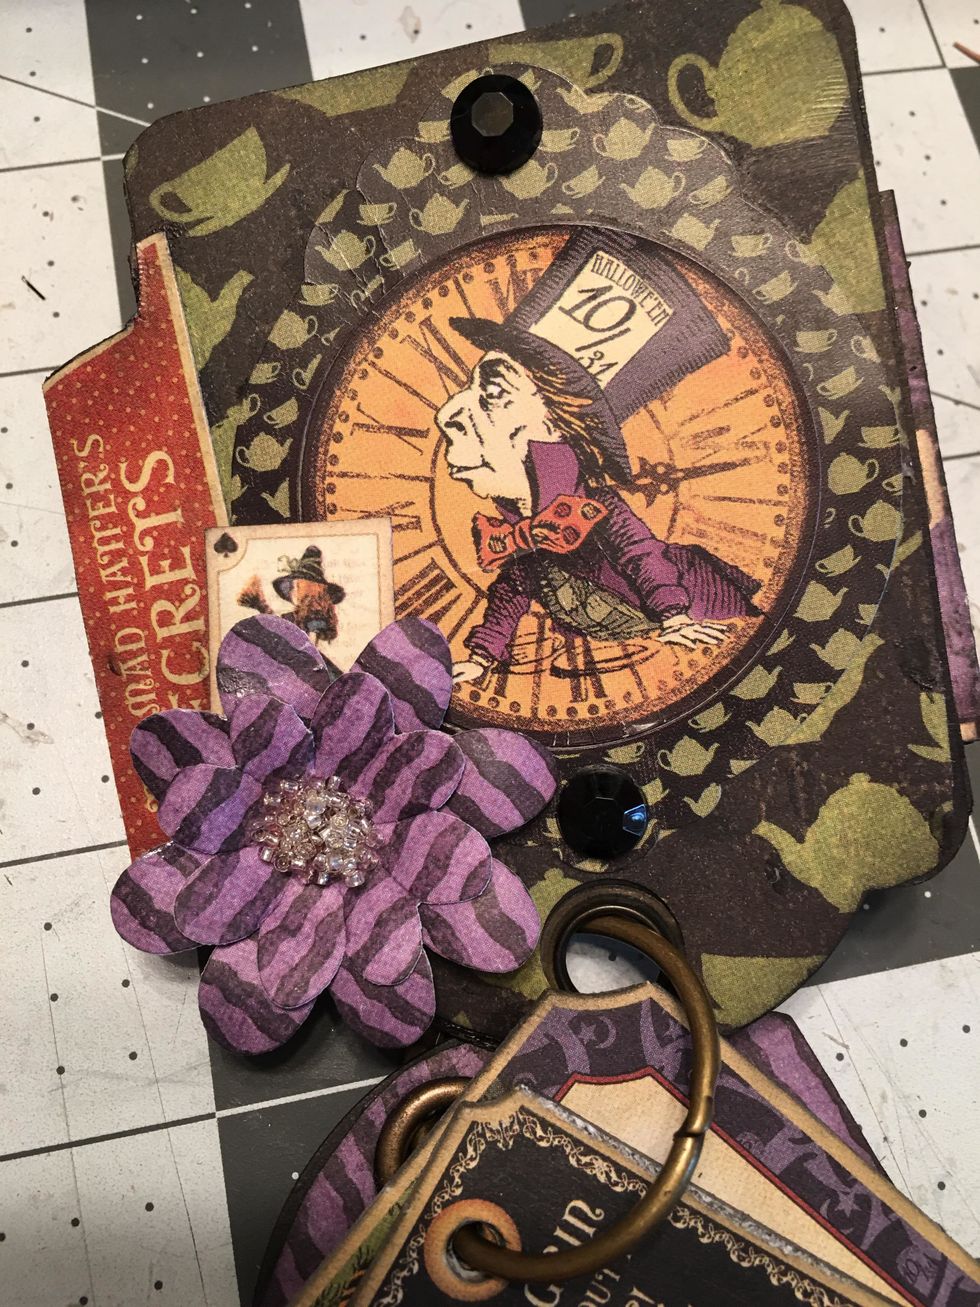
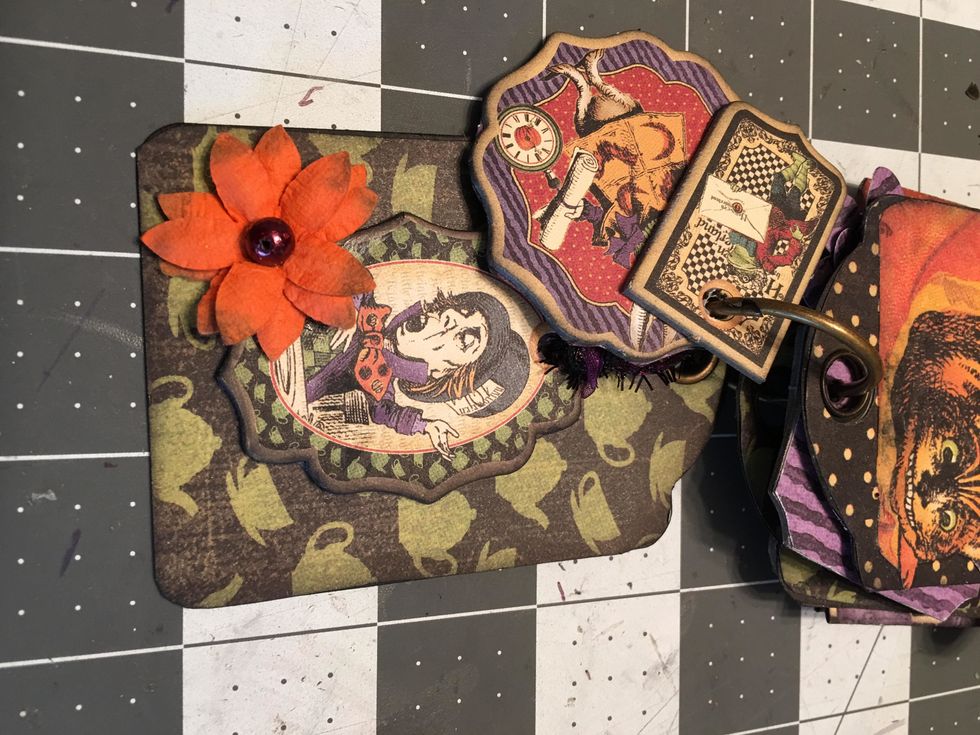
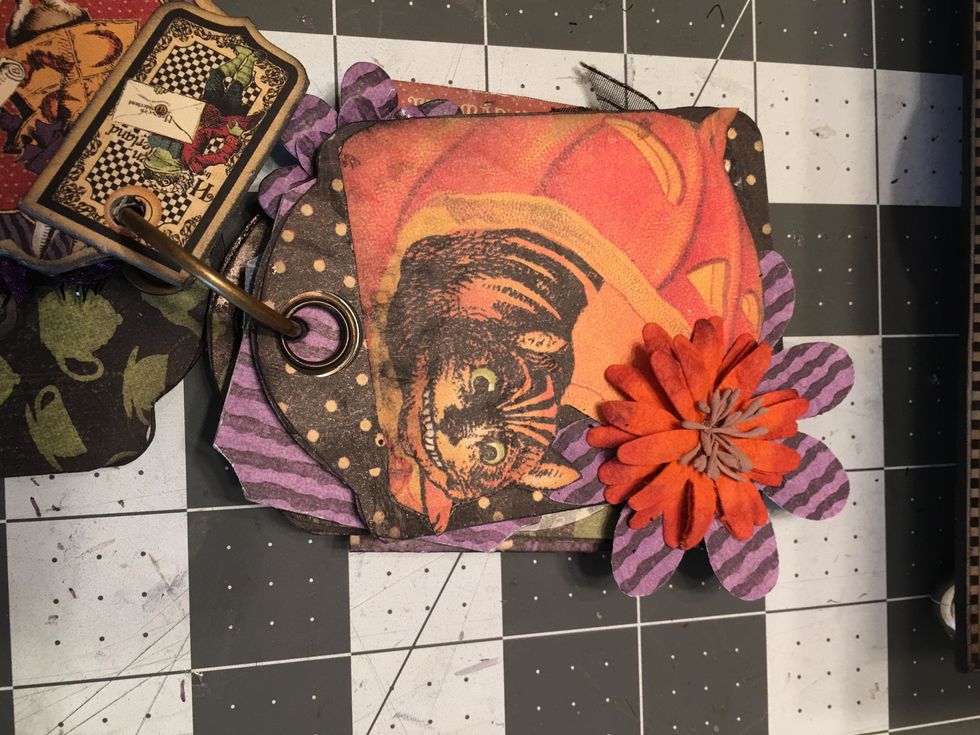
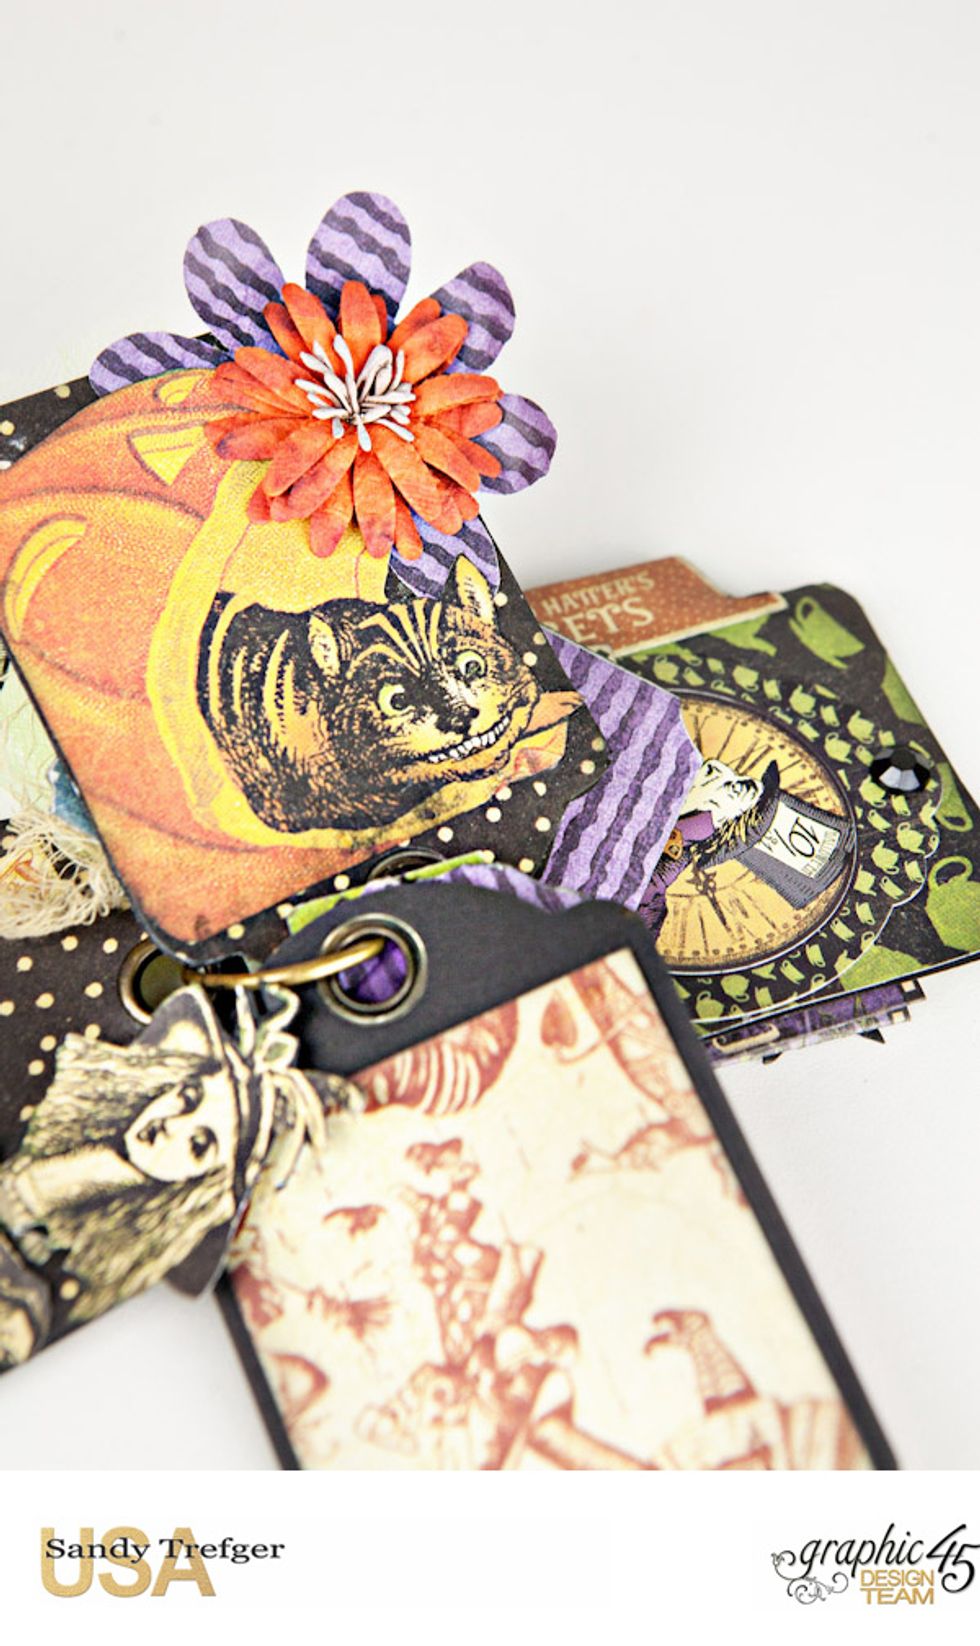
Continue to decorate each tag page with stickers or chipboard frames, flowers punched from the paper collection and different fussy cut elements.
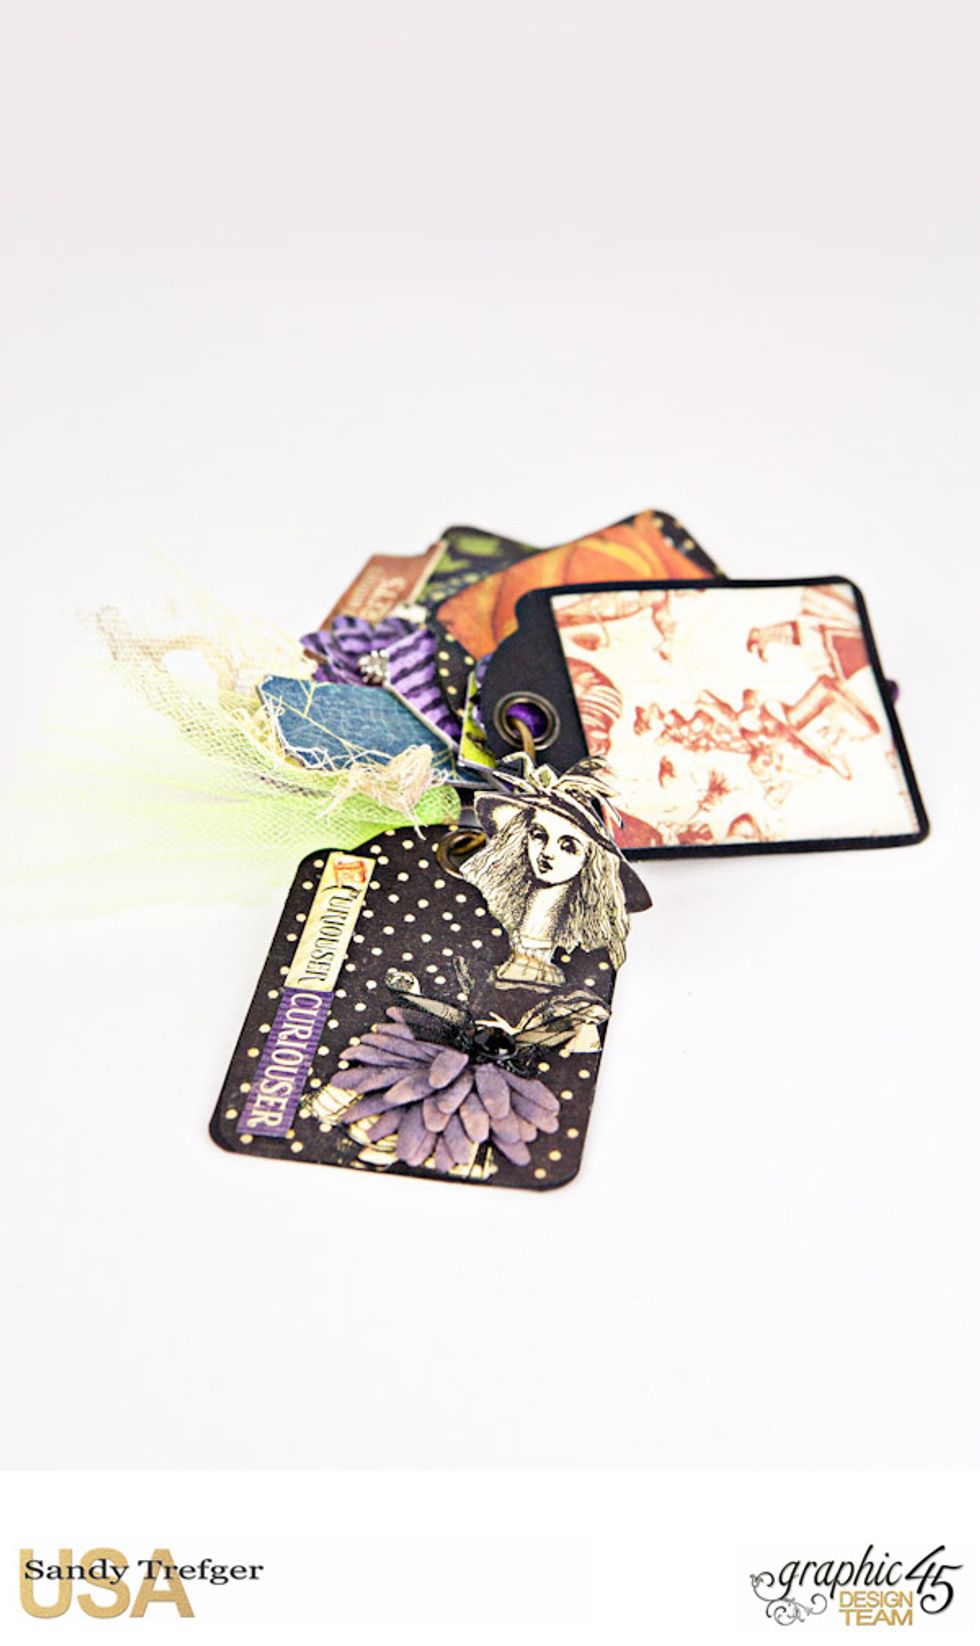
As you finish each tag page, add it to the ring of your album and arrange in the order that you want.
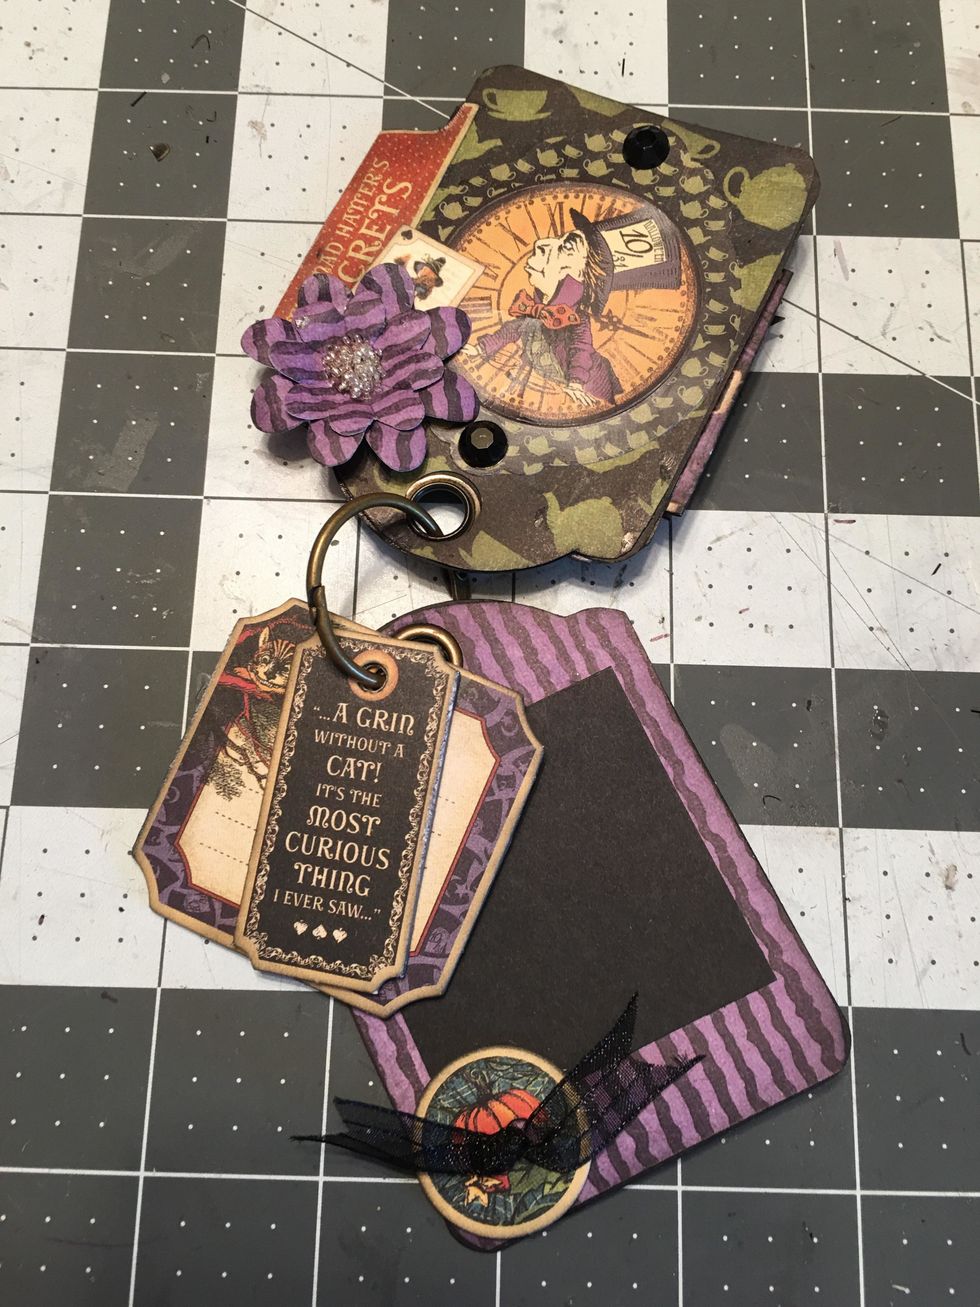
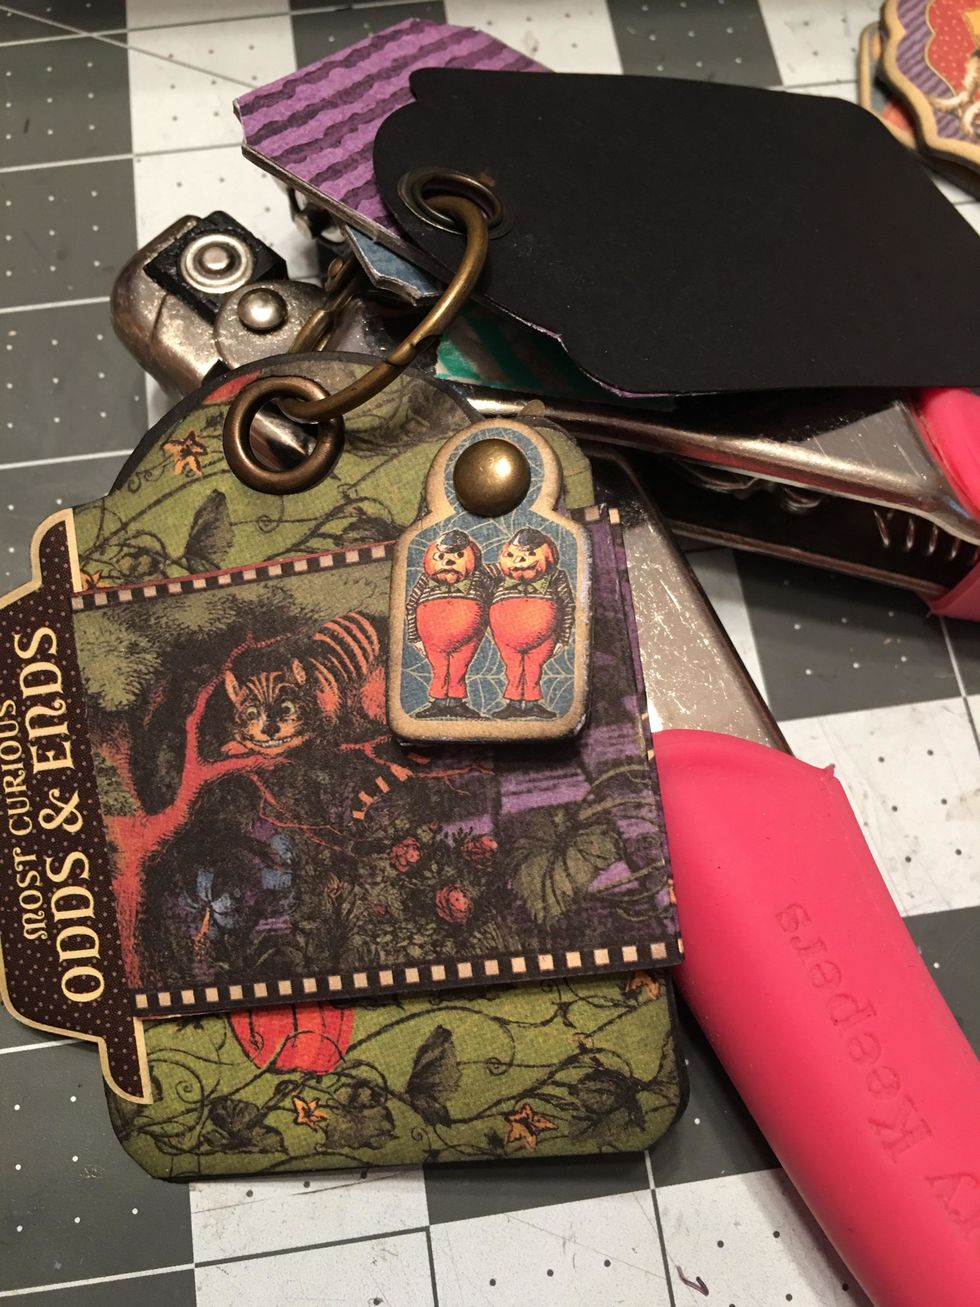
Add photo mats, chipboard buttons, ribbon and add chipboard tags on to the ring of the album as shown in this photo.
Decorate the backside of your tag pages too. Just make sure that the images added are in the right direction or the direction that you want them to be.
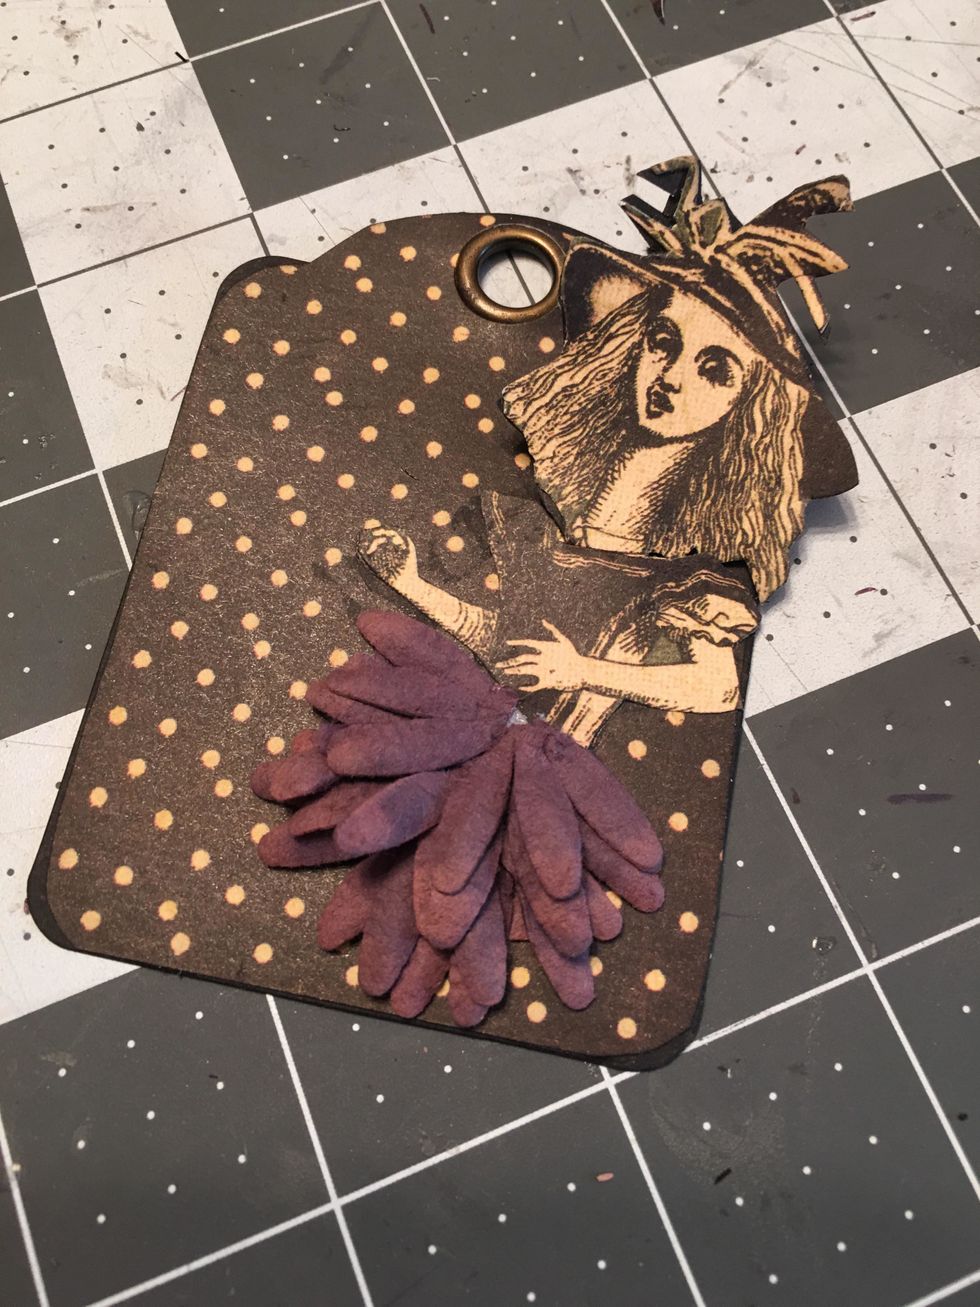
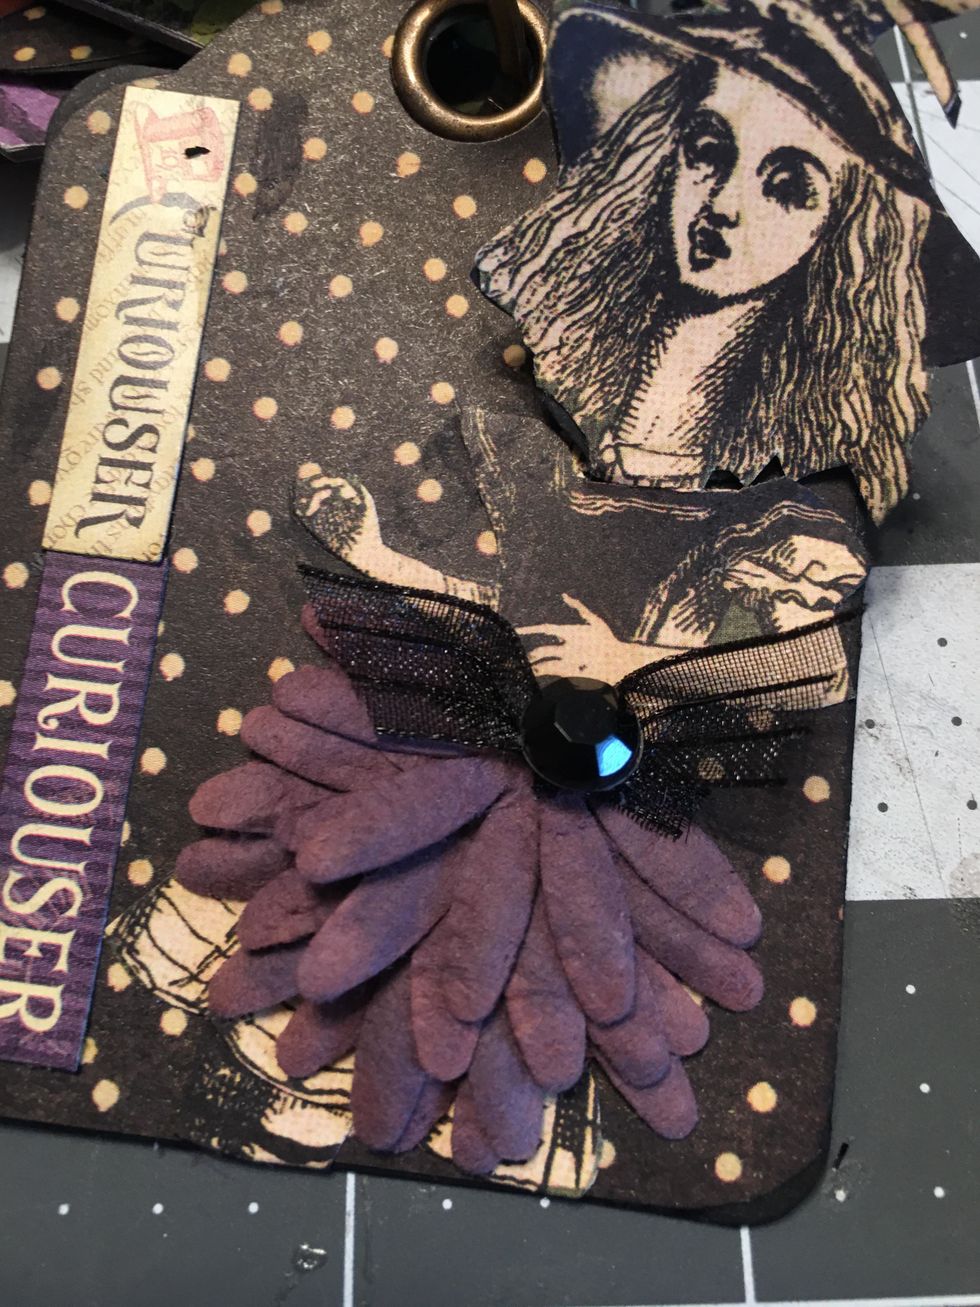
Create a fun element on a tag page with the "spooky Alice" by creating a skirt out of flowers cut in half and folding her long neck so that it unfolds....
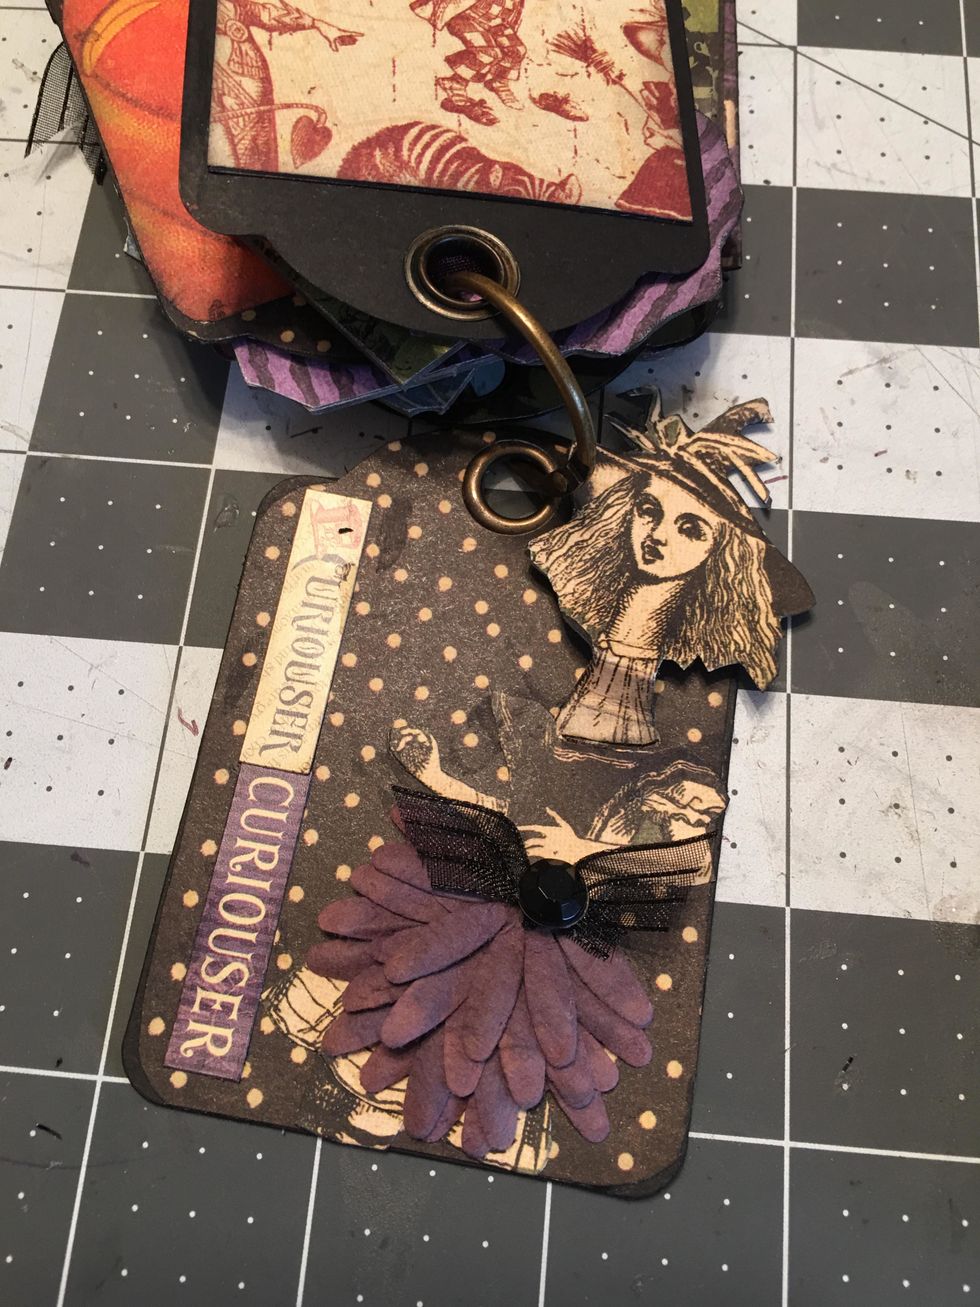
...out of the top of her dress as shown here. Add a ribbon bow to the top of her skirt.
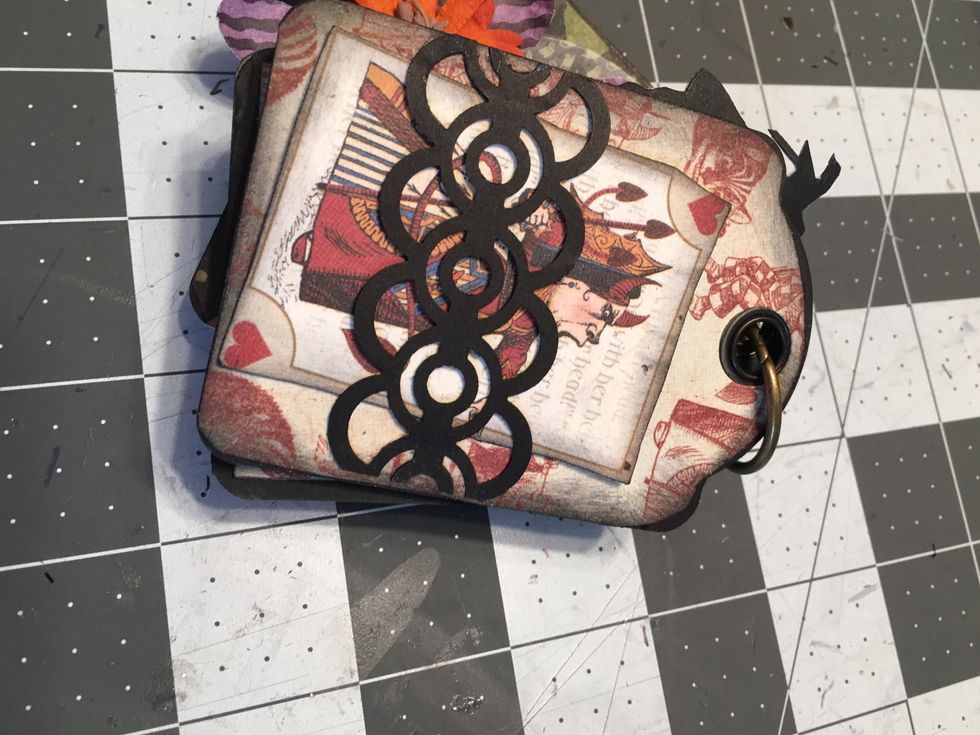
Use punched trim to create belly bands on some of the tag pages and insert a cut out from the collection.
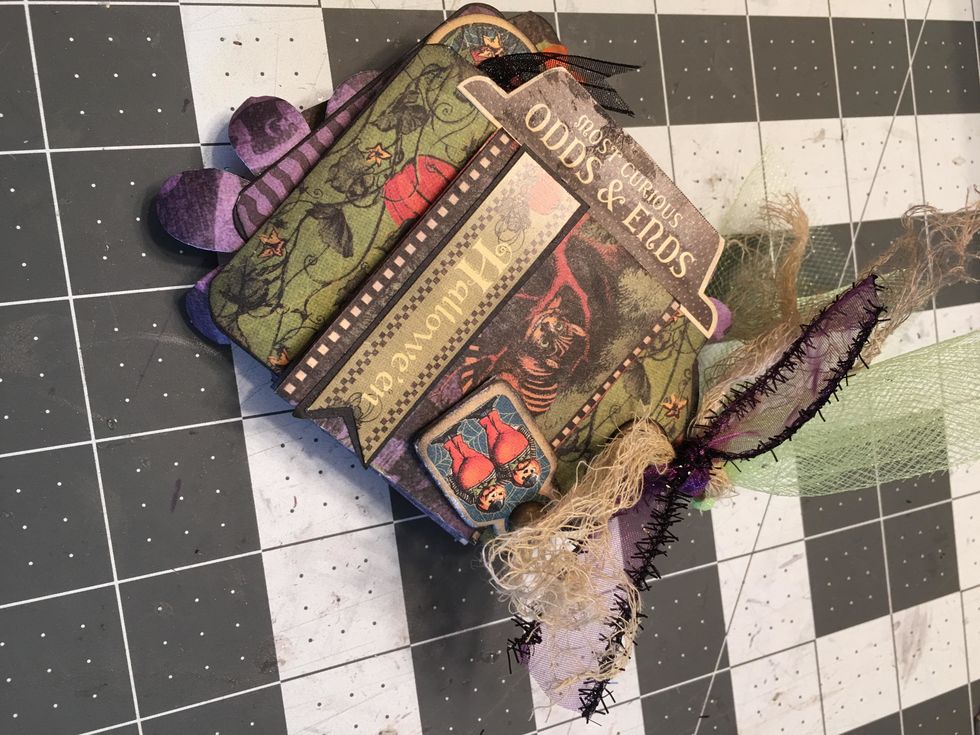
Once you've added all your tags and "pages" tie ribbons, tulle and stained cheese cloth to the ring of the album.
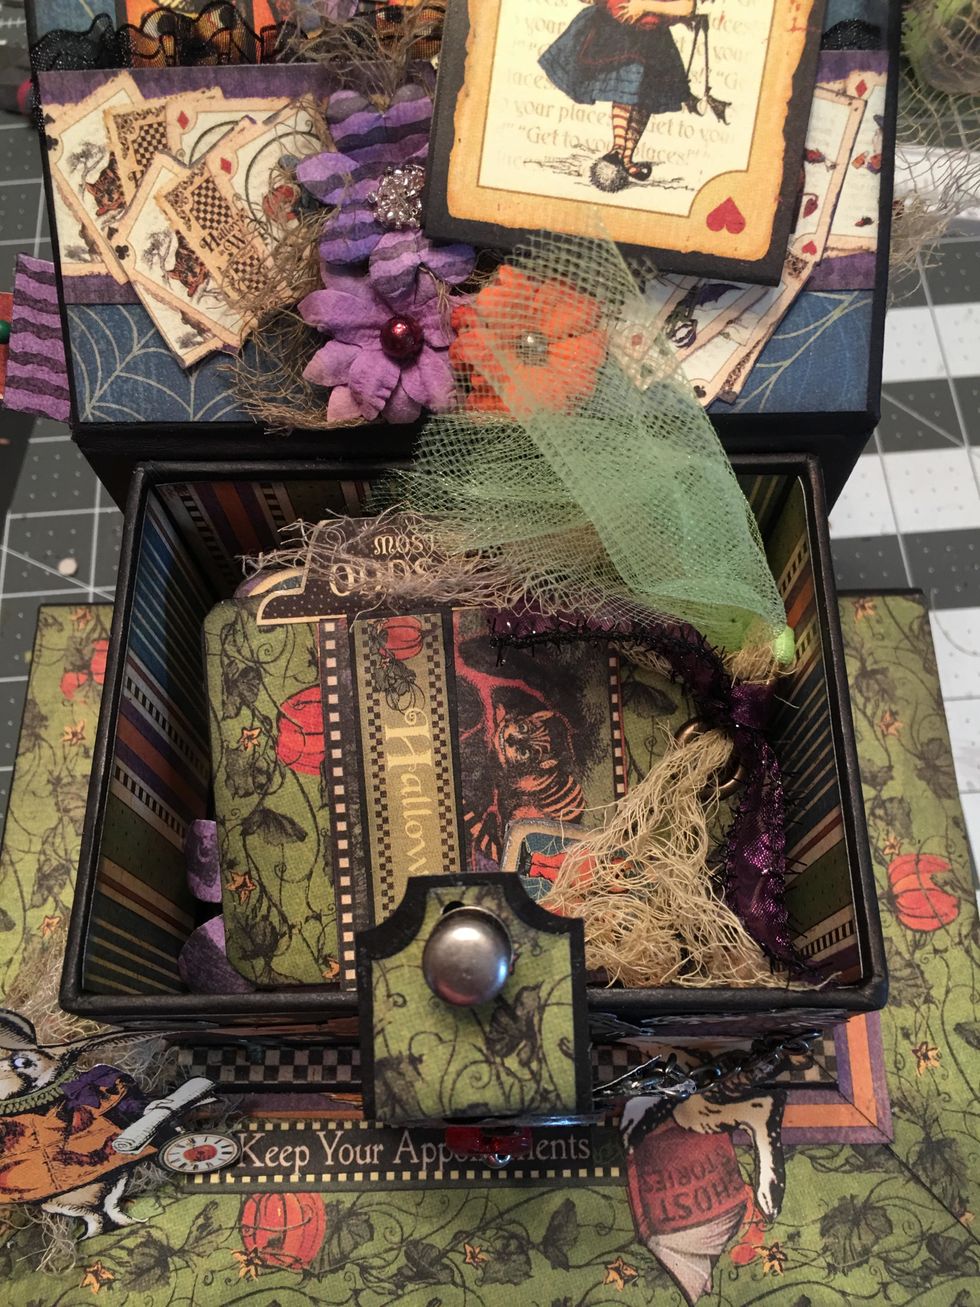
The ATC tag album will fit perfectly into the top portion of the trinket box. For instructions on how to make the trinket box out of Graphic 45 Staple book boxes, check out my Snapguide tutorials.
Thank you so much for checking out my Snapguide Tutorial and Happy Crafting! ~Sandy