The Conversation (0)
Sign Up
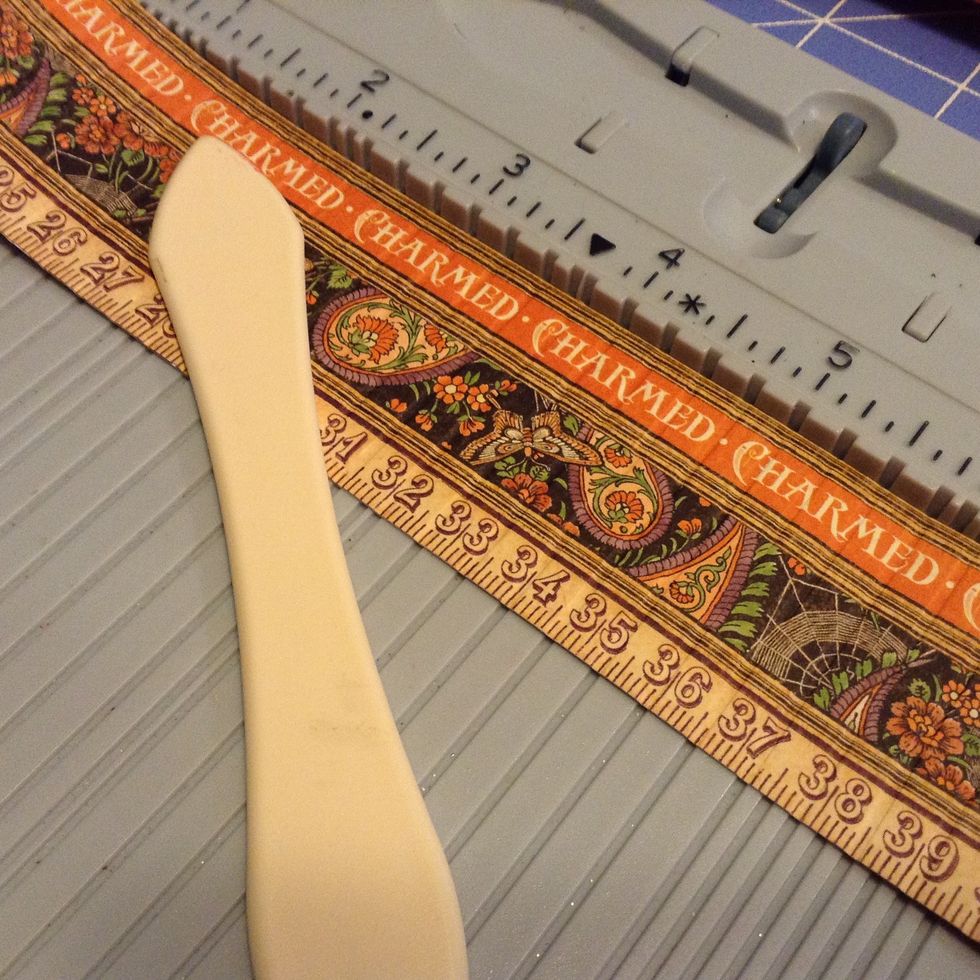
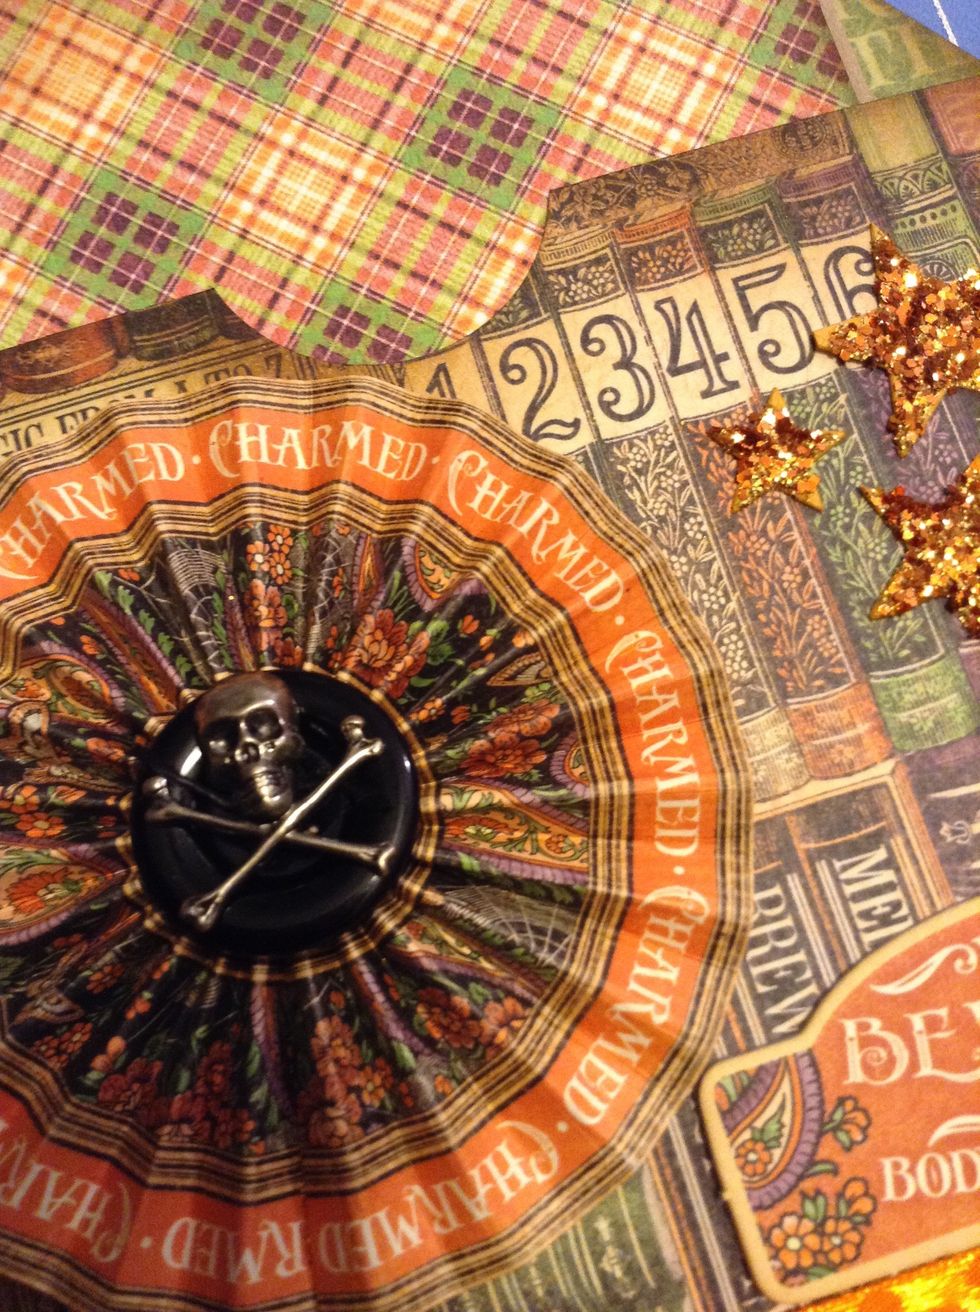
Using a scoring board, score a 1 1/2" x 12 " paper strip for your florets
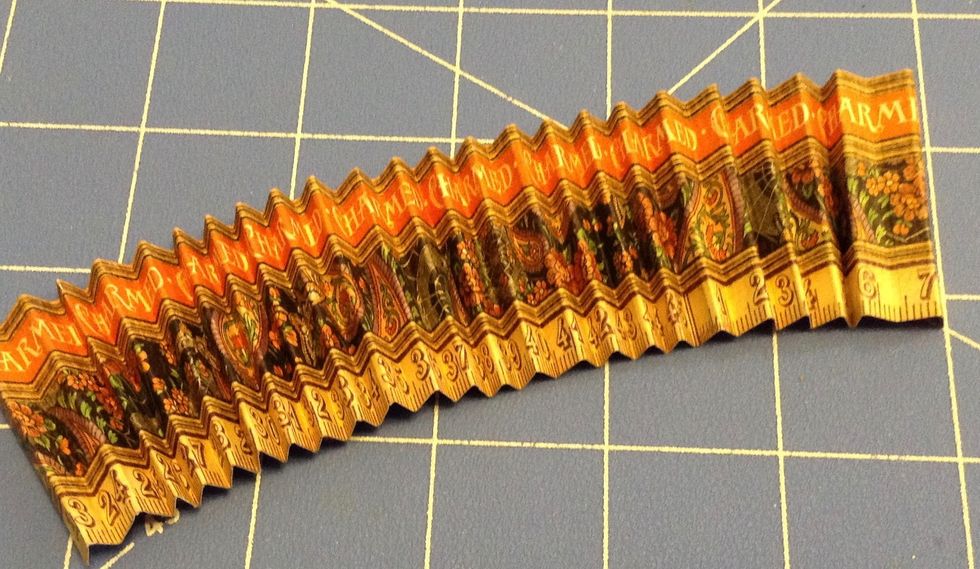
Fold back and forth, and assemble your floret. NOTE: Refer to my post "The Beautiful Floret" on the FotoBella Blog to see a step by step tutorial on how to assemble a Floret. blog.fotobella.com
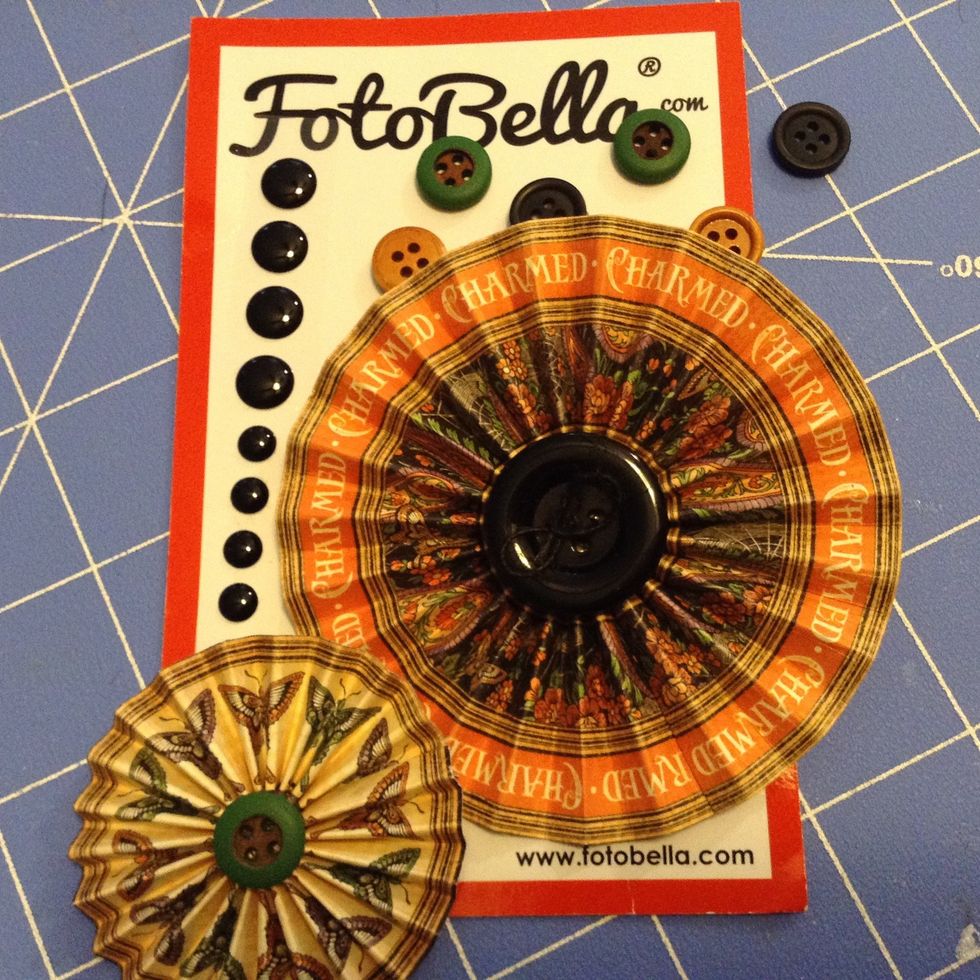
Assemble the florets and add buttons at center.
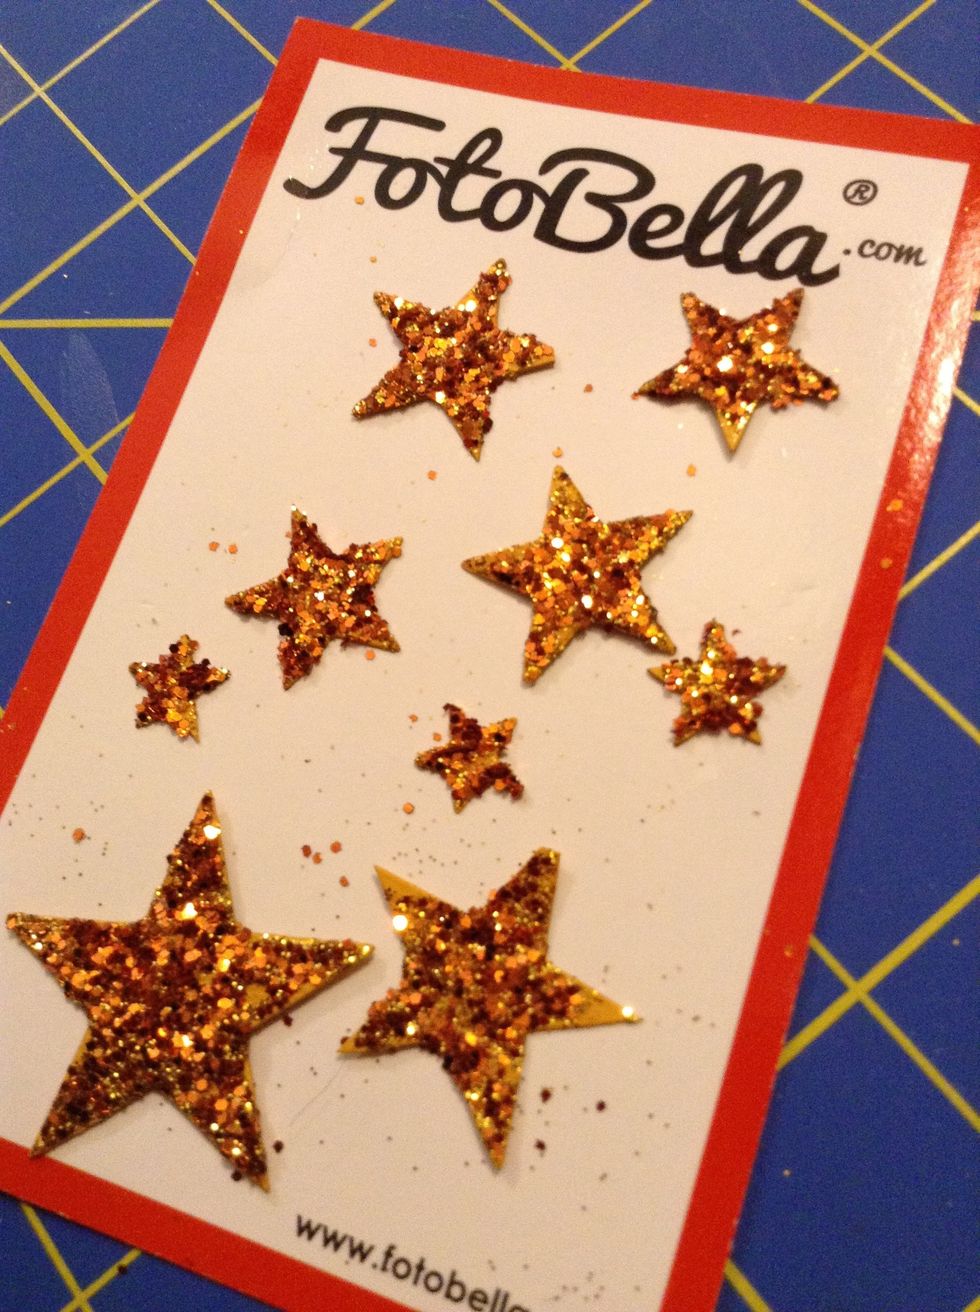
Next, cut out and glitter some stars.
Cut 3 rectangles measuring 4 1/2 x 6 3/4 from coordinating patterned paper.
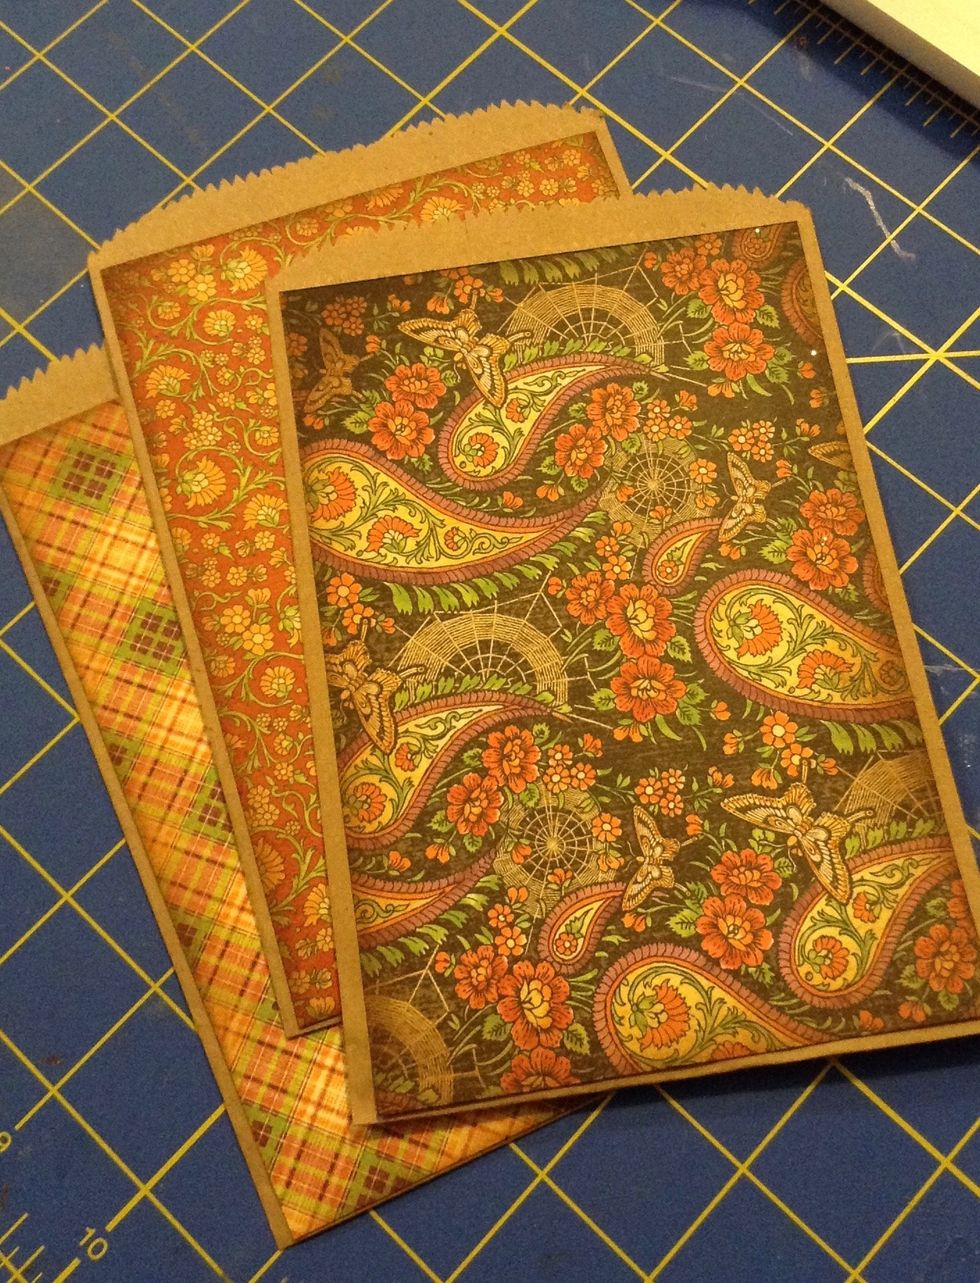
Adhere to bags
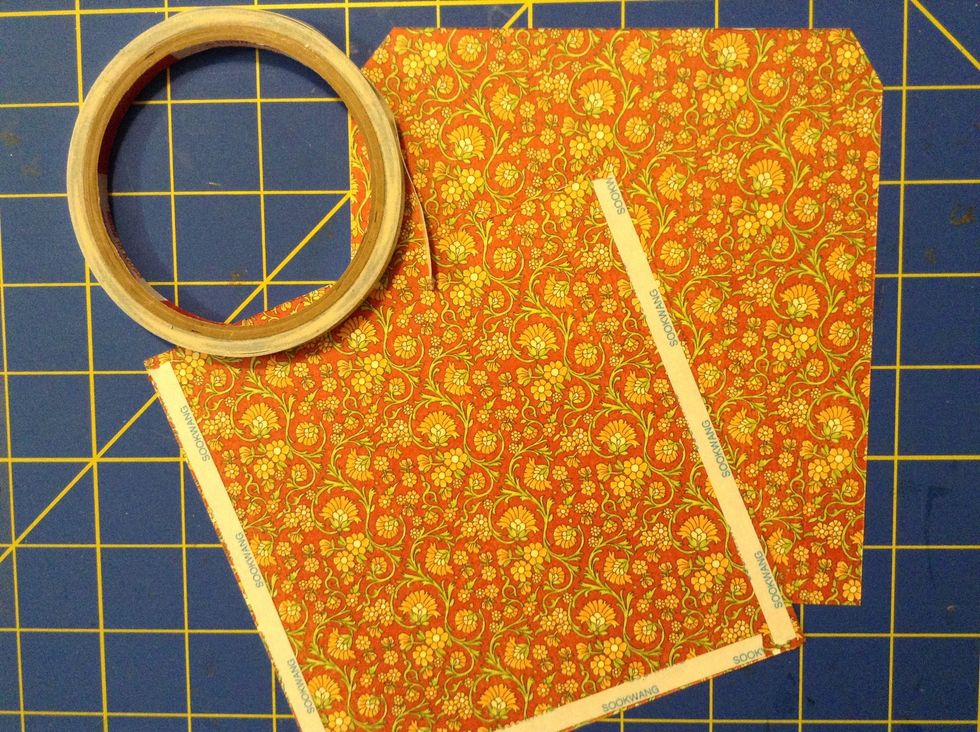
Using Scor-Tape, adhere 2 pieces of patterned paper together, creating a sleeve for the bag. The papers measure 5 1/2 x 5 3/4 (front) and 5 1/2 x 6 1/4 (back)
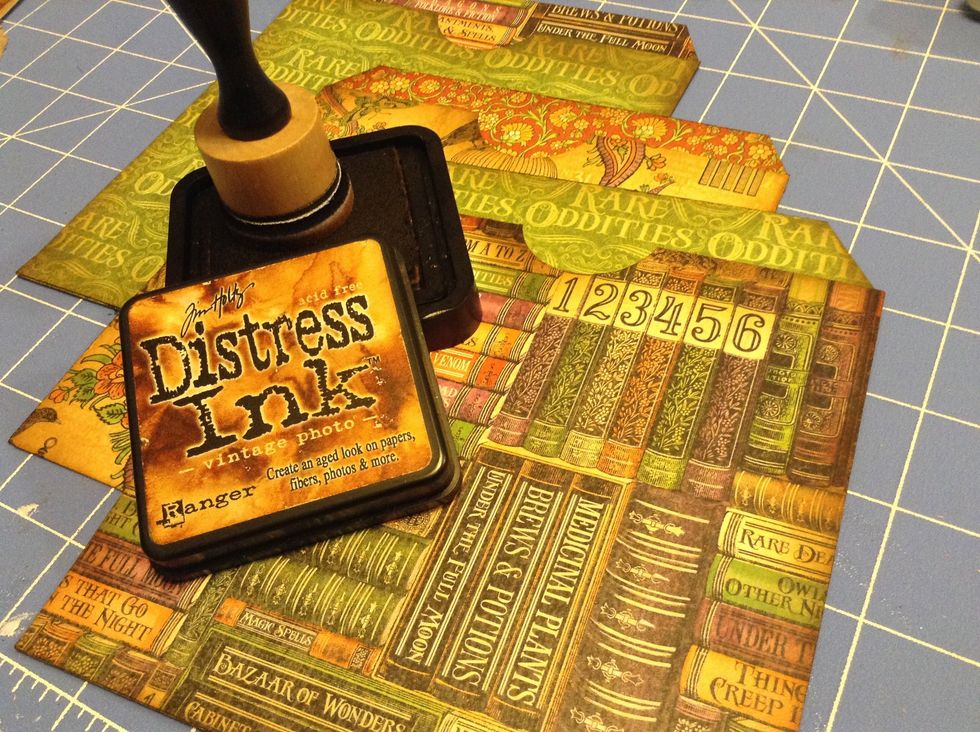
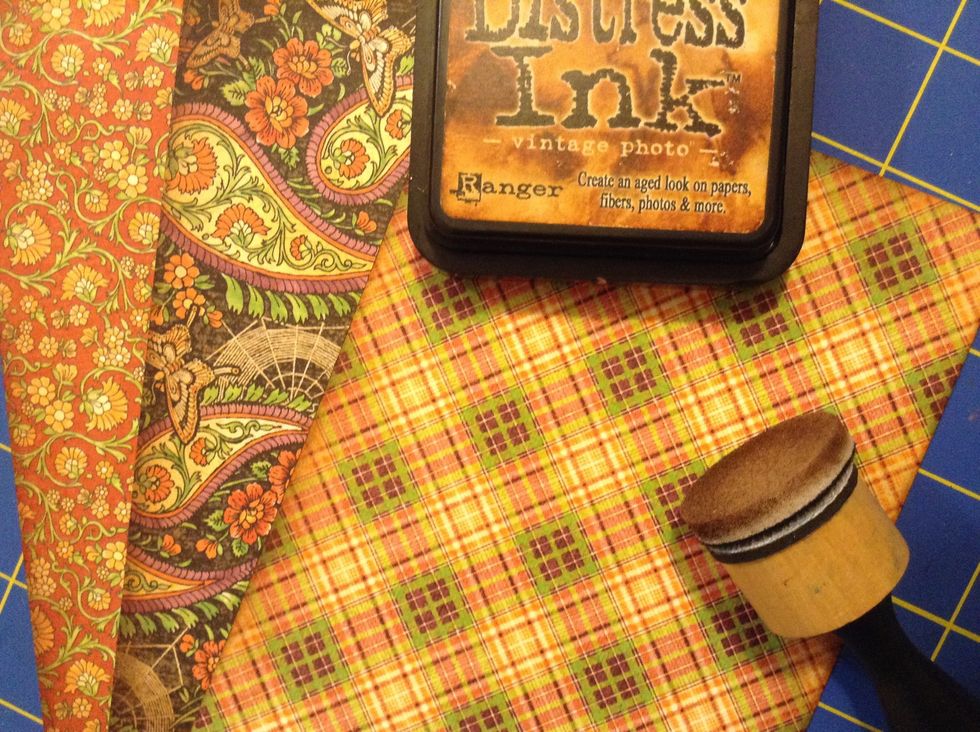
Ink the edges with Tim Holtz Vintage Photo Distress Ink. You can find this at www.FotoBella.com
Now it's time to decorate the bags.
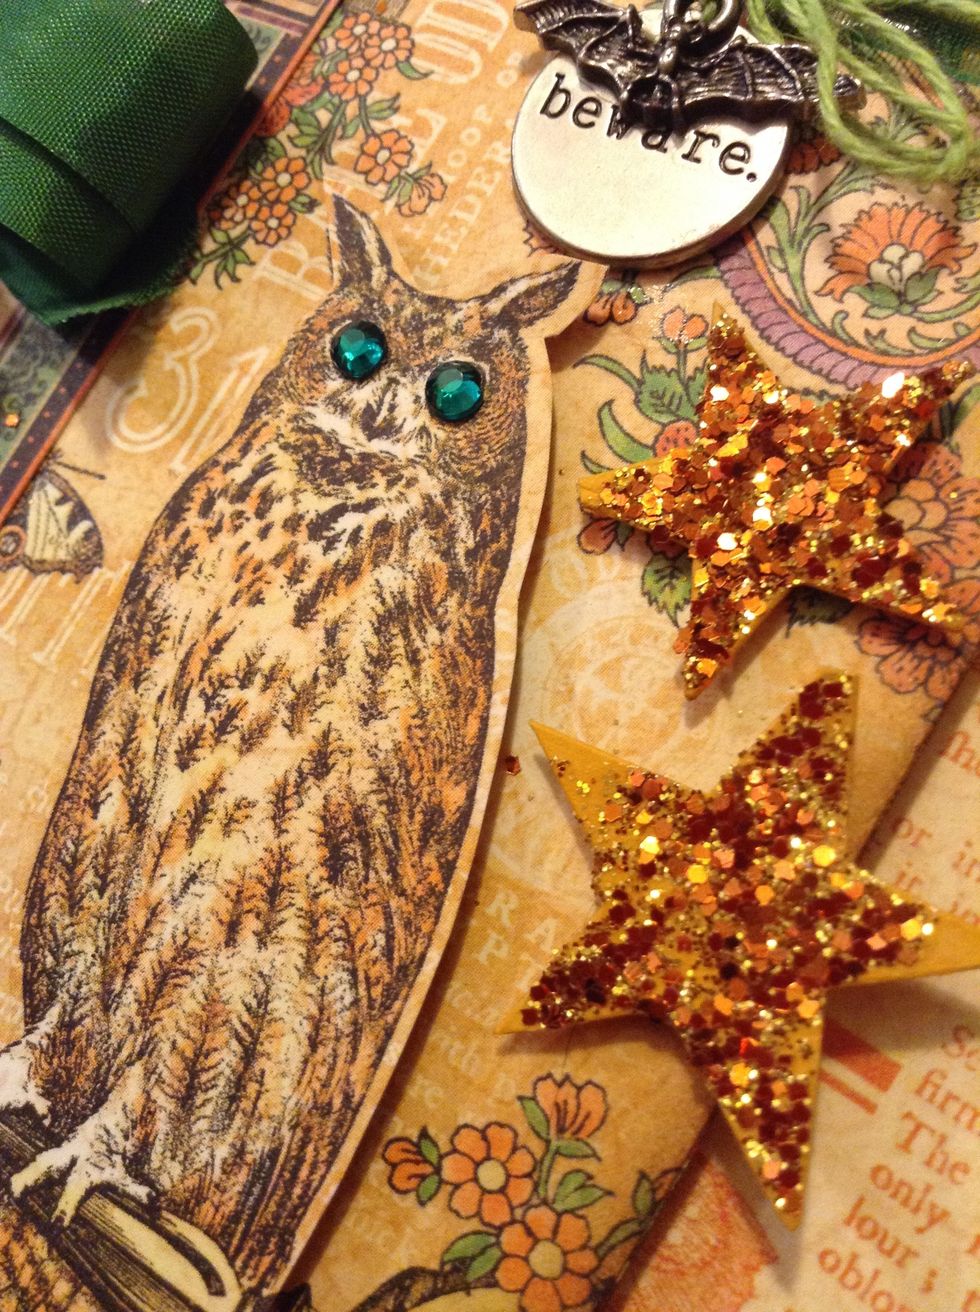
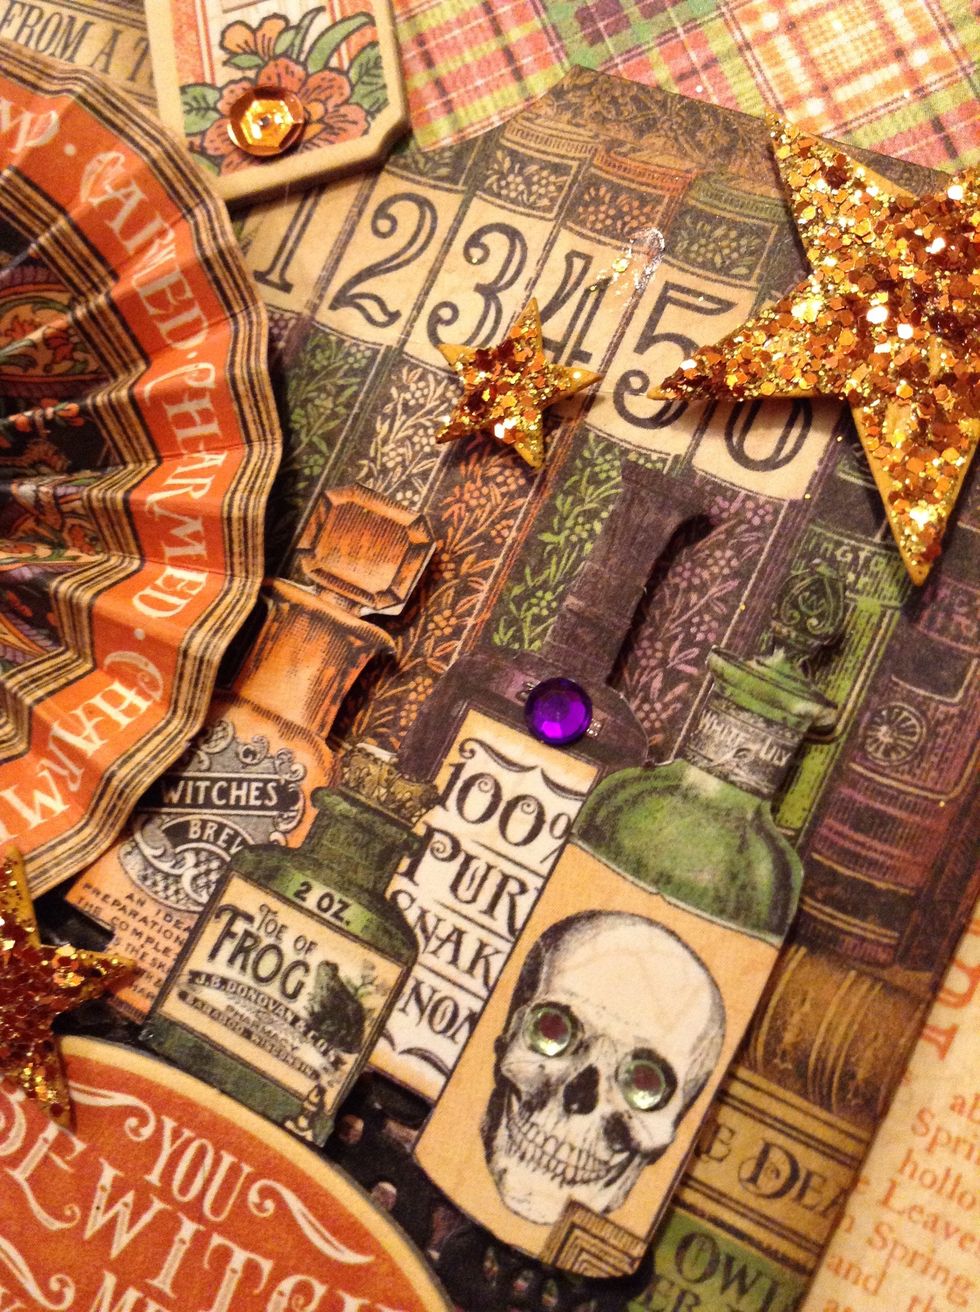
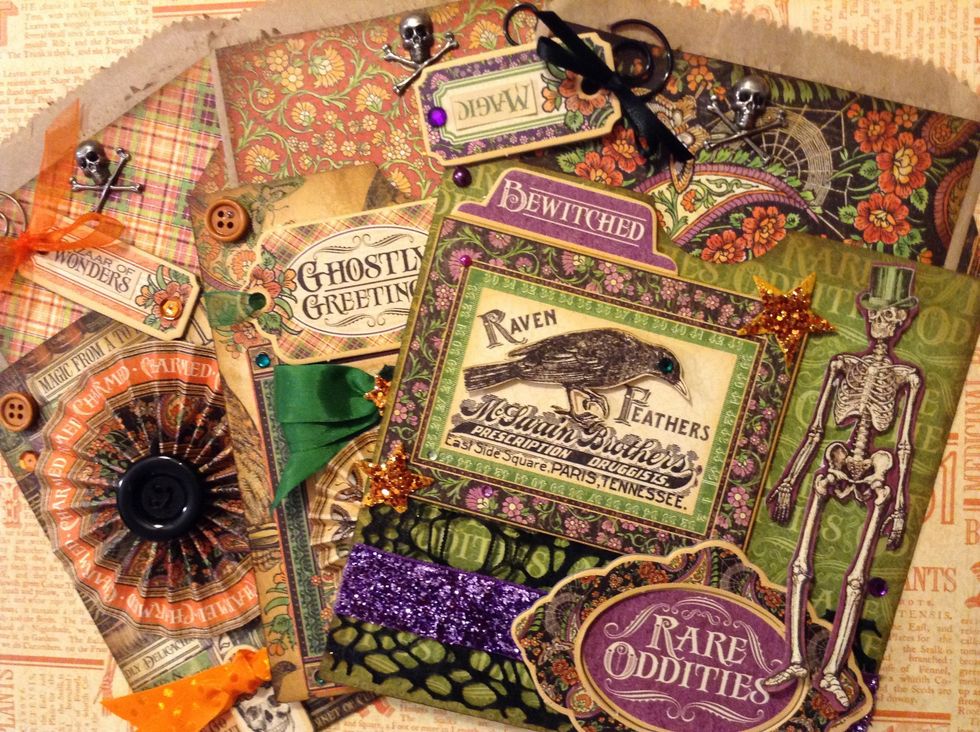
Using charms, fussy cuttings from the patterned paper, the glittered stars and the rhinestones etc. decorate your bags to your liking.
Here are some photos of how I decorated mine
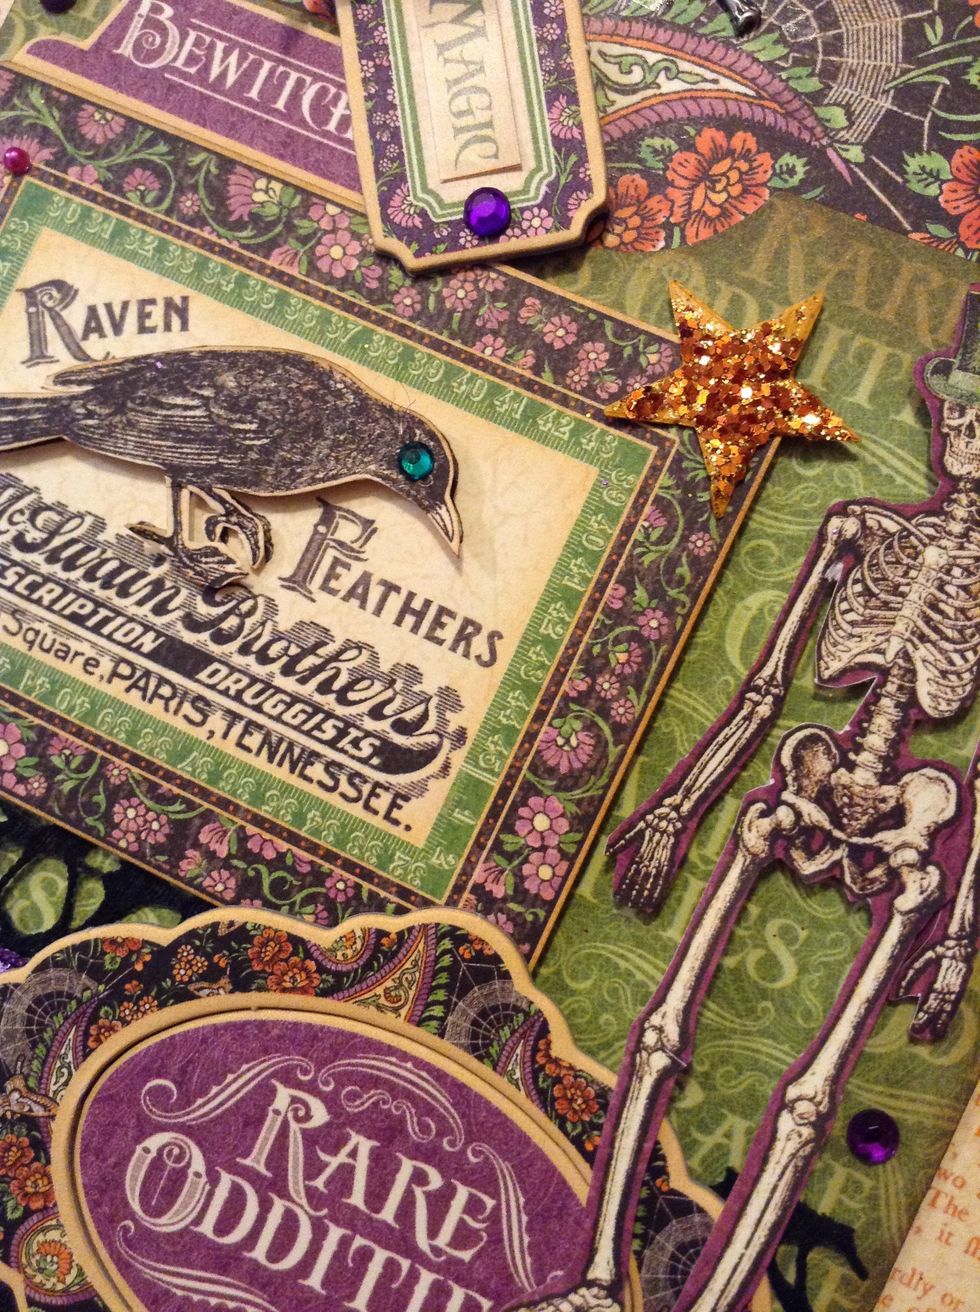
Here are some photos of how I decorated mine
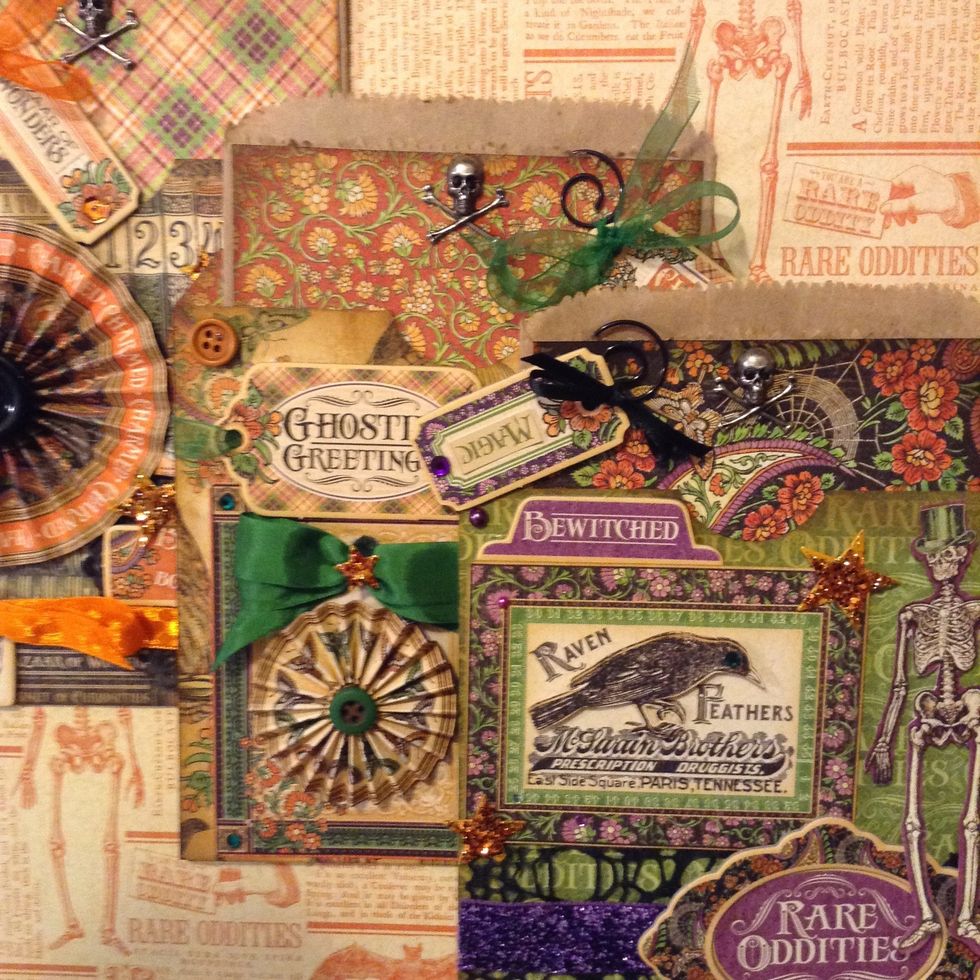
Here are the finished bags I created. They are so pretty, they're a gift in themselves!
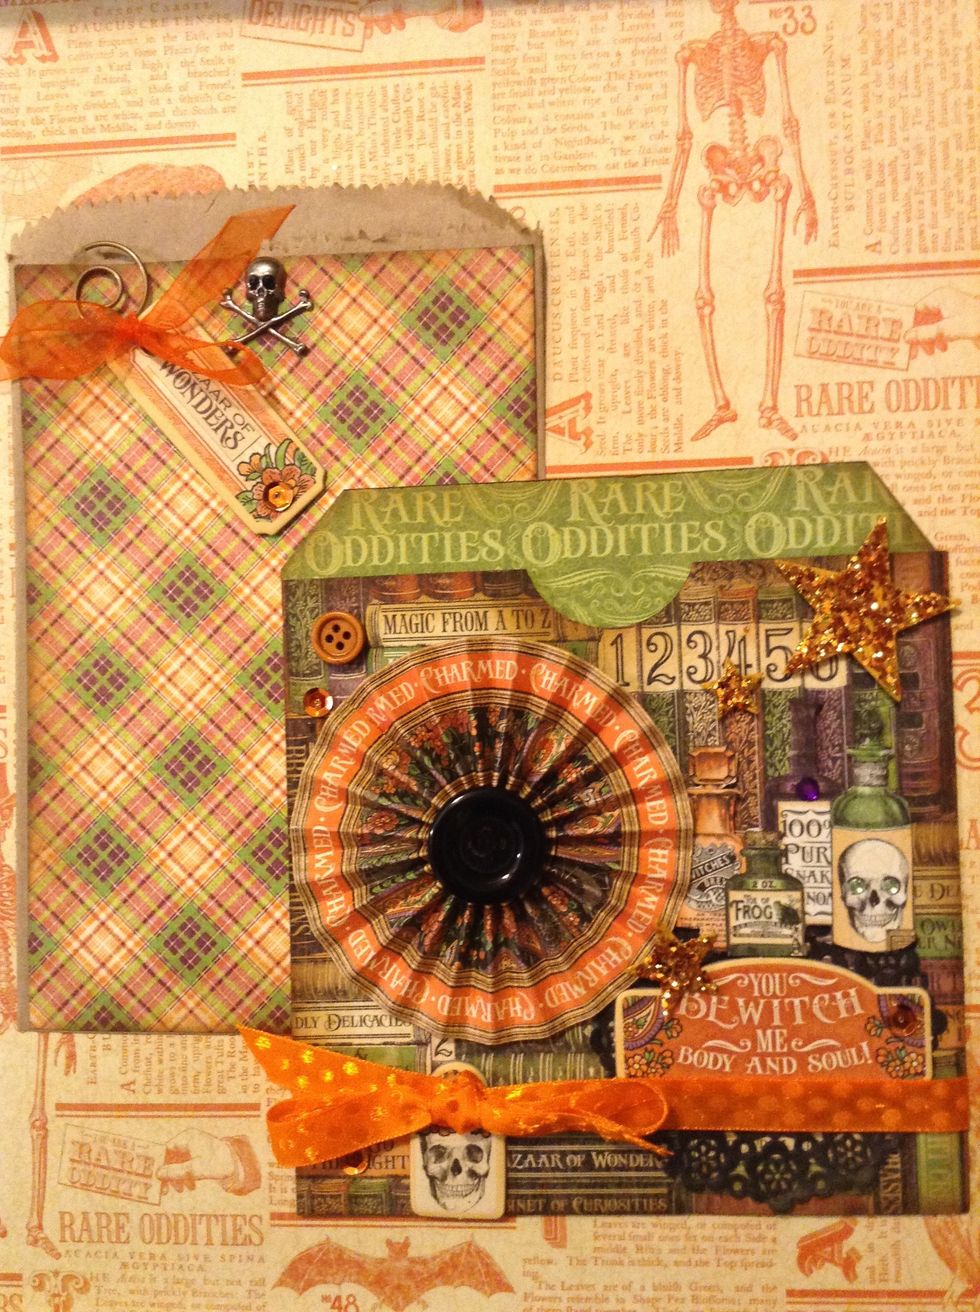
"You Bewitch Me" Bag and Sleeve
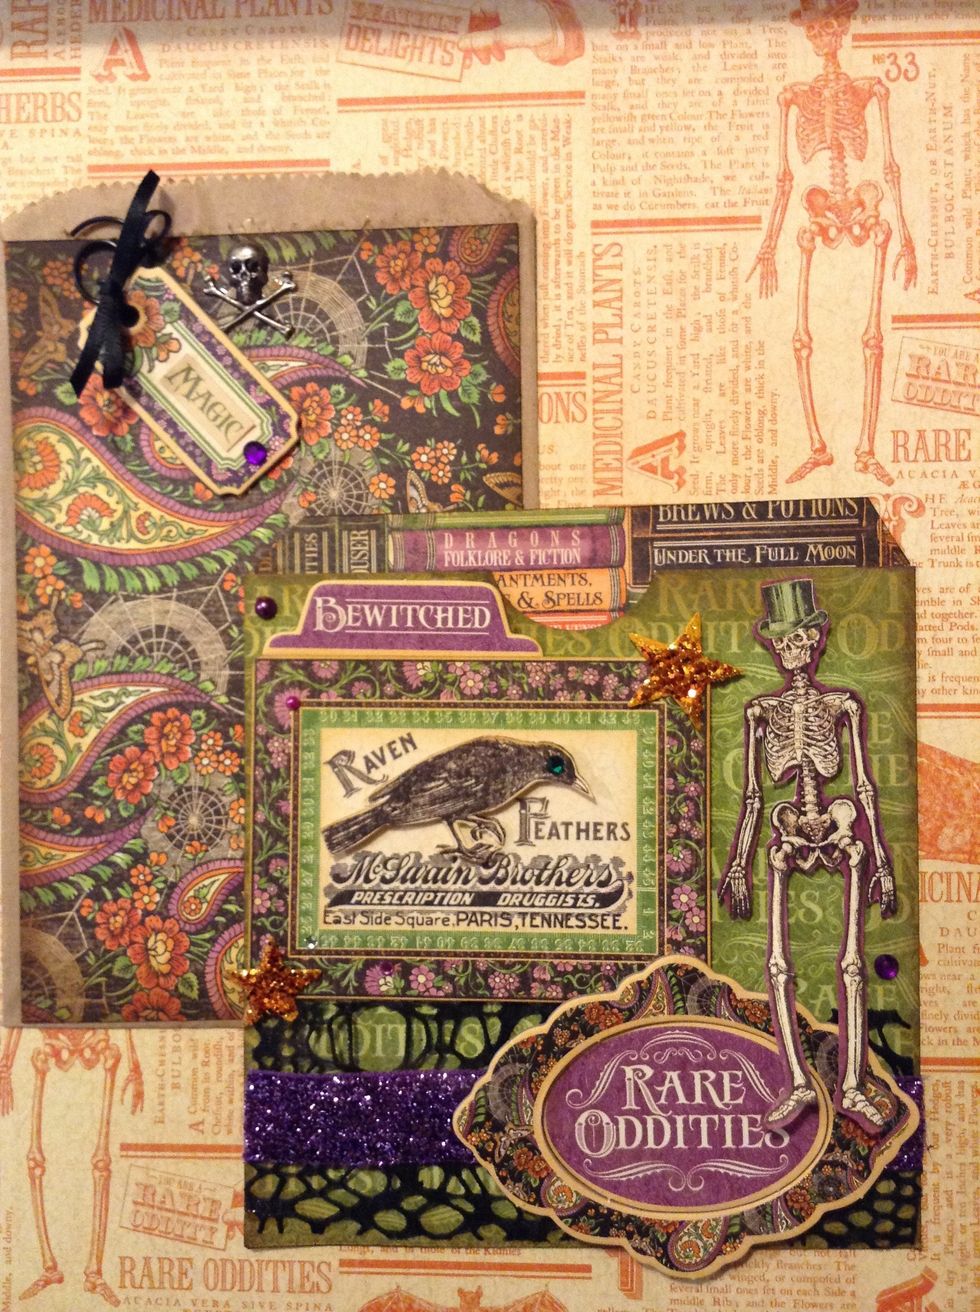
"Bewitched" Bag and Sleeve
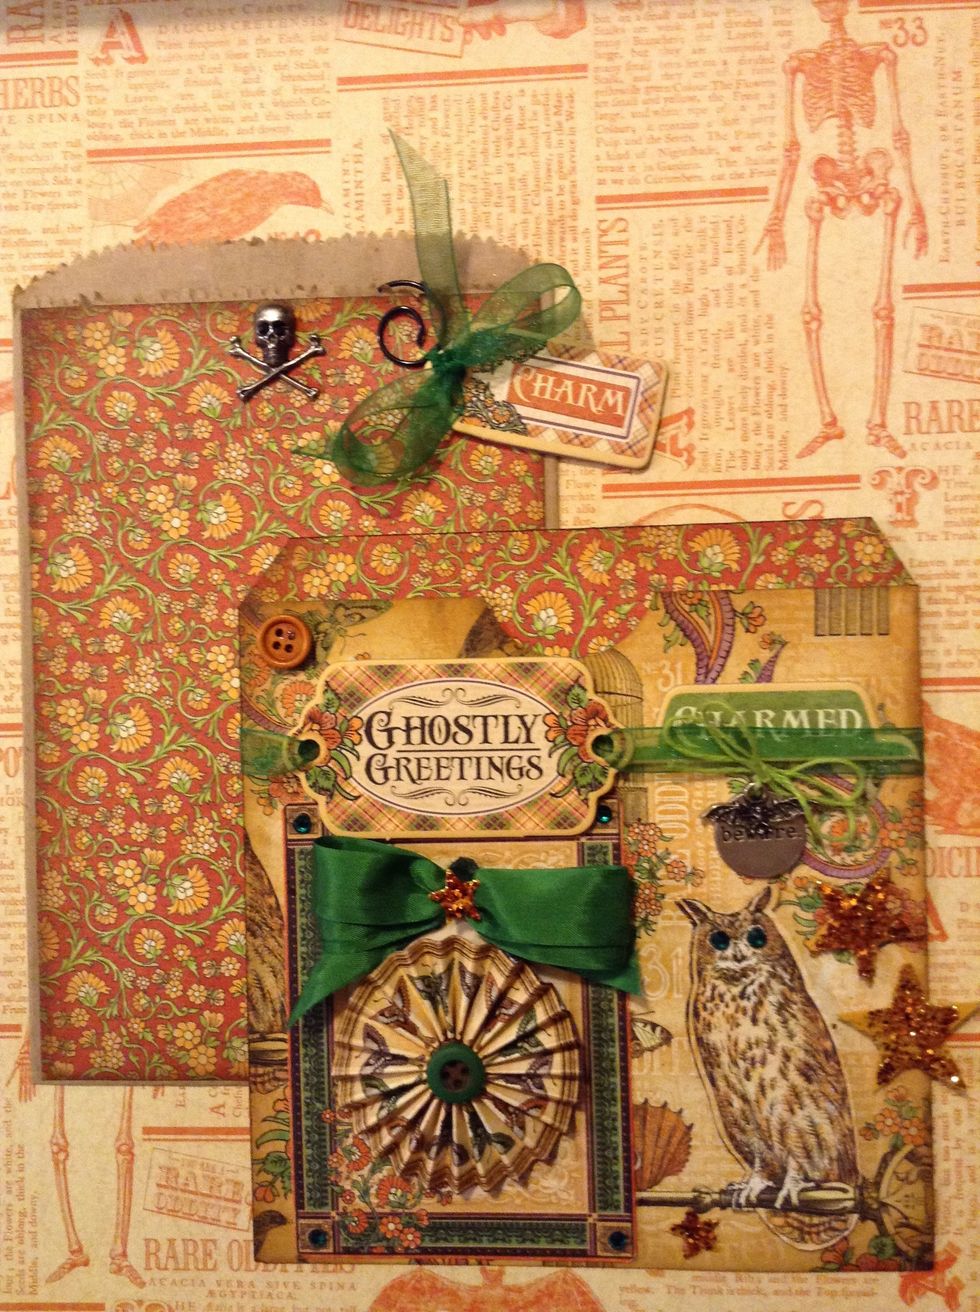
"Charmed" Bag and Sleeve
These gift bags are quick and easy to make, for any holiday! You can find all supplies I used at www.FotoBella.com Tutorial by FotoBella Design Team Member ReNae