The Conversation (0)
Sign Up
We are excited to introduce a new way of making guides. Give it a try and let us know what you think!

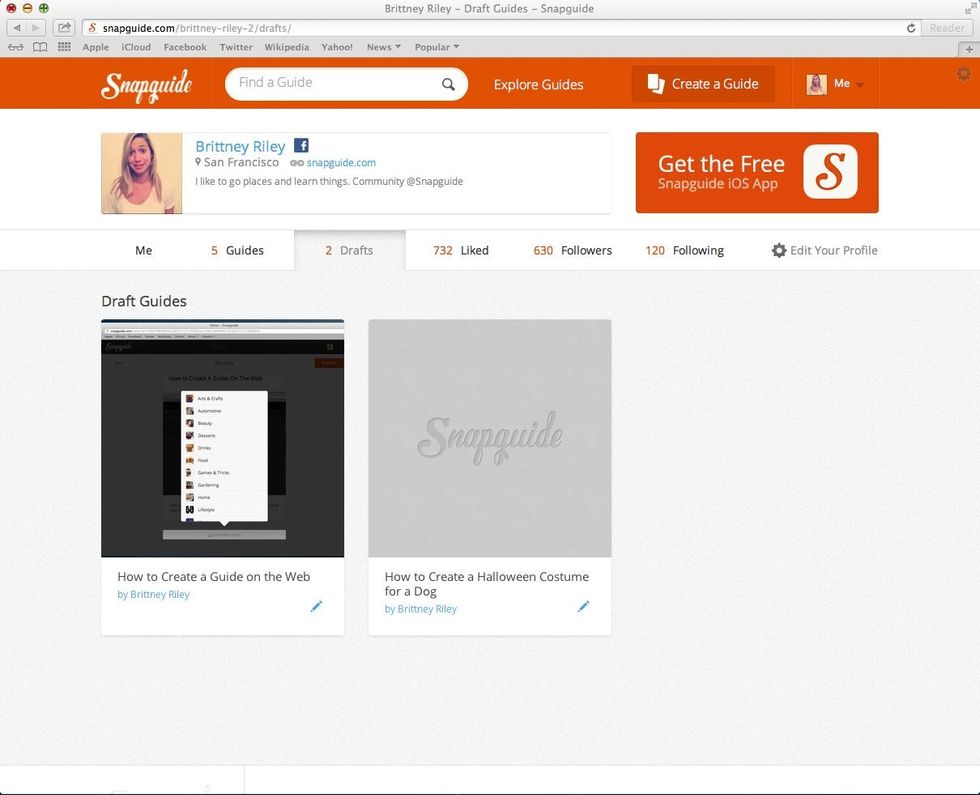
To get started, login and then click the "Create a Guide" button near your name. Or, if you've previously started a draft, click on "Me" and select "Draft Guides" from the drop down menu.
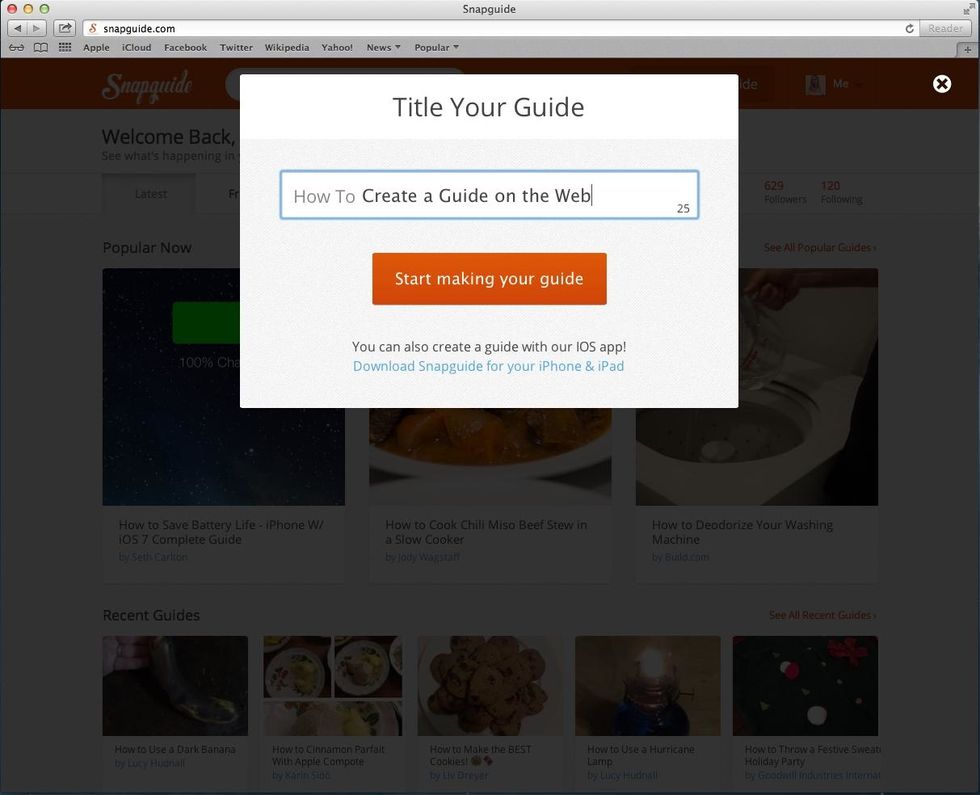
First, add your title. Make sure it clearly explains your guide and begins with an action verb like Make, Cook, or Build.

Once you have added your title, you will be brought to this screen. This is where the guide making fun happens.
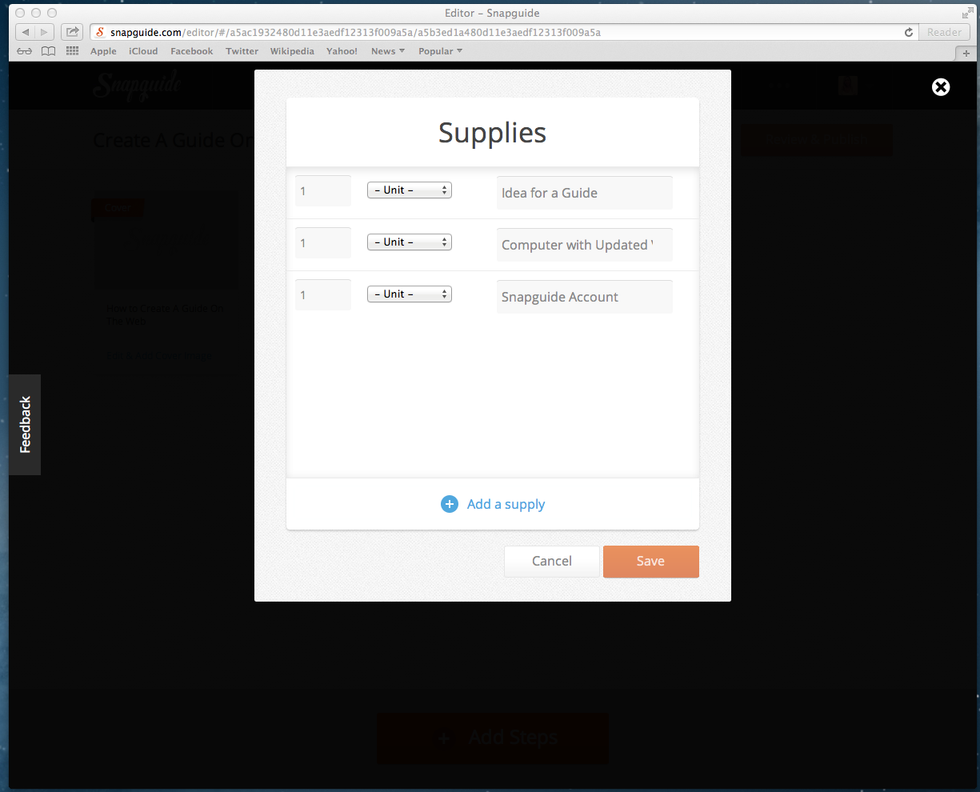
Click the supply card to enter the supplies needed to complete your how-to. To make it easier, select the pre-entered units of measurement.

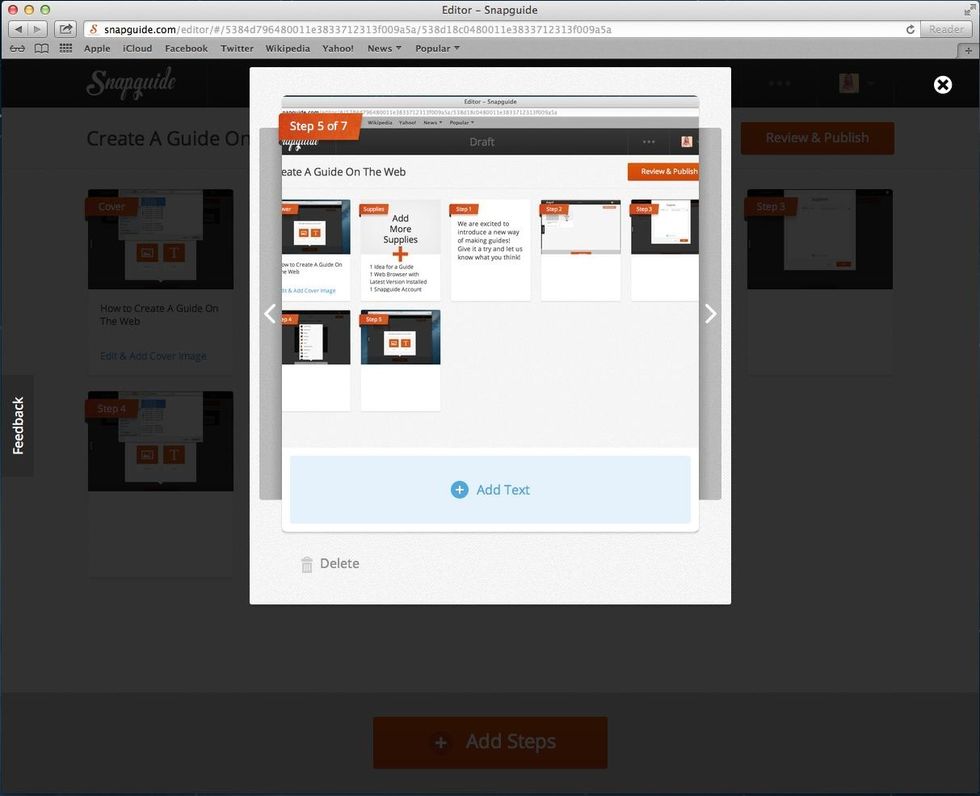
Click the orange "+ Add Steps" button at the bottom to start adding steps to your guide. Then click which type of content you would like to add.

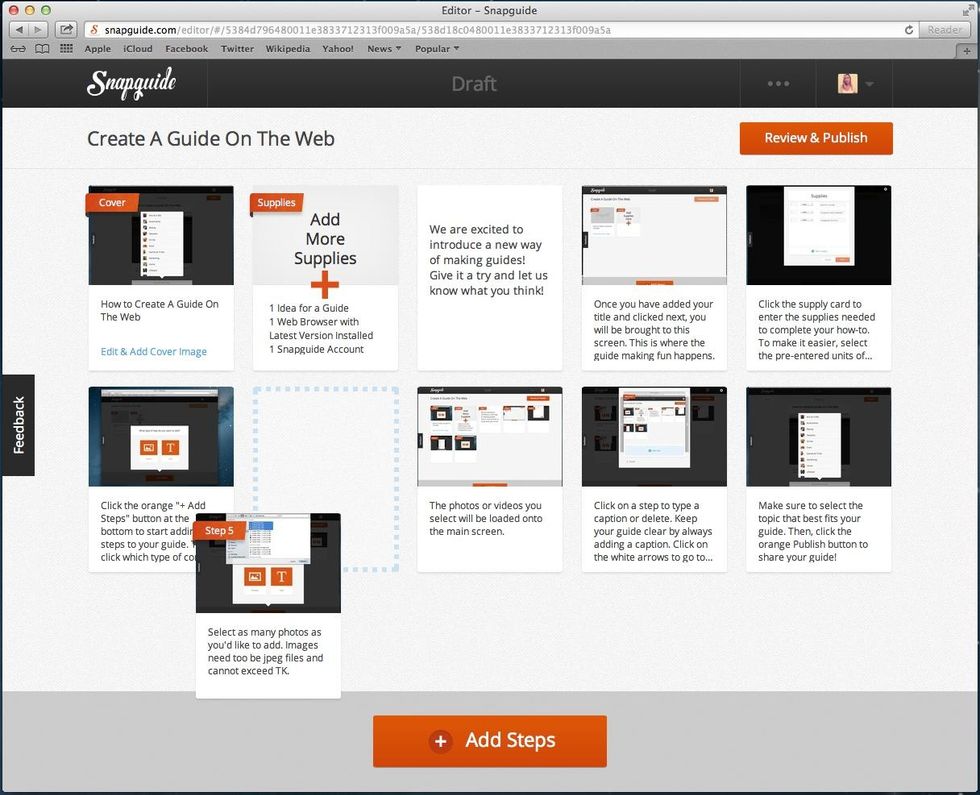
Select as many photos as you'd like to add. Images need too be jpeg files.

The photos or videos you select will be loaded onto the main screen.
Click on a step to type a caption or delete. Keep your guide clear by always adding a caption. Click on the white arrows to go to the next step or exit this view by clicking outside of the step.
To rearrange your steps, click on a step and drag it to where you want it in the guide.
No need to finish your guide in one sitting! Your guide will automatically save as a draft on your profile. Your draft will also be on your profile if you login to your account on our iPhone/iPad app.

Click the orange "Review" button and you will be brought here. The last image in your guide will become your cover photo. To change the photo, simply click on it and load a new one.
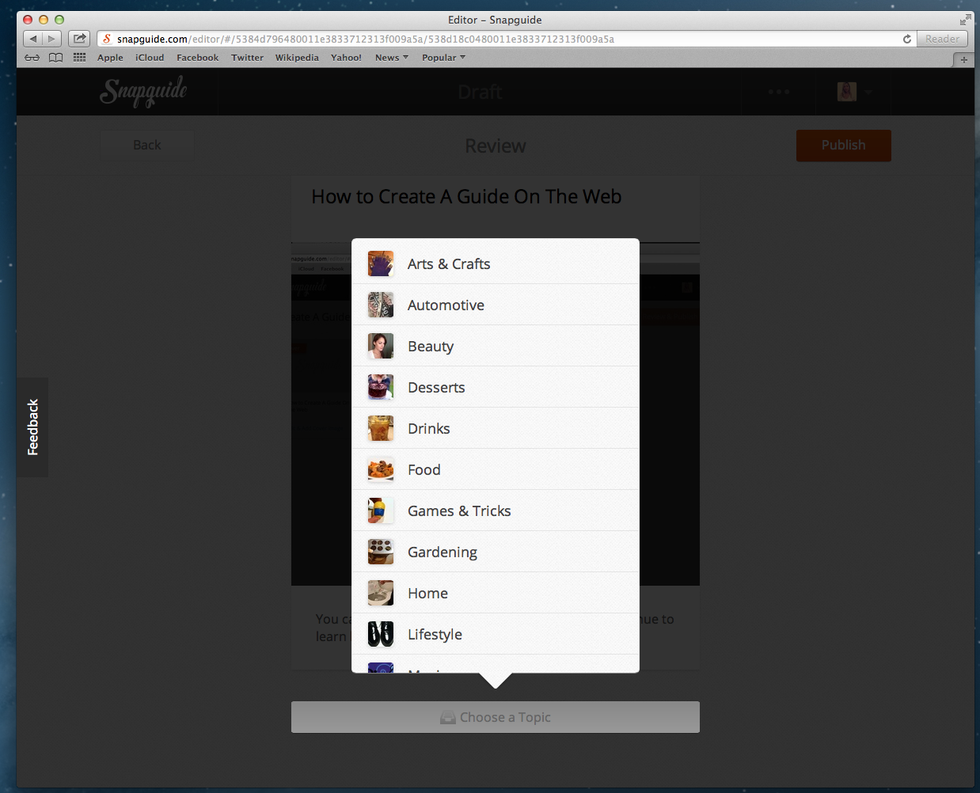
Make sure to select the topic that best fits your guide. Then, click the orange Publish button to share your guide!
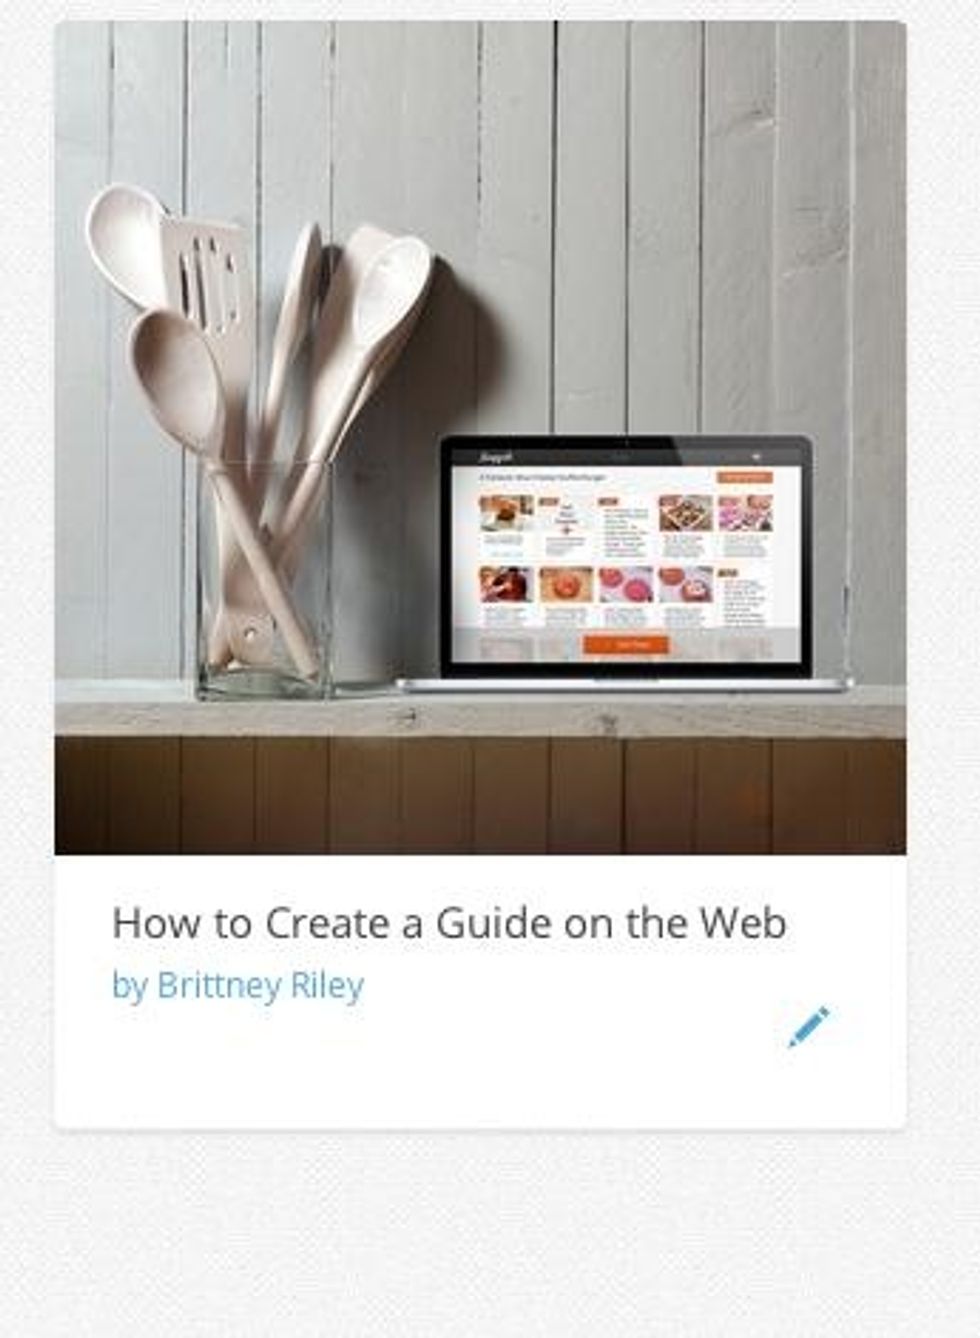
Don't worry if you see a typo, or want to change/add steps. After you publish, you can always edit it by going to the guide on your profile and clicking on the blue pencil!
Happy guide making! We can't wait to see what you share!