The Conversation (0)
Sign Up
Other Trimming Supplies - Ribbon, Tim Holtz Idea-ology Swivel Clasps, Finnabair Numbers, #4500422 G45 Metal Brad Staples, #4500841 G45 Shabby Chic Ornate Brad Staples, #4500545 G45 Ornate Metal Keys.
The main materials list will create the album with out the extra trimming. The extra trimming is entirely personal choice. I have added a list to show my add-ons if you wanted to do something similar.
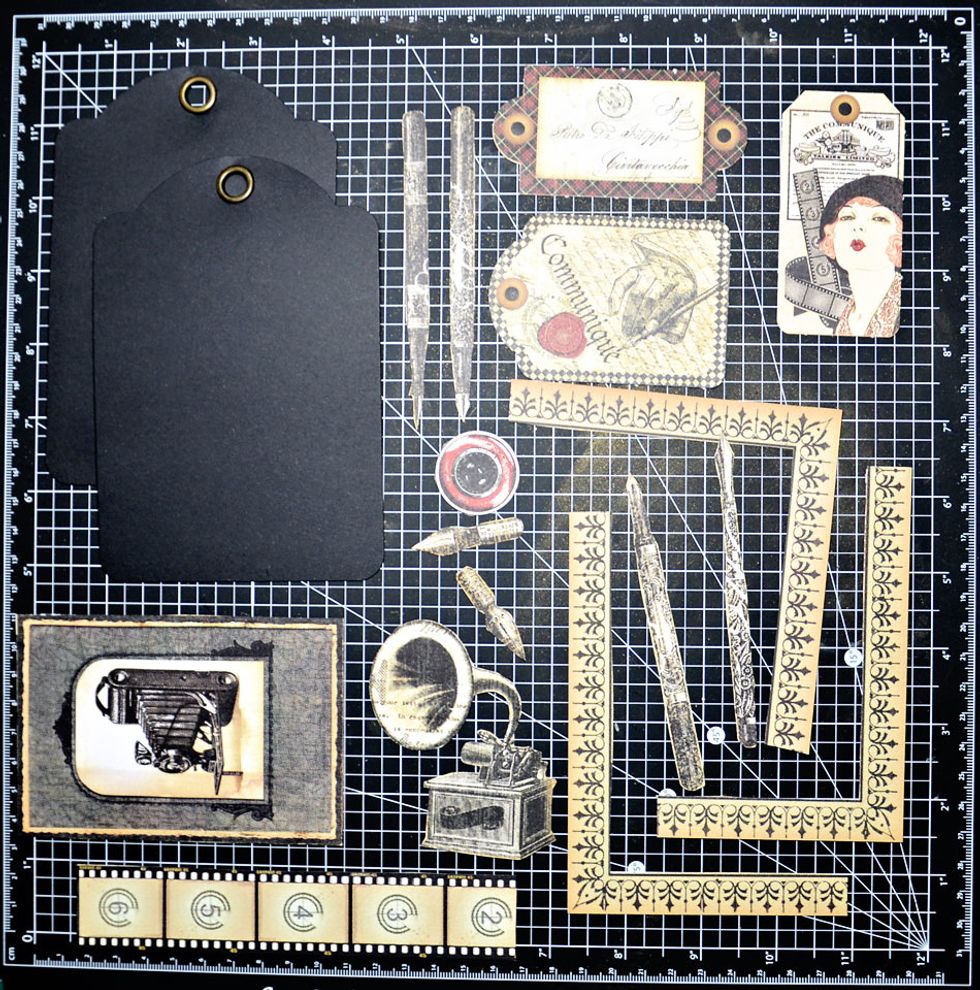
Locate and fussy cut images shown from patterned paper. Locate and pop out required tags.
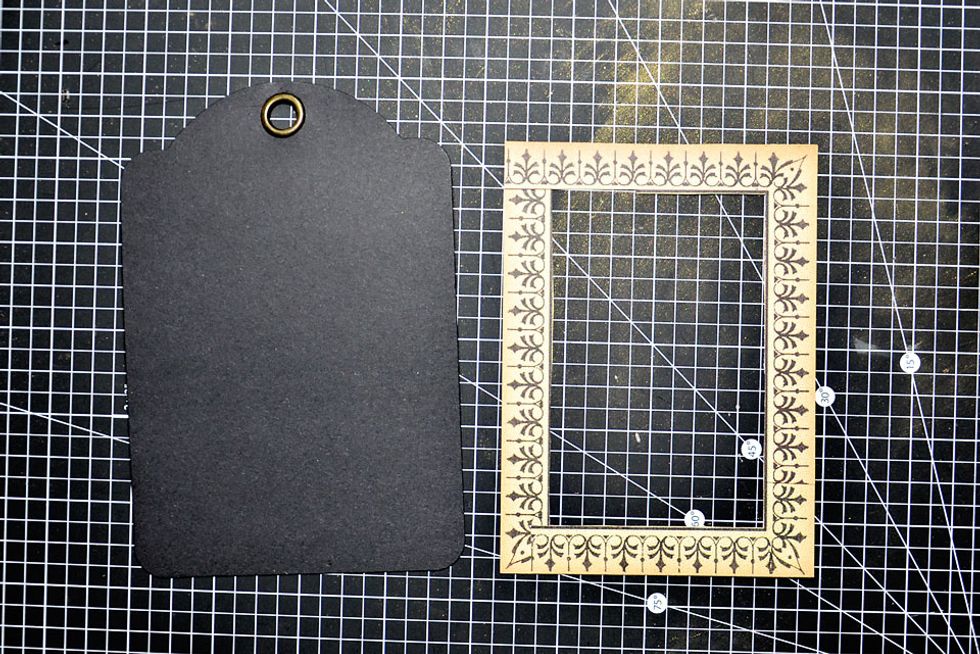
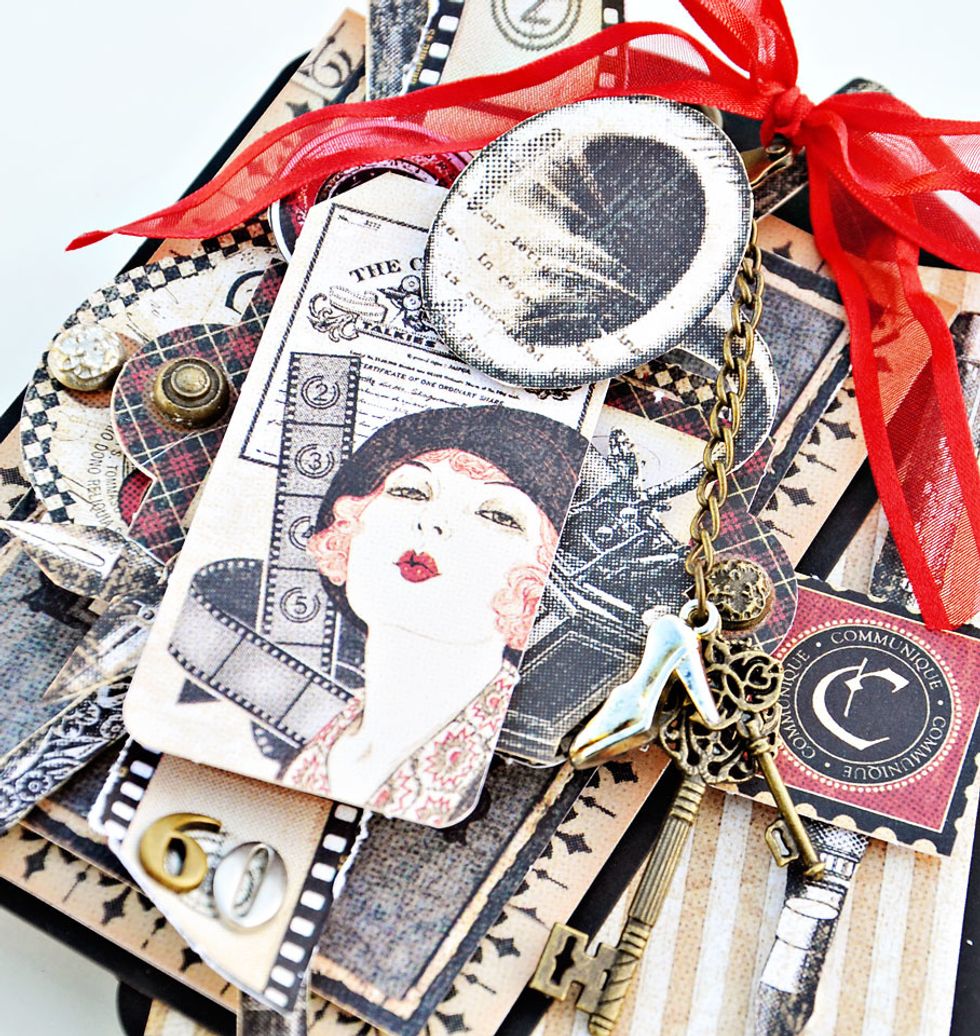
Create a frame from paper pieces as shown. The frame allows a slight border of the black tag to show around the outside. Once frame is assembled attach to the tag with glue.

Create the next layer with the image shown. Attach this with double sided foam dots to add a little dimension.
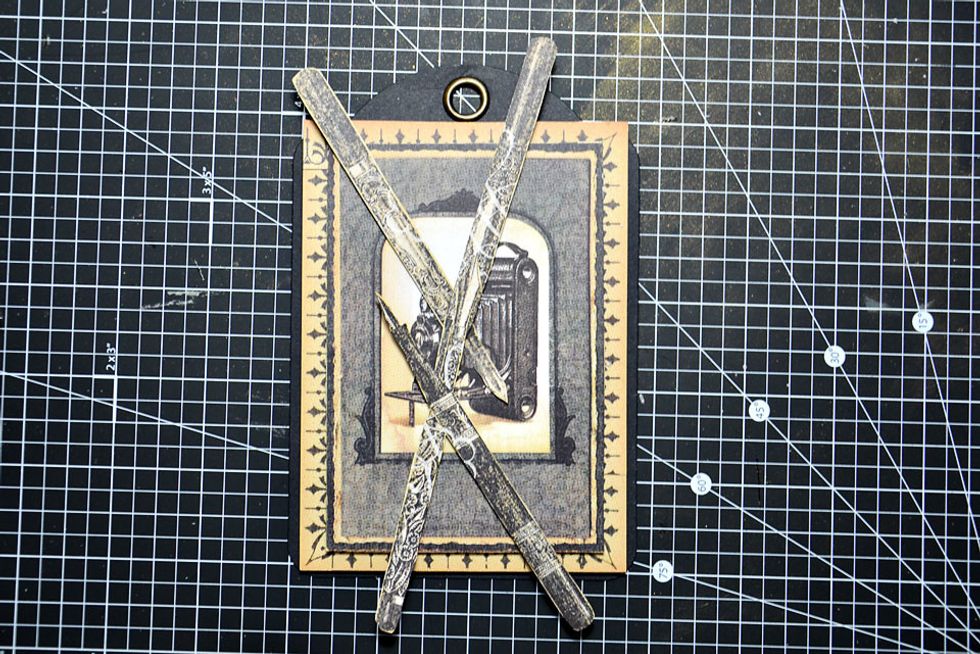
Layer the paper pens as shown. Use double sided foam dots on the outside but glue the centres down.
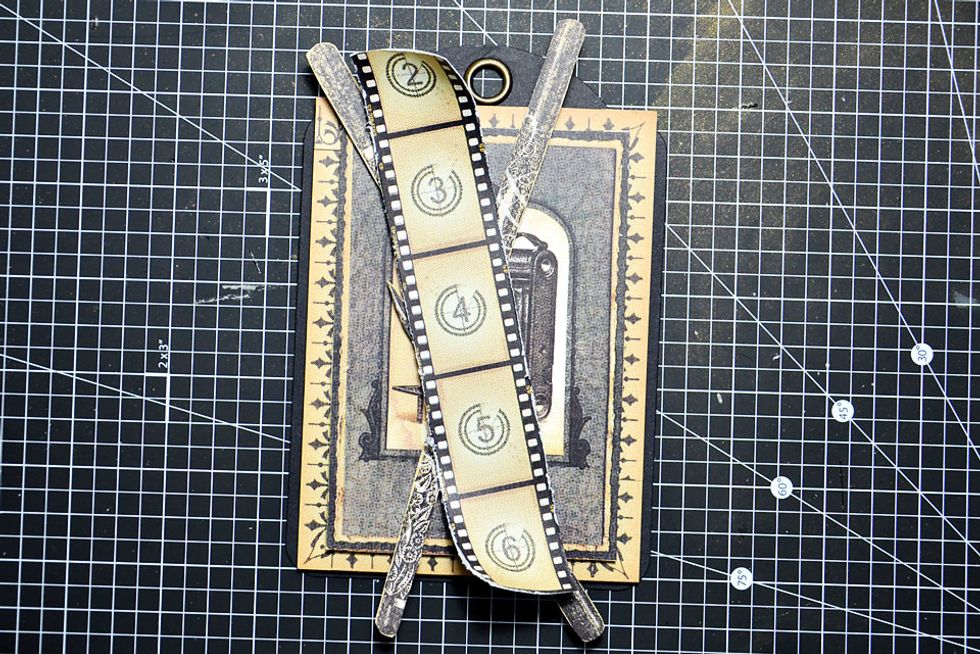
Distress and fold paper film strip and attach as shown.
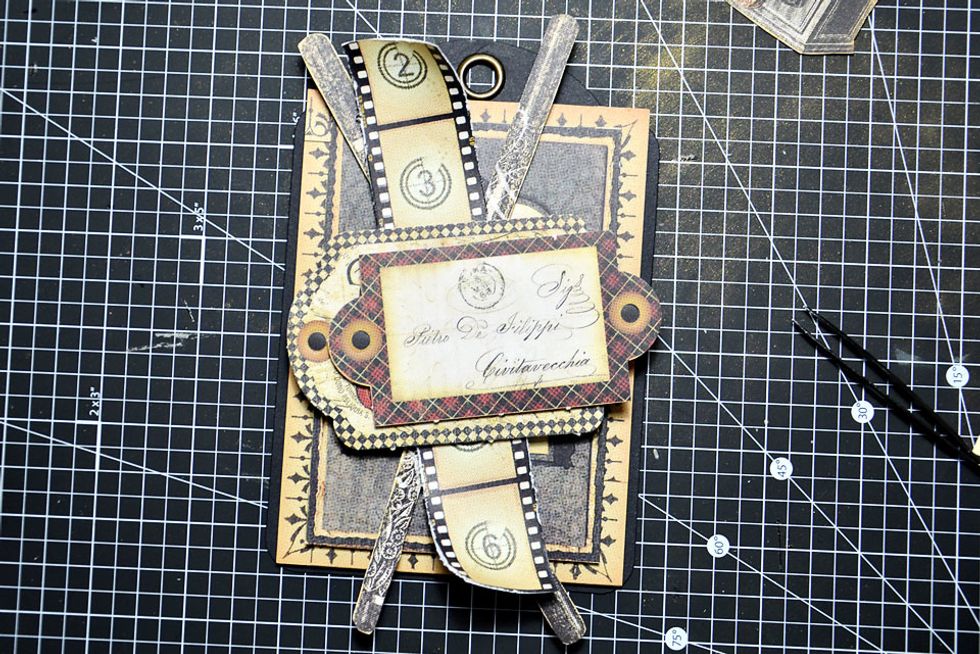
Layer and attach the Communique tags as shown. I have used double sided foam dots to attach.
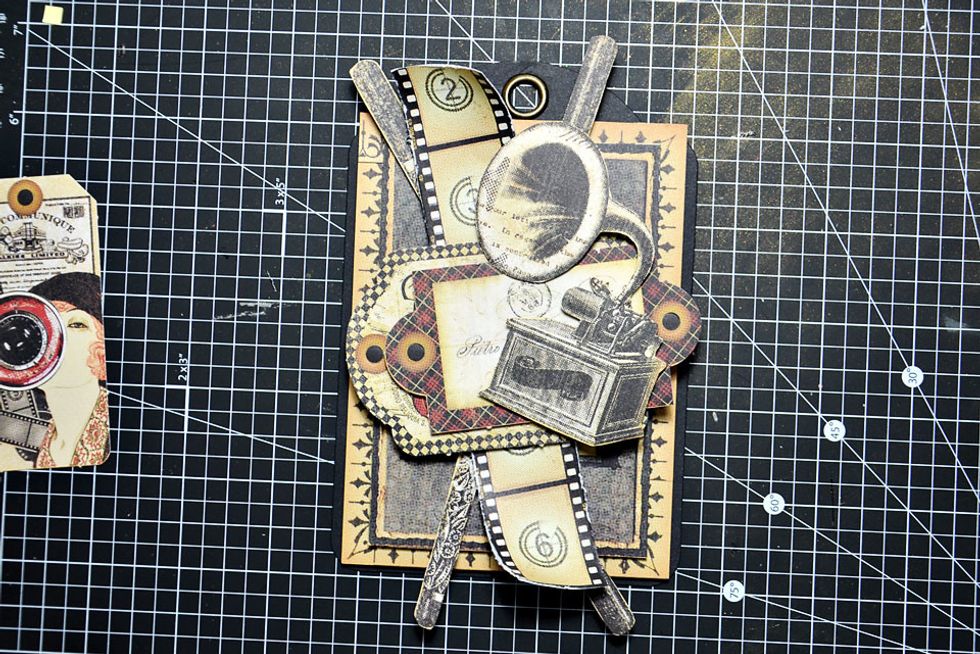
Attach next image as shown.
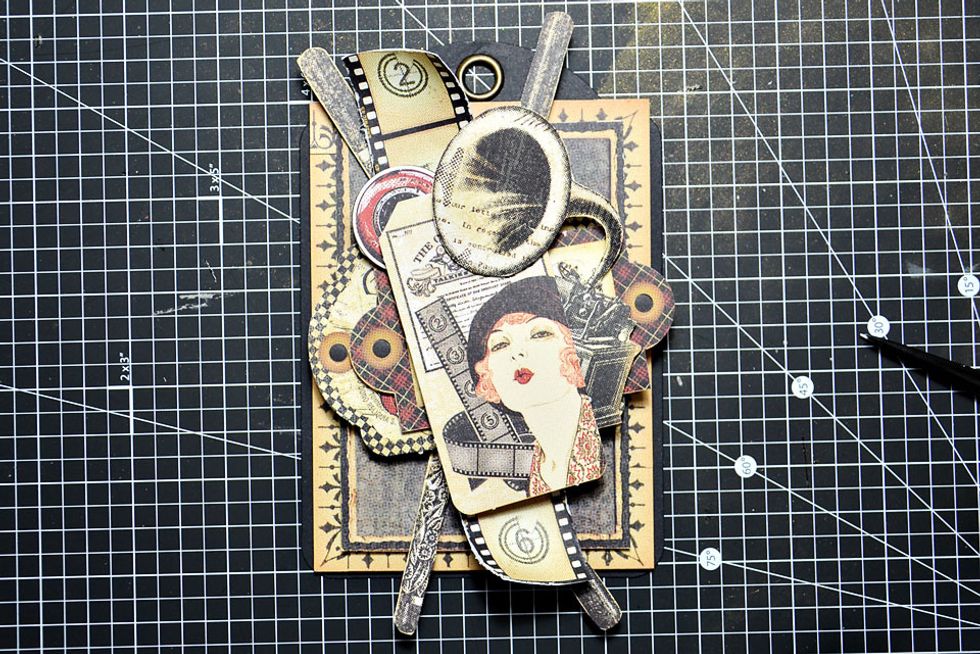
Attach the final Communique tag and red dot behind. I have used double sided foam dots to attach for a little more dimension.

Now attach the small pen pieces as shown just under the top tag.
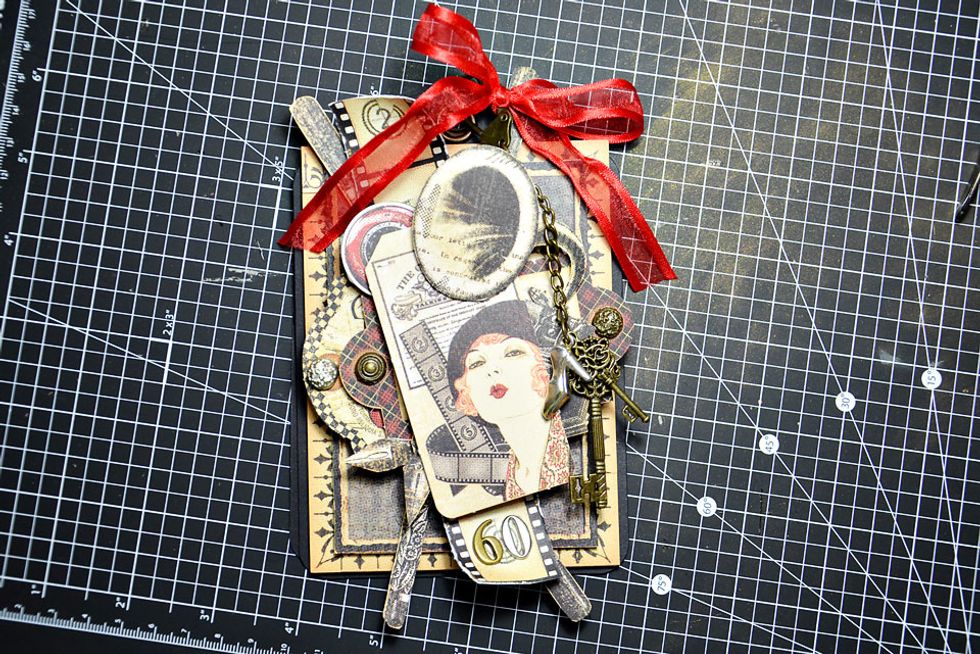
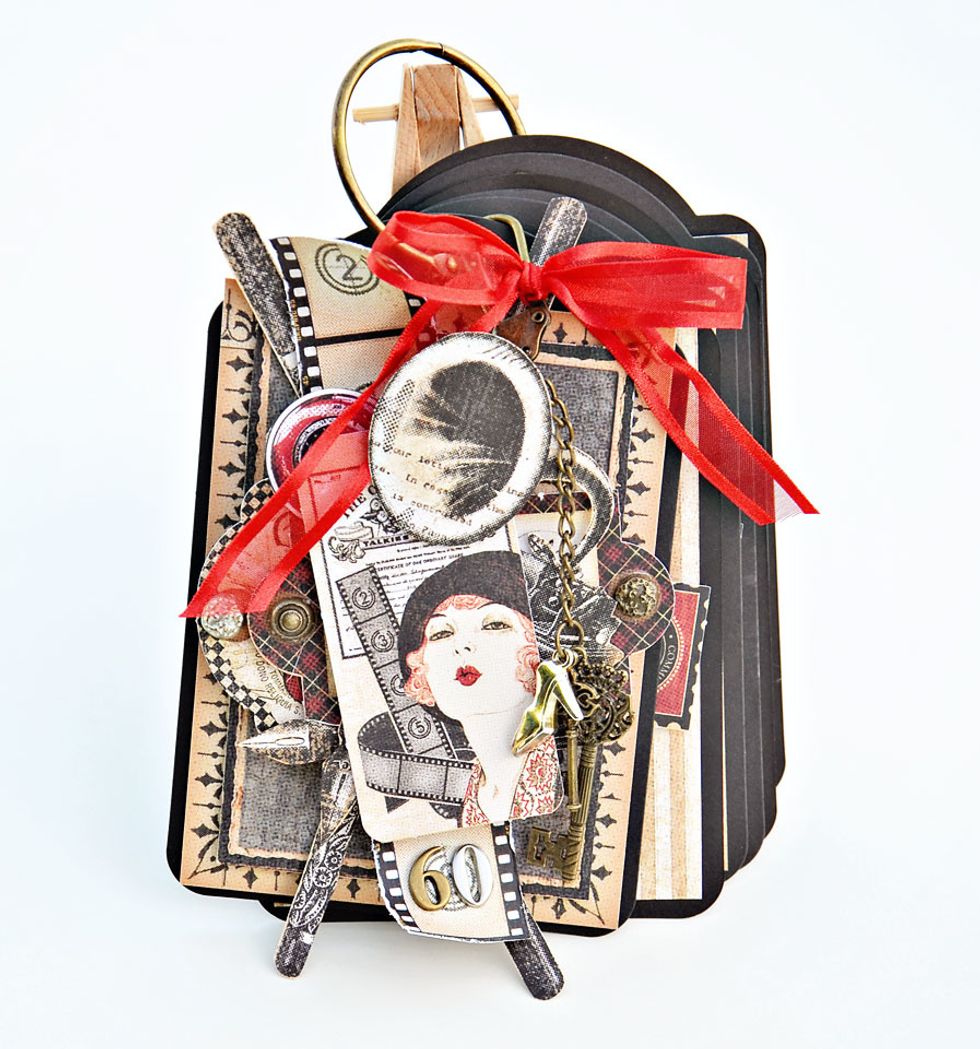
Add some ribbon and final trimmings. The cover is now finished.
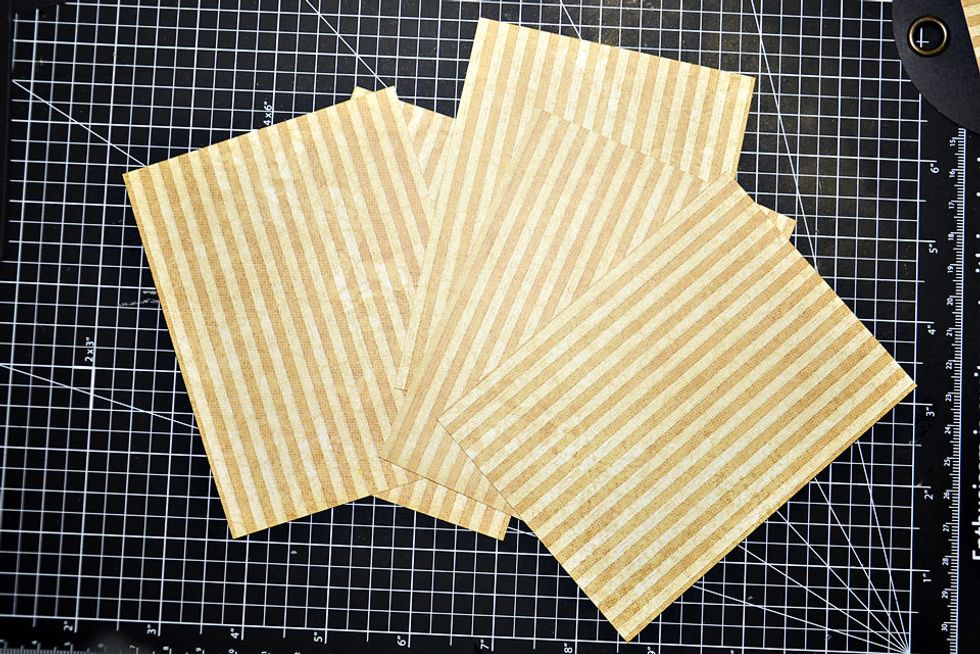
Inside tag pages. These measure 9cm x 12cm. How many you will need is up to you. It totally depends on how many pages you want in the signing book. For my book I needed 12 pieces.
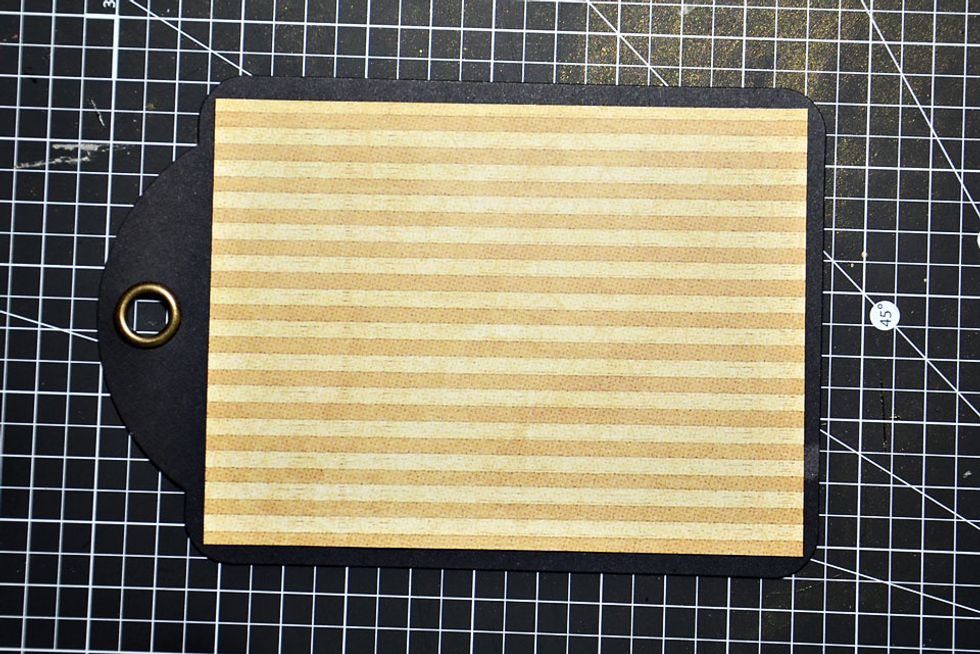
Attach paper as shown to the front and back of the tags used for pages. Attach to the inside only of the front and back covers.

My signing album was created for a 60th Birthday dinner.
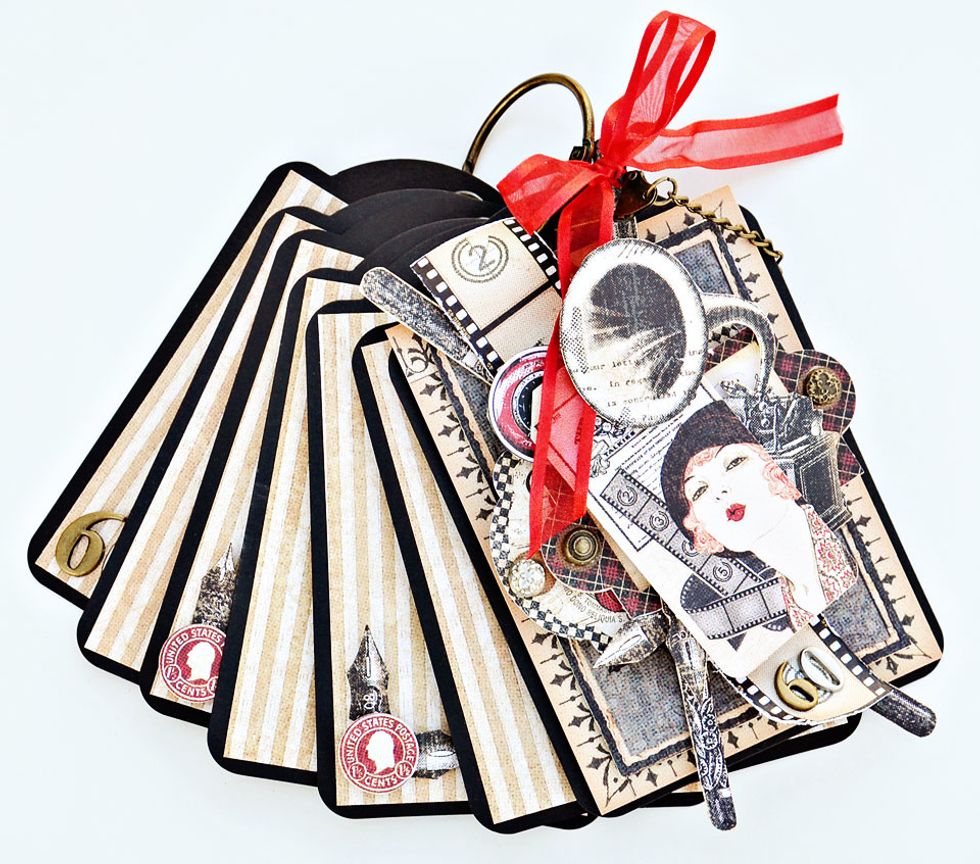
Showing a few extra details :)
Thank you for viewing my tutorial. Joanne Bain - scrappinforme.blogspot.com.au/