The Conversation (0)
Sign Up
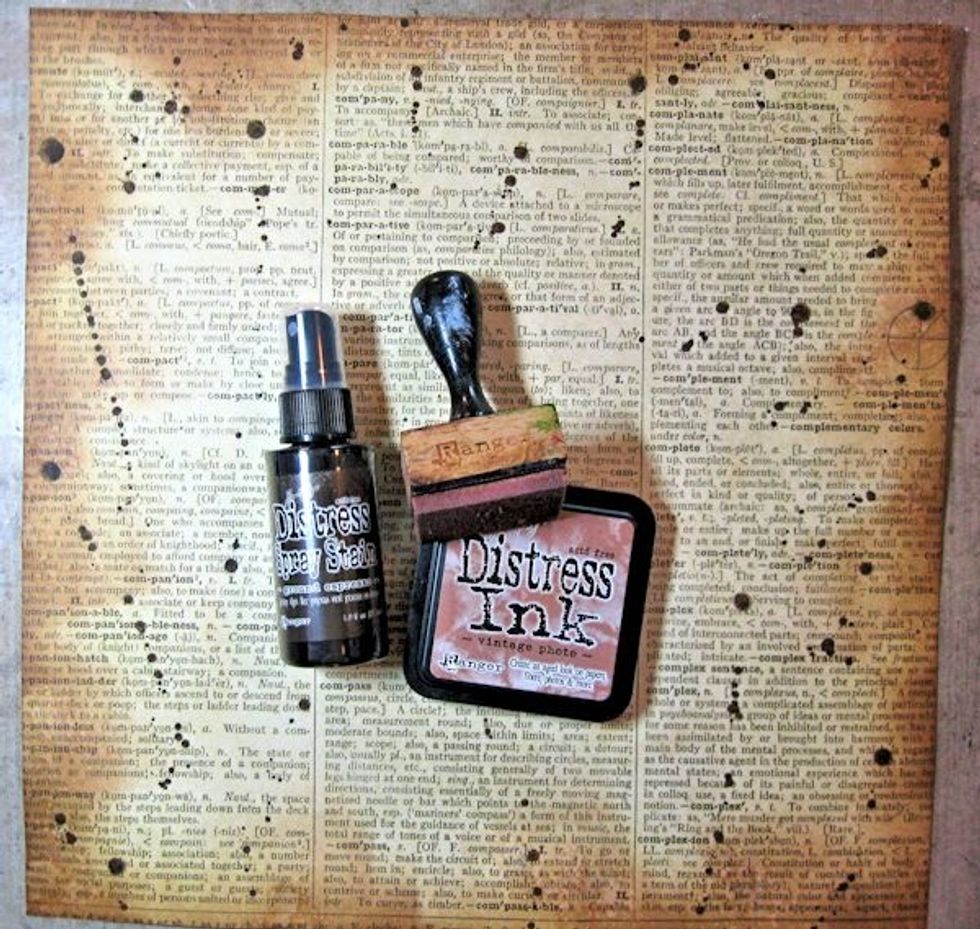
Ink edges of Journey paper with Vintage Photo DI. Spritz with water. Spatter with Ground Espresso. Add a spritz or two of water to Rusty Hinge Distress Paint. Use a paintbrush to add spatters.

Cut 4 number line borders from Dream paper. Set aside. Cut an 11" long x 5 1/8" tall strip of Cajun Craze Cardstock. Create belly band by layering the border strips w/netting & ribbon as seen here.

Glue borders around page edges. Glue belly band 3 1/8" from the bottom border. I used Scor-tape to layer my ribbons onto the Cajun Craze mat.

Machine stitch around the edges of a 6 1/8" x 9 1/8" piece of Journey paper (the reverse side of the Journey newsprint.) Mat onto cardstock. Attach with foam adhesive 1" from the bottom edge.
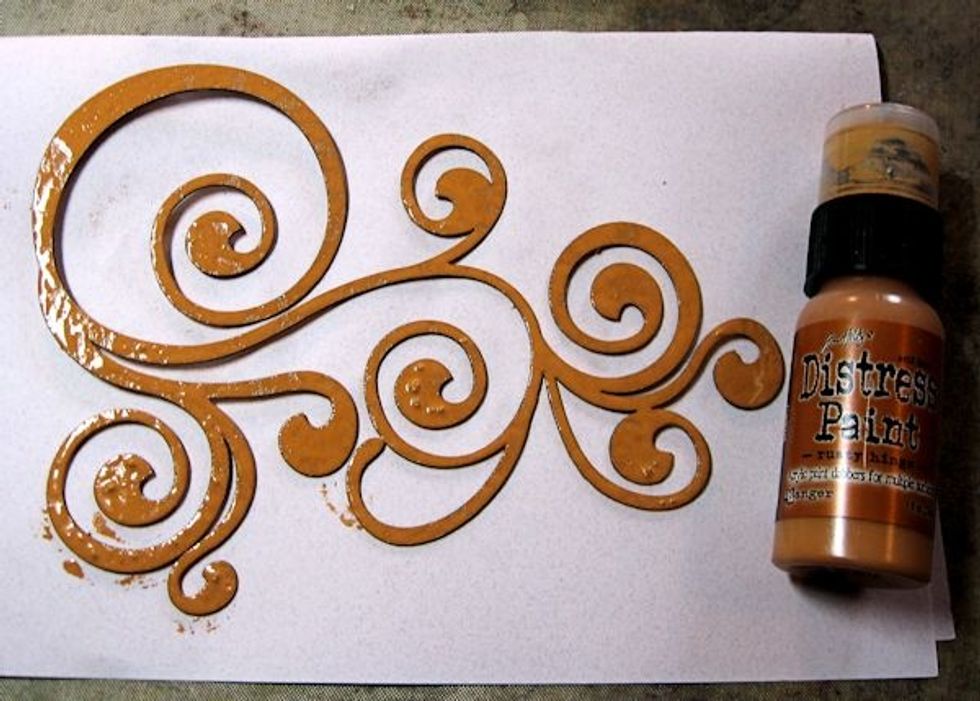
Paint Renata Flourish w/Rusty Hinge Distress paint.
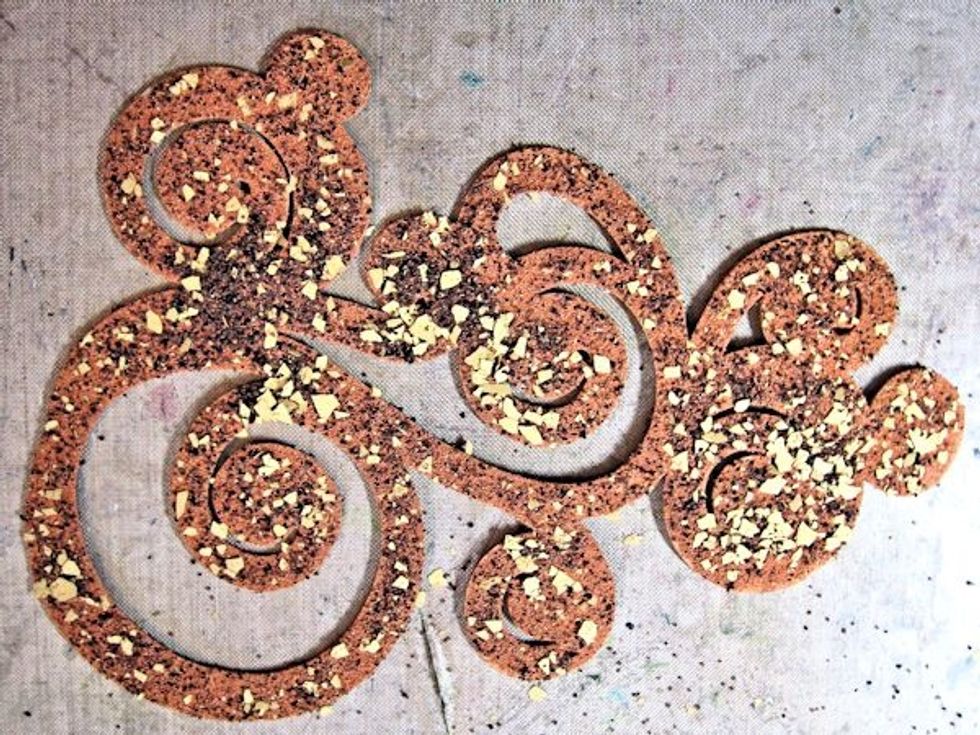
While Distress Paint is still wet sprinkle liberally w/ Spoonful of Rust Embossing Enamel. Heat from the underside until the enamel starts to melt, Then finish on top. Follow package directions.

This is what your chipboard will look like after heat embossing.
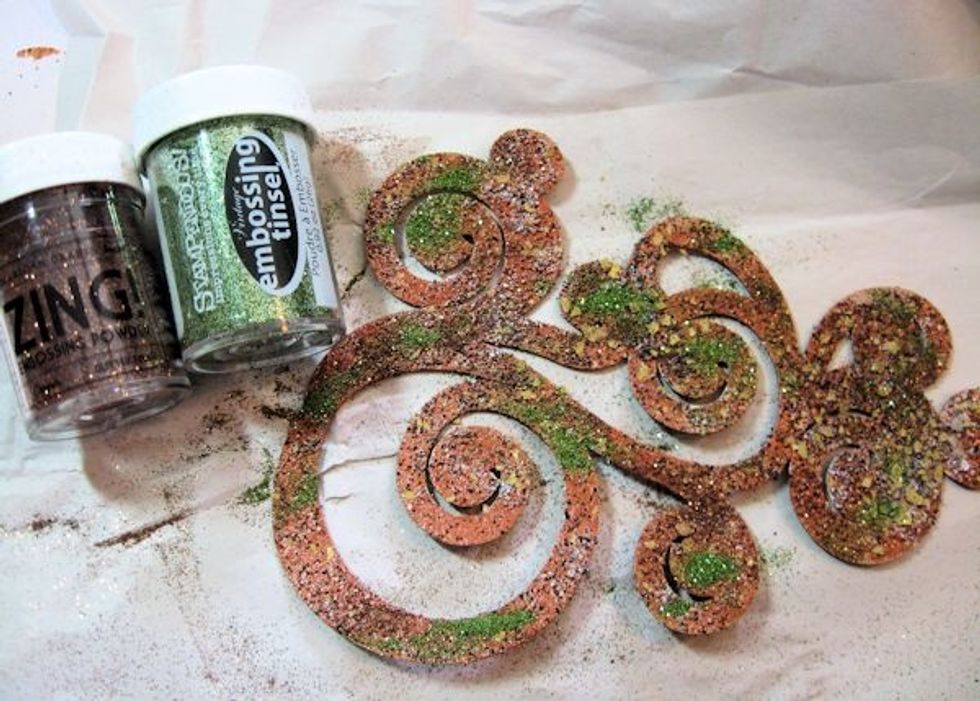
Tap the cooled surface with Versamark Ink. Sprinkle randomly with Copper and Green Glitter Embossing Powder. Heat emboss.
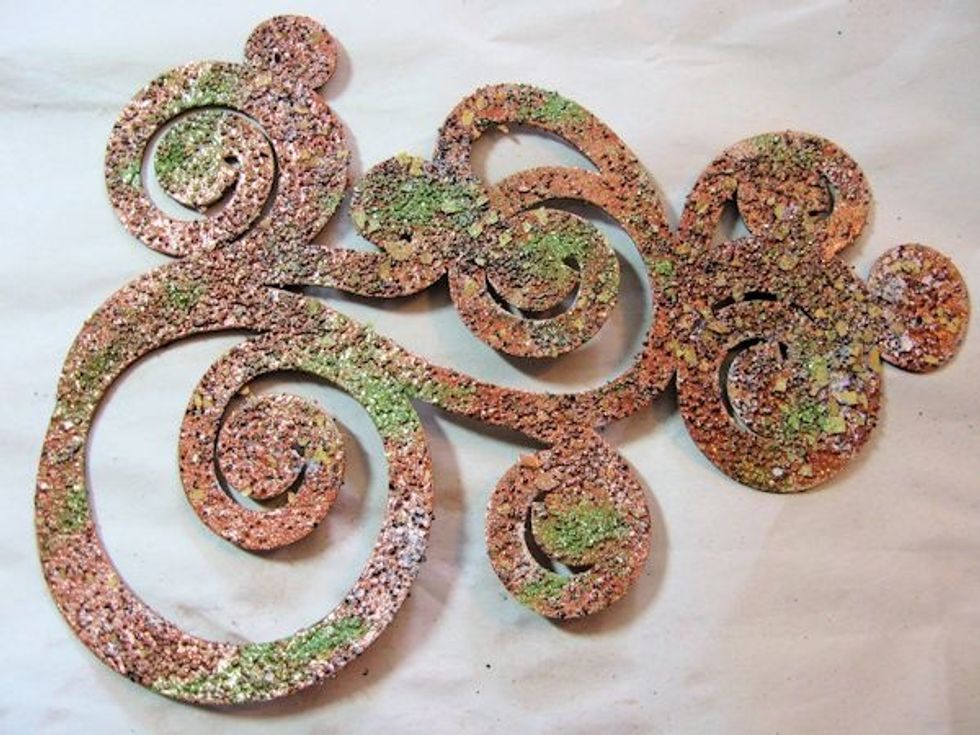
This is what your chipboard will look like after this step. This is stress free....don't try to make it look just like this. Random is good!

The final step for the chipboard is to lightly tap on Ranger Patina paint. Add a small dab to waste paper. Tap off with finger and tap lightly onto the chipboard surface until you are happy.
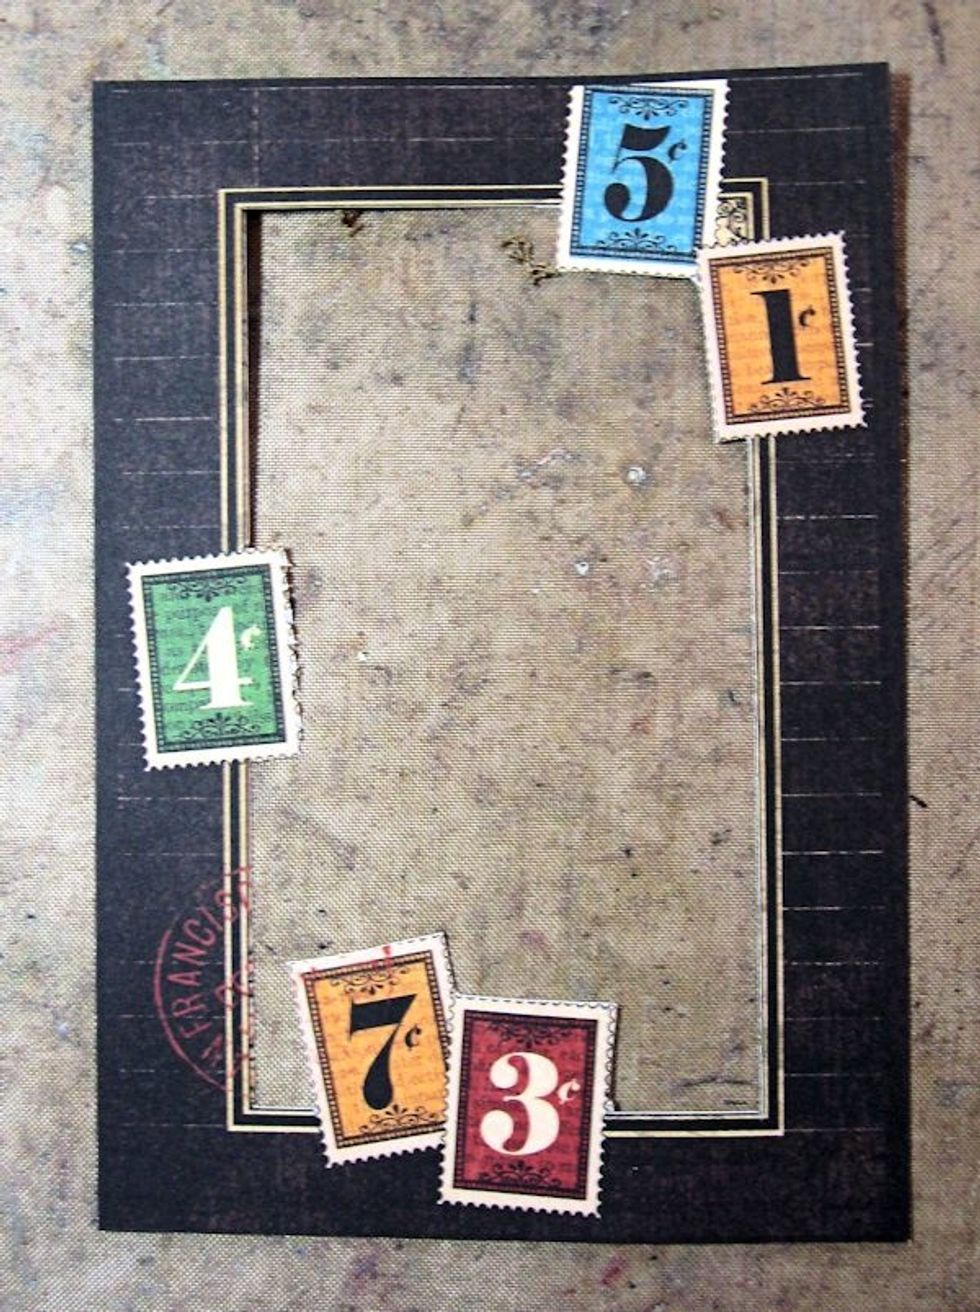
Use a craft knife to cut the center panel of Typography frame. If you cut on top of a glass mat, the knife will cut very easily. Try using glass from an old picture frame.Ink edges with Black Soot.

Attach your photo to the back side of the frame. Don't worry if it's not a perfect fit on the bottom. We can fix that in the next step.

Lay a piece of scrap border so that it slightly overlaps your photo to fill in any gaps. Mat frame on cajun craze, cyan and copper metallic cardstock.
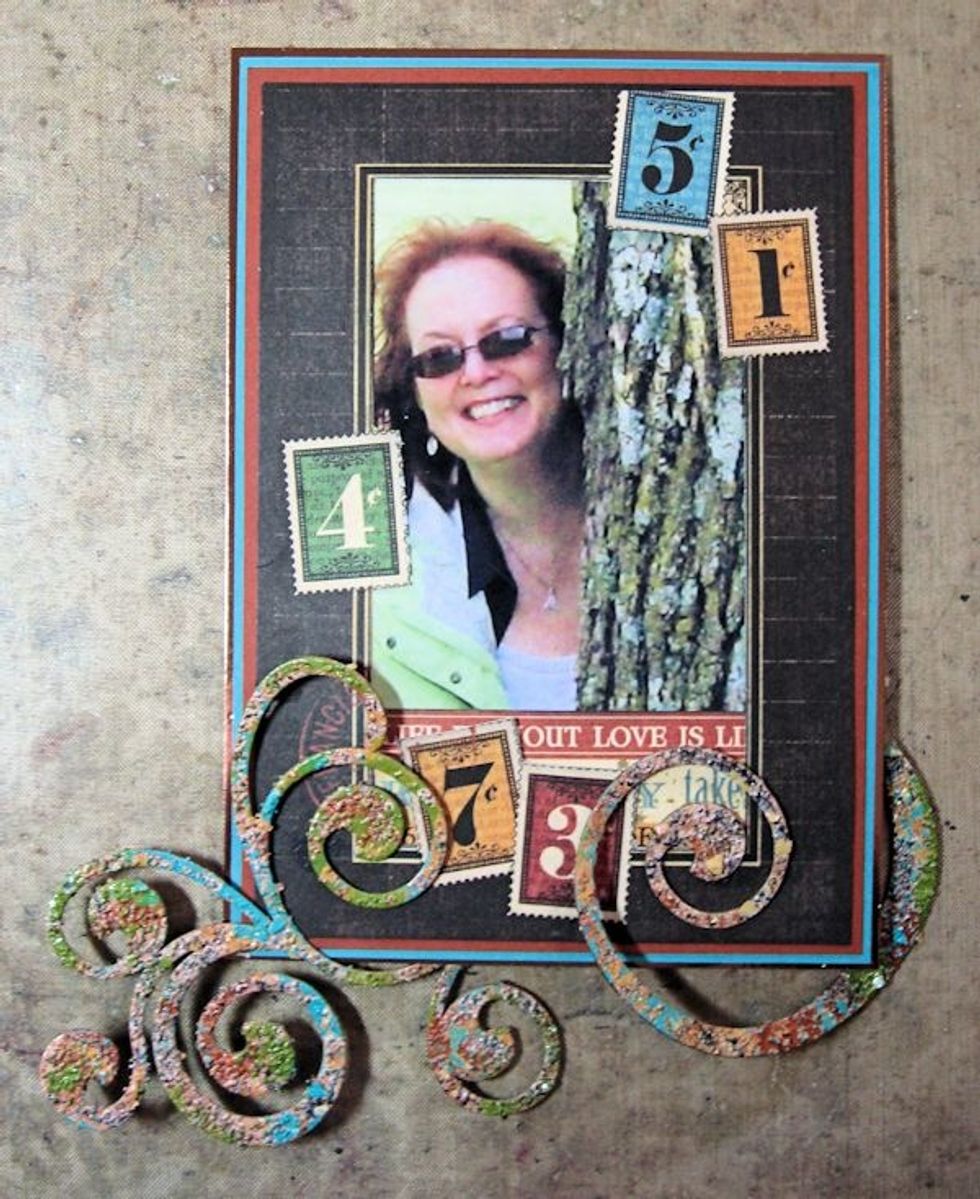
Then cut the chipboard into 2 sections. Wrap one section around the base of the framed photo as seen here.
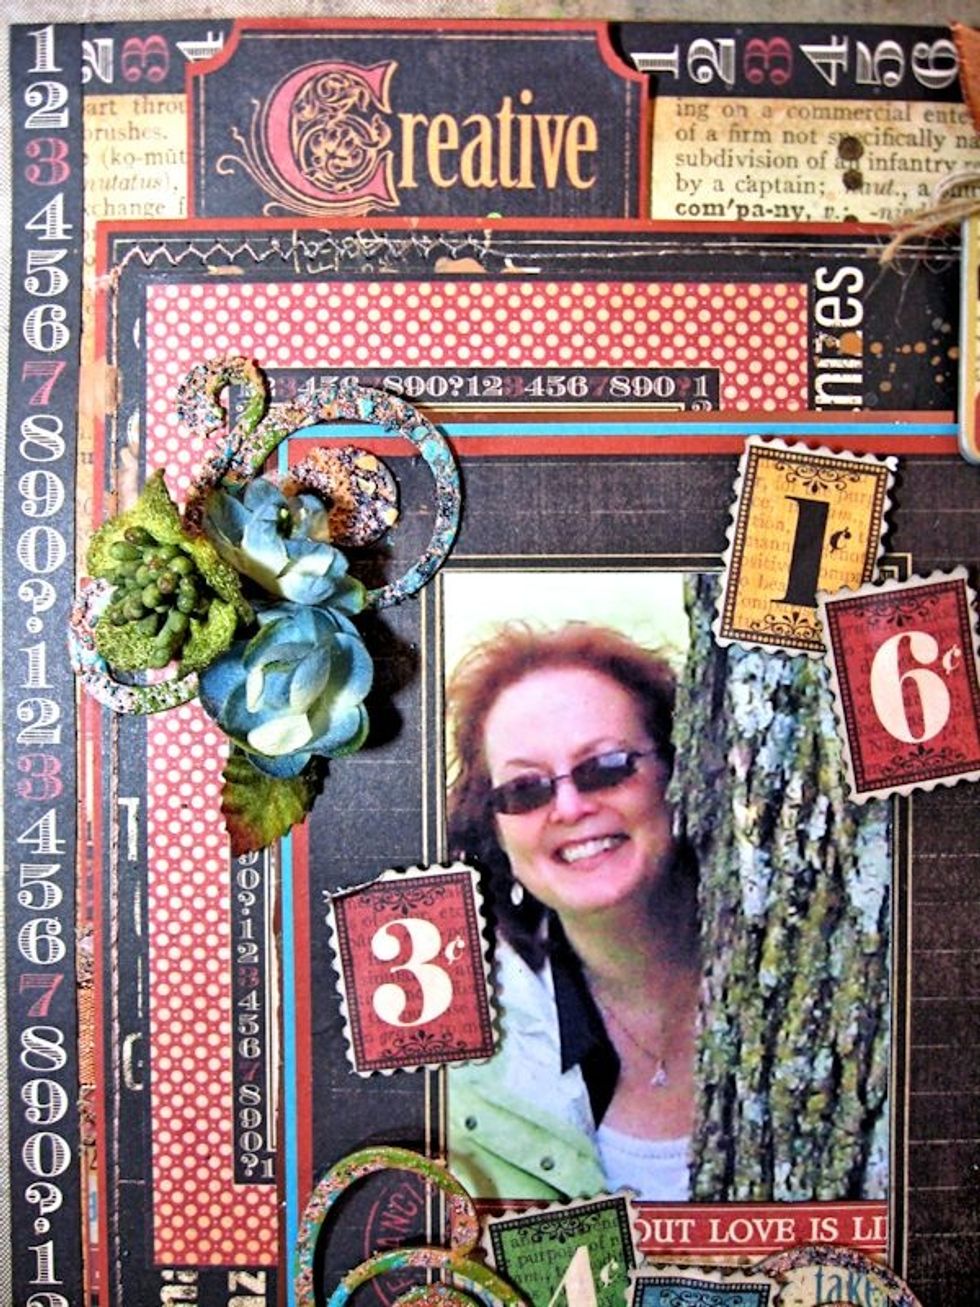
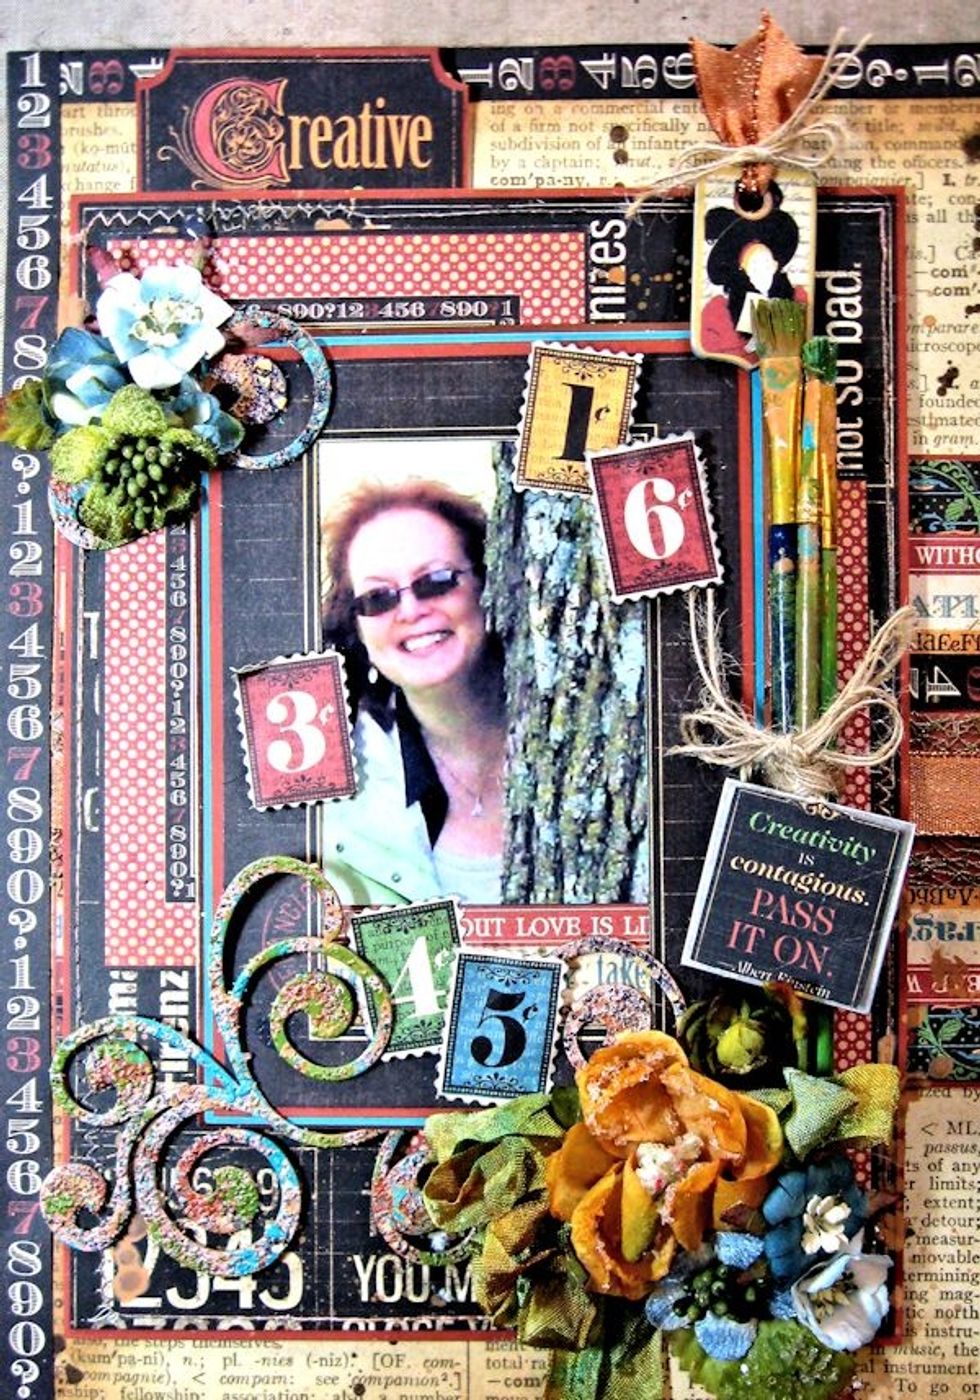
Back finished frame with two rust polka dot frames cut from Imagine paper. Use foam adhesive to add to layout as shown. Add the smaller swirl piece to the top corner. Hot glue flowers in place.

Use shaped scissors to cut stamps from 12x12 Dream paper. Crumple them lightly. Ink the edges. Use foam tape to adhere over the stamps in the frame. Mat "Creative" on cardstock and tuck behind.
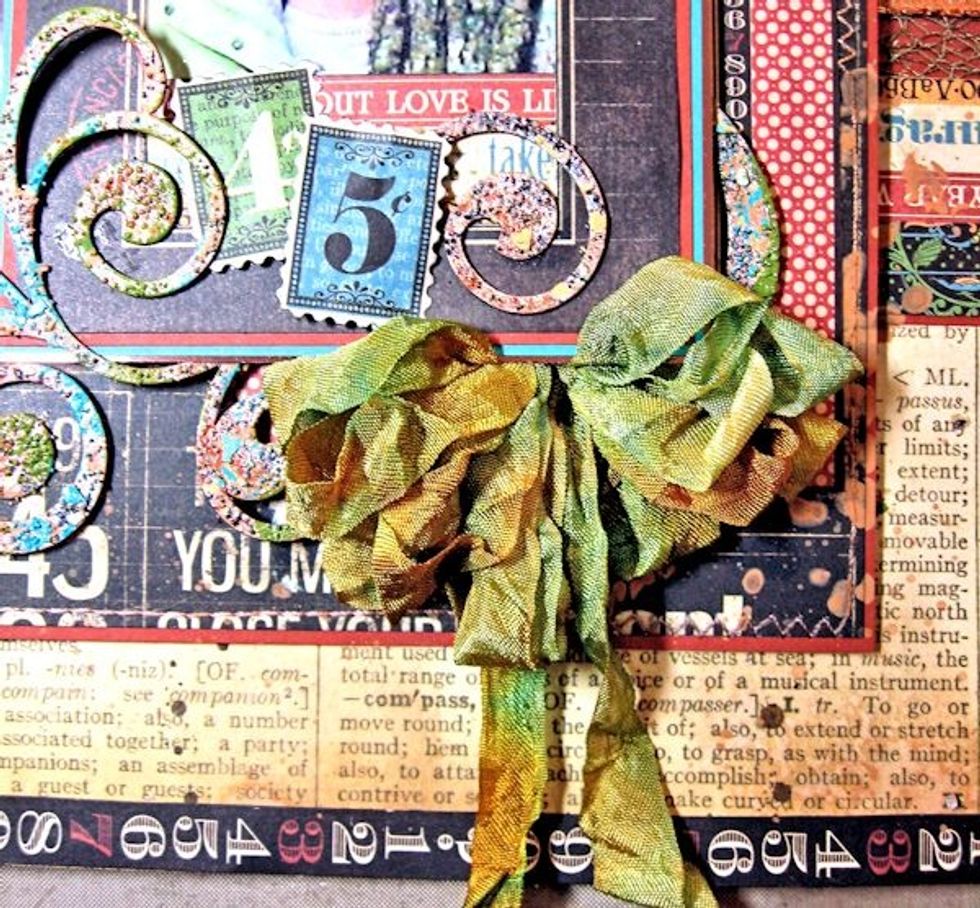
Create a bow by dying rayon seam binding with Mowed Lawn, Broken China & Spiced Marmalade Distress Inks. Use hot glue & the point of your scissors to tuck beneath bottom right hand corner of frame.

Glue Petaloo Flower and leaf on top of ribbon to anchor the corner.
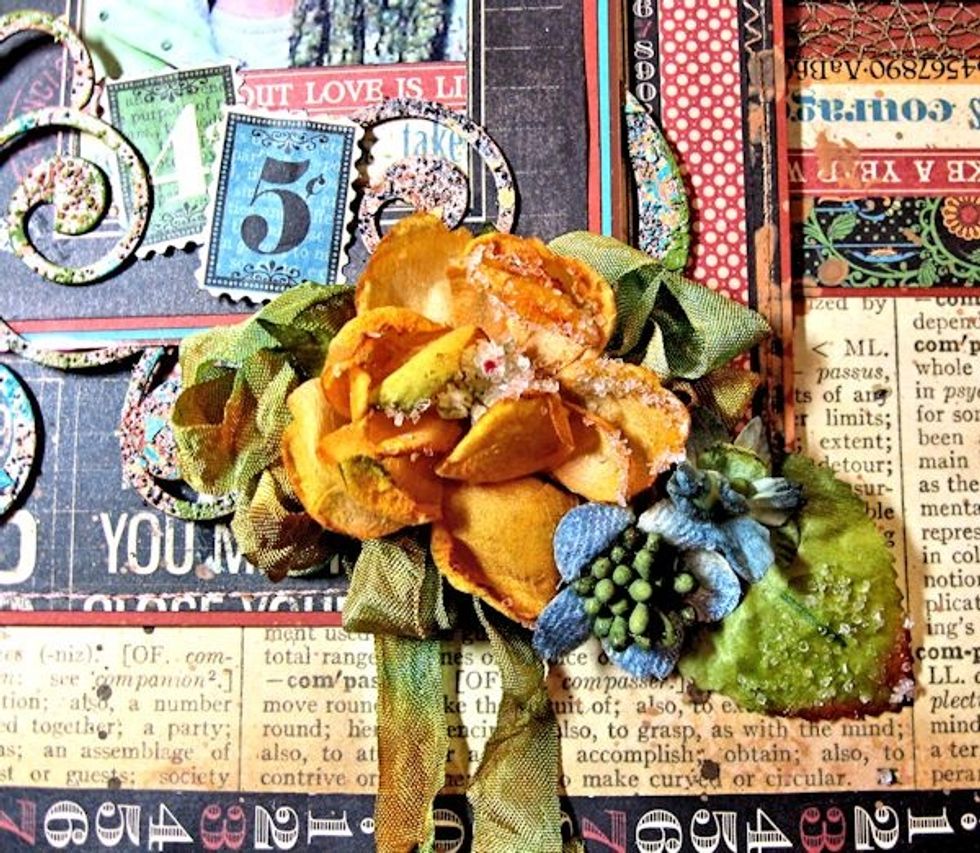
Begin to layer in smaller blue flowers to fill in the space.
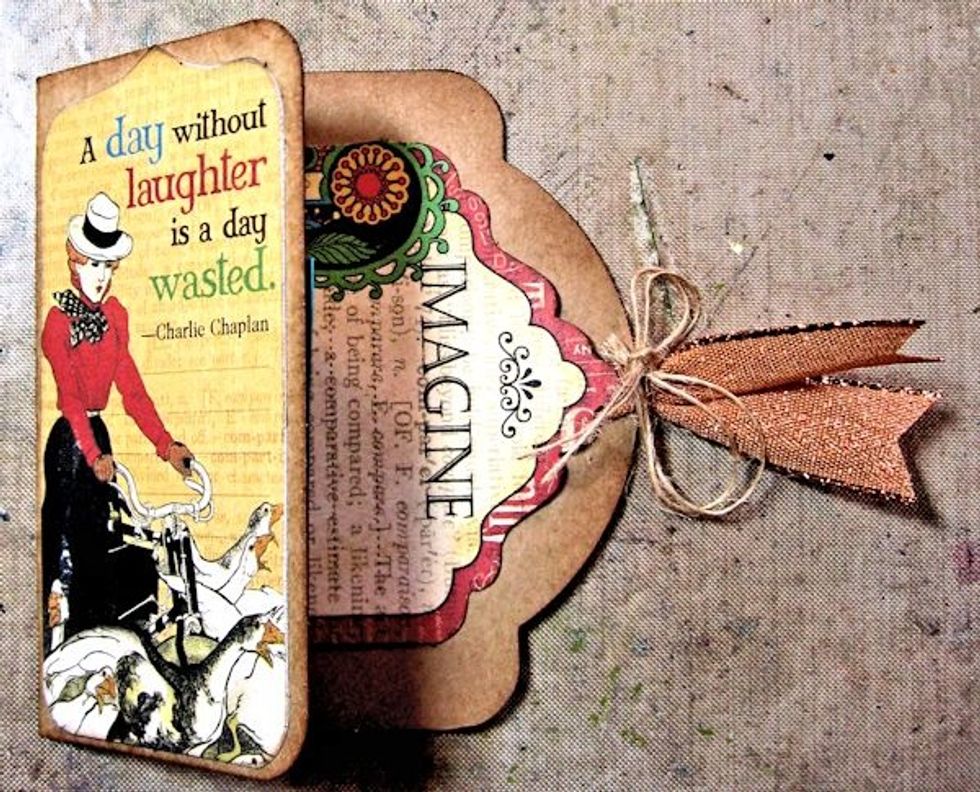
Score a Regular Staples Tag to create a small book. Decorate with images from Tags and pockets. Thread ribbon through the grommet and tie with burlap string.
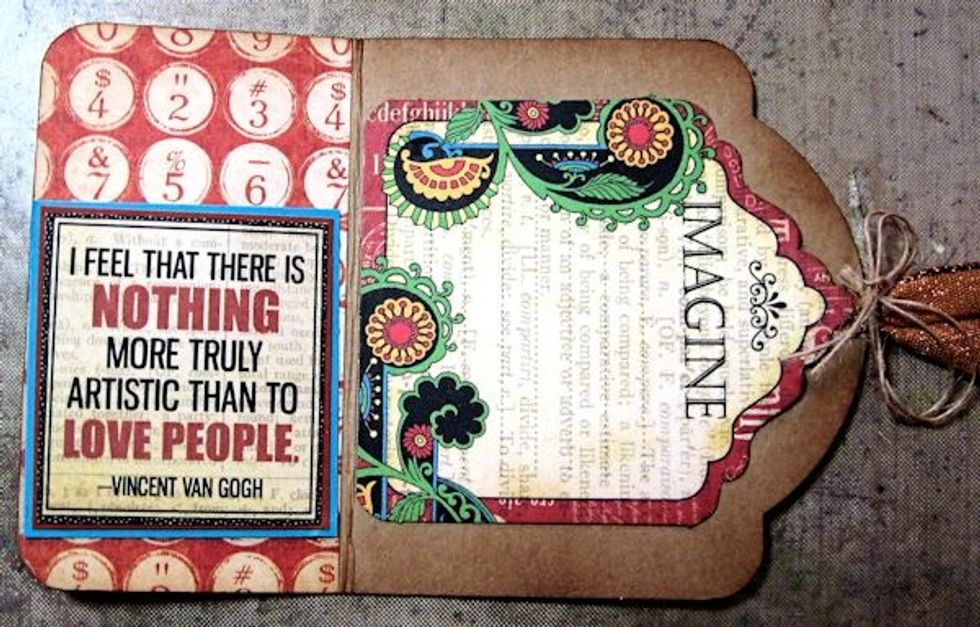
Decorate the inside, too. This will be a hidden journaling spot in the layout.
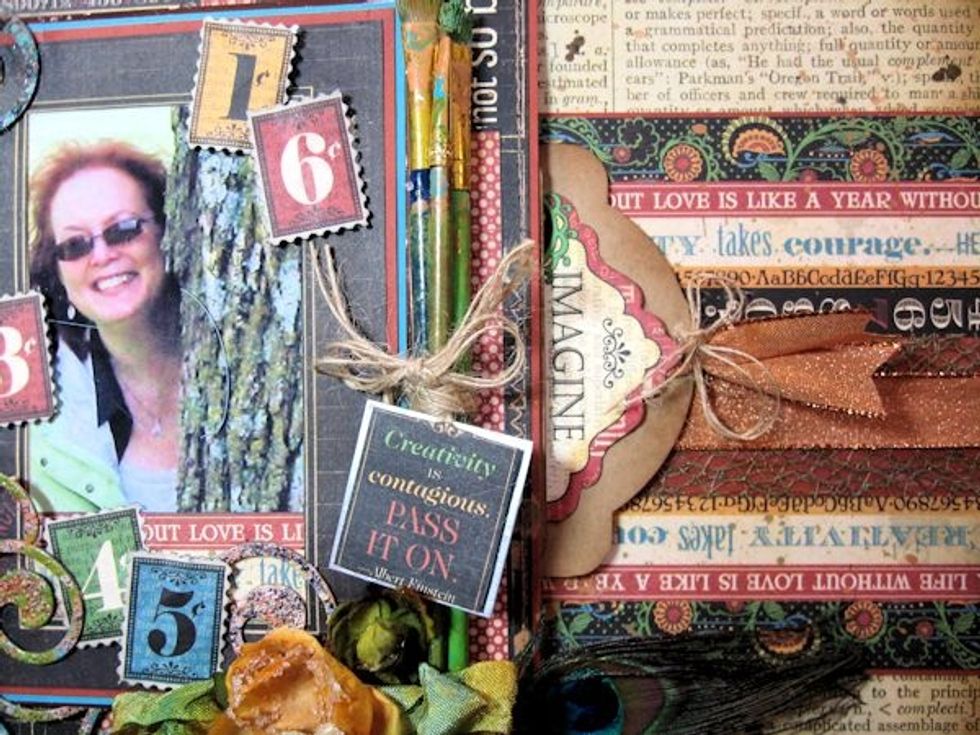
Slip the Staples tag underneath the framed photo on the right side. Bundle together 3 old paintbrushes. Tie with burlap string. Hot glue to the right of the frame.
Create a tag with sentiment from 8x8 Dream paper. Glue it onto a 1.5" metal tag and tie around the paintbrush bundle. Use foam tape to add chipboard of woman reading above the paintbrushes.
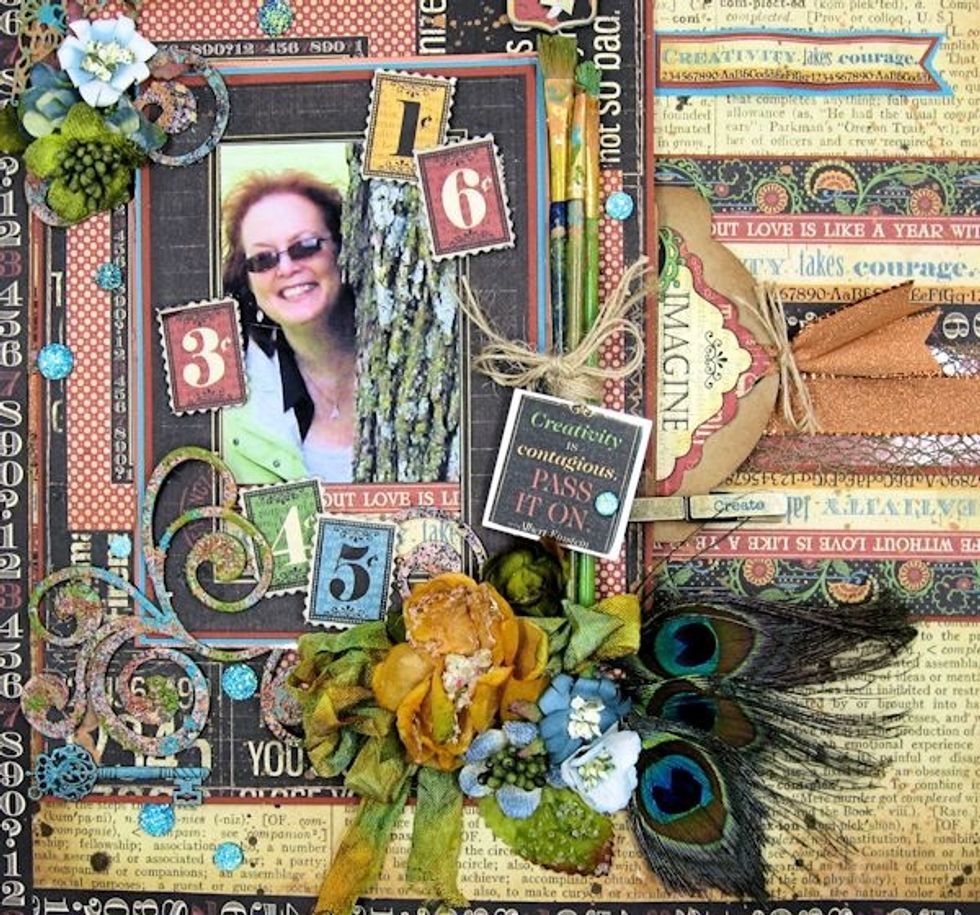
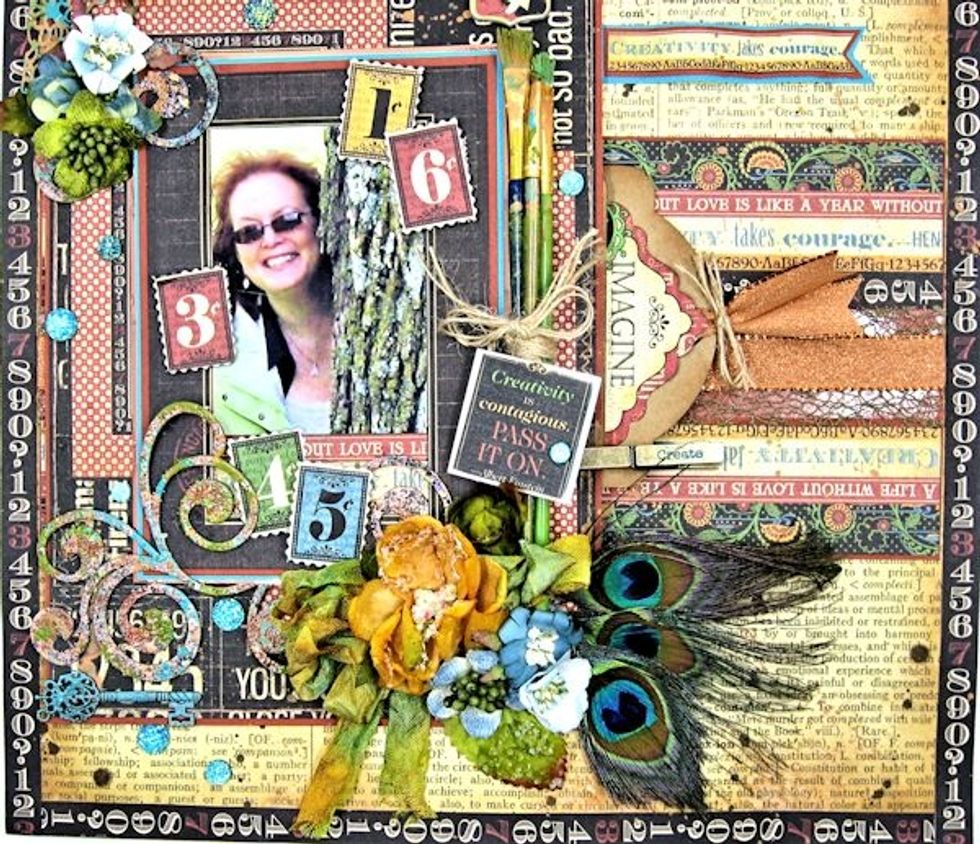
Finish filling in the corner with flowers and leaves. Glue peacock feathers under the floral arrangement. Add turquoise bling to the page. Add the Staples clothespin to hold the Staples tag in place.
Mat the border sentiment scrap from 8x8 Dream paper onto cardstock. Shape with fingers and glue in place.
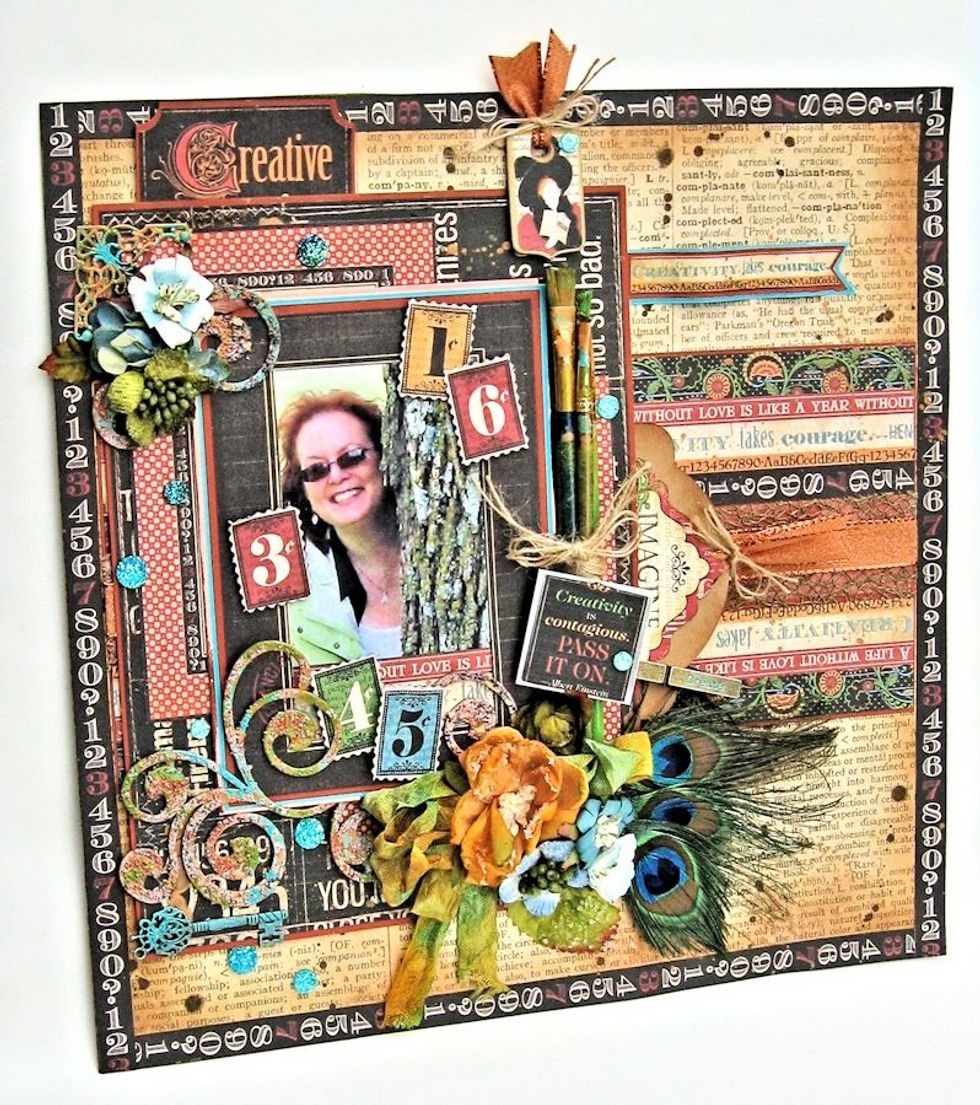
The layout is now complete! Add your own special touches to personalize it.
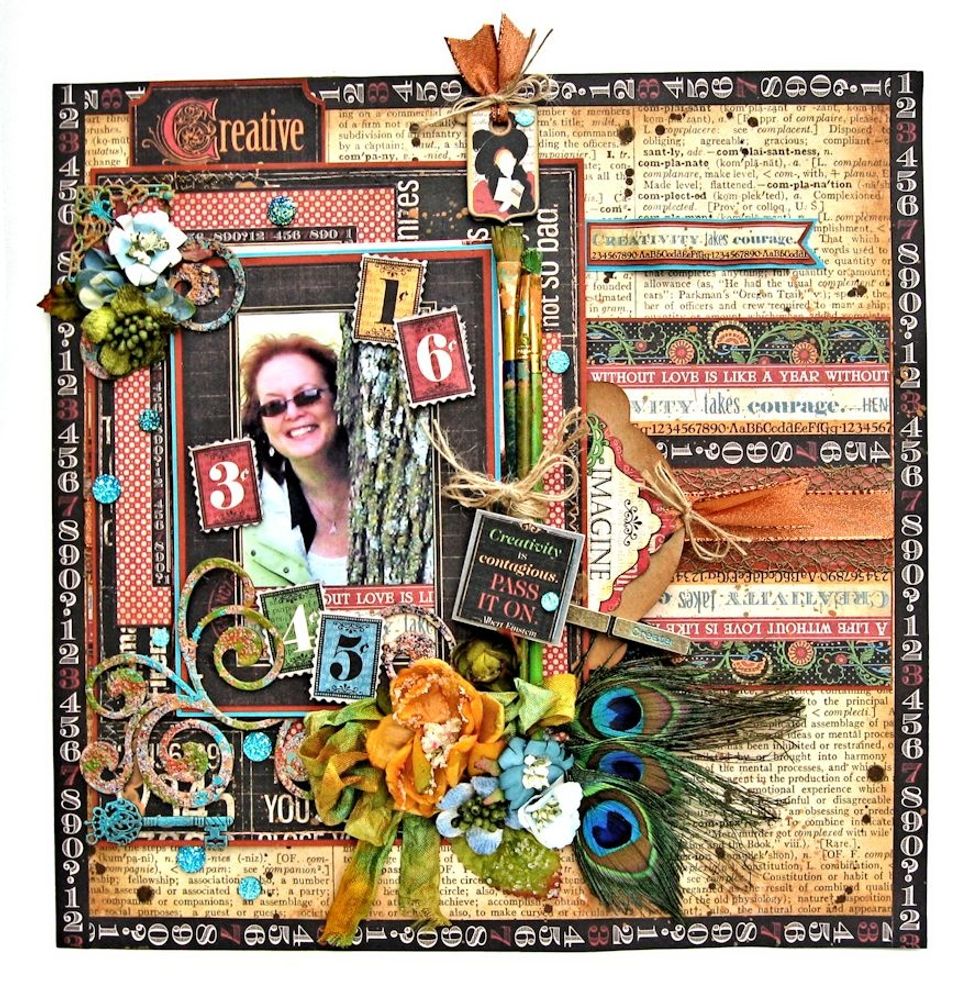
Thanks so much for following along with me today! I hope you have fun making your own Mixed Media Layout with Graphic 45 Typography papers. Now go get your craft on!