The Conversation (0)
Sign Up
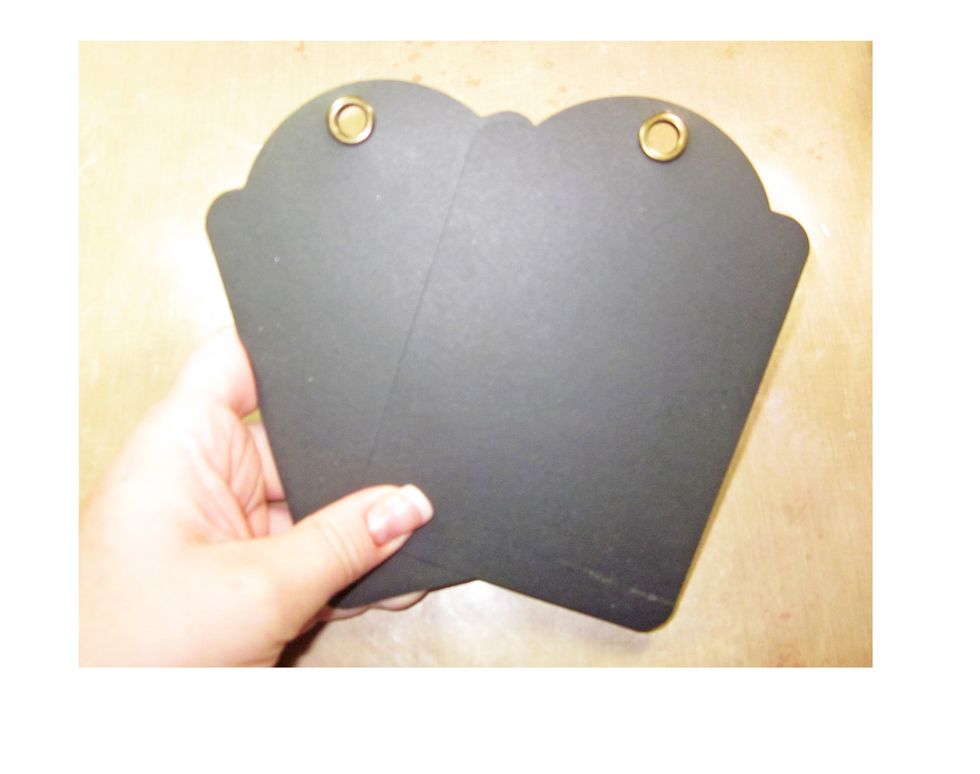
Gathered two Graphic 45 basic tag and glue them together with a piece of cardstock in between to add stability.
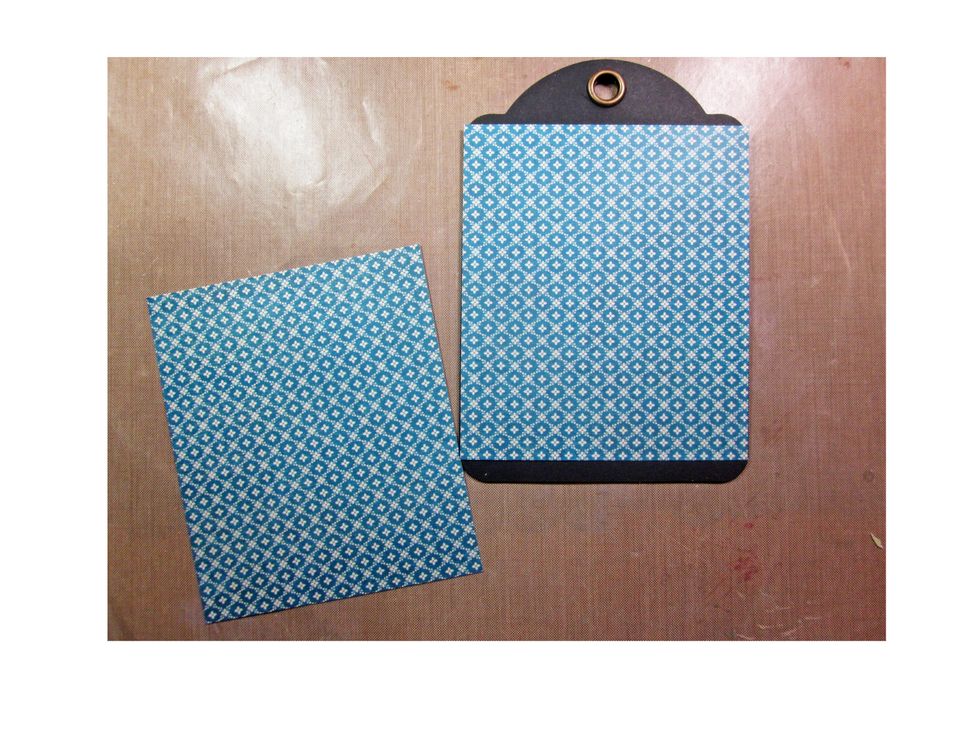
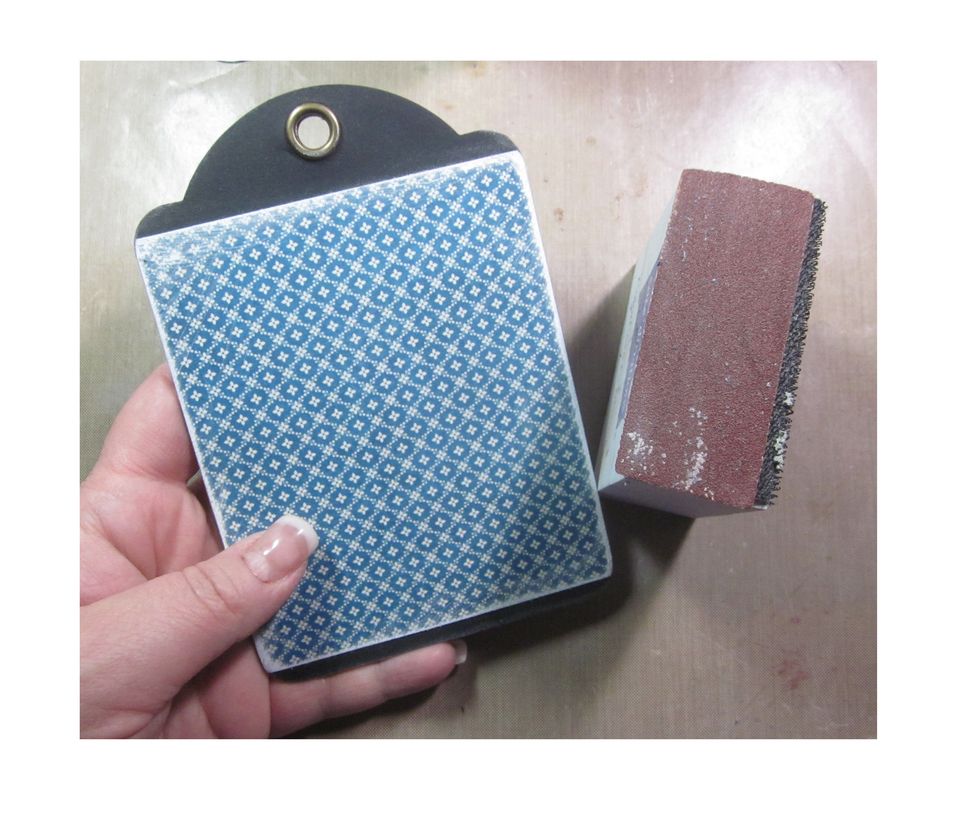
Cover both sides of the tag with Graphic 45 Home Sweet Home paper.
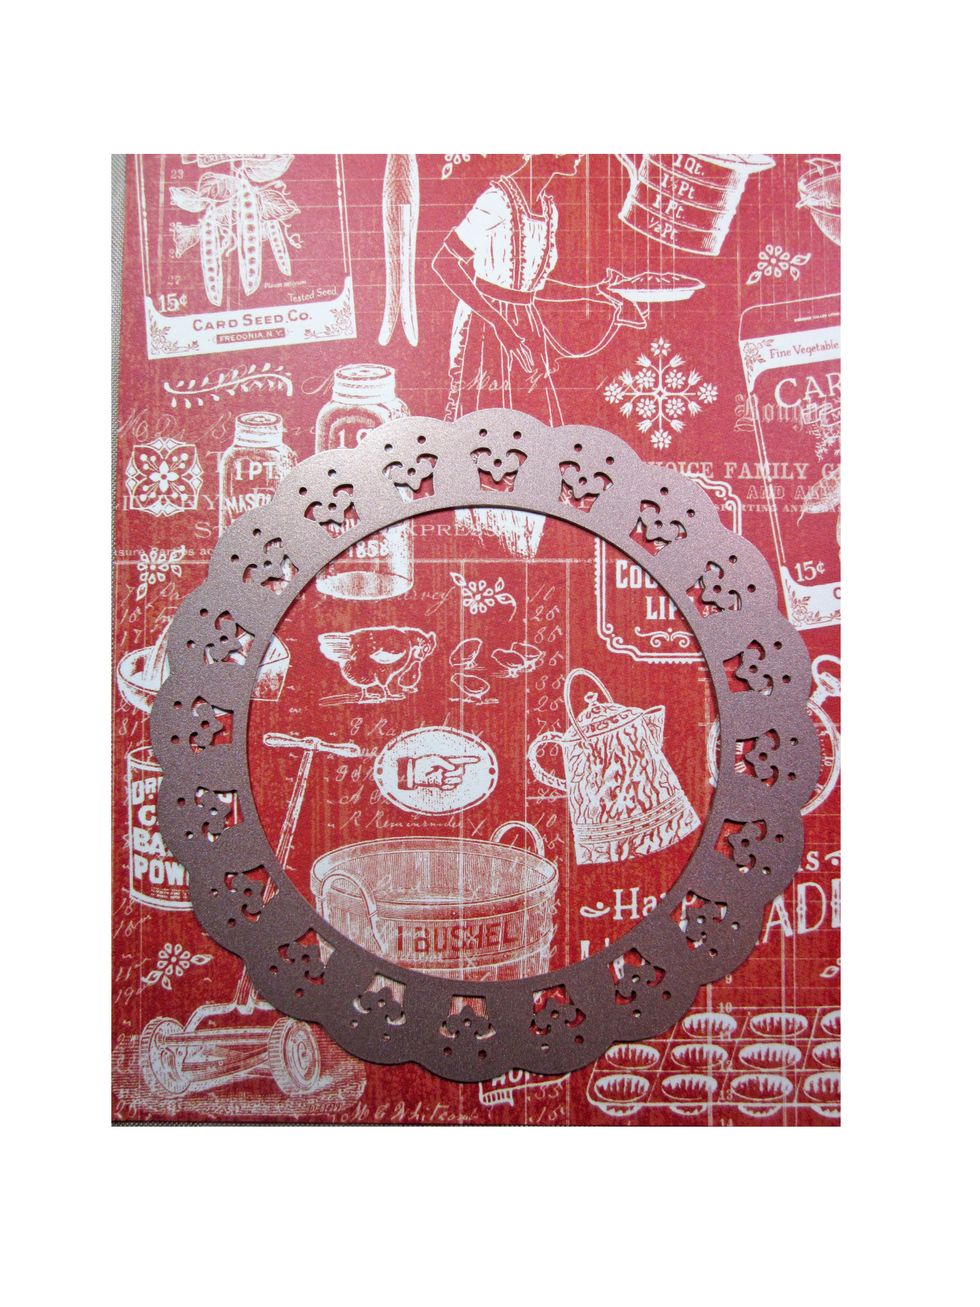
Cut out two dies using Spellbinders Dies.
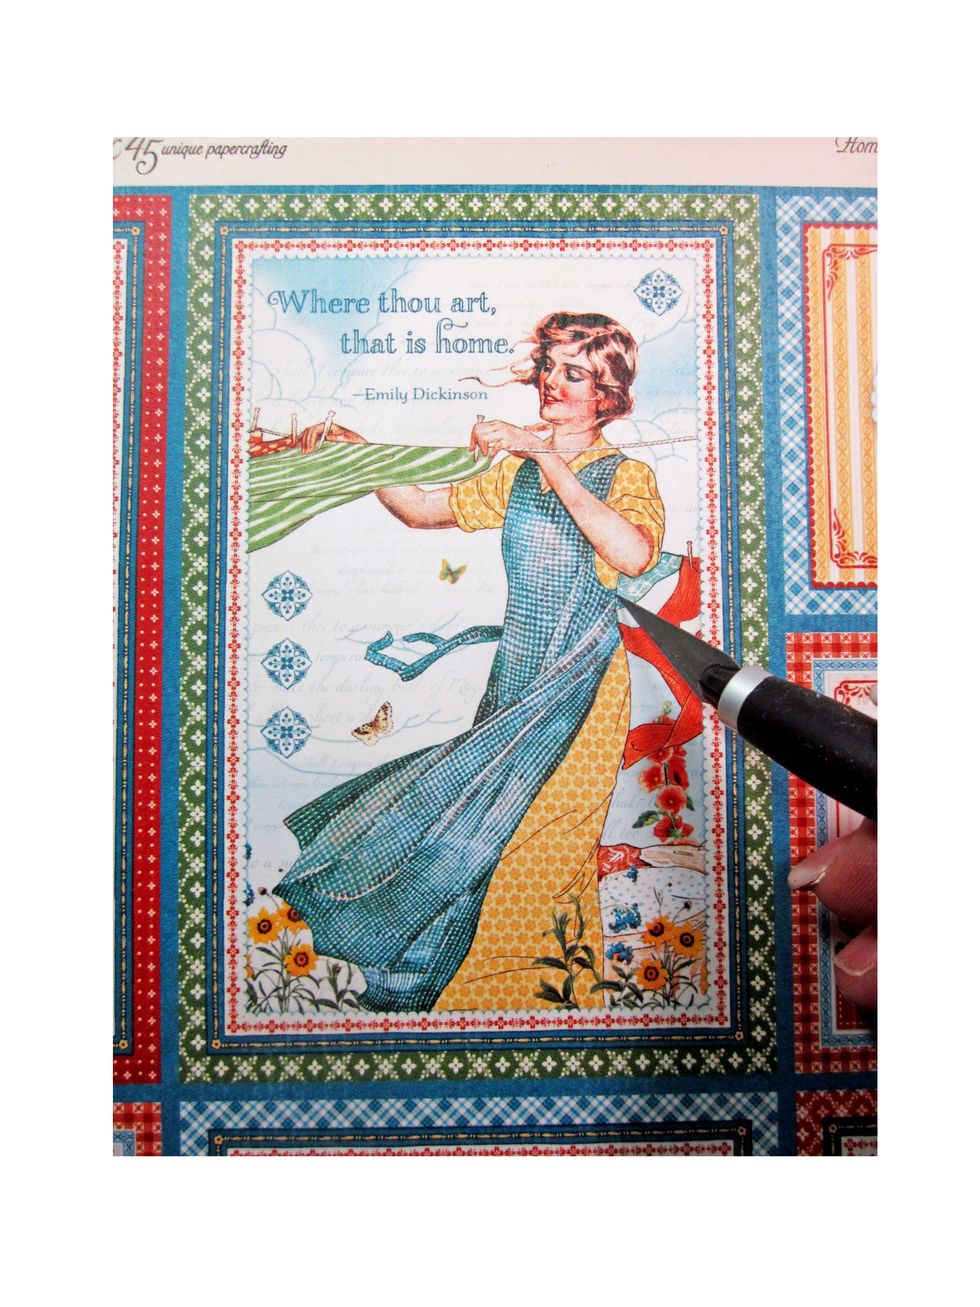
Fussy cut out the figure from the Home Sweet Home Collection. We are only doing one side now of the tag, but you would do the same for the other side but with a different figure.
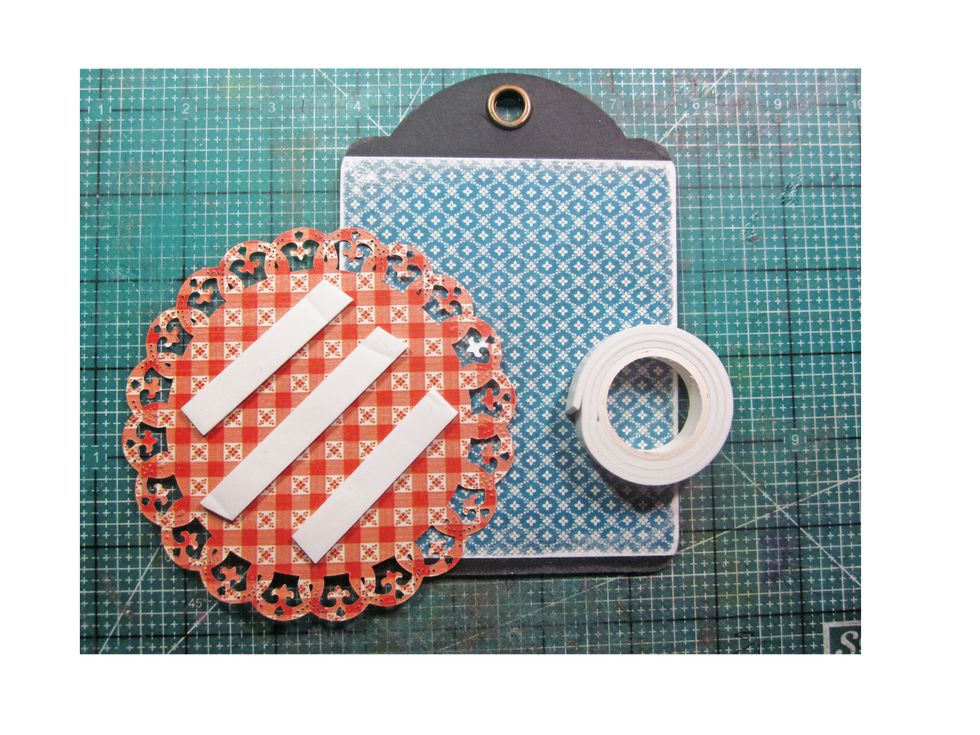
Attach the die cut to the base tag using foam tape.
Add the fussy cut figure to the top of the die cut with foam tape.
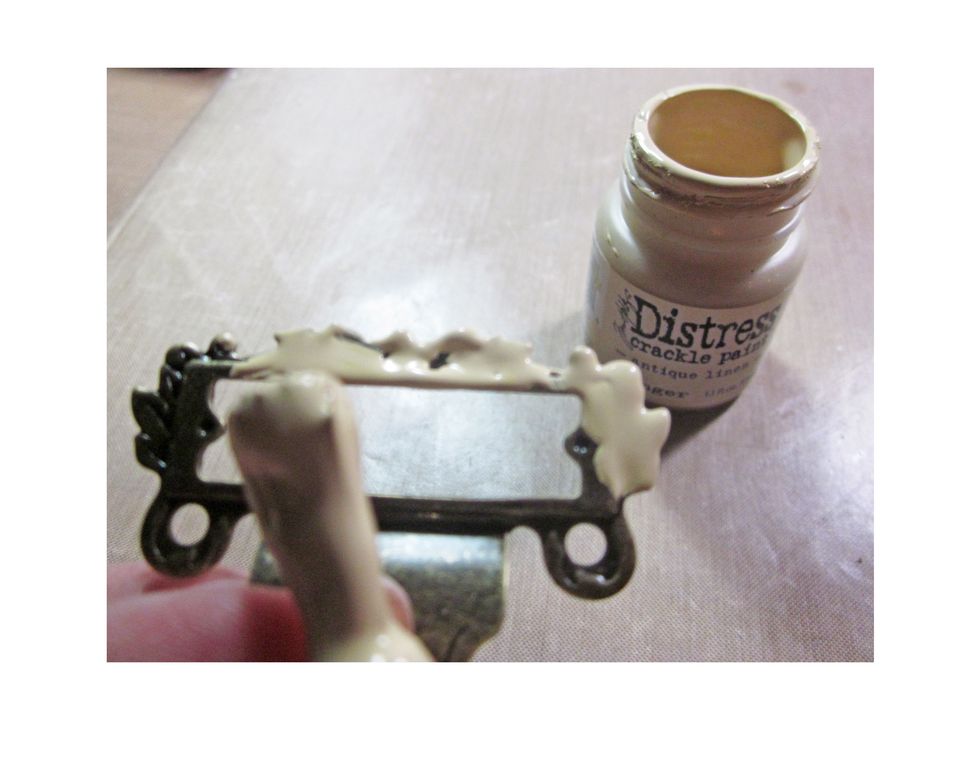
Bend down the base hook of a Graphic 45 label holder and then paint with Distress Crackle Paint.

Pat out the paint with you finger and leave to dry.
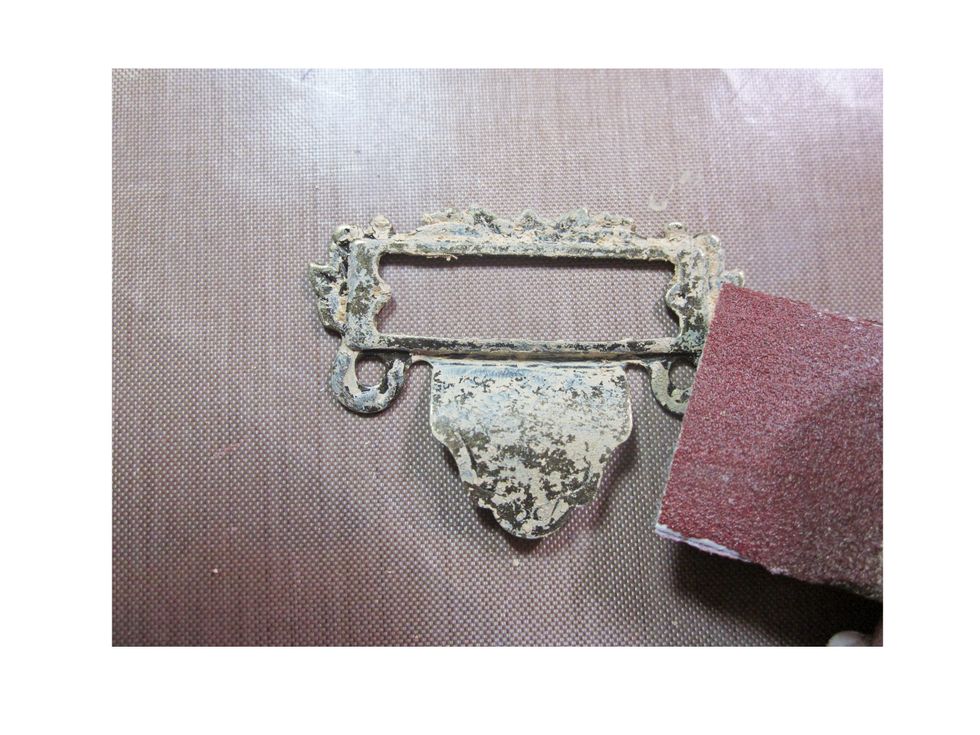
Sand paper hit and miss over the top of the label holder for a distress look.
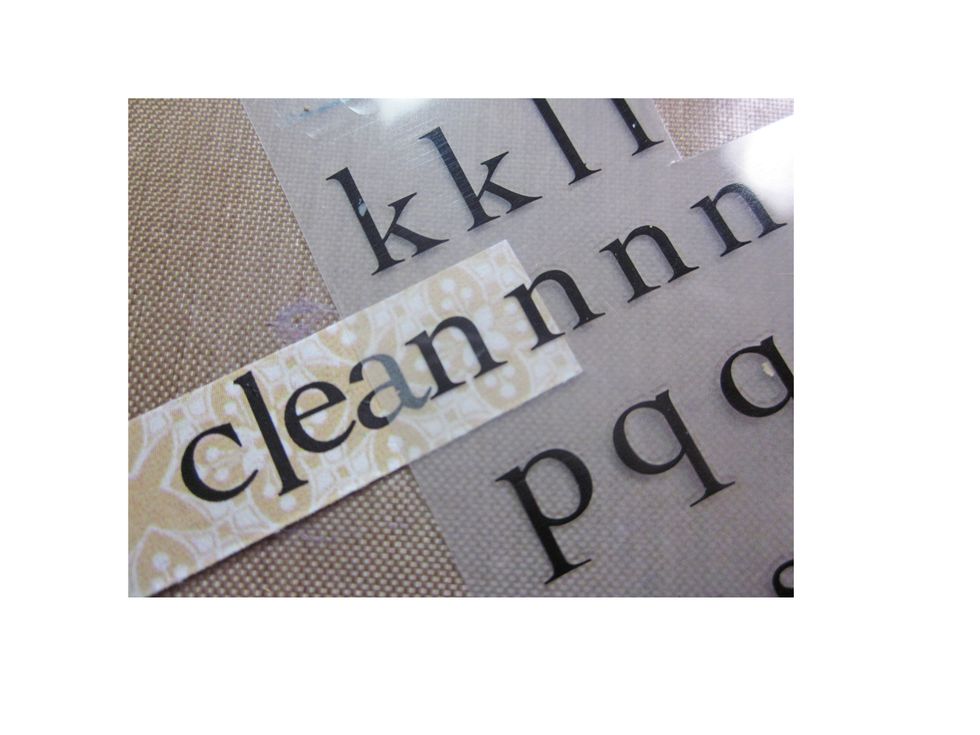
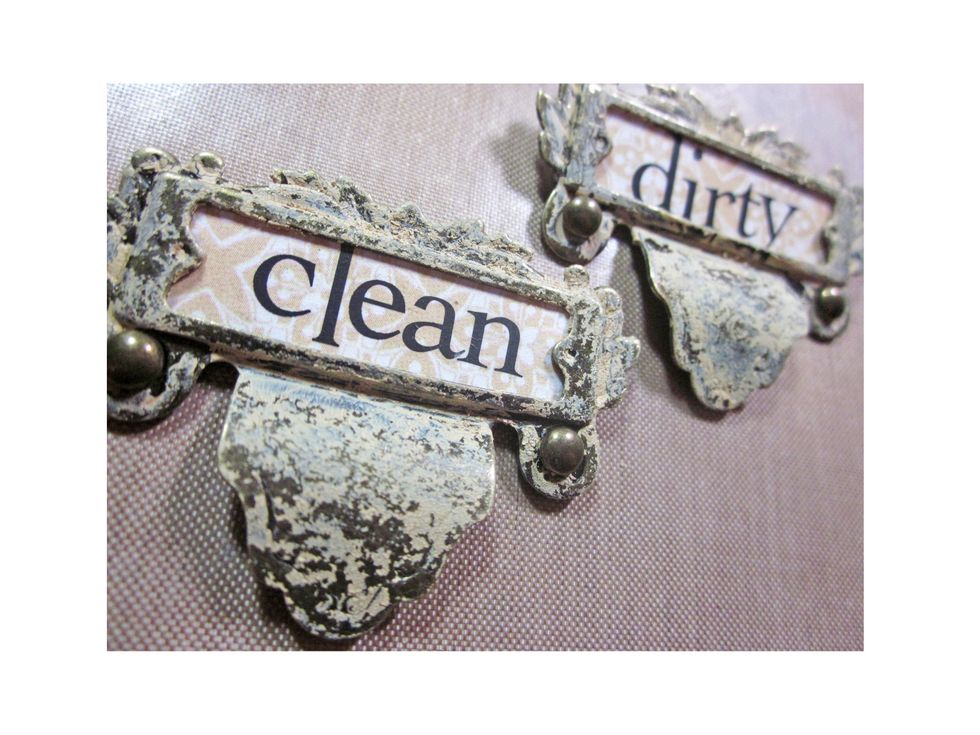
Use rub on letters to spell clean and use a small square of patterned paper, make sure it fits the label holder. You will also do another one of these for the other side but say "Dirty"
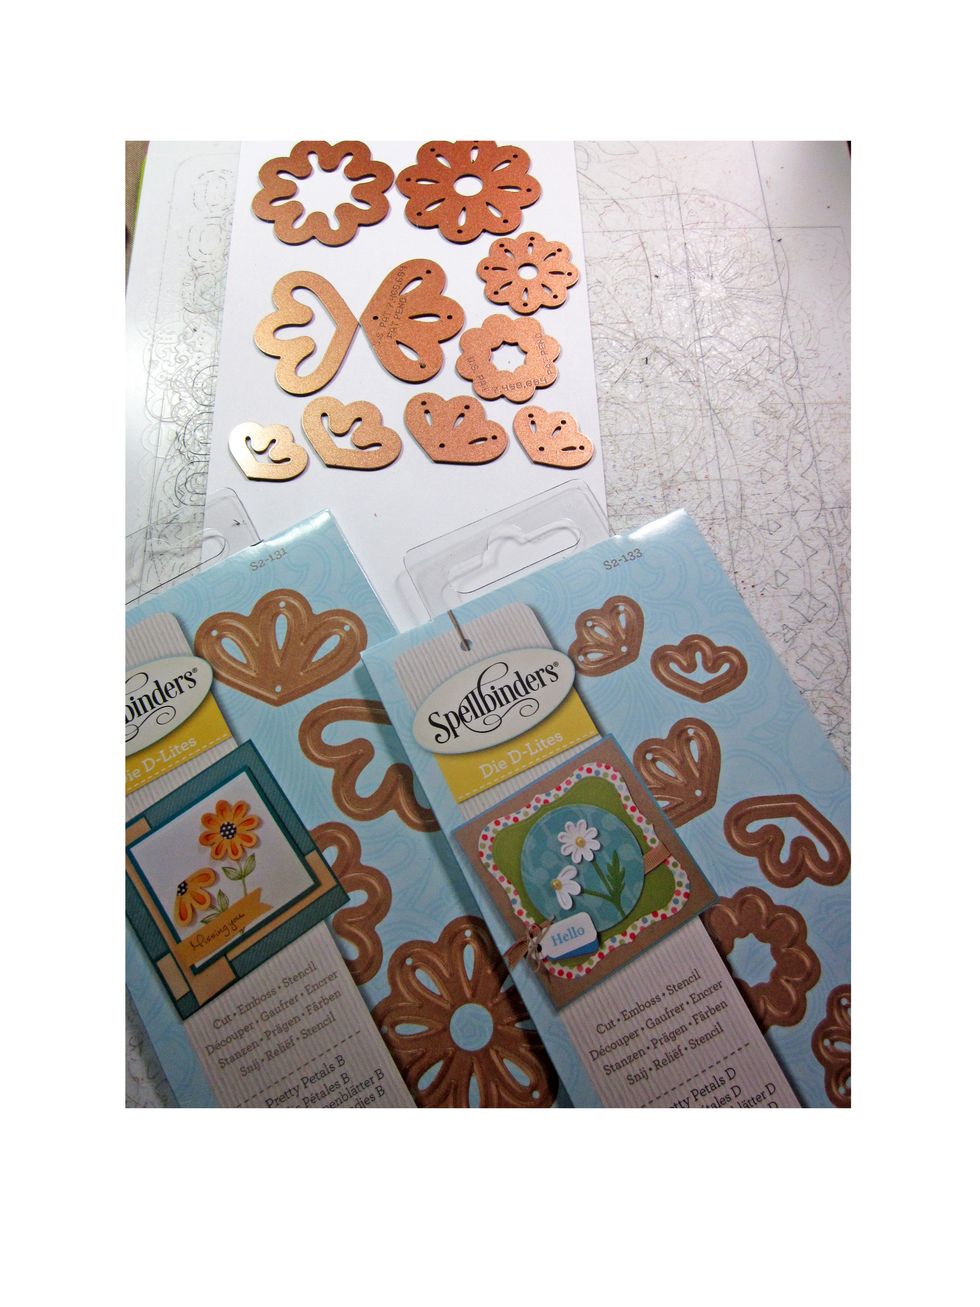
Using the Spellbinders Die and cut out from plain white card stock various petals.
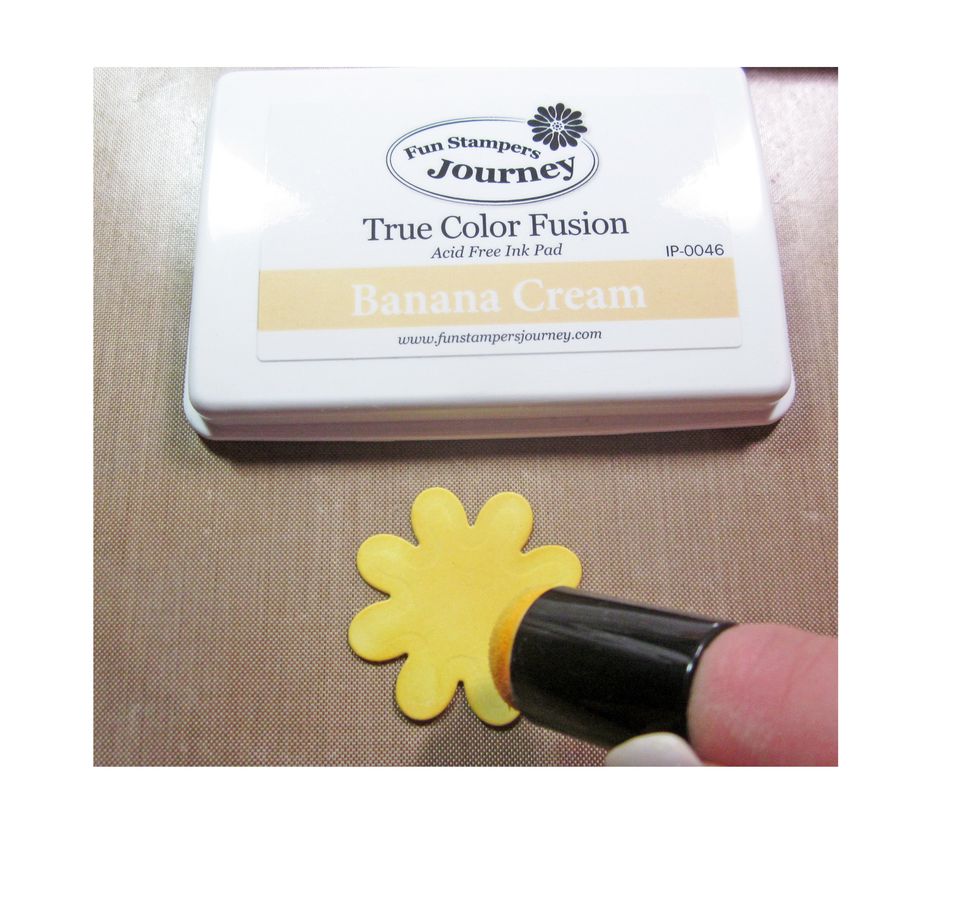
Using a sponge dauber color the base petals with a yellow ink.
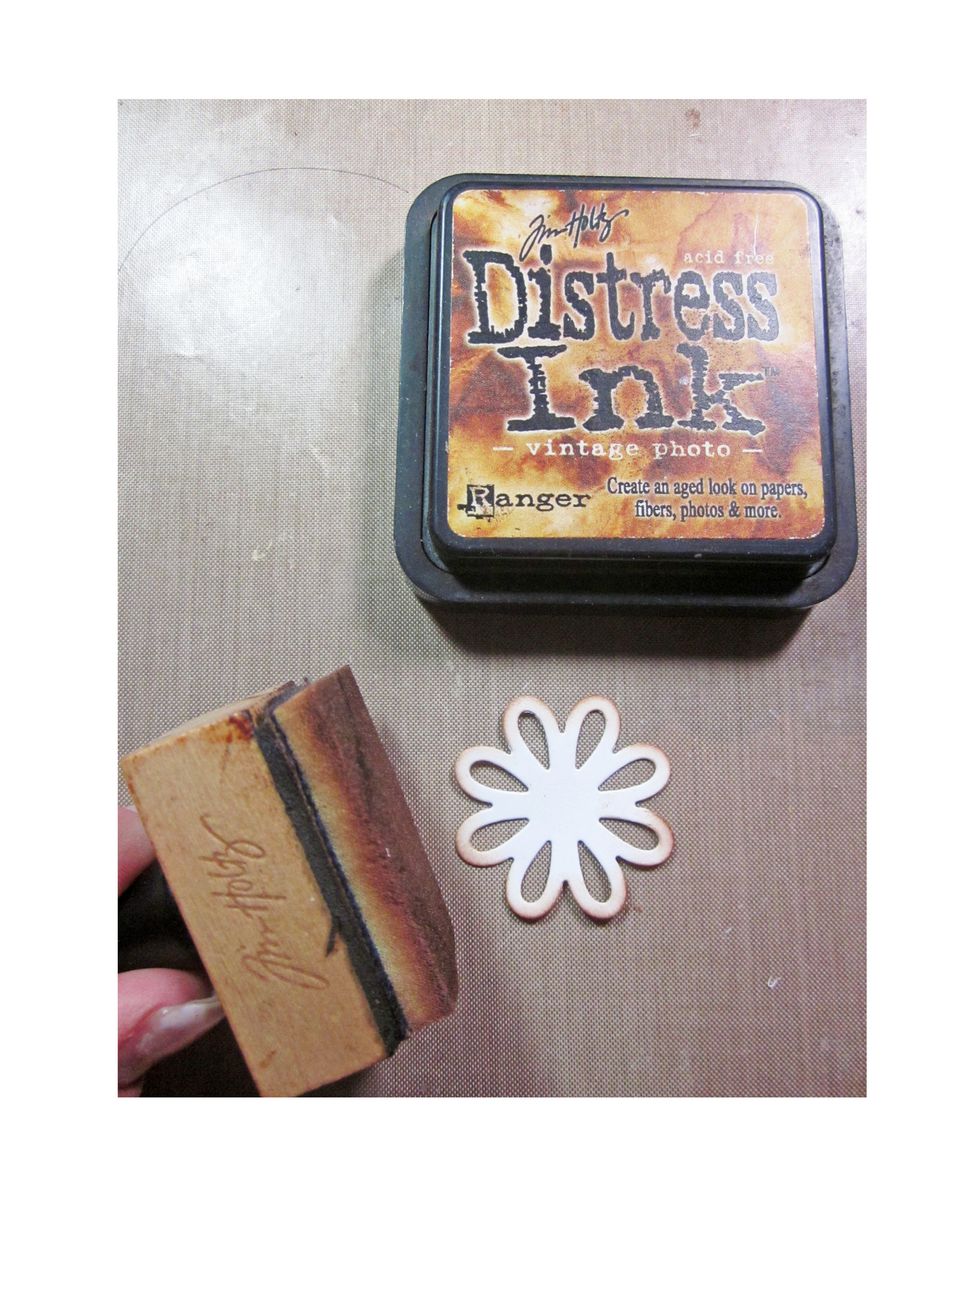
Using Distress Ink/ Vintage Photo ink the edges of the top petals.
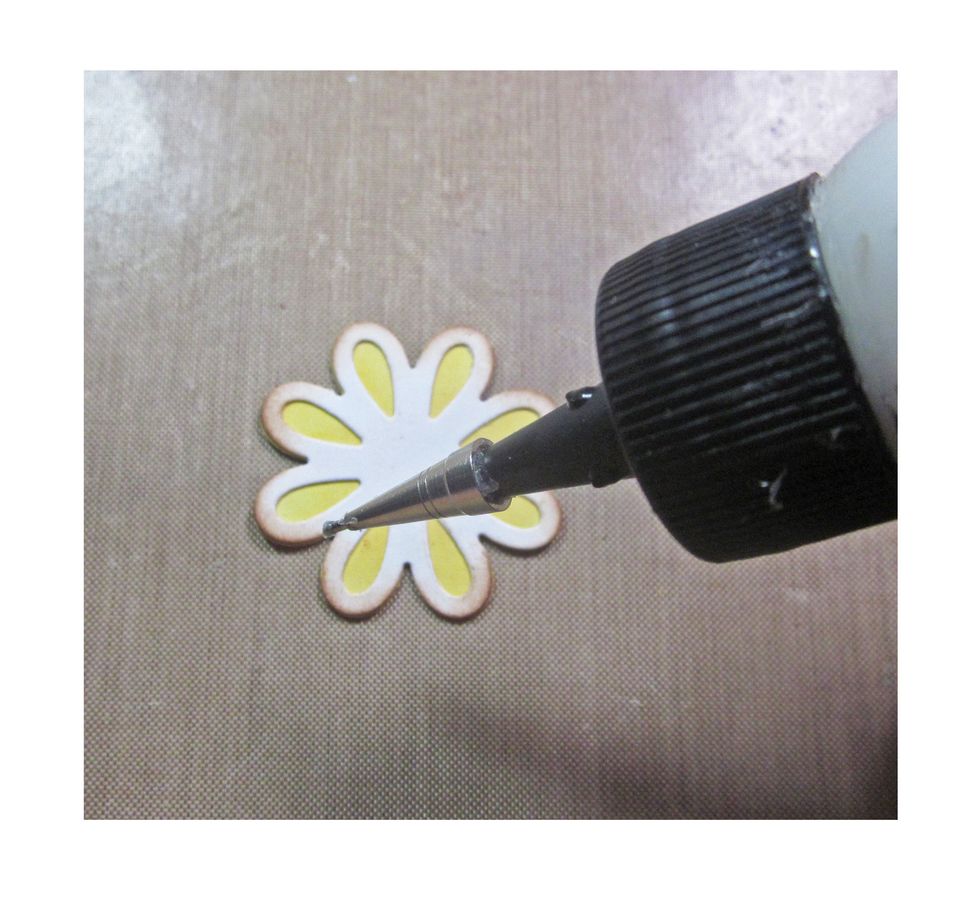
Glue the top petal down to the base petal.
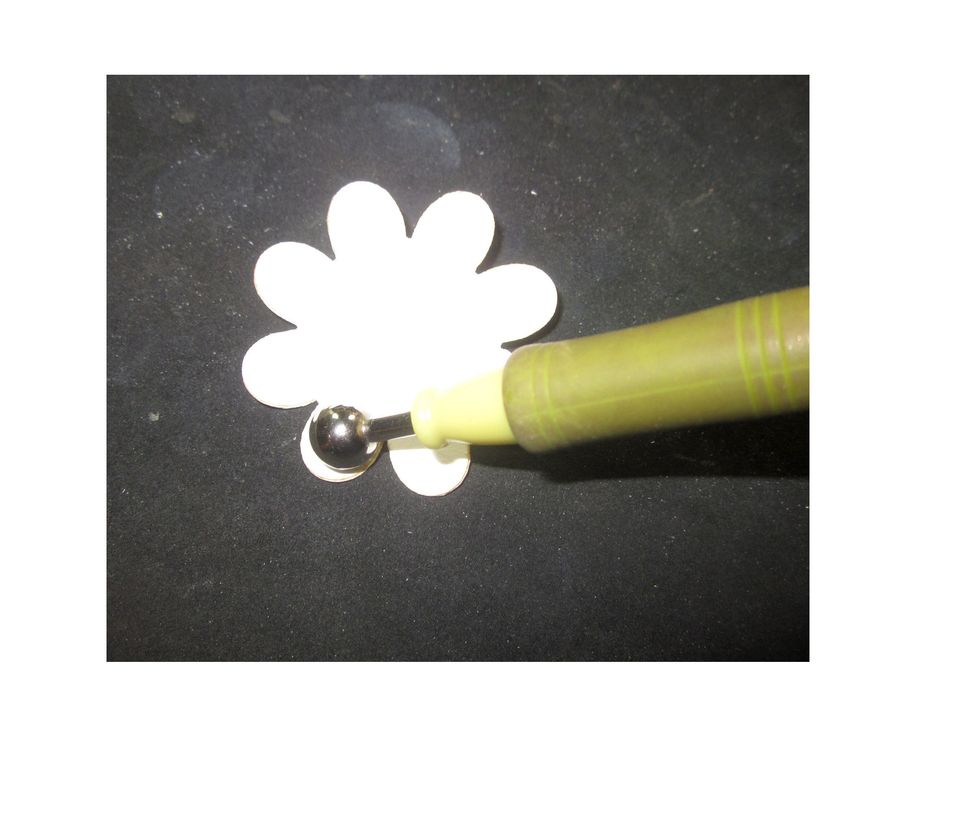
Using McGills Flower tools cup each of the petals upward,
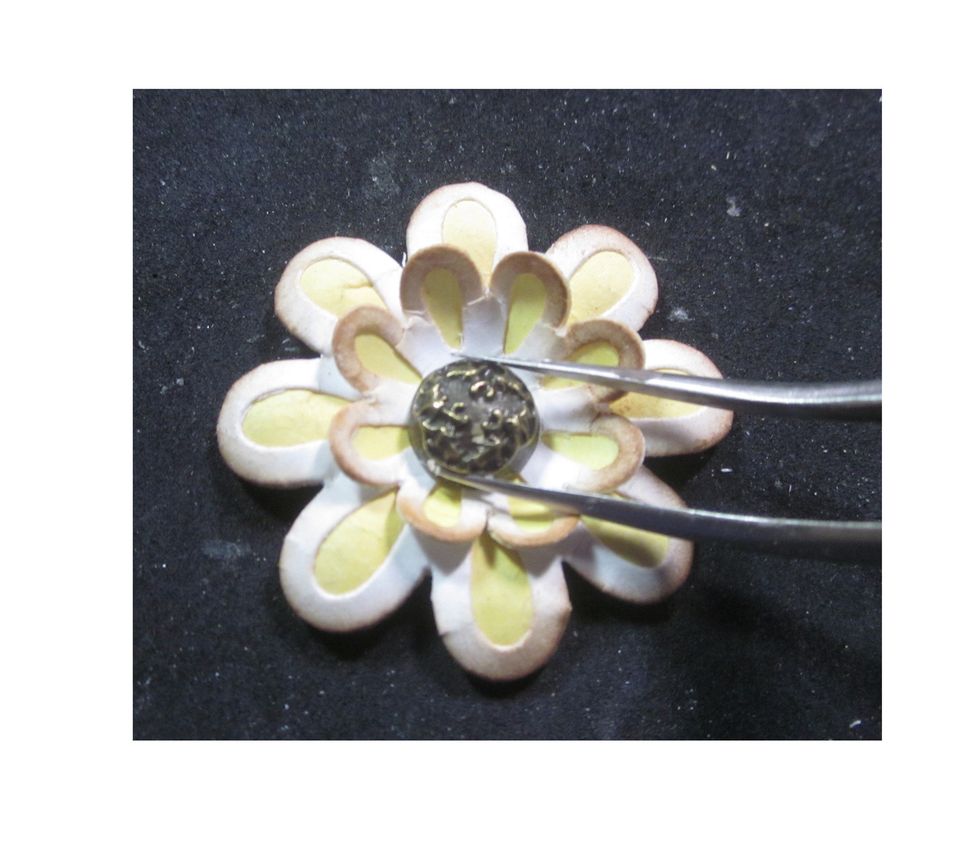
Layer a large and a small flower together, glue down and then top off with a decorative metal brad from Graphic 45. You can then brush the top of the brad with Distress Paint to blend.
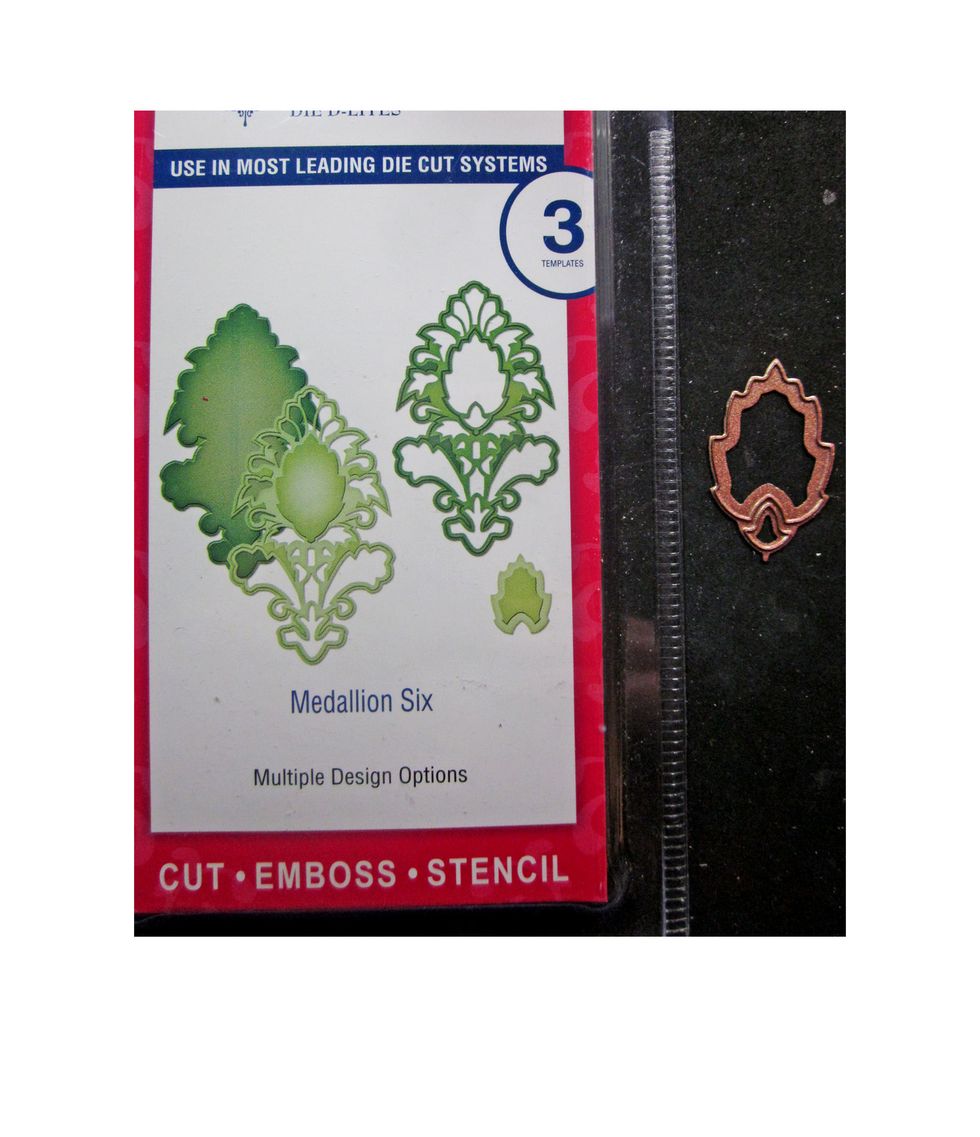
Cut out the smallest die from Medallion Six several times for the leaves.
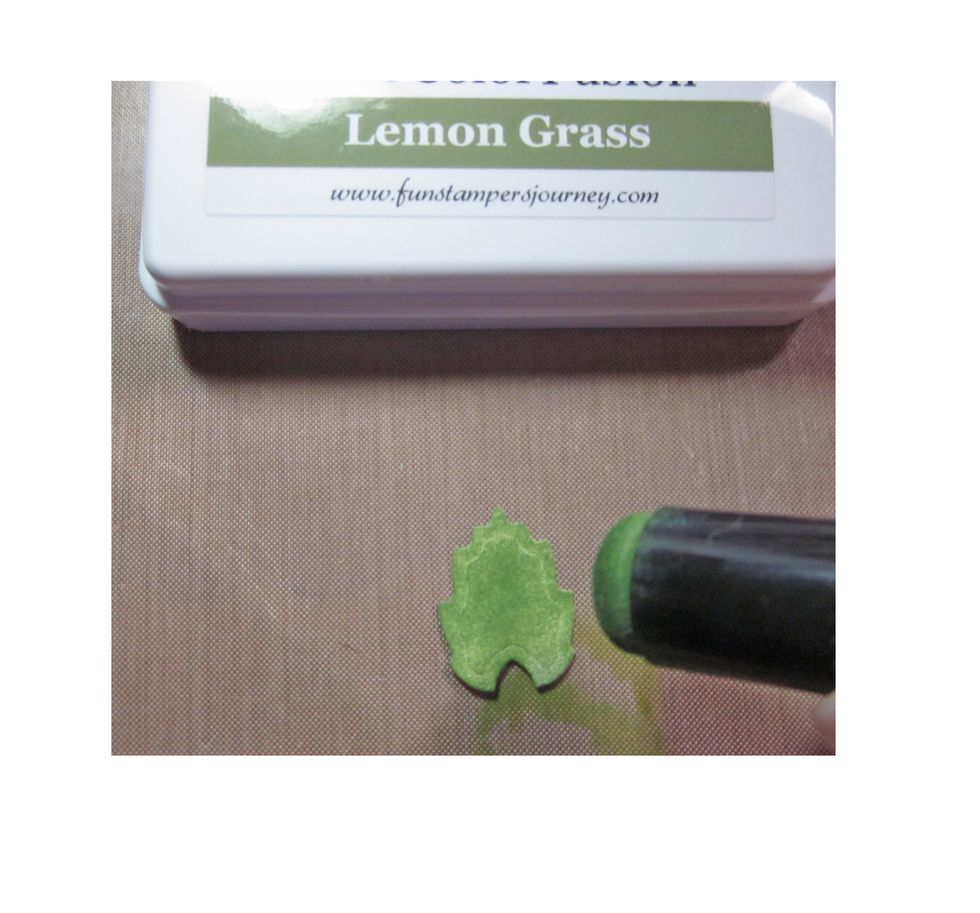
Using a sponge dauber cover the leaf with a base coat of a lighter green.
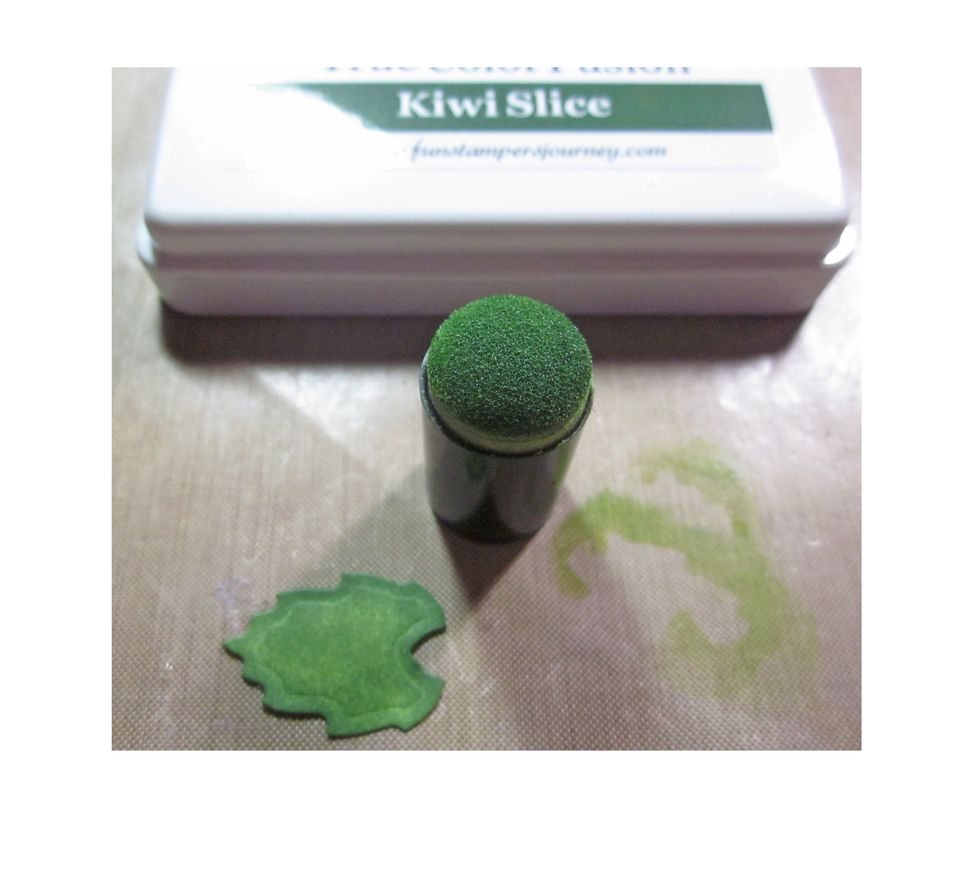
Ink the edges with a darker green ink for a varied coloring.
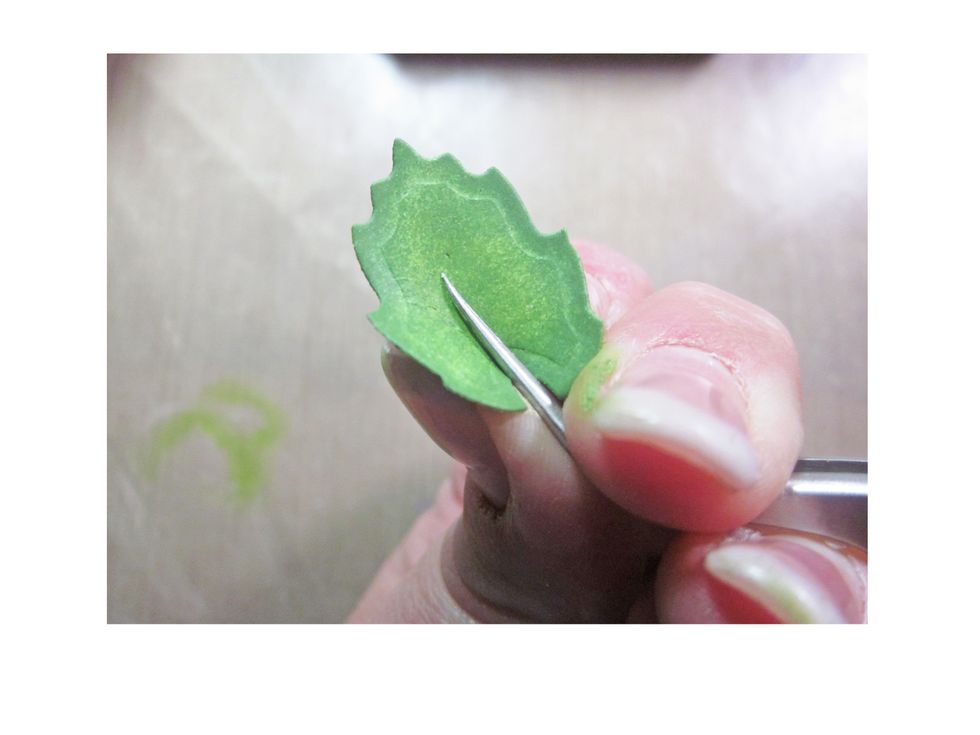
Pinch the leaves upward to finish them off.
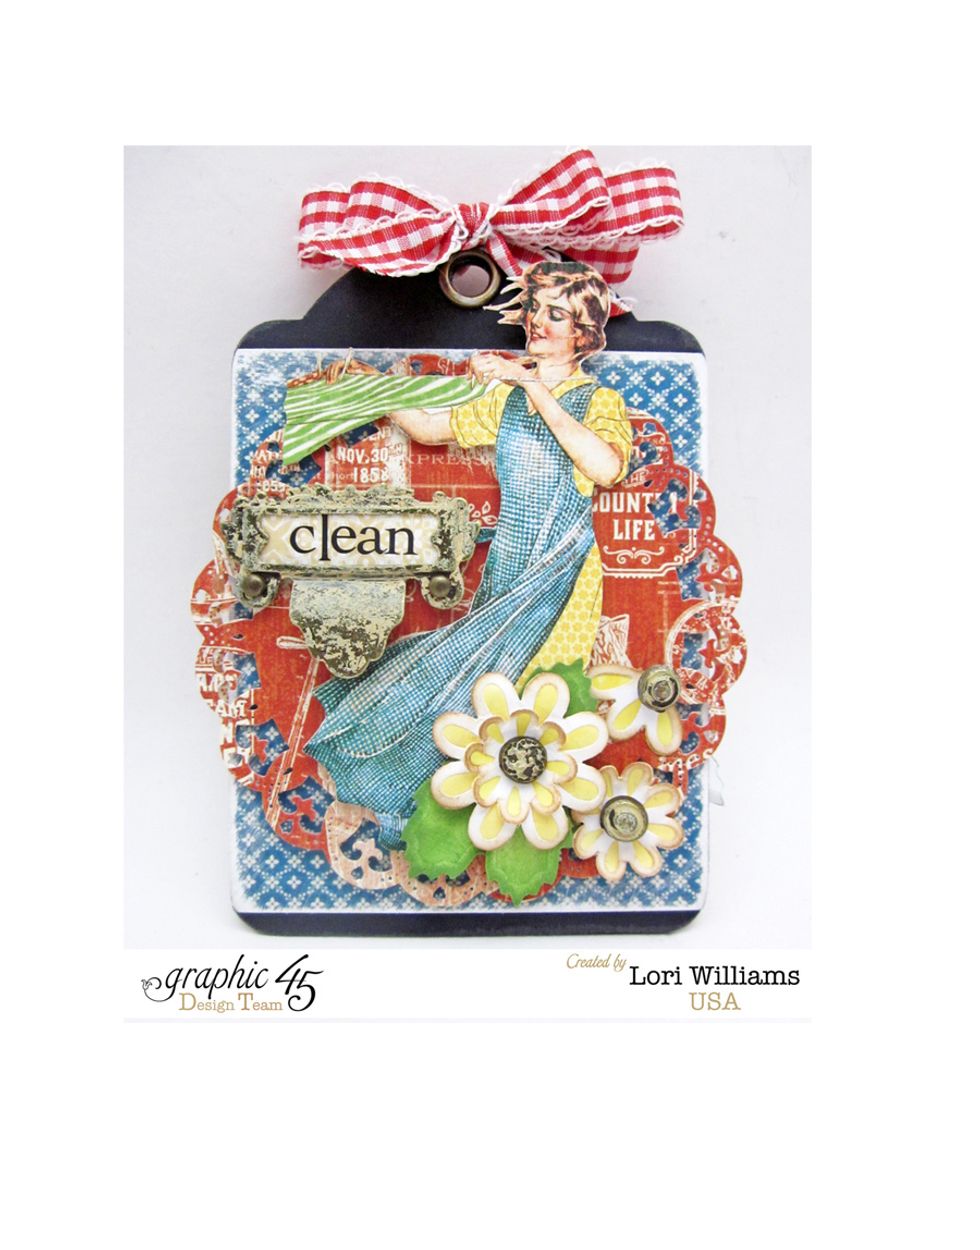
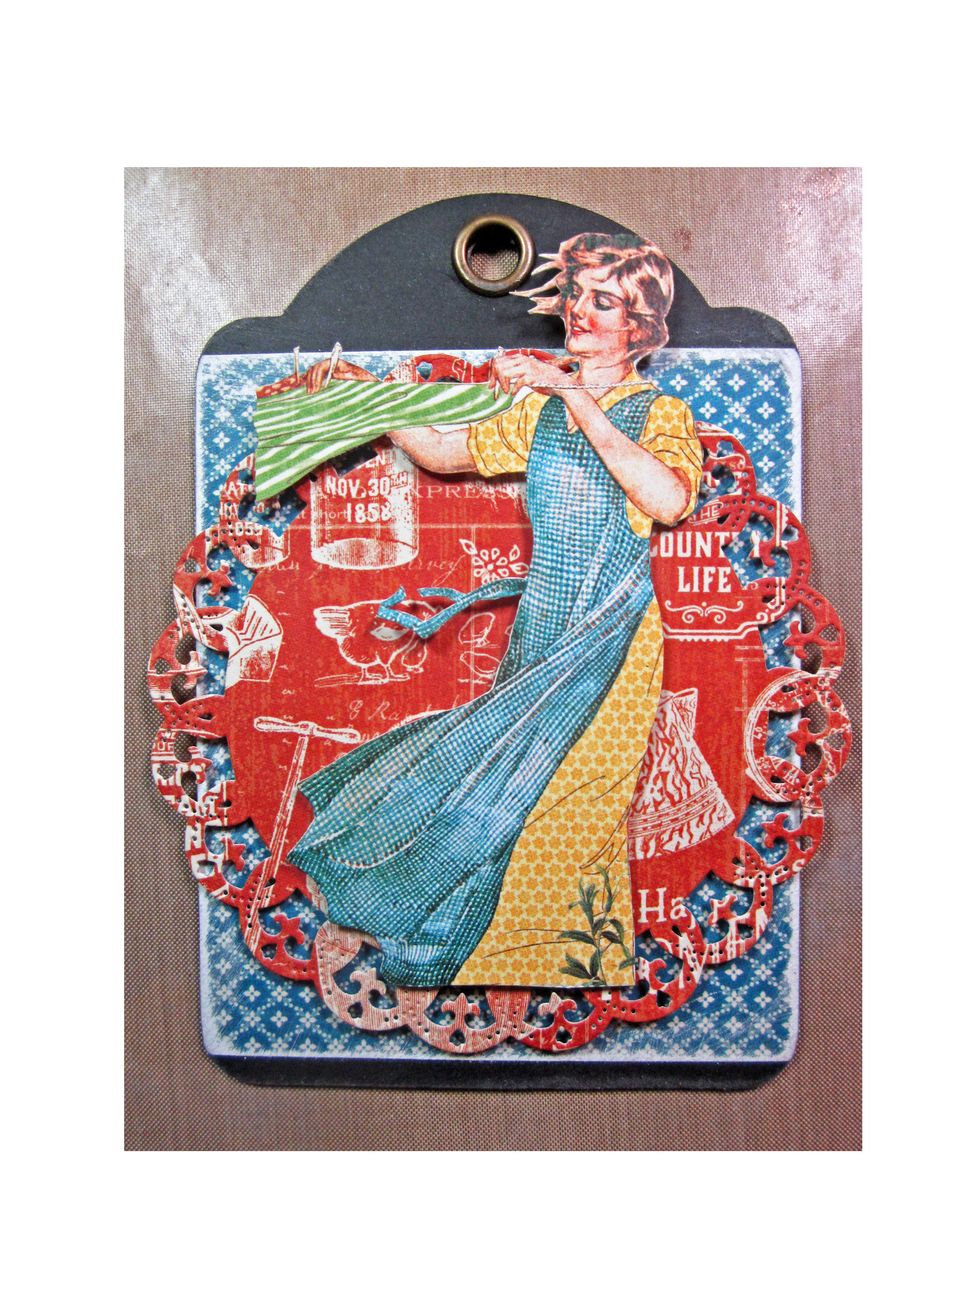
Here is one side of the tag finished and all the various parts assembled.

Here is a close up that shows all the different parts coming together.
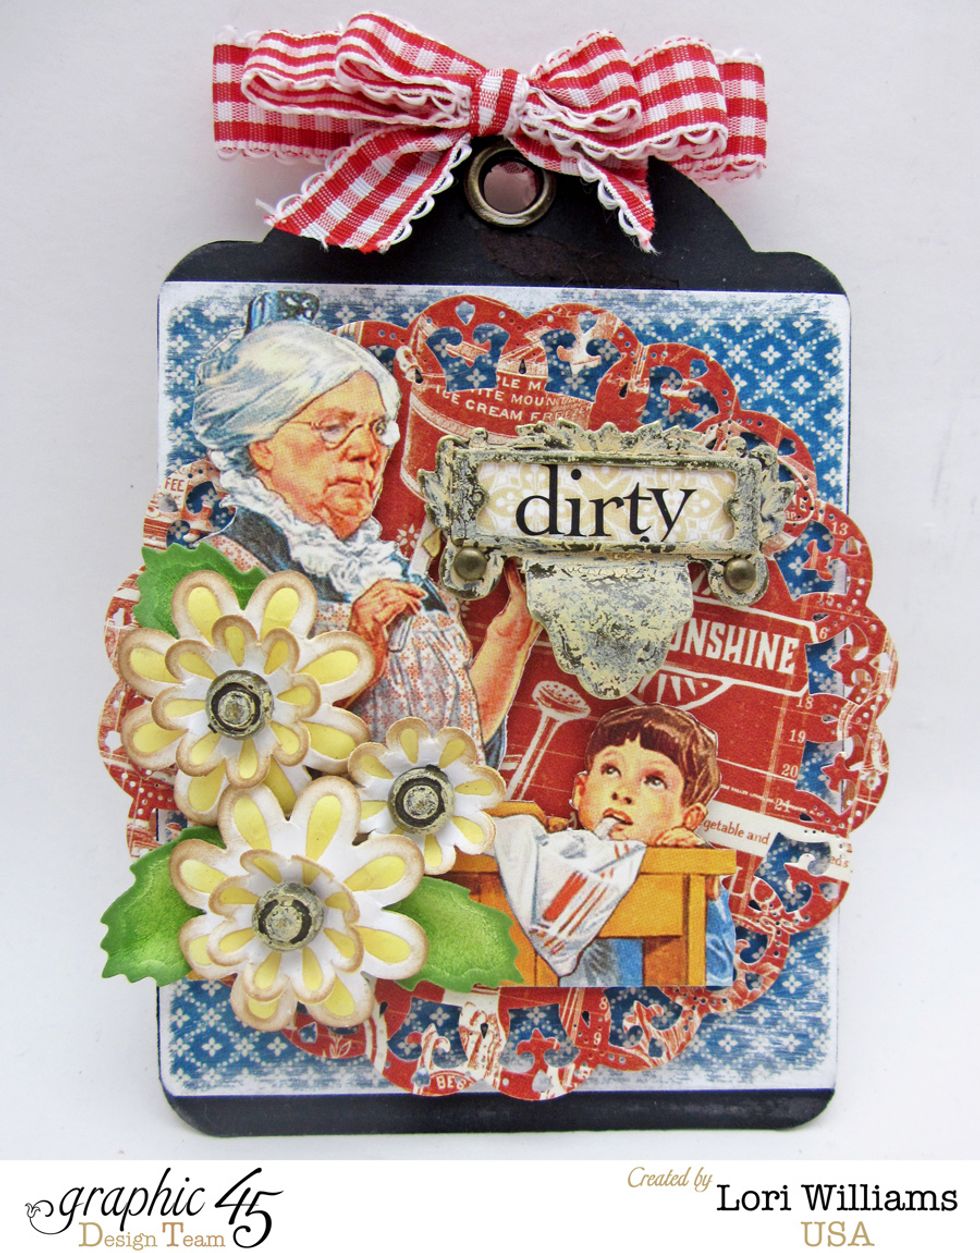
This is the back side of the tag, A different figure was fussy cut out but the main elements are the same.
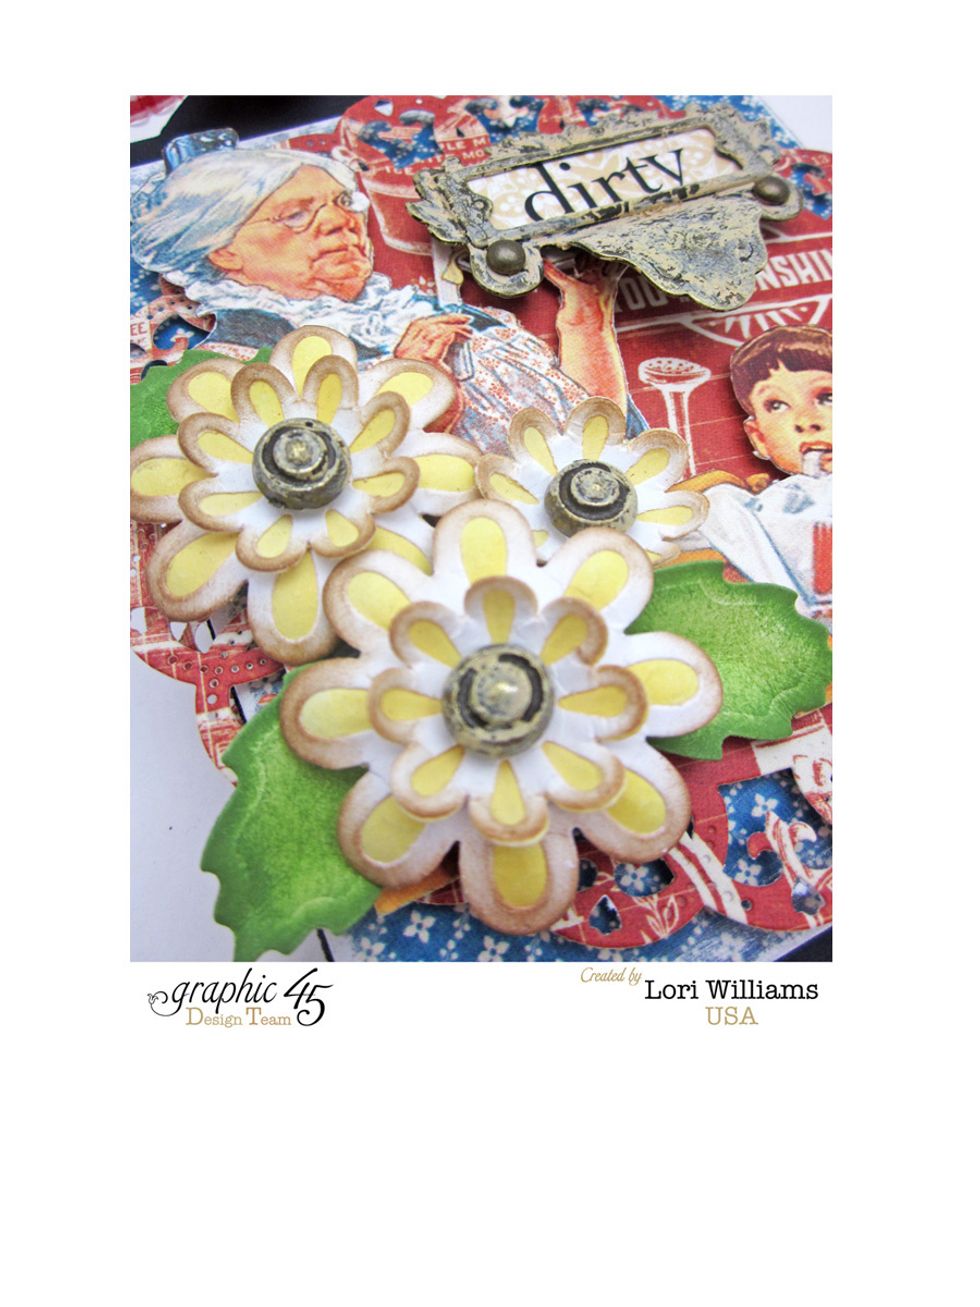
The close up of the back side of the tag.
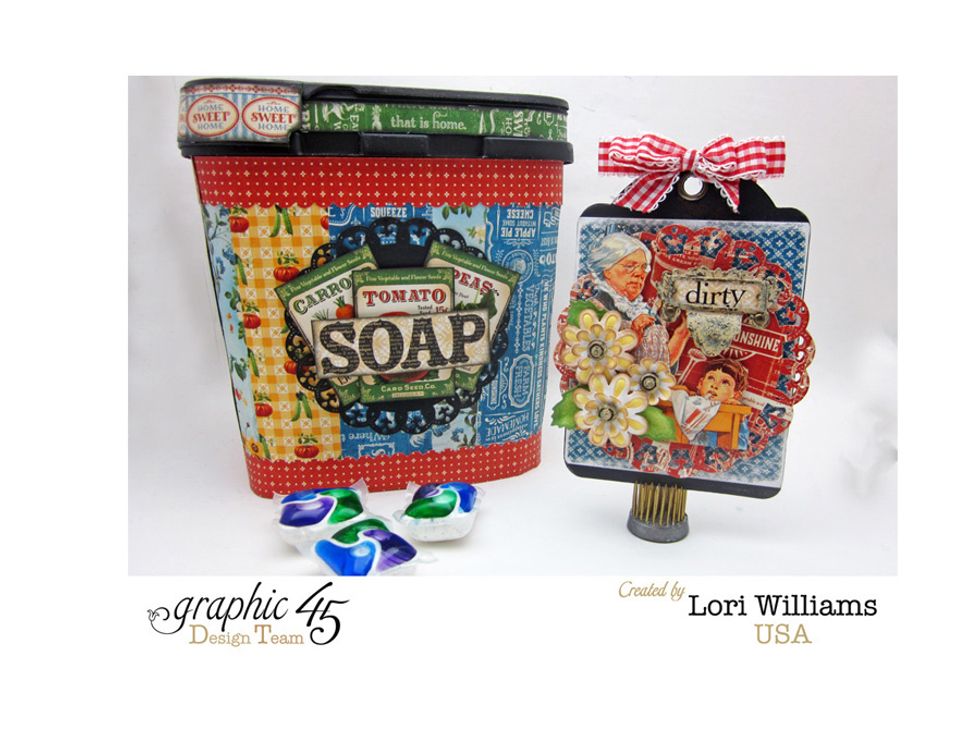
I also covered the soap box of the dishwasher detergent to make a complete set. You can purchase a magnet with a hook to go on your dishwasher for your clean/dirty sign.

My name is Lori Williams and I'm a design team member with Graphic 45. You can see more of my work on my blog www.pinkcloudscrappers.blogsp… or on Graphic 45's Blog www.g45papers.typepade.com