The Conversation (0)
Sign Up
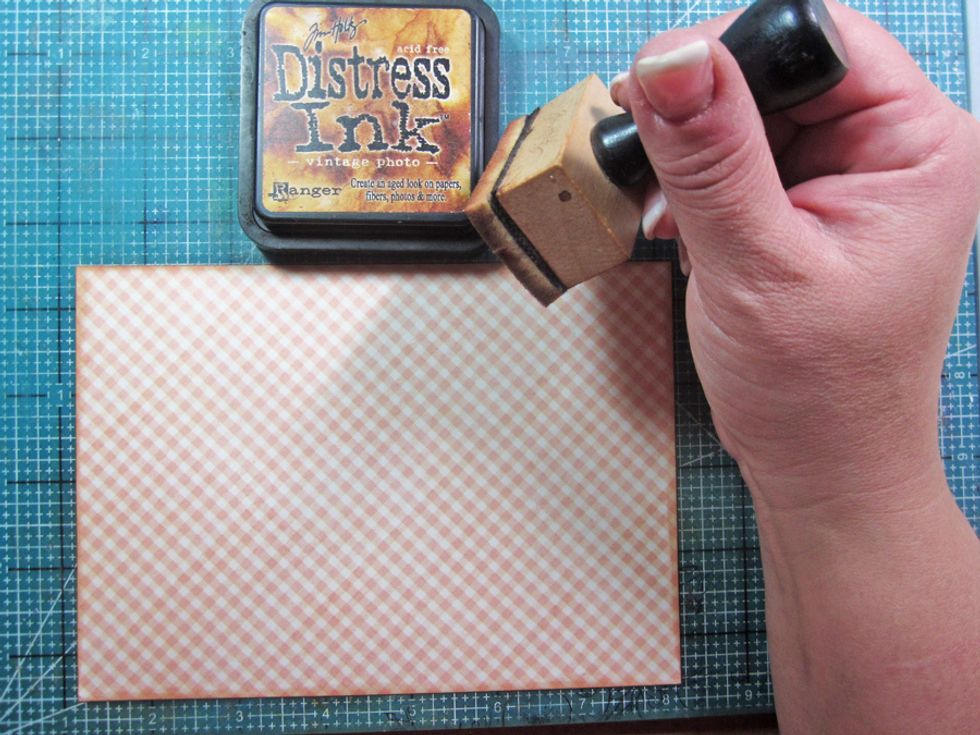
Cut 5 x 7 piece of paper and distress ink the edges. I'm using the latest re-released collection from Graphic 45 " Once Upon a Springtime"
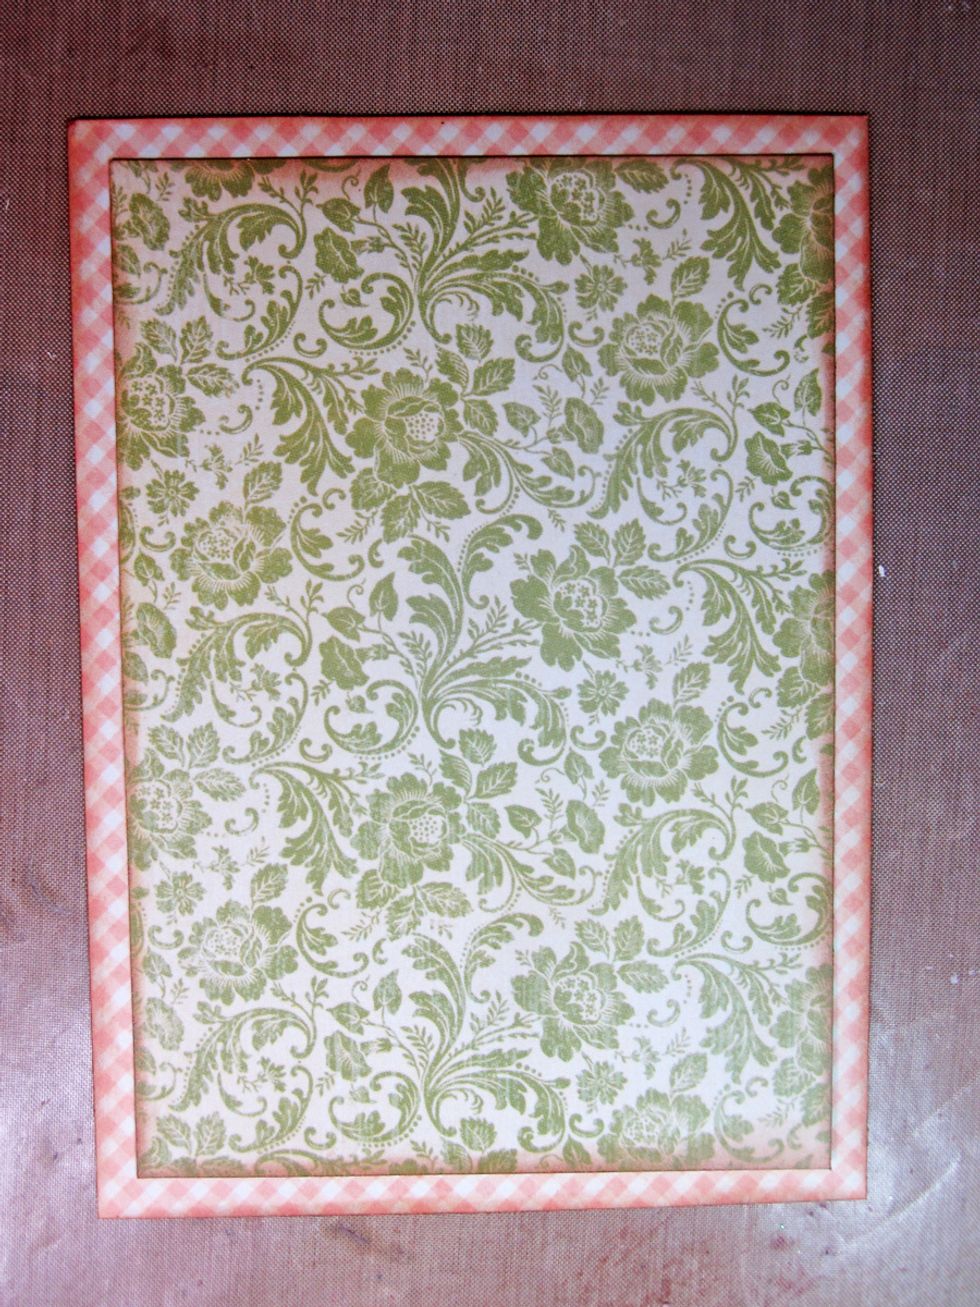
Cut another piece of patterned paper 4 3/4" x 6 3/4 ", ink the edges with the distress ink and then glue down to the base.
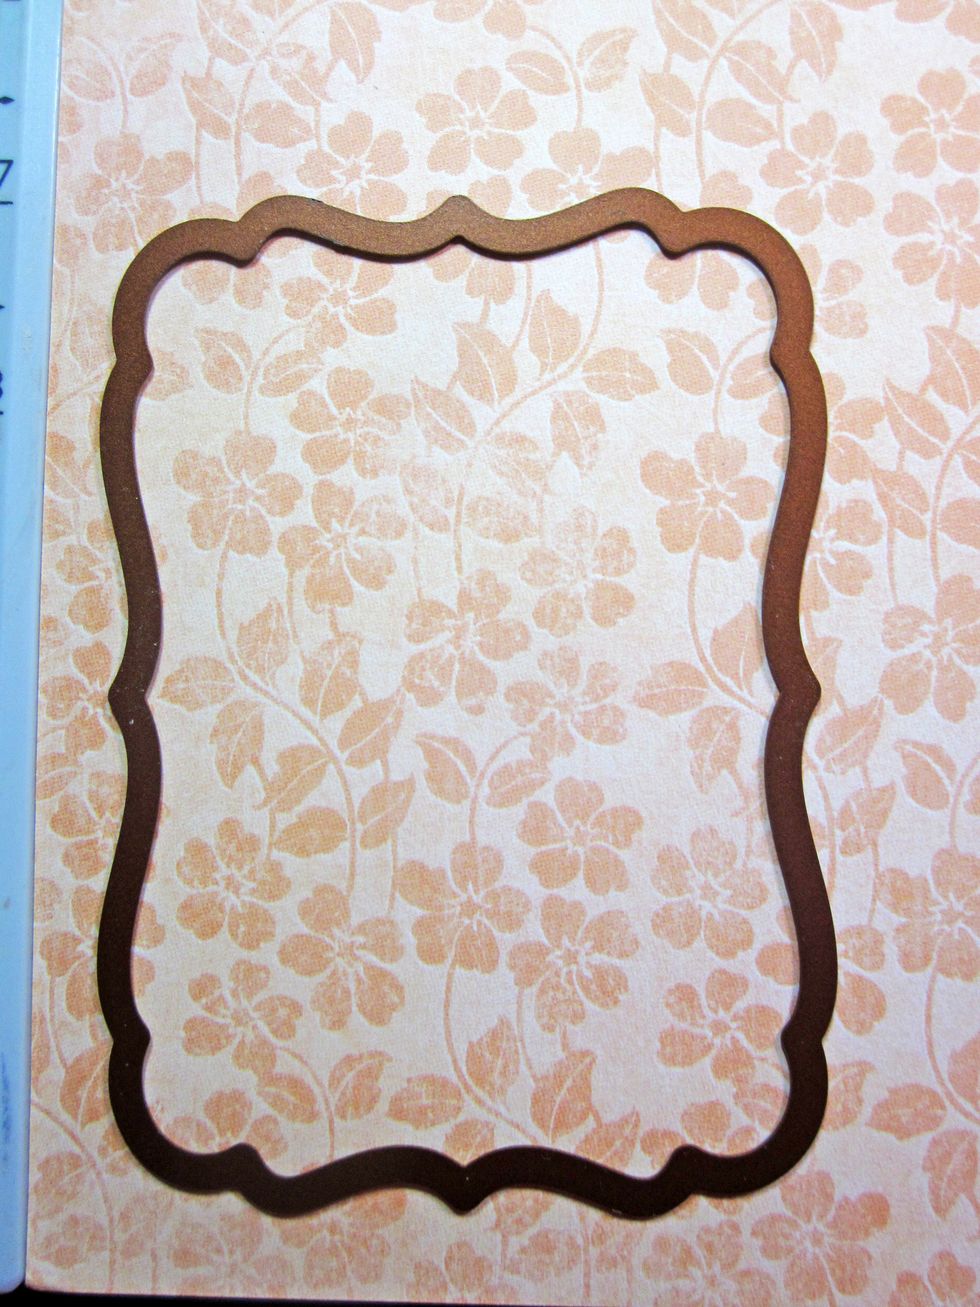
Cut out decorative panel from the paper and distress ink the edges. Glue down to the card in the bottom right hand corner.

Add tag/label over the top of the die cut. This is what will be the background in your shaker.
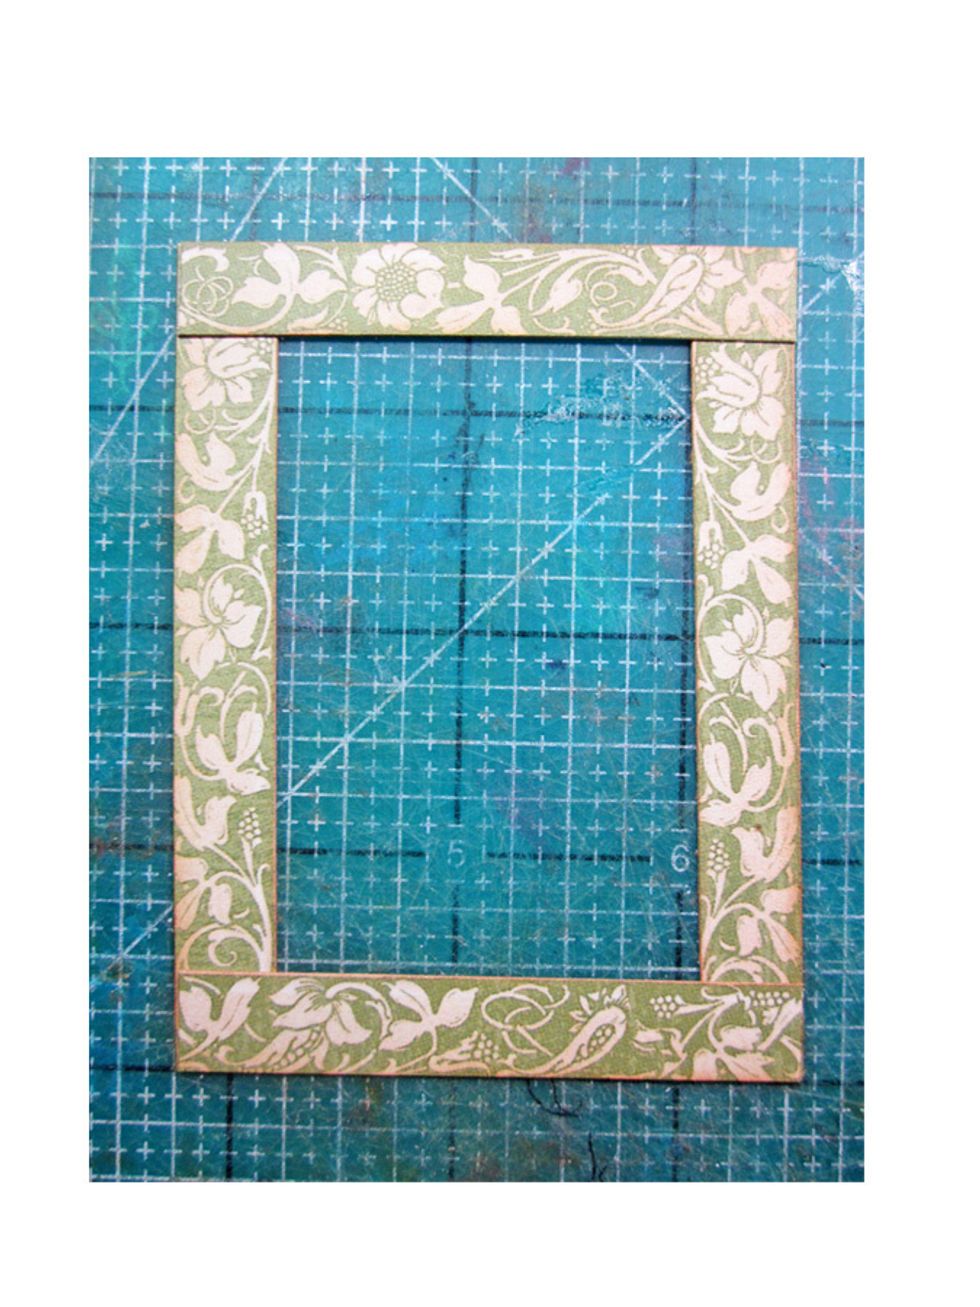
Cut borders strips of paper 1" wide and the size of your background tag/label. Overlap the edges as shown on the photo. Also remember to ink all those edges.
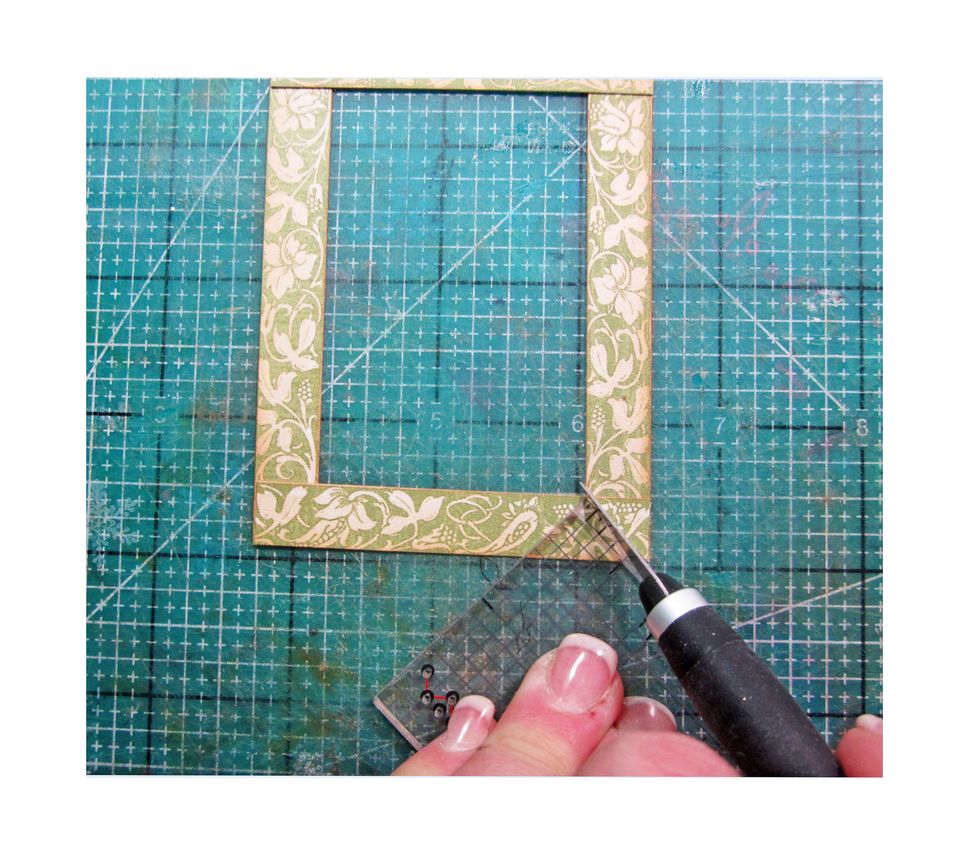
Use a ruler line up in the corners from inner corner to outer corner and the cut with X-acto tool on the top layer only to mitered the edges.
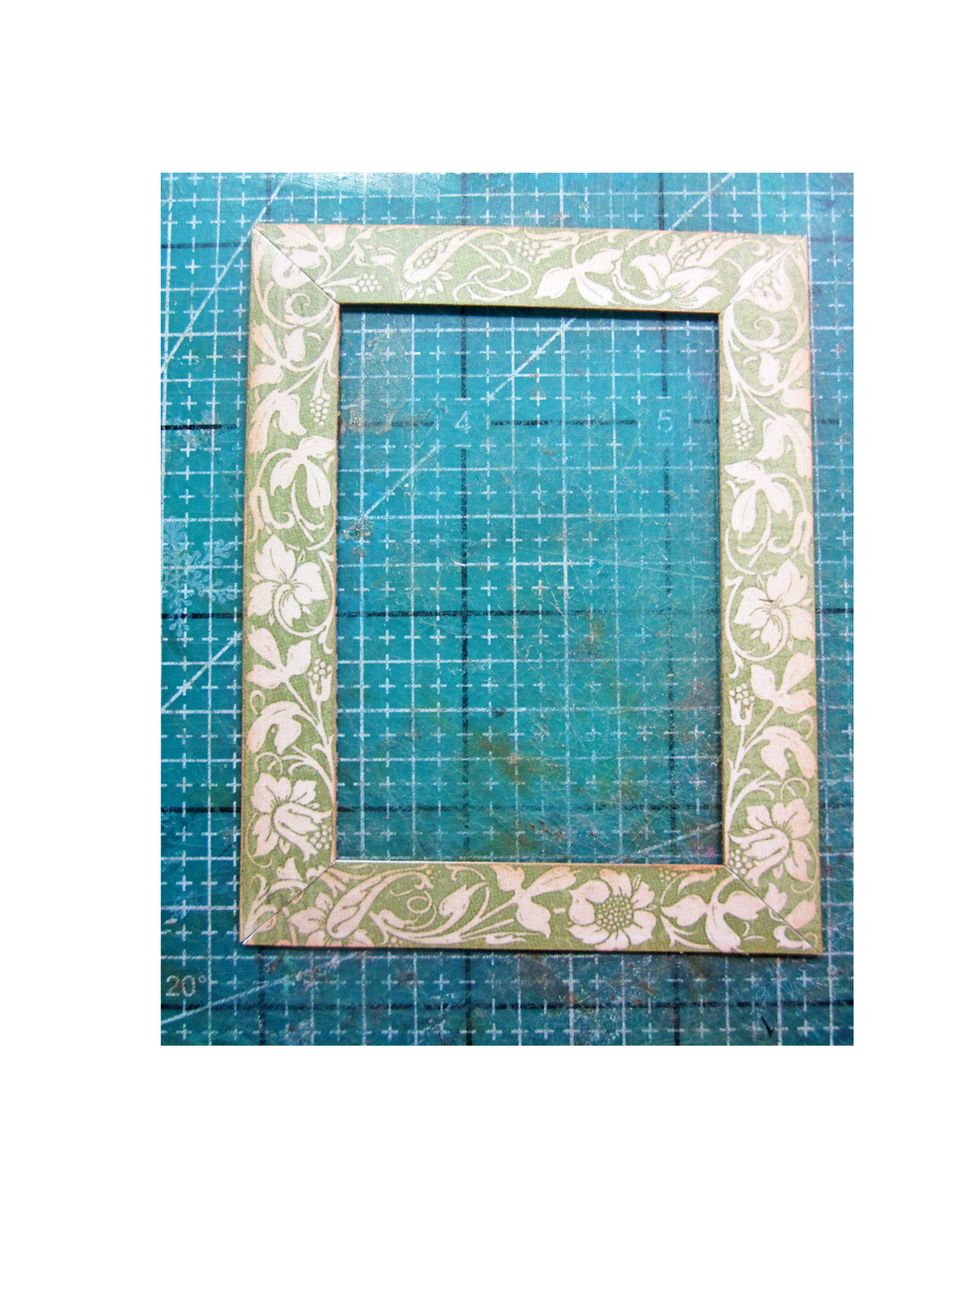
Here is the finished frame
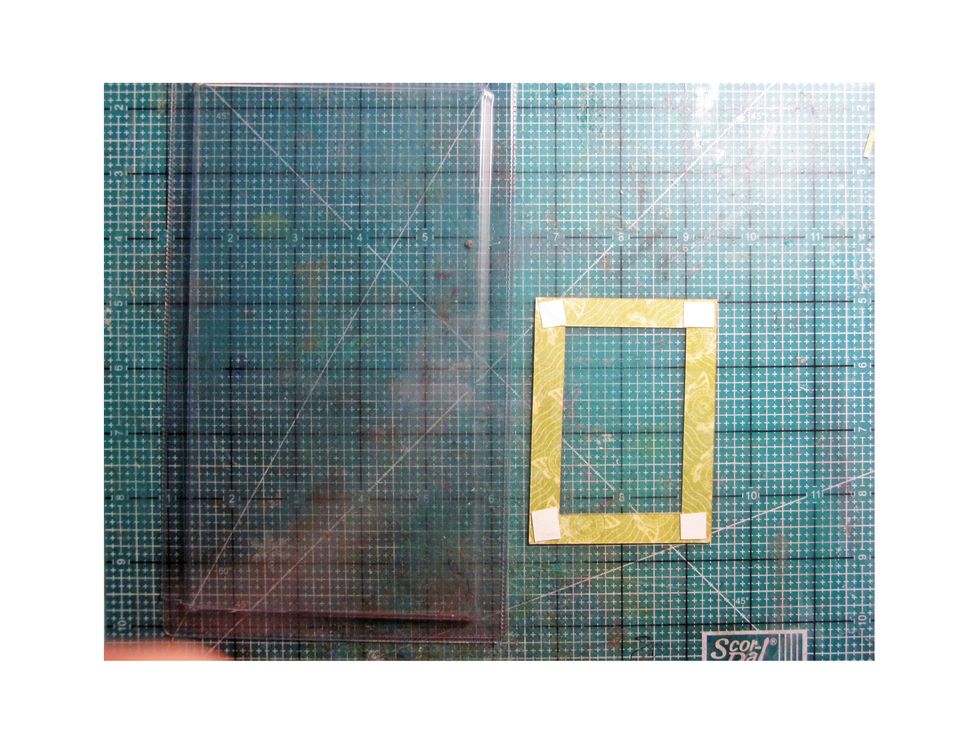
Take a used project packaging and cut out a clear window for the back of your frame. This is going to make your little window.
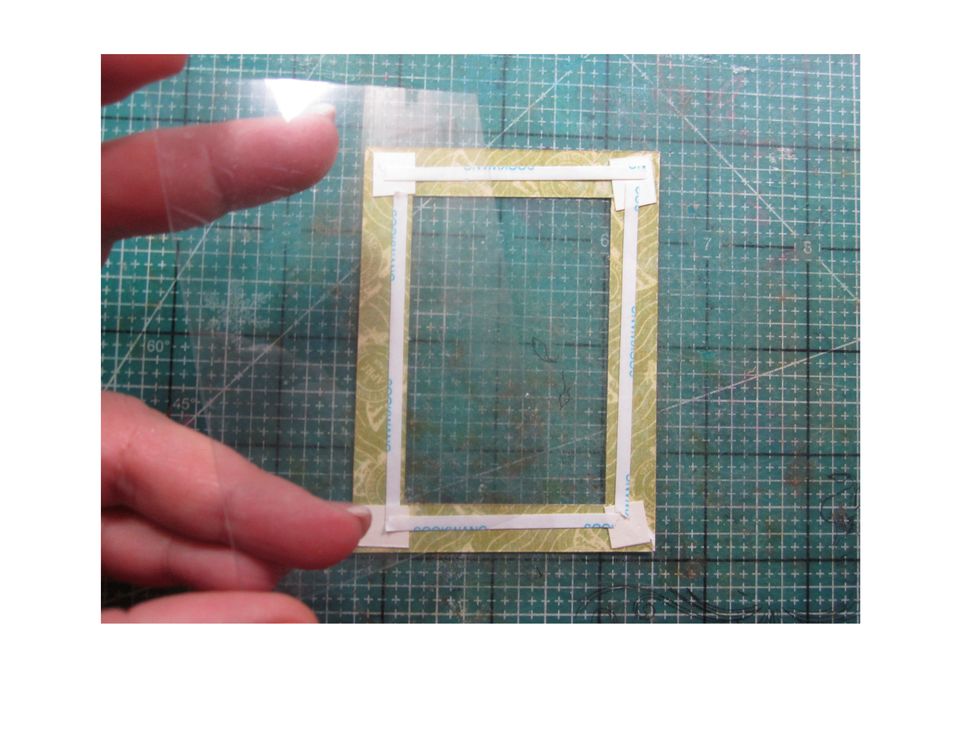
Using a strong tape run along the backside of the frame and then attach the clear window you have created.
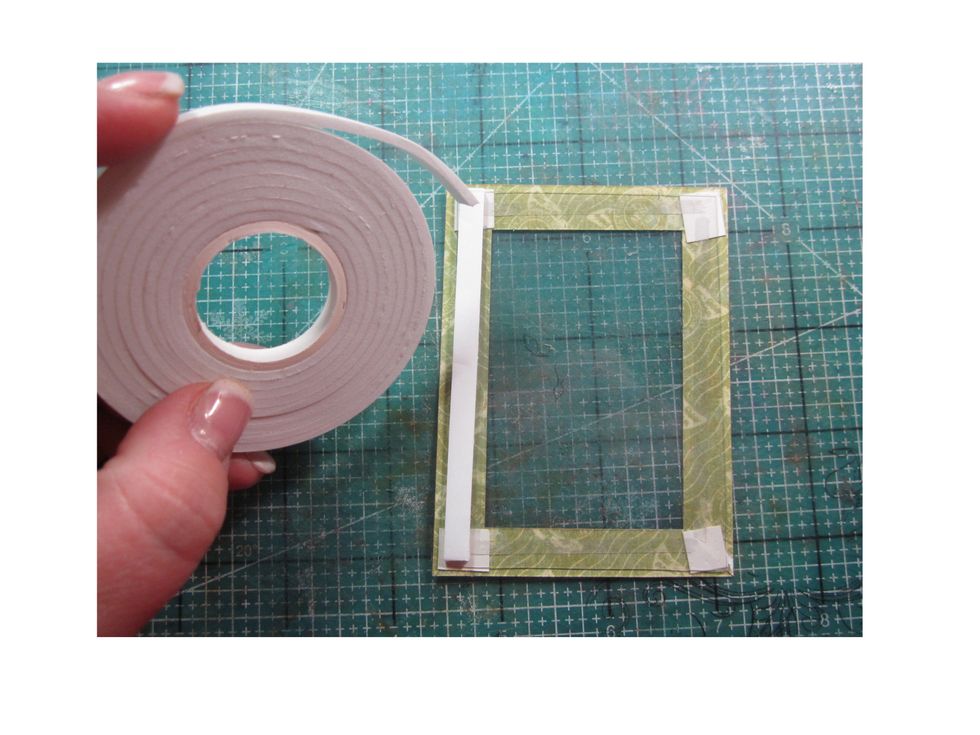
Next take foam tape and run along the back over the window/frame portion. Be sure to leave it completely butted up to each other and leave no little holes or your glitter will run out.
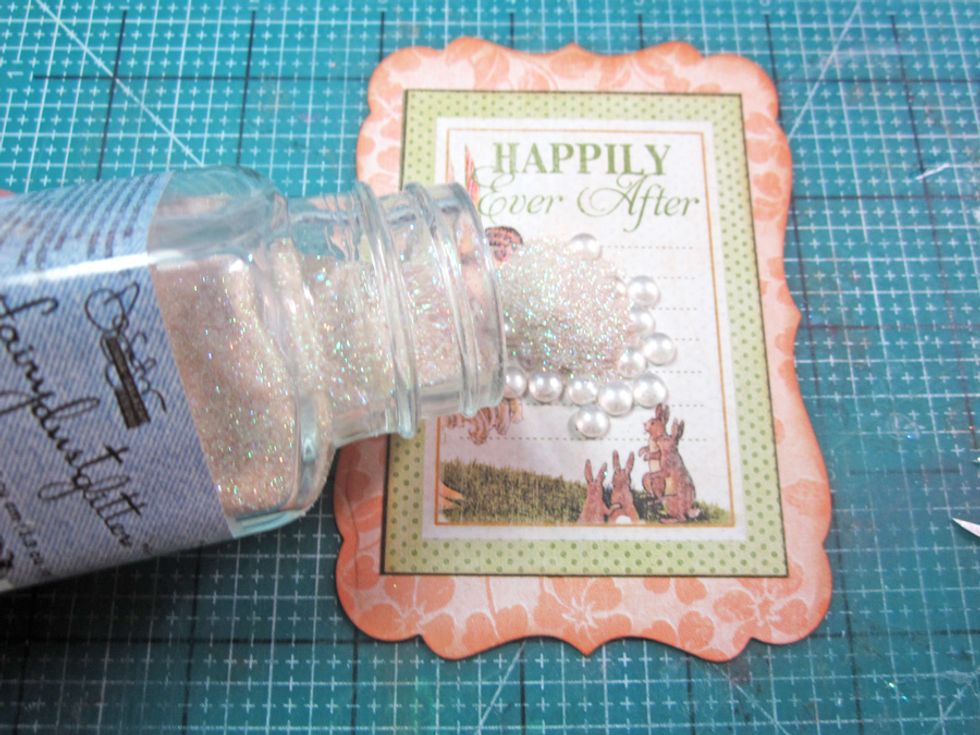
Sprinkle the glitter and dew drops or anything that you would like to be held in the shaker over the top of the frame/label picture.
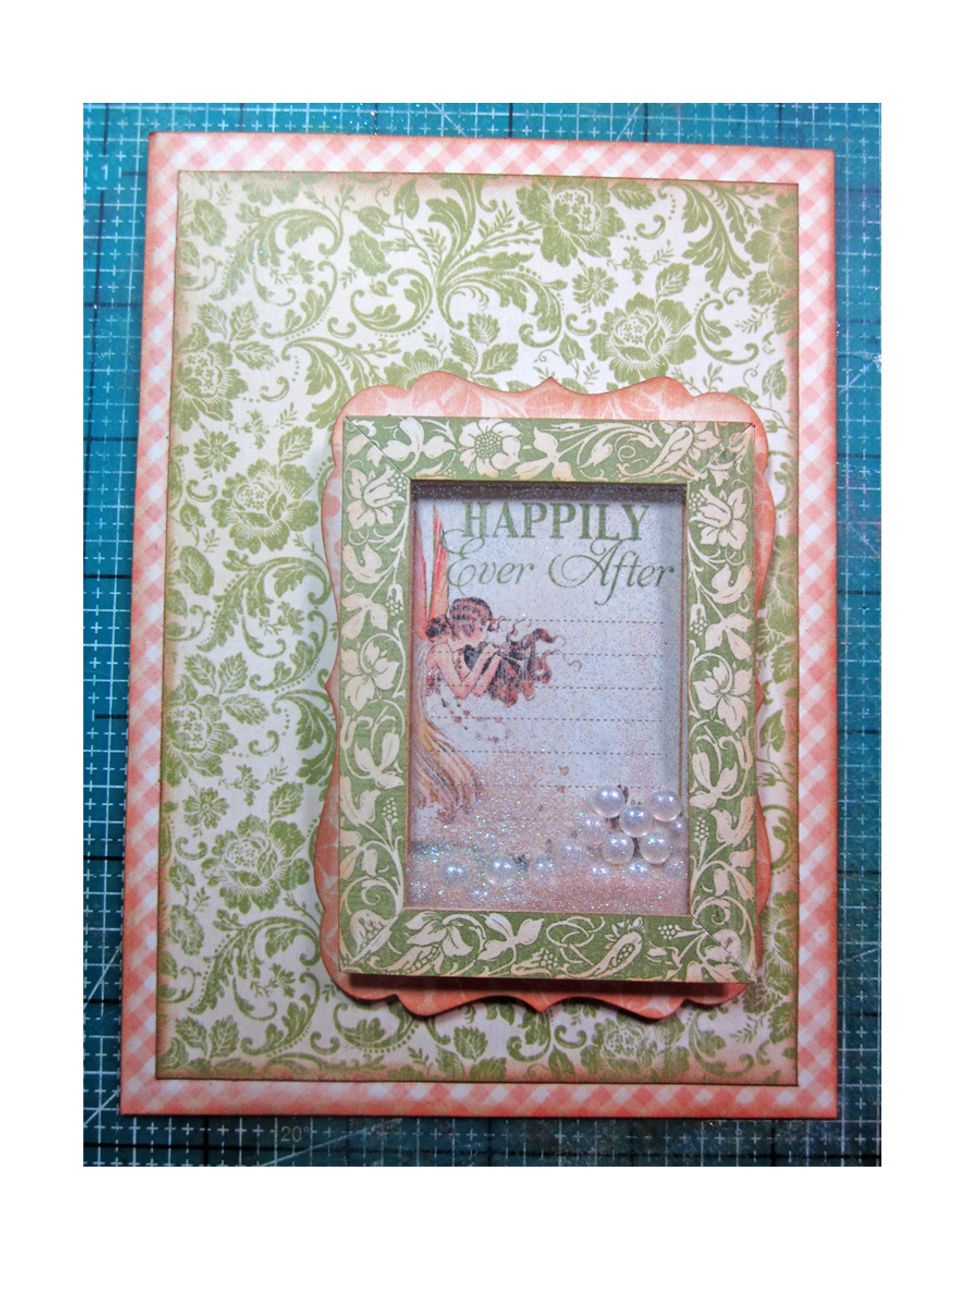
Add the window frame over the top. And your ready to adorn and shake, shake, shake.
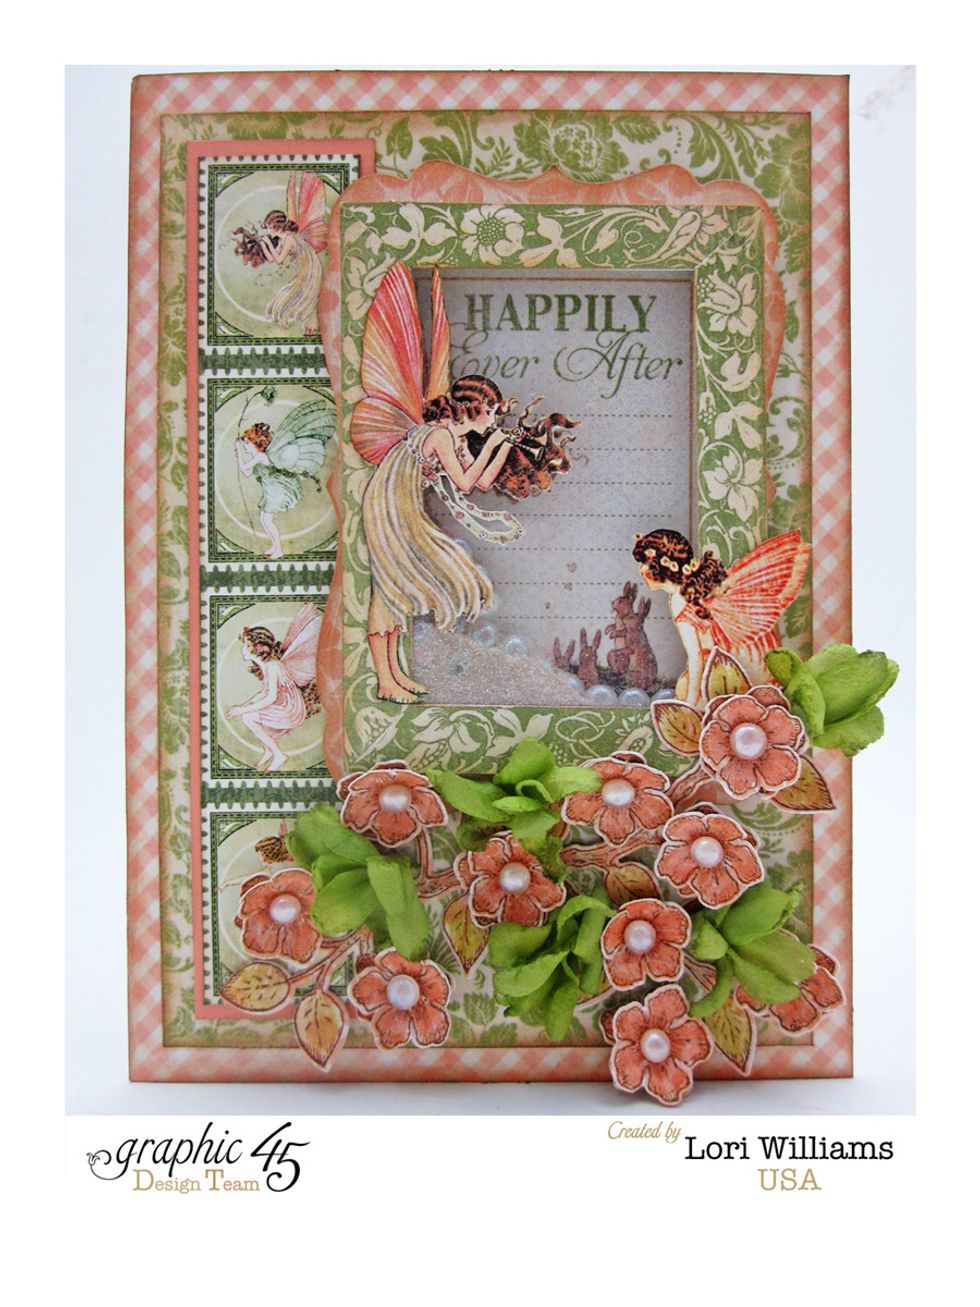
I've added a cluster of flowers and some fussy cut fairies to the outside of my frame to finish off my card.

Here is a close up of the flowers and also the window in the background showing you the depth and the pearls and glitter in the inside.
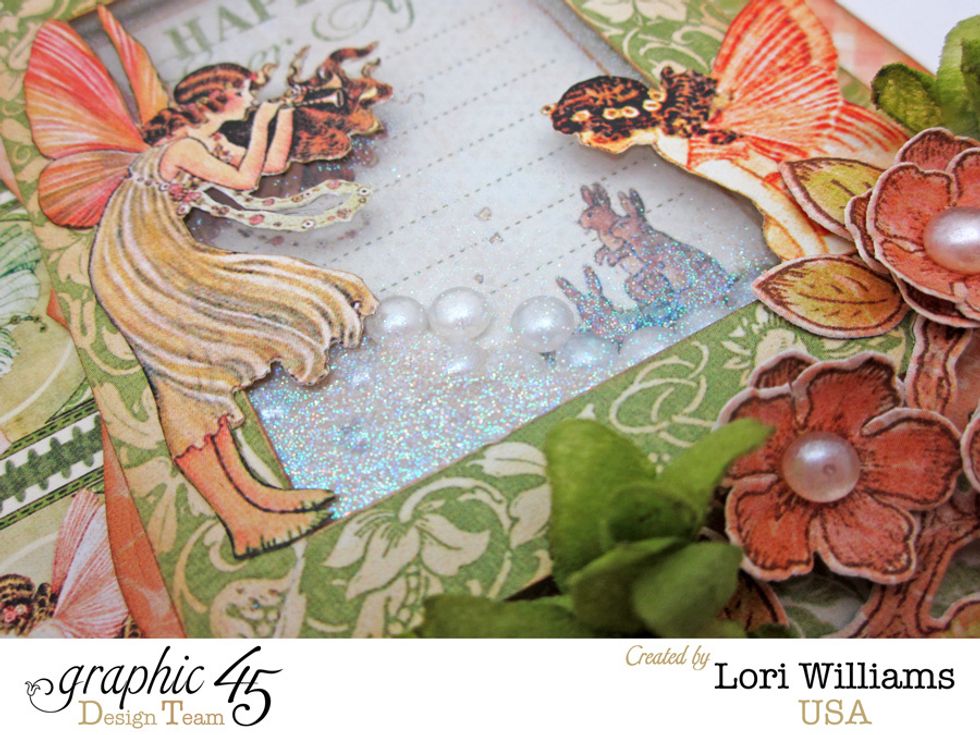
Another close up view.

My name is Lori Williams and I'm a design team member with Graphic 45. You can see more of my work on my blog www.pinkcloudscrappers.blogsp… or on Graphic 45's Blog www.g45papers.typepade.com