The Conversation (0)
Sign Up
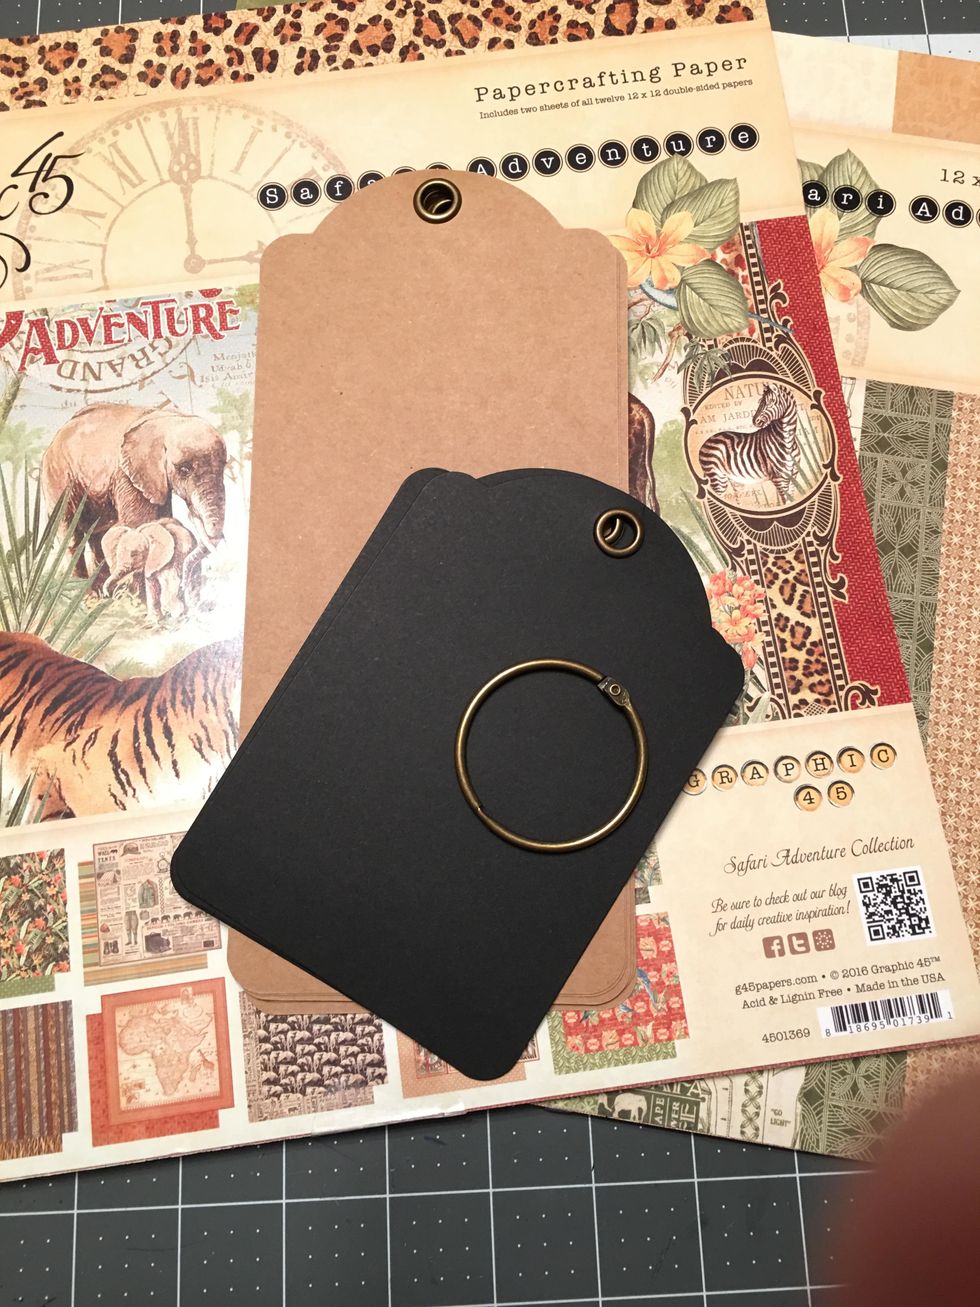
You will create a unique and beautiful tag mini album by combining 6 Graphic 45 Large Kraft Tags and 6 Regular Black Tags onto one large ring that comes with the tag album sets.
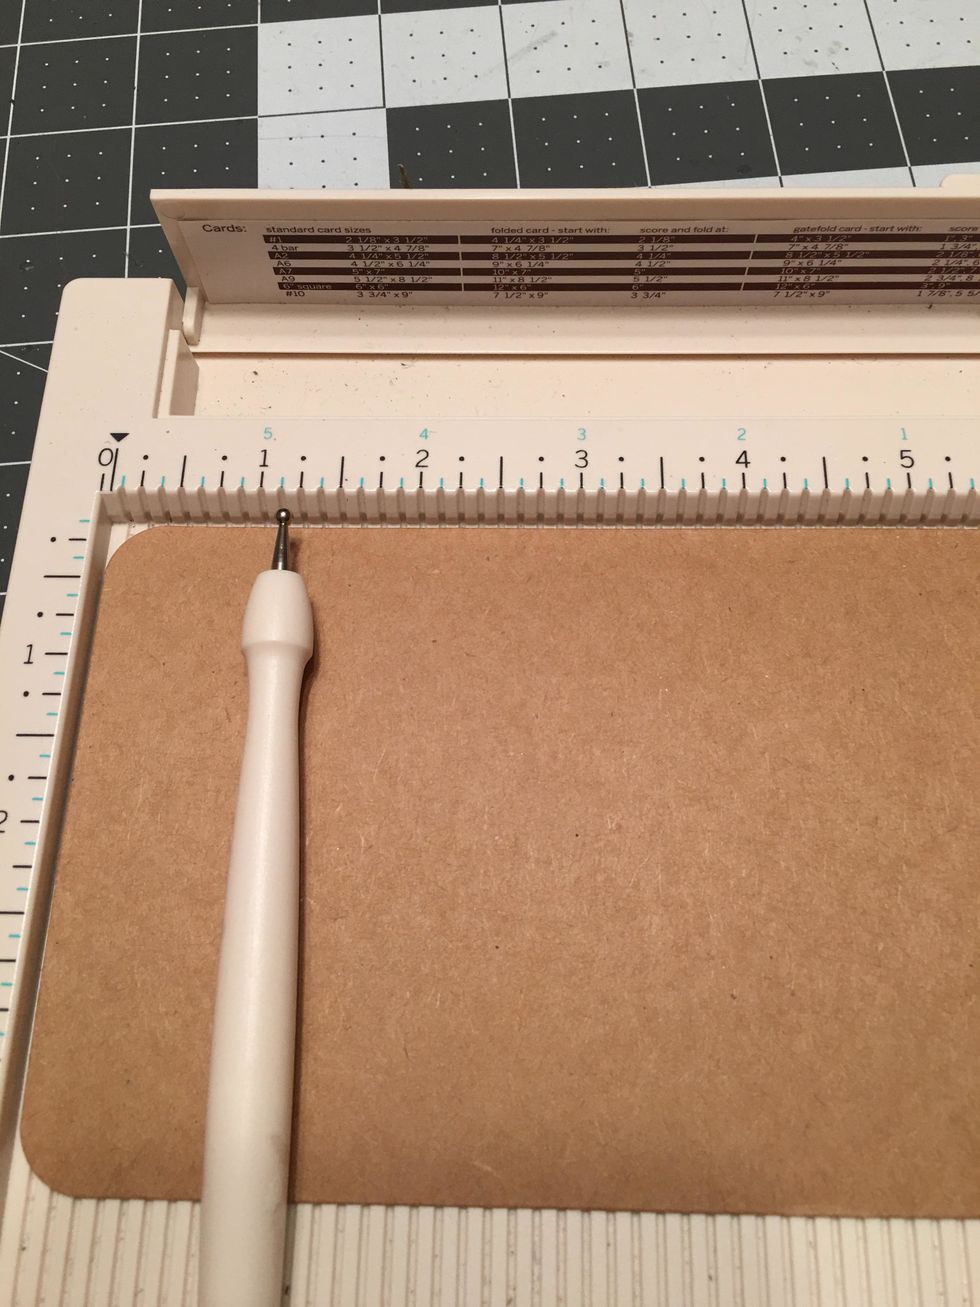
From the bottom rounded edge of the large kraft tag, score at 1.25 inches.
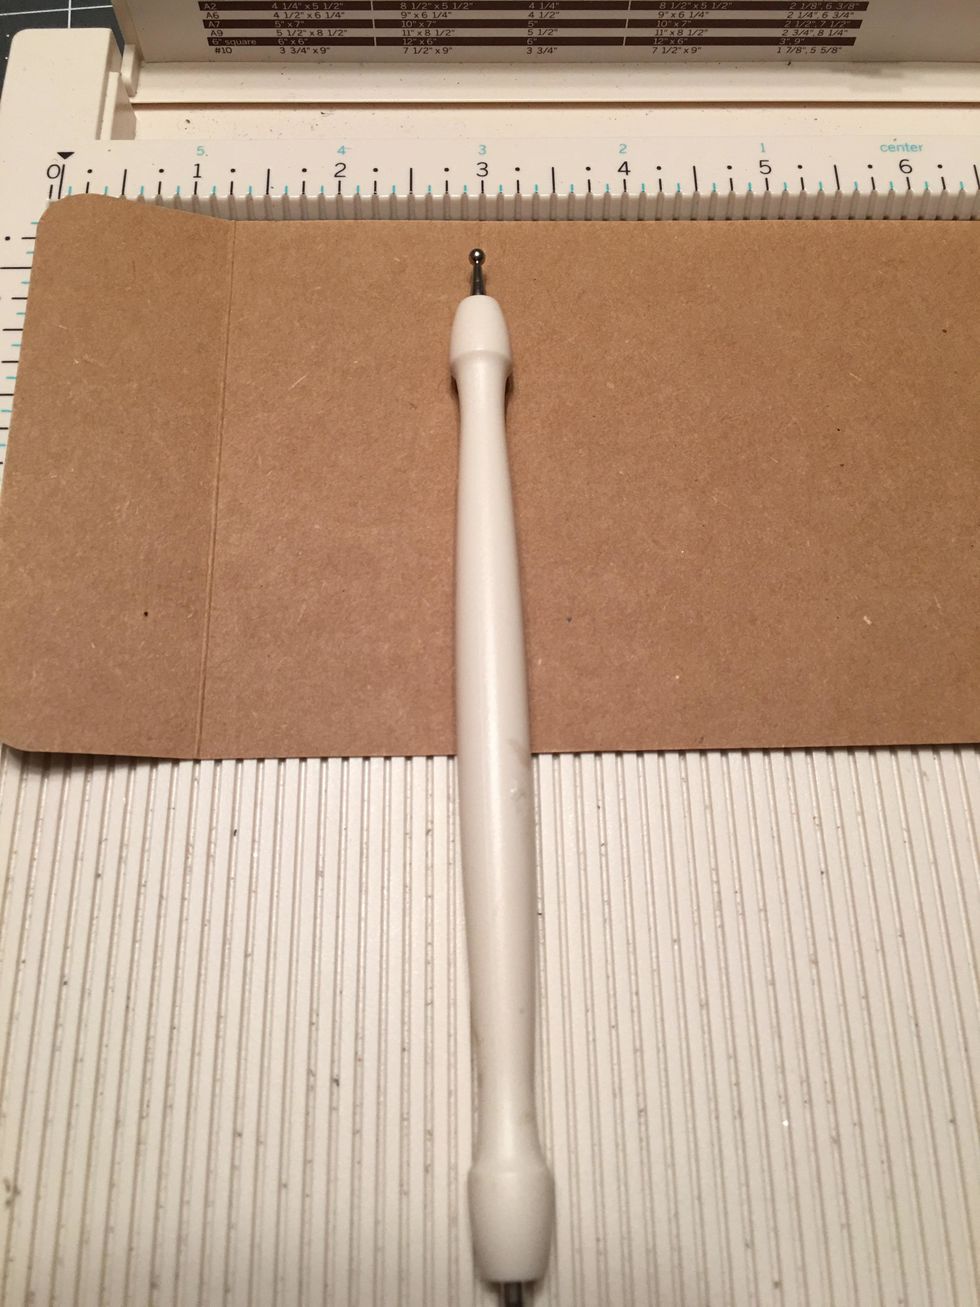
Leave the tag on the Scor-board and also score at the 3 inch mark. You will do this to only ONE large tag to create the wrap around cover.
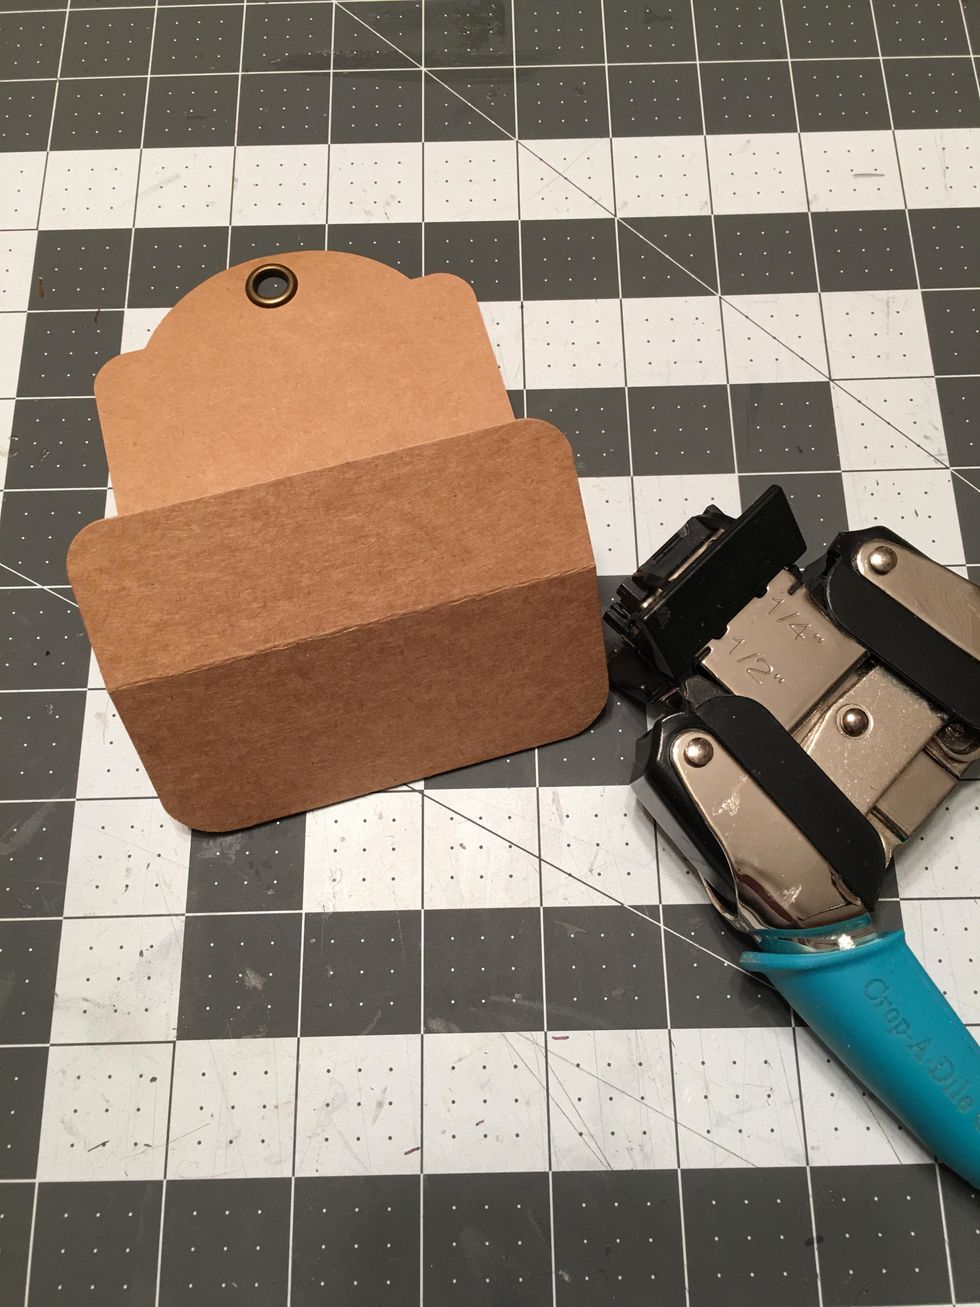
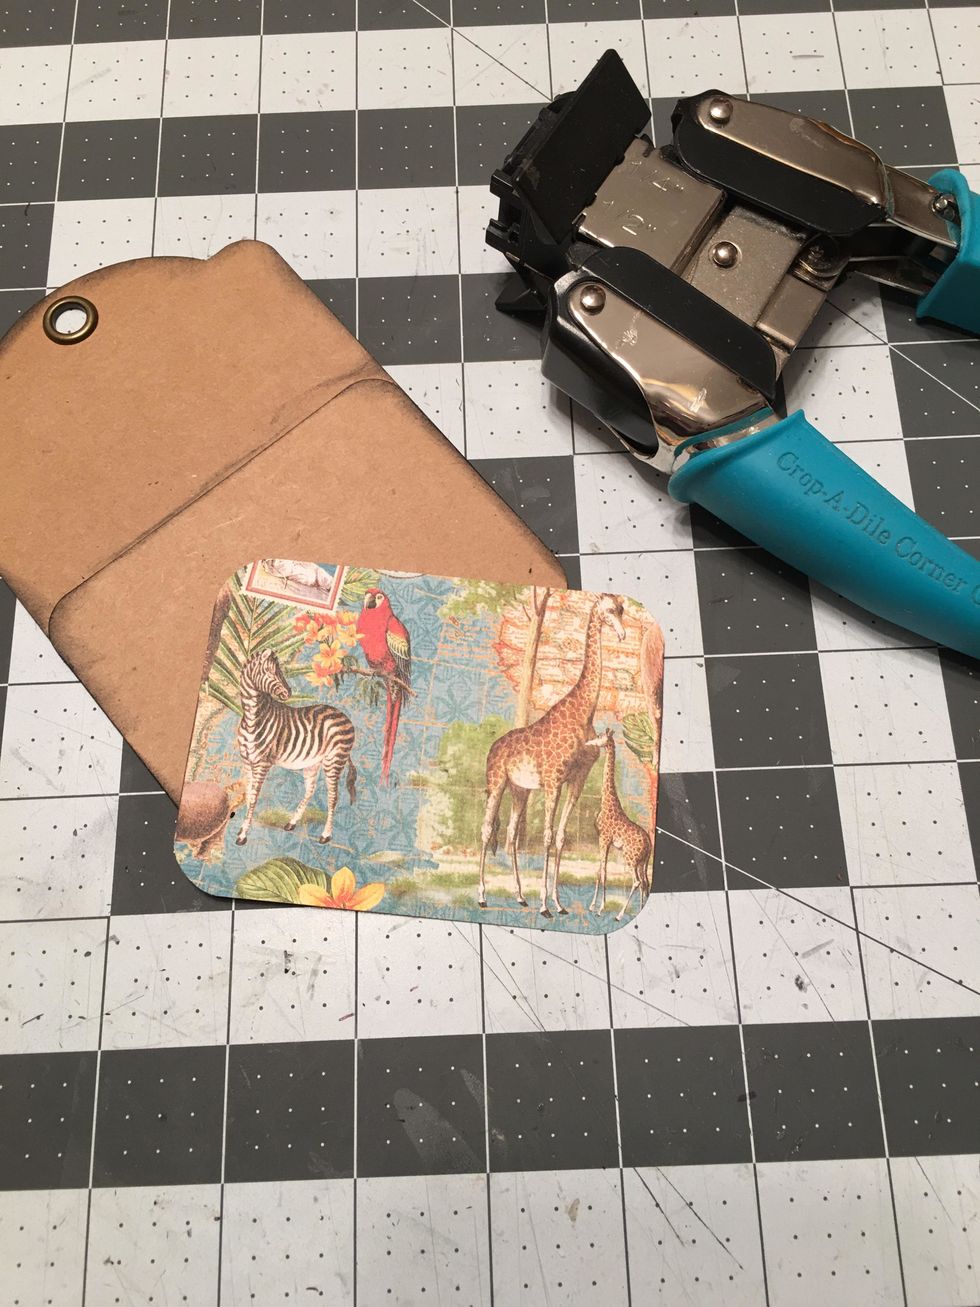
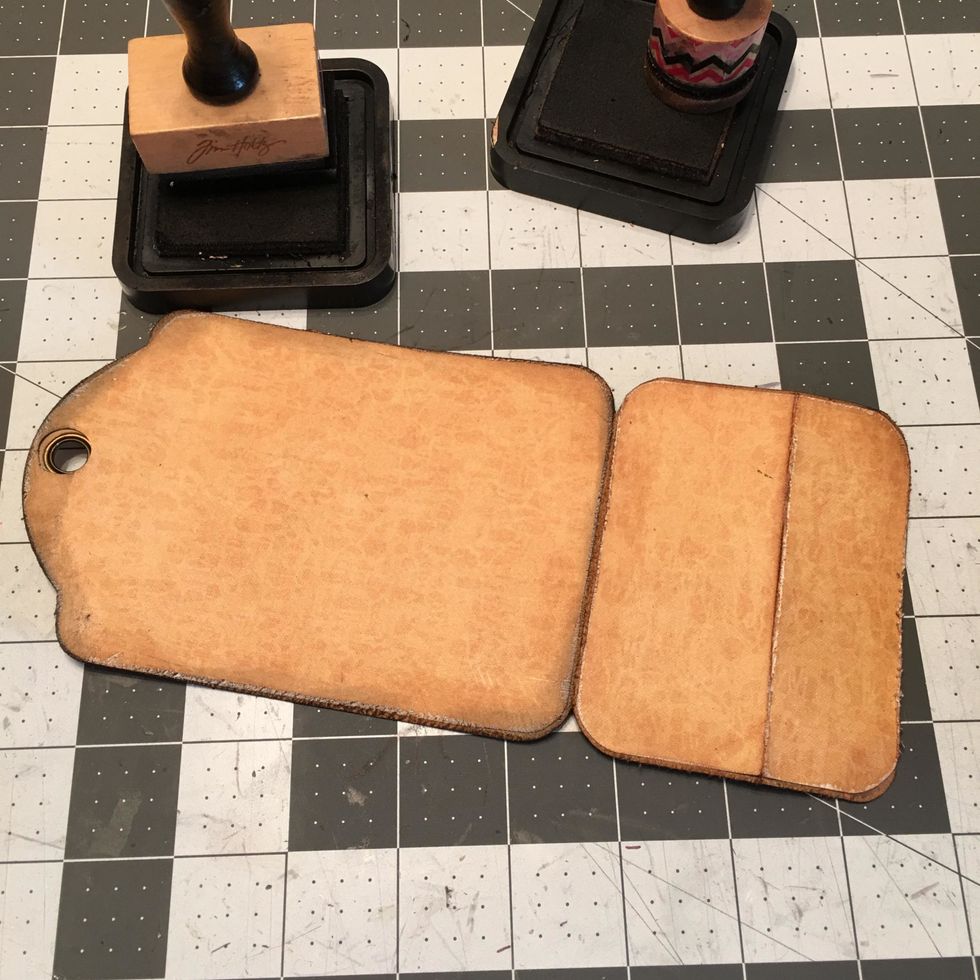
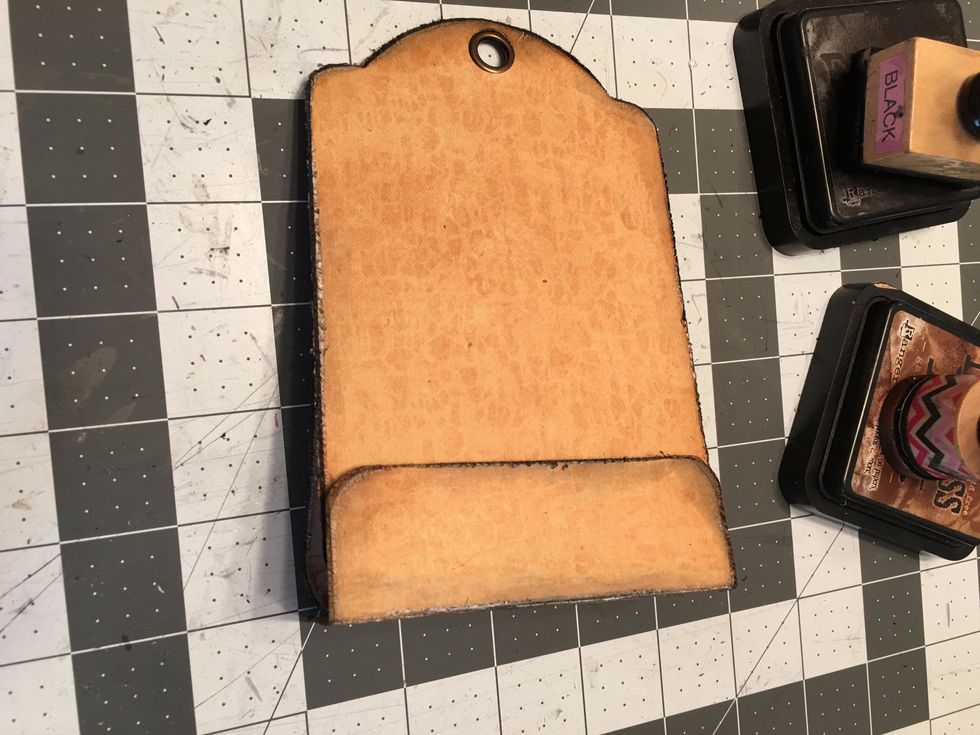
Fold up the tag as shown and use a 1/2 inch corner rounder to punch the corners of the bottom fold.
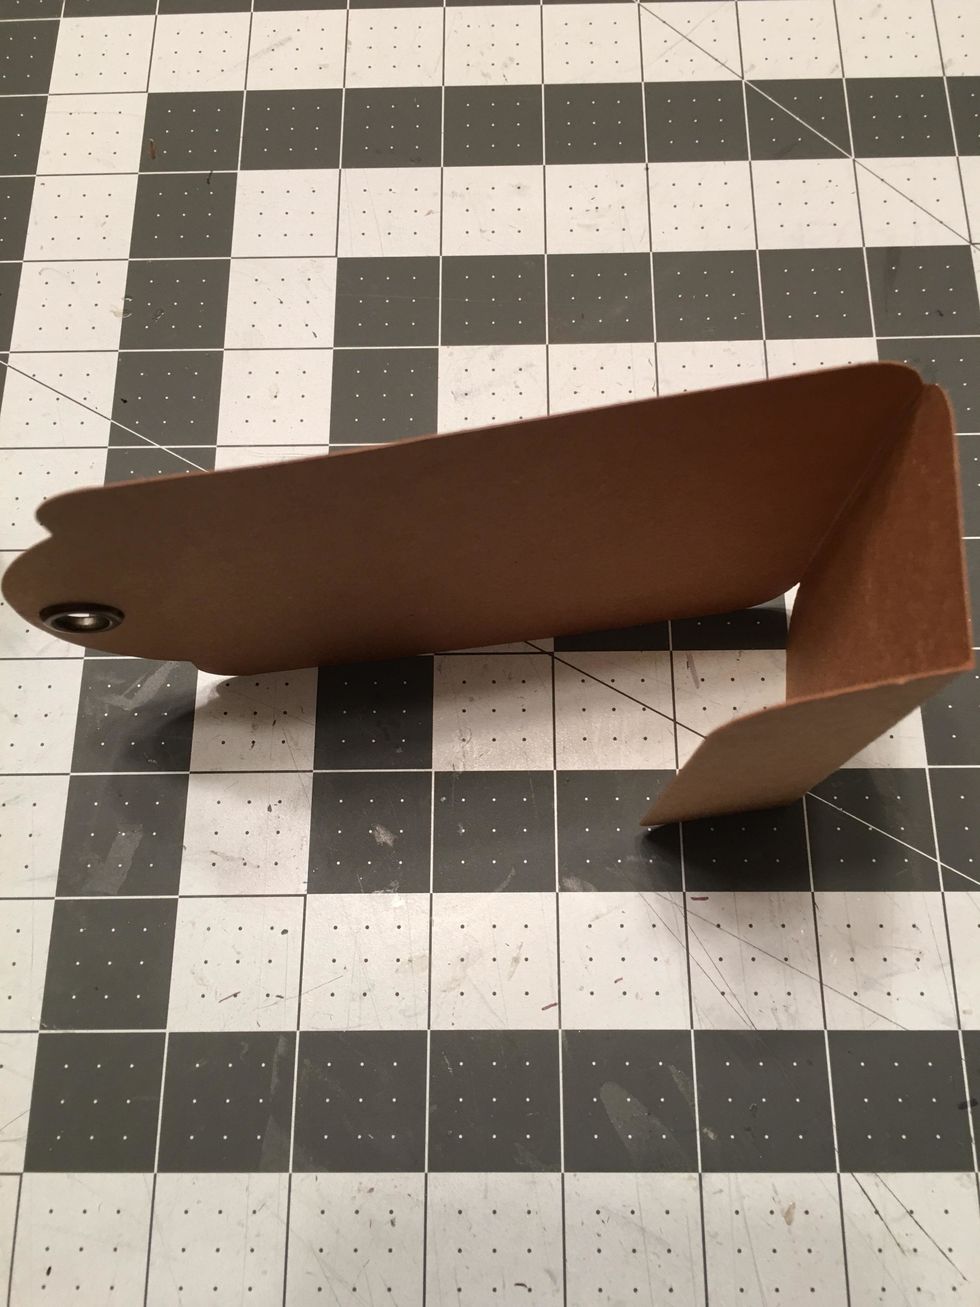
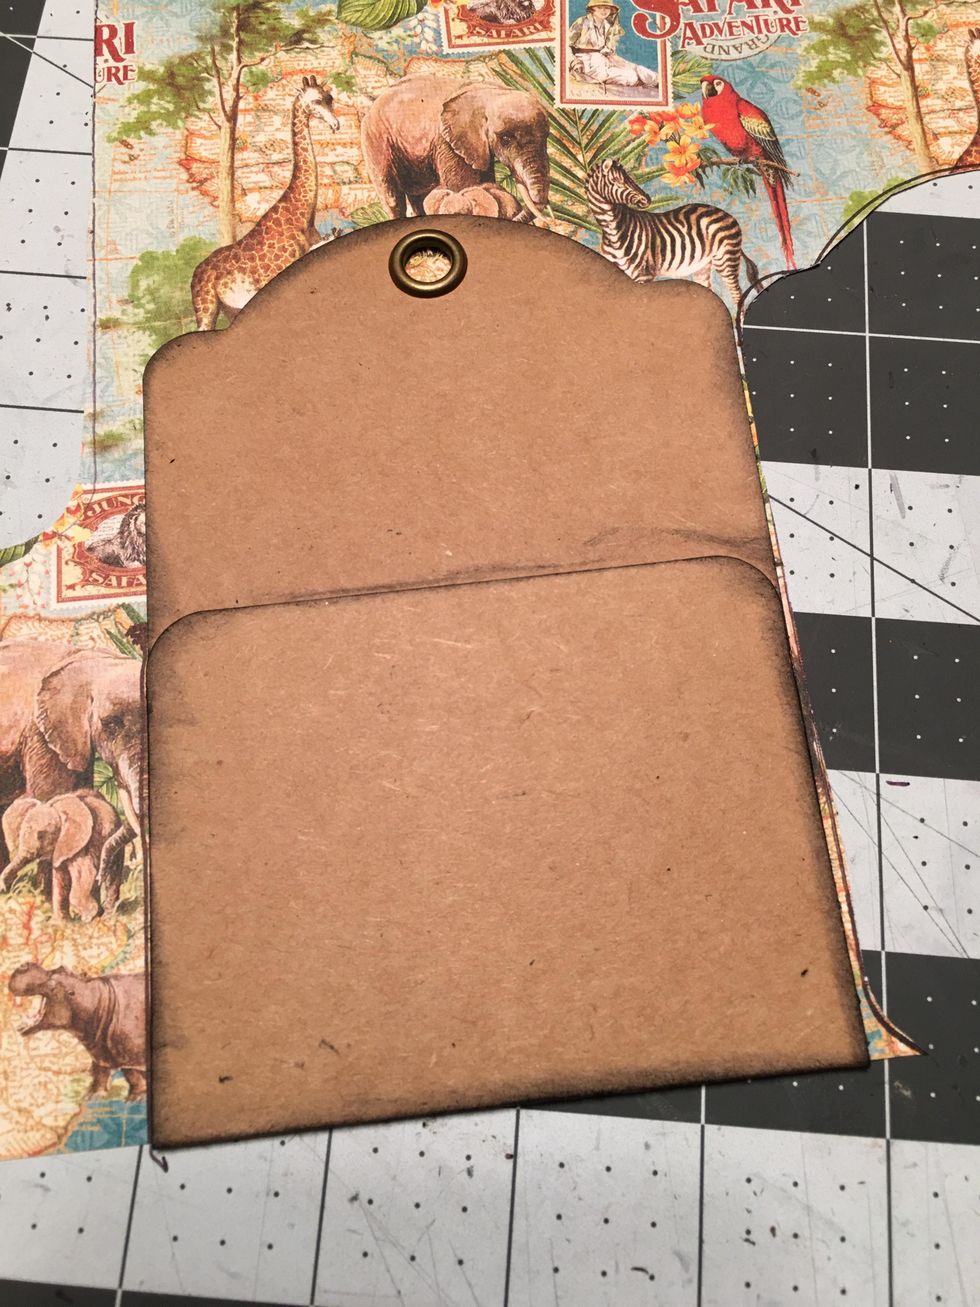
The tag will look like this with the two fold lines folded up. This makes the wrapped bottom of your tag album.

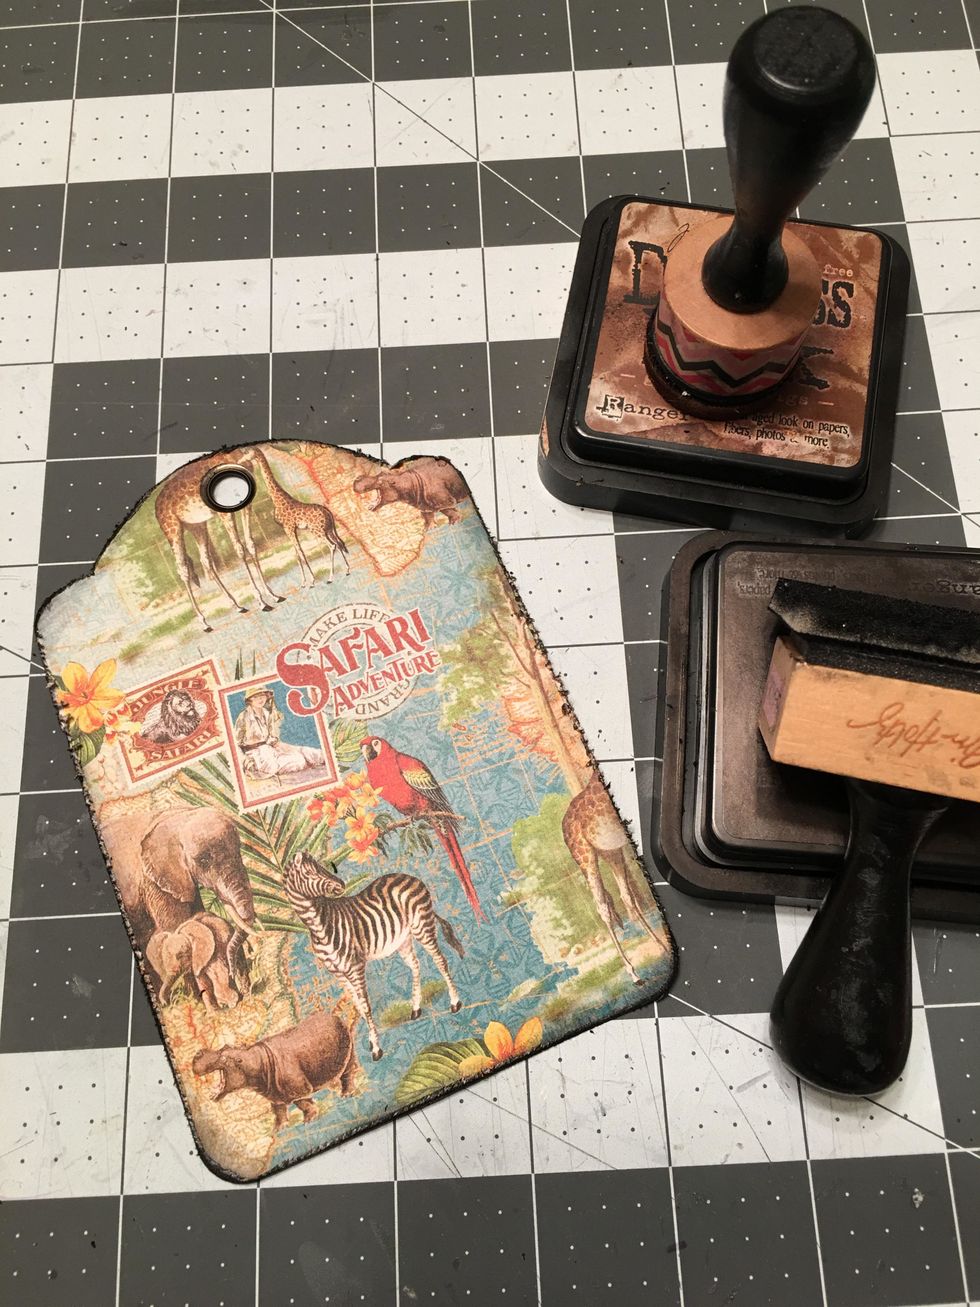
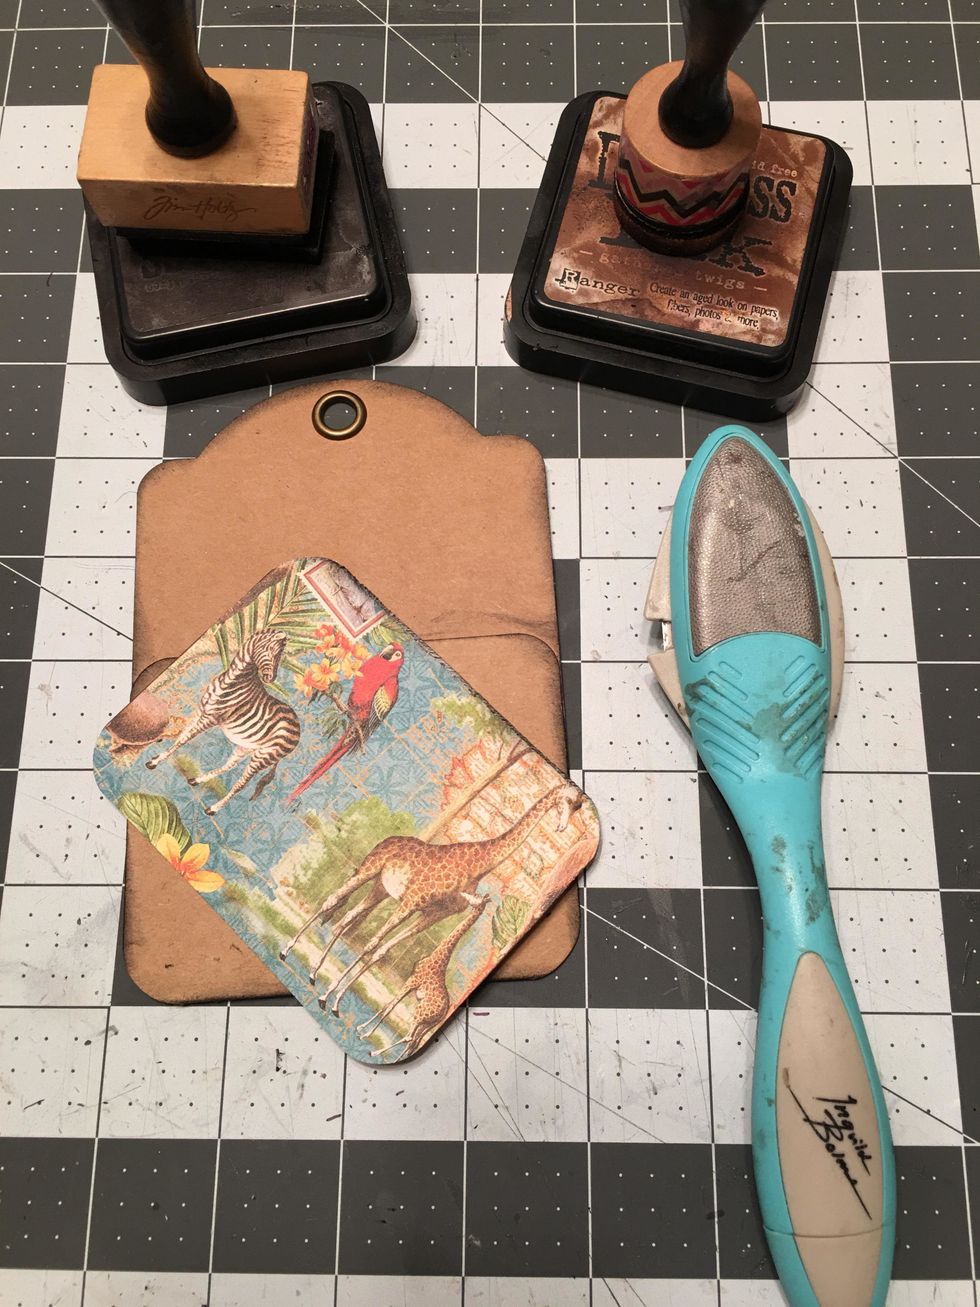
Ink all the edges of this piece front and back and along the fold lines with Black Soot Distress Ink.
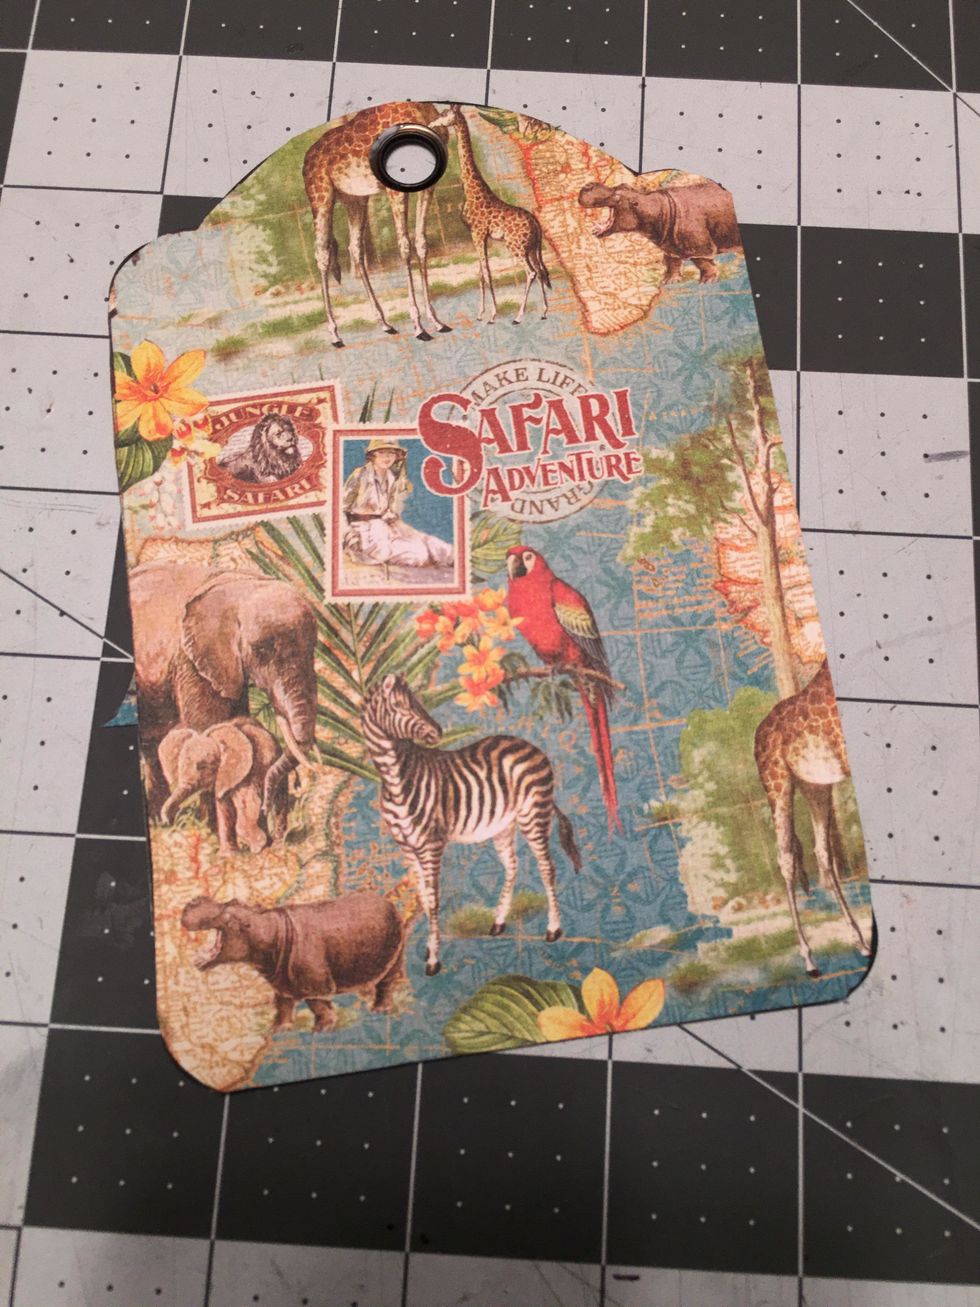
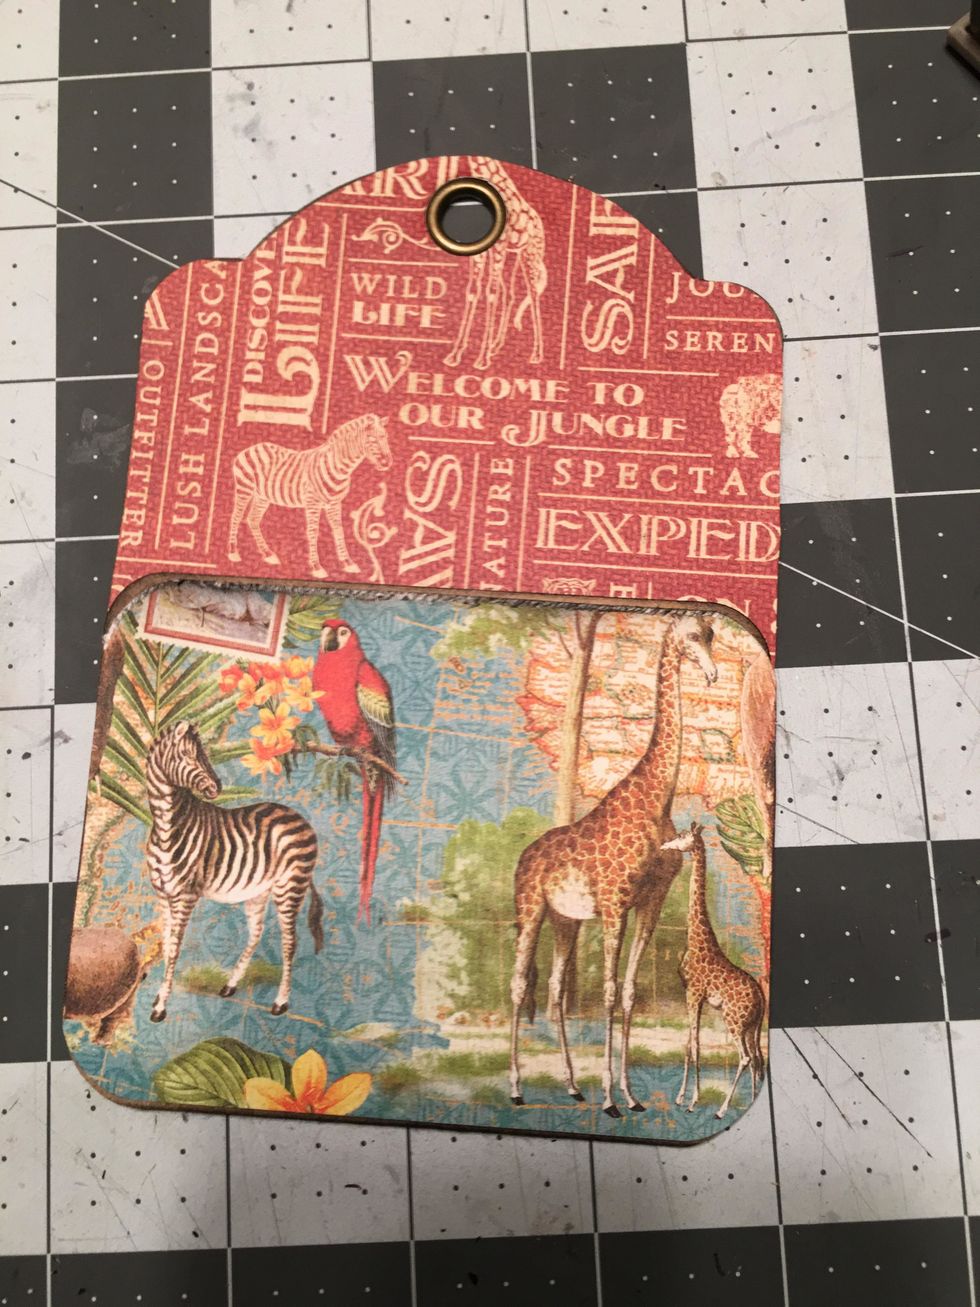
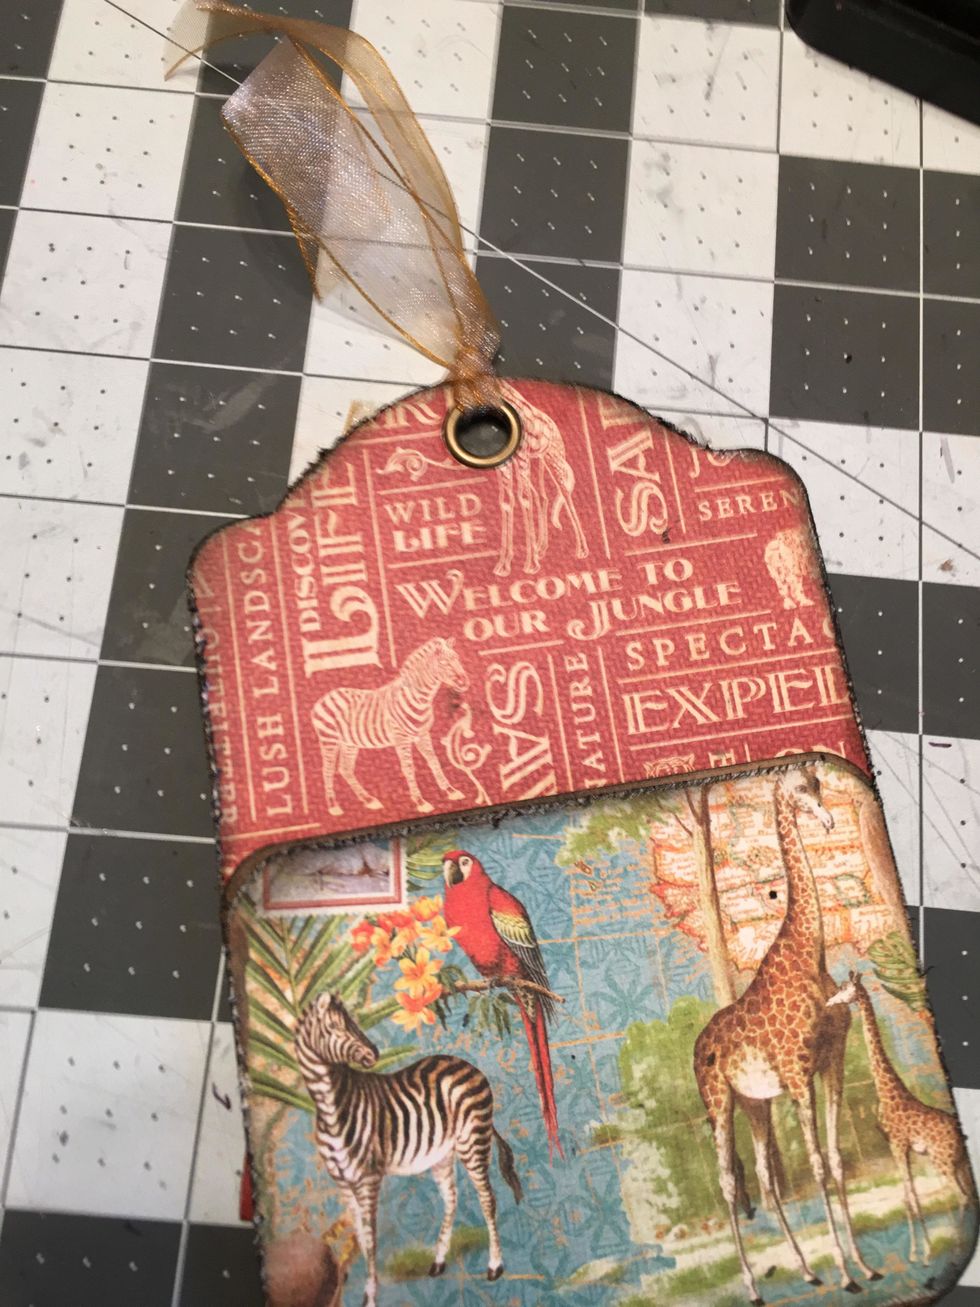
Pattern all your tags in the same way as those shown in this guide. Once patterned, add flowers, tags, banners, cut aparts and photos as desired to your tag pages and pockets.
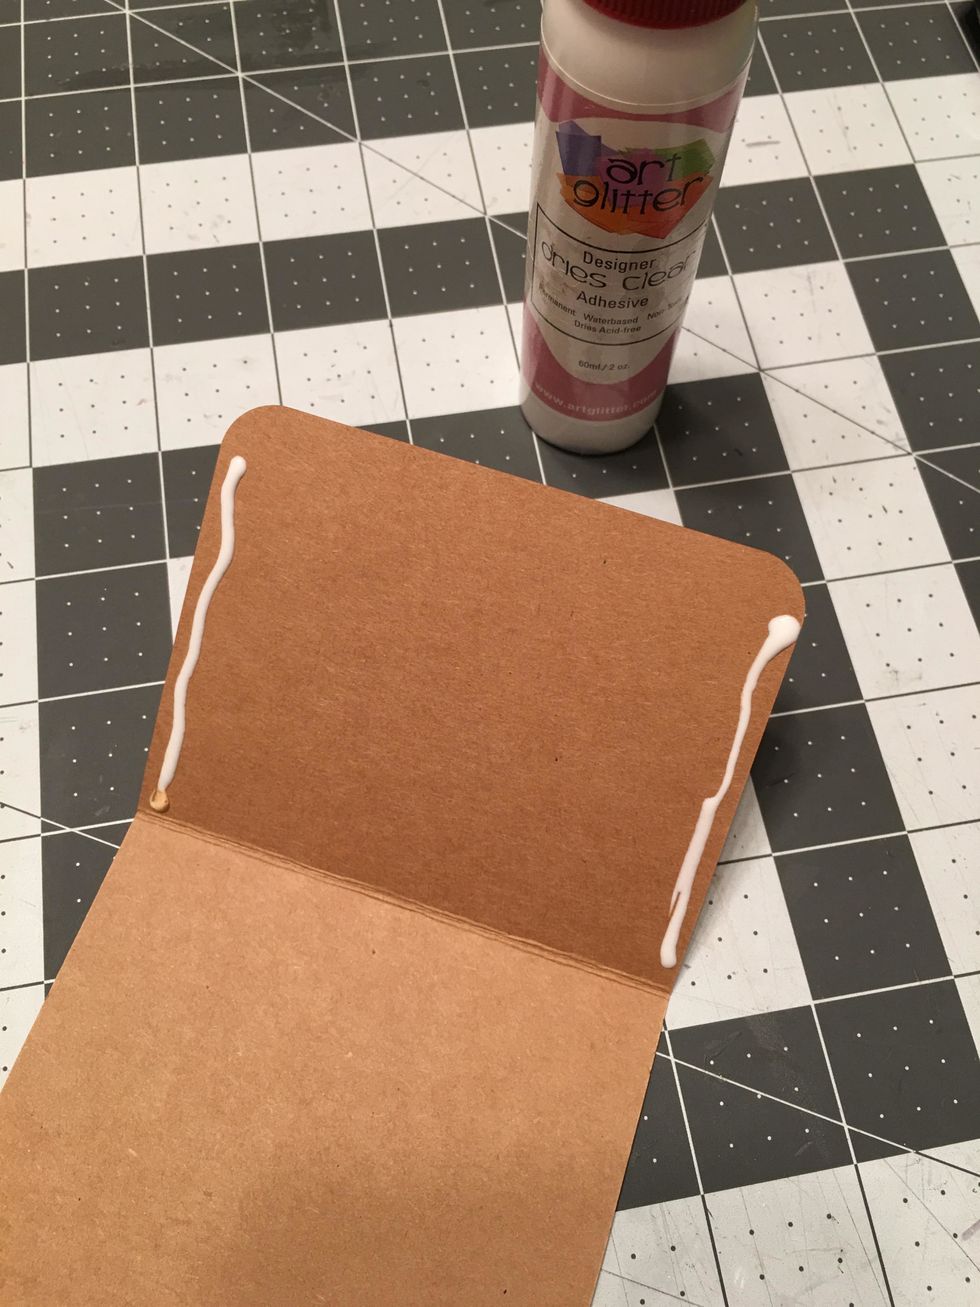
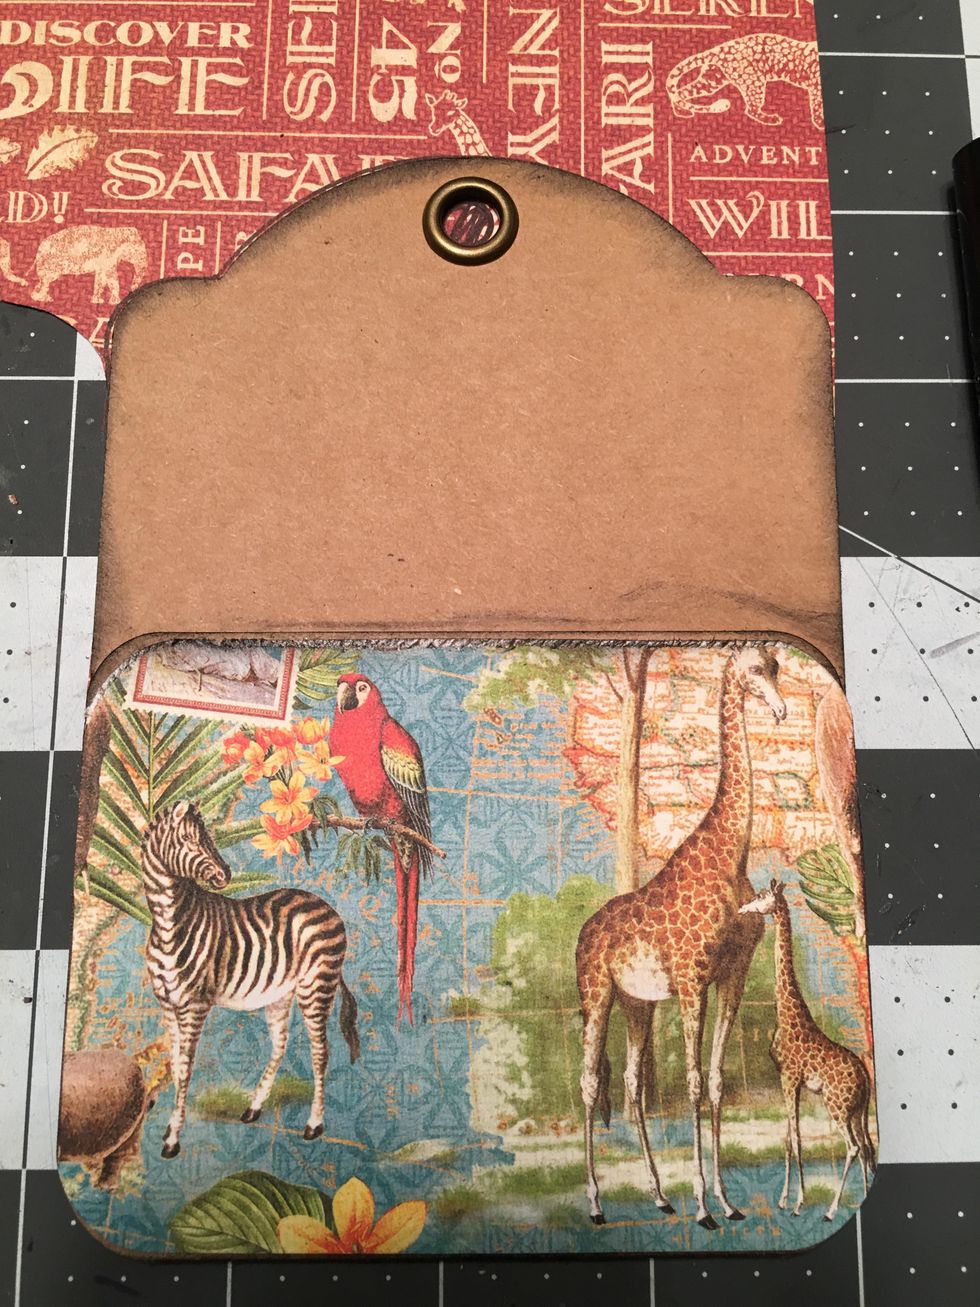
Burnish along the fold lines folding toward the front side of the tag, apply glue to the sides of the short fold side only and attach down onto the tag to create pockets. You will do this on 5 tags.
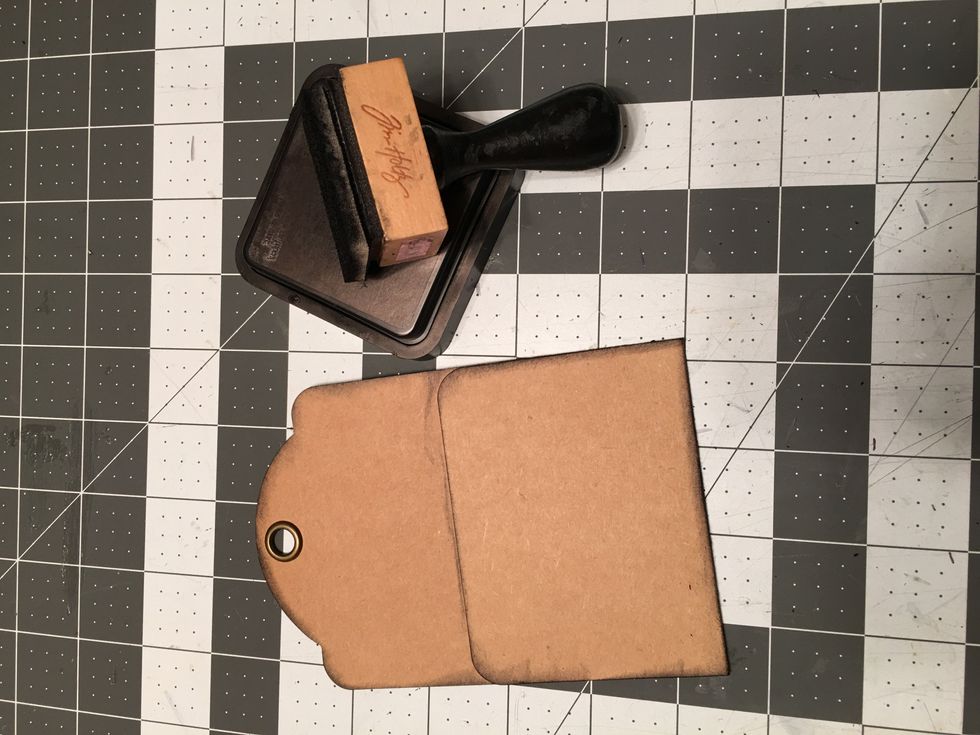
Ink the edges of the tags on the front & back with Black Soot Distress Ink.
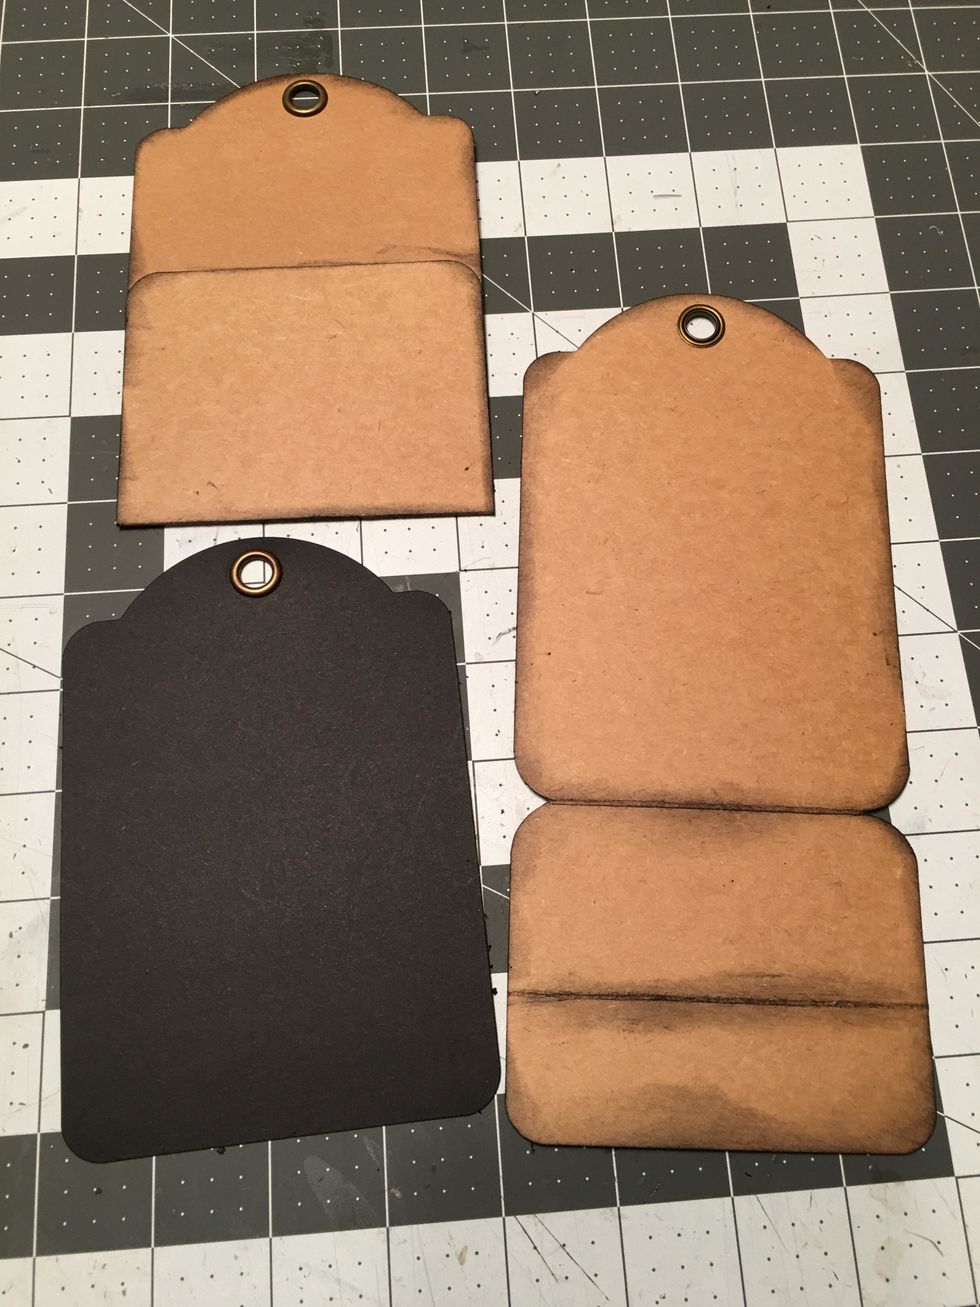
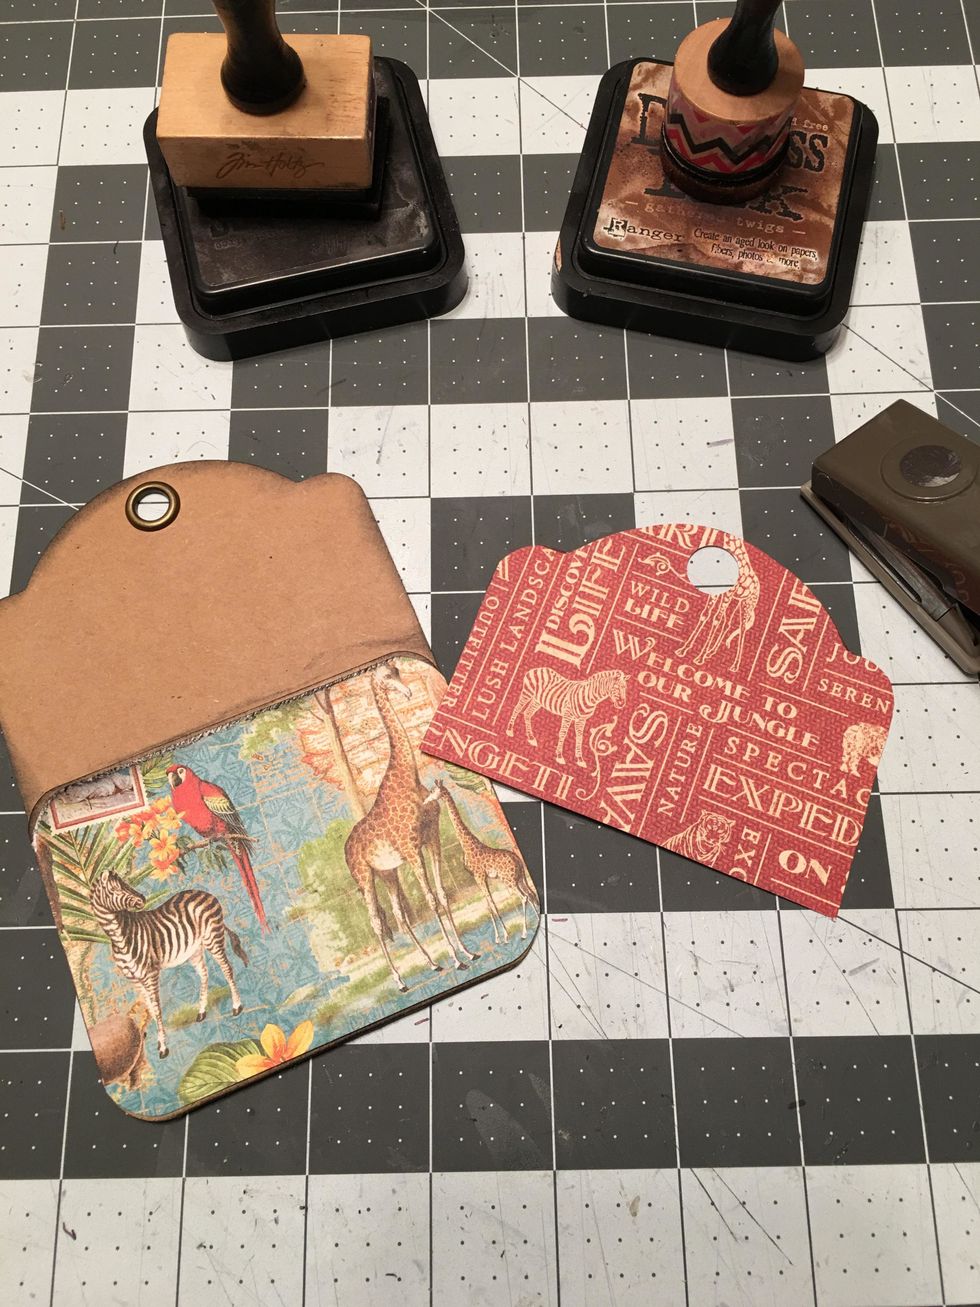
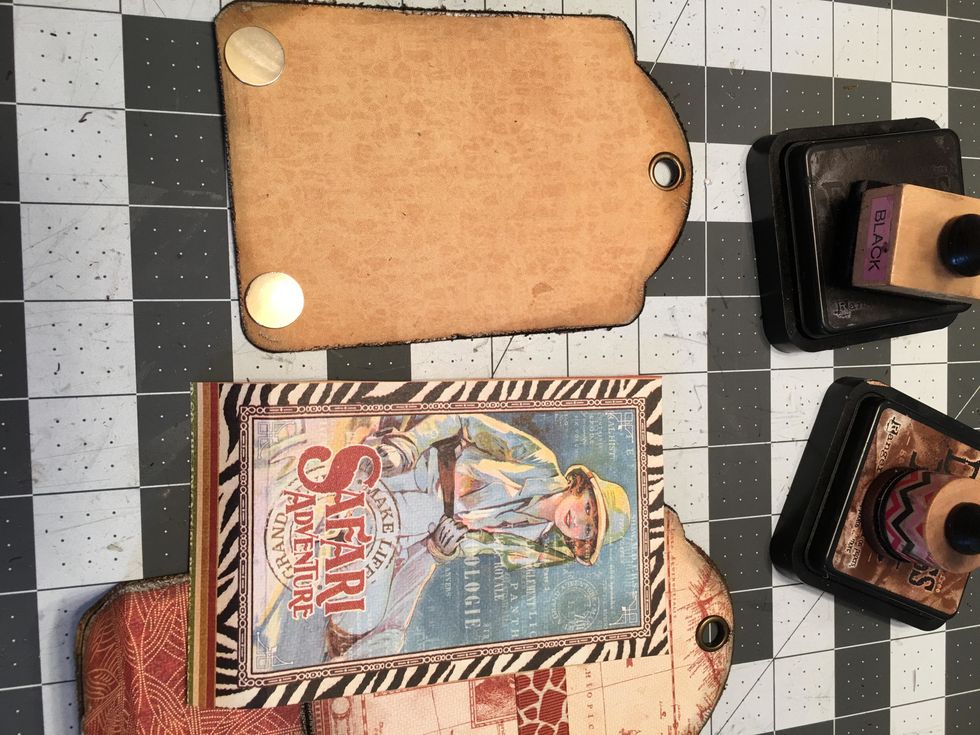
These are the pieces for your tag album: 6 black regular tags with no pockets, 5 large kraft tags with pockets folded and 1 large kraft tag with scored section on the bottom for the wrap around cover

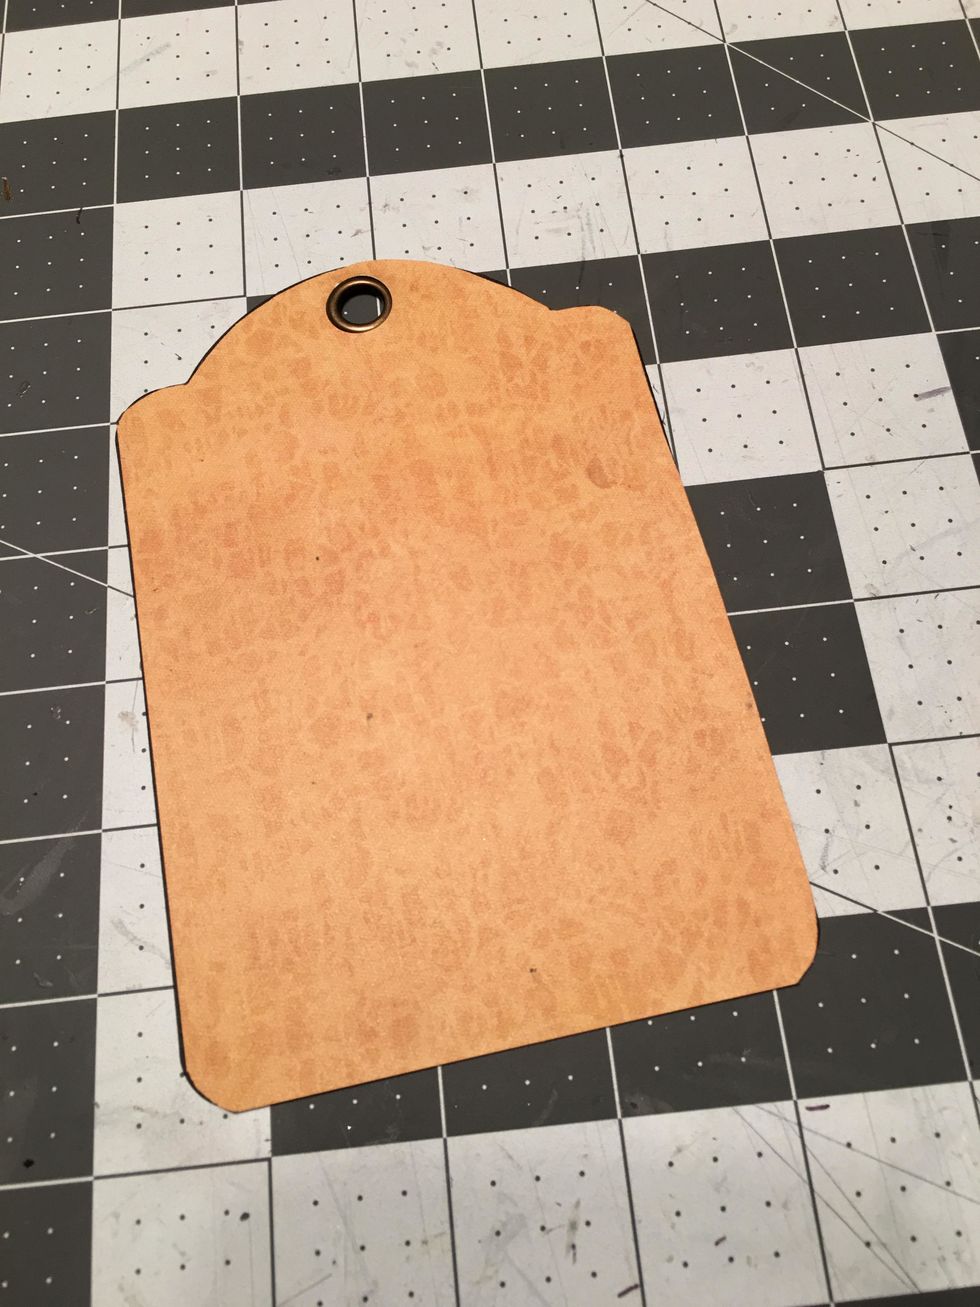
Use 1 black tag for the front of the album, Select a solid from the G45 Solids & Prints pad, trace the tag as shown including the circle of the tag hole/grommet.
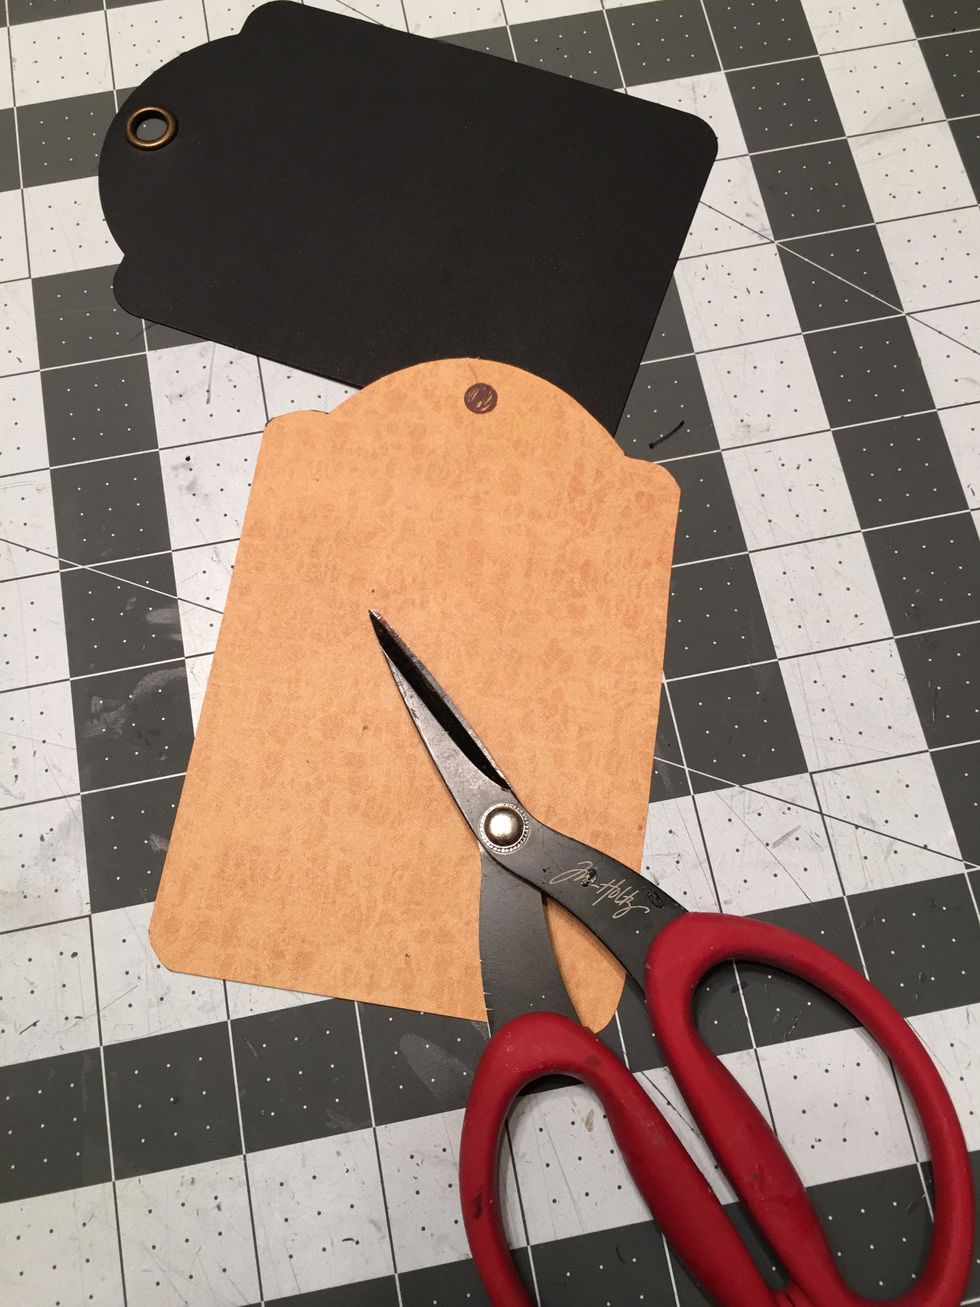
Cut out the paper with scissors.
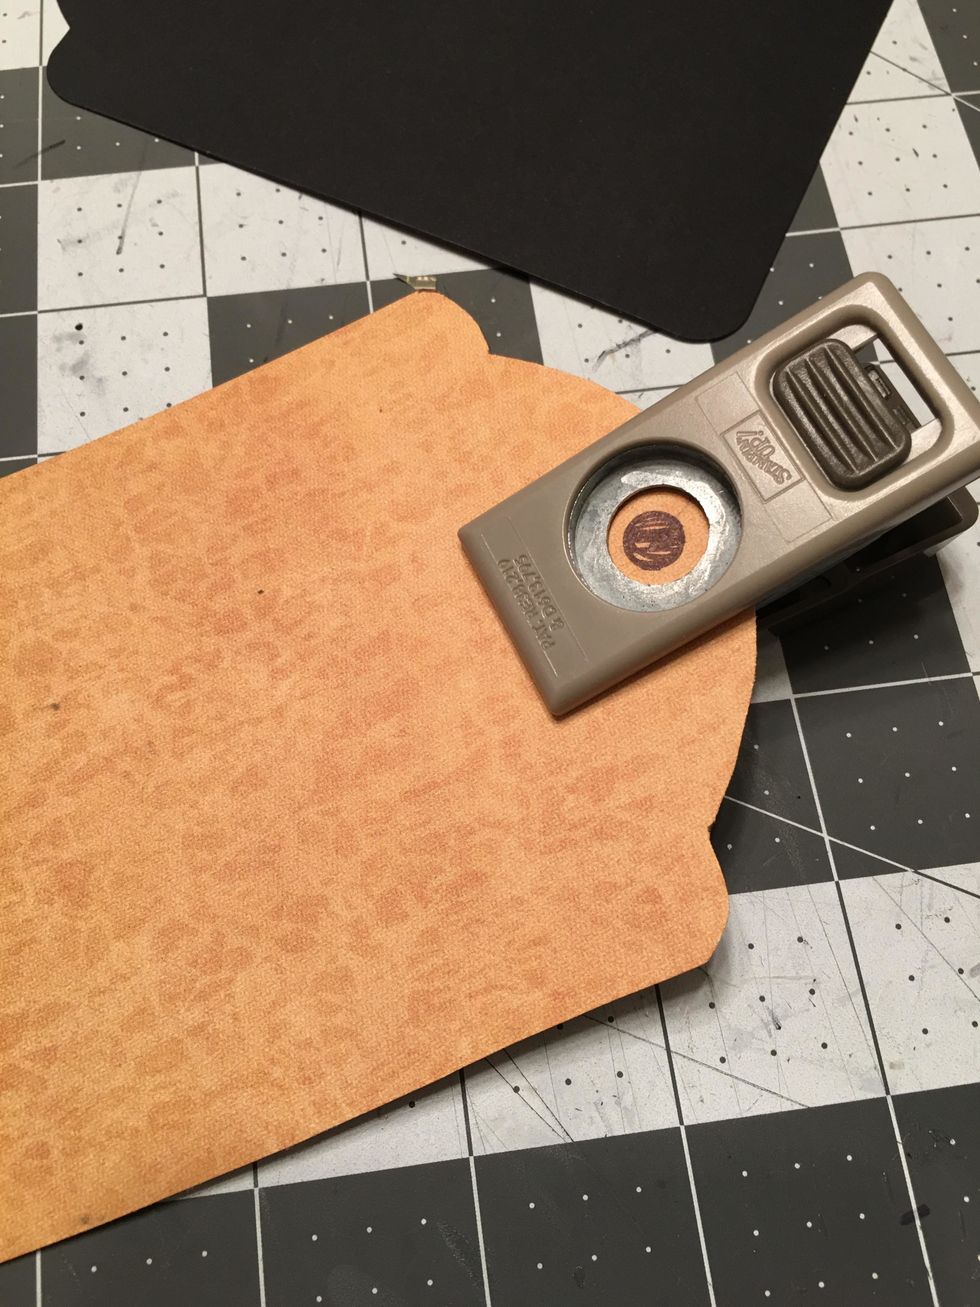
Use a 1/2 inch hole punch, to punch out the hole for the tag on the patterned paper. Make sure to center the punch over the circle you marked onto the paper.
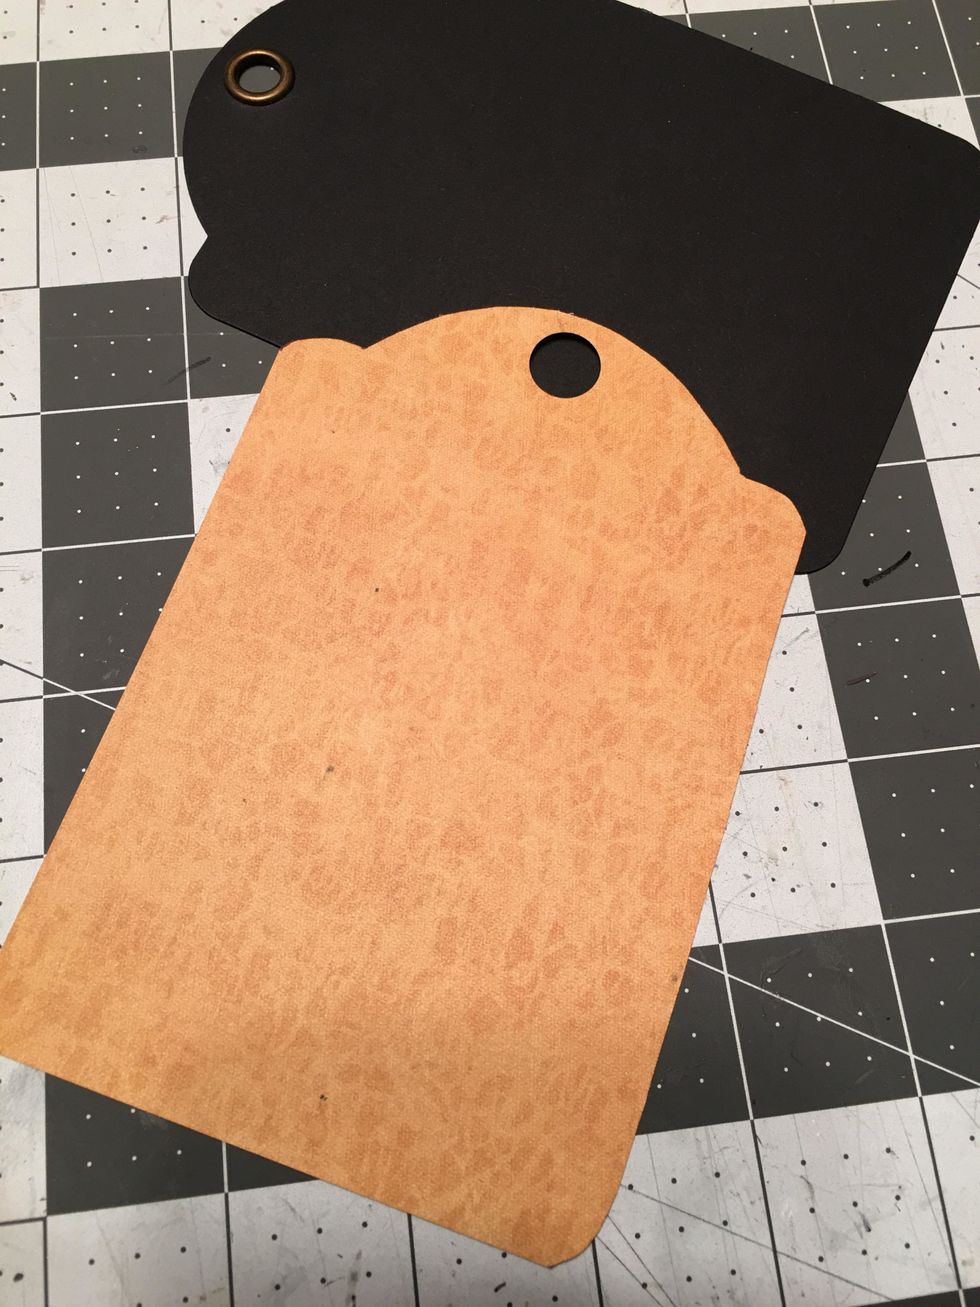
With the hole punched your paper will look like this. You will do this for all the tags of the album, front & back.
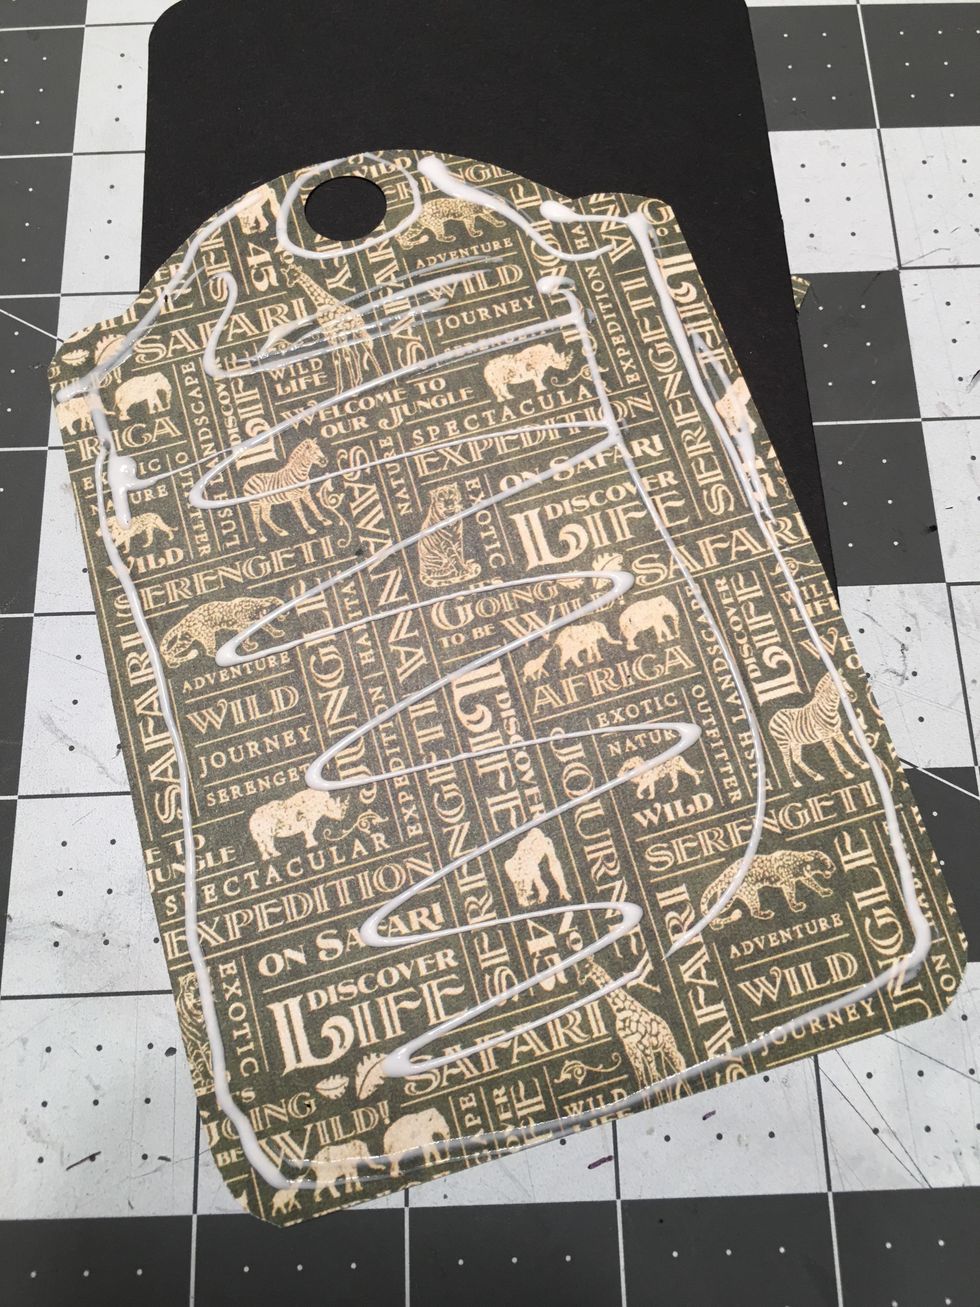
Apply glue to the back side of the paper.
Attach down onto the tag, make sure to line it up straight and place the punched out hole over the metal grommet so it still shows and has a nice finish.
Repeat the same process for the back side of the tag to cover it with patterned paper.

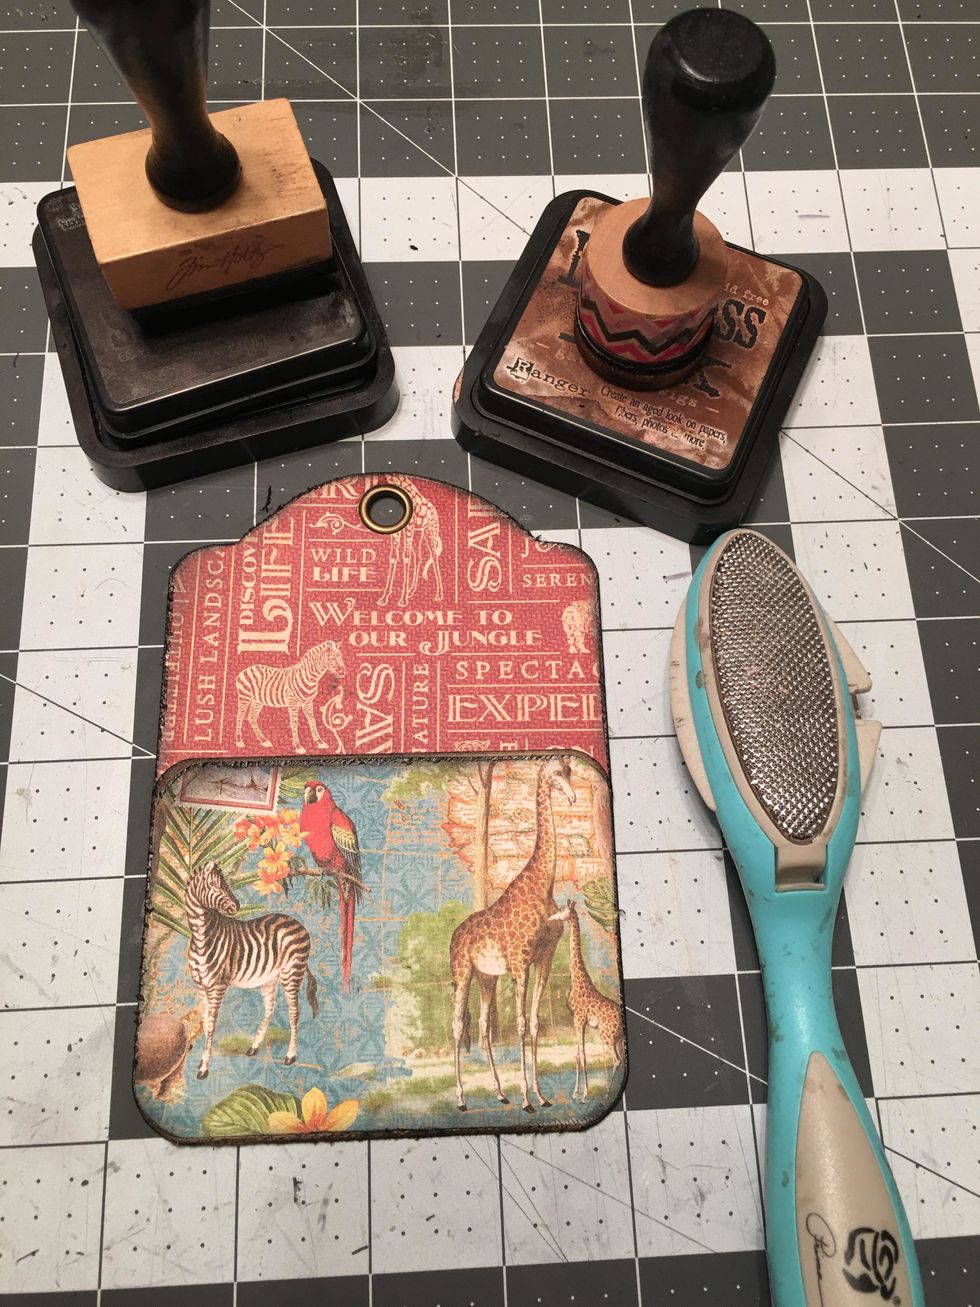
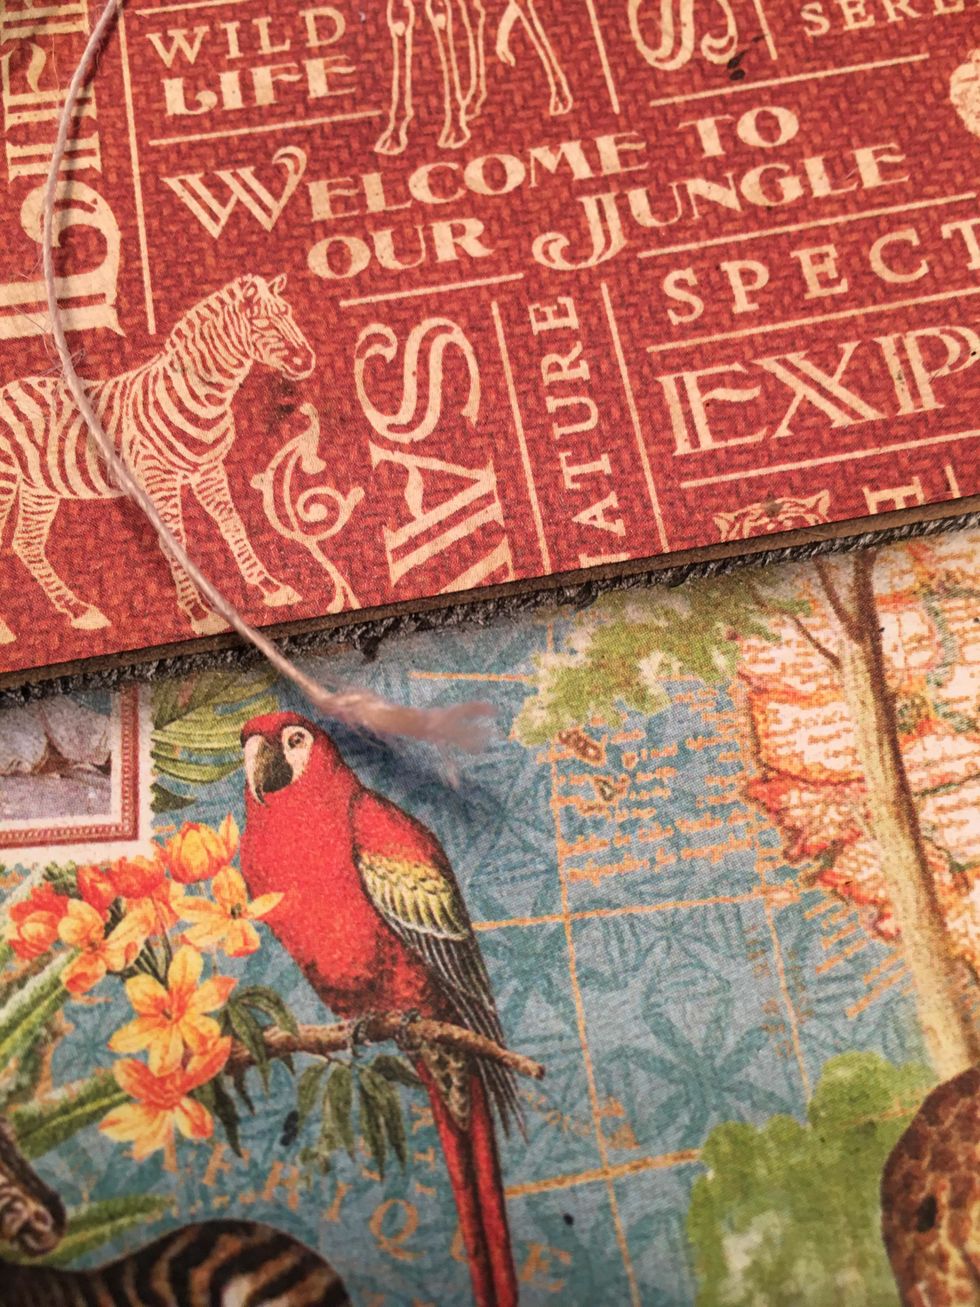
Use a tool to distress the edges of the tag on the front and back.
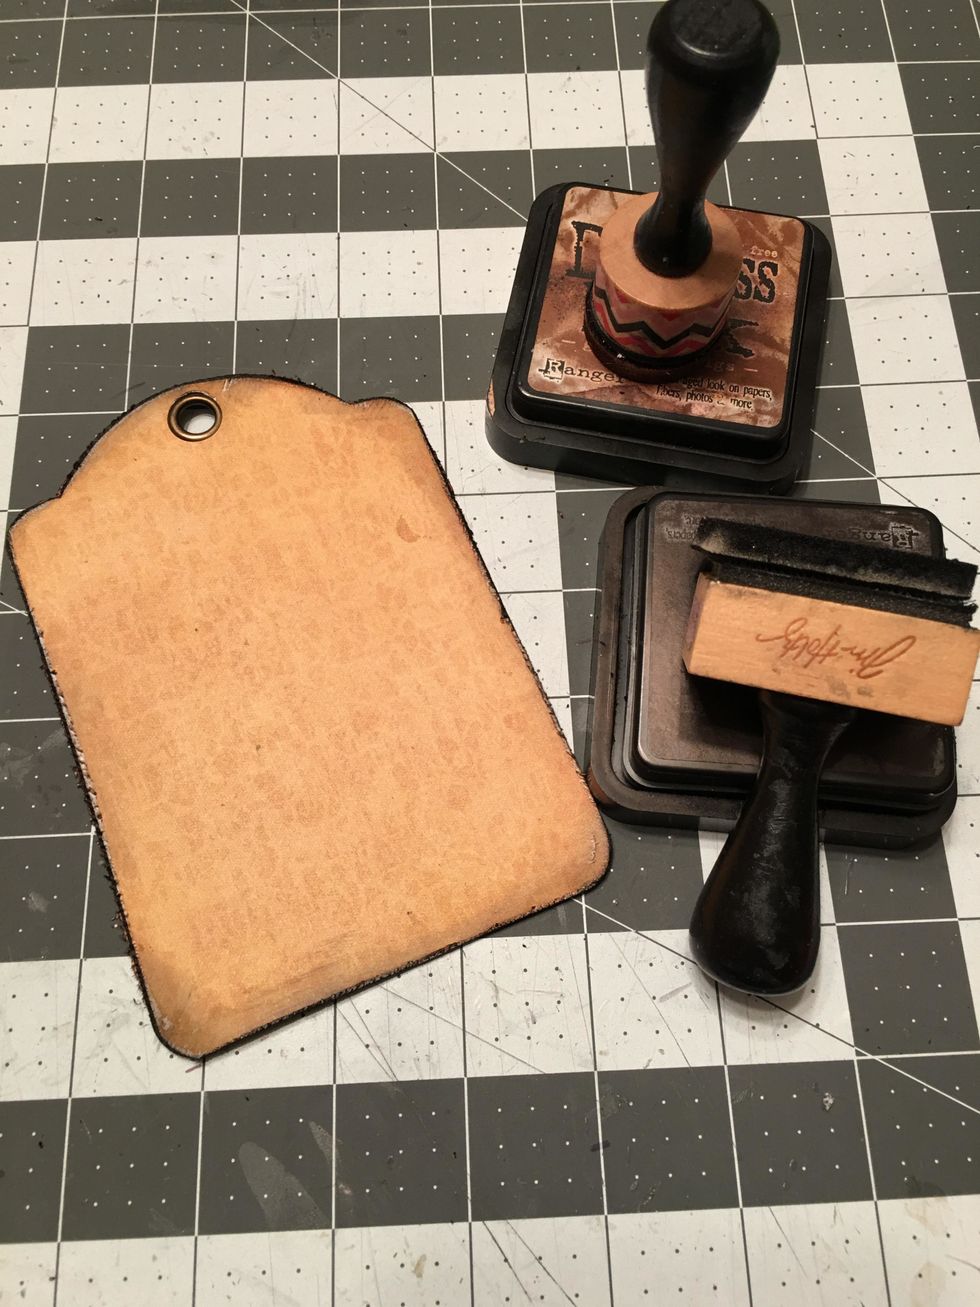
Use a combination of Gathered Twigs Distress Ink and Black Soot Distress Ink to ink the edges of your tags, front & back.
This is the back side of the first tag after it has been distressed and inked.
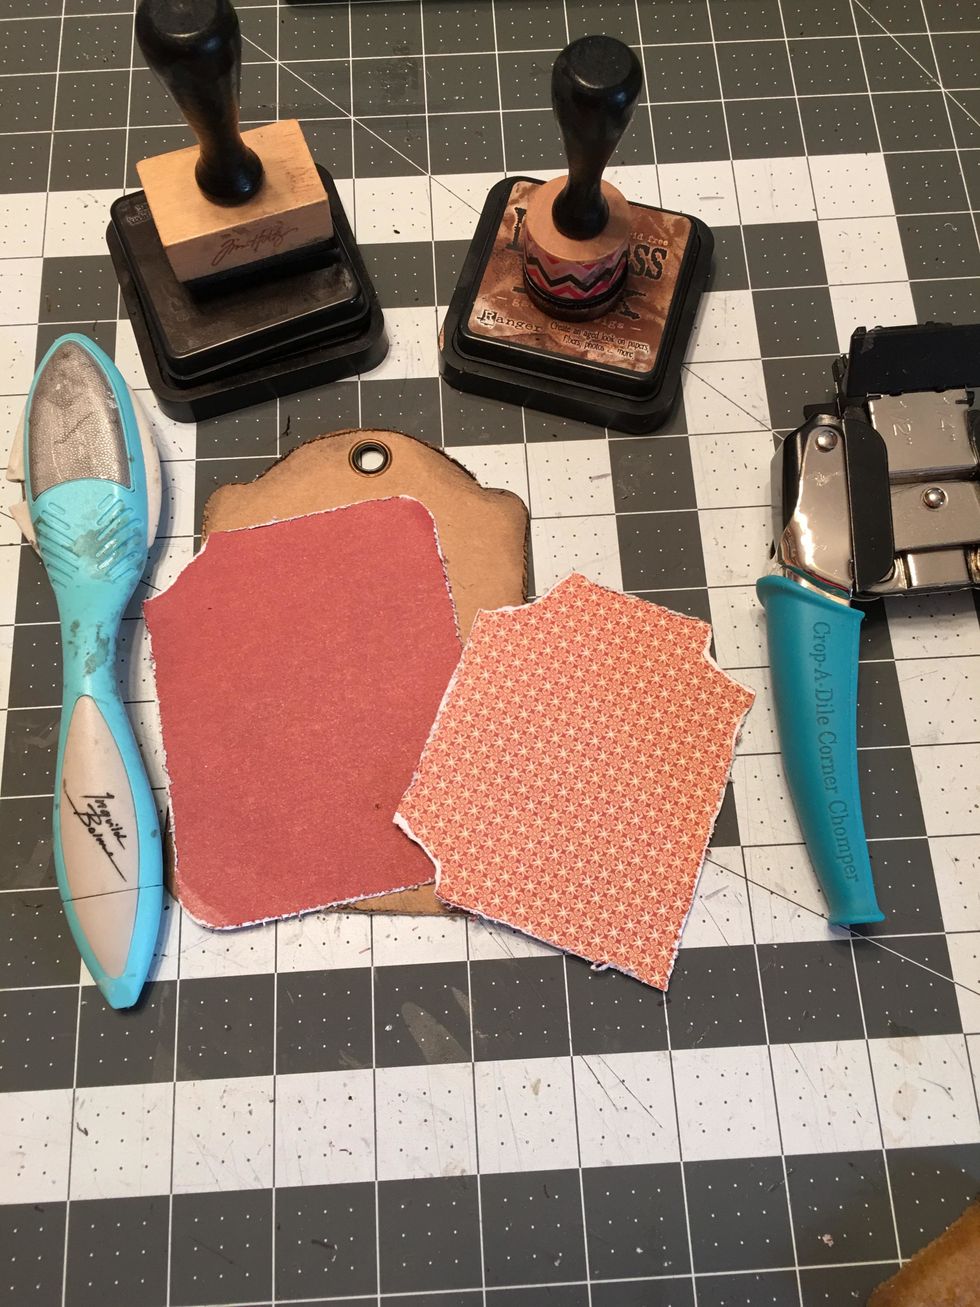
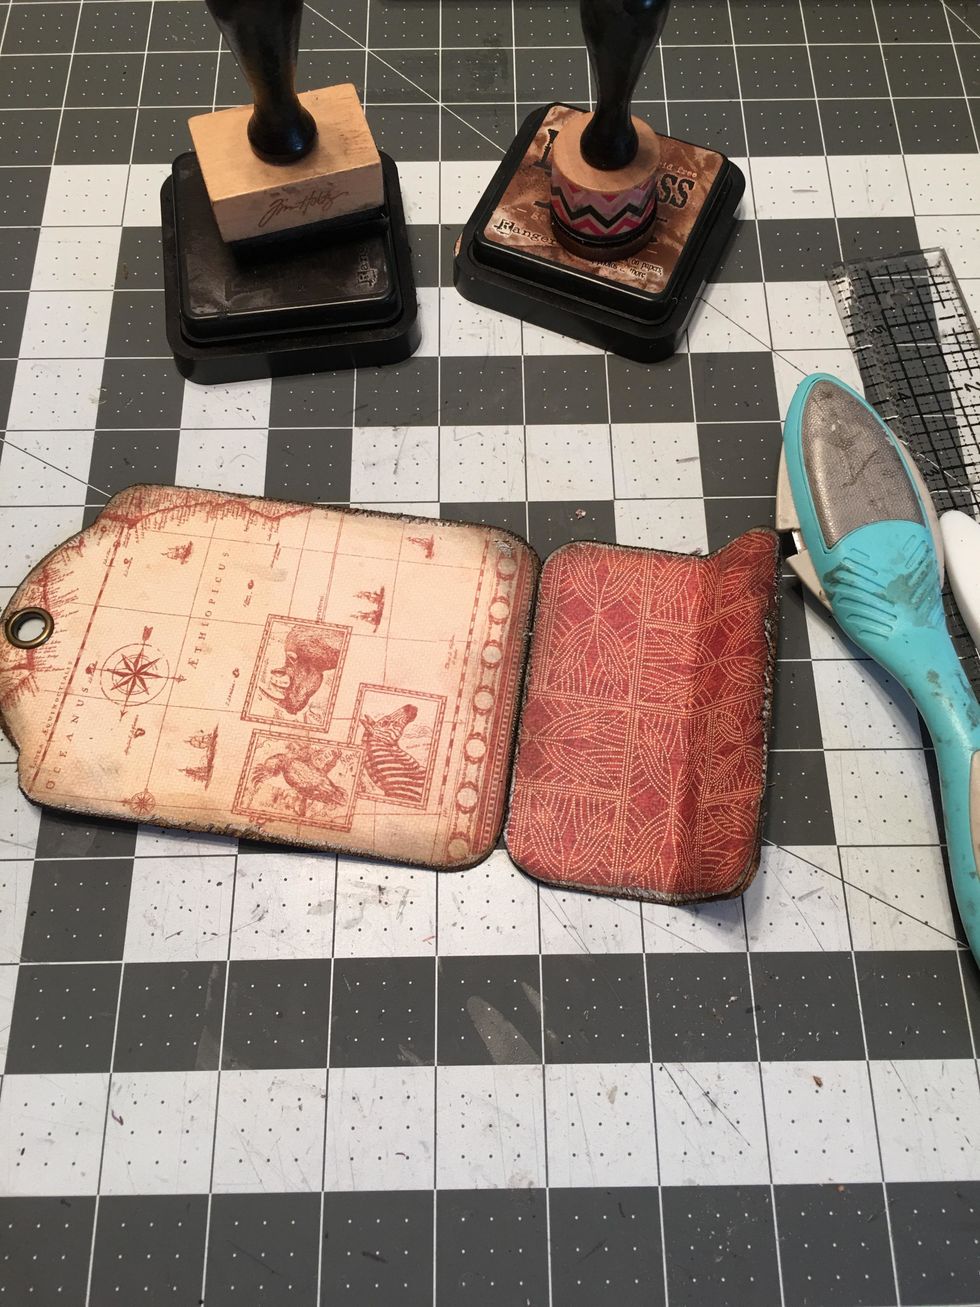
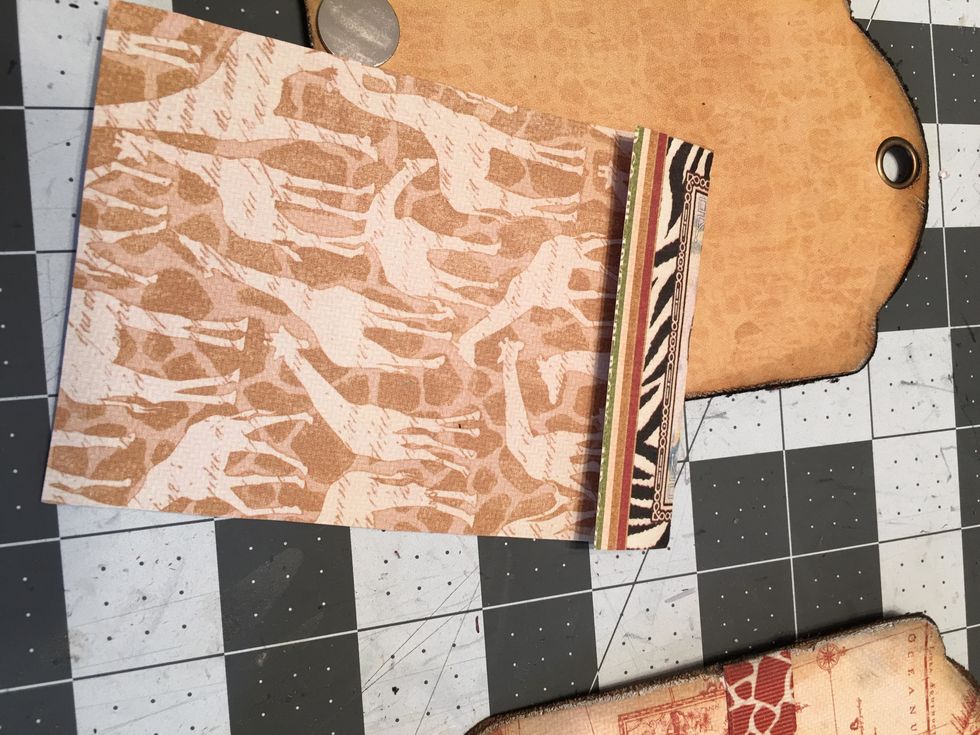
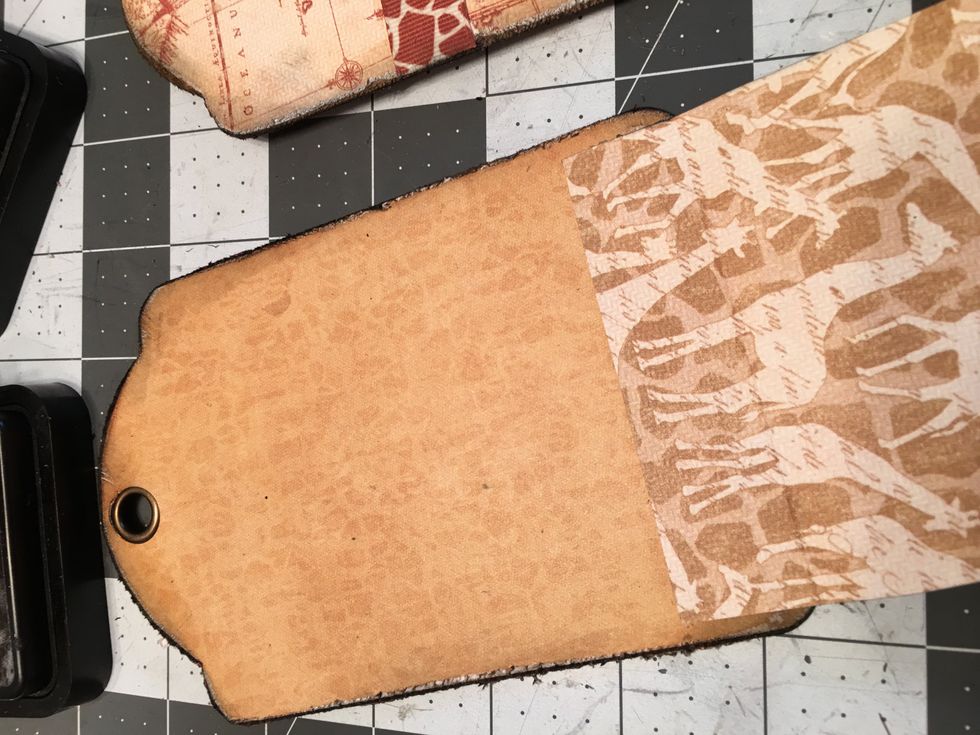
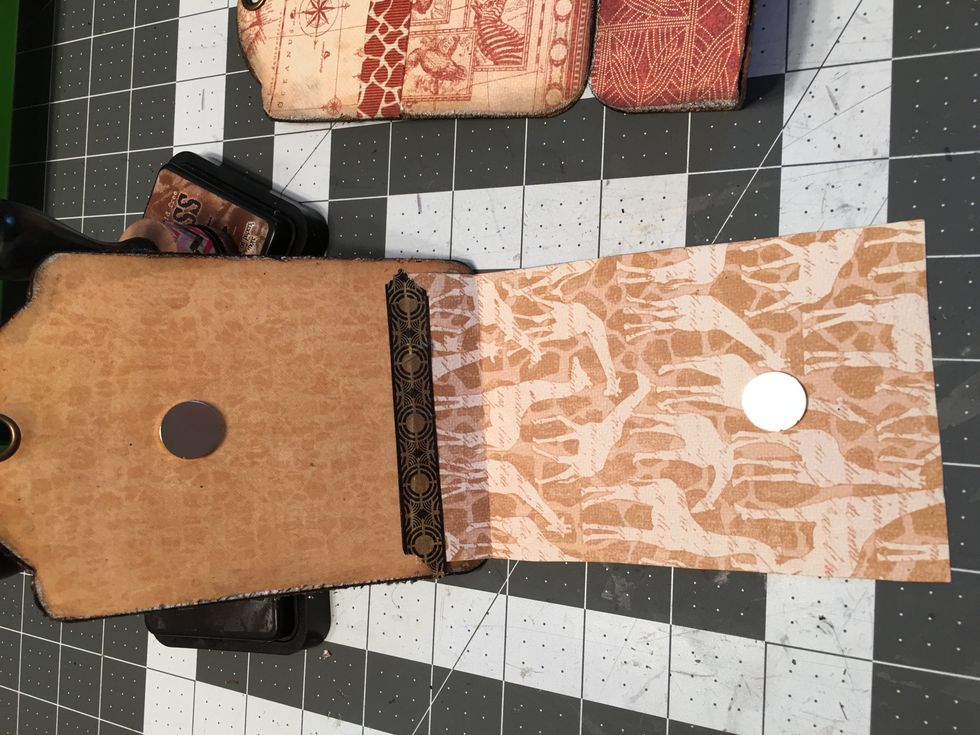
Trace the tags that have a folded pocket in the same manner, except you do not have to cut the paper the full length of the tag on the pocket side.
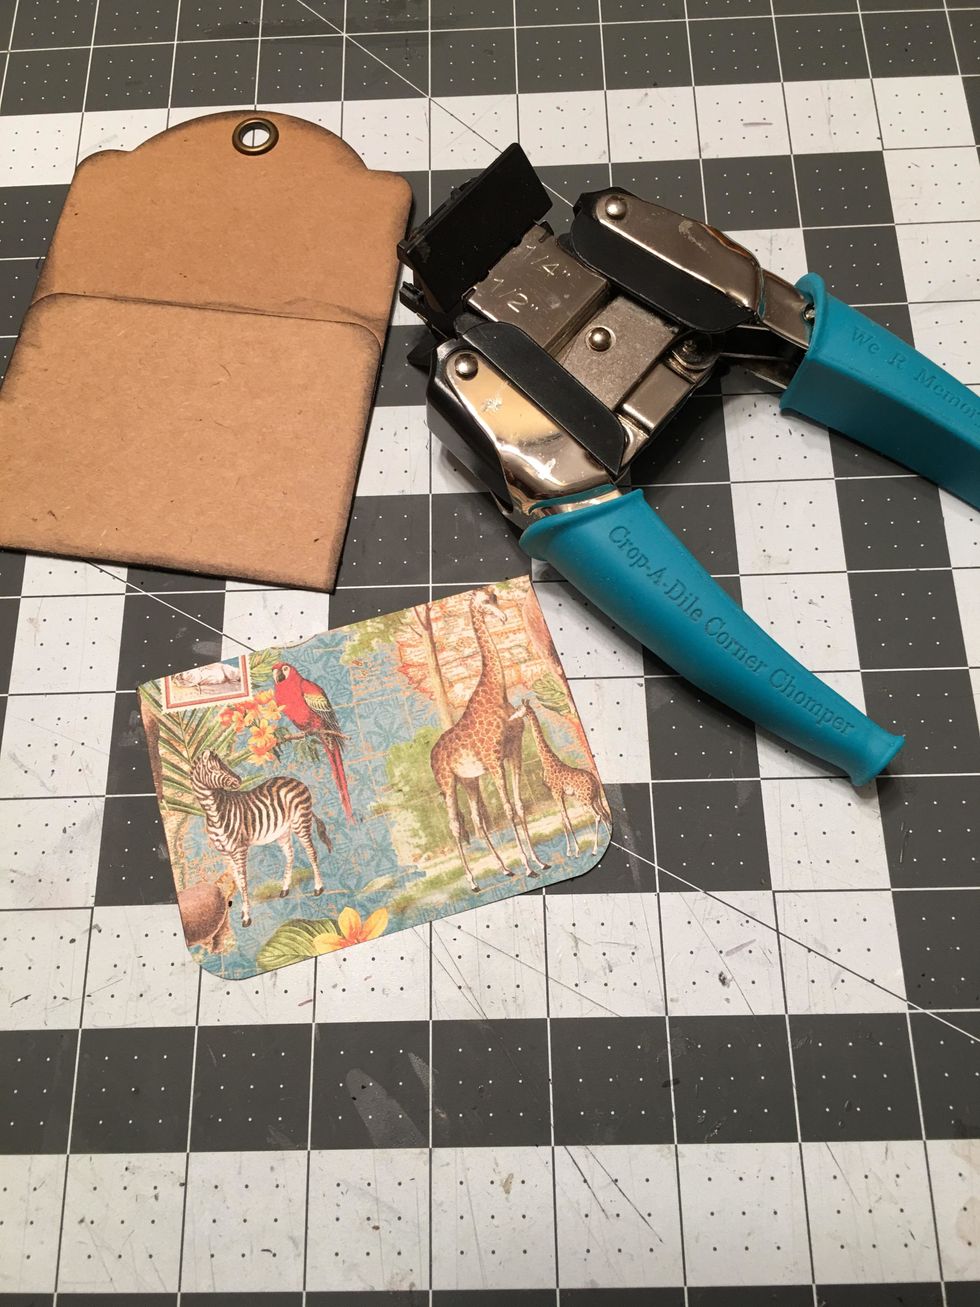
Cut a piece of patterned paper to fit the pocket and use a 1/2 inch corner rounder for the two bottom corners.
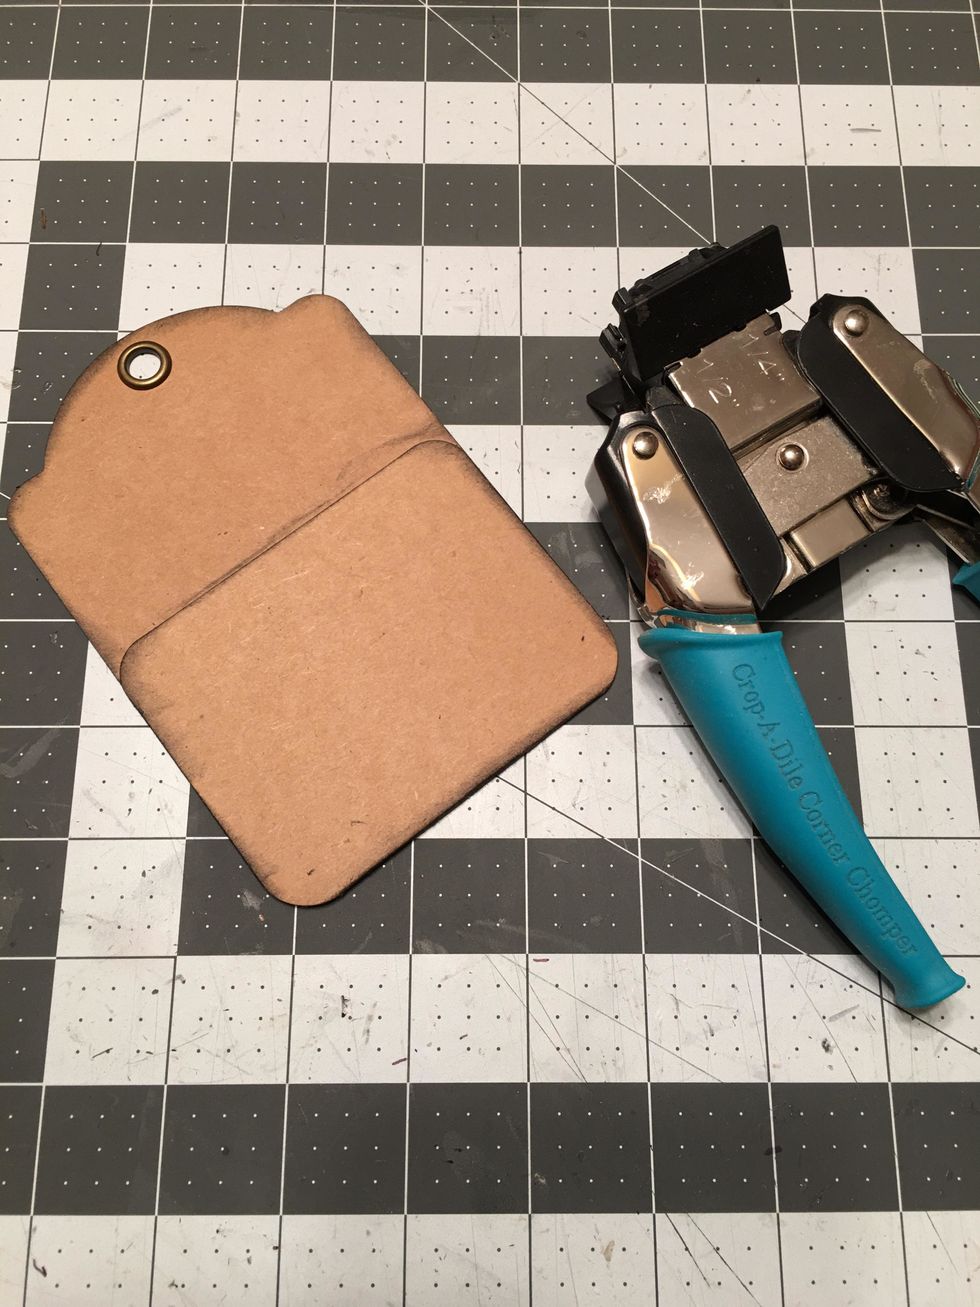
Before attaching the patterned paper, you need to also round the bottom corners of the tags with the pocket so it will look like this. Ink the edges with black soot Distress Ink.
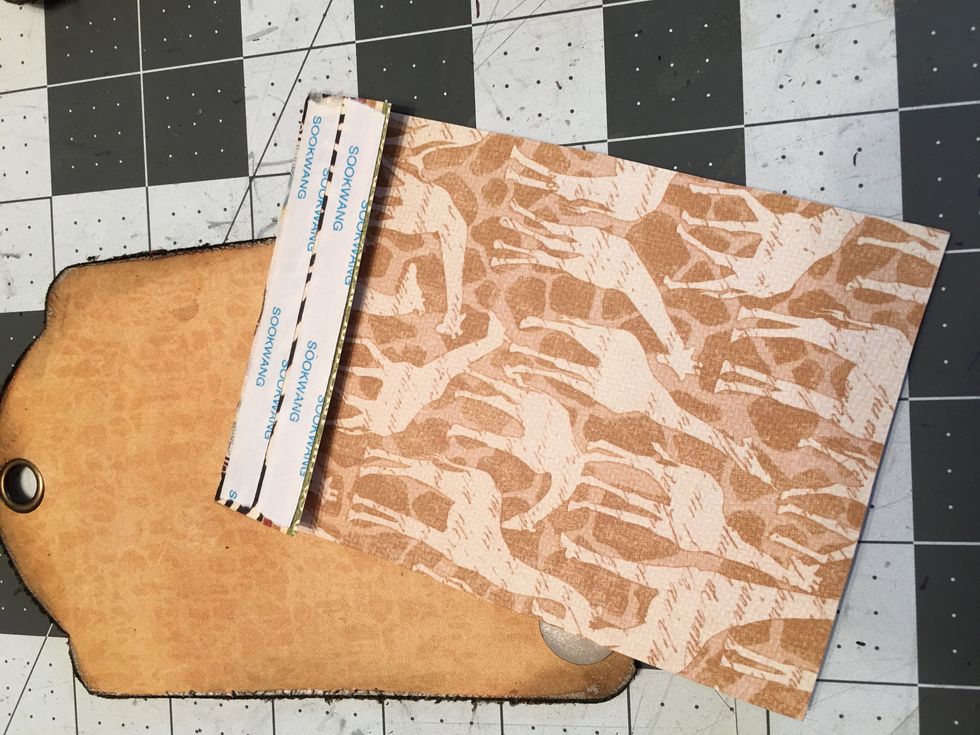
You will also need to punch the top two corners of the patterned paper with the 1/2 inch punch to make them match the pocket edges.
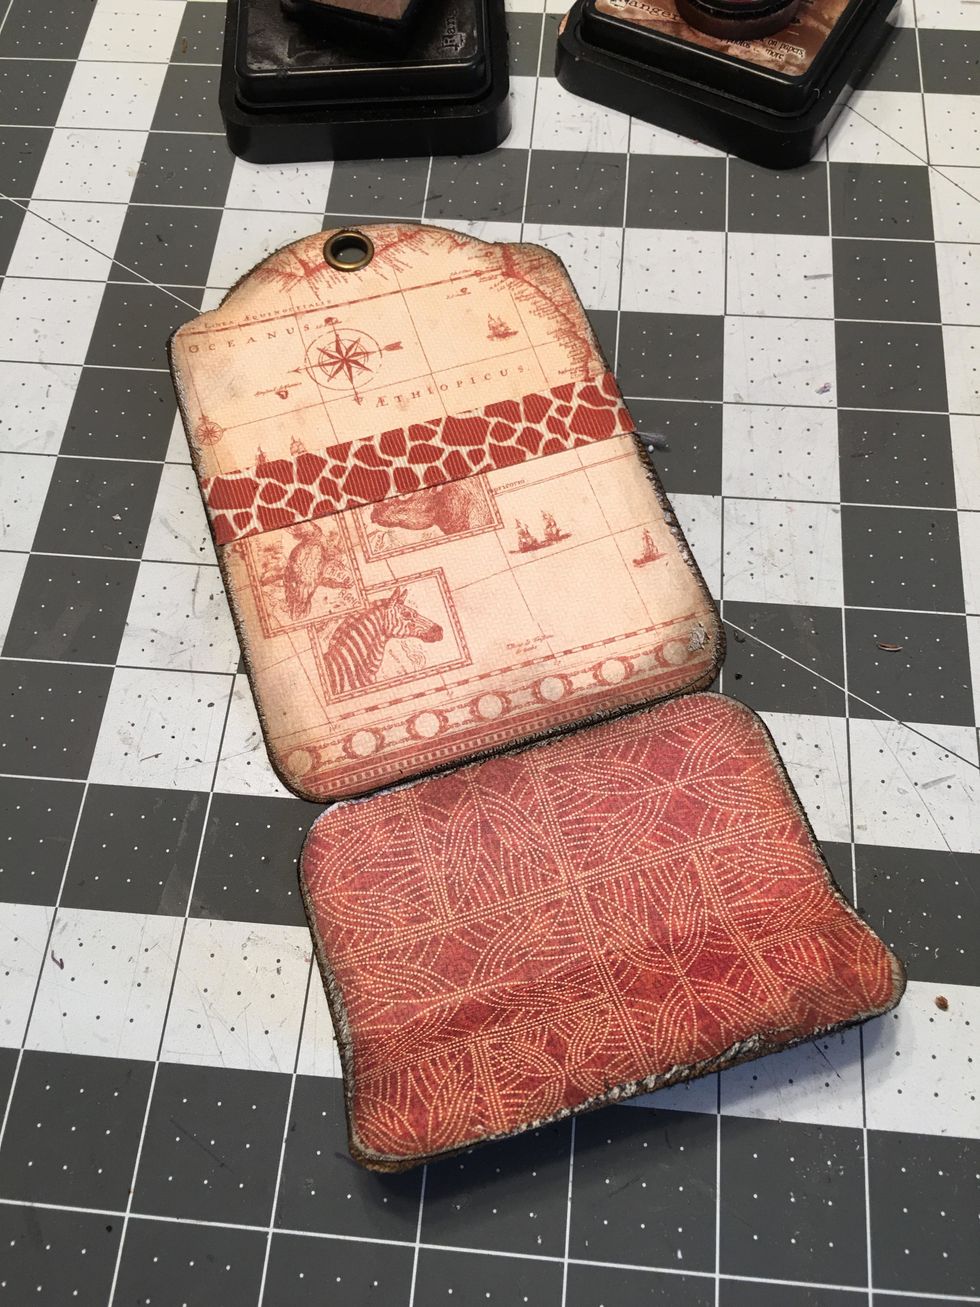
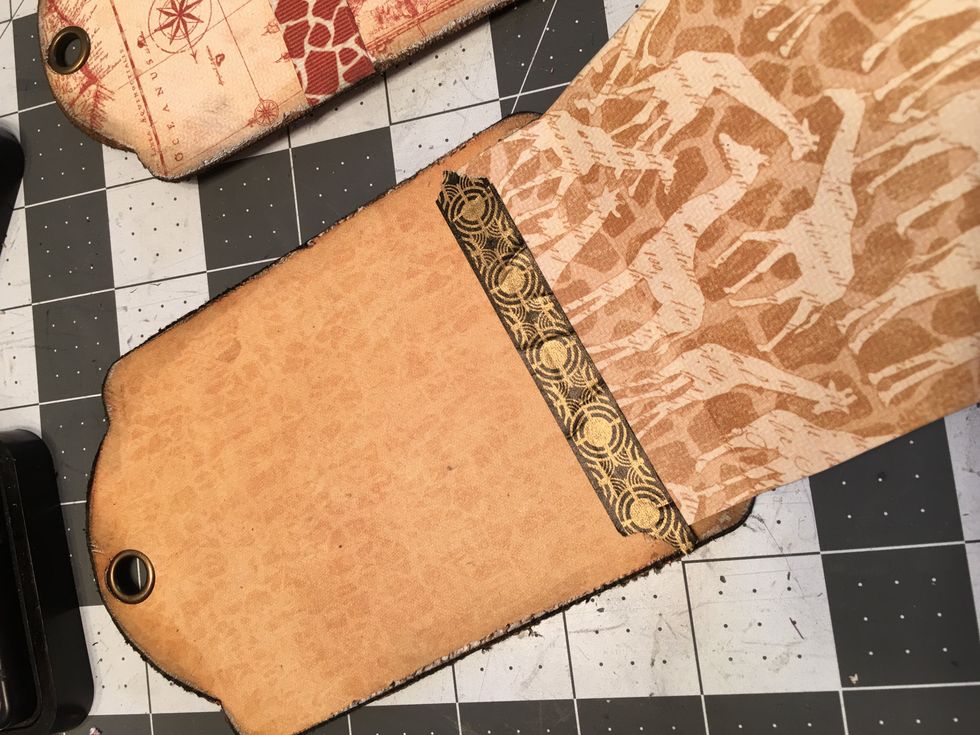
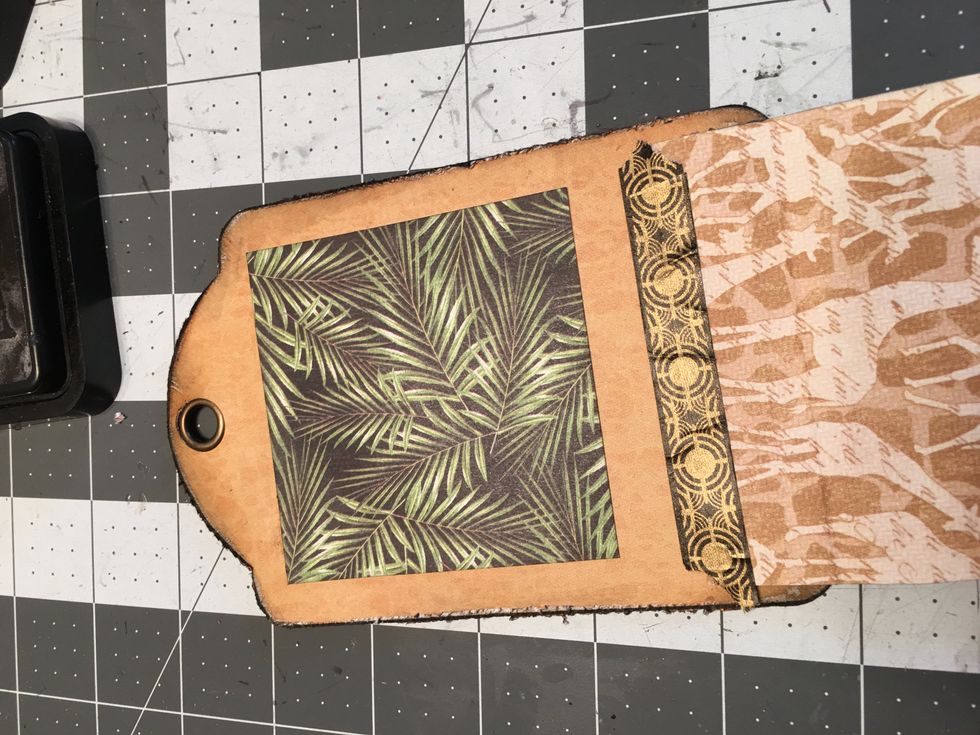
Distress and ink the top edge of the patterned paper that goes onto the pocket.
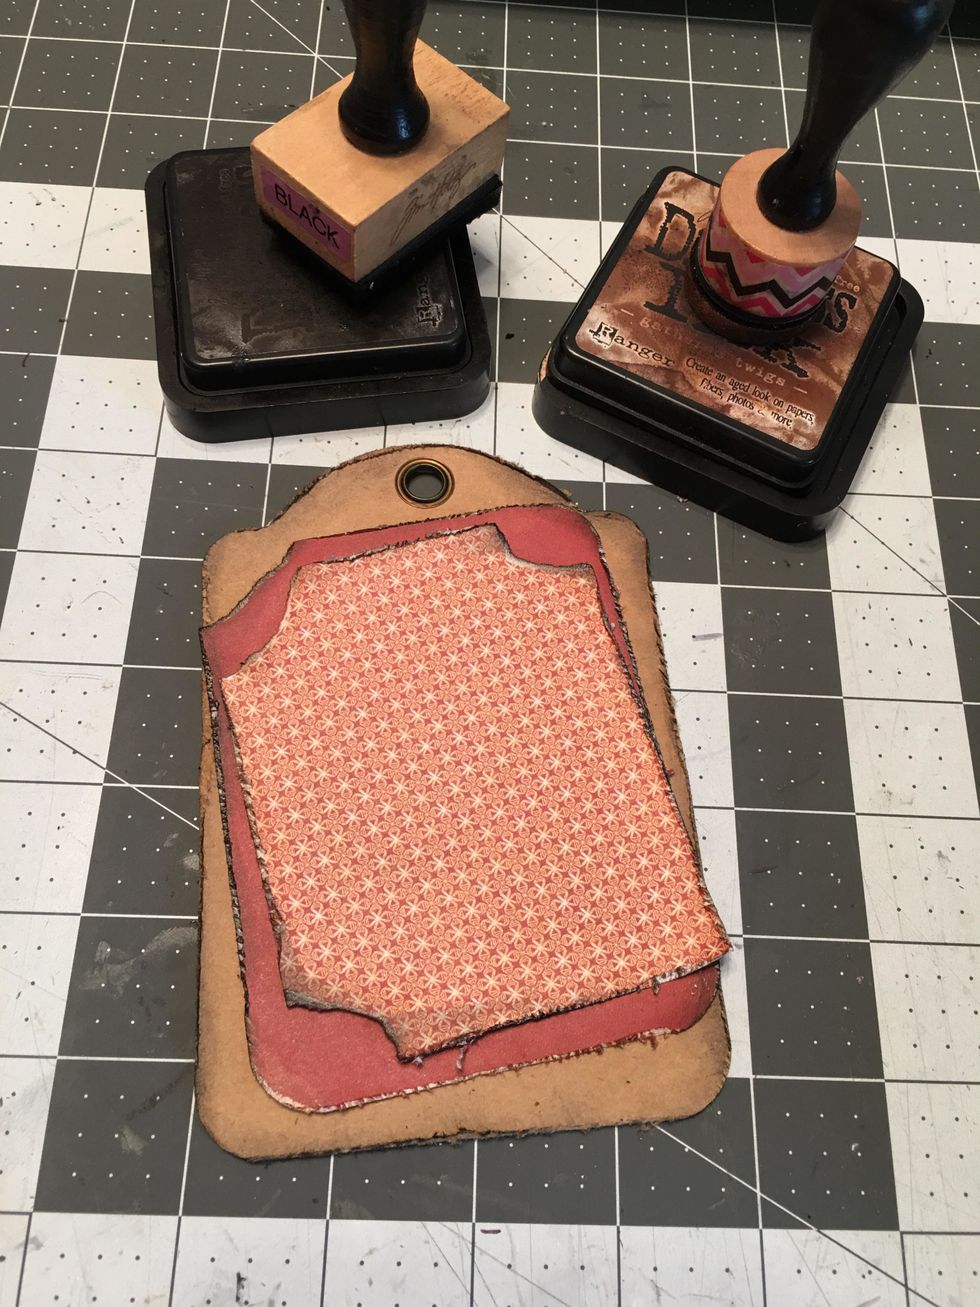
Use glue to attach the paper onto the pocket as shown.
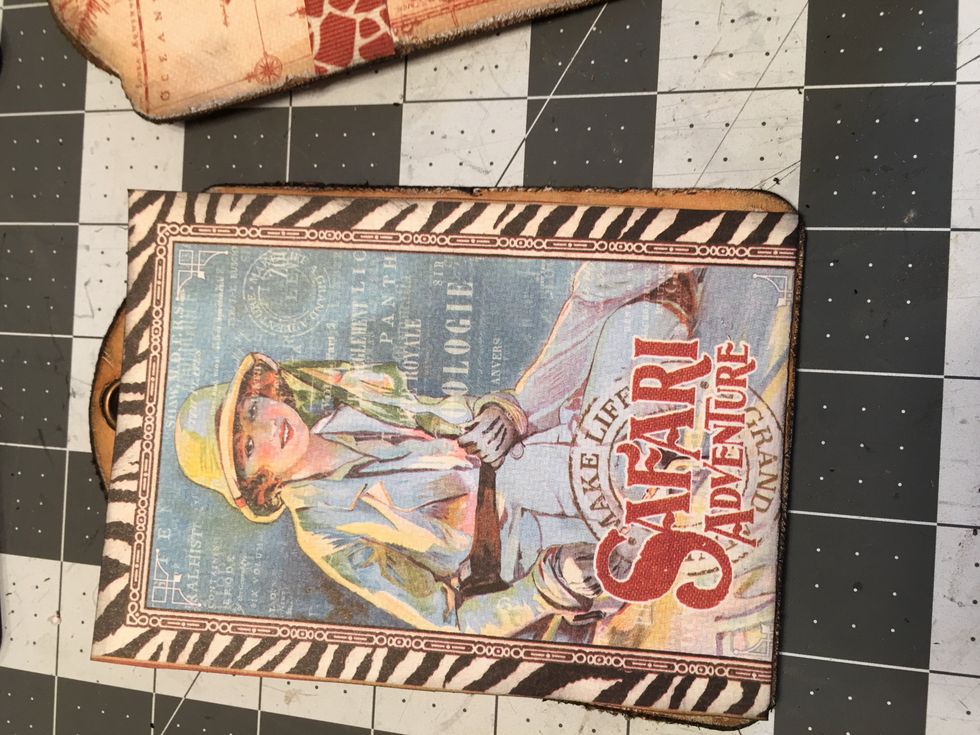
Next cut a piece of paper to match the top part of the tag. Make sure to punch out the circle for the grommet.
Glue to the top half of the tag, lining it up so that the hole fits over the grommet.
Distress and ink all edges.
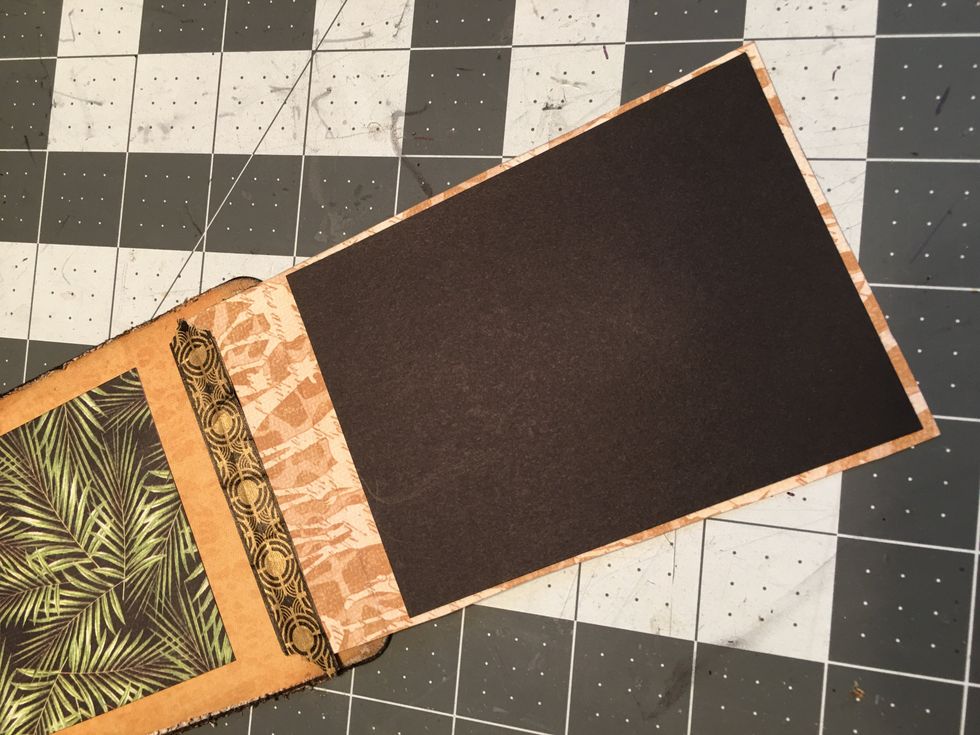
The back side of the kraft tag is not patterned solid but rather has photo mats. Cut one piece 3 1/2" x 4 1/2" and one piece 3" x 4". Distress the edges and tear some of the corners as shown.
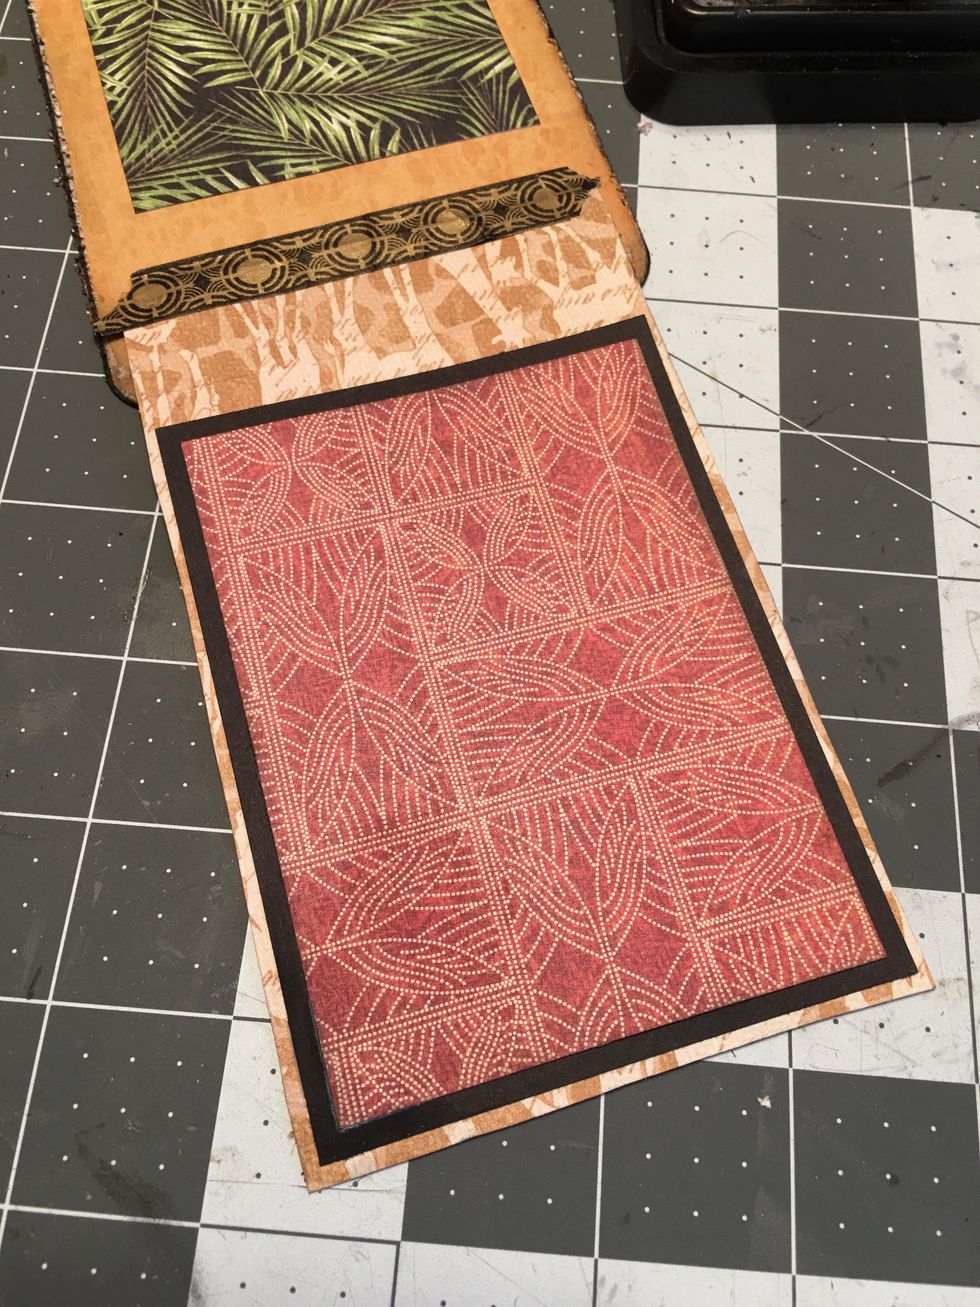
Ink all the edges and glue to the back side of the kraft tag, placing them at different angles with the smaller mat layered on top of the larger mat.
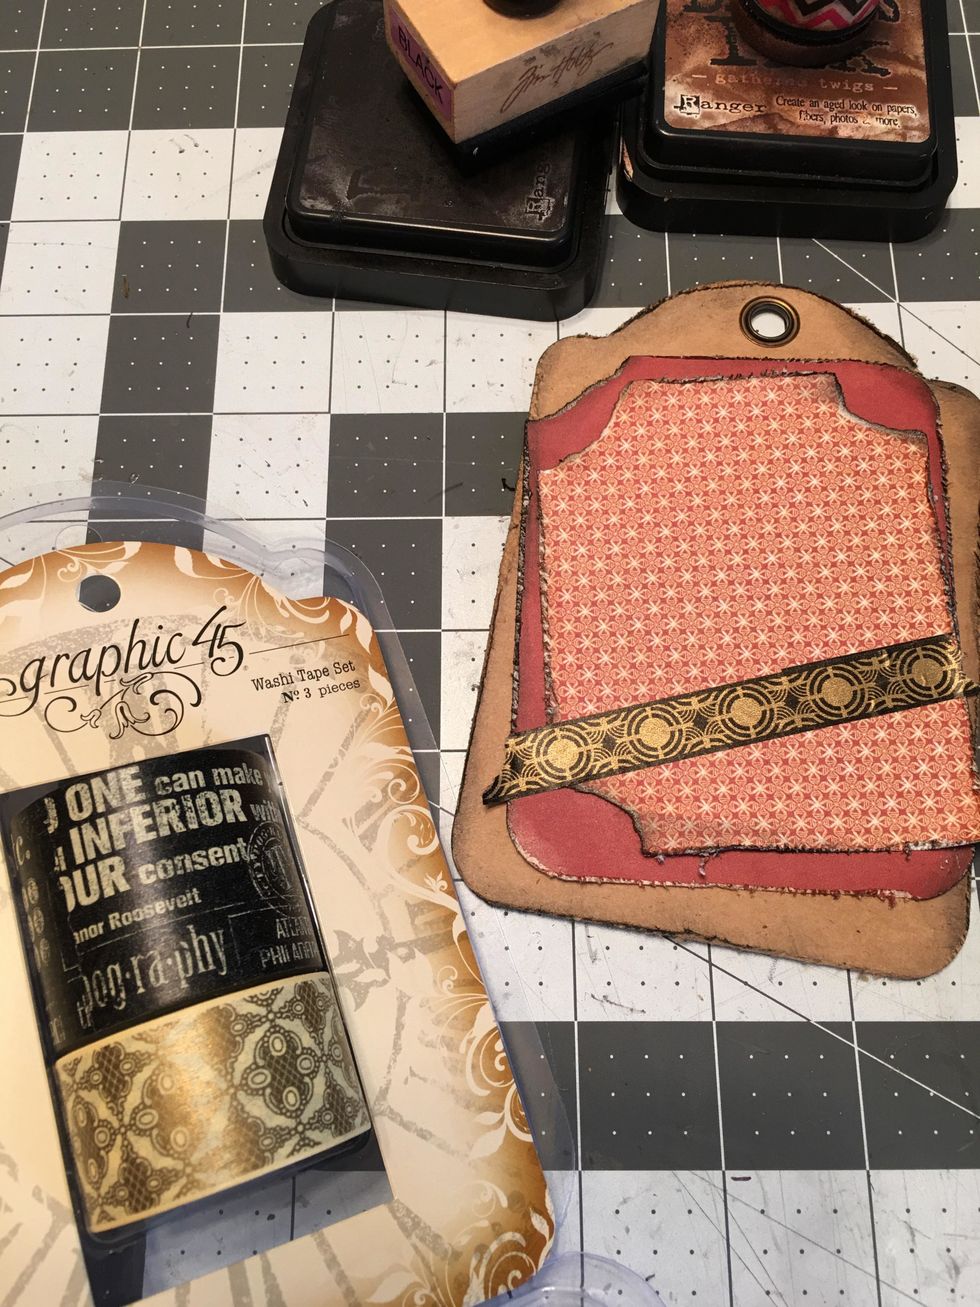
Tear and add a piece of Graphic 45 Washi tape across the bottom of the photo mats or where desired.

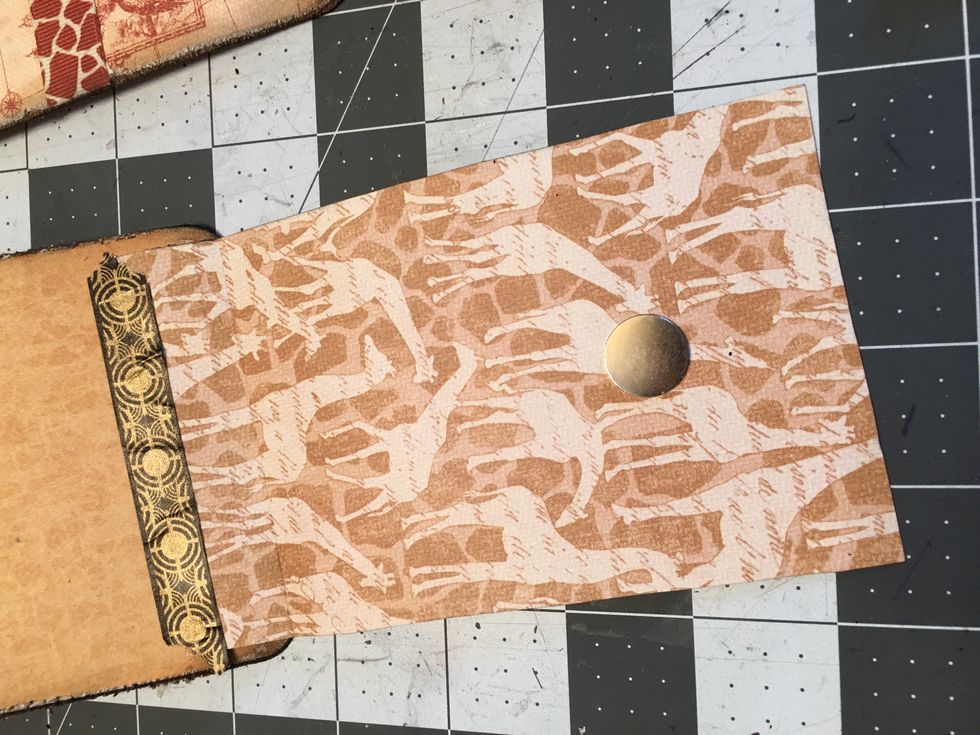
To create a closure for the back piece to wrap around to the front, on the front side of the tag, attach two large magnet snaps (+ positive side) as shown.

Turn the tag over. Pattern the top part as shown to match the front tag.
Pattern the smaller section to match and ink the edges.
Pattern the front side of the tag as shown, add a ribbon for a belly band (only put glue on each end of the ribbon), pattern the bottom part to cover up the magnets. Ink all edges as shown.
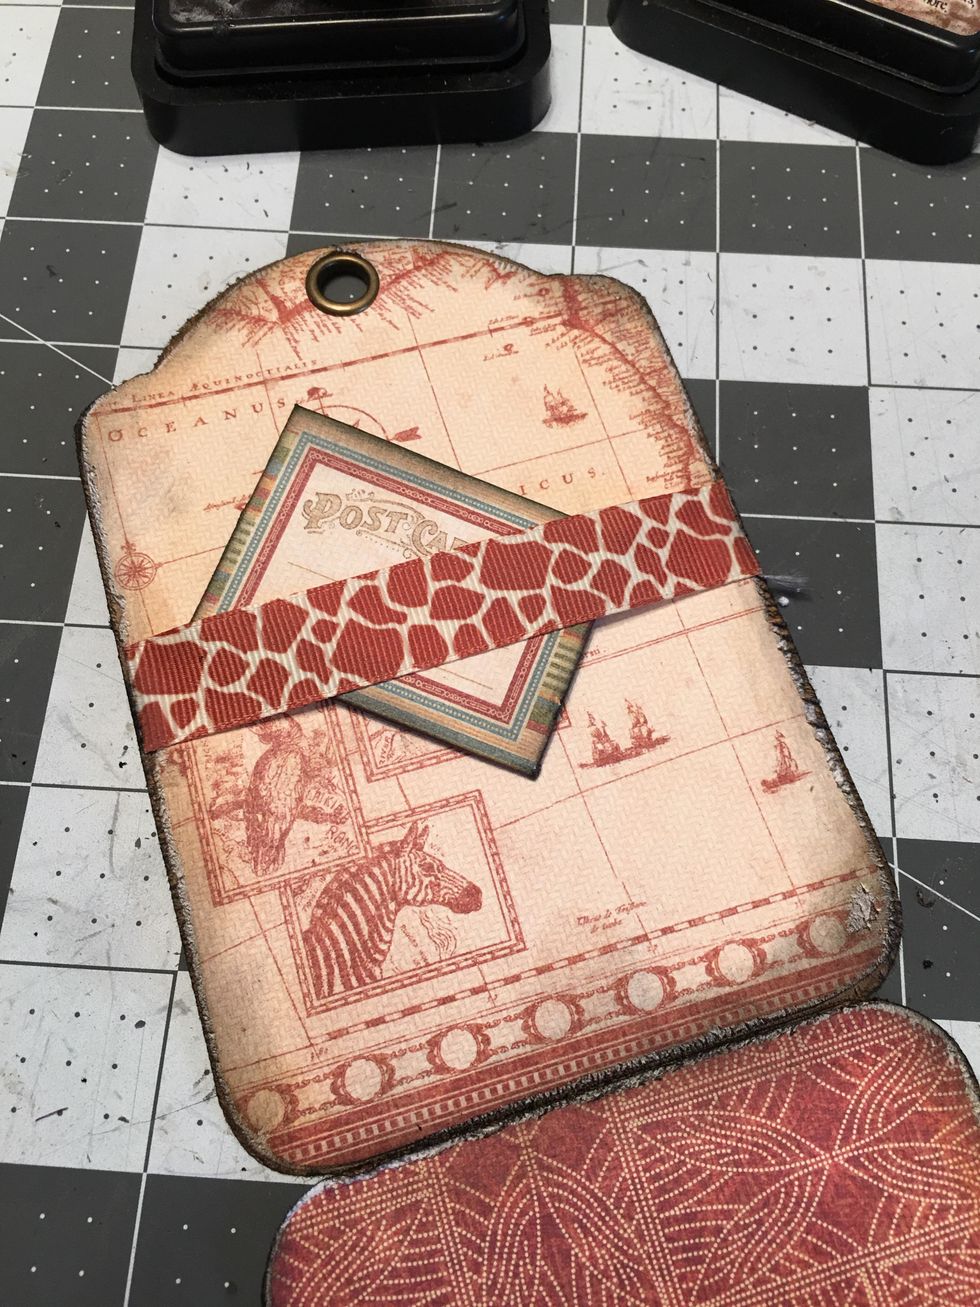
From the Tags & Pockets set, punch out a small postcard envelope , fold, ink and insert behind the ribbon belly band. You can also mat photos to black cardstock and insert them behind the belly band.
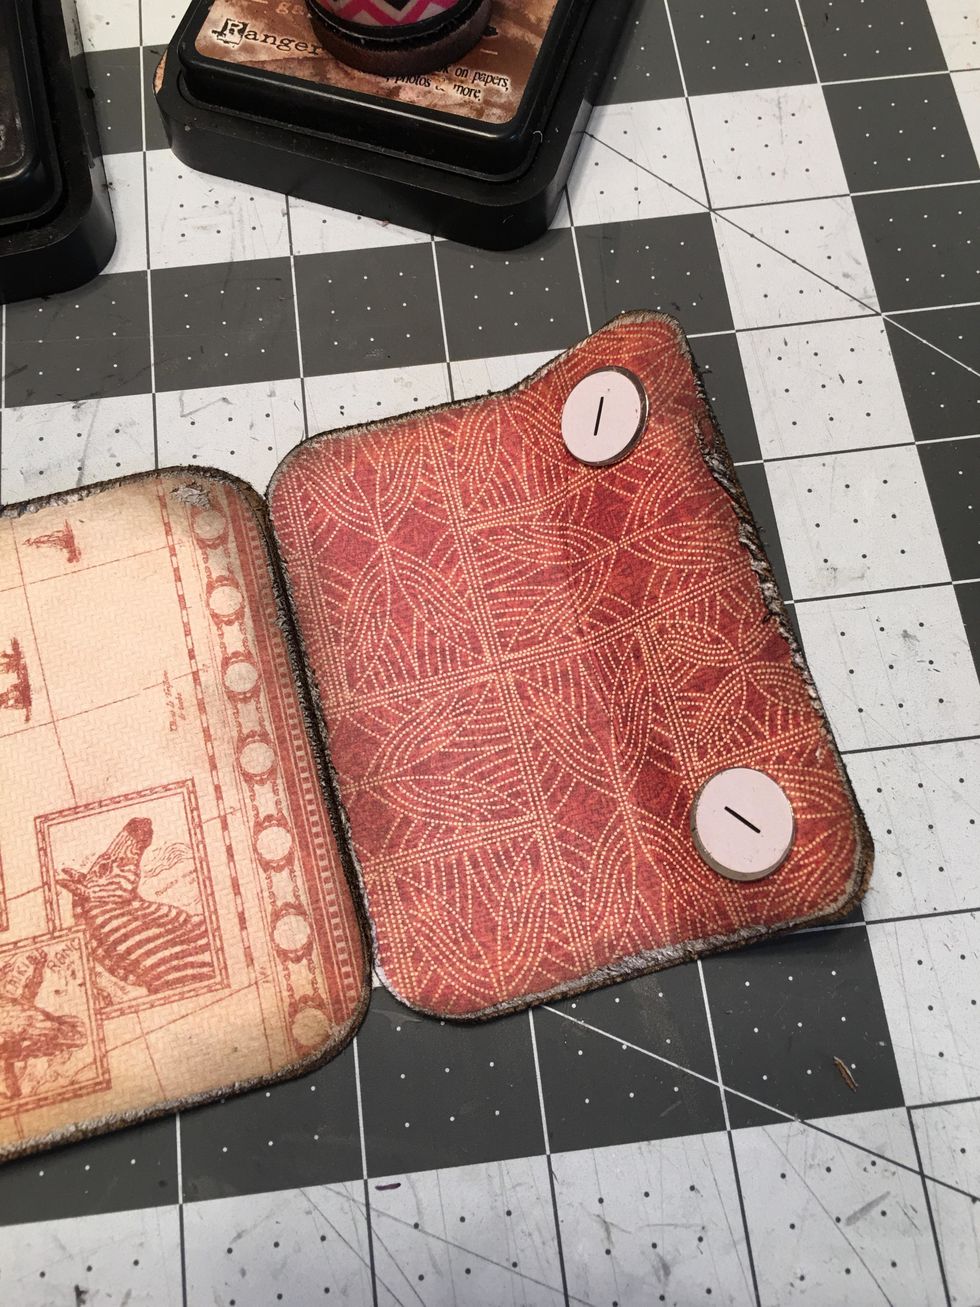
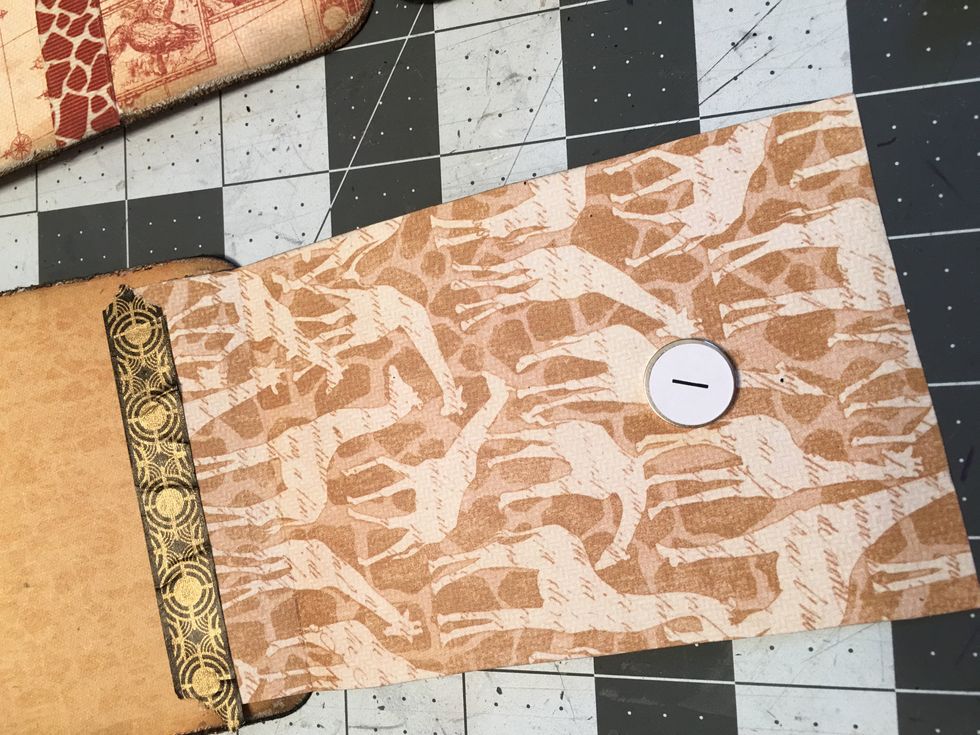
Take two Large Magnet Snaps (- Negative) and attach the magnet side to the area where the other two magnets are attached (magnets are hidden under the patterned paper).
Place the patterned front black tag on top of the back tag with the wrap piece. Peel of the backing from the two magnets and "close up" the wrap flap onto the front tag. Gently open back the flap.
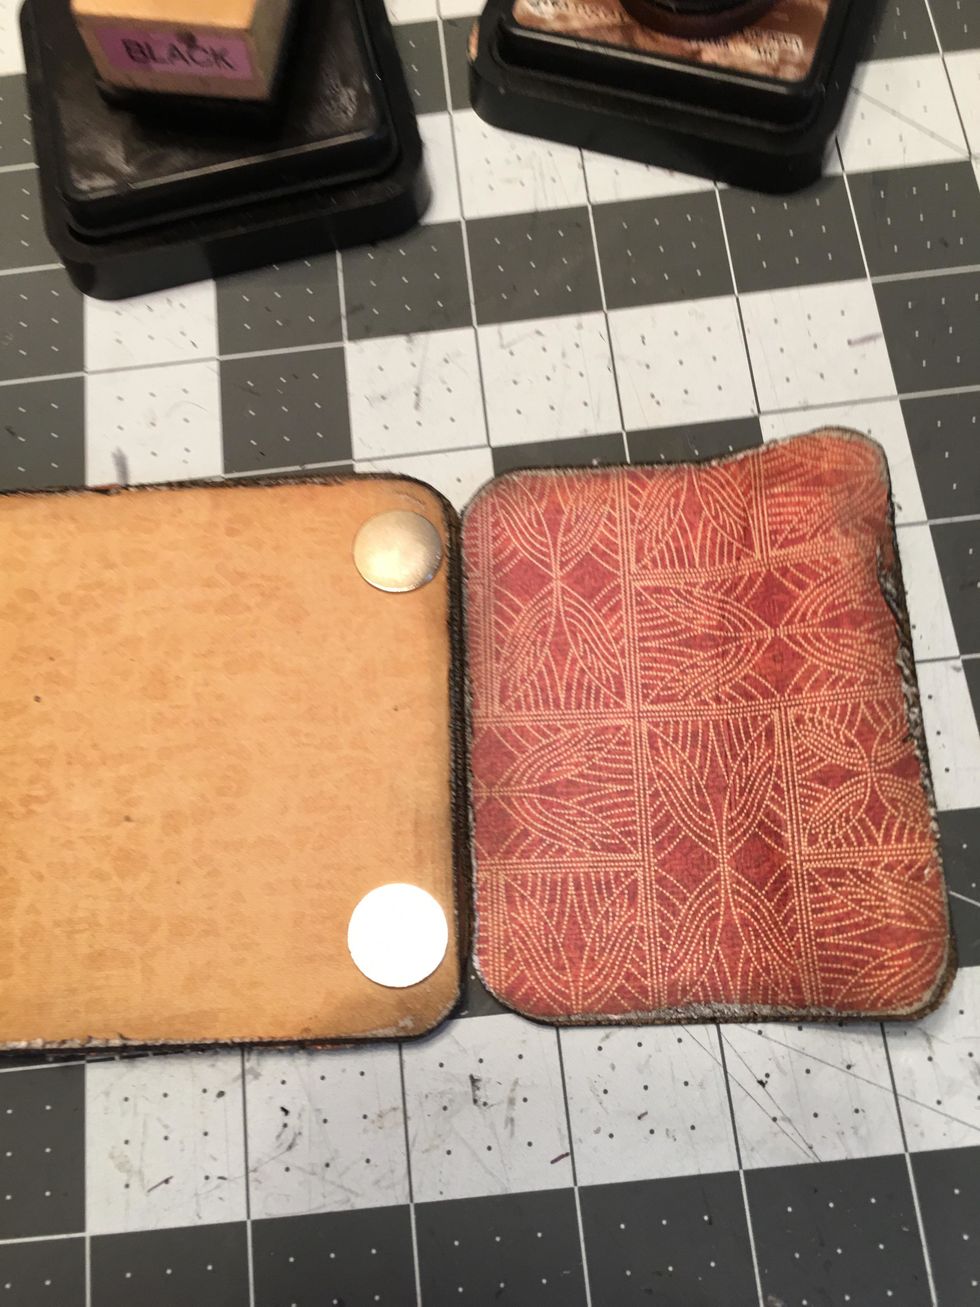
All four magnet snaps are now in place and the back tag wraps around to the front tag and closes.
Remove the front tag from the back tag with the magnets still attached as shown. You will now create a flap piece to cover and hide these magnets. Cut an image out of one of the cut aparts.
Fold and score the bottom edge about 1/2" to 3/4" as shown on the back side of the cut apart.
Apply Scor-tape to the flap on the back side only.
Pull the tape backing off and attach to the front side of the tag using the flap to cover the magnets. Line up the cut apart or attach at a slight angle if desired.
Once attached, the flap completely covers the magnets.
Tear a piece of the Graphic 45 Washi tape and place along the edge of the flap onto the patterned area of the tag.
To keep the flap closed down on to the tag, place another large magnet snap (+positive) in the center of the flap on the back side about 1 1/2" down from the cut edge.
Again, attach another magnet snap (-negative) onto the other magnet as shown. Pull of the backing and close up the flap so that sticky side of the magnet sticks to the tag side.
Gently open up the flap, separating the two magnets. You will now have a magnet on each side as shown.
Cut out a piece of patterned paper to create a photo mat to cover the magnet on the tag side. Cut a tag about 3 1/2" x 3 1/2" square. Attach down over the magnet.
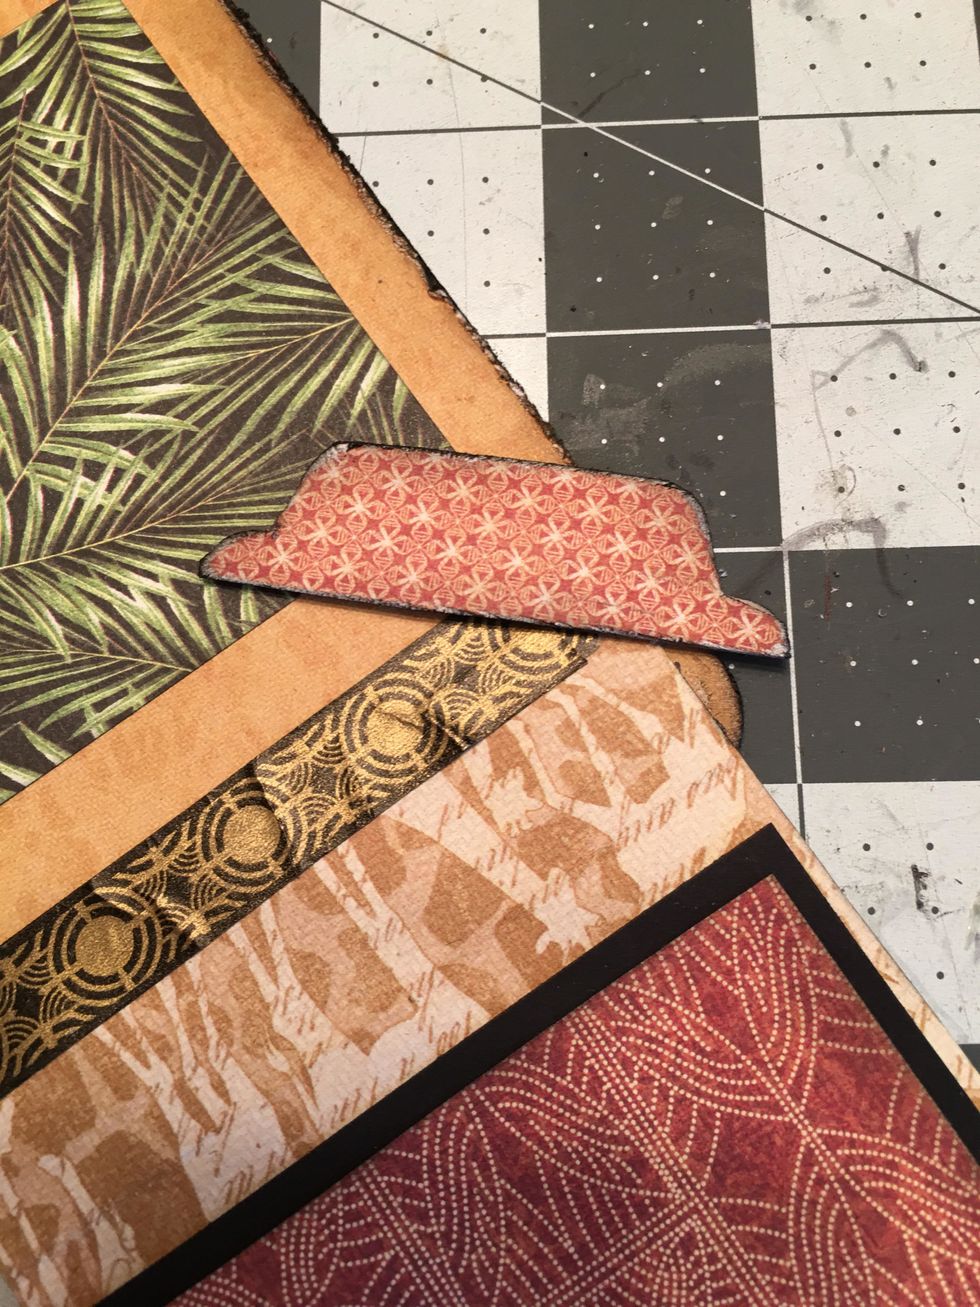
On the flap side, measure and cut black card stock to mat over the magnet. Also measure and cut patterned paper to layer over the black cardstock as shown.
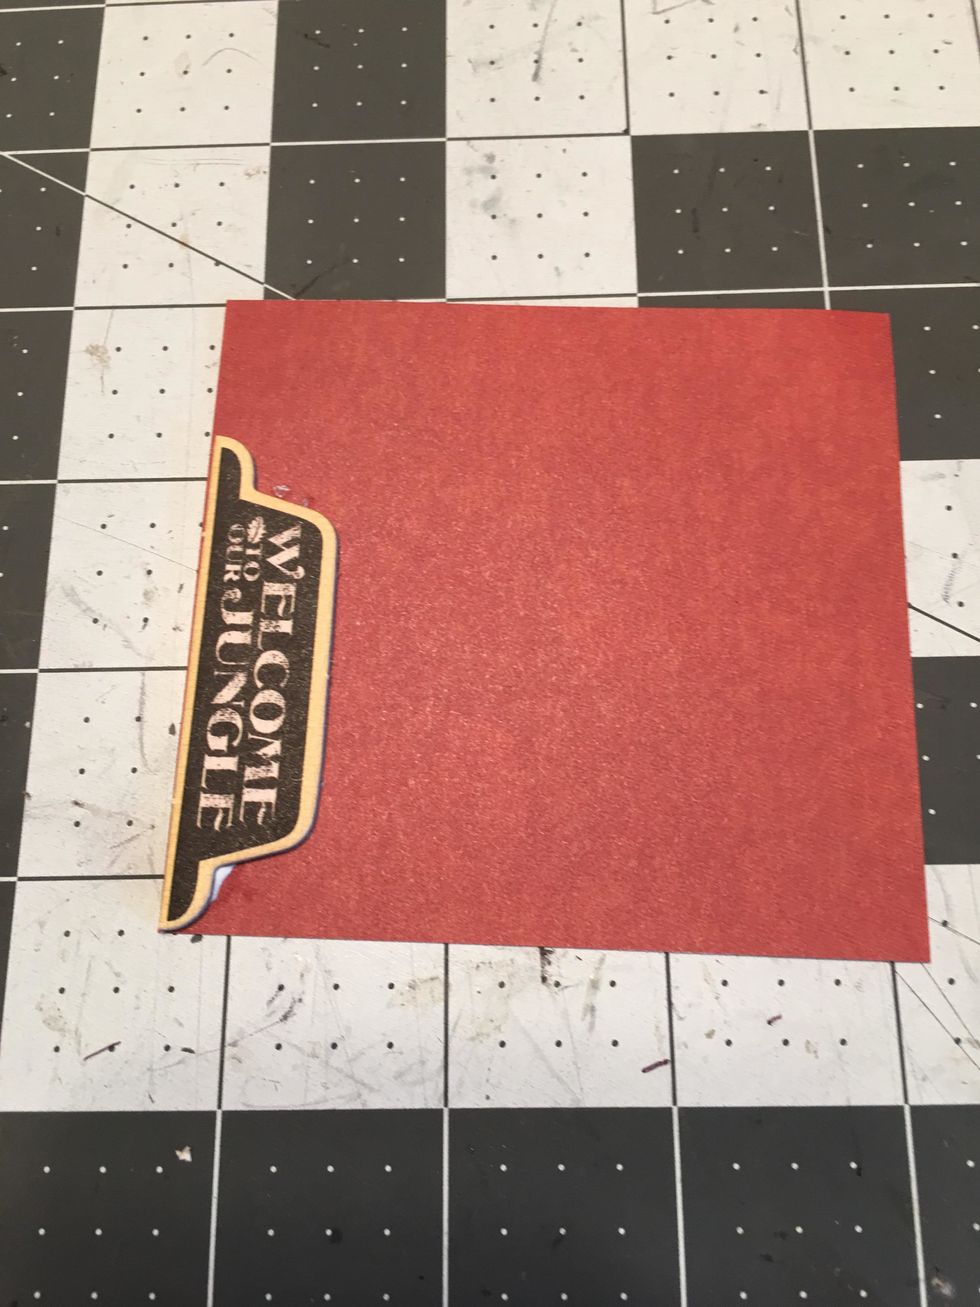
Select a tab from the Graphic 45 Chipboard sets. Glue to the back side of patterned paper.
Cut out the tab from the patterned paper with scissors, distress, sand and ink all edges of the tab.
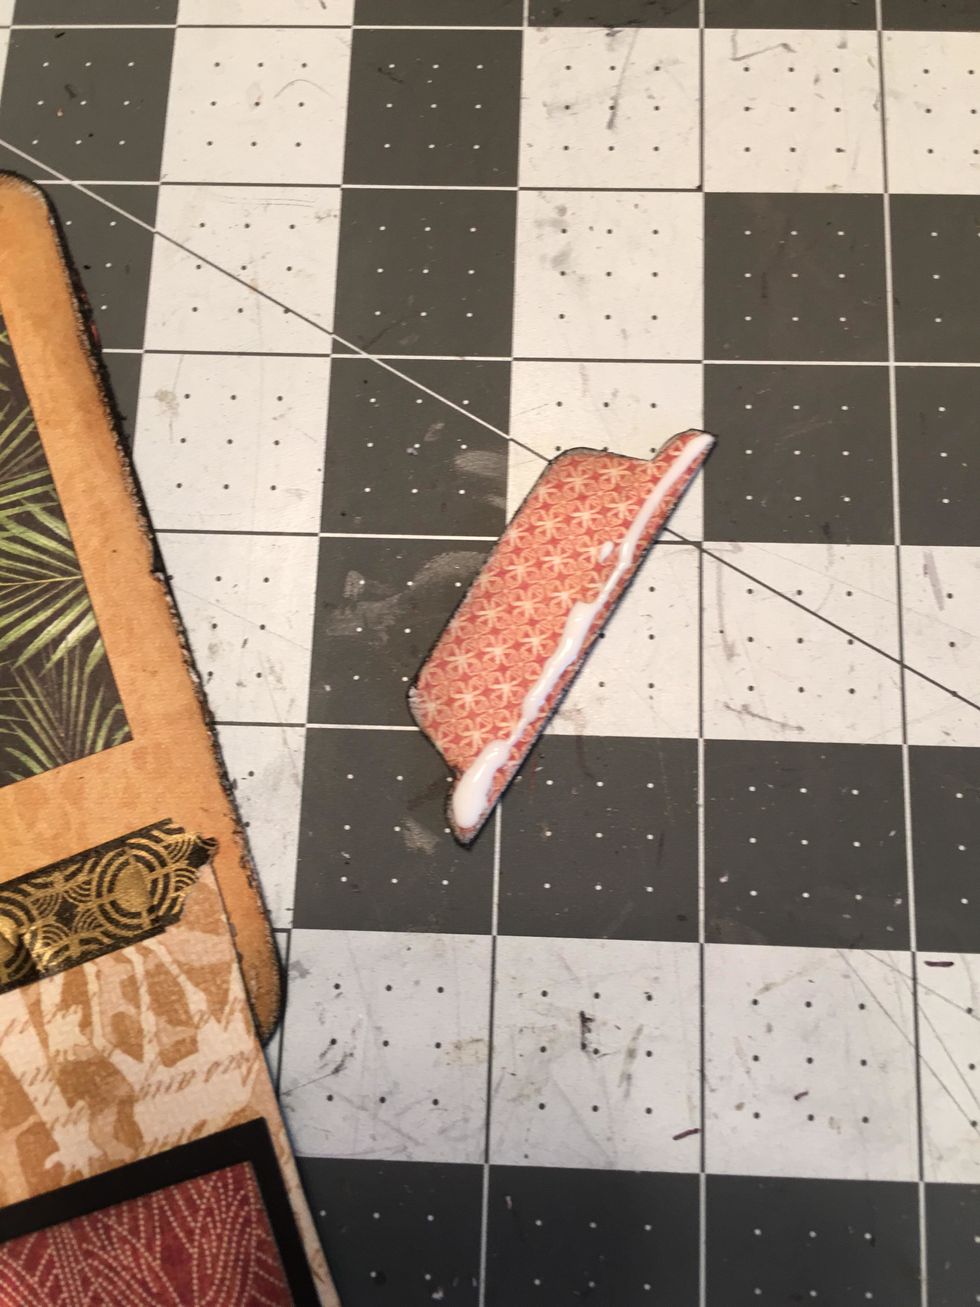
Apply glue to the bottom edge of the tab on the back side.
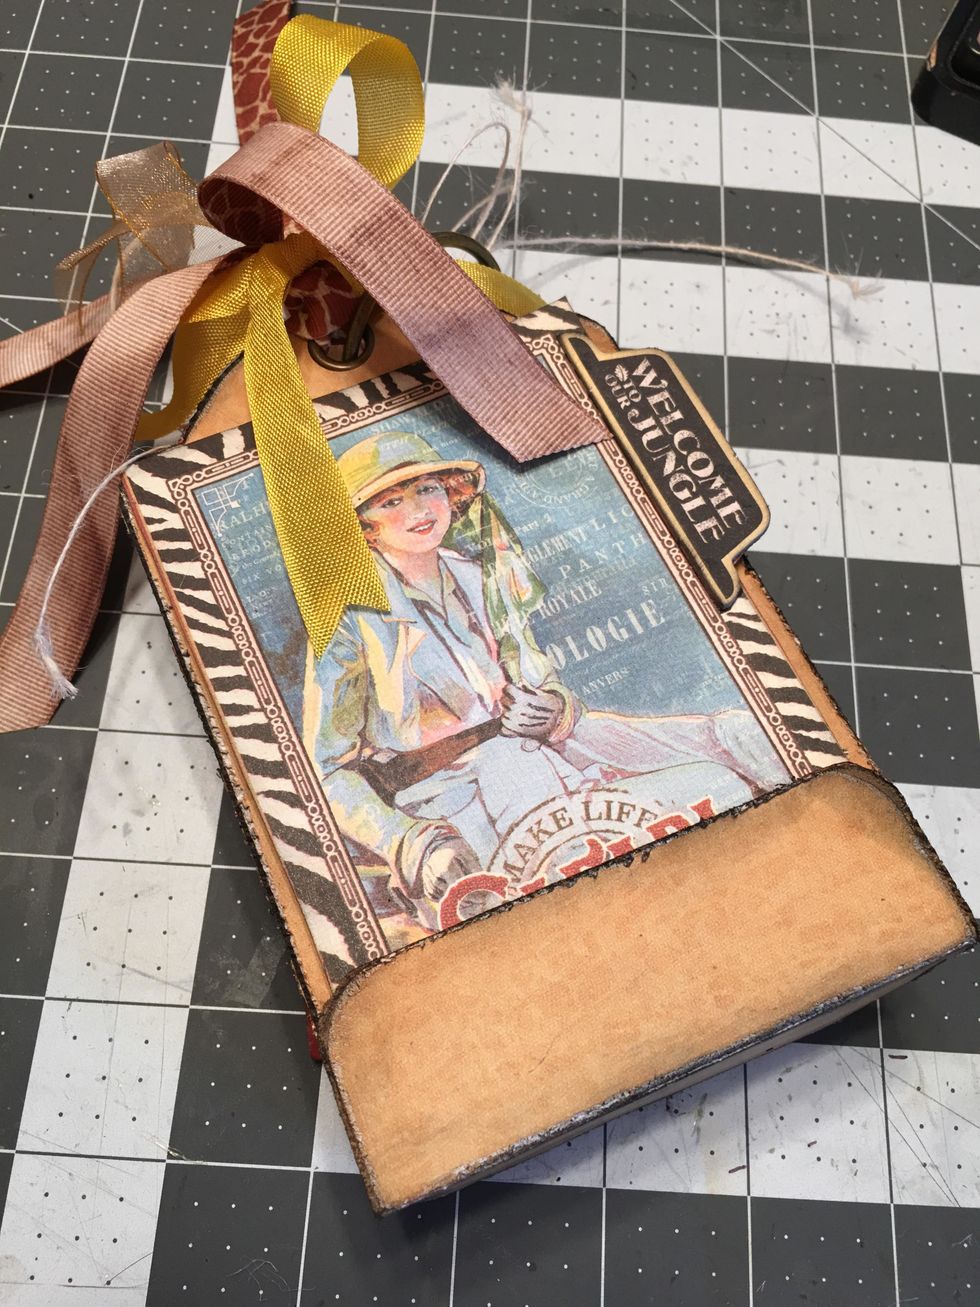
Attach on to the flap on the front side and allow to dry. This will be your tab to pull up on to open the flap on the front of the tag album.
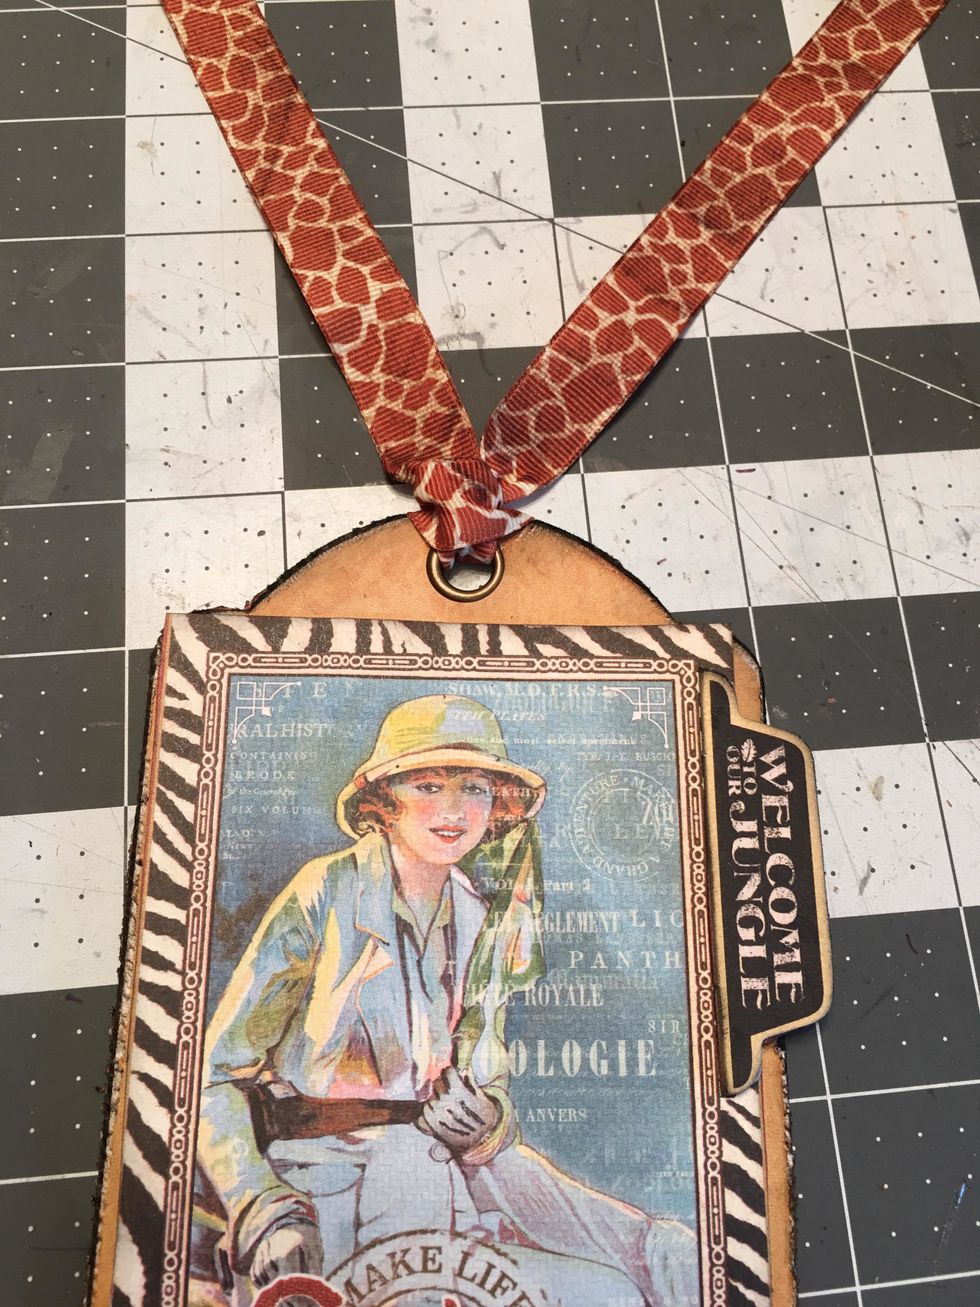
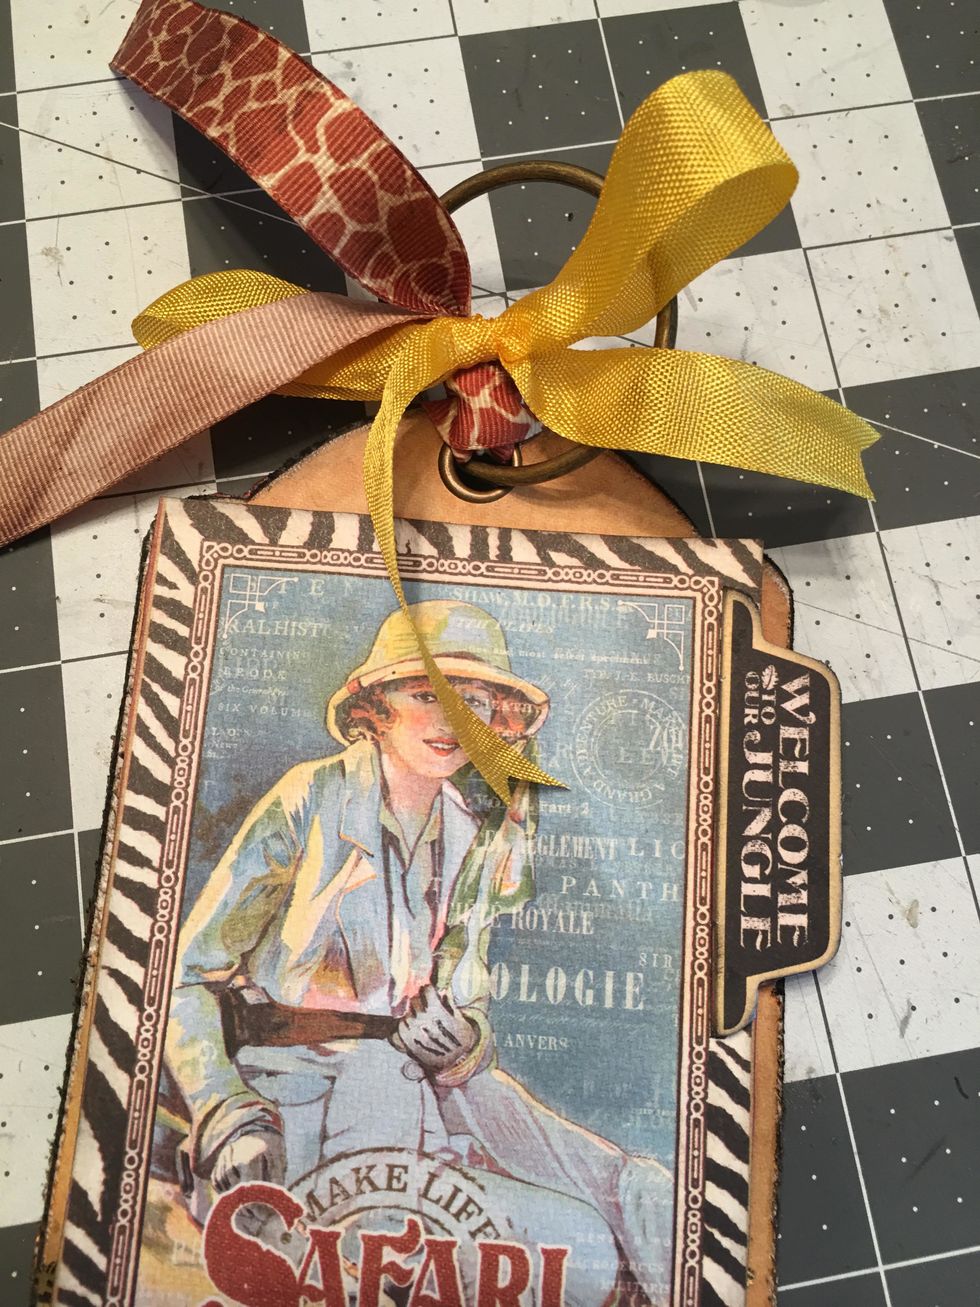
Loop ribbon through the tag. You will do this for each finished tag of your album. The ribbons are attached to each tag rather than through the ring.
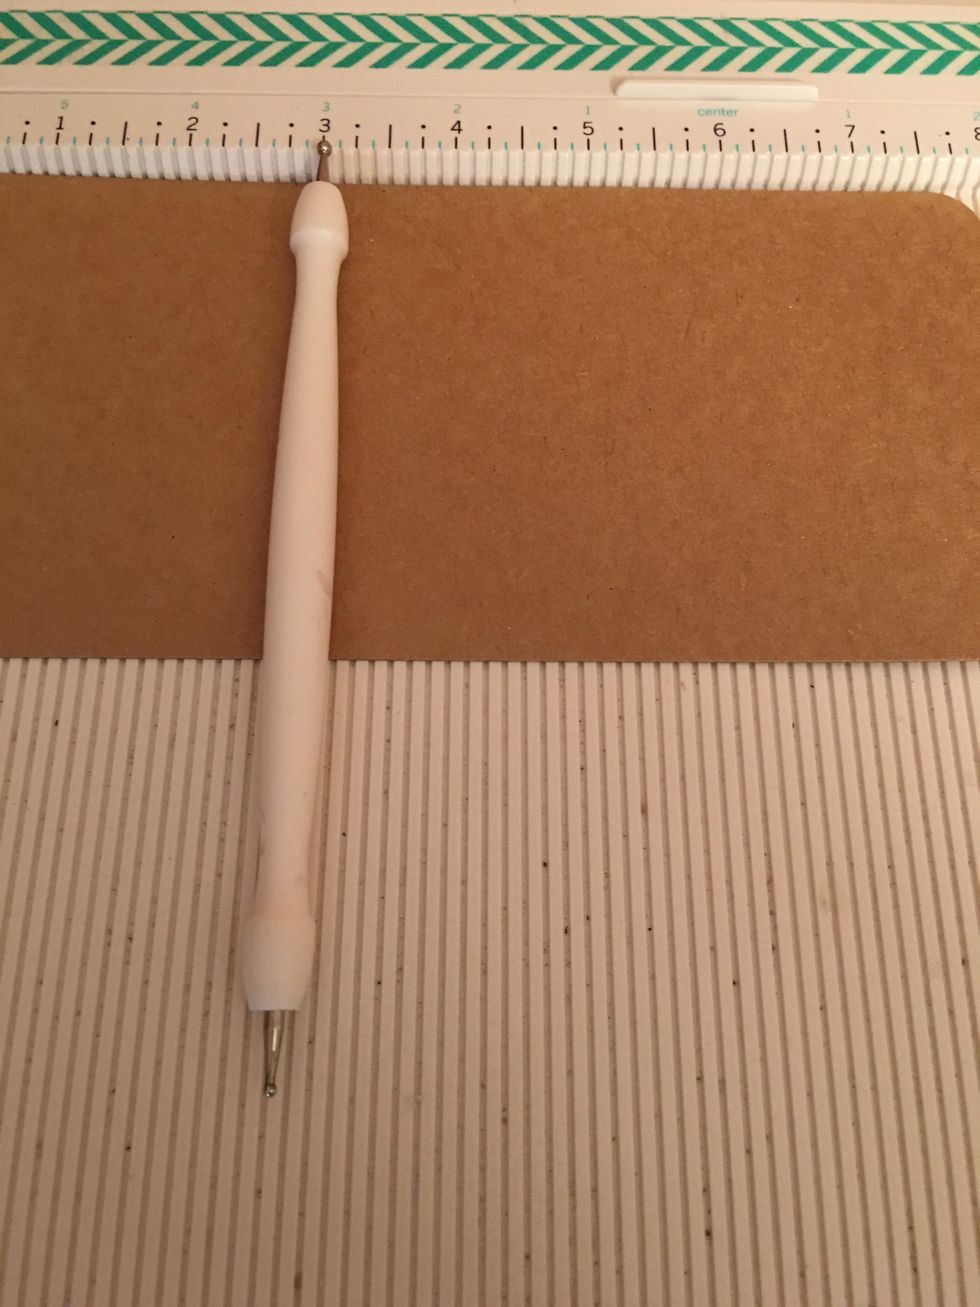
Score the remaining 5 large Kraft tags at the 3 inch mark from the rounded end. This will create pockets.
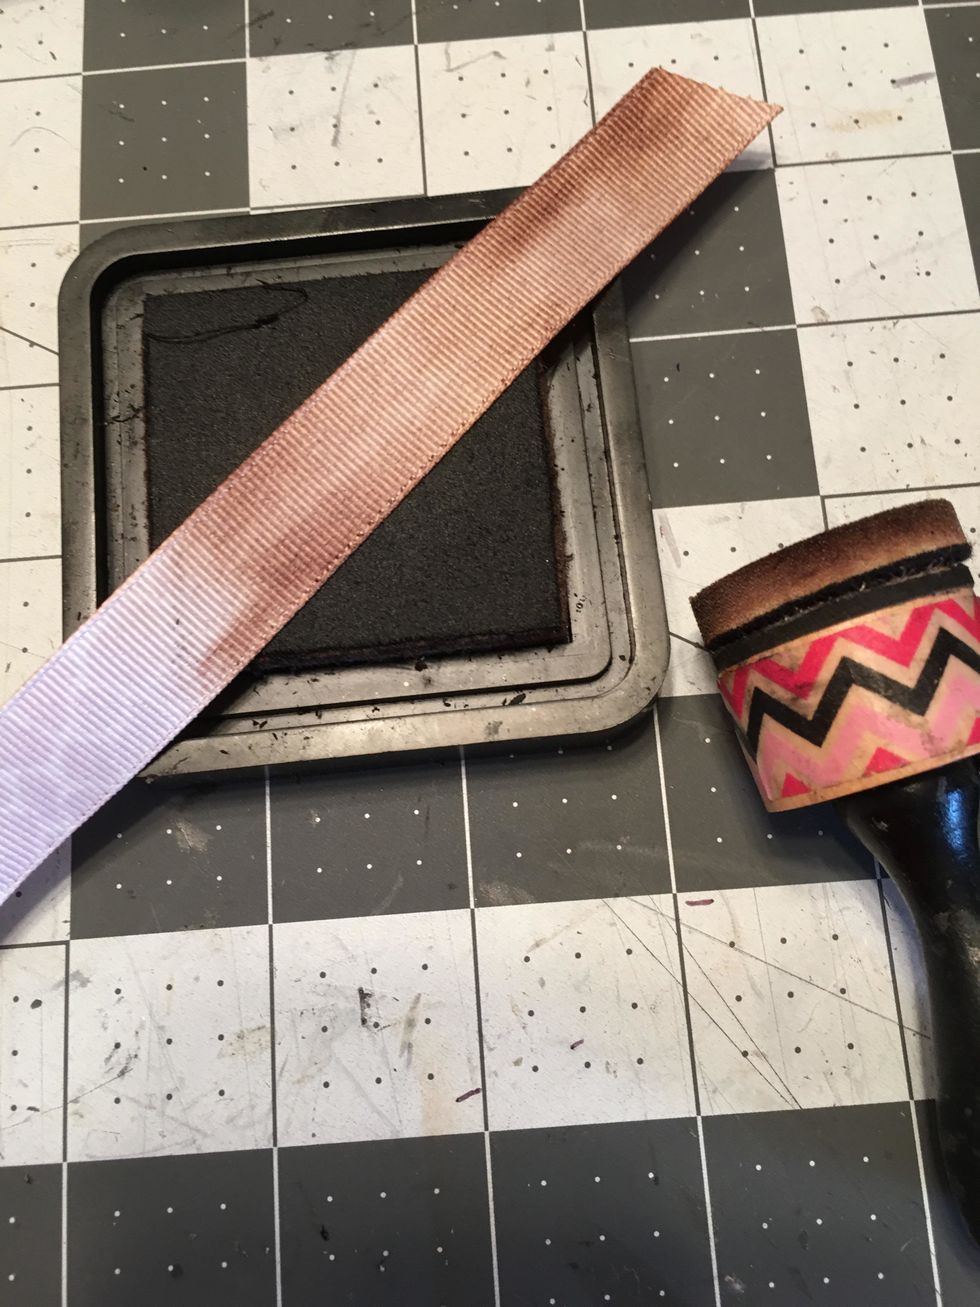
If your ribbon is white on the back side and you wish to make it match the color/inks of the album, lay it onto your ink pad (front side down) and ink the back as shown down the length of your ribbon
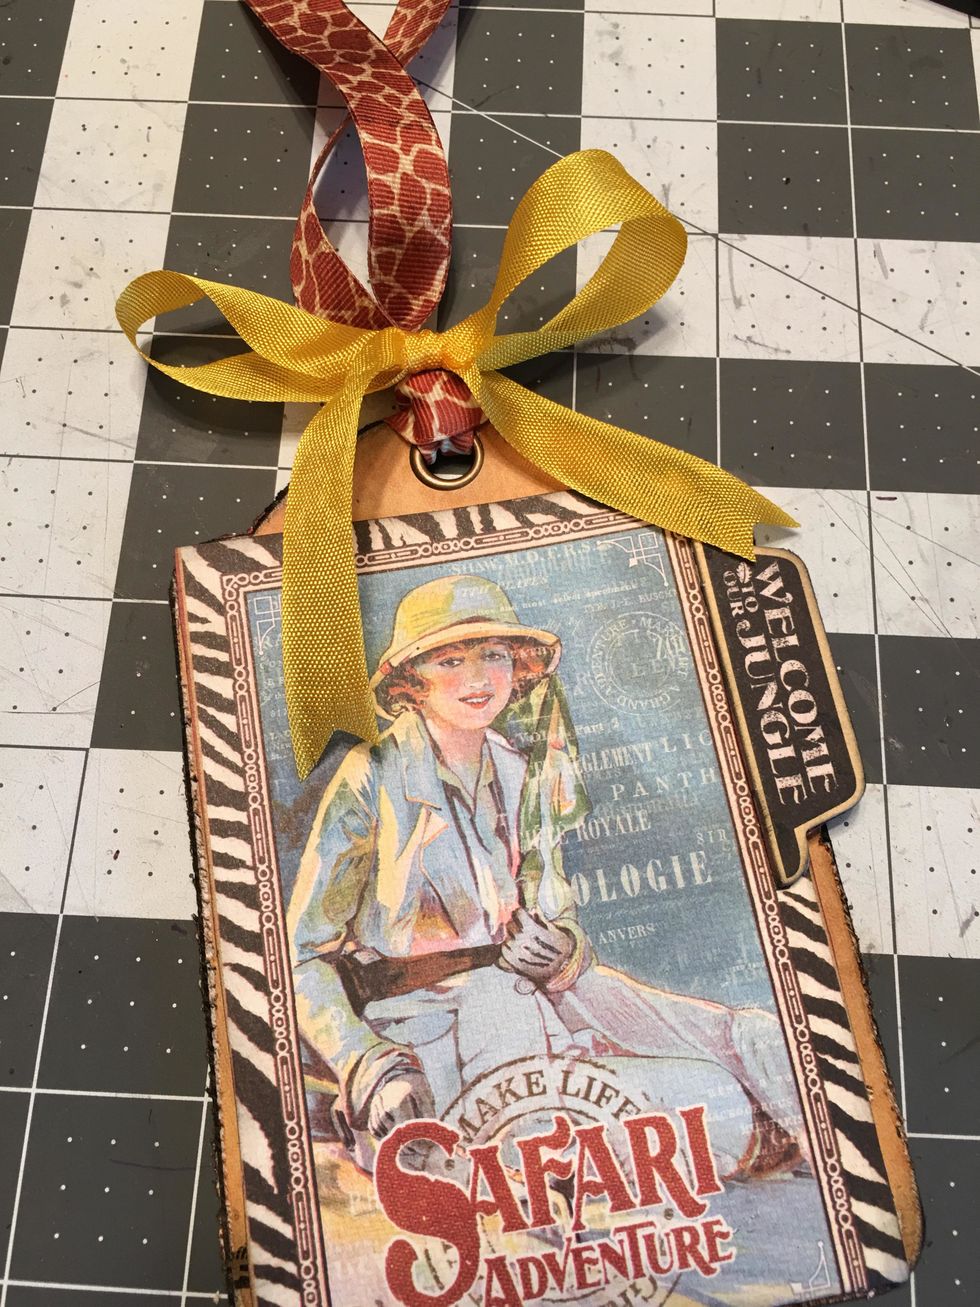
Take another piece of ribbon and tie it in to a bow around the looped ribbon as shown.
Place the finished tag onto the metal ring which will be the binding of your album.
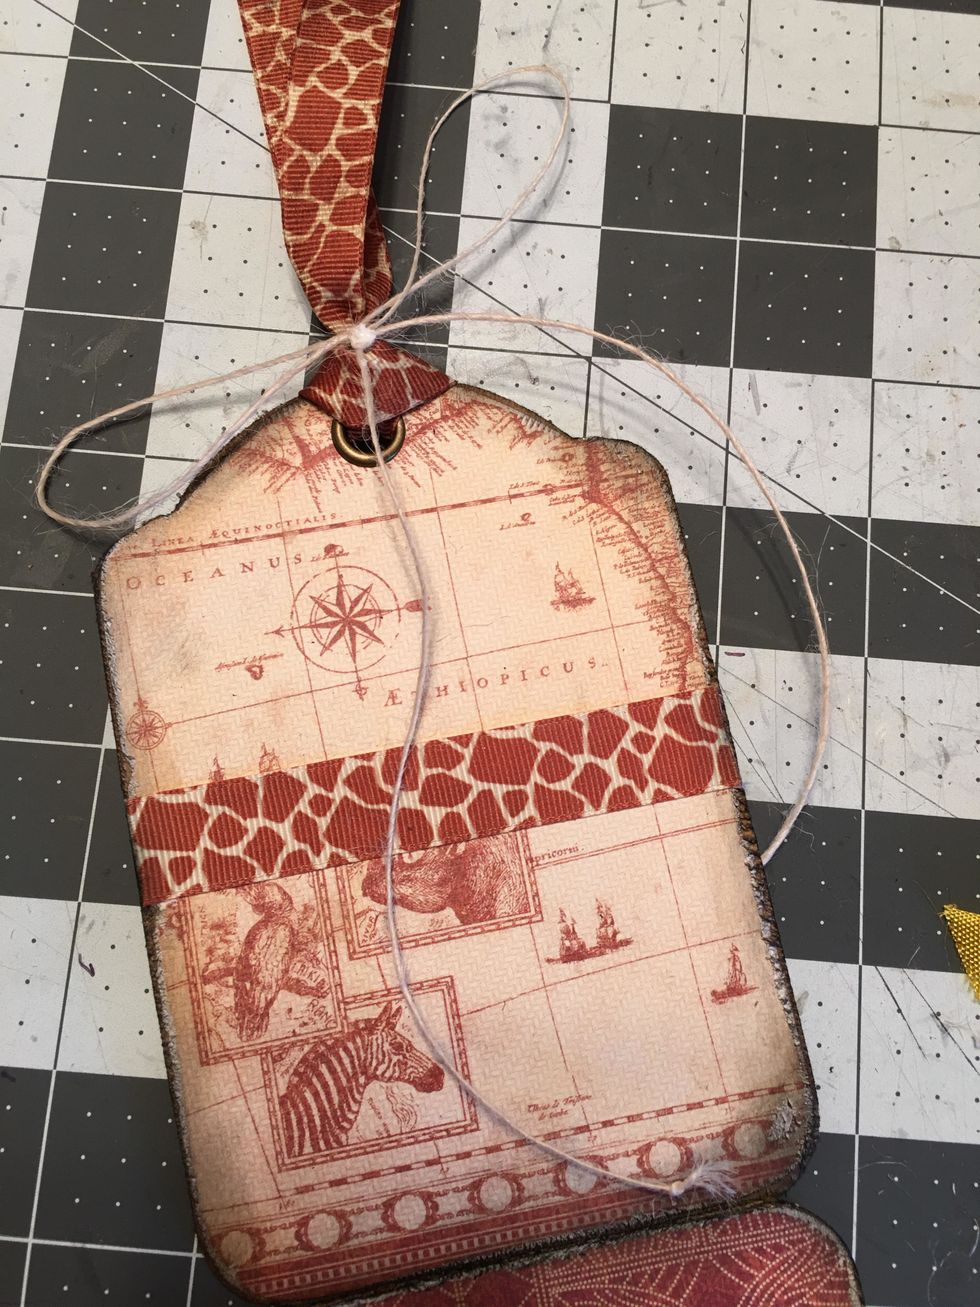
Add a different piece of ribbon to the first pocket tag.
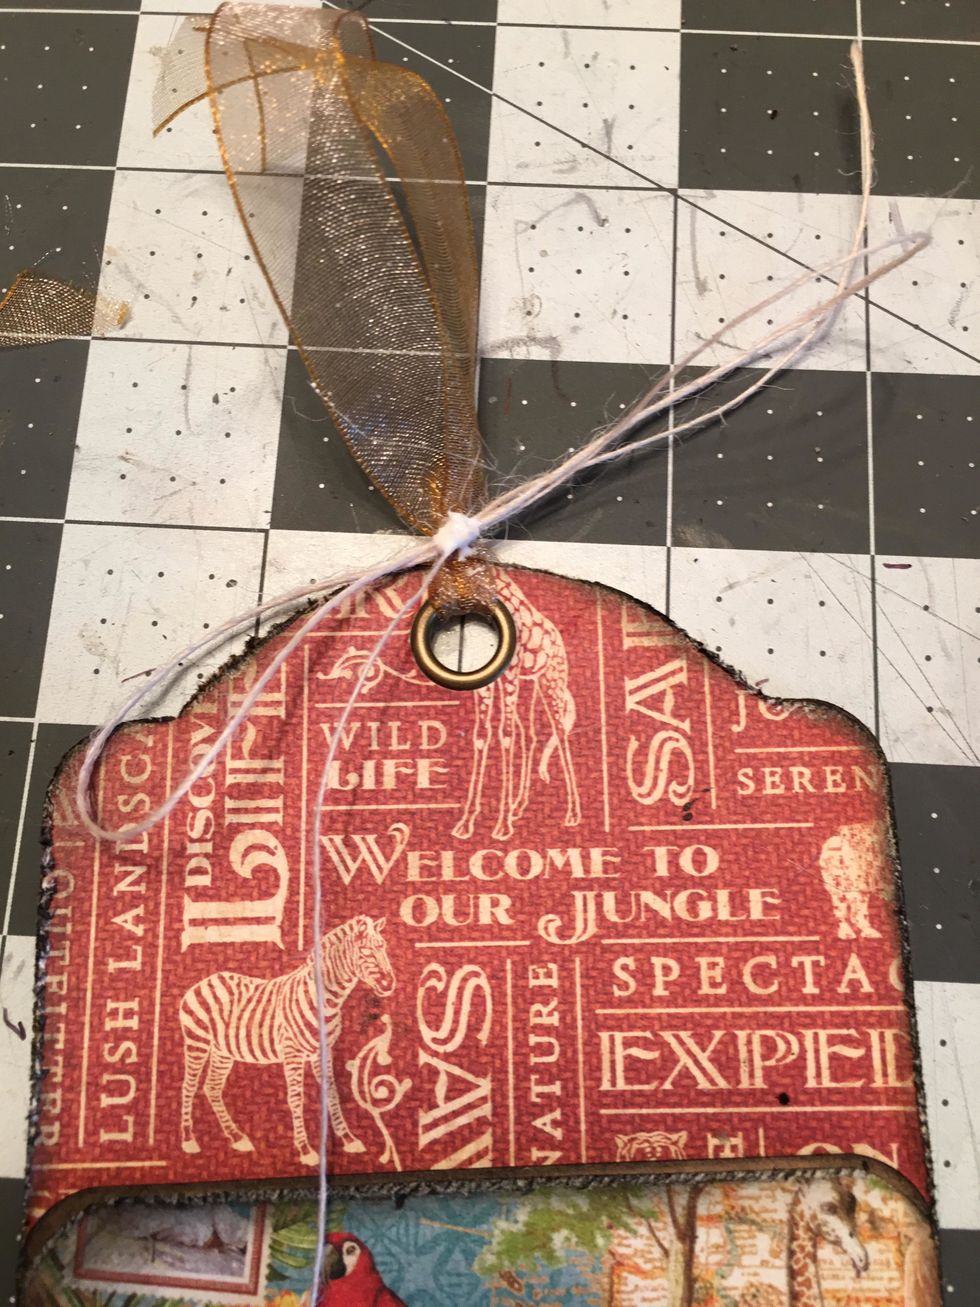
Tie a button string bow over the looped ribbon. To secure the button string and make sure it does not come untied, add a bit of white glue to the center knot.
A fun look to finish the ends of button string is to tie it in to a knot, cut the string on the end to about 3/8" and then use your fingers to roll and untwist the end to give it a frayed look.

Continue to add ribbon to all your tags.
And finish them with a button string bow or bow from other ribbons.
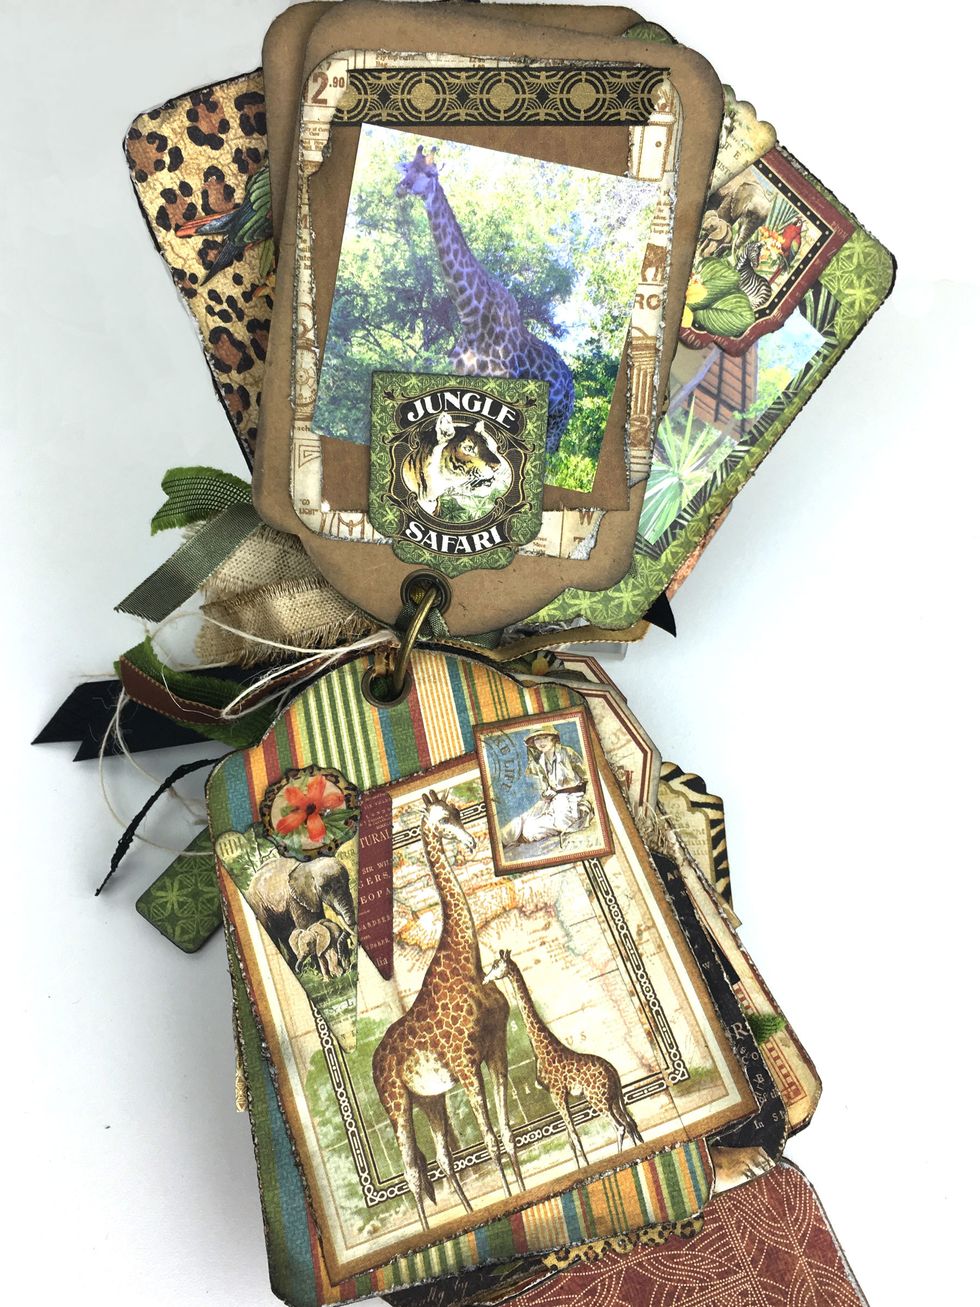
Once you have all your tags patterned and tied with ribbon, slide them on to the ring with the first tag on the top and the tag with the wrap section on the bottom.

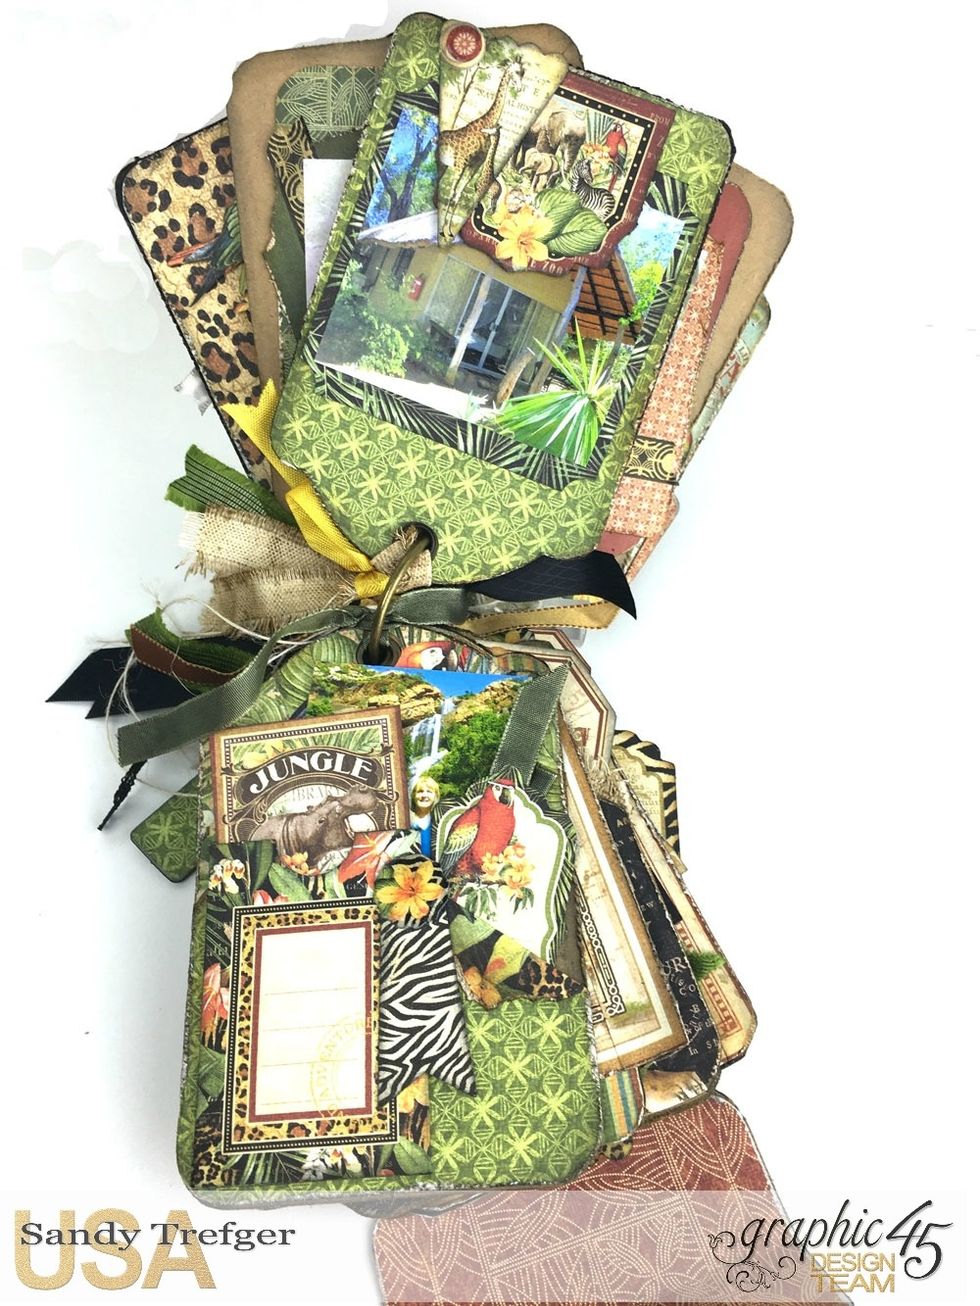
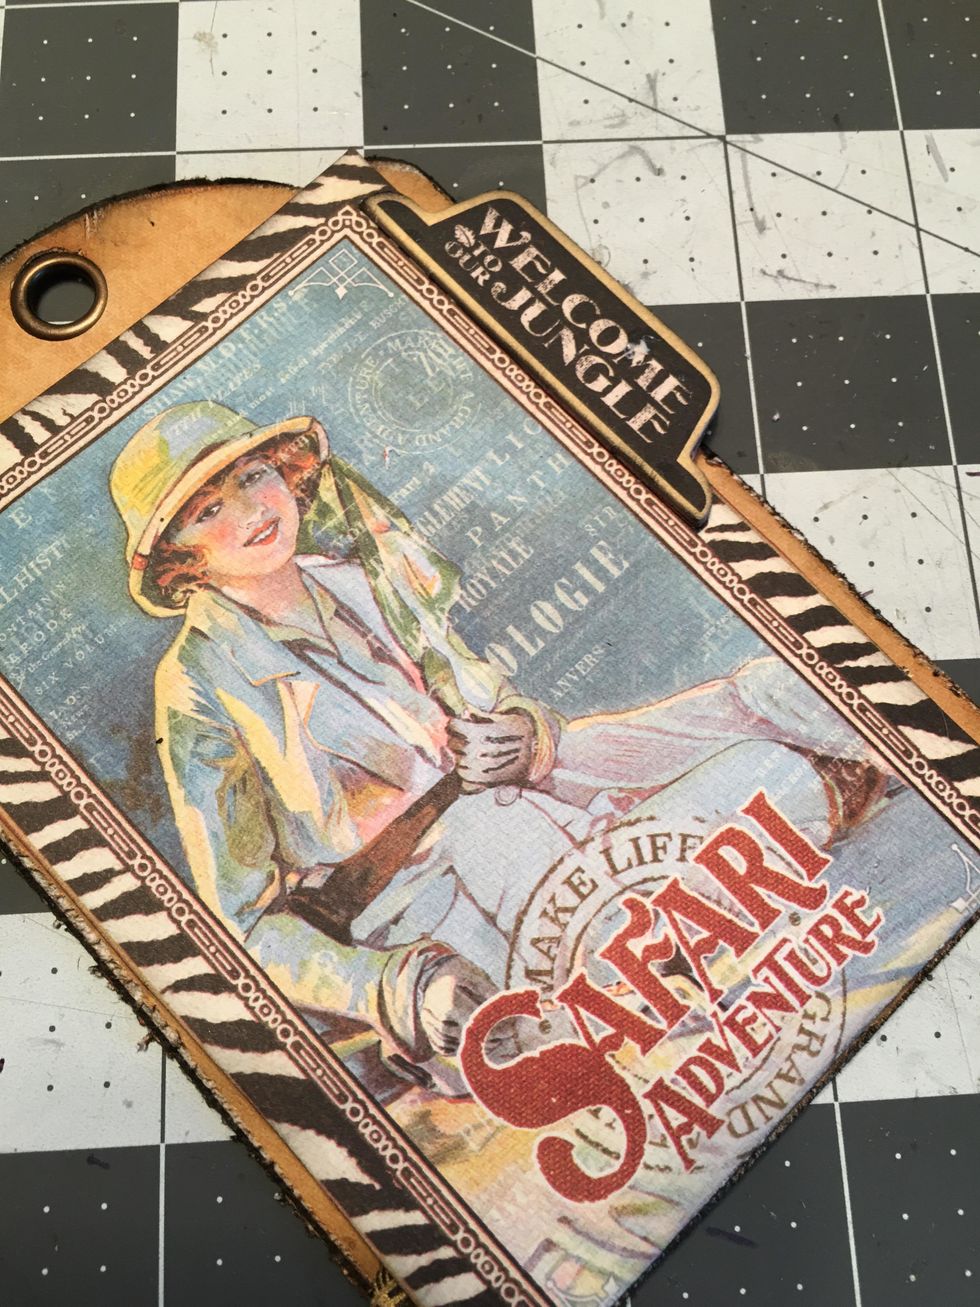
Here are a few photos of my finished tag pages.
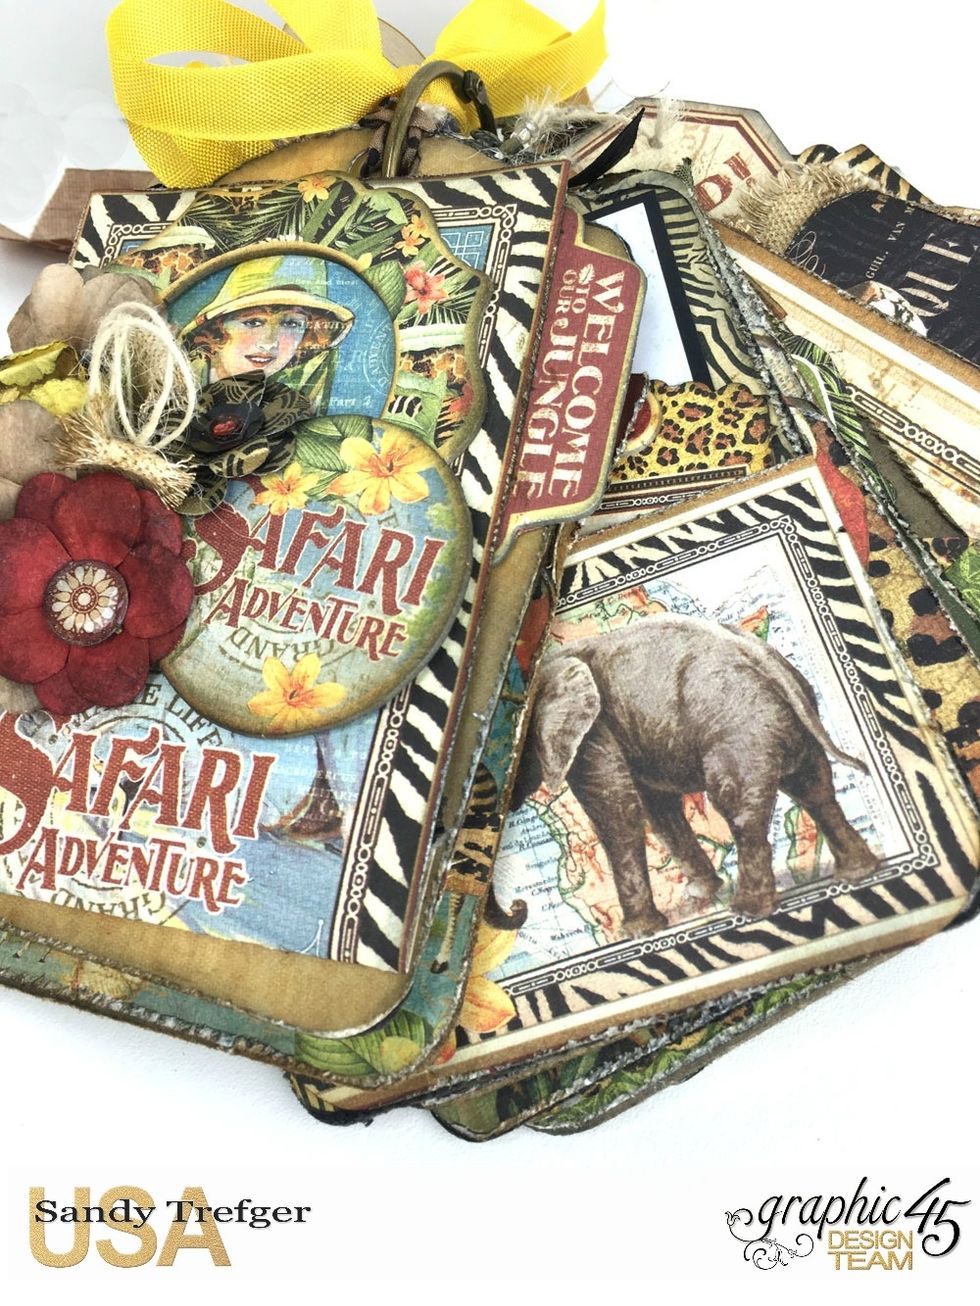
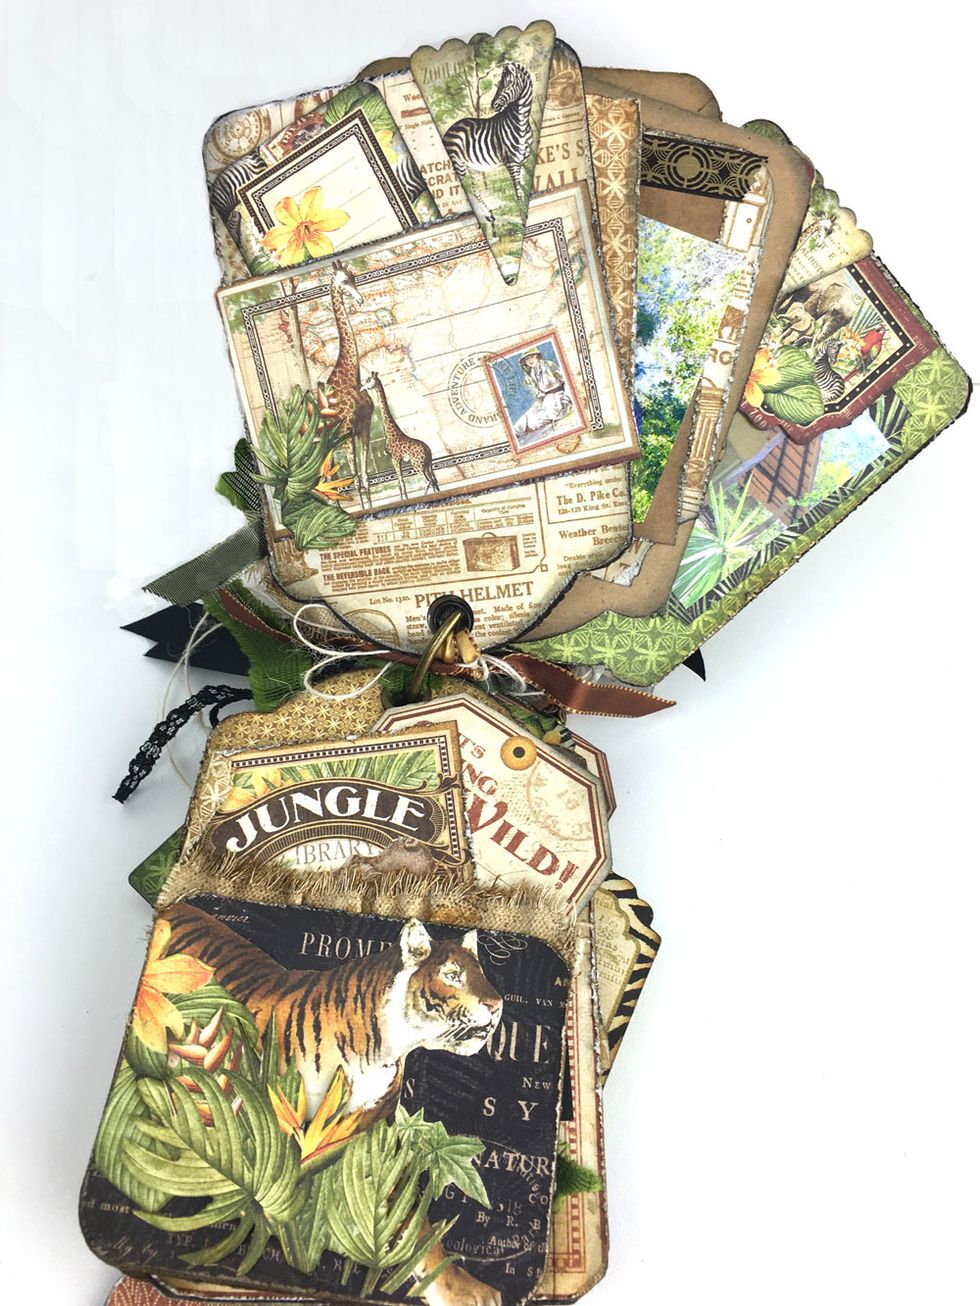
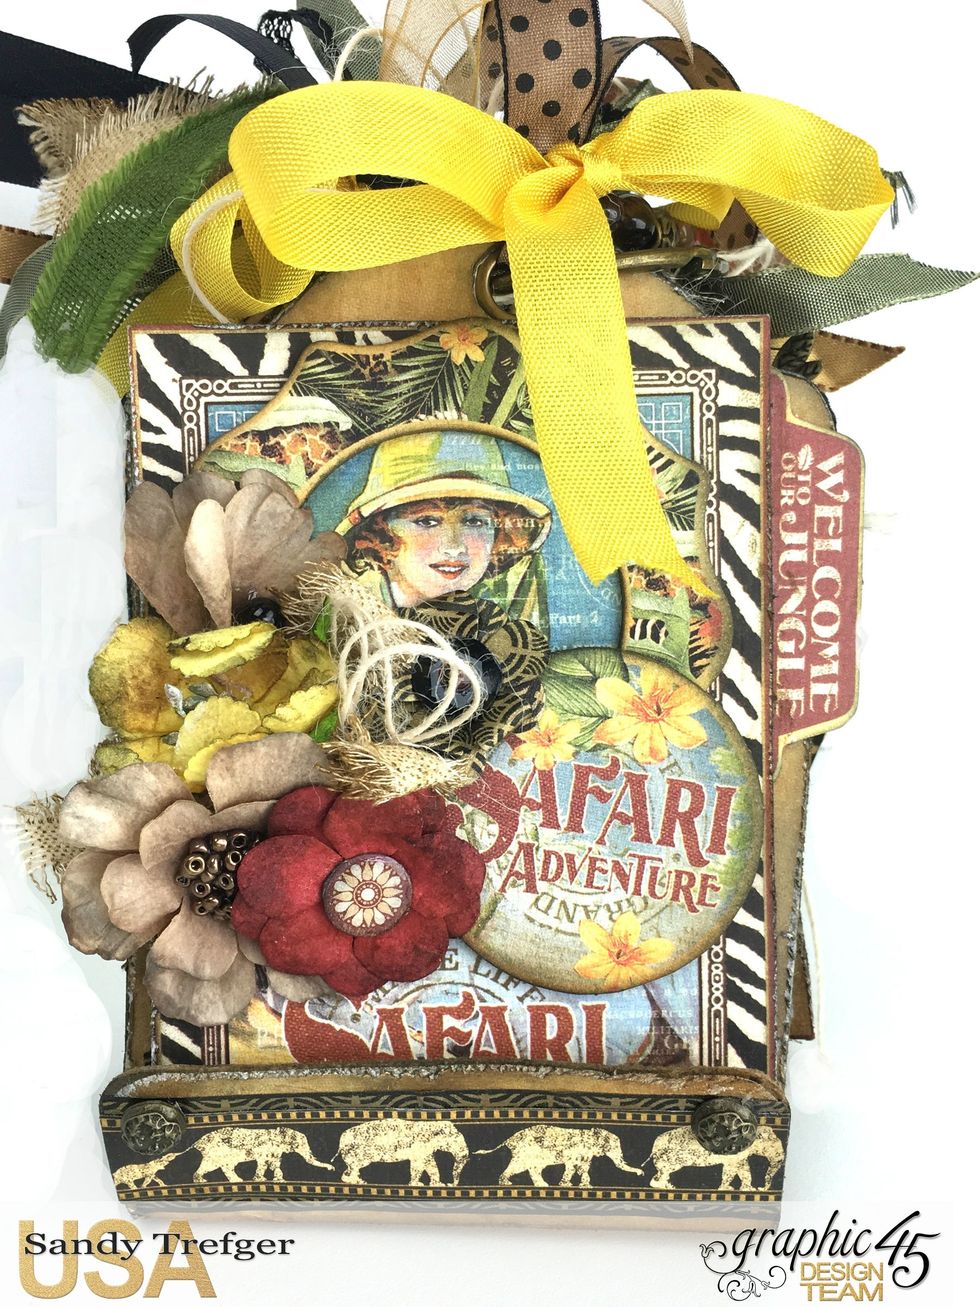
Thank you so much for following along. I hope you will have a go at creating your own mini tag album using Graphic 45 tags and paper collection! Have Fun Crafting! ~ Sandy