The Conversation (0)
Sign Up
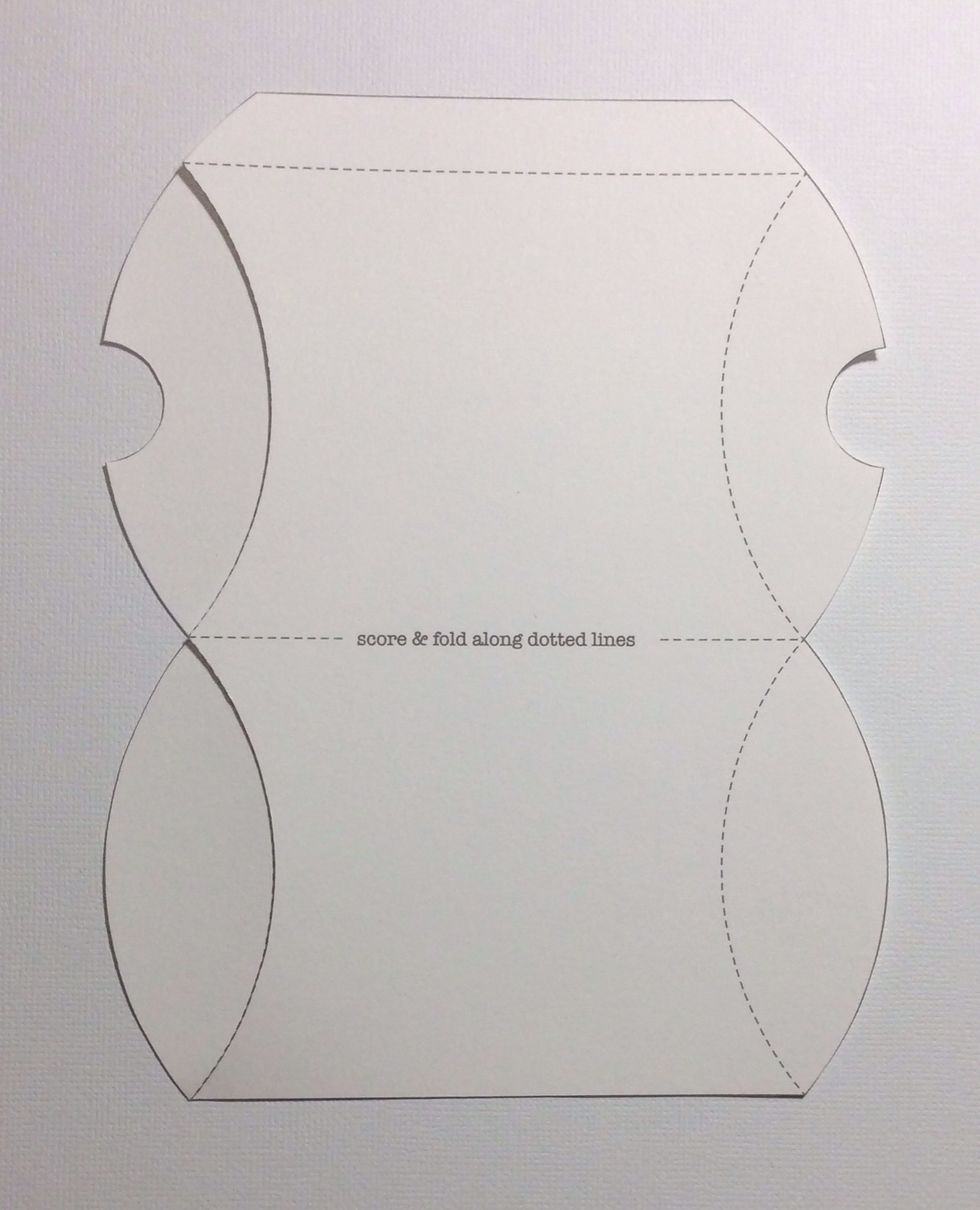
Use template from eerie tale 8x8 cover. I copied it on to white card stock to create the template
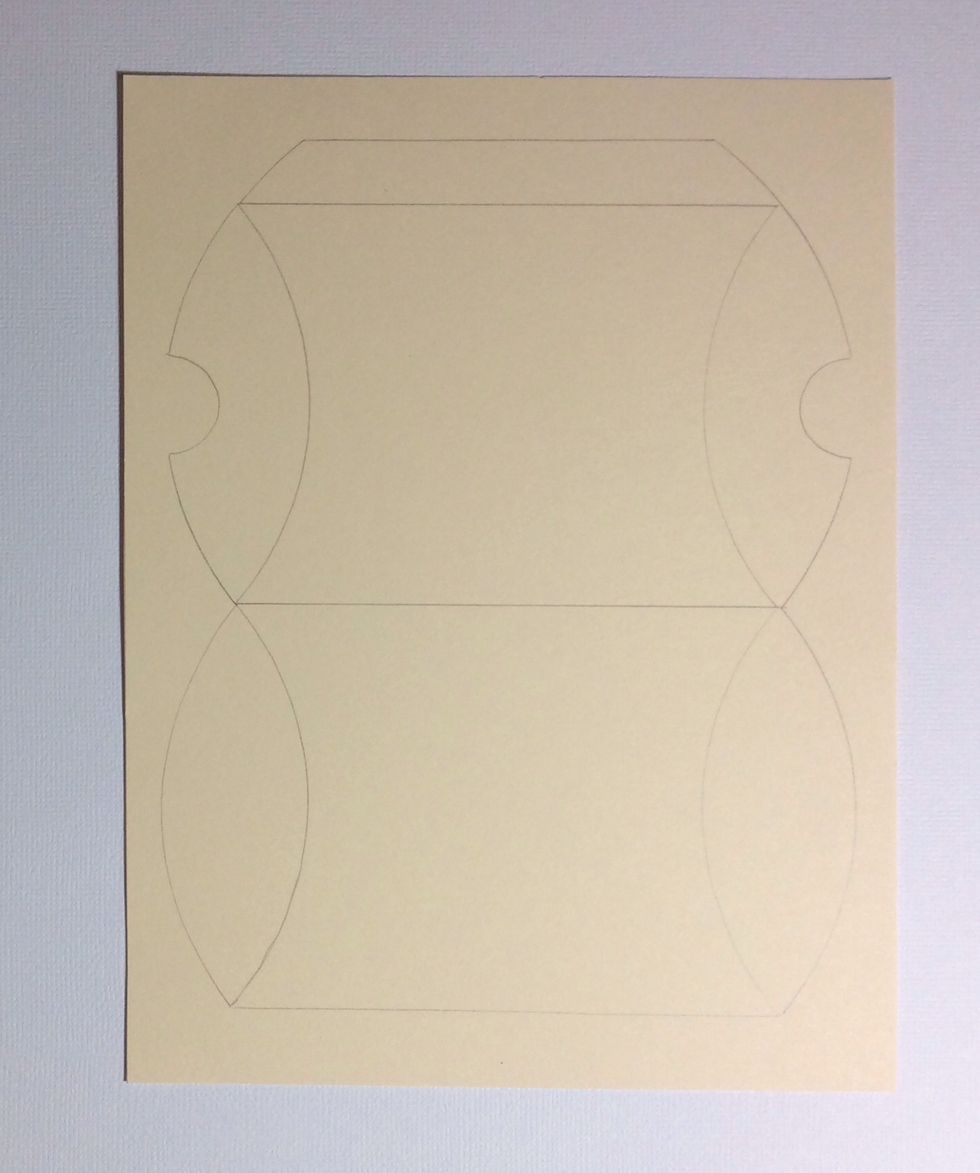
Trace template on to Cardstock . Ensure all score lines are drawn in.

Use scoring tool to score in all fold lines. These will be designated by the drawn in template lines
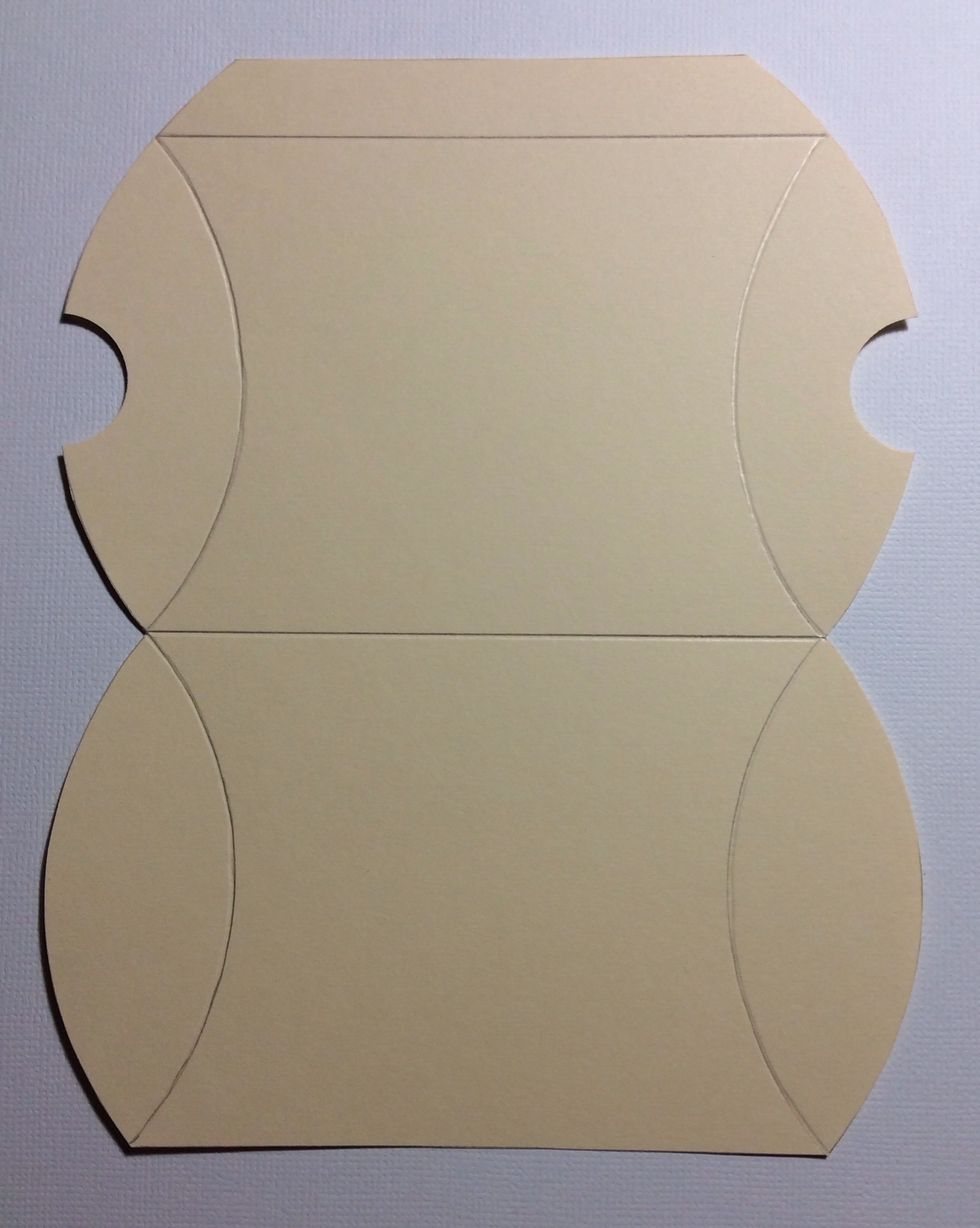
Cut out traced template shape. Use circle punch for semicircle punch outs if desired.
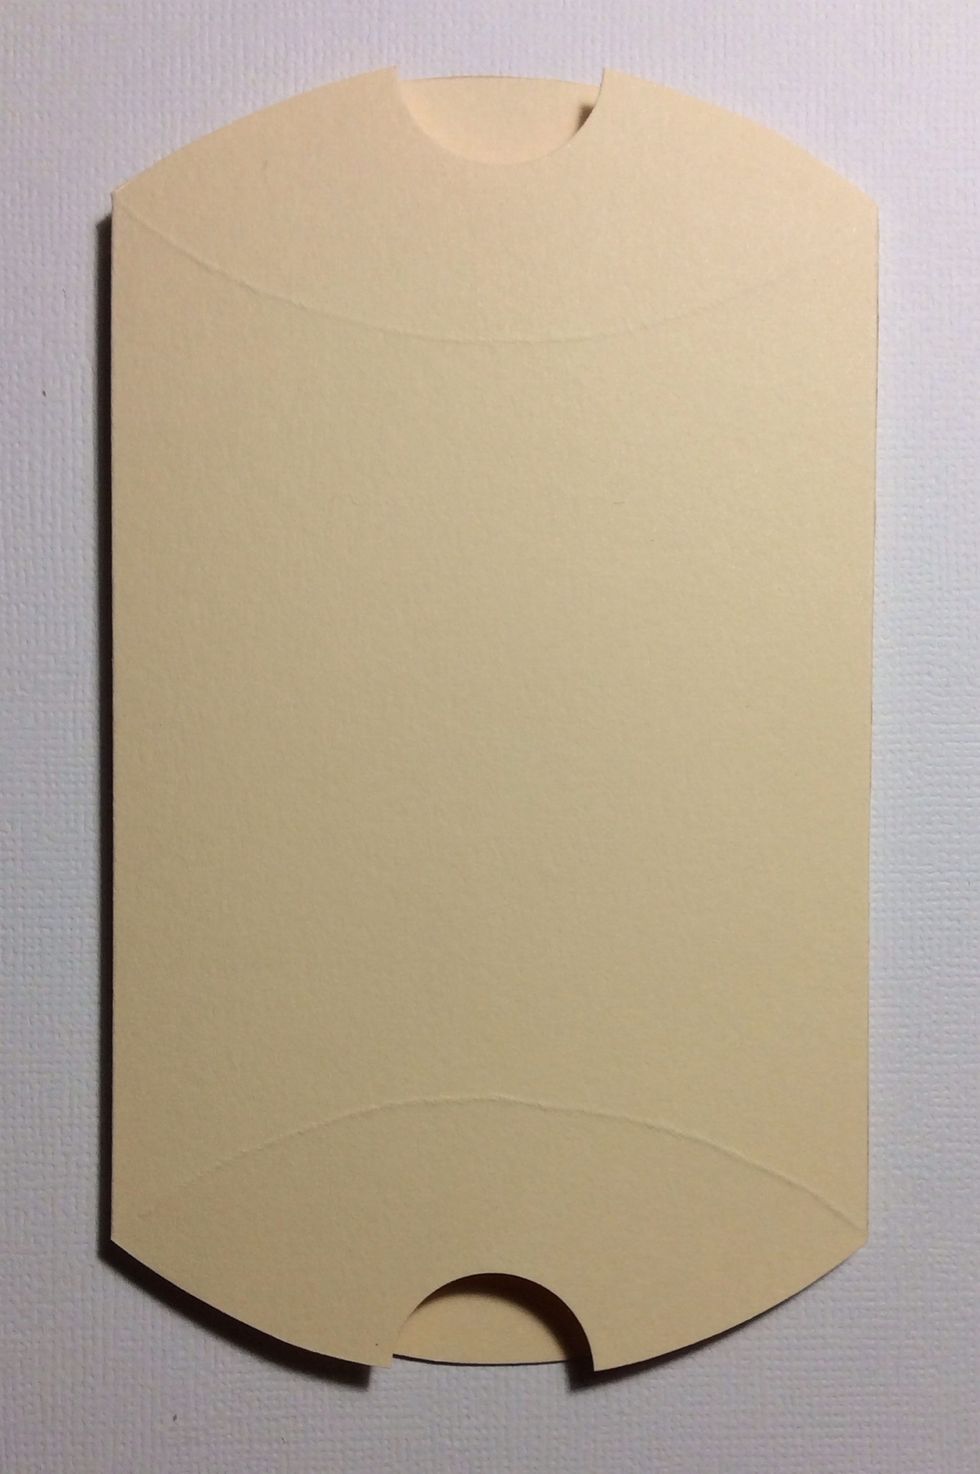
Fold and burnish both straight score lines. Adhere flap to opposite end to form the pictured shape .

Follow scored curved lines to form the completed pillow box
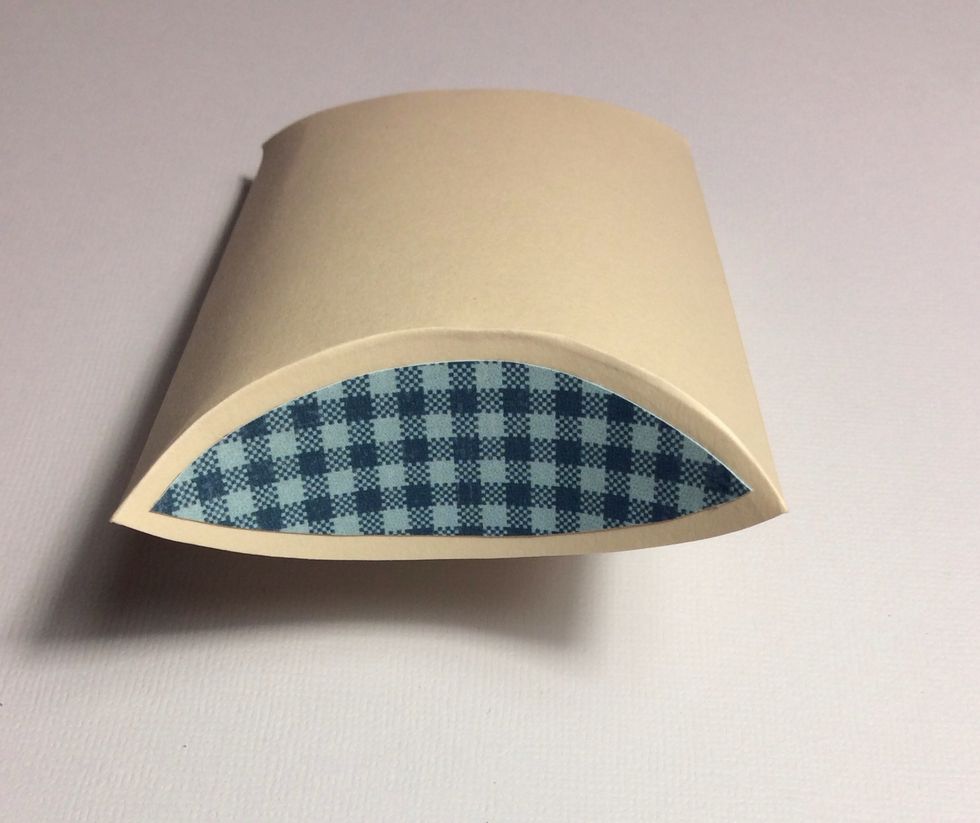
Cut mats for the small ends of the box in chosen patterned paper. Adhere in to position .
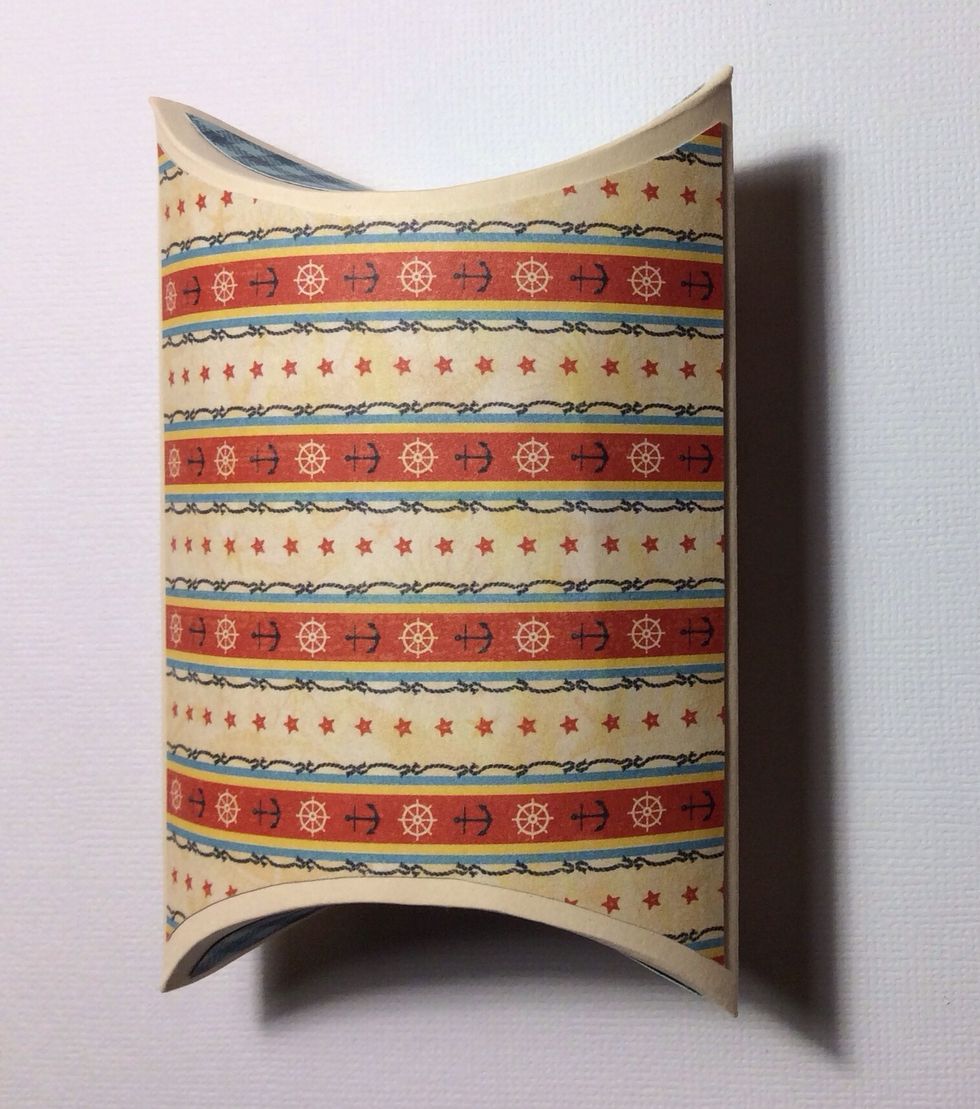
Repeat matting for the large curved sides of the pillow box . adhere in to position
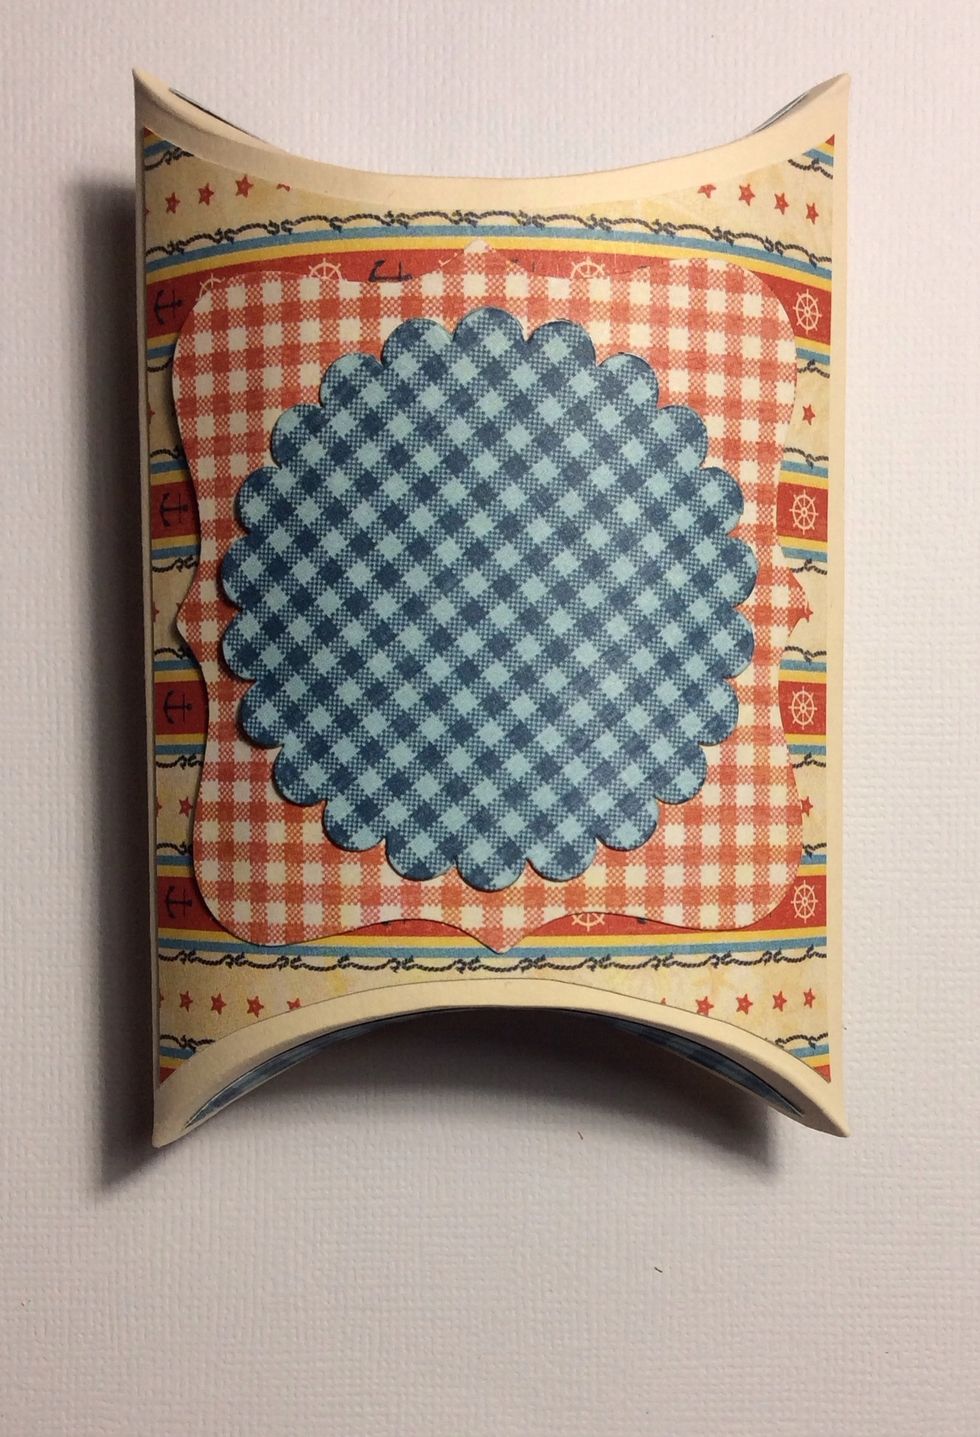
Die cut a Victorian square and a scallop circle and adhere to the box. Other die cut shapes will also work . Ensure one is larger than the other.
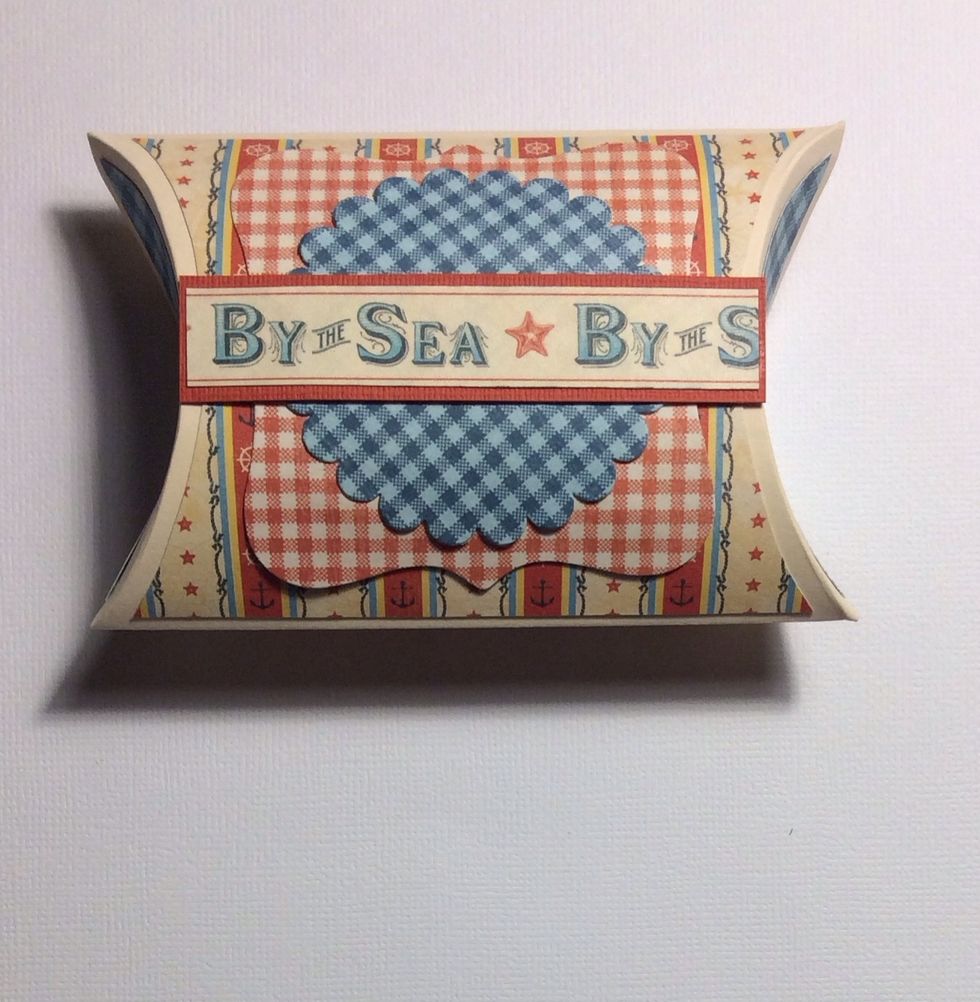
Cut two border strips the width of the pillow box. One slightly wider than the other. Adhere together and then centrally across the box on top of the scallop circle
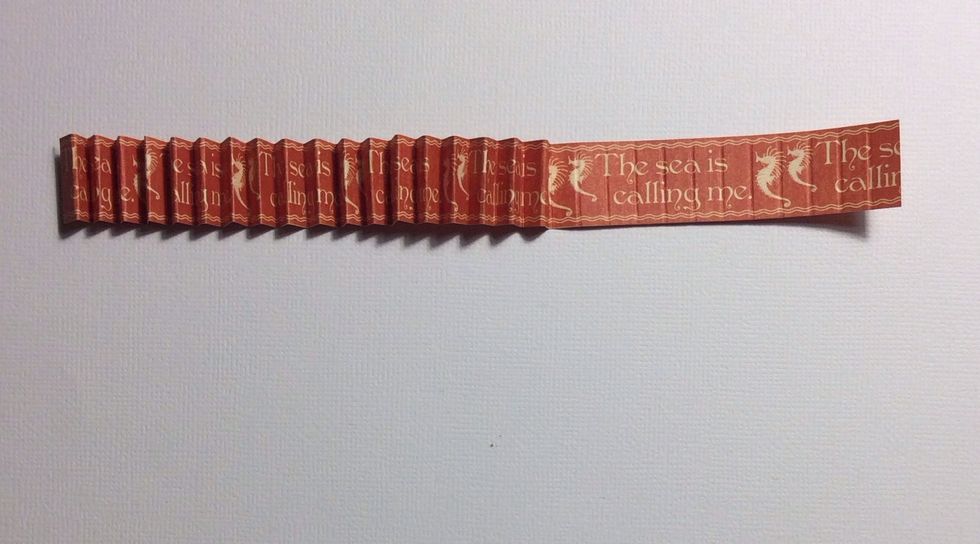
Cut a border strip 12 inches long, score every 1/4 inch along the entire length and concertina fold the total length.
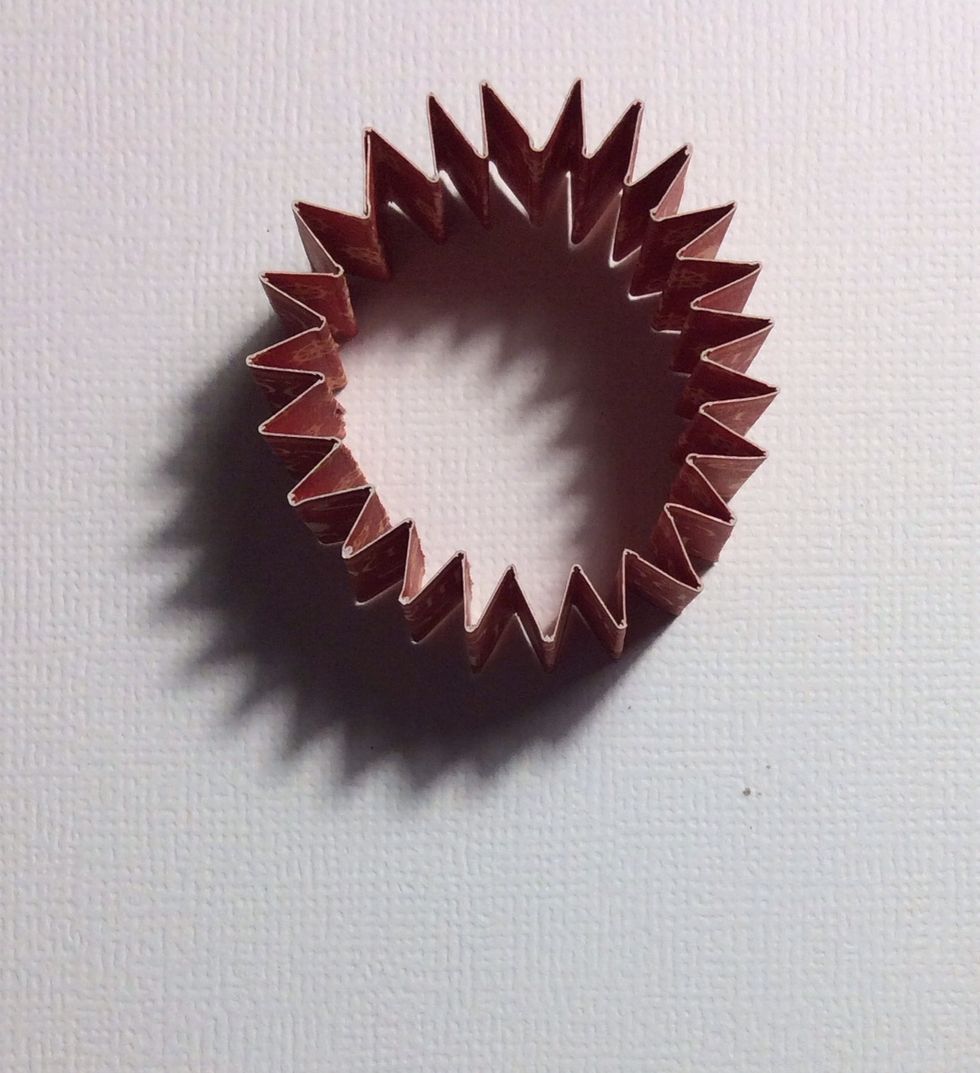
Join ends to form a ring
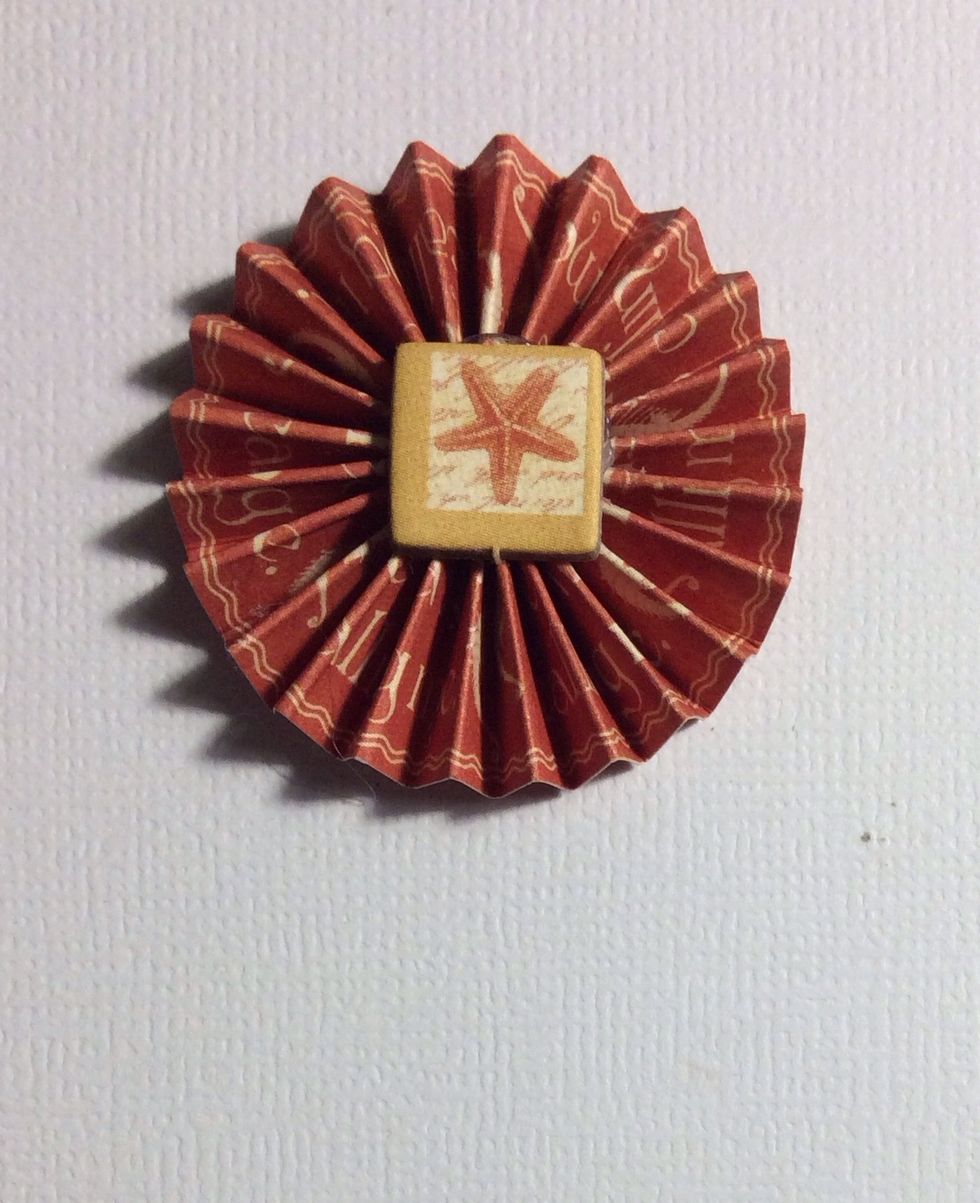
Flatten to create rosette, pushing centre closed and hold then adhere chipboard embellishment to secure.

Tie bakers twine around pillow box , then adhere rosette and bakers twine bow in to position. Your box is now complete.