The Conversation (0)
Sign Up
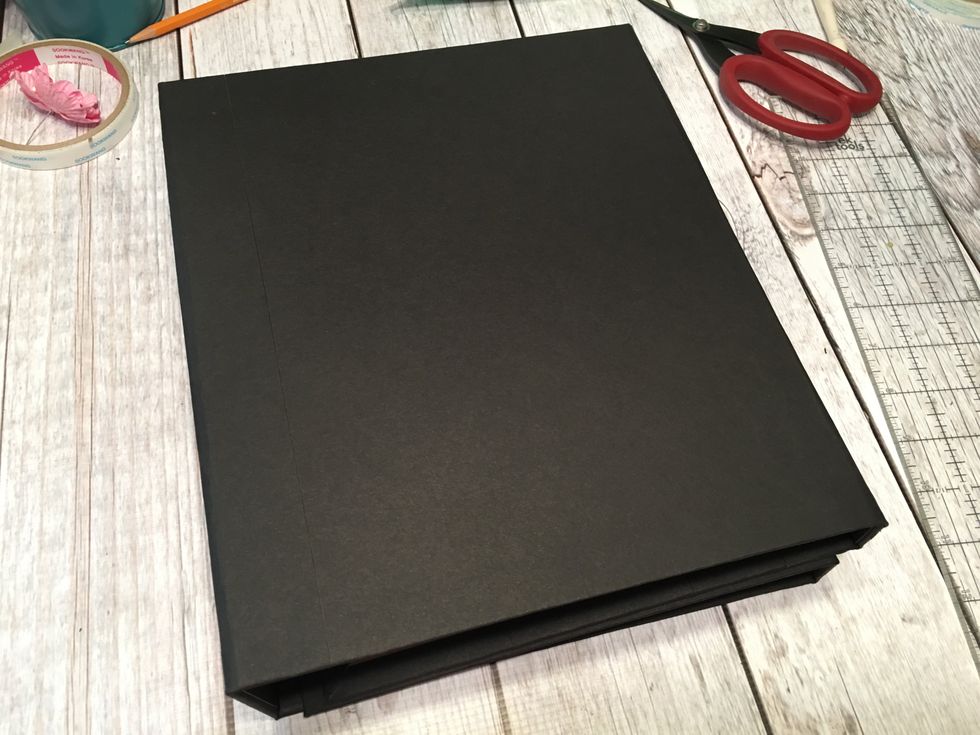
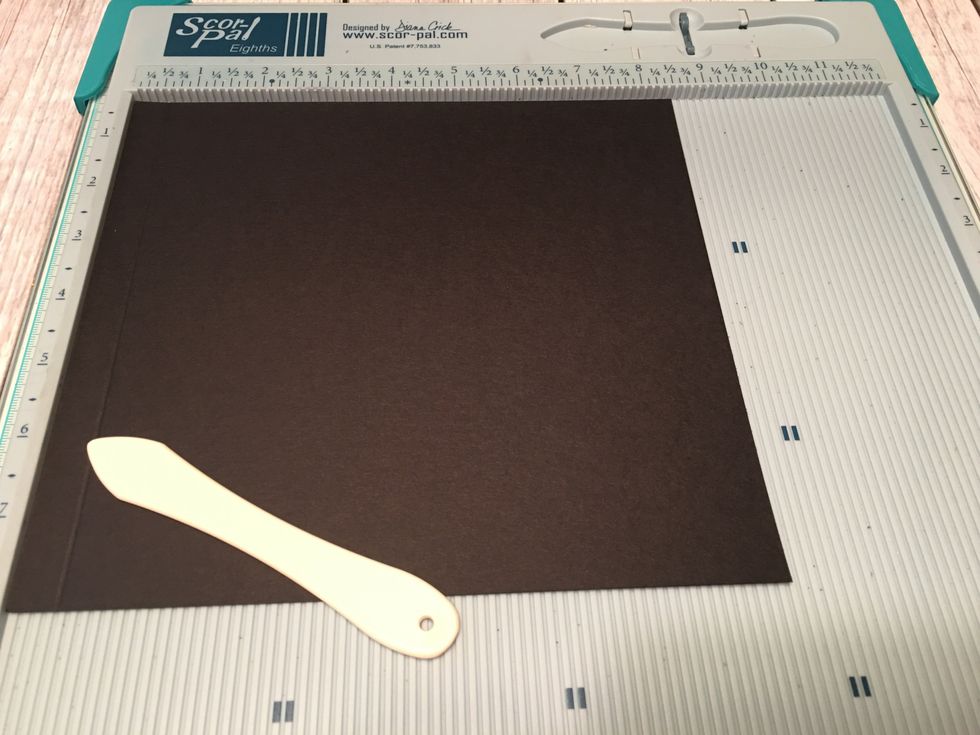
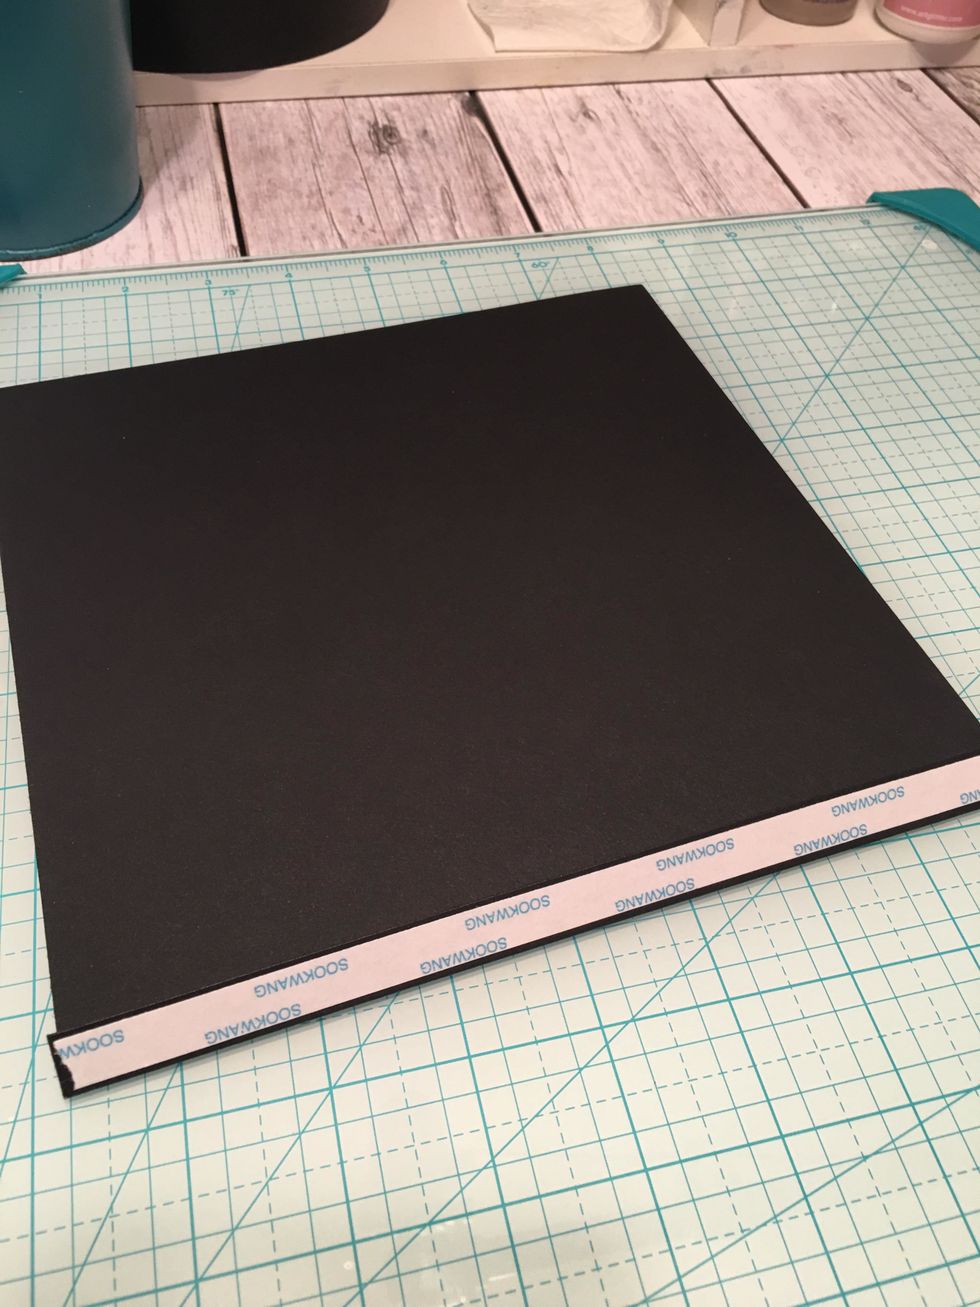
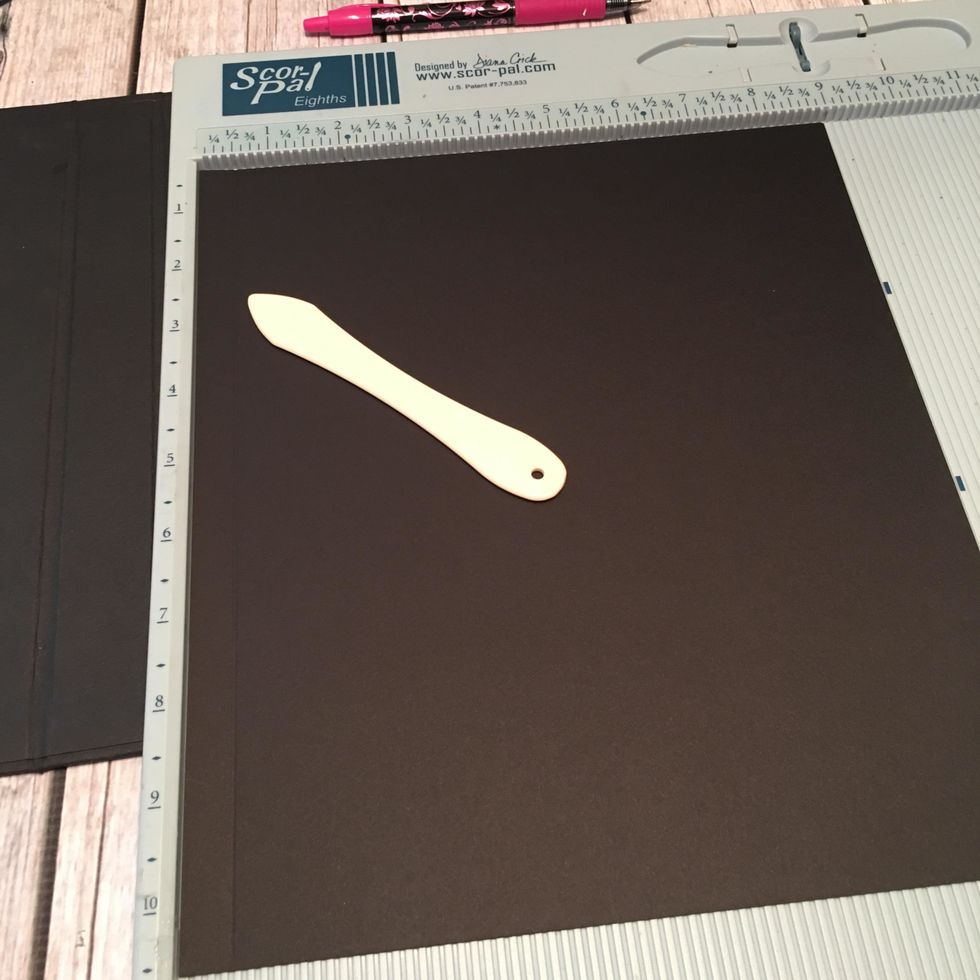
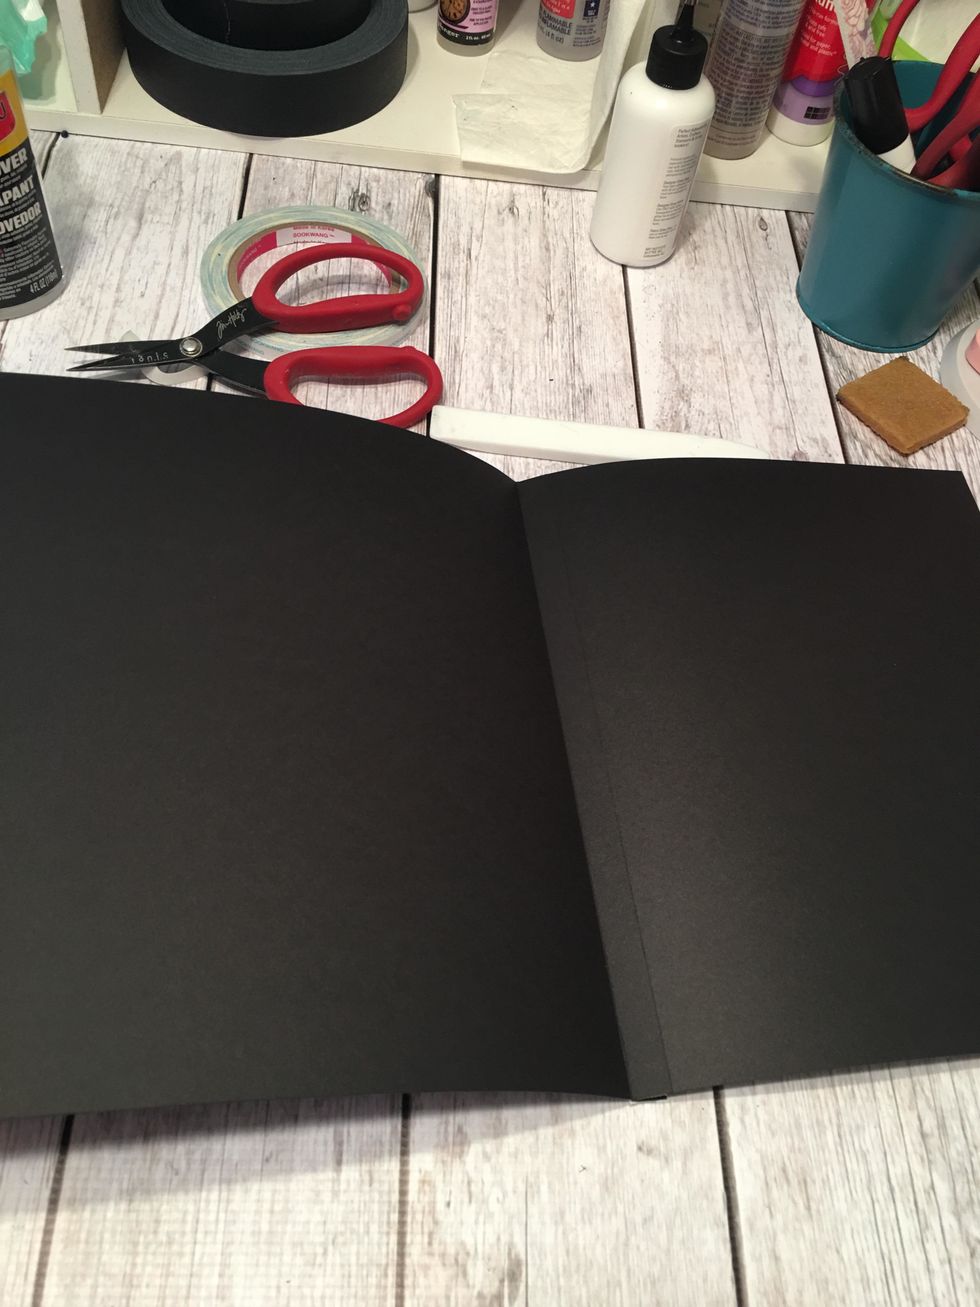
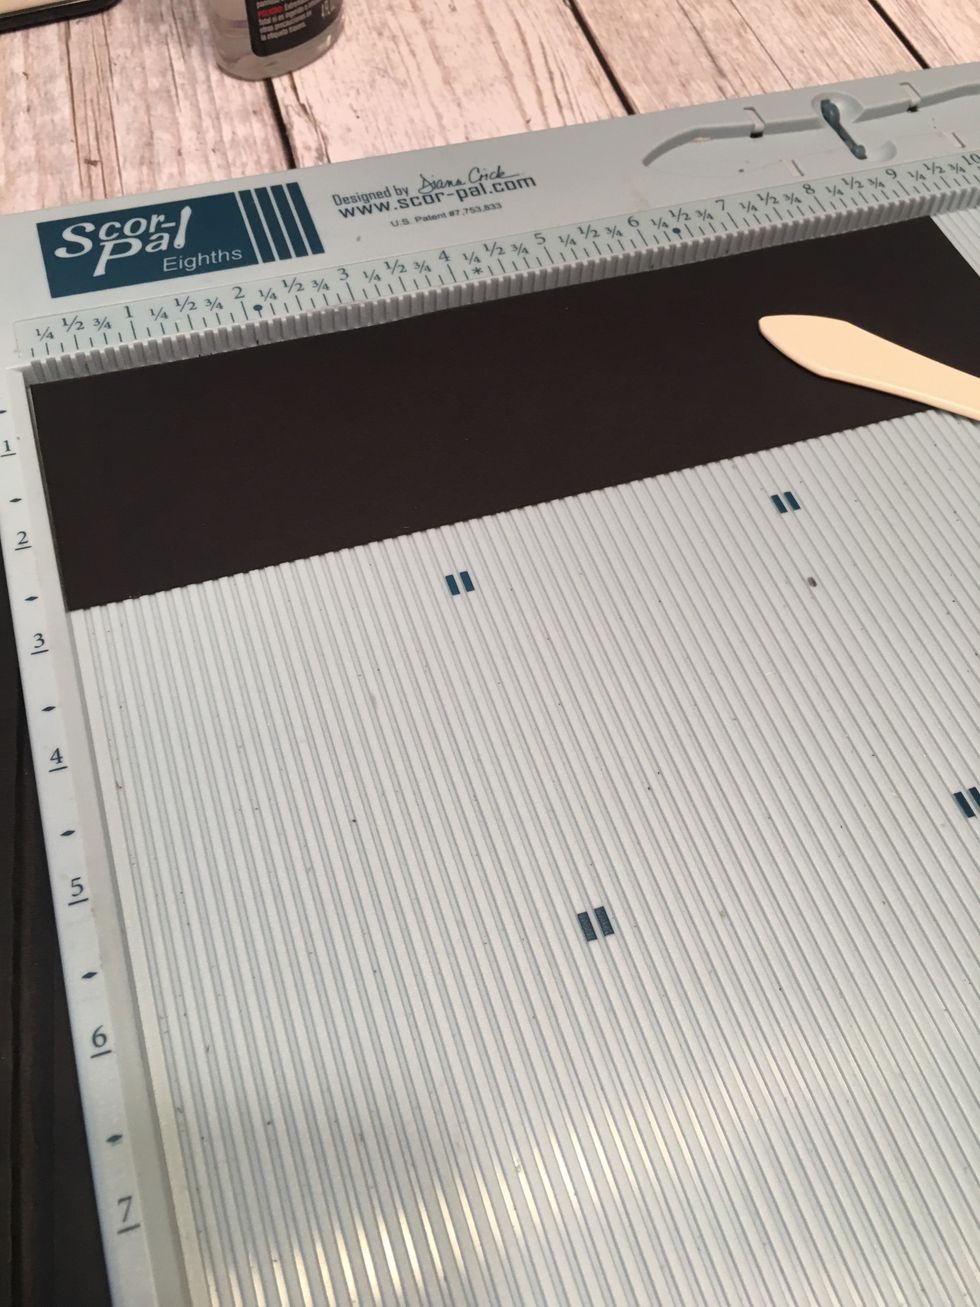
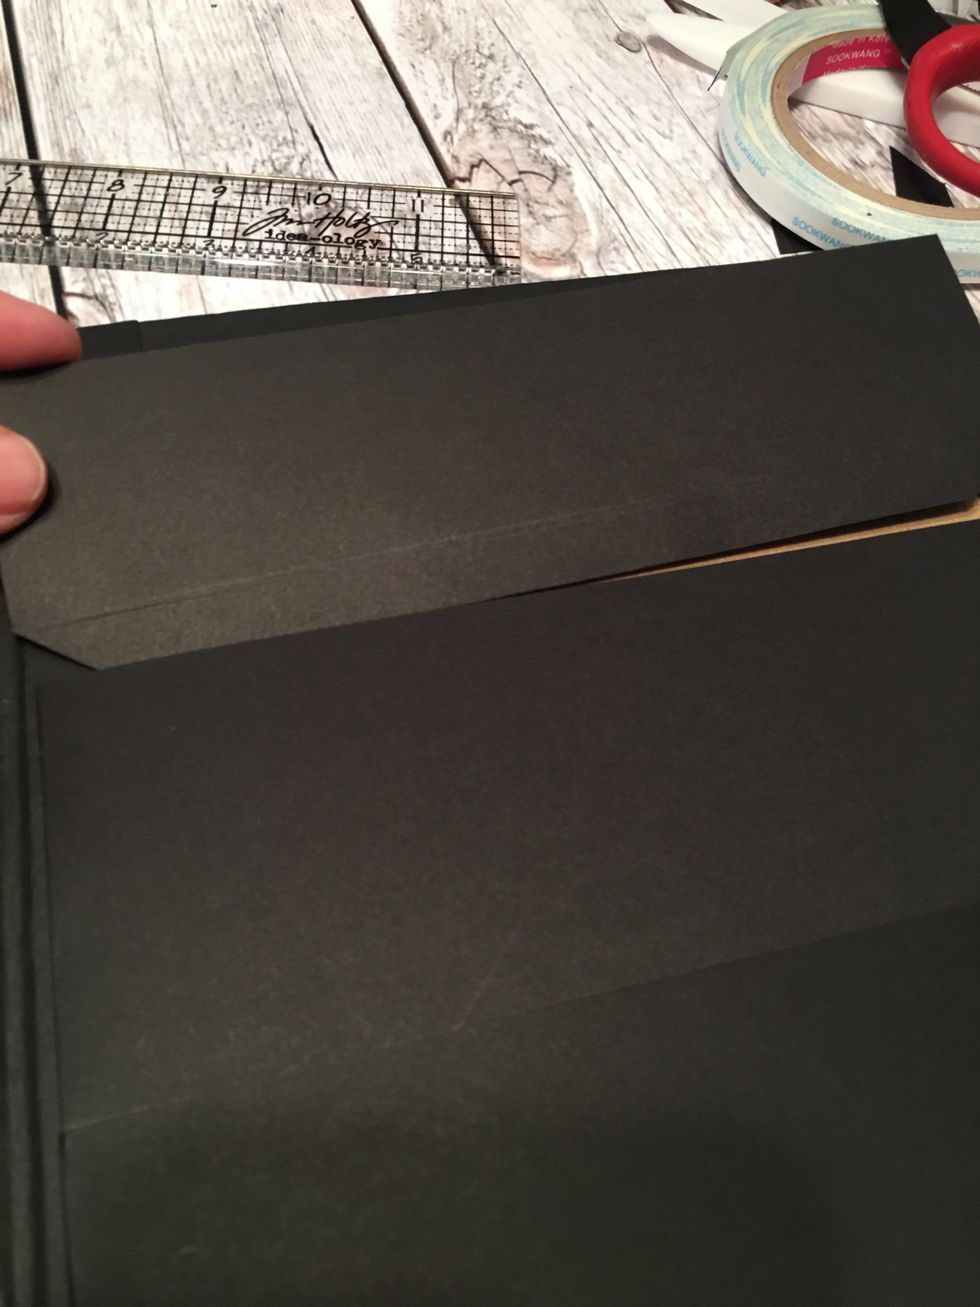
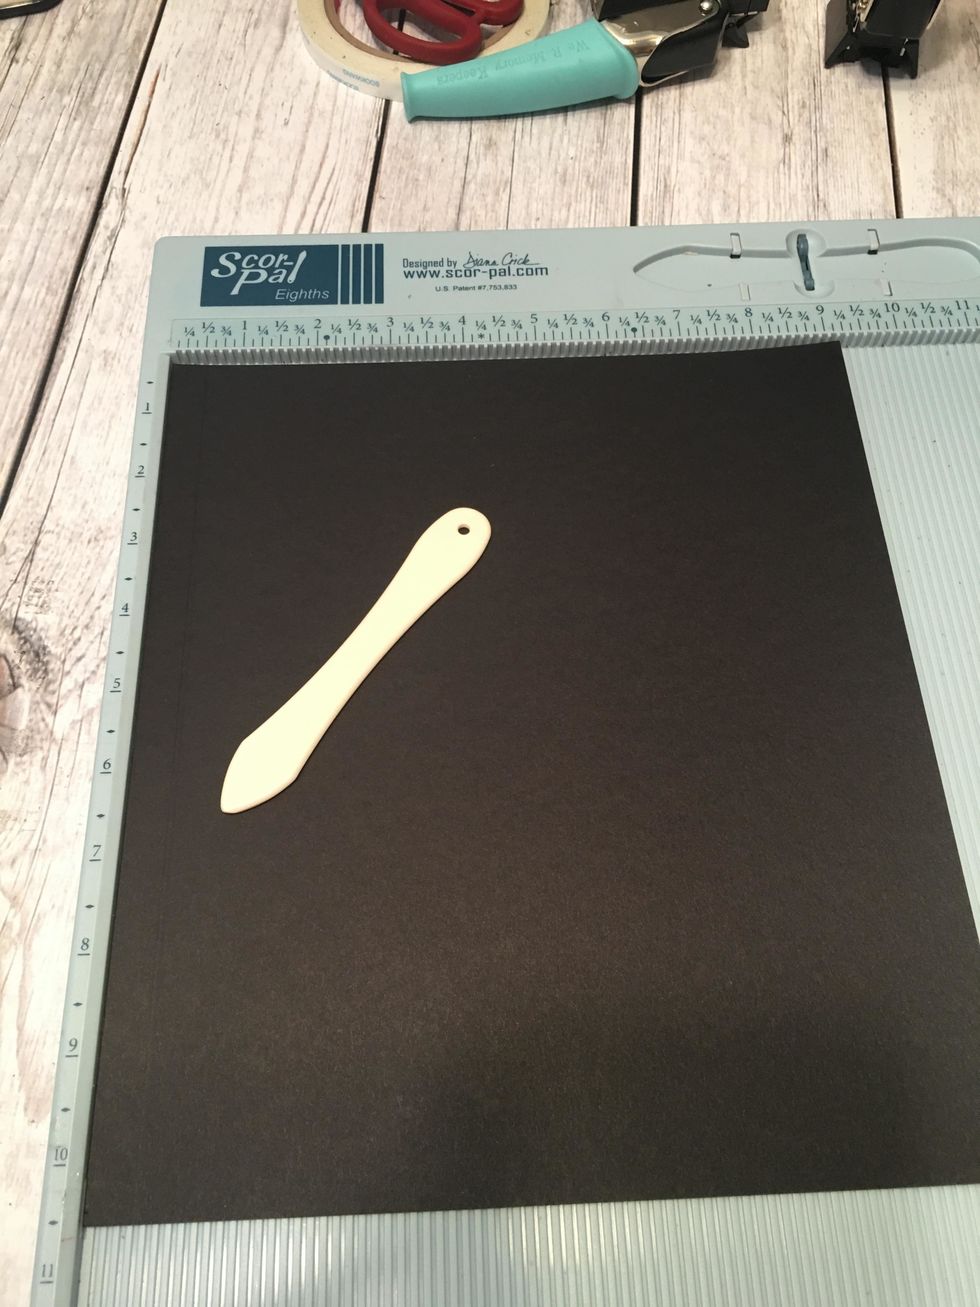
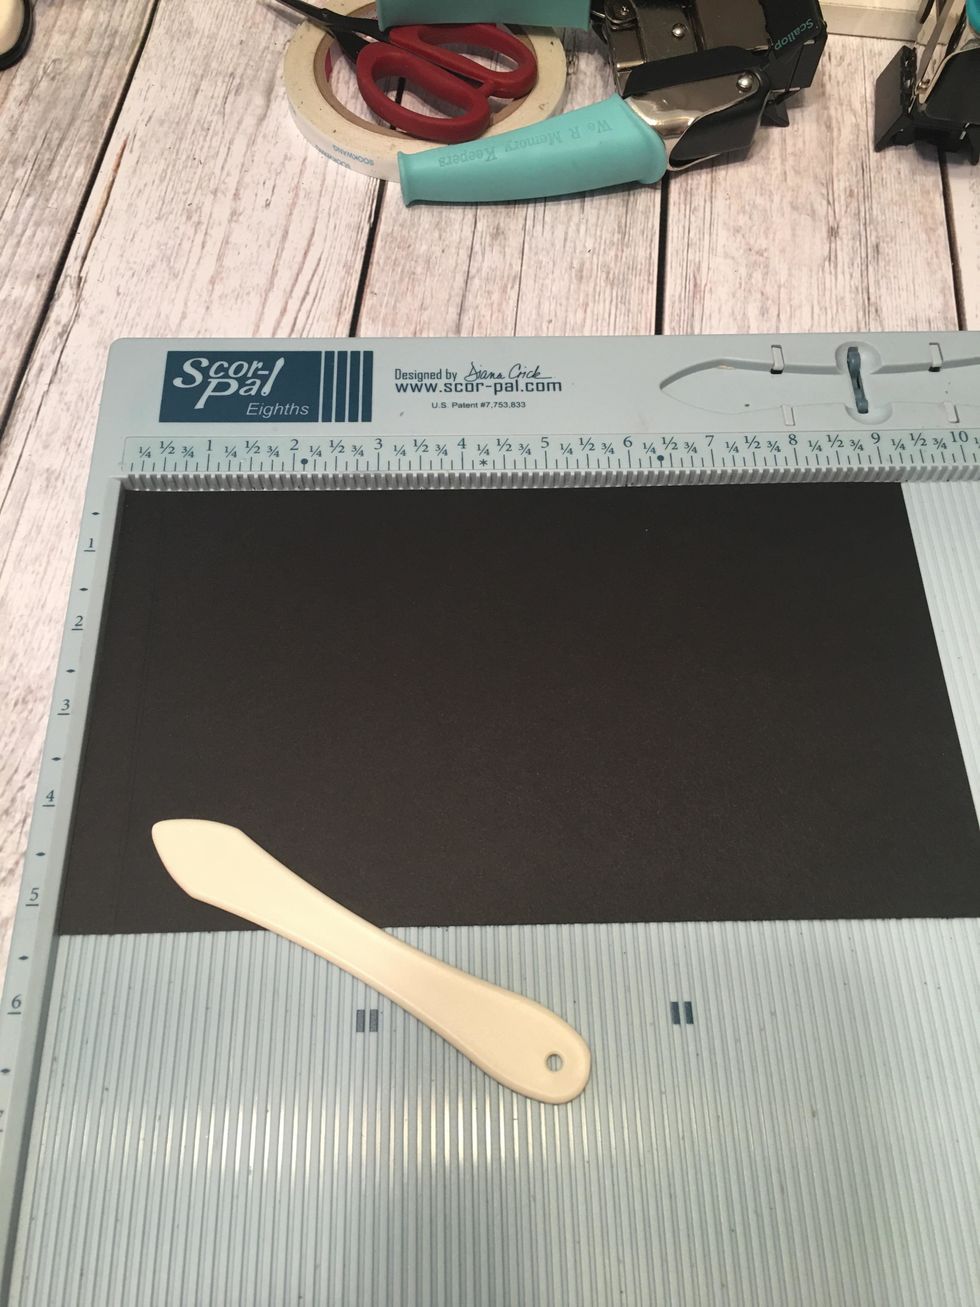
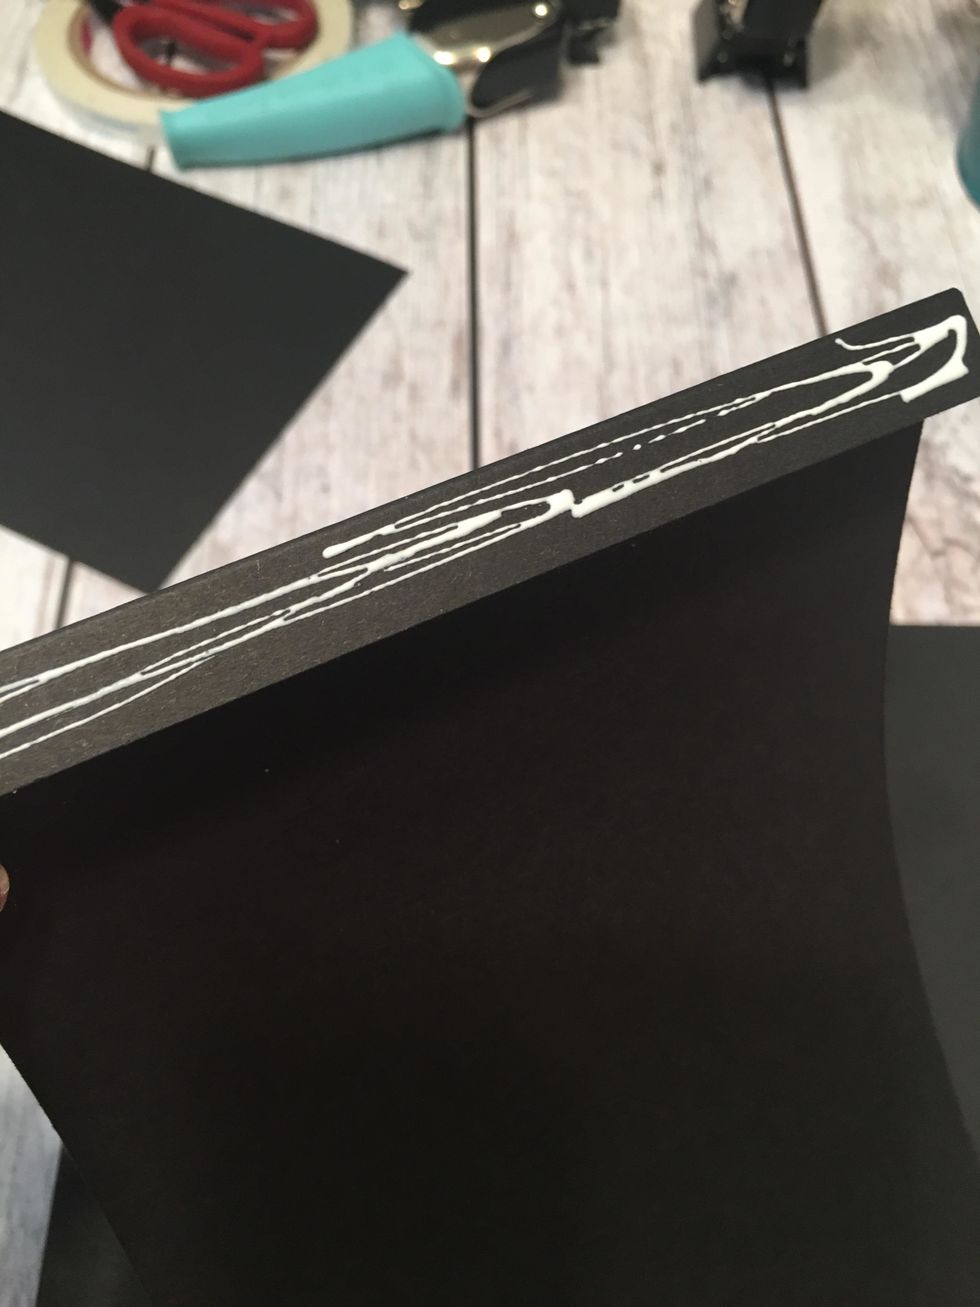
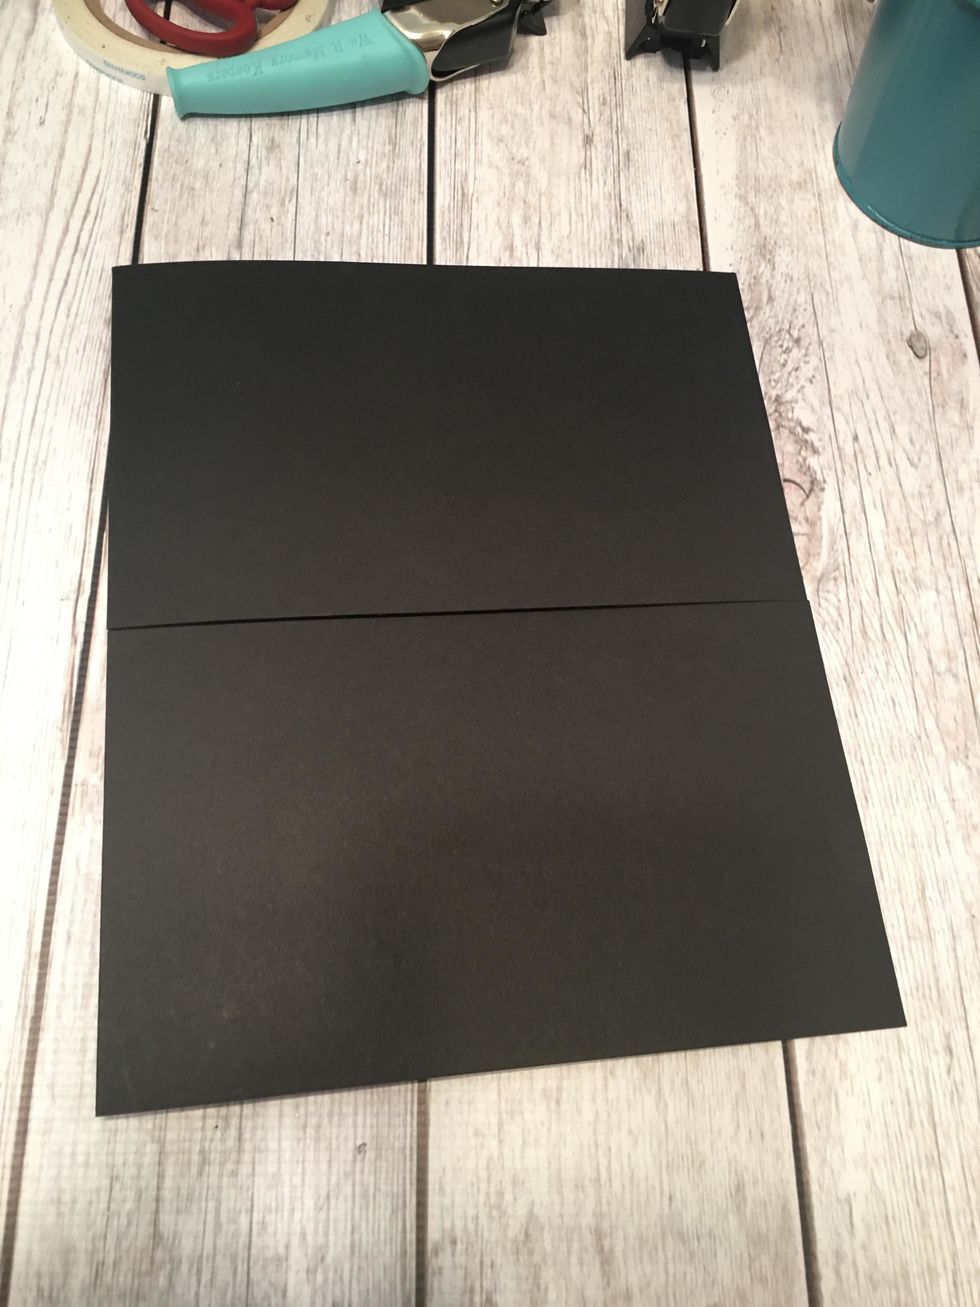
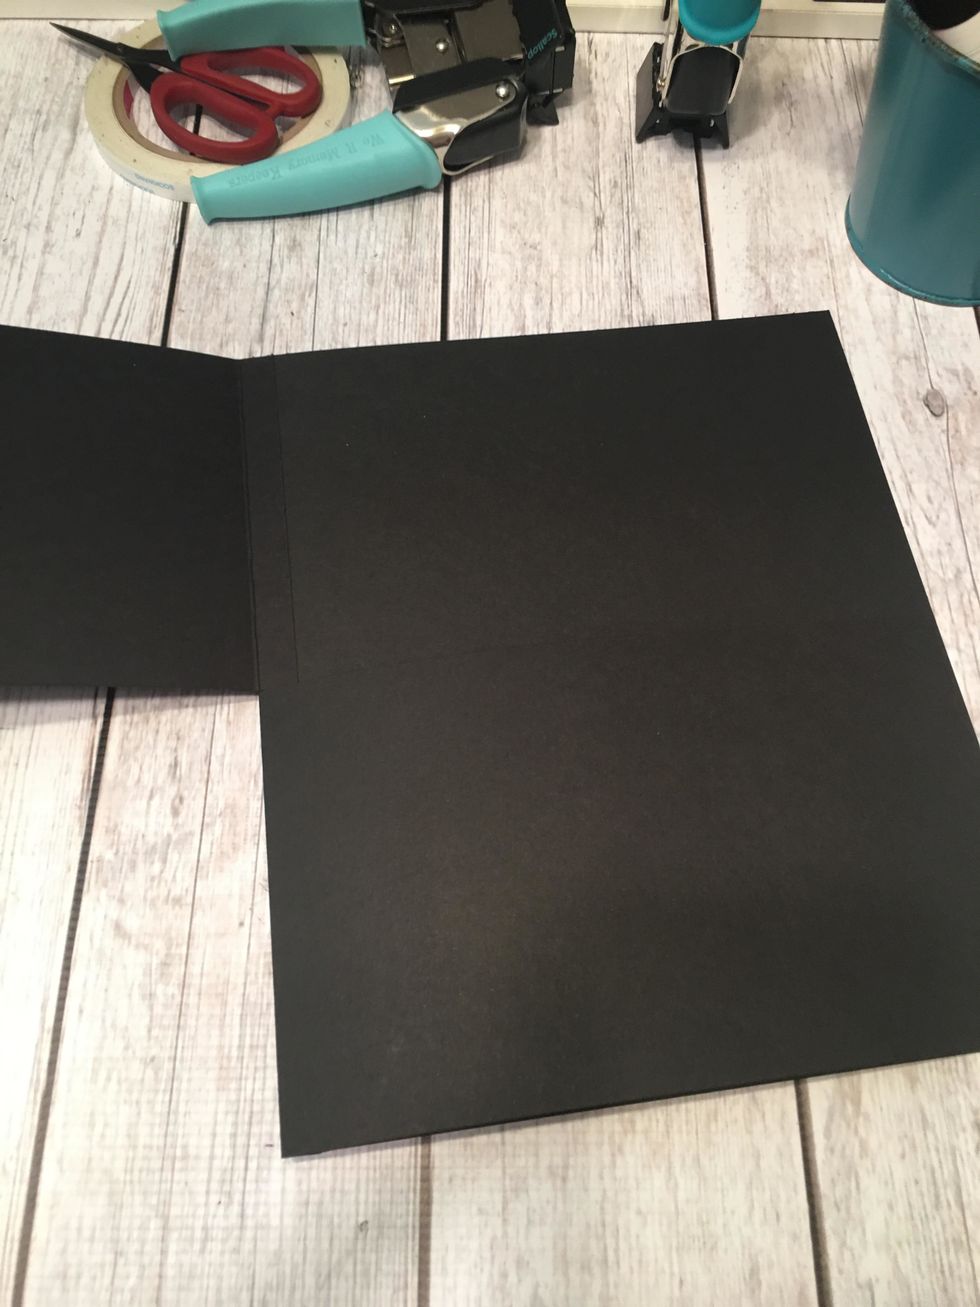
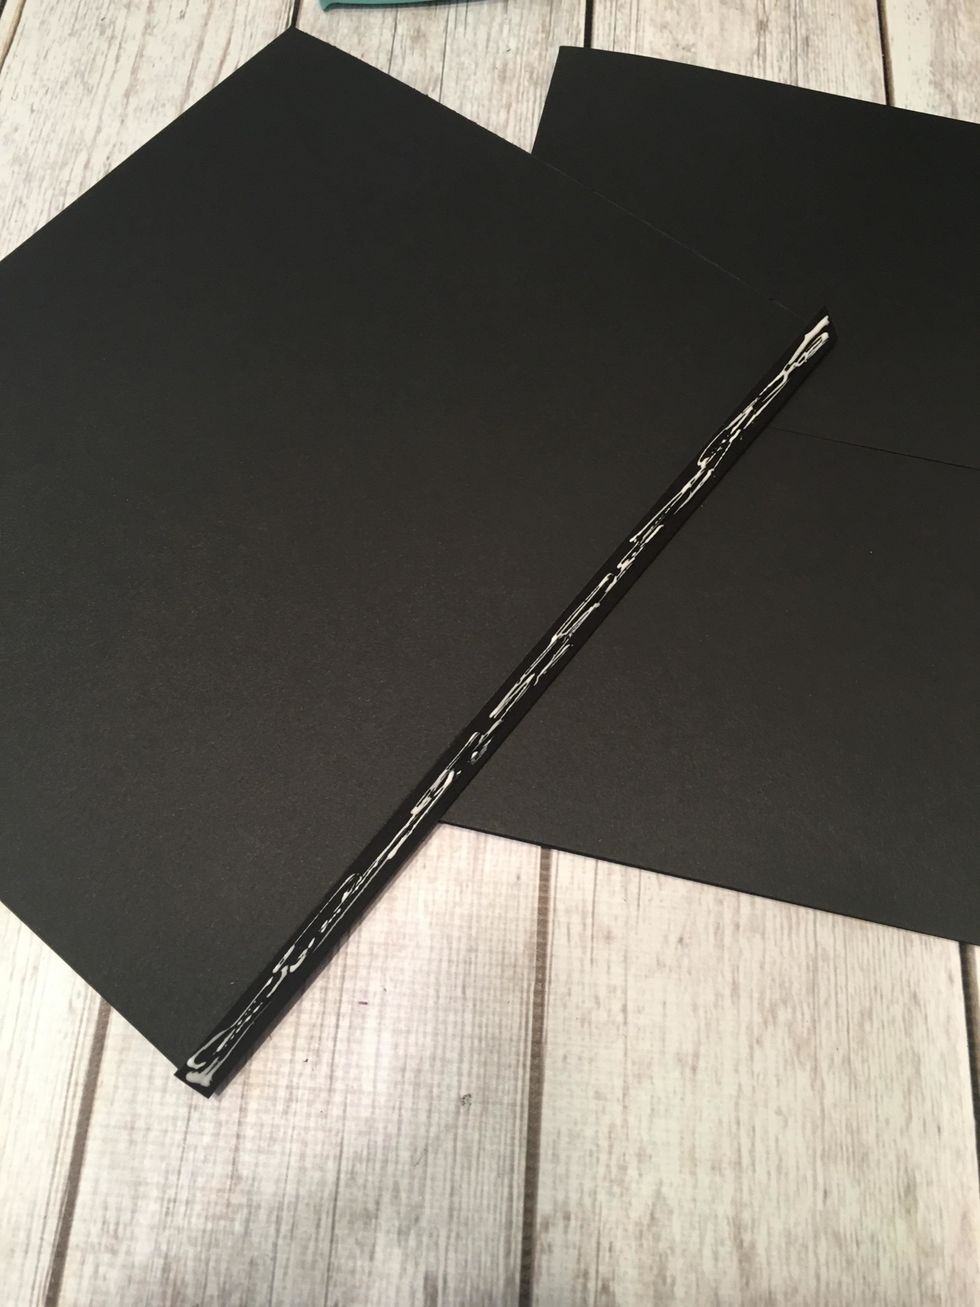
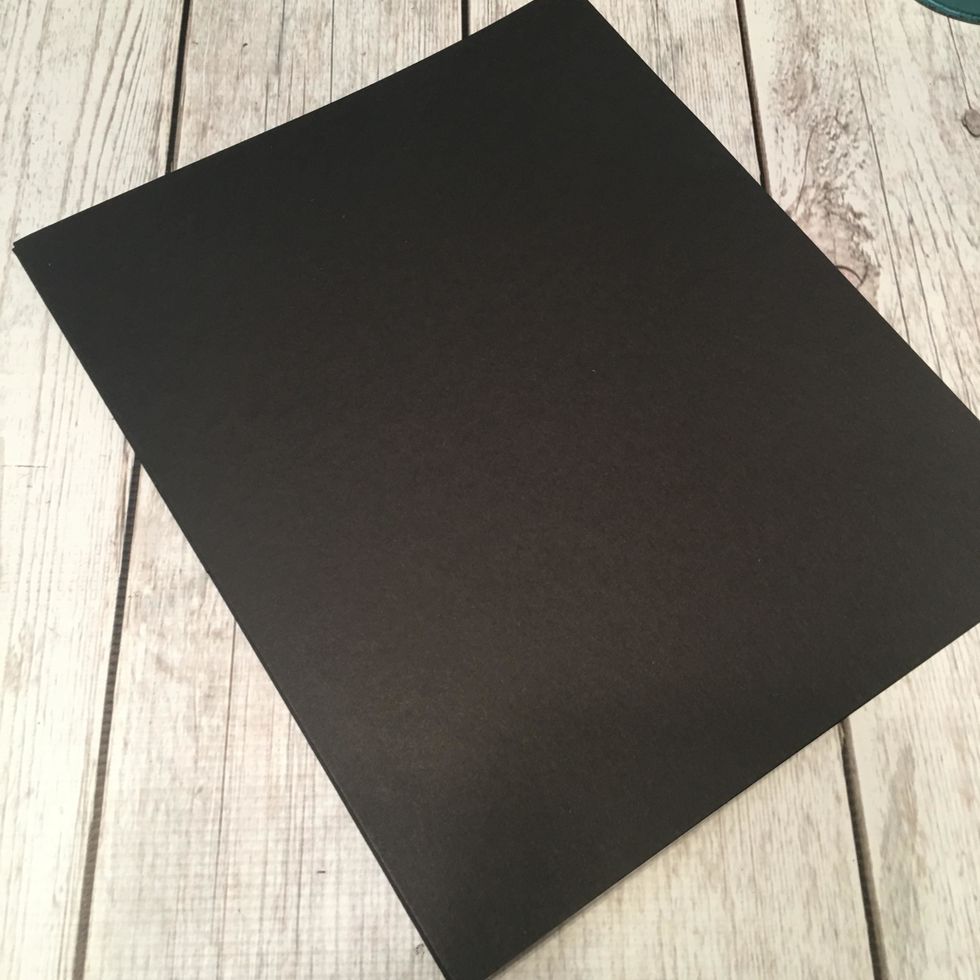
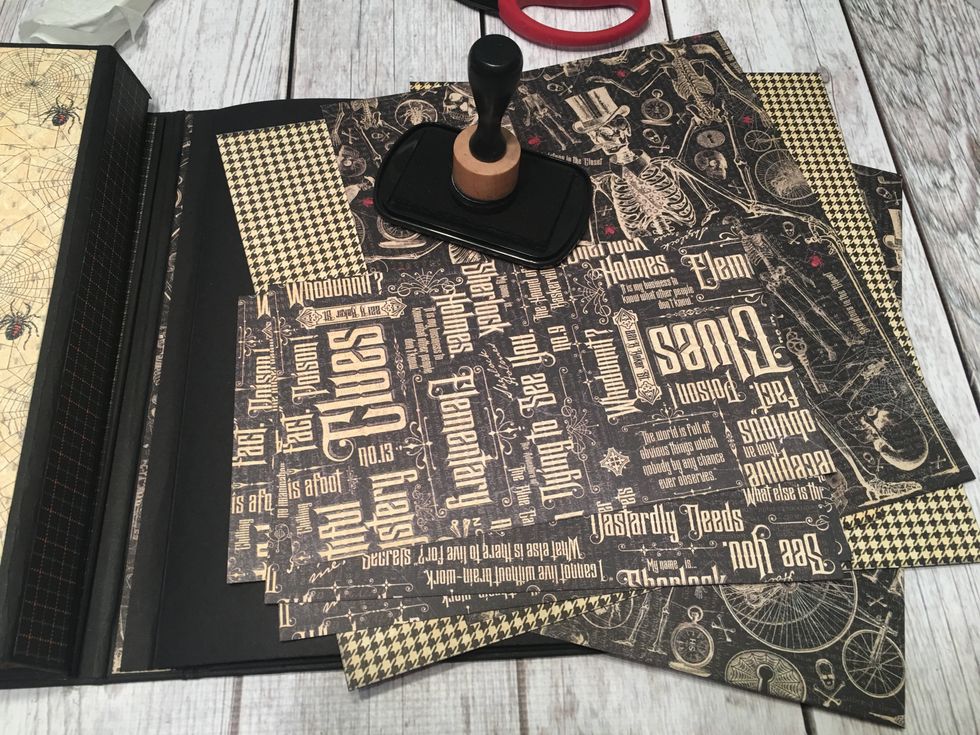
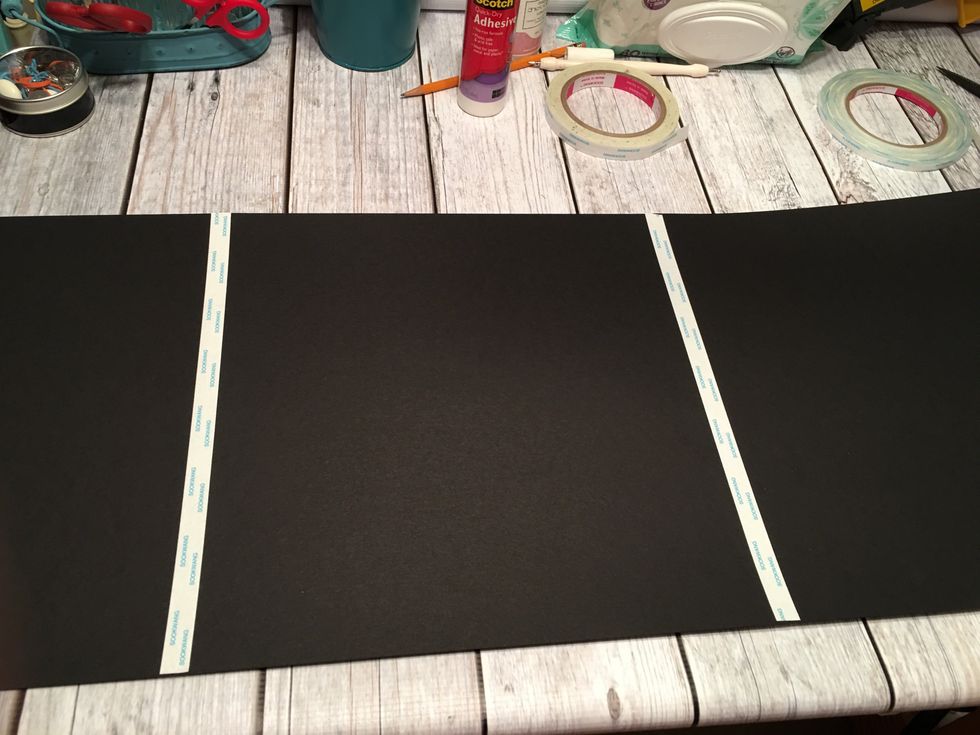 Use 3/8" scor-tape to seam 4 pieces of 12 x 12 black card stock together.
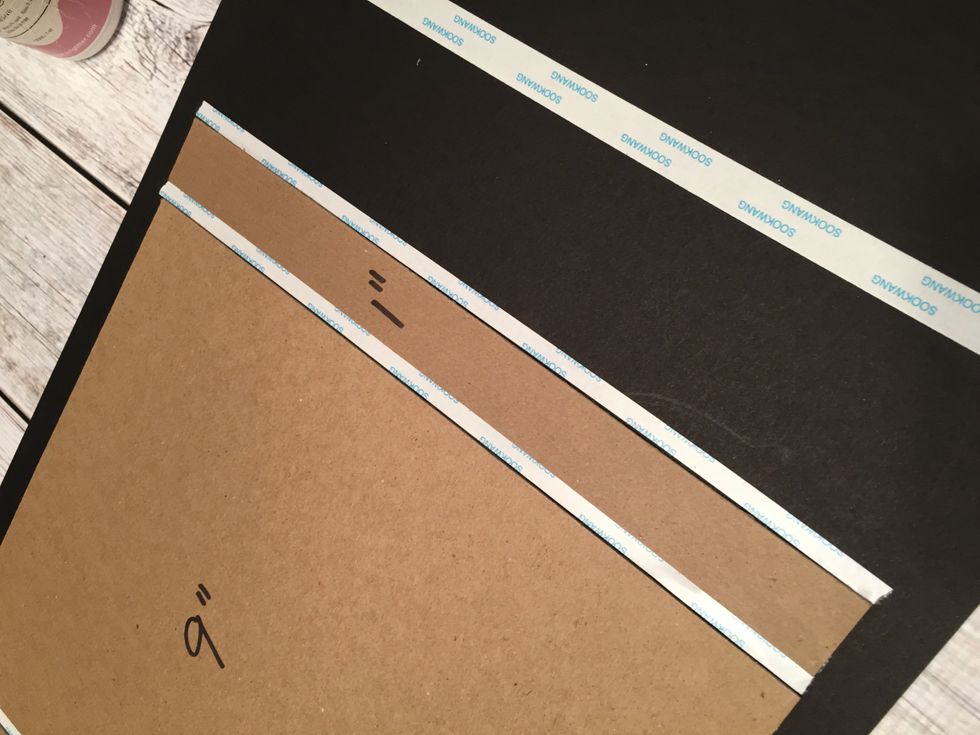
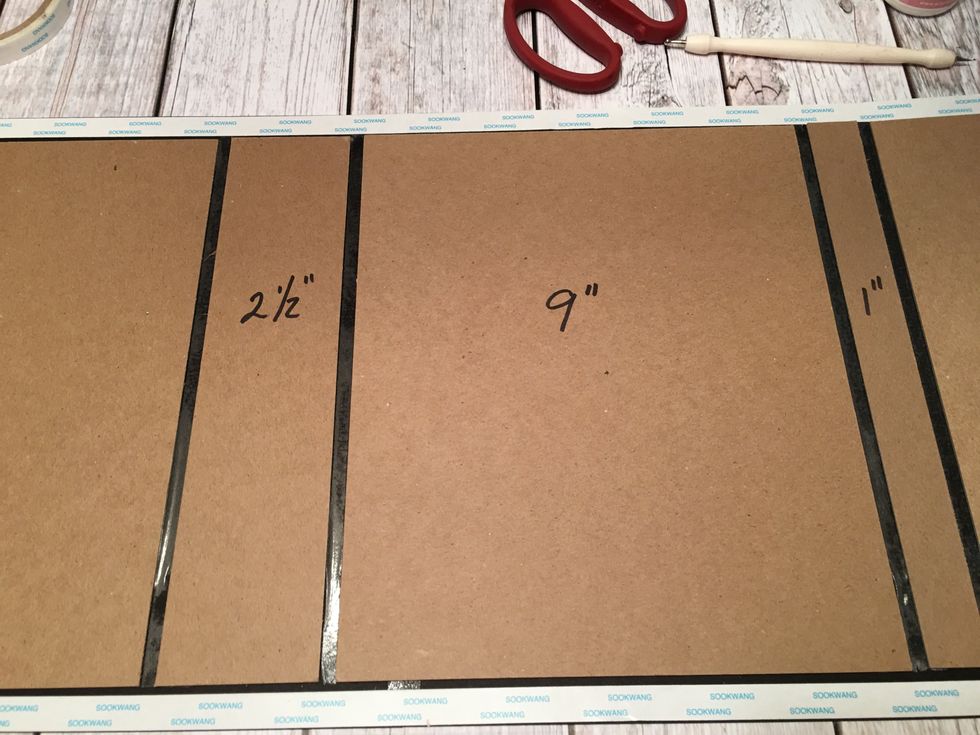
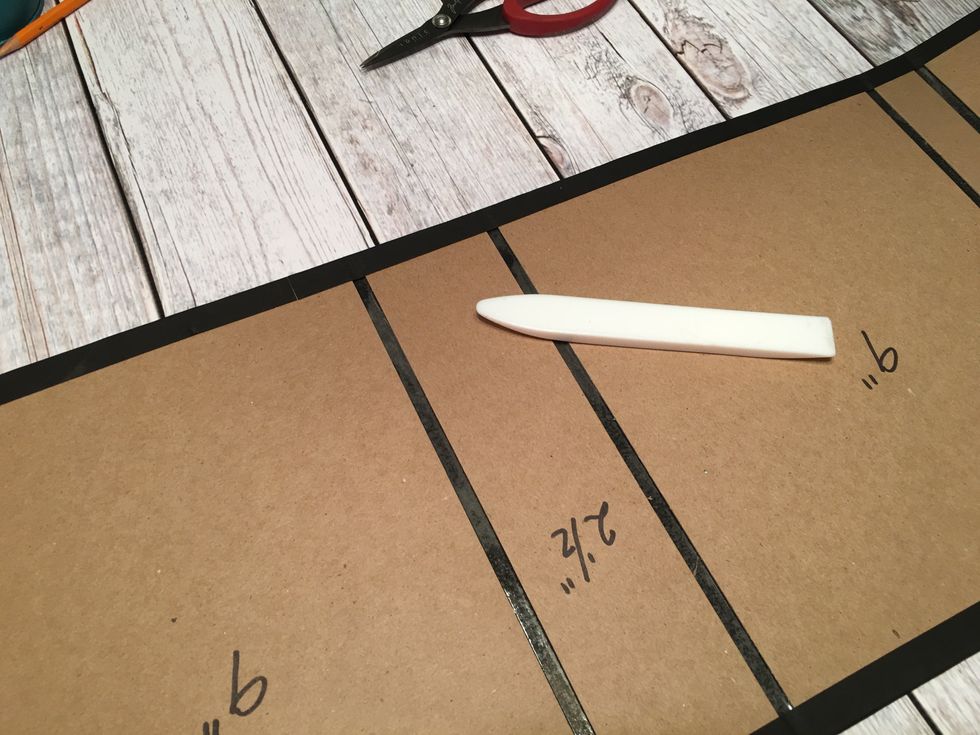
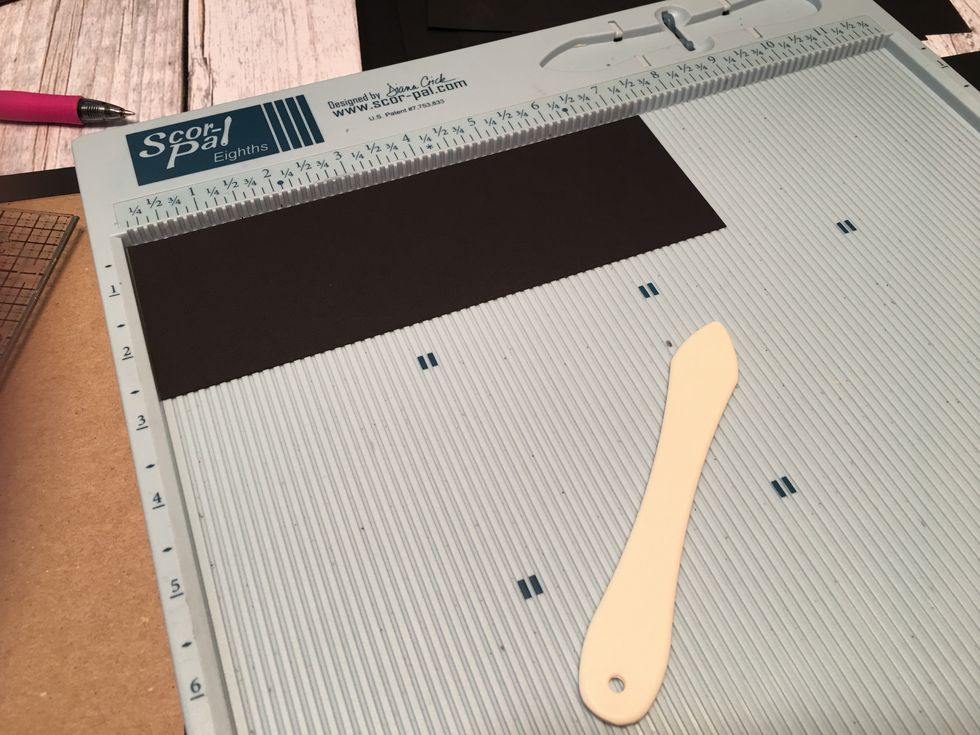
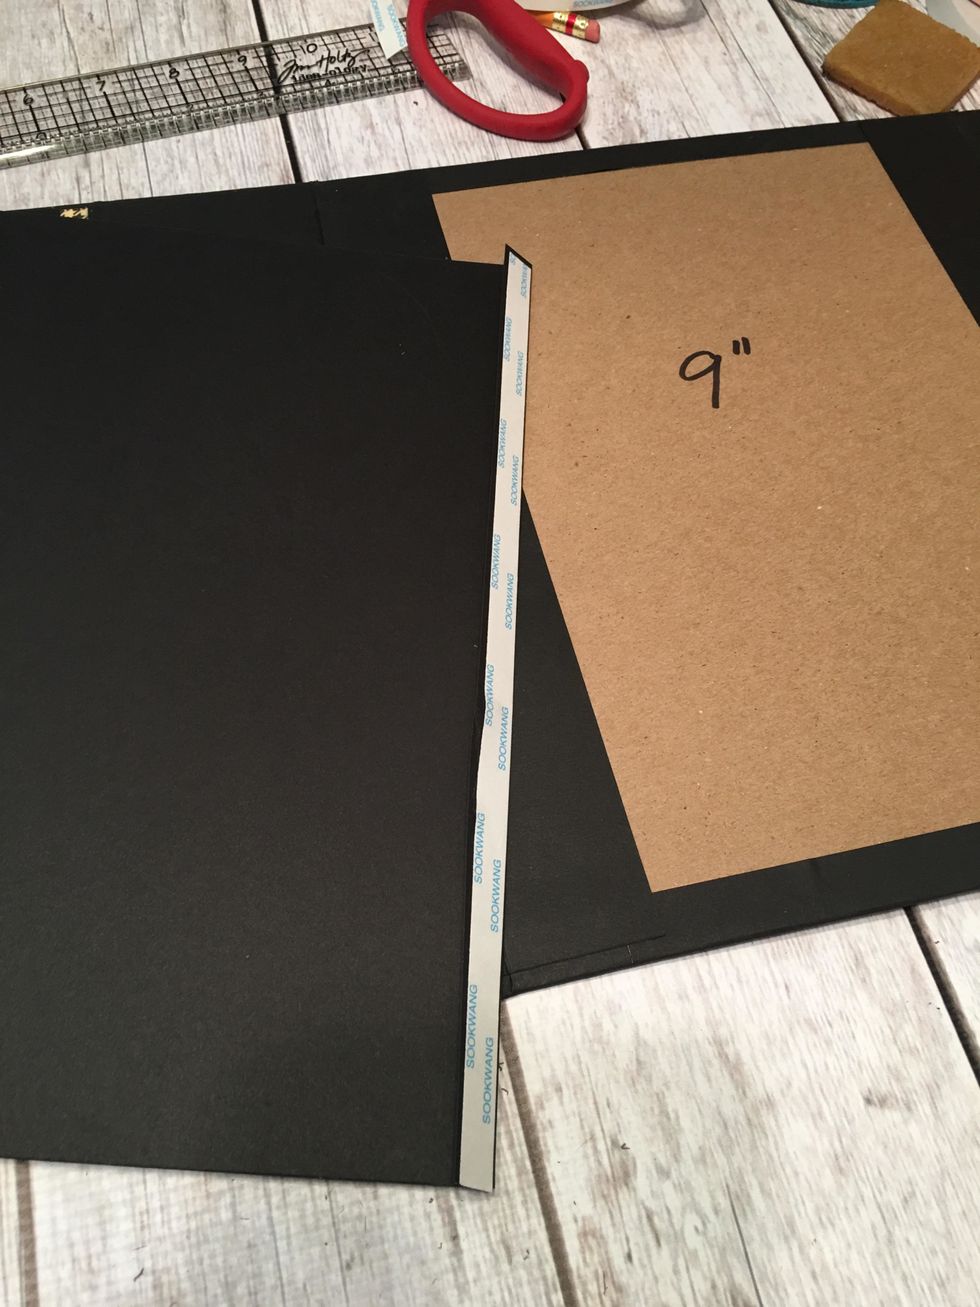
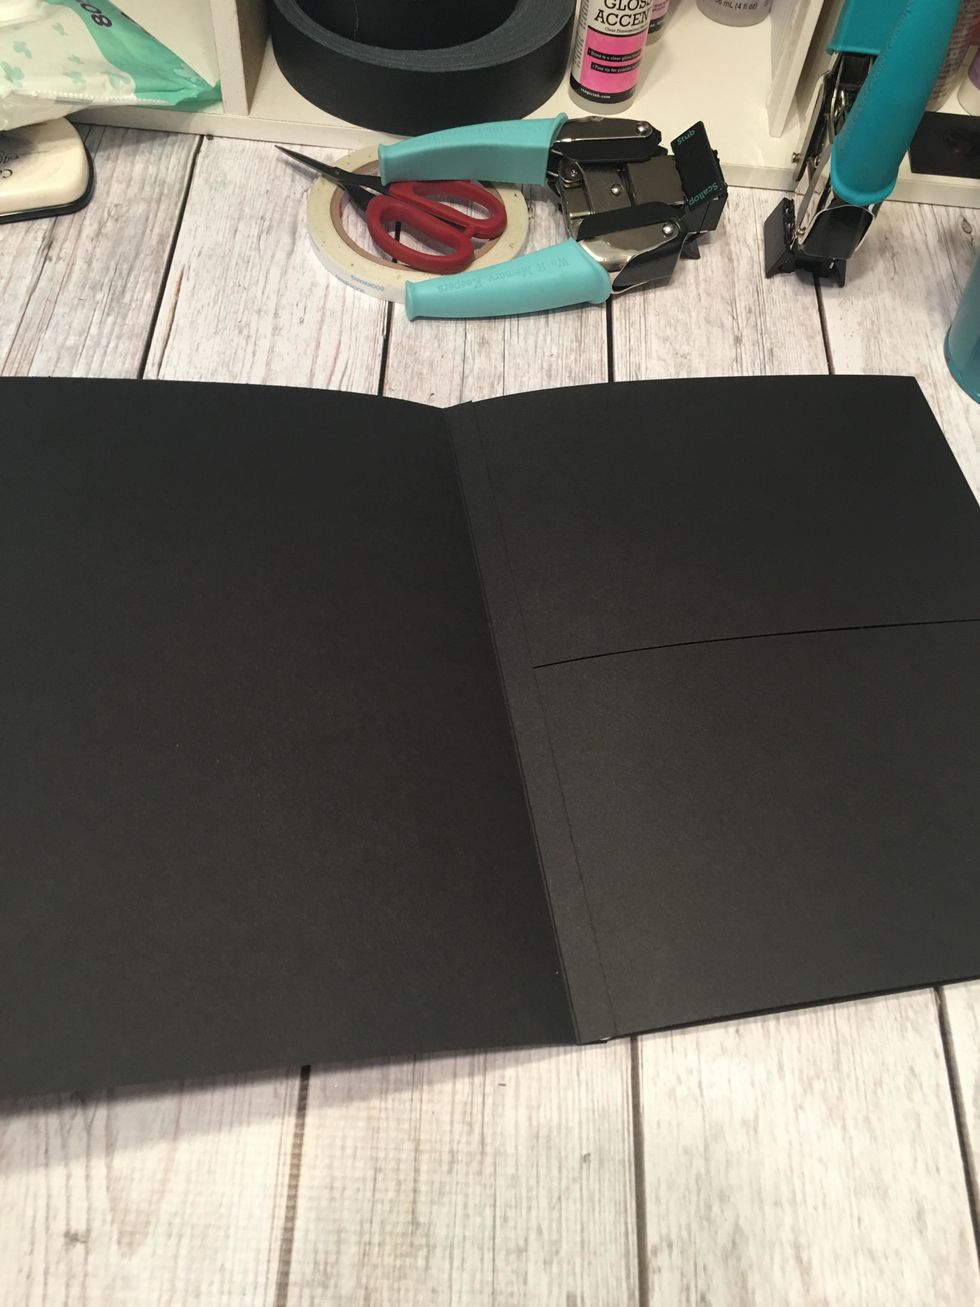
From Medium Weight Chipboard, Cut: 1 each 10 3/4" x 2 1/2", 2 each 10 3/4" x 9", 2 each 10 3/4" x 8 1/2" and 2 each 10 3/4" x 1" These will be used to create the cover of your folio album.
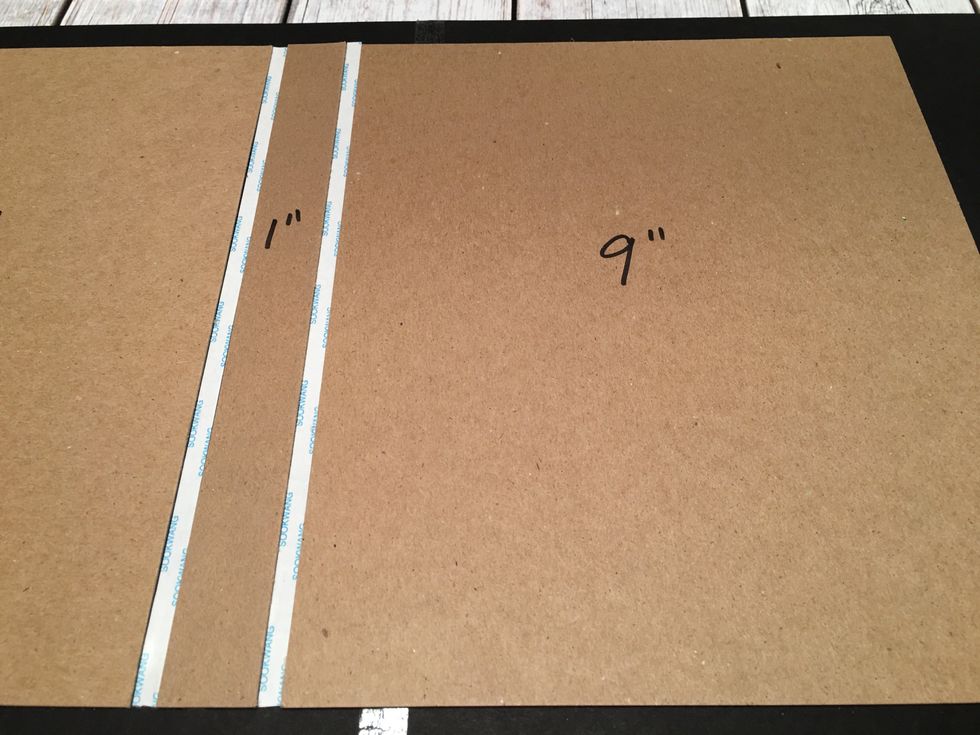
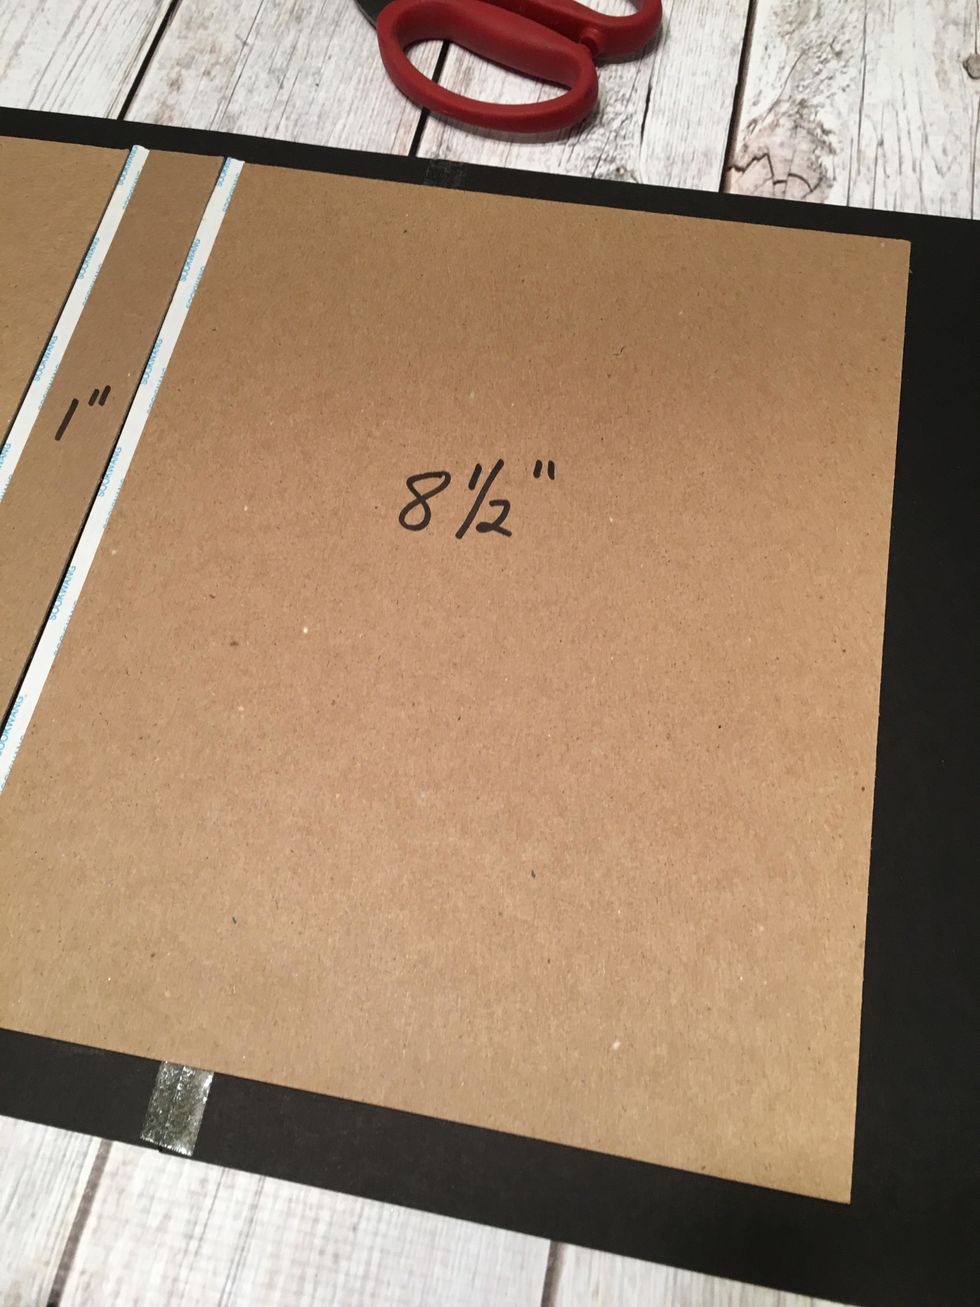
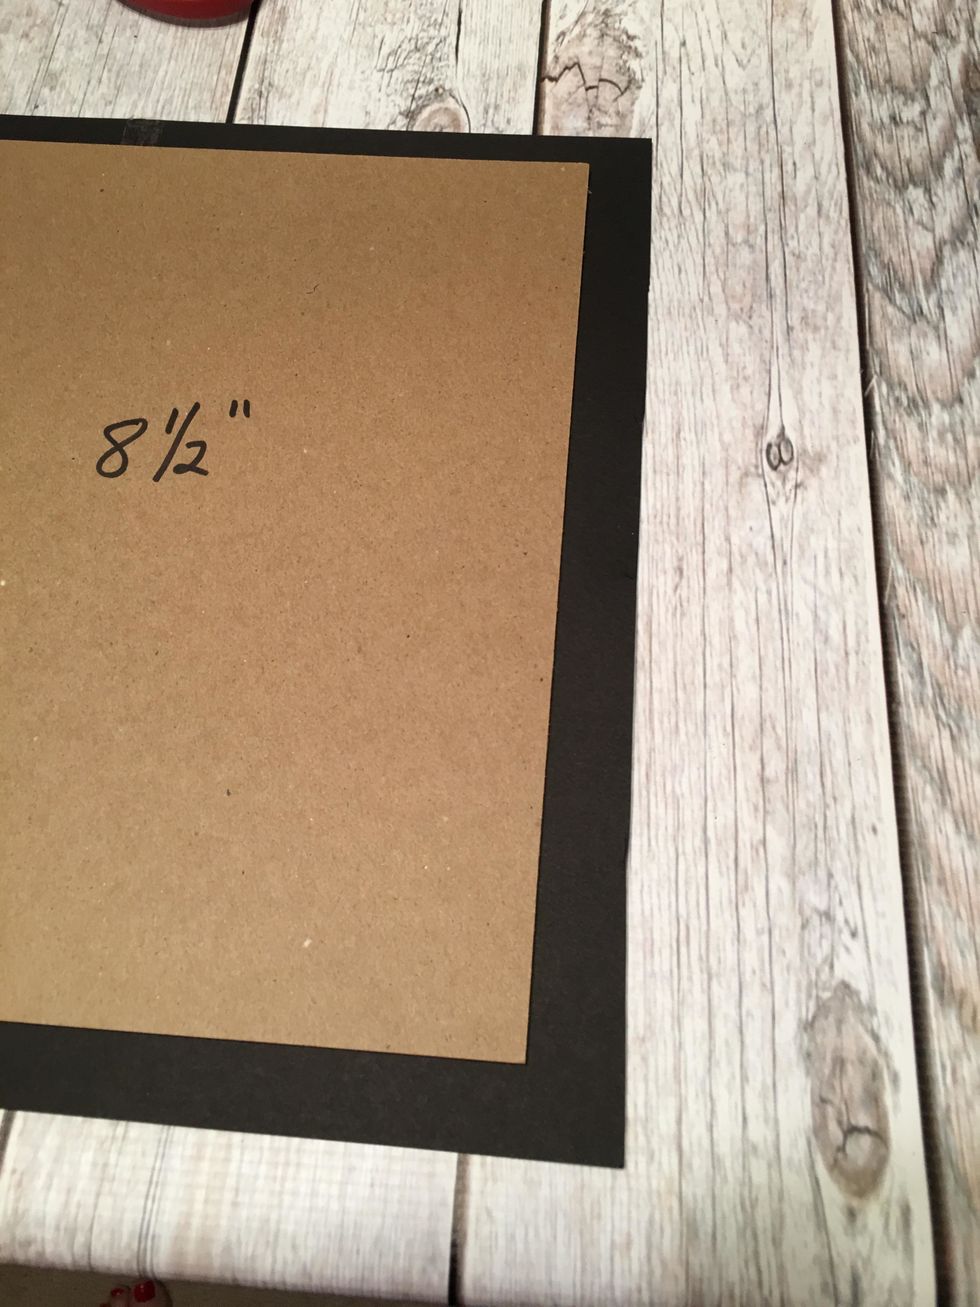
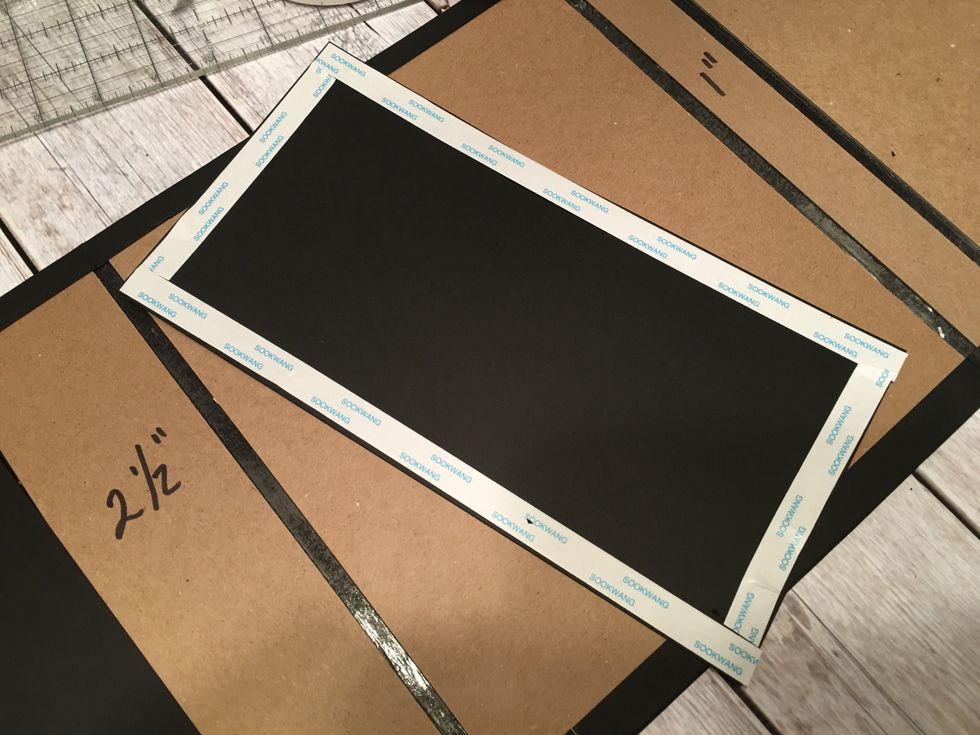
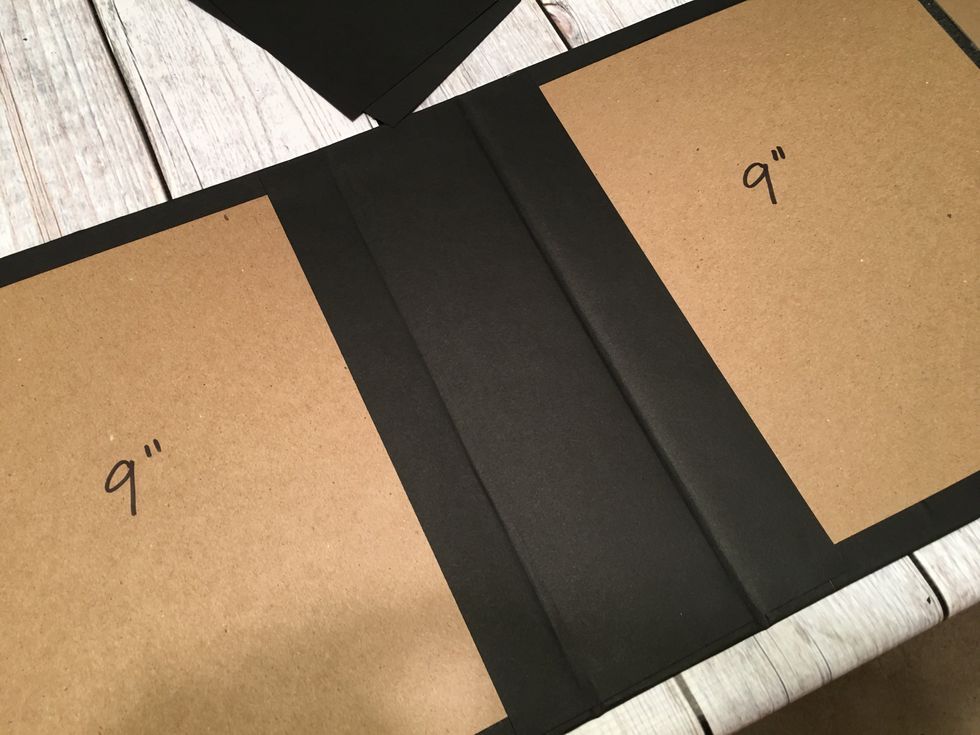
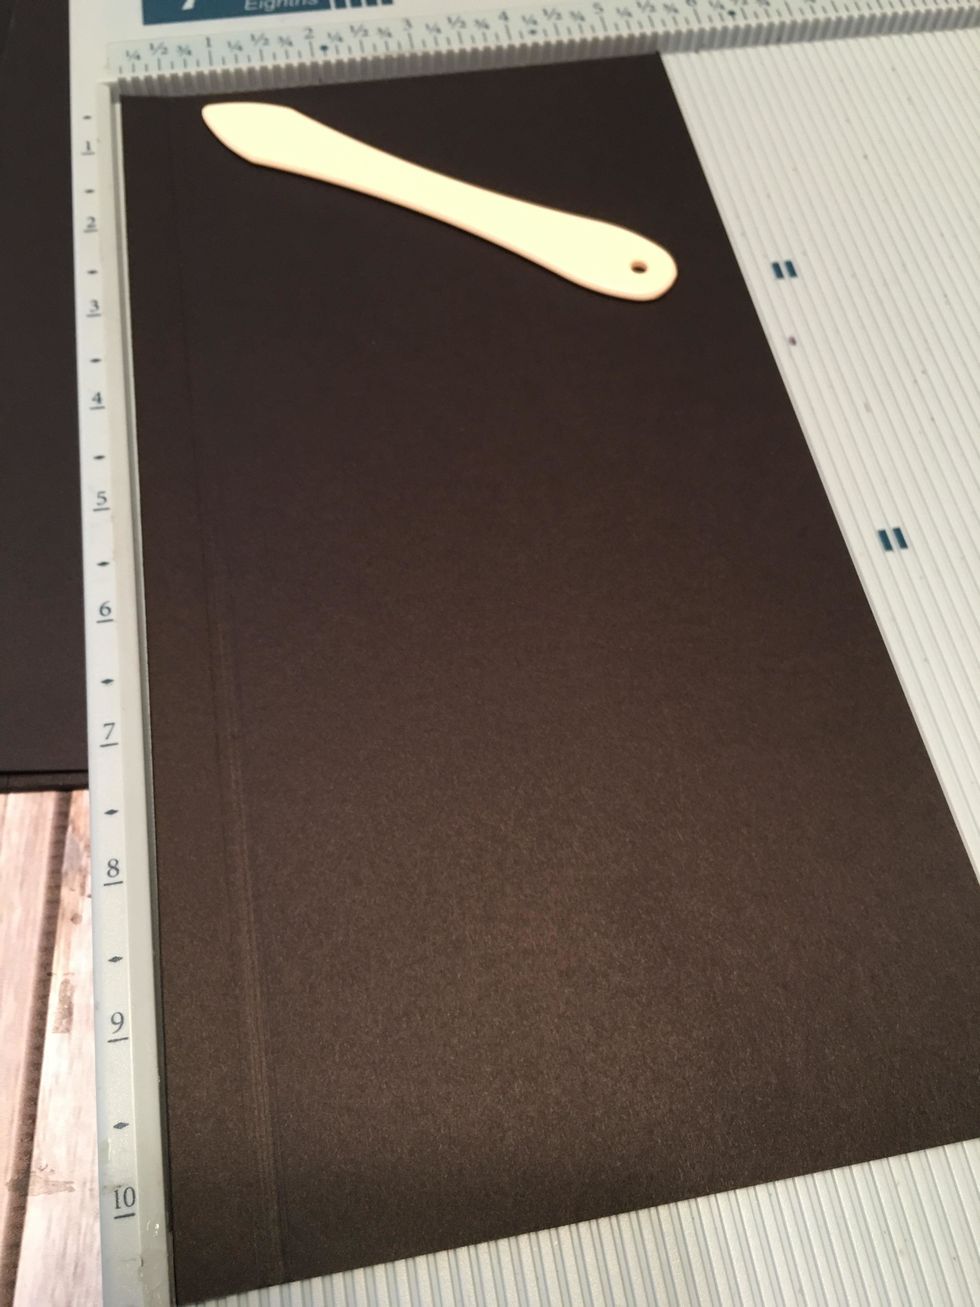
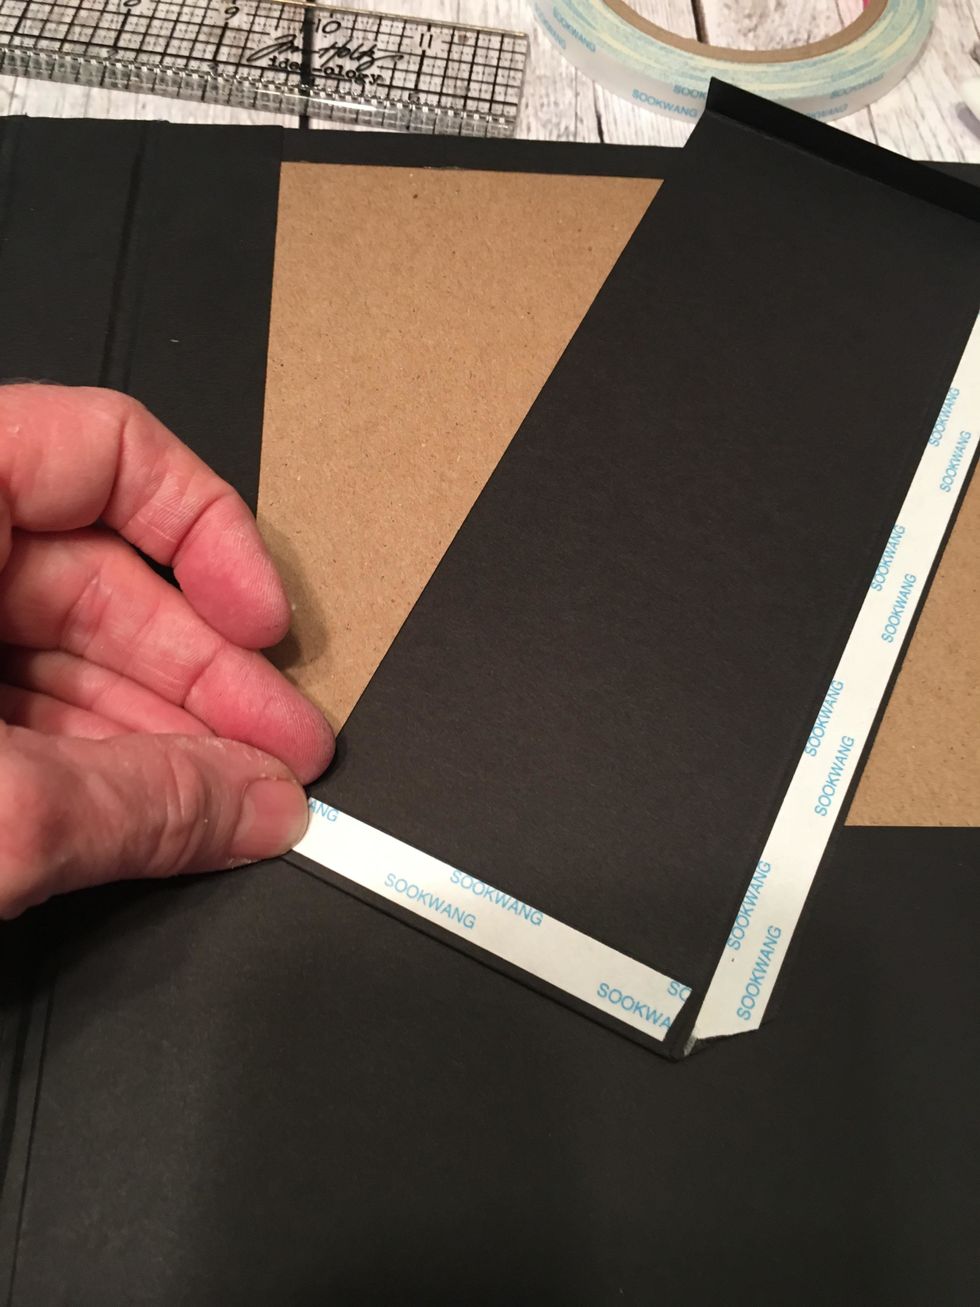
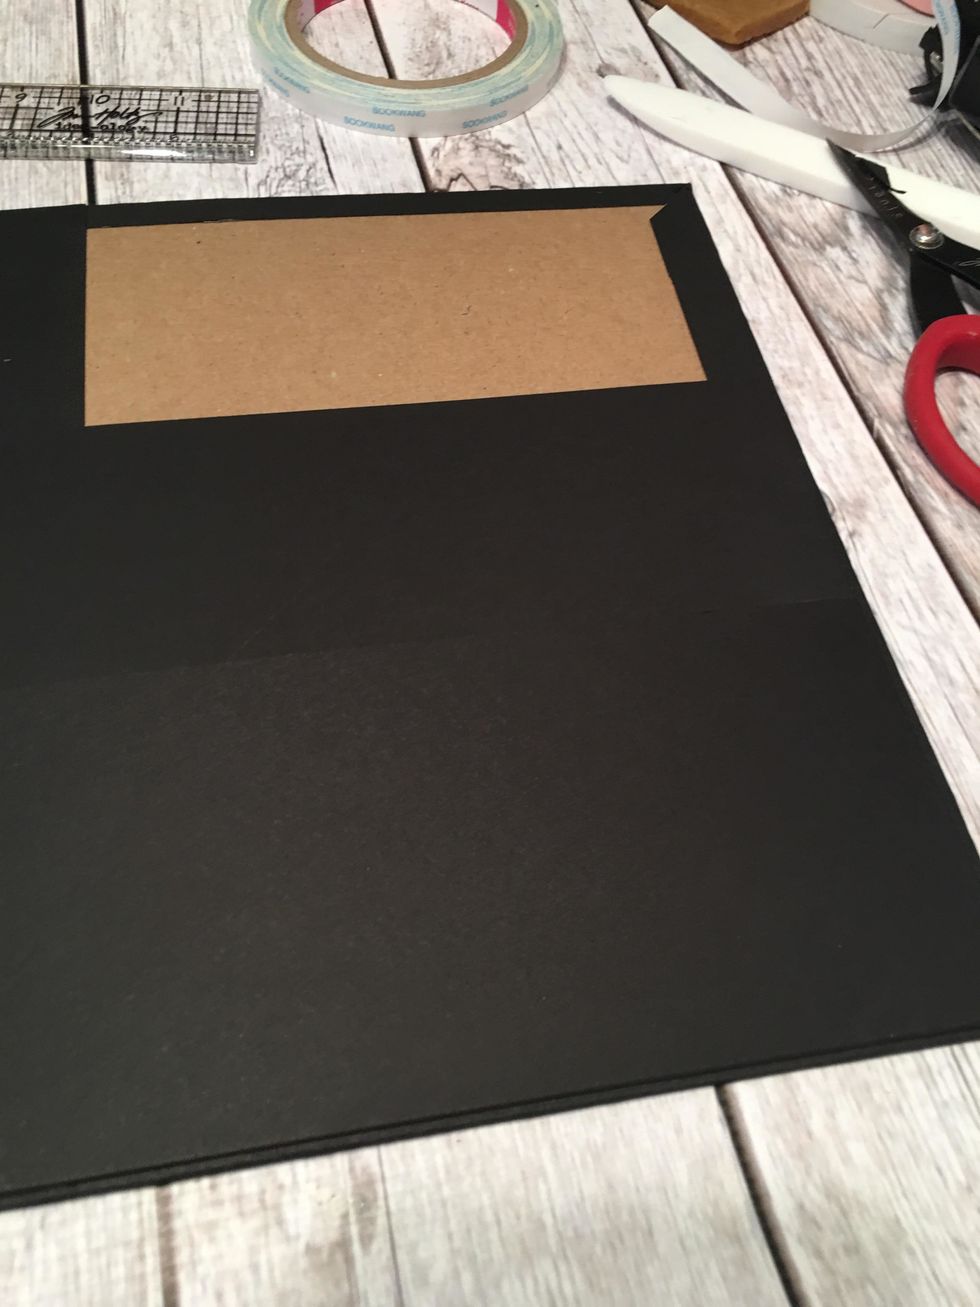
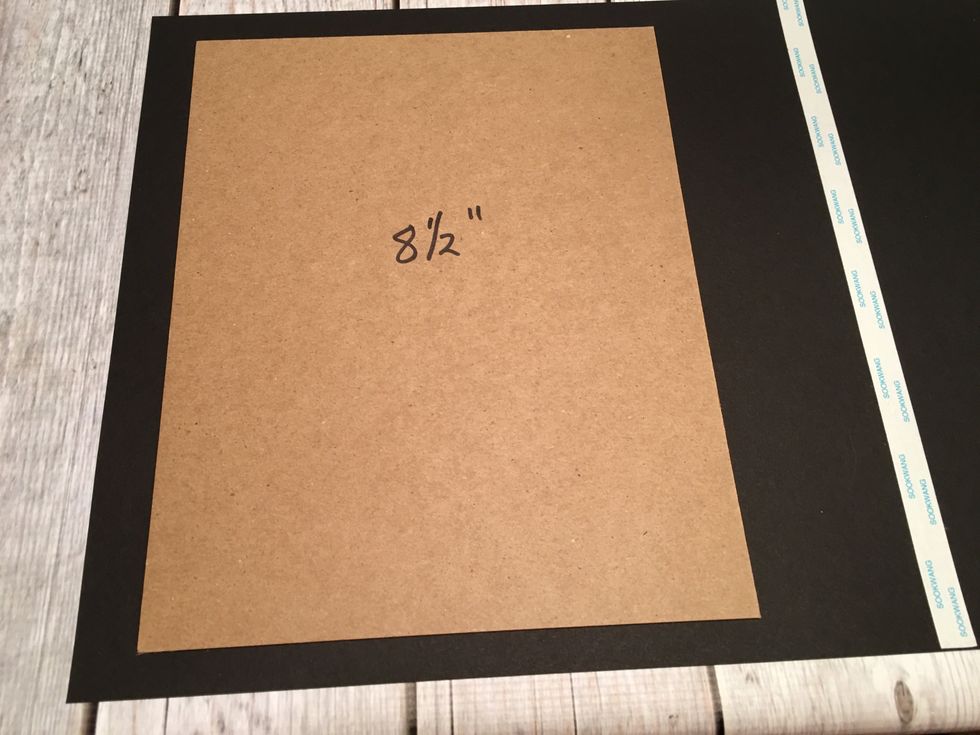 Use scor-tape around the perimeter of the chipboard and glue in the center to attach one 8 1/2" section on to the left side of the card stock as shown. Leave about 3/4" on the top,bottom and left side
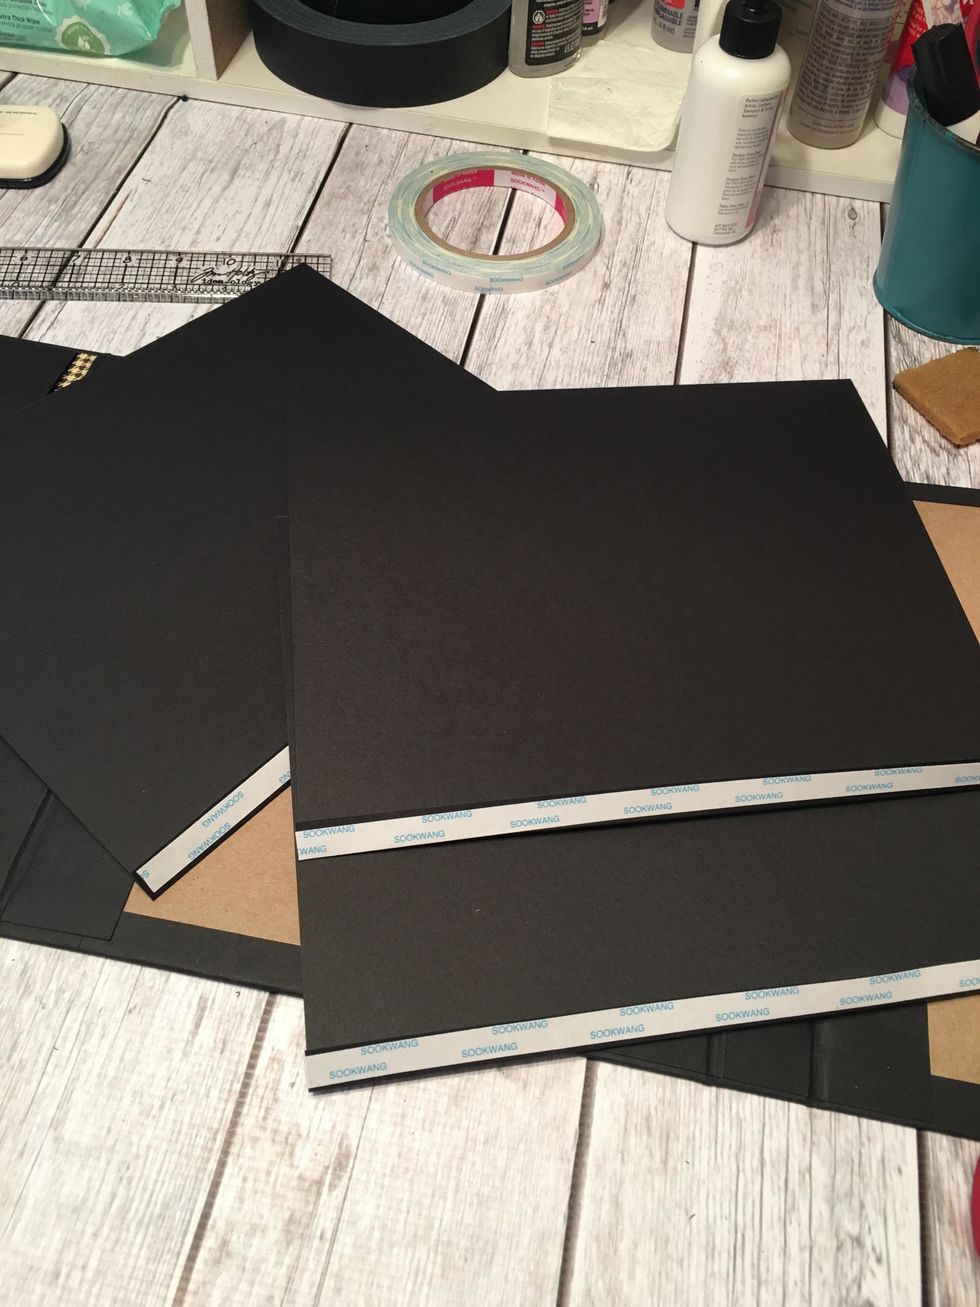
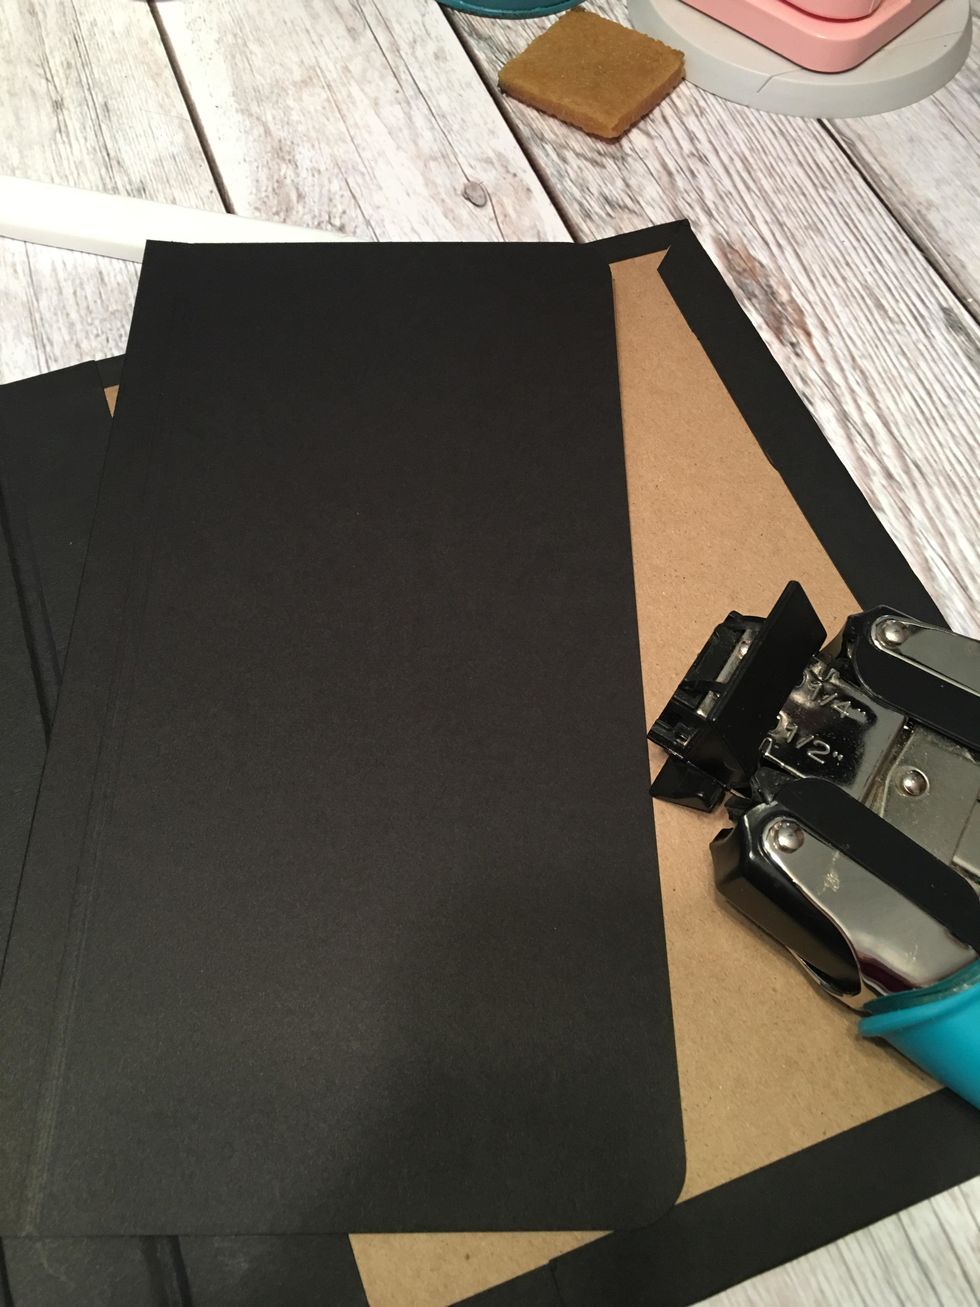
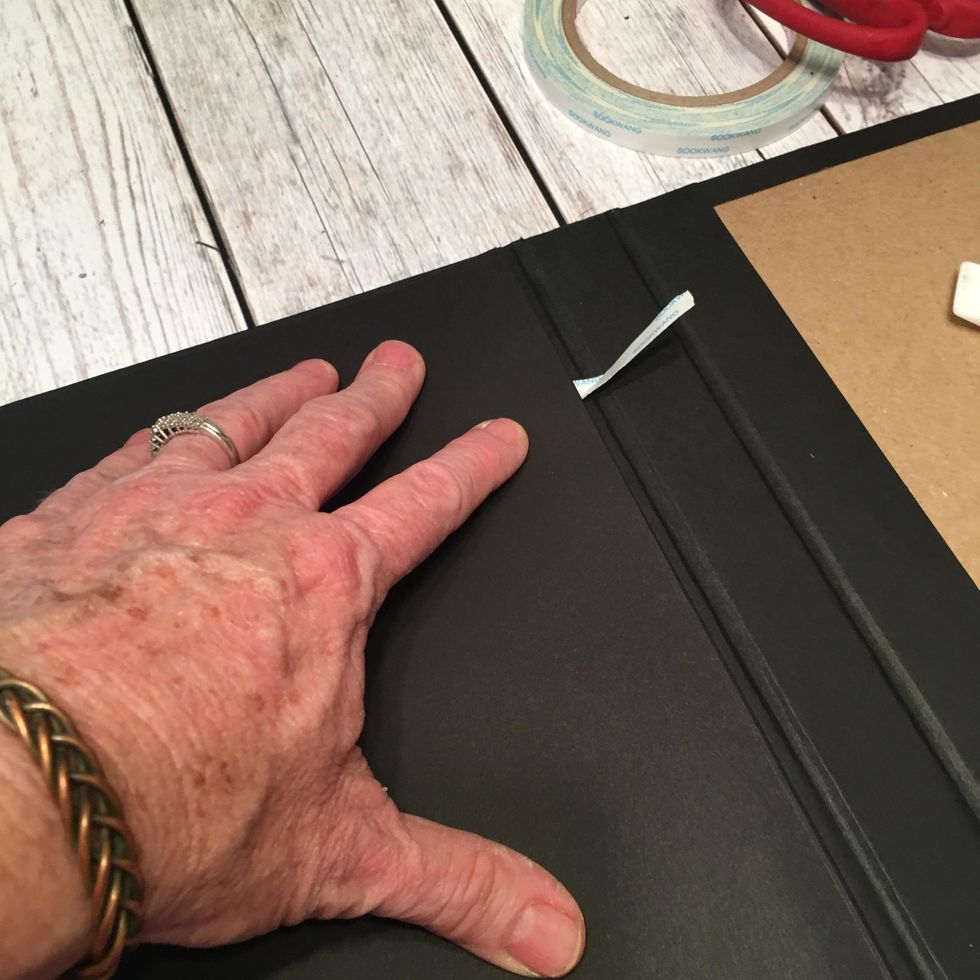
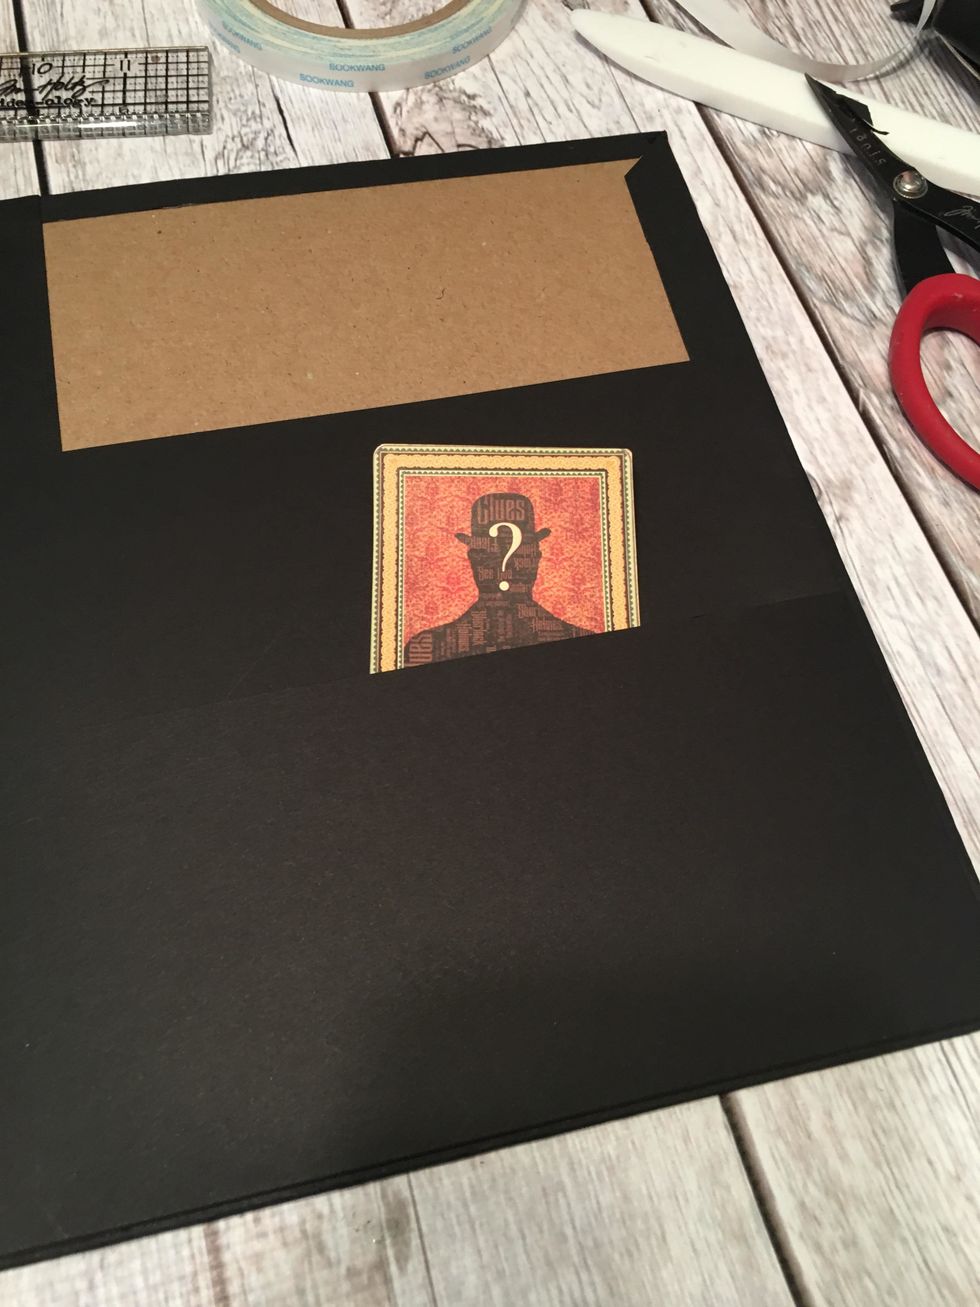
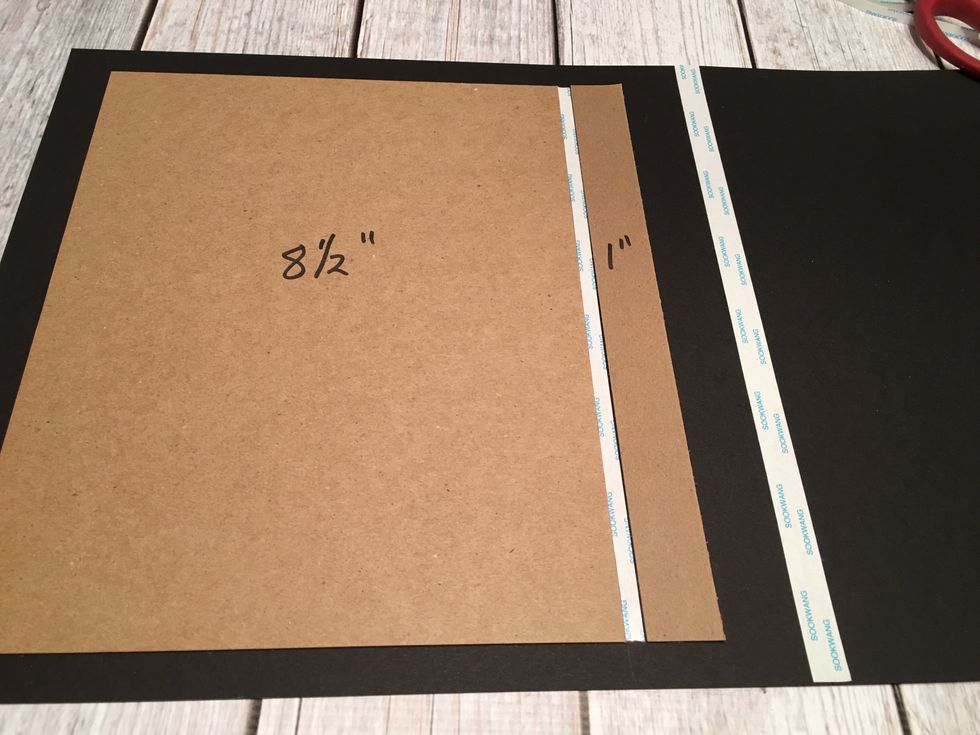 Place a strip of 1/4" tape on to the card stock as a spacer before attaching one of the 1" chipboard pieces as shown.
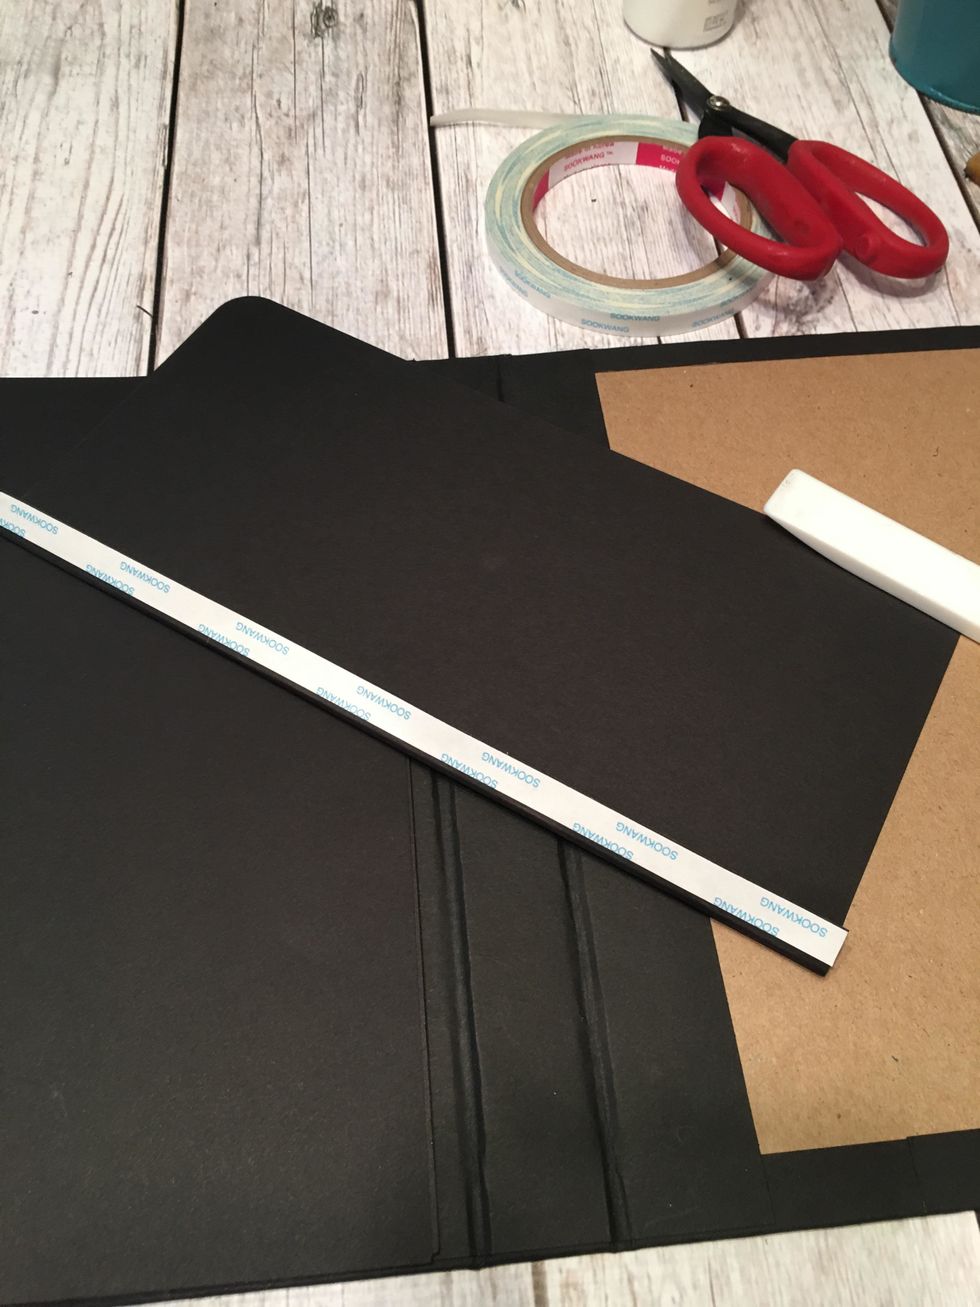
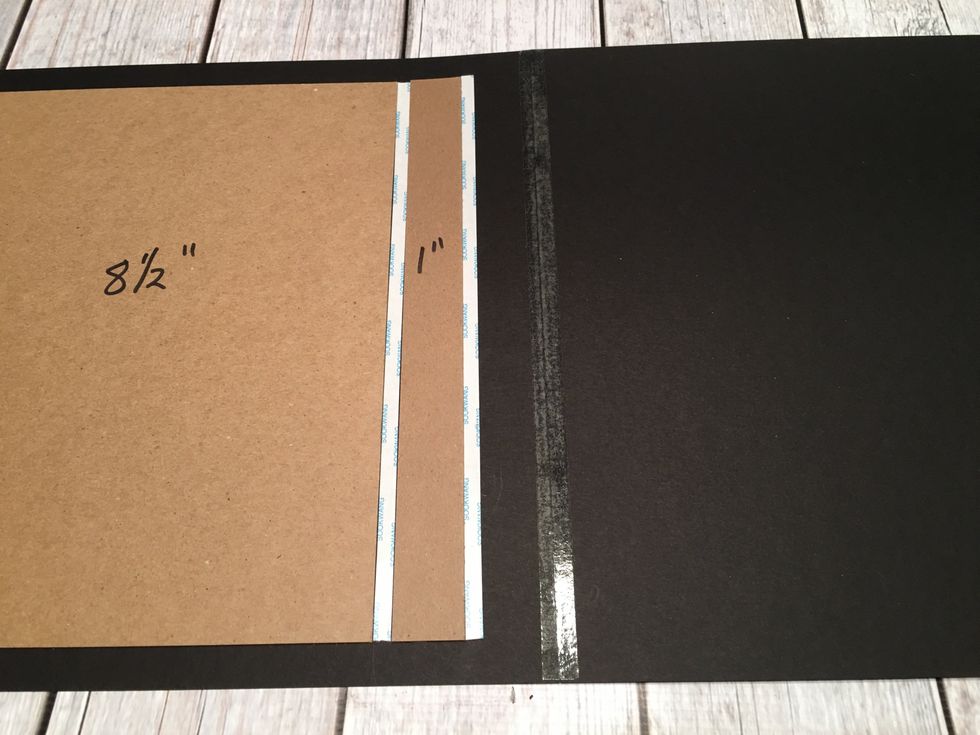 Place another strip of 1/4" tape along the edge of the 1" chipboard and remove the tape backing from the card stock as shown.
 Next adhere one of the 9" chipboard pieces along the spacer tape as shown. NOTE: Make sure to keep the ends of all the chipboard even and straight.
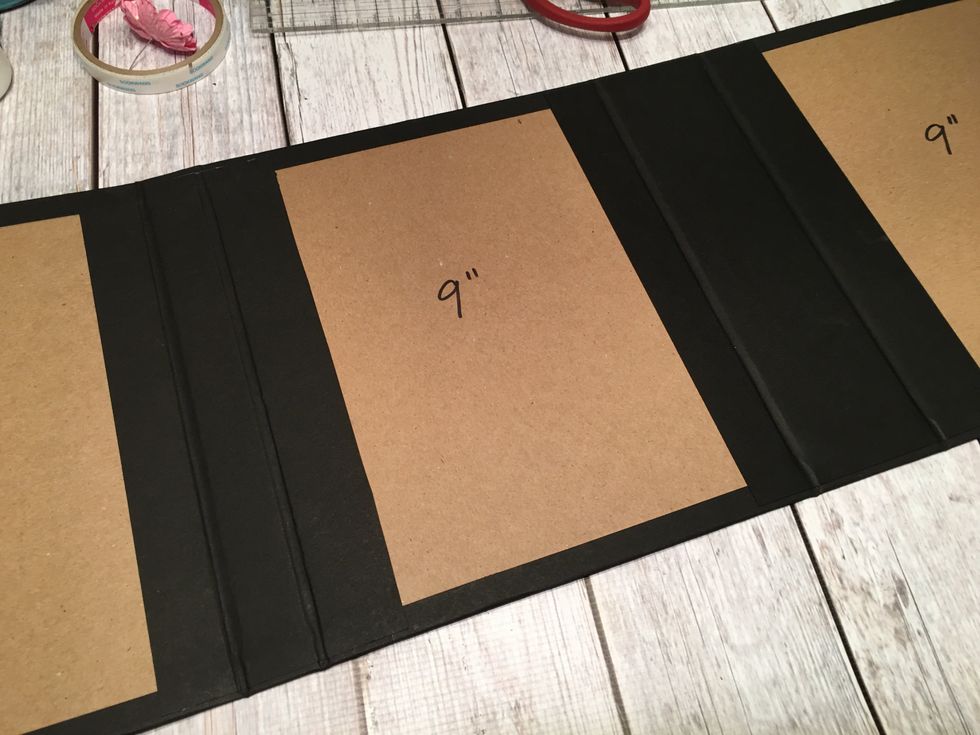
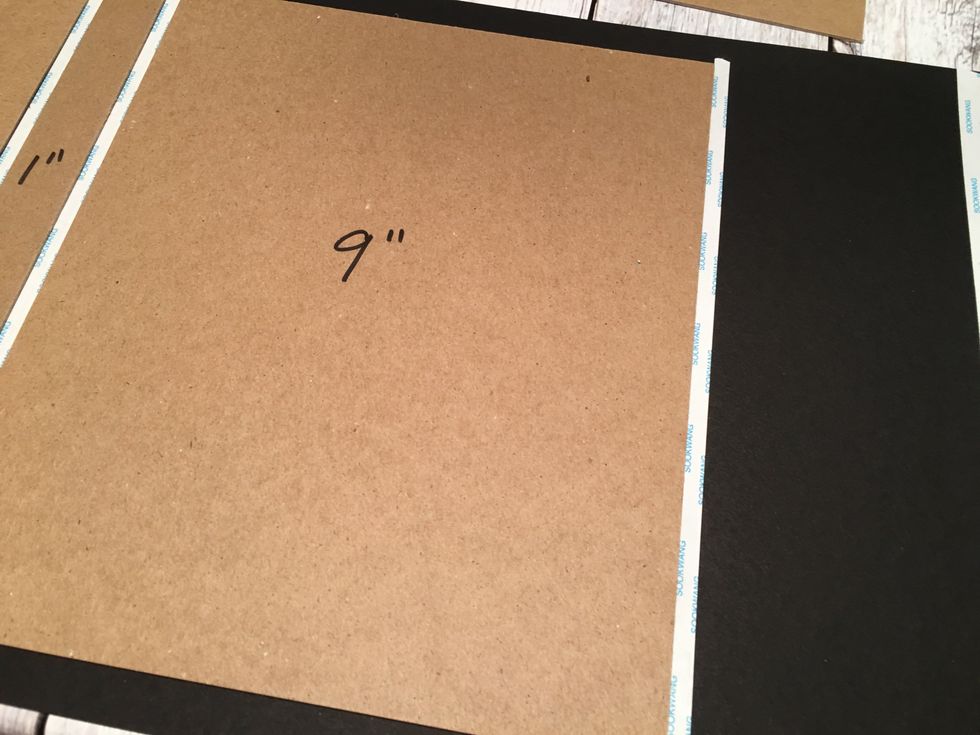 Add another strip of 1/4" scor-tape as a spacer.
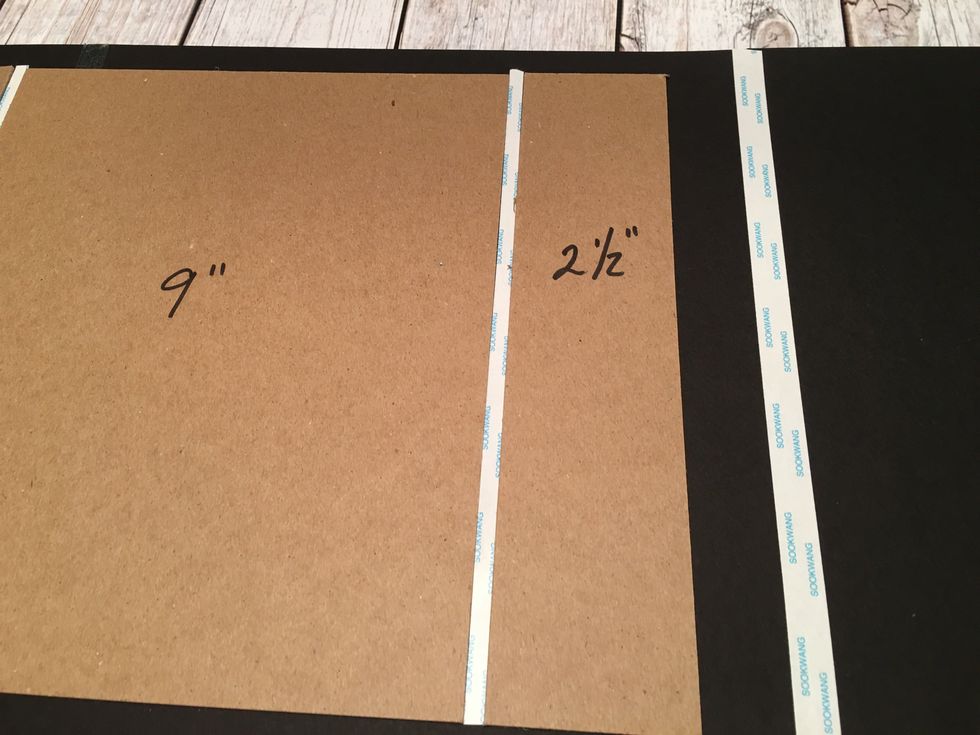 Attach the one 2 1/2" chipboard pieces along the spacer tape as shown.
 Again, add 1/4" spacer tape and remove the tape backing off of the card stock as shown.
 Attach the second 9" chipboard piece along the spacer tape.
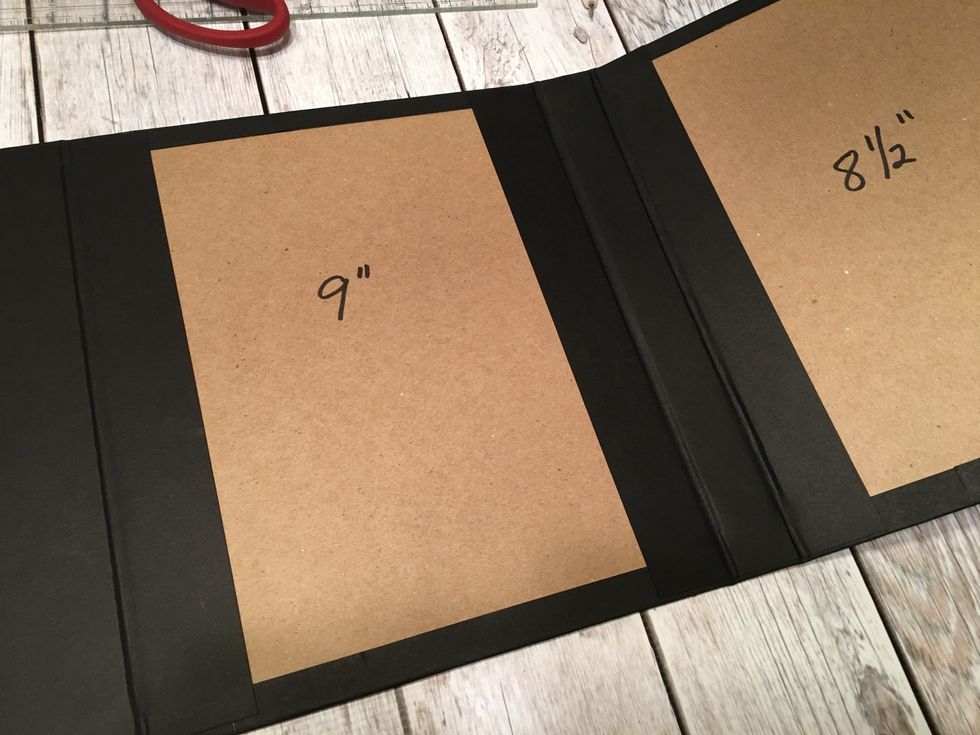
 Add another spacer tape and the second 1" chipboard piece followed by another 1/4" spacer tape as shown.
 Attach the last 8 1/2" chipboard pieces along the 1/4" spacer tape.
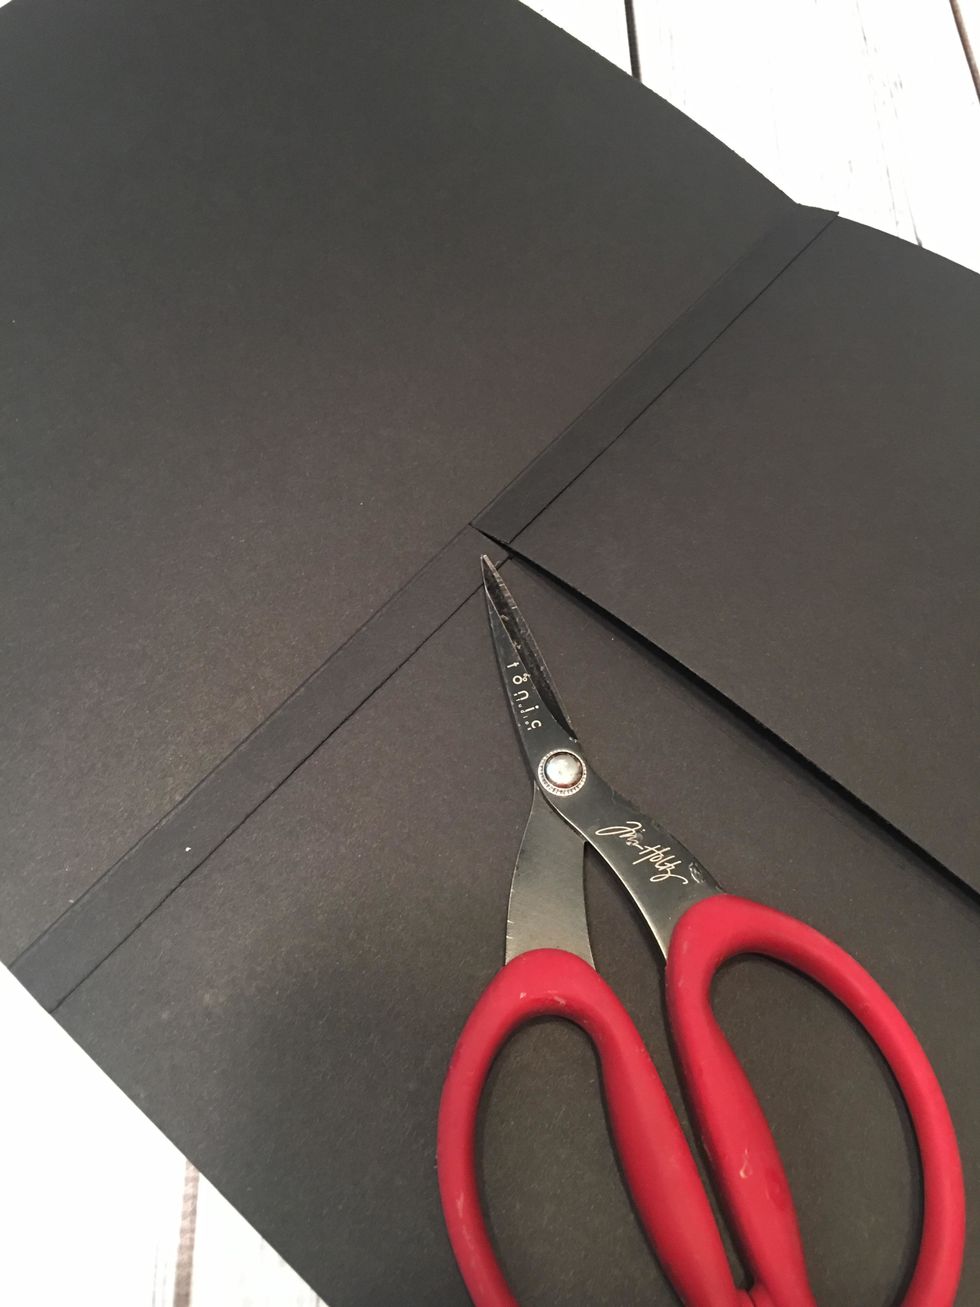
 Trim off the right edge of the card stock so you have about 3/4" -1" of paper extending. You will have at least 3/4" of paper on all four edges to wrap your cover.
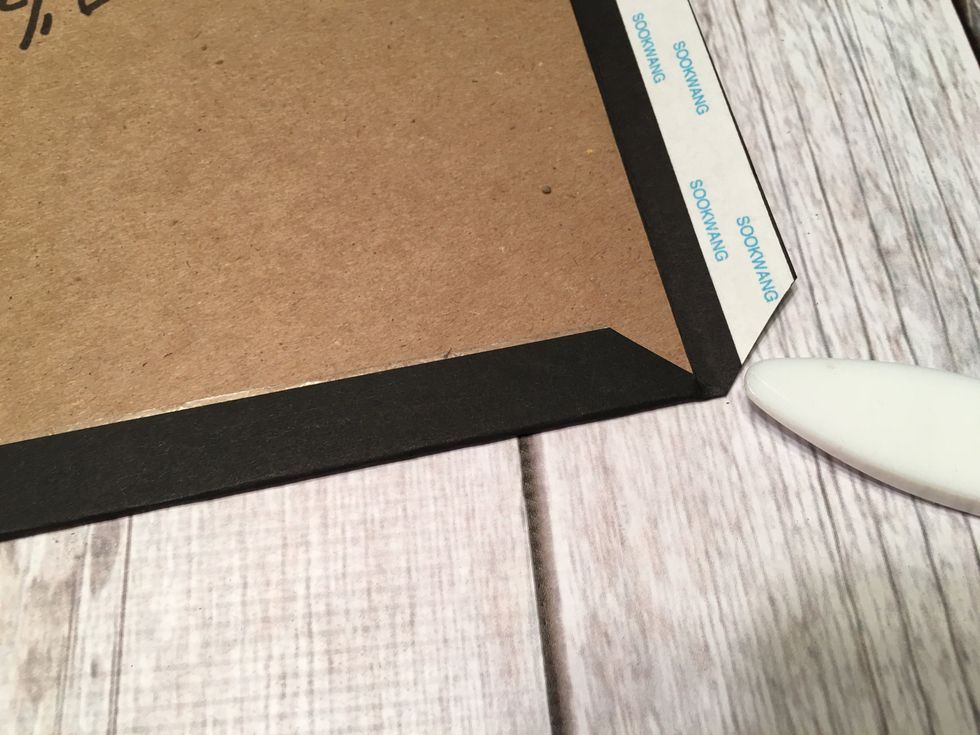
 Apply 3/8" scor-tape to the card stock edges that extend on all four sides. Remove the tape backing between each section of the chipboard pieces. Not shown: Miter cut all 4 corners of the card stock
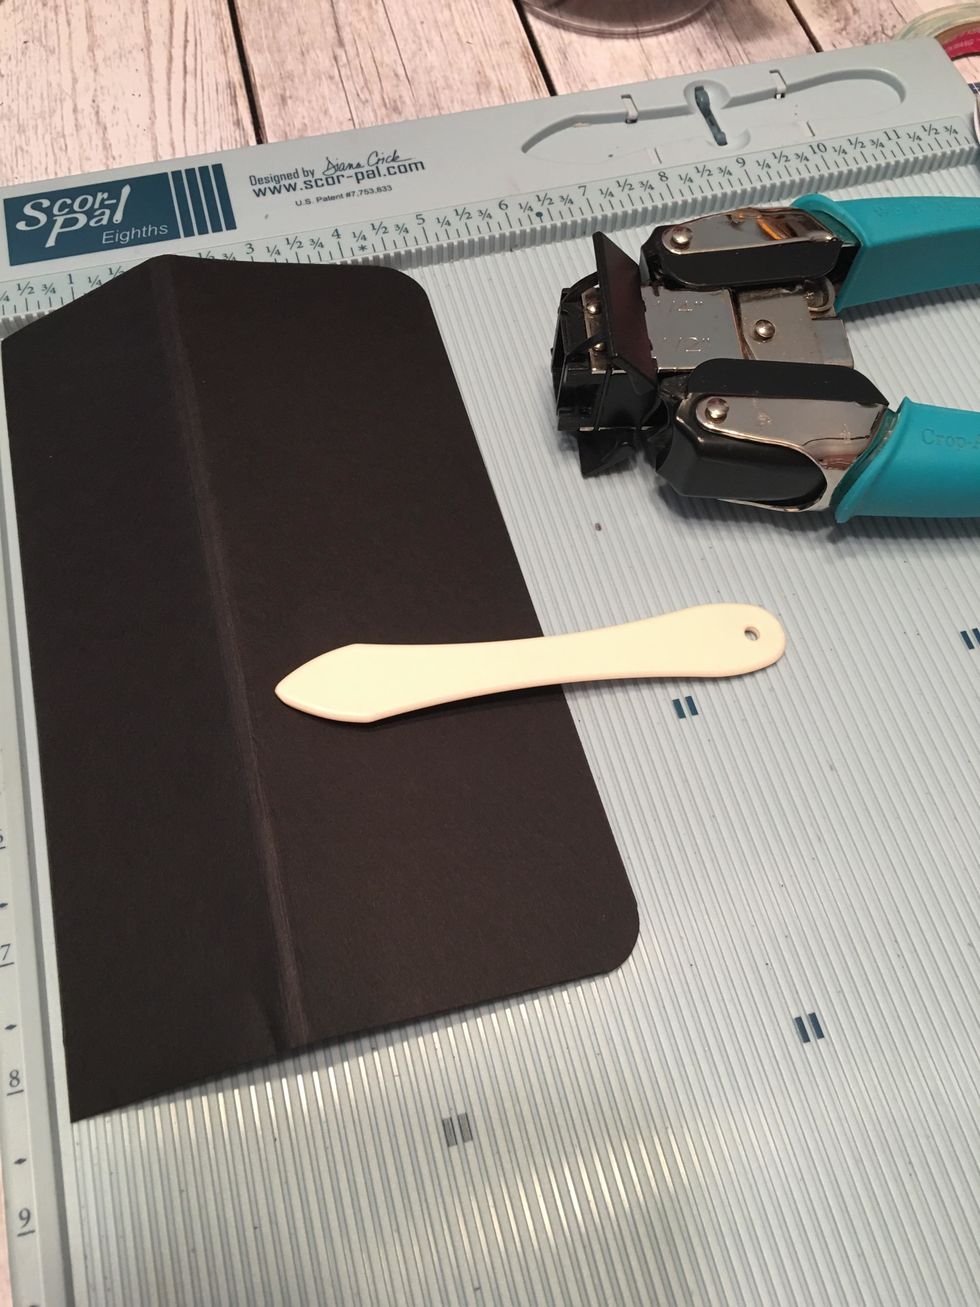
 Peel the tape backing off the long edges first and use your bone folder to fold the card stock over on to the chipboard. Burnish the edges.
 Use your bone folder or fingernail to press any card stock that sticks out at the mitered corners so it will be covered when you attach the short sides down.
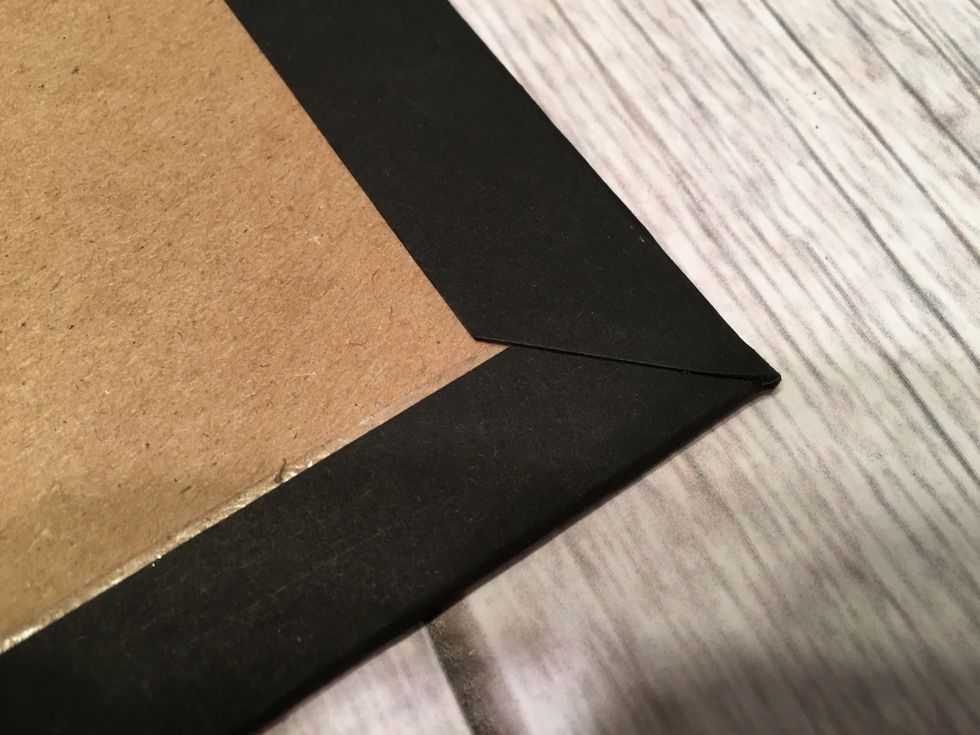 Peel the tape backing off and attach the short sides down as shown burnish the corners for a nice mitered look.
 Cut black card stock 2 each @ 10 1/2" x 4" and 1 each at 10 1/2" x 5 1/2" to cover the spine areas inside the album.
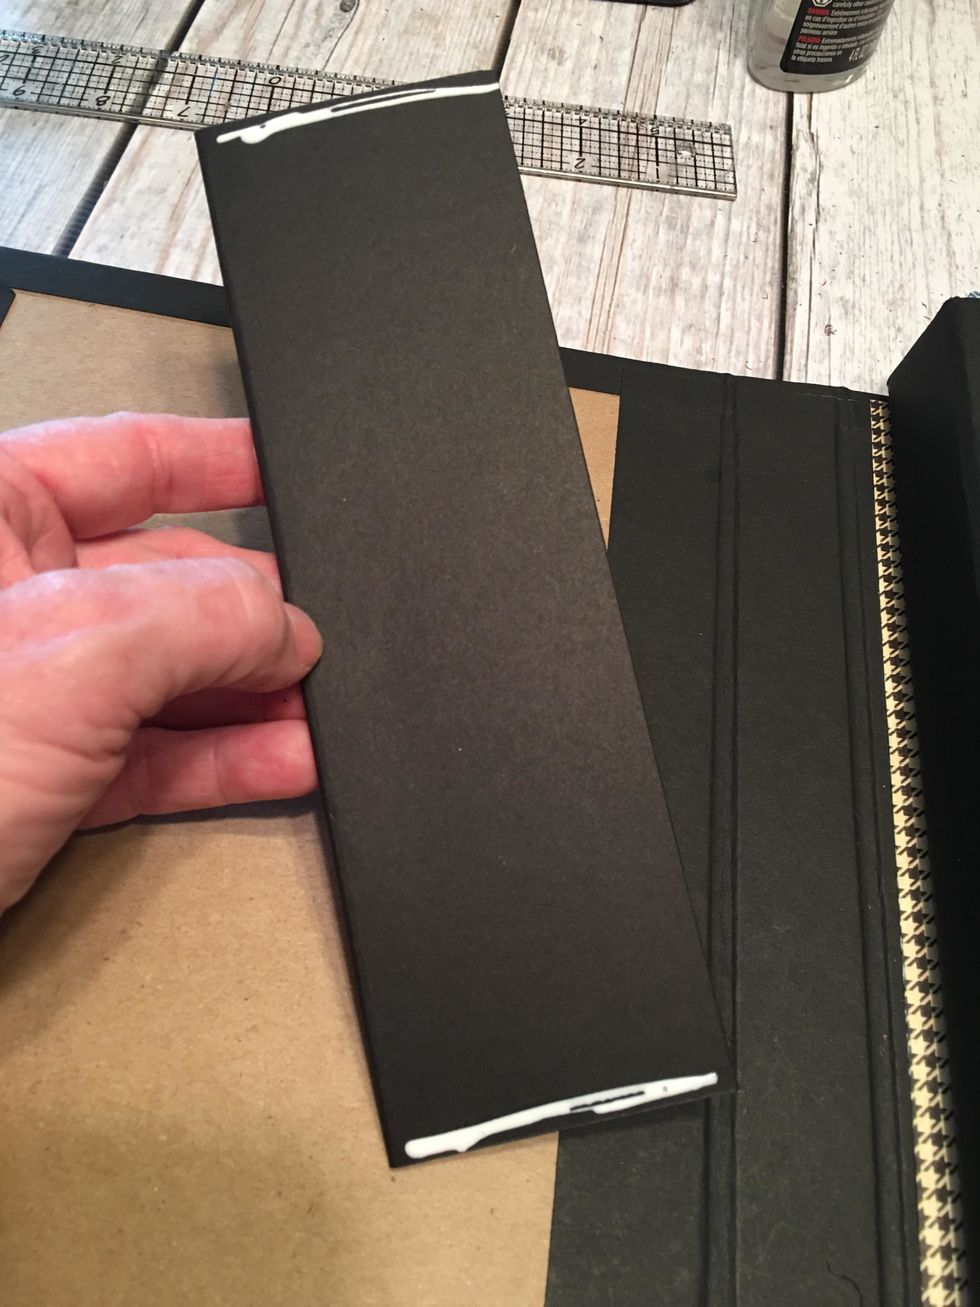
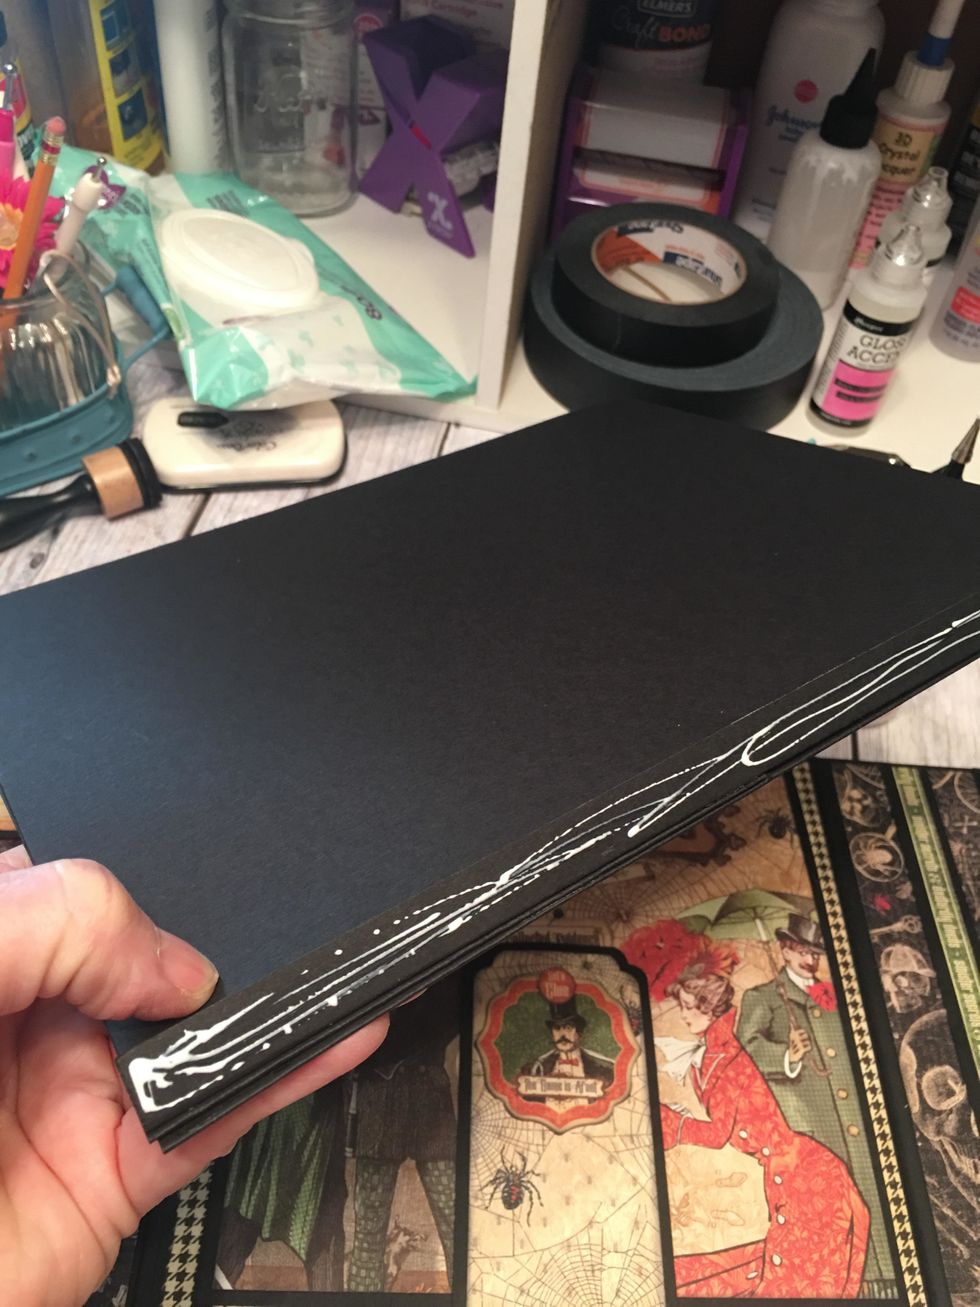
 Use scor-tape around the perimeter and glue on the center to attach these to the inside.
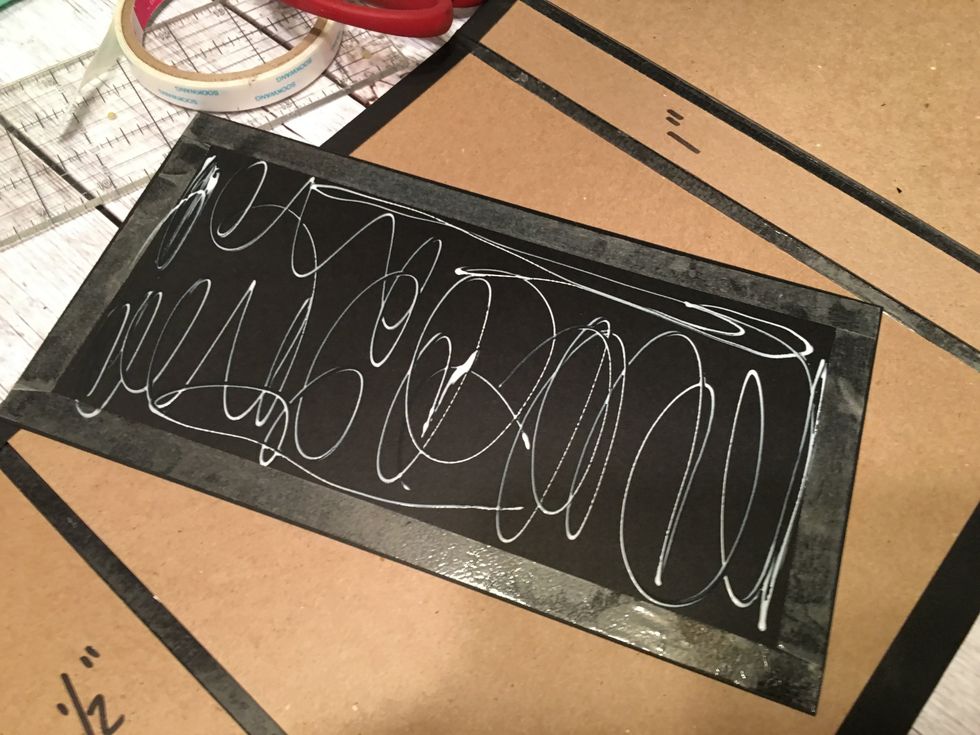
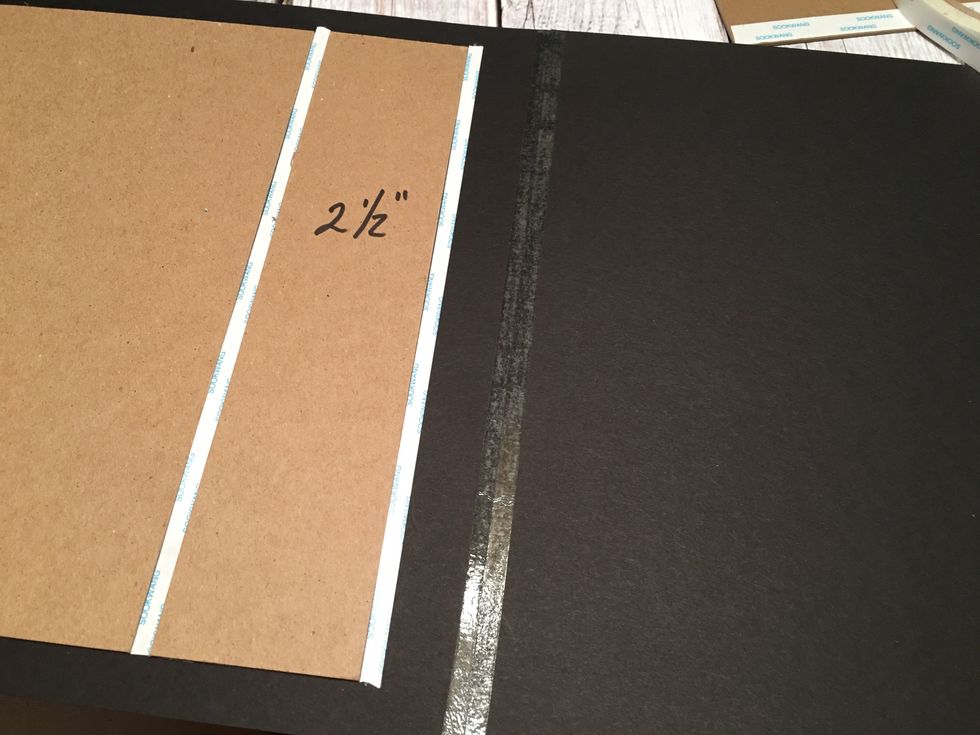
 Attach the 5 1/2" wide piece over the 2 1/2" spine section and the other two pieces over the 1" spine sections. Gently burnish the fold lines as shown.
 Gently fold up the sections of the folio. The 2 1/2" spine will be to the left and the two 1" spines will meet together on the right.
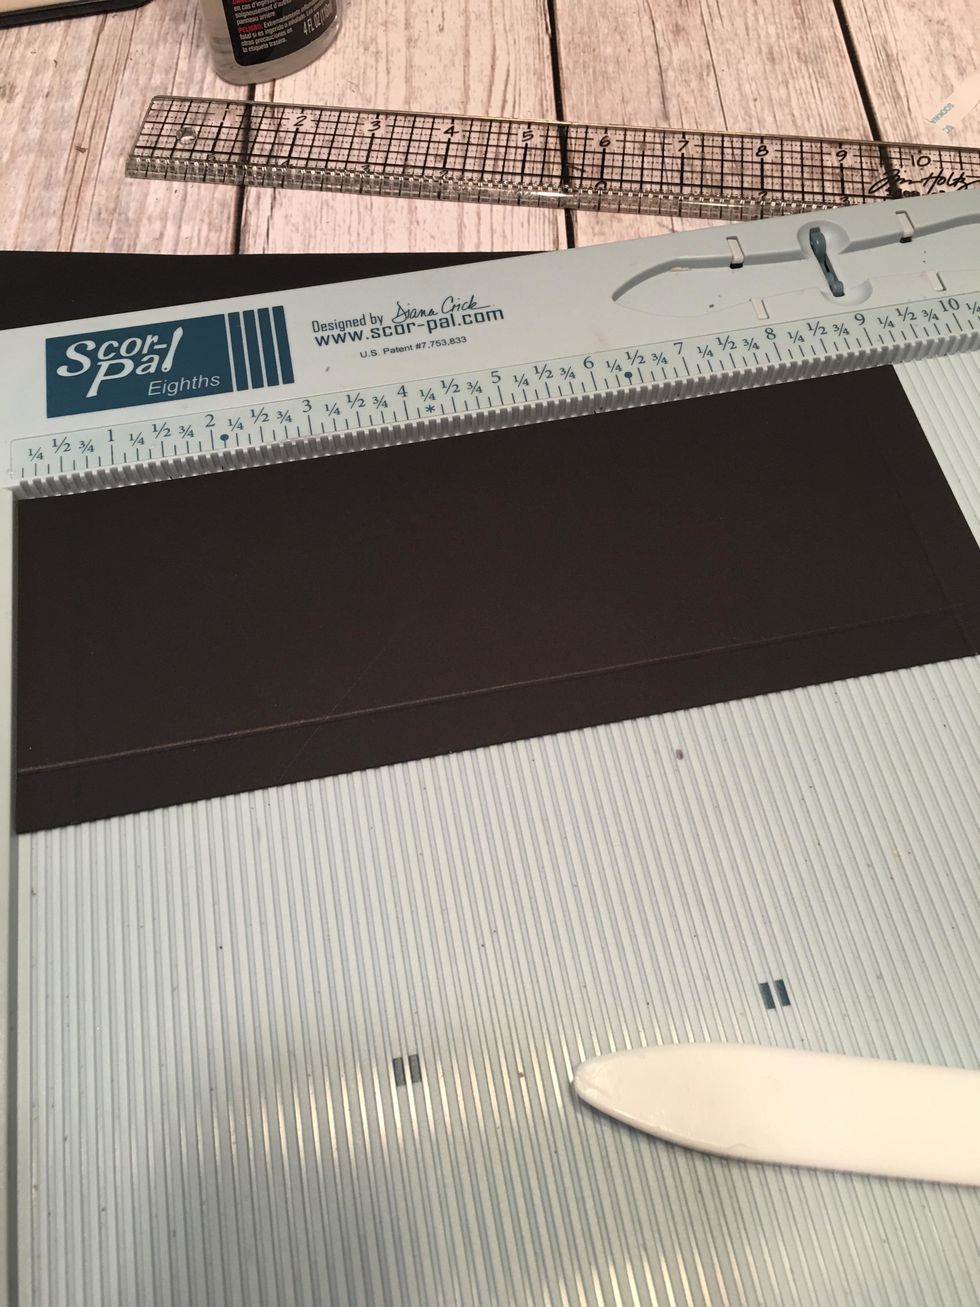
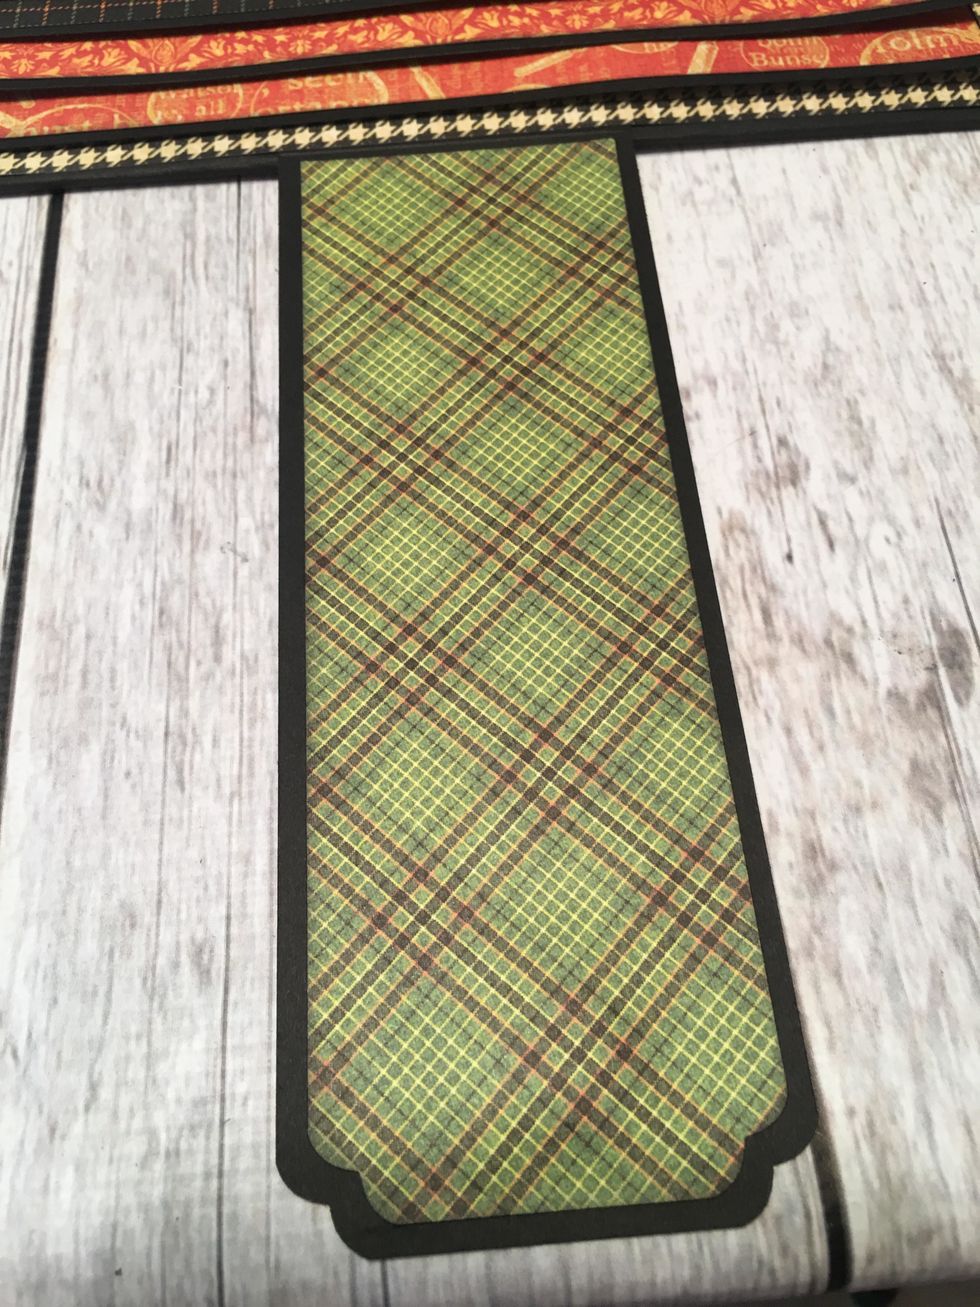
 Cut 6 each 8" x 8 1/2" black card stock for waterfall pages. Score the 8 1/2" side at 1/2" to create a 1/2" hinge and 8"x 8" square waterfall pages.These will go into the first 9" section of the album
 Fold and burnish the scor-line on each waterfall page and add 3/8" scor tape (or use glue to attach these into your album)
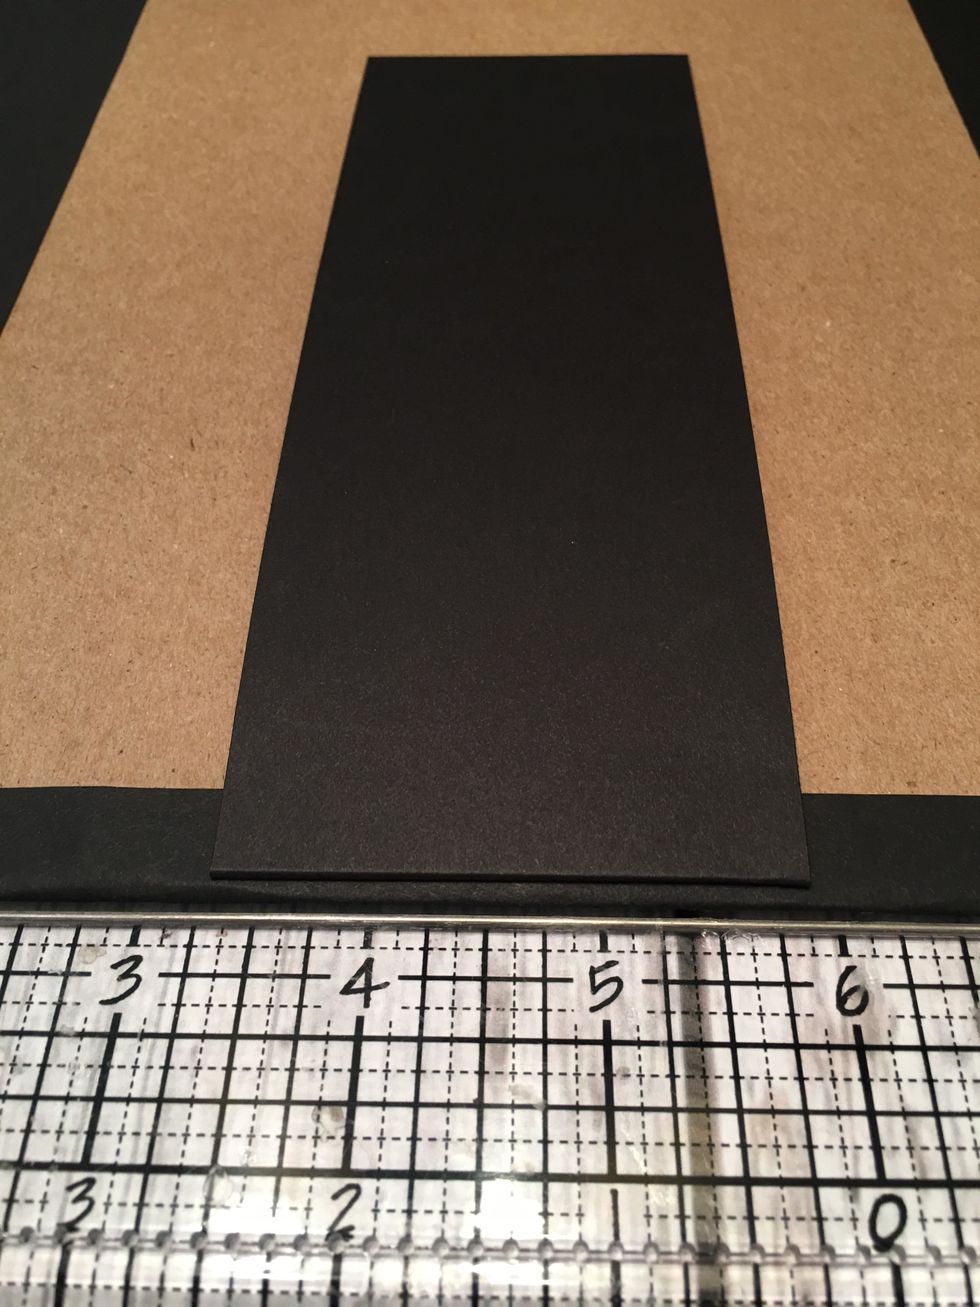
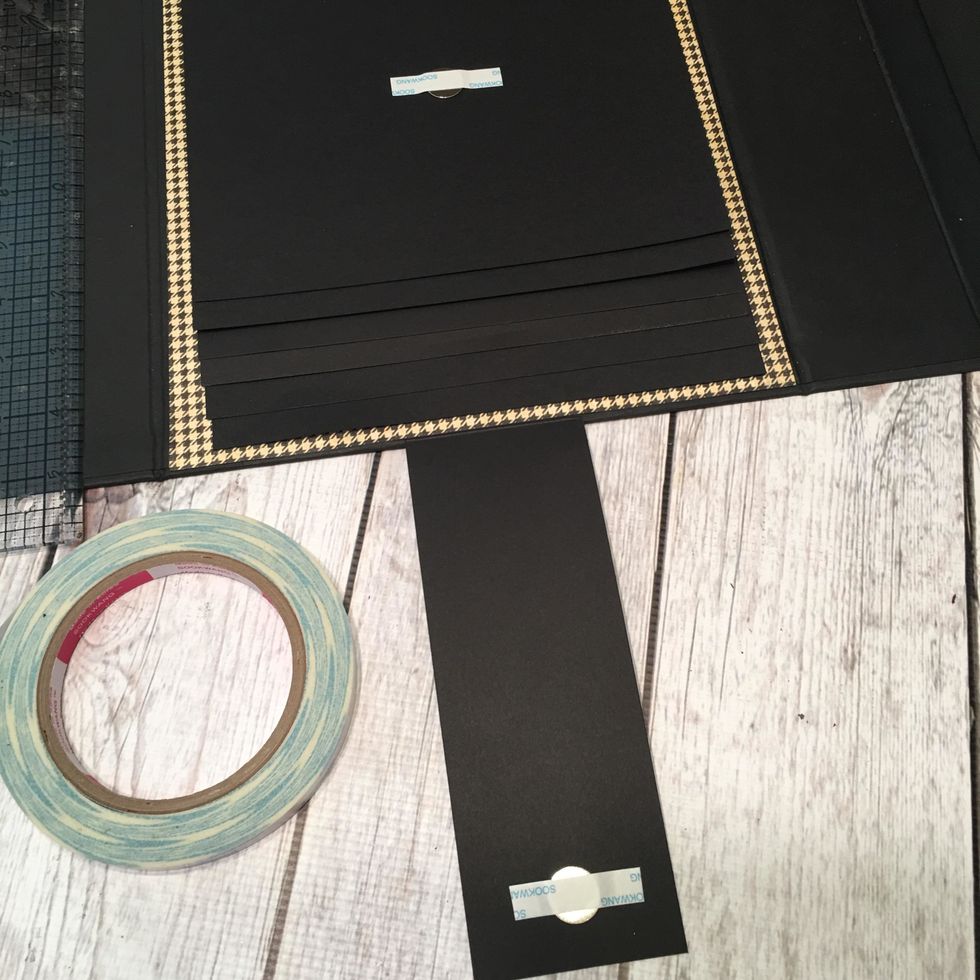
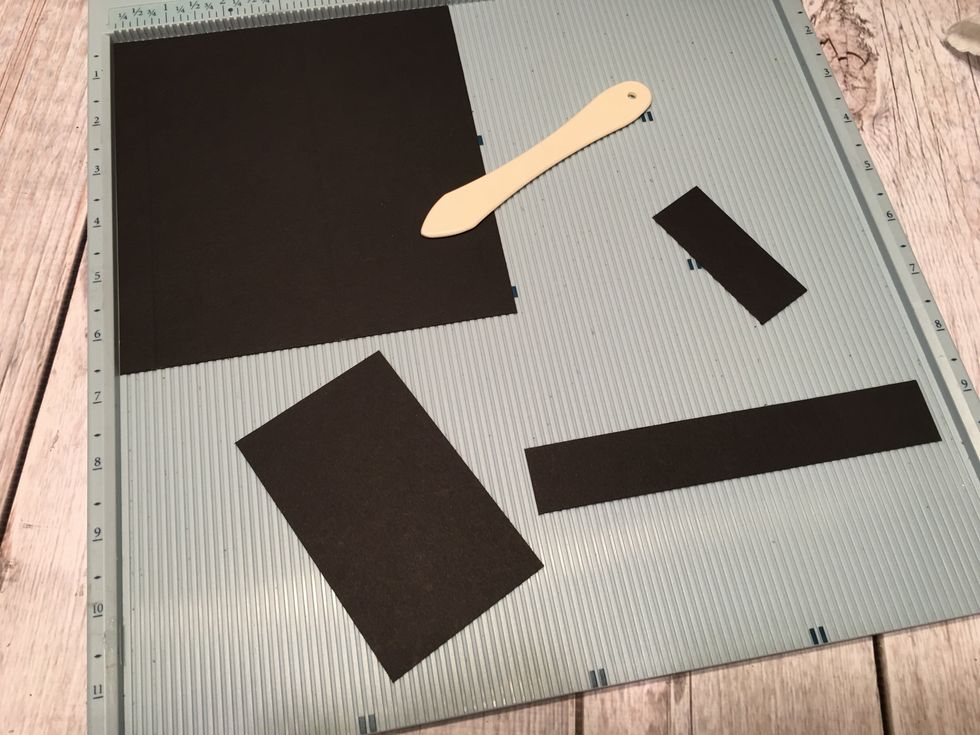
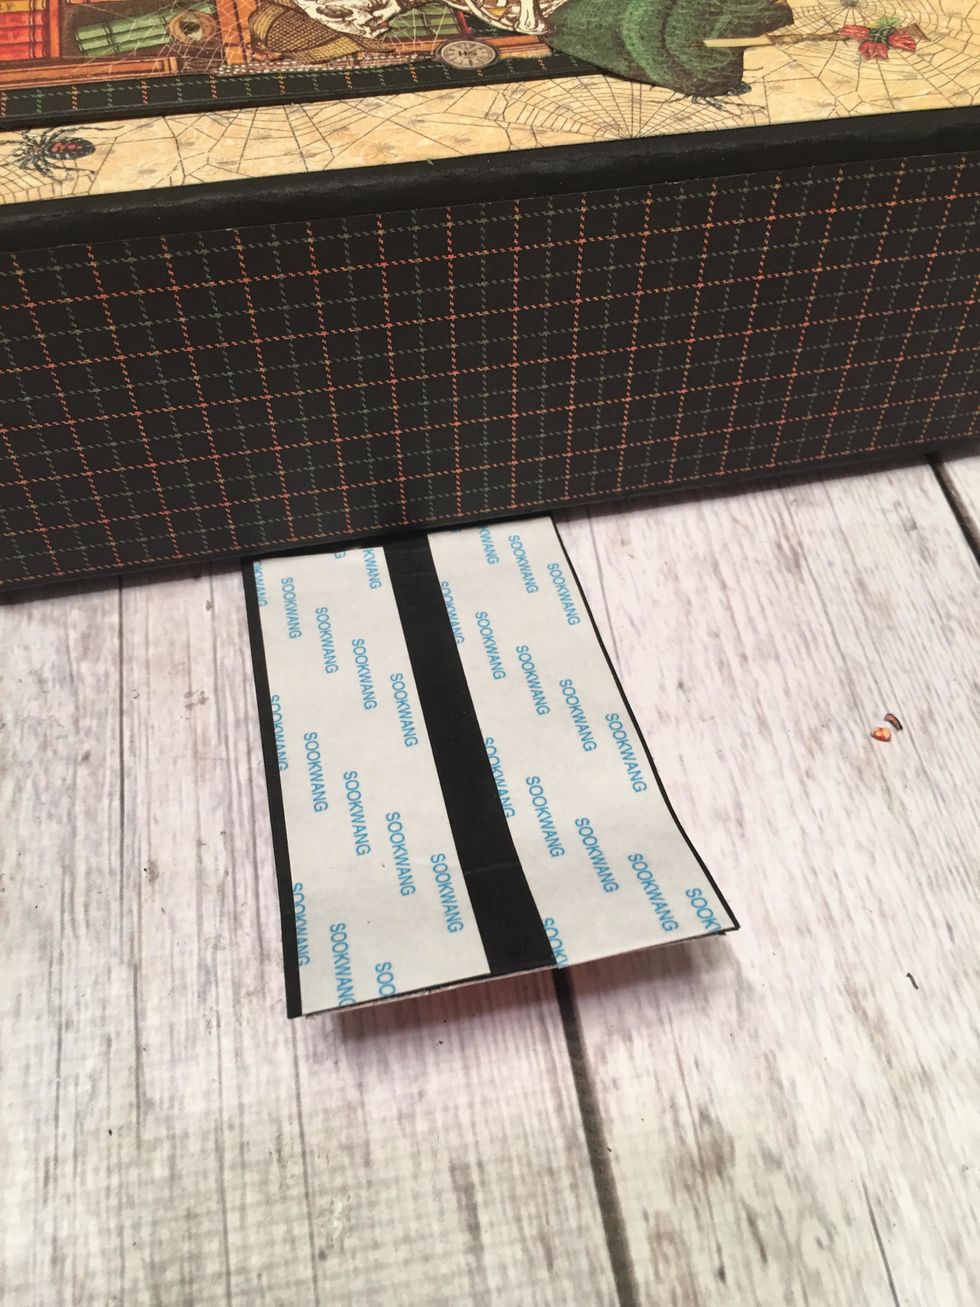
 You will also want to create a closure piece for the waterfalls. Cut 1 each 7 1/2" x 2 1/2" black card stock and score the 7 1/2" side at 1/2".
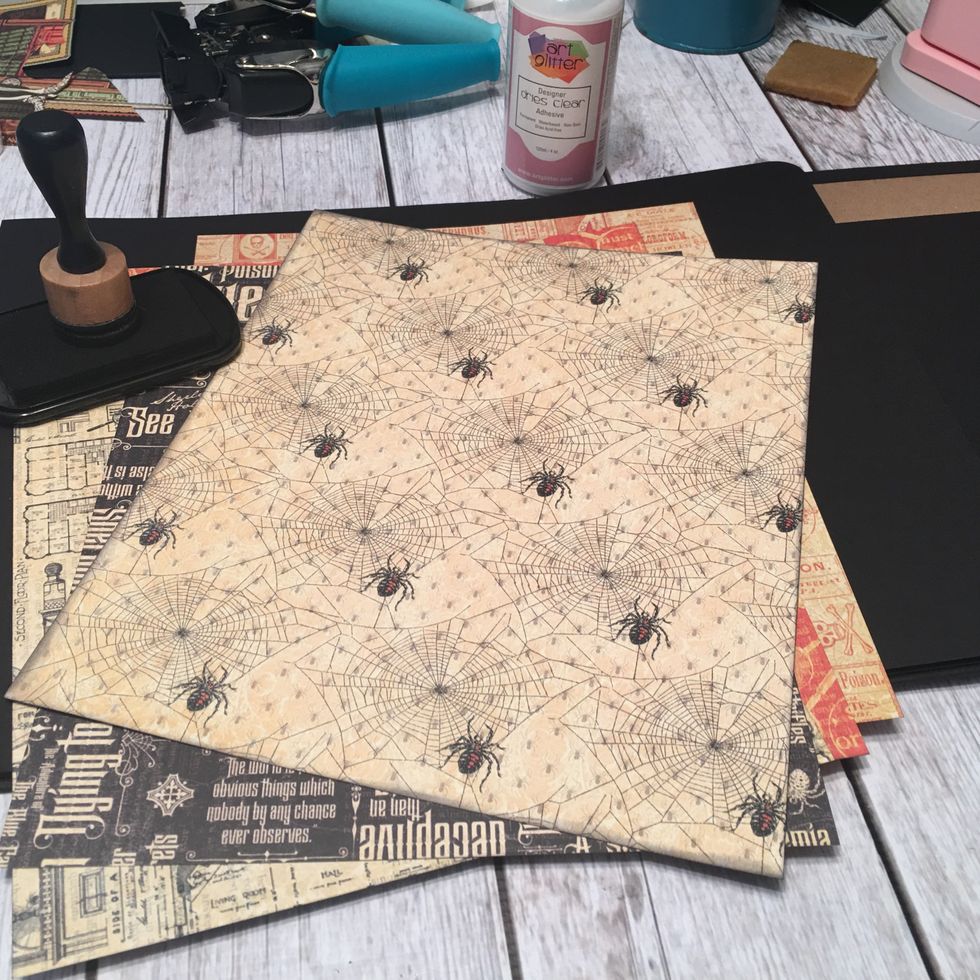
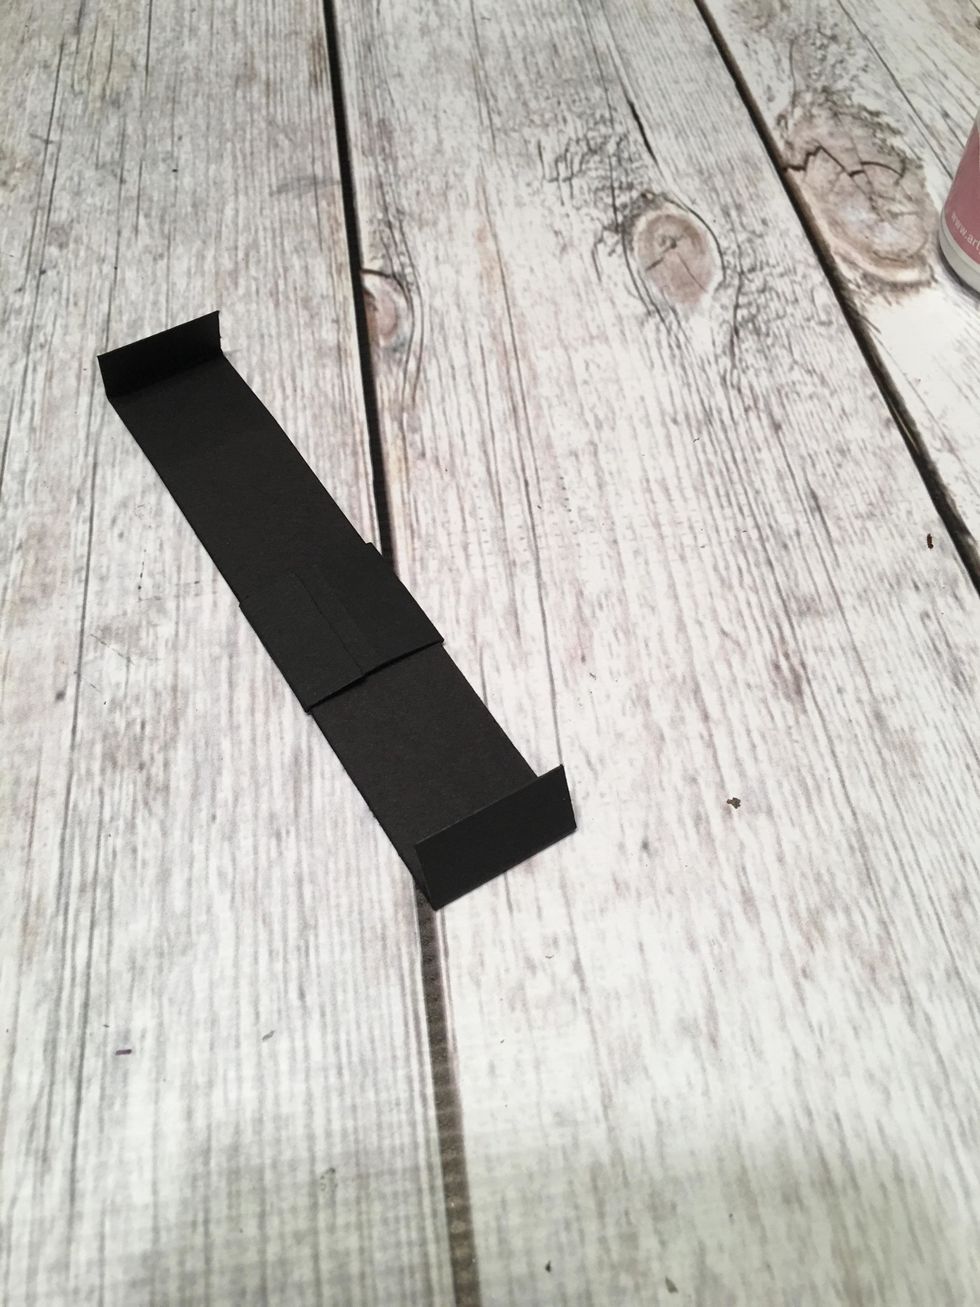
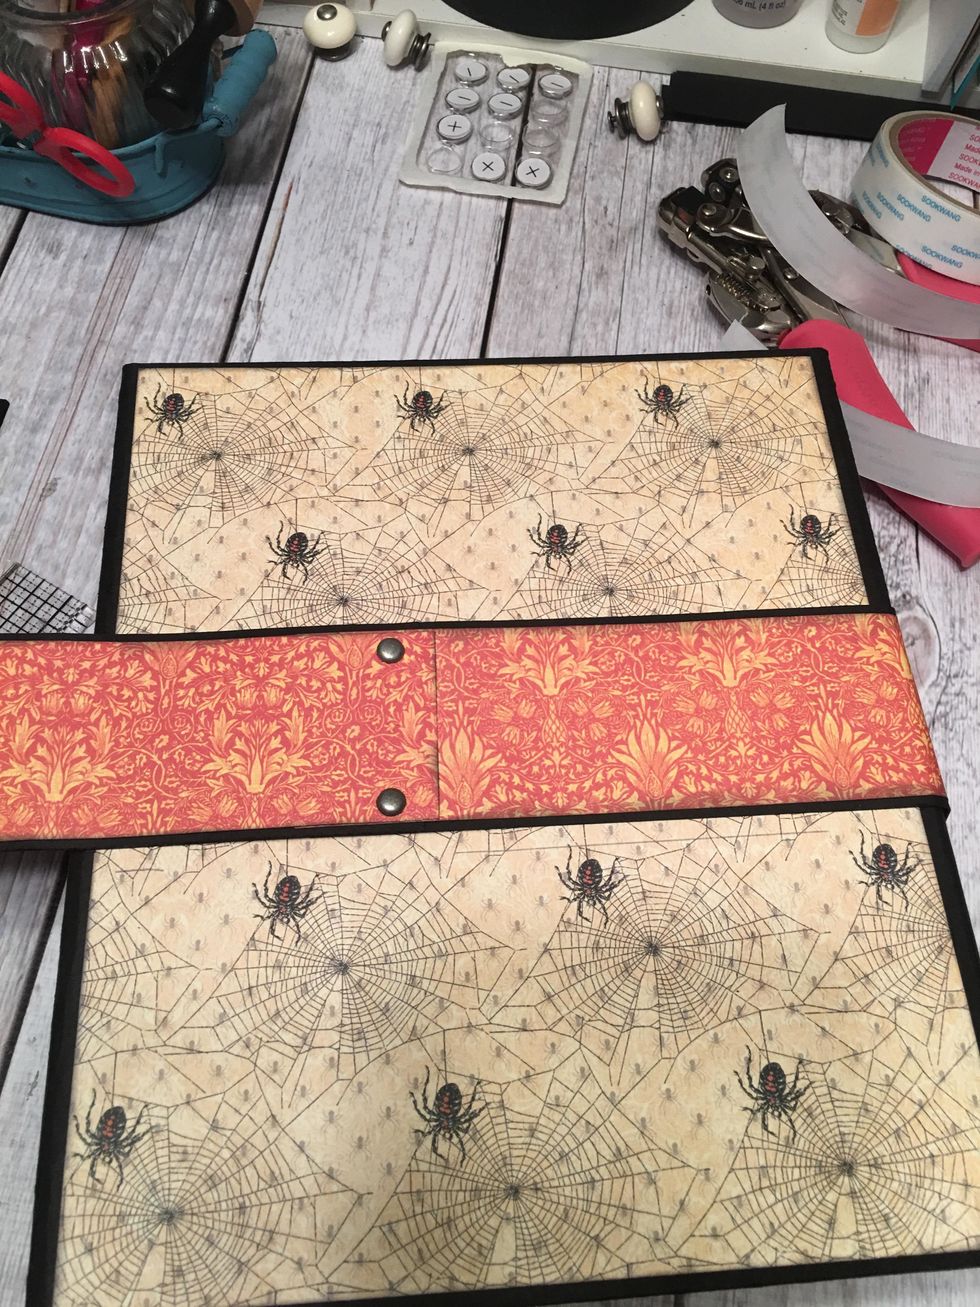
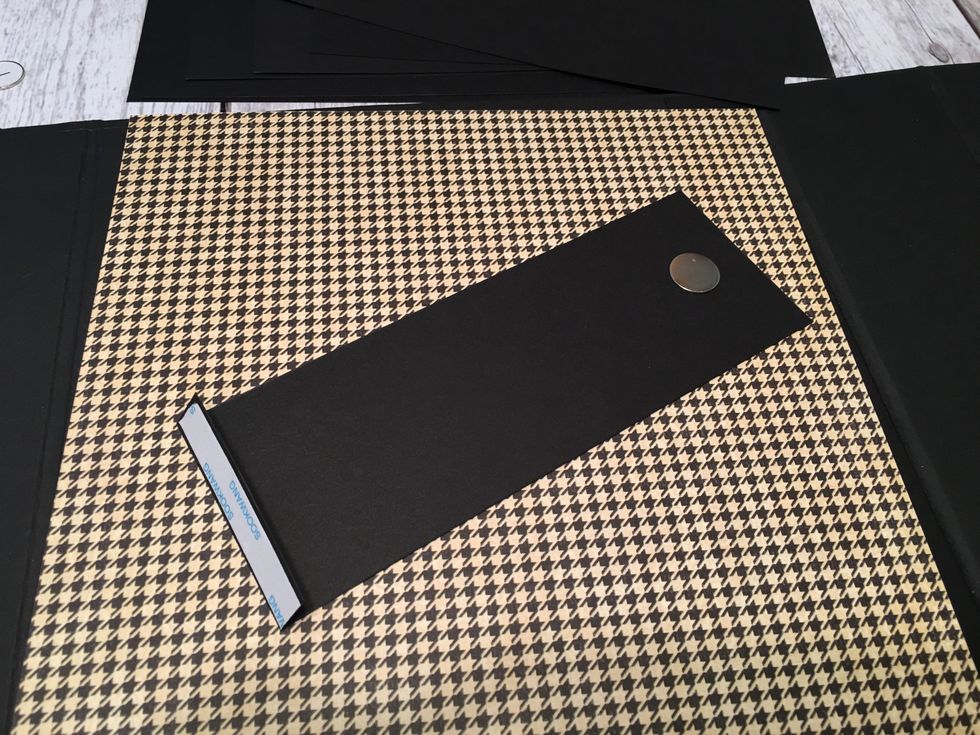 Fold the score line and add 3/8"scor-tape to the hinge as shown. Attach a large magnet snap to the opposite end. Note: the patterned paper is lying on my worktable and not attached yet to the album.
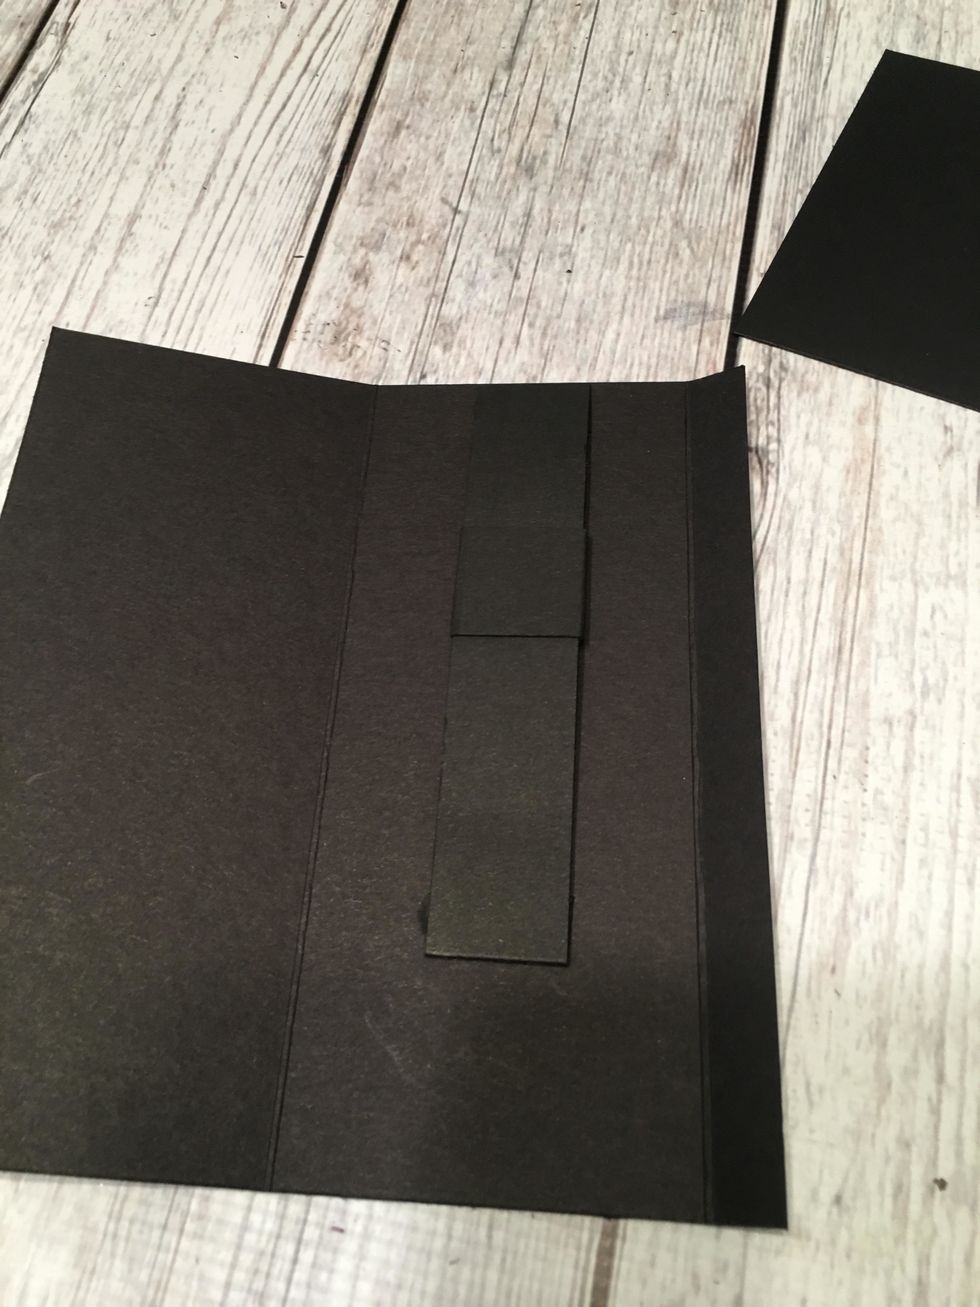
 Attach centered along the bottom edge of the first 9" section where you will attach the water fall pages. Make sure the magnet side is facing down.
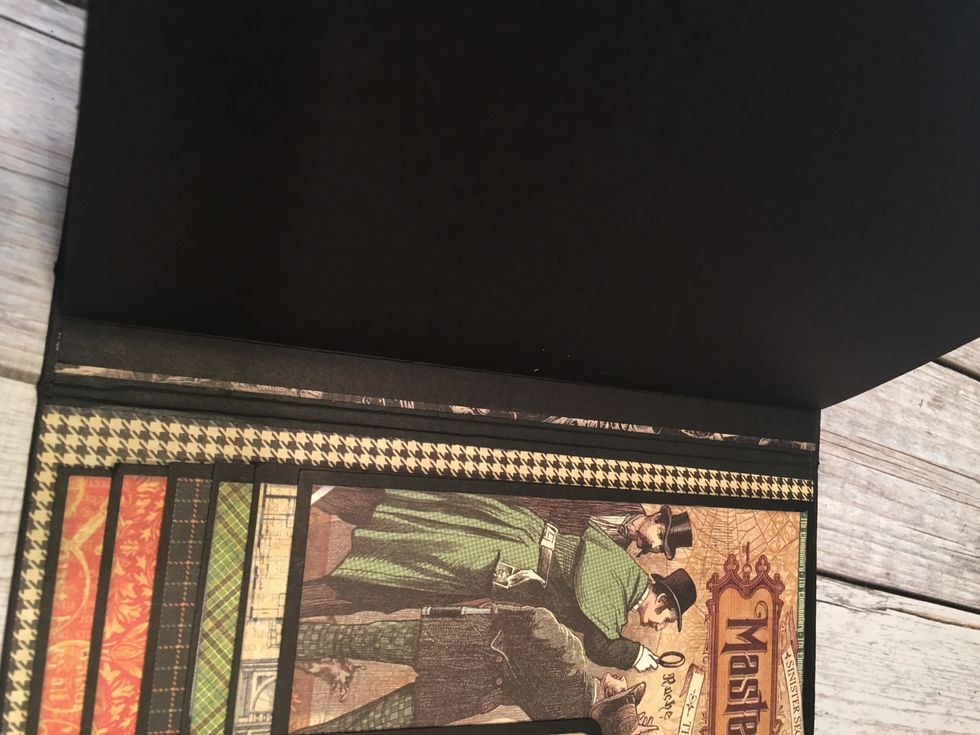
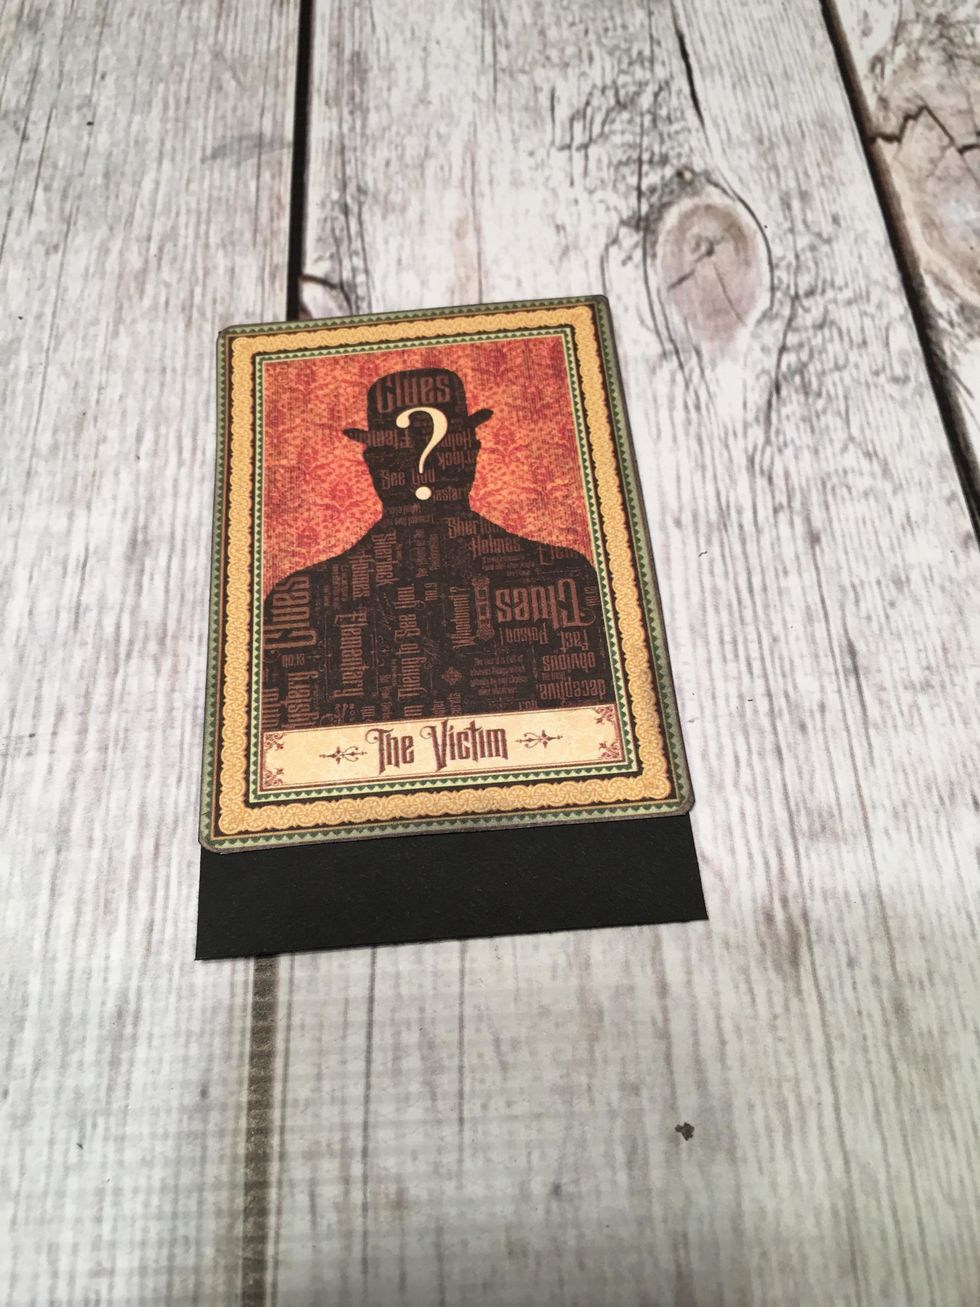
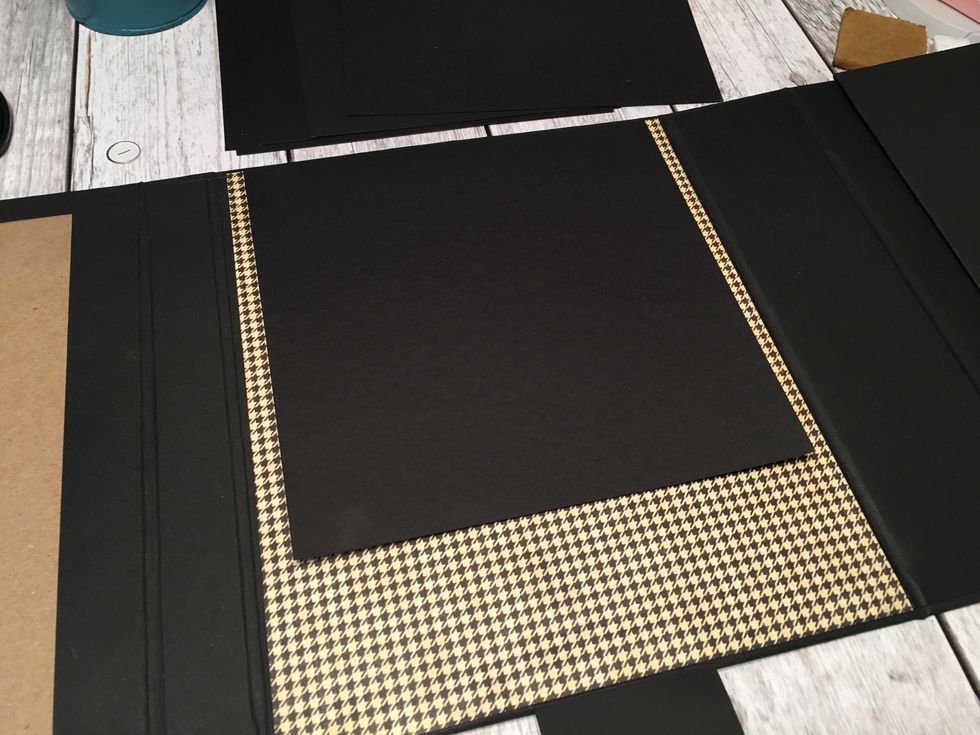 Adhere patterned paper onto the 9" section and then attach your first waterfall page using the 1/2" hinge at the top.
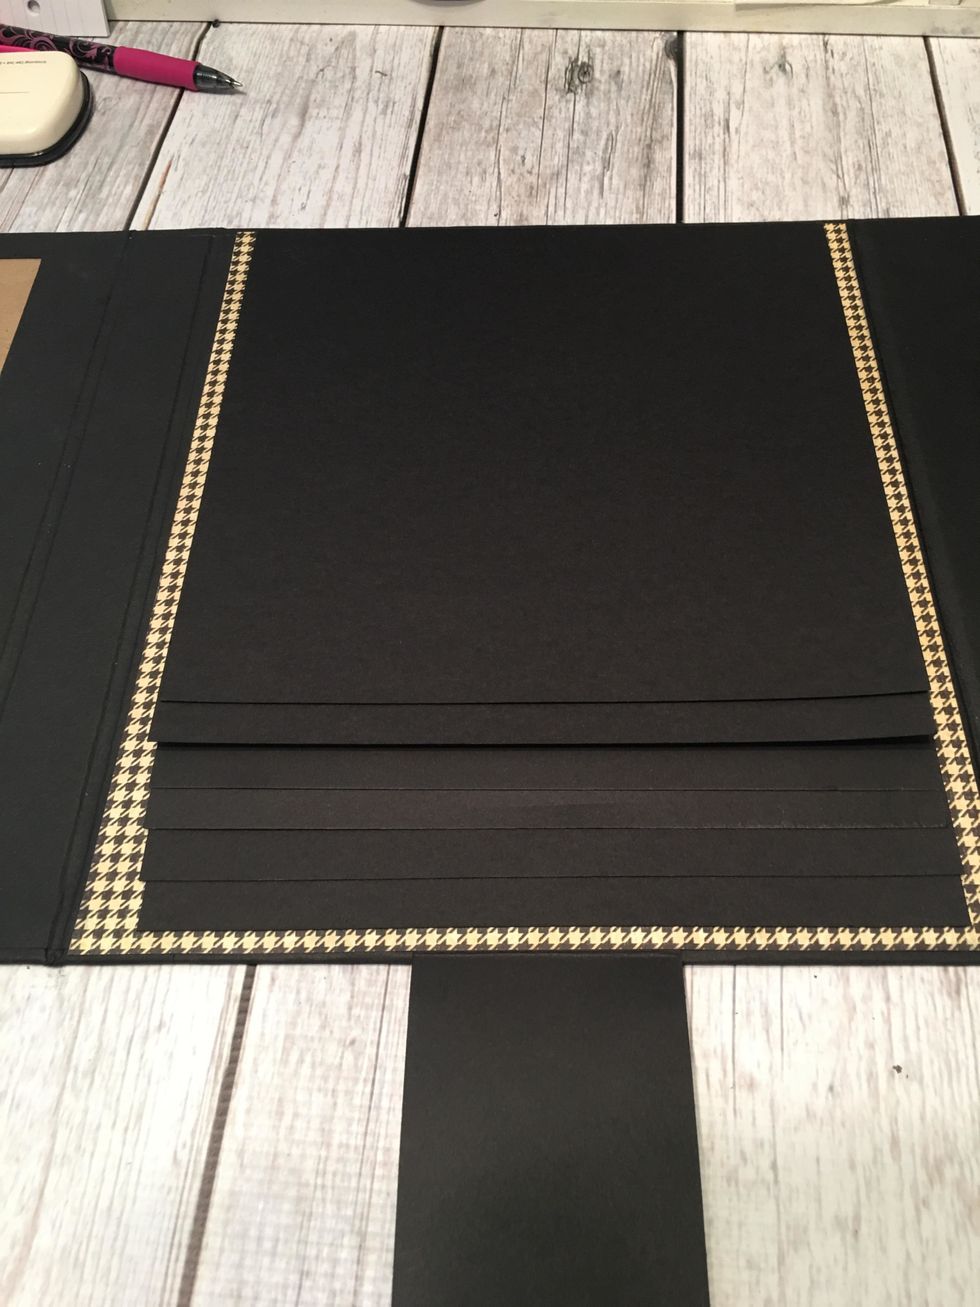 Continue attaching the waterfall pages as shown, Leave a 1/2" space between each page at the top and make sure you line them up straight so you will see about 1/2" of each page at the bottom.
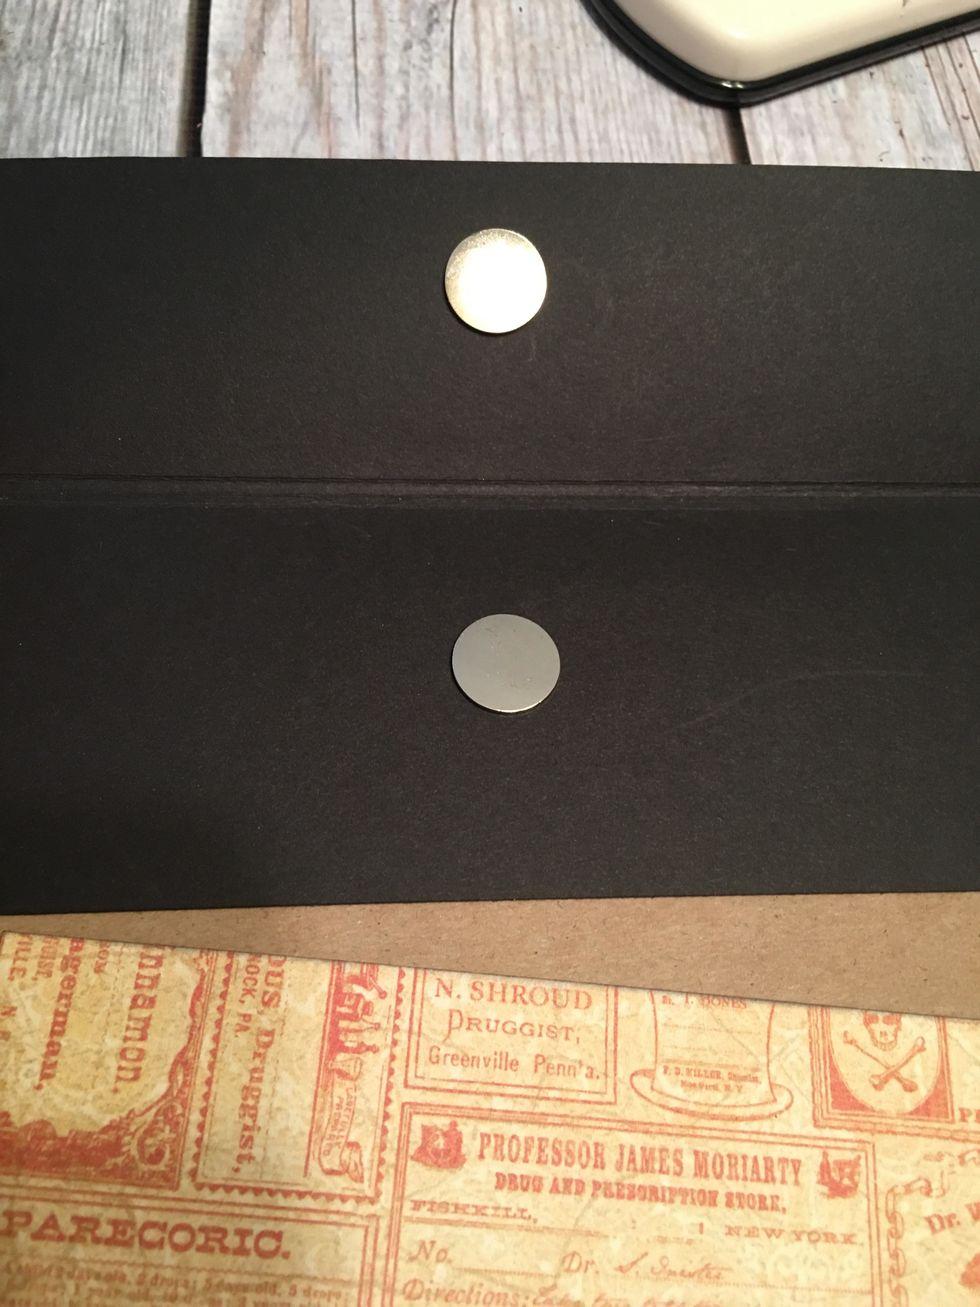
 Attach an opposing magnet to the magnet on the closure piece and then close up the flap and let the second magnet attach to the first waterfall page. Use tape to secure each magnet in place as shown
 When the flap is closed, the magnets will keep the waterfall pages closed as shown in this photo.
 Cut three each 10 1/2" x 9 1/4" black card stock for the pages of the second 9" section. Score the 9 1/4" side on all 3 @ 1/2"
 Fold and burnish the score lines and apply 3/8' scor-tape to the hinges.
 You will attach all three pages together before adhering them into the album. One page stacks on top of the other. Be sure to line them up evenly and straight.
 Place the first page down with the hinge folded under on the left side, attach the second page on top of the first page line up the hinge fold line and then attach the third page on top.
Attach the assembled set of pages into the second 9" section of the album on the left side at least 1/16" from the fold edge of the album.
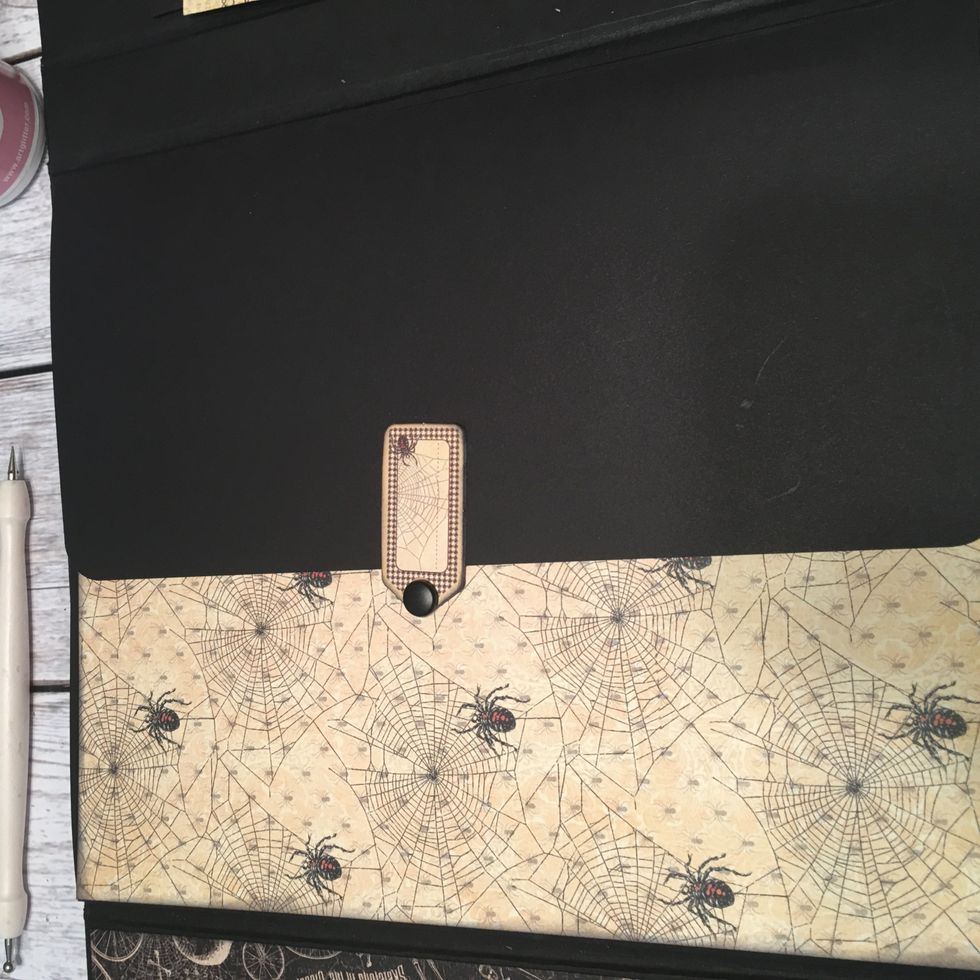
 To create a closure flap for the 2nd 9" section, cut 1 each 10 1/2" x 5 1/2" and score 5 1/2" side at 1/2" and 5/8"
 Round the two corners opposite the 1/2" hinge.
 Fold and burnish the score line and apply 3/8" scor-tape to the hinge as shown.
 Peel the tape backing off the hinge and attach the closure flap to the right side of the 2nd 9" section of the album so it folds over the pages.
 Add 3 pockets to the 2nd 8 1/2" section. for the bottom pocket: cut 1 each out of card stock 9 1/4" x 4 1/2" and score 9 1/4" side at 1/2" & 8 3/4" turn and score 4 1/2" side at 1/2"
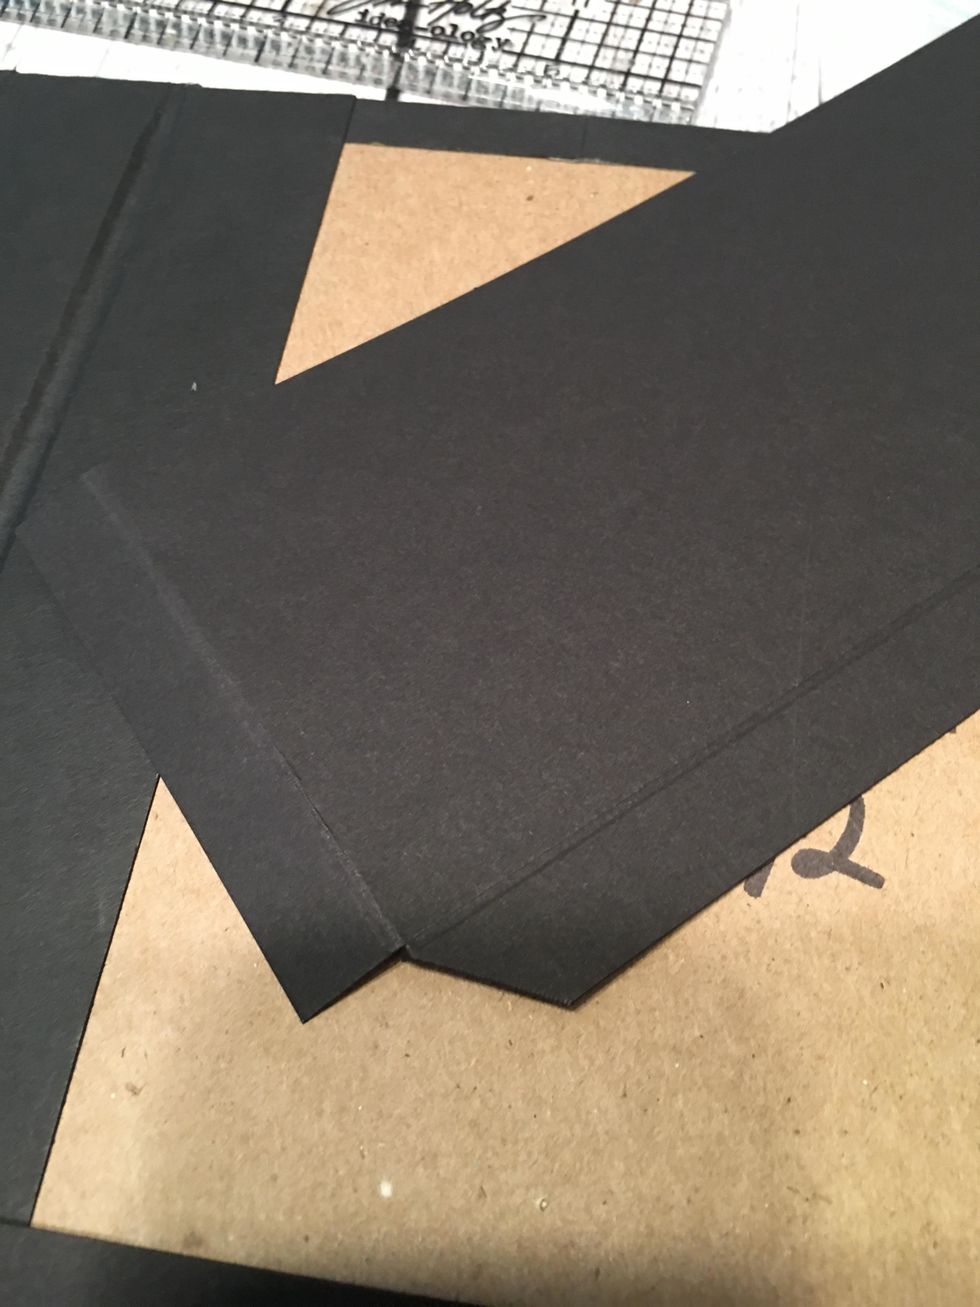 Miter cut both bottom corners as shown.
 Burnish and fold the score lines all toward each other. apply 3/8" scor-tape to all three hinges. (You can also use glue instead of tape).
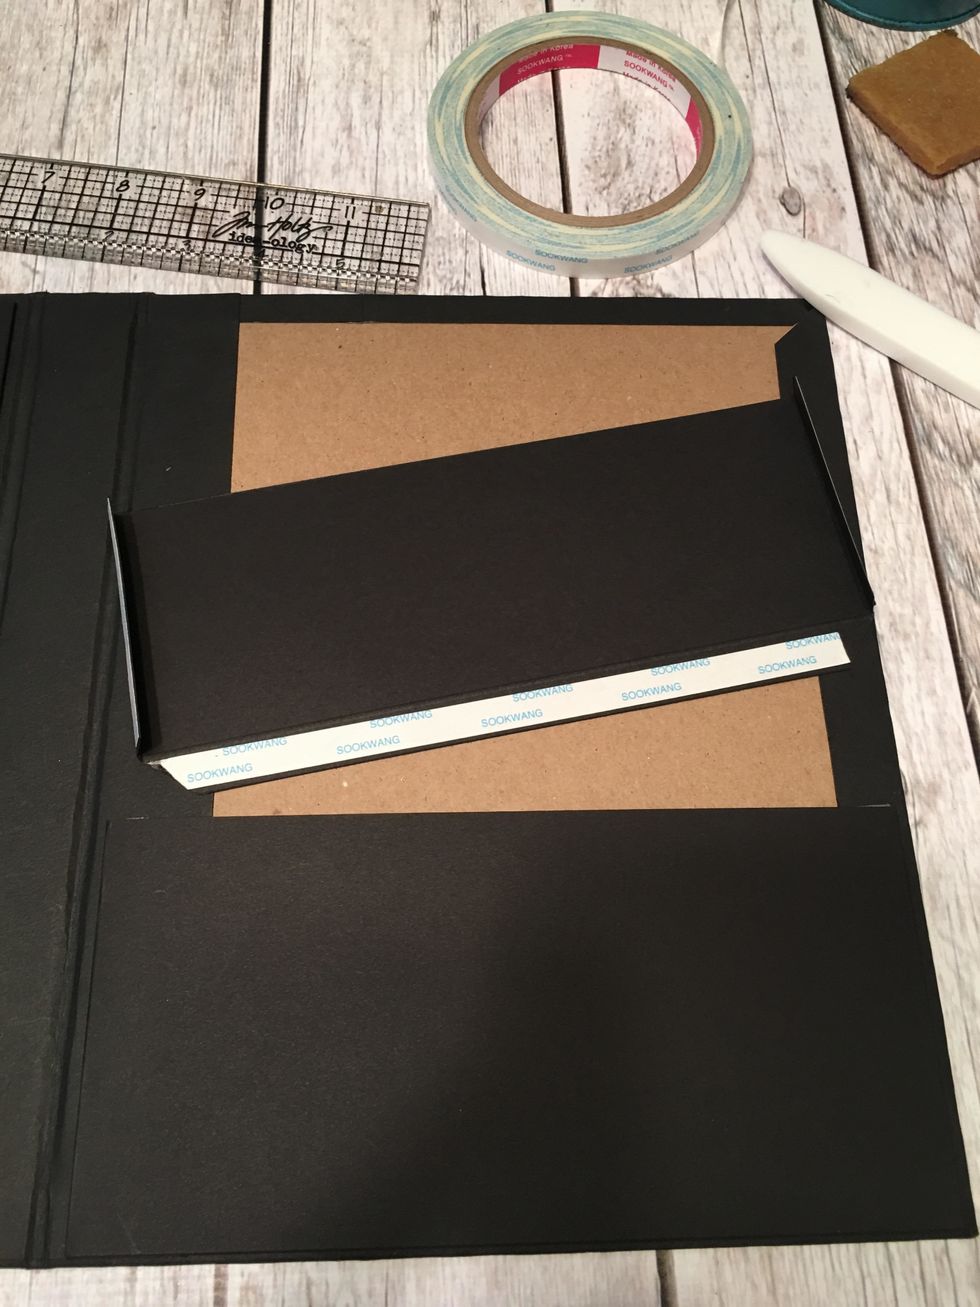
 Attach to the bottom and create the next pocket. Cut 1 each card stock 9 1/4" x 3 1/2", score 9 1/4" side @ 1/2" & 8 3/4" turn and score 3 1/2" side at 1/2". Miter corners, apply tape to side hinges
 Use the bottom score line as a guide for placement of 2nd pocket. Attach the taped sides down. The bottom pocket will be on top of the second pocket as shown.
 For the third and last pocket, cut 1 each card stock 9 1/4" x 2 1/2", score 9 1/4" side @ 1/2" & 8 3/4", turn and score 2 1/2" side @ 1/2" .
 Miter cut the corners, apply tape to side hinges only.
 Use the bottom fold line as a placement guide and insert/attach the top pocket into the last pocket. You will pattern the page and pockets later.
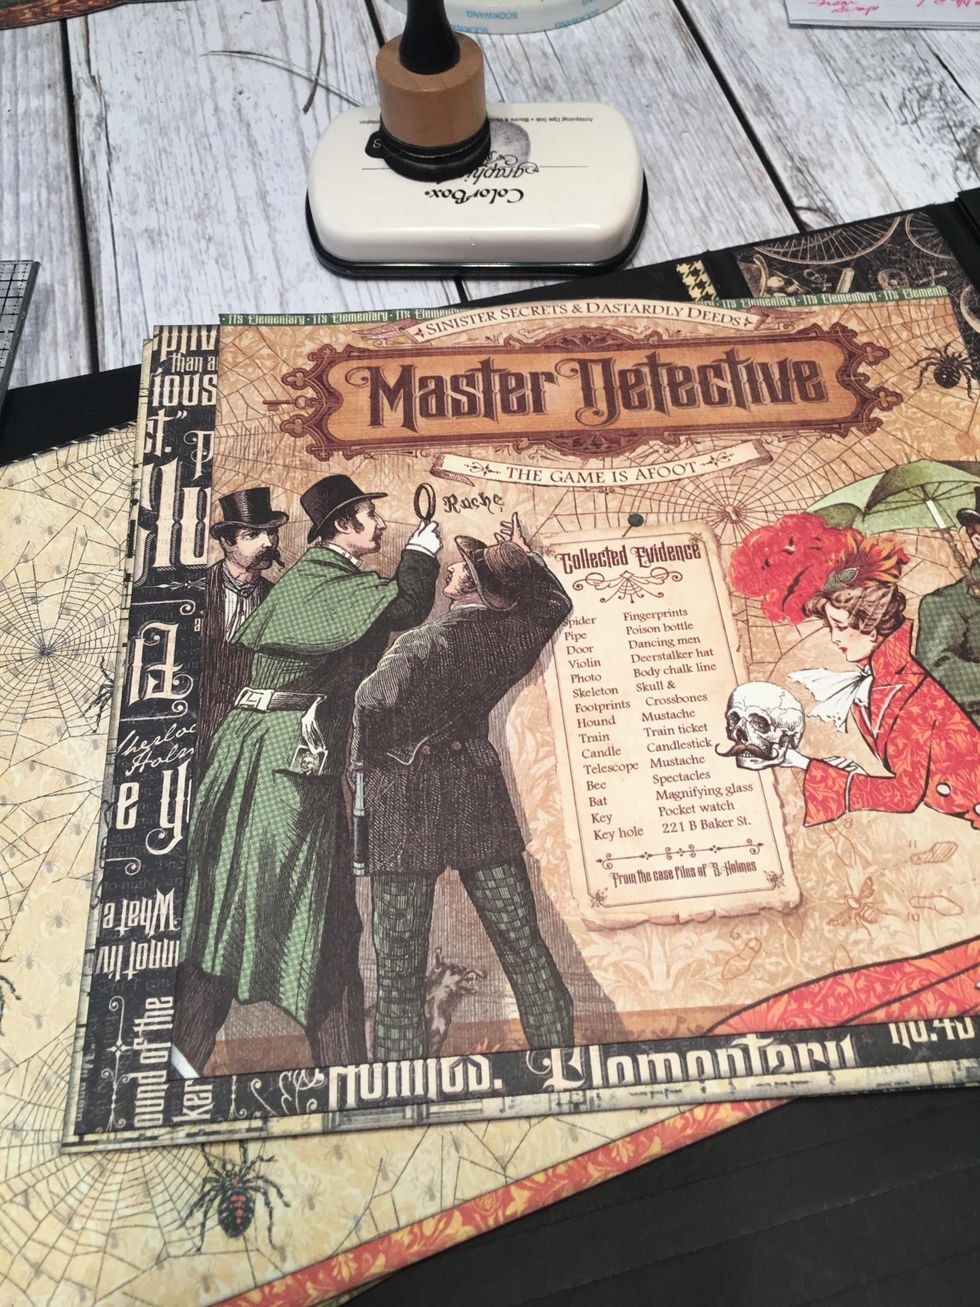
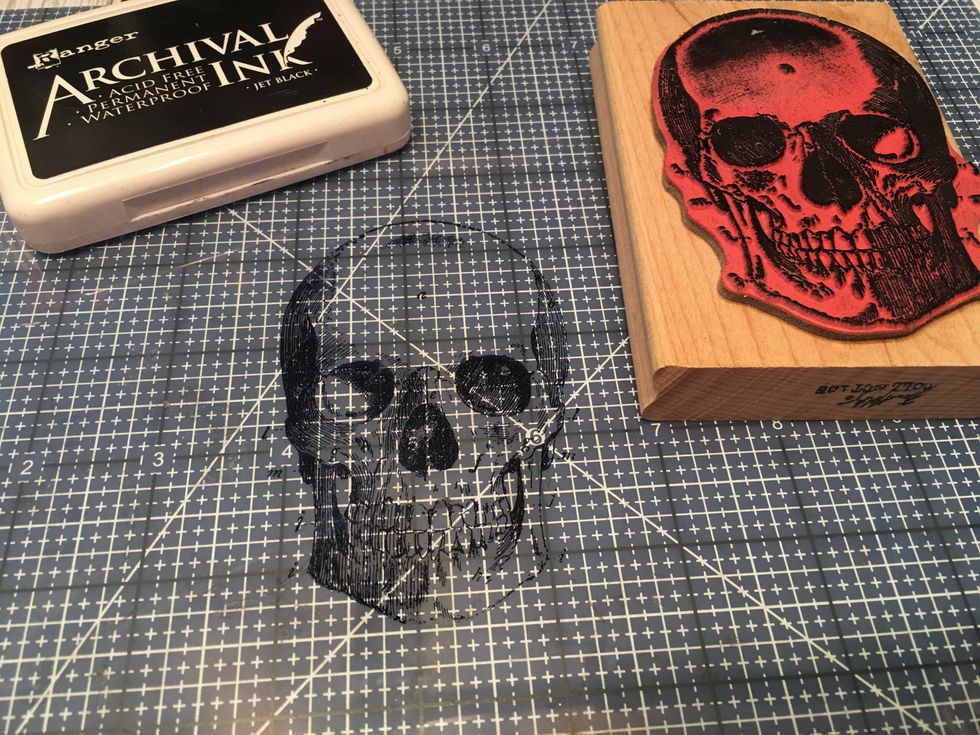 Transparent Pocket: Cut transparency sheet to 7" wide x 7 1/2" tall. use ARCHIVAL black ink to stamp an image onto the transparency sheet. Allow to dry before touching or adding into your album.
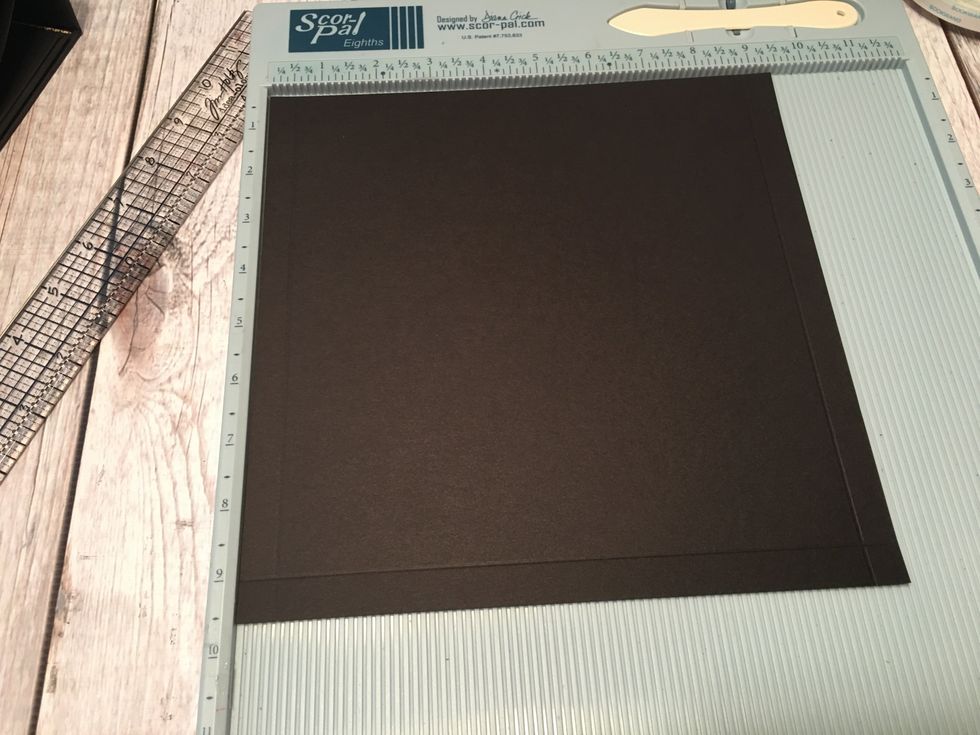 Cut 1 each card stock 9 3/8" wide x 9 1/2" tall. Score 9 3/8" side @ 1/2" & 8 7/8", turn and score 9 1/2" side on ONE side only @ 1/2".
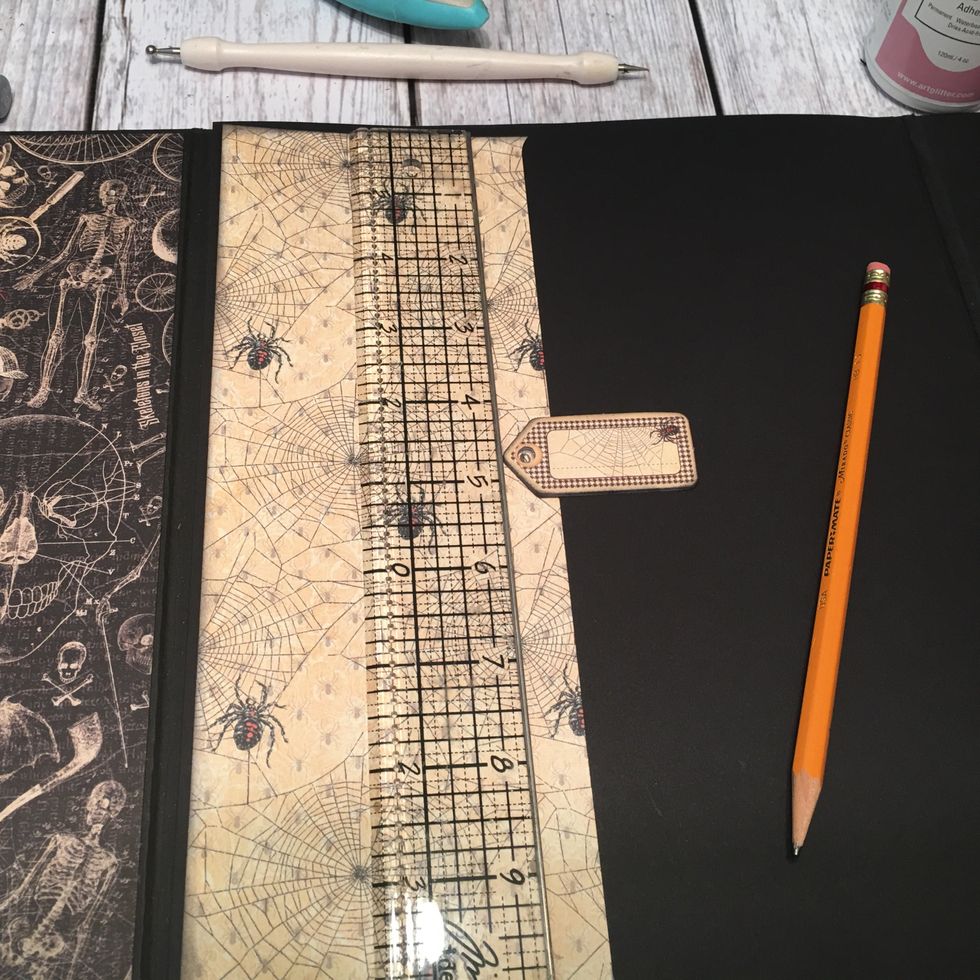
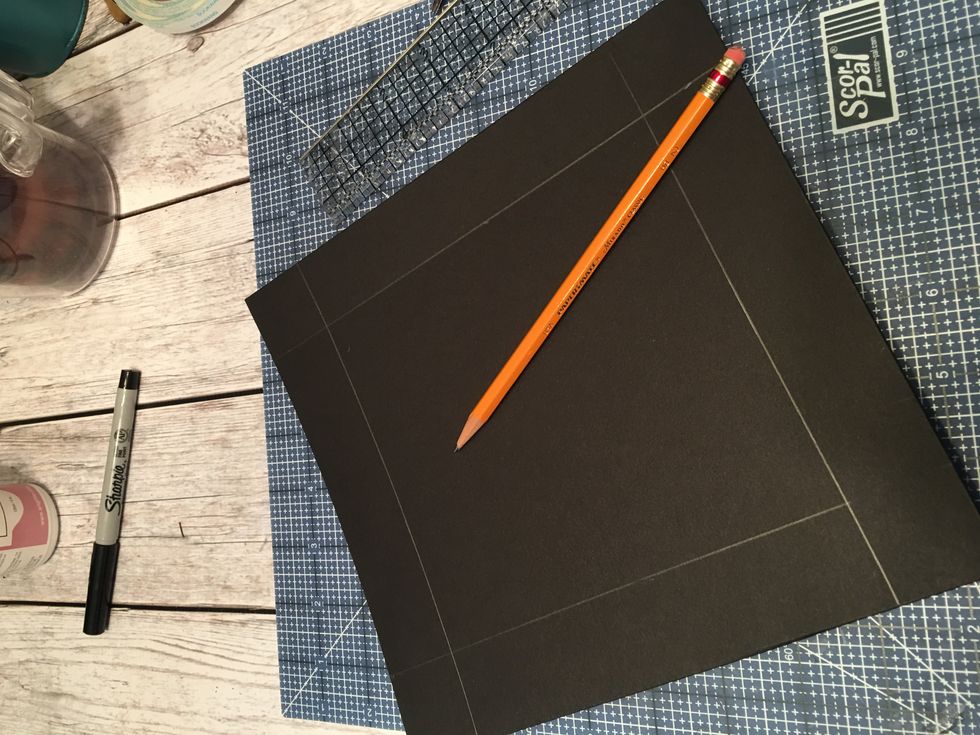 Use a pencil & ruler and measure and mark 1 1/4" from all 4 sides as shown.
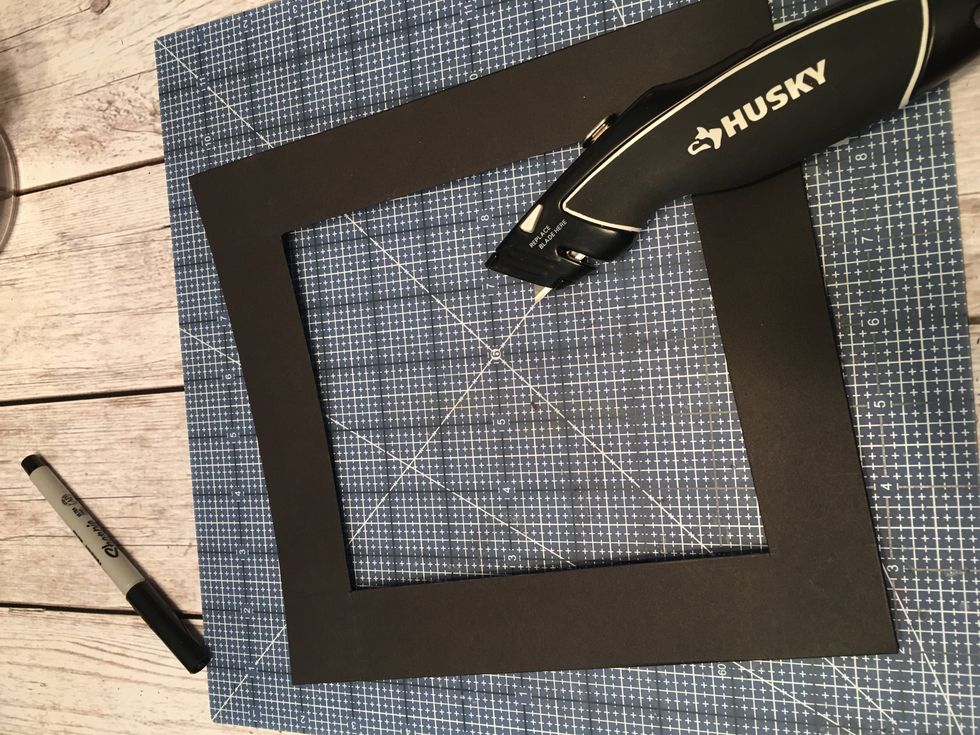 Cut out the marked center square with a craft knife. Be sure to cut on a craft mat and not your table!
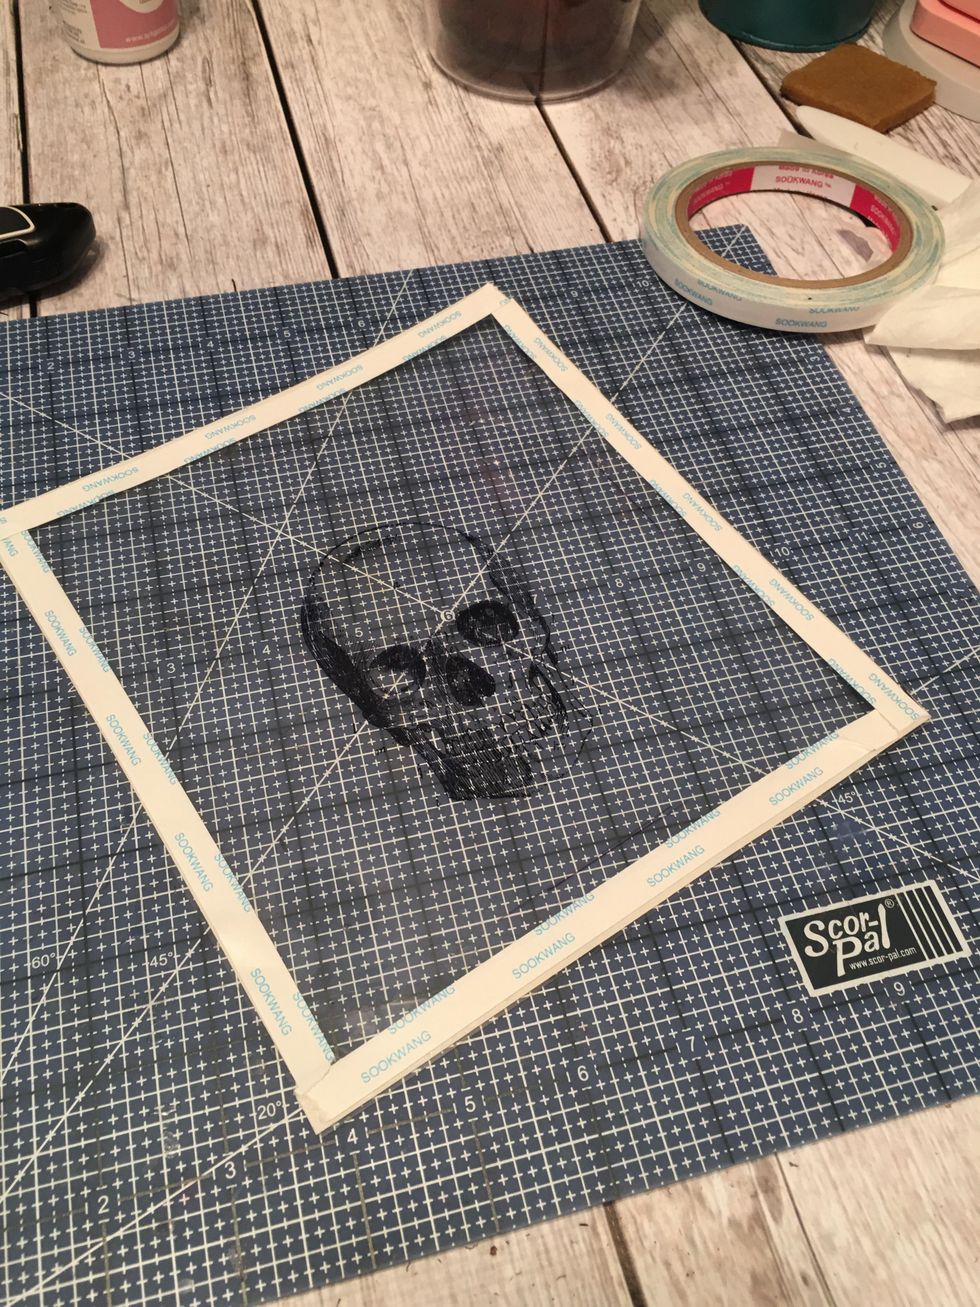 Apply scor-tape to all four sides of the transparency piece. Place tape along the edges and on the BACK side.
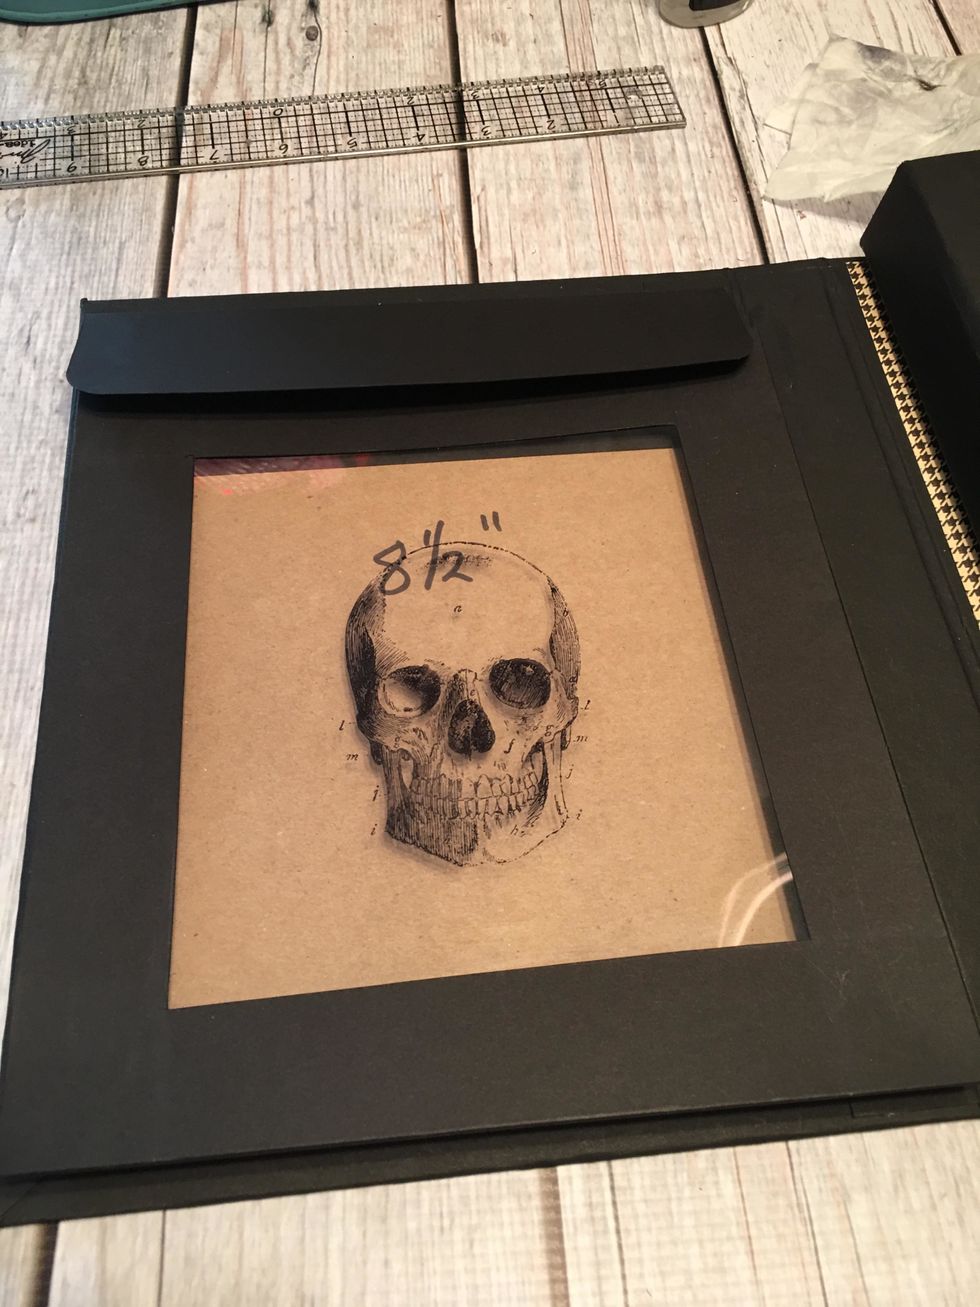
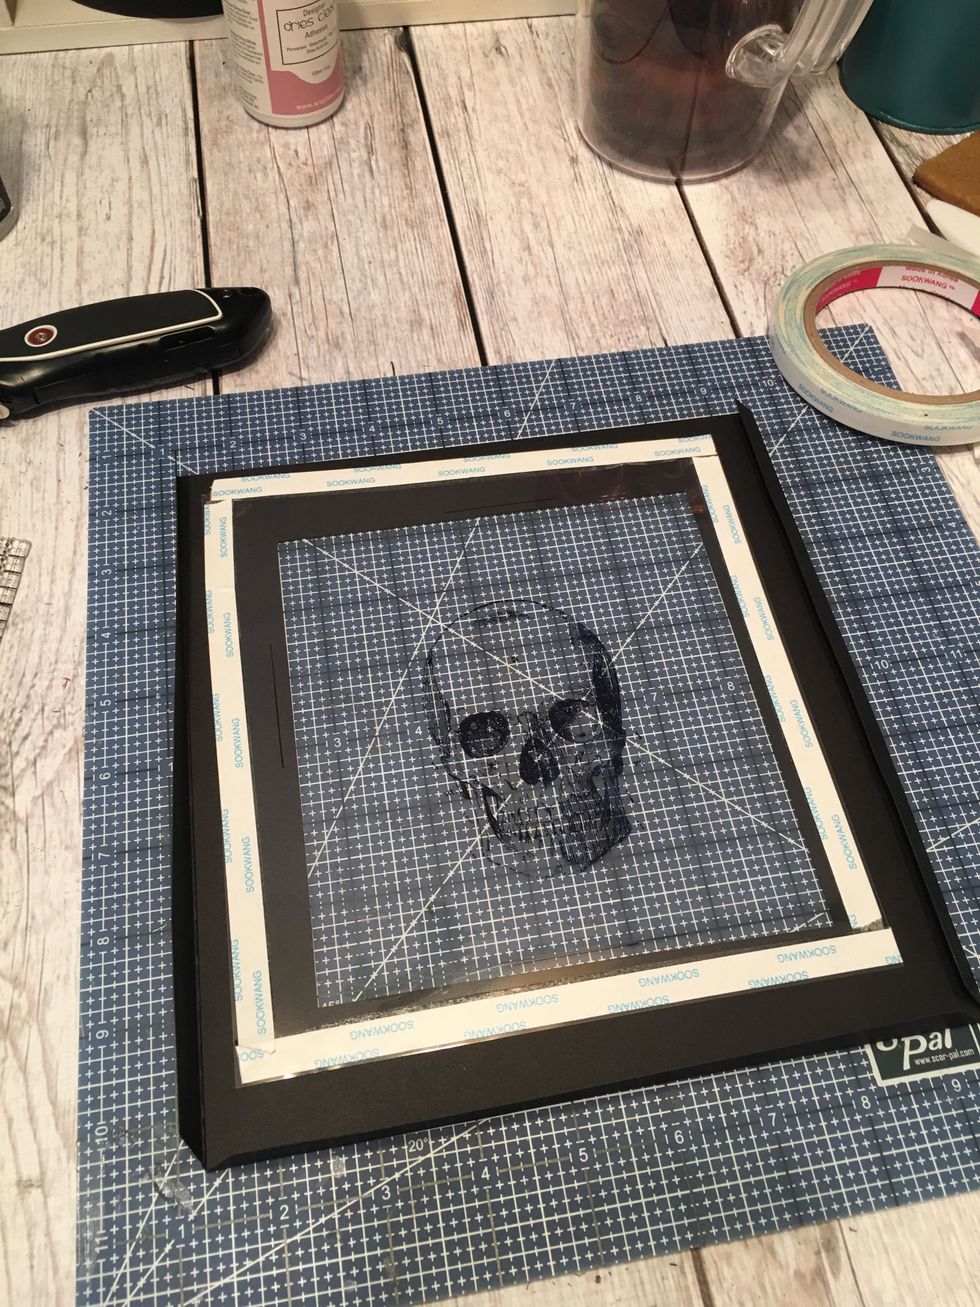 Peel the tape backing off and attach the transparency onto the back side of the frame you cut out. In this photo, I added tape that was not needed.
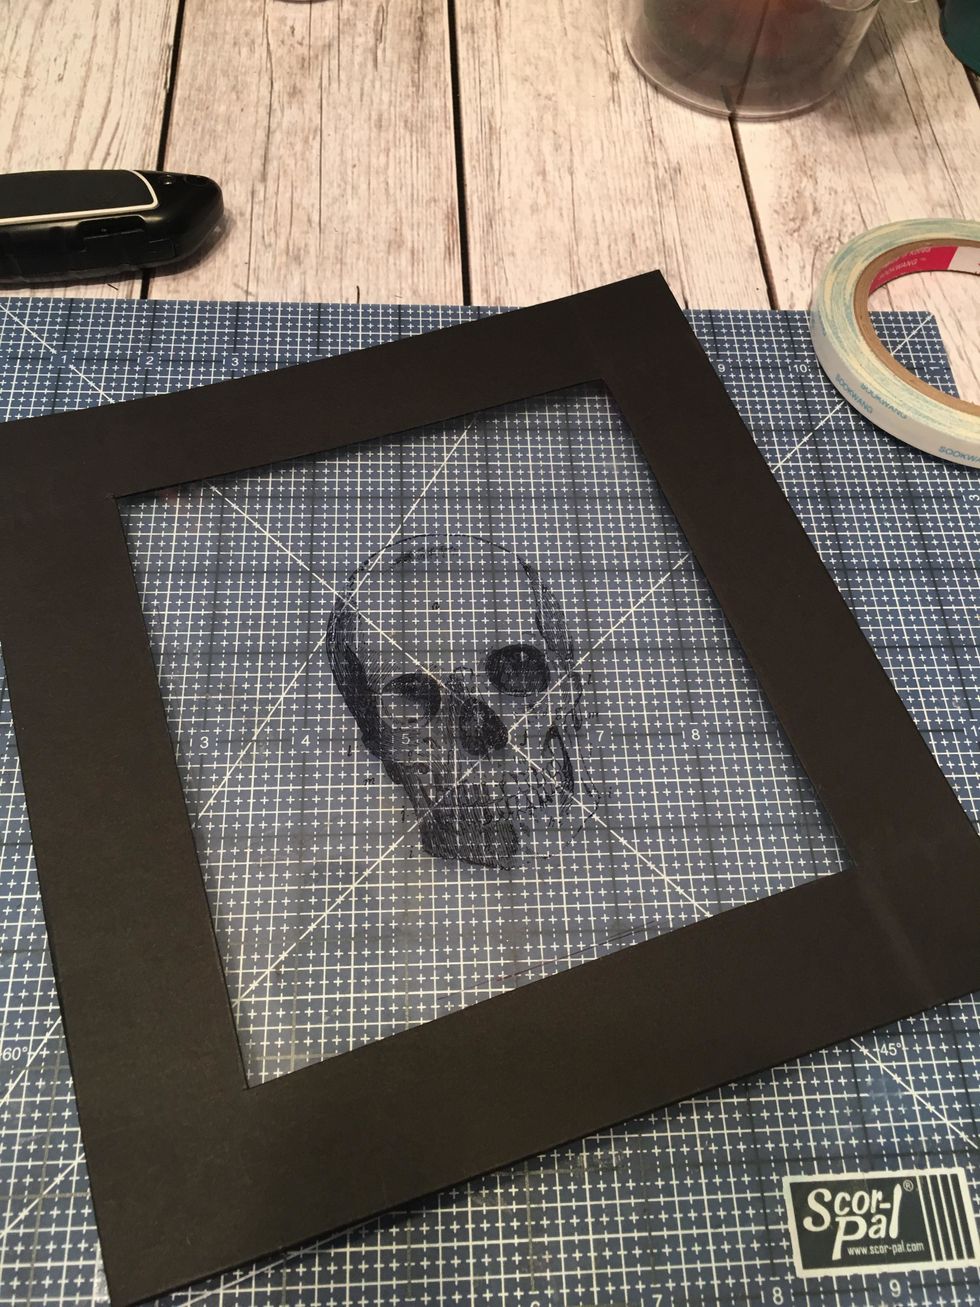 Fold and burnish the score lines on your frame. The pocket will look like this once assembled.
 Cut 1 each card stock 8 1/4" x 5" and score the 5" side @ 2" & 2 1/8" to create a flap for the transparency pocket. Corner round the two corners opposite the fold line in the 2" section as shown.
 Use glue or scor-tape to attach the flap to the top edge of the first 8 1/2" section of the album. See next photo before attaching.
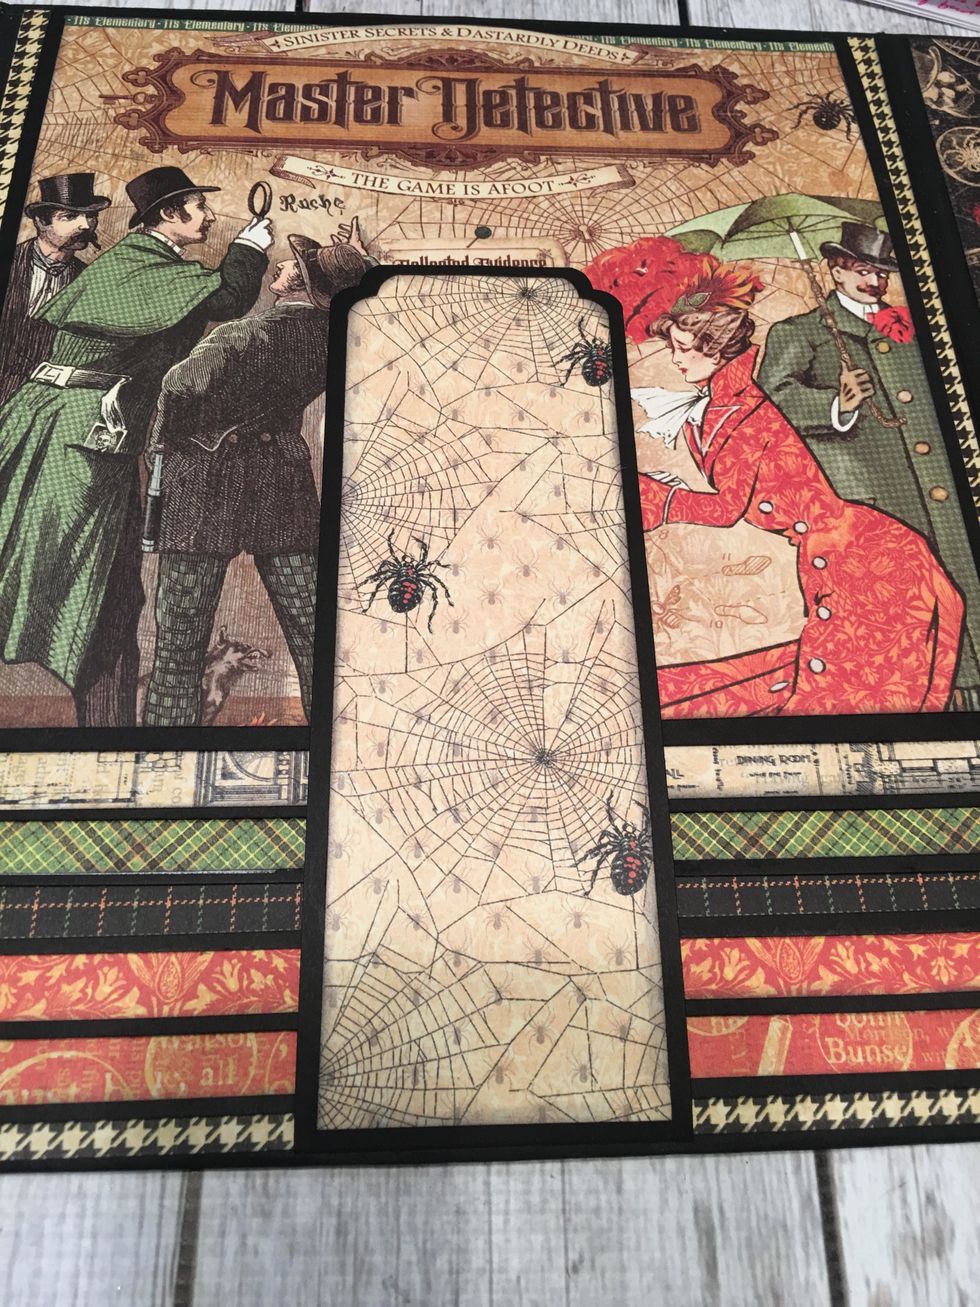
 To ensure that you have the correct placement for the flap at the top, place your transparency pocket on to the section ( do not glue it down yet). Use the pocket as a guide for the flap placement.
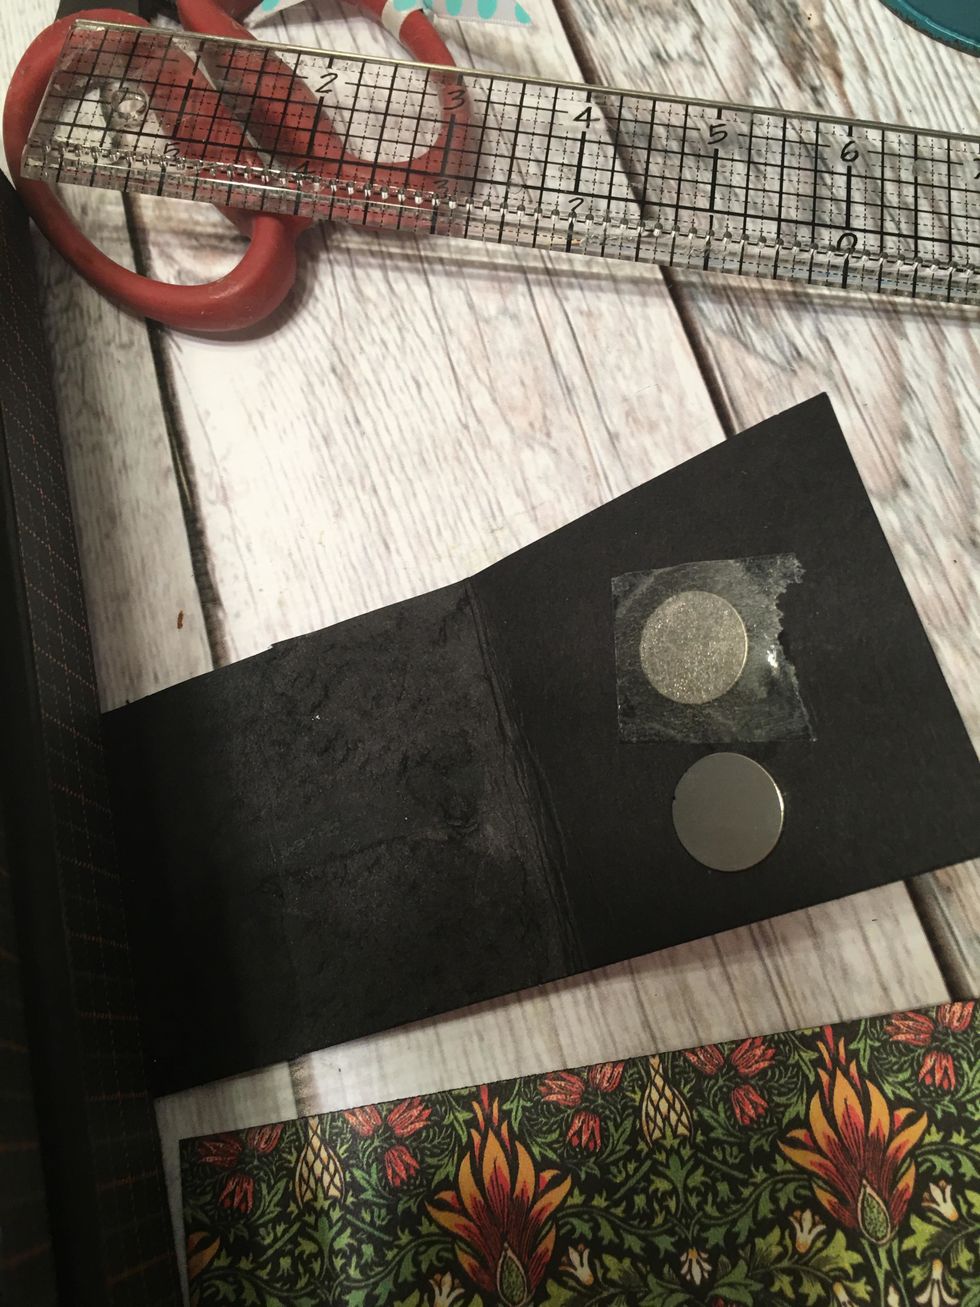
 Once the flap is attached, add a magnet to the flap and to the 8 1/2" section of the album so it will be hidden by the patterned paper. See next photo.
 The placements of your two magnets should be approximately like this on the inside of the flap.
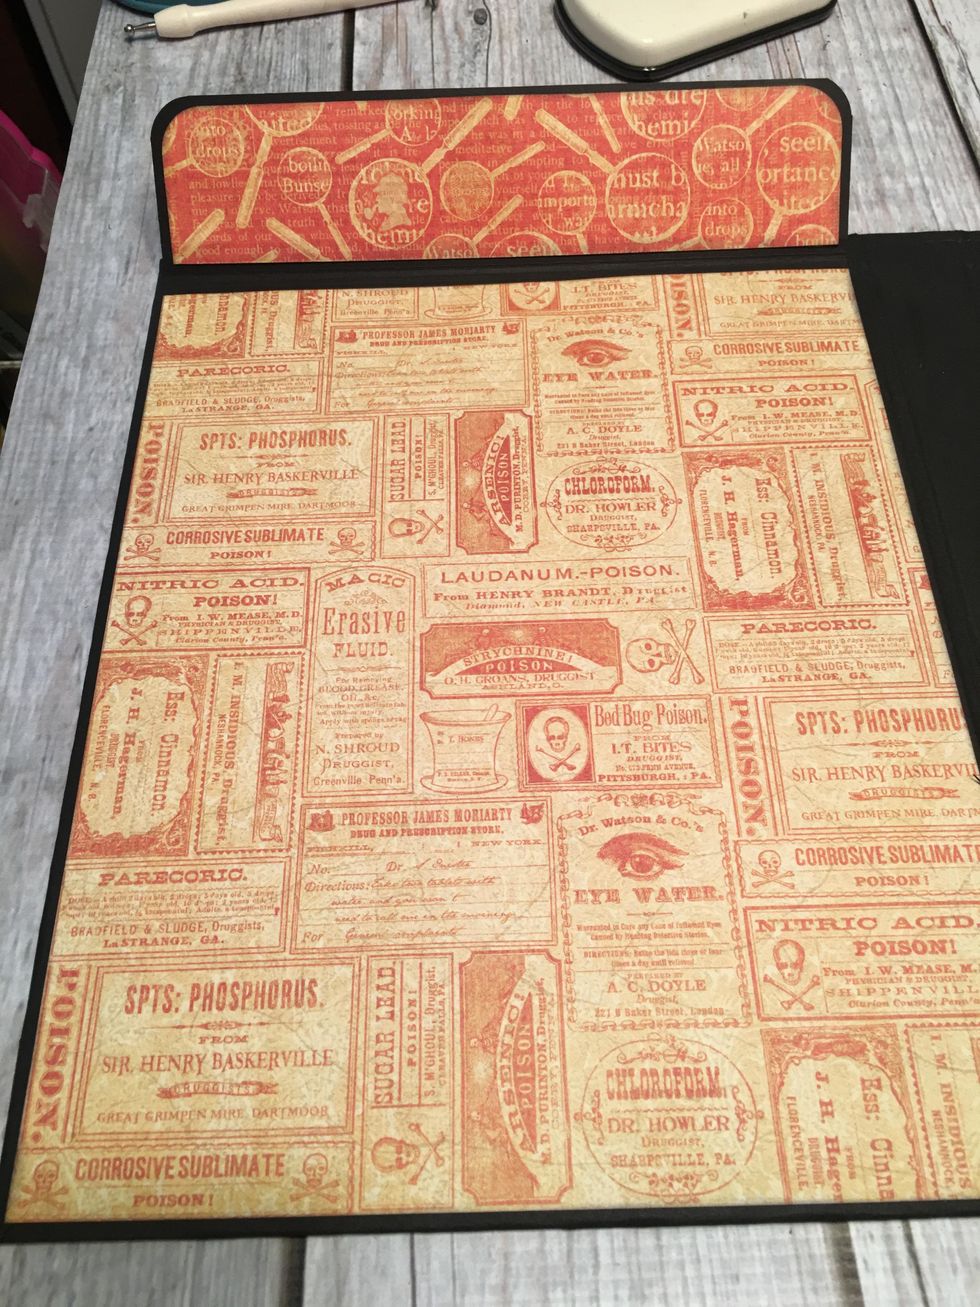 Measure and cut patterned paper to cover the inside of the flap and the inside of the main section as shown.
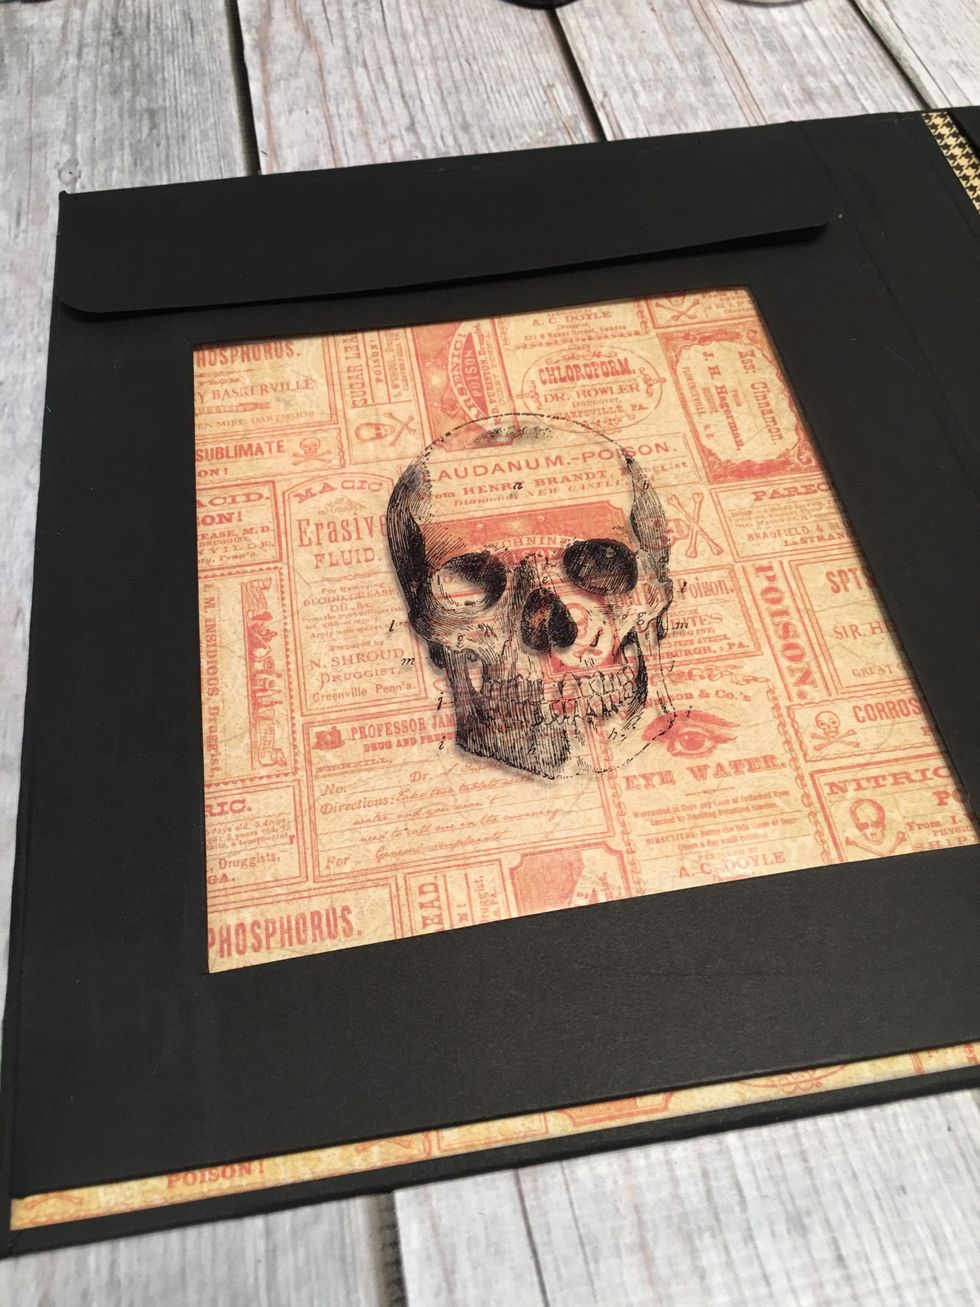 Next, use glue or scor-tape to attach the transparency pocket on top of the patterned paper. Only put adhesive on the back hinge sections only.
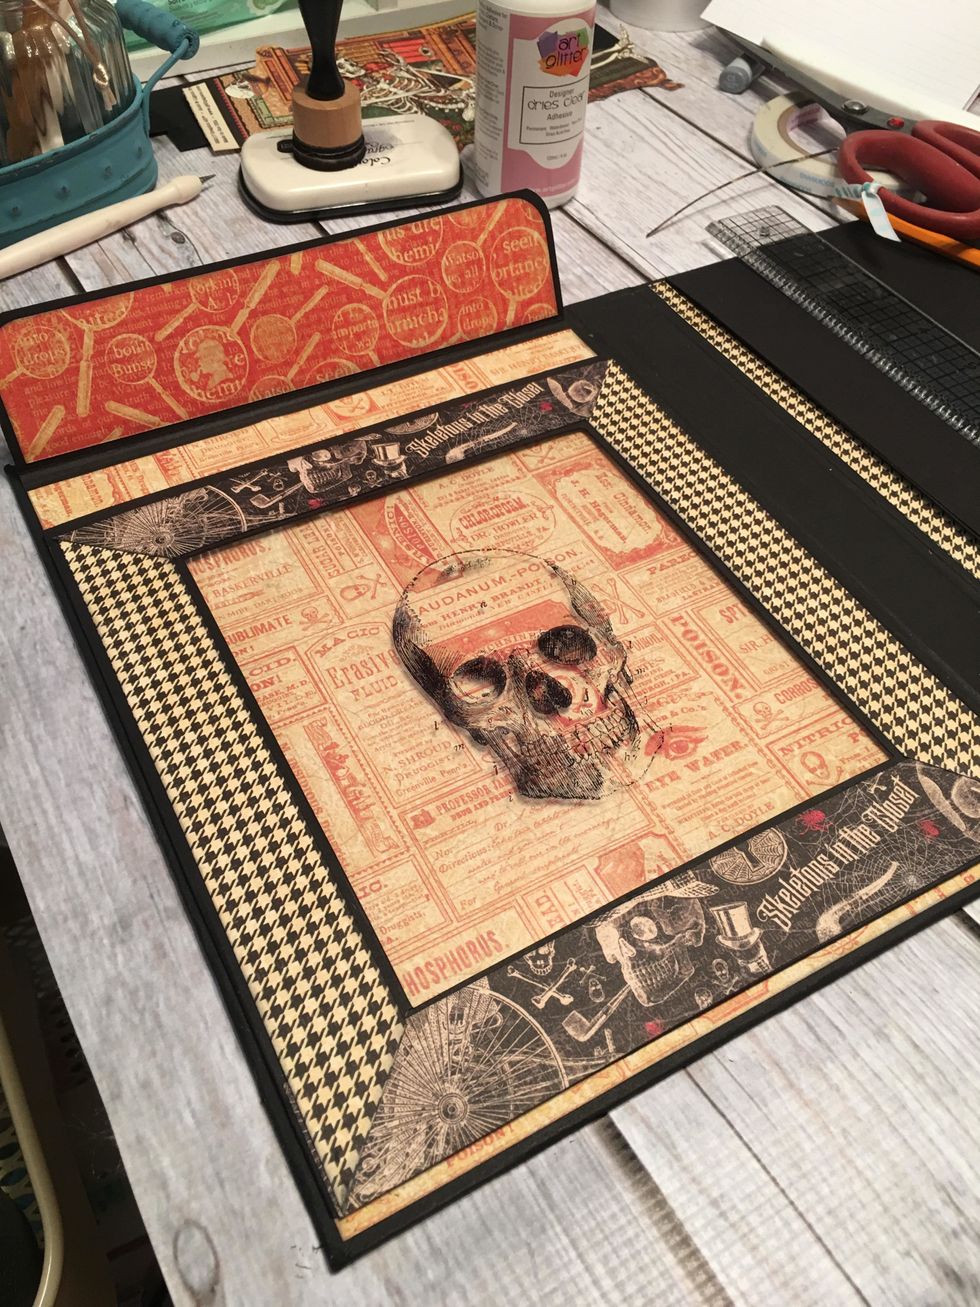 Measure and attach patterned paper to the outside edges of the pocket as shown.
 Also measure, cut and adhere patterned paper to the front of the flap as shown.
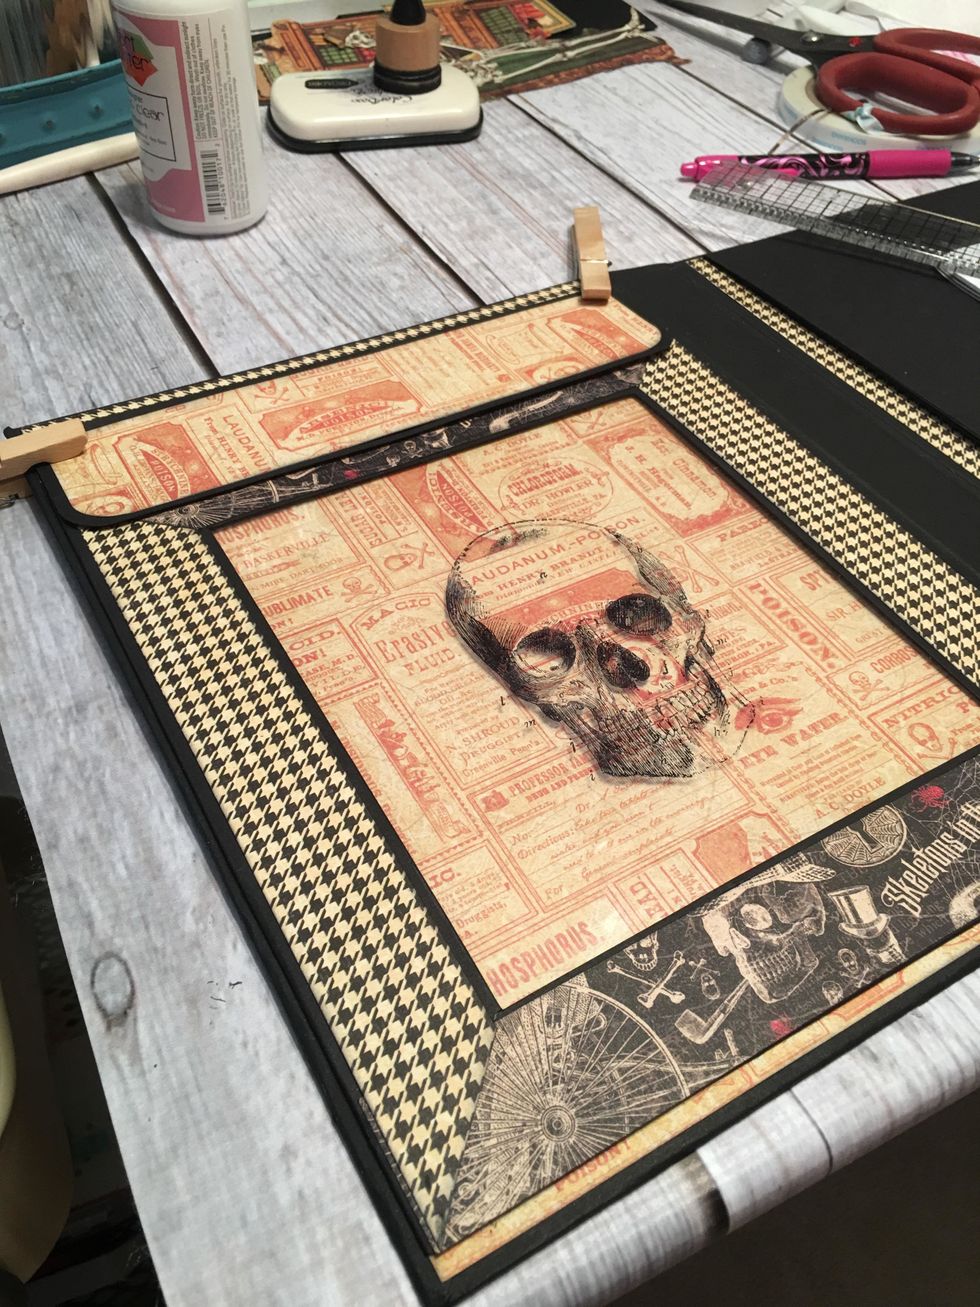
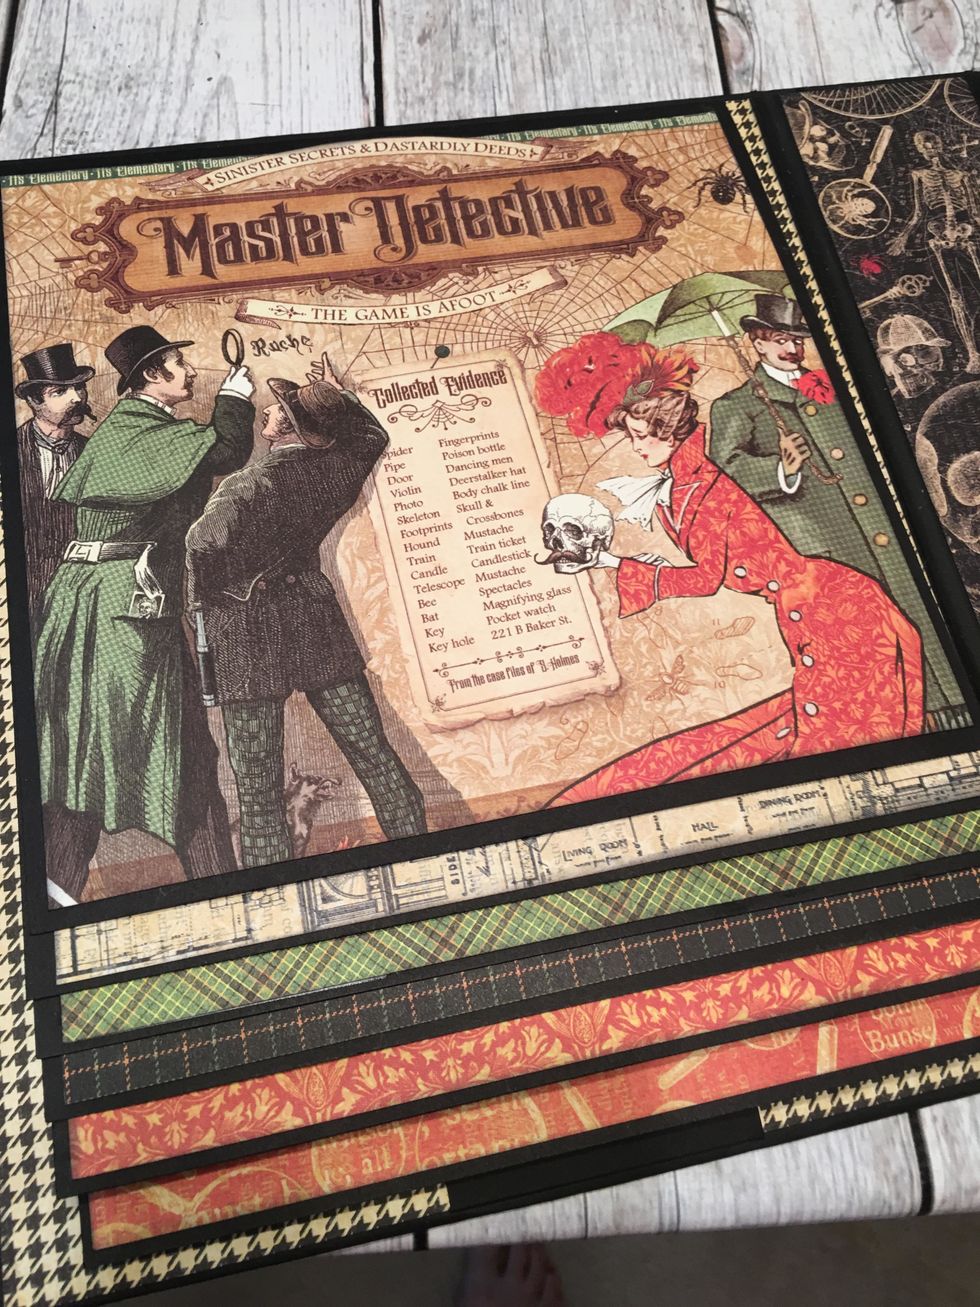
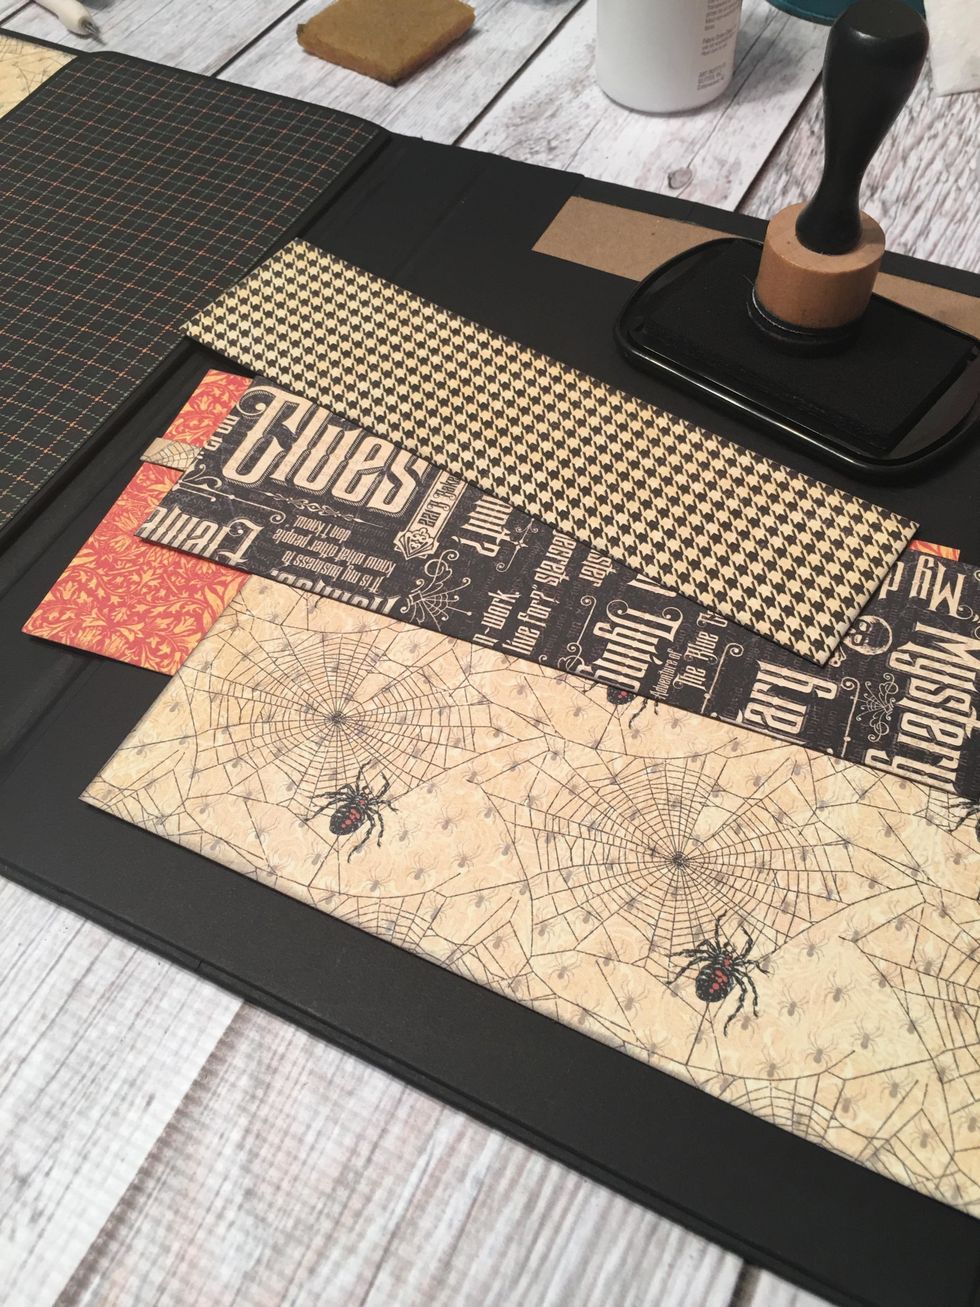
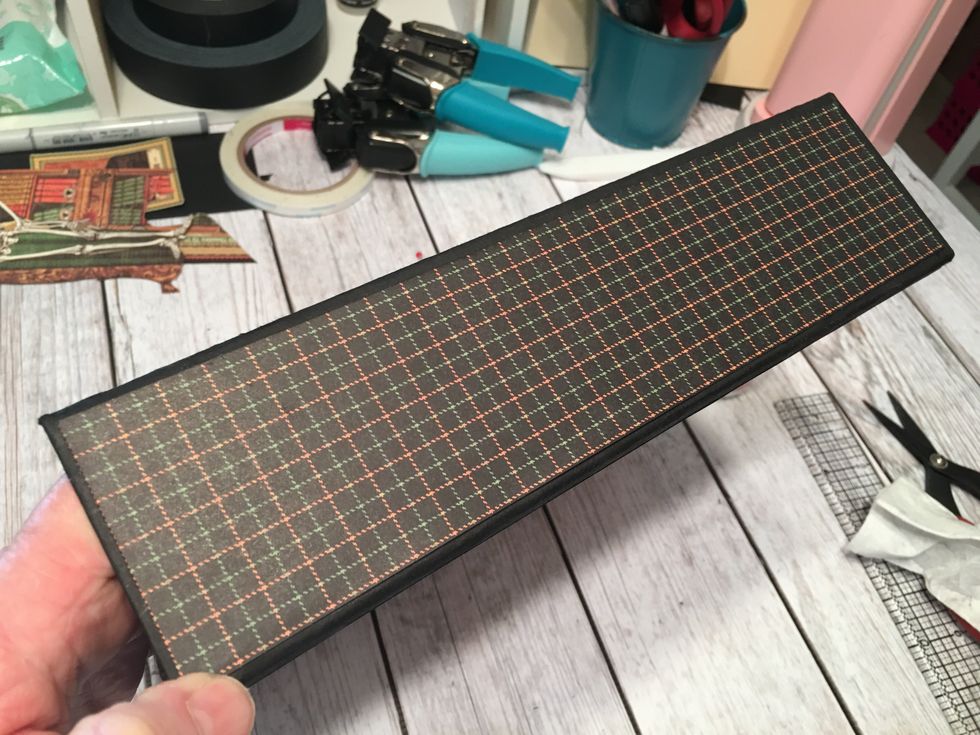
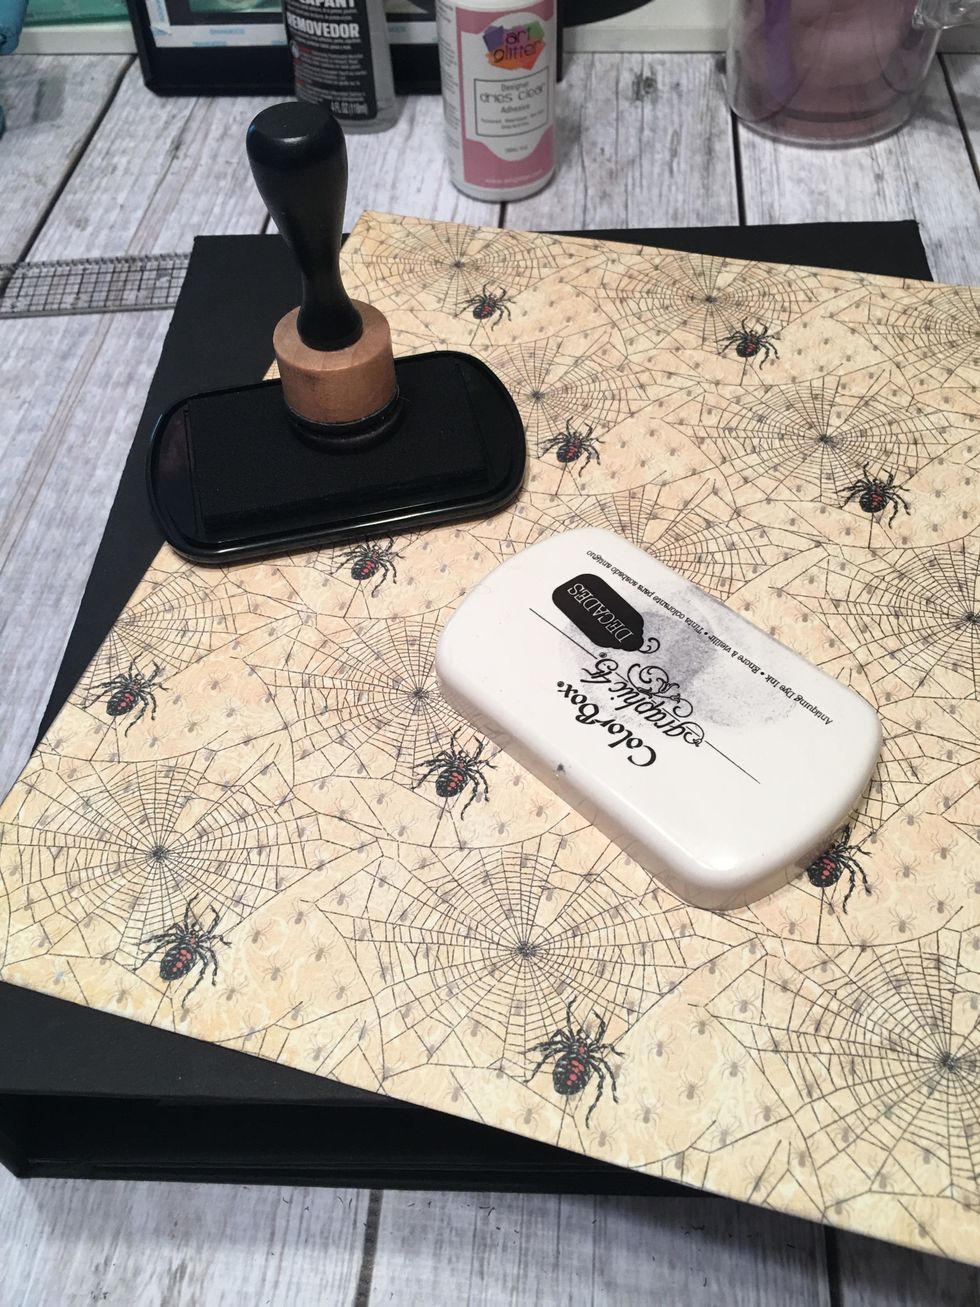 Cut 2 each patterned paper for the front & back of the album. Ink the edges before attaching with glue or tape.
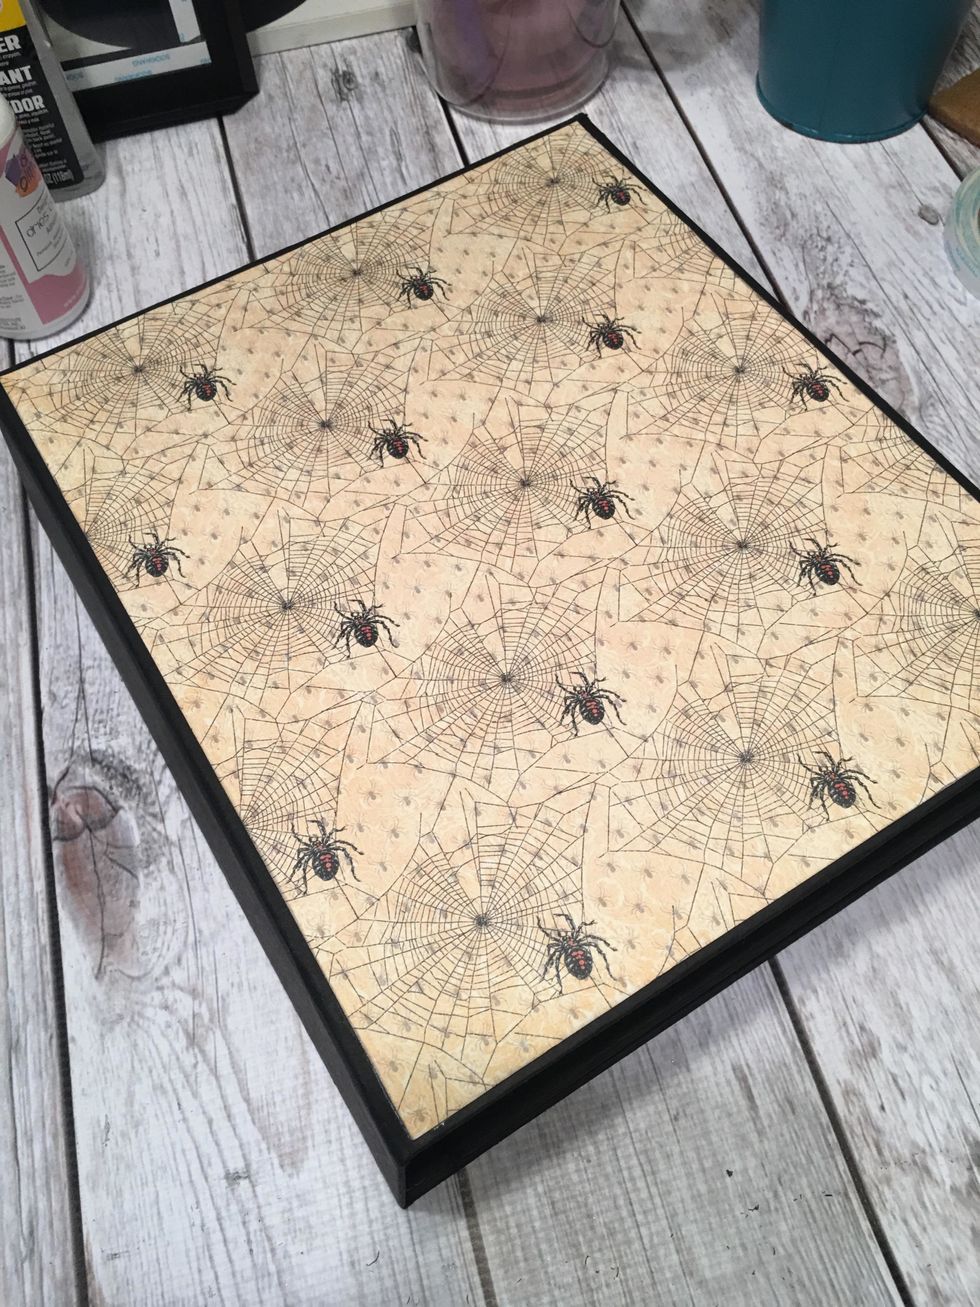 For now, just pattern the outside. Decorating will be added later.
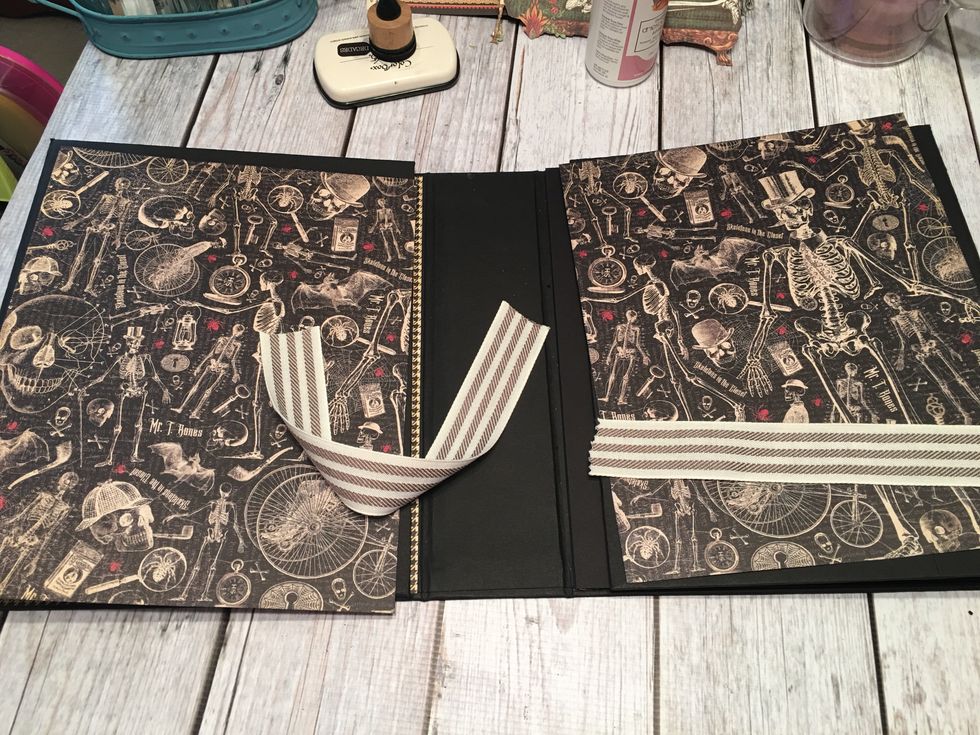 Open up the album and for the first two sections, cut patterned paper 10 1/2" Tall x 8 3/8" wide. Cut 2 pieces of 1 1/4" wide ribbon in to 2 each 10 1/2" lengths. These are for the belly bands.
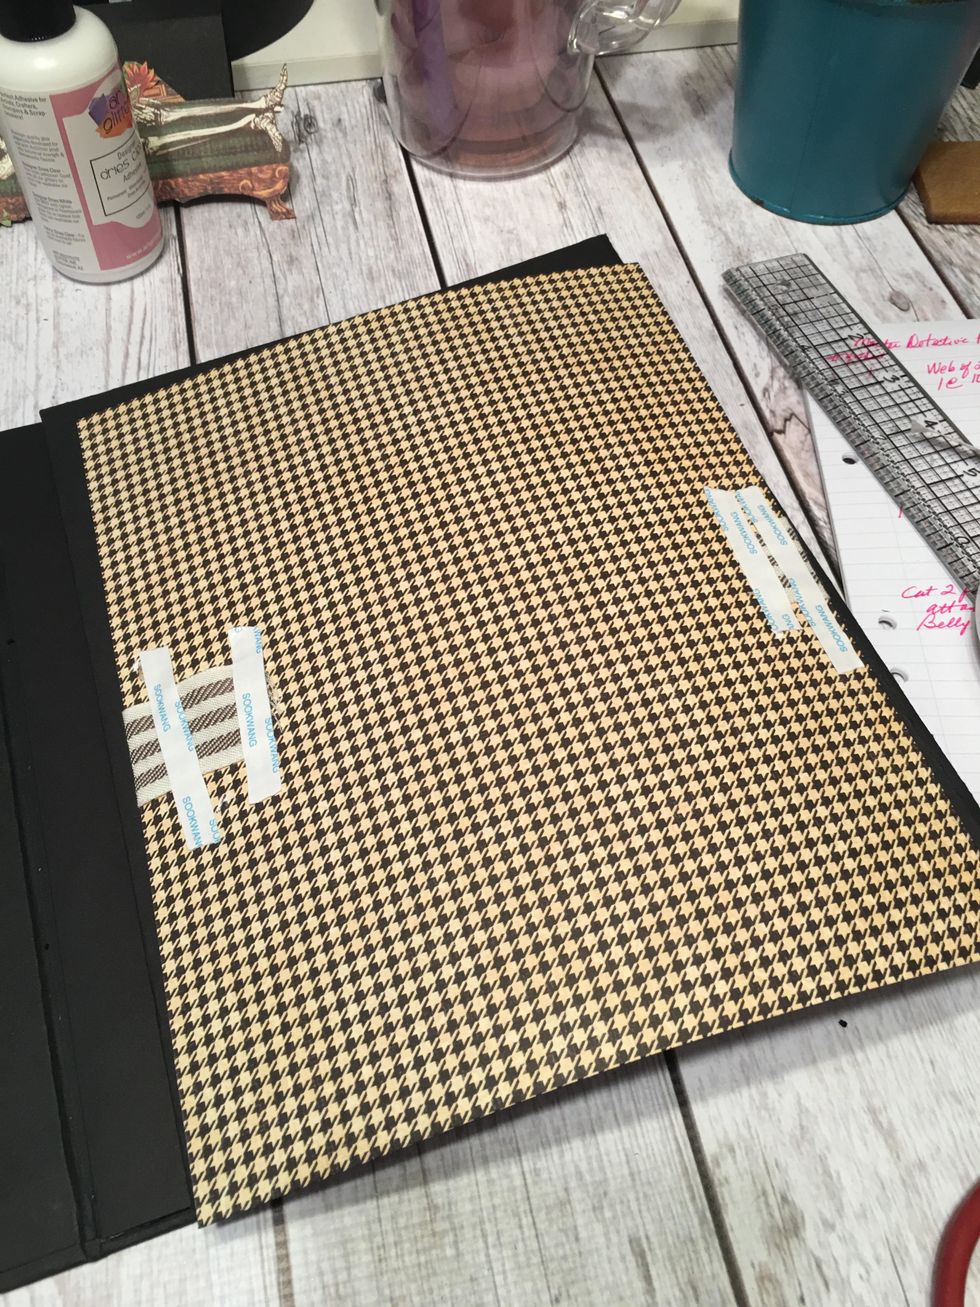 Turn the patterned papers over and use tape to attach one length of ribbon to the back side of each patterned piece as shown. Pull the ribbon slightly tight so the paper bows a bit.
 The ribbon will have a gap like this and the paper will be bowed slightly until you attach it down into the album.
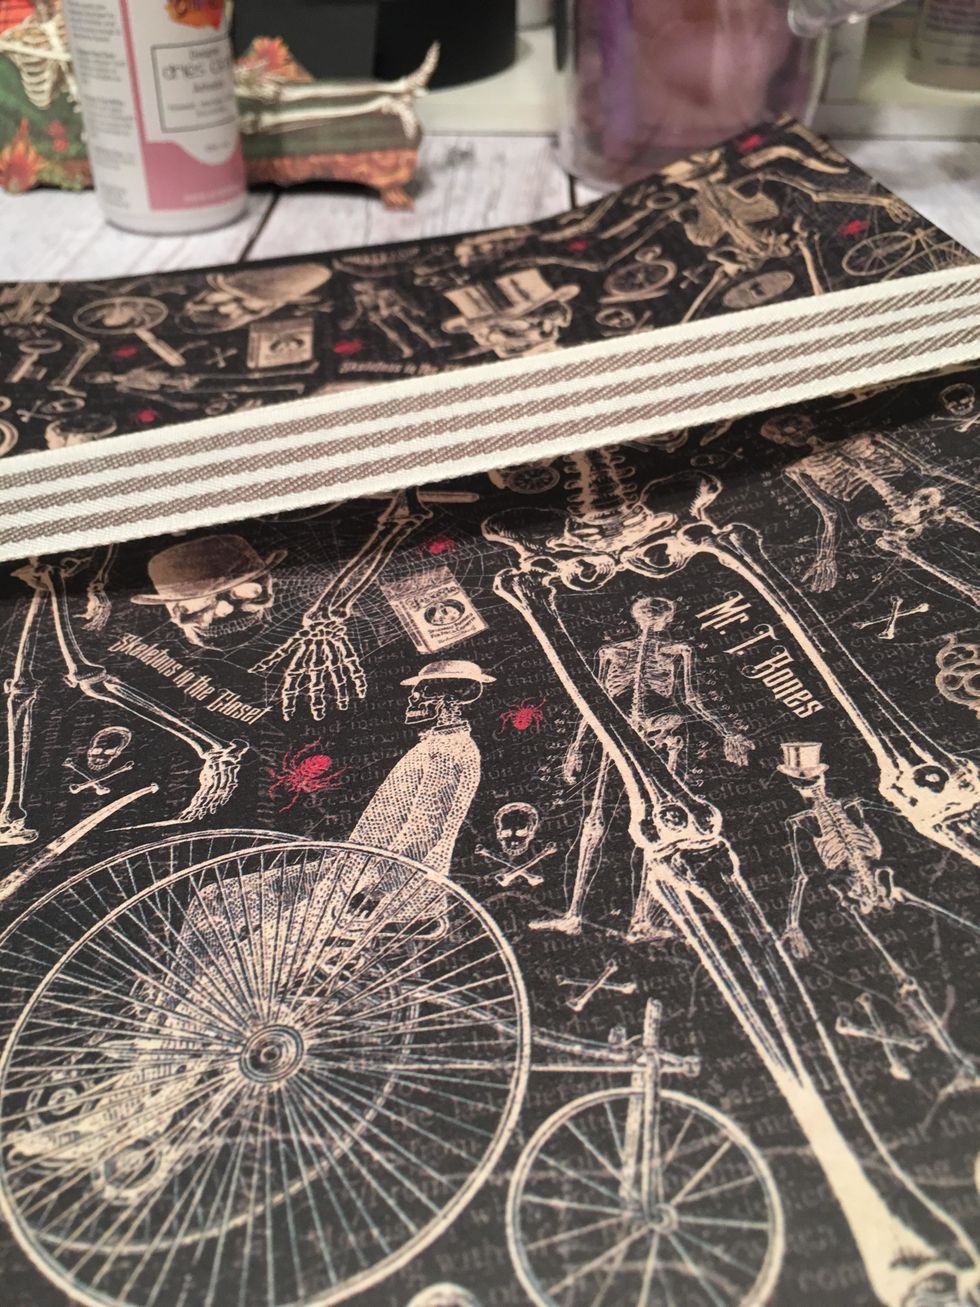
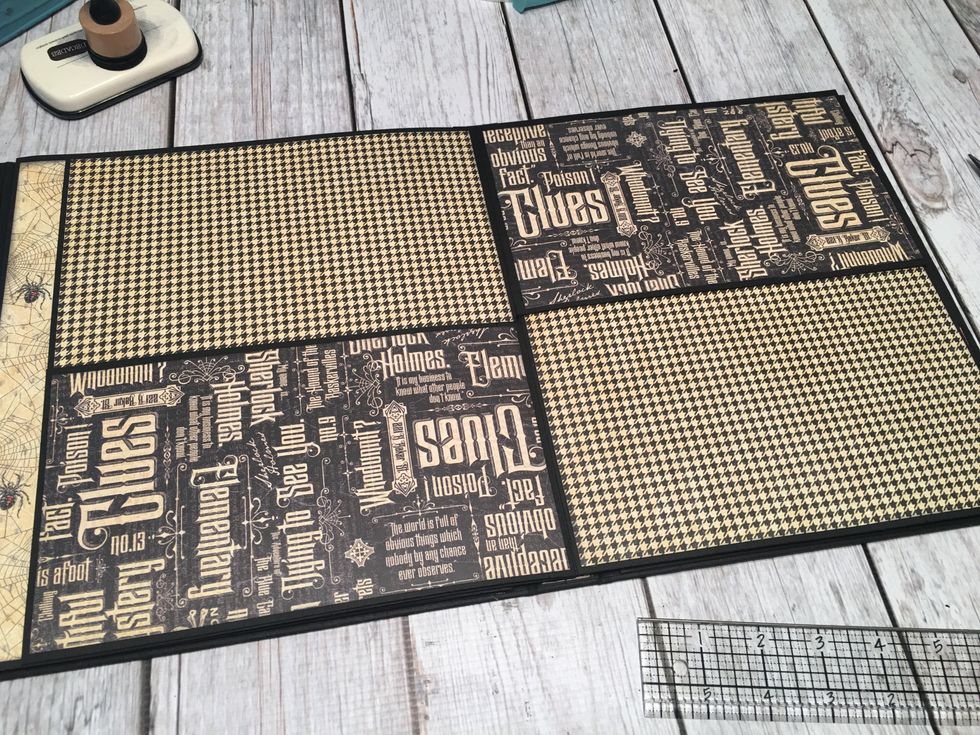
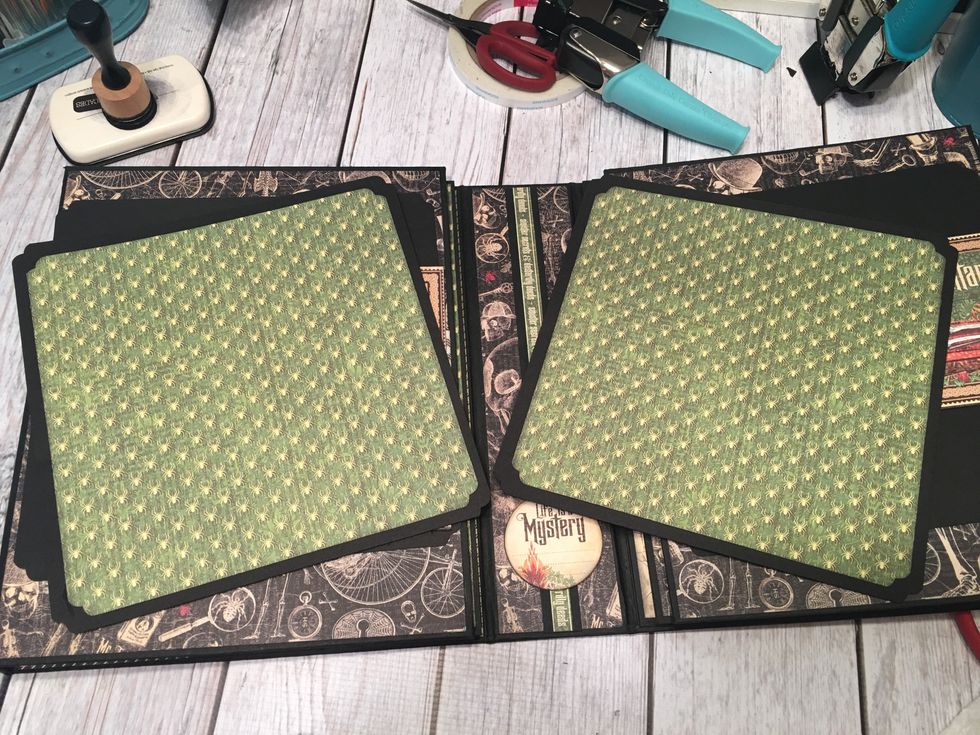
 Use glue to attach the papers down into the album. This flattens out the ribbons. Cut 4 extra large photos mats from black card stock 8 1/4" x 8 1/4" and insert underneath the ribbon belly bands.
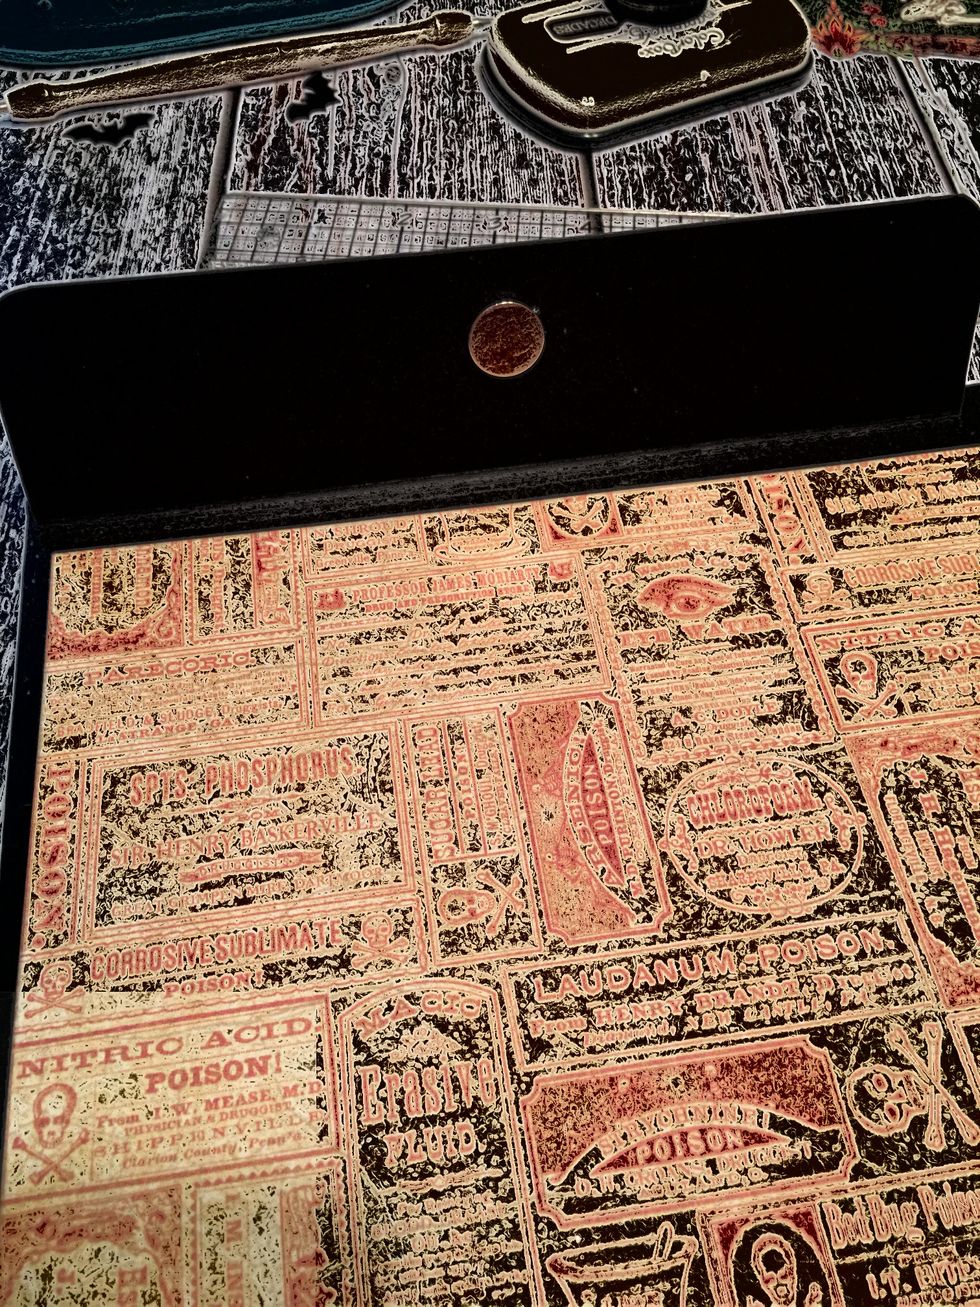
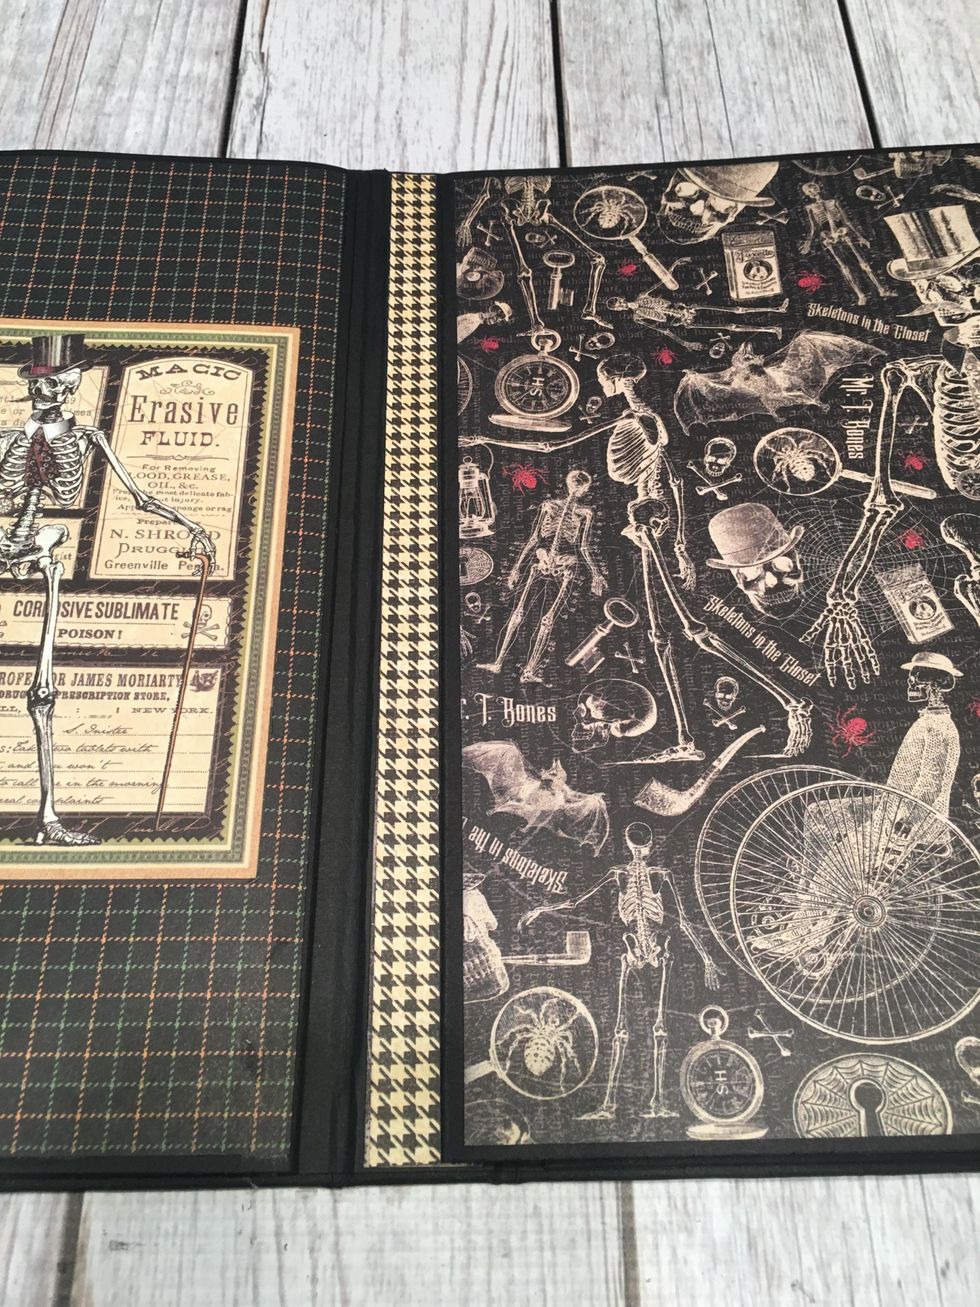
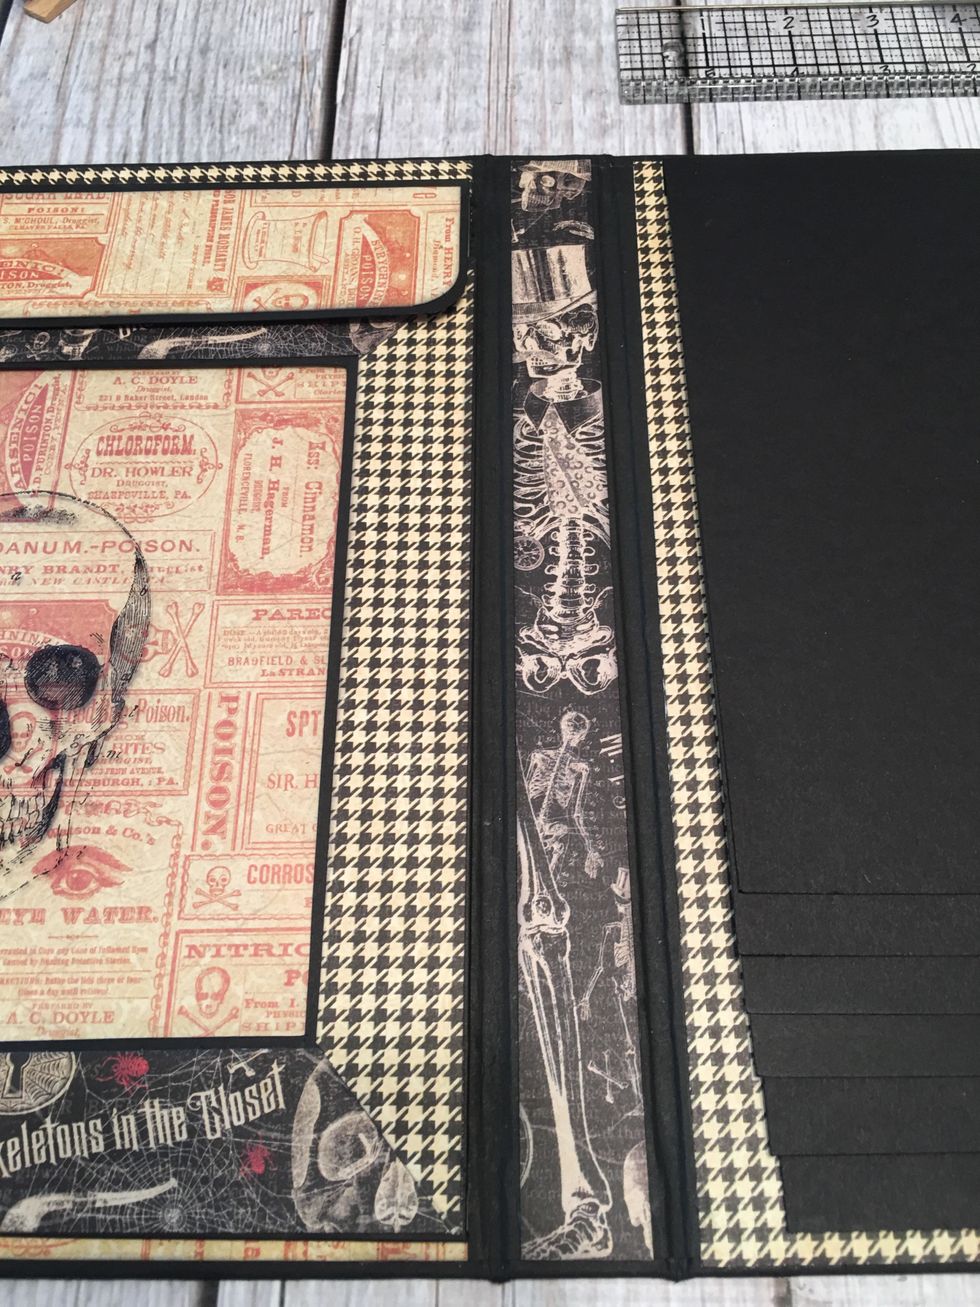 Open the album up an attach patterned paper to each inside spine section. Cut 2 each 10 1/2" tall x 7/8" wide for the 1" sections and cut 1 each 10 1/2" tall x 2 3/8" wide for the 2 1/2" section.
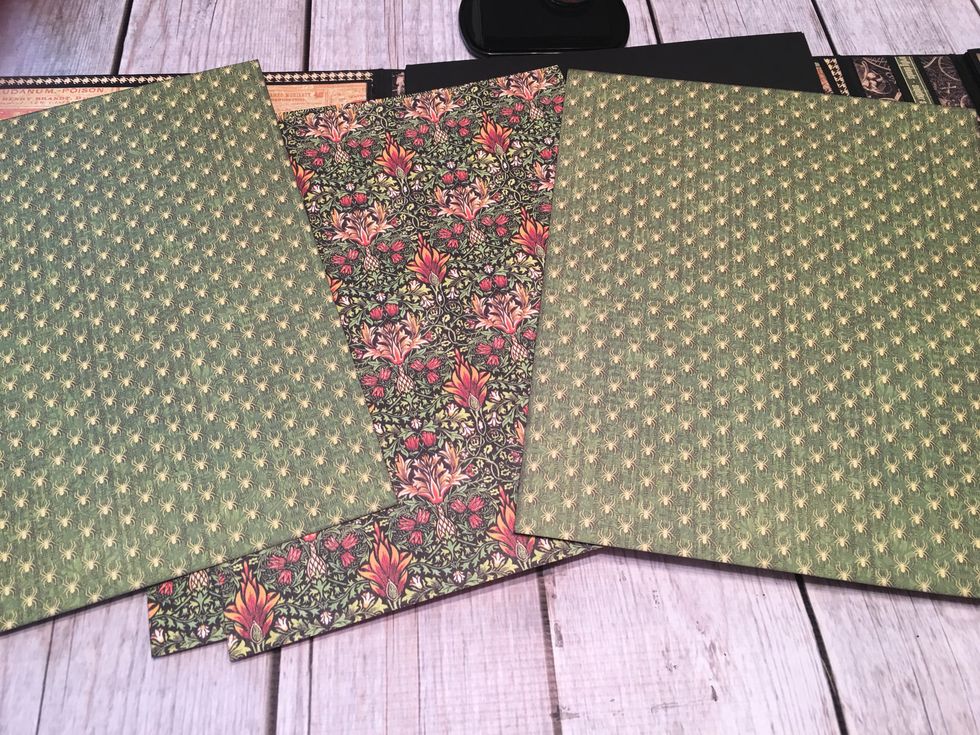
 Select patterned papers to add to the waterfall pages. Ink the edges if desired. Cut 12 each 7 3/4" tall x 7 3/4" wide to cover the front and back of each waterfall flap.
 Adhere the patterned papers to the waterfalls with glue. Select a variety of patterns as about 1/2" of each will show on the bottom as shown in this photo.
 Pattern the inside of the flap closure piece.
 Close the flap up and pattern the outside with a design of your choice.
 Select patterned papers for the pages and flap closure in the 2nd 9" section.
 For the swing closure, select a chipboard piece. Line up the patterned paper to the first page. (Do not glue down) Place the chipboard piece centered from top to bottom and mark with a pencil.
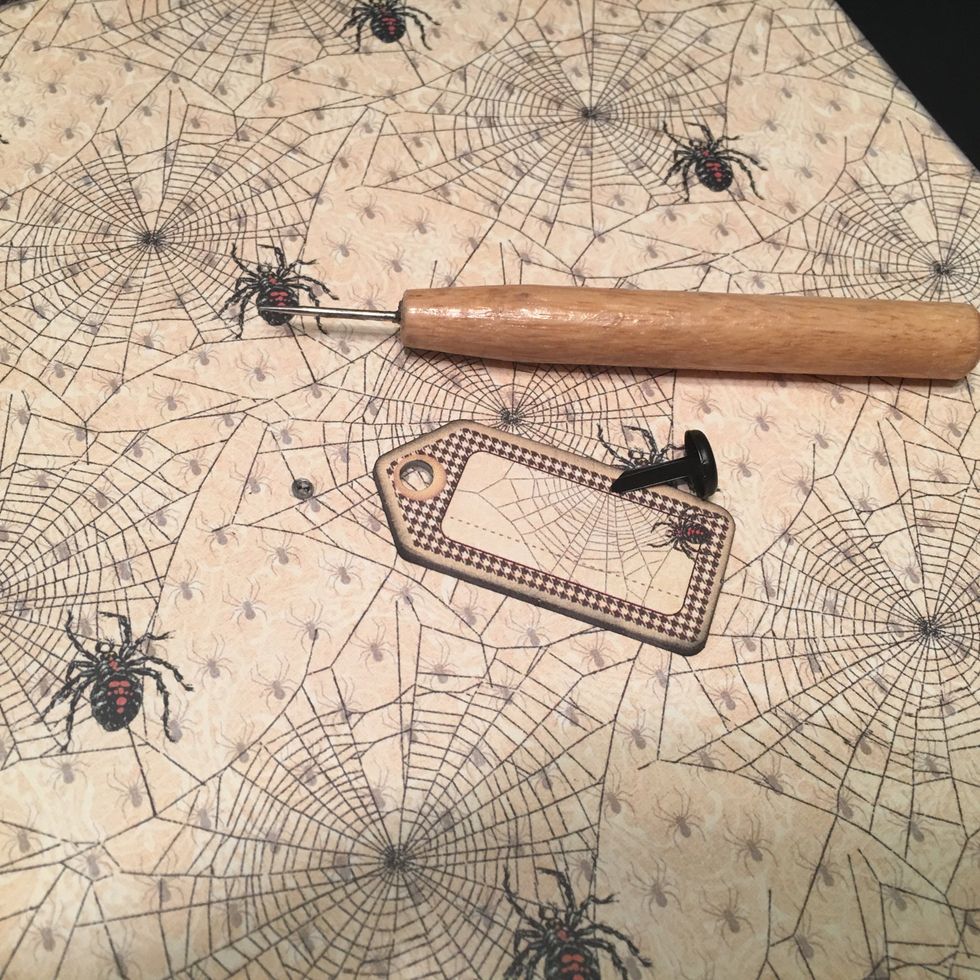 Use a brad piercing tool to punch a hole through the pattern paper only. Attach the chipboard piece with a large brad.
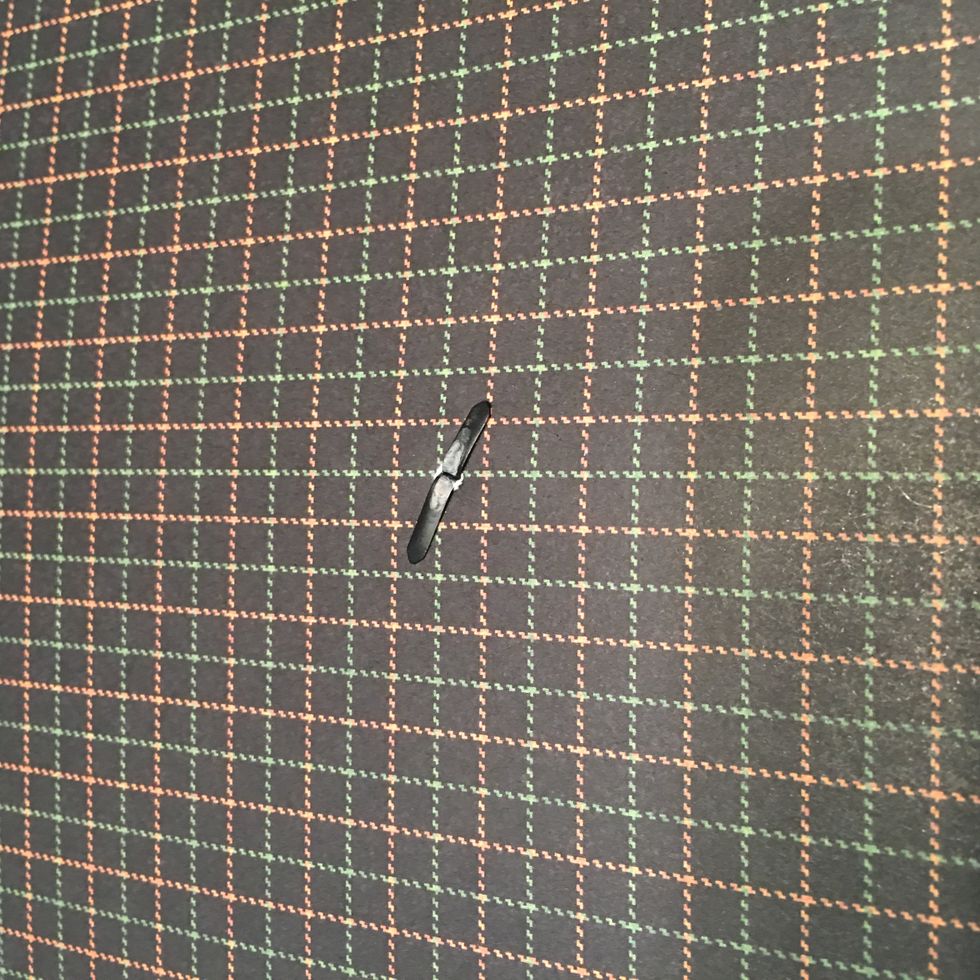 Open the prongs on the back side of the patterned paper.
 Glue the pattern paper down onto the first page. With the flap closed over the page,the main part of the chipboard piece is over the flap but swings down over the page so you can open up all the pages
 Measure and cut patterned paper to cover the front and the back of the flap. Attach with glue. Be sure to punch the corners of the papers to match up the corners of the flap.
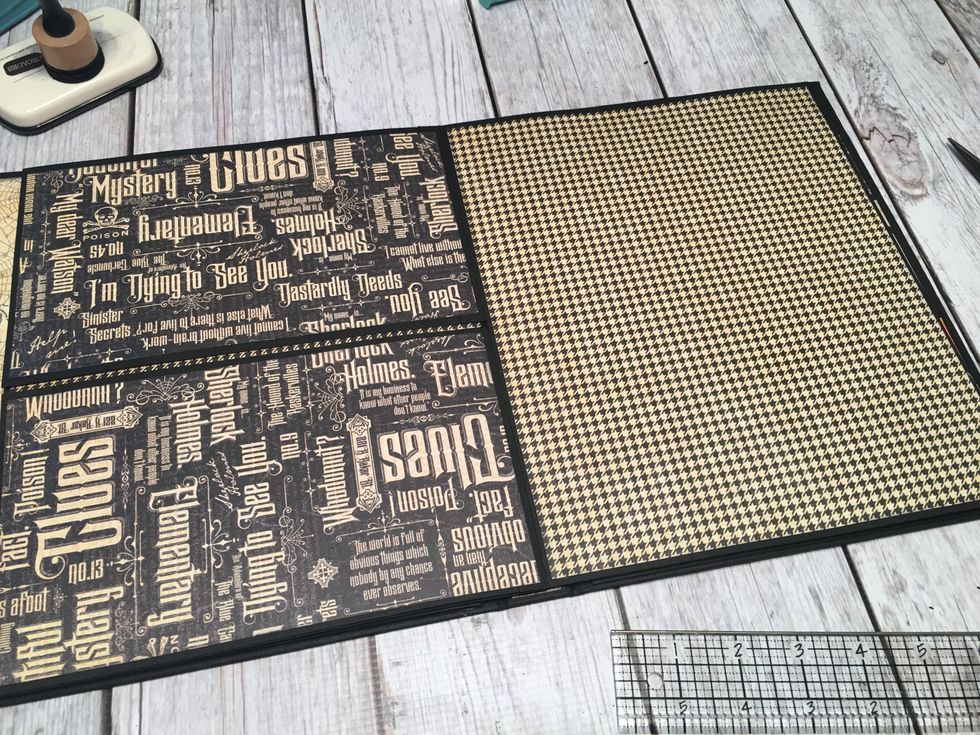
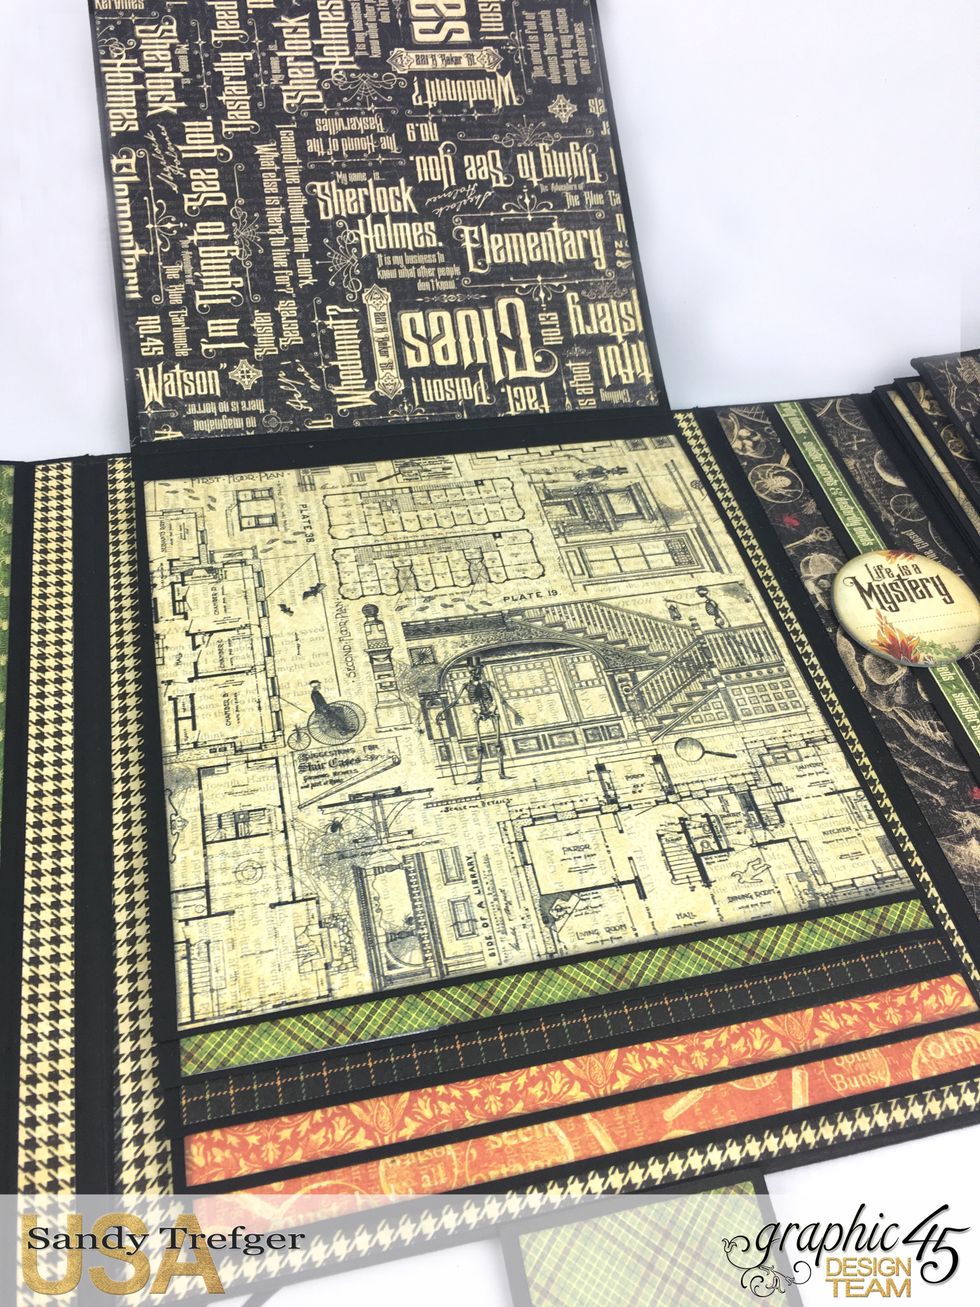
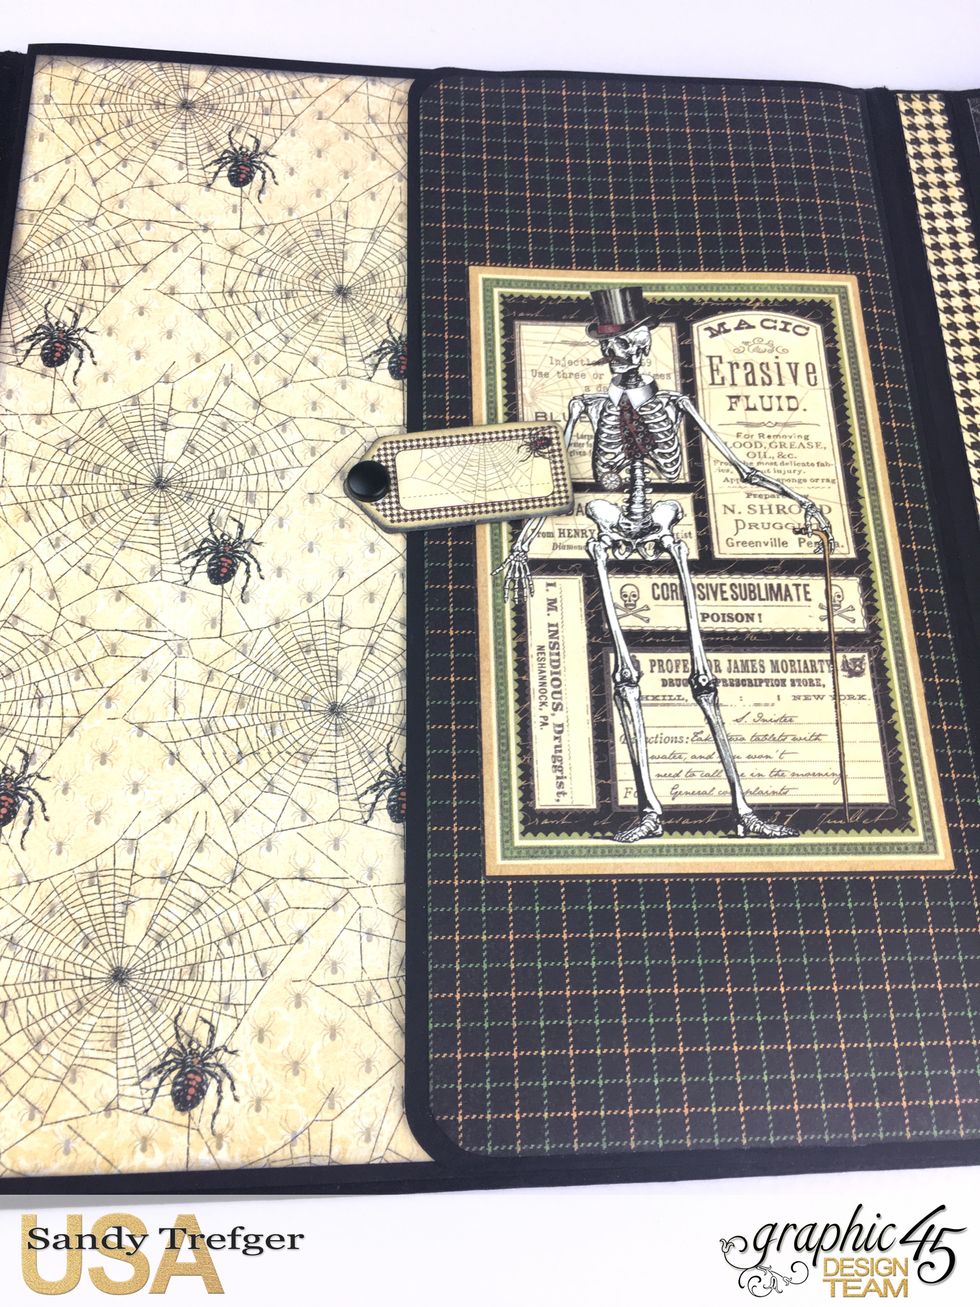
 When closed, this section will look like this. Measure, cut and attach patterned papers to all of the pages of the album in this section. Ink edges if desired before attaching.
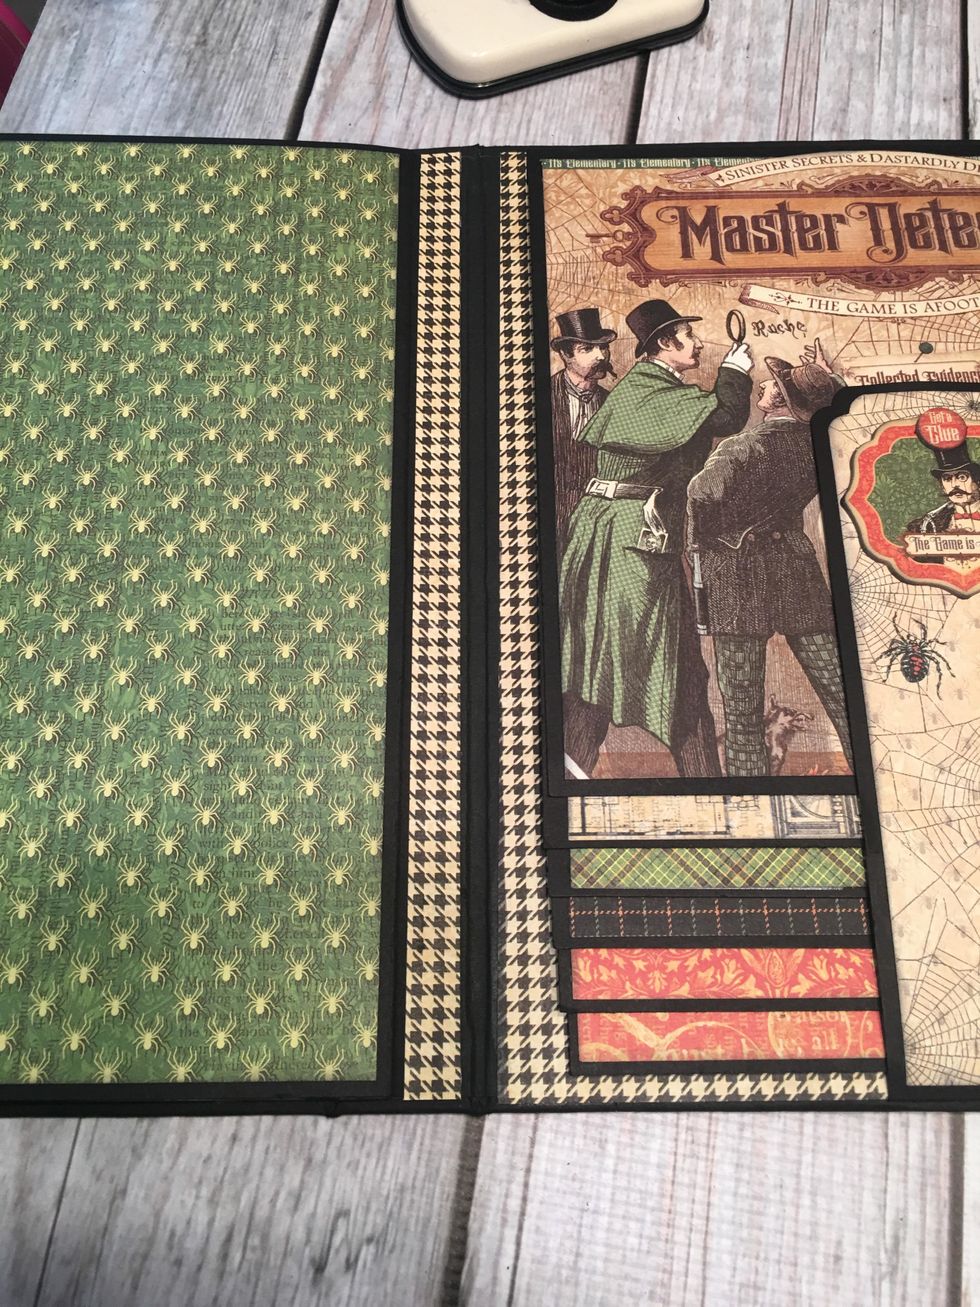
 Measure, cut and ink patterned papers to cover the three pocket sections.
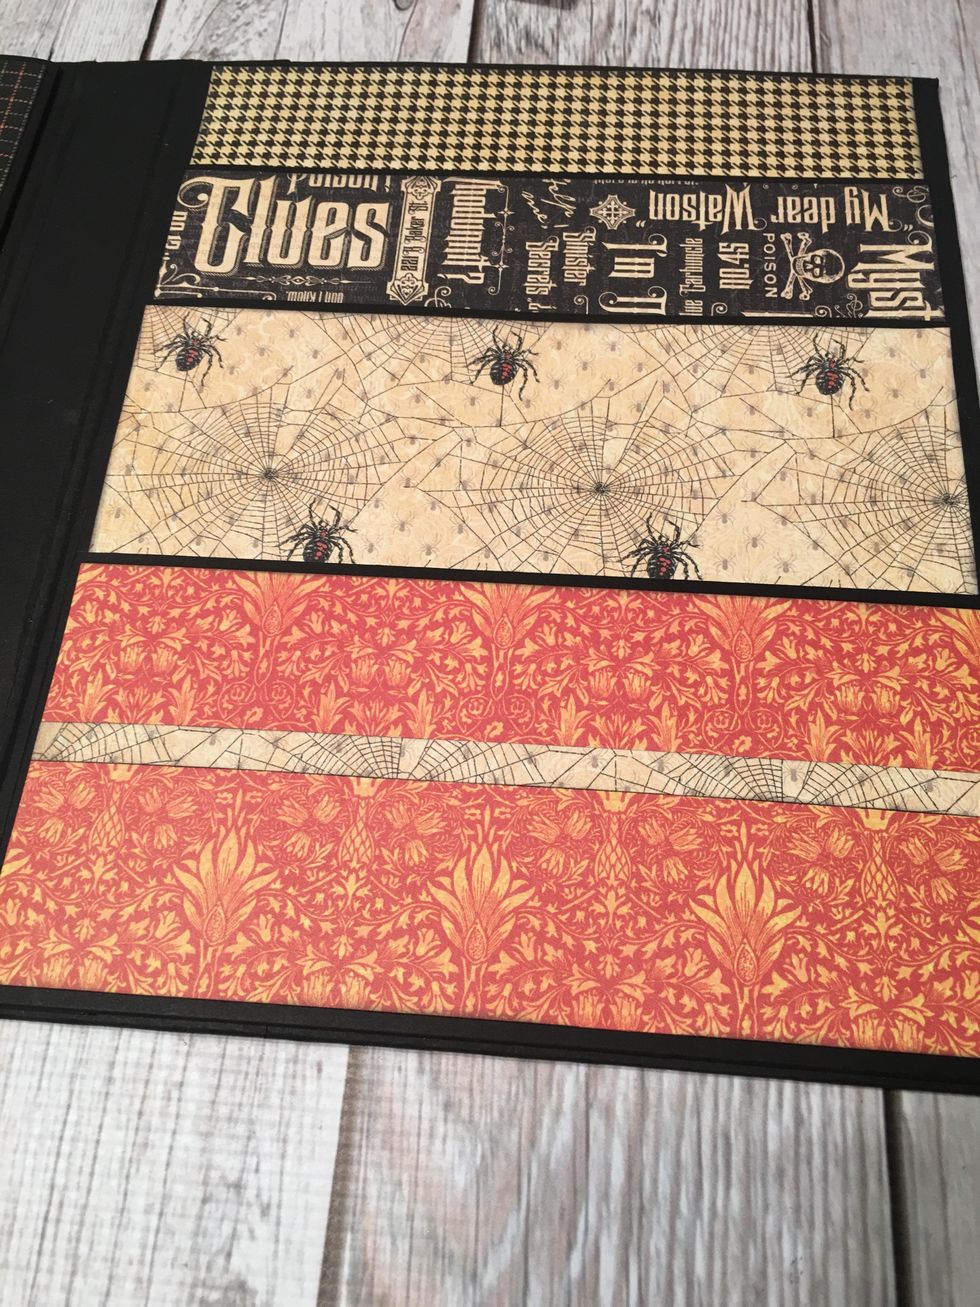 Glue the papers onto each pocket section and also to the very top of the section above the top pocket. Add strips of paper for trim if desired.
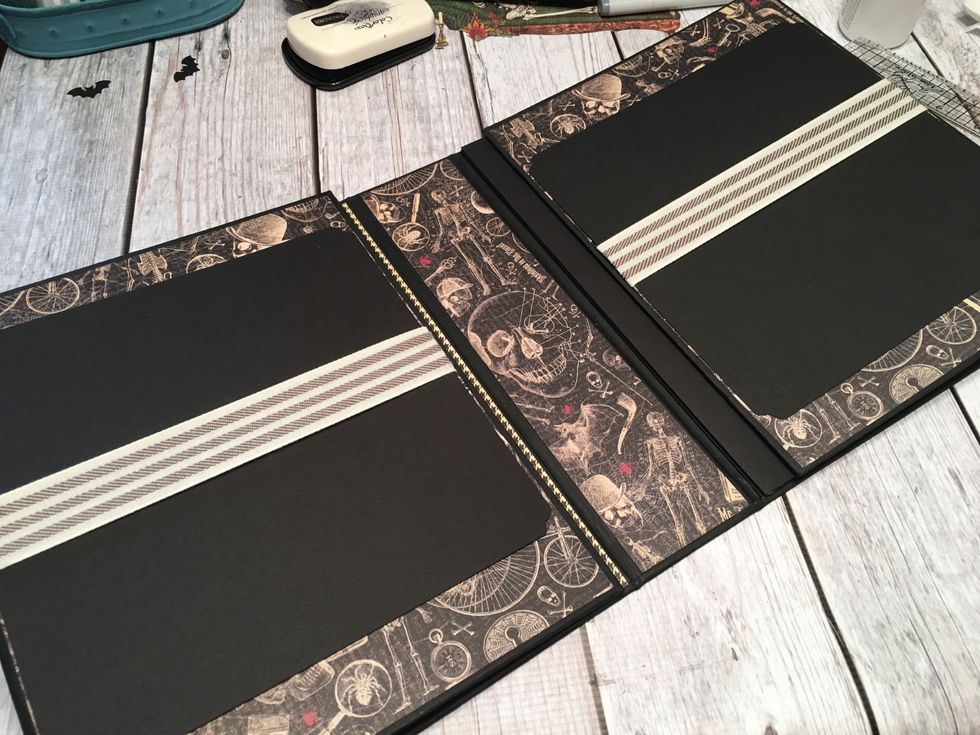
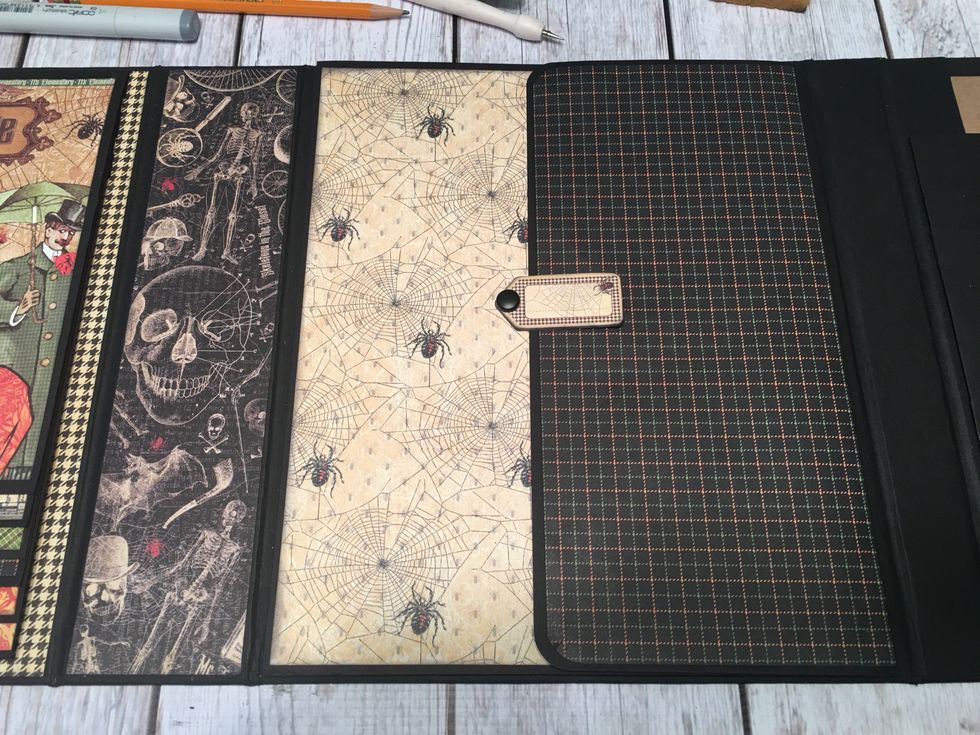
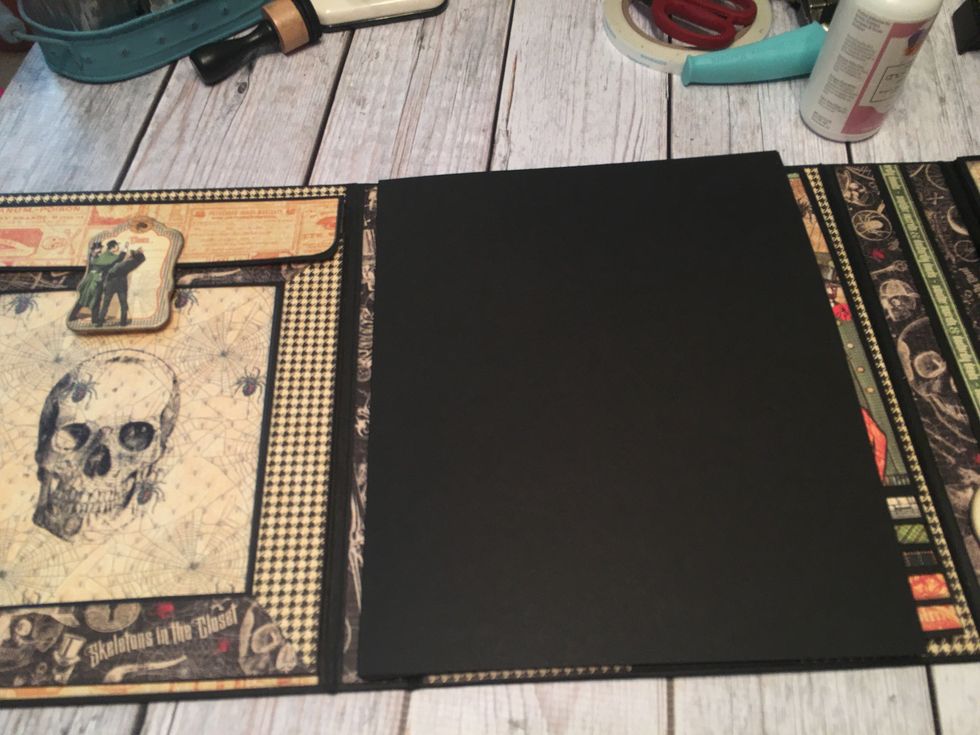
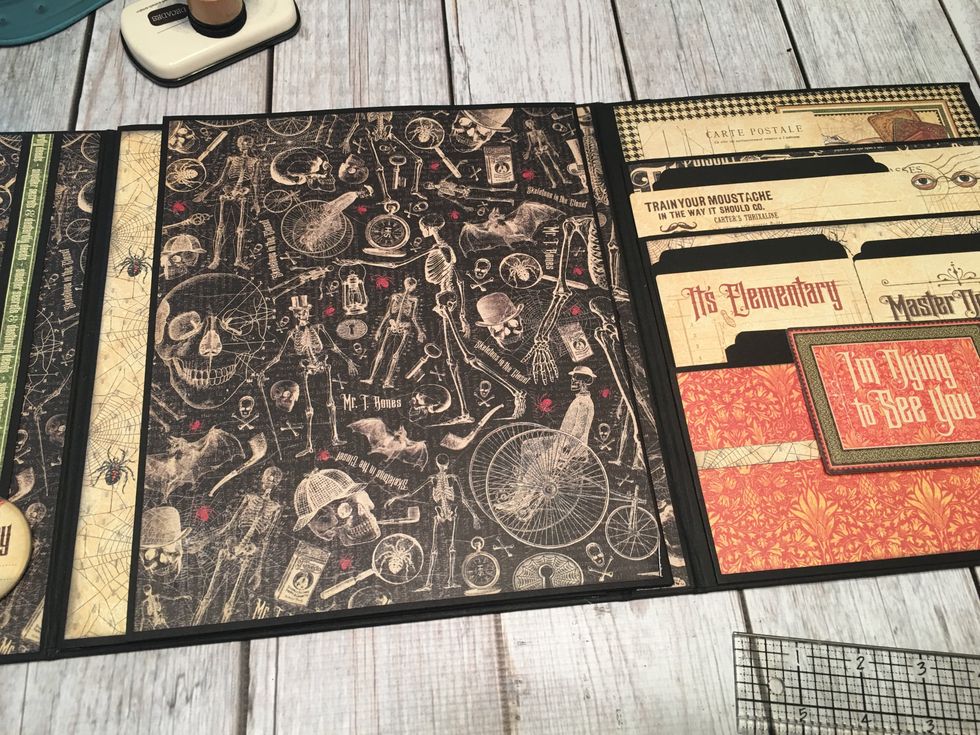
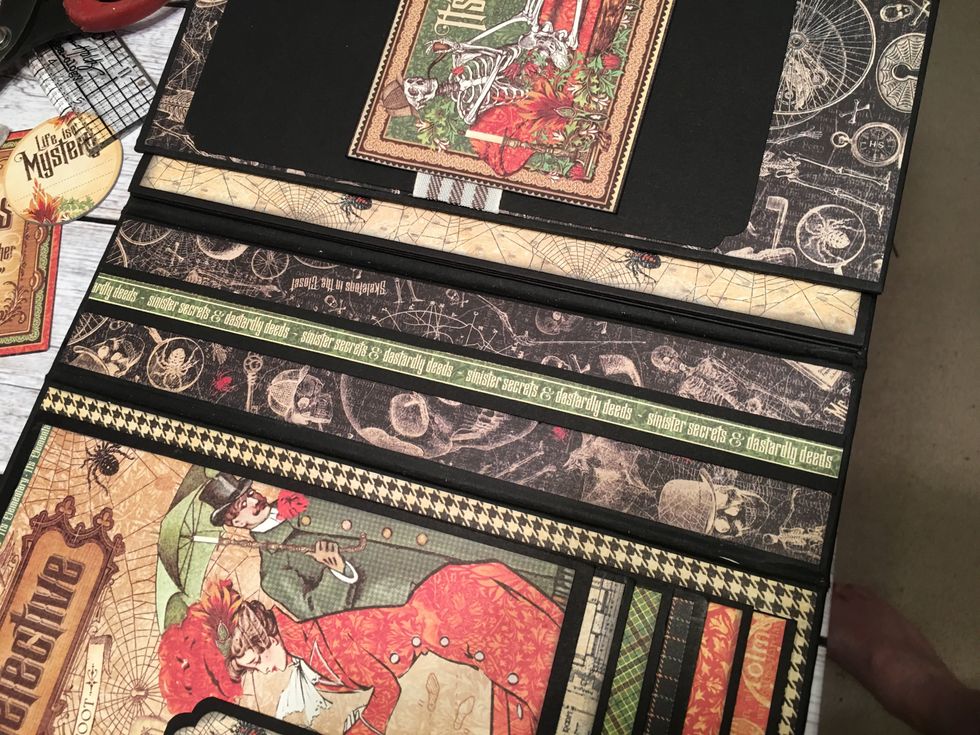
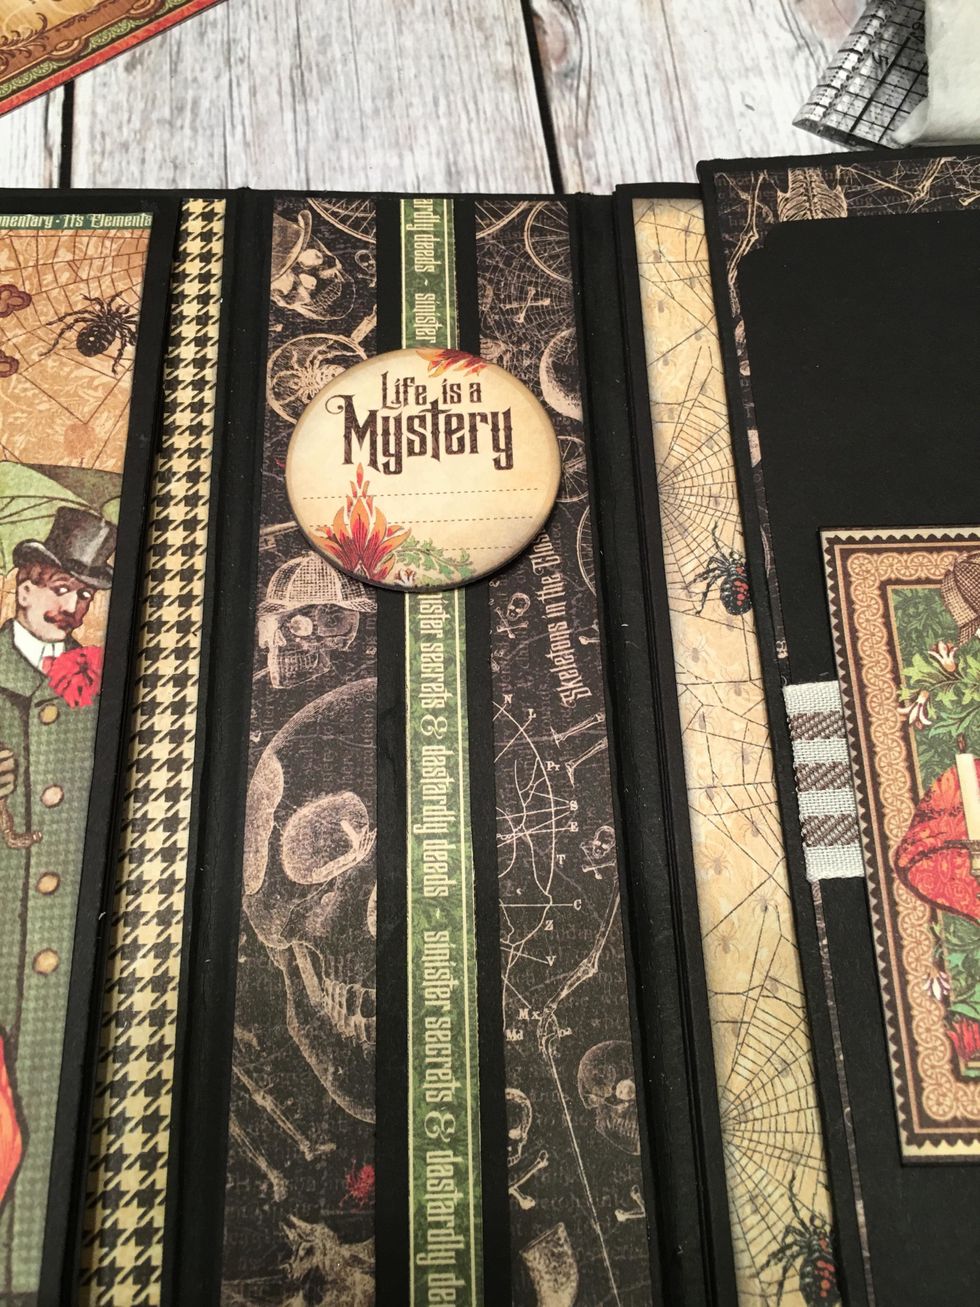
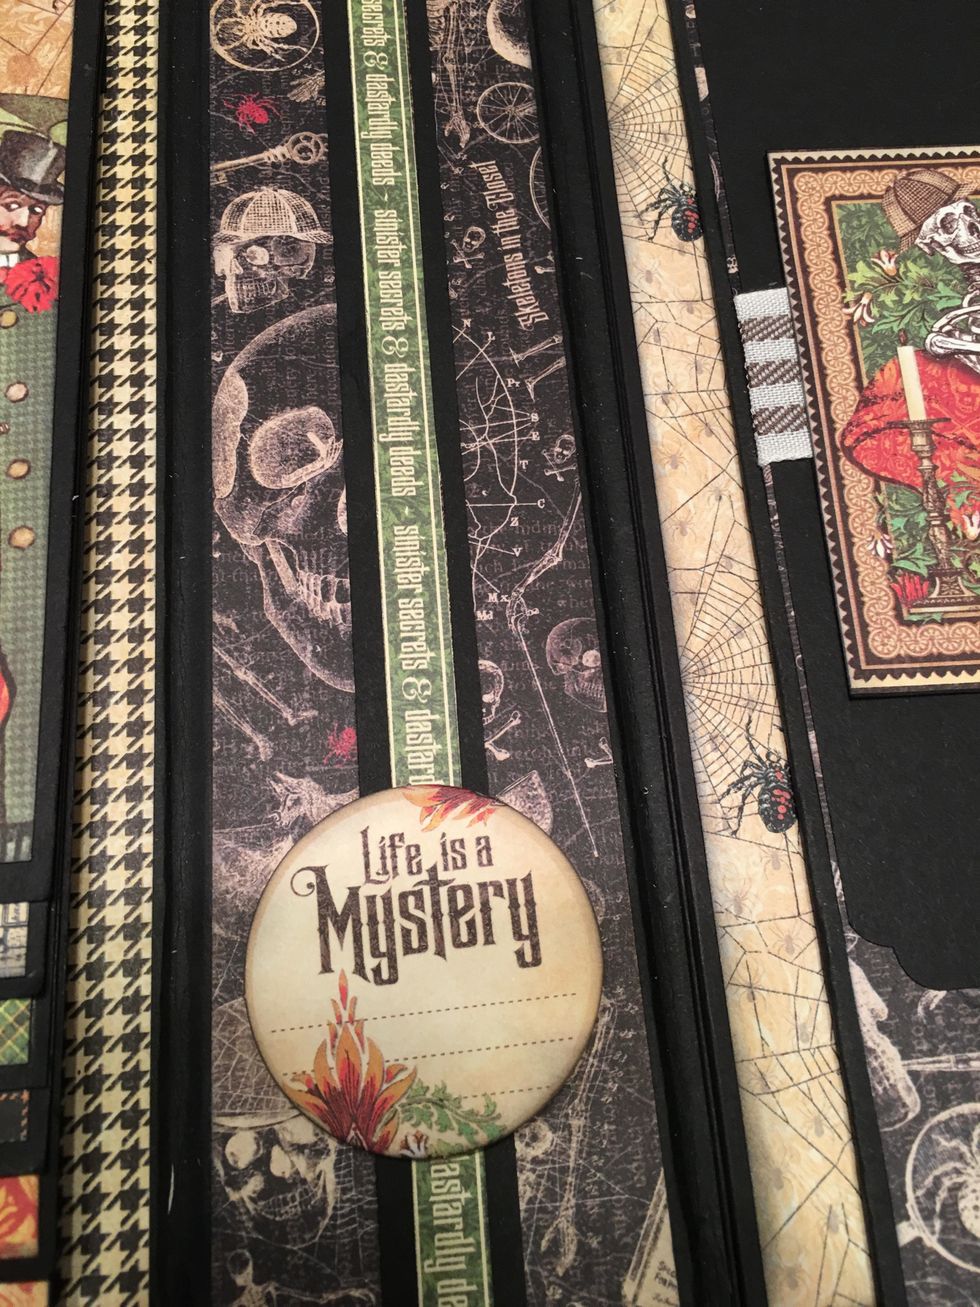
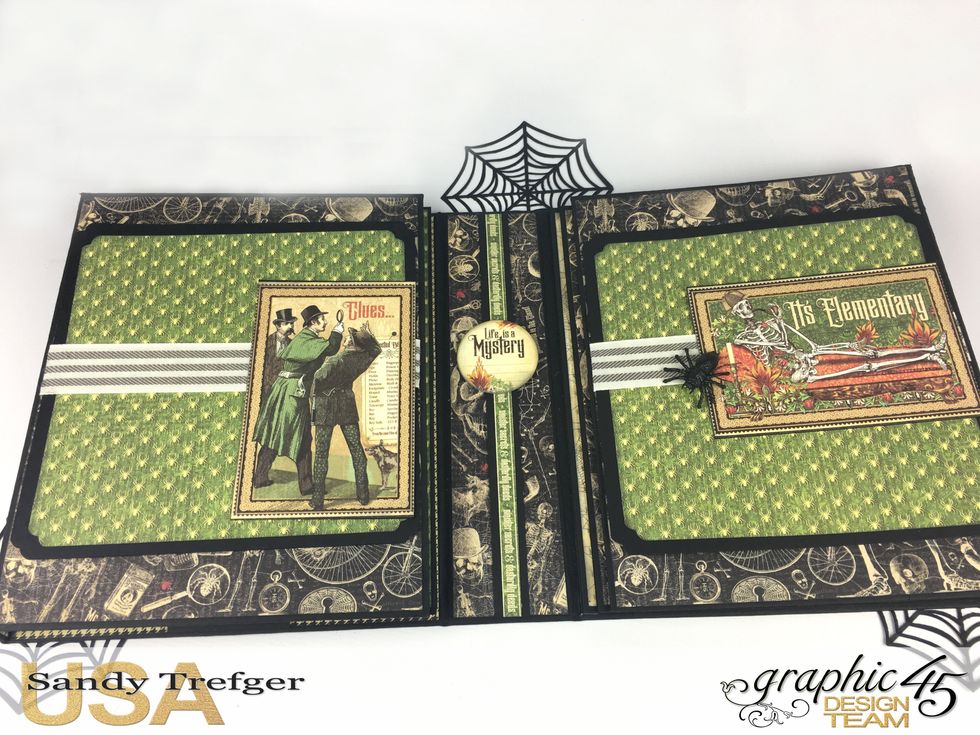
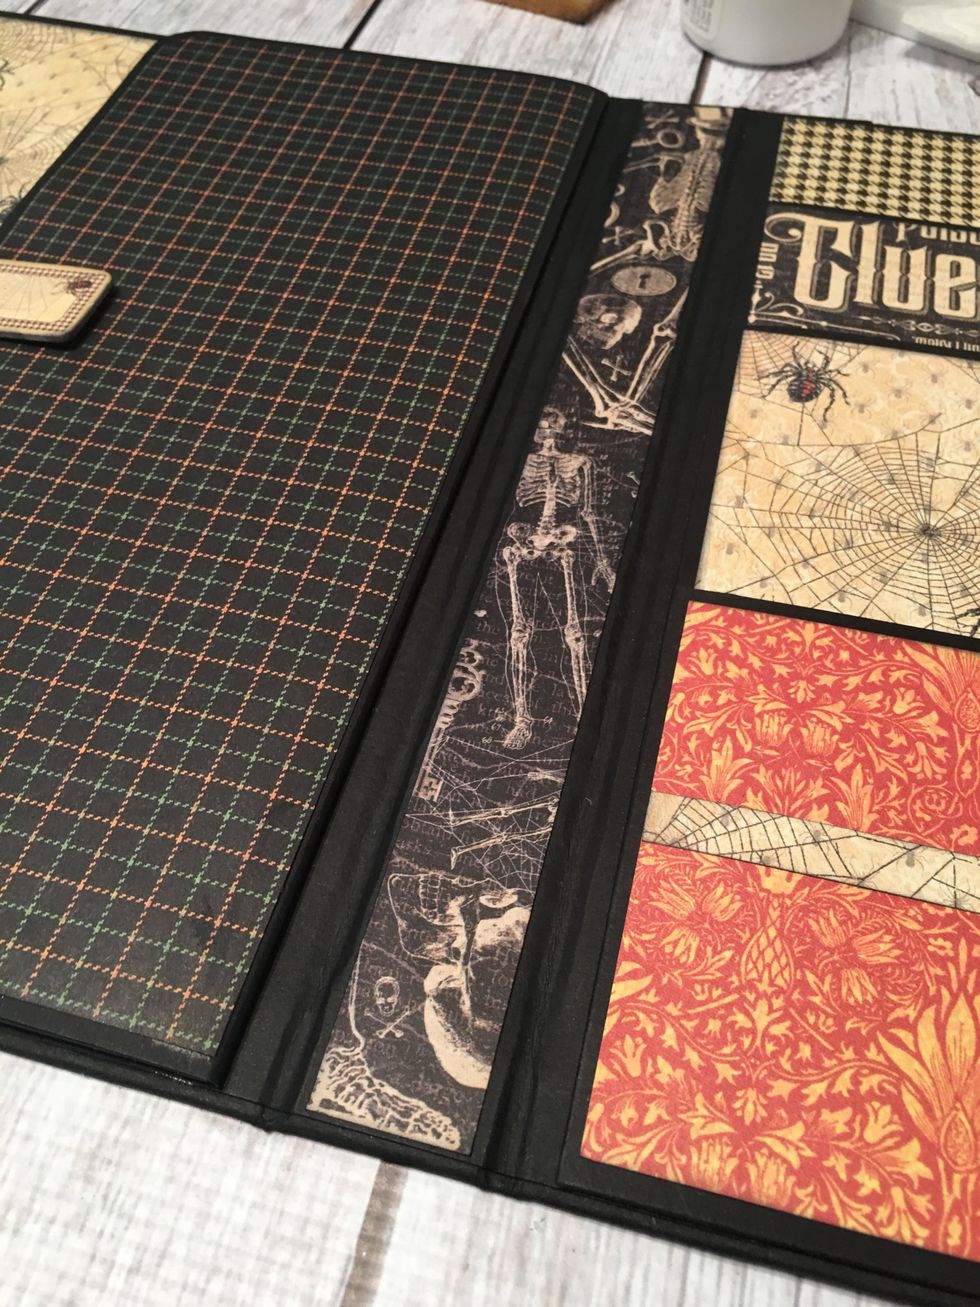 You should have already patterned the 1" spine area section. With the finished pockets on the right and the closure flap on the left, your album currently looks like this.
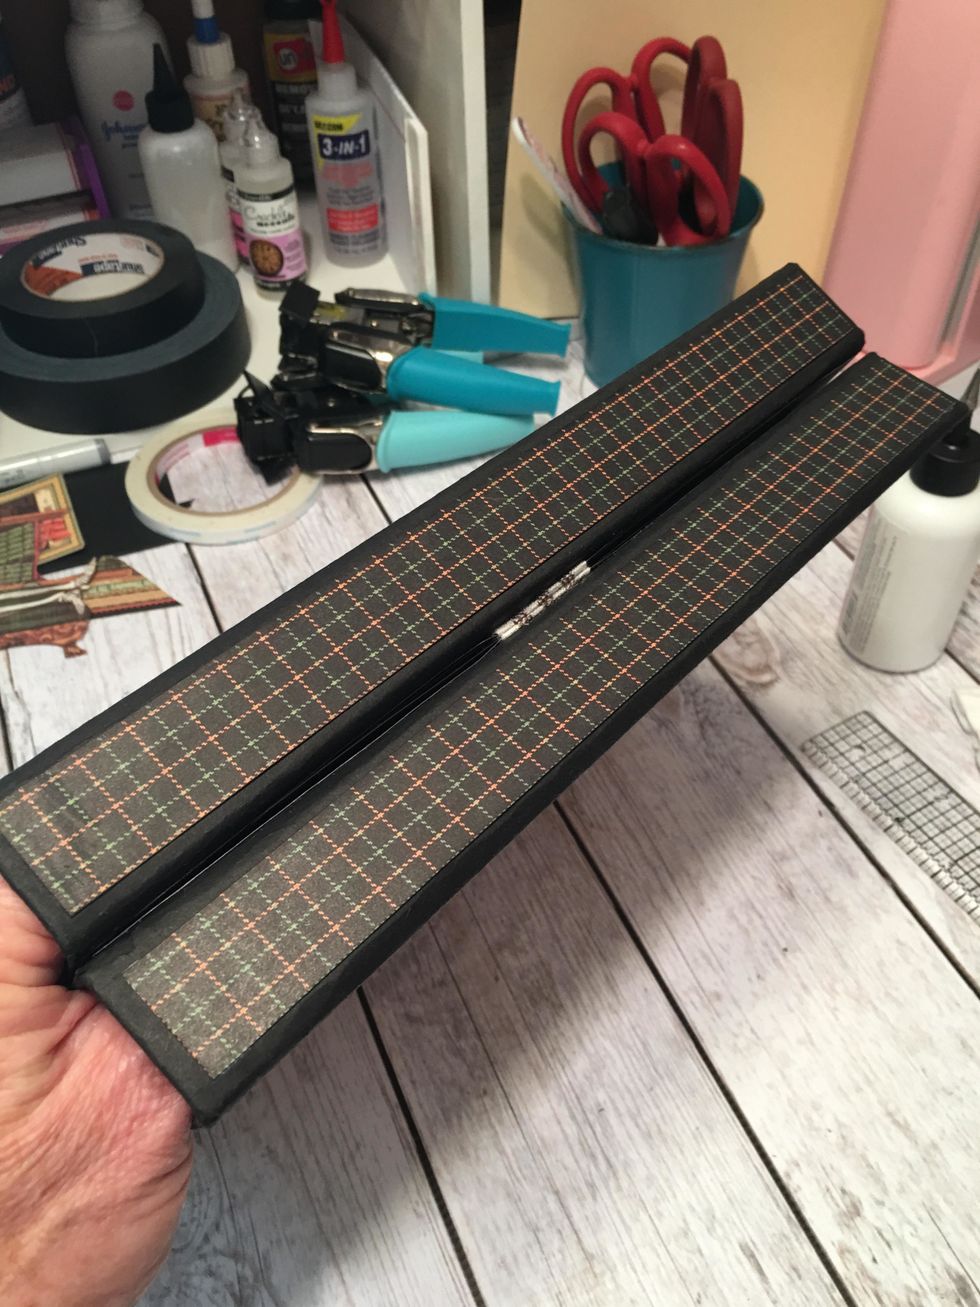
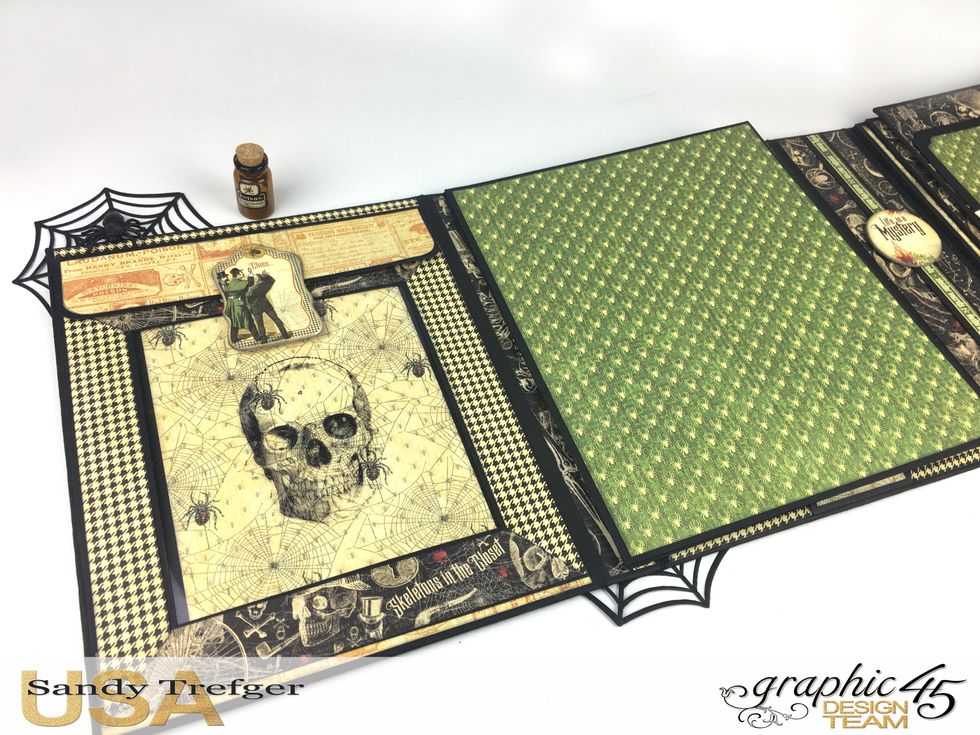
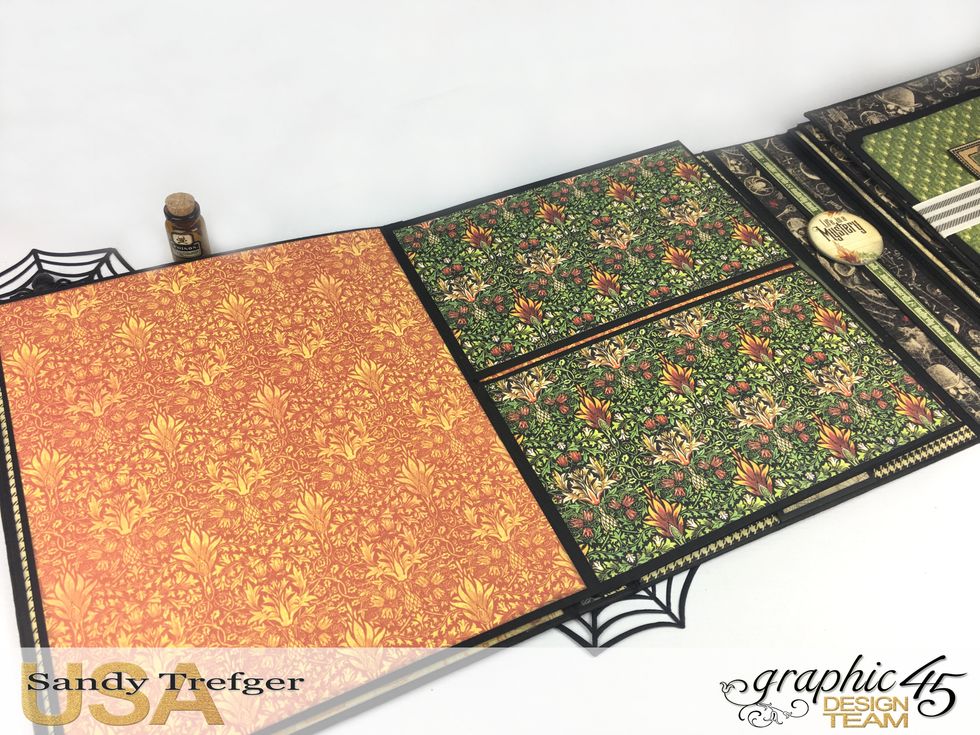
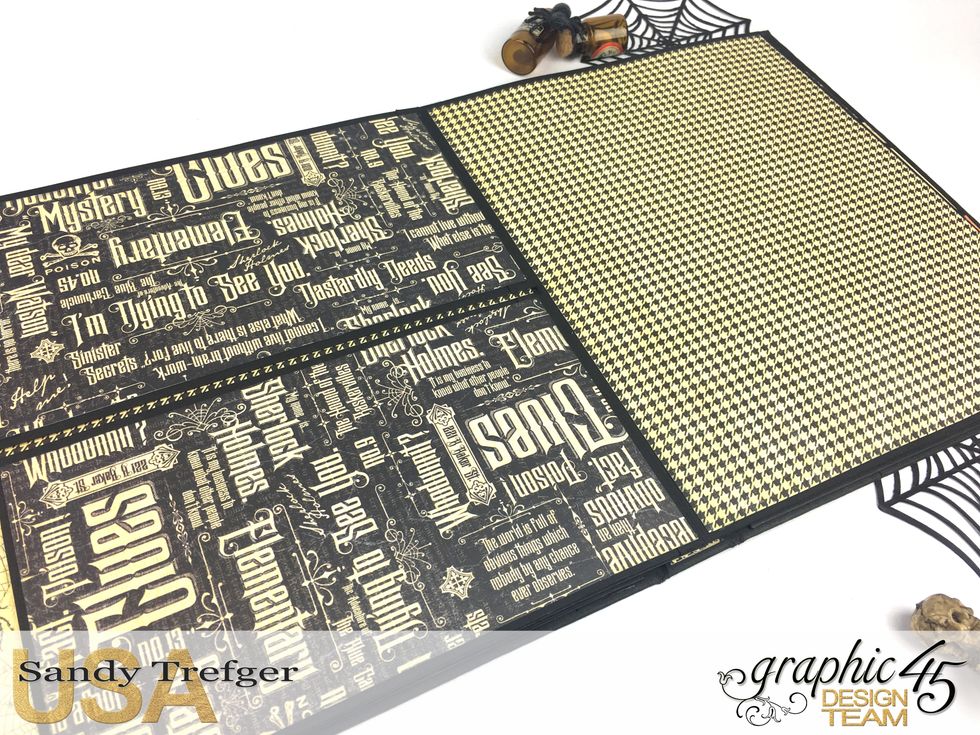
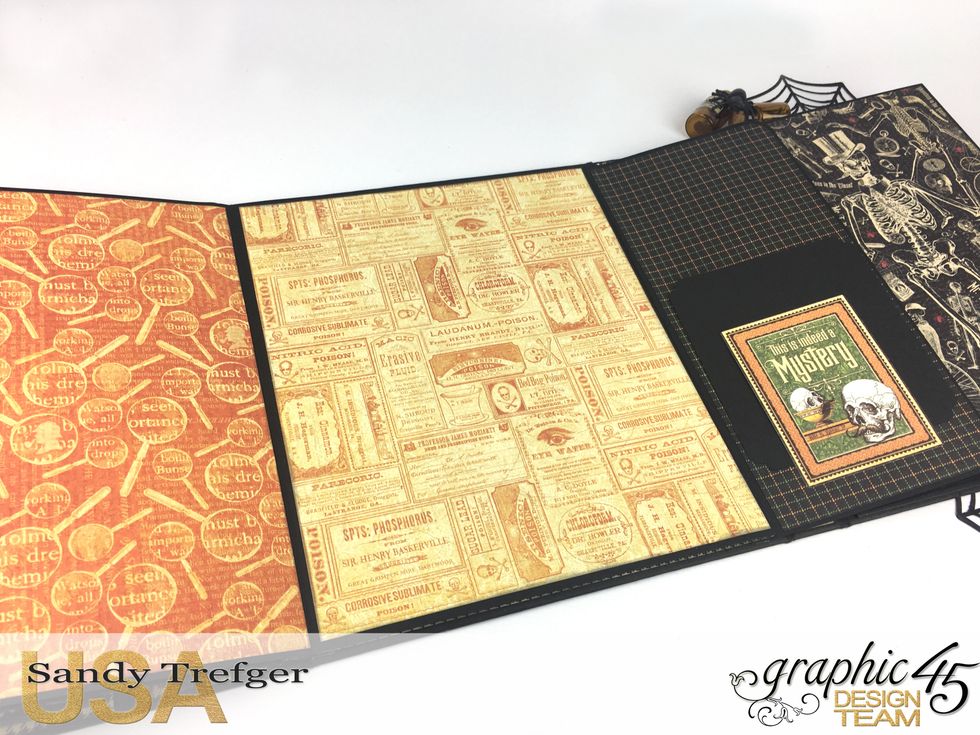
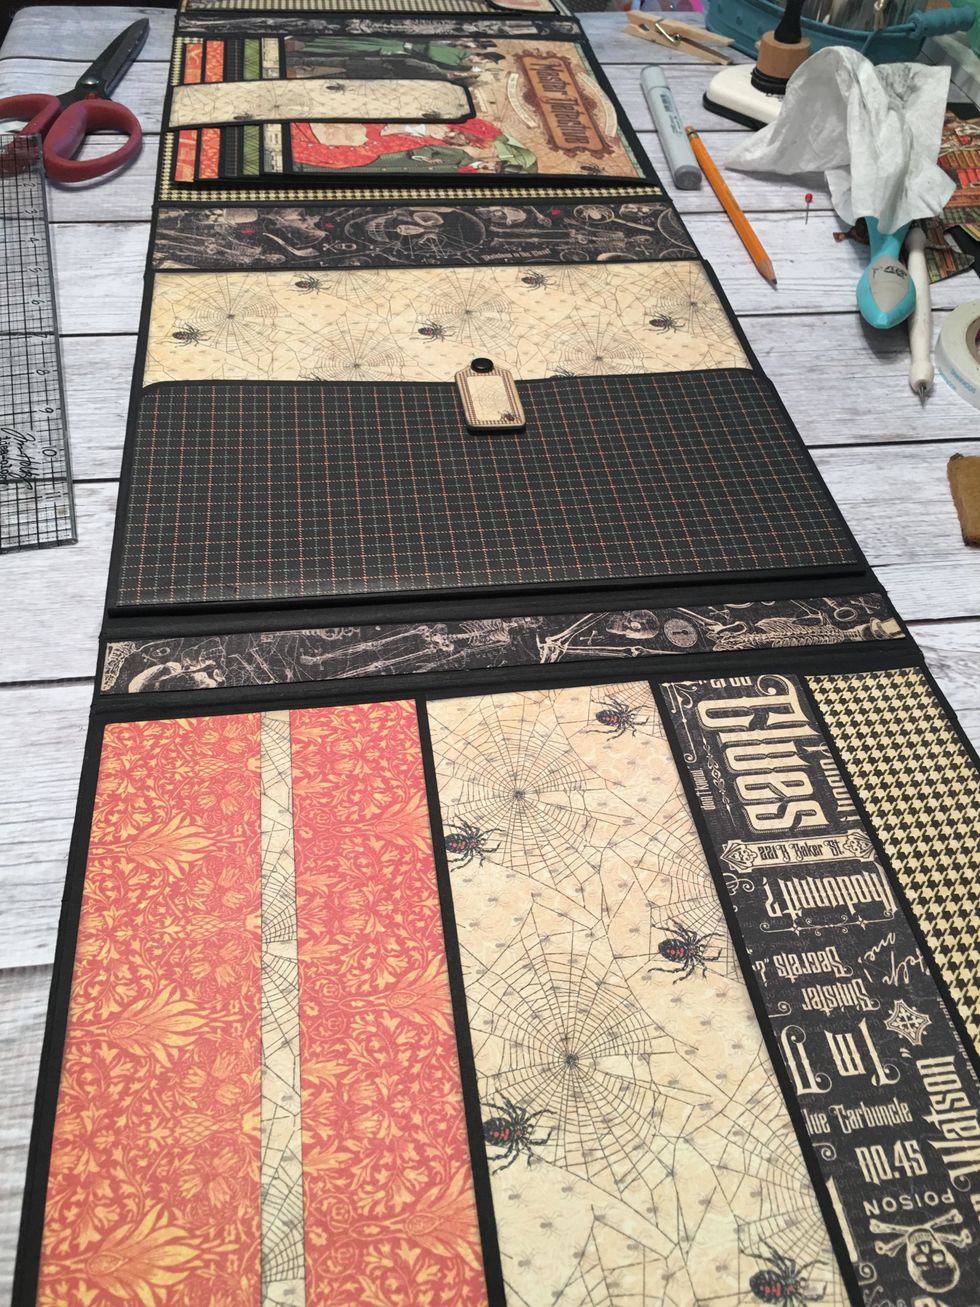 The is the finished look of the album with it opened up. The top is to the right. You cannot see the transparent pocket section which would be on the other end. When open,it measures about 41" long
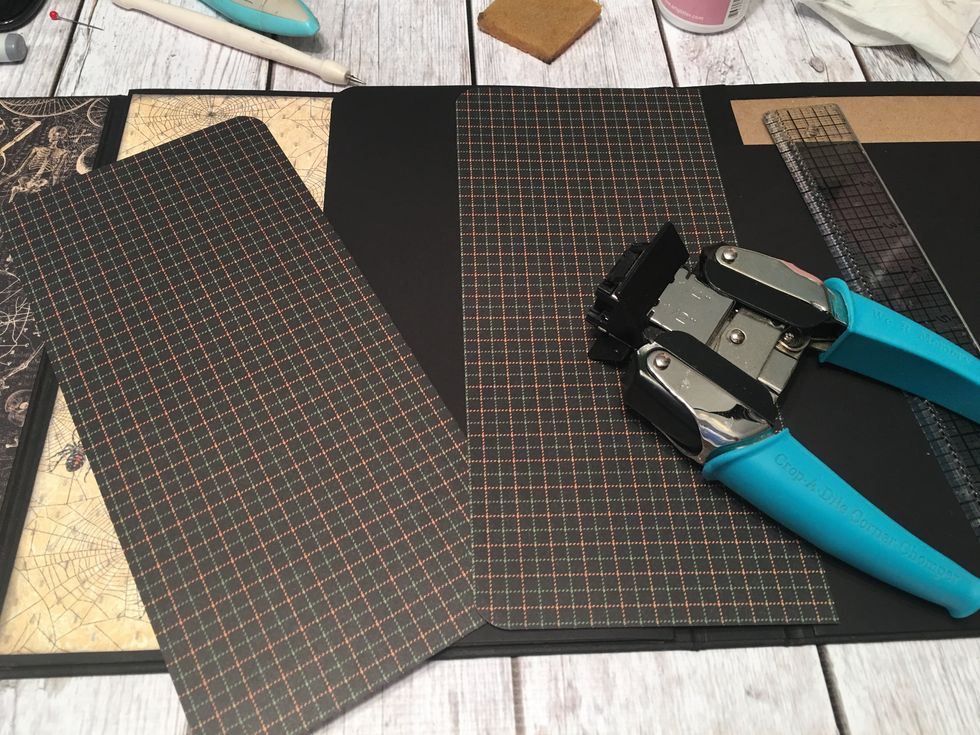
 Pages for 1" spine sections: Cut 4 each card stock 9 1/4" x 10 1/2", score 9 1/4" side @ 1/2"
 Also cut 4 each 9 1/4" x 5 1/4" and score 9 1/4" side @ 1/2"
 Fold and burnish the score lines and use glue or scor-tape to attach two 5 1/4" tall sections to one 10 1/2" tall page. See next photo.
 This photo shows two "half pages" (5 1/4" tall) attached to one full page. You attach these on top of the full page by putting glue or tape on just the 1/2" hinges.
 In this photo you can see the hinge when the top "half page is opened up.
 Apply glue or tape to the 1/2" hinge of another full page.
 Attach it down on top of the two half pages that are already attached to another full page. You will create two sets like this. One for each 1" spine section of the album.
 This is the top full page opened up showing the two "half" pages and there is one other full page under those.
 Note: for the "half" pages to open up correctly, take your scissors and cut the hinge of the top page in the center as shown.
 Apply glue or scor-tape to the one remaining hinge of the page set.
 Line up and attach into the 1" spine section on to the patterned paper that is already in that section.
 This is how the pages will look in each 1" section once attached into the album.

 Measure, cut and ink patterned papers to cover each full page and the "half" pages.
 This is a full page on the left with the "half" pages on the right after they have been patterned.
 When you open up one "half" page to the left and leave one to the right, your pages will look like this.
 To cover the 1/2" black hinge from inserting the pages into the 1" sections, cut a strip of patterned paper and attach into the album to cover the hinges.
 Select patterned paper to cover 2 of the large photo mats that go behind the ribbon belly bands.
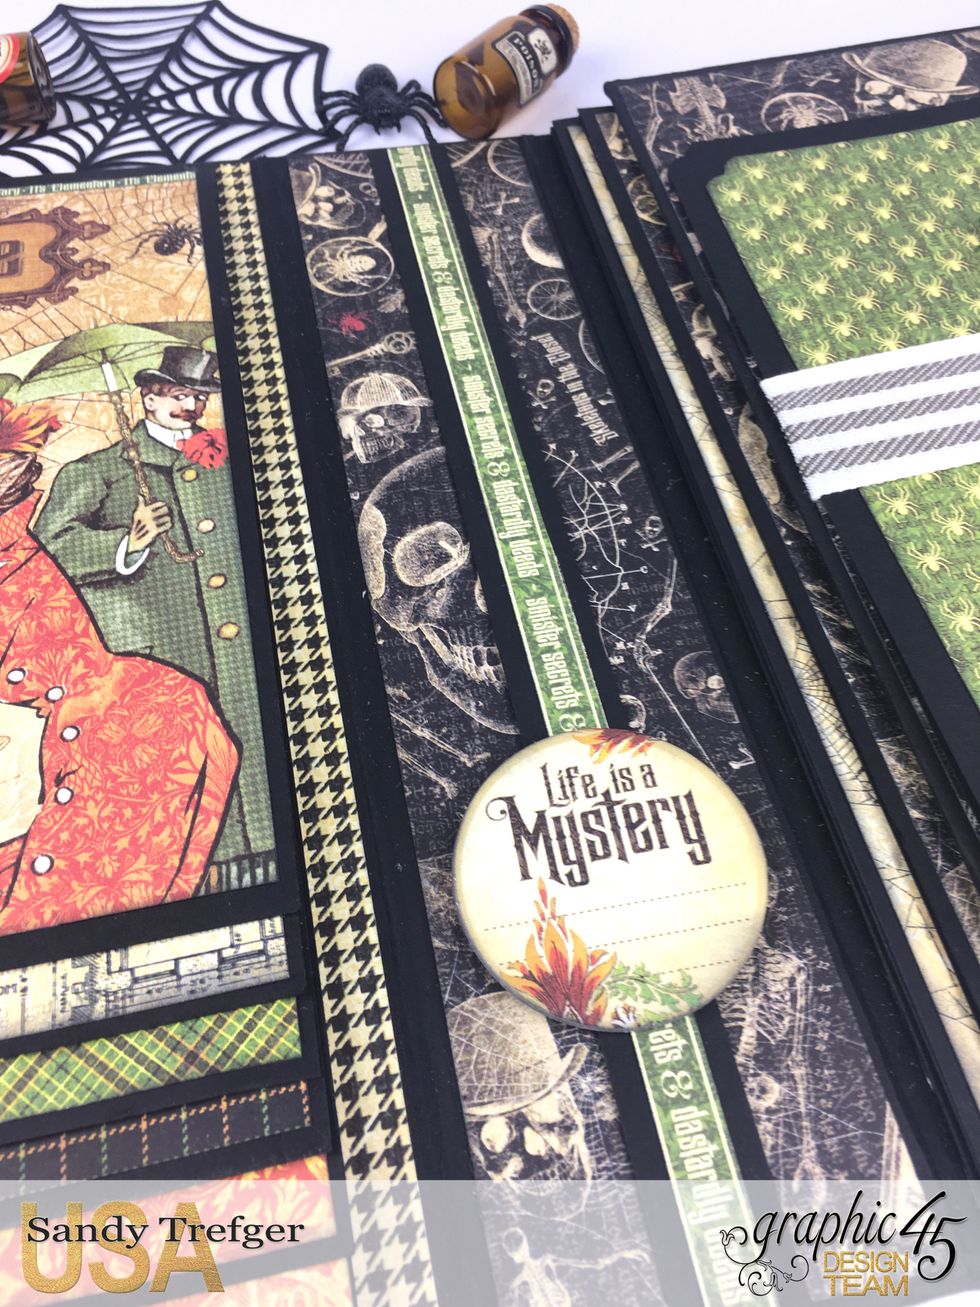
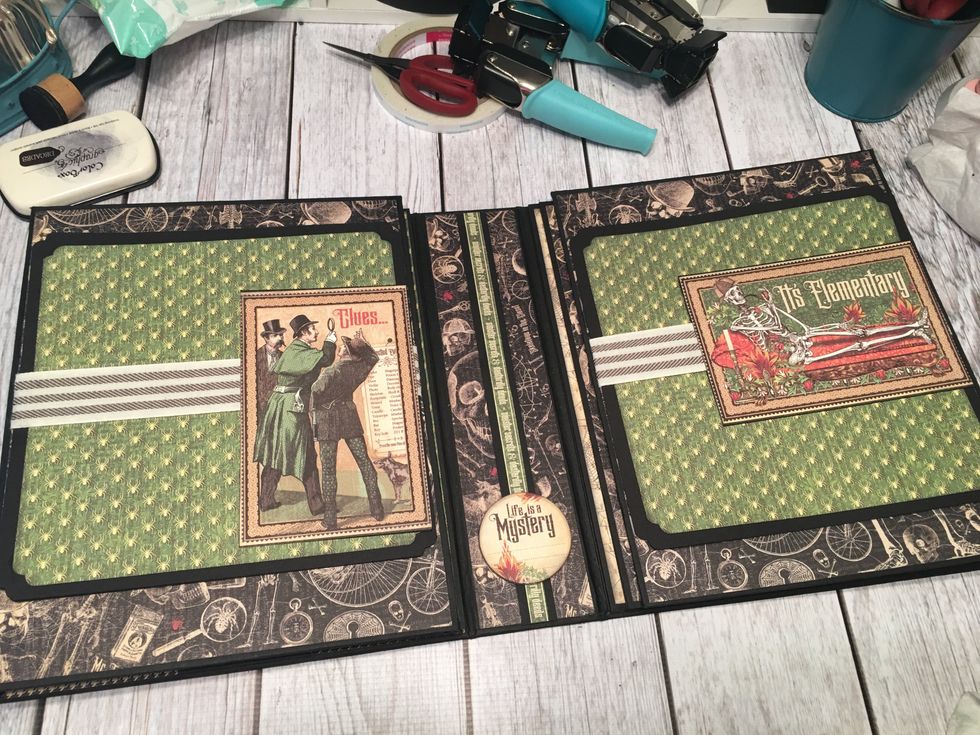 Add "sliders" to the belly bands created from the collection ephemera cards and card stock.
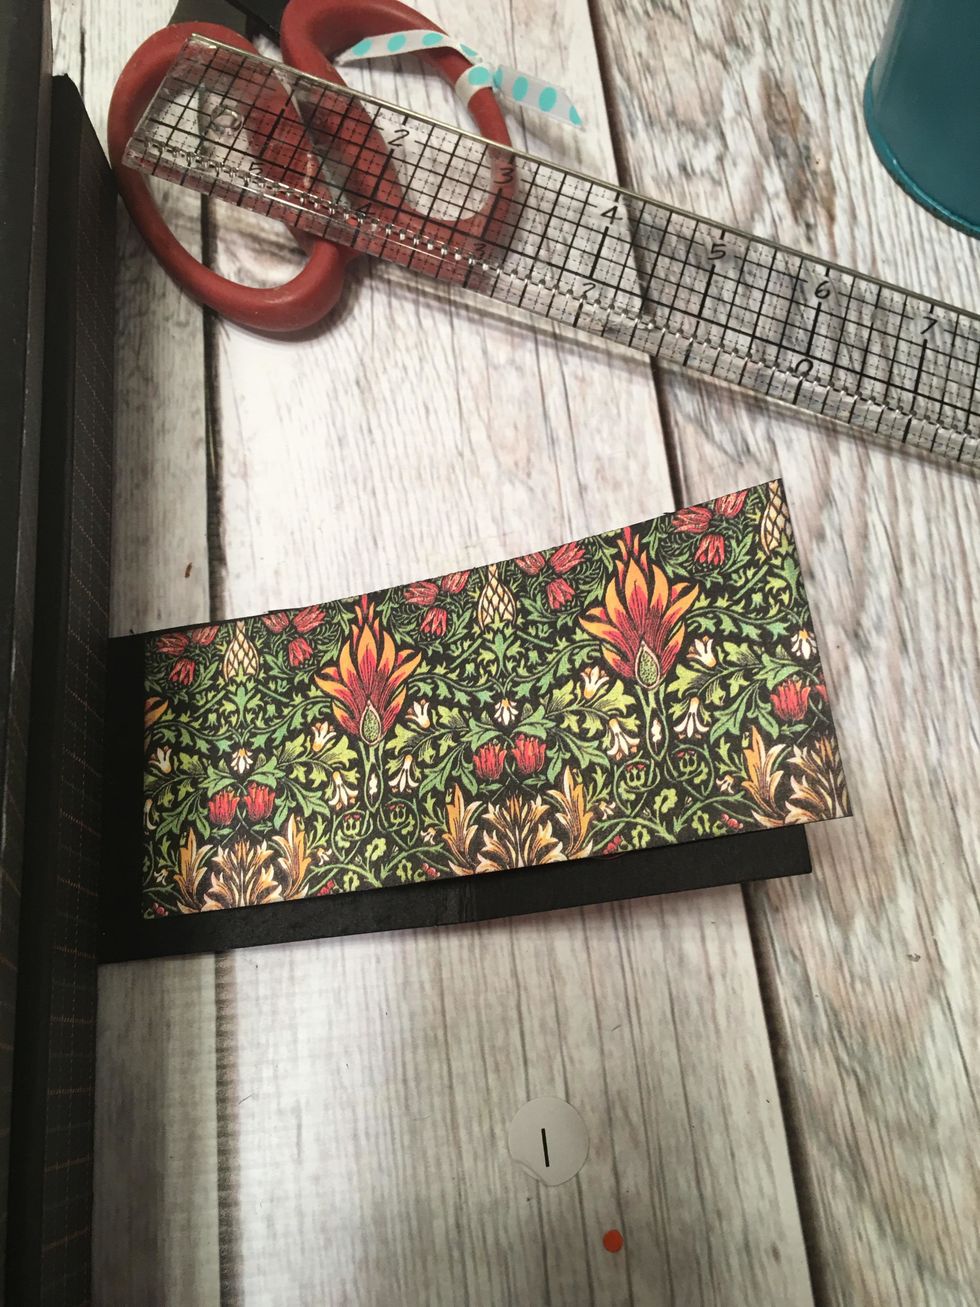
 Create a fun element by adding a slider into the 2 1/2" spine area. Cut card stock 10 1/2" long x 3/4" wide. Cut and adhere a strip of patterned paper.
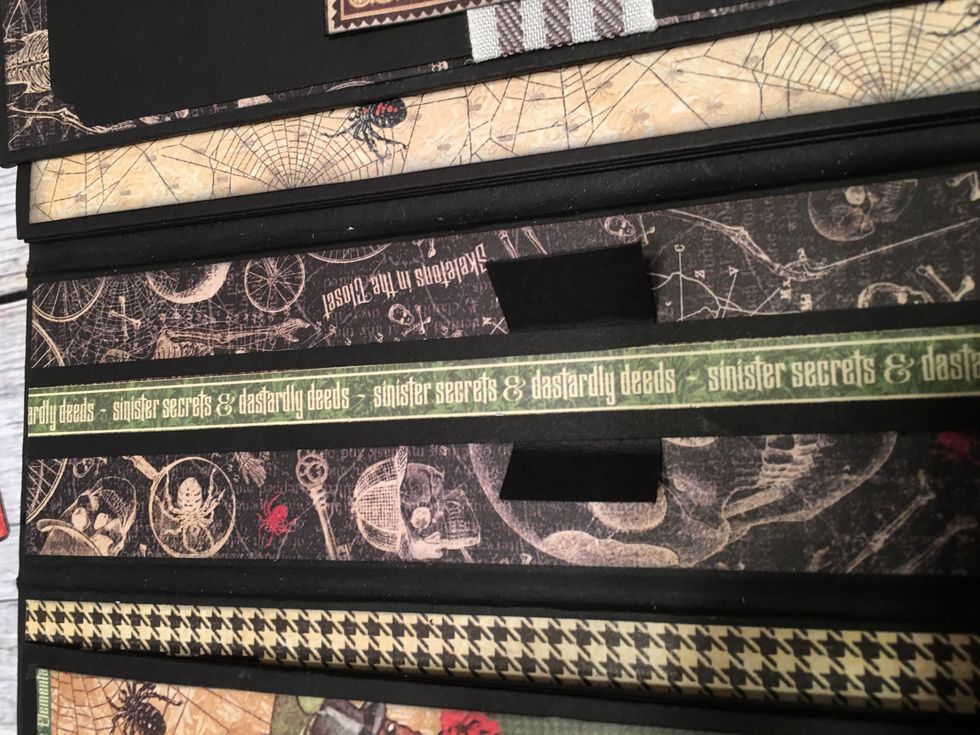
 Glue just the top and bottom edges into the 2 1/2" spine area.
 Cut a scrap of card stock and wrap around the center of the strip.
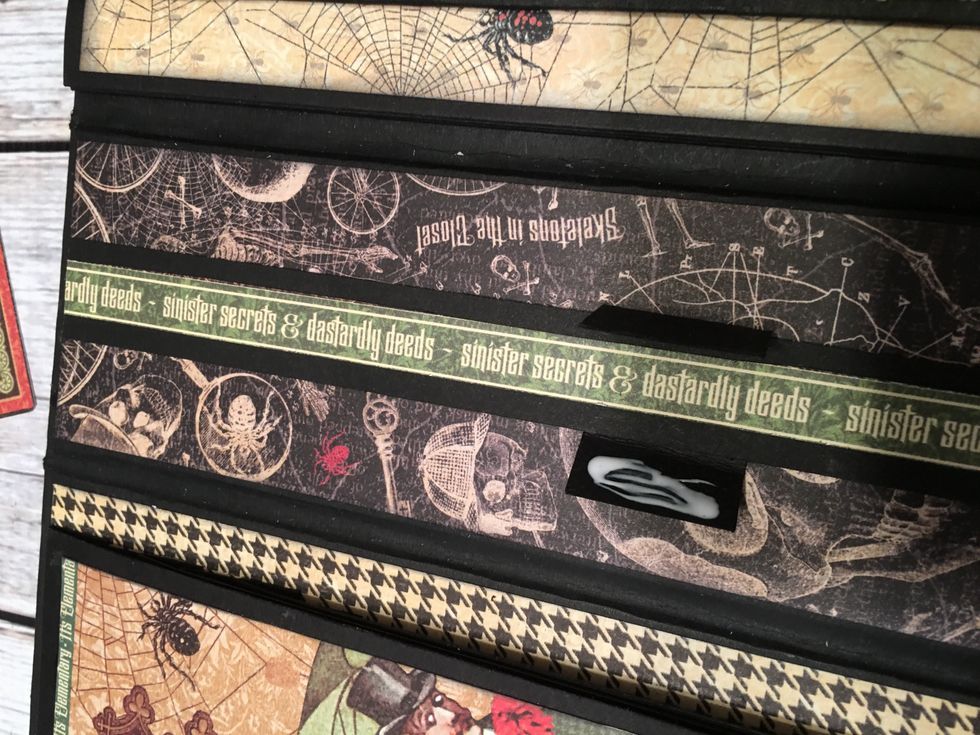 Add glue to one side. Attach down to the other side of the card stock scrap. Do not get glue on the strip or patterned paper.
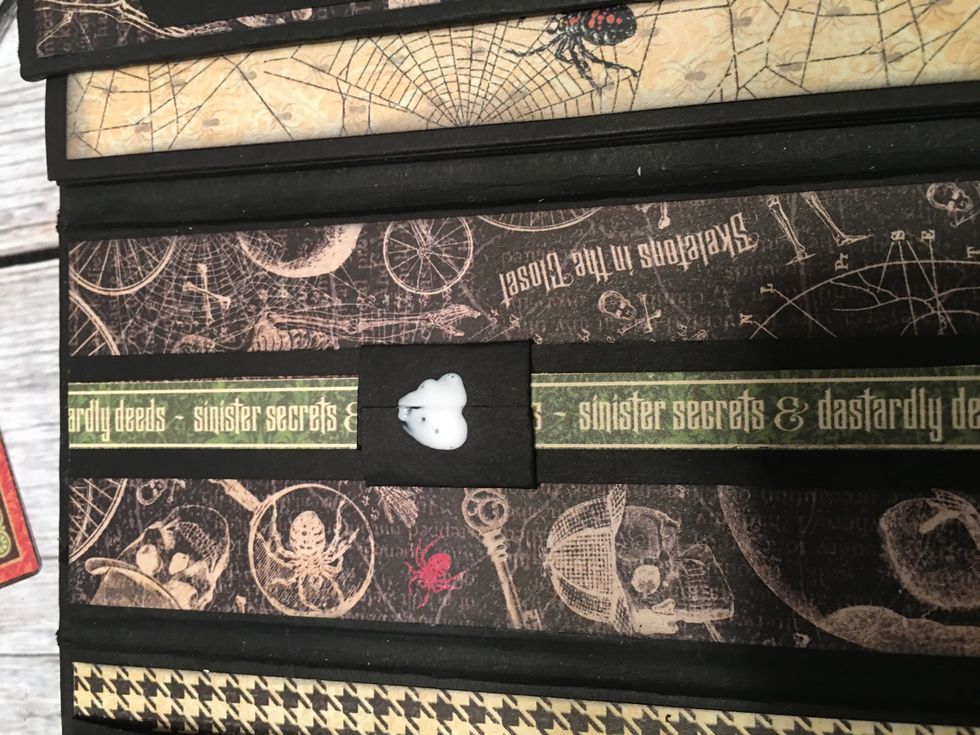 Apply a dab of glue to the center of the assembled slider piece as shown.
 Attach any chipboard piece that fits on to the glue on the slider piece and allow to dry.
 Now this piece will slide easily from the top to the bottom of the spine area of the album.
 Measure, cut, ink and adhere patterned paper to the outside spine area of your album.
 Add two matching patterned papers to the smaller spine areas on the opposite side.
 To create a fun slider element for the front cover of the album, cut from card stock 1 @ 6" x 6 1/2, score 6" side at 1/2" & 3 1/4", cut 1 @2 1/2" x 4", 1 @ 6"x 1", score 6" side @ 1/2" & 5 1/2"
Also cut 1 @ 1" x 2 1/2", score 2 1/2" side @ 1" and 1 1/2"
 Fold & burnish the 1/2" score lines on the 6" x 1" piece. Fold the 1" x 2 1/2" piece along score lines and wrap around the longer piece as shown. Glue the slider piece together.
 Glue the assembled slider piece into the 6" x 6 1/2" piece as shown. Be sure to fold and burnish the score lines.
 Glue a cut out image or ephemera card onto the 2 1/2" x 4" card stock piece as shown.
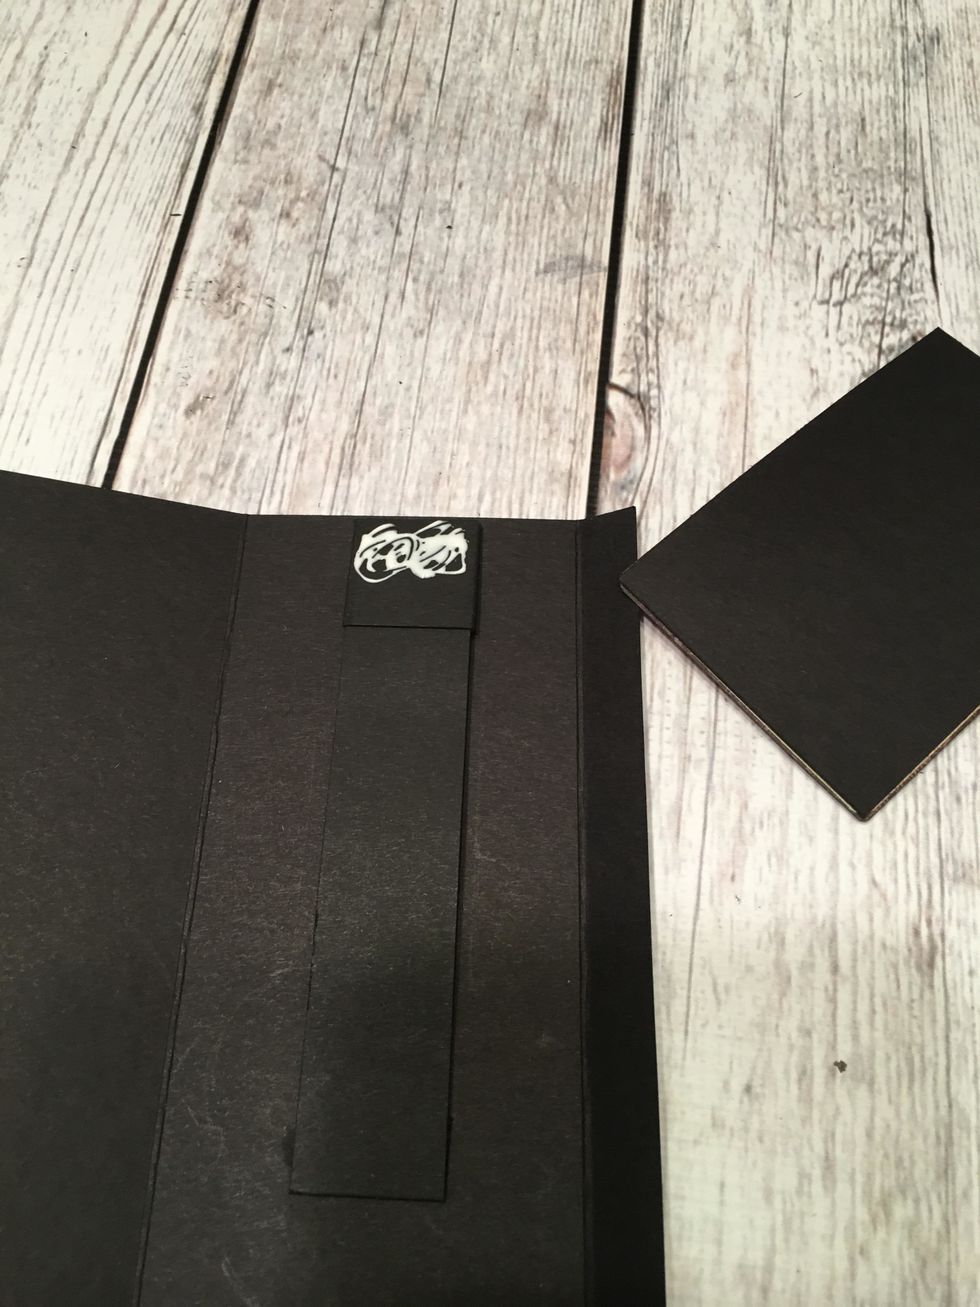 Put glue into the center of the shorter piece that slides as shown here.
 Carefully attach the bottom of the image card (already glued to card stock) to the slider piece.
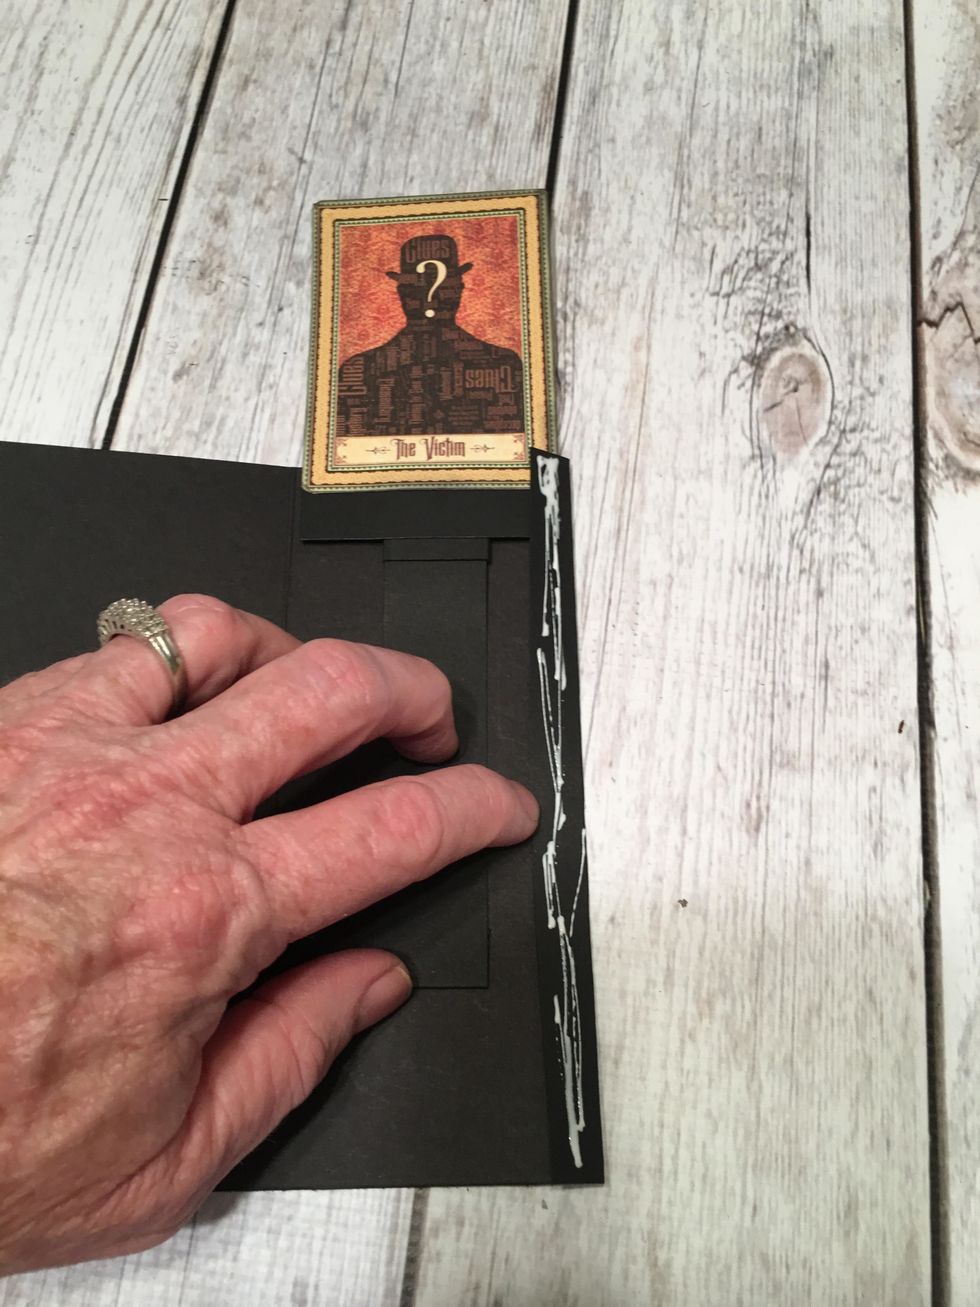 Apply glue to the hinge edge of the main piece as shown.
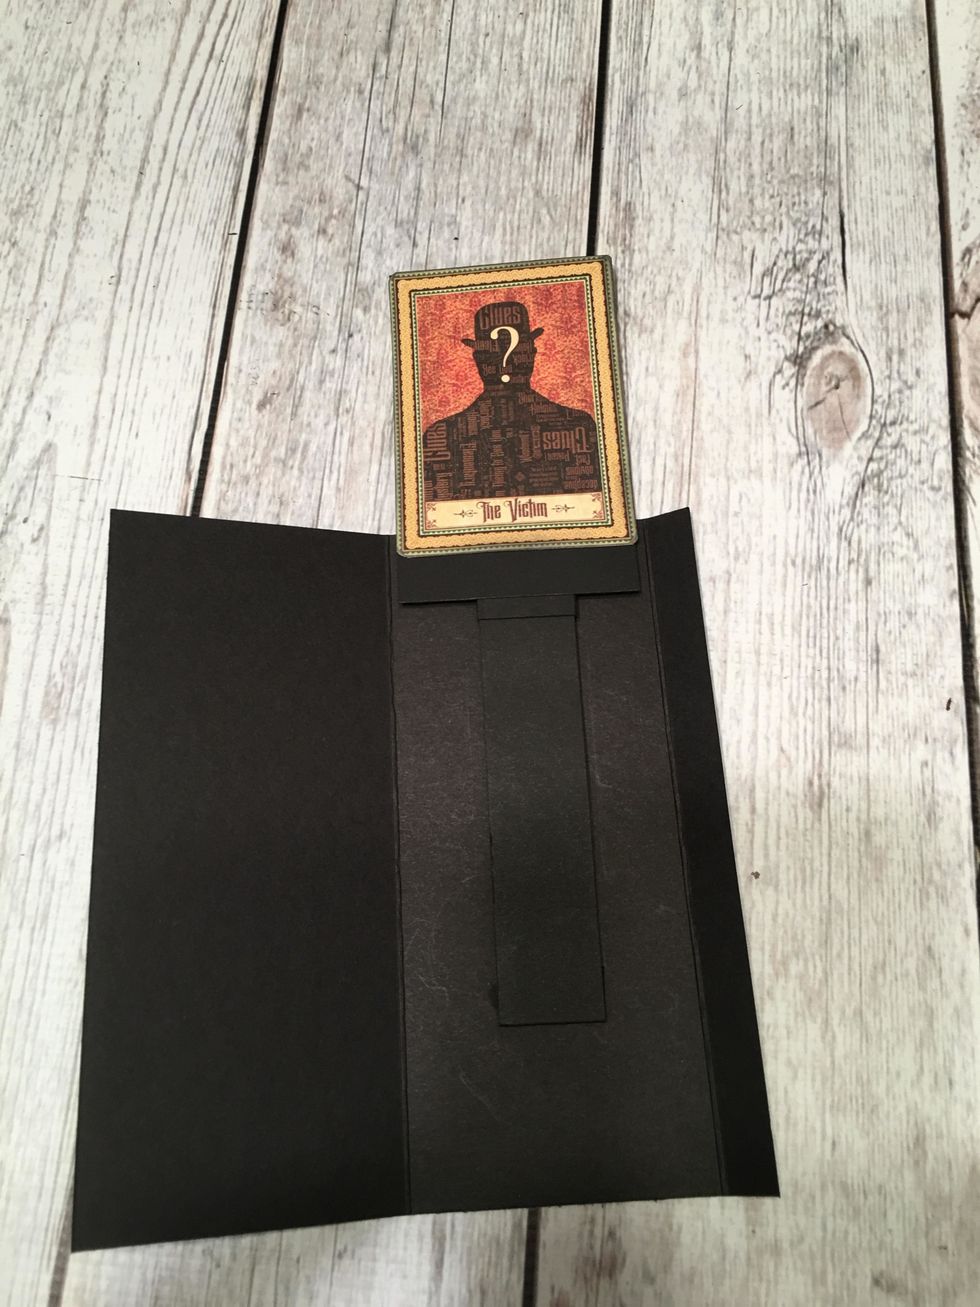
 Seal shut with the image sticking out of the top.
 Add patterned paper to the main piece.
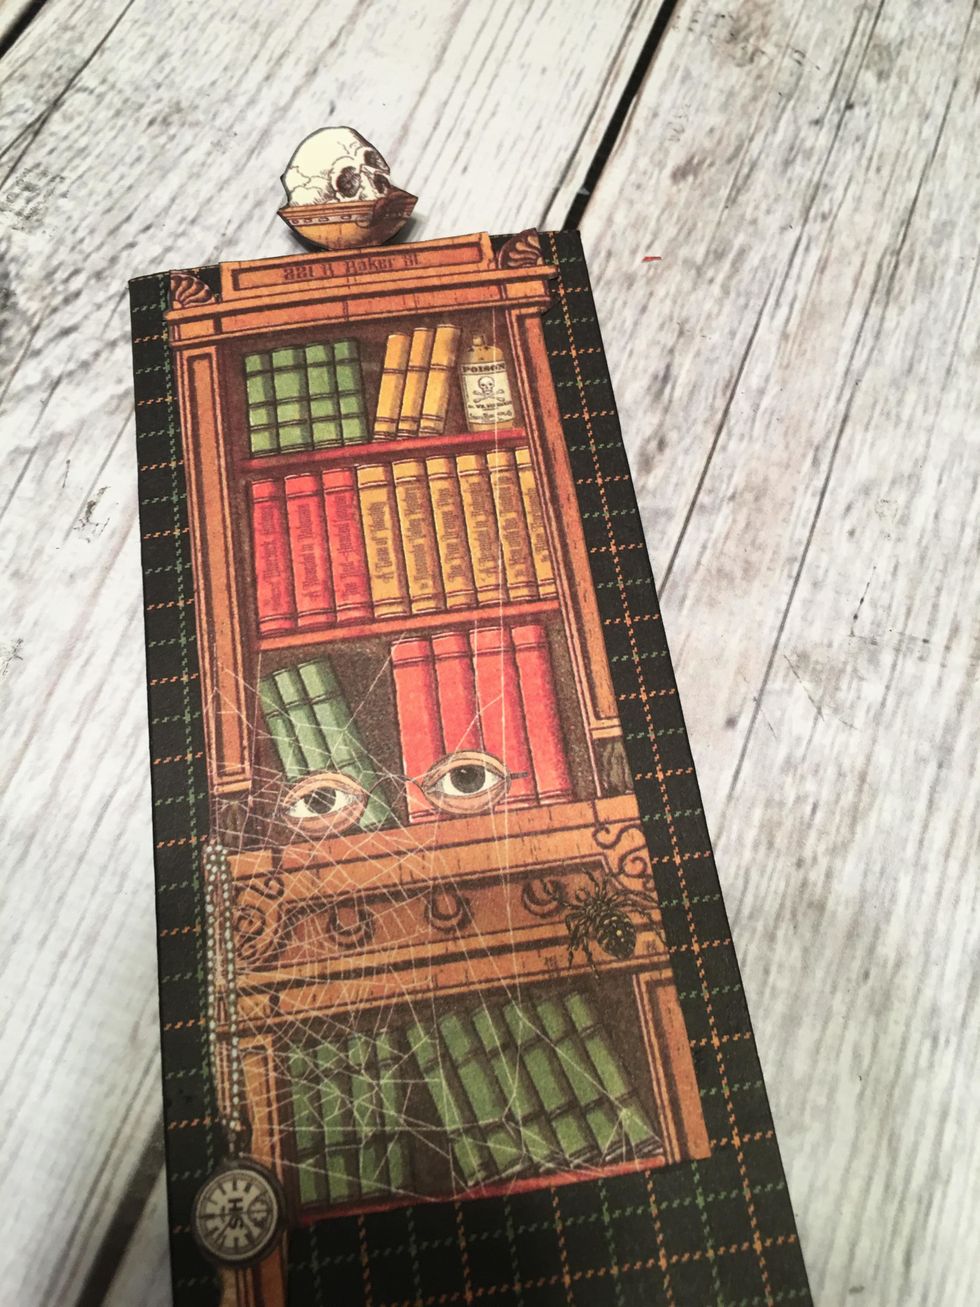
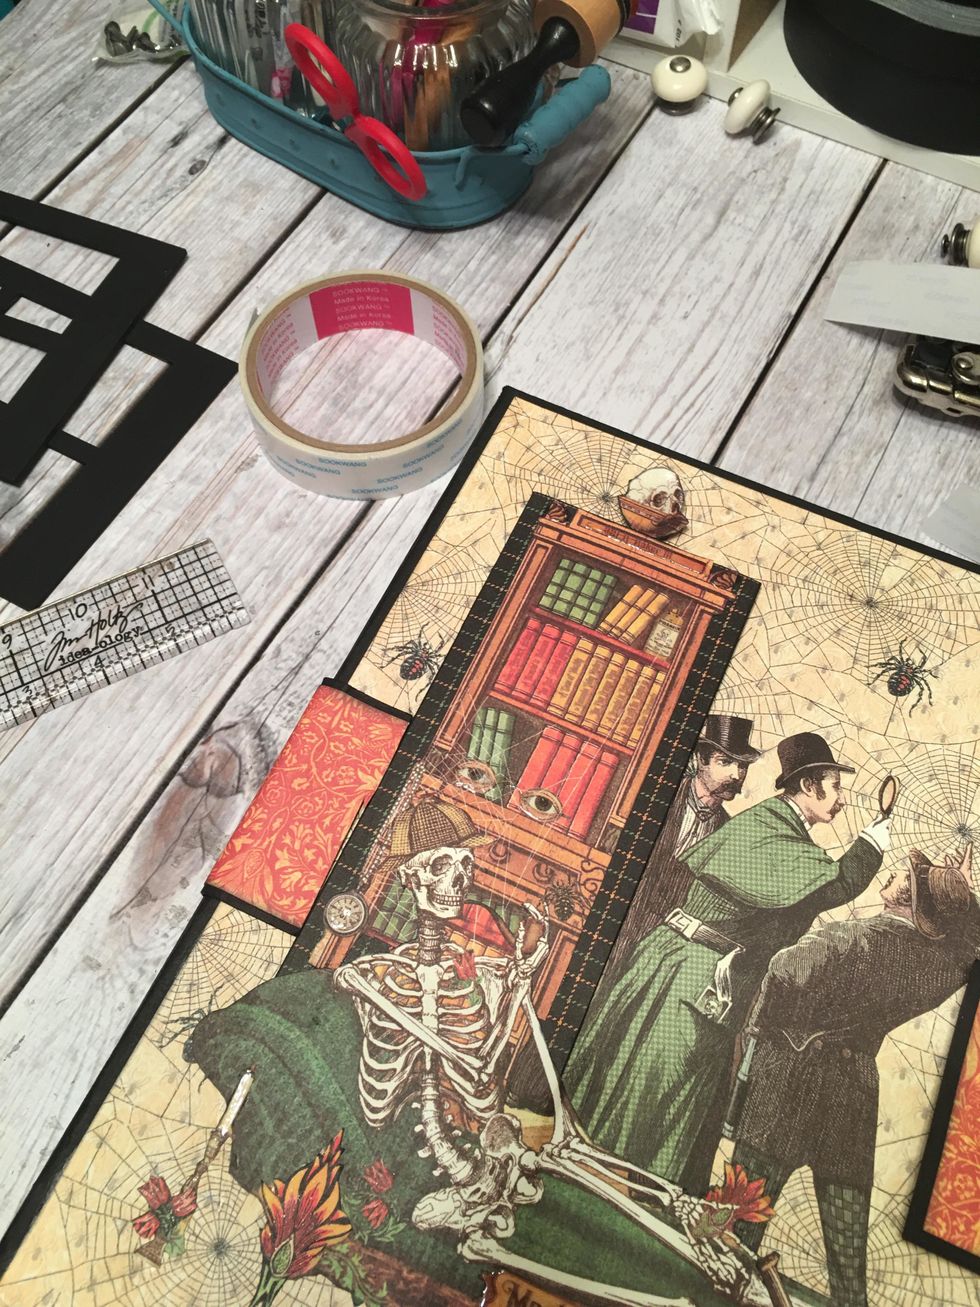
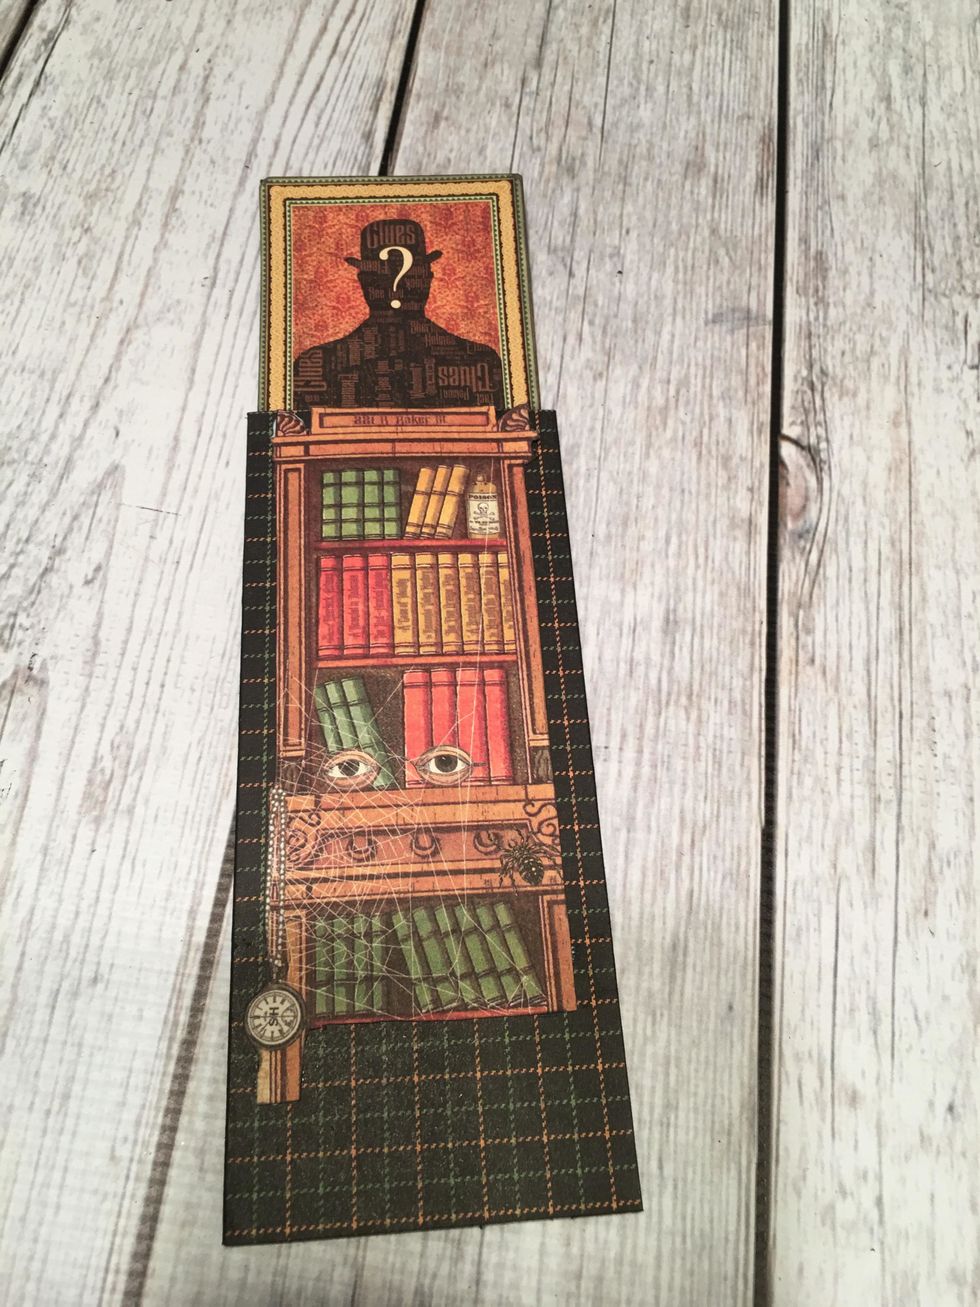 Fussy cut out and glue the bookshelf to the main piece as shown.
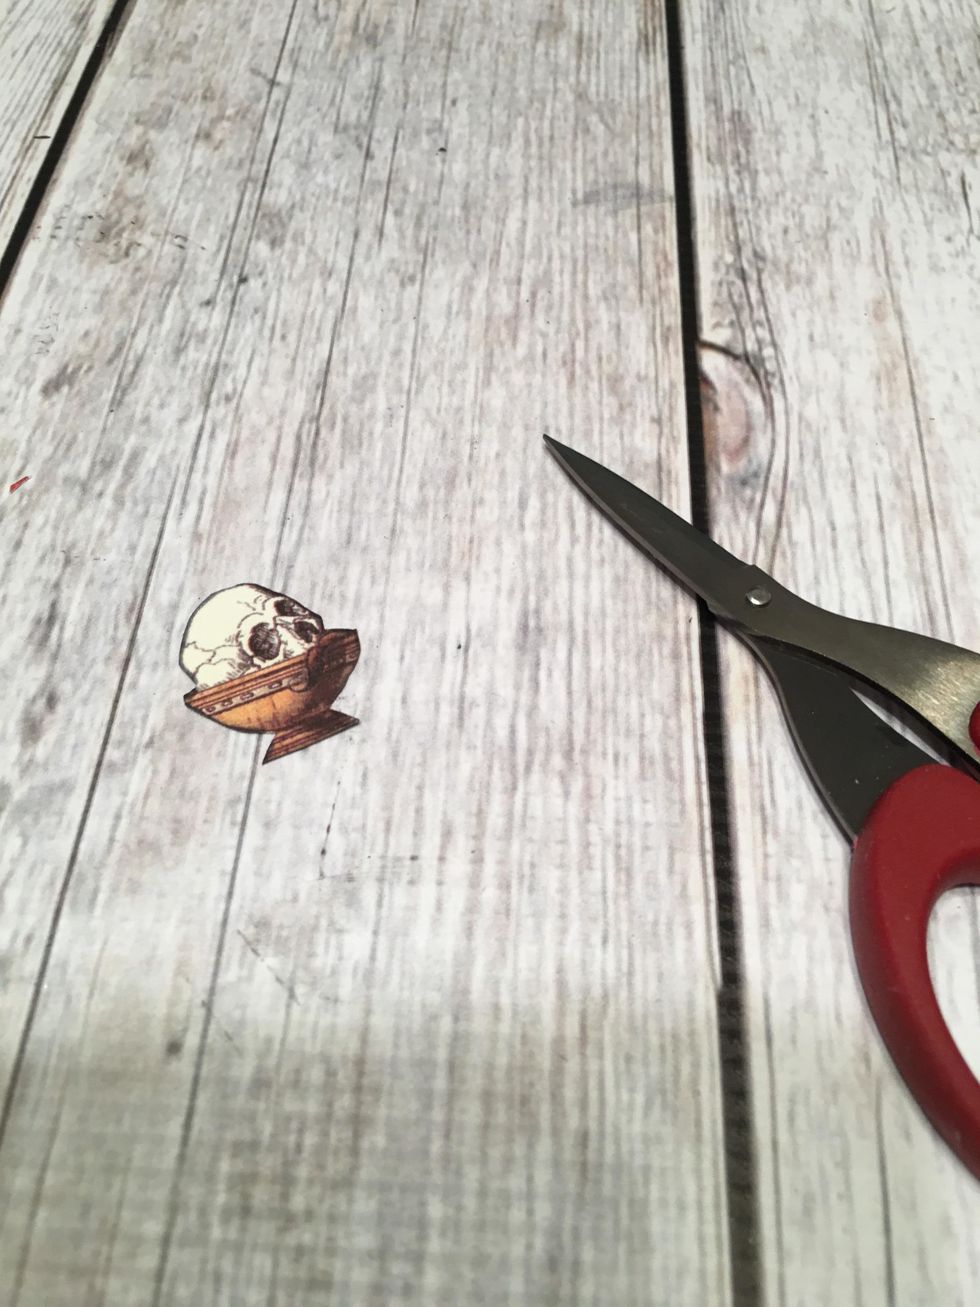 Fussy cut out a skull in a bowl.
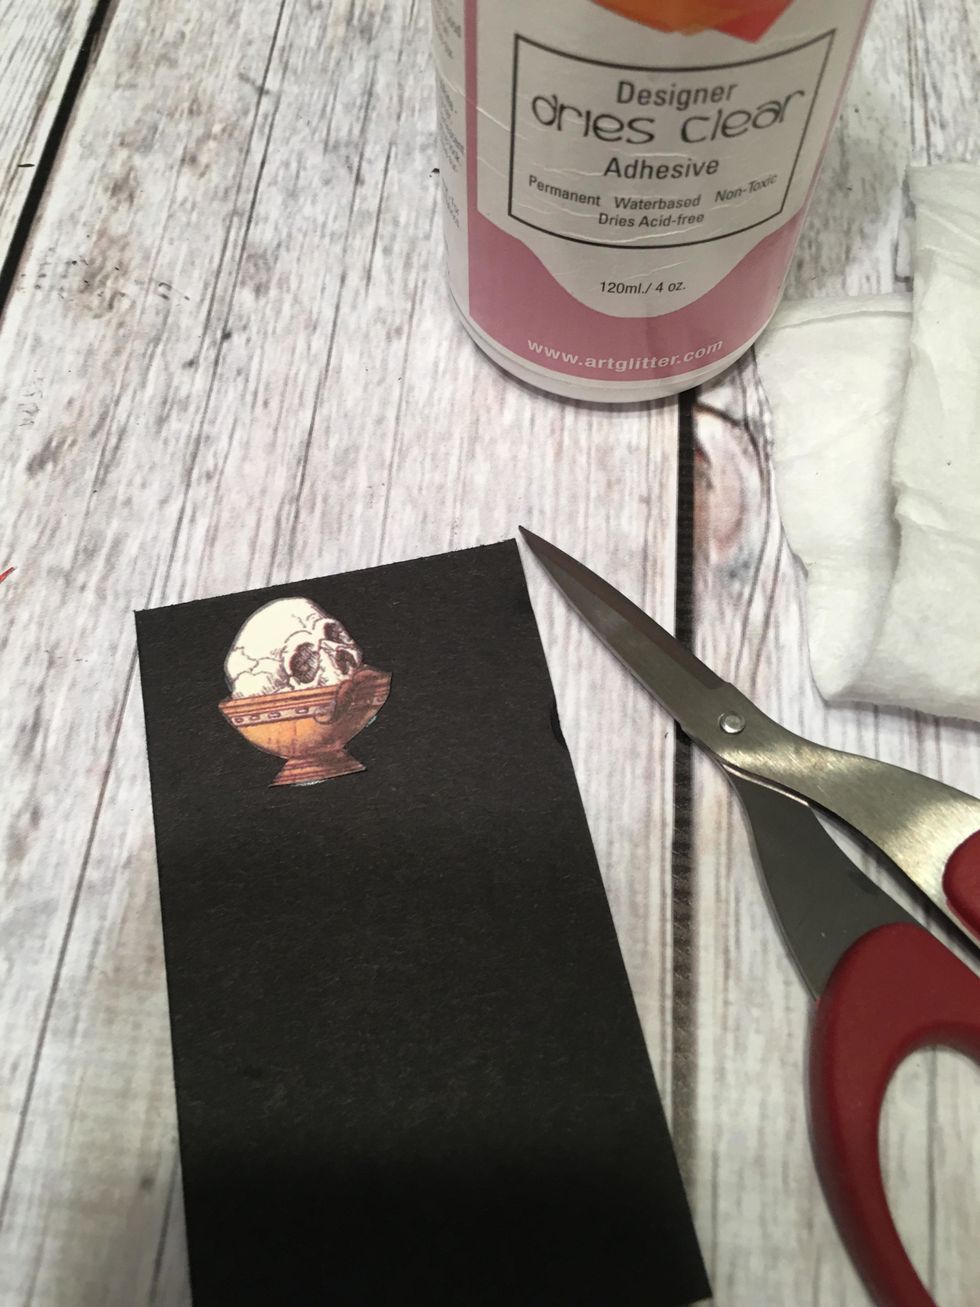 Glue to black card stock and fussy cut out again. This will become a pull tab and needs the extra thickness.
 Carefully glue the skull in the bowl to the top of the card image that is in the slider.
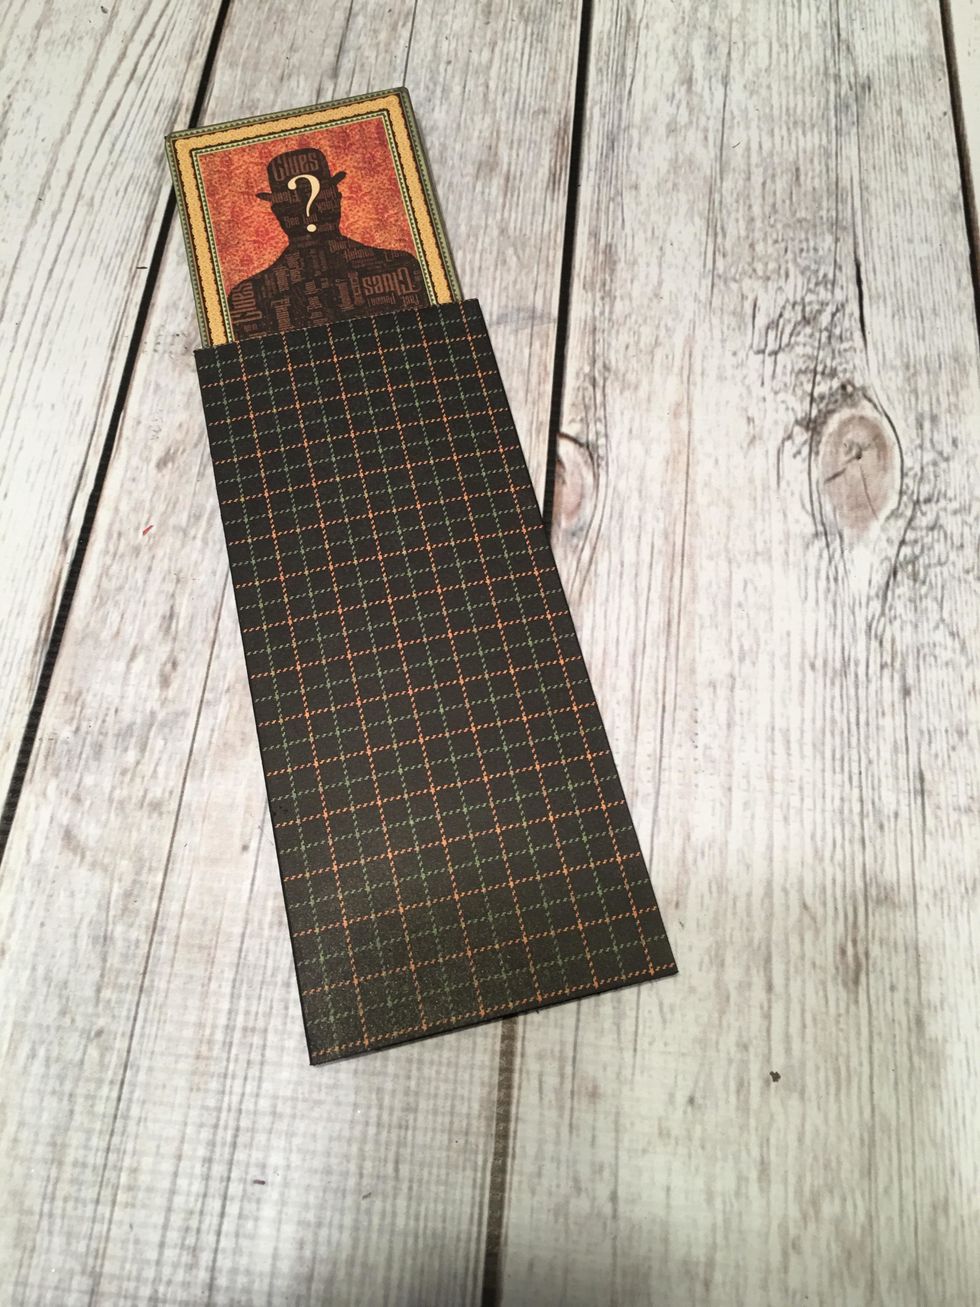
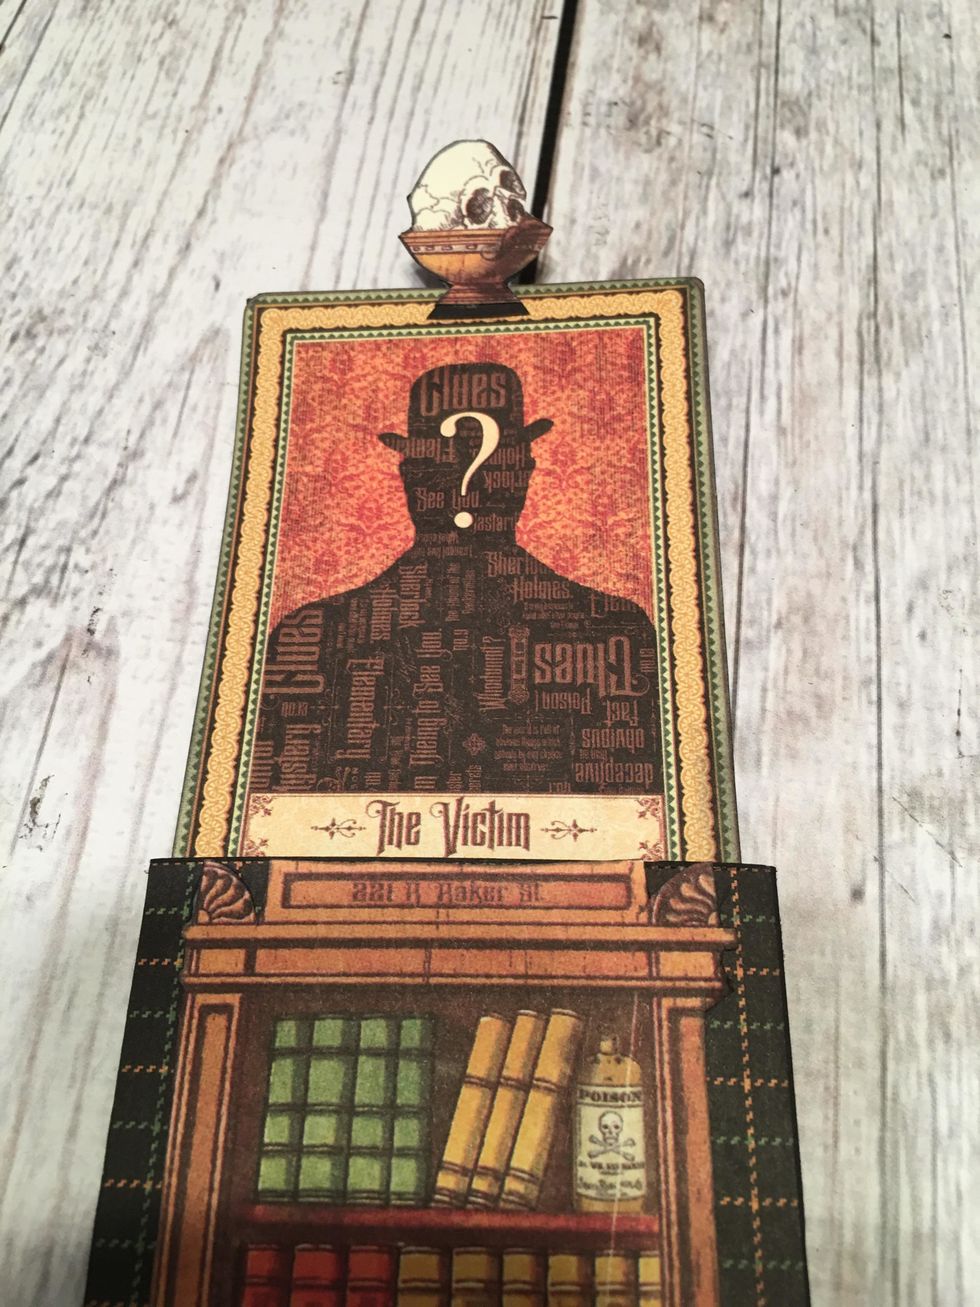
 Slide the card into the slider piece with just the skull sticking out.
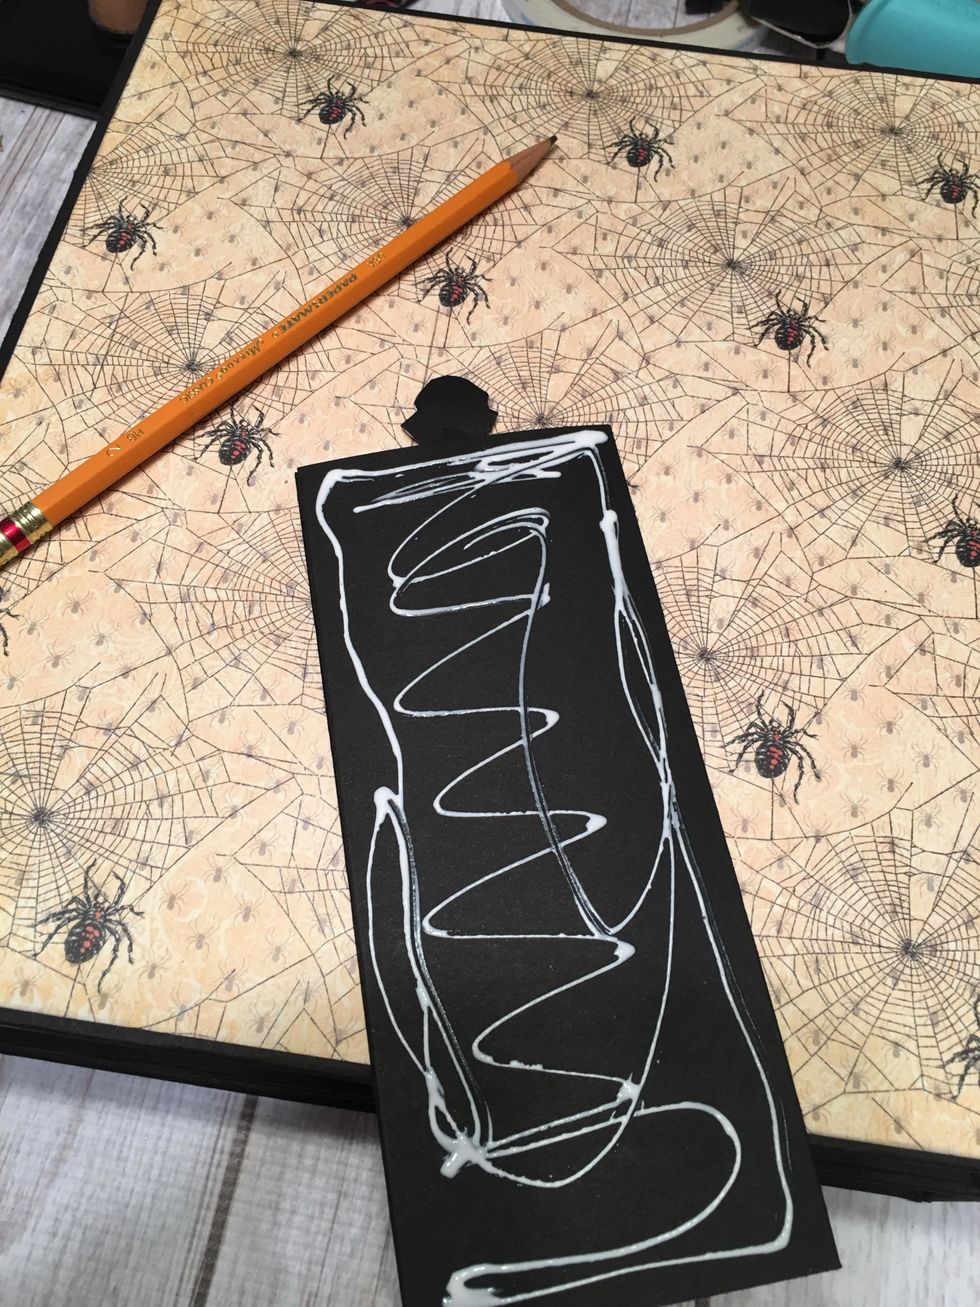 Apply glue to just the back of the main piece.
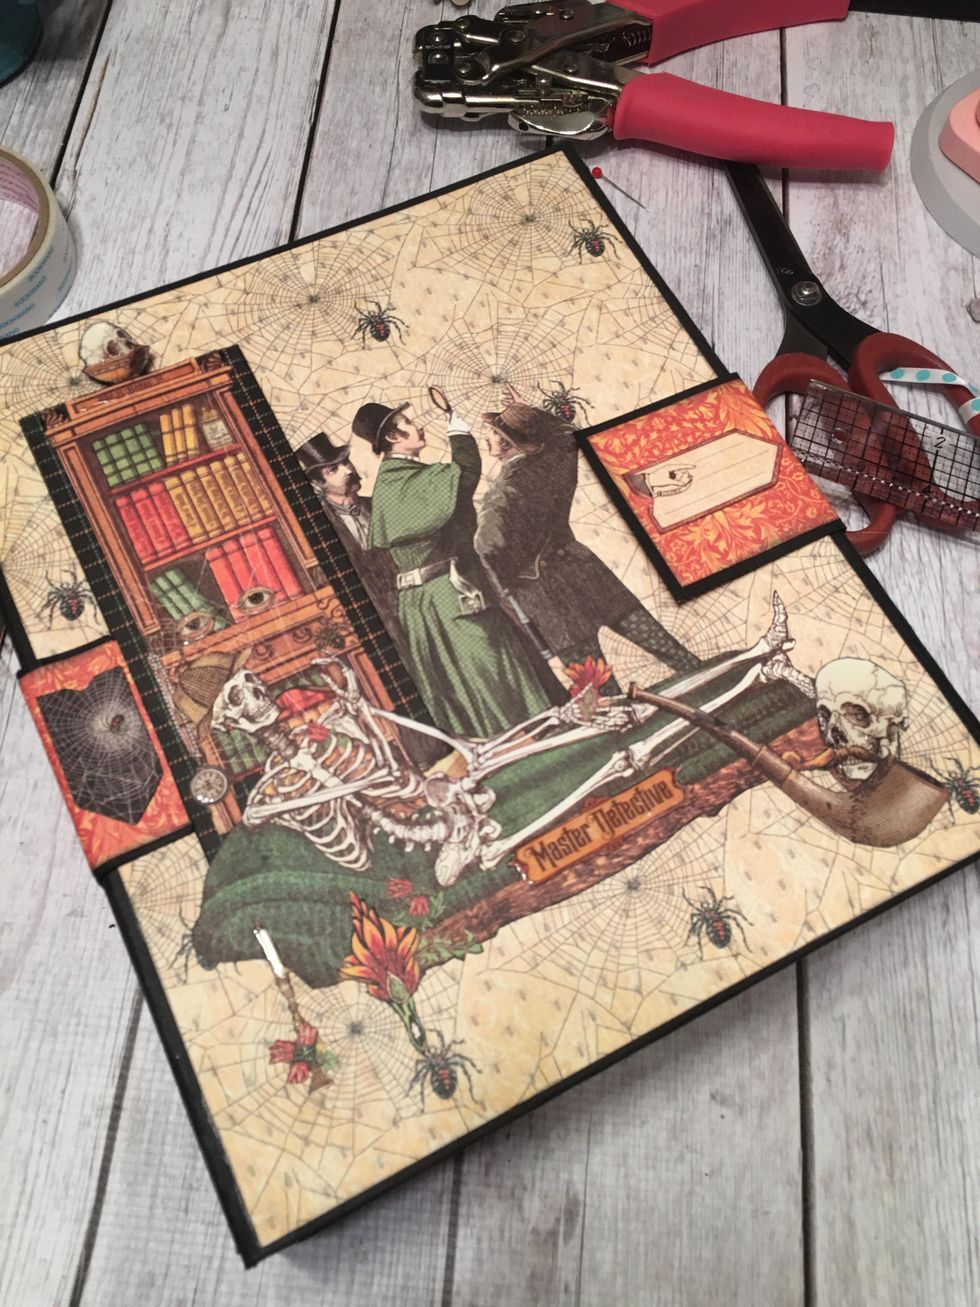
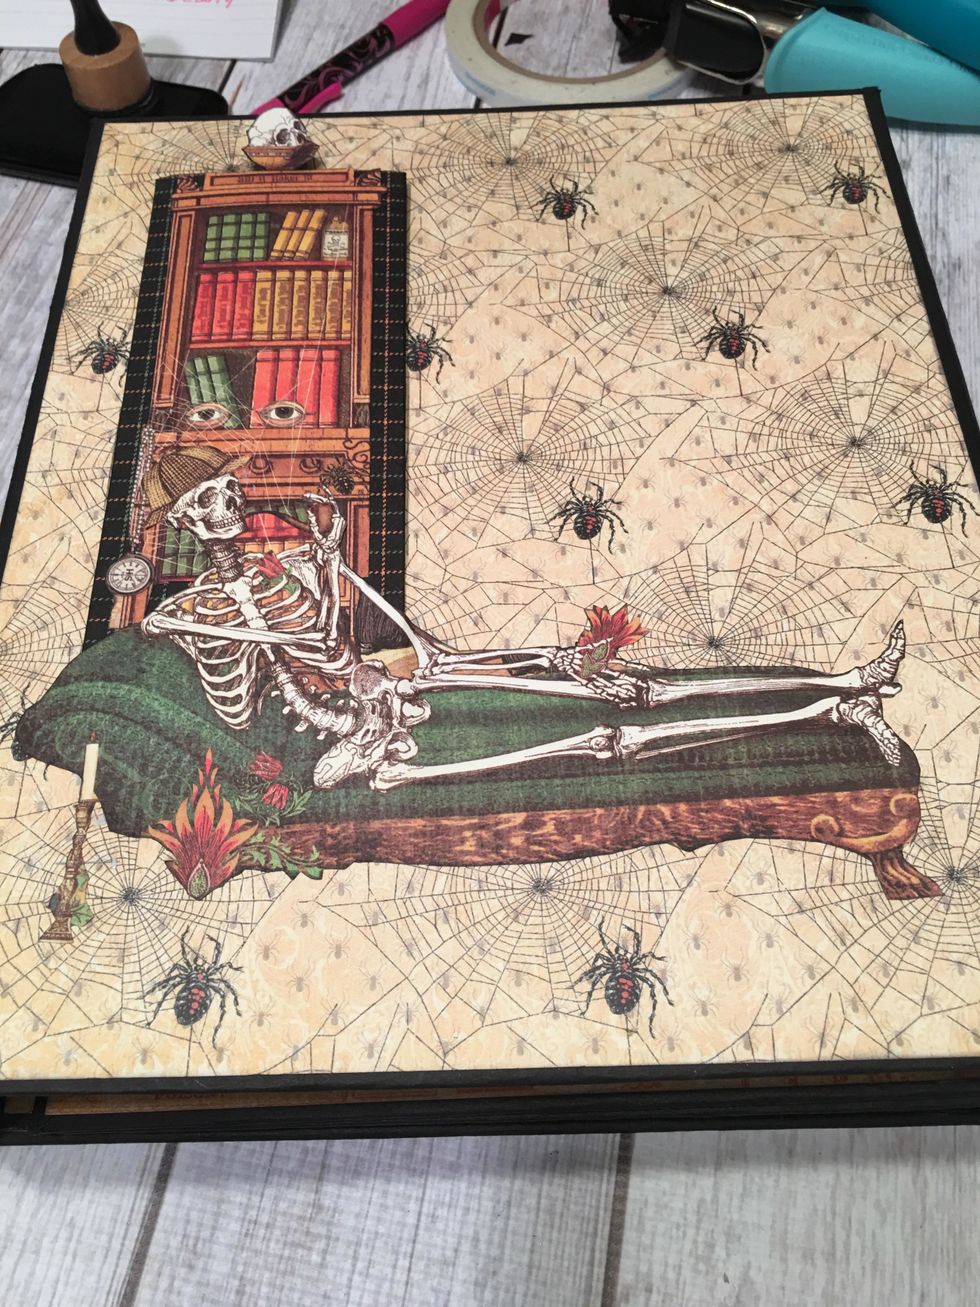 Clue down on to the left front side of the album cover. Fussy cut out the skeleton on the fainting couch and glue to the front of the bookcase and on to the album cover.
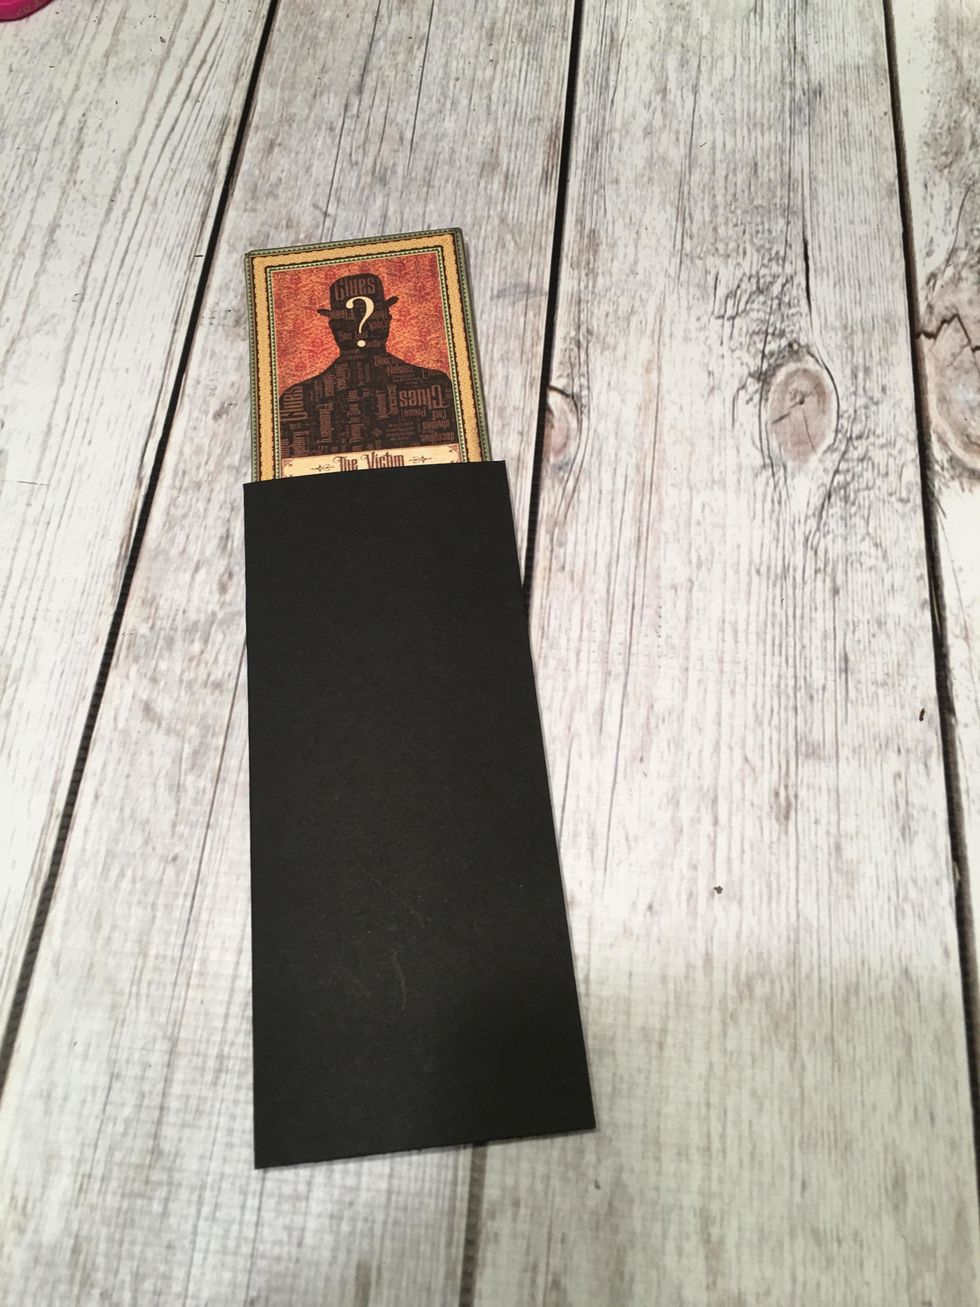
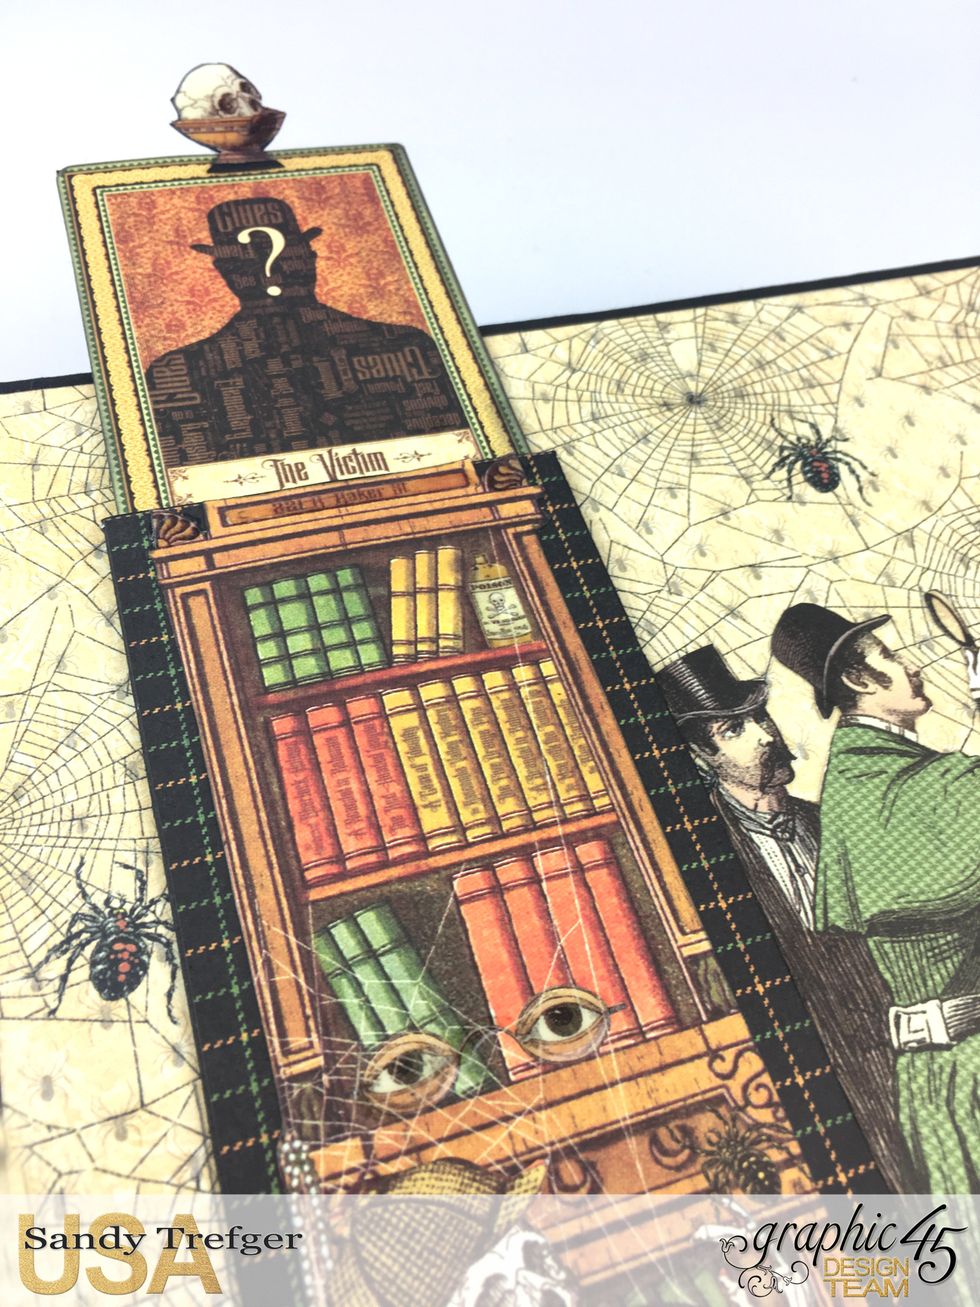
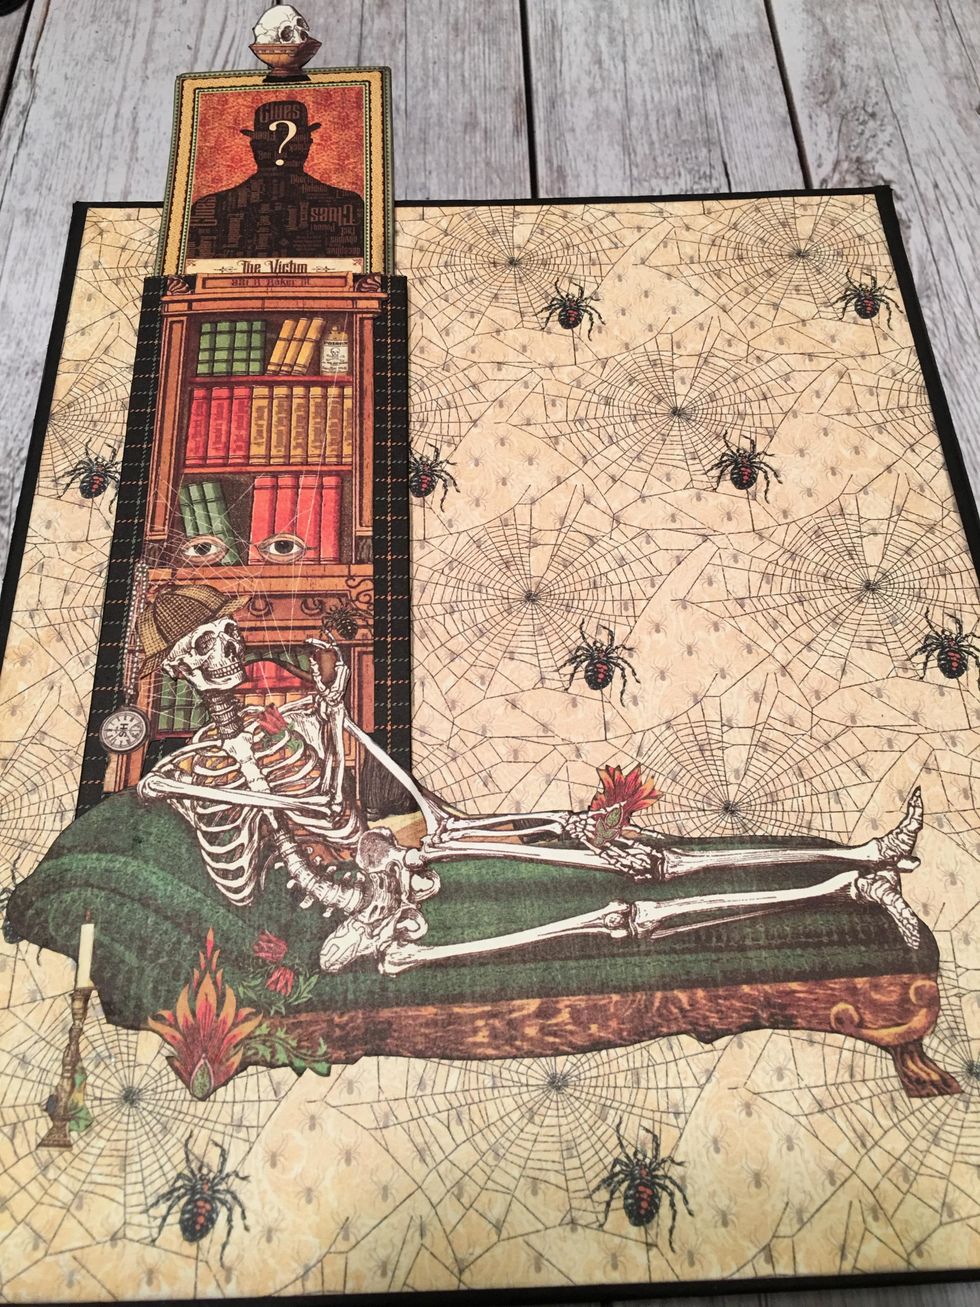 When you gently pull on the skull at the top, a picture slides out.
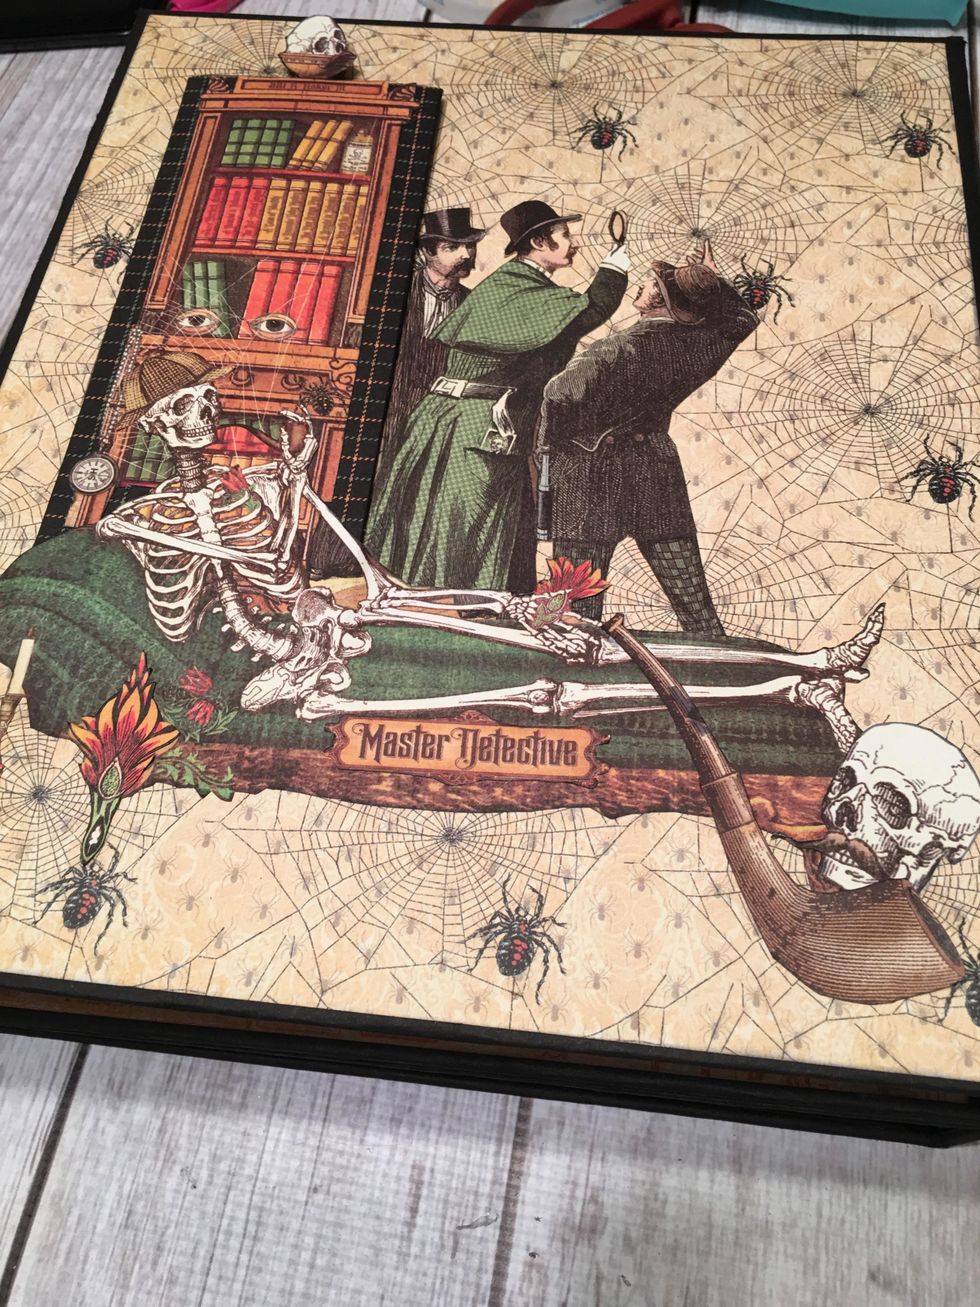 Fussy cut out other elements as desired to add to the image. I kept mine flat as it will be stored inside of a larger Gypsy Soul Laser Cuts curio cabinet.
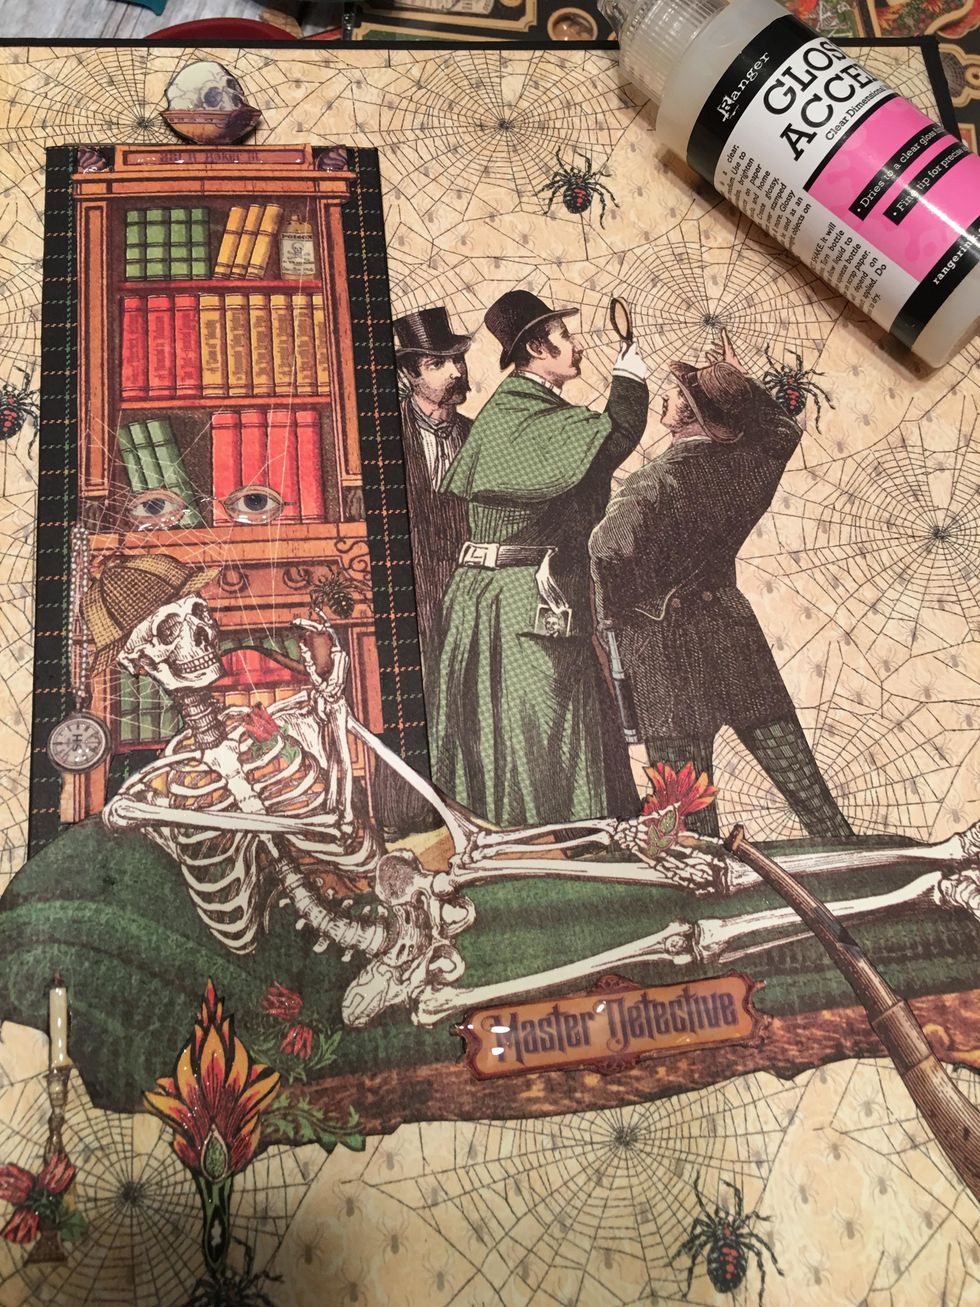 Add clear Wink of Stella glitter pen to different elements and Glossy Accents as desired!
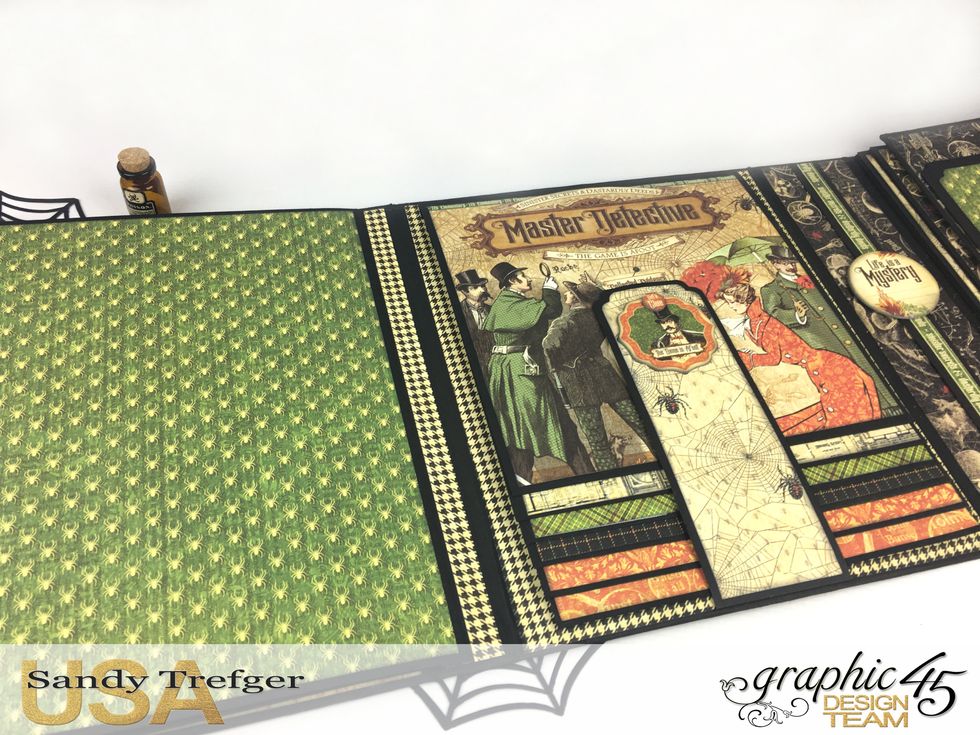
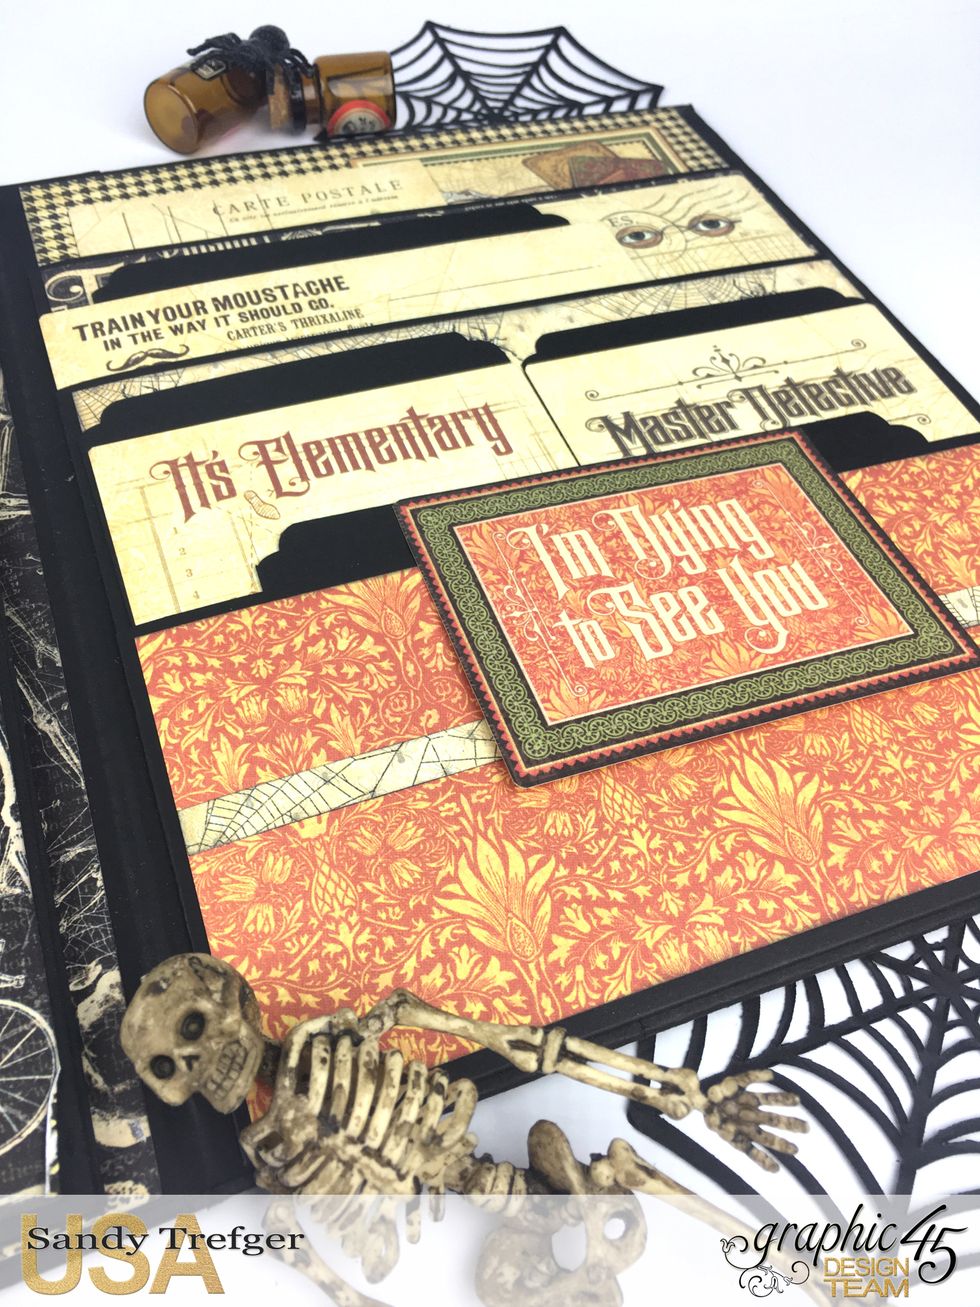
 It's done! Thank you so much for following along. The next few photos show my finished Mysterious Folio Album using the fabulous Graphic 45 Master Detective!
 Optional: .After completing my album, I decided because of the size that it needed a closure. Cut 2 pieces of cardstock to wrap around album and 1 piece of patterned paper. Or add a ribbon tie.
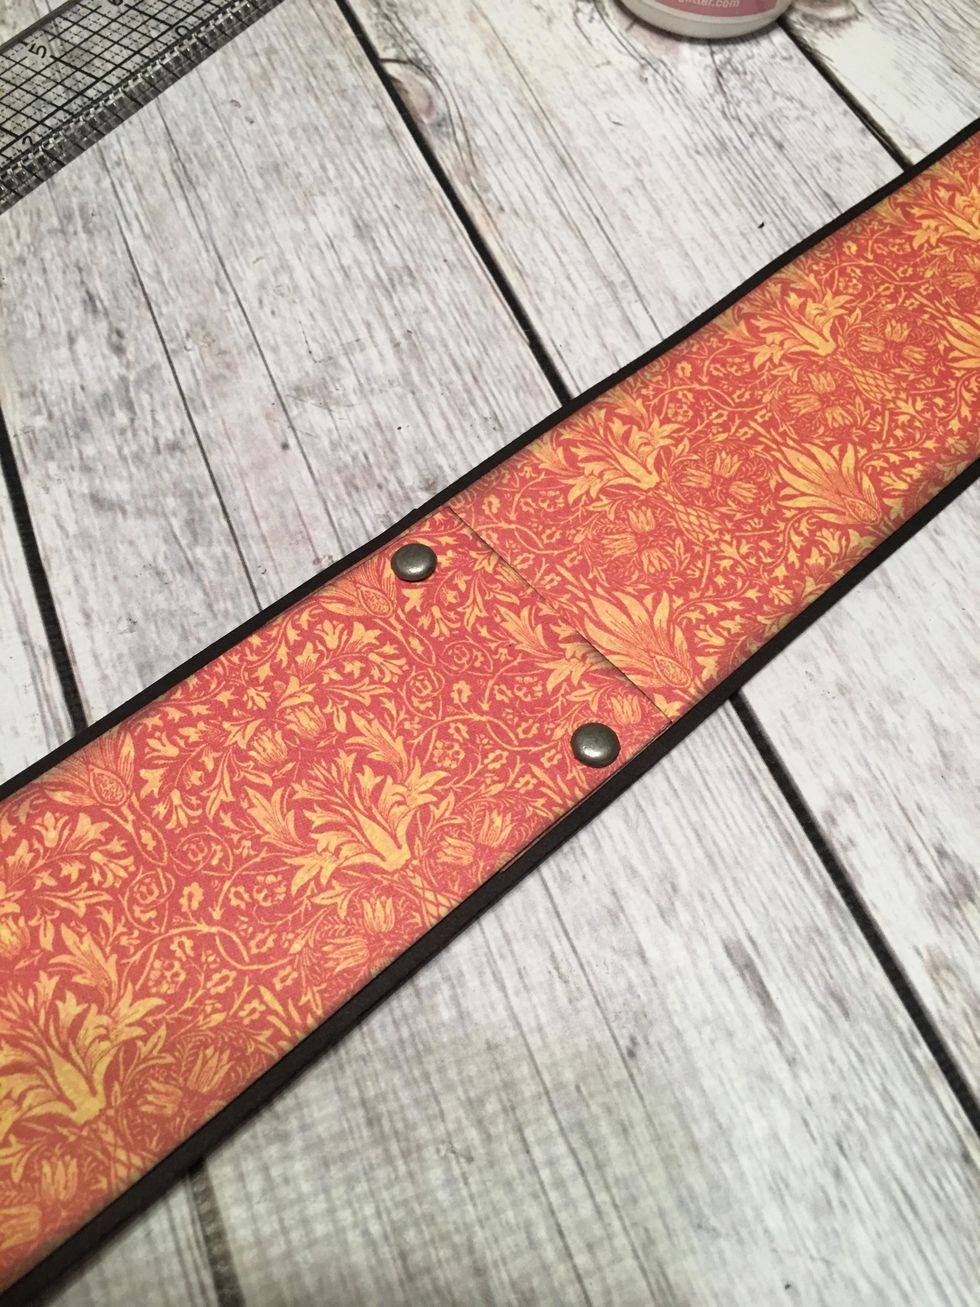
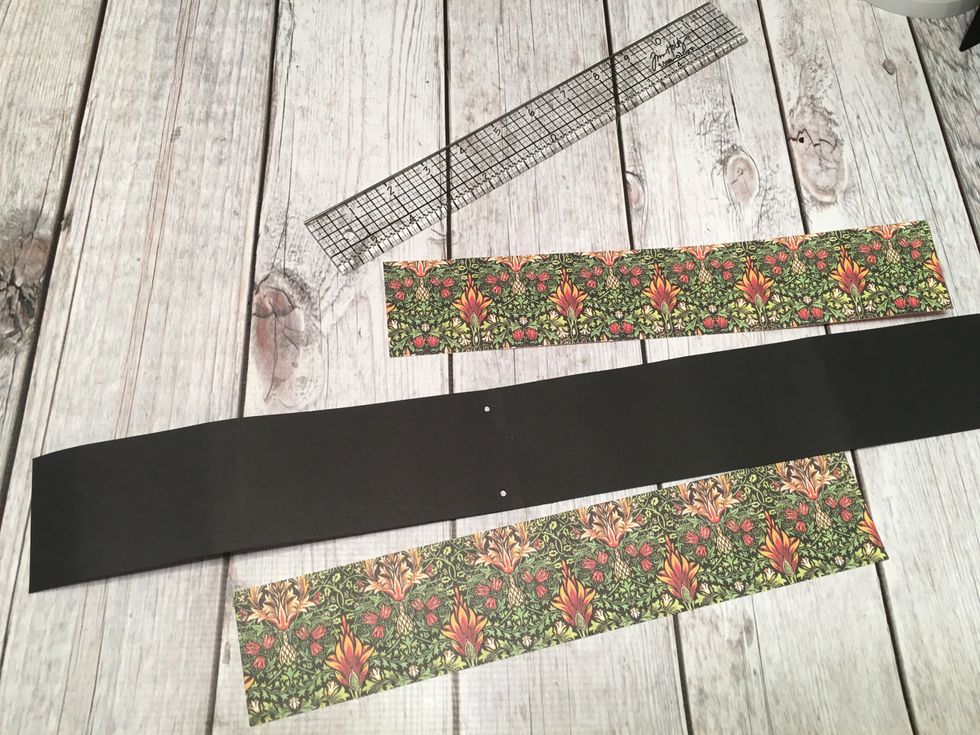 I used to 12" lengths and seamed them together. Punch two holes for brads as shown. Cover one side with patterned paper.
 Place a magnet on the right side of the front of the album. I show one magnet but ended up using two.
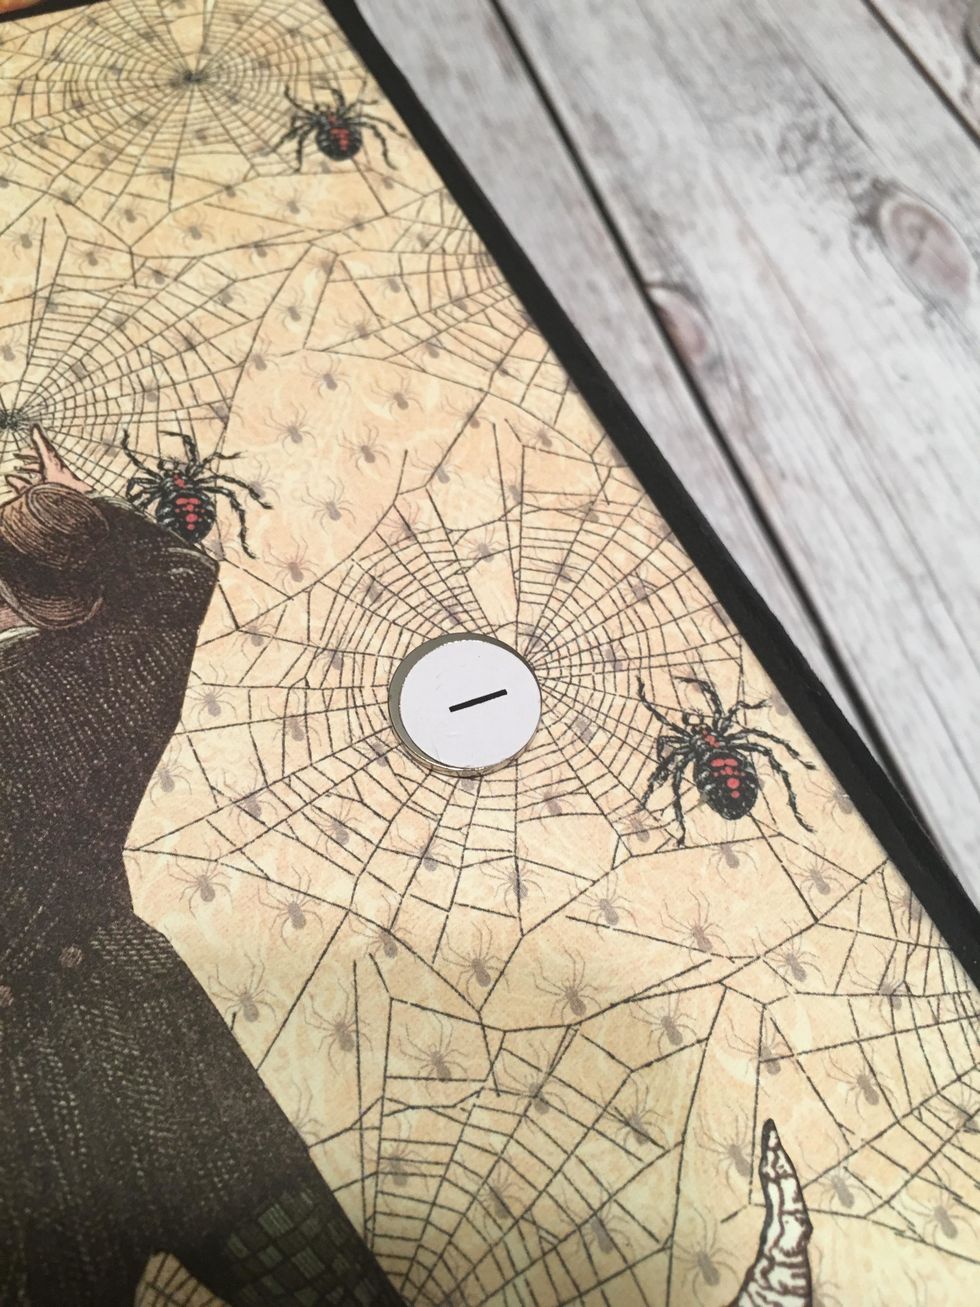 Place an opposing magnet on top of the other magnet and leave the backing paper on.
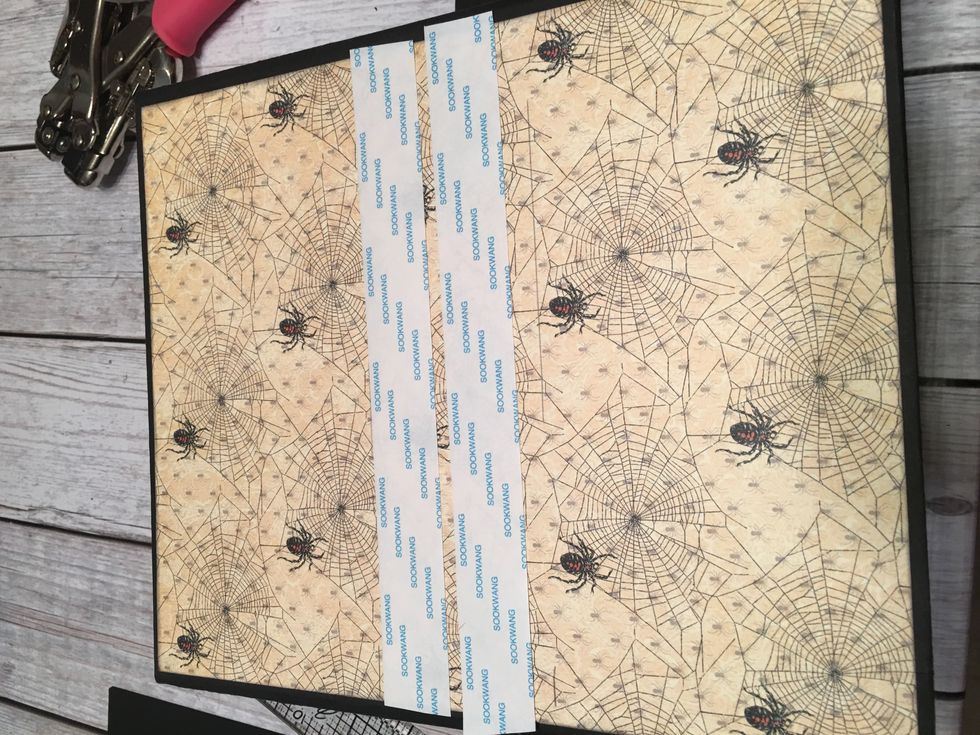 Apply scor-tape to the back side of your album so it lines up with the magnets on the front.
 Attach the side of the closure that has the brads to the back of the album as shown.
 The piece of the closure that wraps around the left side of the album also needs scor-tape as shown.
 Attach the left side of the closure piece to the left side of the album wrapped to the front and positioned up to the cabinet as shown.
 Pull the paper backing off the opposing magnets and attach to the back of the right side of the closure.
 Cover with patterned paper.
 The right flap of the closure now holds the album closed with magnets. Add sticker embellishments as shown.
 Again, thank you for following along with my tutorial!
 For more of my craft projects, visit my blog/website at: www.sandyscraftycreations.com Happy Crafting! ~ Sandy