The Conversation (0)
Sign Up
Start with one sheet of 12" x 12" Cardstock paper
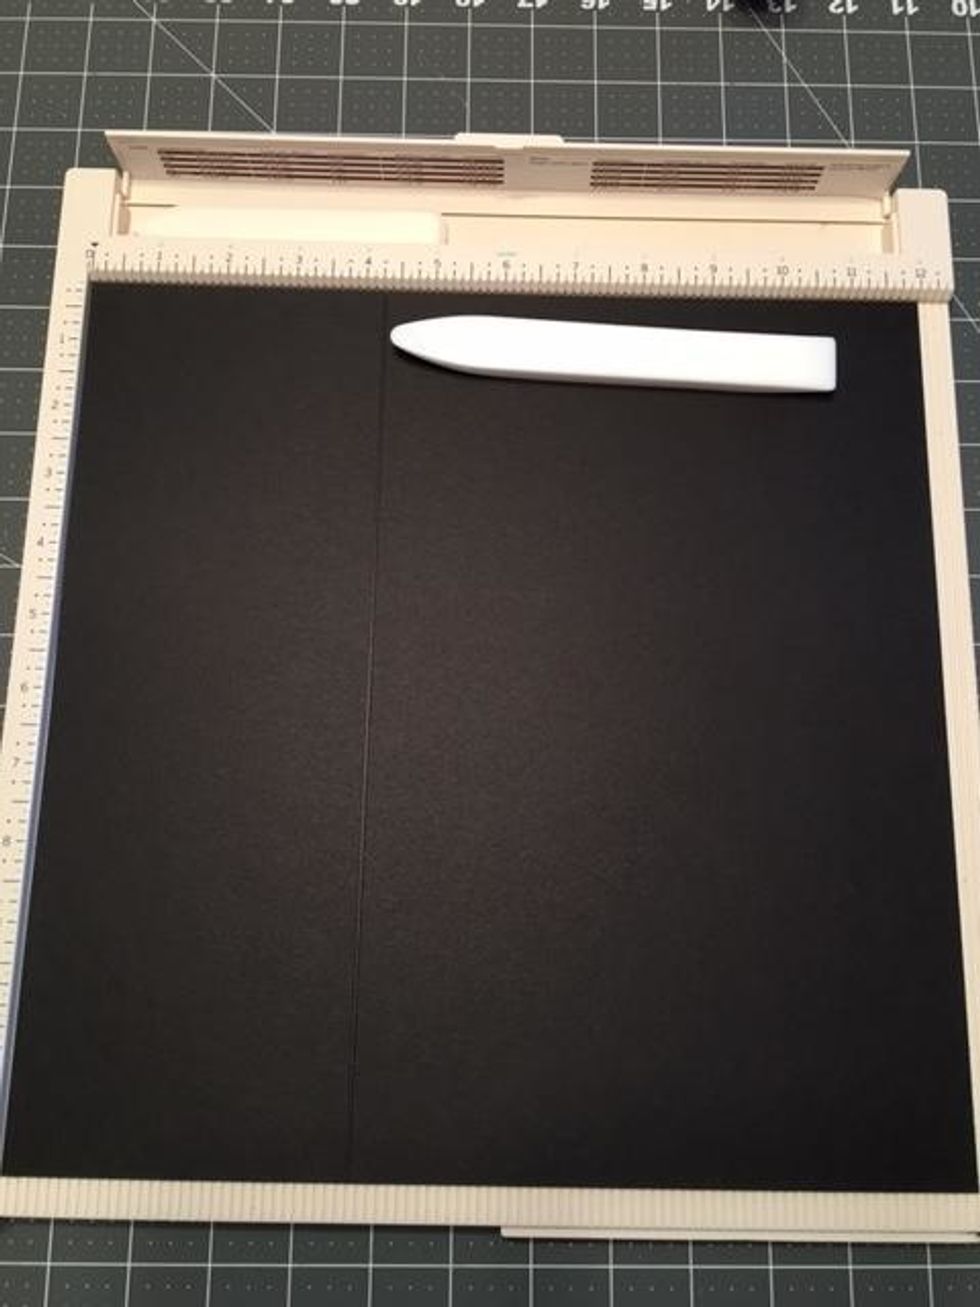
Score one side at 4 1/4" to create the pockets.
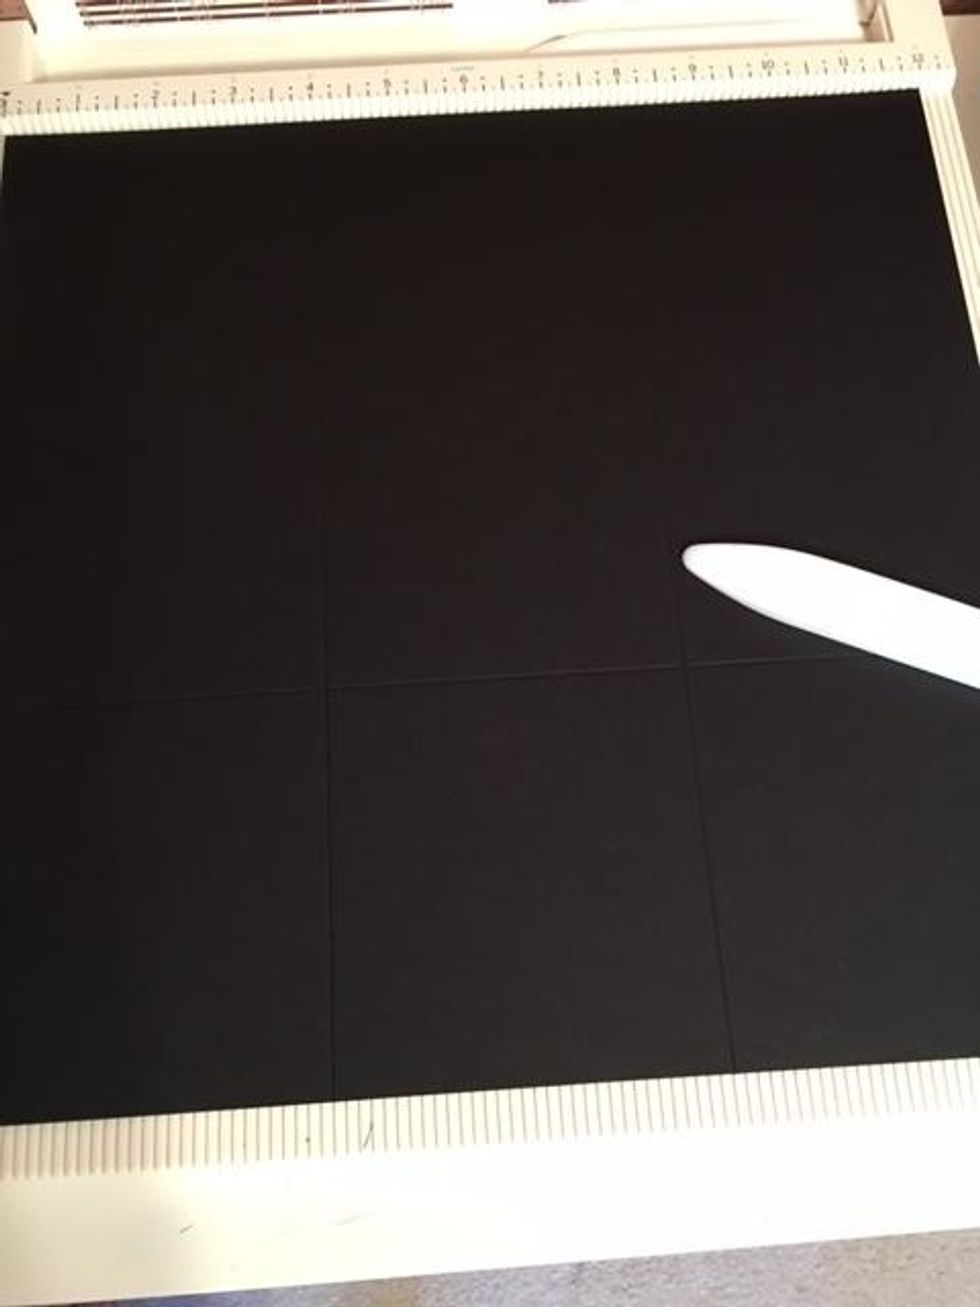
Rotate the paper, score at 4" and 8". Fold up the 4 1/4" score line and burnish then fold the 8" score line toward the left and fold the 4" score line toward the right. Burnish to create a booklet.
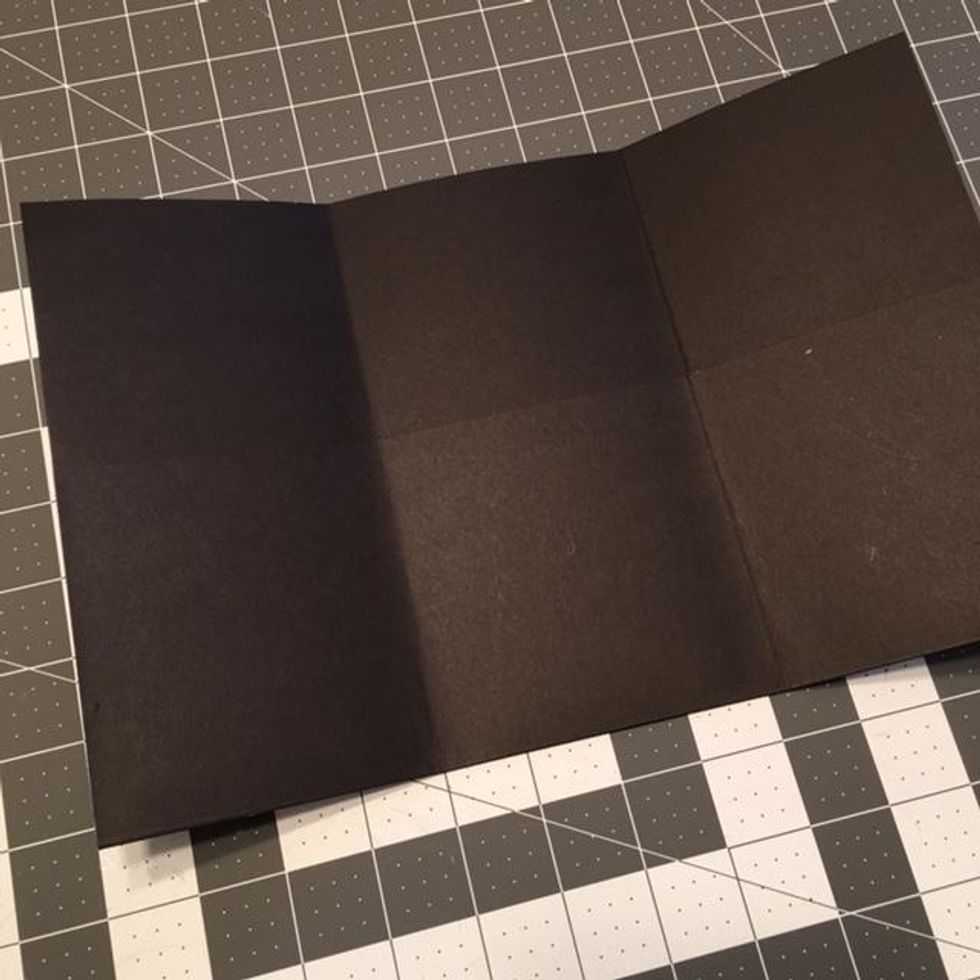
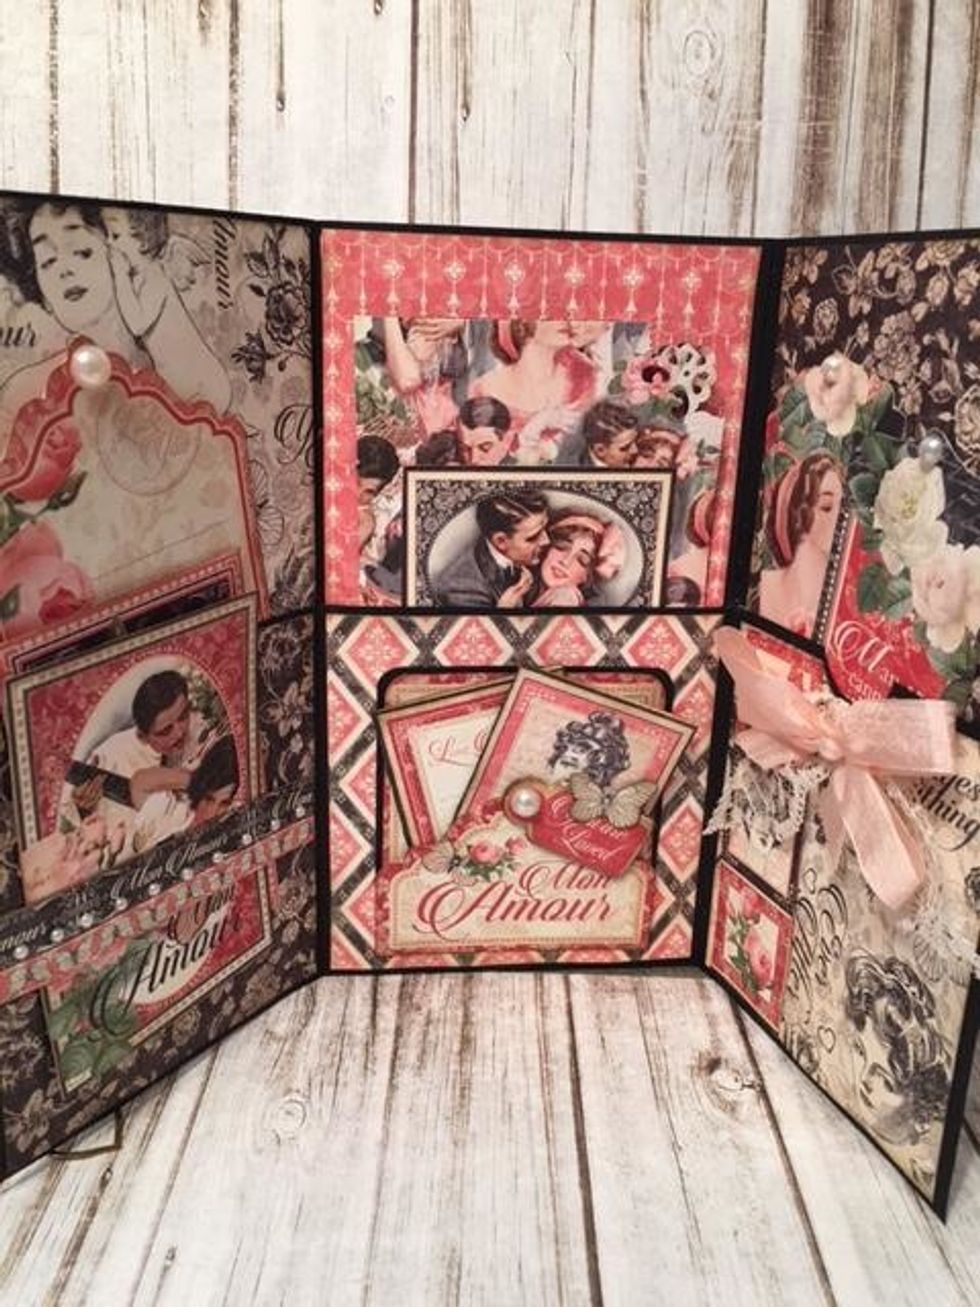
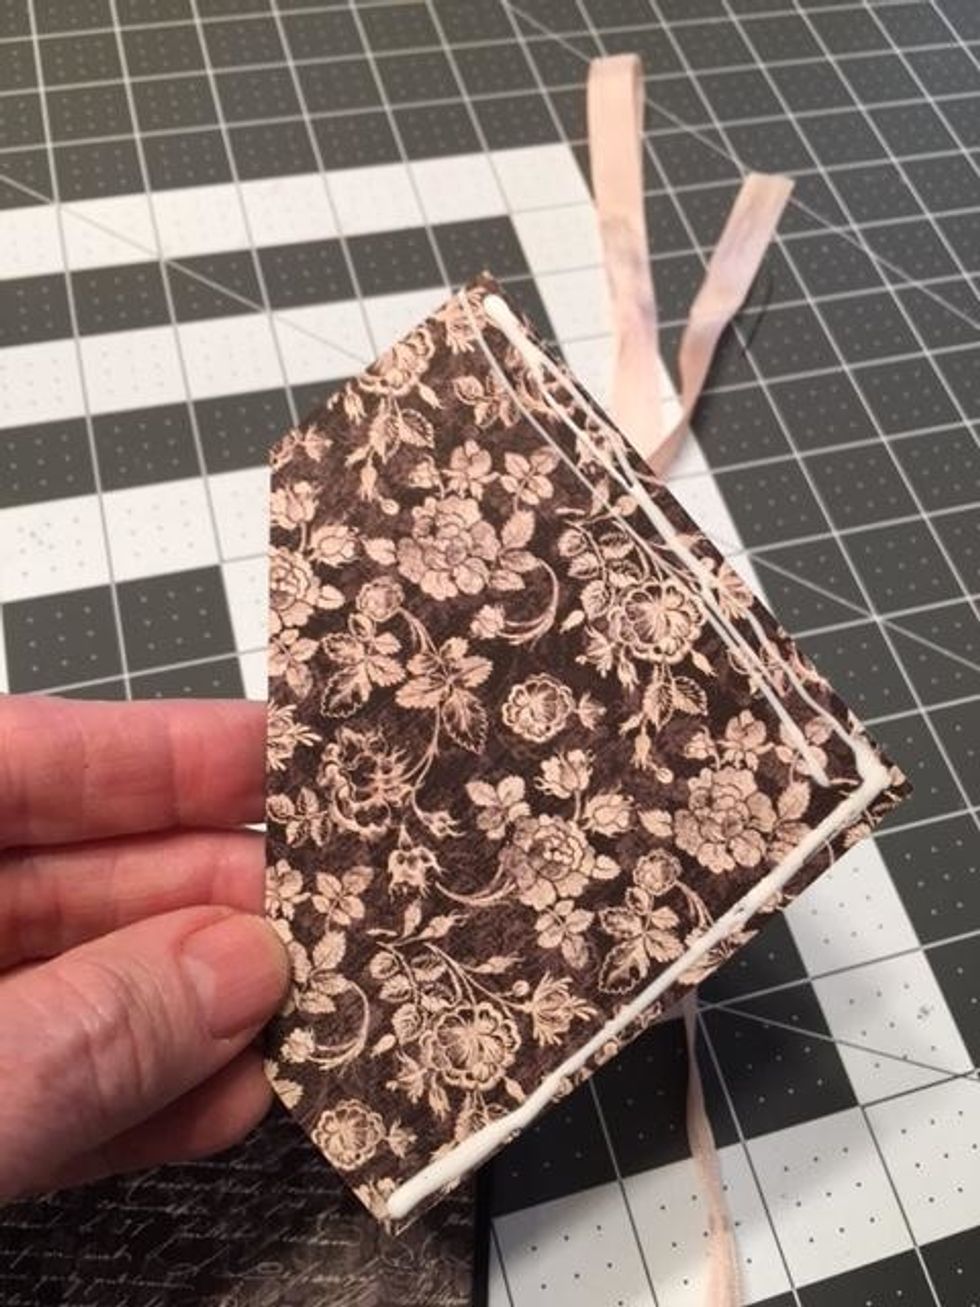
Your booklet should look like this after you have folded the bottom up for the pockets and folded the sides. The pockets will be on the inside of the booklet.
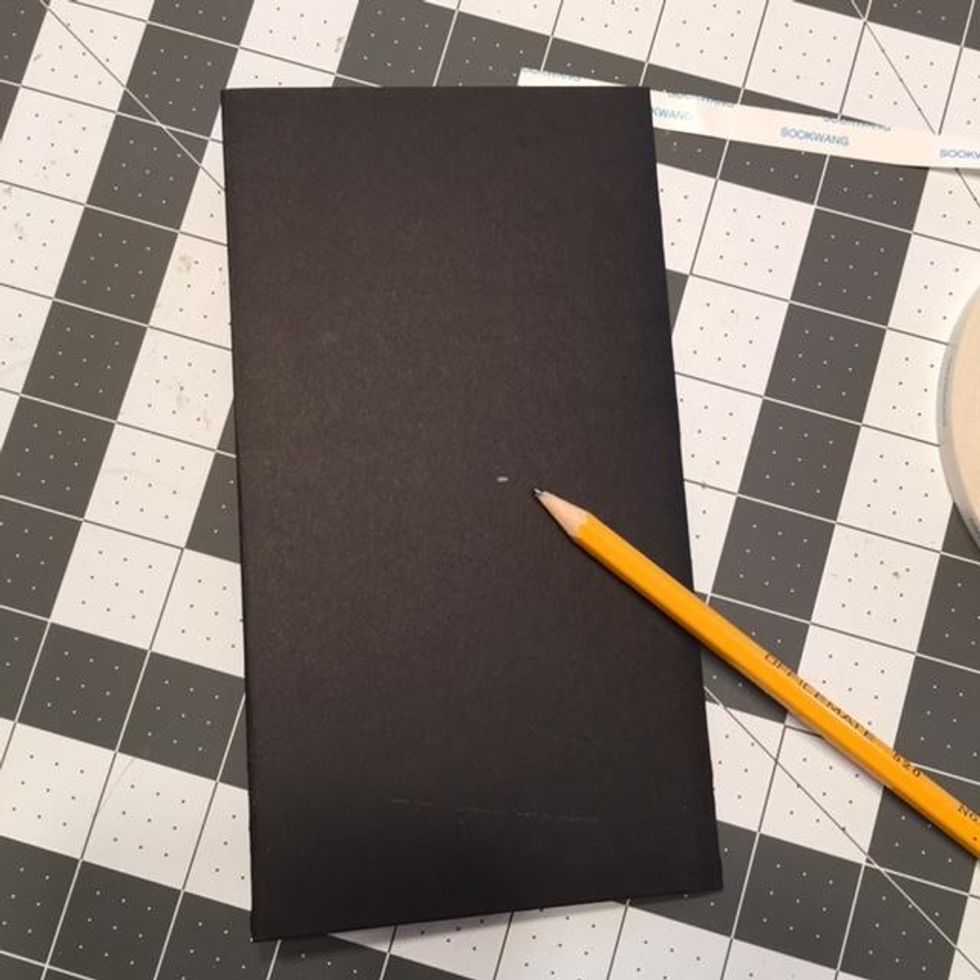
Turn your booklet over with the back facing up. Use a pencil to make a mark at the center which should be about 3 7/8" from top and bottom.
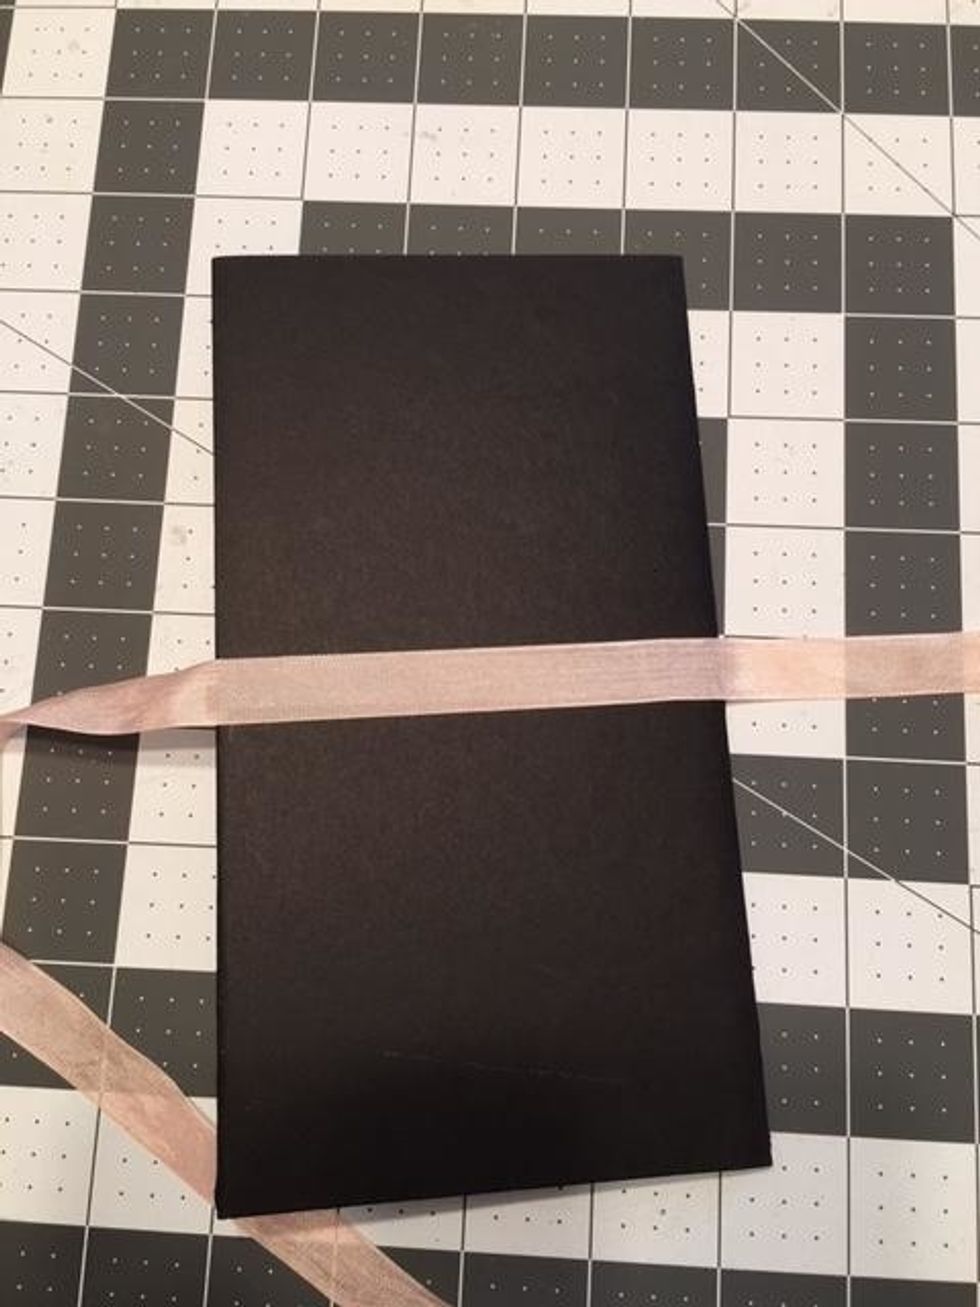
Apply 1/4" or 3/8" Scor-Tape to the center back using your pencil mark as a guide. Peel off the tape backing and center a 36 inch piece of seam binding ribbon onto the tape. Leaving the ends loose.
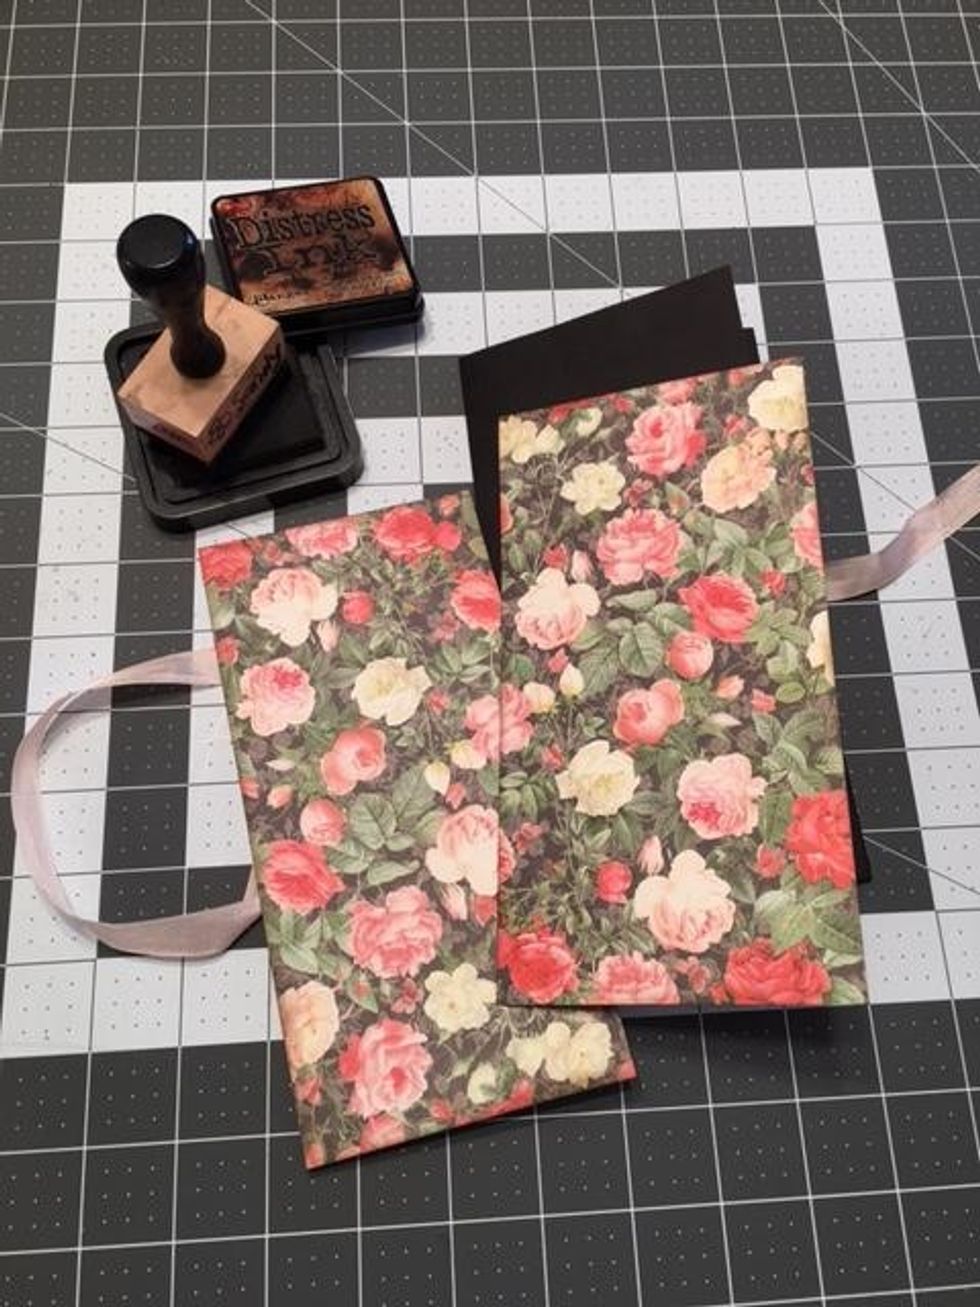
Cut from Dearest Darling 1 piece @ 3 3/4" wide x 7 5/8" tall and 1 piece @ 4" wide x 7 5/8" tall. Ink edges and glue to the outside covers, front & back. Make sure to cover the ribbon on the back.
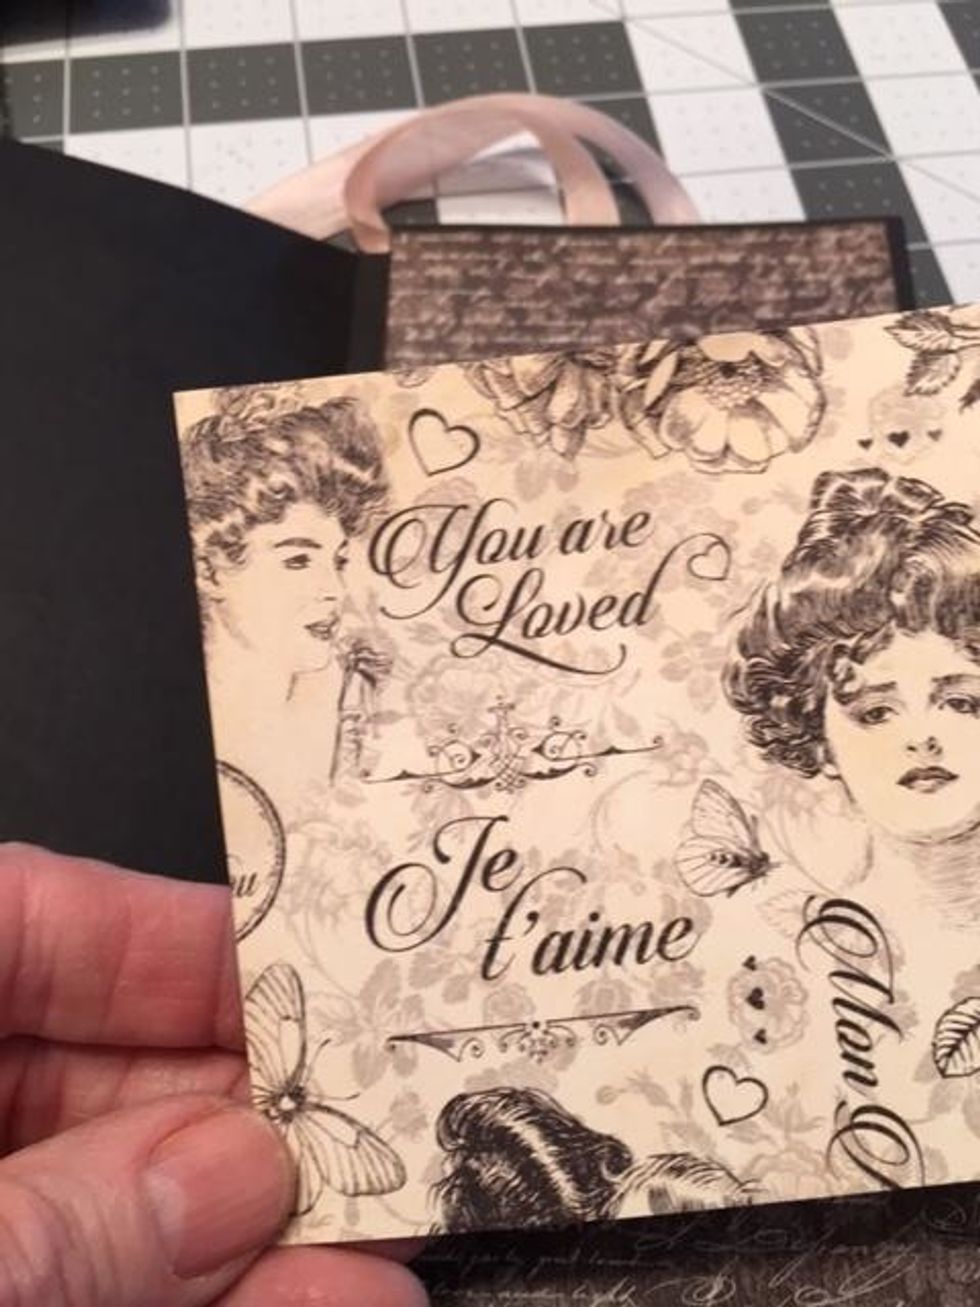
Open up the booklet. For the left side, cut from Precious One, 1@ 3 5/8" wide x 4" tall, ink edges and glue into top half above the pocket.

Punch a notch in the top edge, centered, of the pocket using a 1" circle punch. Cut another piece from Precious One 3 5/8" wide x 4" tall. Ink the edges, punch a notch and glue to the pocket
Cut from True Love, 1@ 3 3/4" wide x 7 5/8" tall, ink edges & glue to the inside flap on the right that has no pocket.
Cut from Precious One 1@ 3 3/4" wide x 3 3/4" tall. Ink the edges. Apply glue to the right and bottom edge only, fold the left upper corner toward the front to create an angle pocket. Glue down.
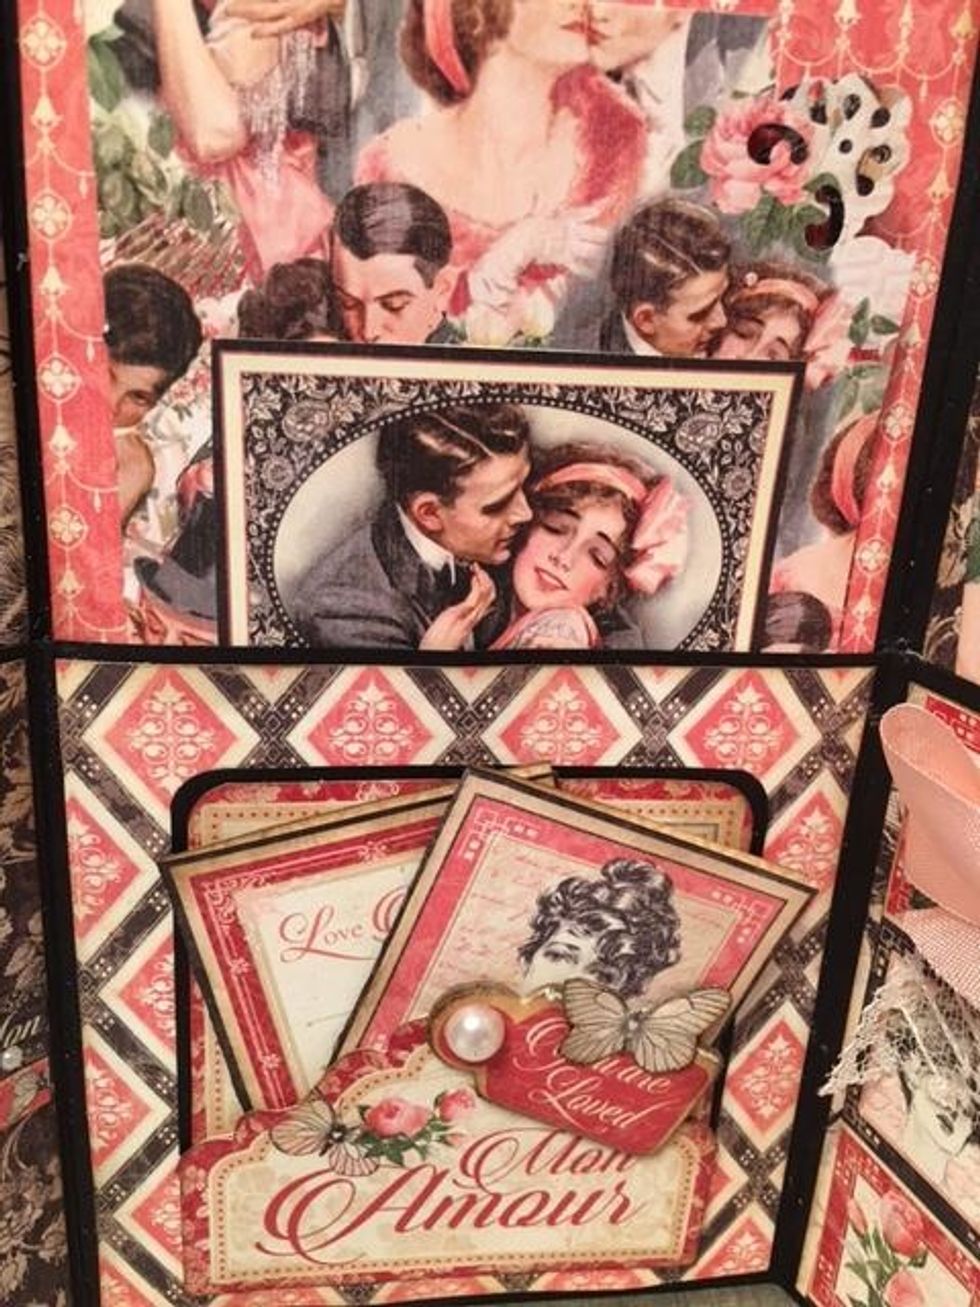
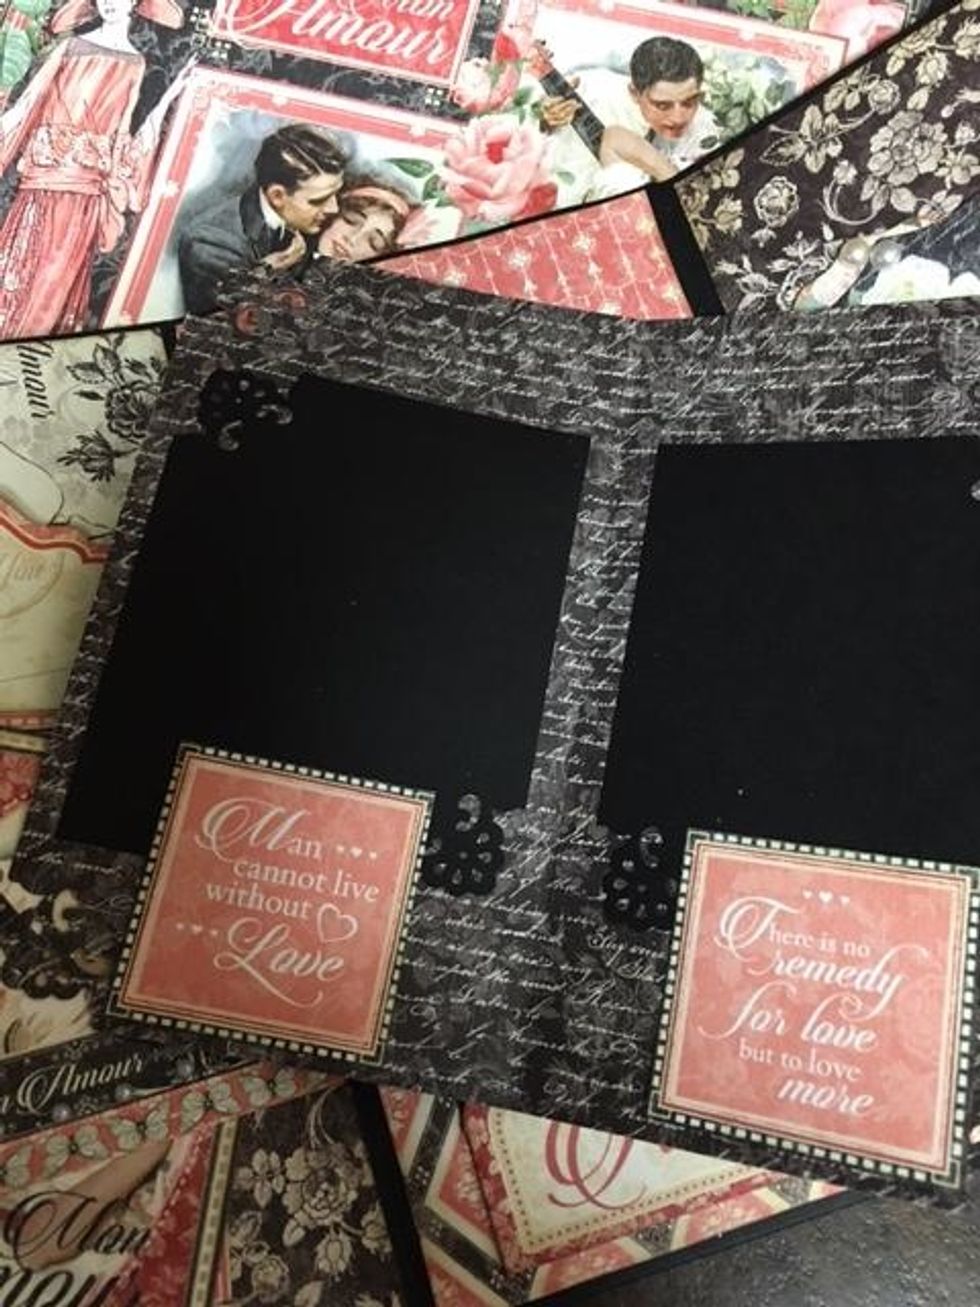
On the center section with a pocket, cut from Heart's Desire 2@ 4"wide x 4"tall. Ink the edges and glue to the page and pocket. Reverse the patterns to have a different print on the top and bottom.
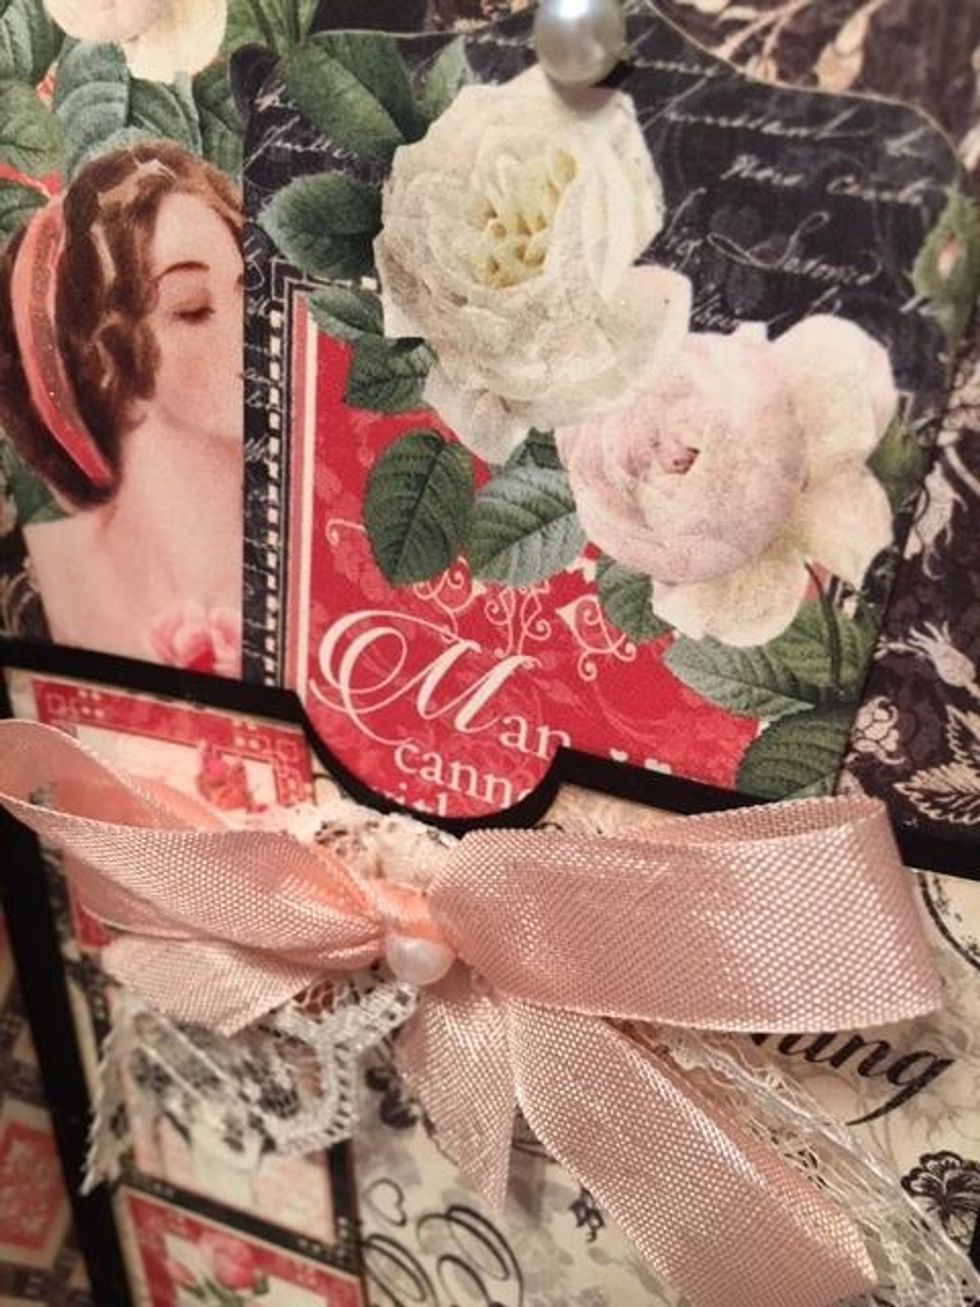
On the final section, cut 2@ 3 5/8" wide x 4" tall from Precious One. Ink the edges and glue to the page & pocket, reverse the pattern. Before gluing the paper to the pocket, punch notches if desired.
After you have patterned all the sections of the booklet, open up the pocket section by folding the score line down, add a line of glue on the sides & along the fold lines of each to close them up.
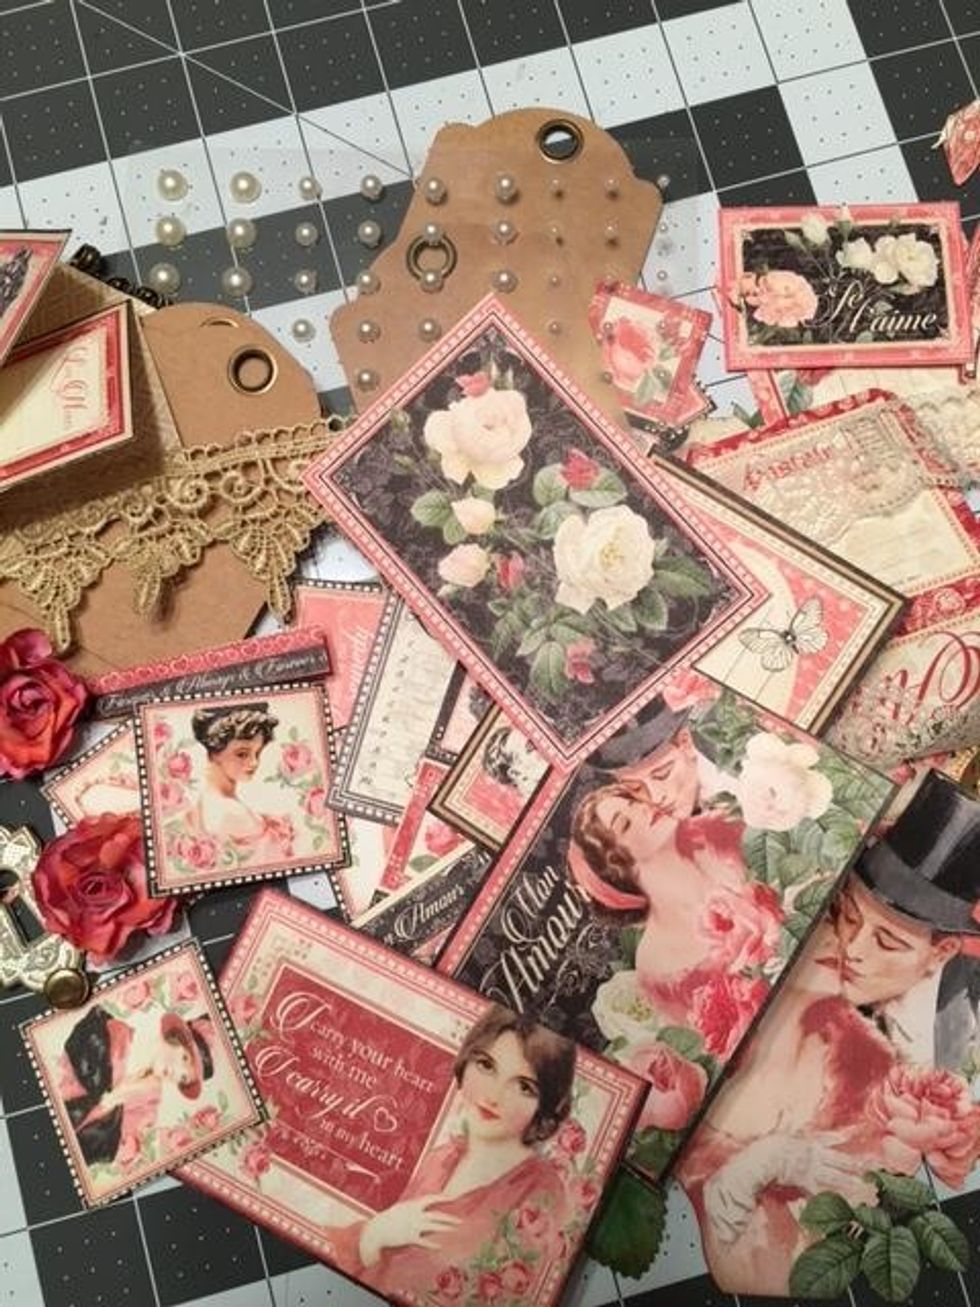
Gather your decorative supplies--Cut outs from the paper, sequins, rhinestones, pearls, ribbon, lace, roses, Graphic 45 metal items such as a key and key hole etc.
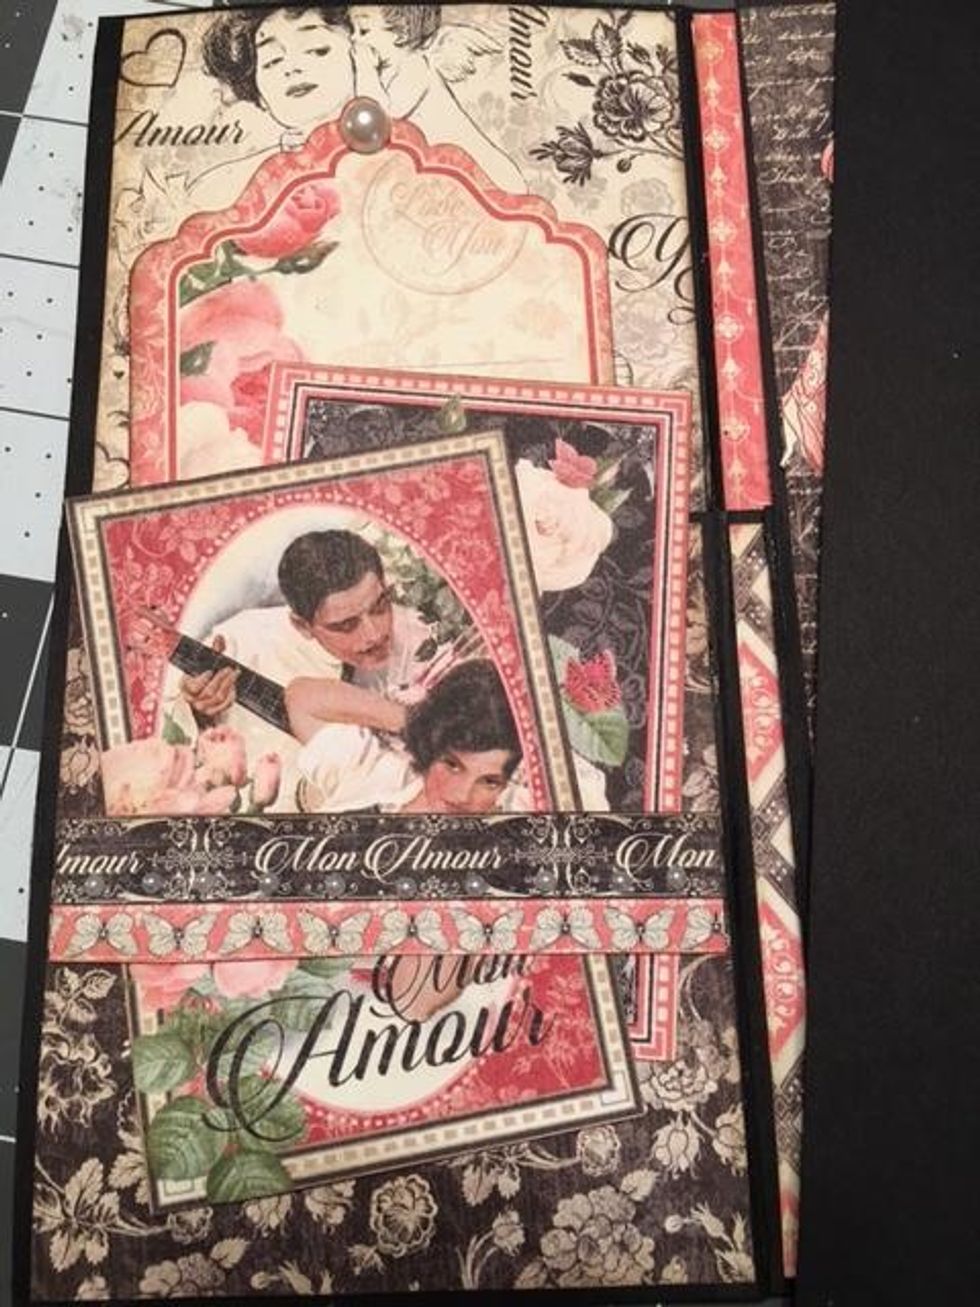
Open the booklet and decorate the first section. Add a paper belly band cut from a border on the One & Only 8x8 sheet. Glue on the left and right ends only so you can slide two cut a parts underneath
Glue a flat back pearl to the tag hole on one of the tags from the Mon Amour Tags & Pockets pack. Insert the tag into the pocket of the first section.
Mat onto black cardstock one of the pockets from the Tags & Pockets pack, glue to the pocket. Attach a chipboard tag, add a flat back pearl and a cut out butterfly. Insert two cut a parts.

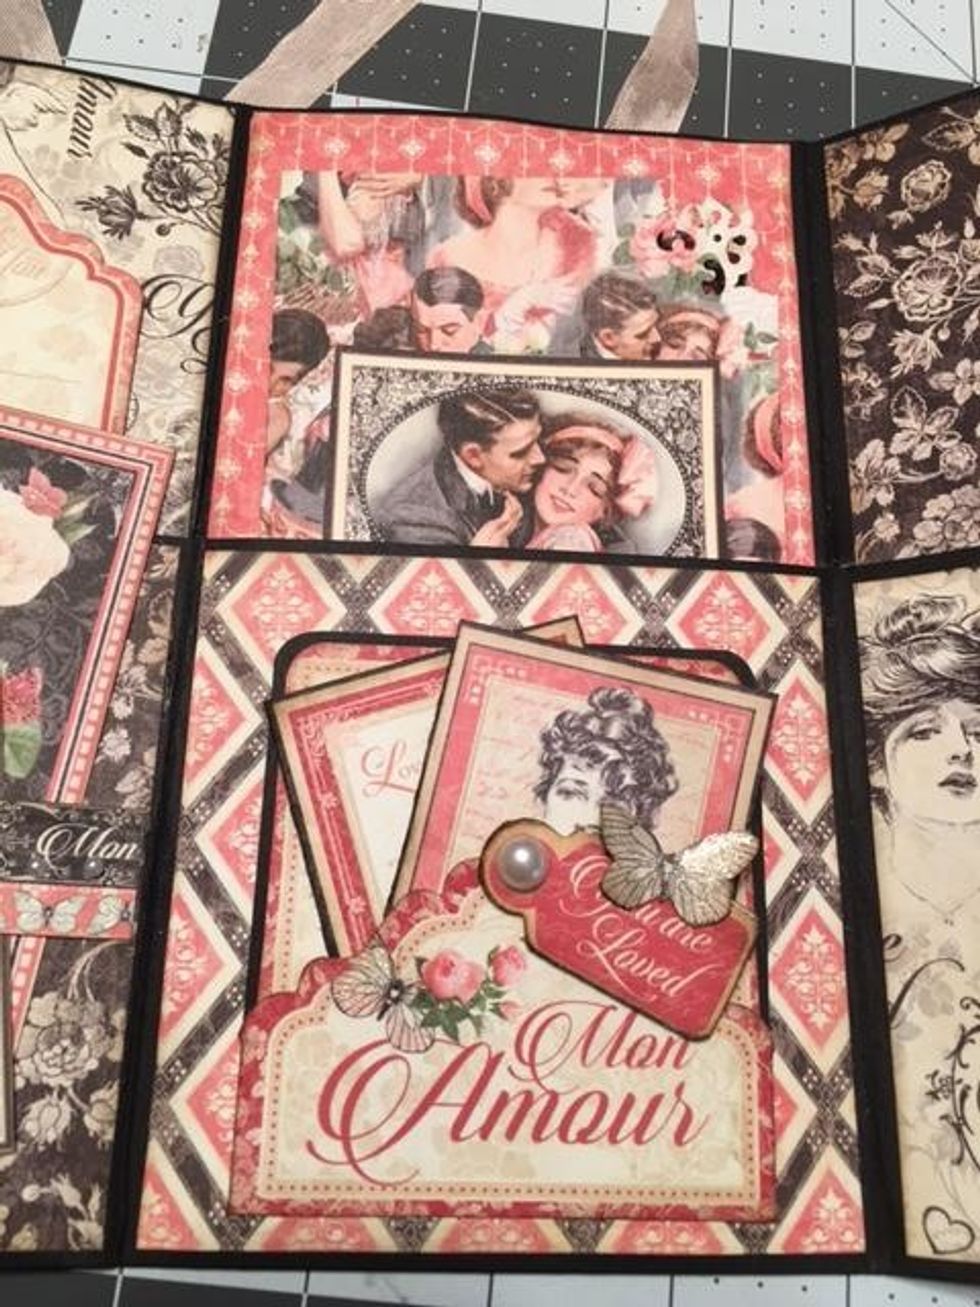
Create a folding photo mat to insert into the pocket by cutting 1 sheet of True Love to 7"wide x 6" tall. Score the 7" side at 3 1/2" and fold in half. Deco punch the corners & add a cut a part image.
On the inside of the folding mat, cut two photo mats 3" wide x 3 1/2" tall out of black cardstock. Punch the corners, glue to the inside and add two cut a parts from the Mon Amour 8x8 paper pad.
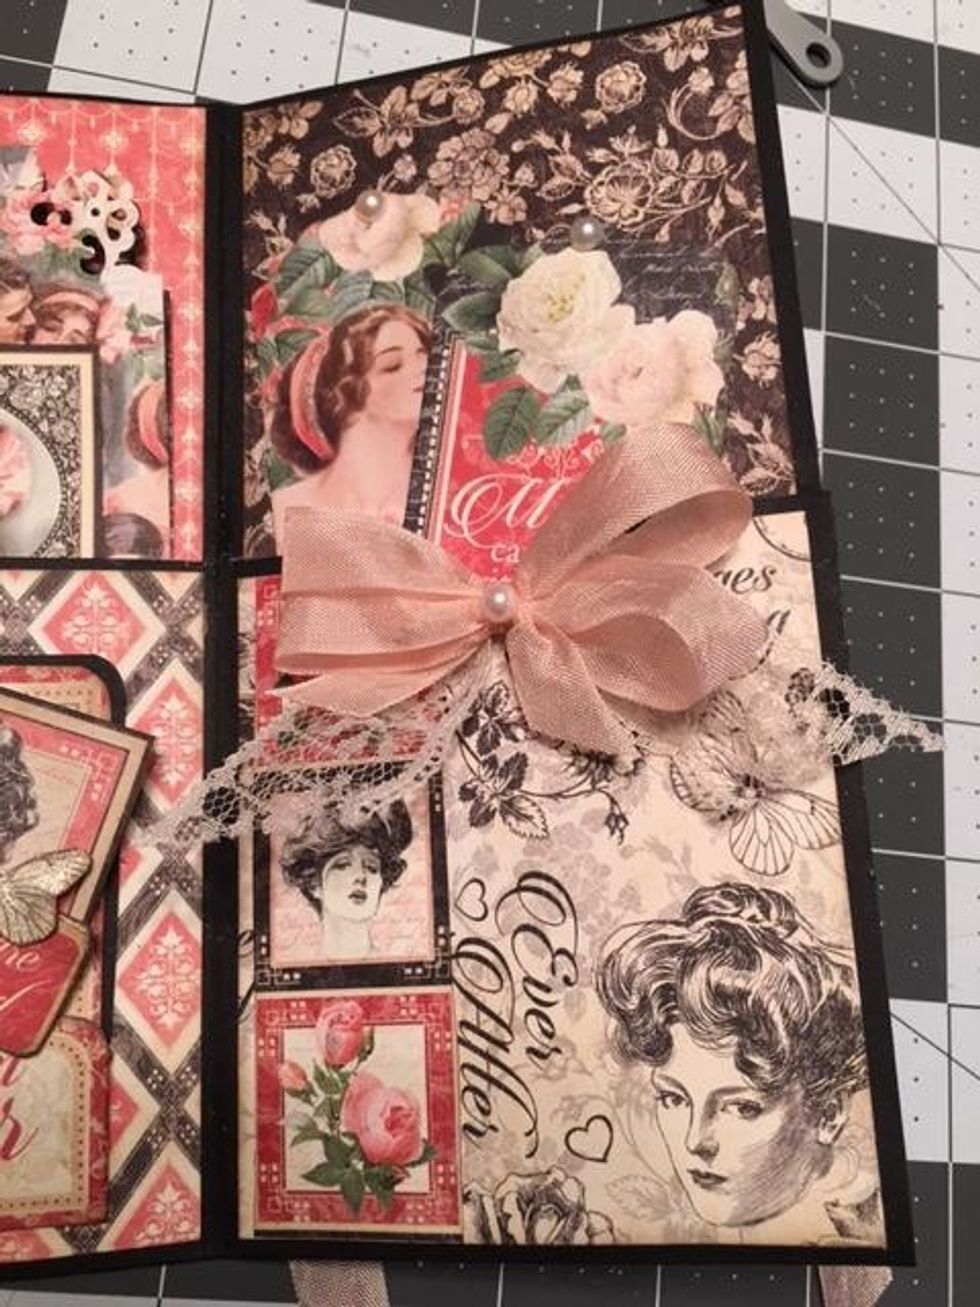
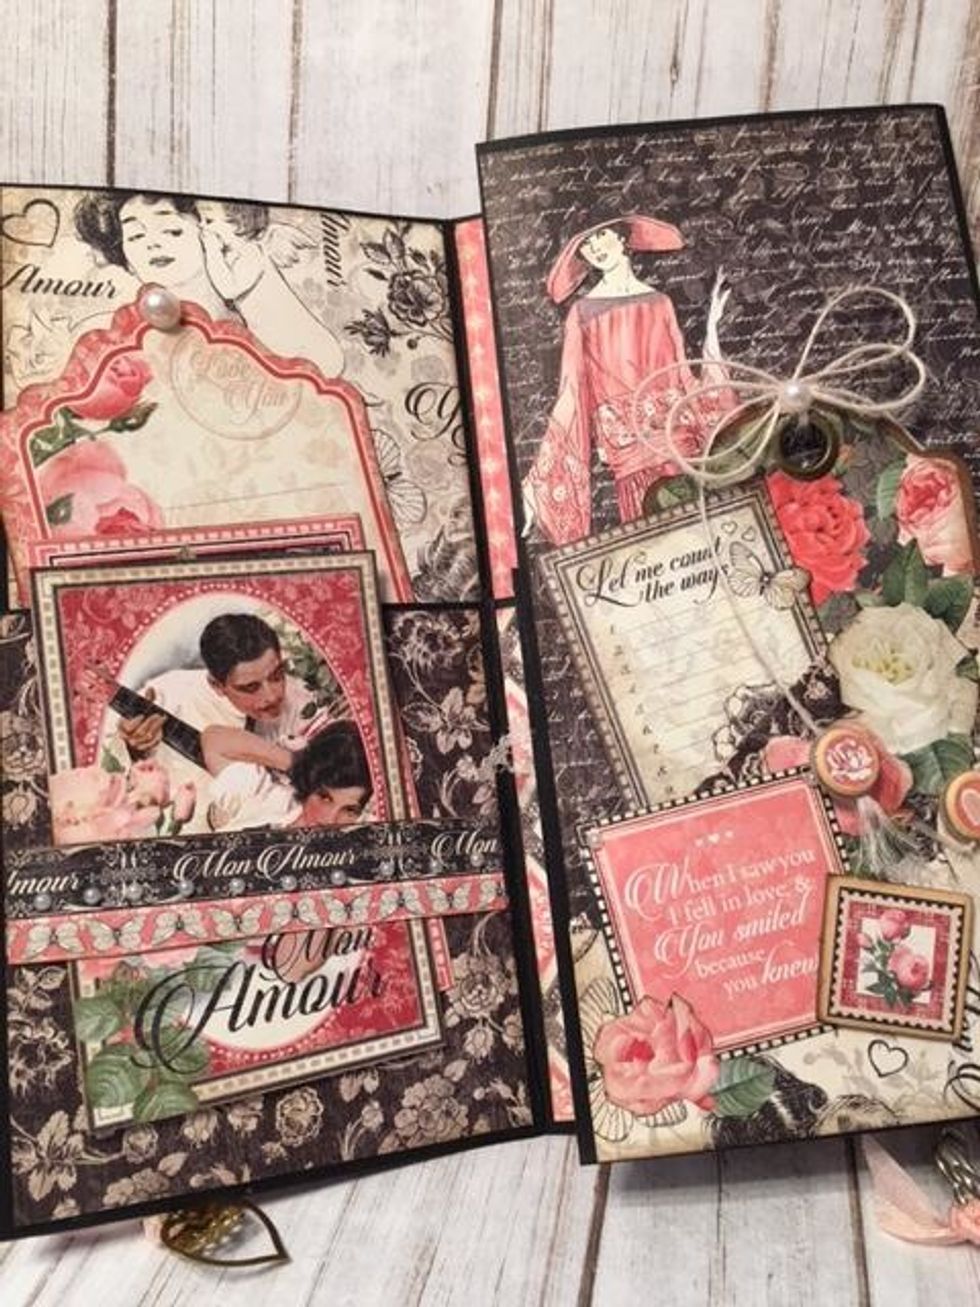
On the last pocket section,tie a bow with pink seam binding ribbon, add a pearl to the center&glue the bow and some lace to the top of the pocket. Glue a row of 3 "stamps" from the 8x8paper. Add tags.
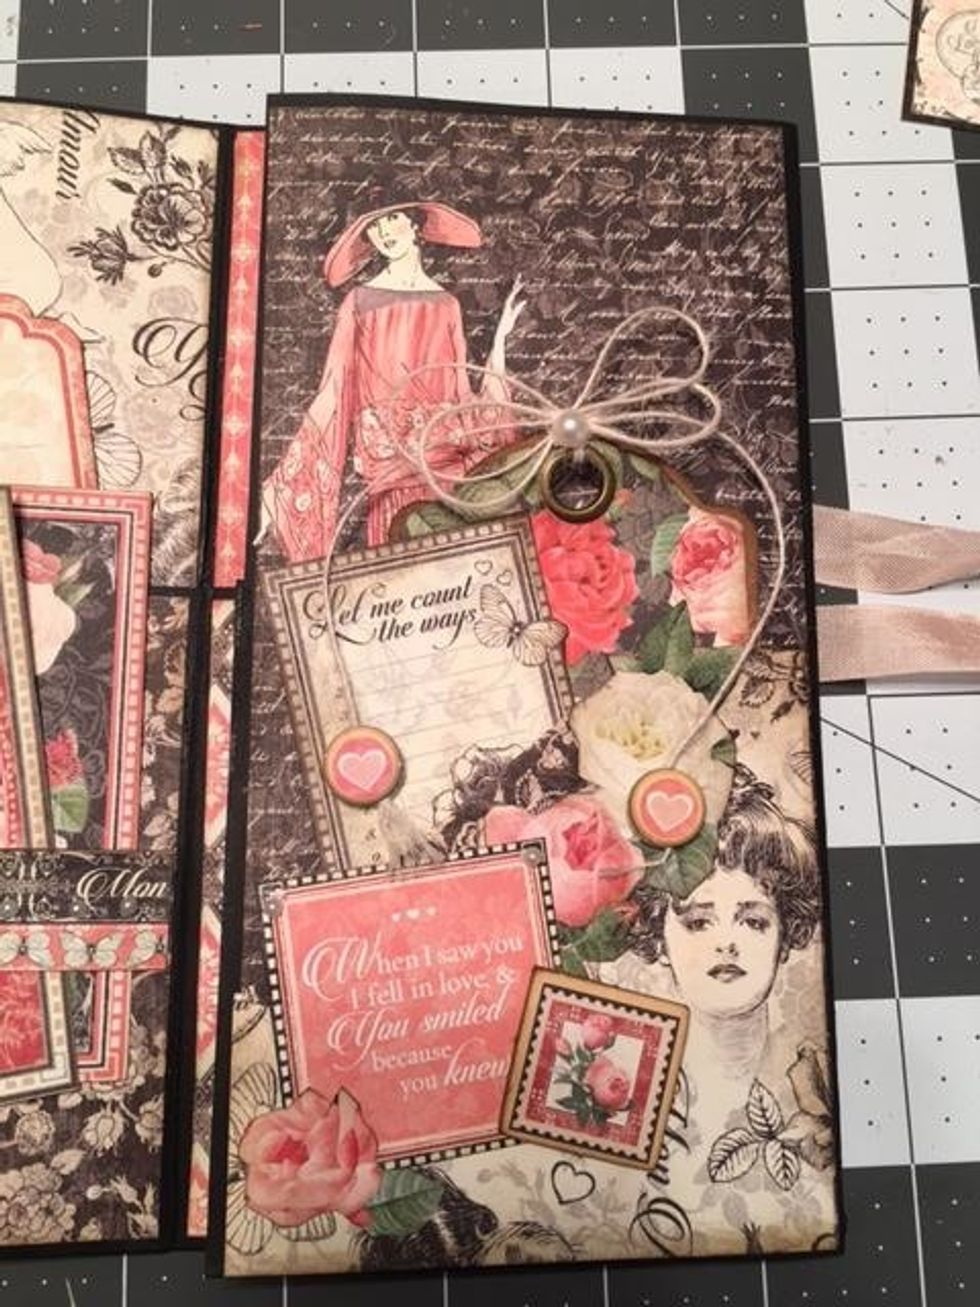
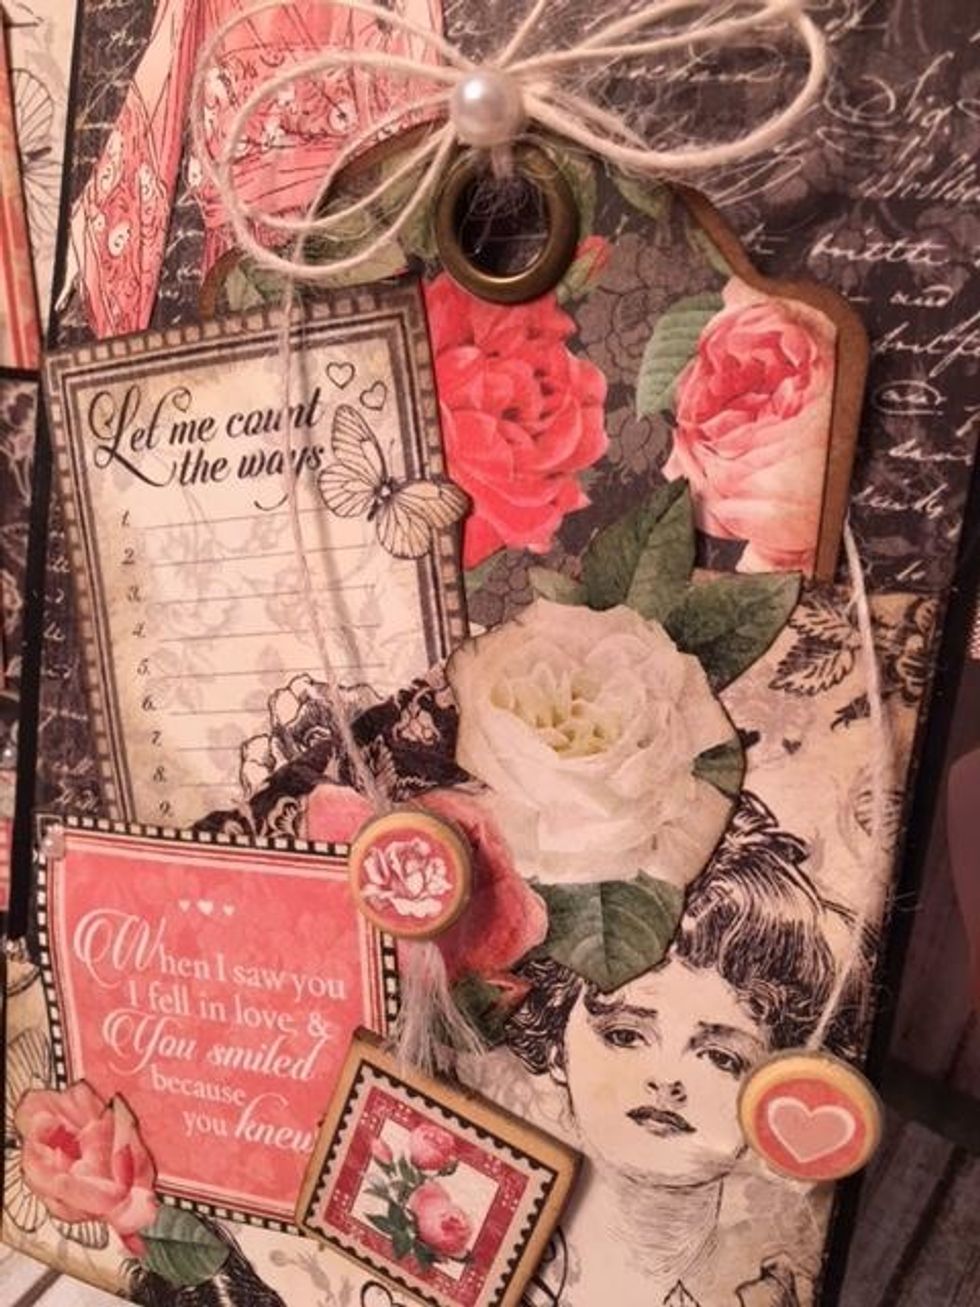
Angle pocket section: Fussy cut out the lady from the 8x8 Mon Amour paper. Glue her to the inside section of the pocket. Cut out roses & a sentiment to glue to the pocket. Add a chipboard rose stamp
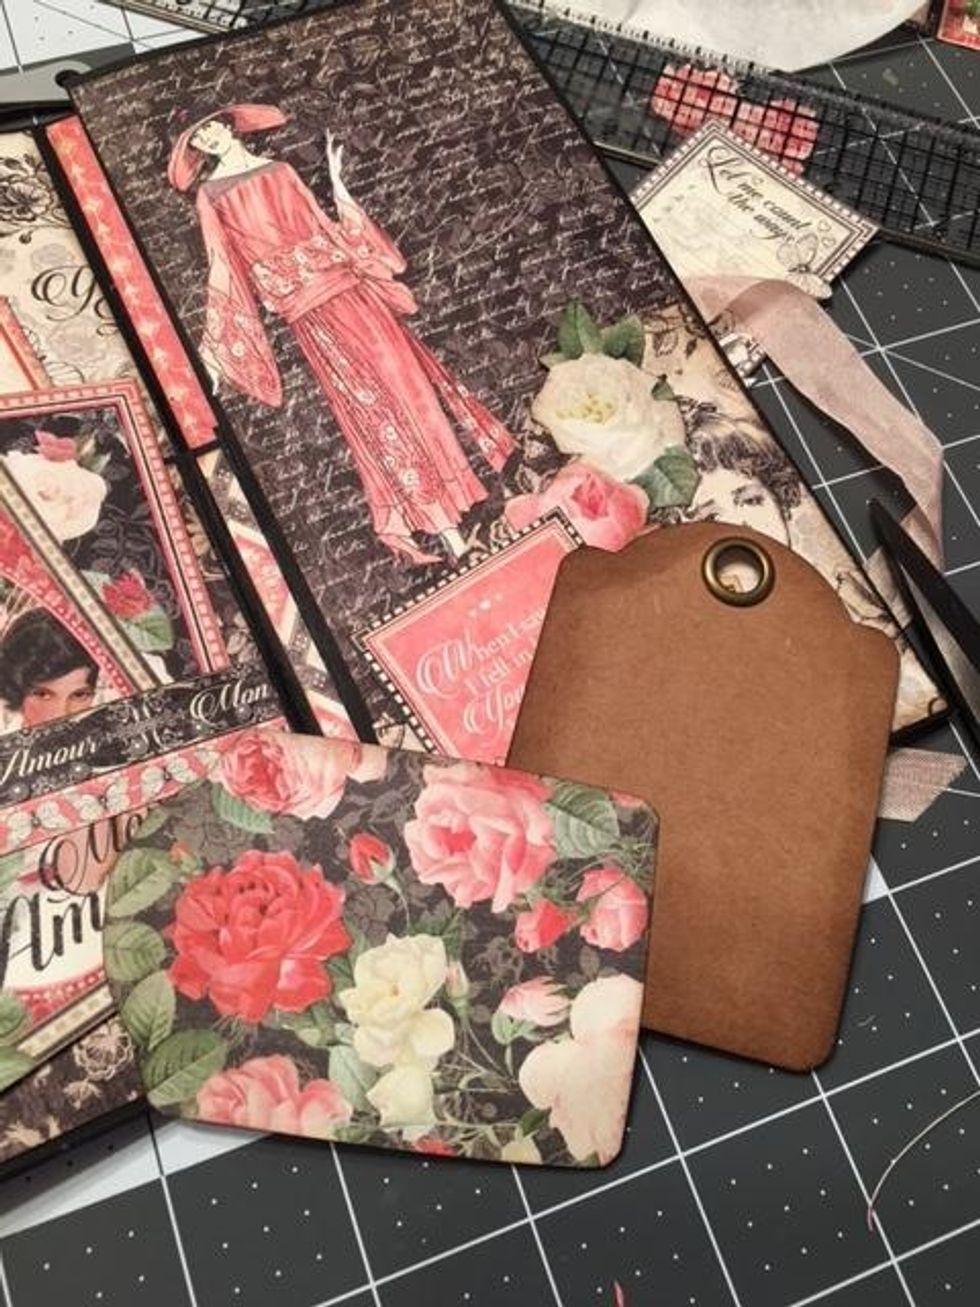
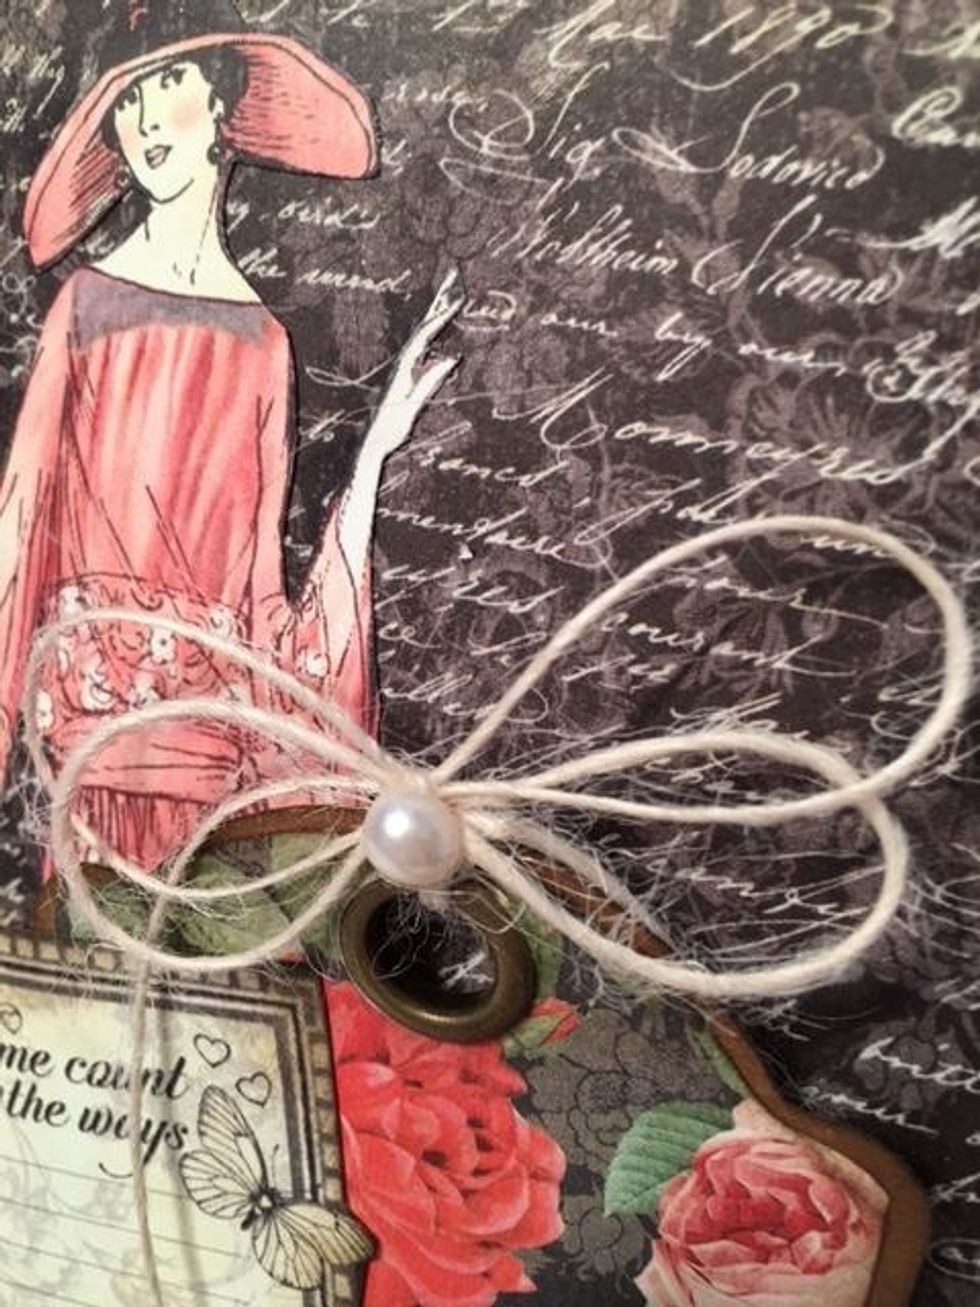
Create a tag for the angled pocket. Use a Graphic 45 tag and mat with Dearest Darling Rose paper.
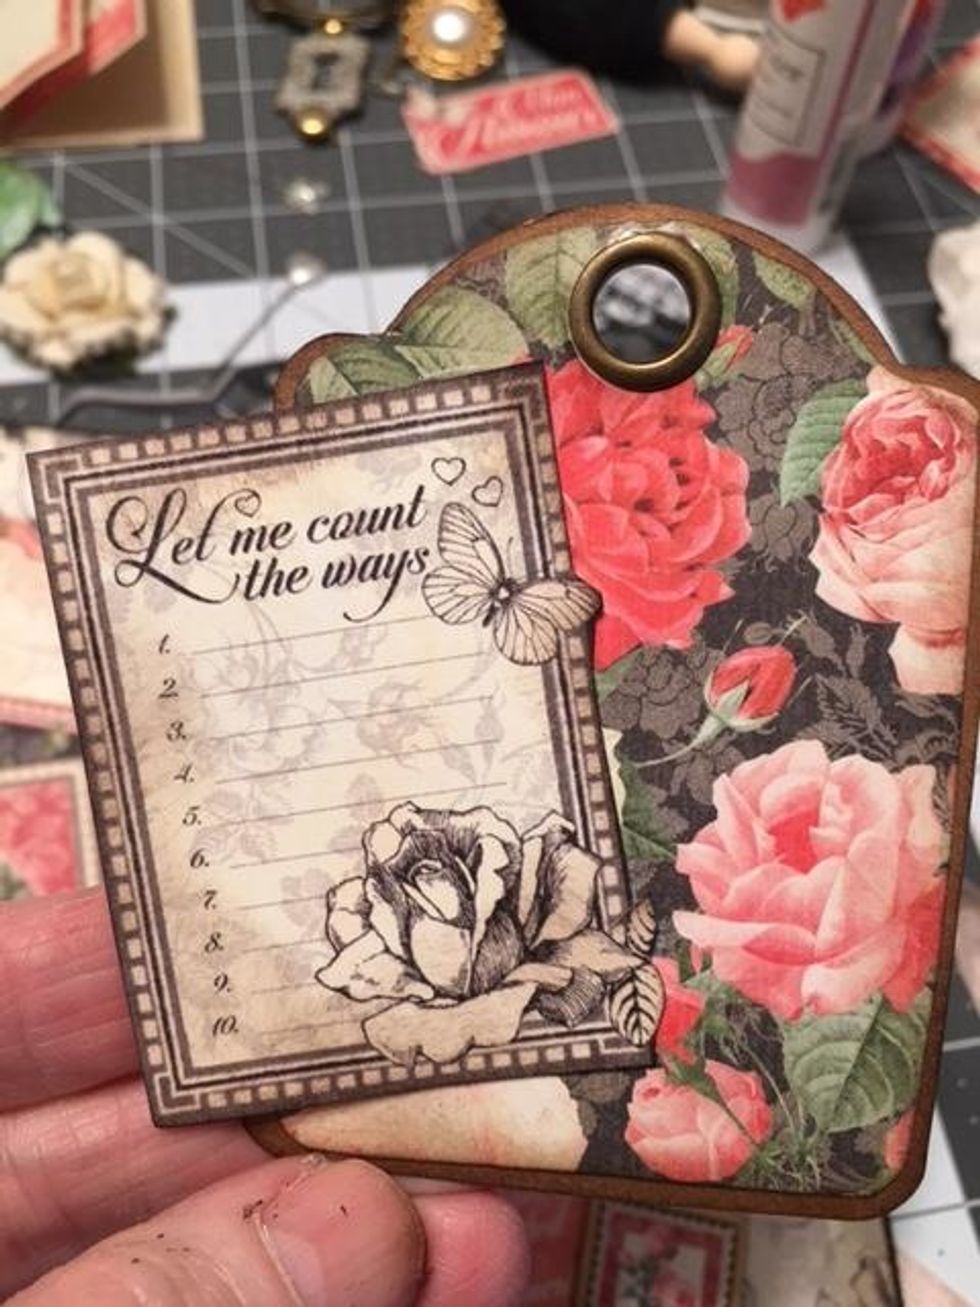
Glue "Let Me Count the Ways" cut a part to the left side of the tag, off centered.

Tie a double loop button twine bow to the tag and add a flat back pearl.

Glue four circle chipboard pieces to the end of the twine. Insert the tag into the pocket in front of the lady in pink.
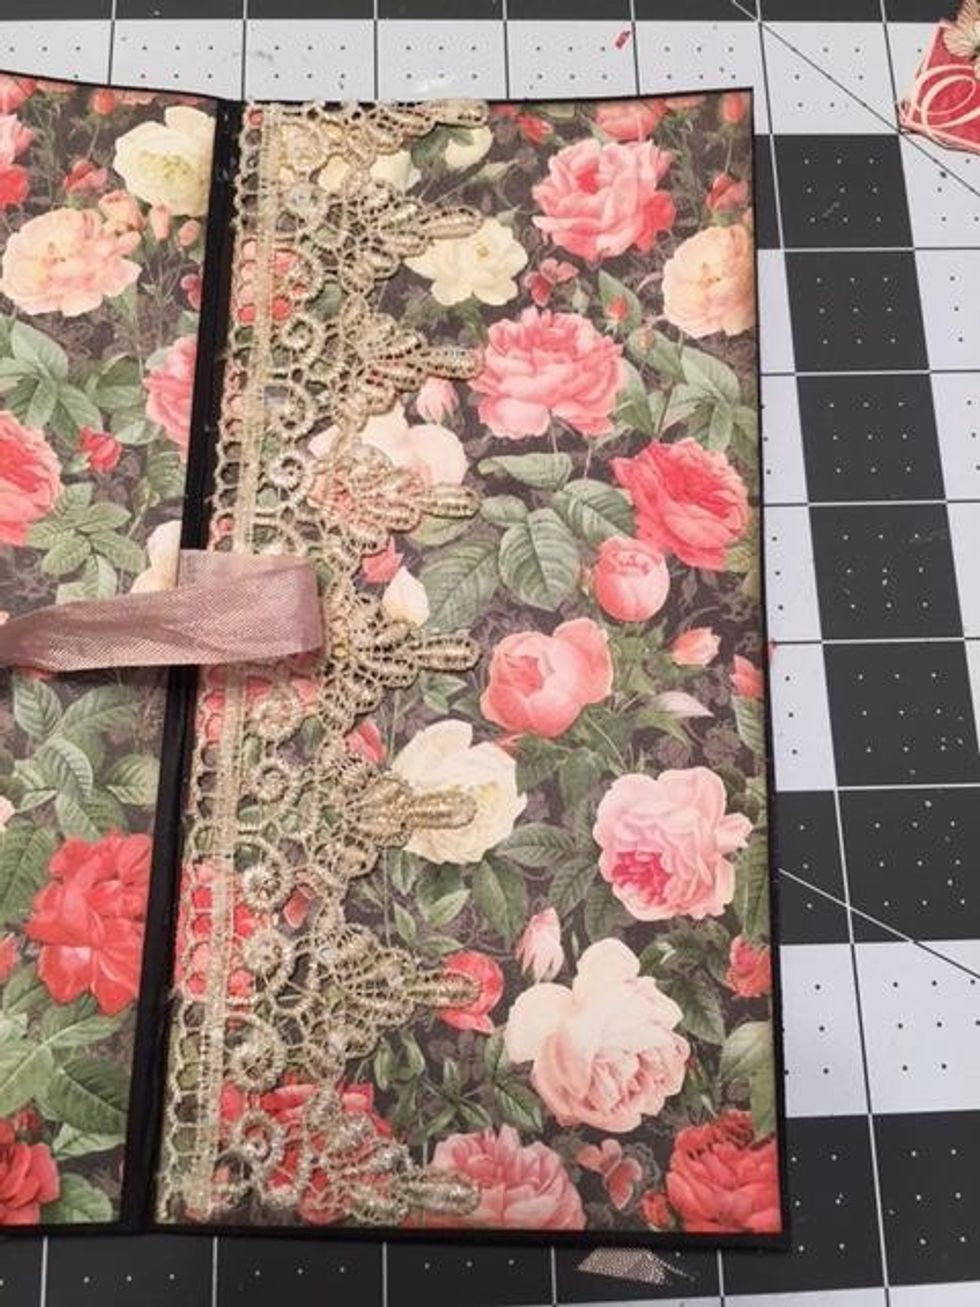
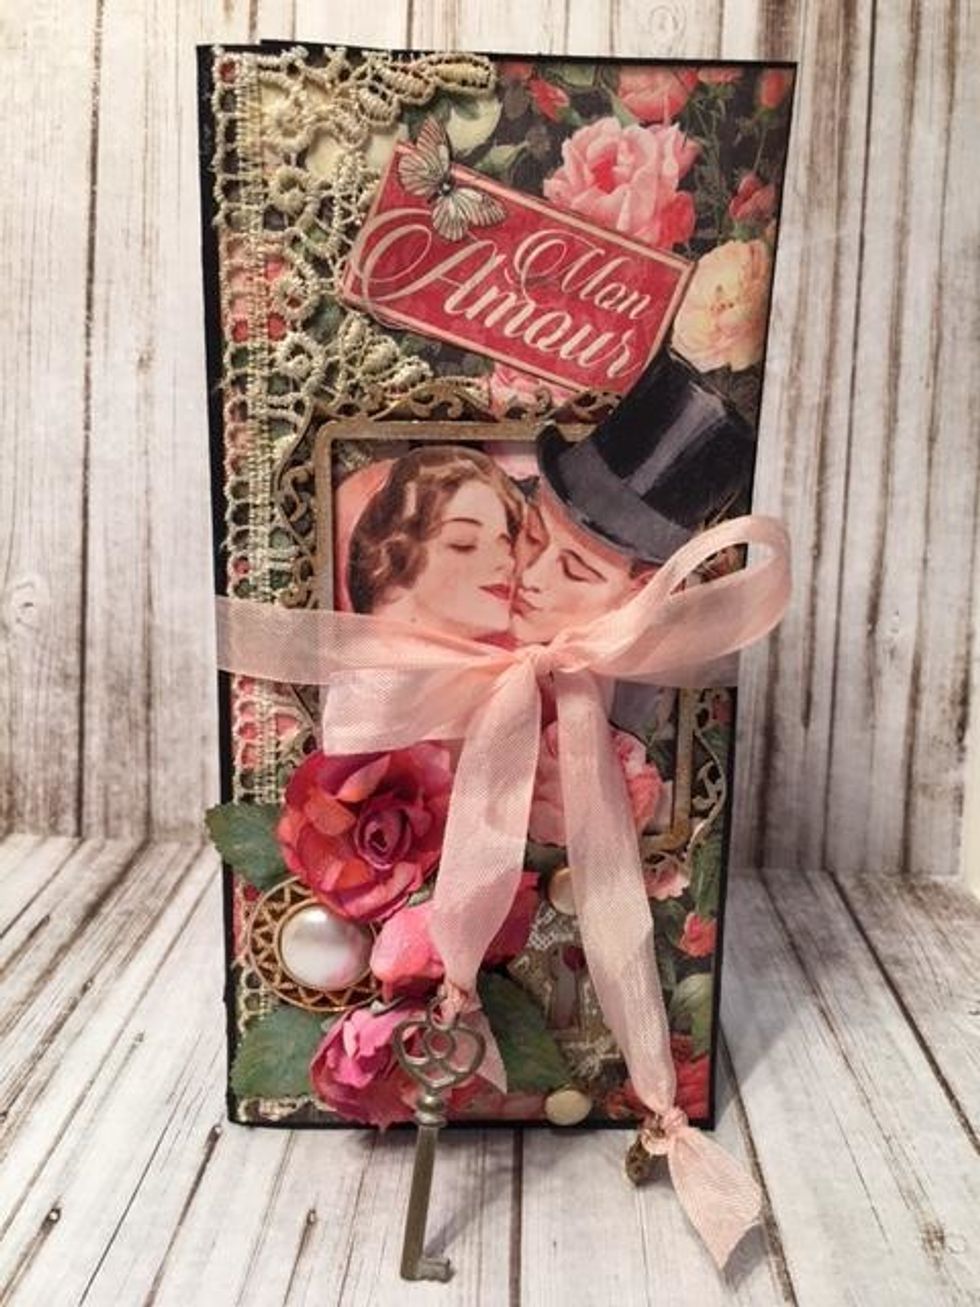
On the front cover. glue a strip of lace to the left side underneath the ribbon.
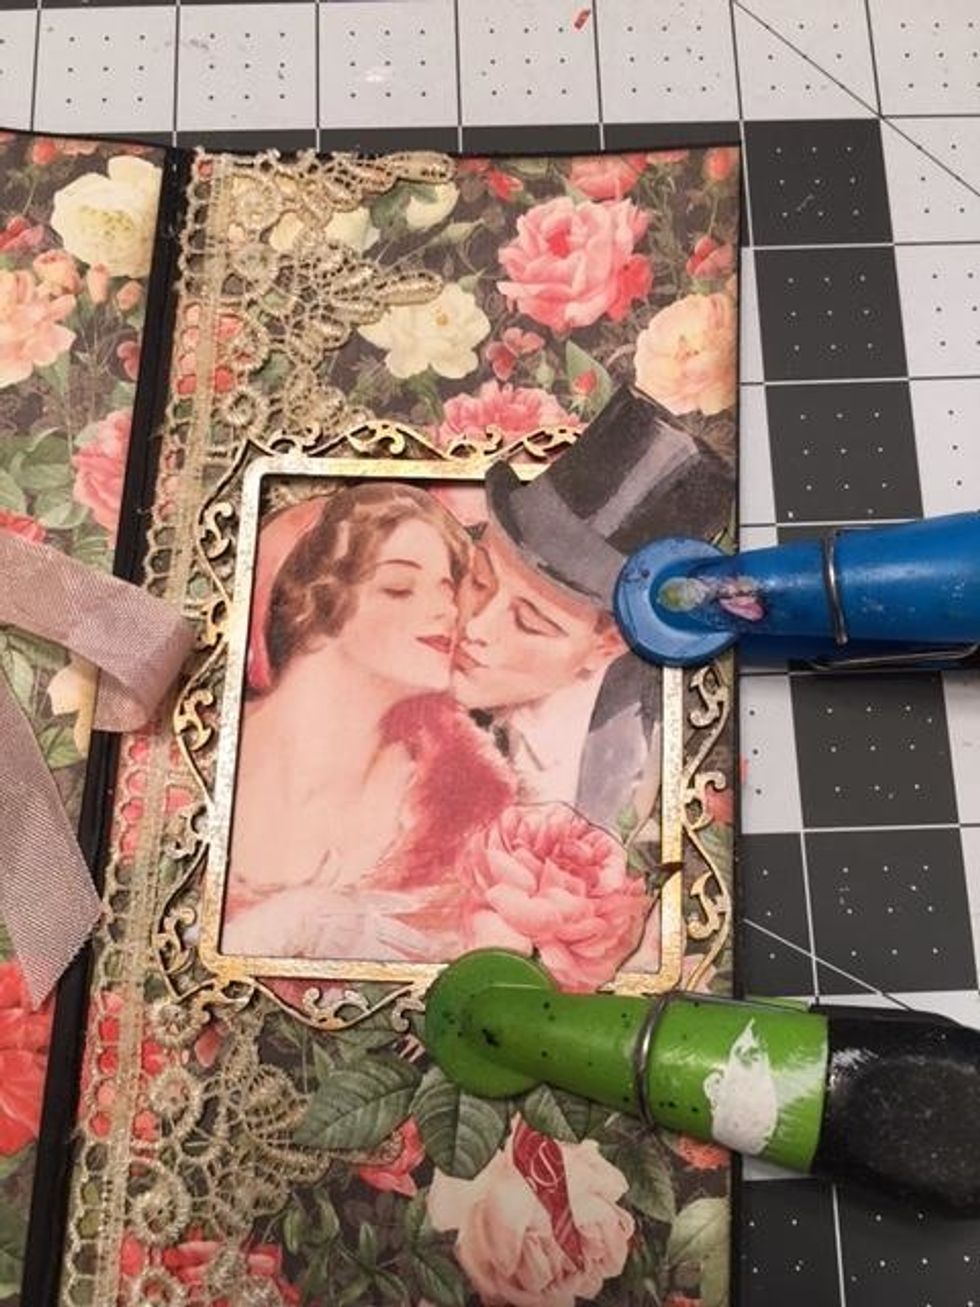
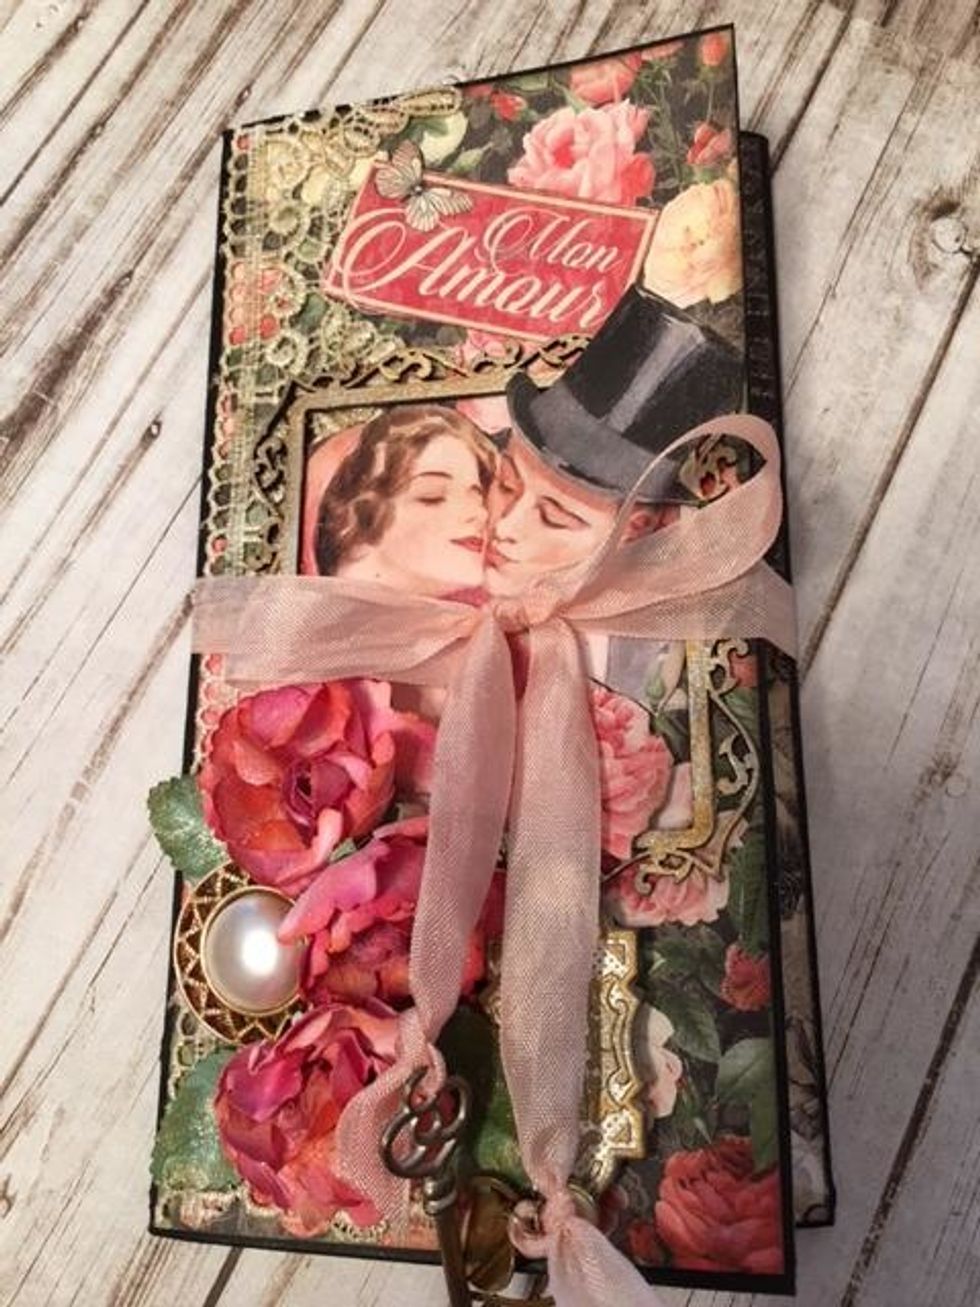
Cut the couple out of the 8x8 Mon Amour paper. Arrange them in and out of a chipboard frame that has been inked with silver and gold. Glue the image and frame down. Use clips to hold until dry.
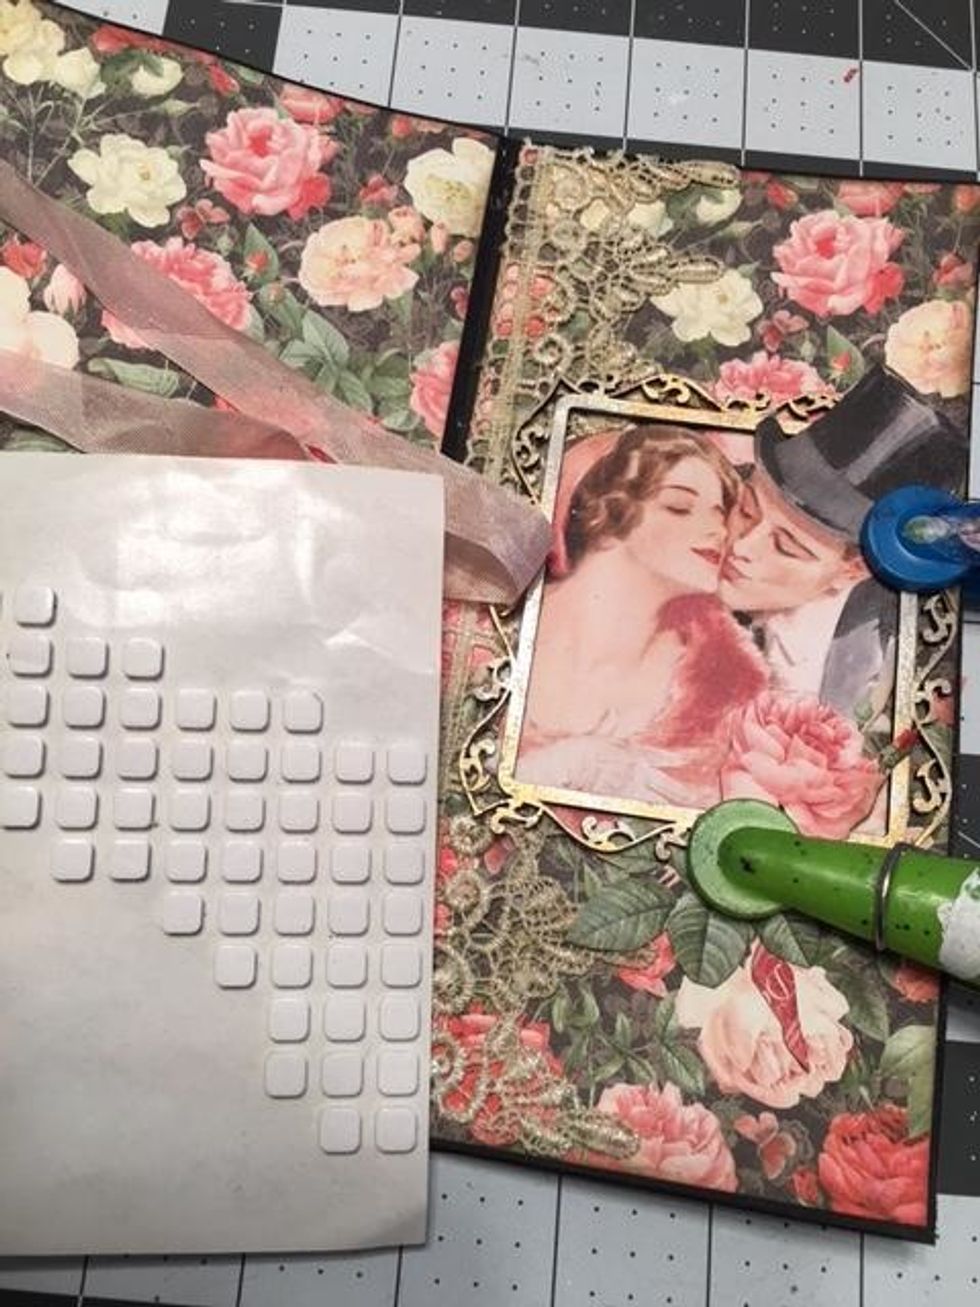
Use foam dots underneath the hat to match the lift of the frame.
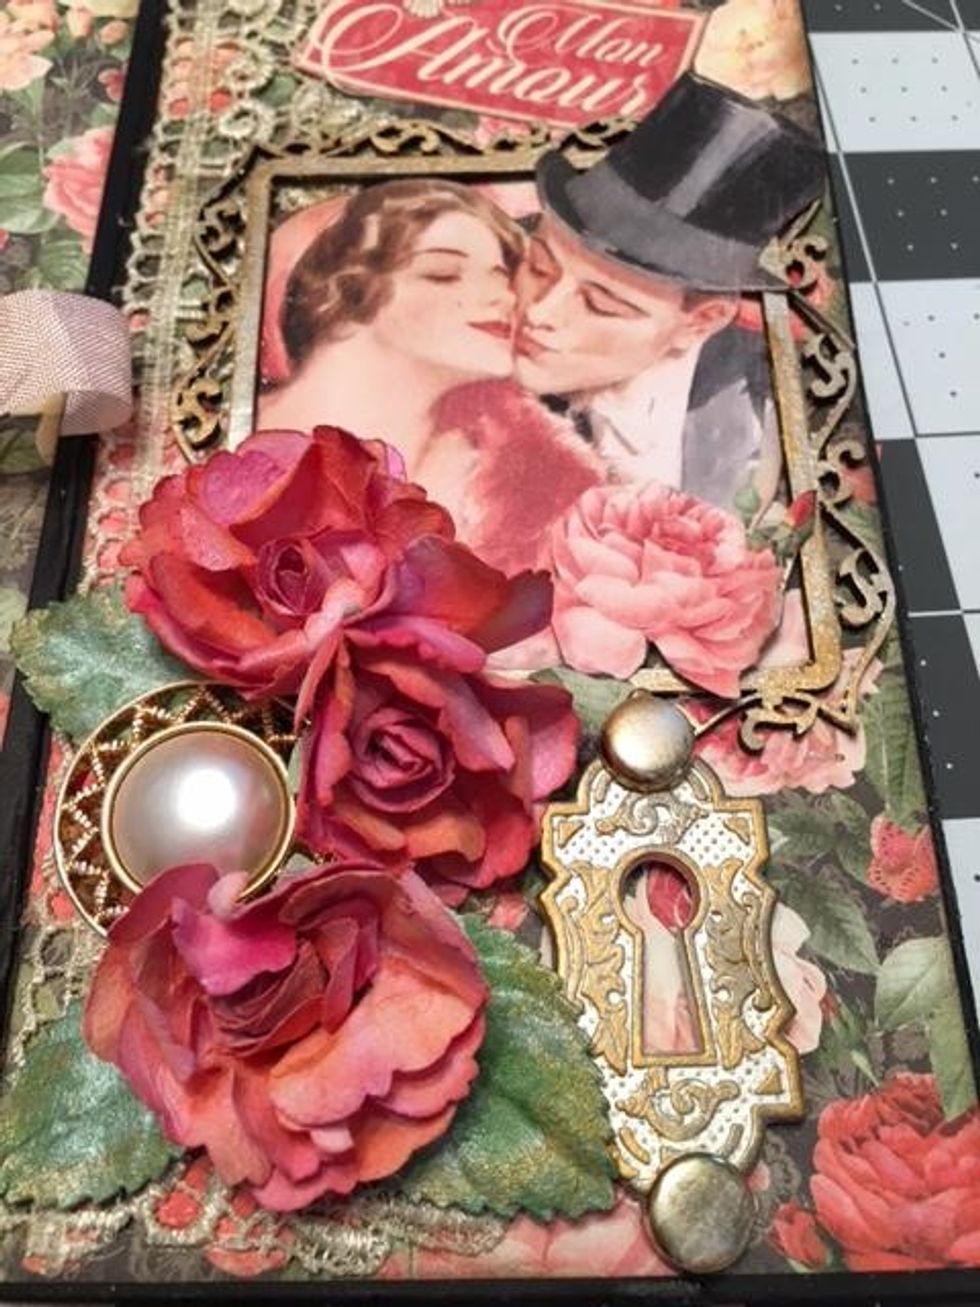
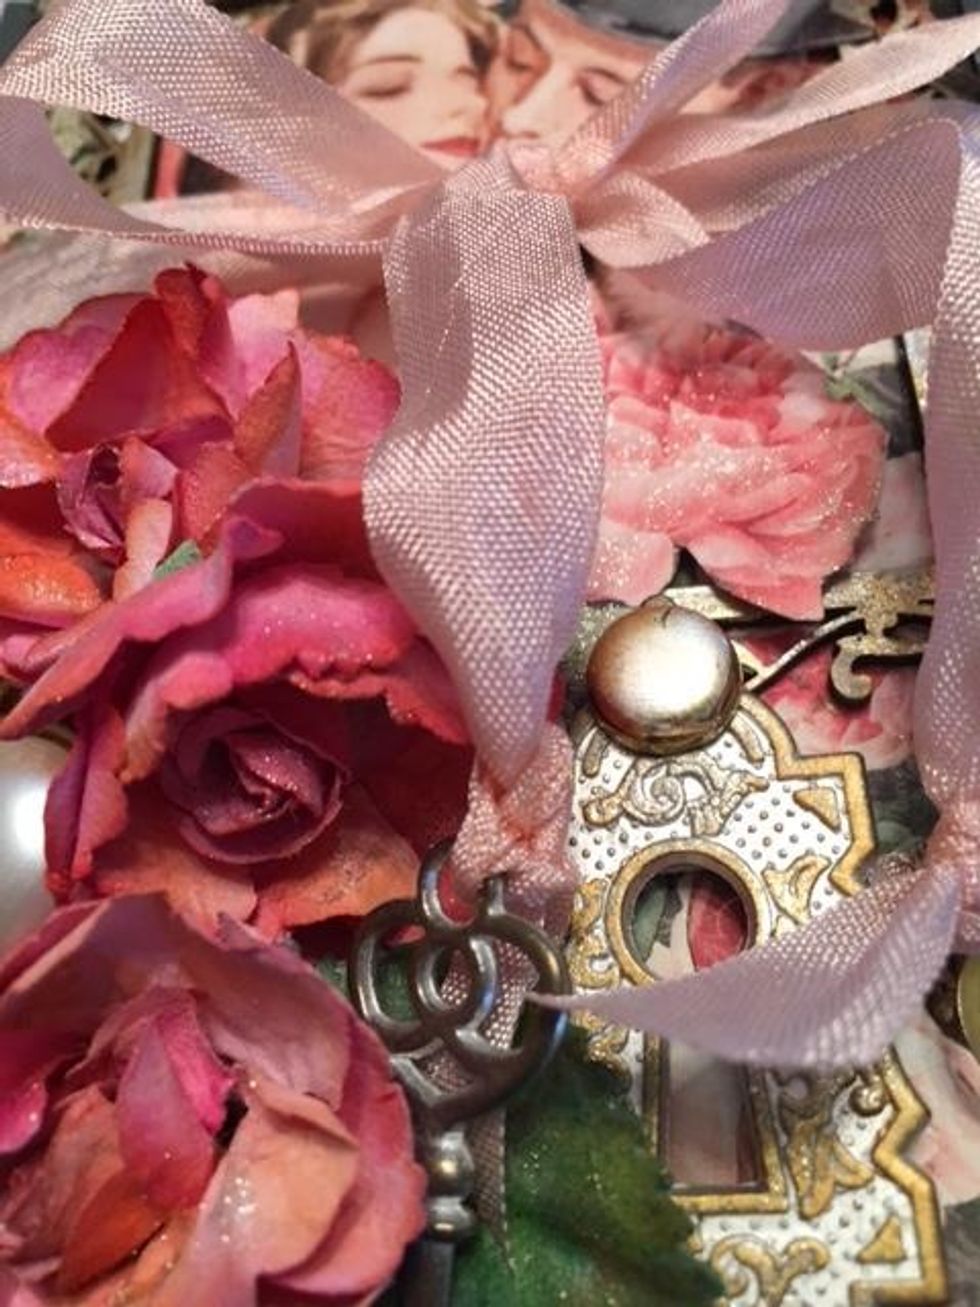
Arrange and glue down fussy cut paper roses, Prima roses & leaves,a pretty button,& Graphic 45 key hole. Cut out the "Mon Amour" from the Mon Amour 8x8 paper and glue it above the frame.
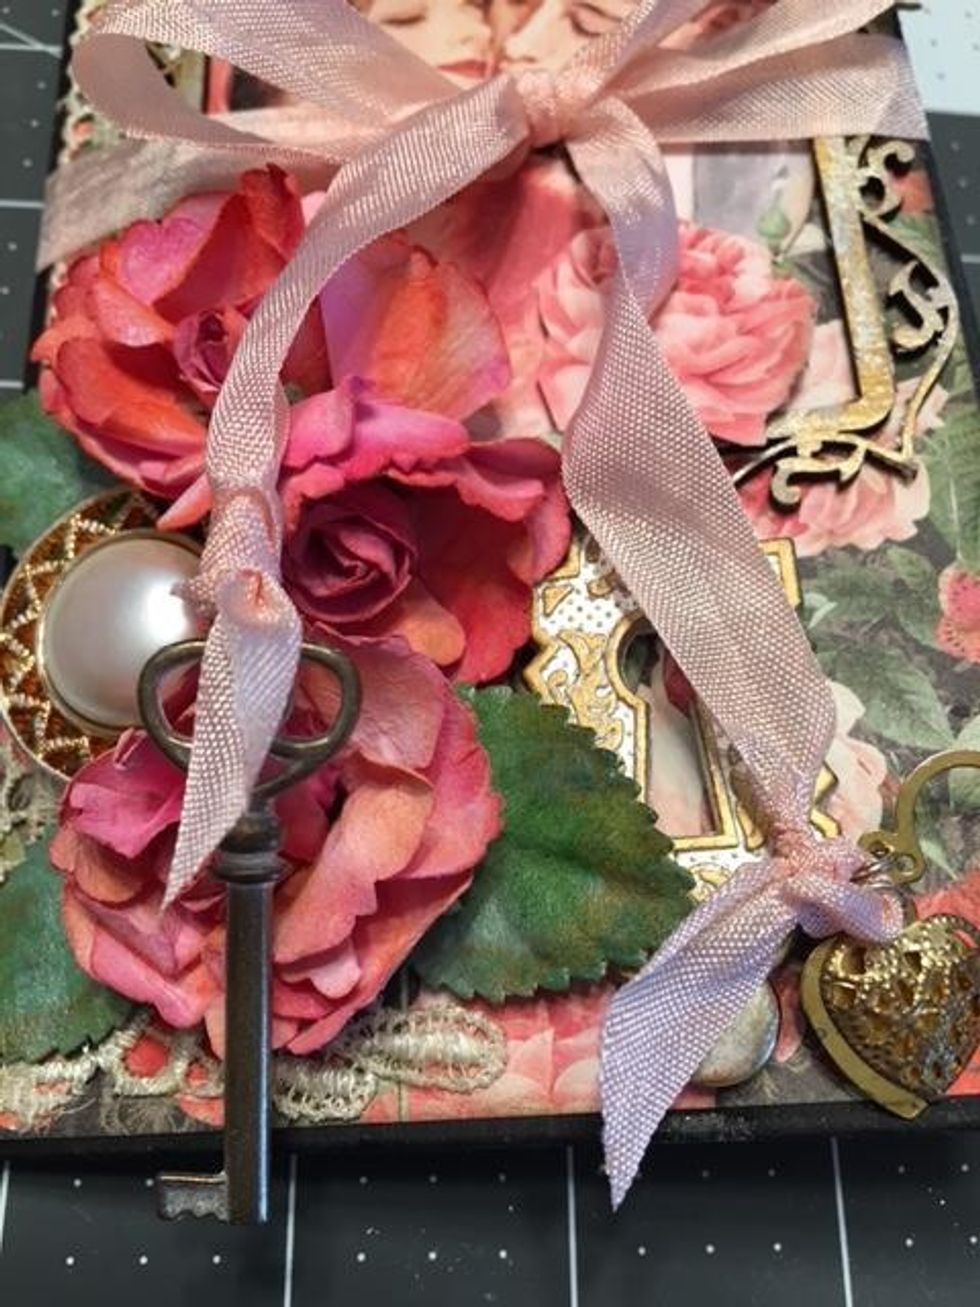
Wrap the ribbon around the booklet and tie into a bow as a closure. To the ends of the ribbon, tie on a Graphic 45 key and heart charms.
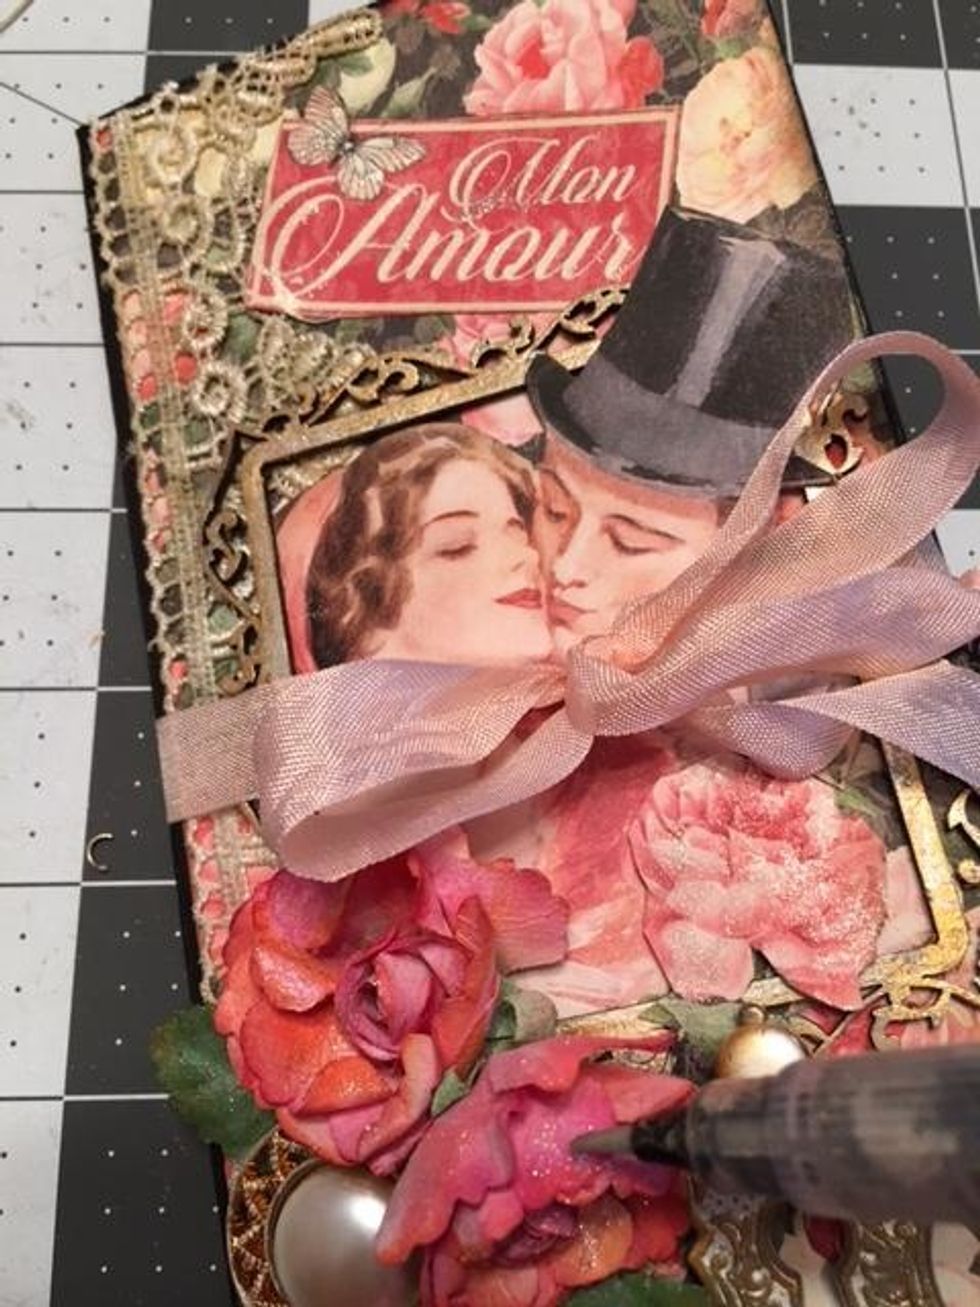
Finish by painting the roses and various elements on the cover and inside the booklet with clear Wink of Stella Brush pen to add some shimmer and sparkle.
Thank you for watching my Graphic 45 Mon Amour booklet tutorial. Enjoy and Have Fun Crafting! ~Sandy