The Conversation (0)
Sign Up
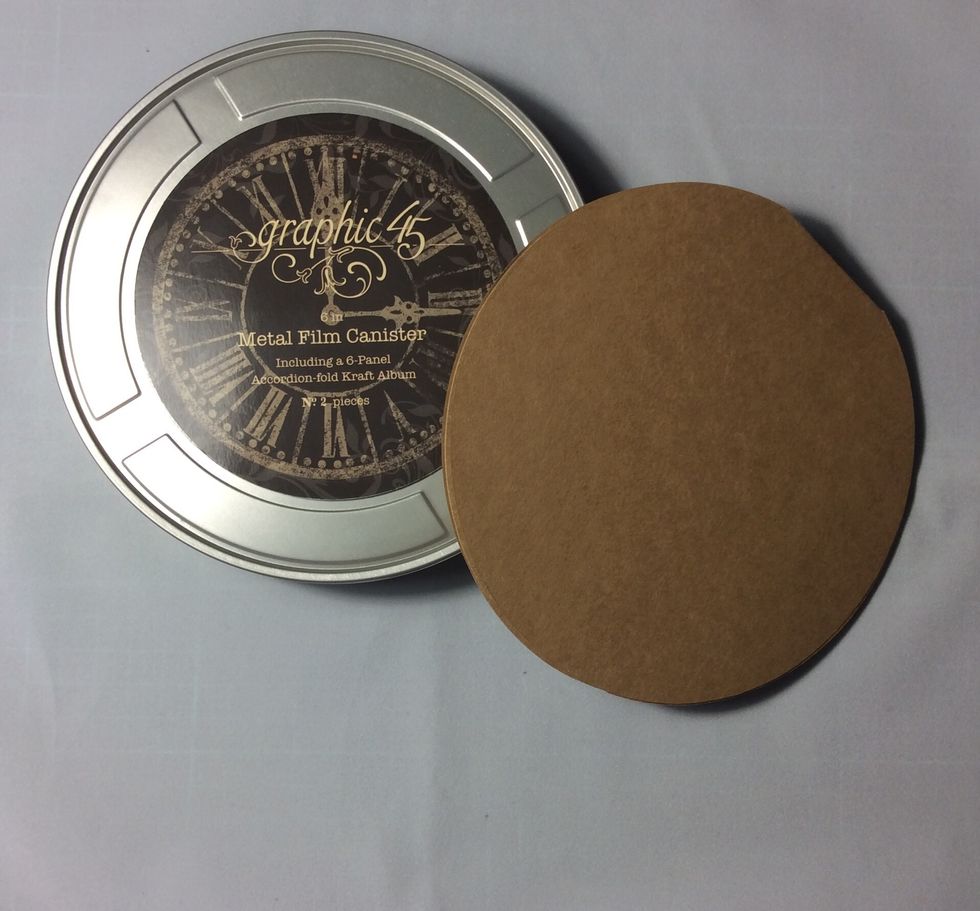
Use a graphic 45 metal film canister for this project
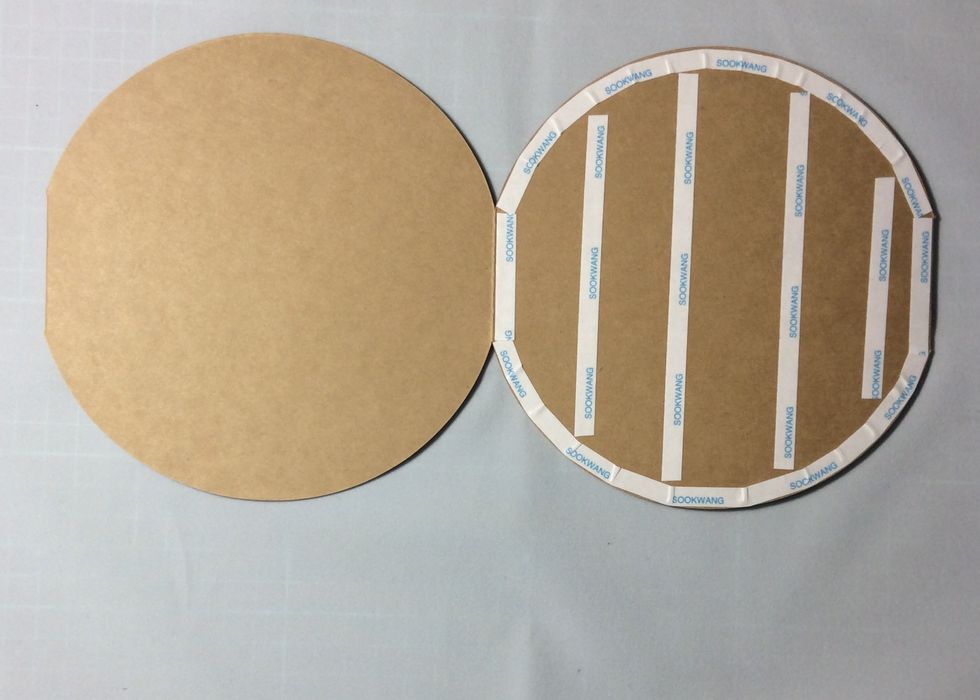
Apply strong tape to the back of the album that comes in the tin to form pages. You should have two adhered pages and two single pages.

Completed album pages
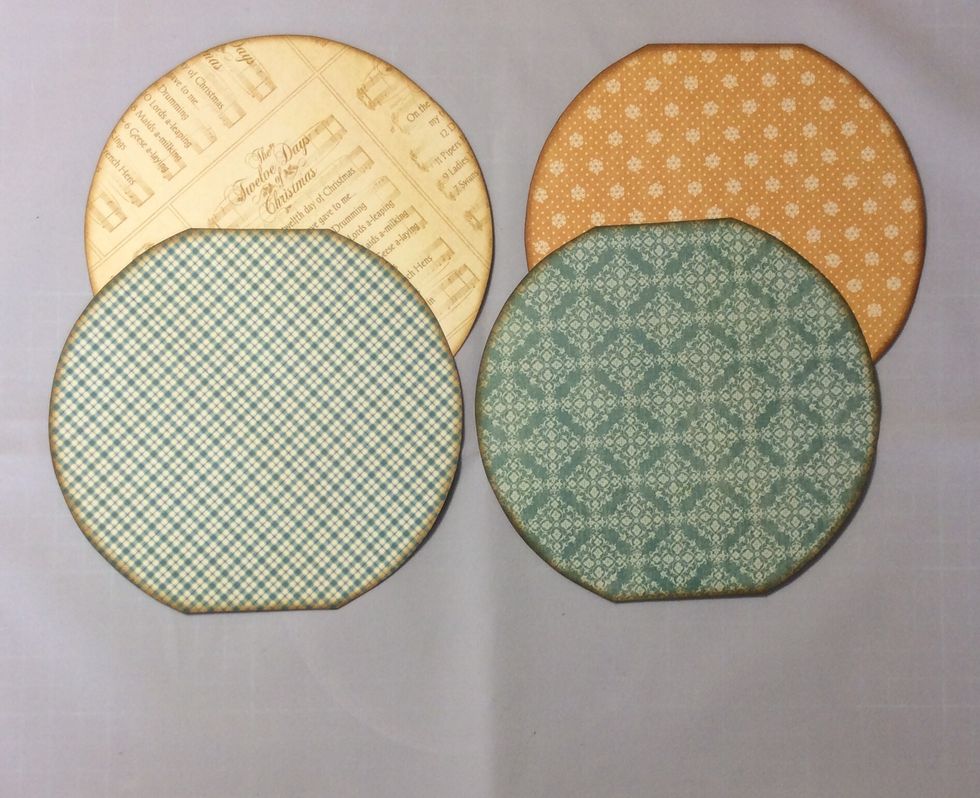
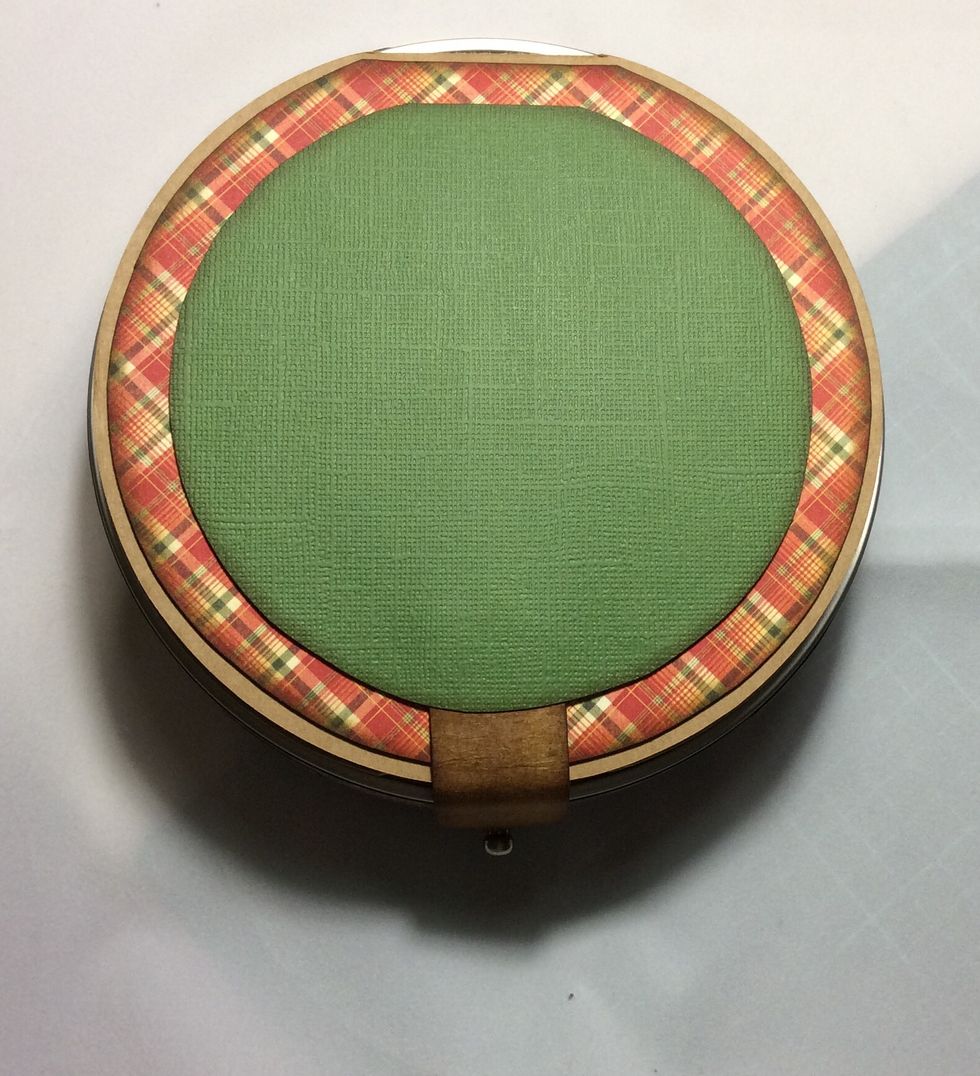
Use a chosen circle cutter to crest patterned paper mats for each side of the pages. Ensure to trim to shape of pages. 7 mats in total. Ink edges with distress ink.

Adhere to each side of the album pages. Do not adhere to the back of Your album. Use strong tape.

Adhere the album to the top of the tin. Apply tape to the in matted side.
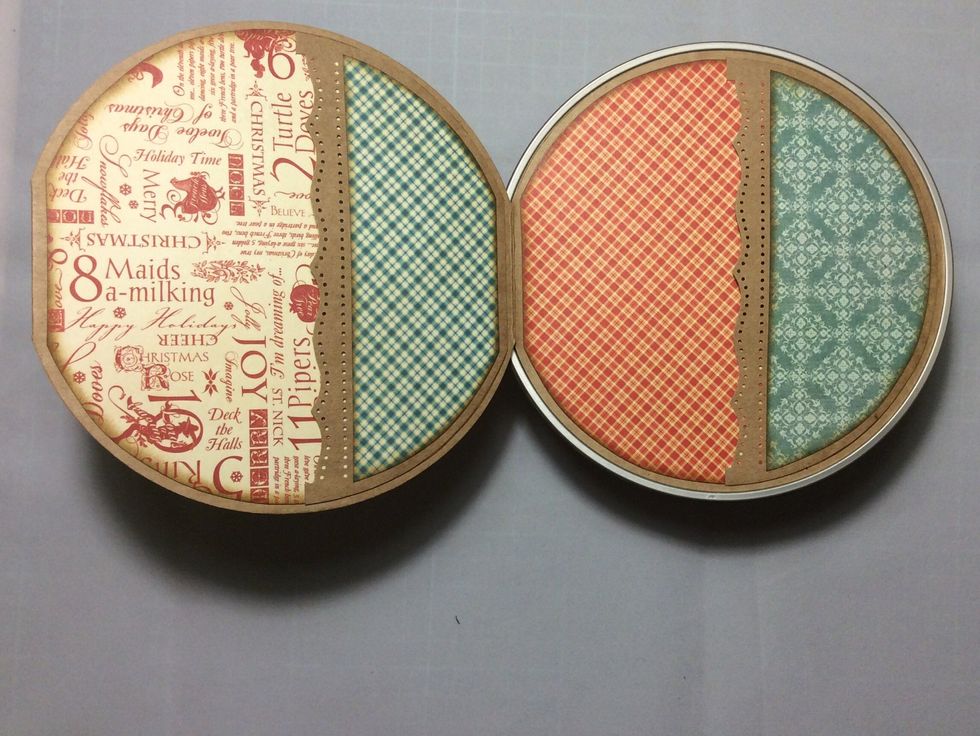
Cut a semi circle from Kraft card stock. Edge punch the long edge and adhere to the album pages to form pockets excluding the cover . Cut semi circular mats for each pocket ink edges.

Line the inside of the tin with patterned paper. Do not line the inside of the lid as this will prevent it from fitting back on.
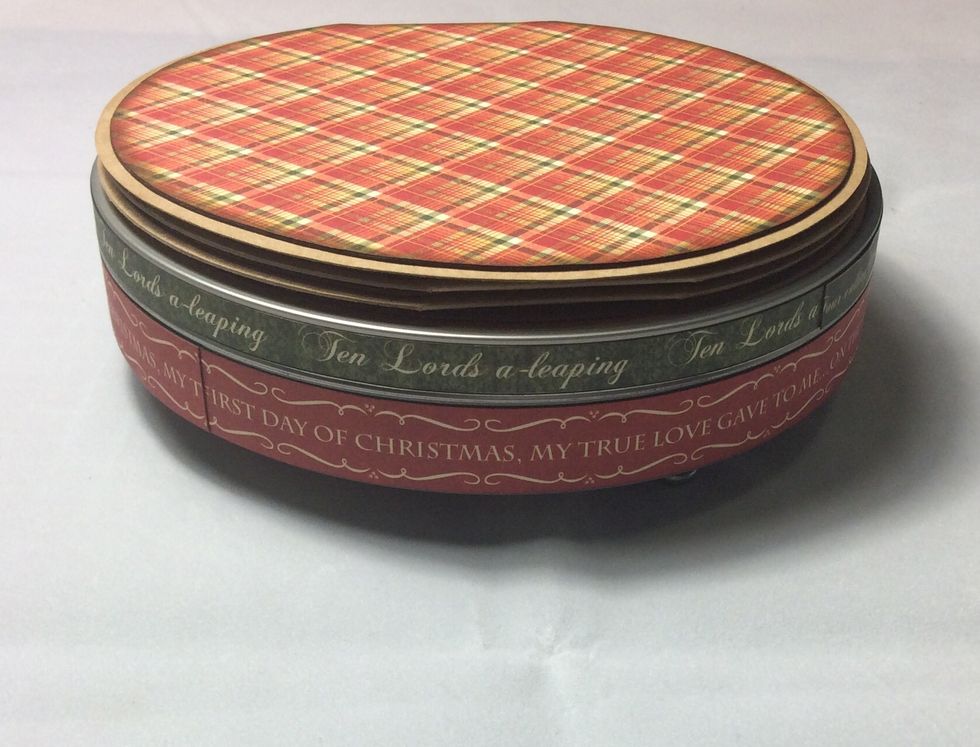
Ensure lid is placed back on before lining the external walls of the tin. Cut or use border strips in contrasting colours.
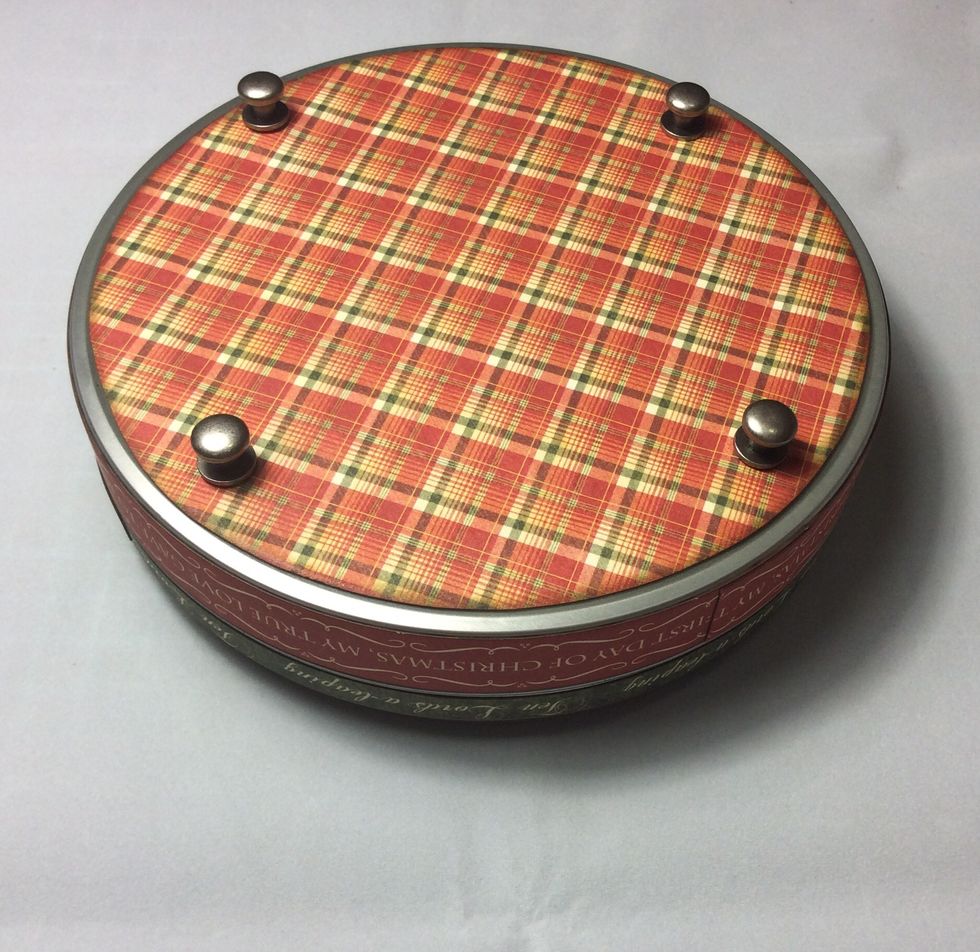
Make holes in the tin using an awl and attach mini door know to for feet .
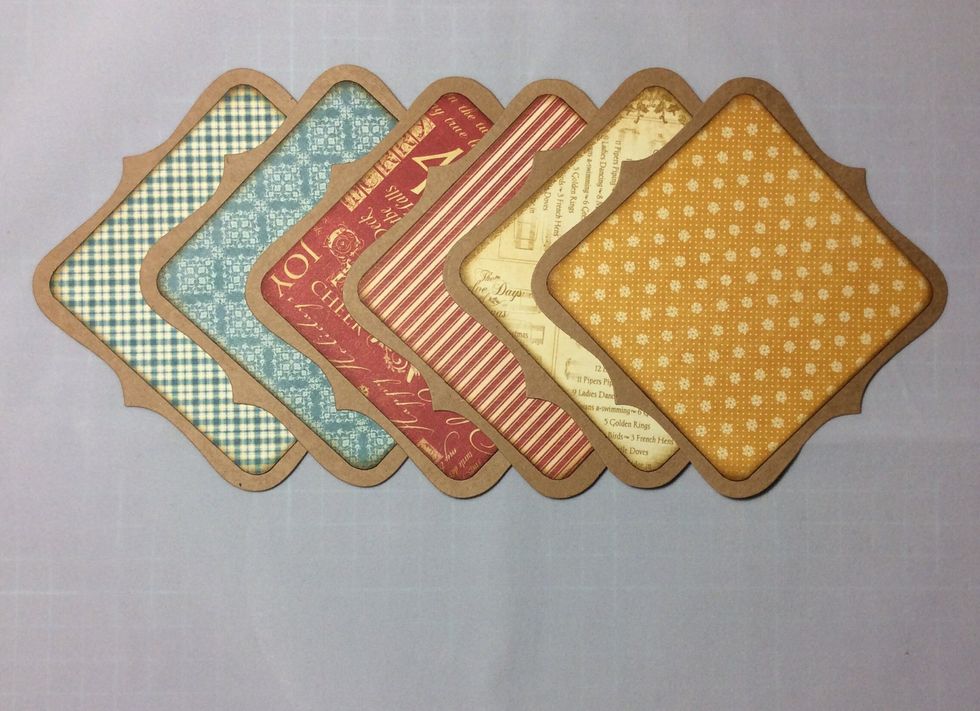
Make six photo mats. The sample is made with Victorian square nesting dies. Cut patterned paper mats to fit your chosen photo at shape.
Cut a smaller circle mat from card stock than the paper mat. I suggest a 3/8 inch border.
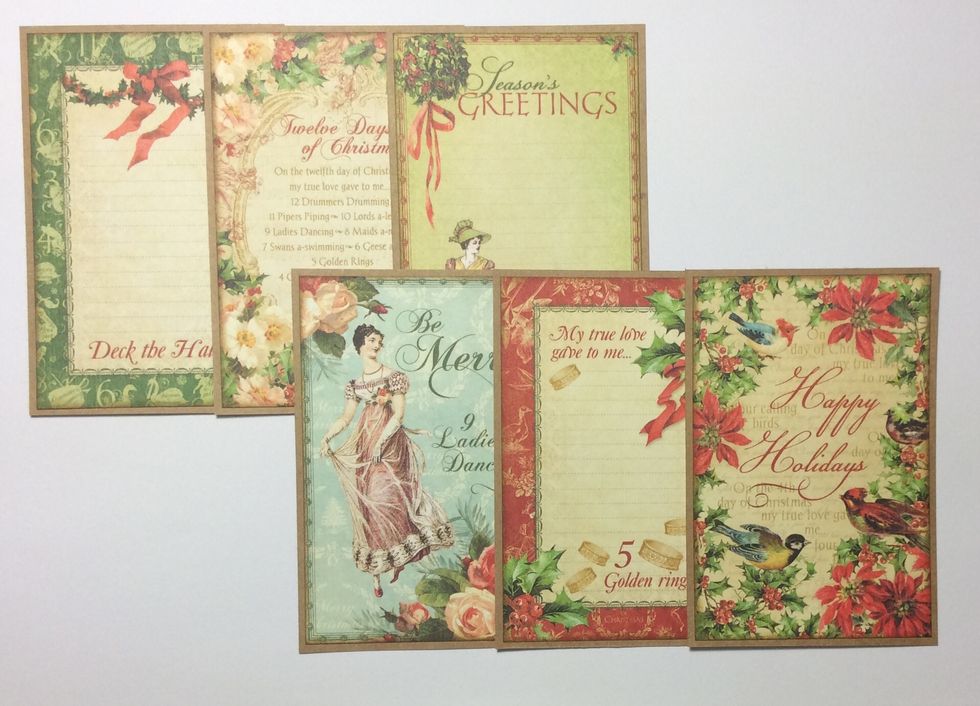
Mount six cut a parts from the paper collection on to card stock.
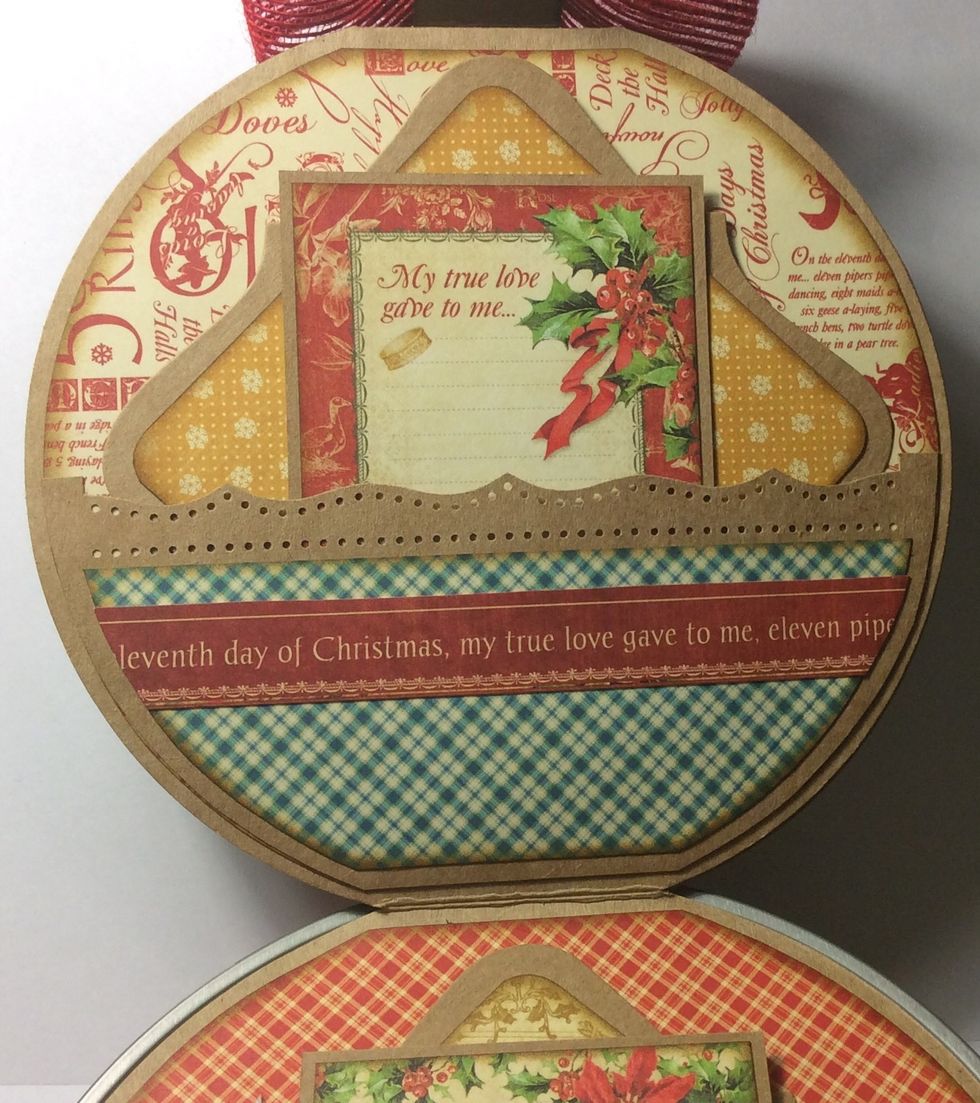
Place photo mats and cut a parts in each pocket and adhere a border strip on to the front of each pocket.
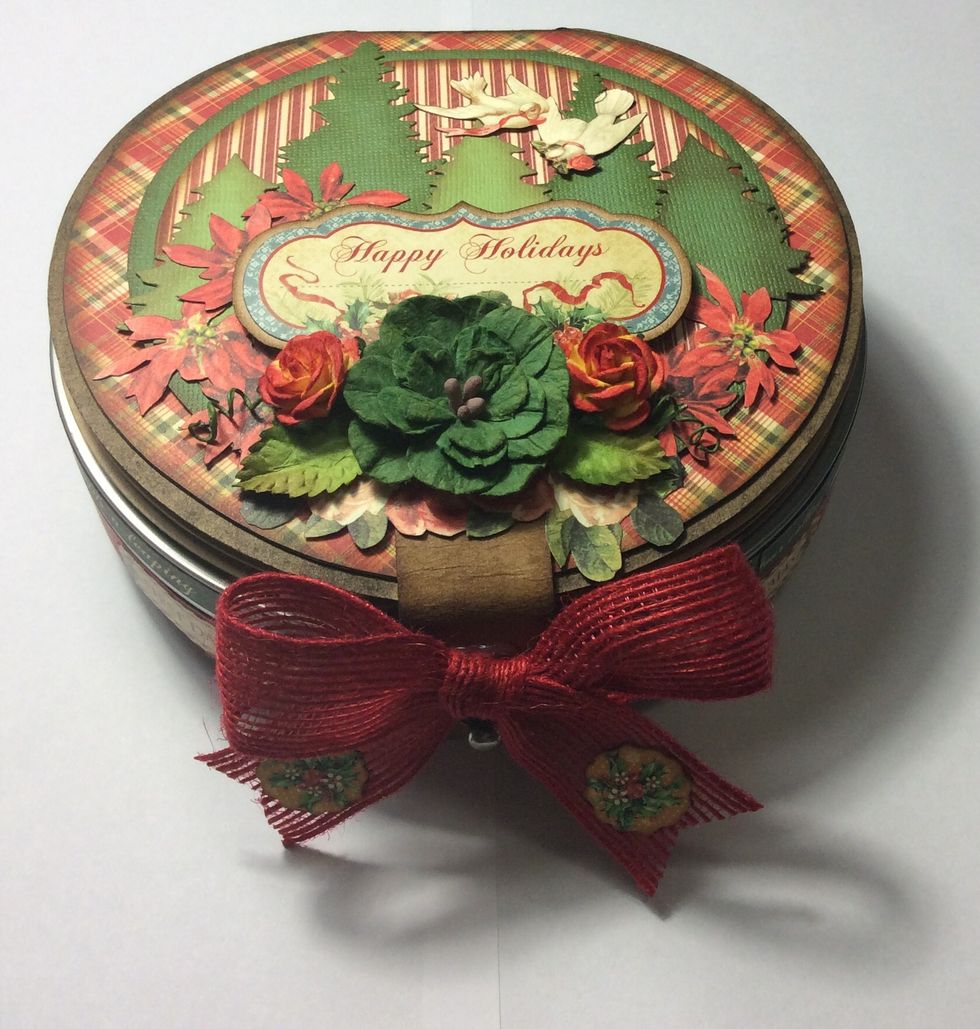
Embellish the album cover on the top of the tin as desired. The uses tree dies paper flowers and fussy cut images from the collection. There is also a card stock mounted sticker.