The Conversation (0)
Sign Up
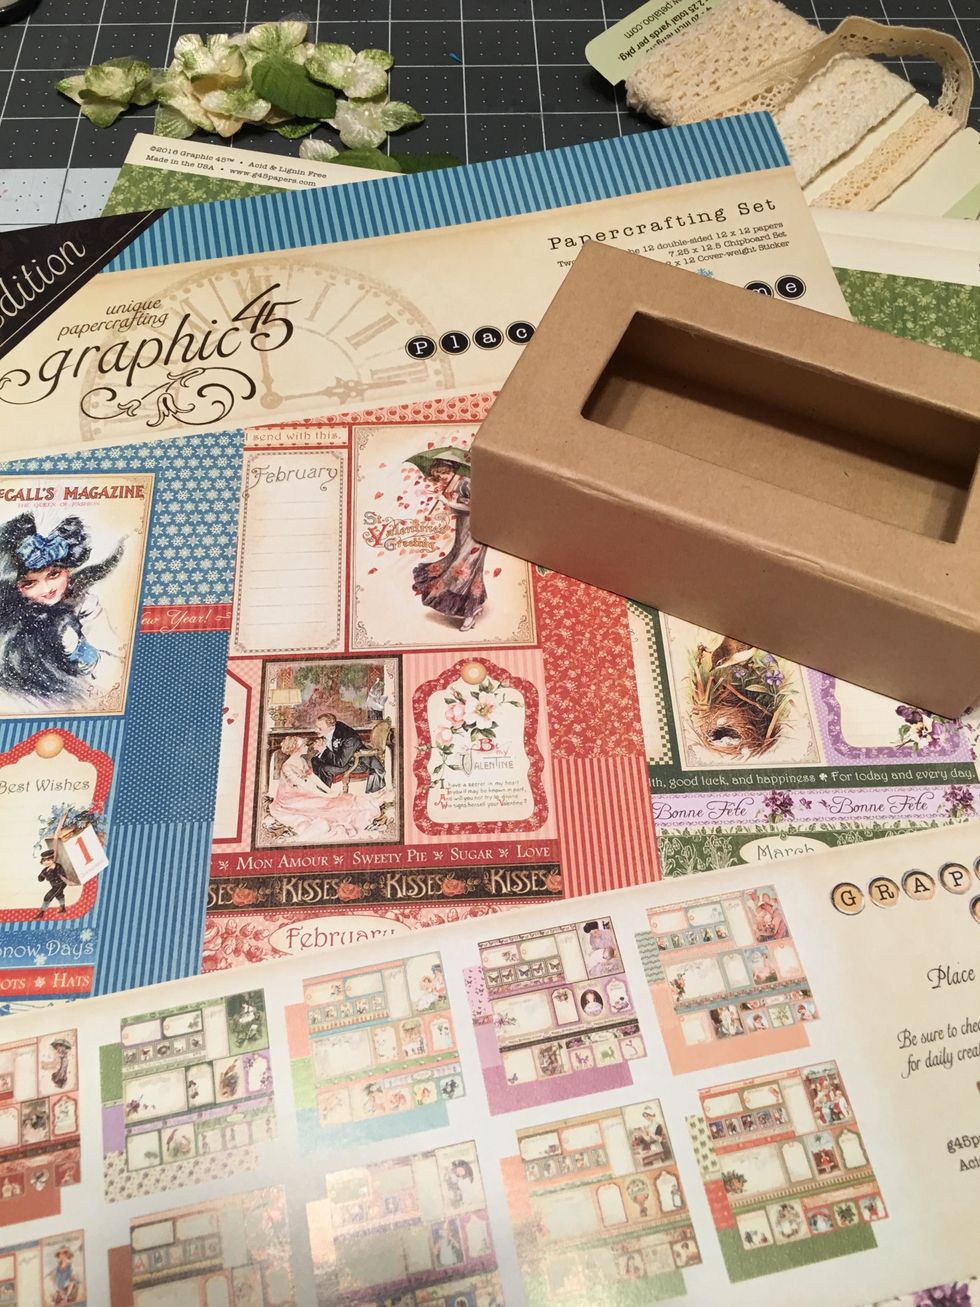
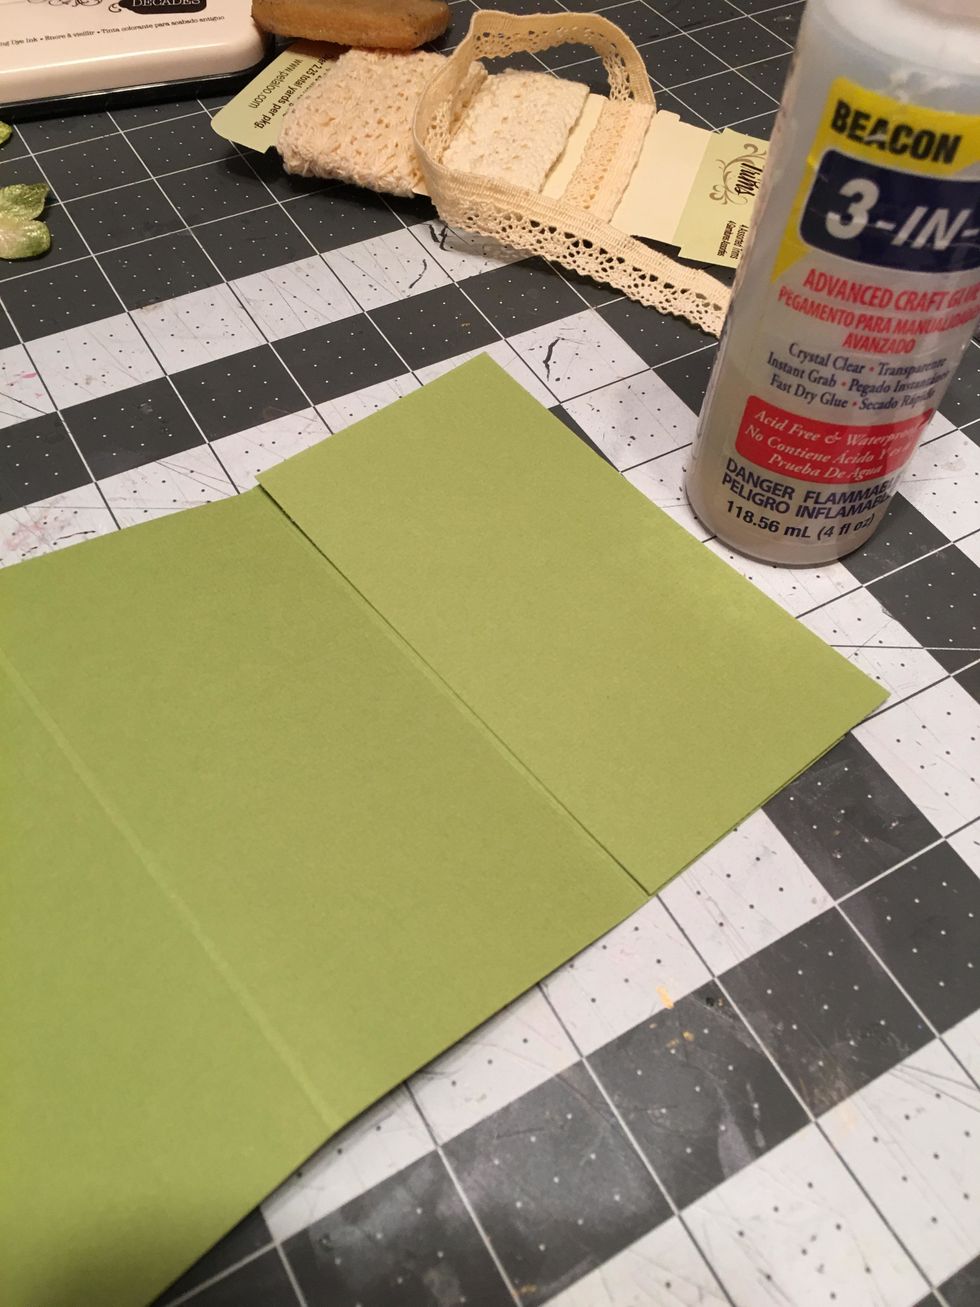
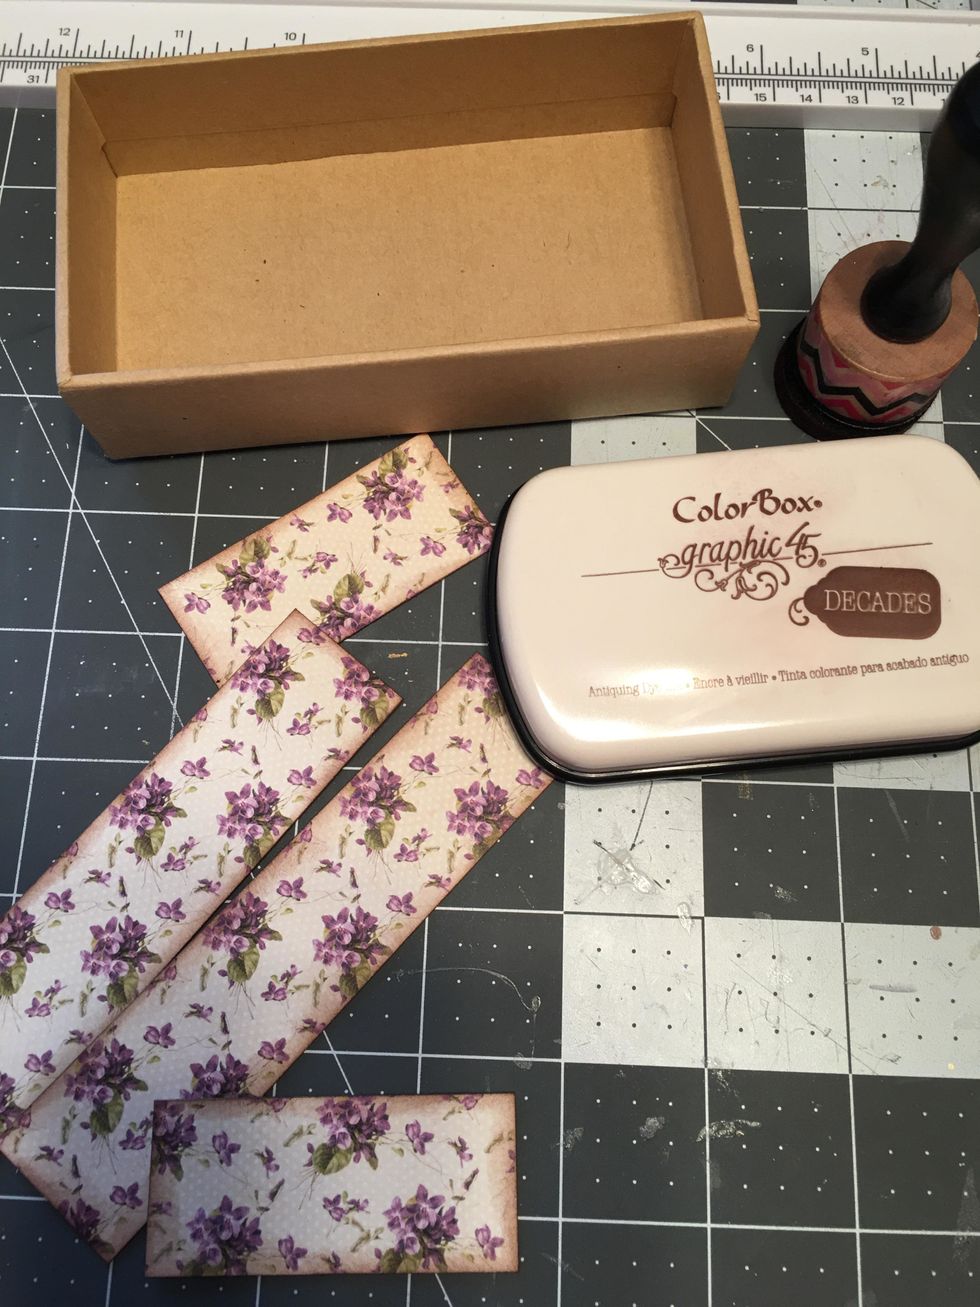
Gather your supplies together .
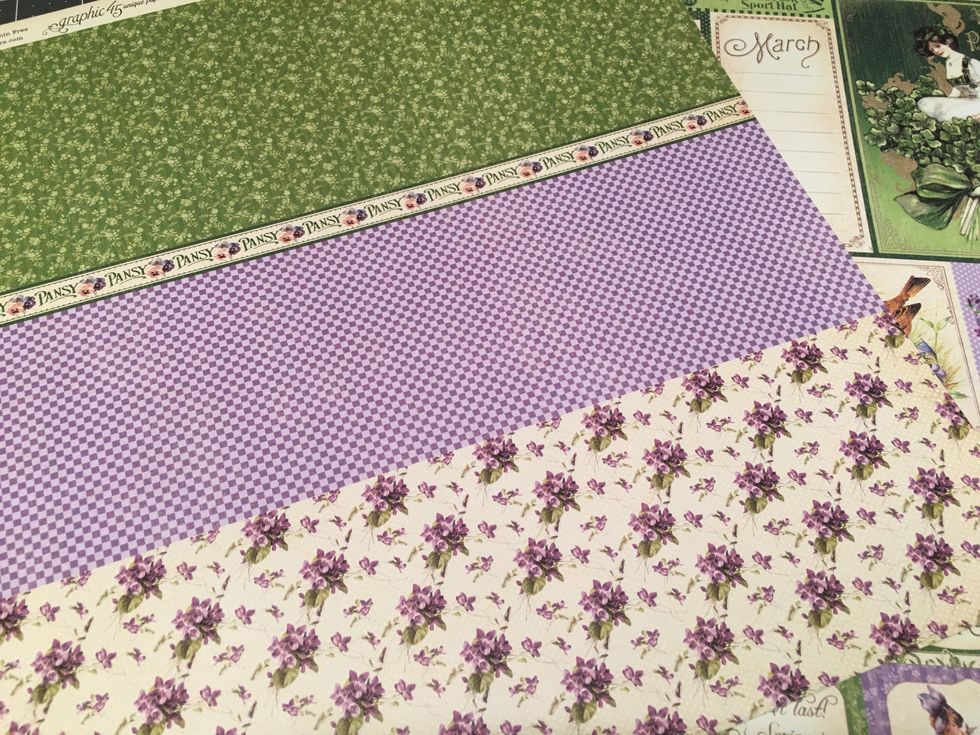
Select the paper patterns that you want to use from the collection. I selected the patterns for "March" and others from different months that were green or purple to have enough to pattern everything
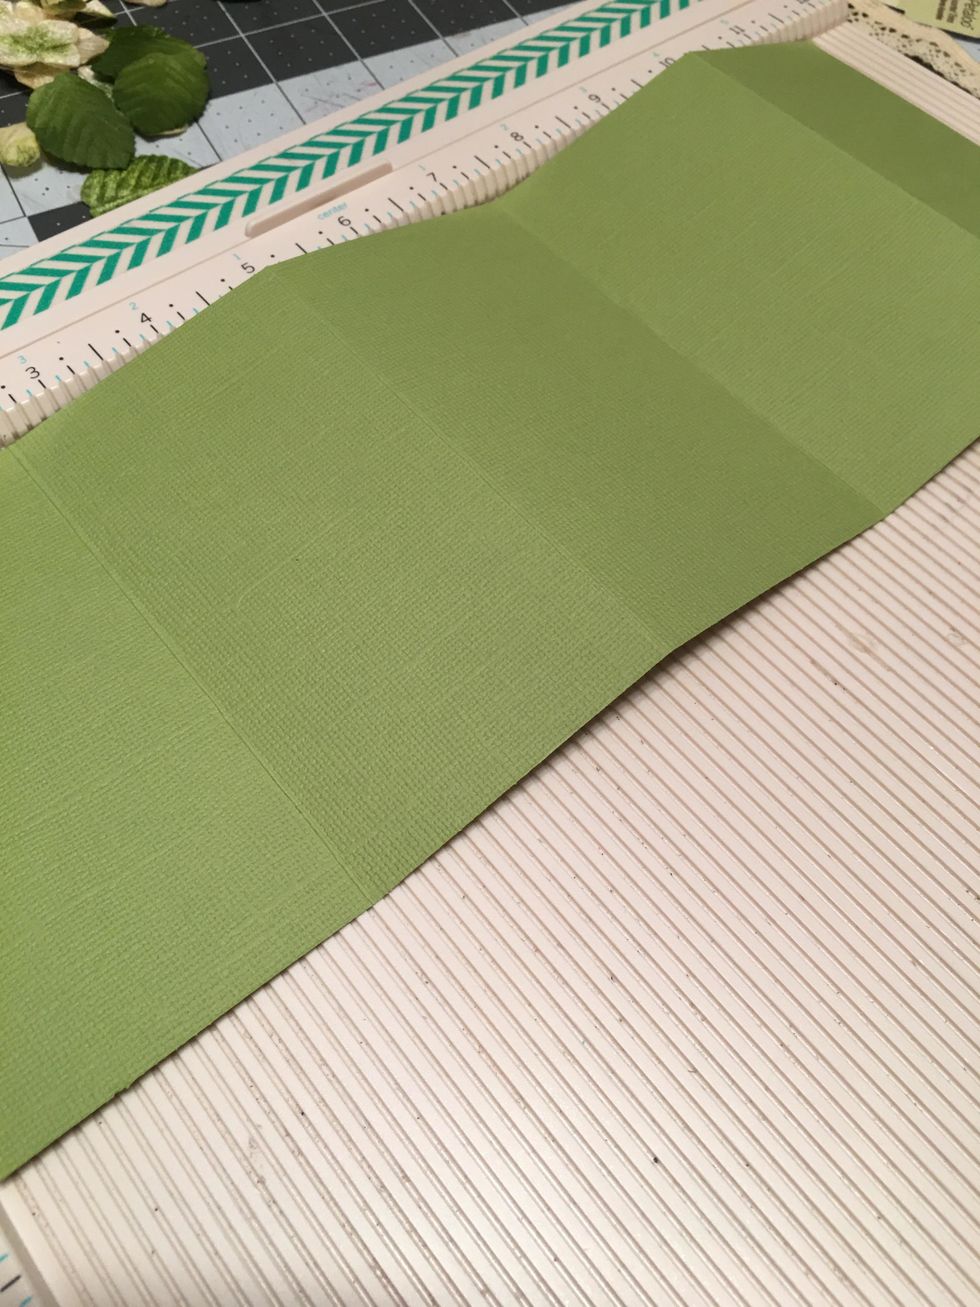
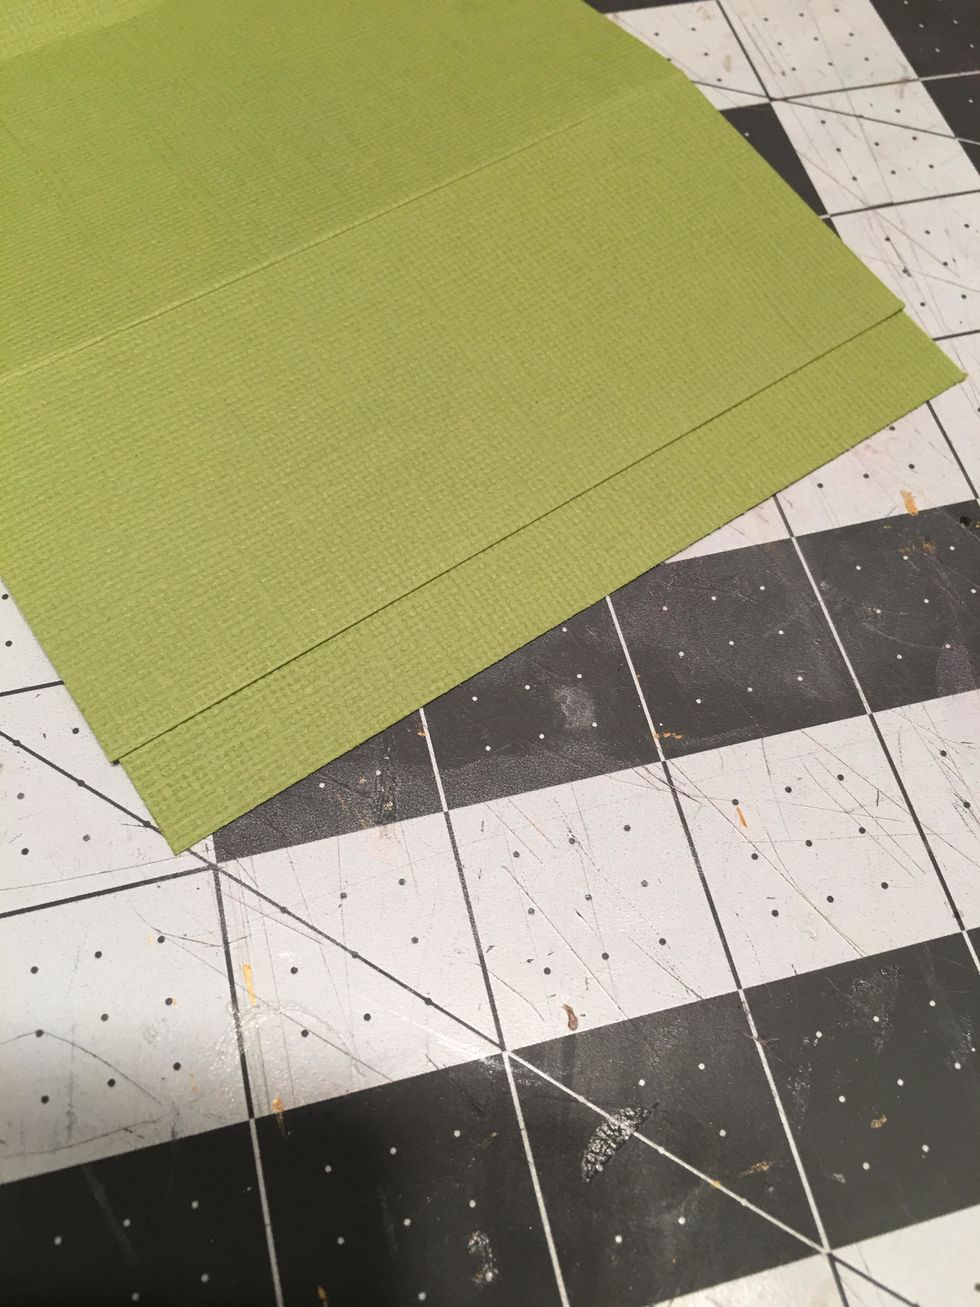
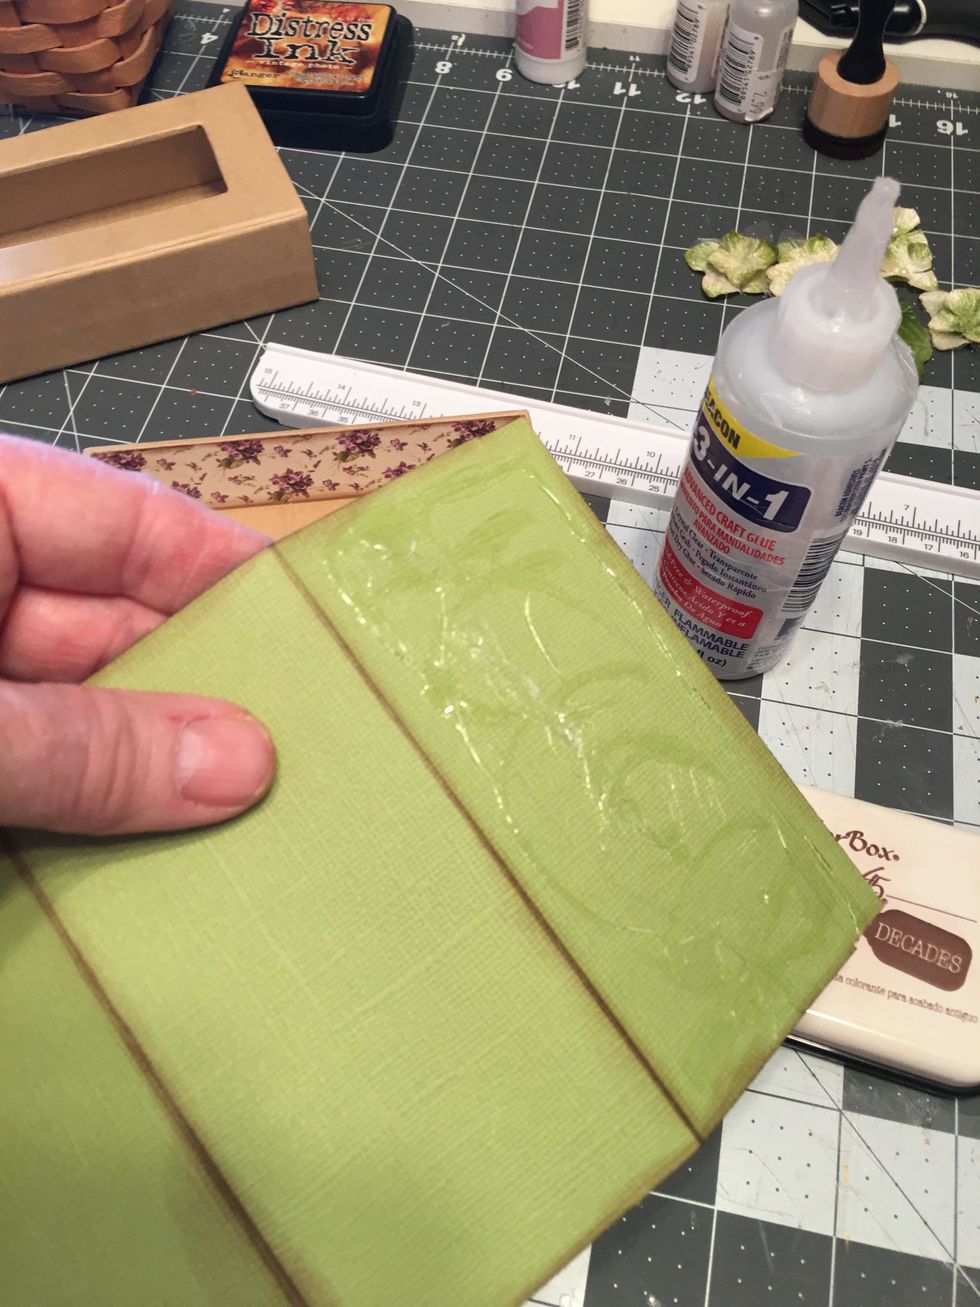
Cut Green Cardstock to 4.75" tall x 12" wide and score the 12" side at 2.5", 5", 7.5" and 10". Also cut one piece of green cardstock to 4.75" tall x 2.5" wide.
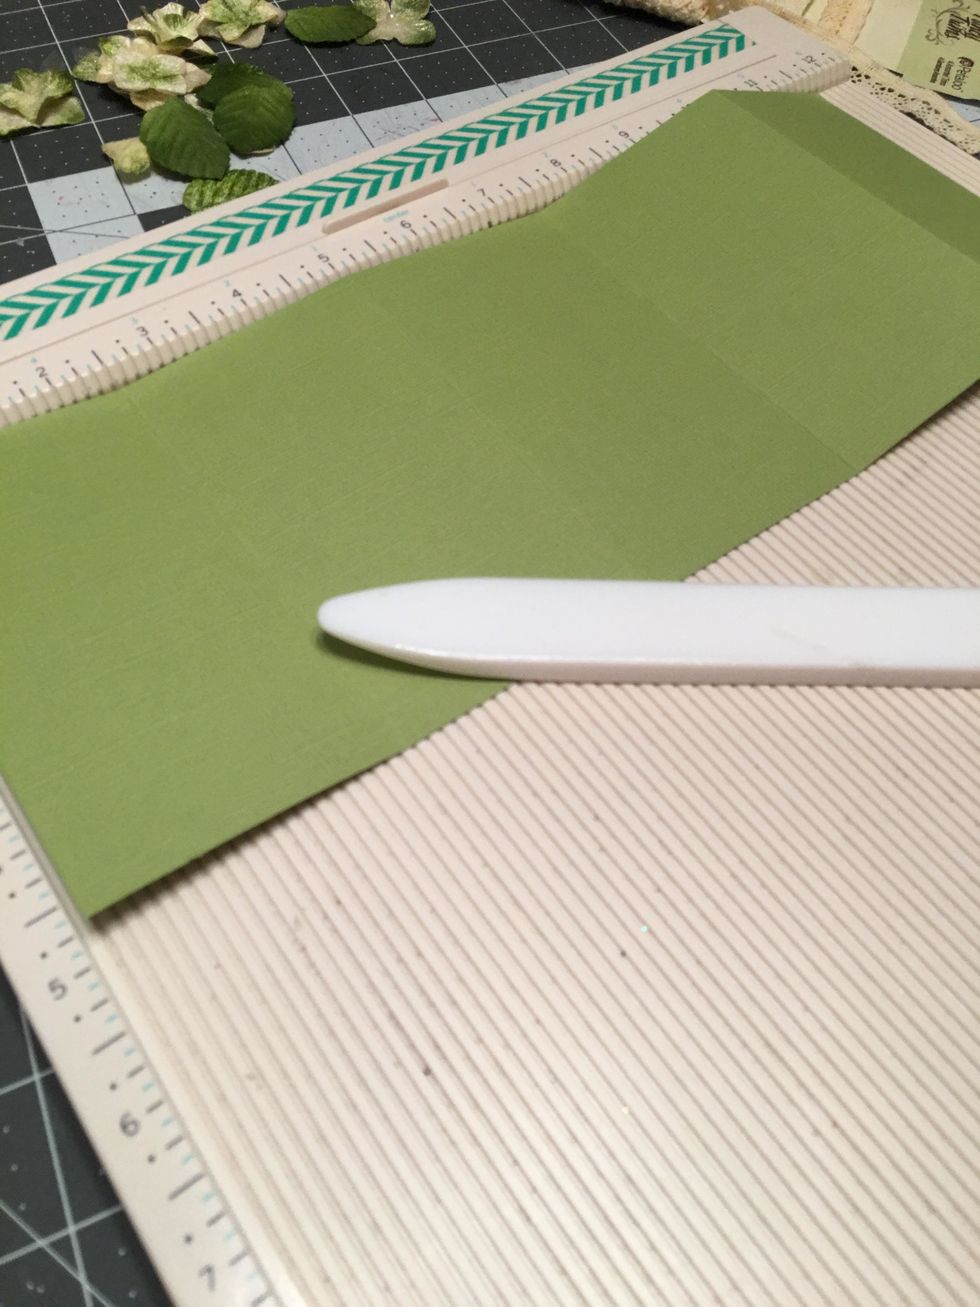
Use glue to attach the 2.5" wide piece to the 12" wide piece as shown.
You will have a seam on the back side like this.
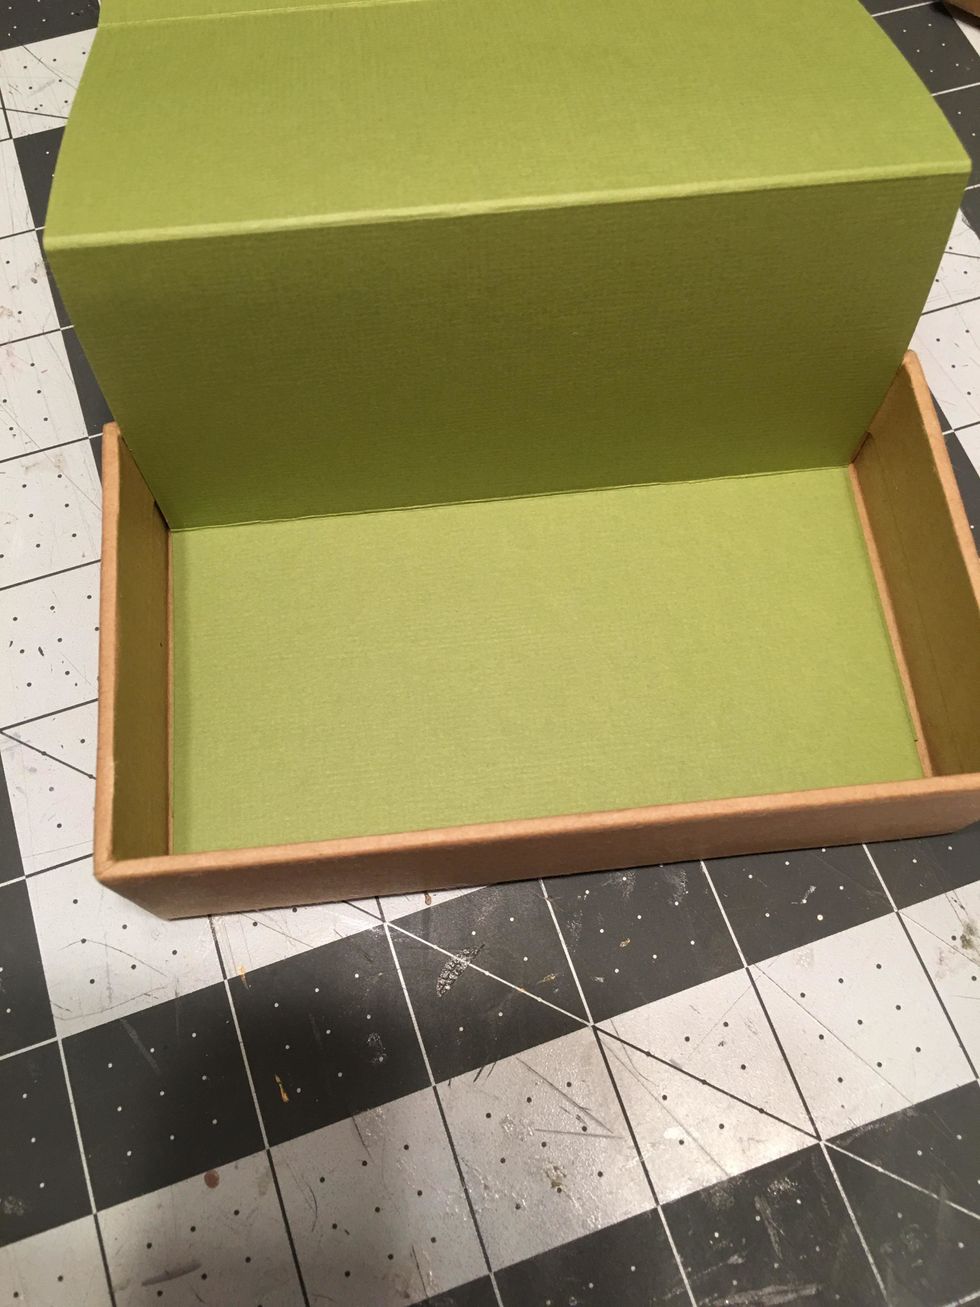
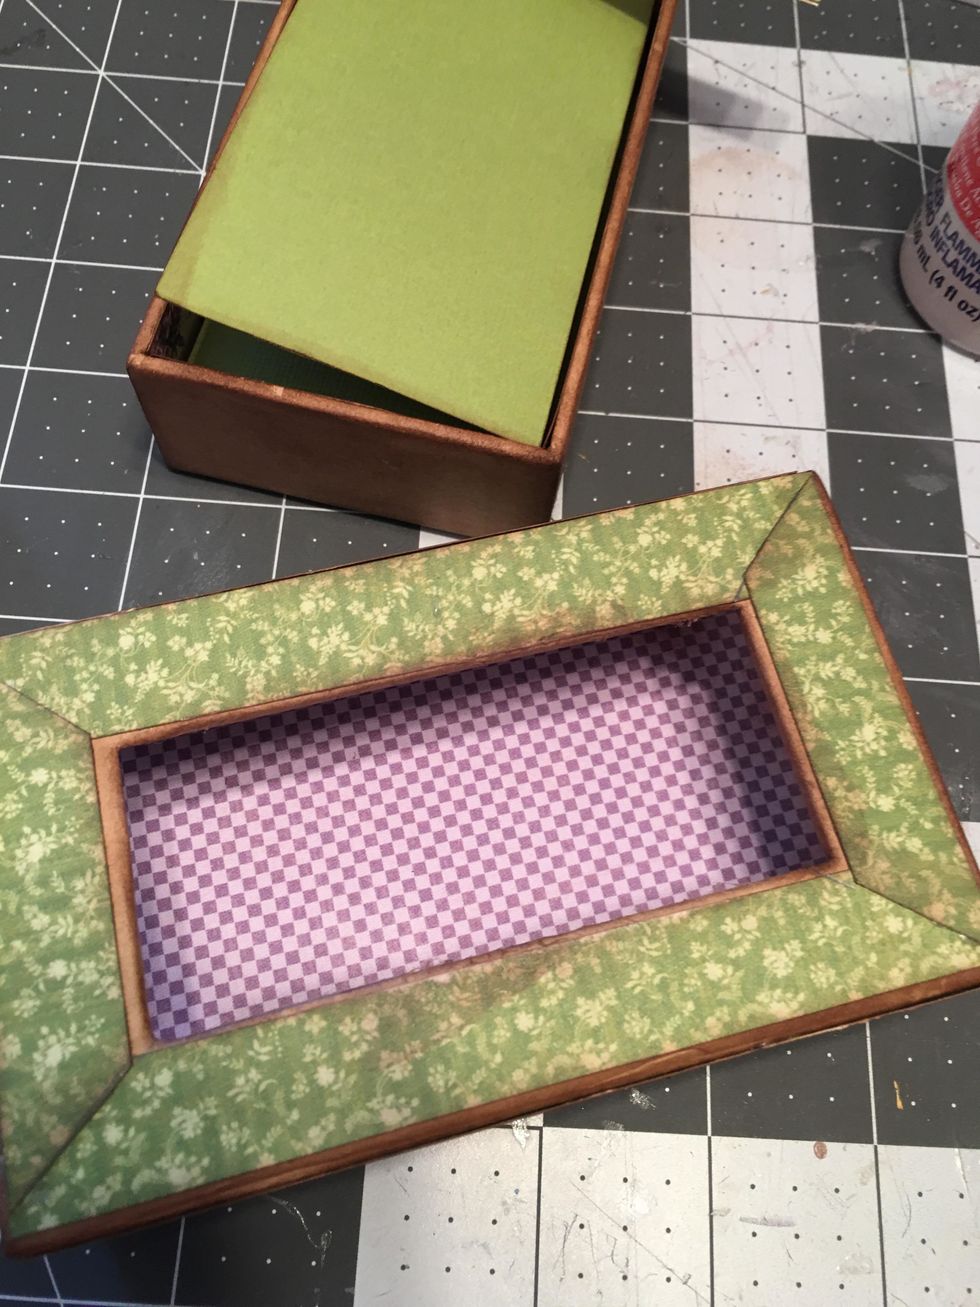
The scored piece should fit in your ATC Matchbox like this. Do not glue it in just yet.
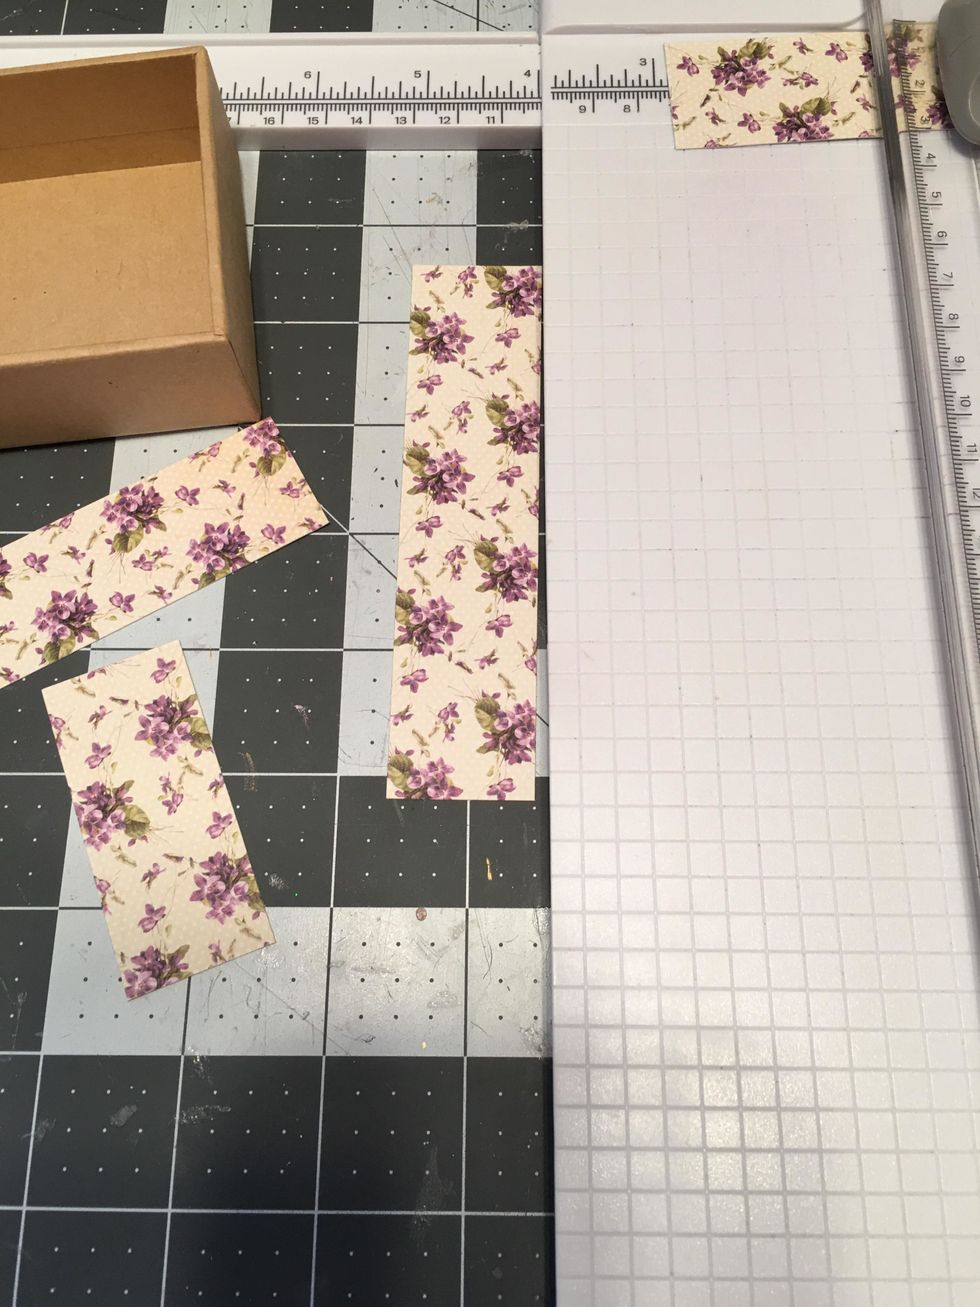
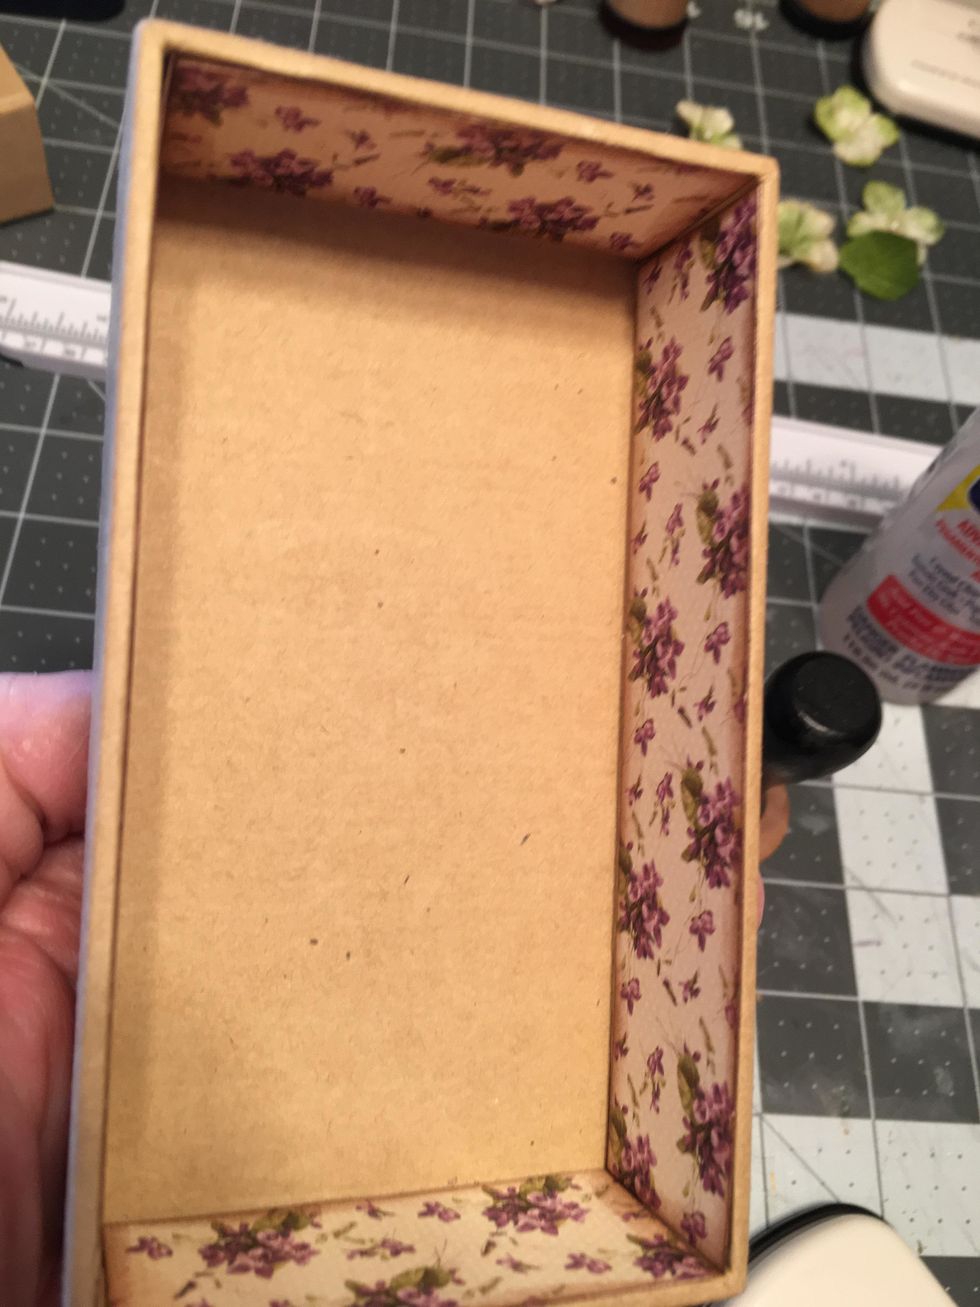
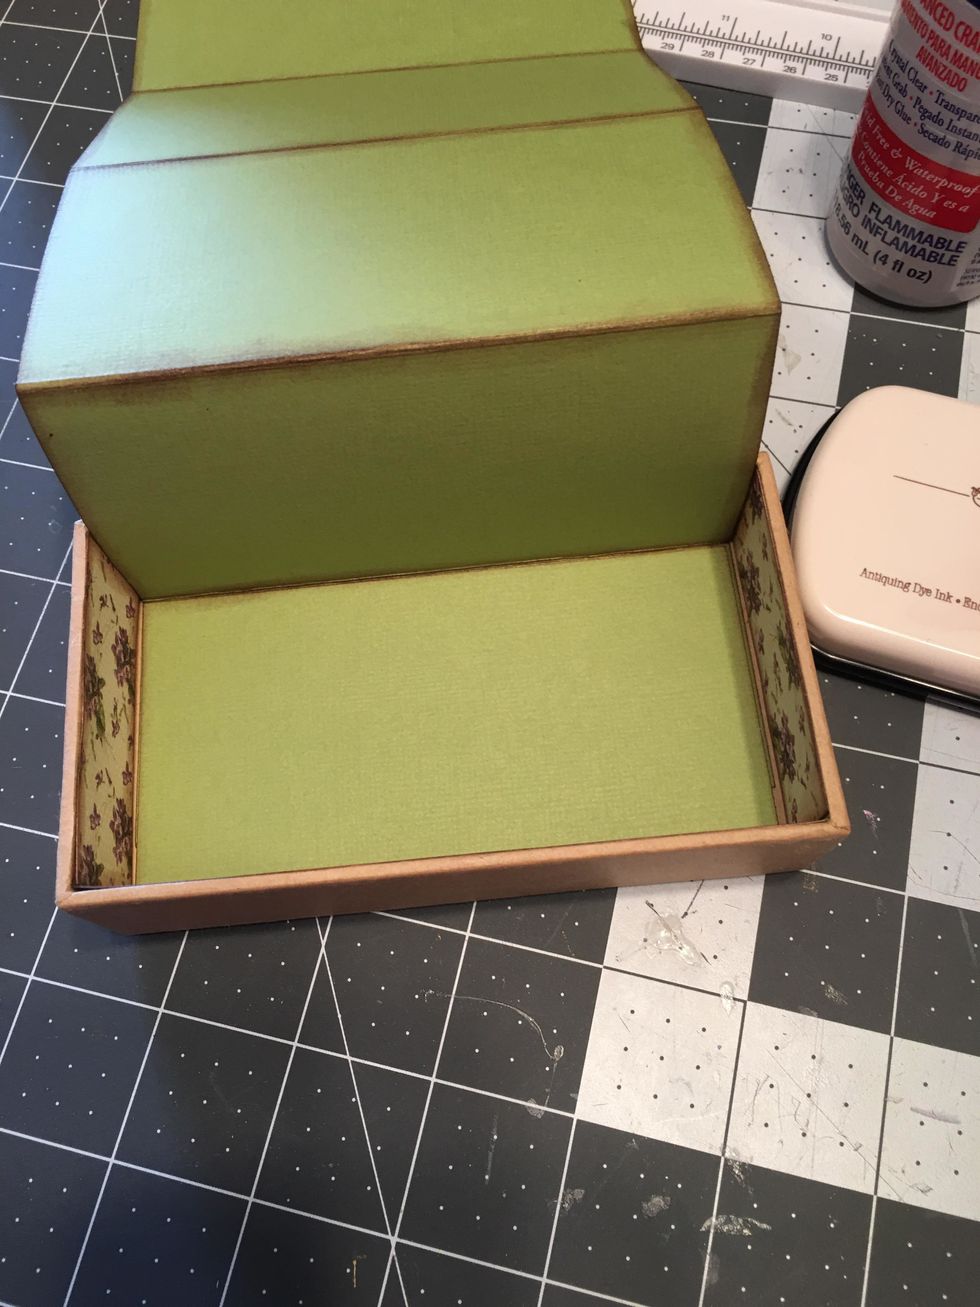
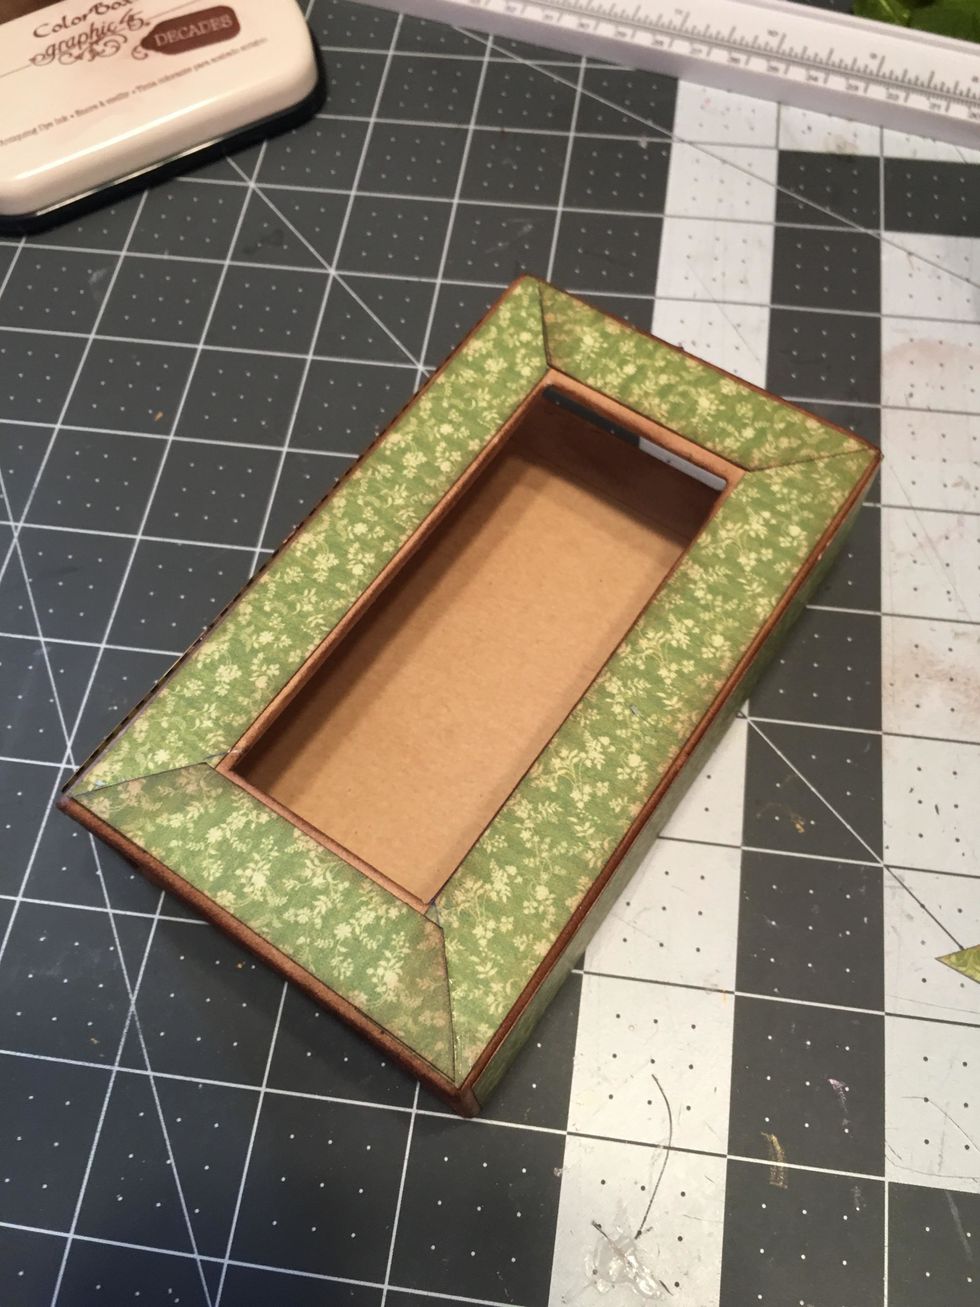
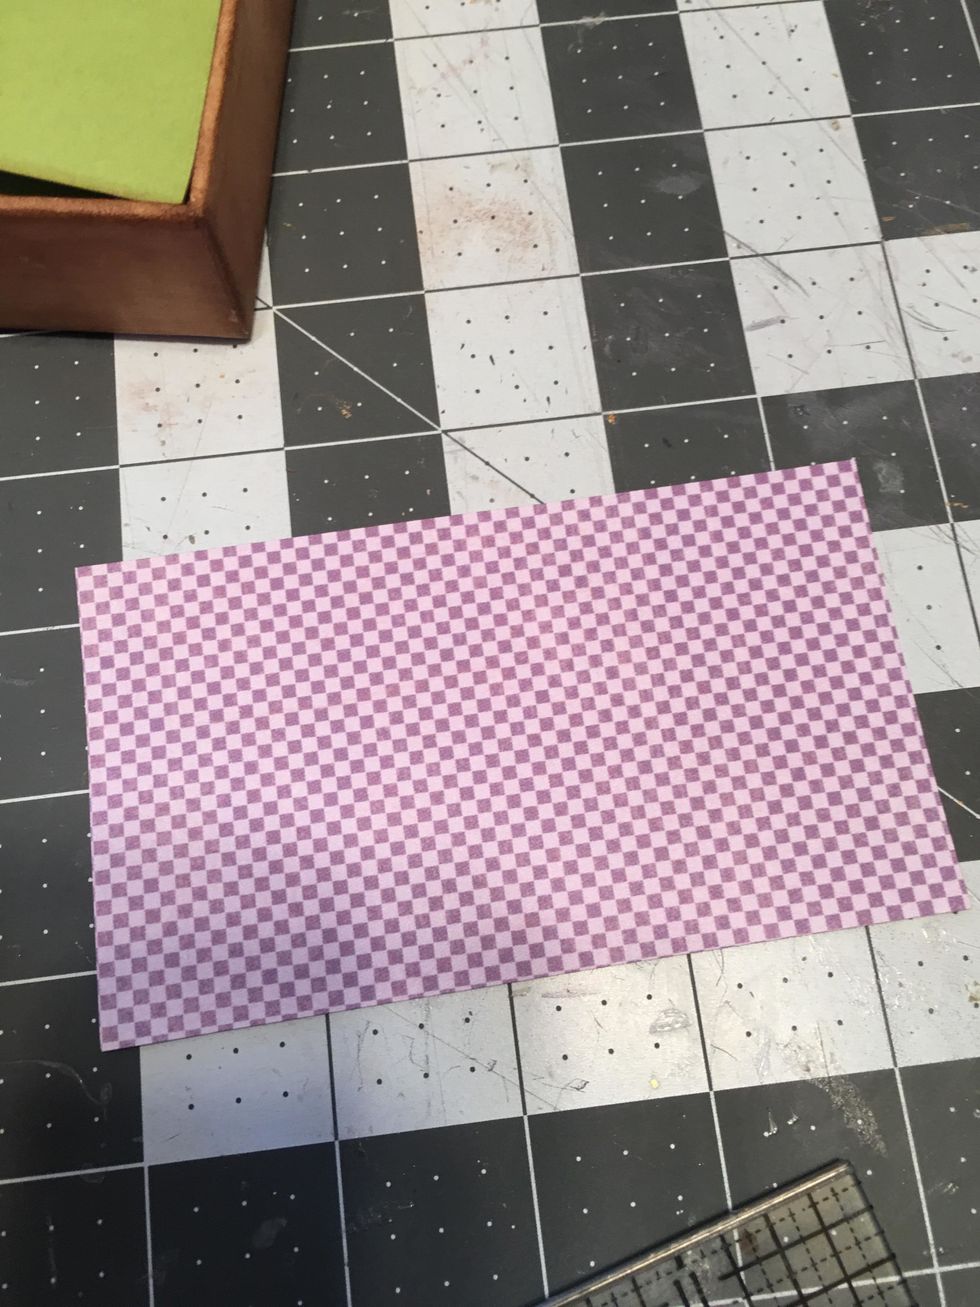
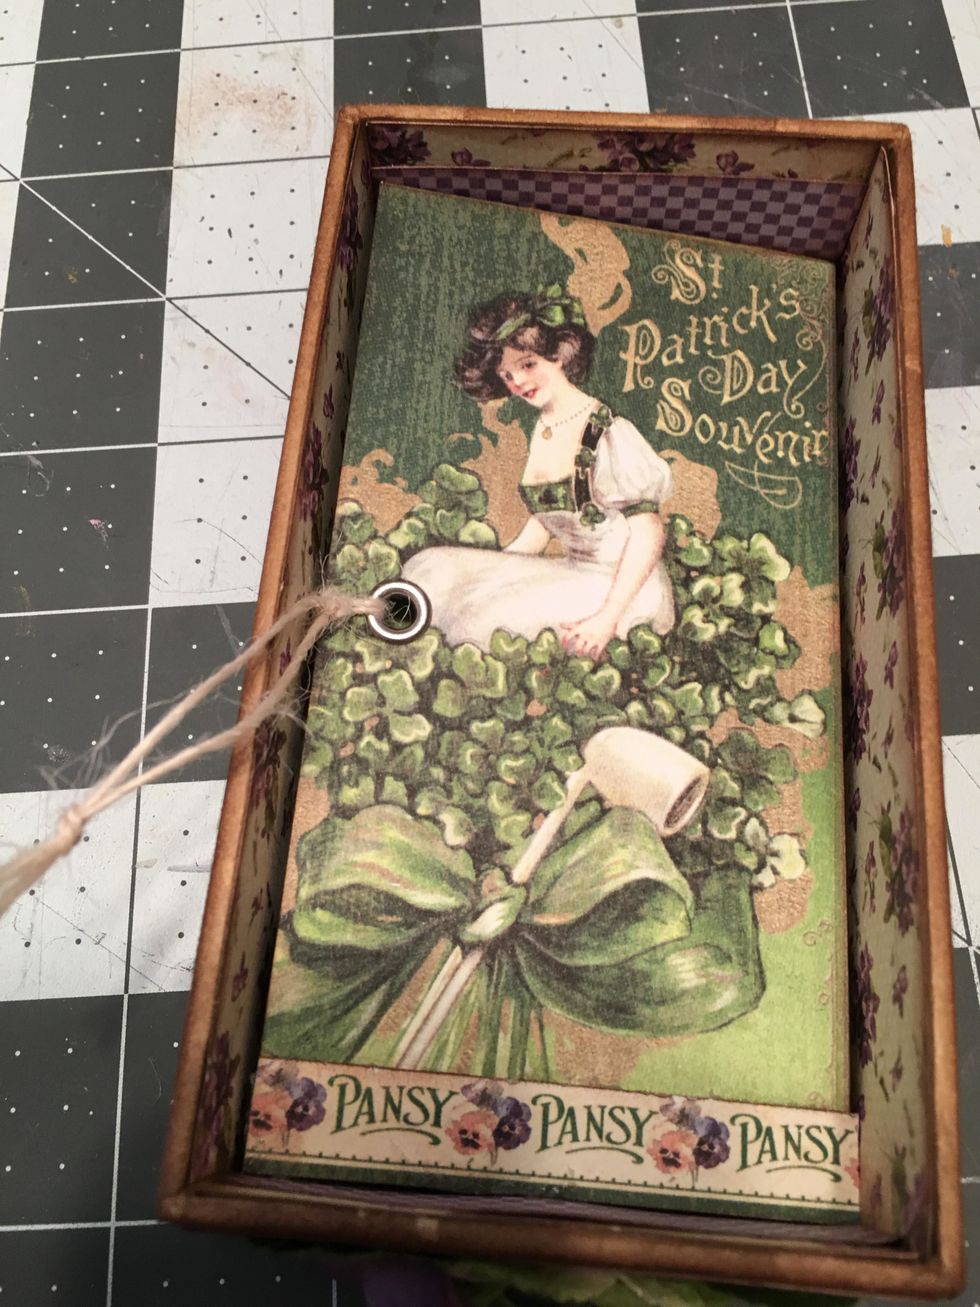
Measure and cut patterned paper to fit the sides of the box for the inside.
Ink the edges of your paper.
Apply glue to the back side of each paper section and glue to the sides of the box on the inside. (See next photo.)
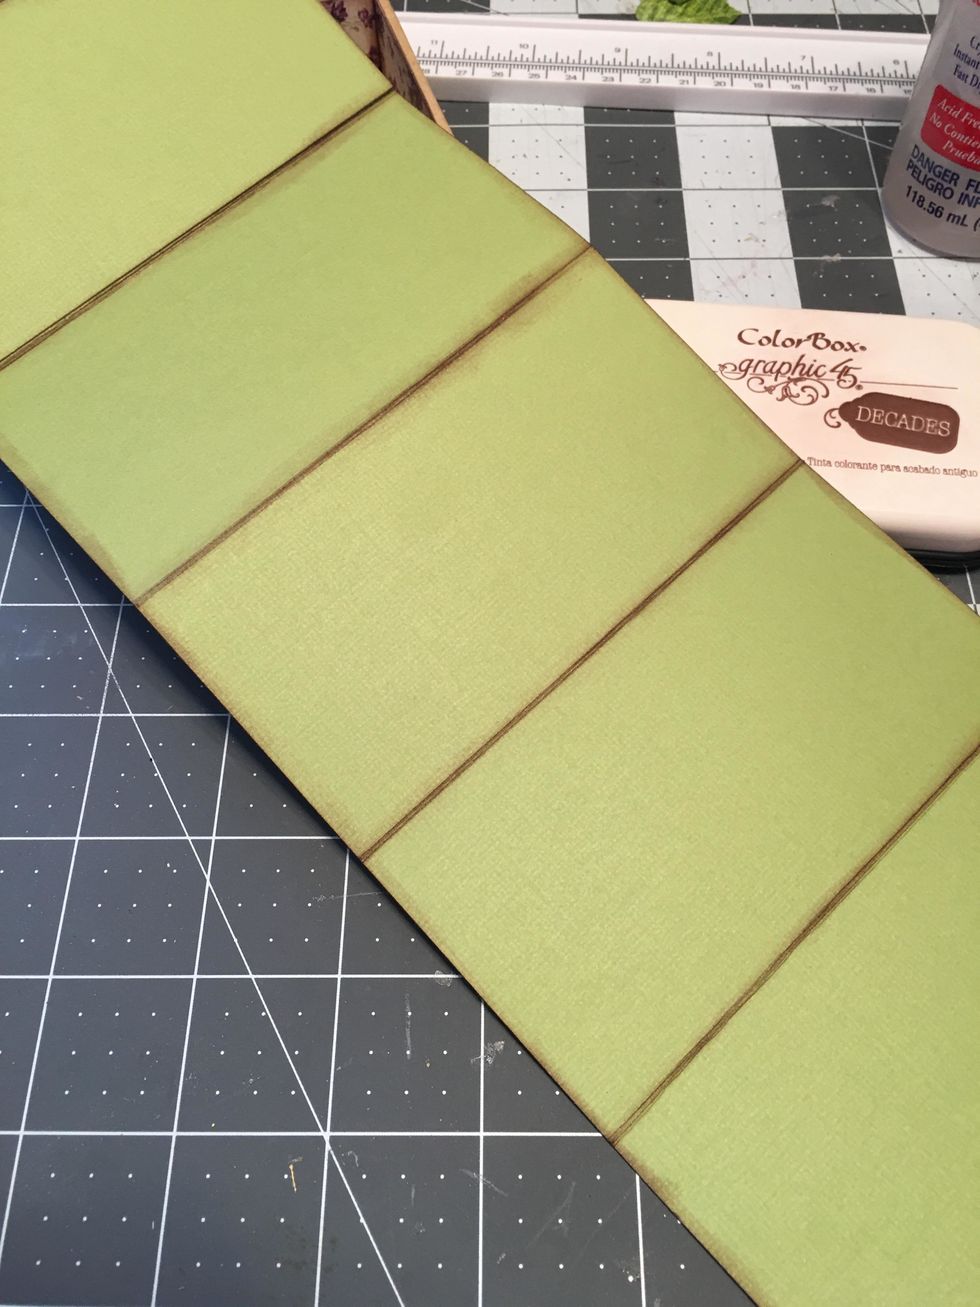
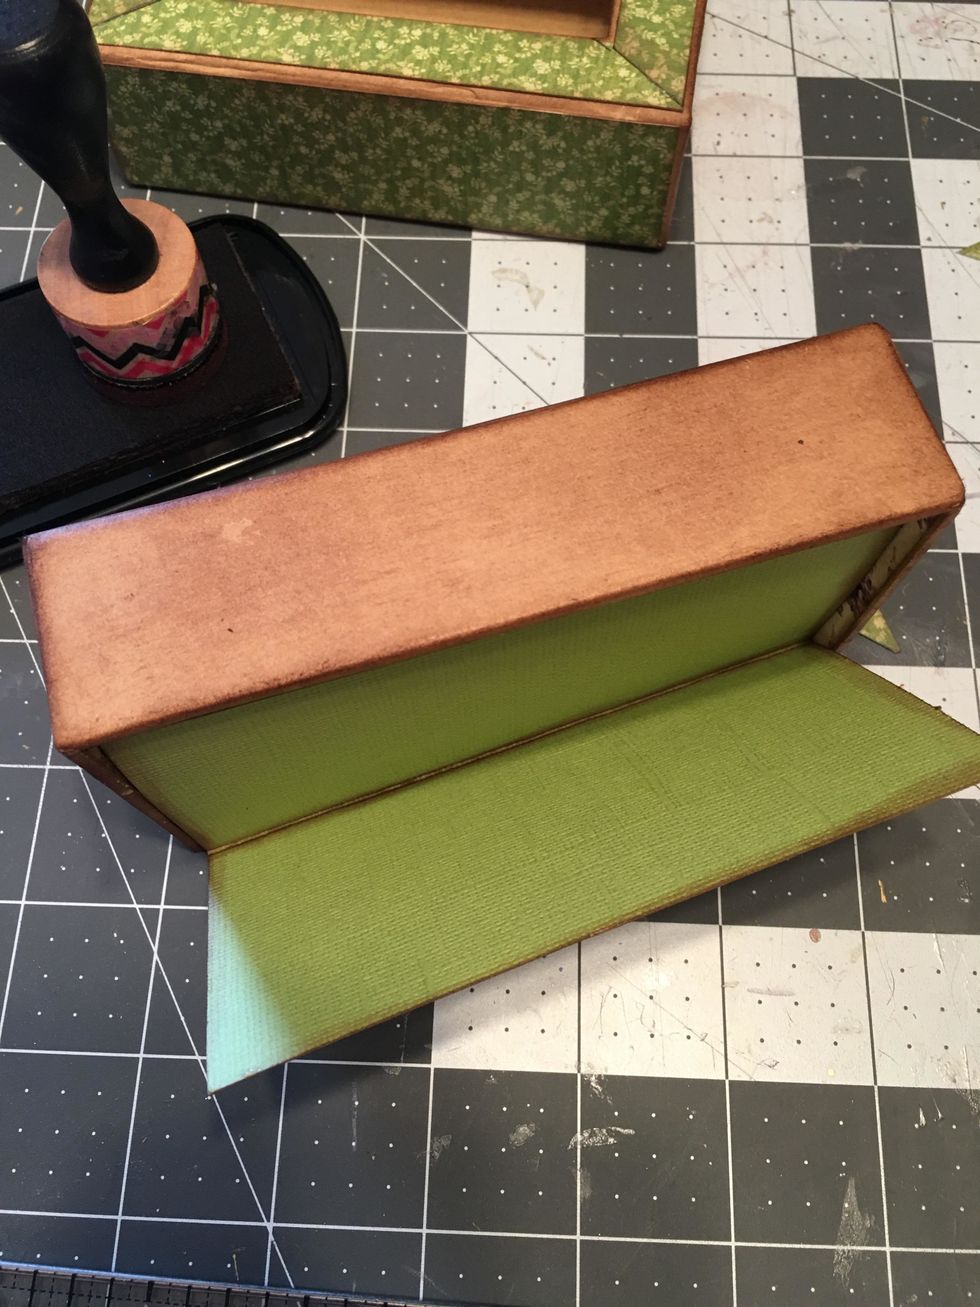
Ink all the edges and folds on both sides of the green cardstock fold out piece.
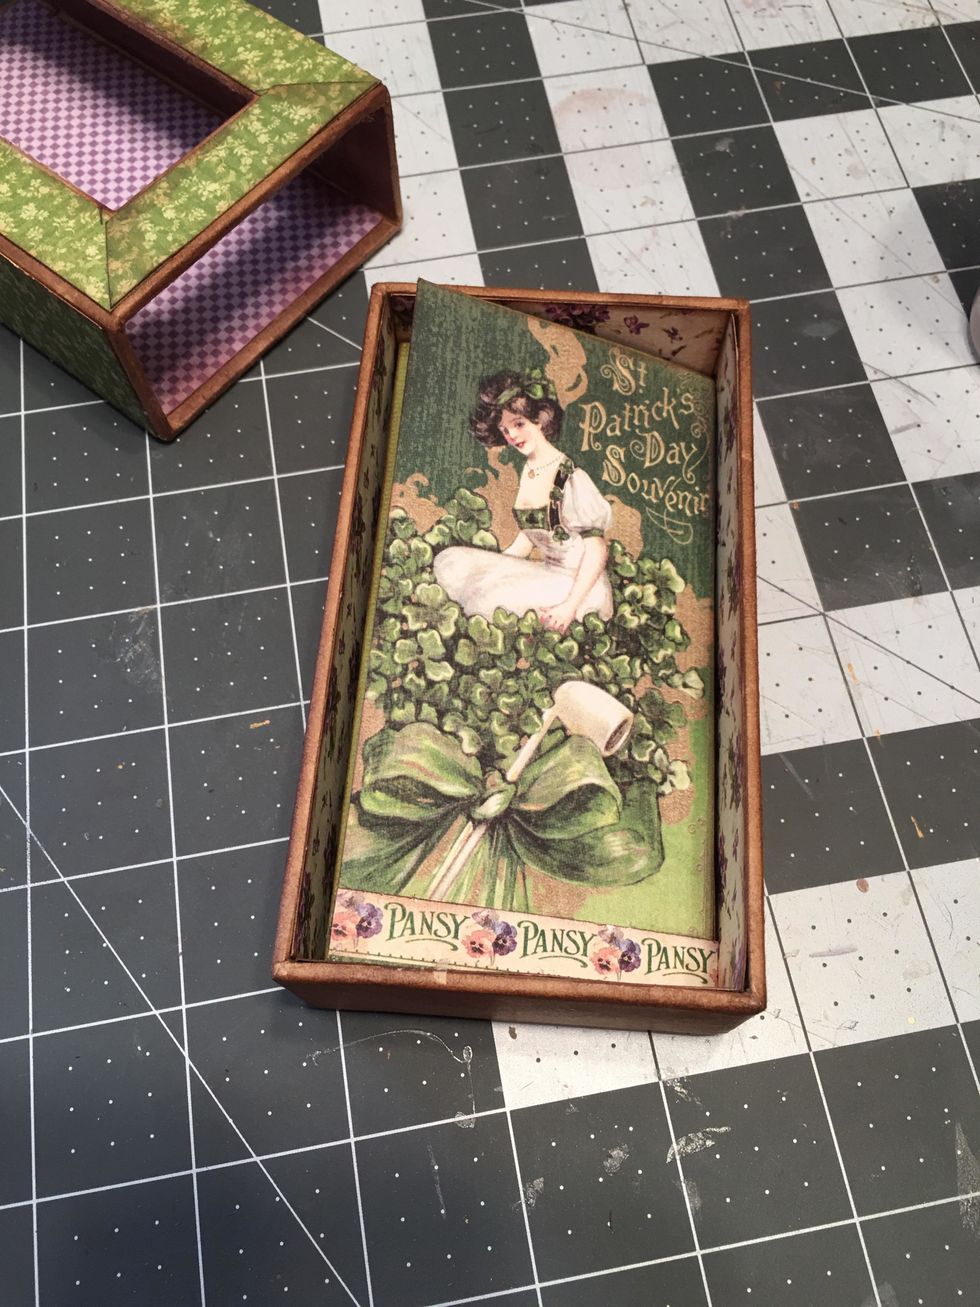
Apply glue to the BACK side of the fold out piece and attach inside to the bottom of the box. (See next photo.)
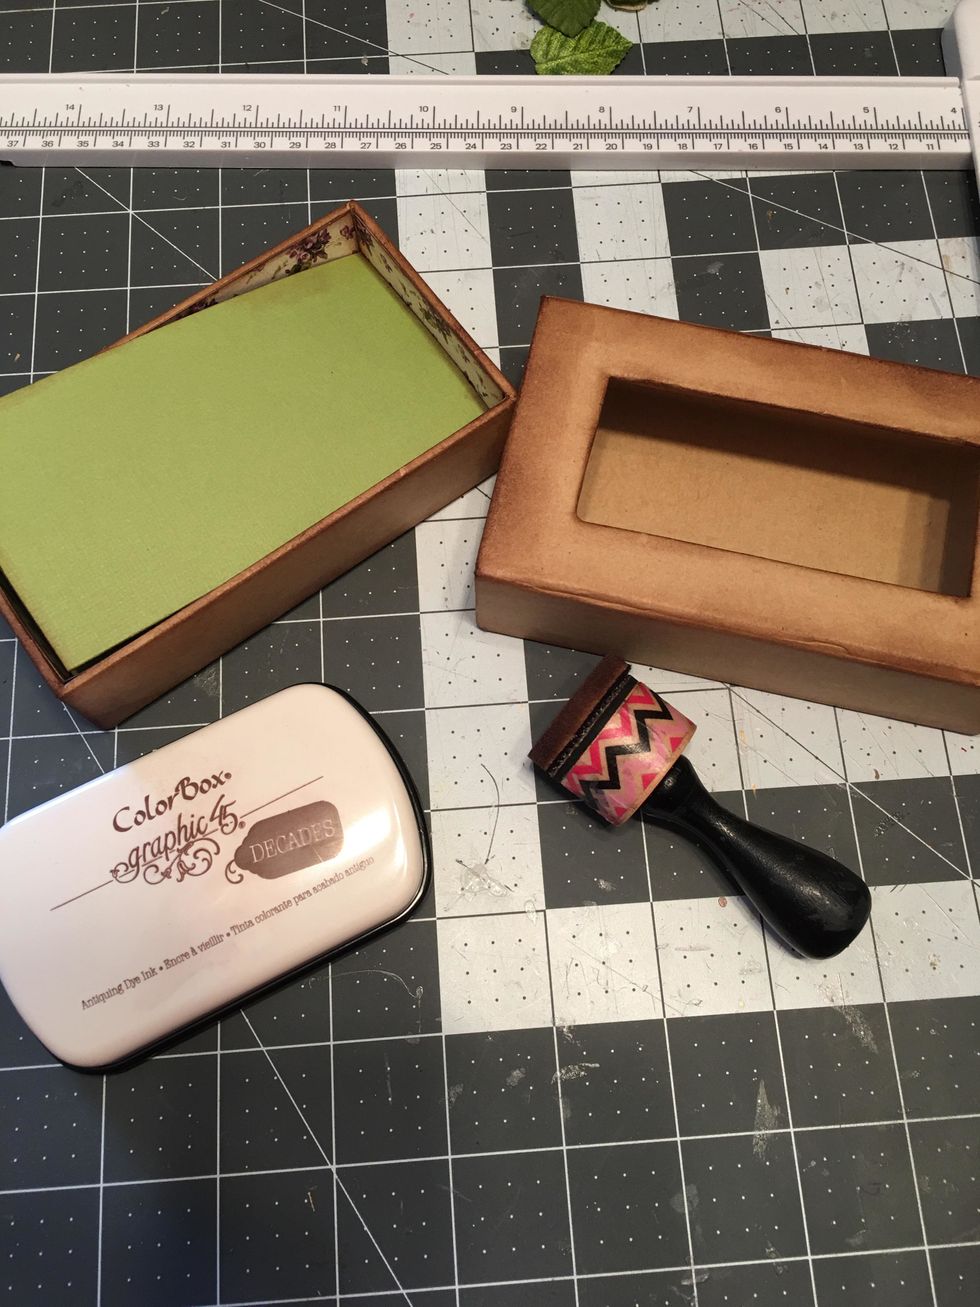
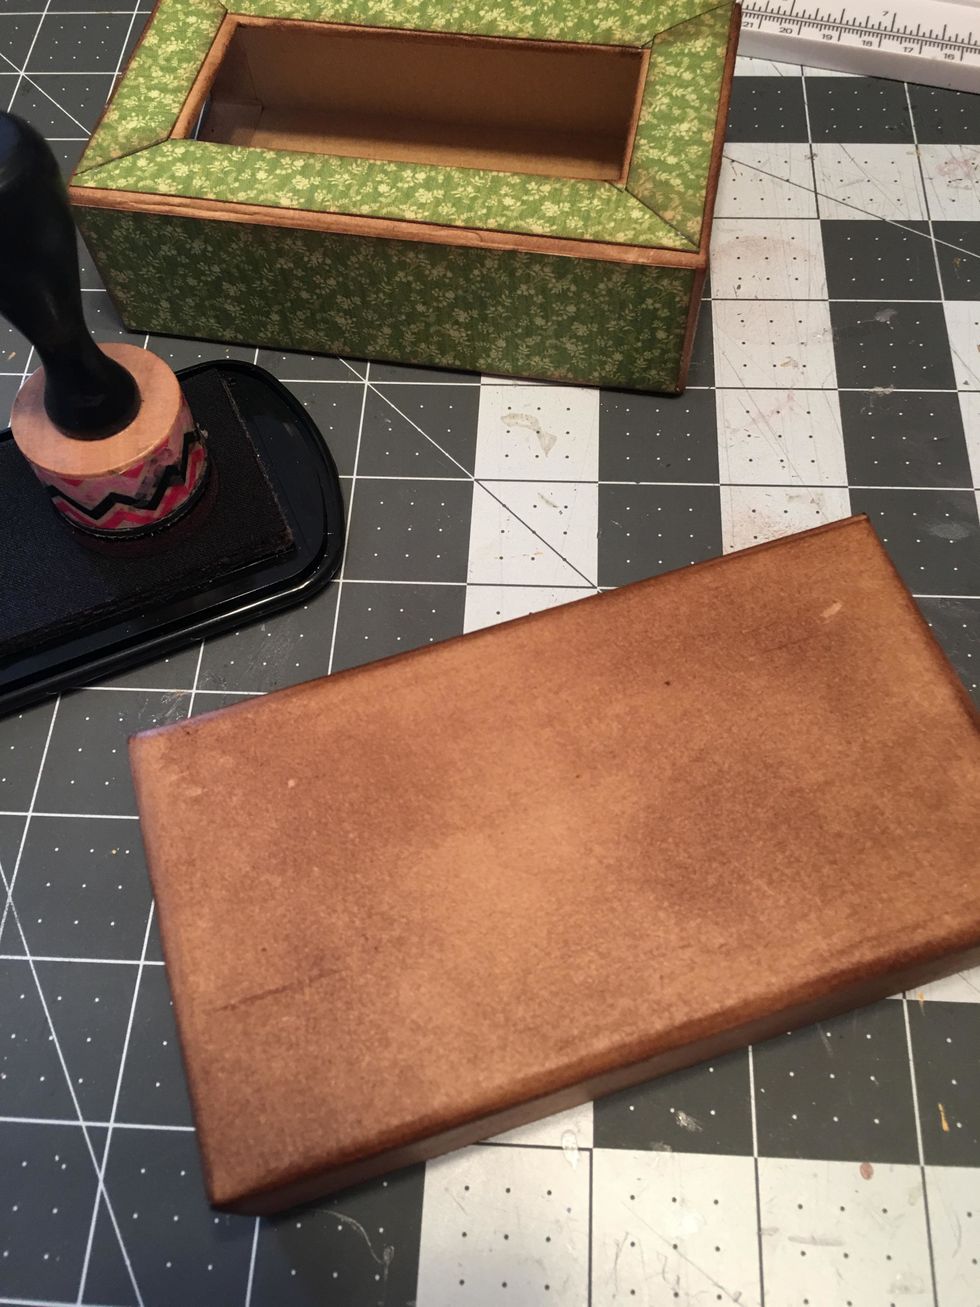
Ink all the edges of the base of the matchbox and the lid.

Measure and cut patterned papers to cover the outside of the box (2 sides and the bottom). Ink all the edges of the paper.
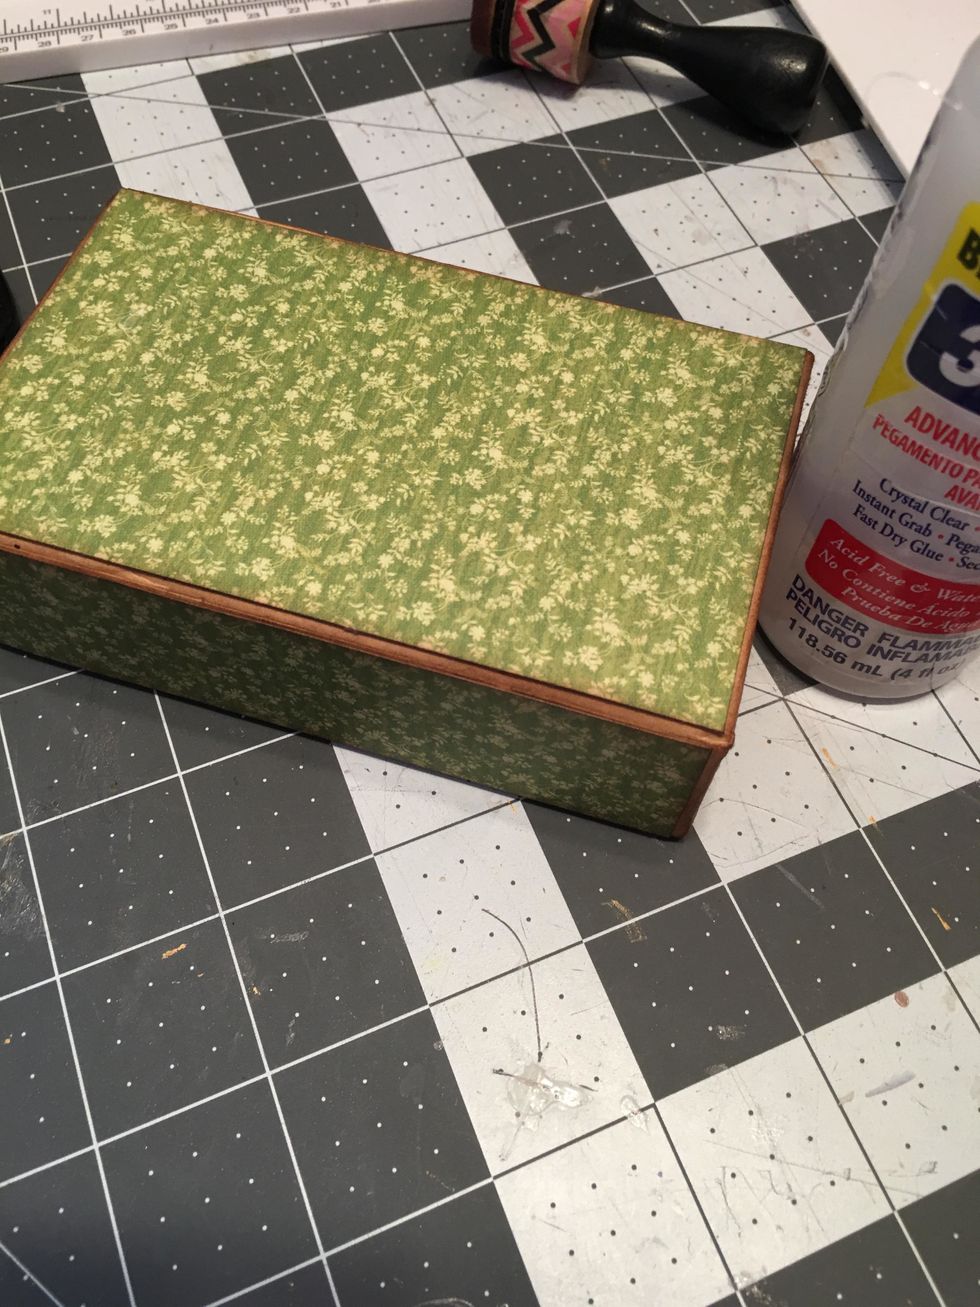
Glue the papers to the outside of the box.
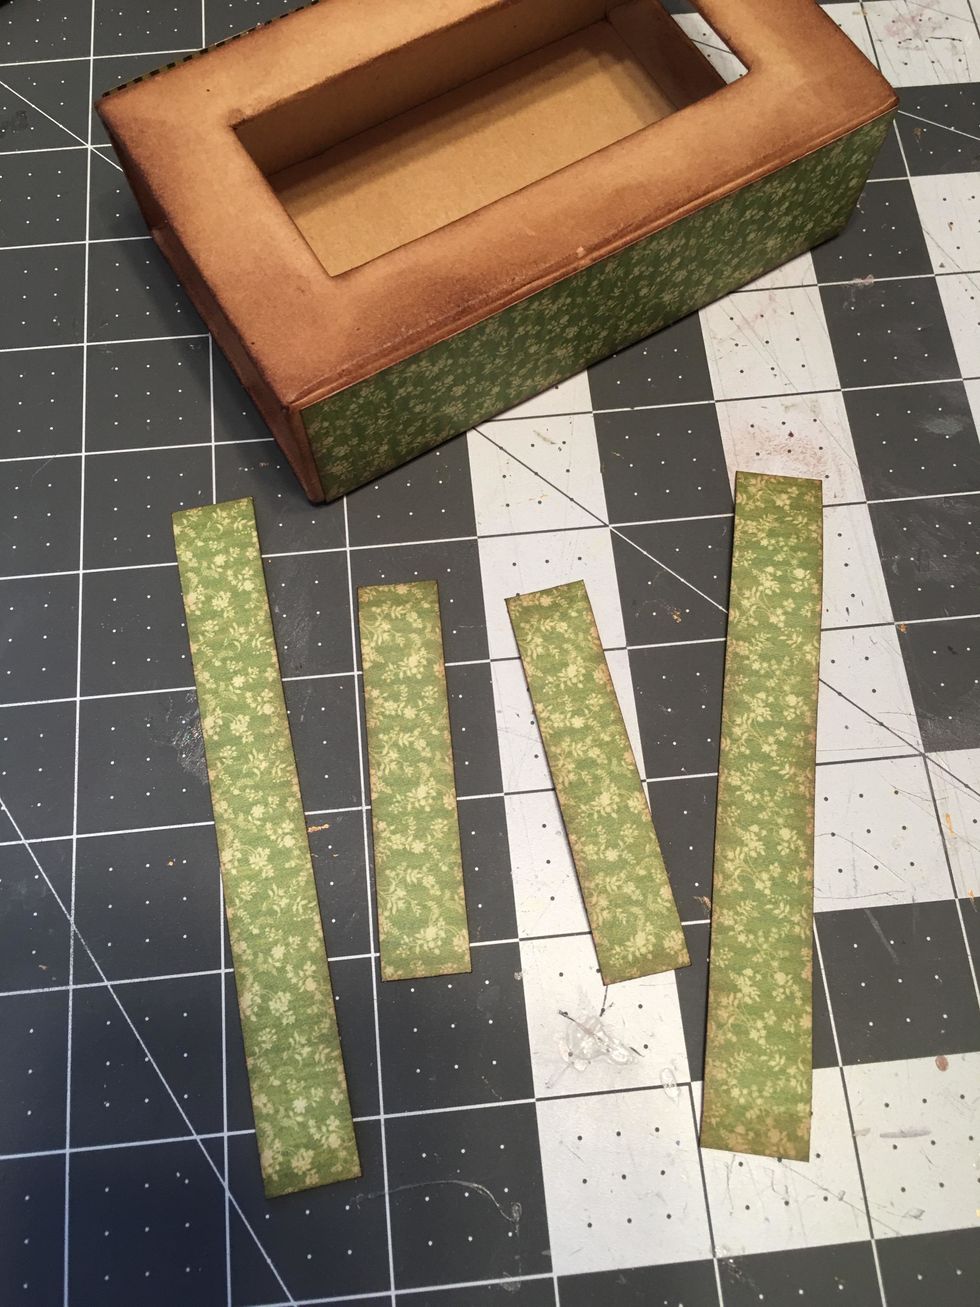
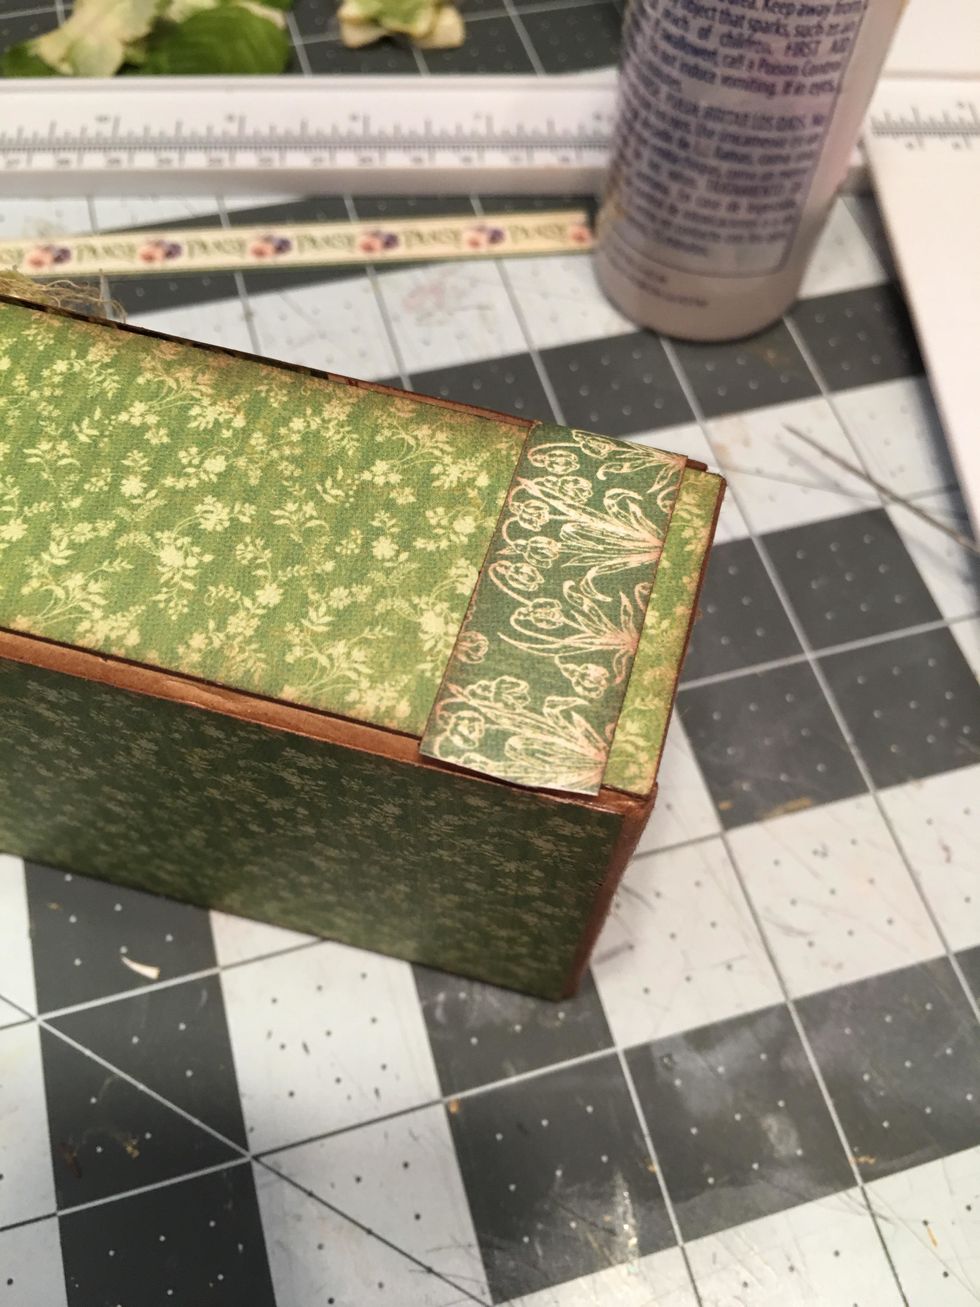
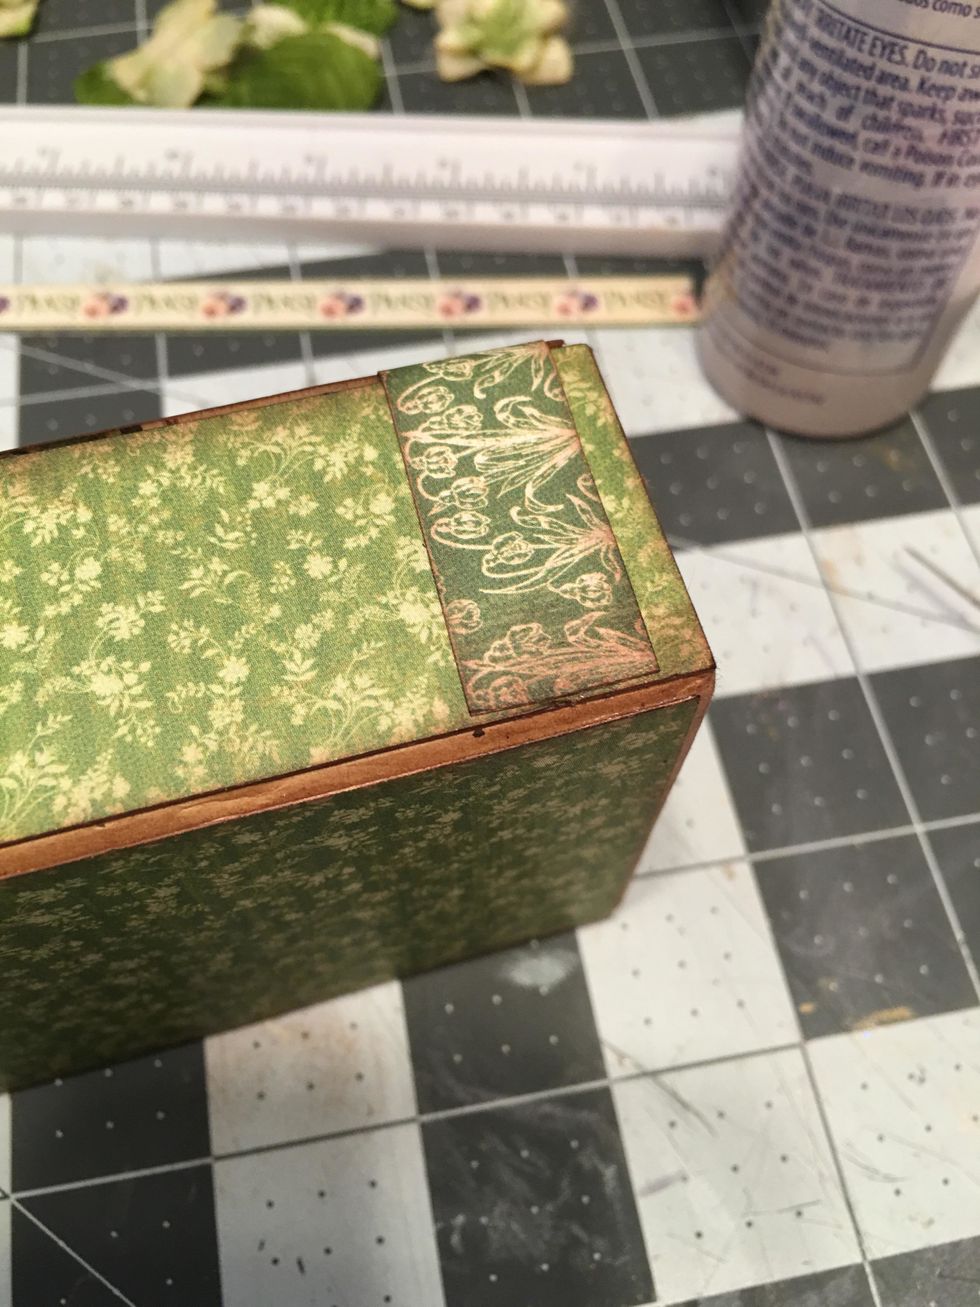
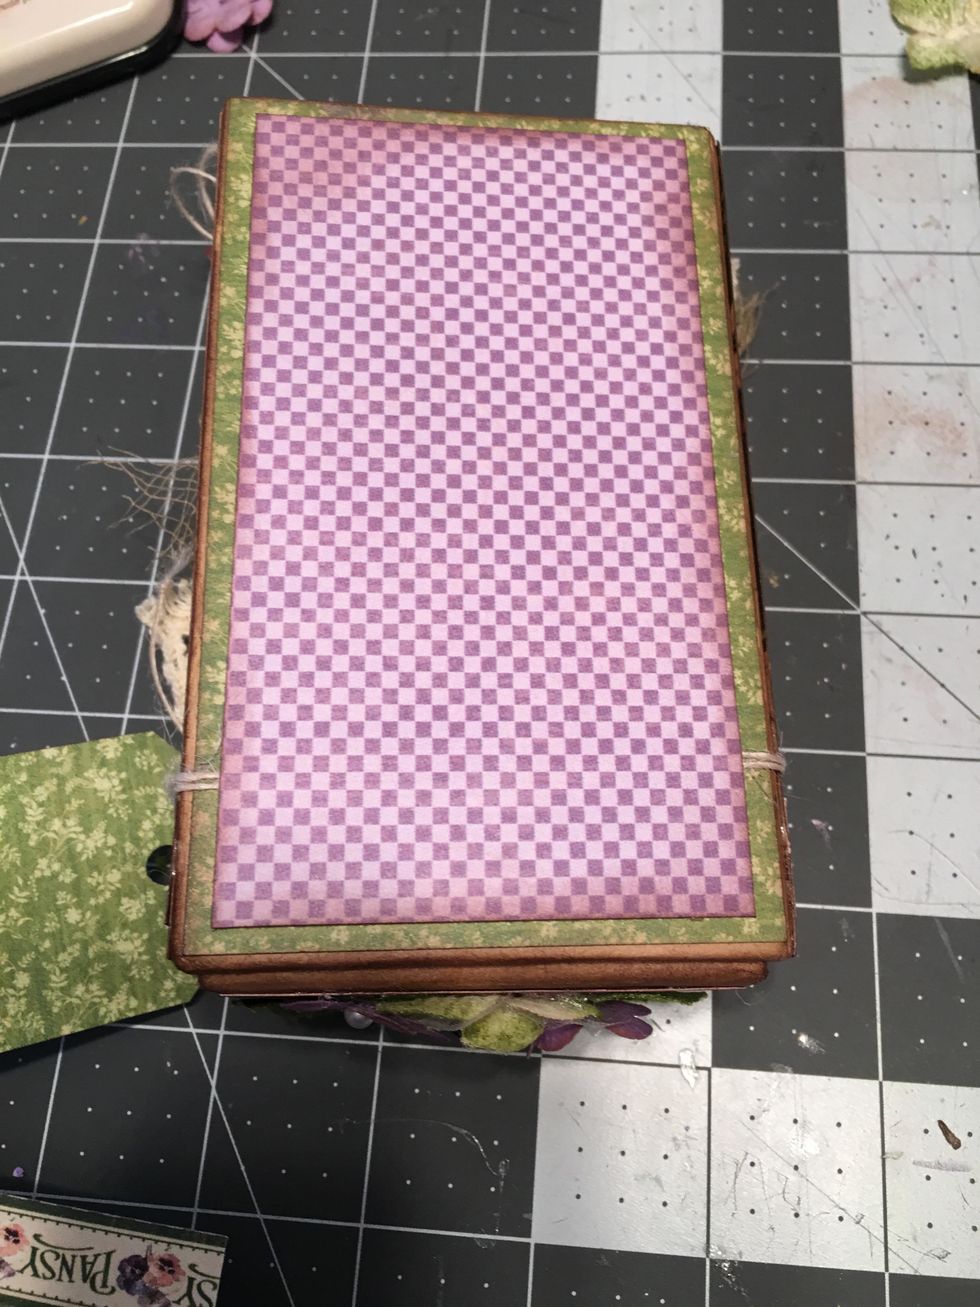
Measure, cut and ink papers for the top of the box as shown.
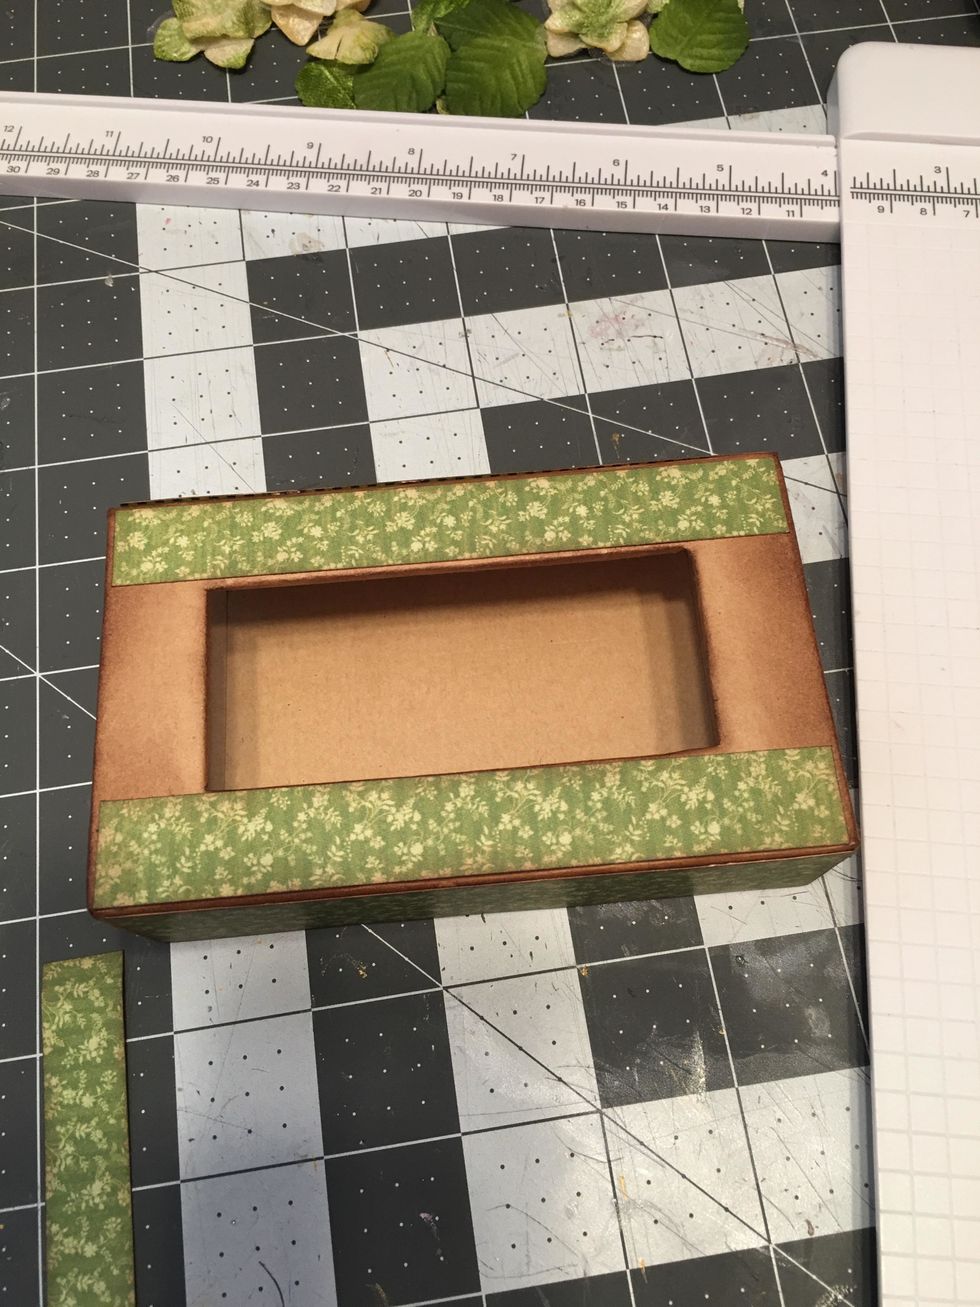
Glue the two longest pieces onto the top of the box.
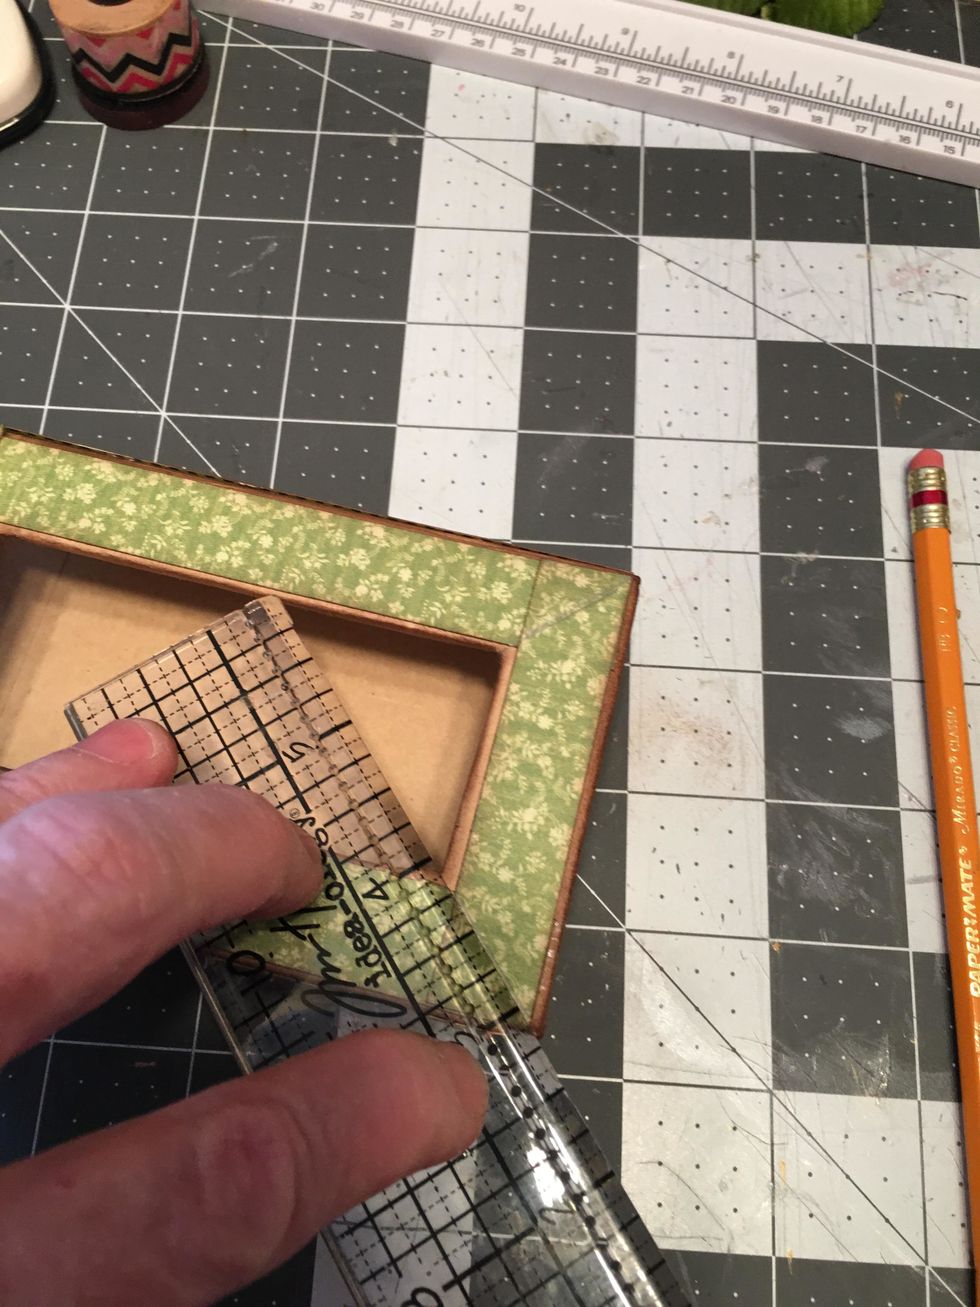
Lay the short pieces on the box (do not glue yet) and make an angle mark with your ruler & pencil and cut along the lines. Do this on each end of both paper pieces.
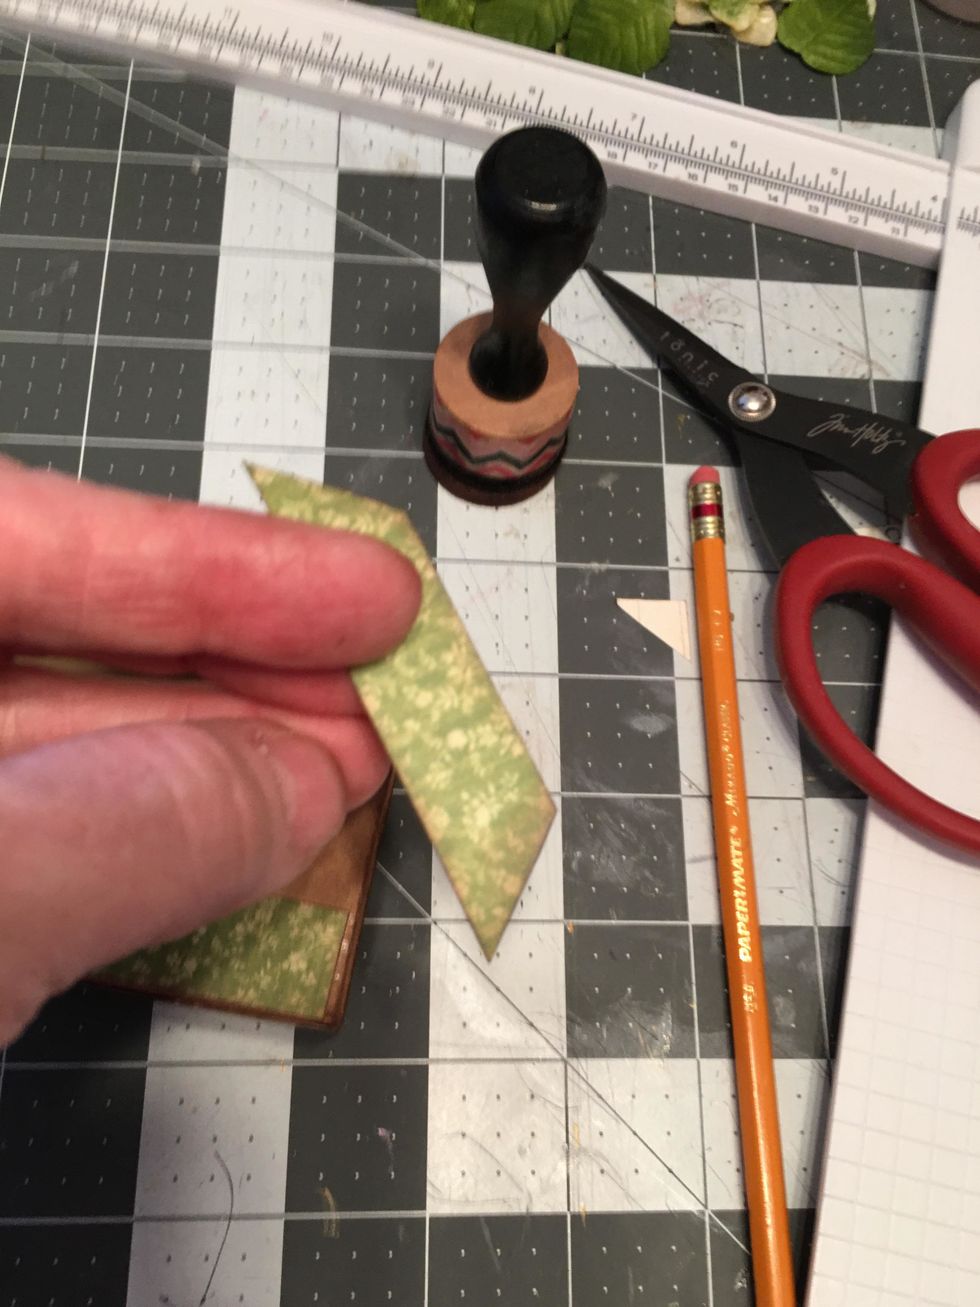
Ink the angle cut ends of the two side paper pieces.
Glue to the top of the box so it appears to be mitered.
Ink the bottom of the inside tray. Do not pattern with paper as that might make it hard to slide the tray in and out of the box.
Also ink the sides of the tray.
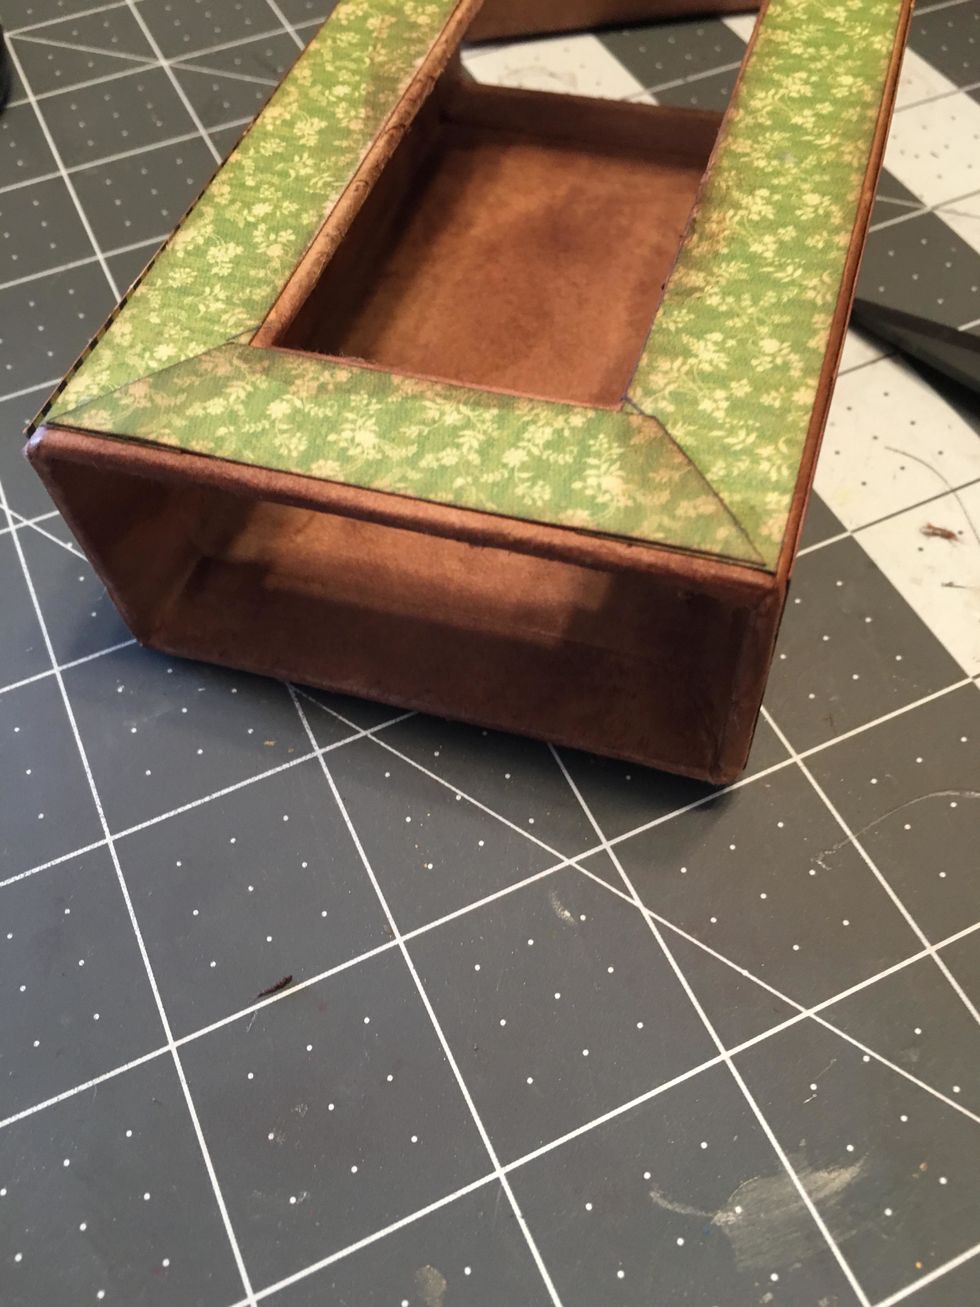
Ink the inside of the tray as shown. You may need to use a tissue or cloth to reach all the way in to the center of the tray from both ends.
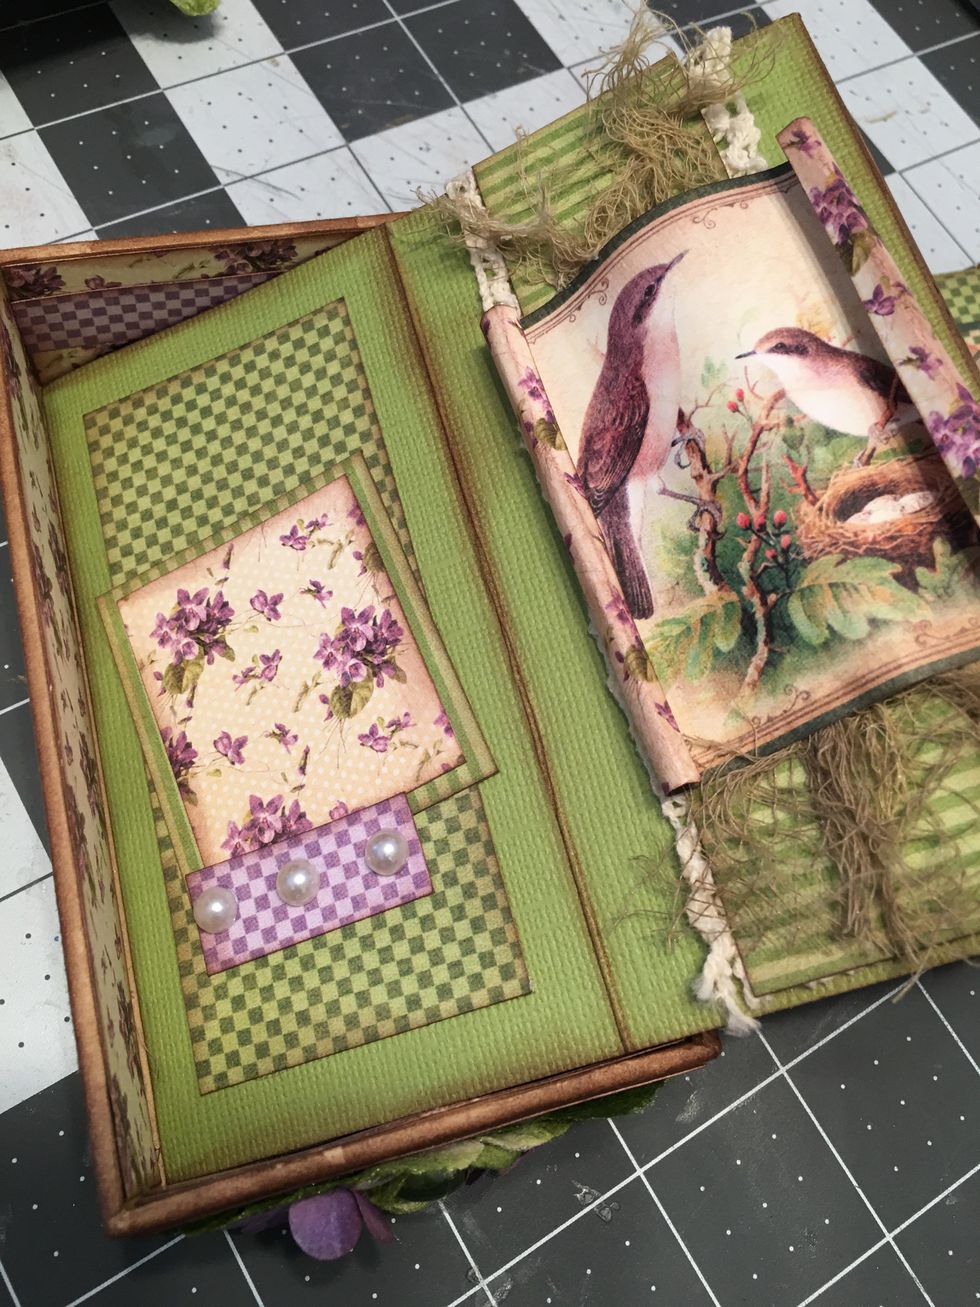
Measure and cut a piece of patterned paper to fit the inside bottom of the lid so that it shows when the tray is slid out. Attach with glue. (See the next photo.)
Select and cut pattern papers to fit each section of the fold out. You may need to piece papers to cover some of the section. Ink all edges and attach onto the fold out sections with glue.
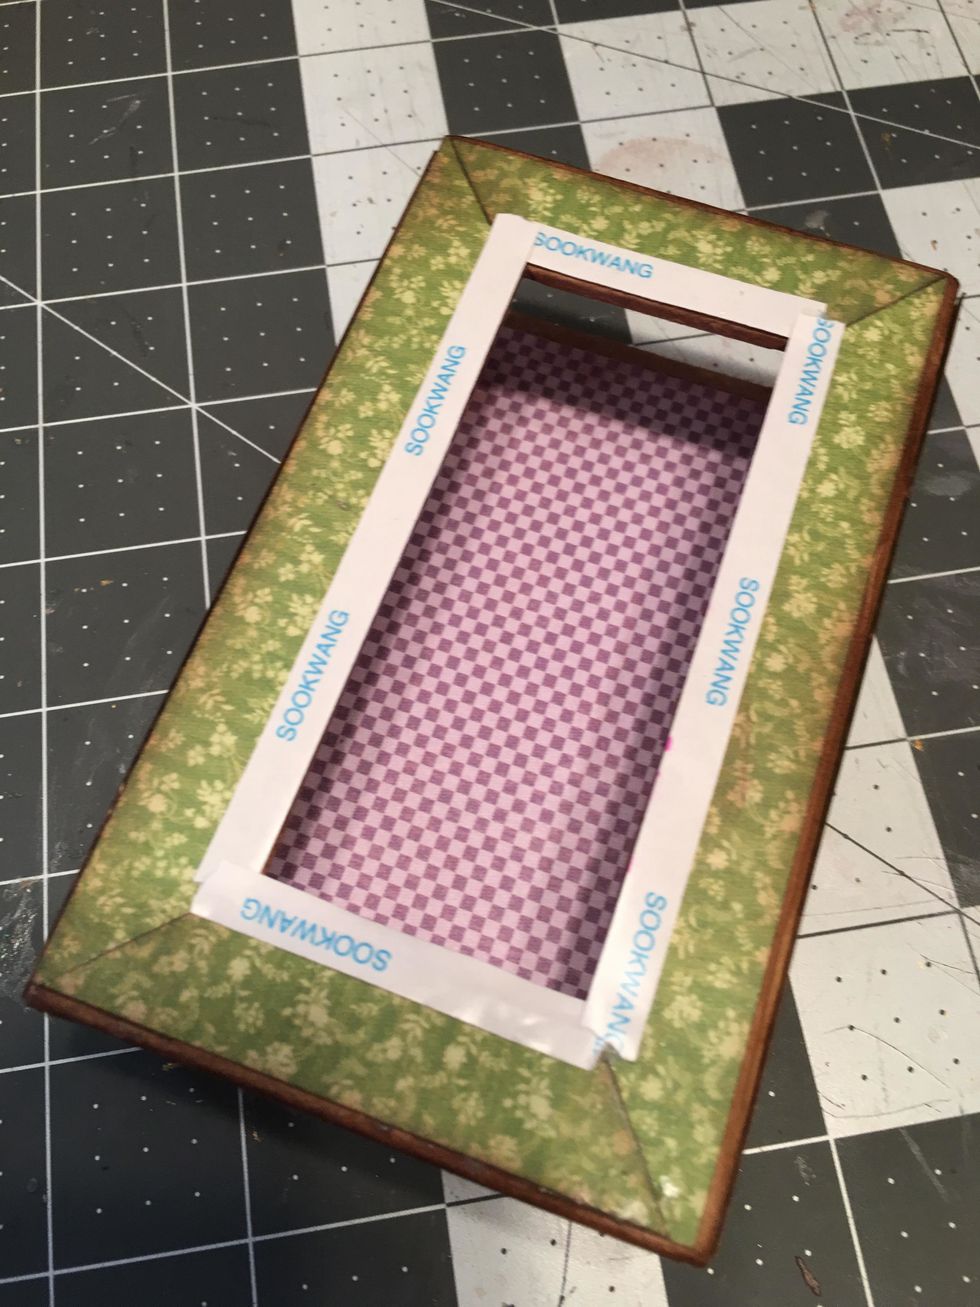
To begin decorating the lid, attach scor-tape around the perimeter of the opening as shown.
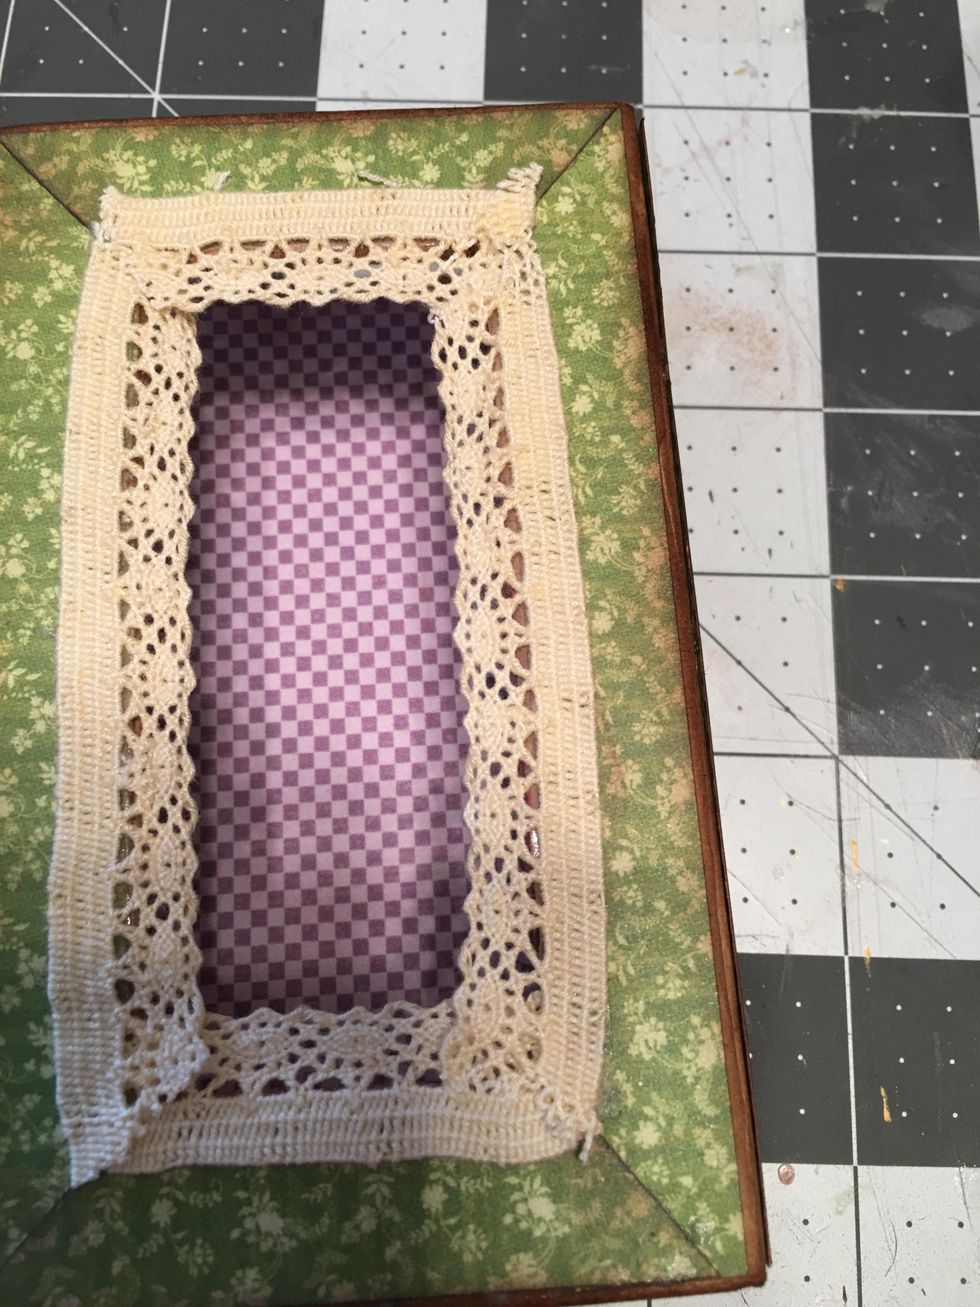
Peel off the tape backing and attach crochet lace around the edges of the opening as shown.
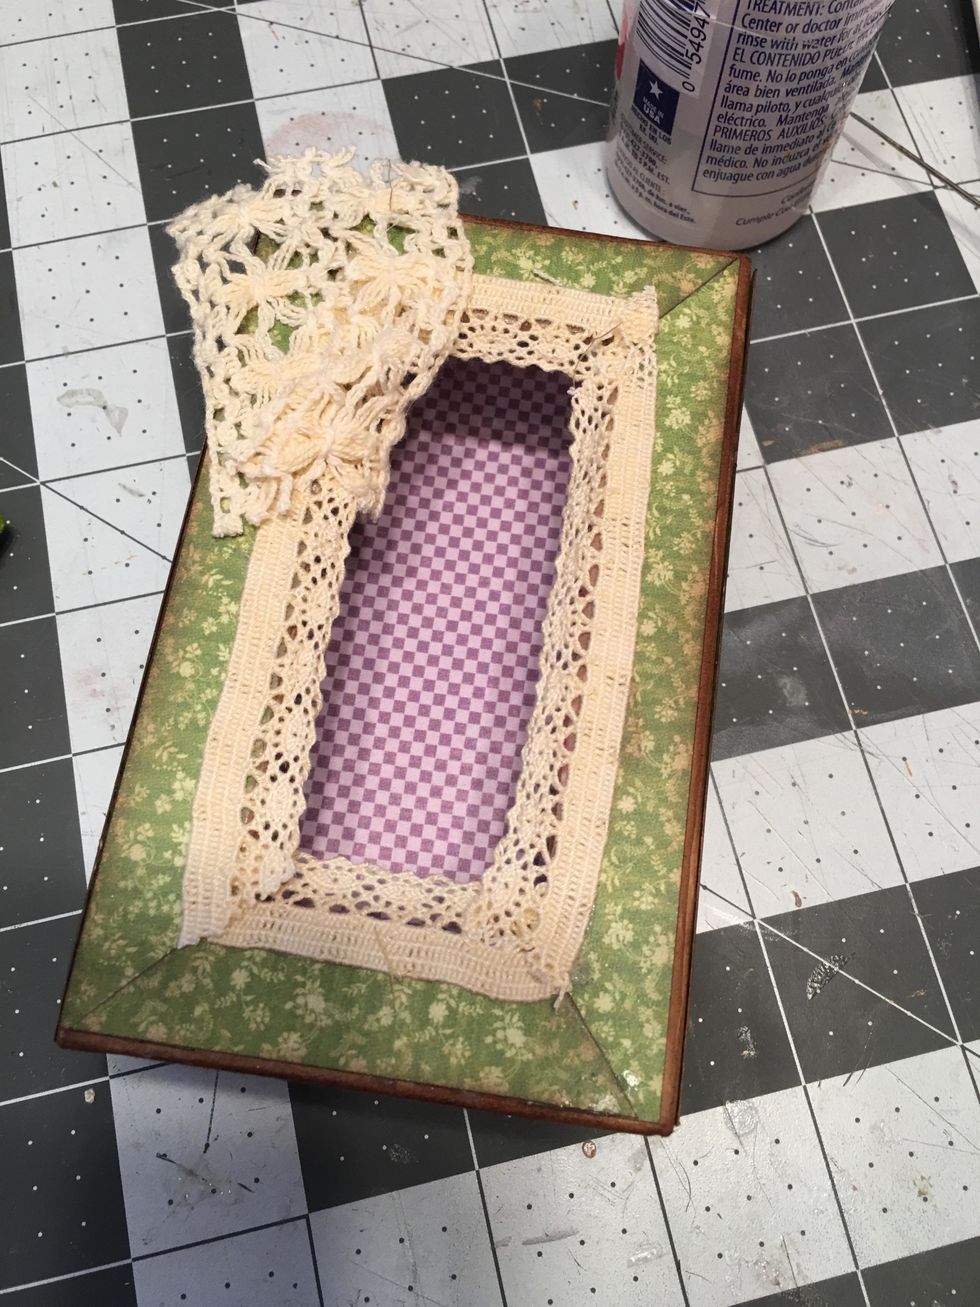
Glue a wide scrap piece of crochet lace to the upper left corner of the lid.
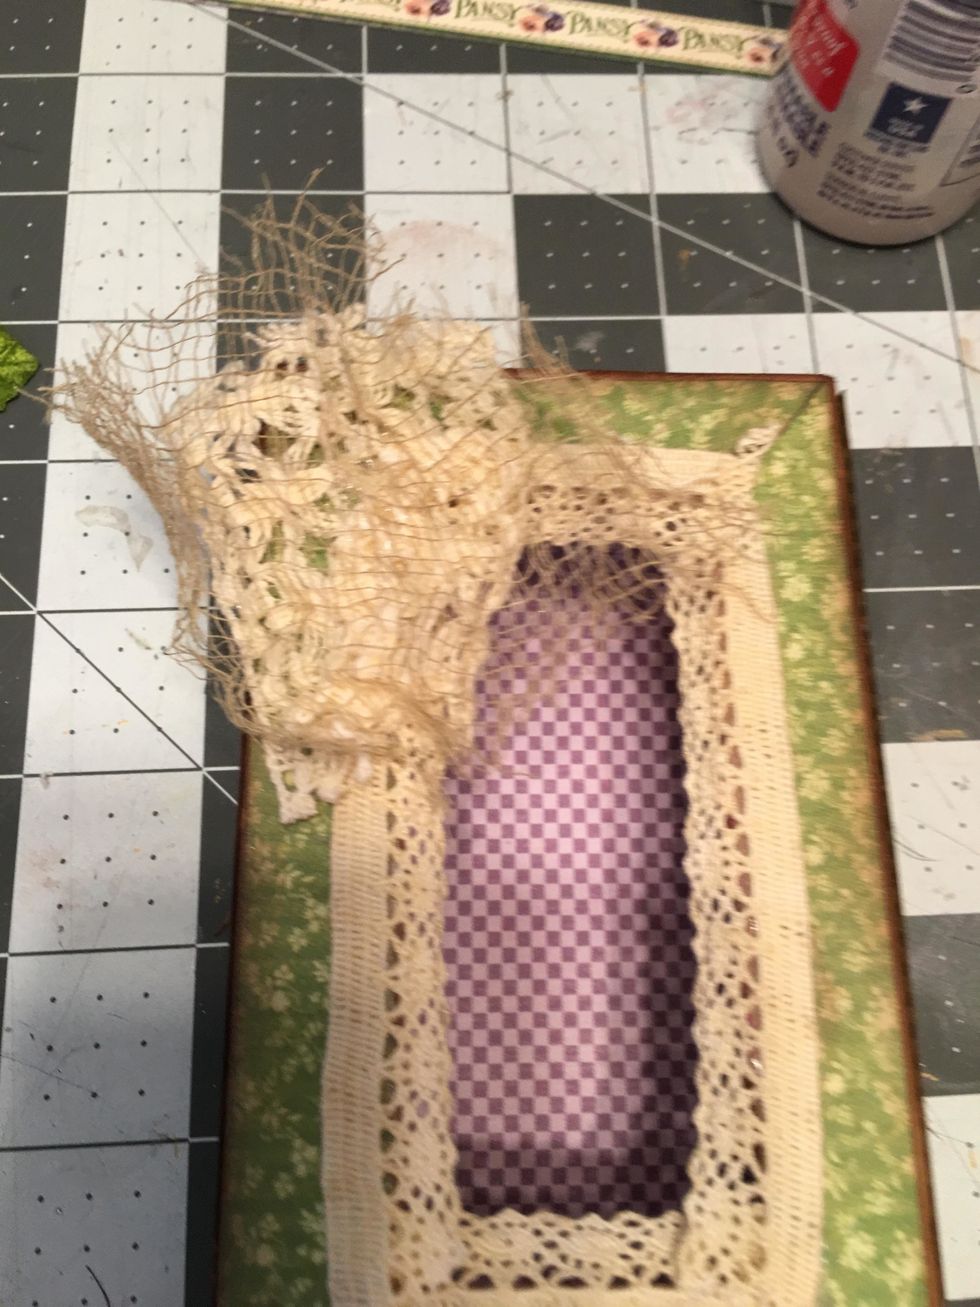
Glue a small piece of tea dyed gauze on top of the larger lace piece as shown.

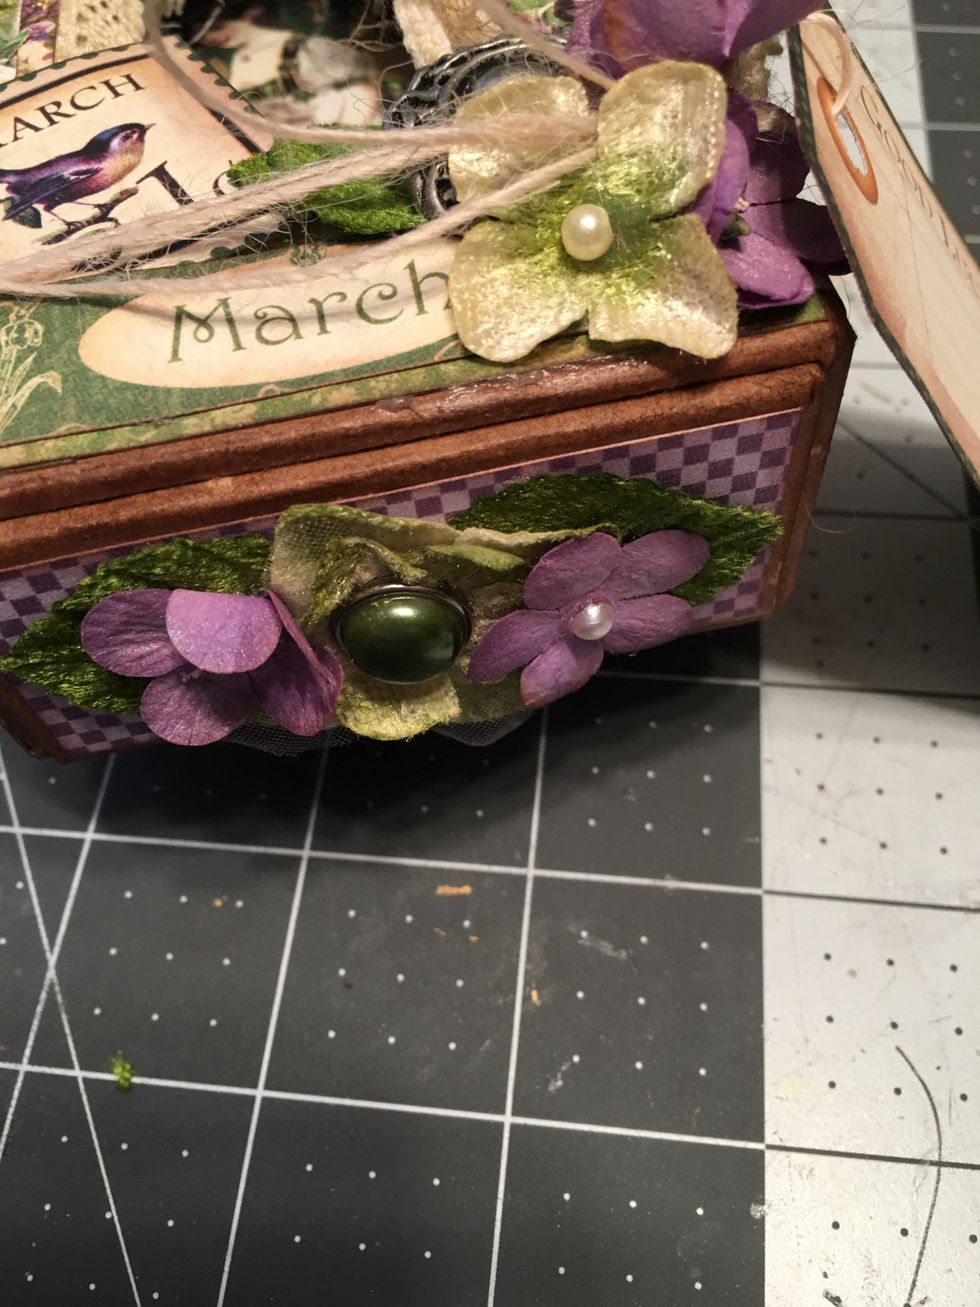
Next glue two leaves and two flowers from the Petaloo Vintage Velvet Dogwoods.
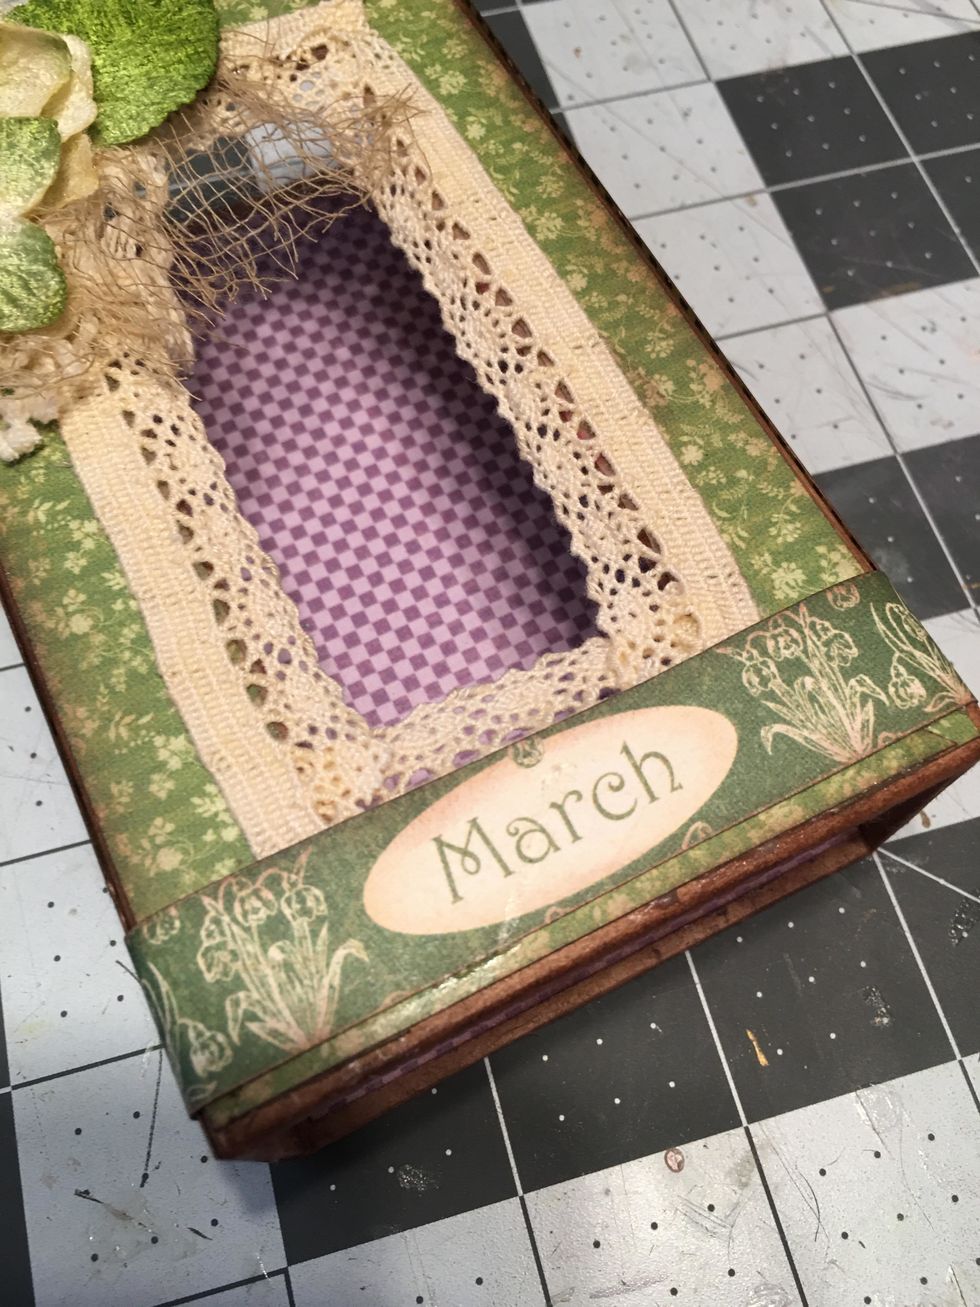
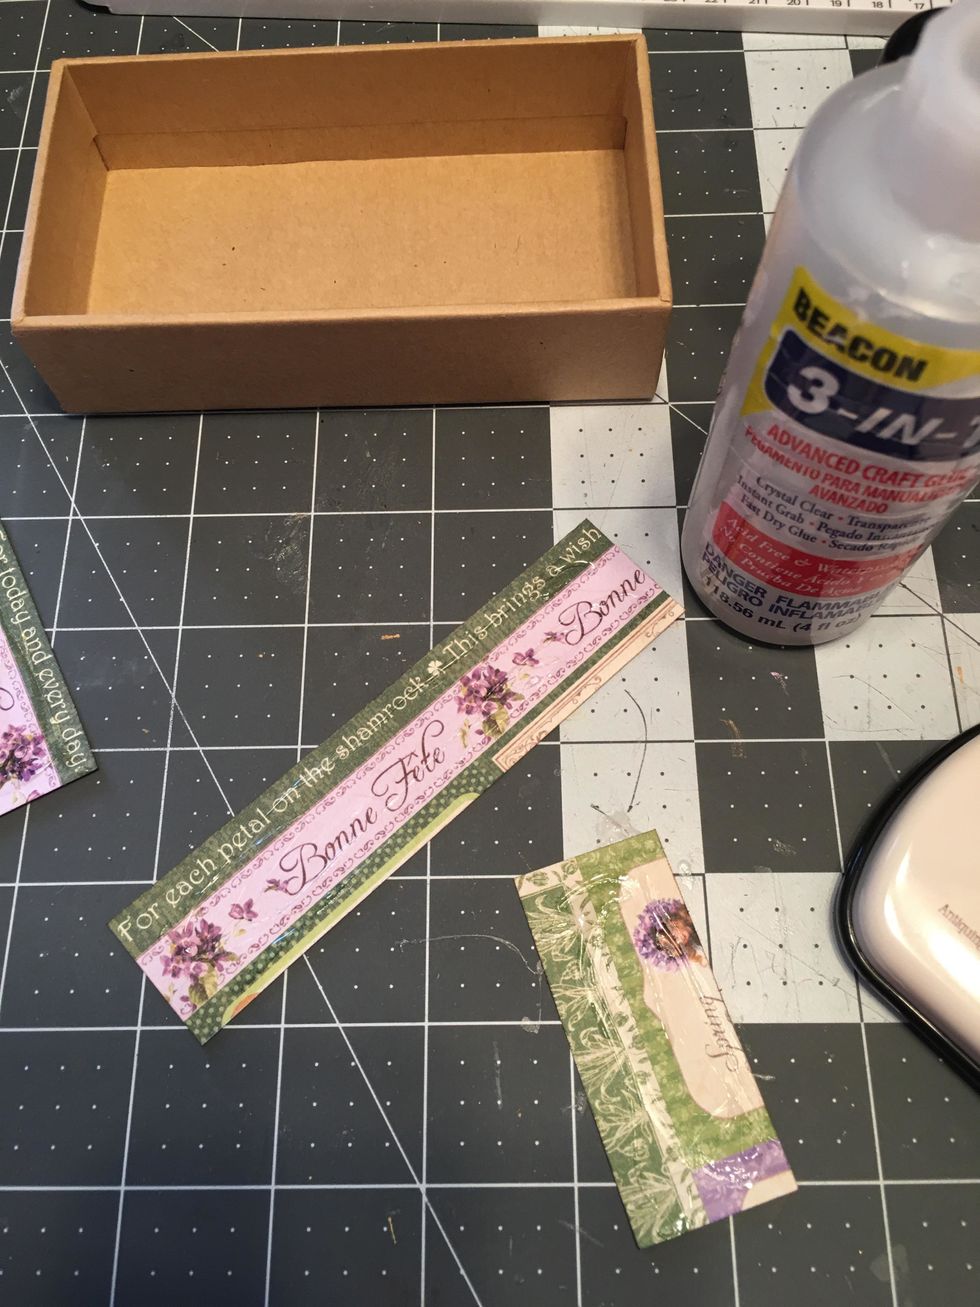
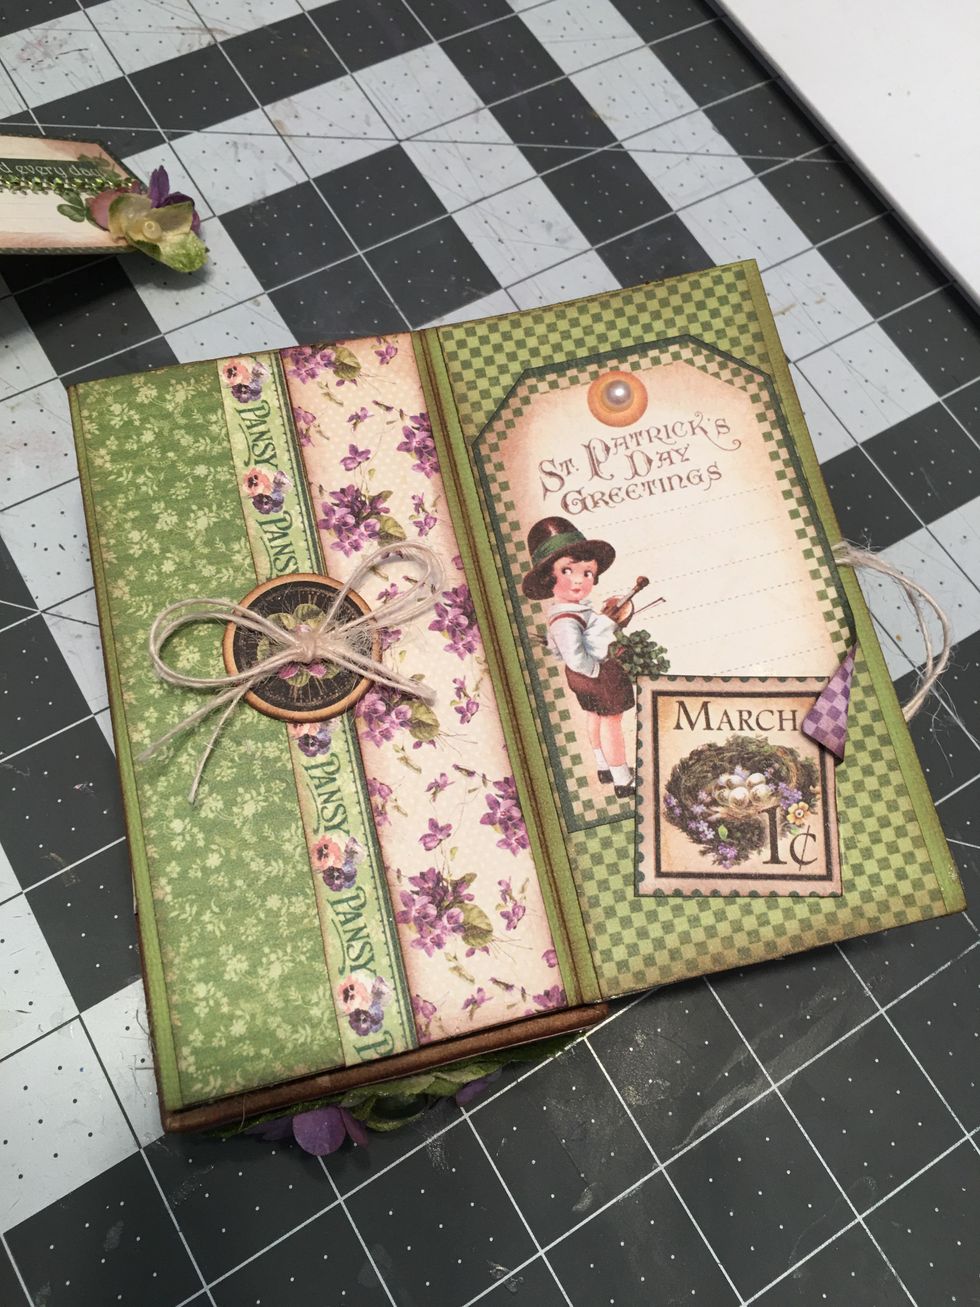
From the pattern paper, cut out a strip with the word "March" to fit on the bottom of the lid. Glue into place.
Cut and ink a small piece of scrap paper for each side of the lid. Cut to fit and glue into place (see next photo).
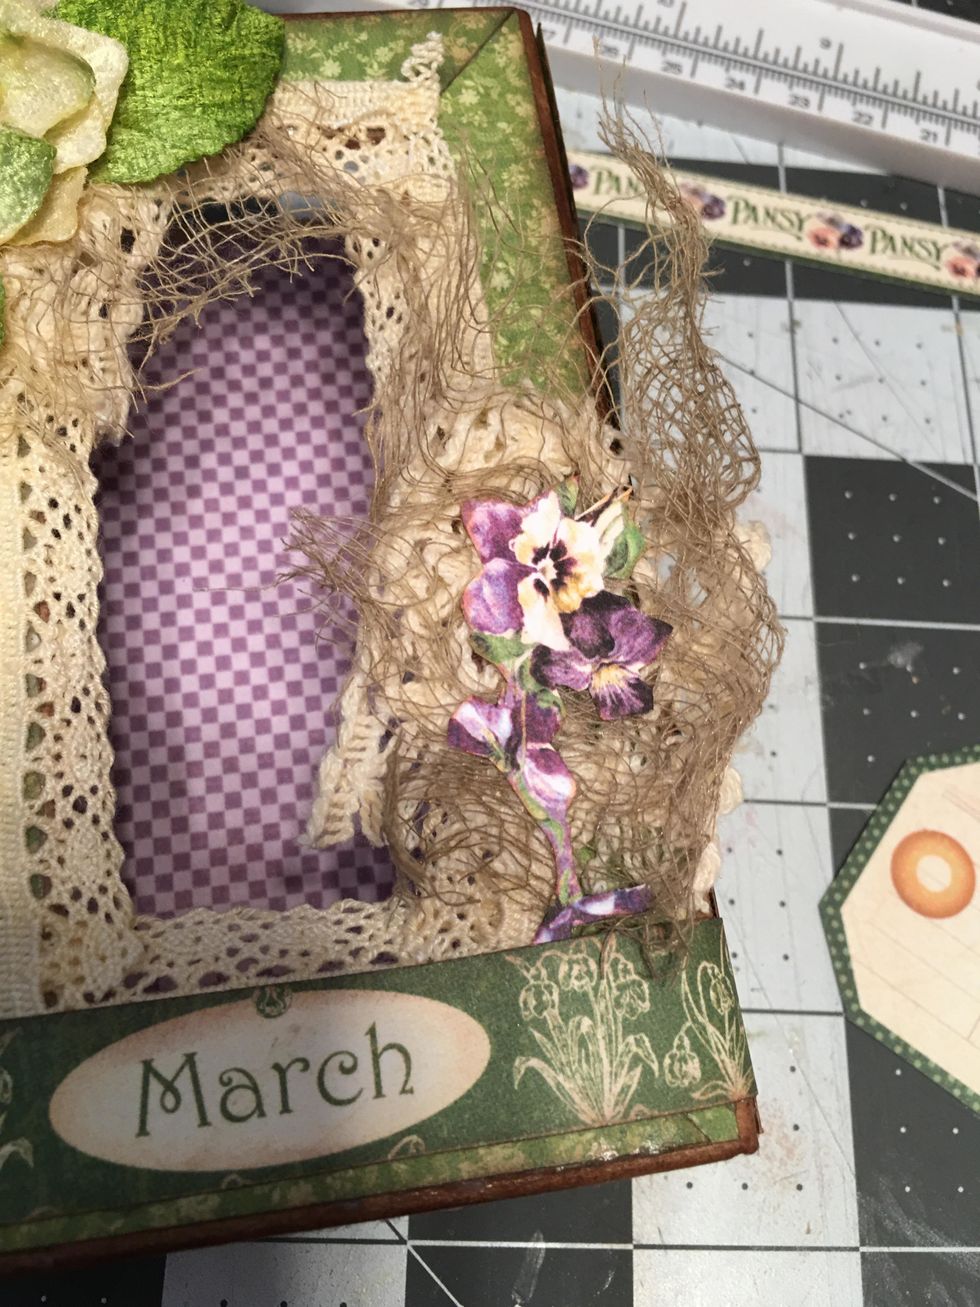
Glue another piece of the wide crochet lace to the right side of the lid and another piece of gauze. Fussy cut out some paper flowers and glue into place.
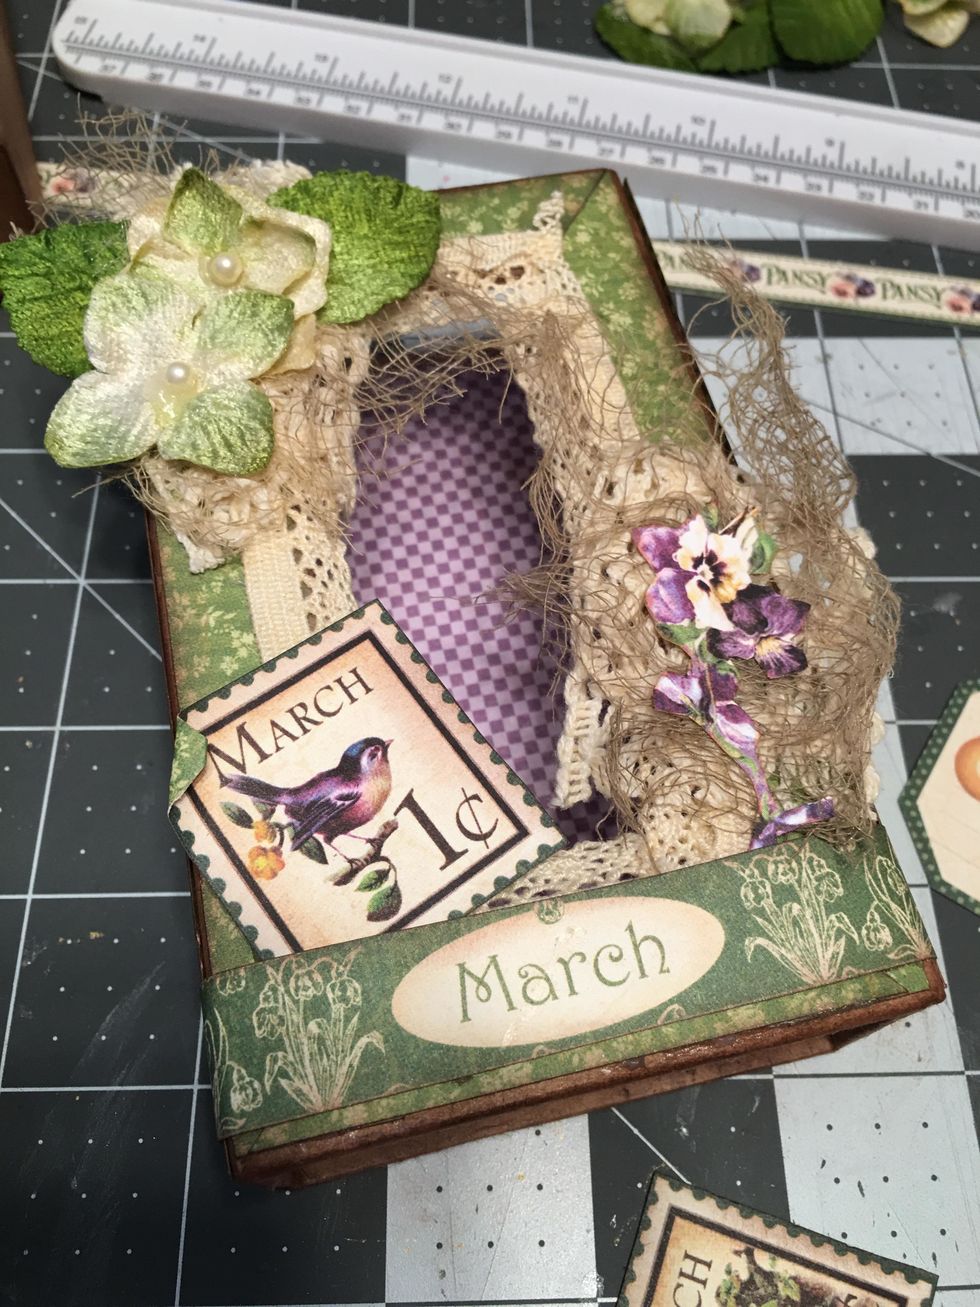
Cut out a stamp from the patterned paper, curl one corner and glue to the bottom left side.
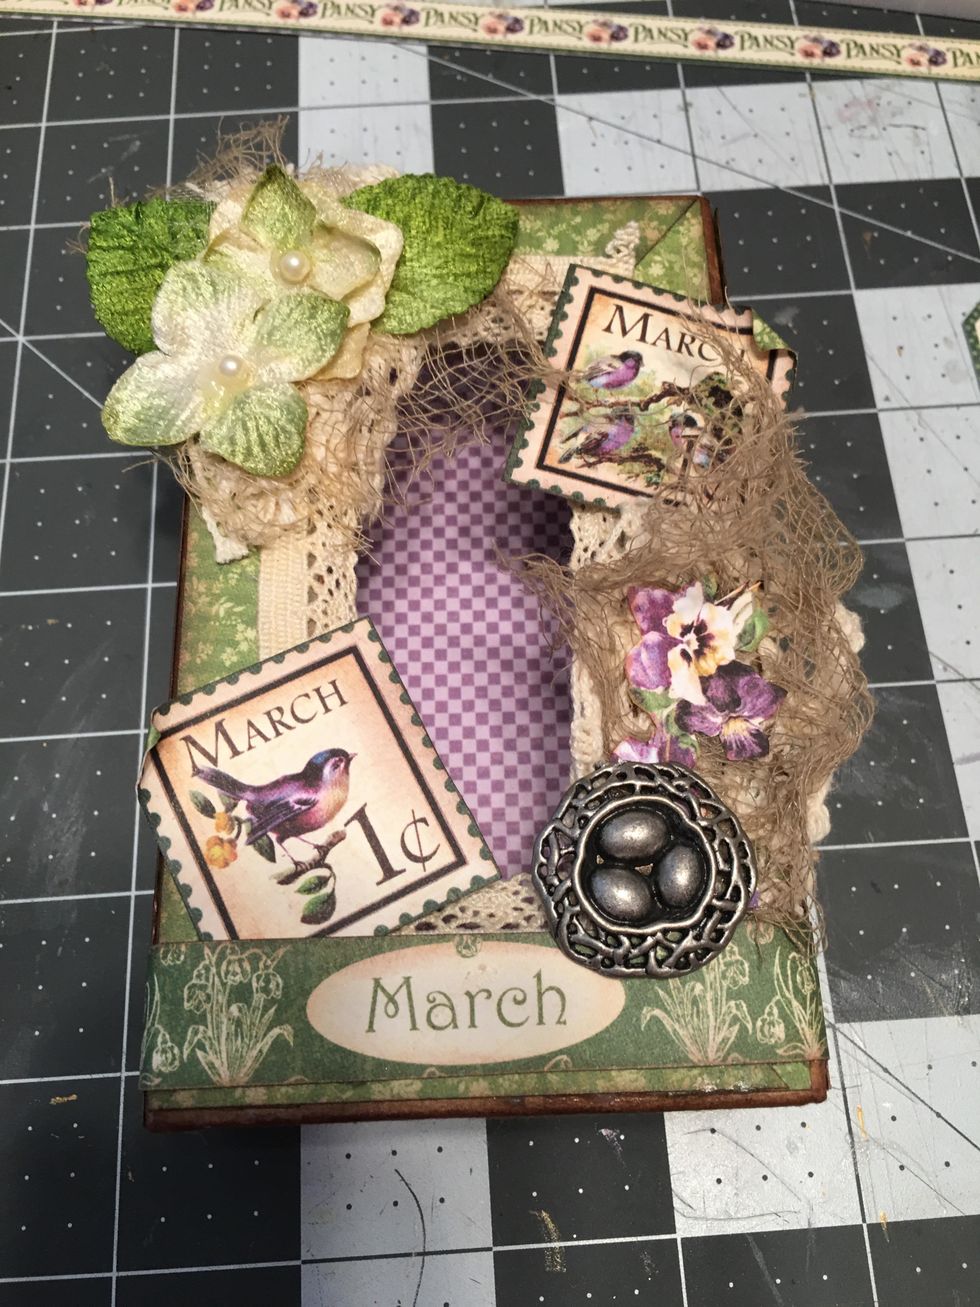
Glue a metal bird nest charm to the right side and another stamp on the upper right side.
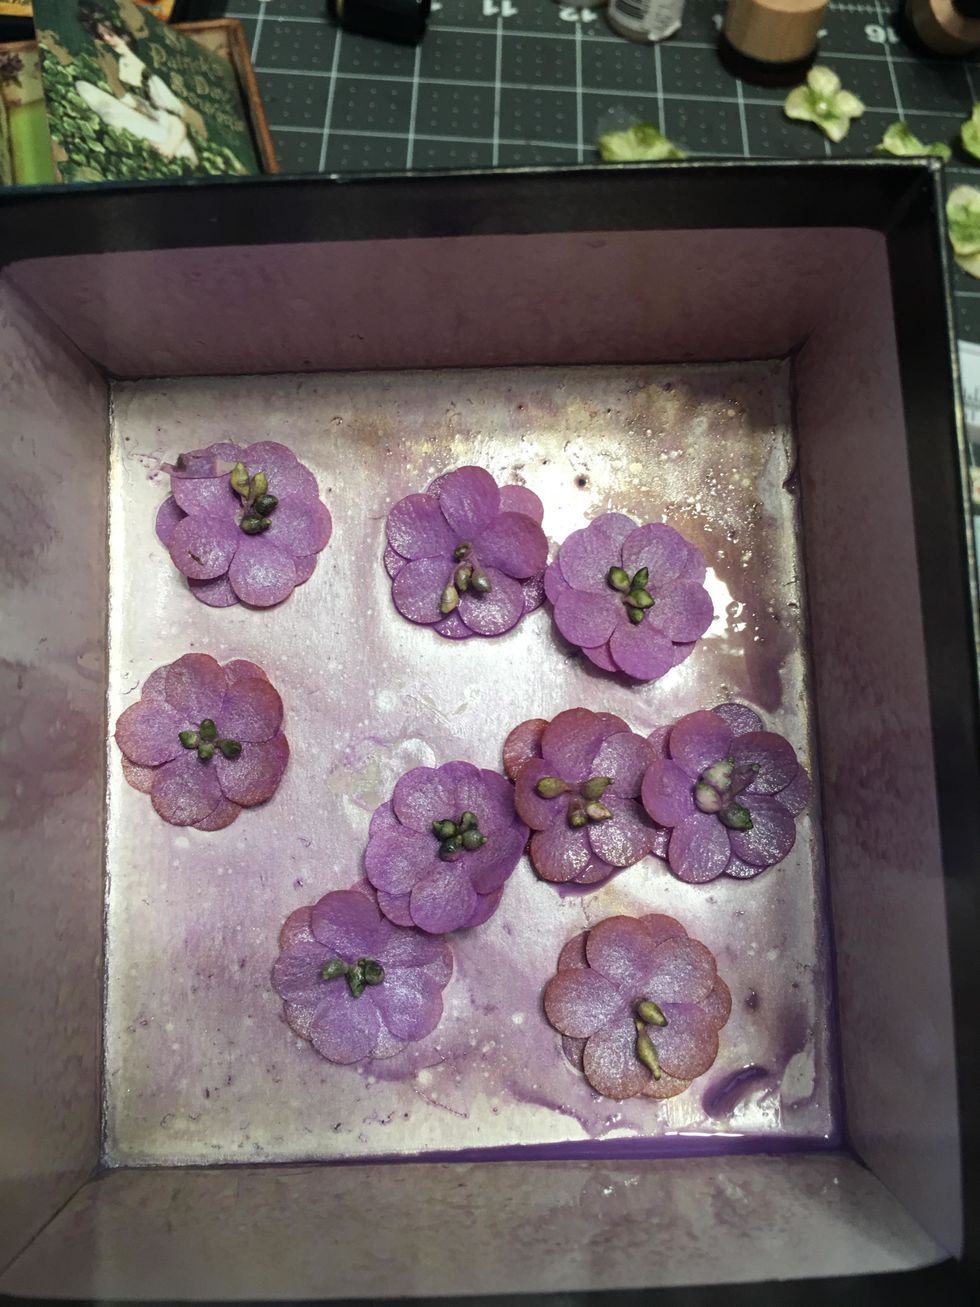
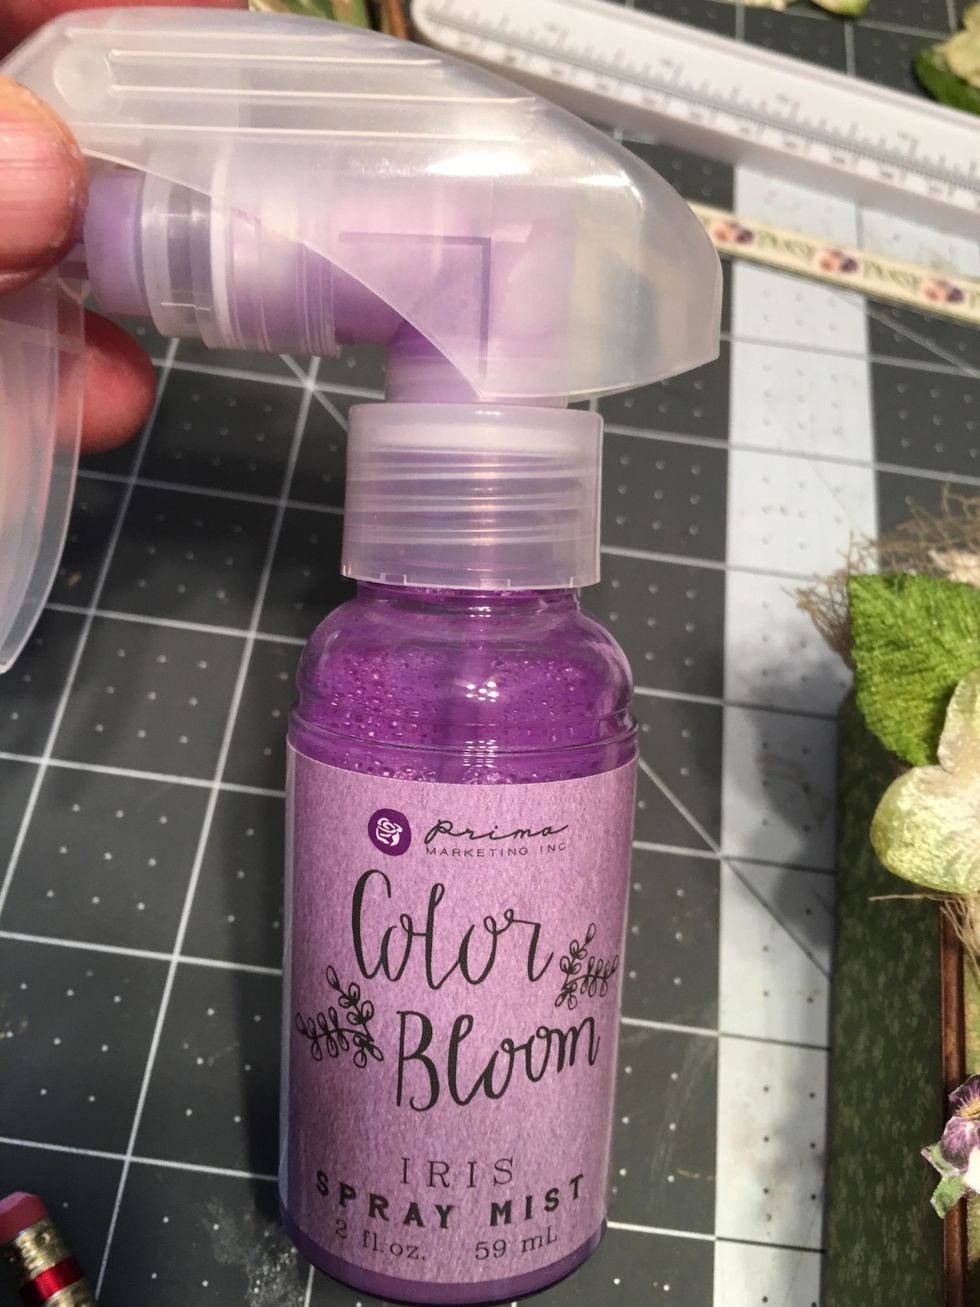
Use Prima Color Bloom Lilac spray to color the Petaloo Penny Lane Forget-me-not flowers. Allow to dry.
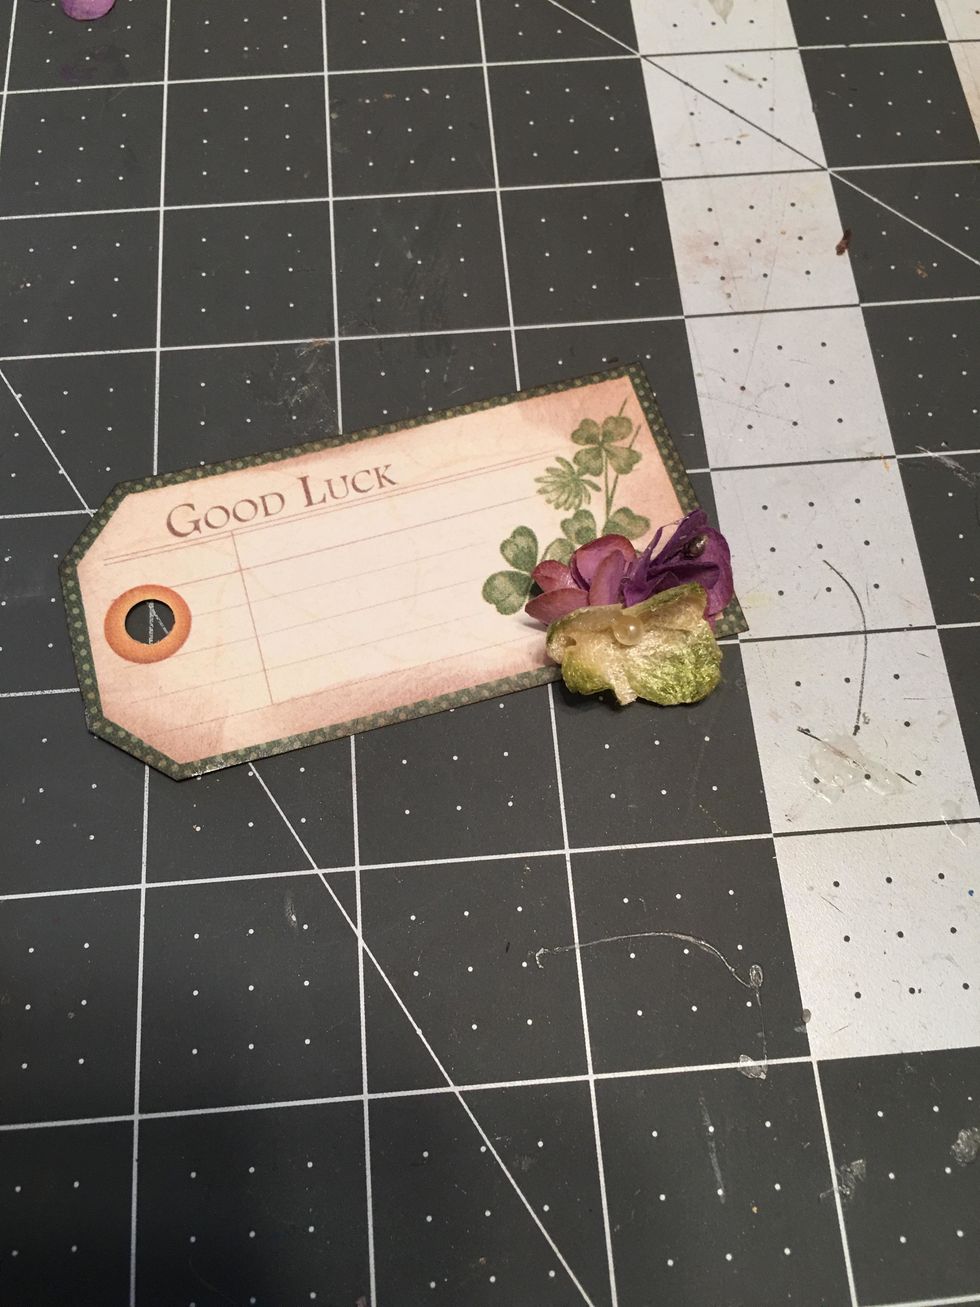
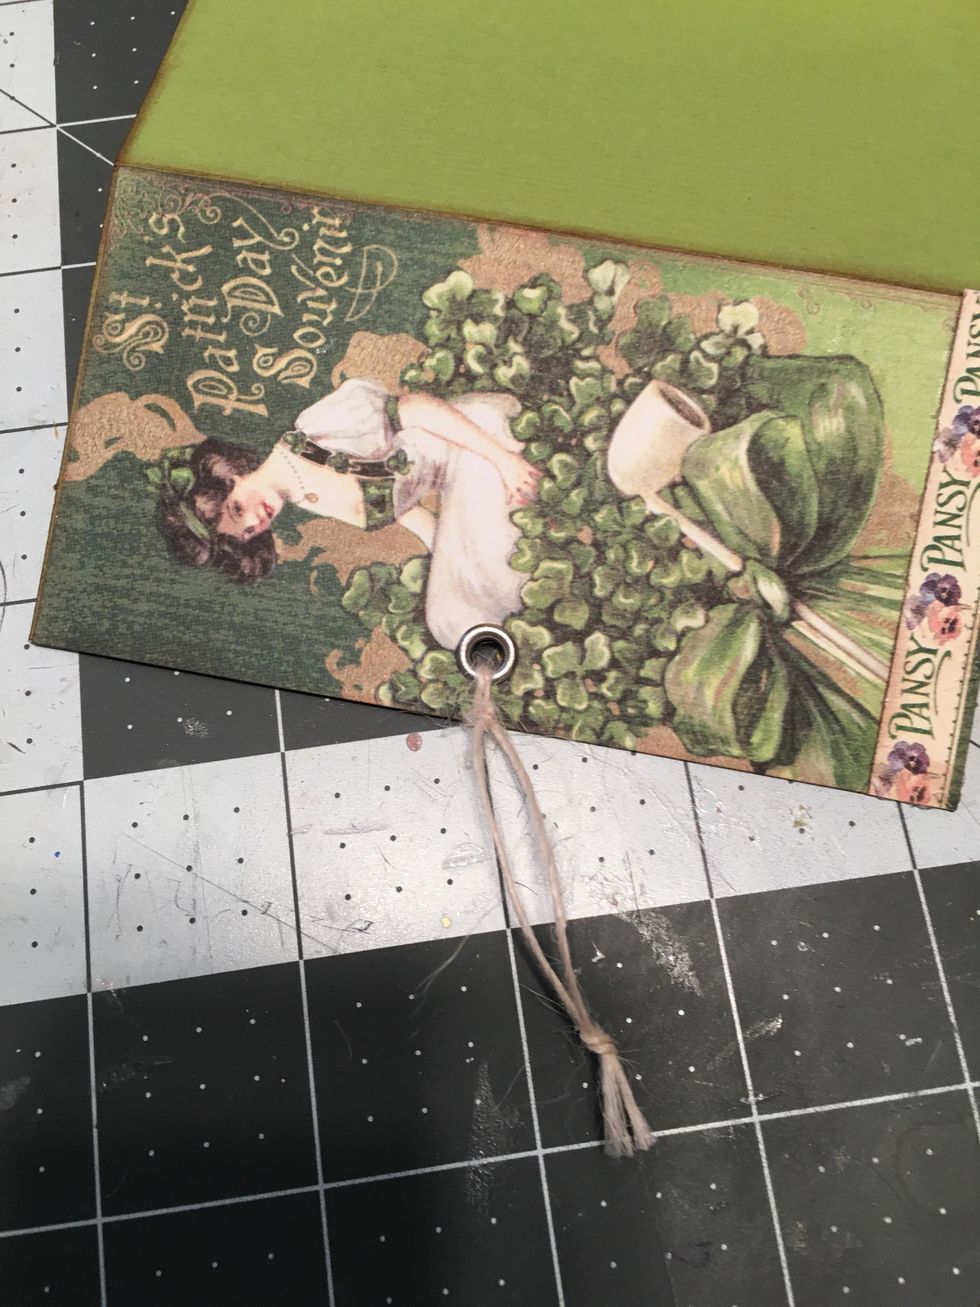
Cut out a Good Luck tag from the paper collection, punch a hole for string and glue one purple and one green velvet flower onto the tag as shown.
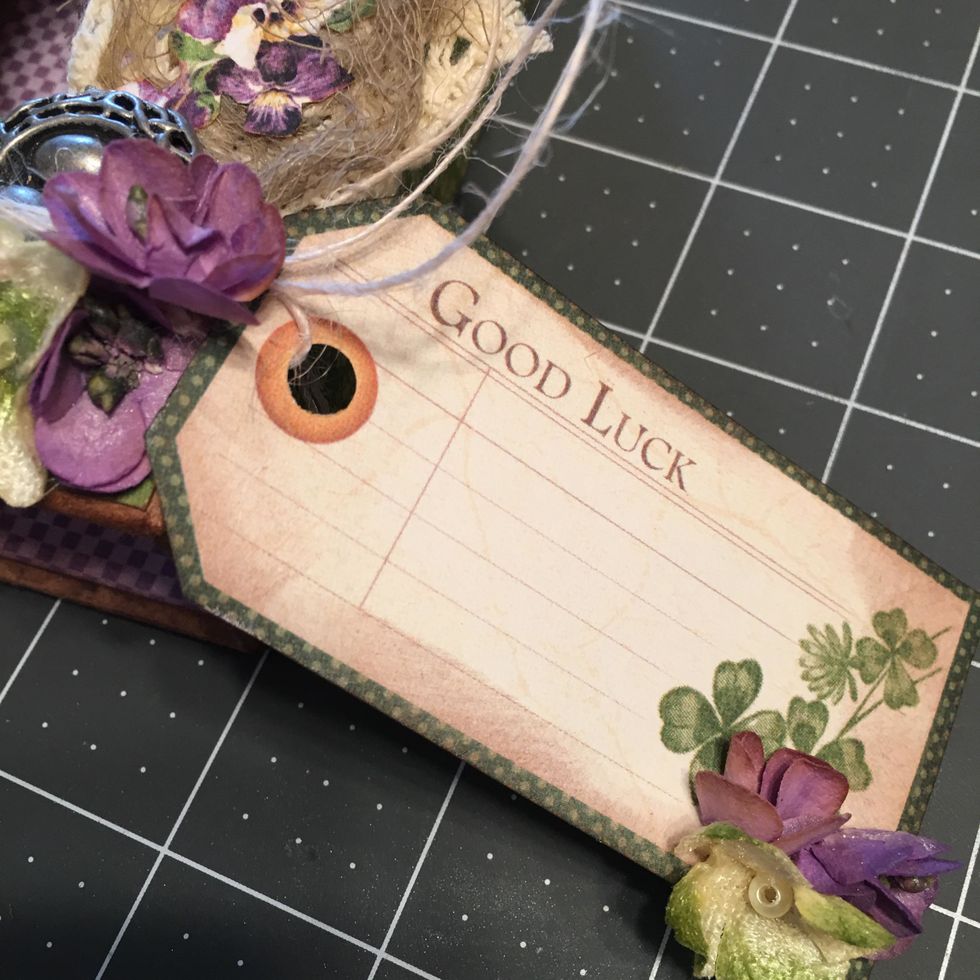
Wrap button string around the lid and tie the tag on to the lid on the right side at the bottom.
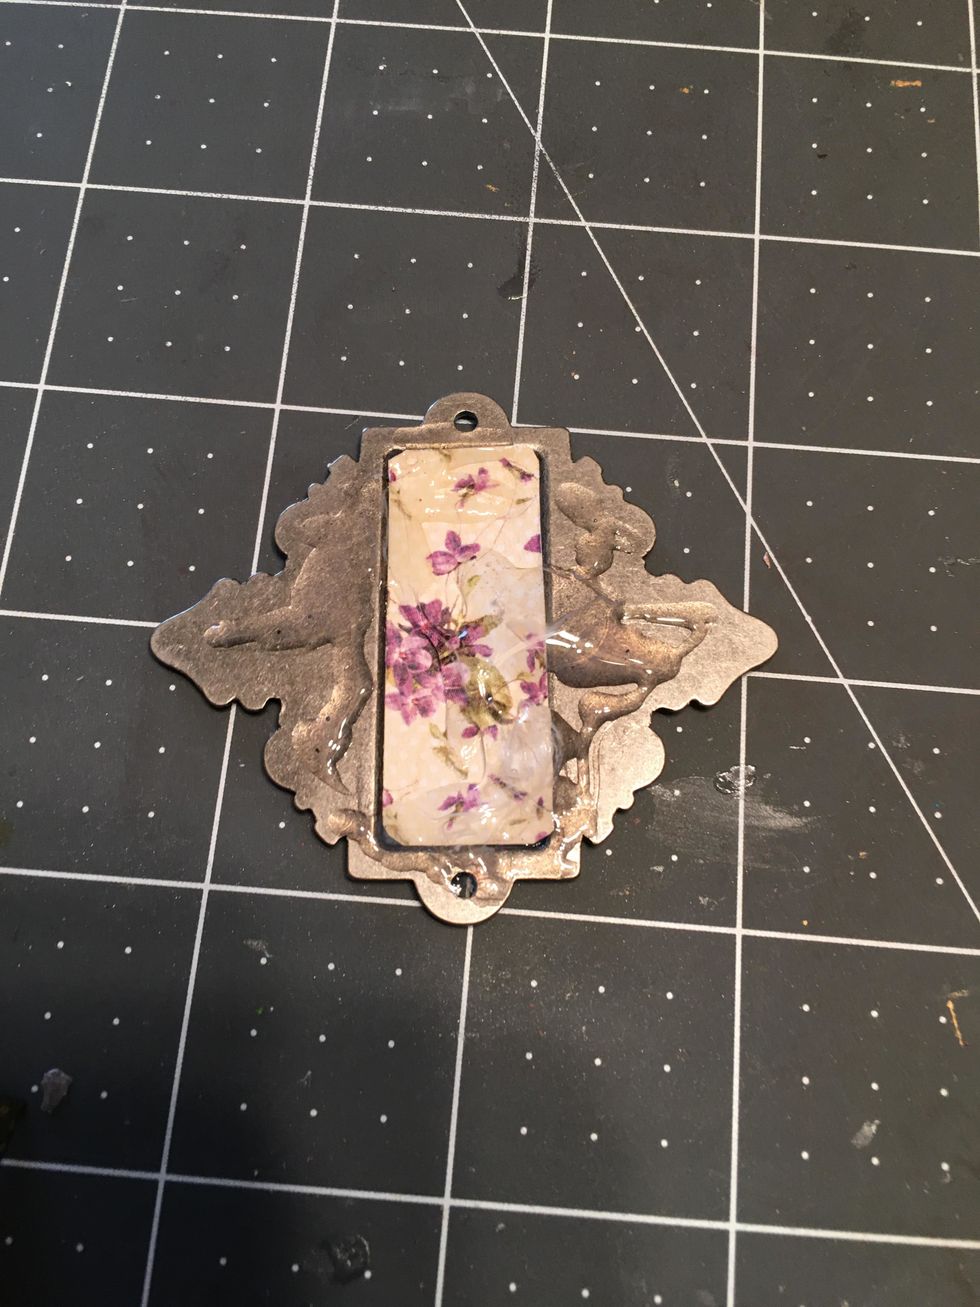
If you add a metal label holder to your project, cut a small piece of patterned paper for the label and apply 3-in-1 glue to the back of the label holder as shown.
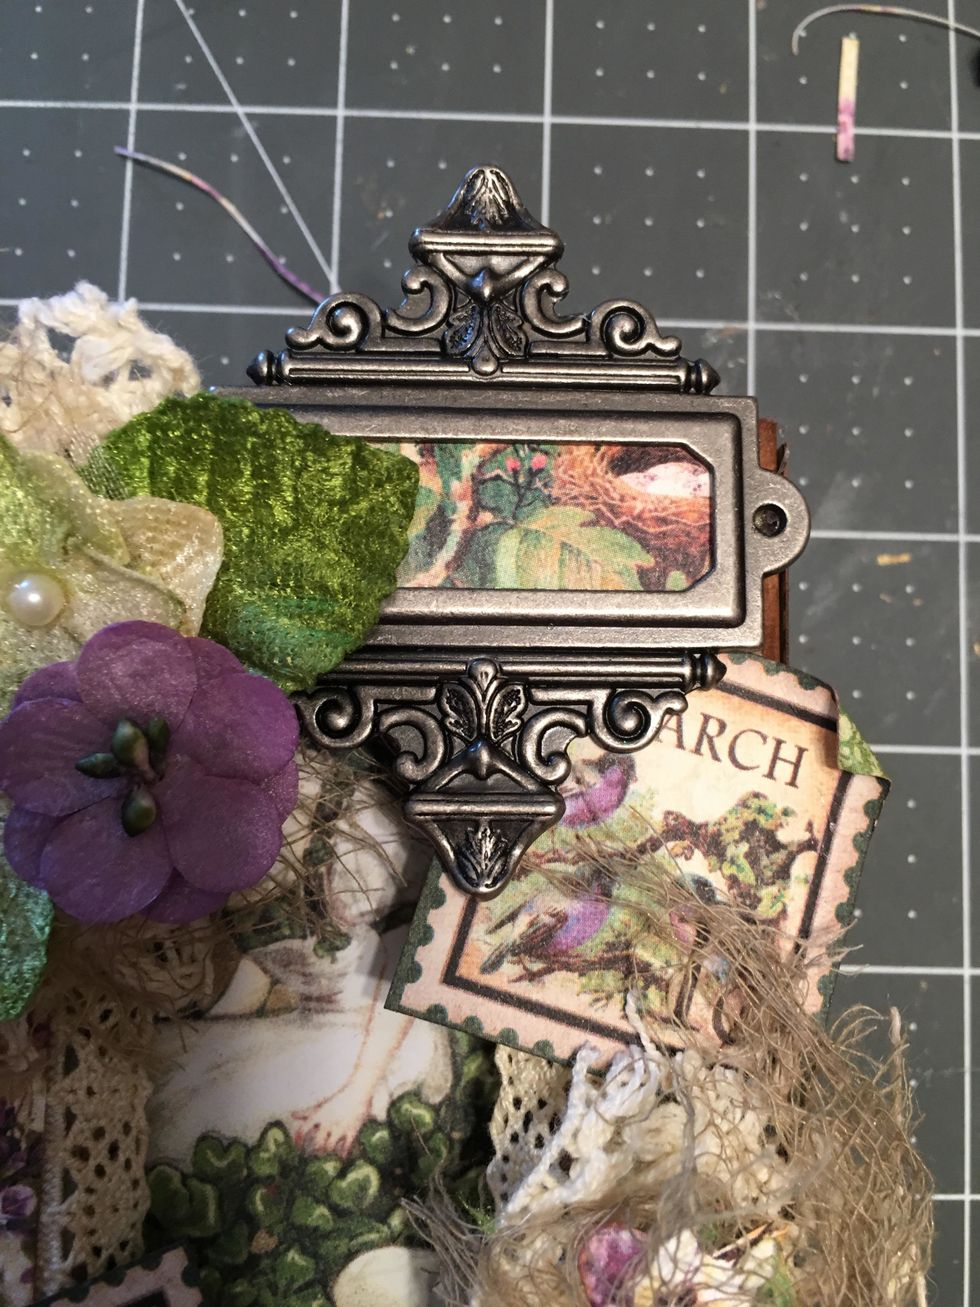
Position and glue the label holder in place at the upper right corner of the lid of the box. Hold until it sets.
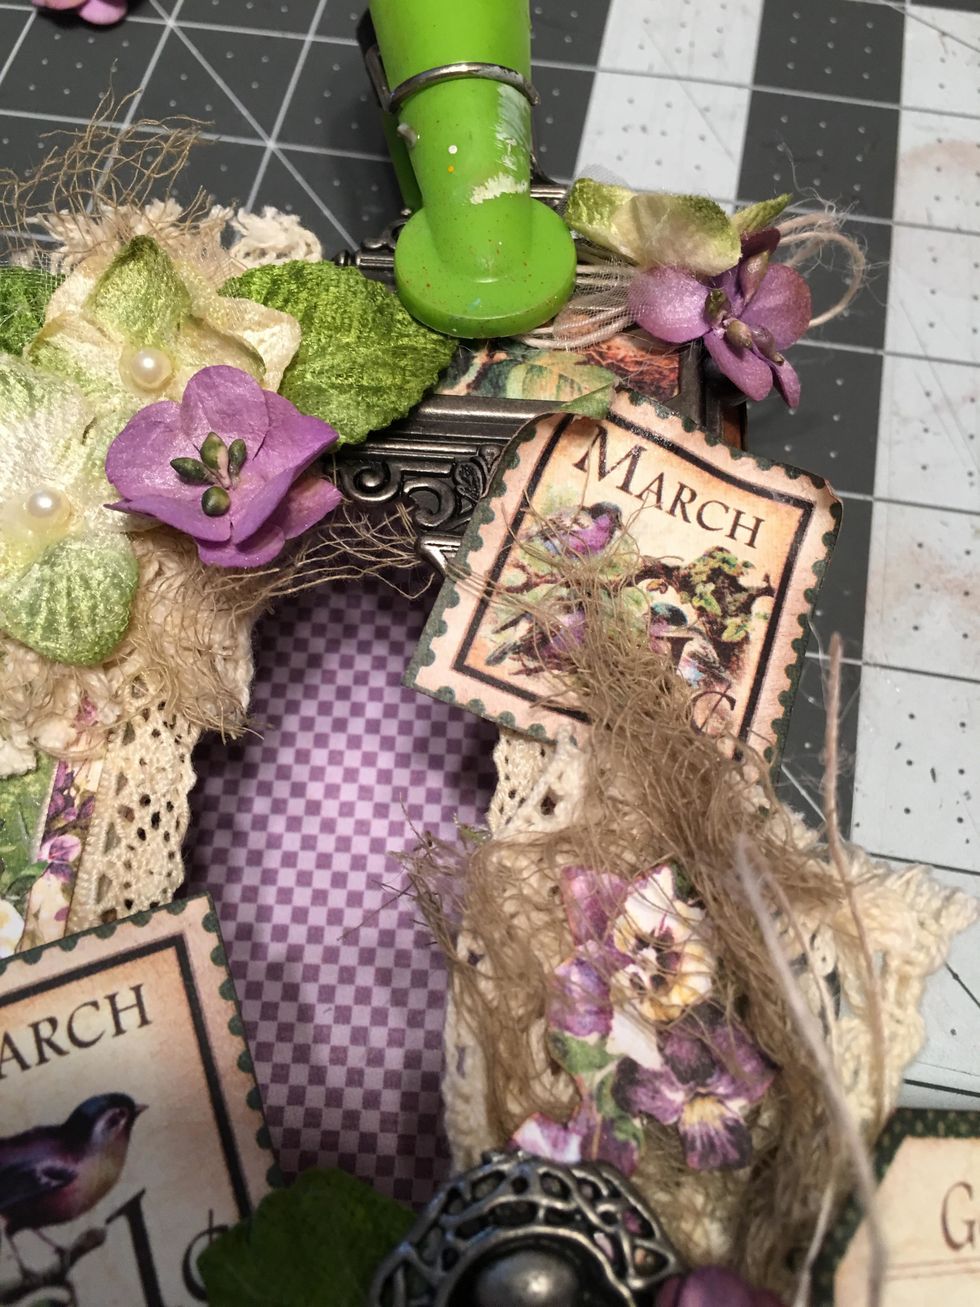
Add flowers and a button string bow to the right top of the label holder to hide the brad hole & a purple flower to the left. Clip & hold the metal piece in place until it dries completely. Glue
Measure and cut (ink the edges) of a piece of patterned paper and glue to the bottom side of the lid to securely hold the button string in place.
Glue assorted leaves, flowers and a green pearl brad to the front side of the slide in tray. (Only on one end which would be the bottom end of the tray.)
Hole punch and set a sliver eyelet in the first page of the fold out and tie a piece of button string through the eyelet hole to create a pull string for the foldout.
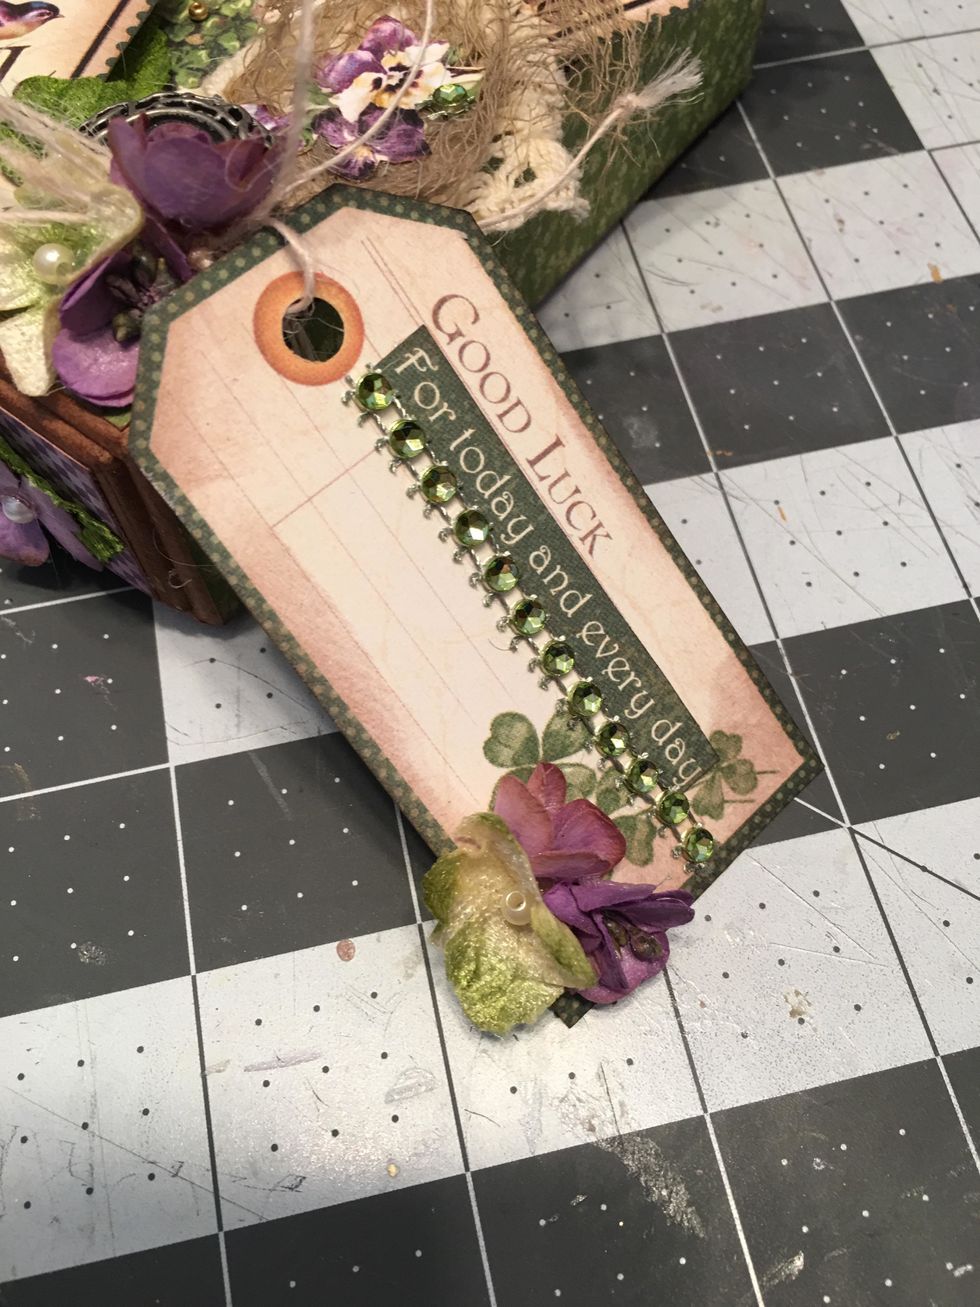
Add more decorations to the tag on the outside of the box by gluing a strip of green rhinestones and a strip of paper that says "For today and every day" as shown.
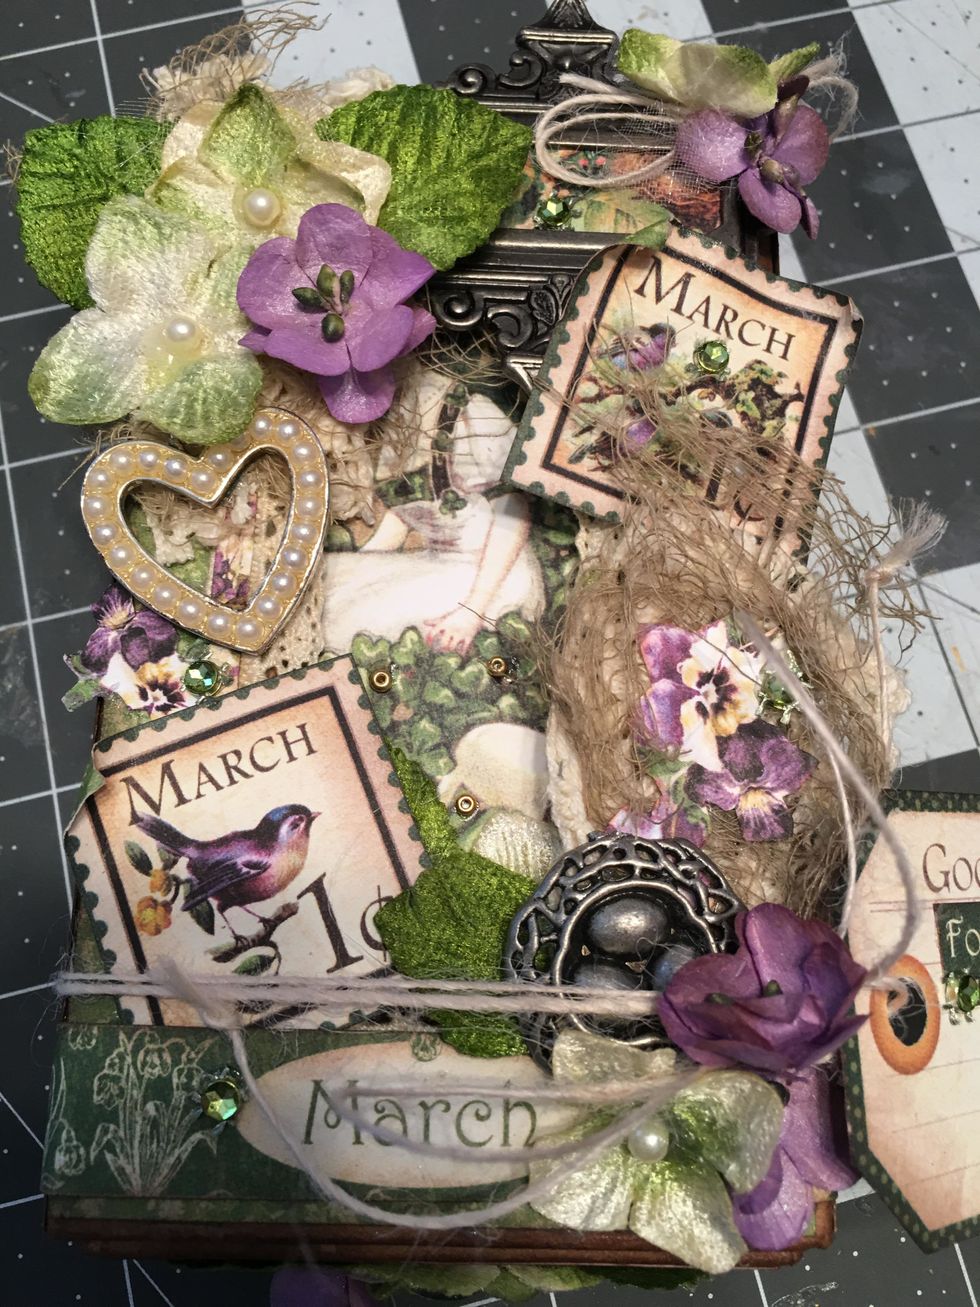
Glue other decorative bits to the front of your lid such as the white pearl heart charm, small green rhinestones and gold seed beads.

Decorate the first page of the fold out by gluing on leaves and flowers and gold seed beads.

Pattern and decorate each page by using decorative punches, adding flat back pearls, bits of the lace and gauze and flowers. Check each time you add in decorations to make sure your box still closes.
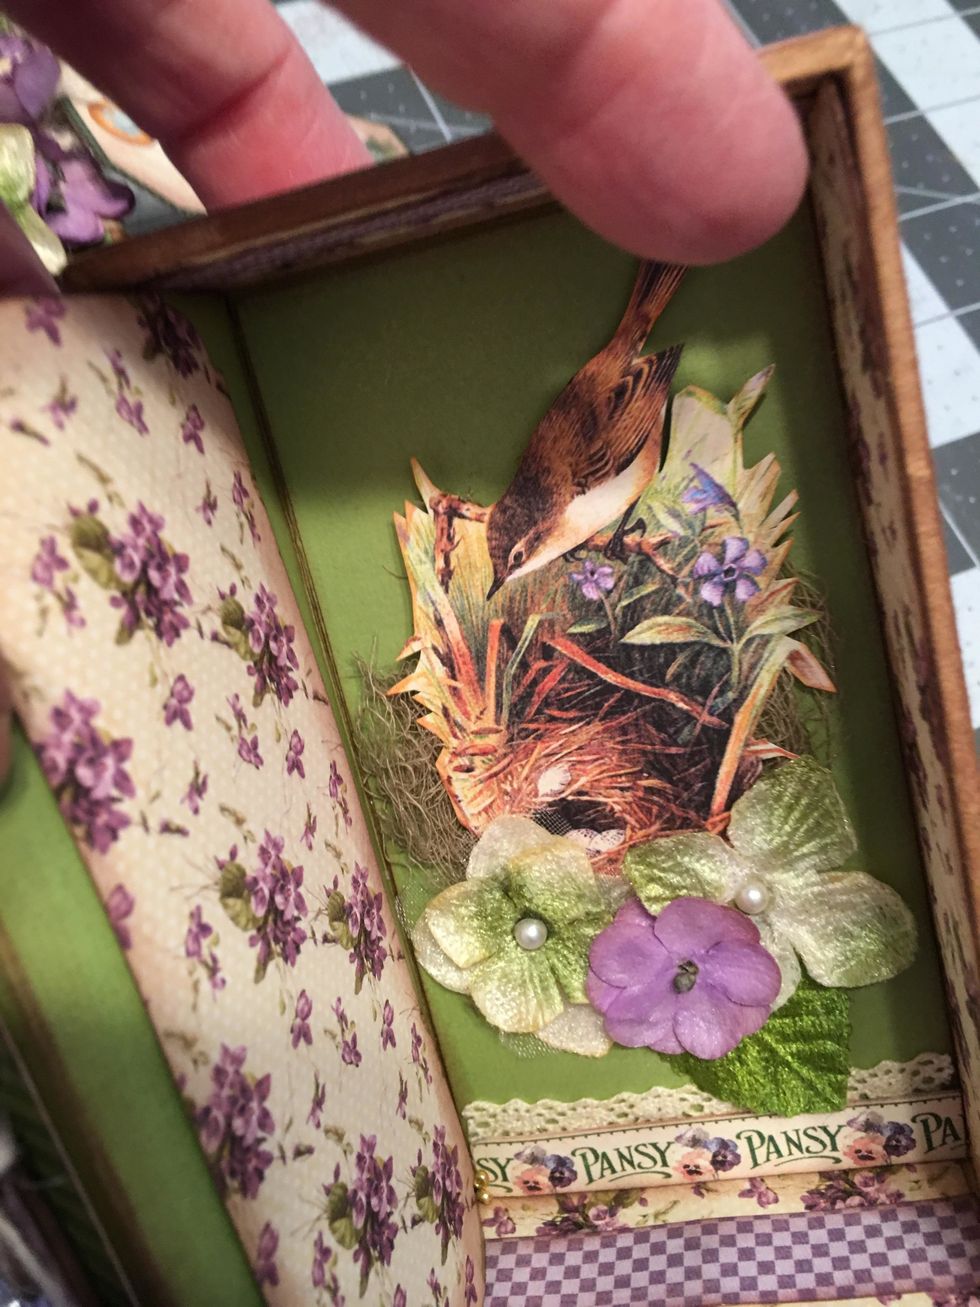
Fussy cut out some elements such as the bird and nest and glue into place with some of the flowers.
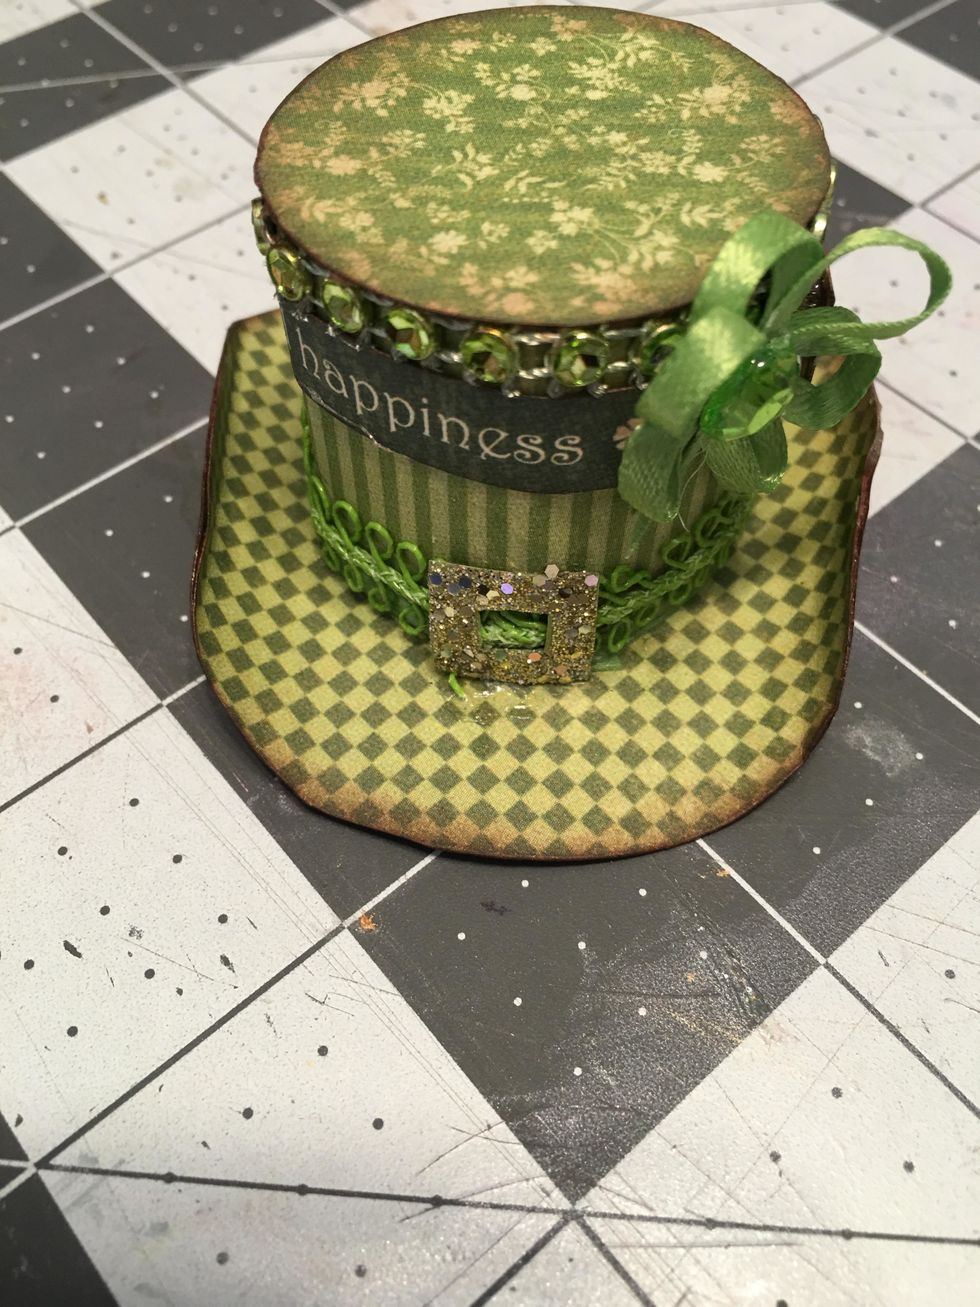
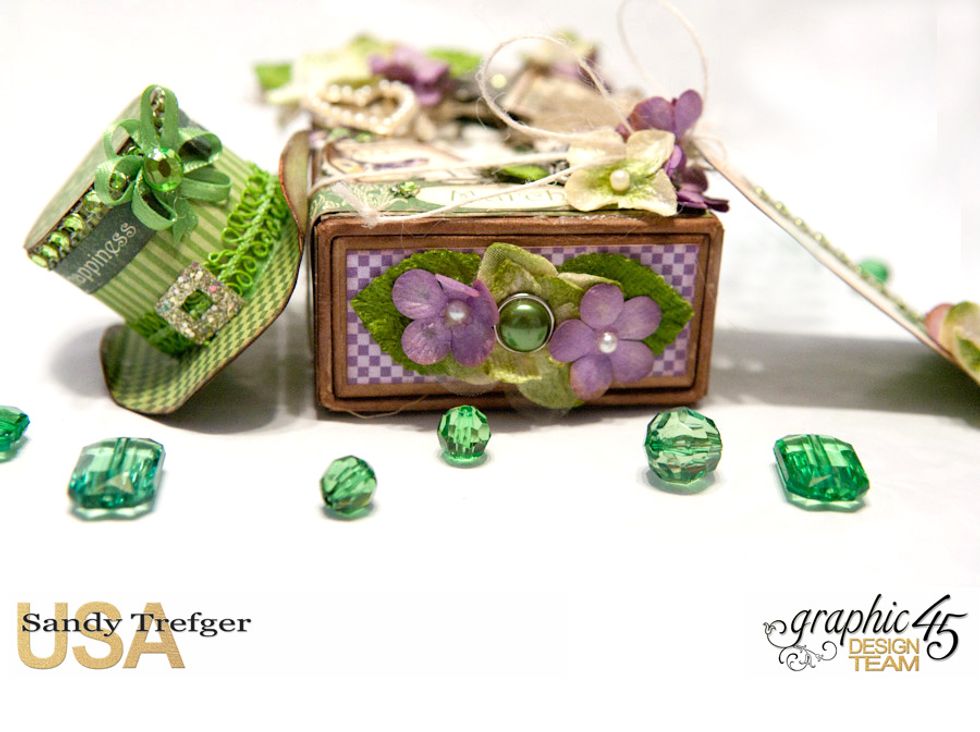
Bonus Project! From your bits of leftover paper, you could make a mini Leprechaun hat like this one!
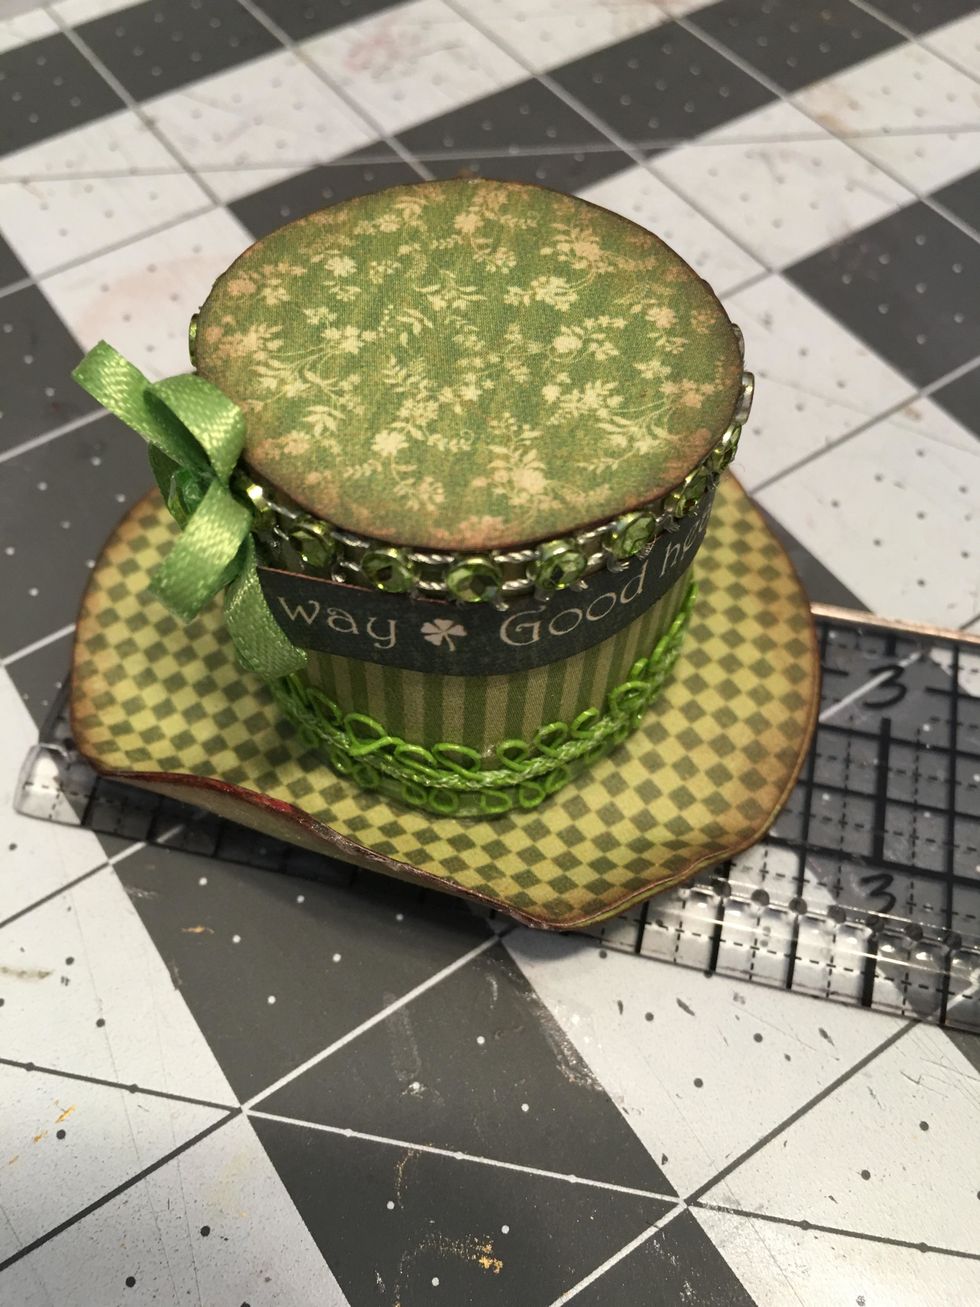
For the brim, cut one circle out of patterned paper about 2" in diameter.
For the top of the hat, measure and cut 1 circle of patterned paper about 1.25" in diameter. Cut a strip of paper the height you want and roll to fit the top of the hat. Glue together into a cylinder
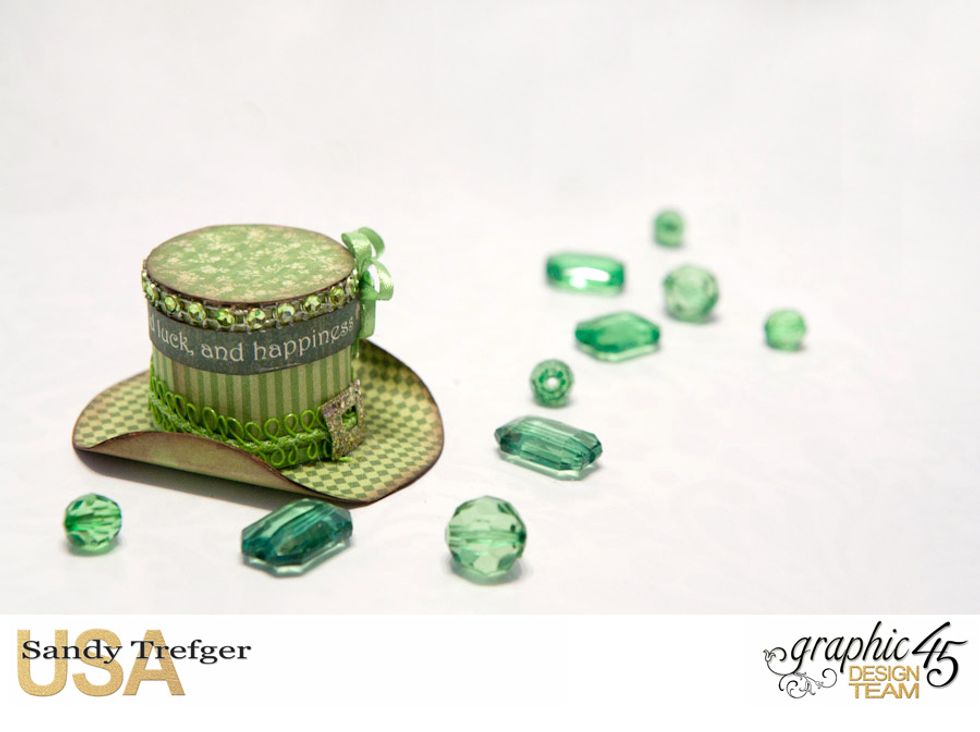
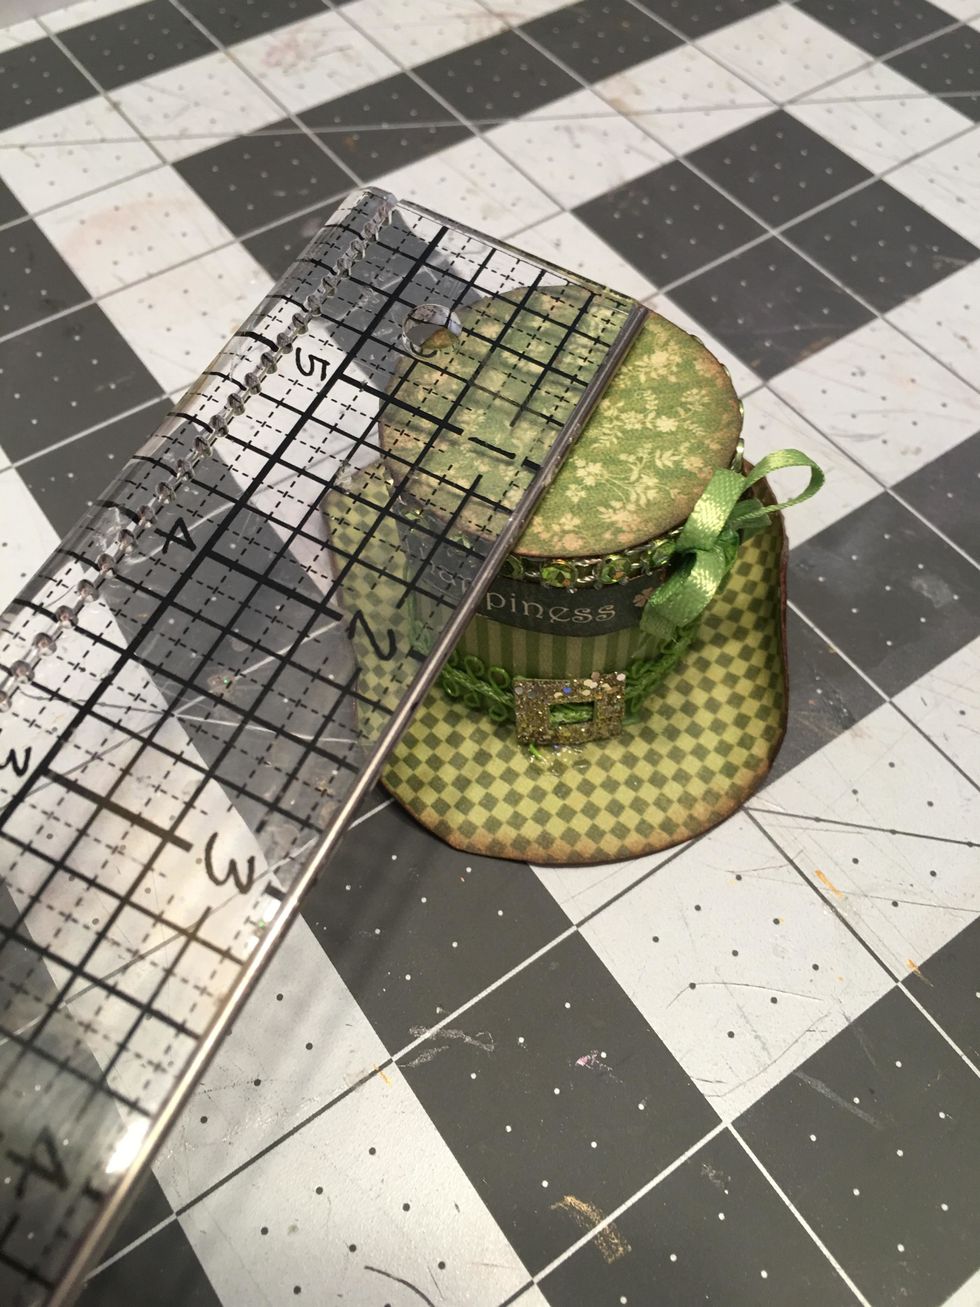
Glue the cylinder to the brim and glue the top to the cylinder. add trim, ribbon, bow and create a small buckle with scor-tape and fine glitter as shown. Ink all edges and curl up the brim a bit.
Thank you so much for following along and Happy Crafting! ~Sandy