The Conversation (0)
Sign Up
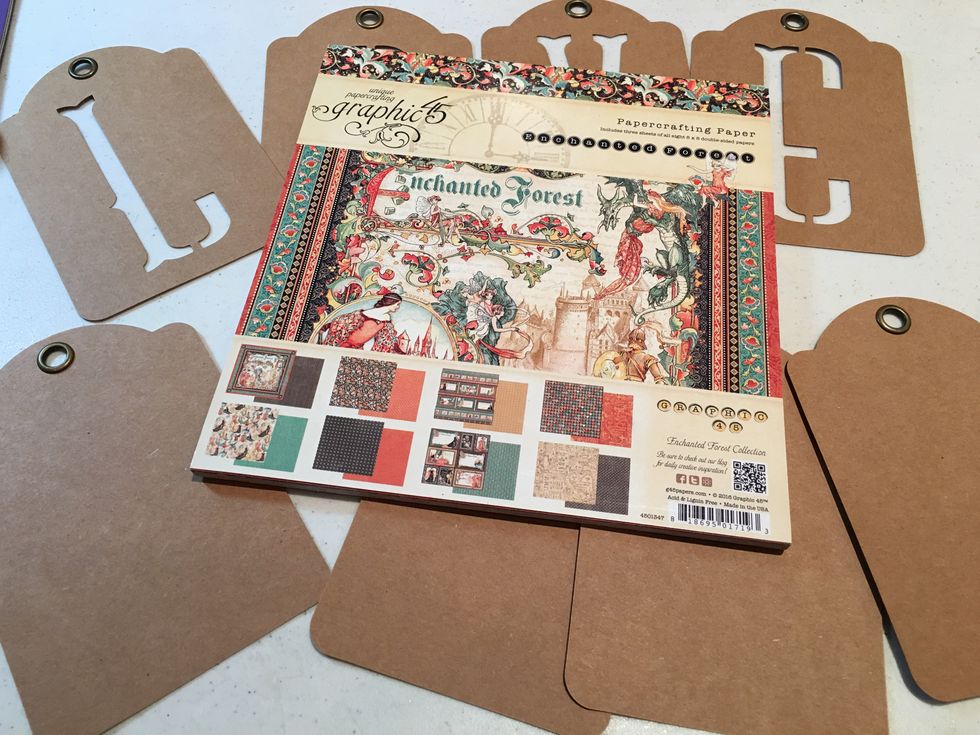
Gather your supplies together including the 8x8 Graphic 45 Enchanted Forest Paper Pad, Graphic 45 Alpha Banner Tags to spell "LOVE" and blank kraft Graphic 45 Square Tags.

Cut 1" wide strips of patterned paper just a tad shorter than the height of the tags, fold and score in half lengthwise. This will create the hinges to attach the tags together to create your album.
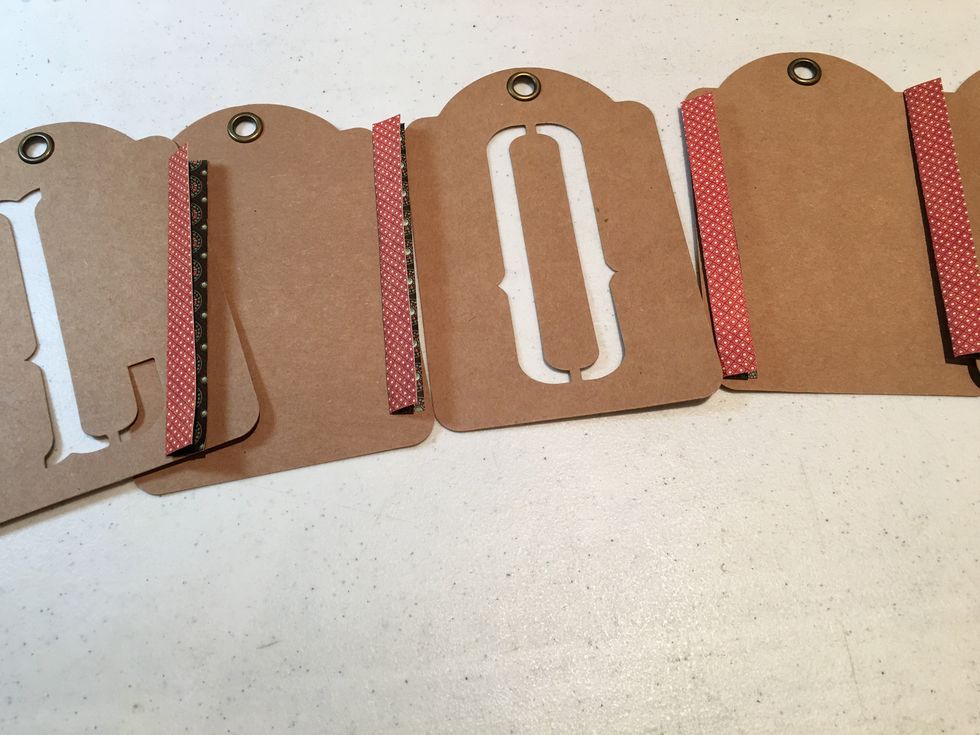
Lay out your tags and "LOVE" tags into the order you would like them to be and use double sided tape or liquid adhesive on the hinges to attach the tags together to form an album.

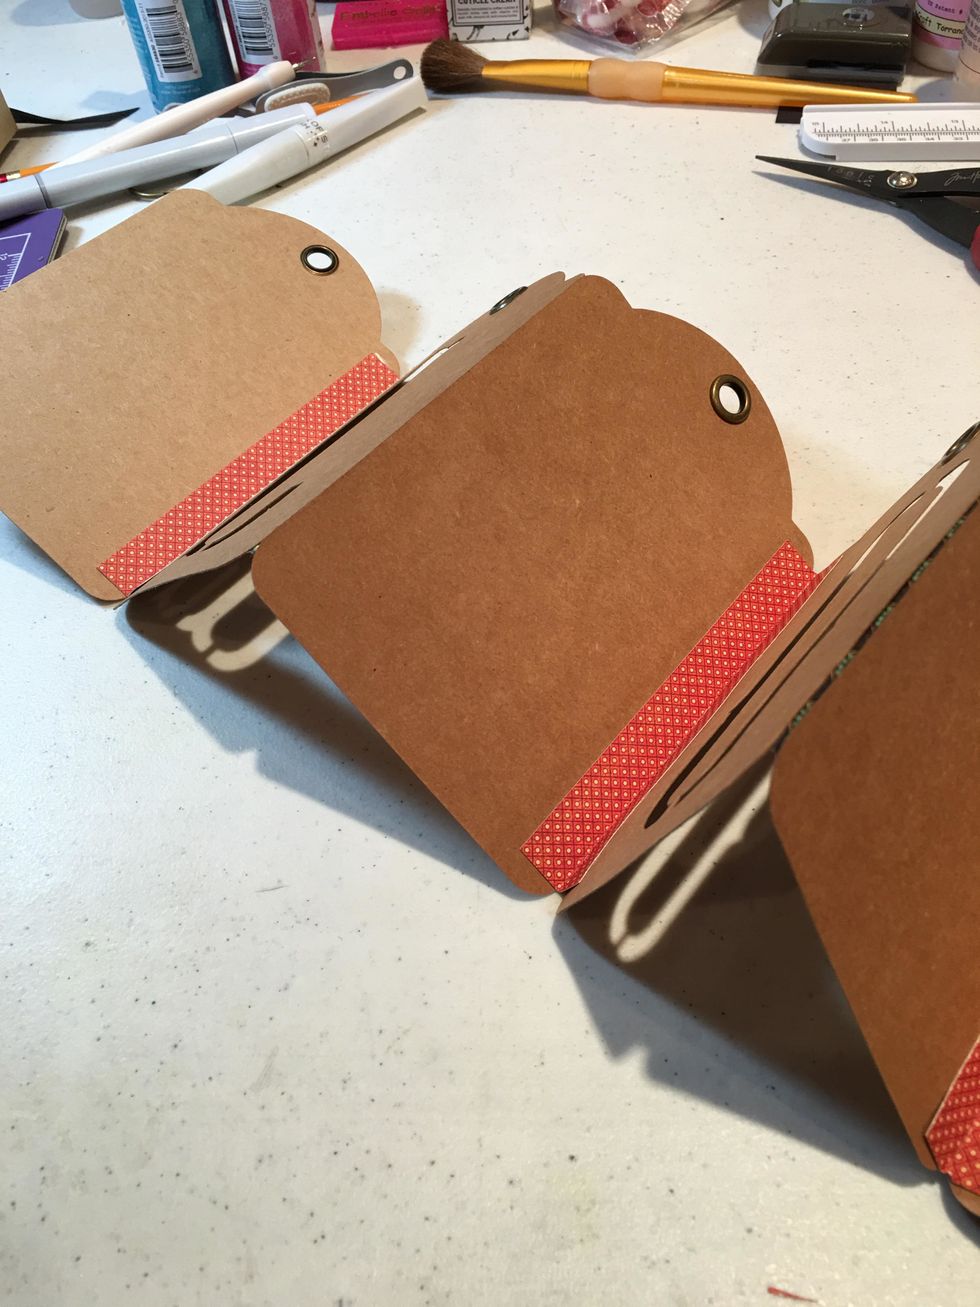
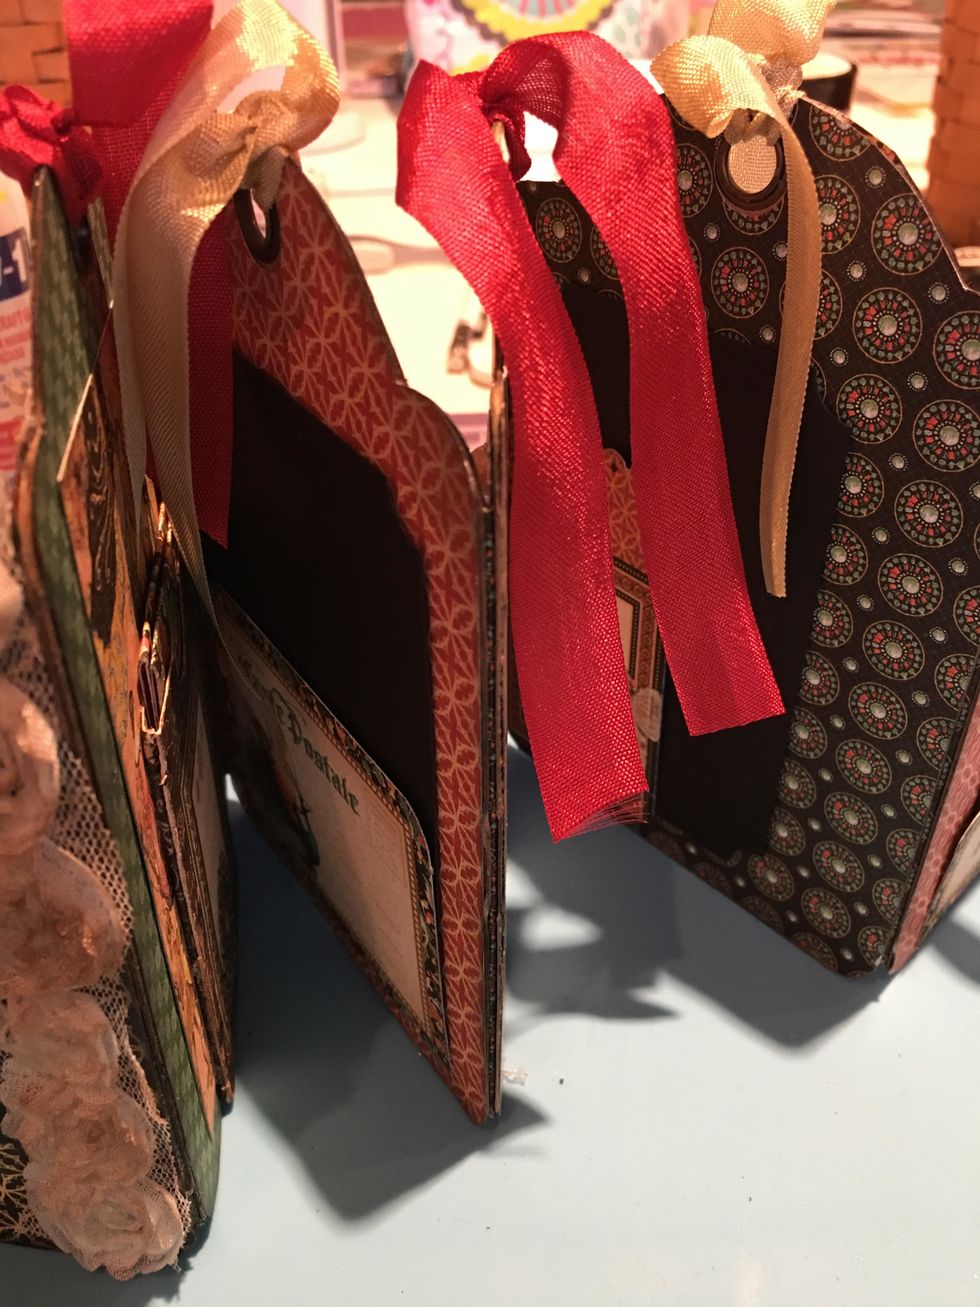
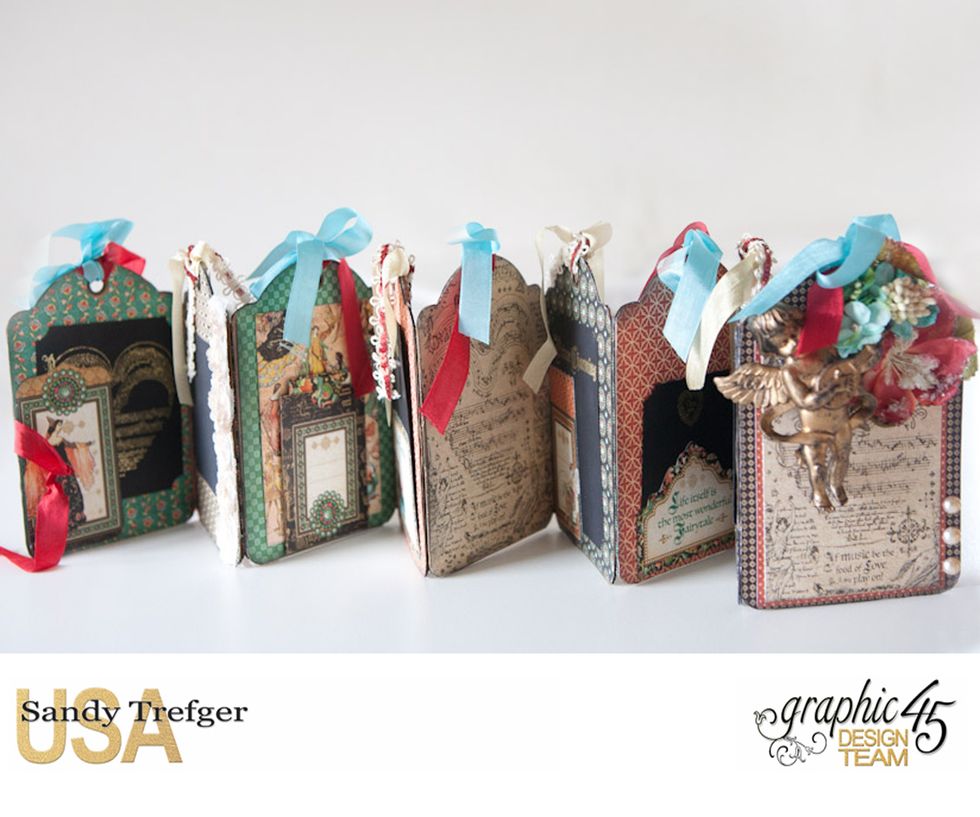
This is how your tags will look once attached together. Make sure the fold line of the hinge is straight and in between the tags so they fold up easily.
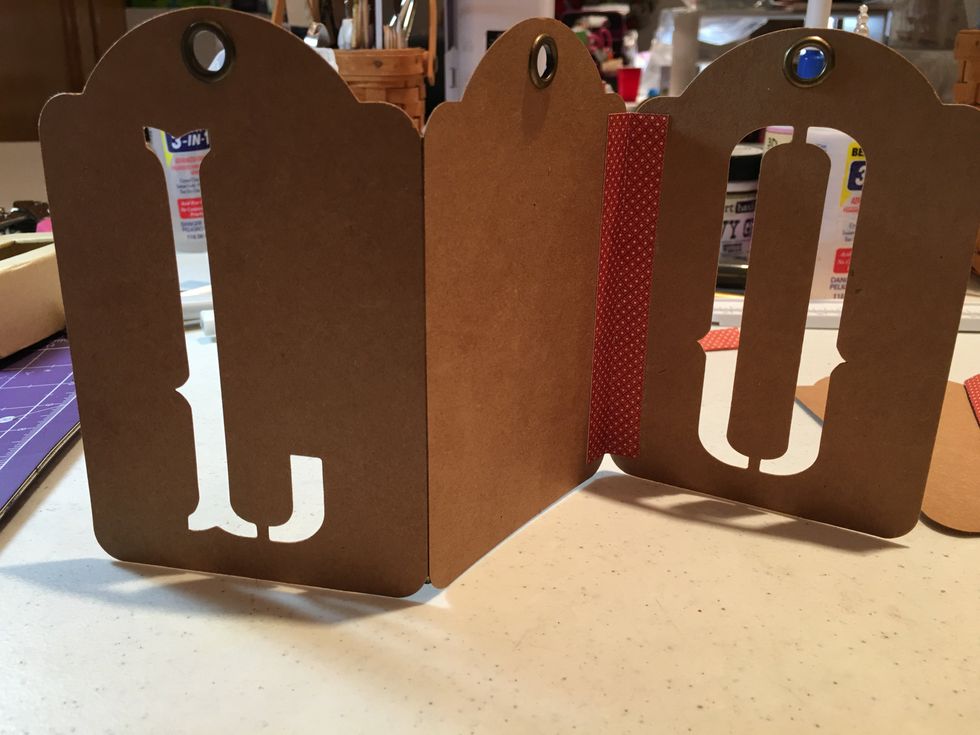
This is another photo to show you how they look attached and folded so that they will also stand up as a table top banner.
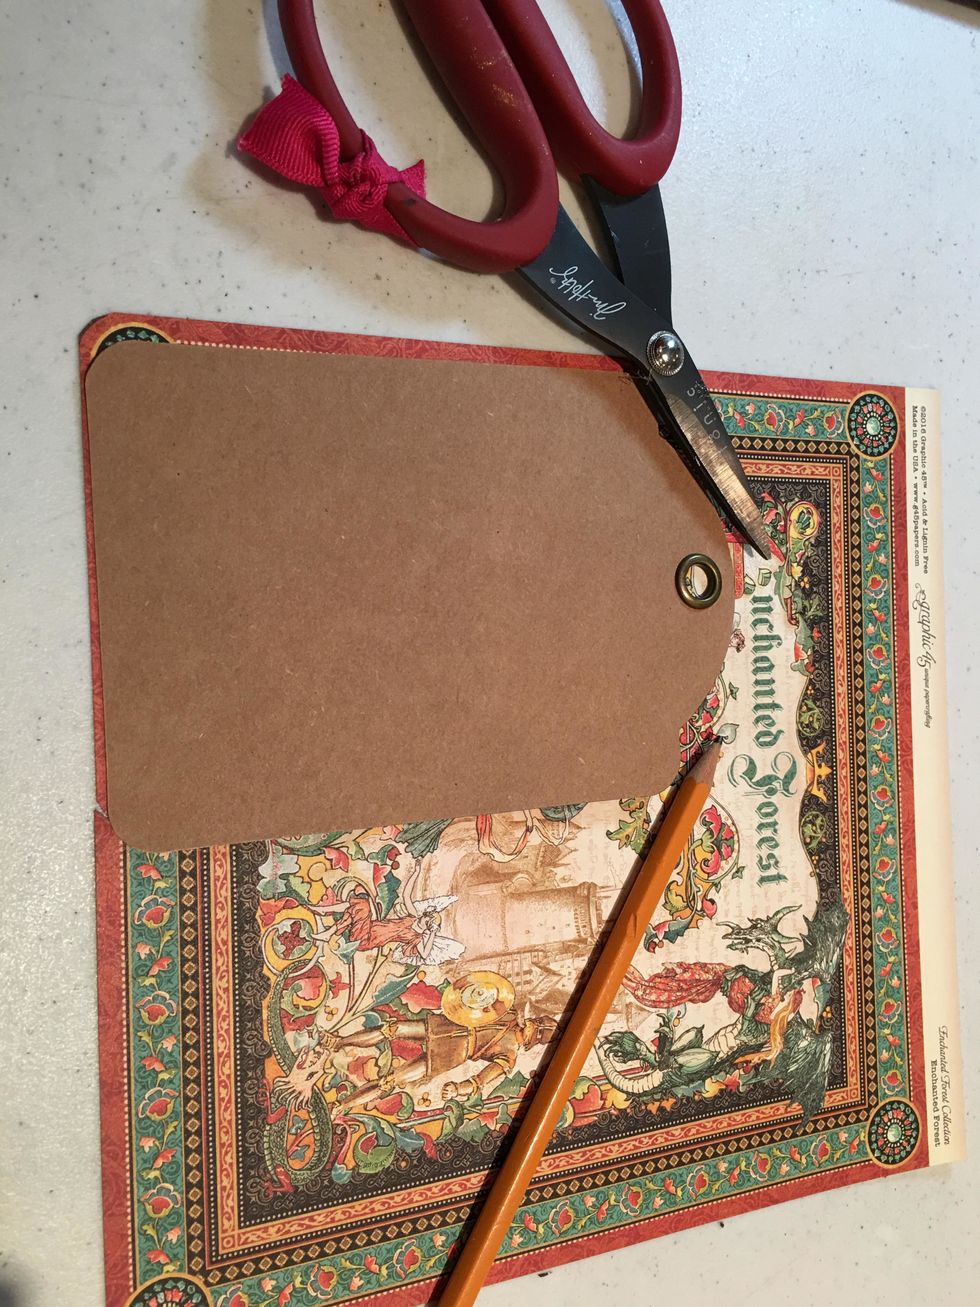
Next for each tag, select the patterned paper you want for the front and back. Trace the tag with a pencil and cut out the paper with your scissors.
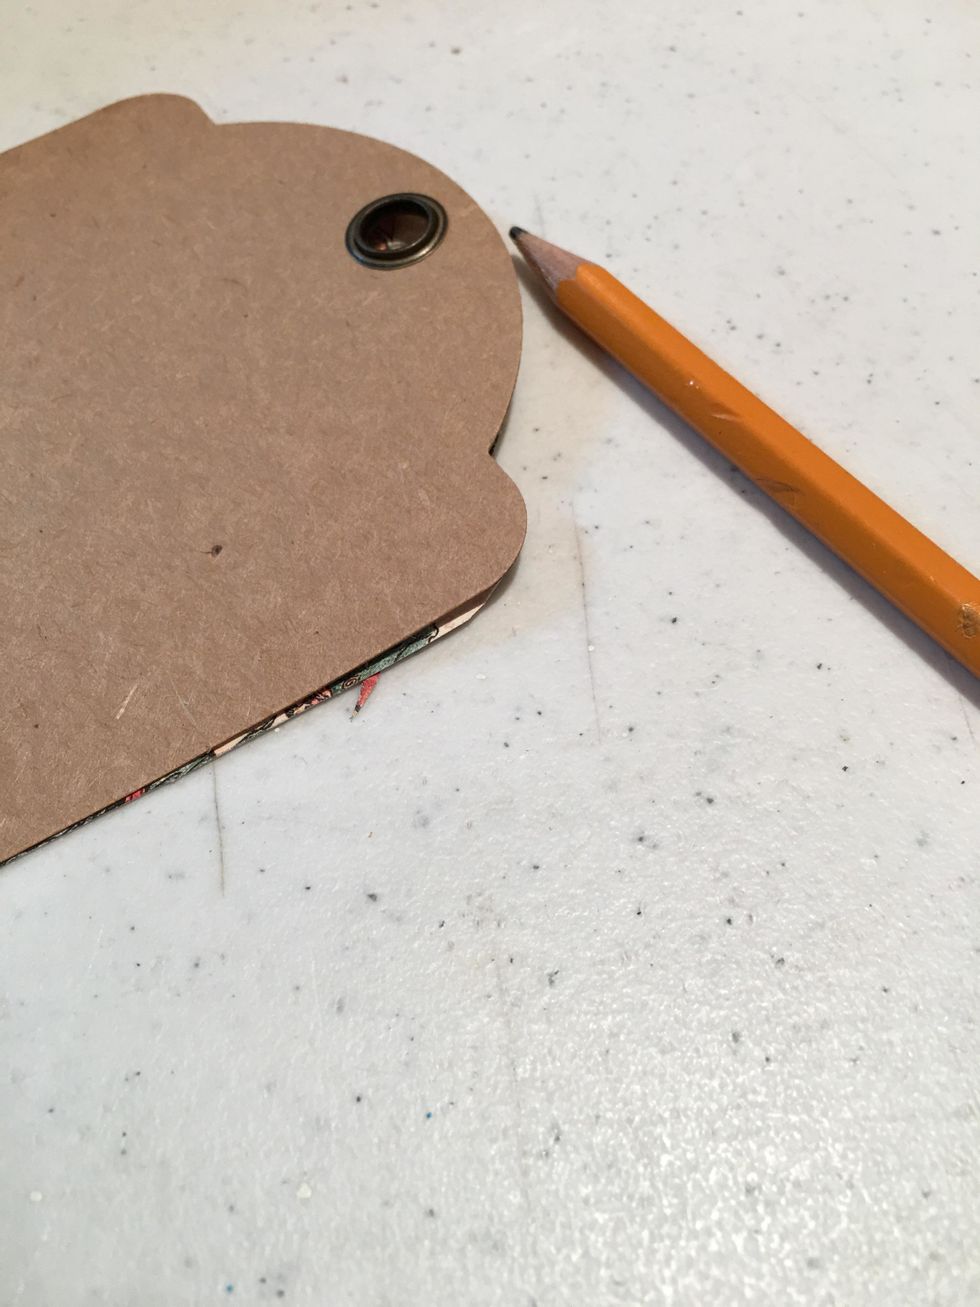
Use your pencil to mark the grommet hole for the tag.
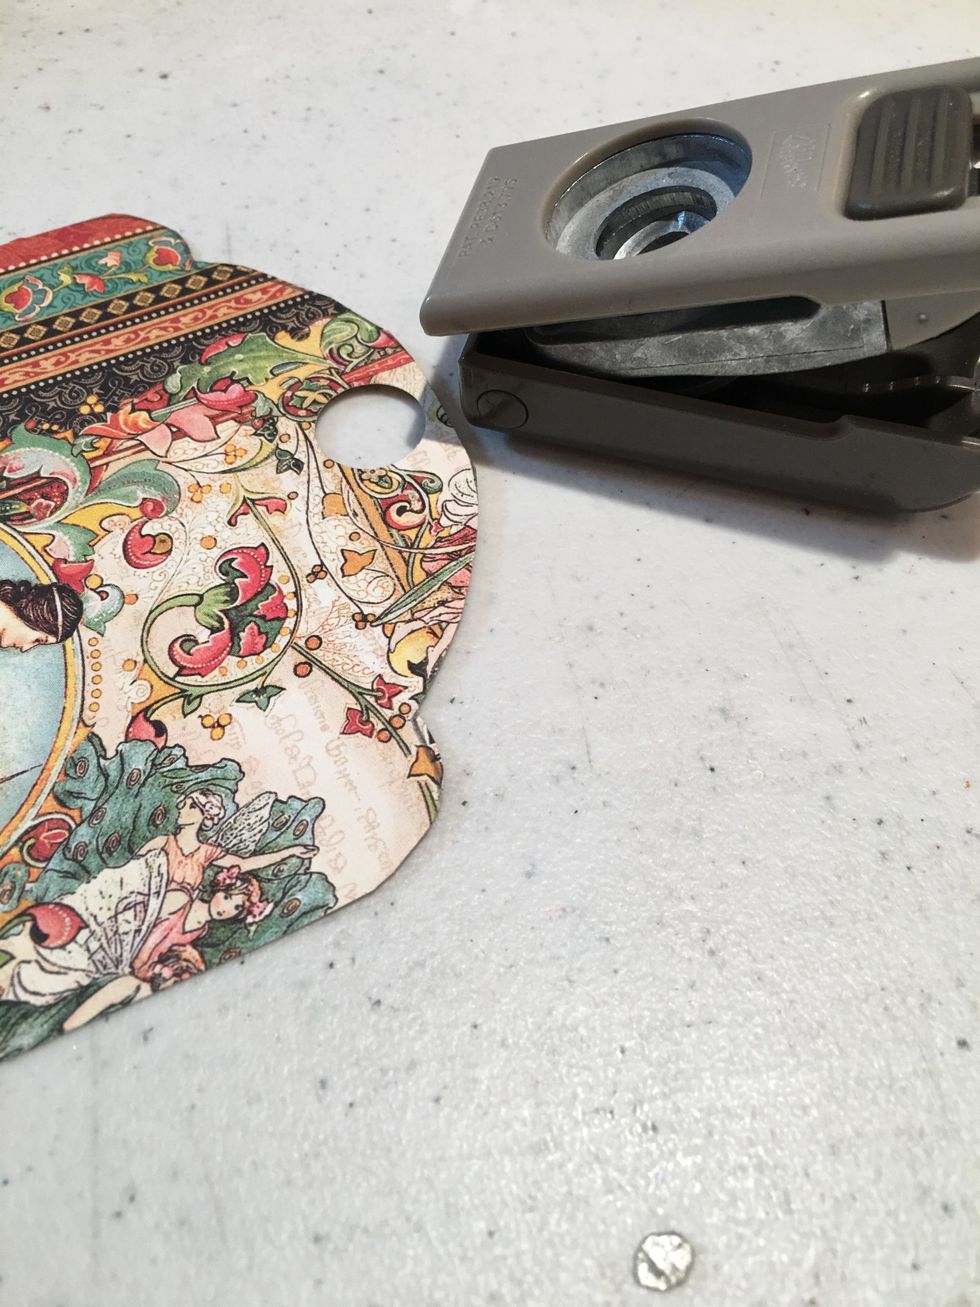
Use a 1/2" circle punch to punch out the hole for the grommet of the tags. Do this in the patterned paper for the front and back of each tag.
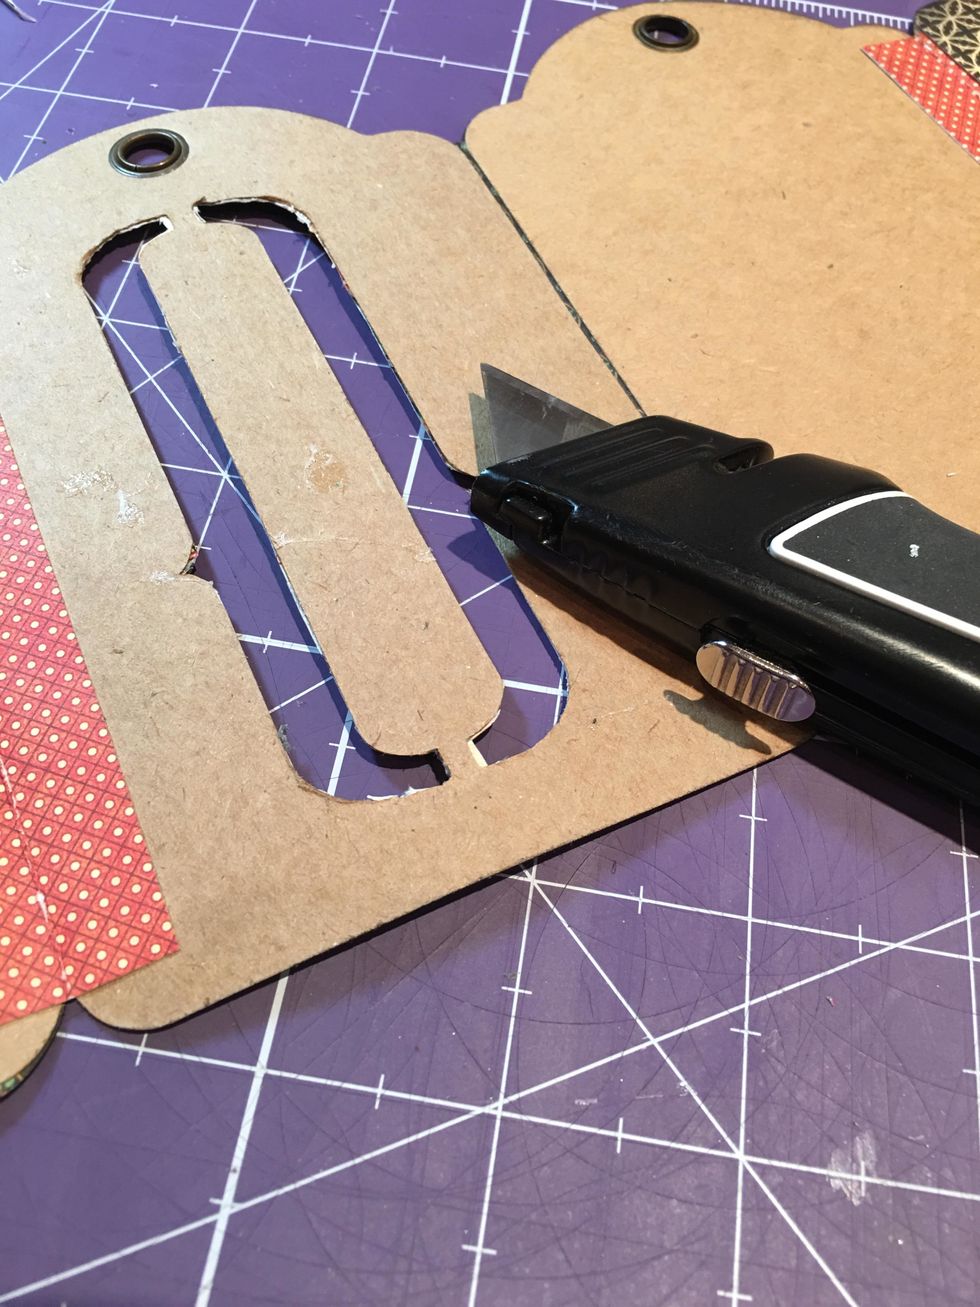
For the alpha tags, you will need to cut out the letters from the patterned paper. Use a craft knife or small scissors.
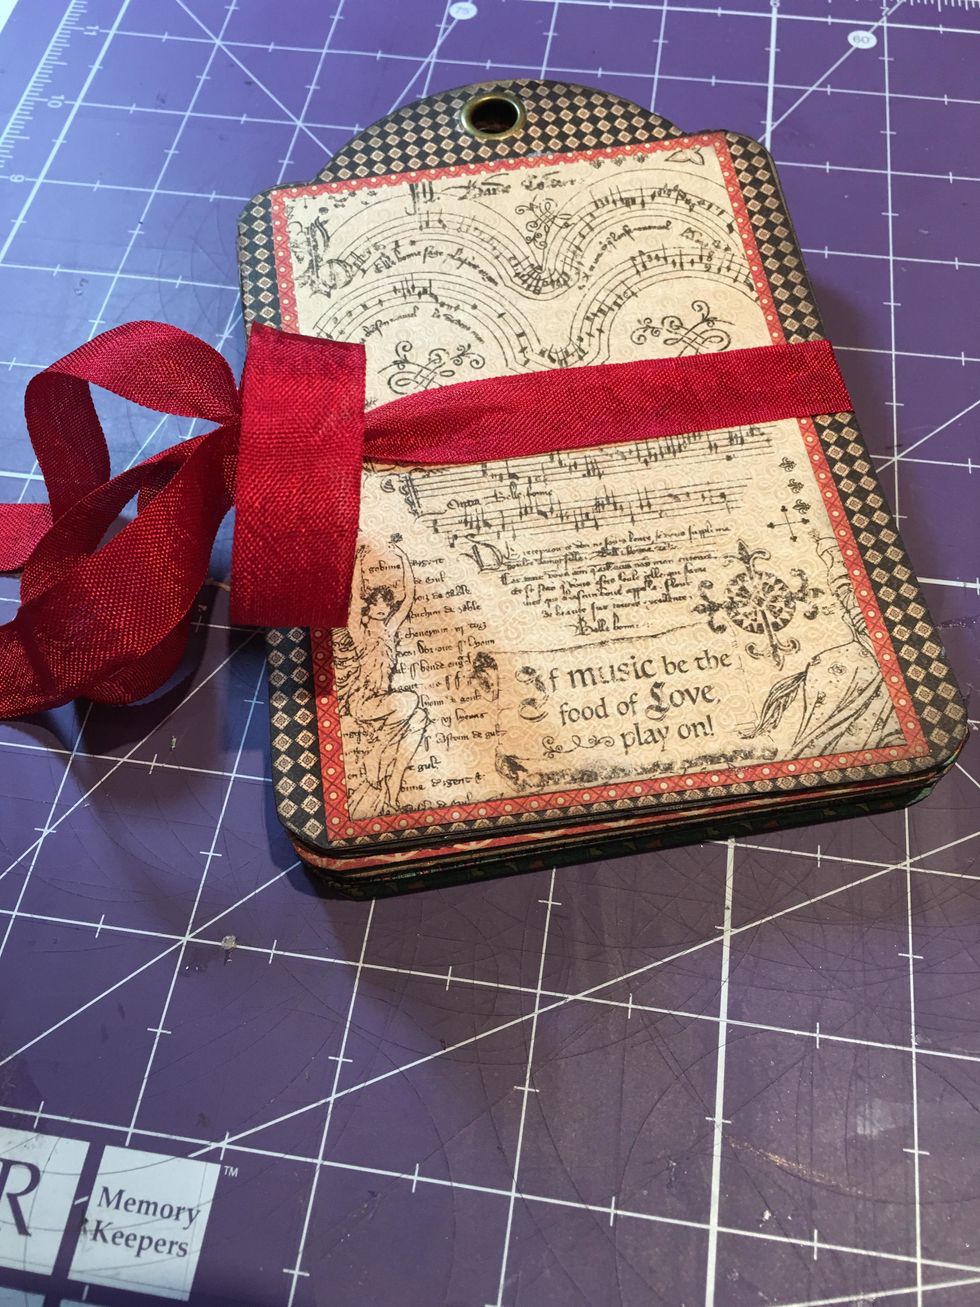
Attach the patterned papers you have cut out onto your tags as desired. Layer different papers as shown in this photo to the front.Attach and wrap a ribbon around the album and tie closed on one side

Use black distress ink to ink all the edges of your tag pages and covers.
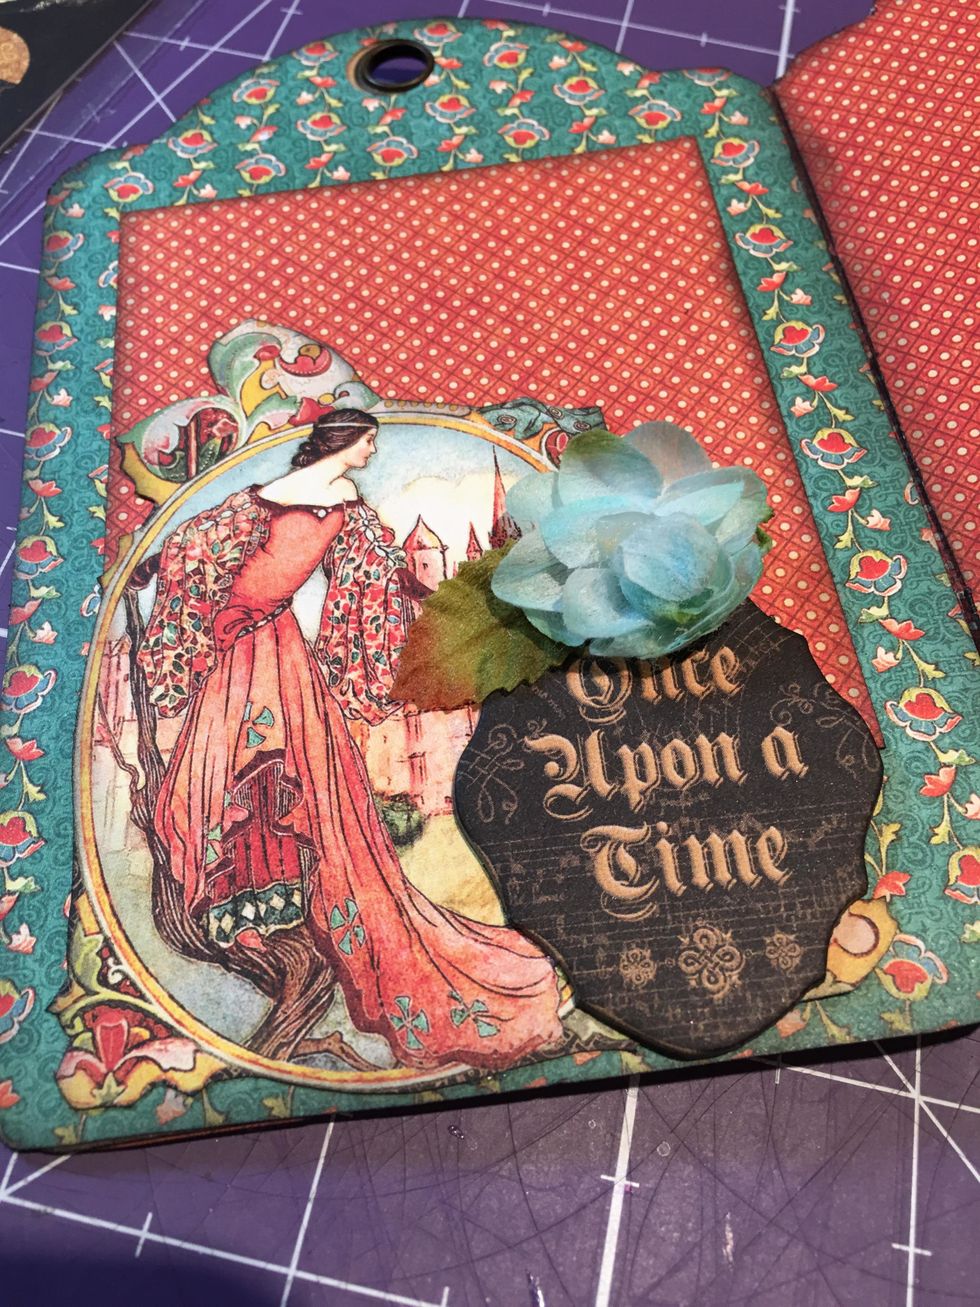
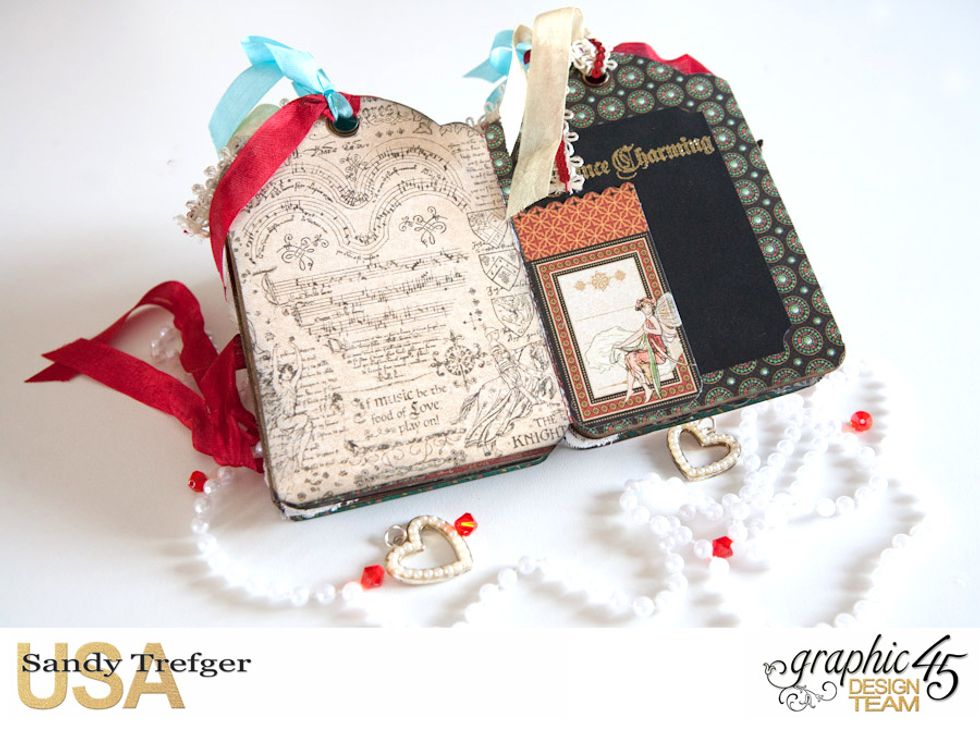
Add images that you fussy cut out of the pattern paper along with flowers and chipboard embellishments from the collection to different pages of your album.
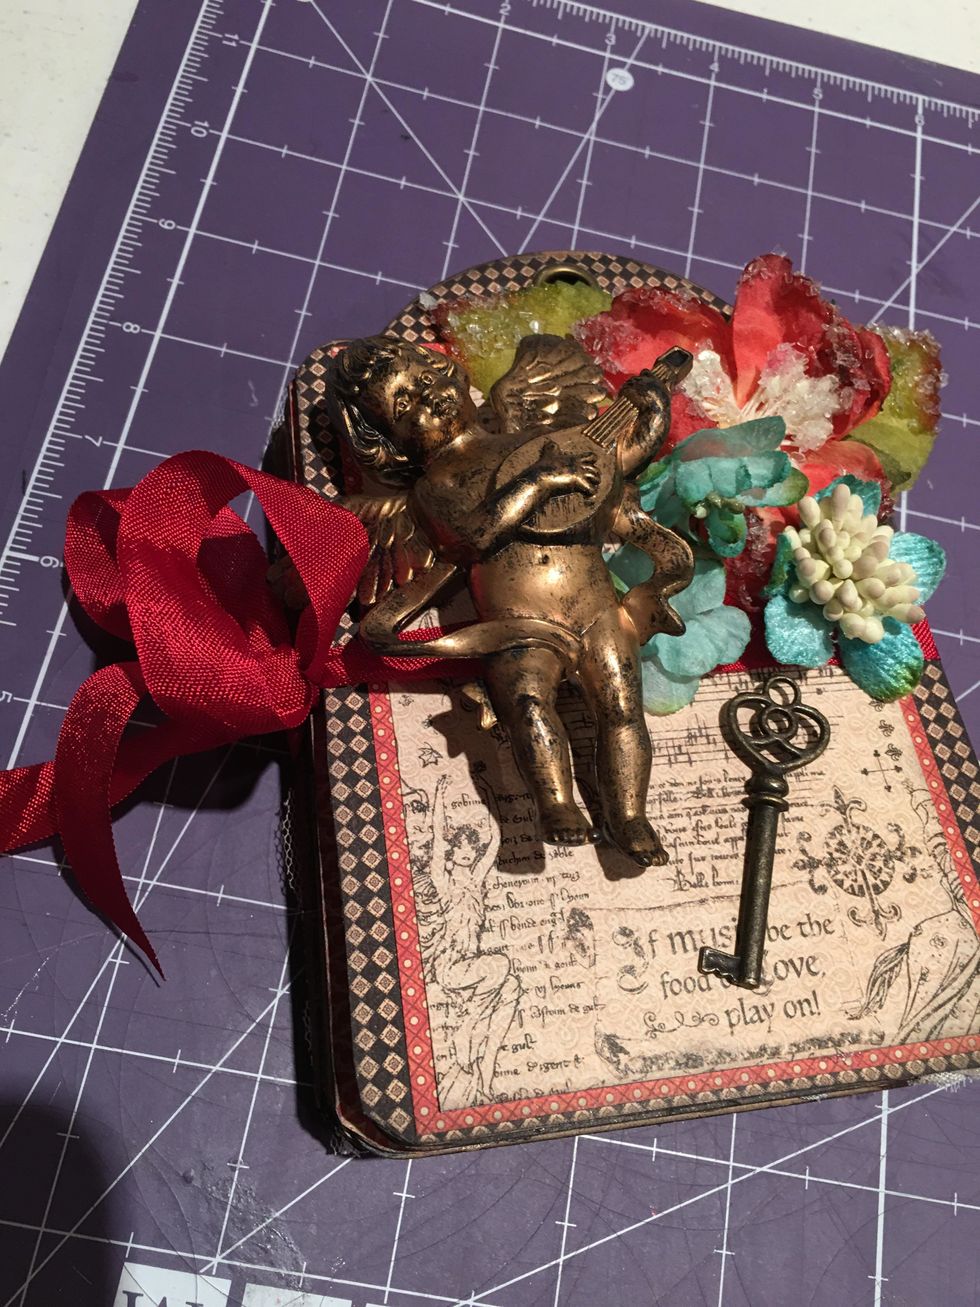
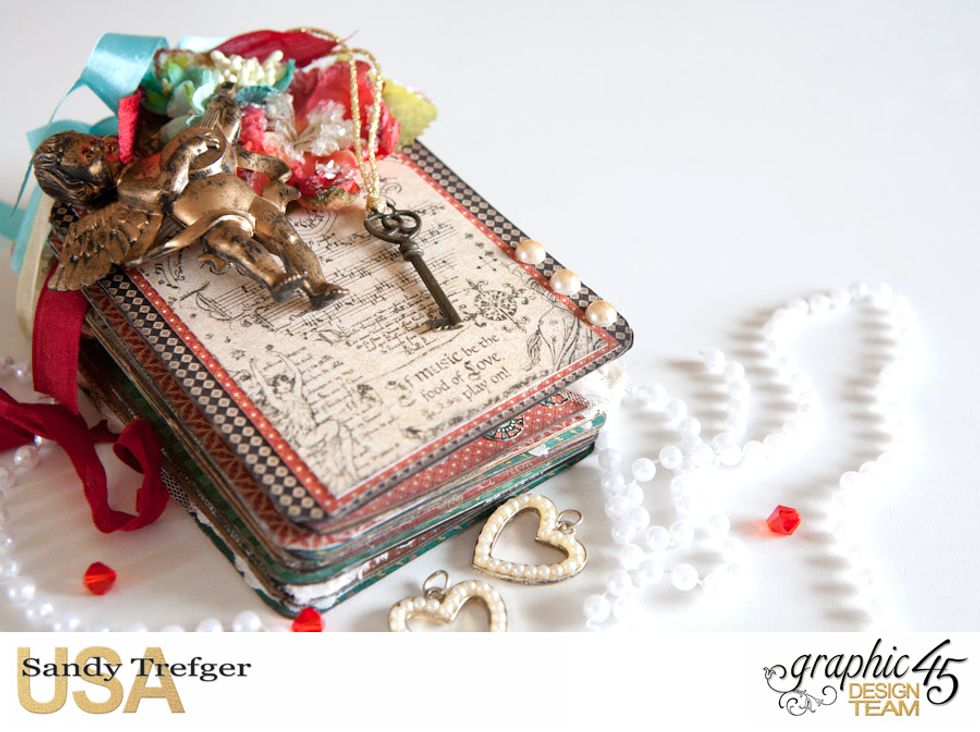
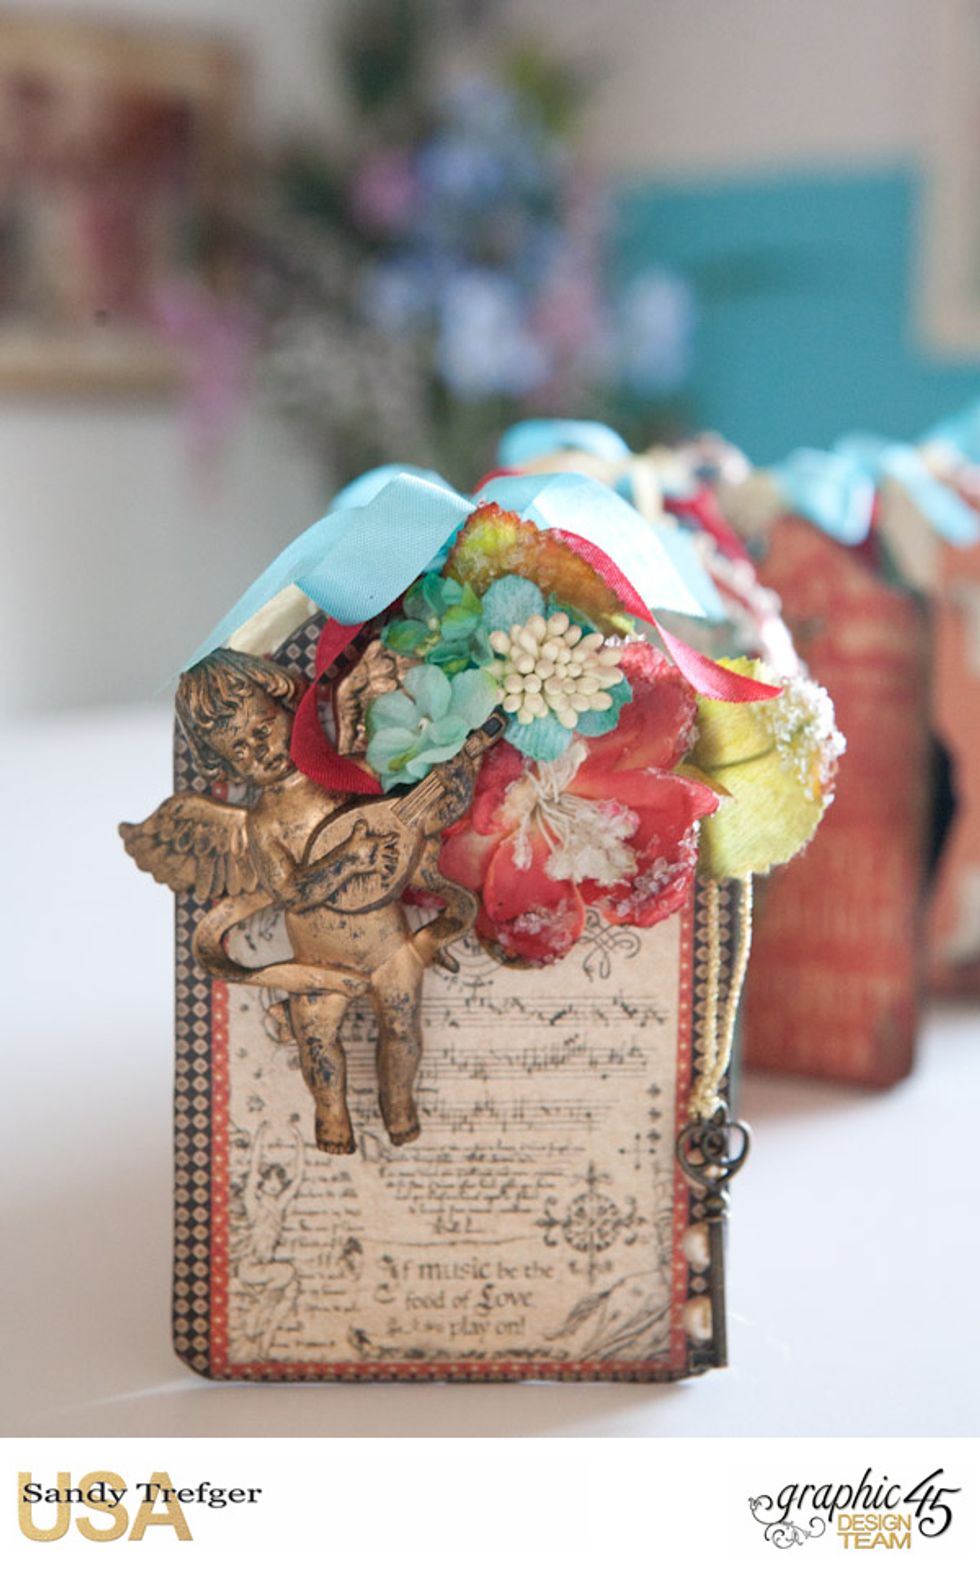
If you have a cherub ornament, use hot glue to attach it to your front cover along with an arrangement of the flowers and tie on the key using a gold cord and tie into the hole on the first tag.
Tie assorted ribbons and lace into the holes of each tag.
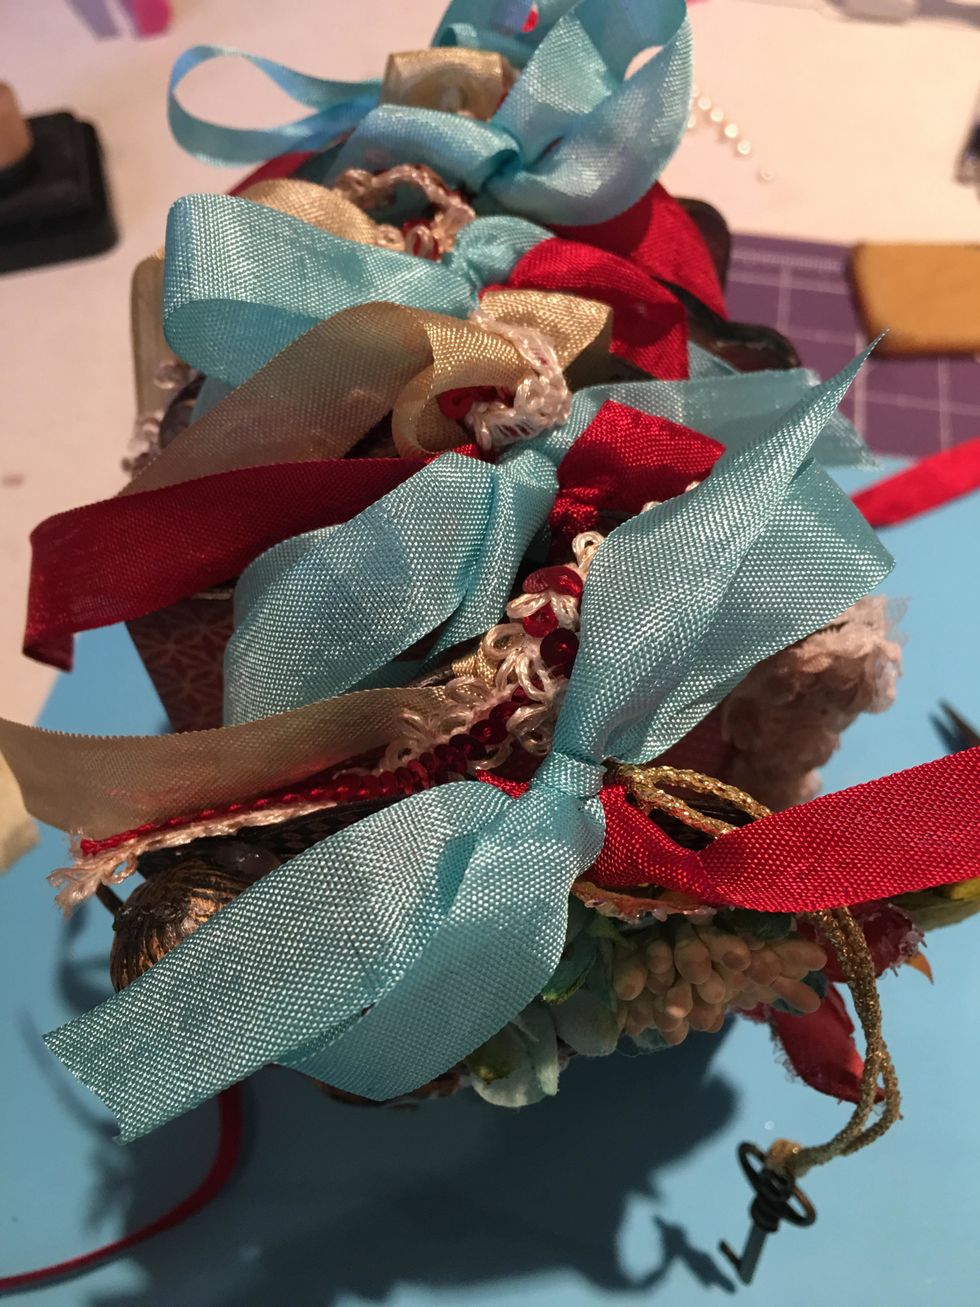
Use a couple of different ribbons and trim in each hole so your album looks full on top like this. Here you can see the key tied to gold cord through the first hole.

This is how the cover now looks with the key attached with the gold cord.
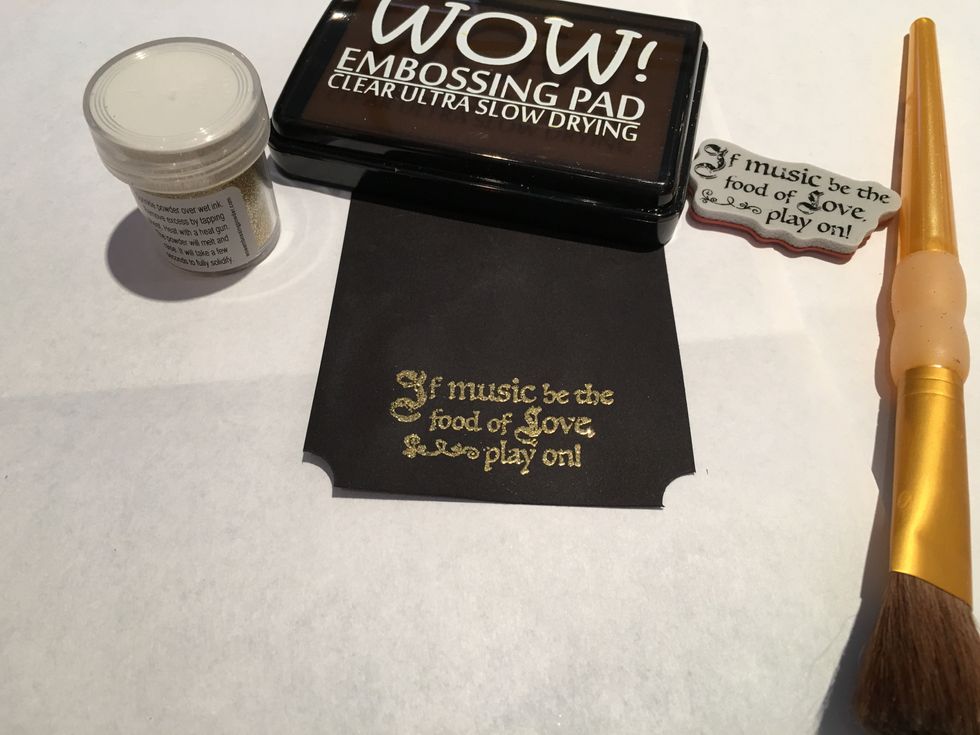
Create various tags and photo mats out of black cardstock. Use embossing ink, gold embossing powder and the stamps to add photos and sentiments to some of your tags.
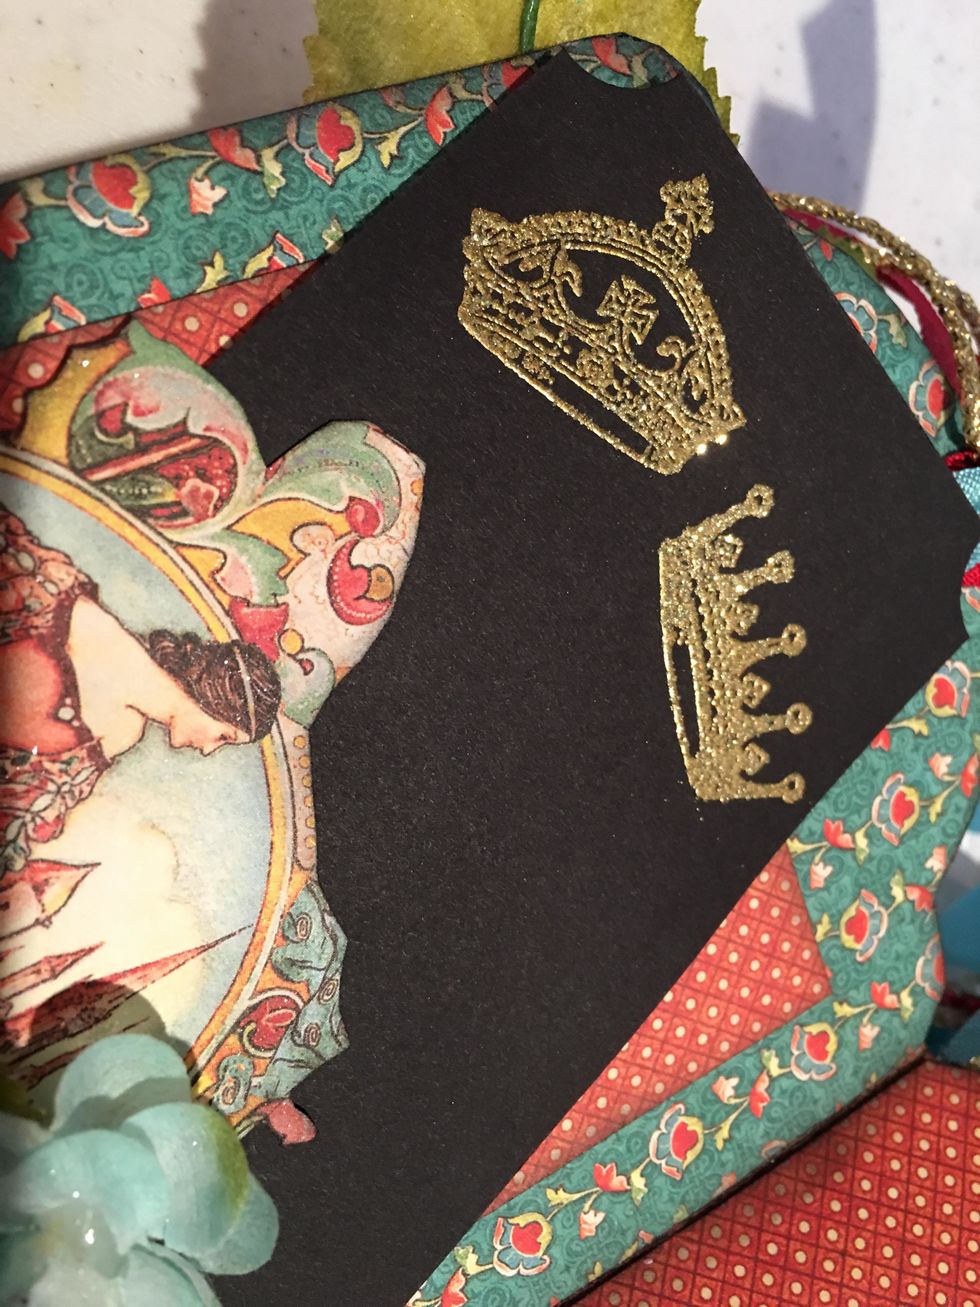
The cling Enchanted Forest Stamps work beautifully with the embossing powder. Heat set each with a heat gun.

Insert the tags into various pockets you may have created in your album with chipboard pieces and envelopes/tags from the collection. When finished, tie your album shut. Add pearls and other trim.
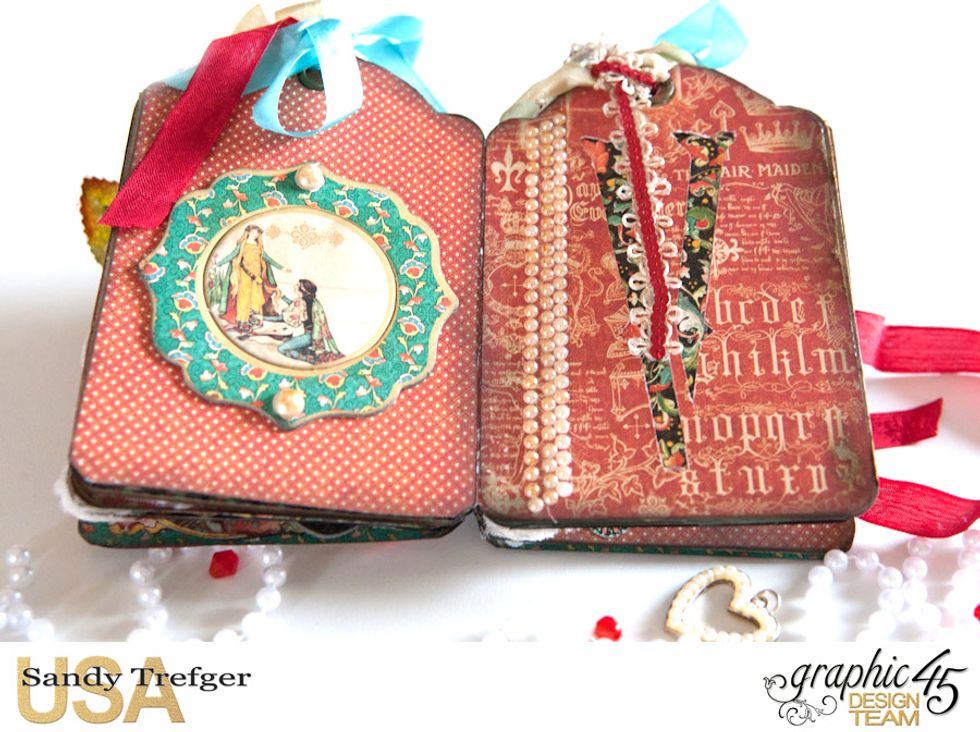
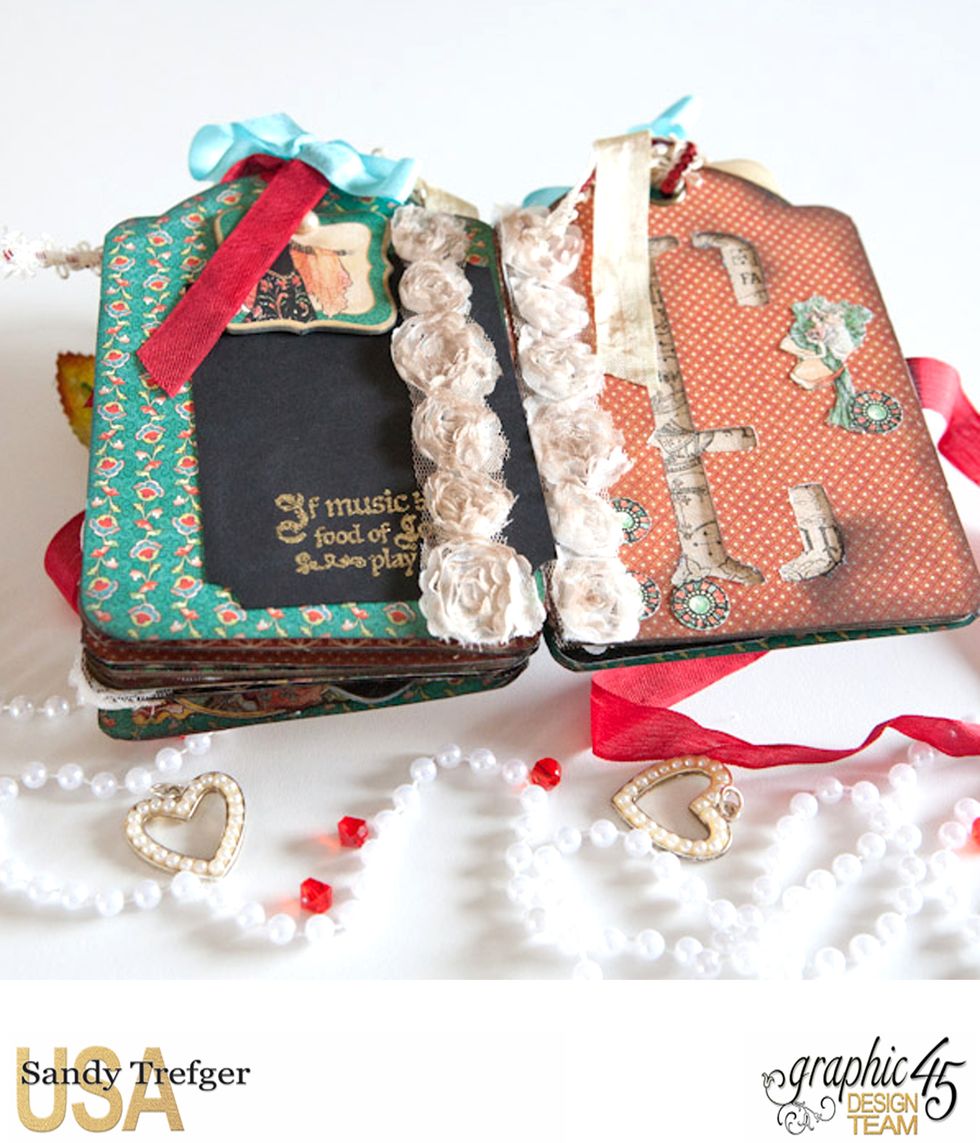
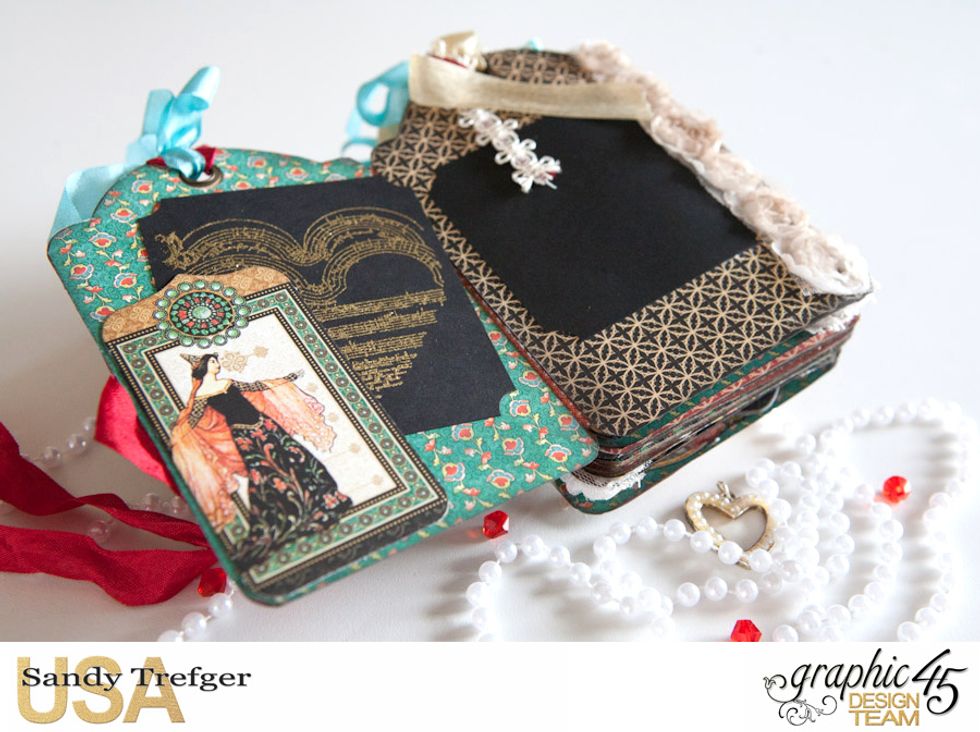
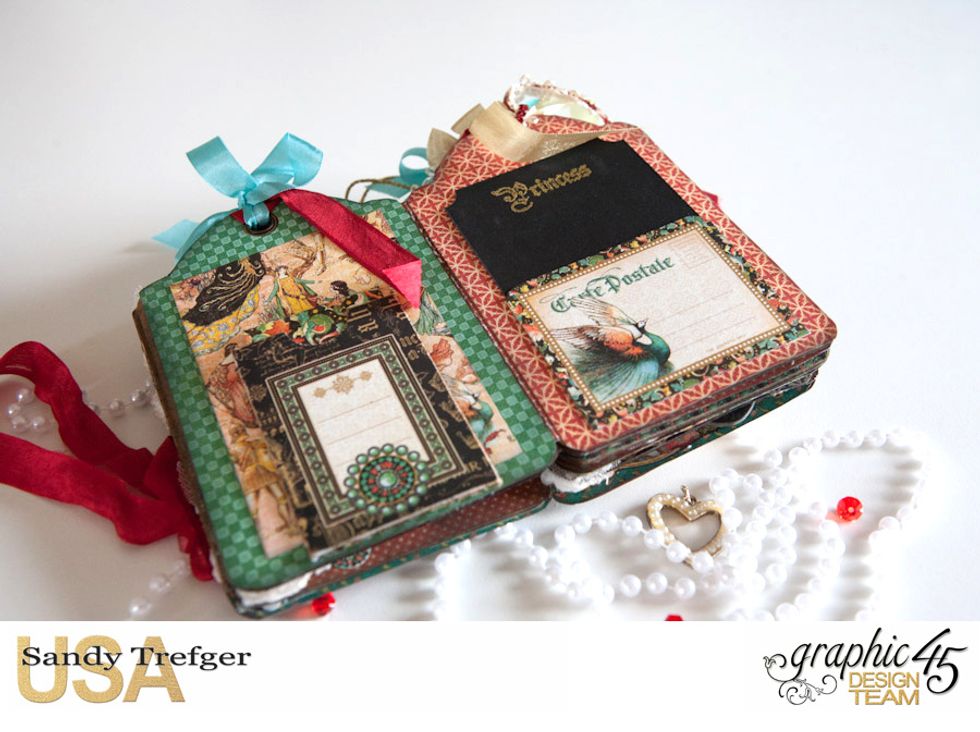
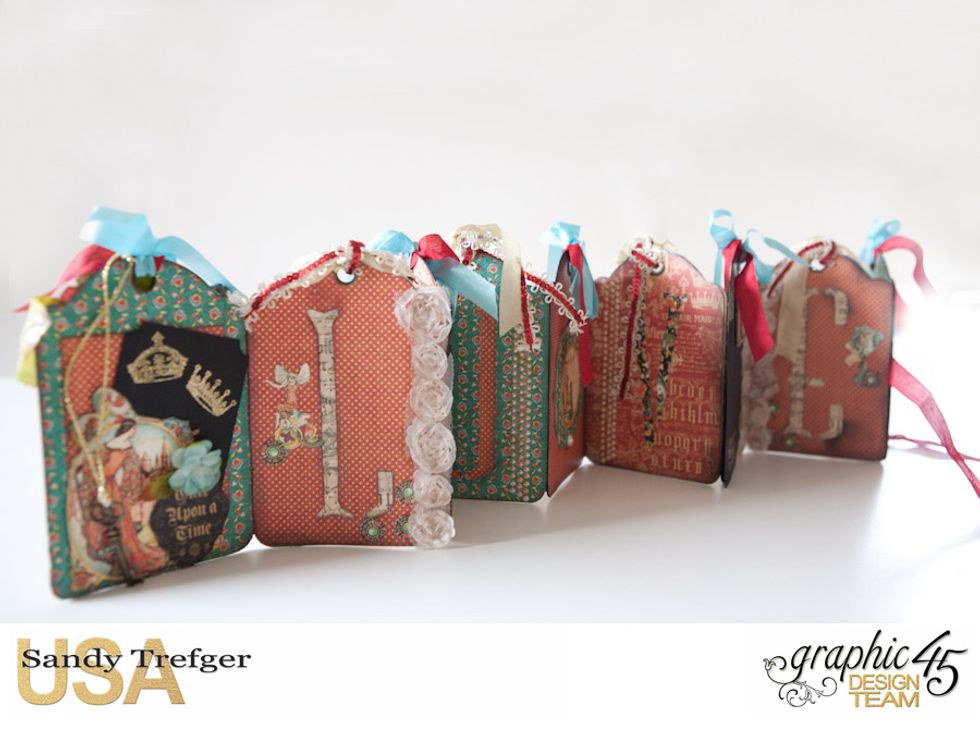
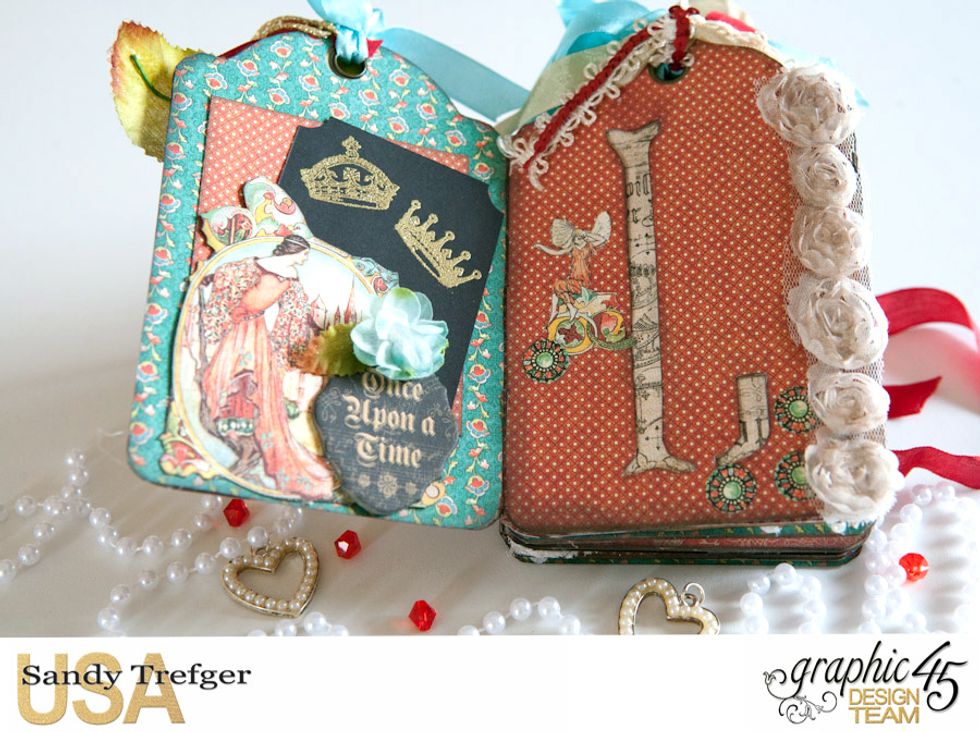
The next photos will show you my completed LOVE tag album. Thank you so much for taking a look at my project and I hope you will enjoy creating one of your own. Happy Crafting! ~ Sandy
Designer Tip: If the rose trim is too white for your vintage papers and album, lightly ink the roses with light brown distress ink.

Designer Tip #2: If your flat back pearls are also too white, use an alcohol ink marker (light beige or brown color) and paint your pearls to the color you desire.