The Conversation (0)
Sign Up
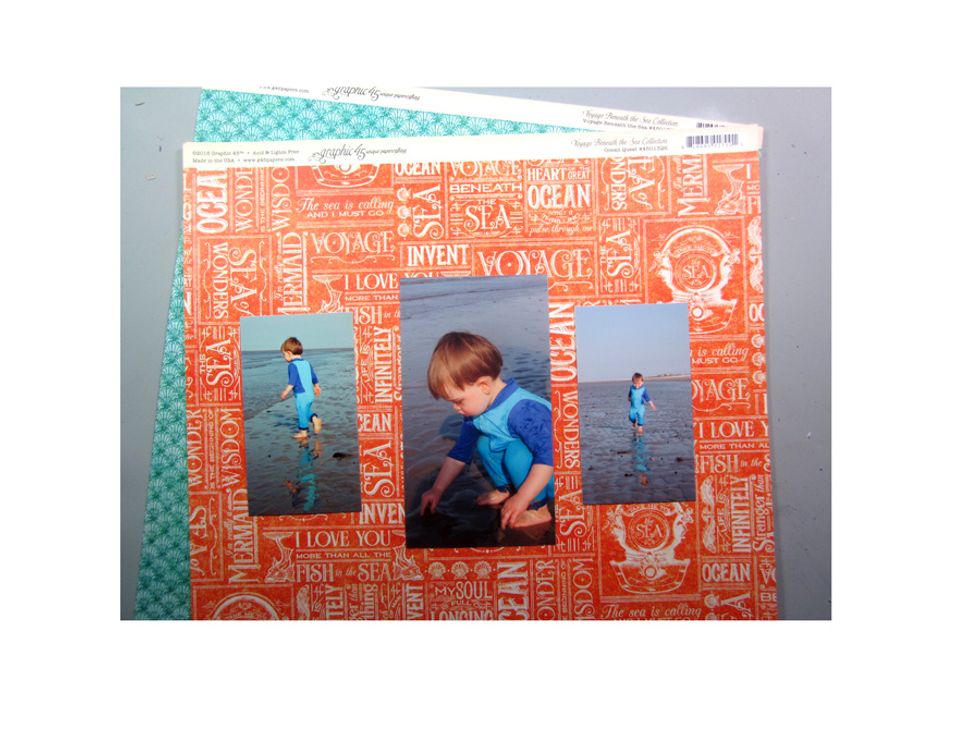
Pick three pictures you would like to work with and make one slightly larger than the other two. Also collect you papers you want to use.
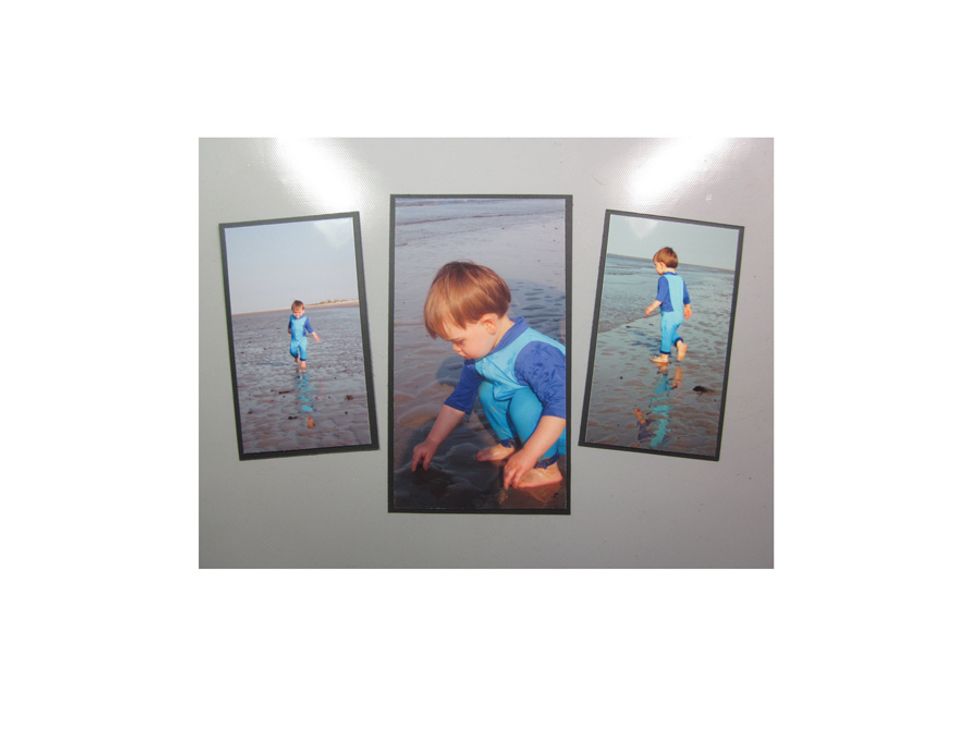
Mount your photos on black paper with just an fine edge of the black showing. This will help to ground your photos.
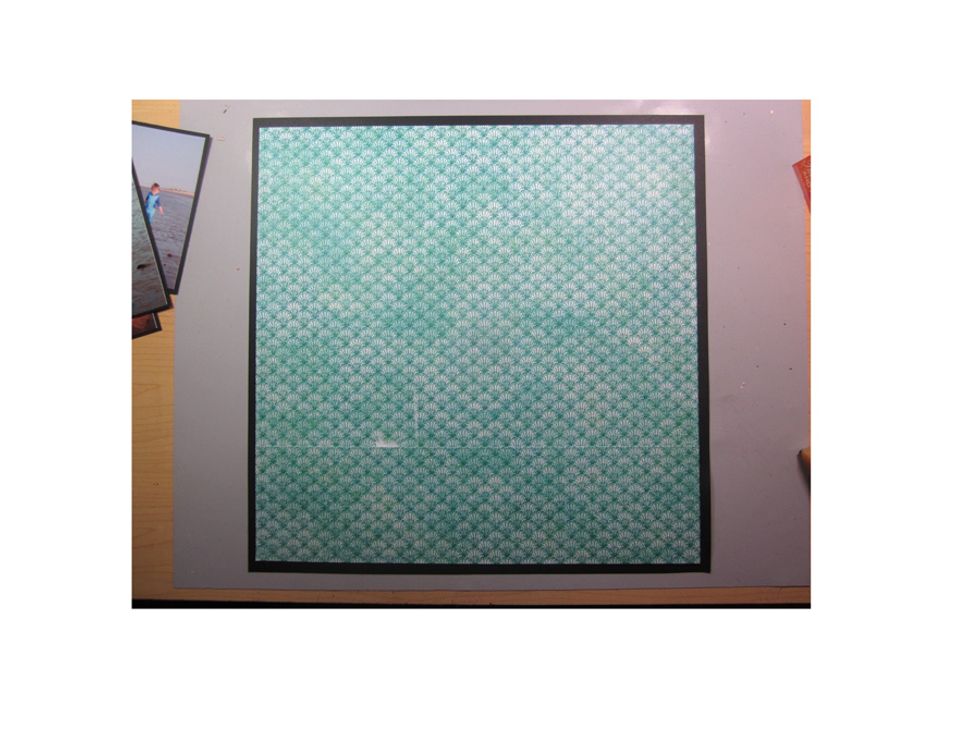
Cut your base paper to 11 3/4" x 11 3/4" and mount on a 12 x 12 sheet of black card stock.
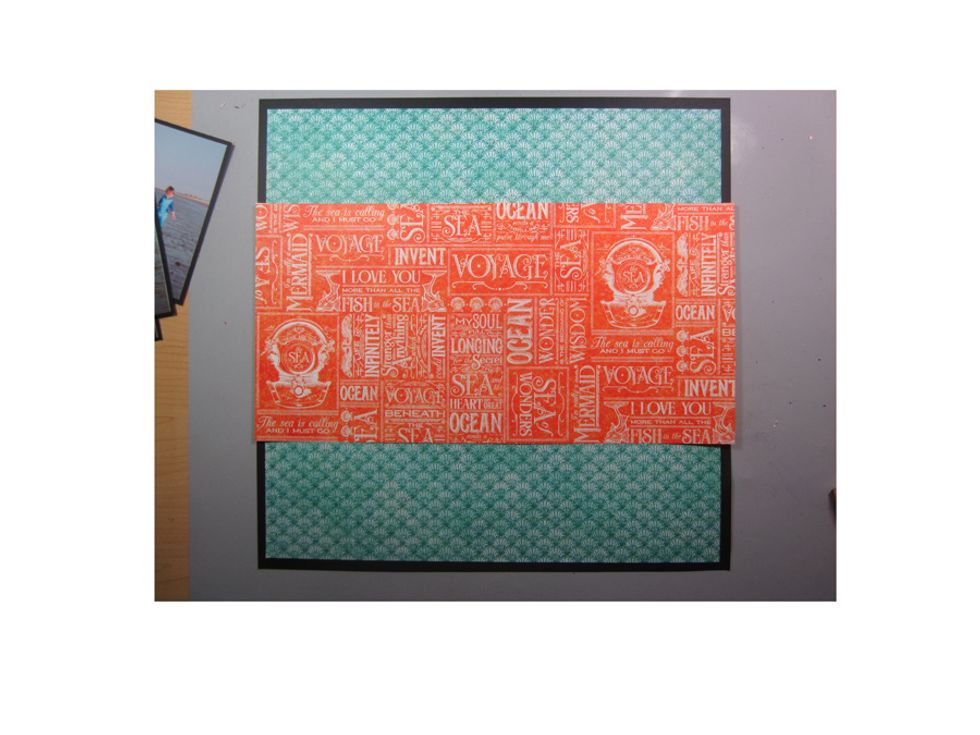
Cut a strip of paper with a coordinating paper .

Ink the edges of your paper and adhere to your base. This gives that grounded effect again but it also adds detail to your layout.
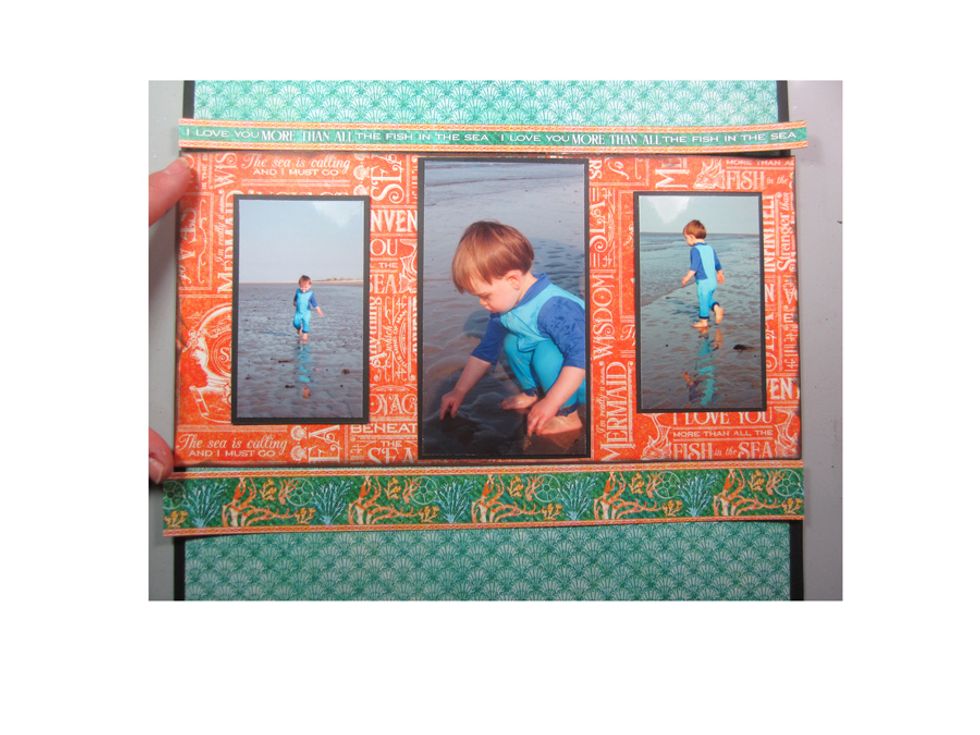
Line your photo center with two strips of decorative boarders from the Graphic 45 collection. I used a fine strip and then a broader one to give it more interest.
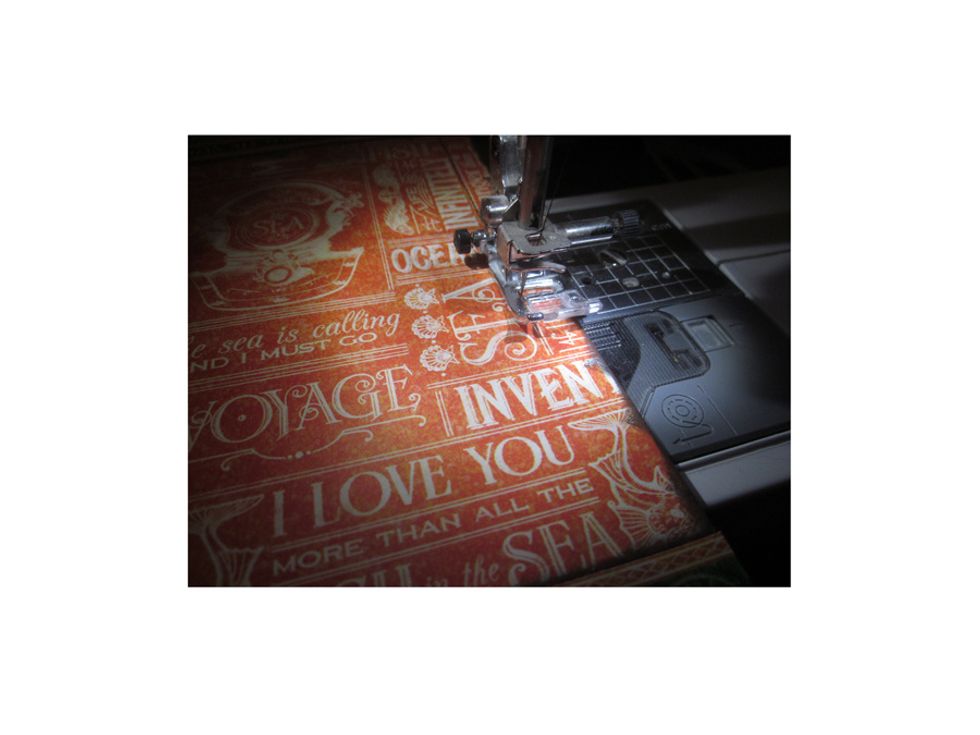
Add even more fine detail to your layout by stitching around the edge of your entire layout.

Now we are really gonna add some texture with some foiled burplap scraps.
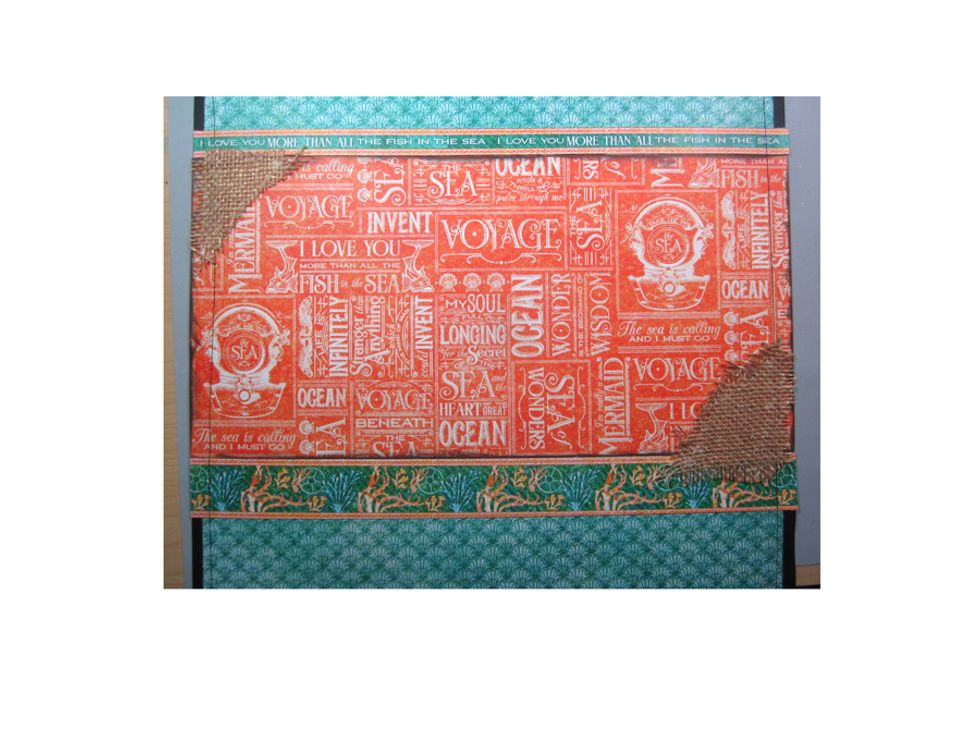
Add them to the corner of your center section as shown.
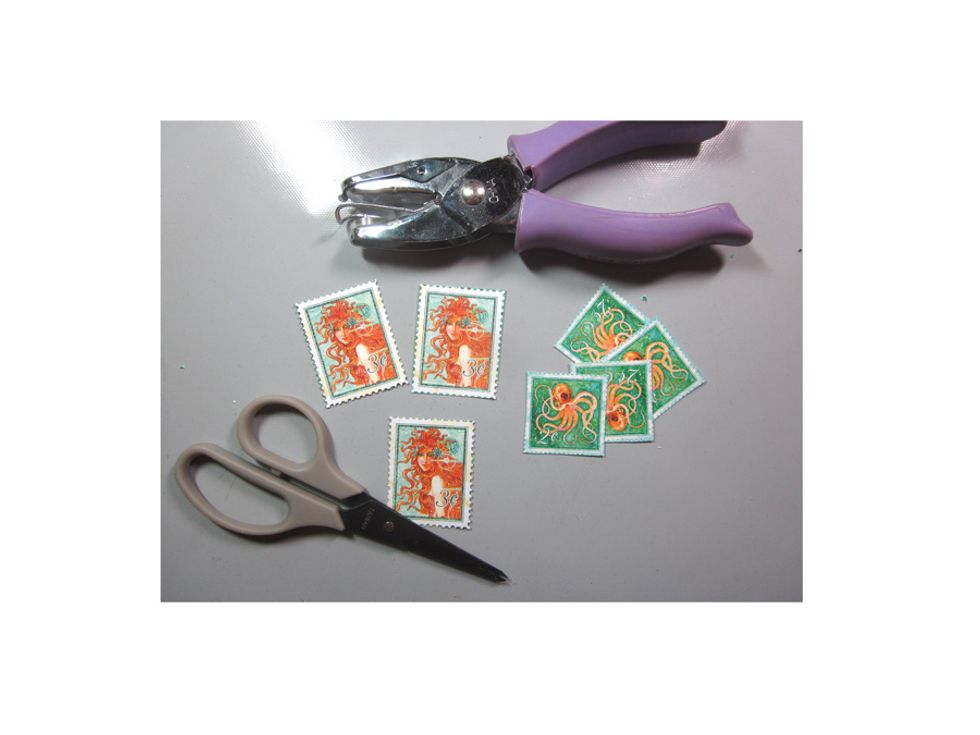
Fussy cut out some of the decorative elements from the paper. These are some little stamps and I find a tiny hole punch will help you punch those scalloped edges.
Next I fussy cut out several more of the decorative images. You can use scissors and then also an X-acto tool to get in those tight areas.
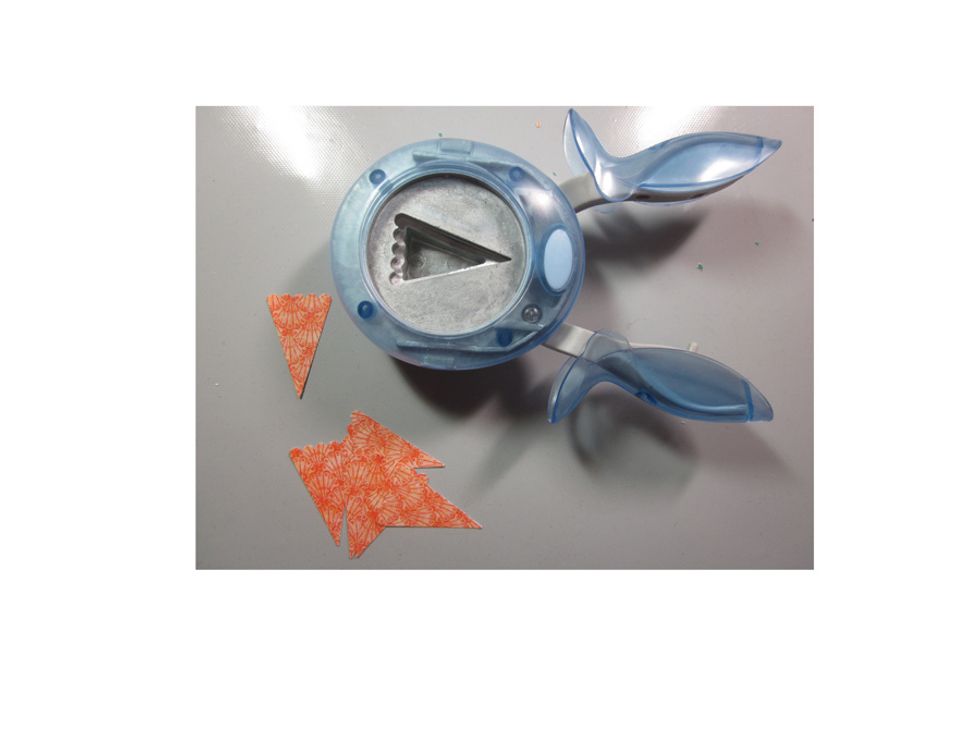
Next I used a punch and punch little banners to use along my layout.
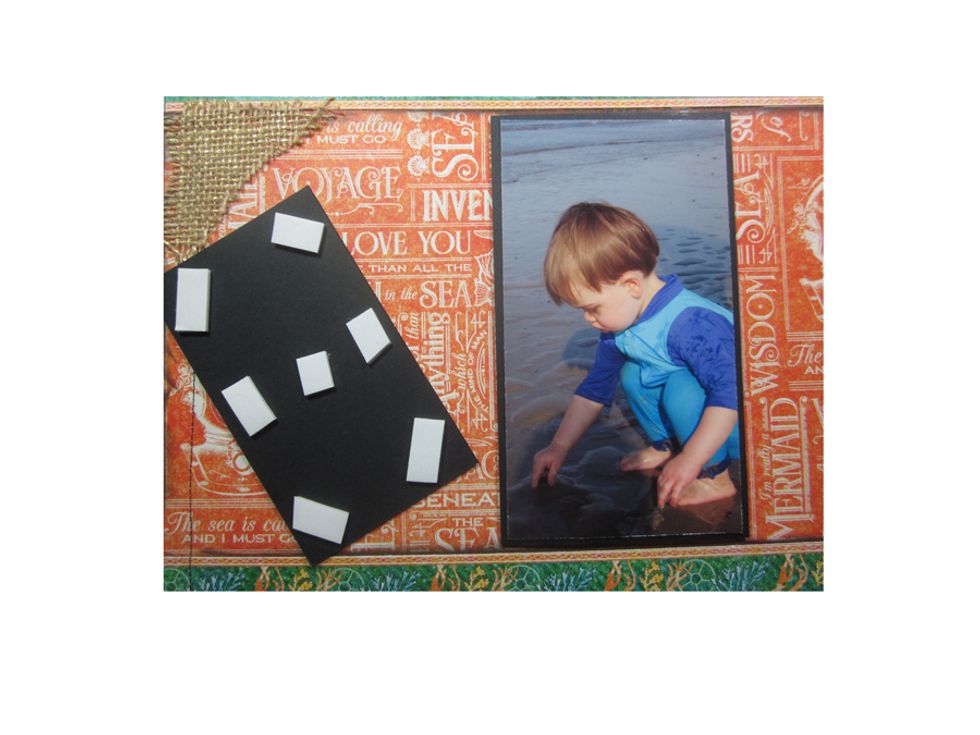
Add your photos. I love to use foam tape as it gives a lot of depth to your layout.

Here is where you'll be at this point. Everything is attached and we are ready to start adding all the extras.
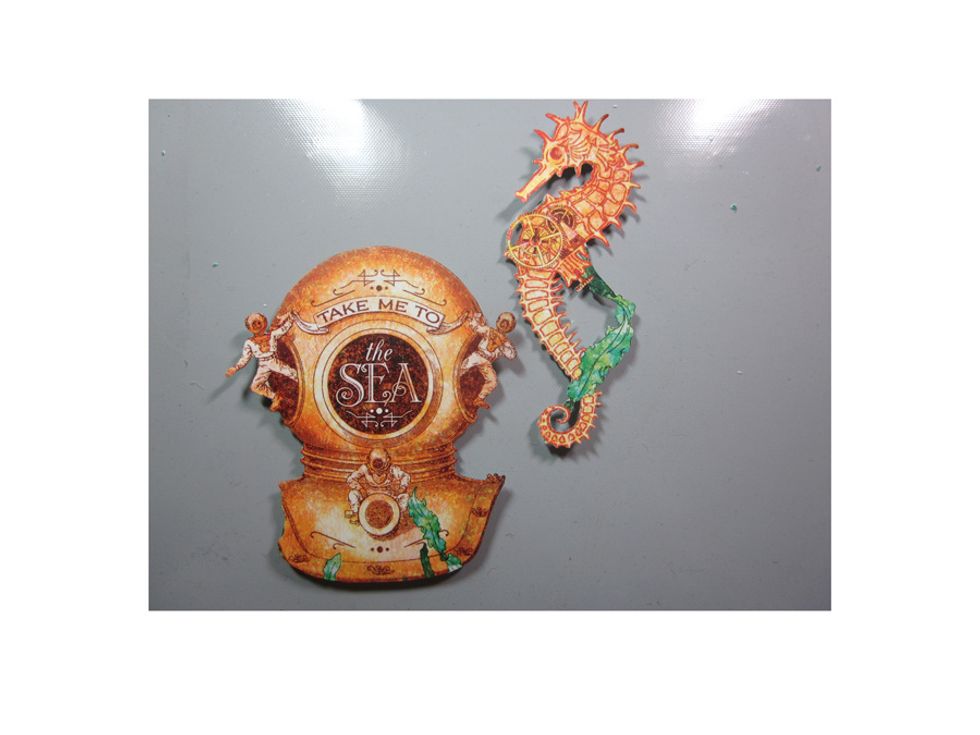
With foam tape I've add the sea helmet & sea horse. Don't be afraid to overlap on your pictures, as long as you're not blocking the main view. Then add your stamps and banners to the bottom.
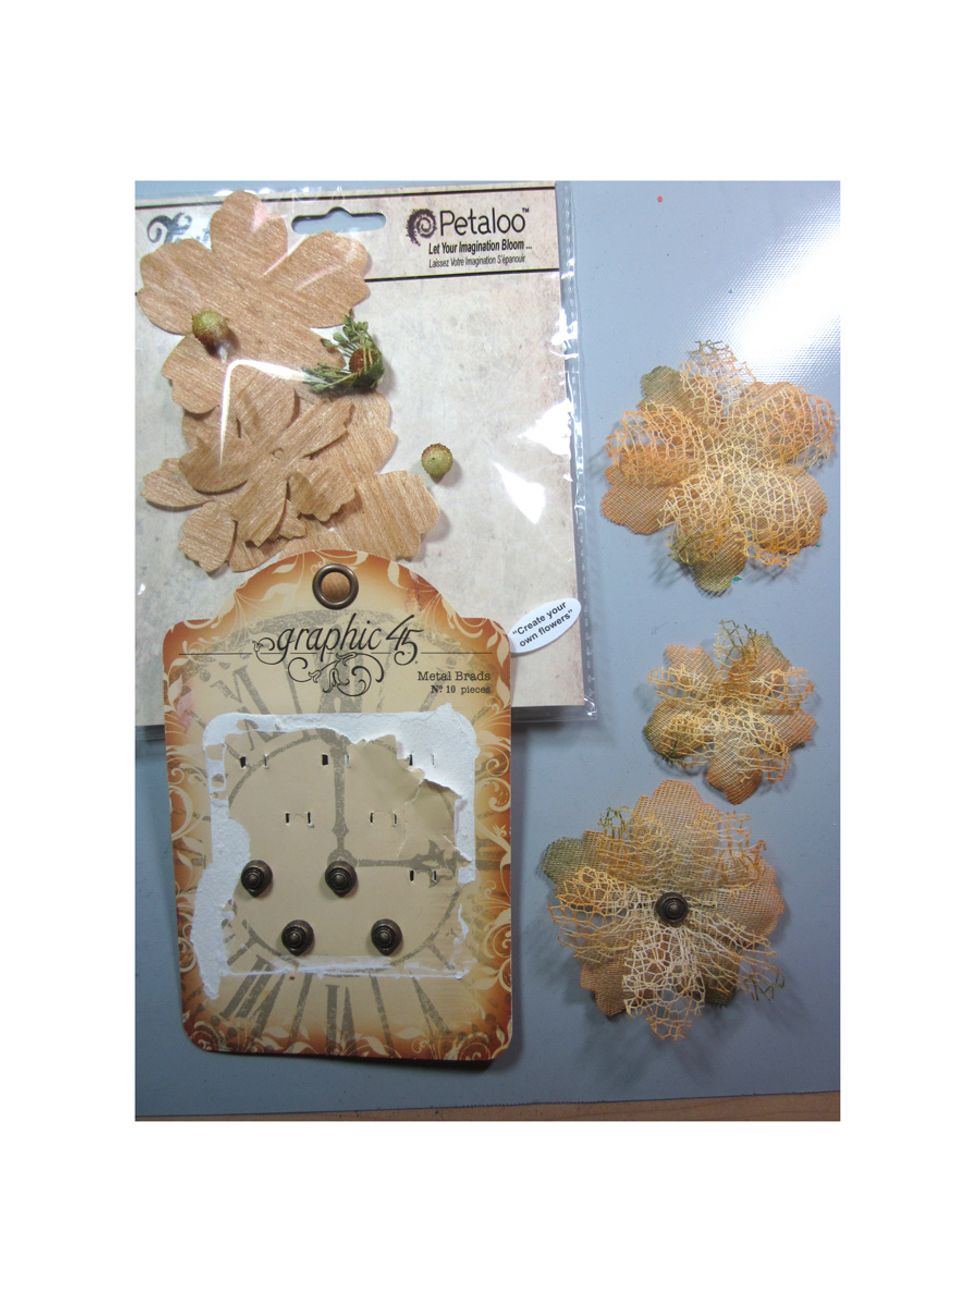
I had some nature Petaloo flowers that I layered together using a Graphic 45 metal brad. I just love the finished look of the flowers. They match the sea theme so well.

Next I added some chipboard gears. I inked them with Prima Chalk Inks in coordinating colors.
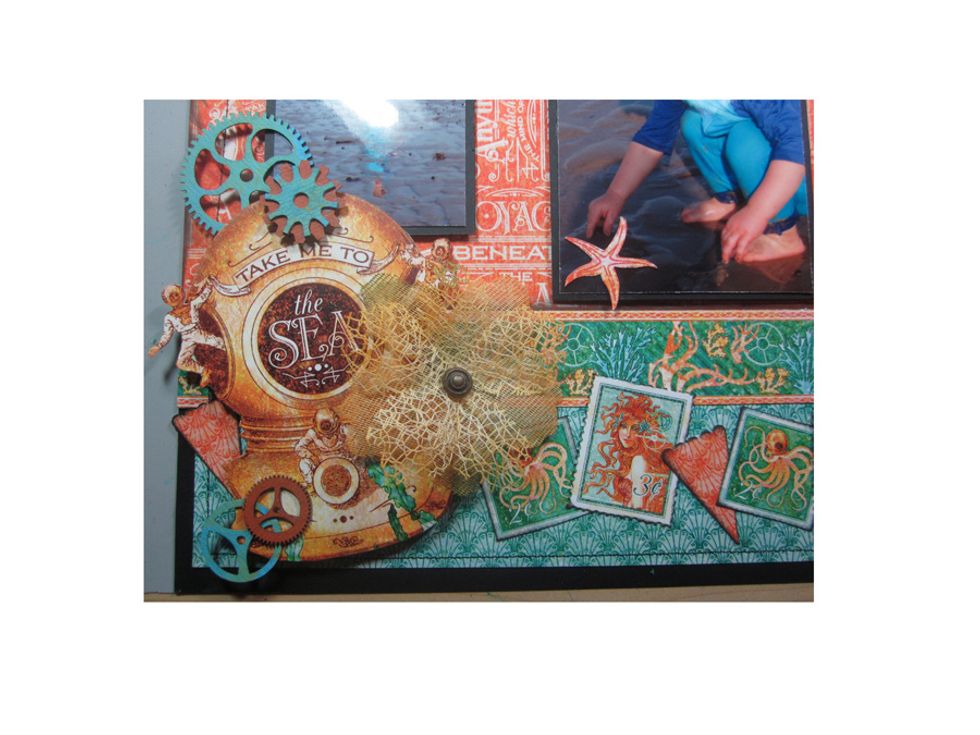
Nestle the gears and flowers around the cluster areas of the sea helmet and the sea horse.

Here is the side view where you can see more clusters. I like to add elements in odd numbers. They say it's more pleasing to the eye of the viewer.
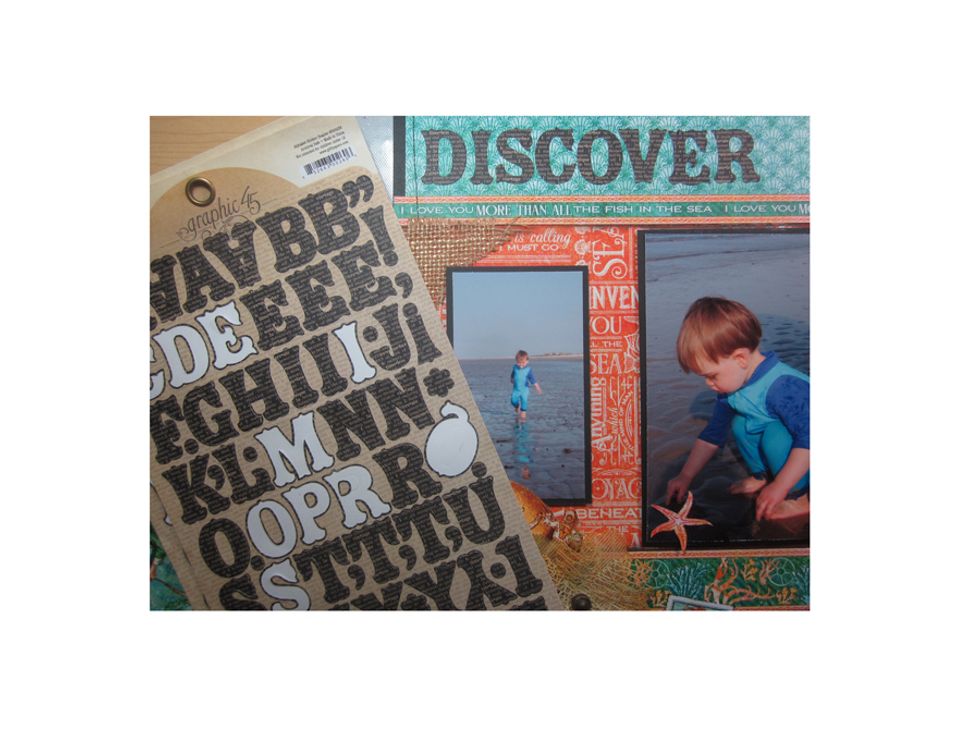
I used these great alphabet letters from Graphic 45 to create the title. It really ties in well with the black boarders.
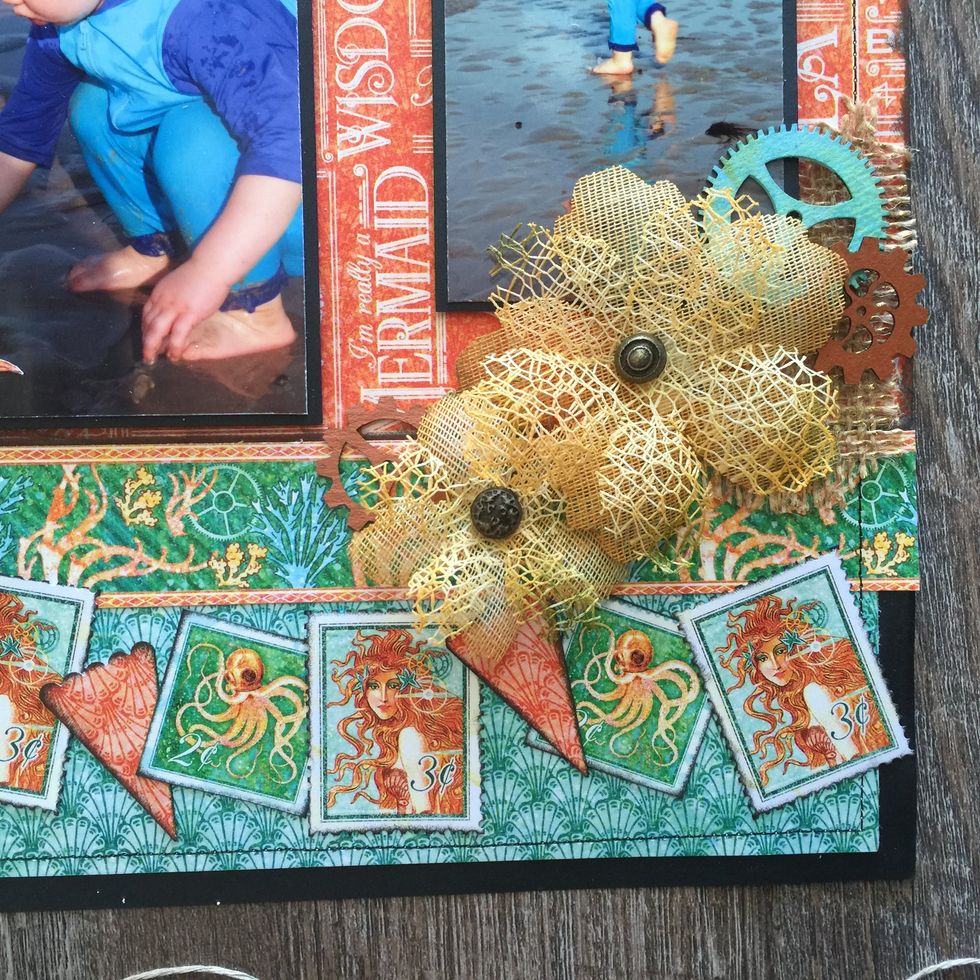
Here's a close up of the bottom left corner. There's a lot going on and your eye just wants to wander all over the page, moving from one spot to the next.

Little details can really make a project come together.
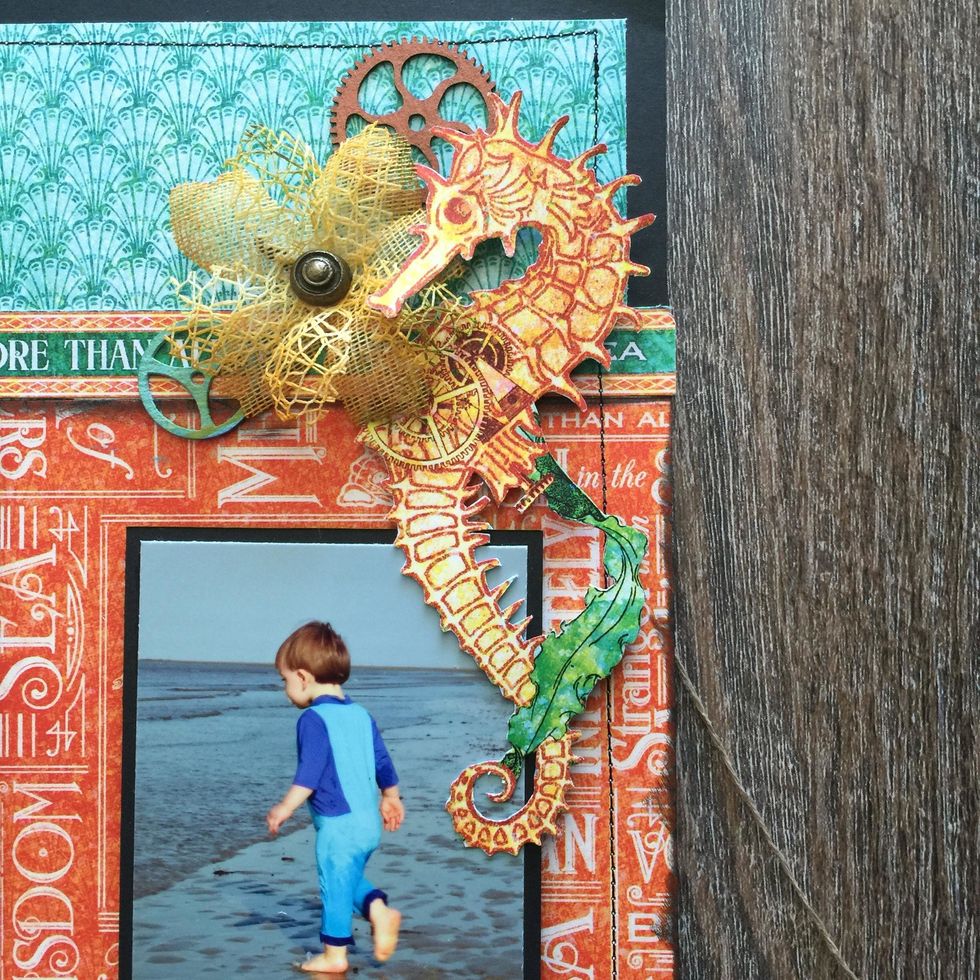
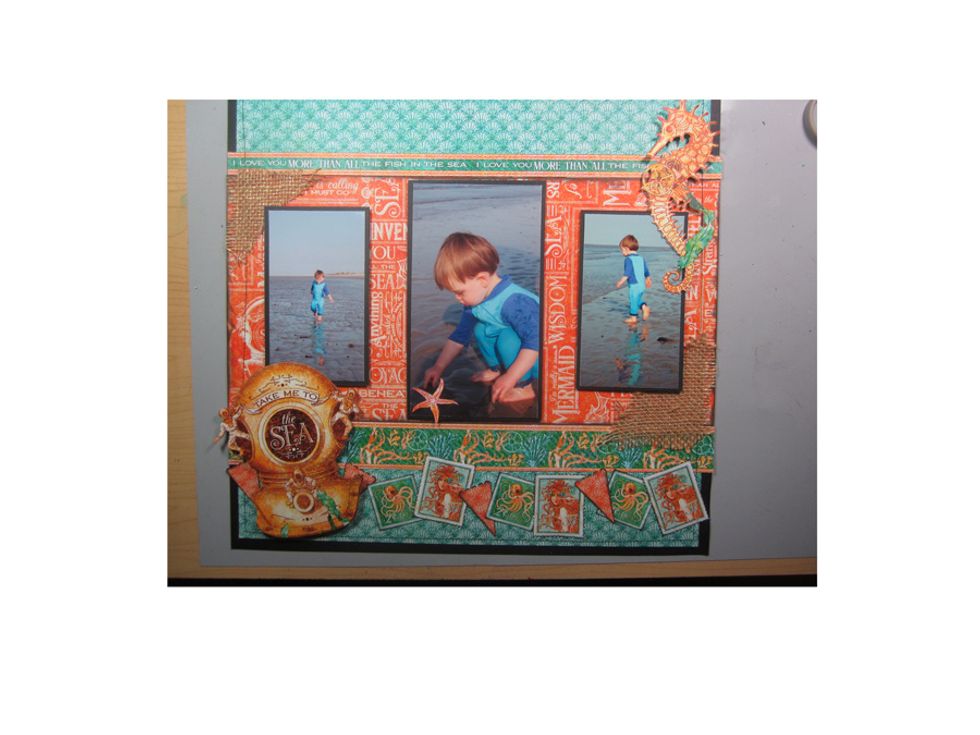
Here is a close up of the finished layout. See how the stitched edges, black boarders and inked edges create a lot of fine detail.
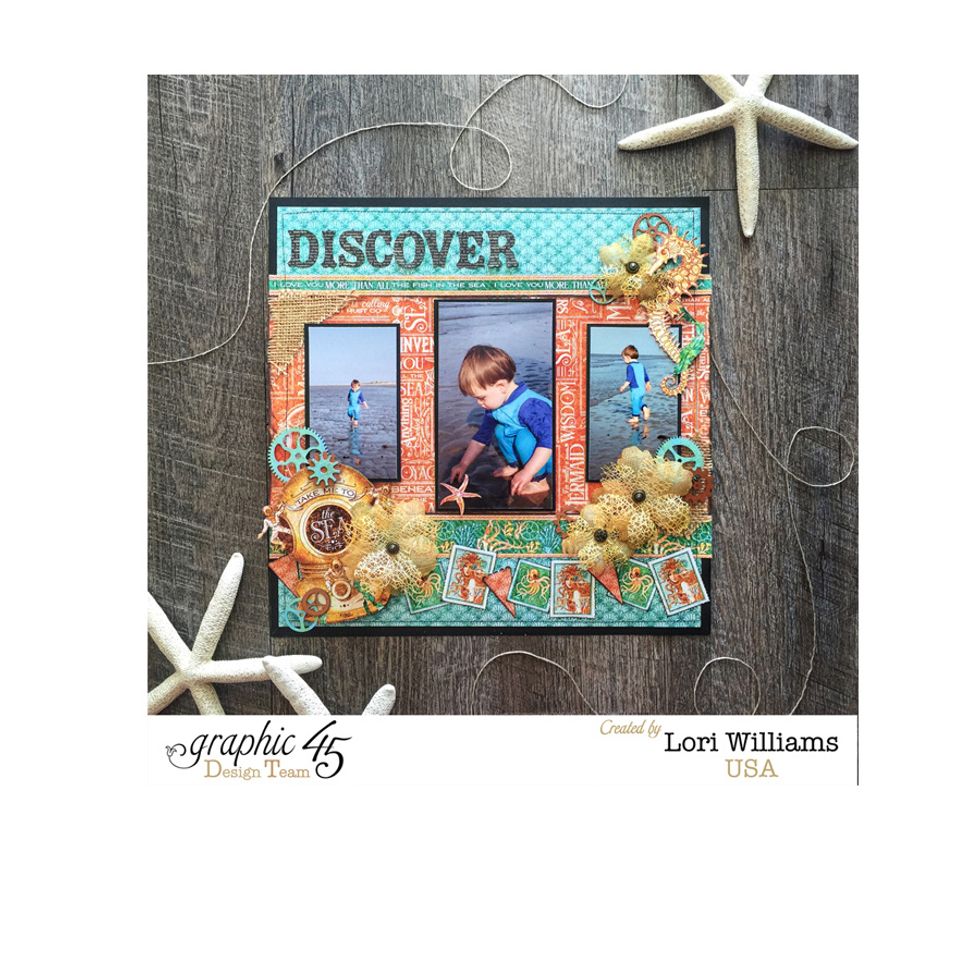
I hope you've enjoyed walking step by step through my layout and you've learned layering adds so much and really it's so easy.
My name is Lori Williams & I'm a design team member w/Graphic 45. See more of my work on my blog www.pinkcloudscrappers.blogsp… or on Graphic 45's Blog www.g45papers.typepade.com