The Conversation (0)
Sign Up
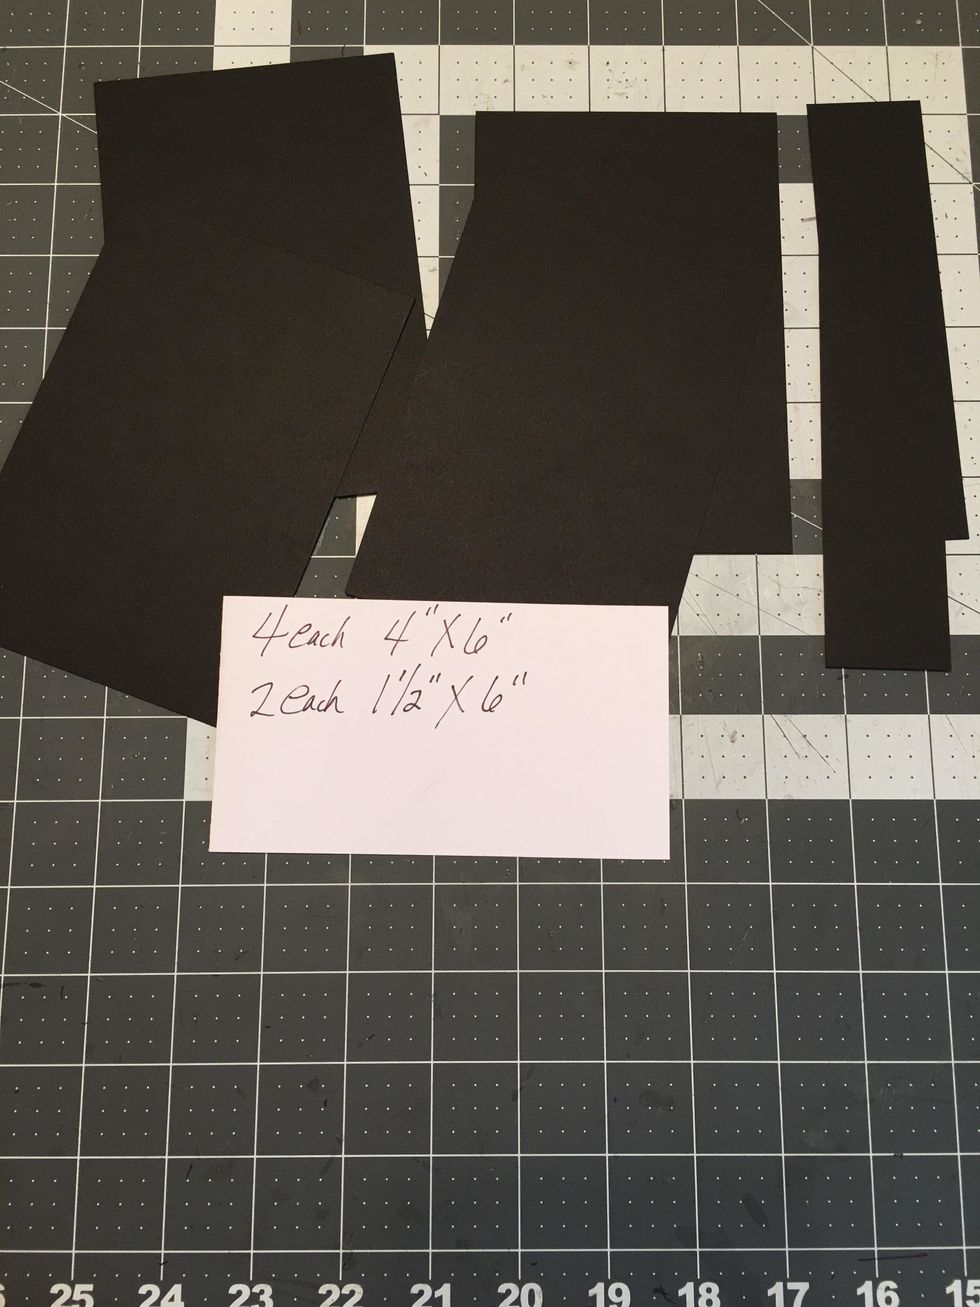
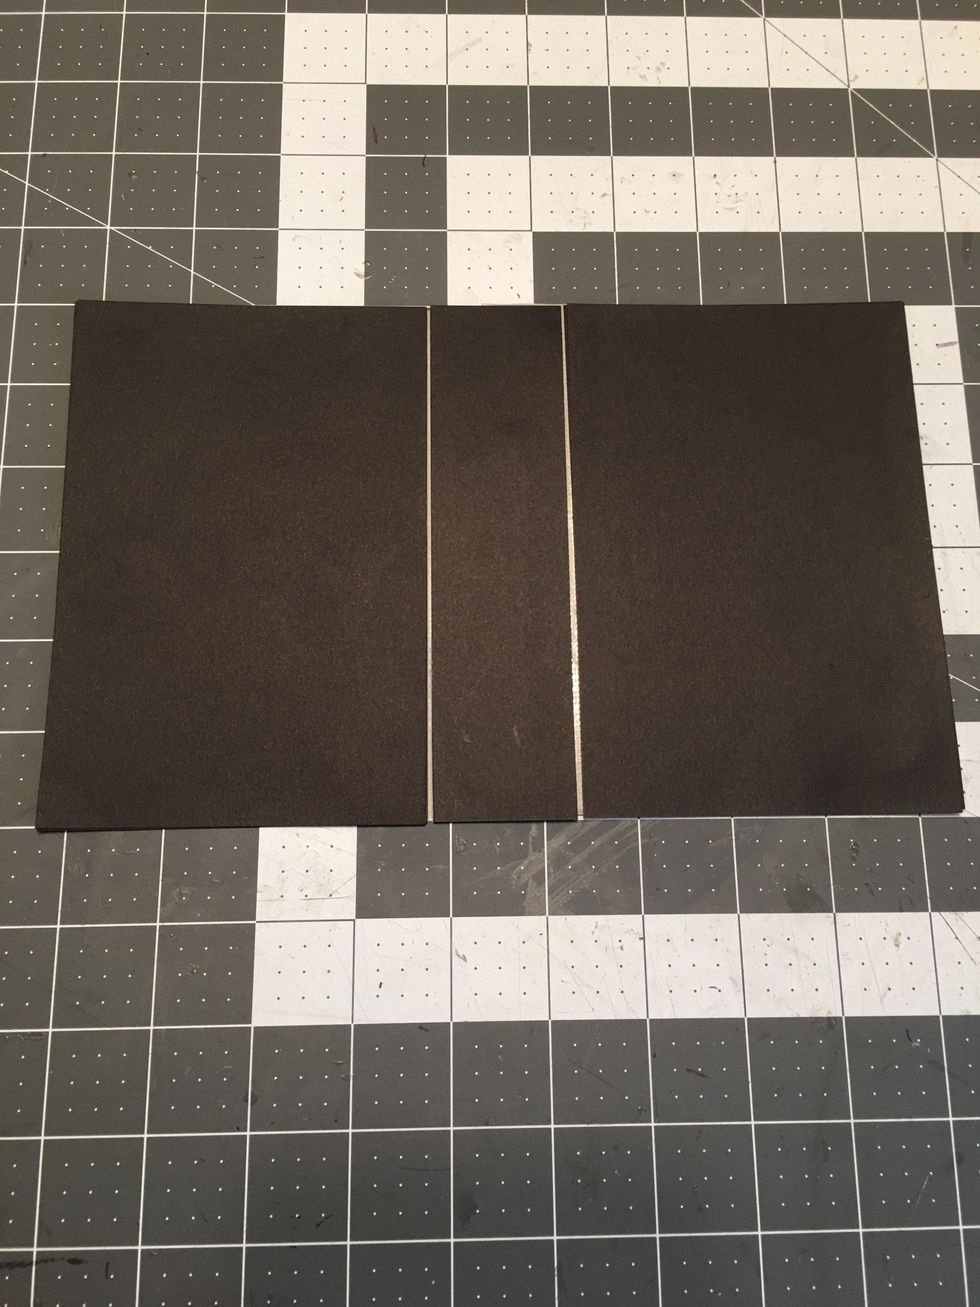
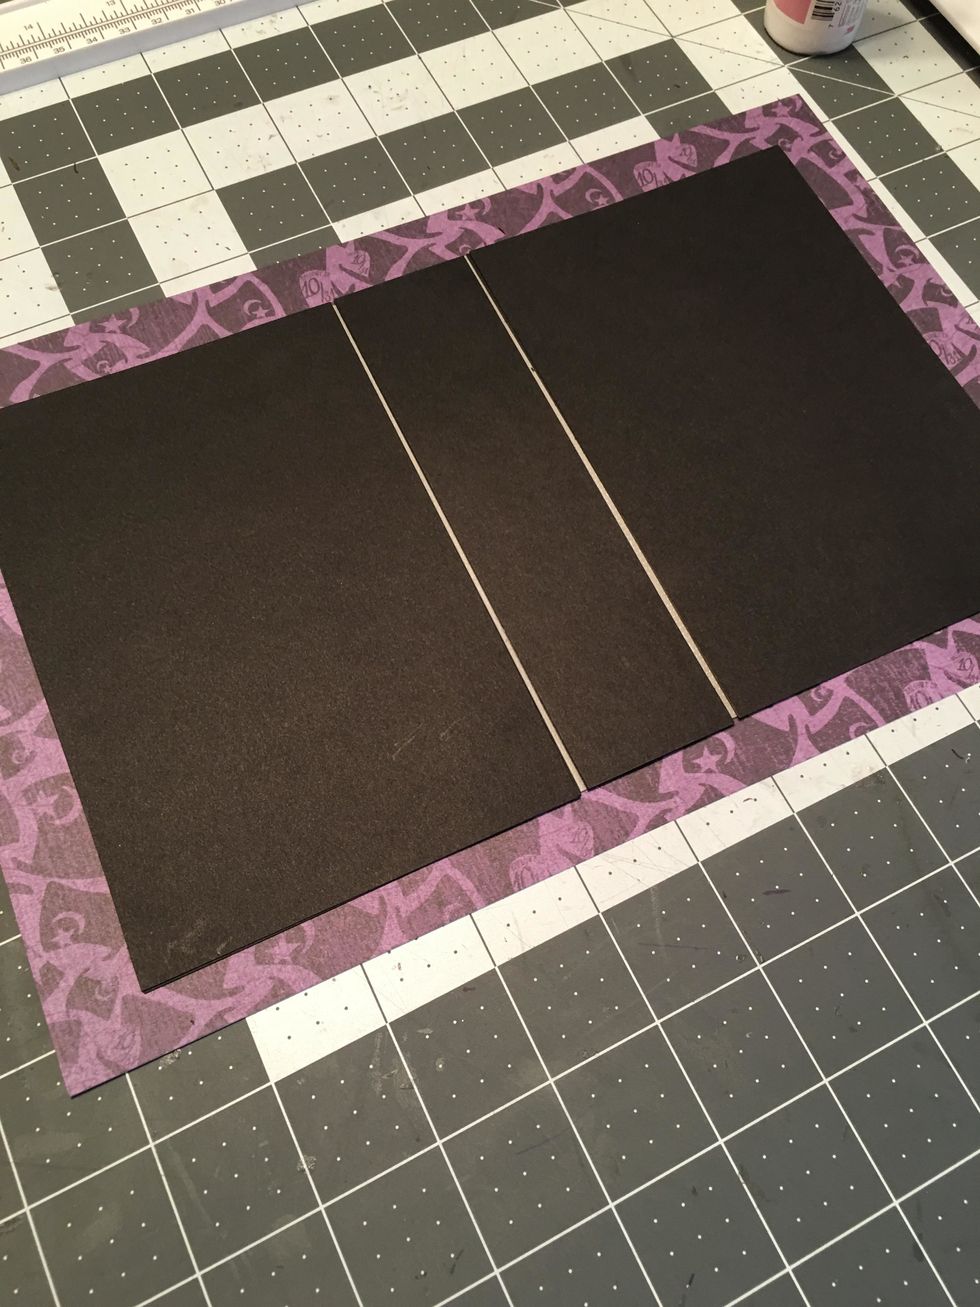
Cut the following pieces from black cardstock: 4 each 4" x 6" and 2 each 1 1/2" x 6"
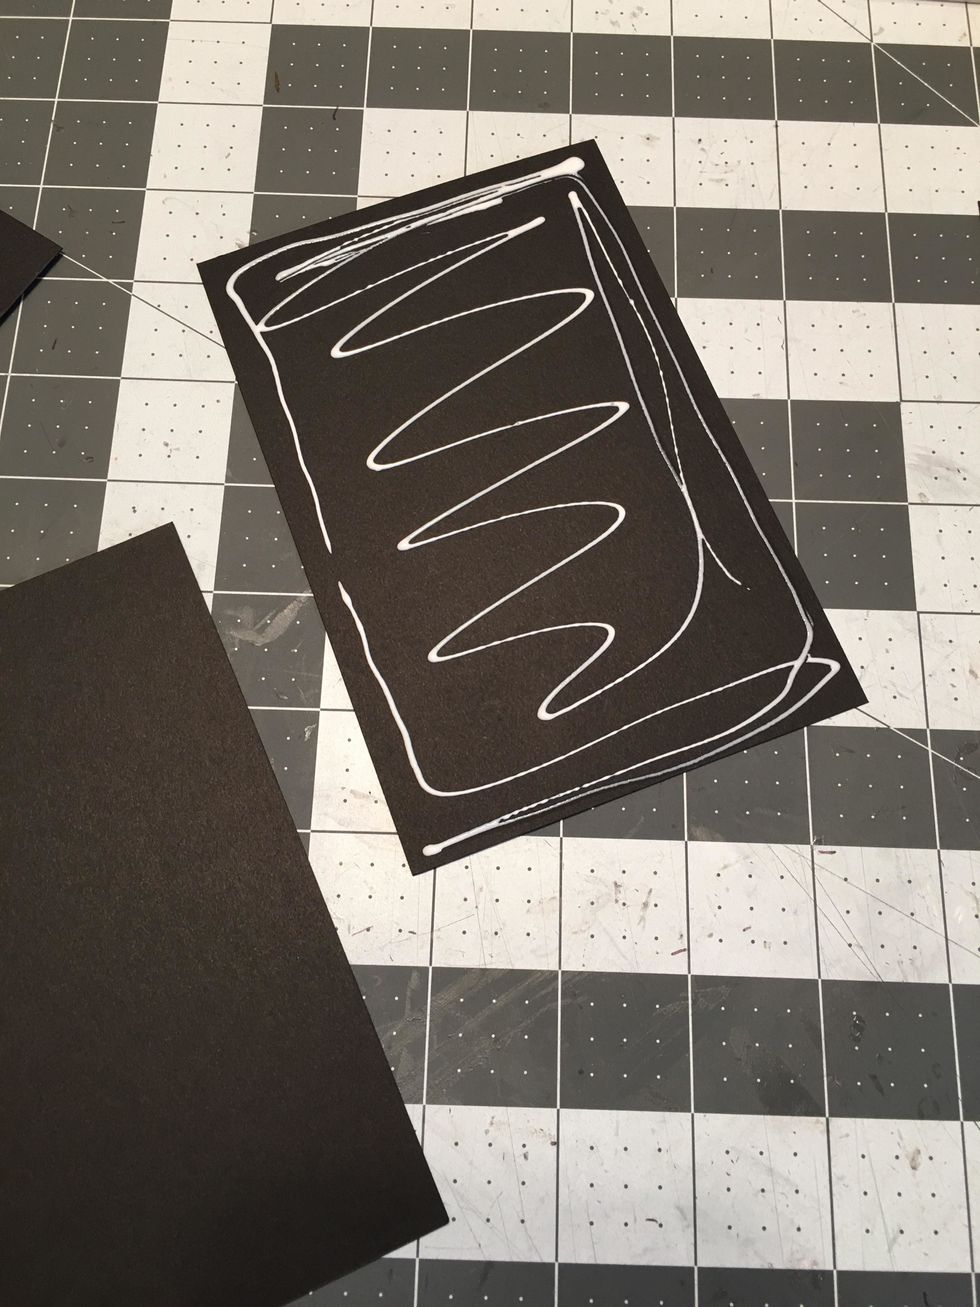
Glue 2 of the same size pieces together to create one thicker piece so you will have 2 each 4" x 6" and 1 each 1 1/2" x 6"
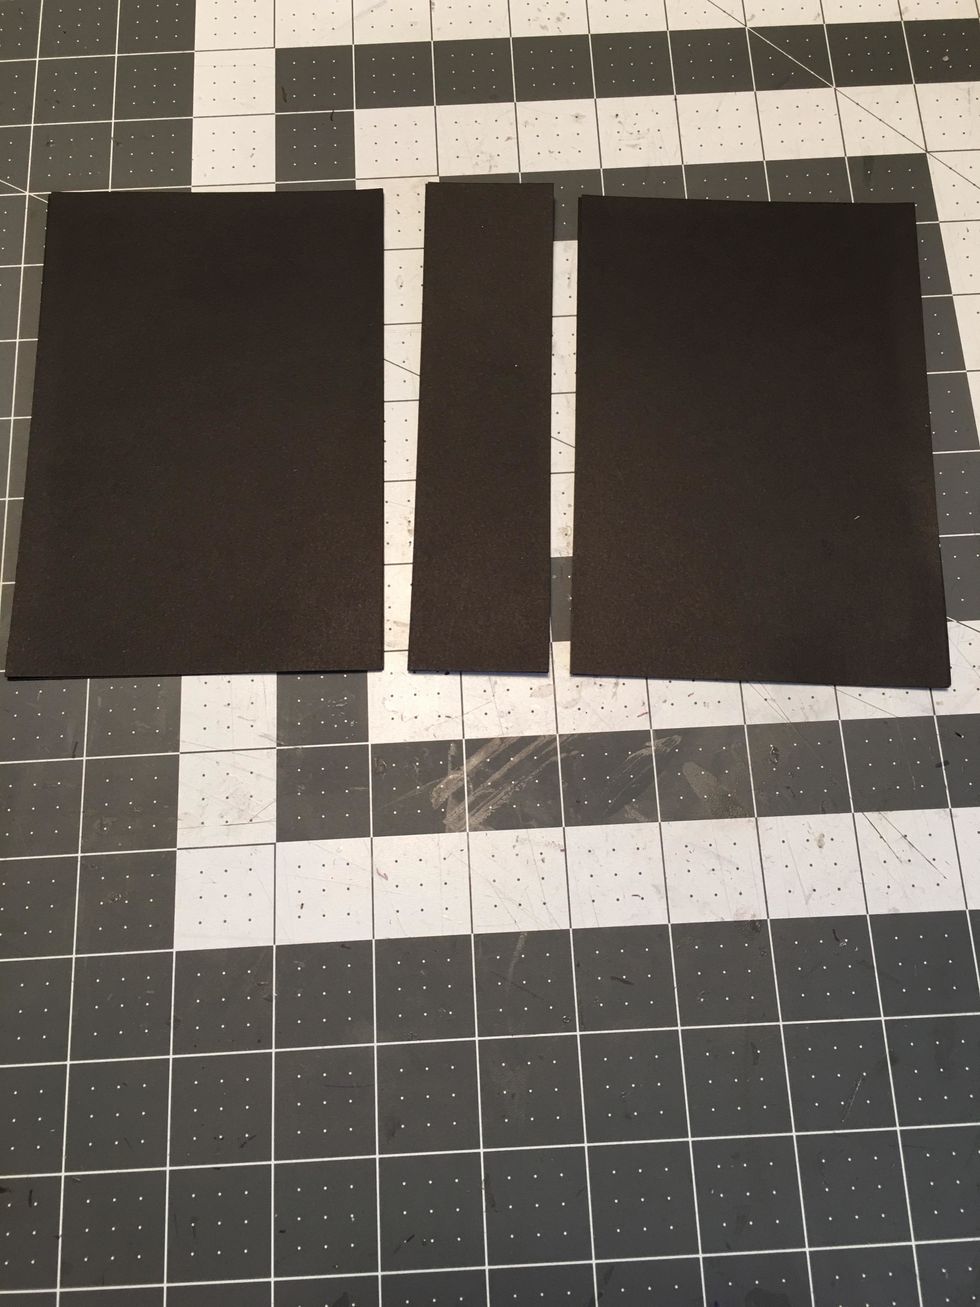
This is what you will now have. All three pieces are now double thickness cardstock.
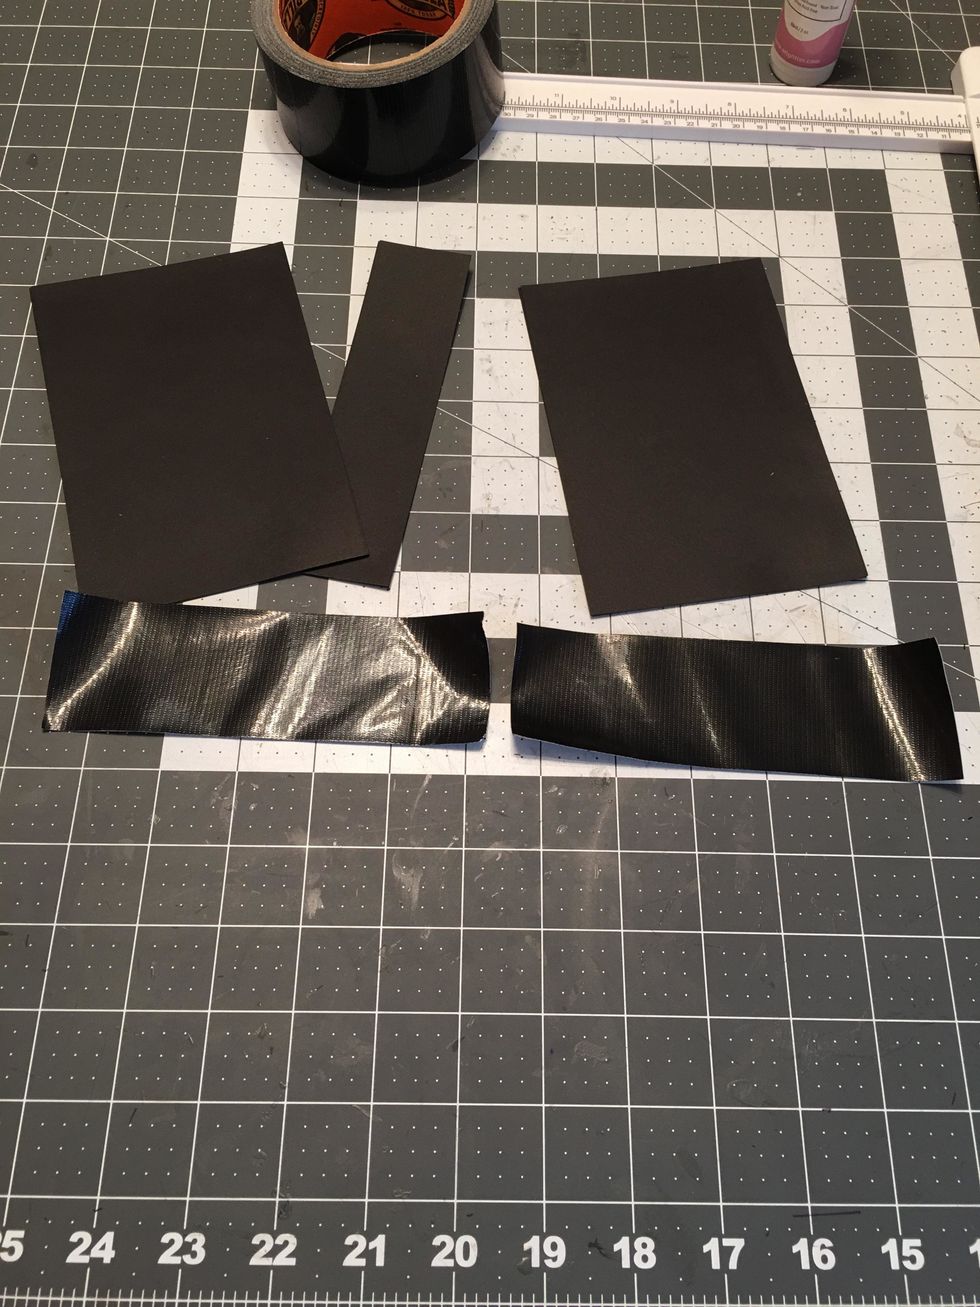
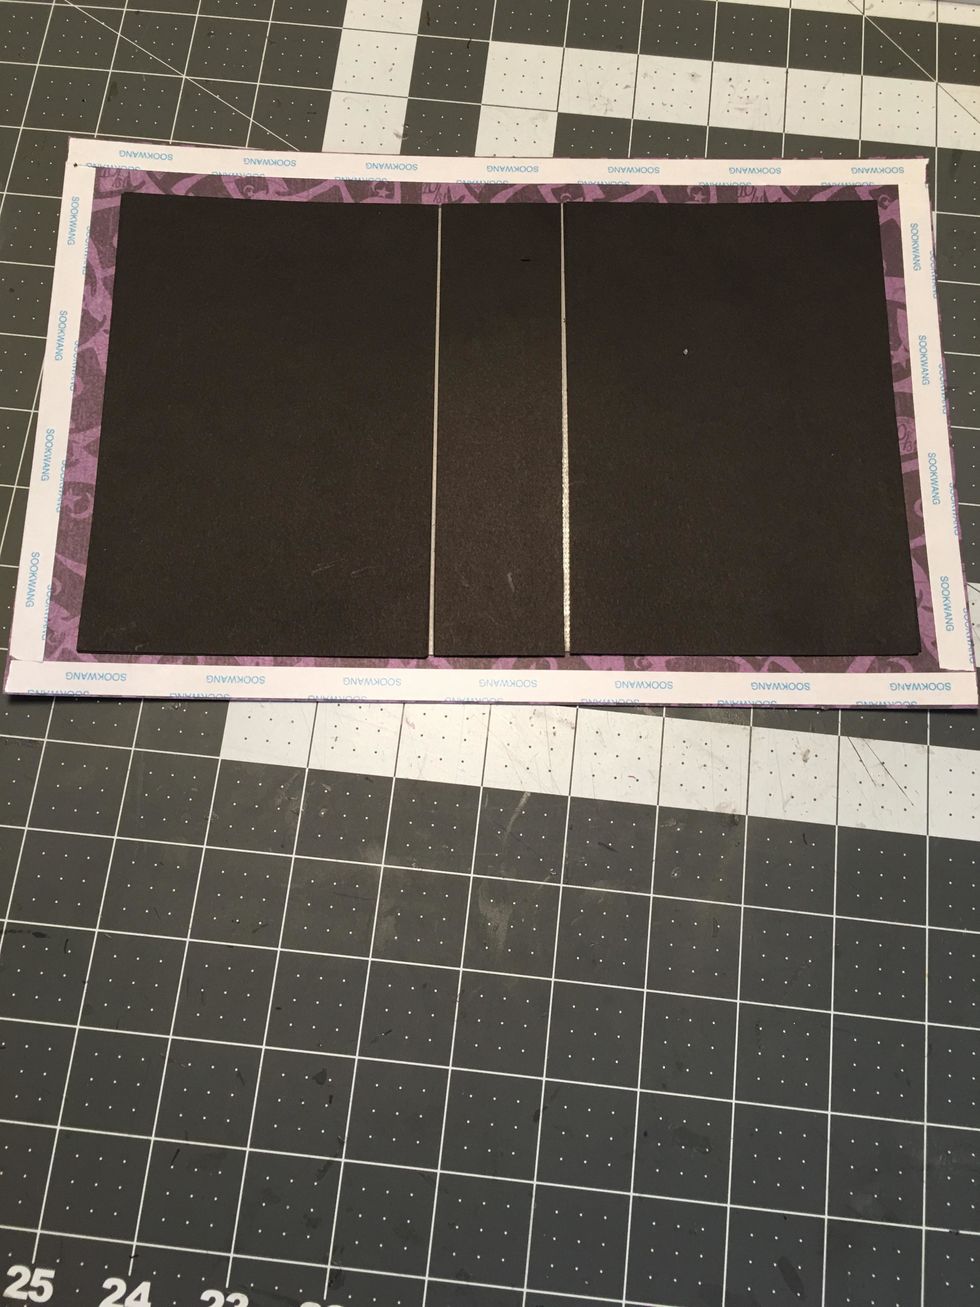
Cut strips of black tape (Duck tape or Gaffer's tape)
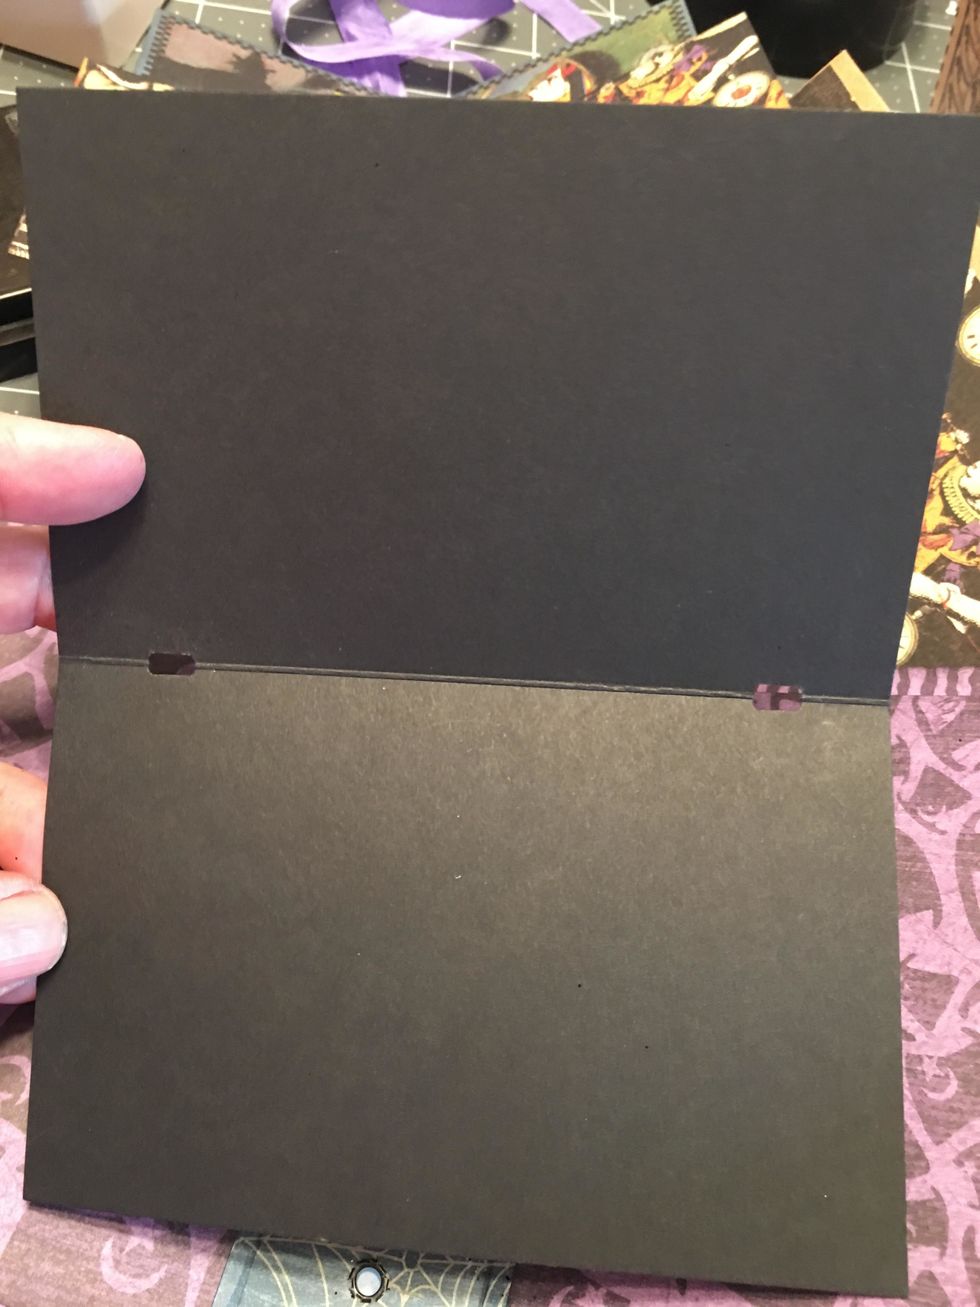
Use the tape to attach the 3 pieces together as shown. Make sure to leave about an 1/8" gap between the pieces. Cover the back side of the pieces over the "hinge areas" with another strip of tape.
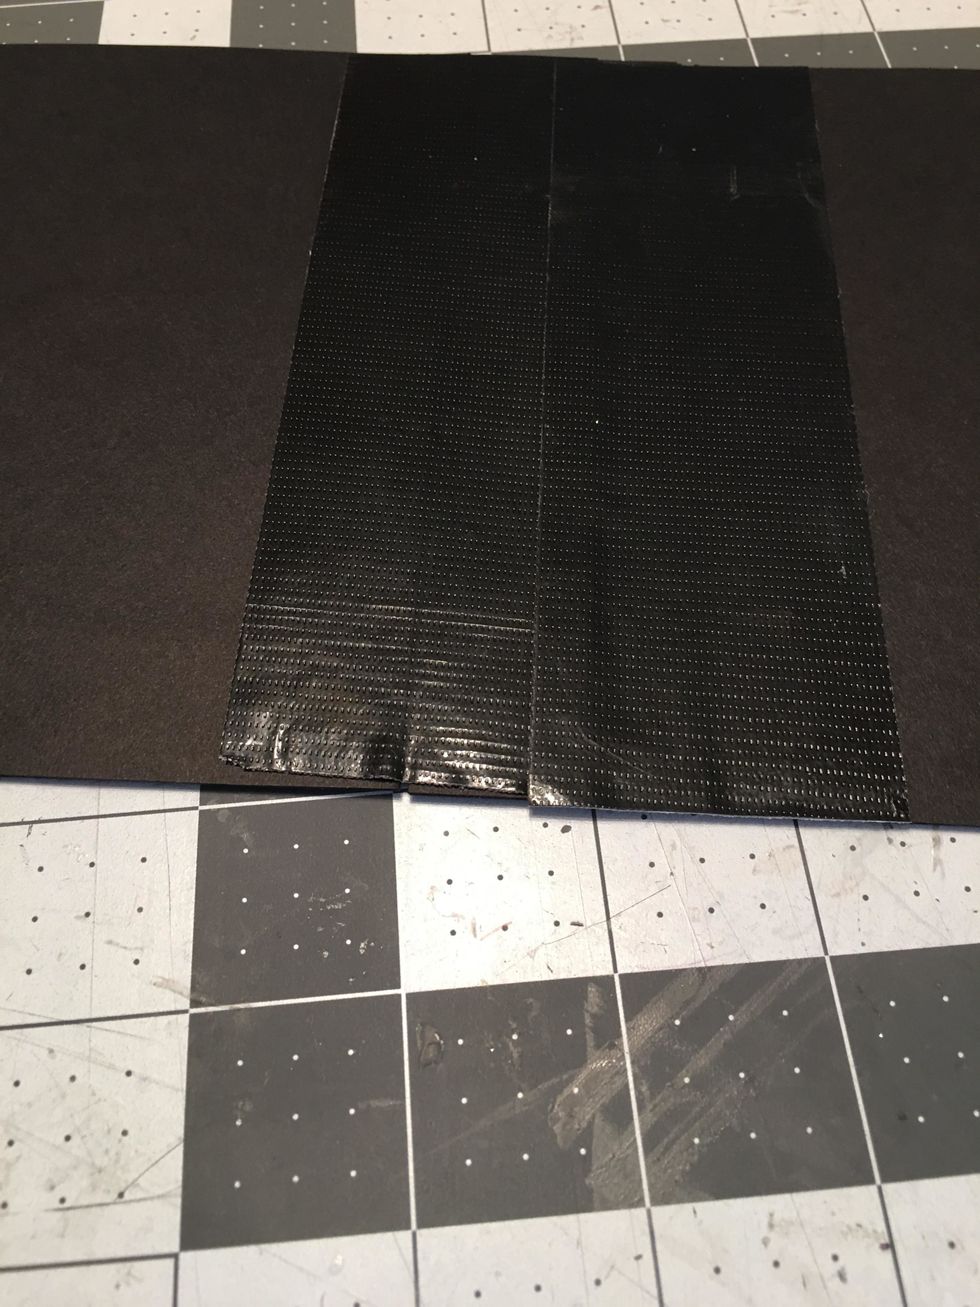
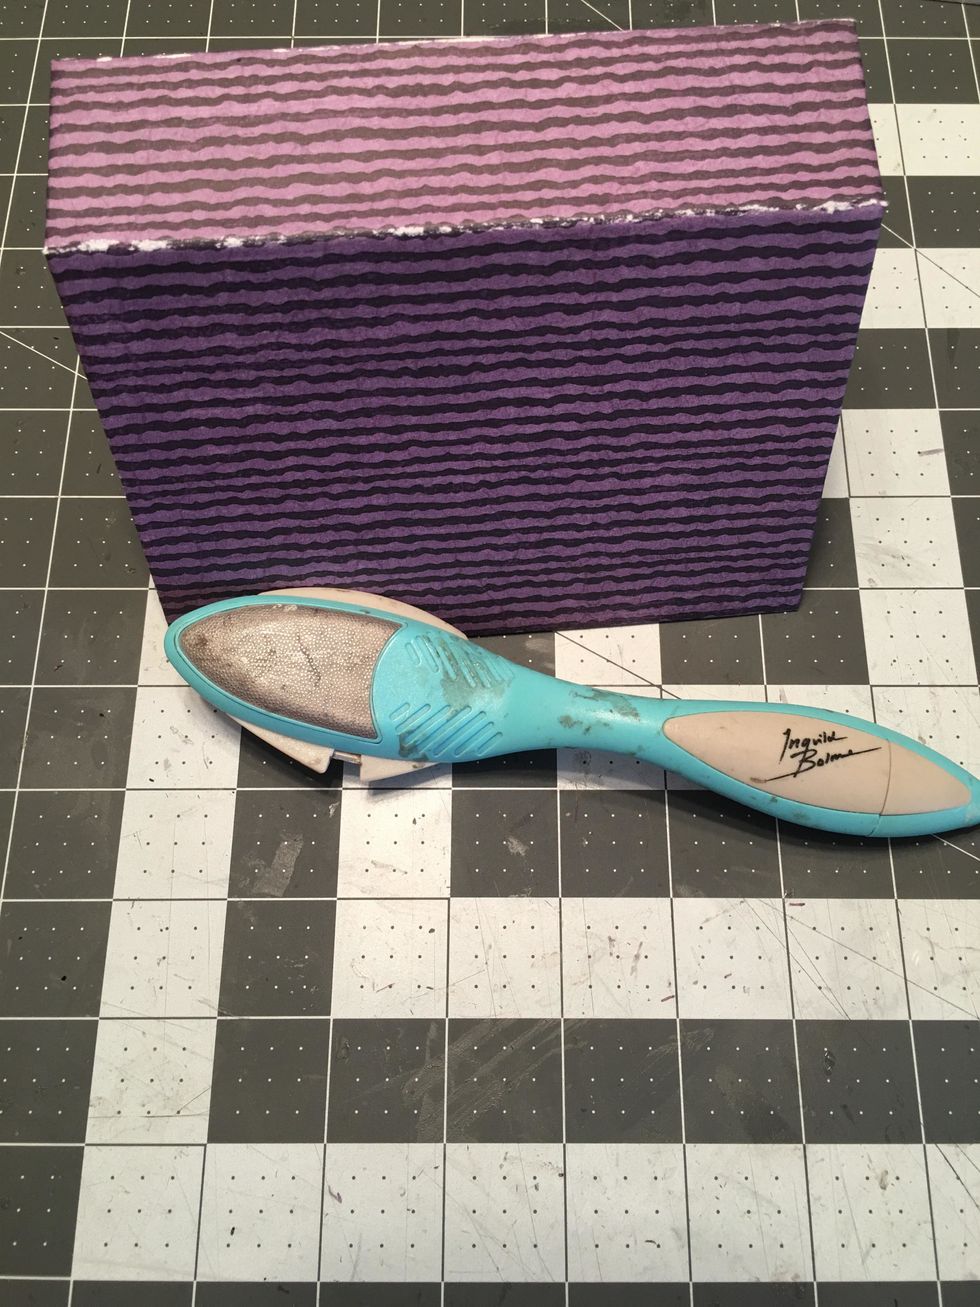
Once all the tape is on, your cover will look like this.
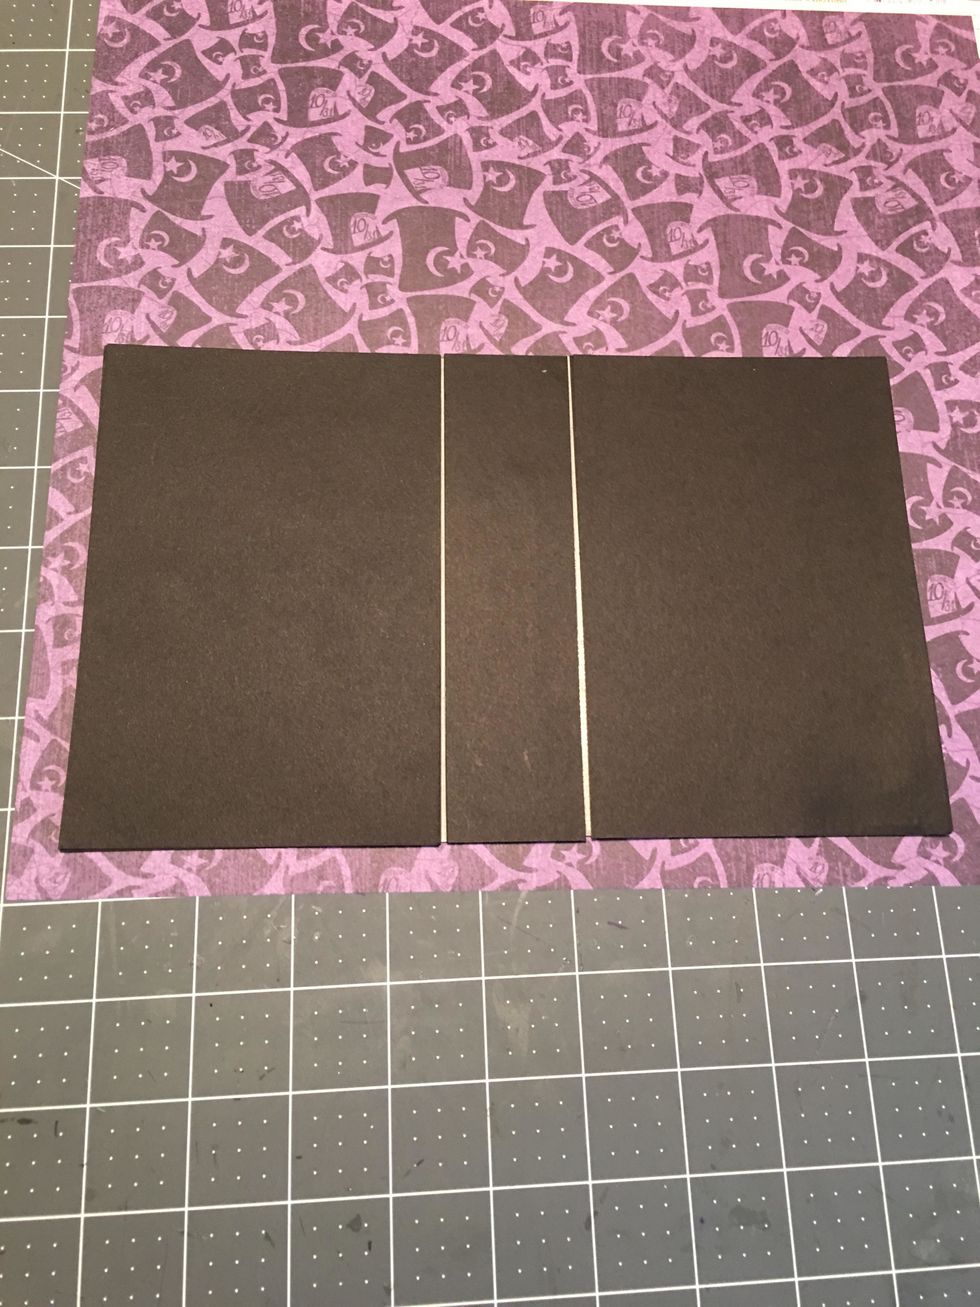
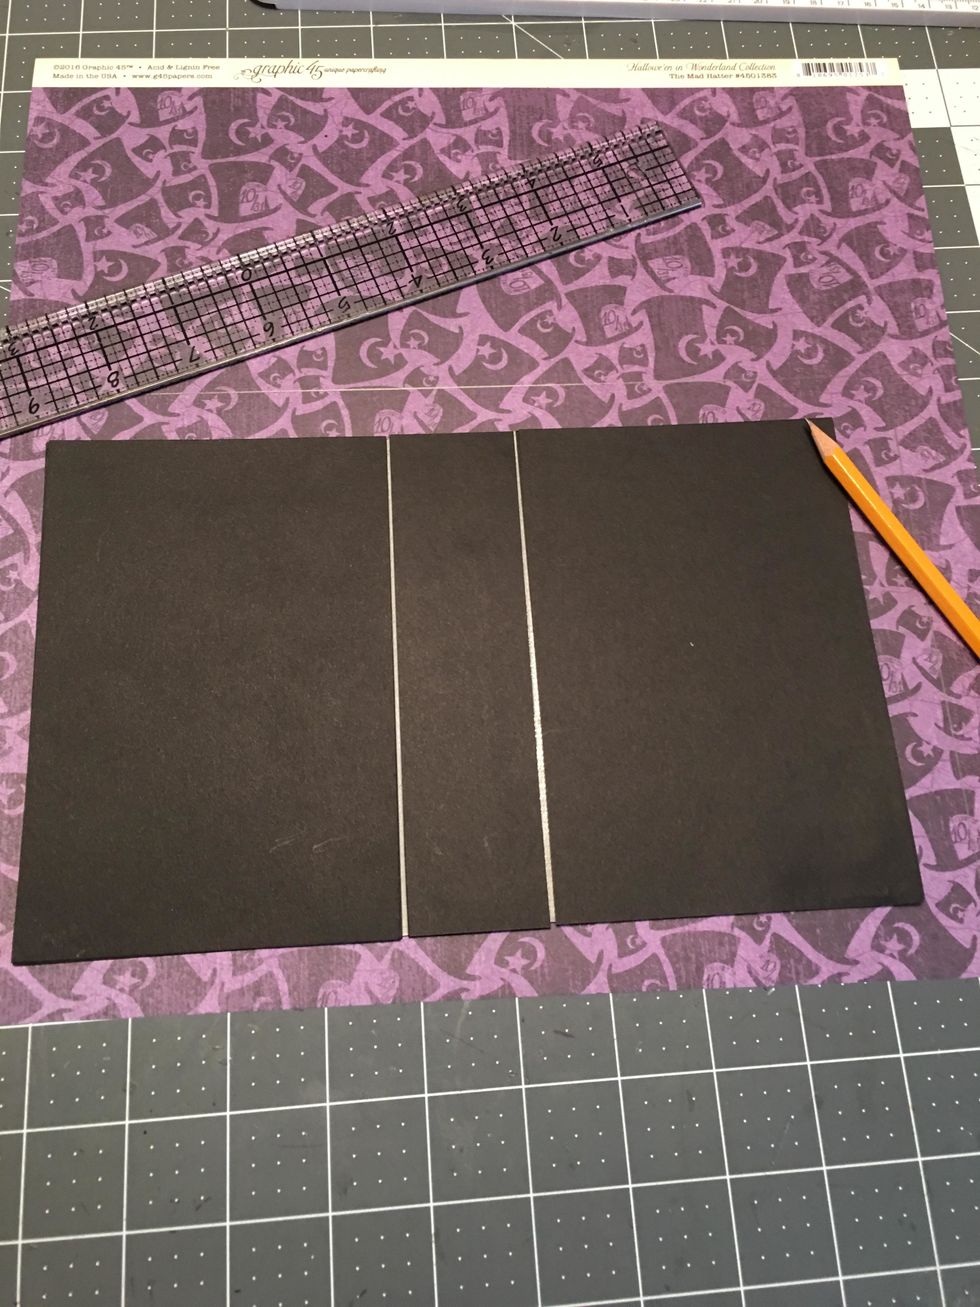
Lay the assembled cover onto the patterned paper of your choice. Cut around all 4 sides so that you have about 3/4" - 1" of paper around all 4 sides.
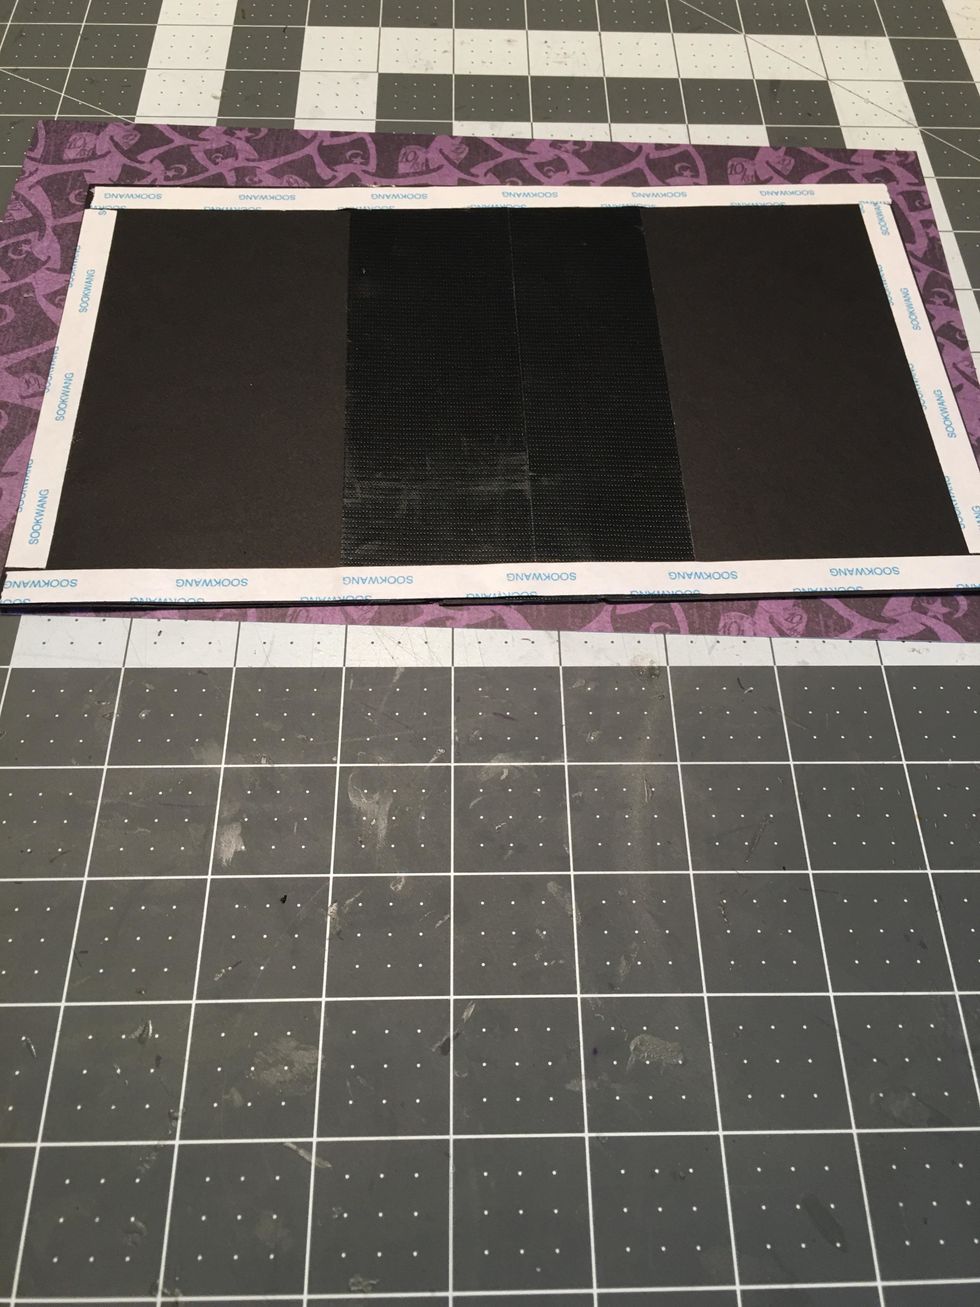
Apply scor-tape to the edges of the cover.
Peel off the tape backing and apply glue to the rest of the areas of the cardstock cover.
Turn the cardstock cover over with the adhesive side down and attach to the back side of the patterned paper, centered with about 3/4" - 1" around all 4 sides.
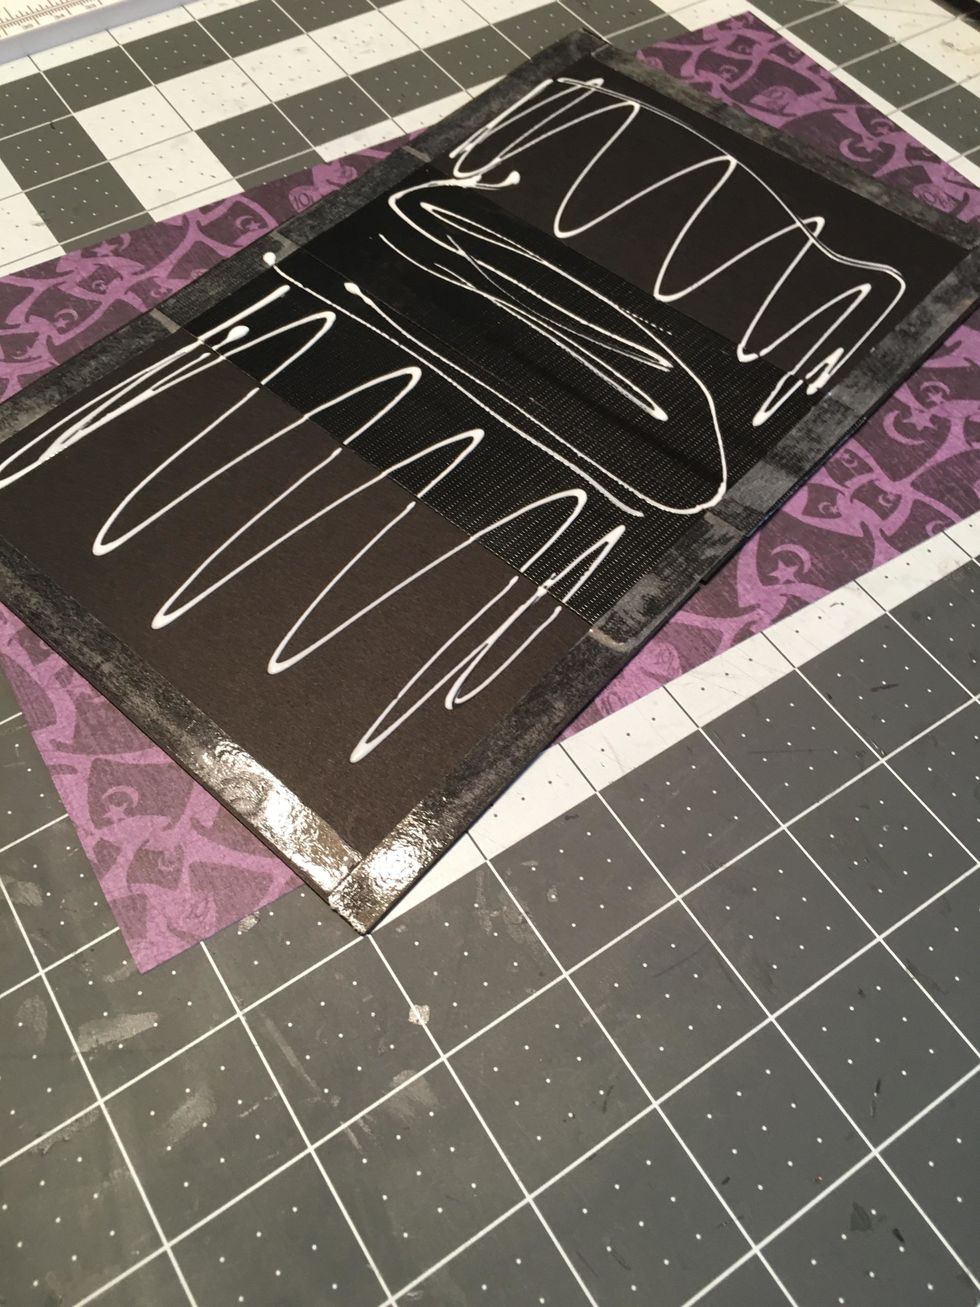
Apply scor-tape to all 4 sides of the patterned paper.
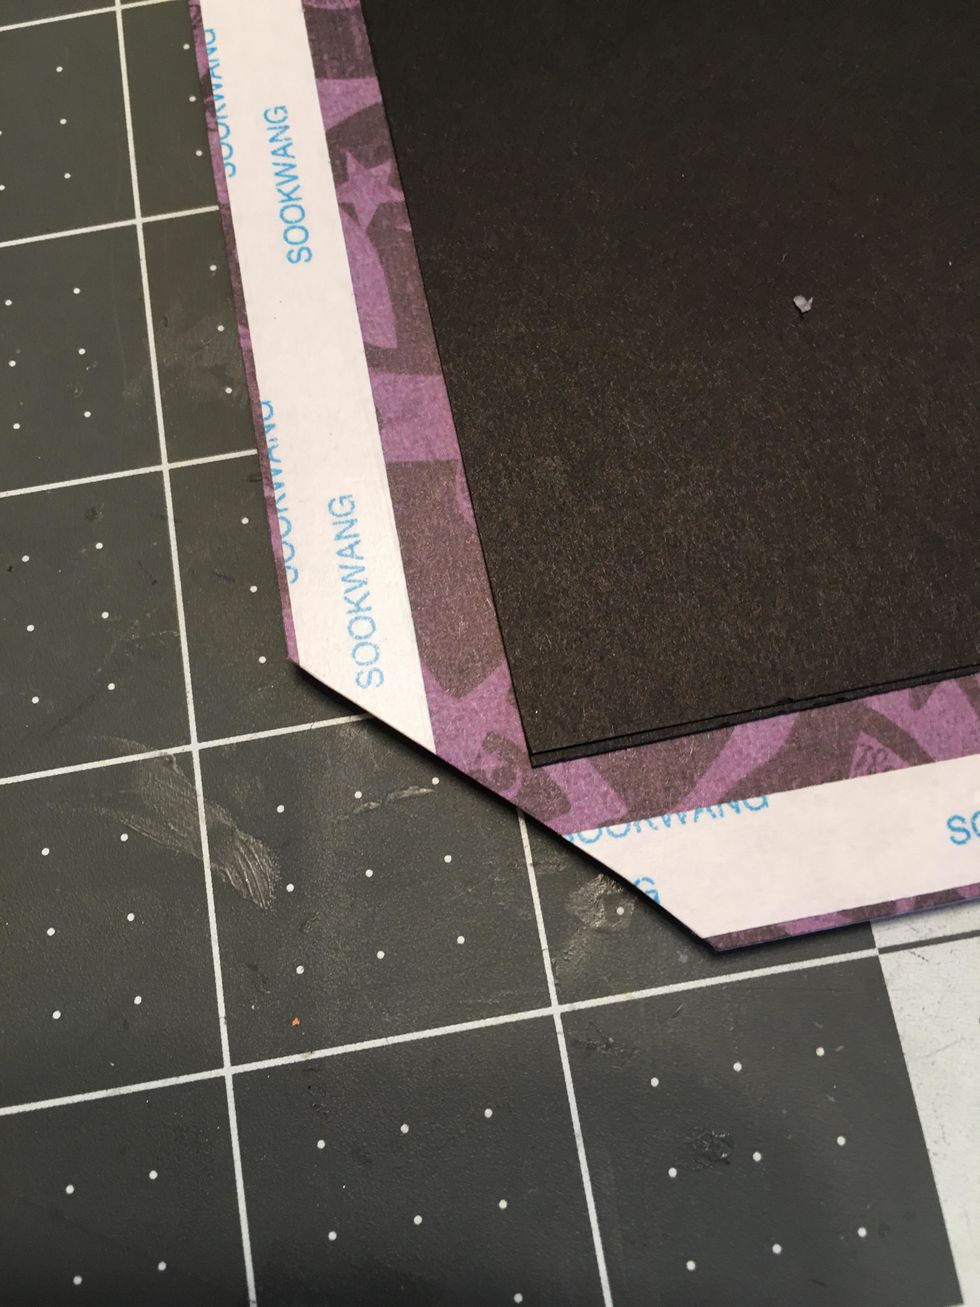
Miter cut all four corners of the paper as shown. About 1/8" from the tip of the cardstock corners.
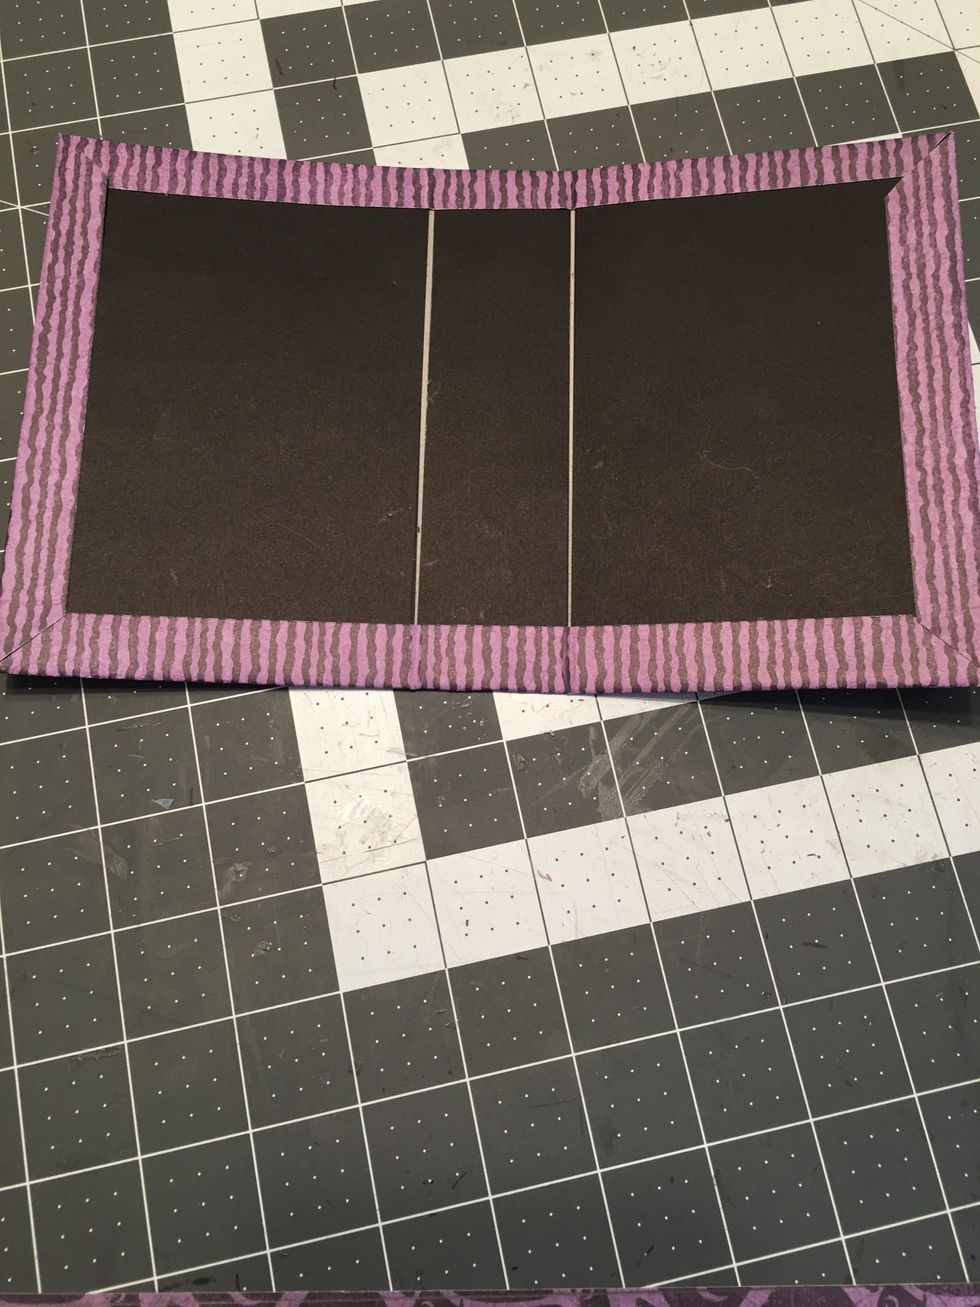
Peel off the tape backing and attach the paper down over on to the cover as shown. Burnish with a bone folder. Lightly burnish into the folds of the spine.
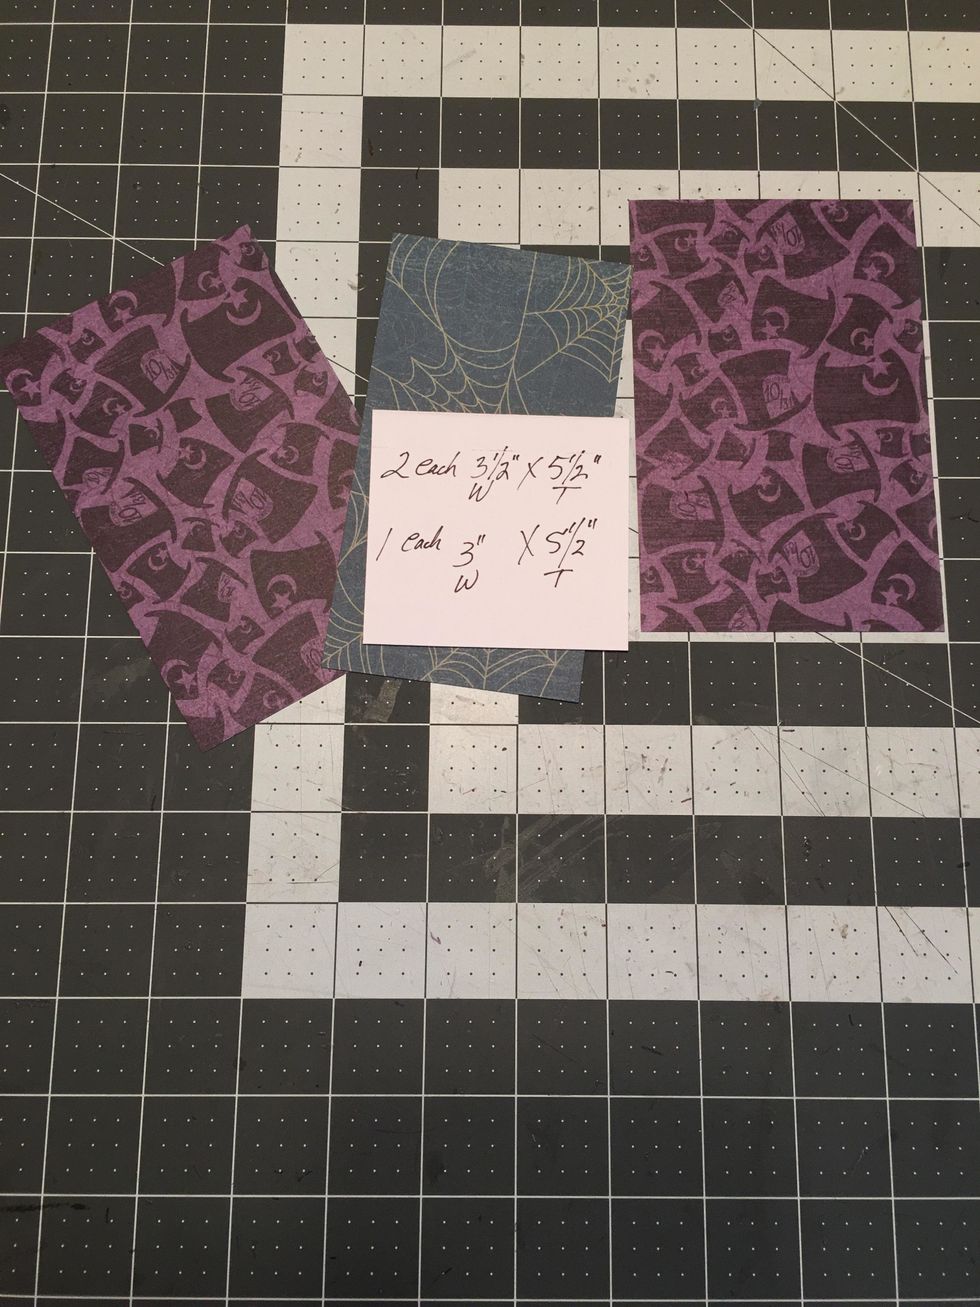
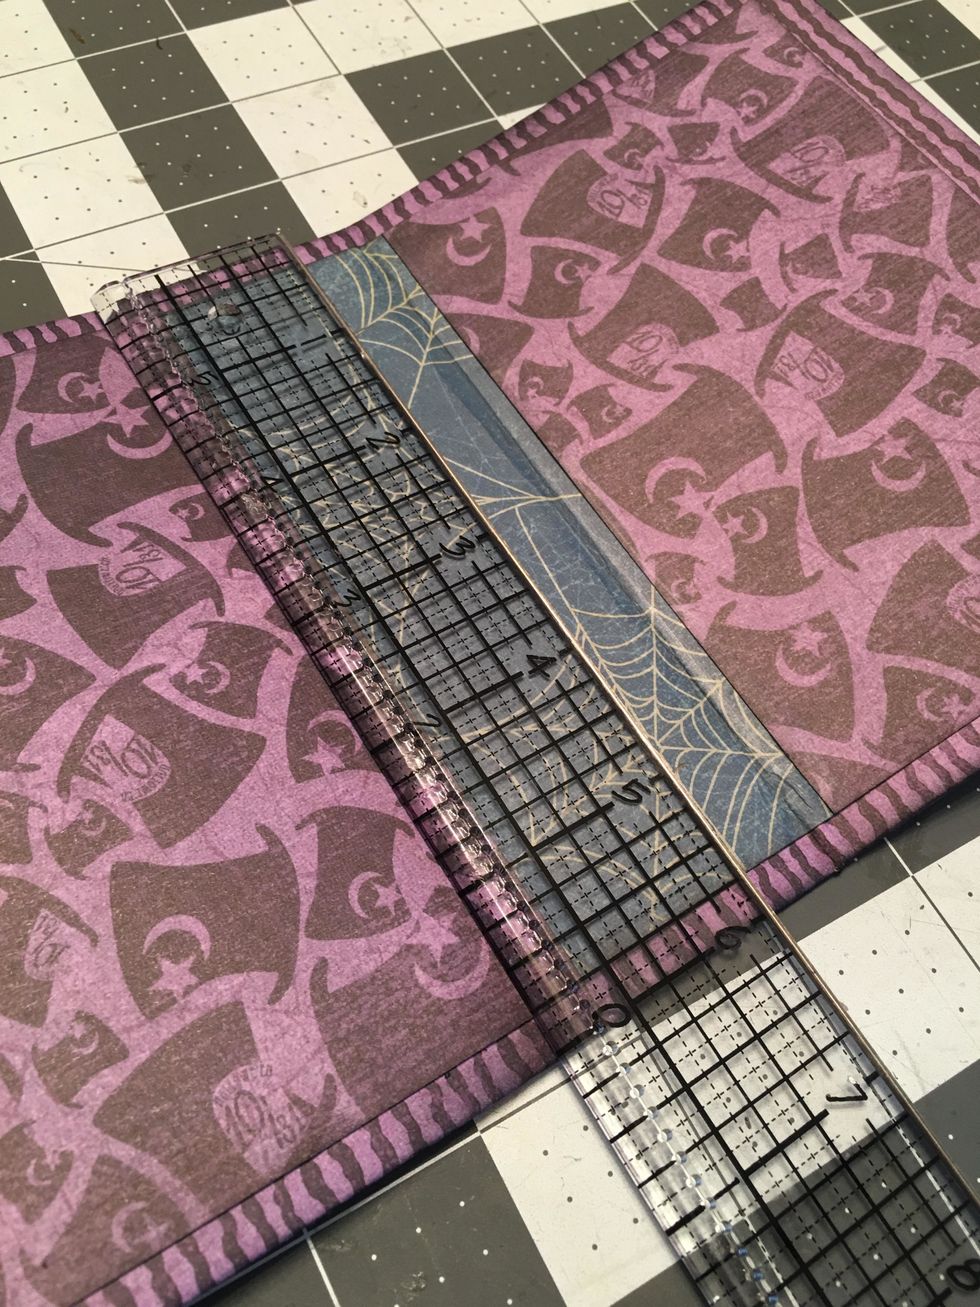
Cut patterned paper: 2 each 3.50" wide x 5.50" tall and 1 each 3" wide x 5.50" tall
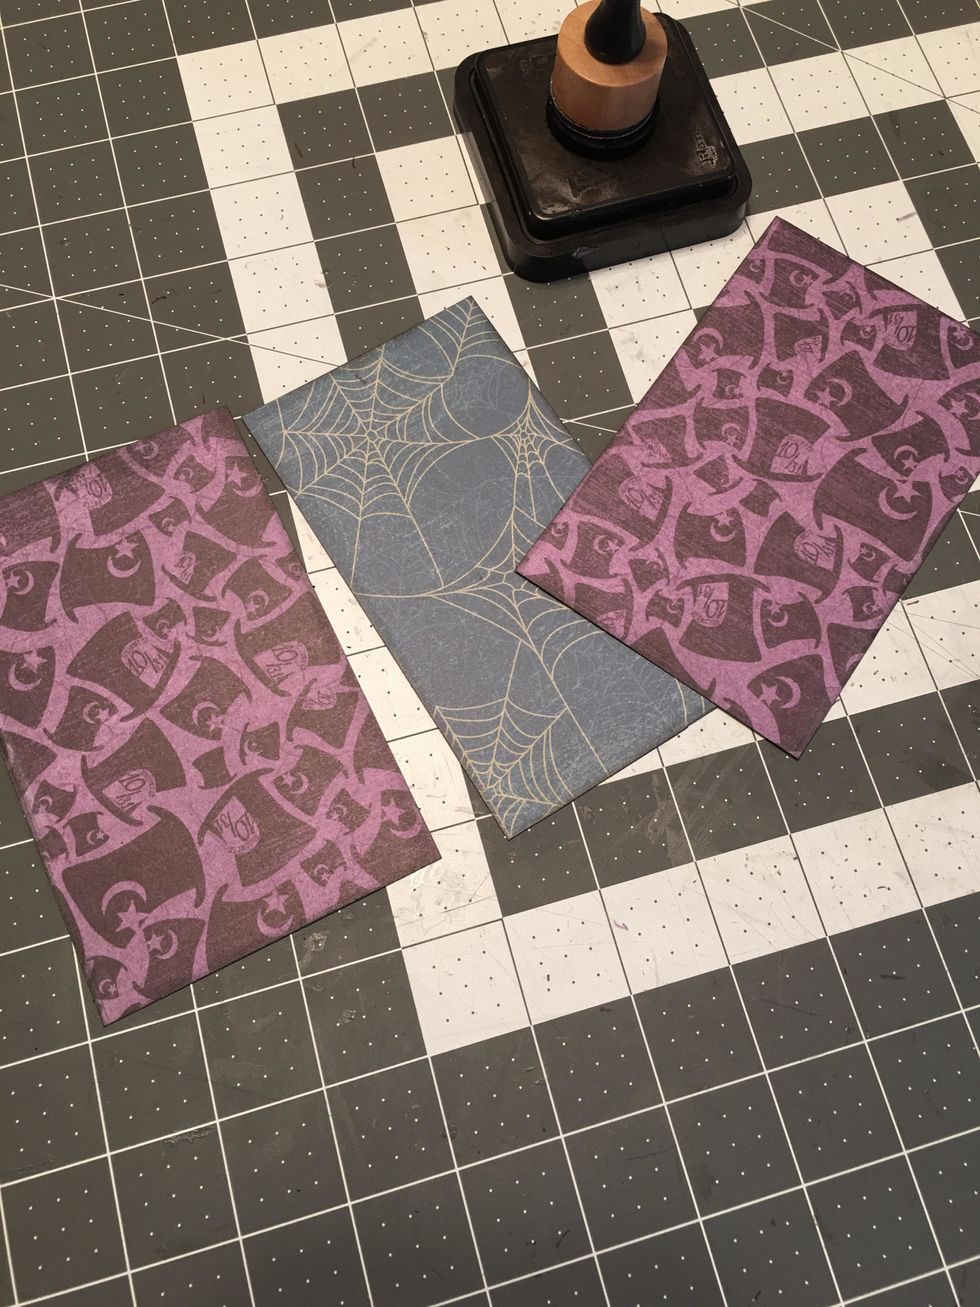
Ink the edges with Black Soot Distress Ink.
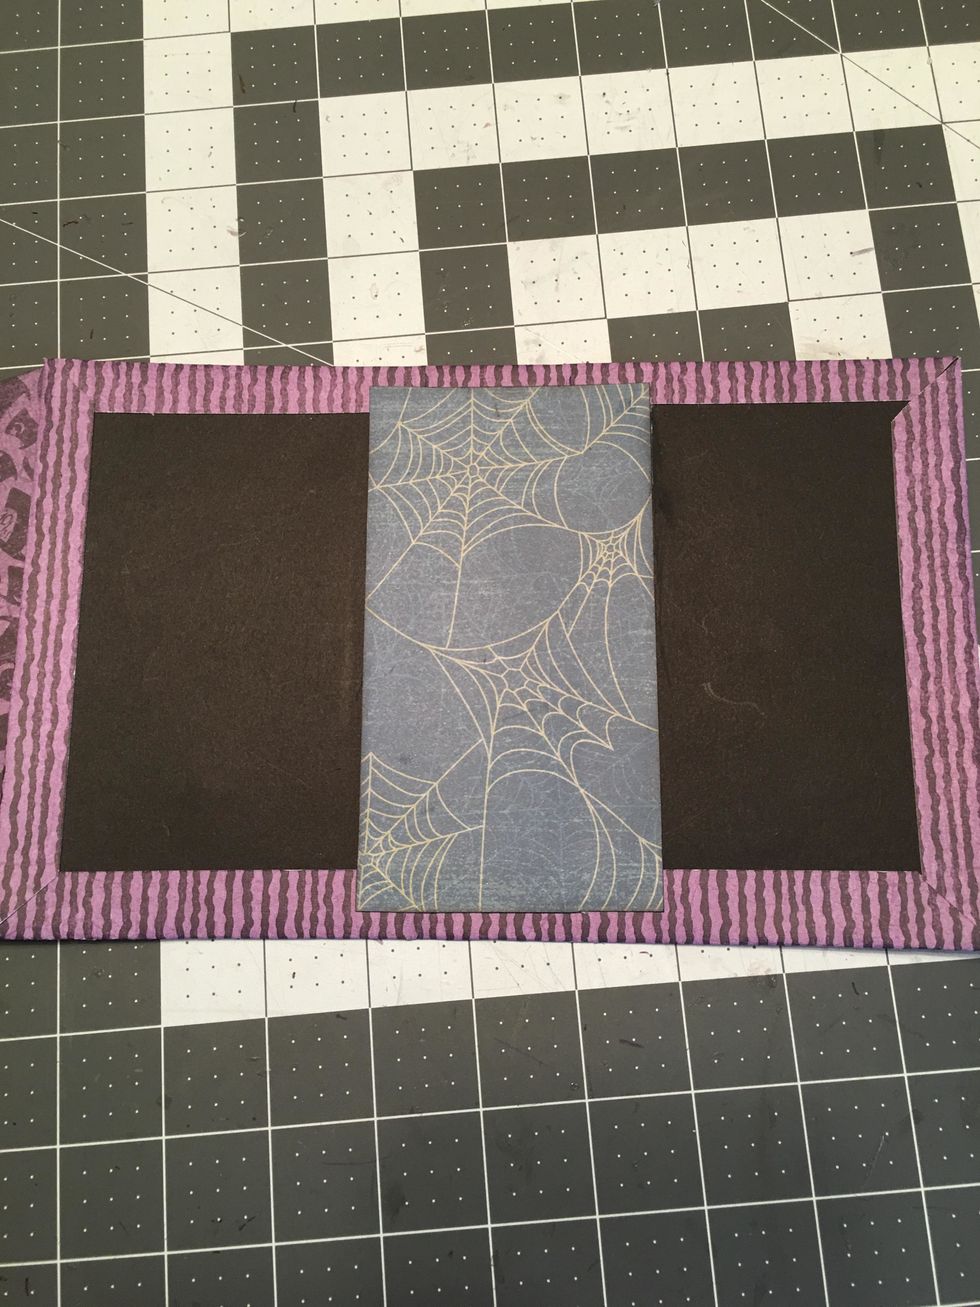
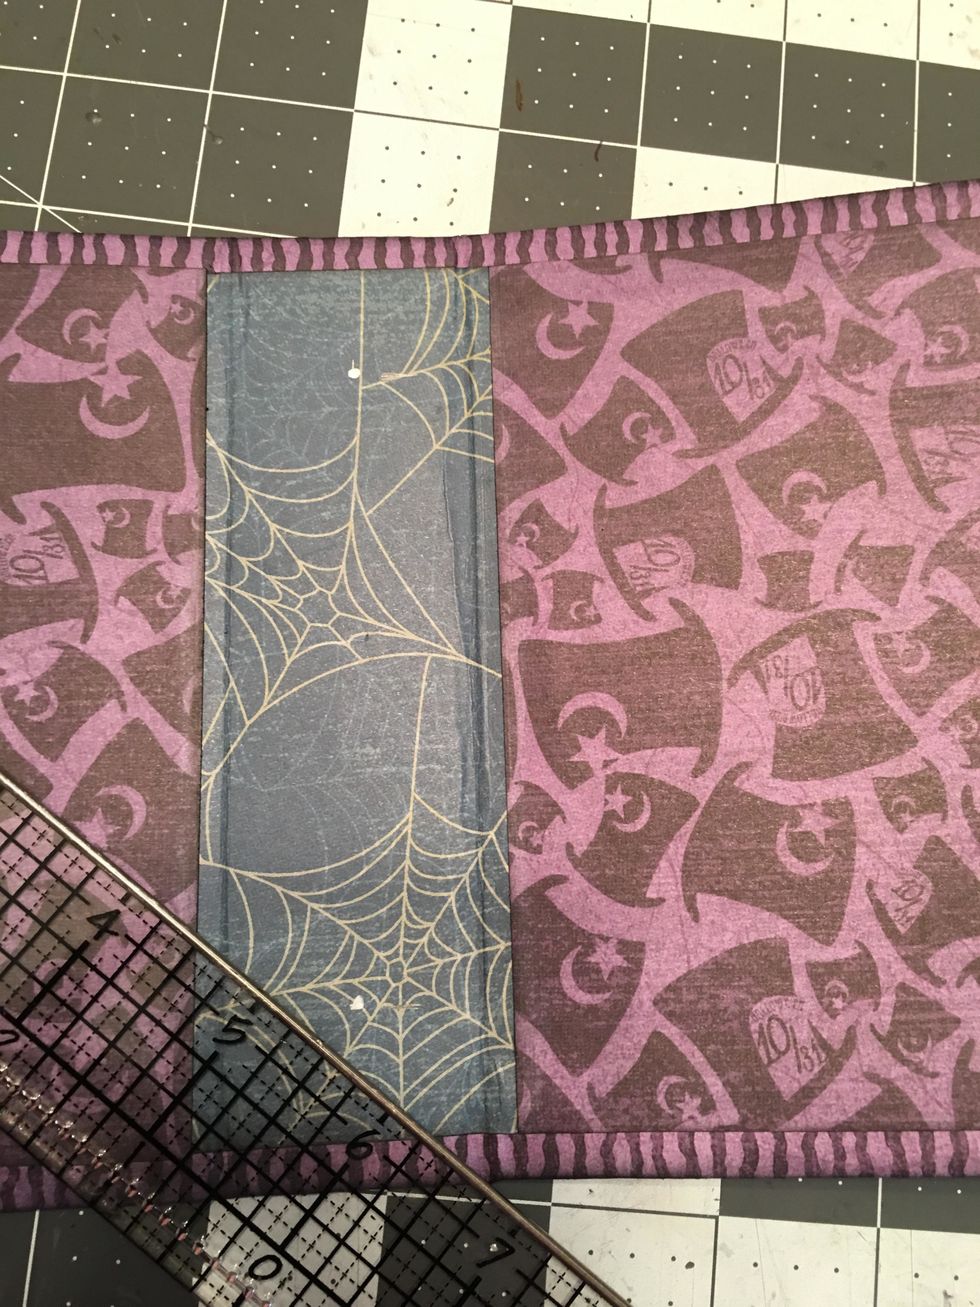
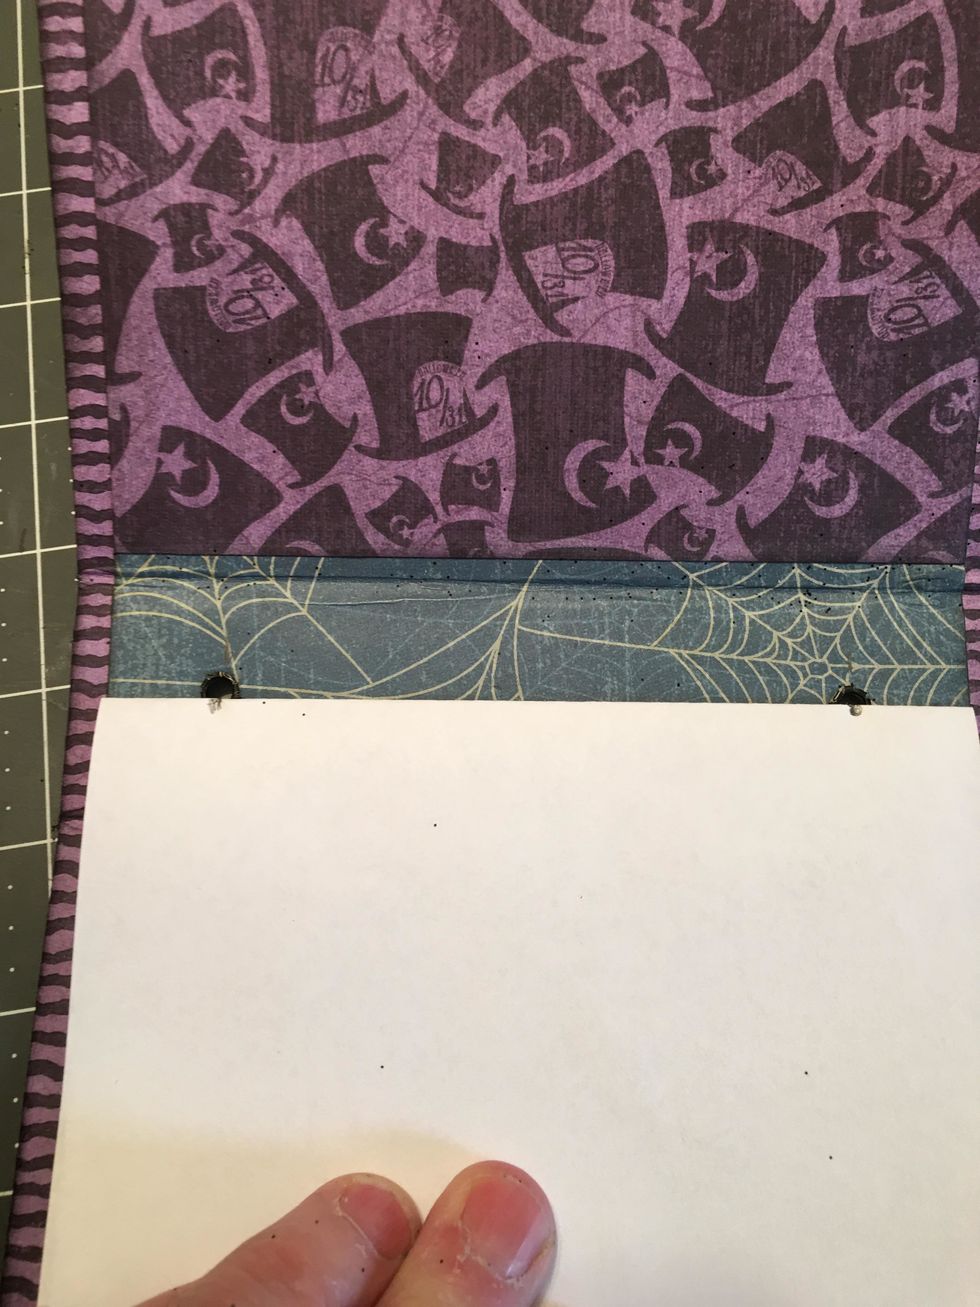
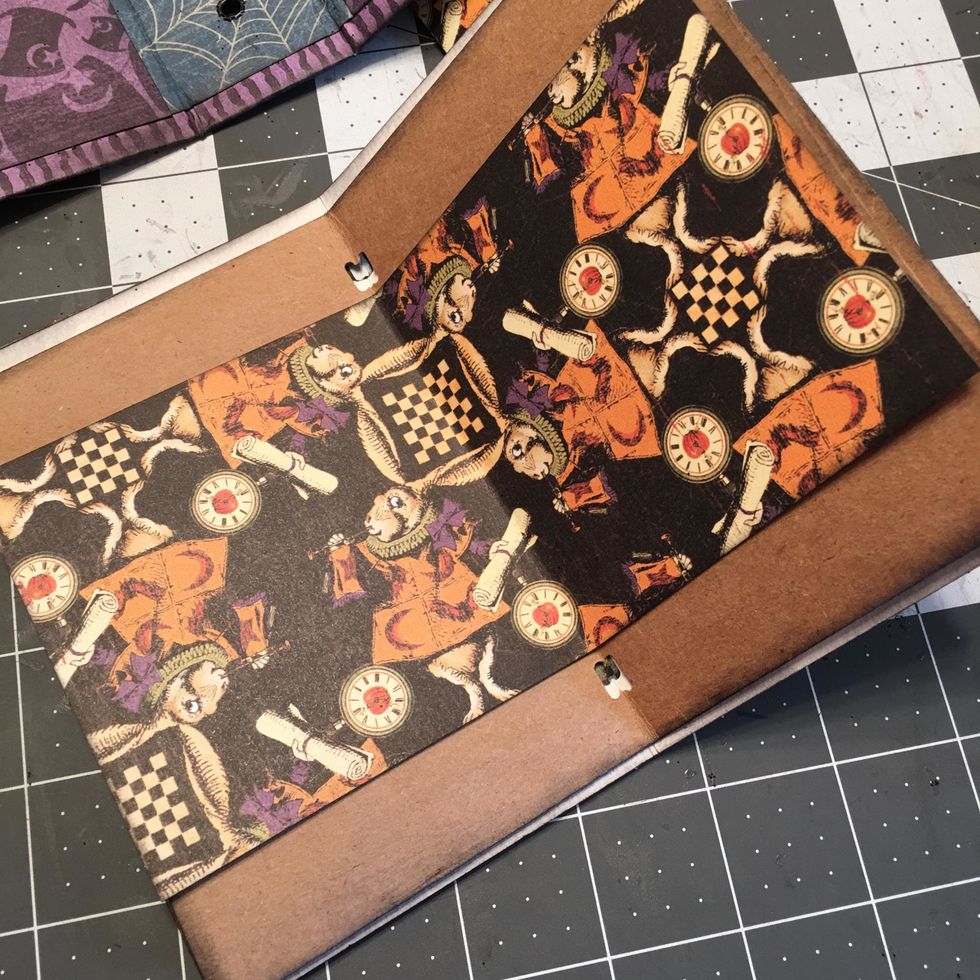
Use scor-tape and attach paper to cover the center spine area inside the cover.
Use glue or scor-tape to attach the other two papers to the inside of the front and back cover.
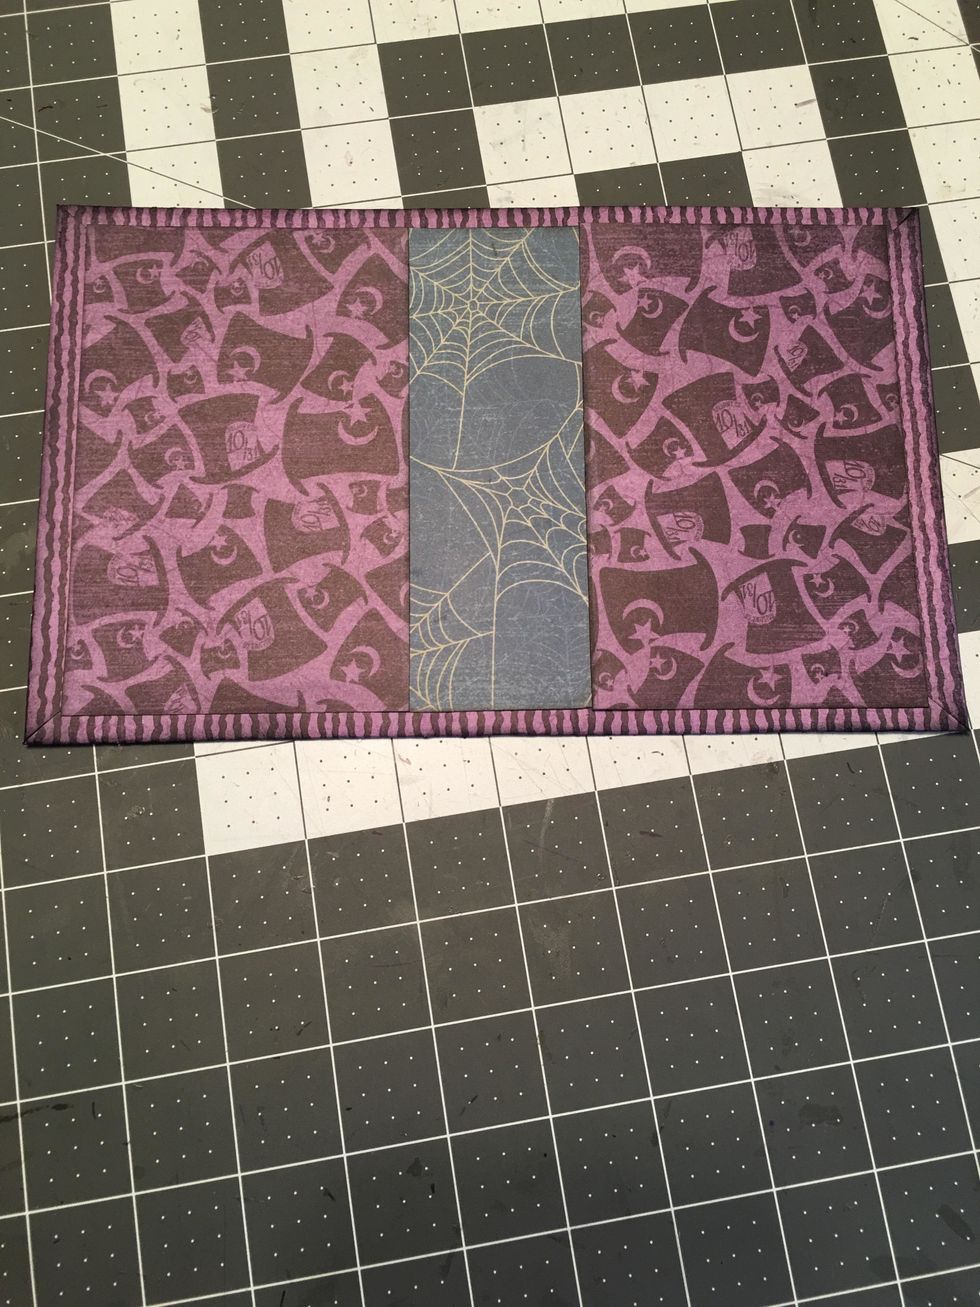
Gently fold the book closed. If the spine area cracks on the outside, gently sand to give it a distressed look and ink with Black Soot Distress Ink.
Measure the height of the book on the inside. You will want your tallest junk pages to be 5.75" or less.
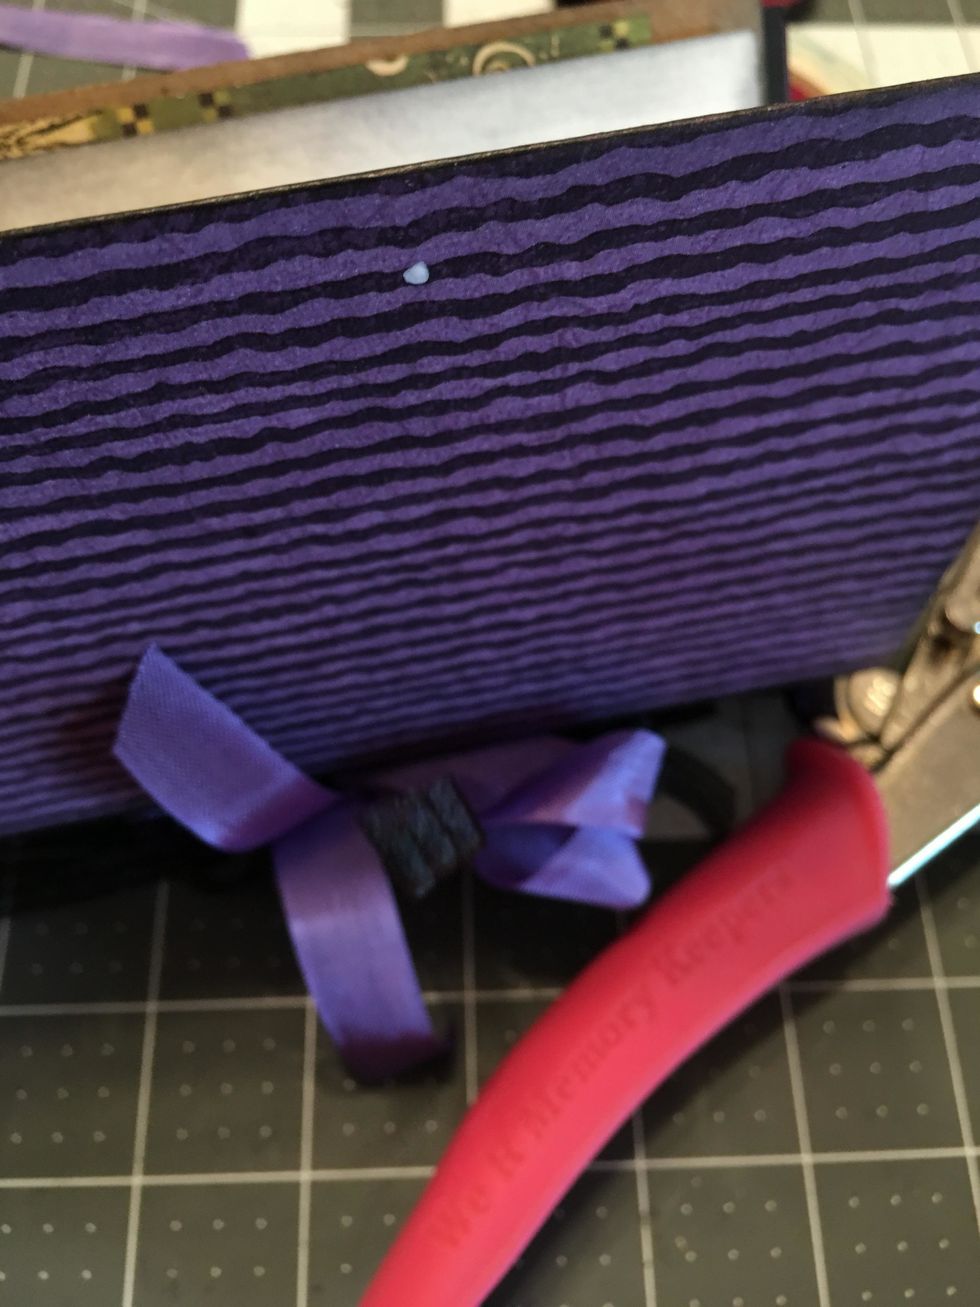
Use a rule to make to marks in the center of the spine and equal distance from the top and bottom. These are marked with a white pen in this photo.

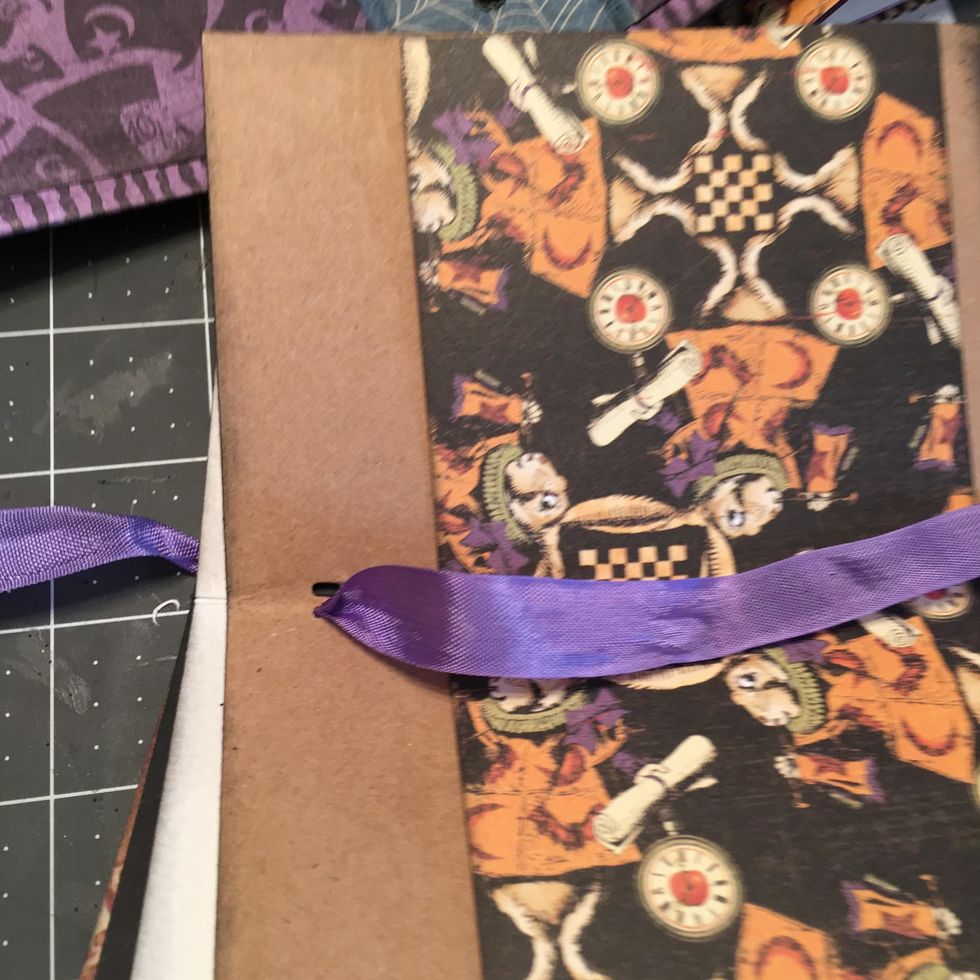
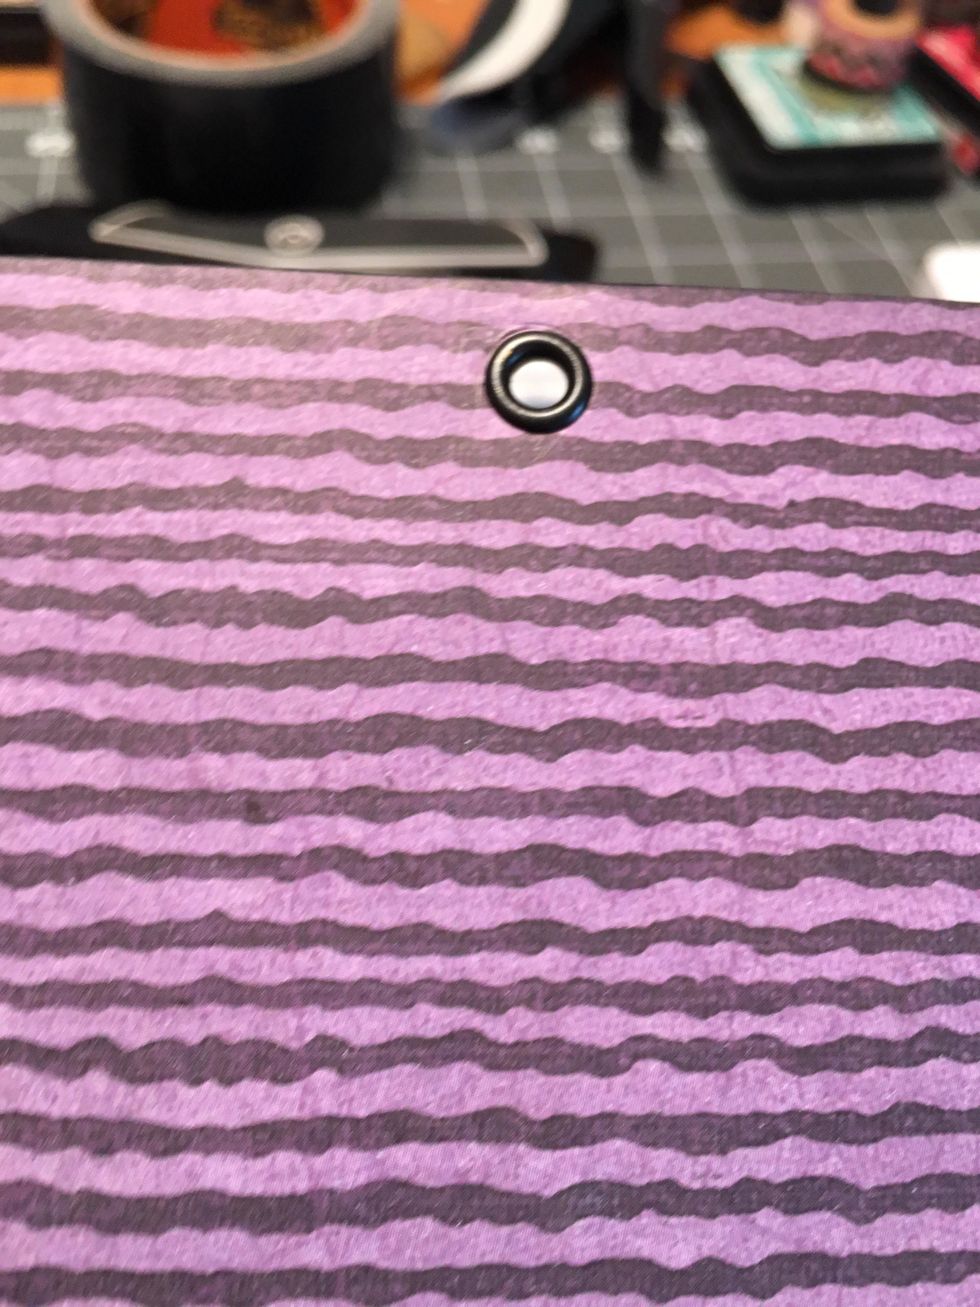
Use a Crop-a-dial to punch two holes as shown. Use the largest hole punch.
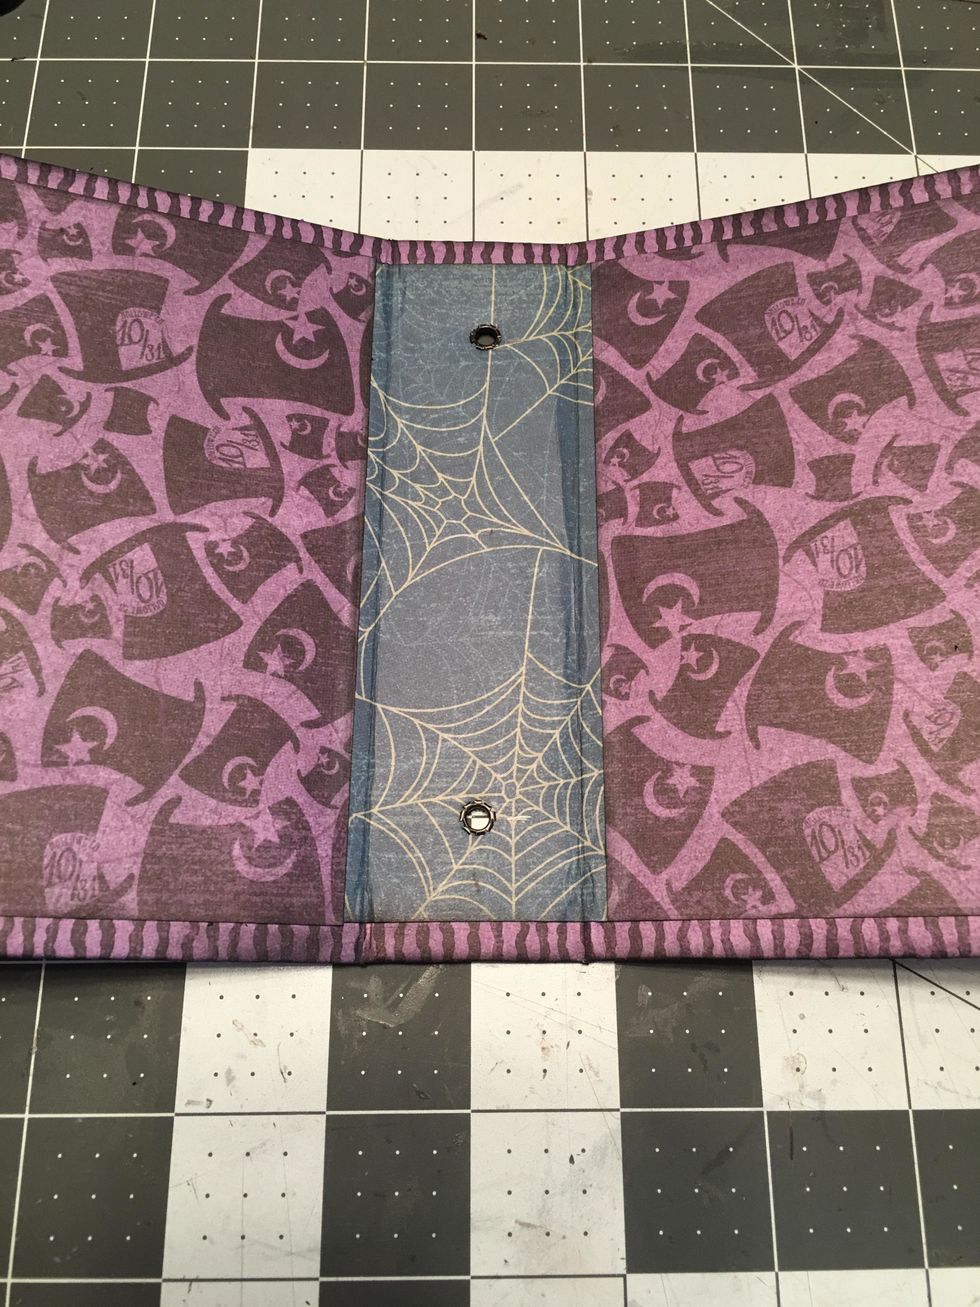
Insert eyelets into the spine holes and set with the Crop-a-dile or your favorite method of installing eyelets.
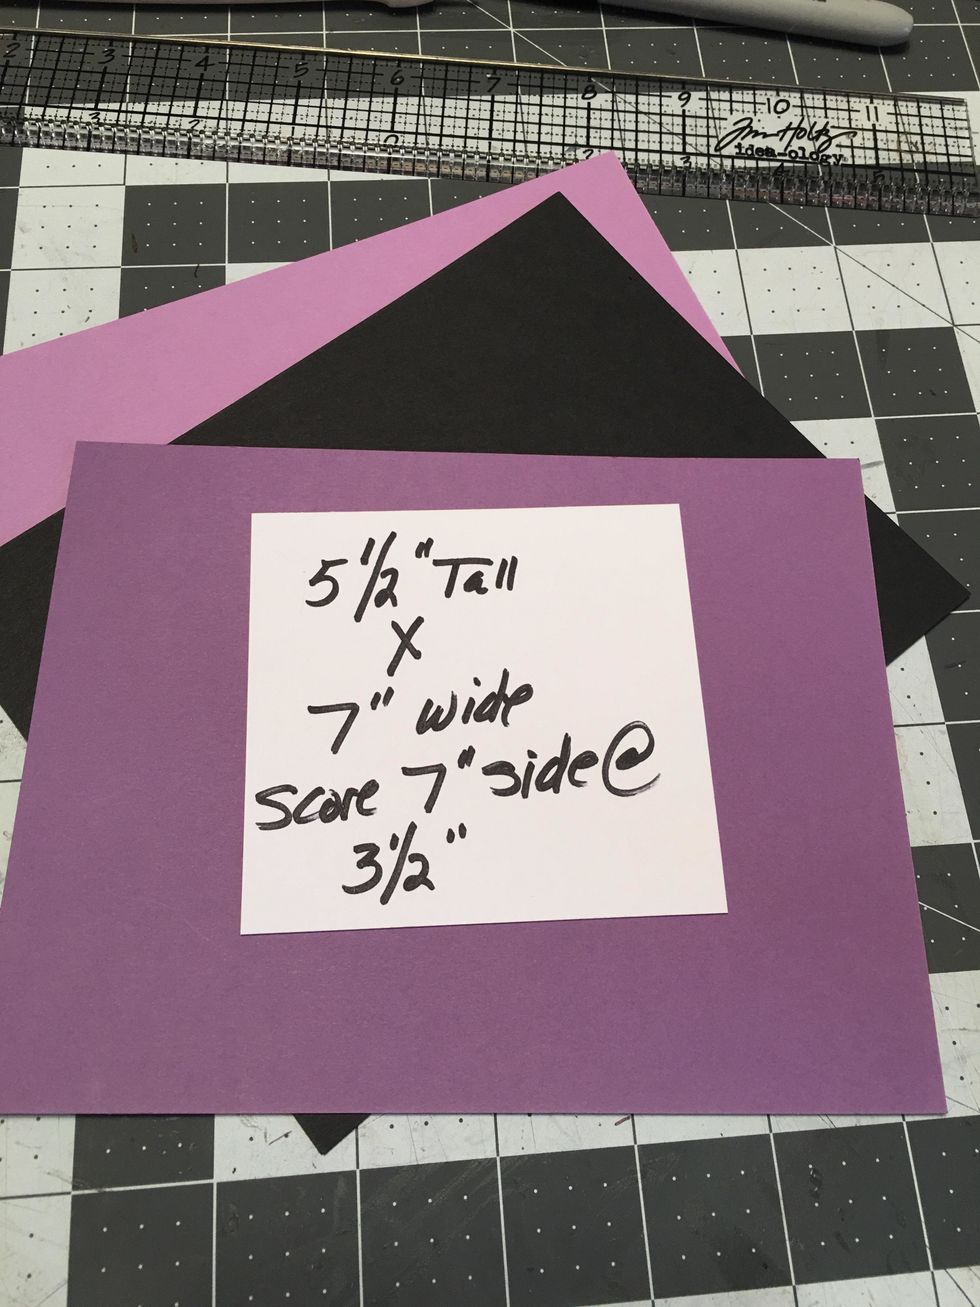
Cut cardstock in black and purples to 5.50" tall x 7" wide. Score the 7" side at 3.50" to fold the paper in half to make page signatures.
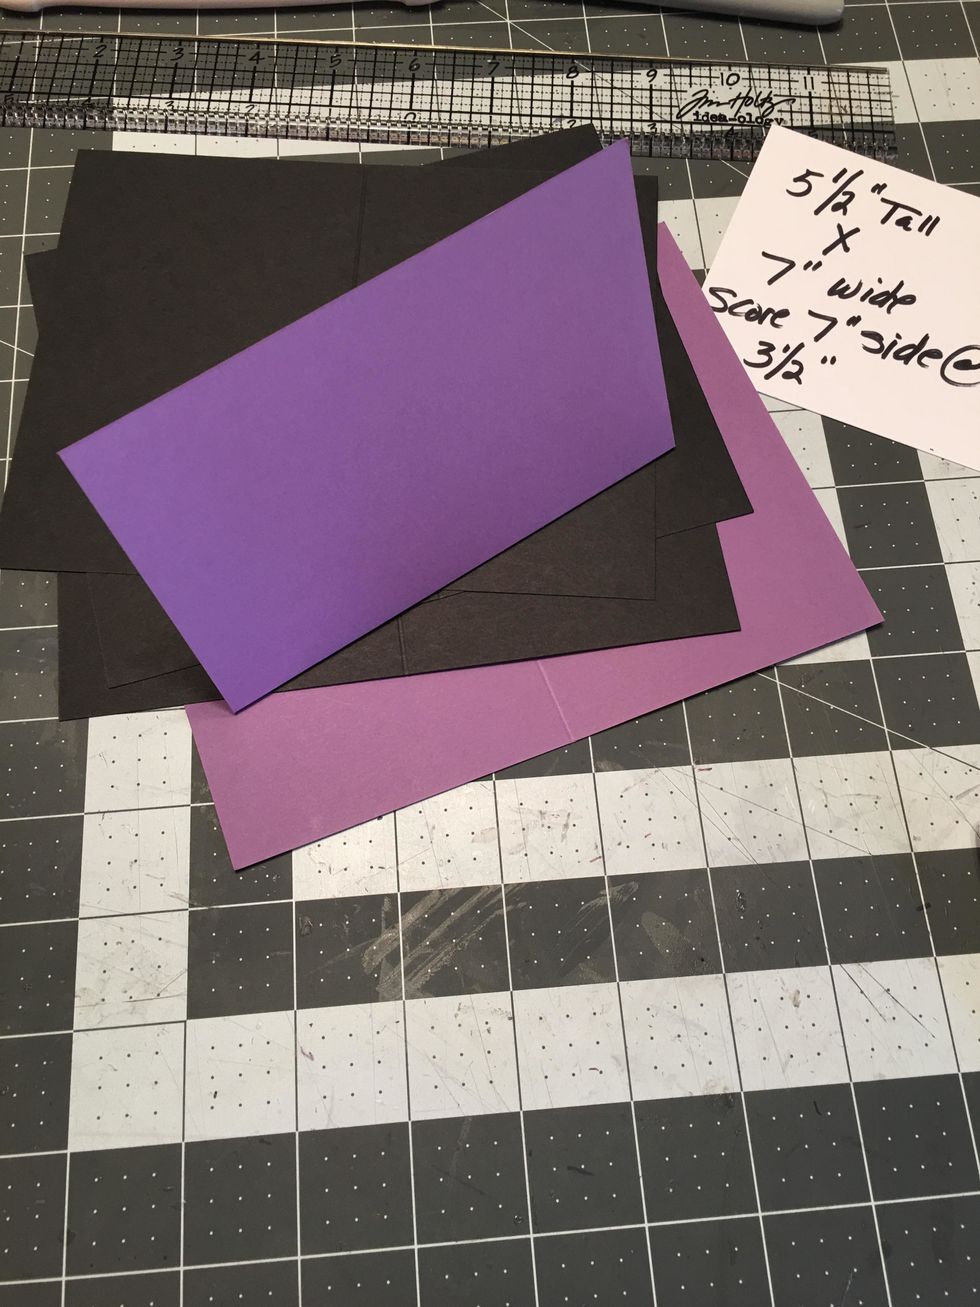
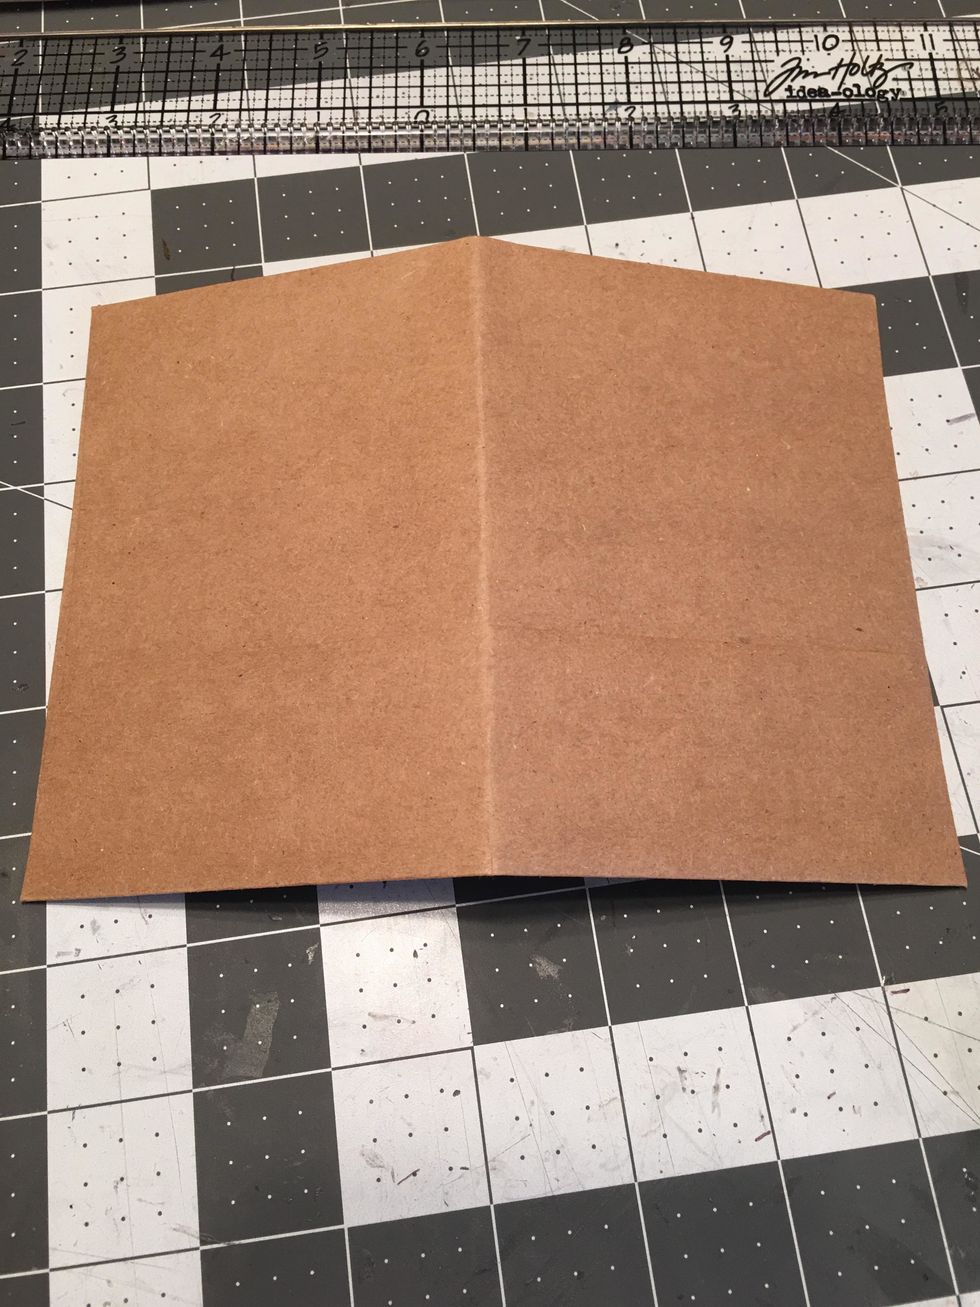
Score Kraft envelopes in half to add to the signatures. Make sure they are not taller than your album cover.
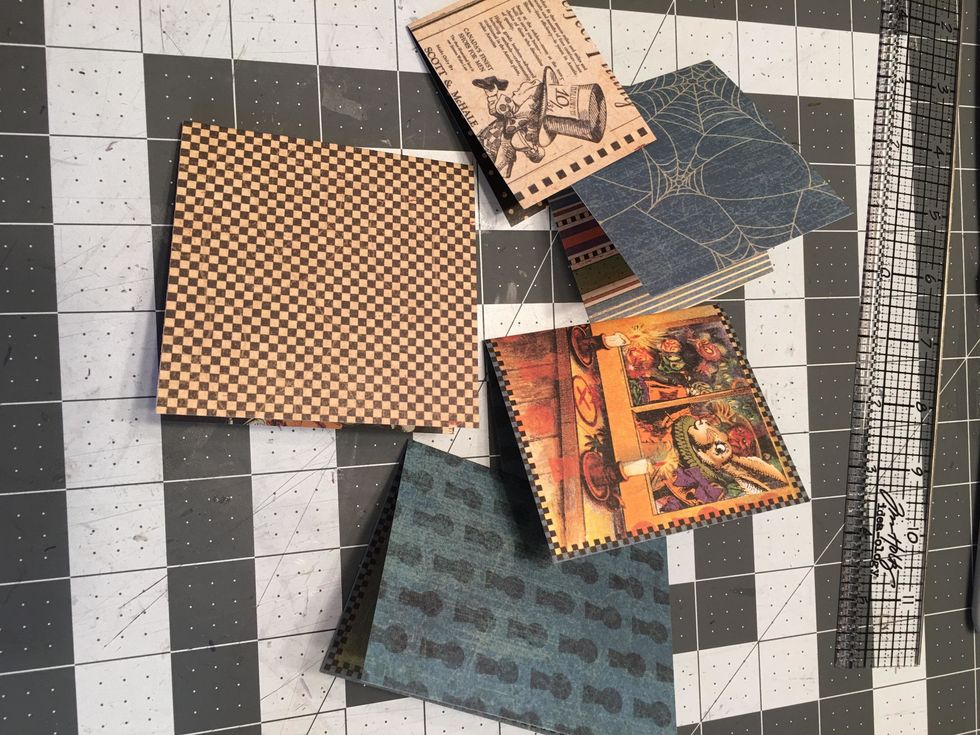
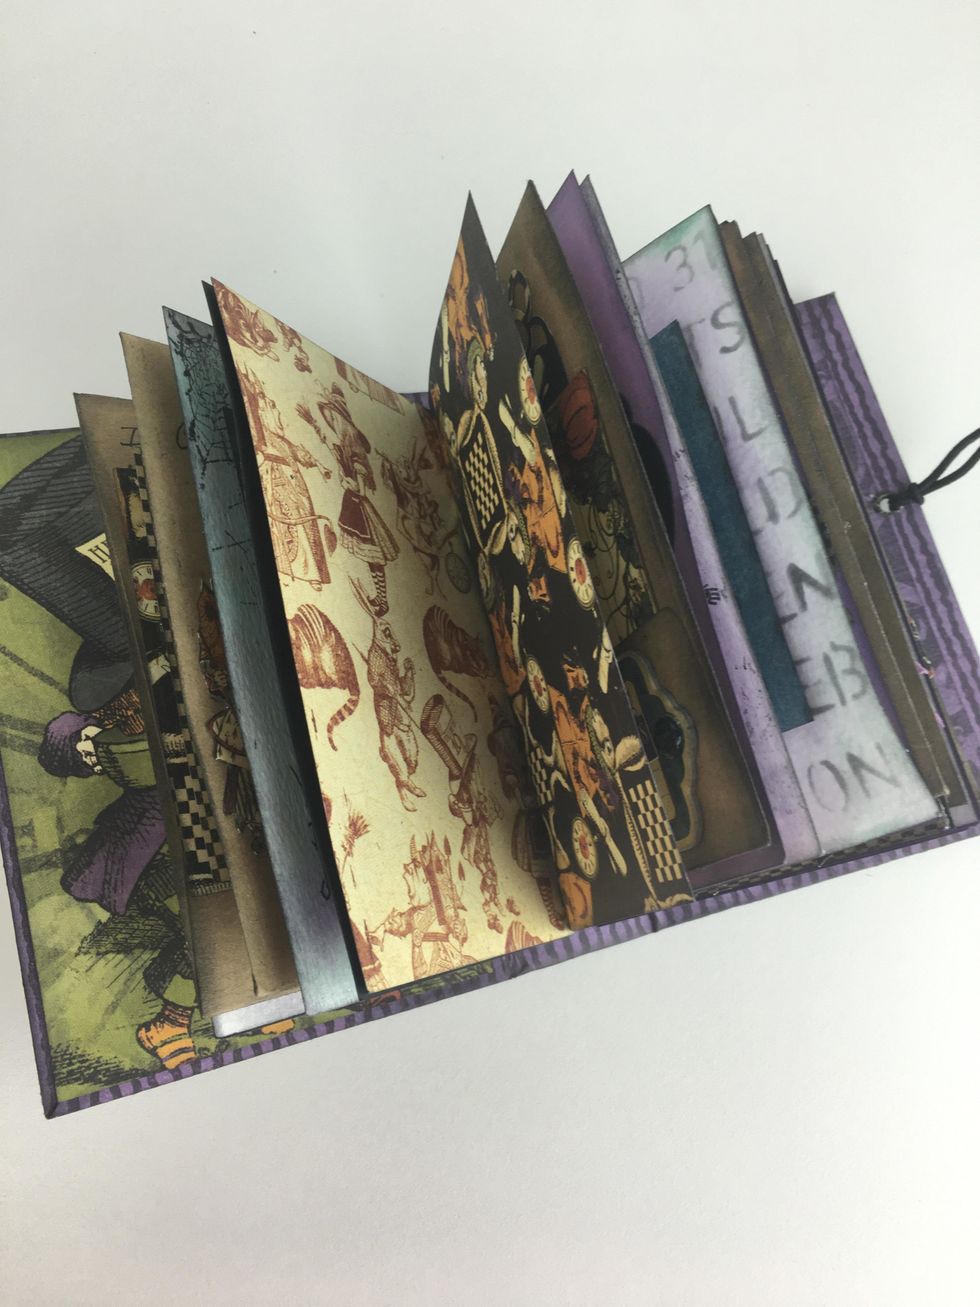
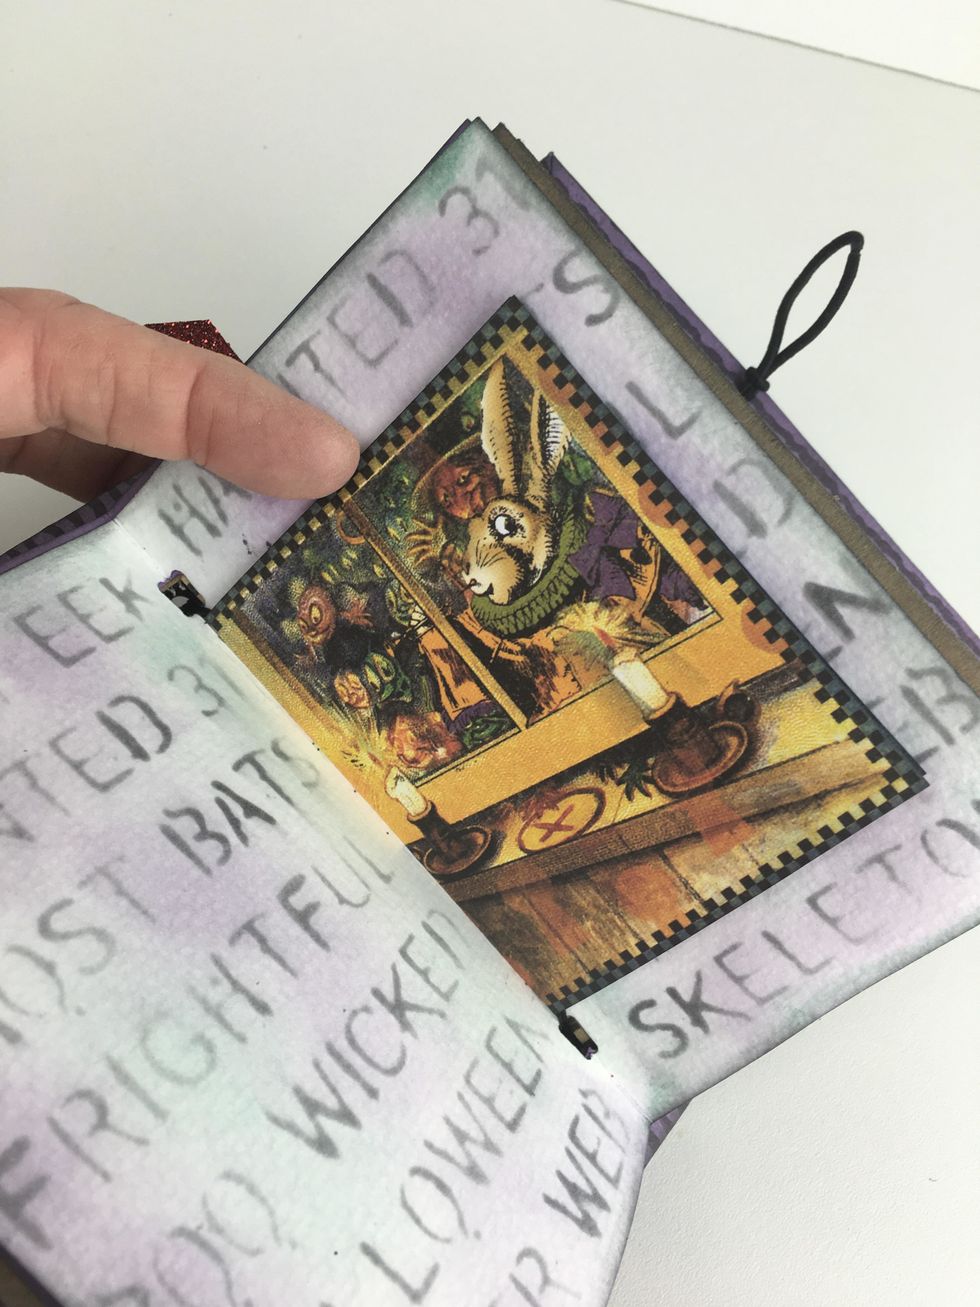
Cut assorted sizes of the patterned paper and fold into signatures. You will want a few of them to be the same size as the black and purple page signatures.
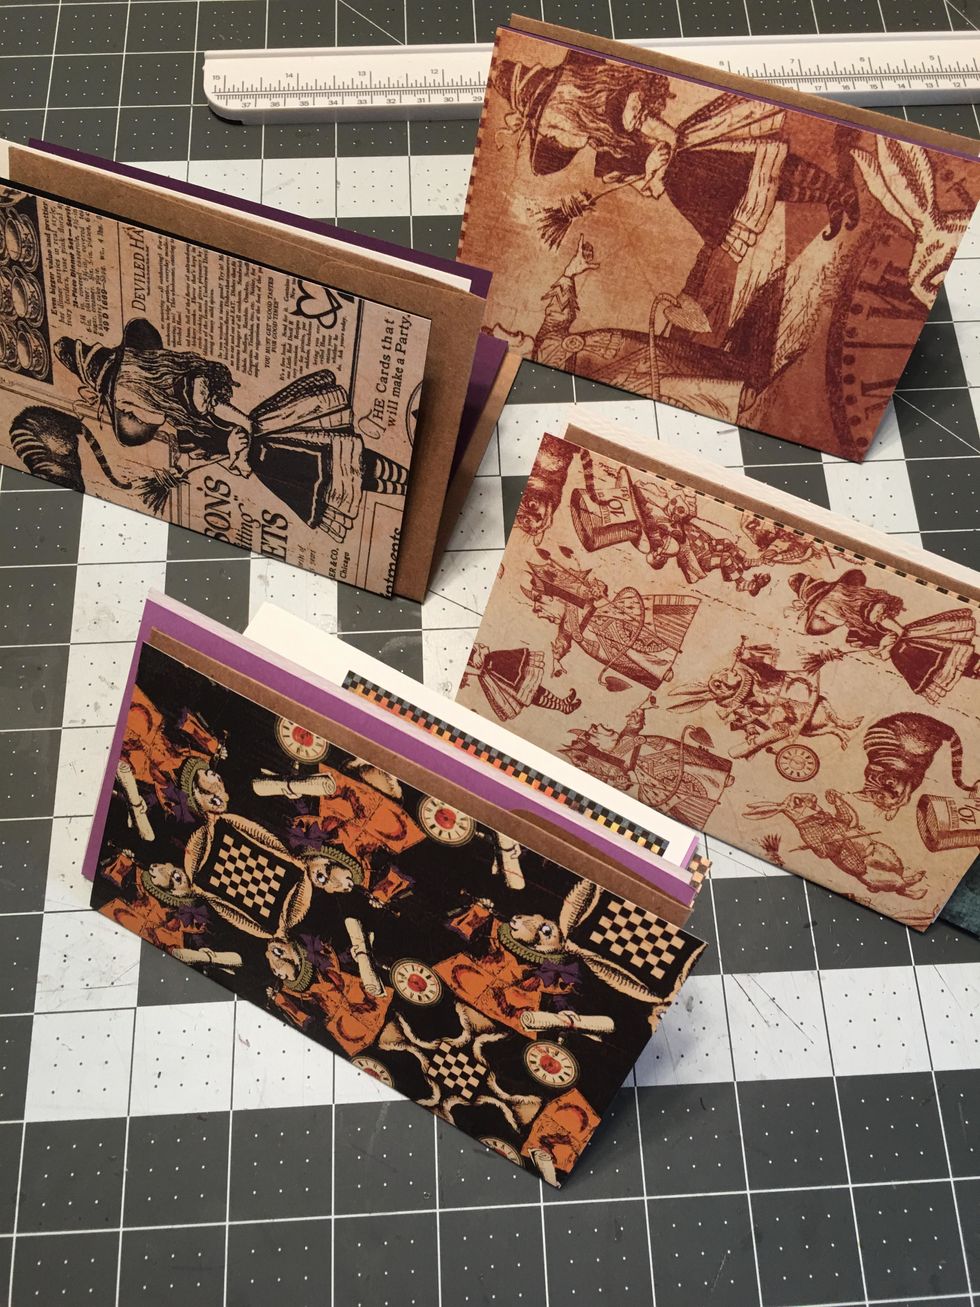
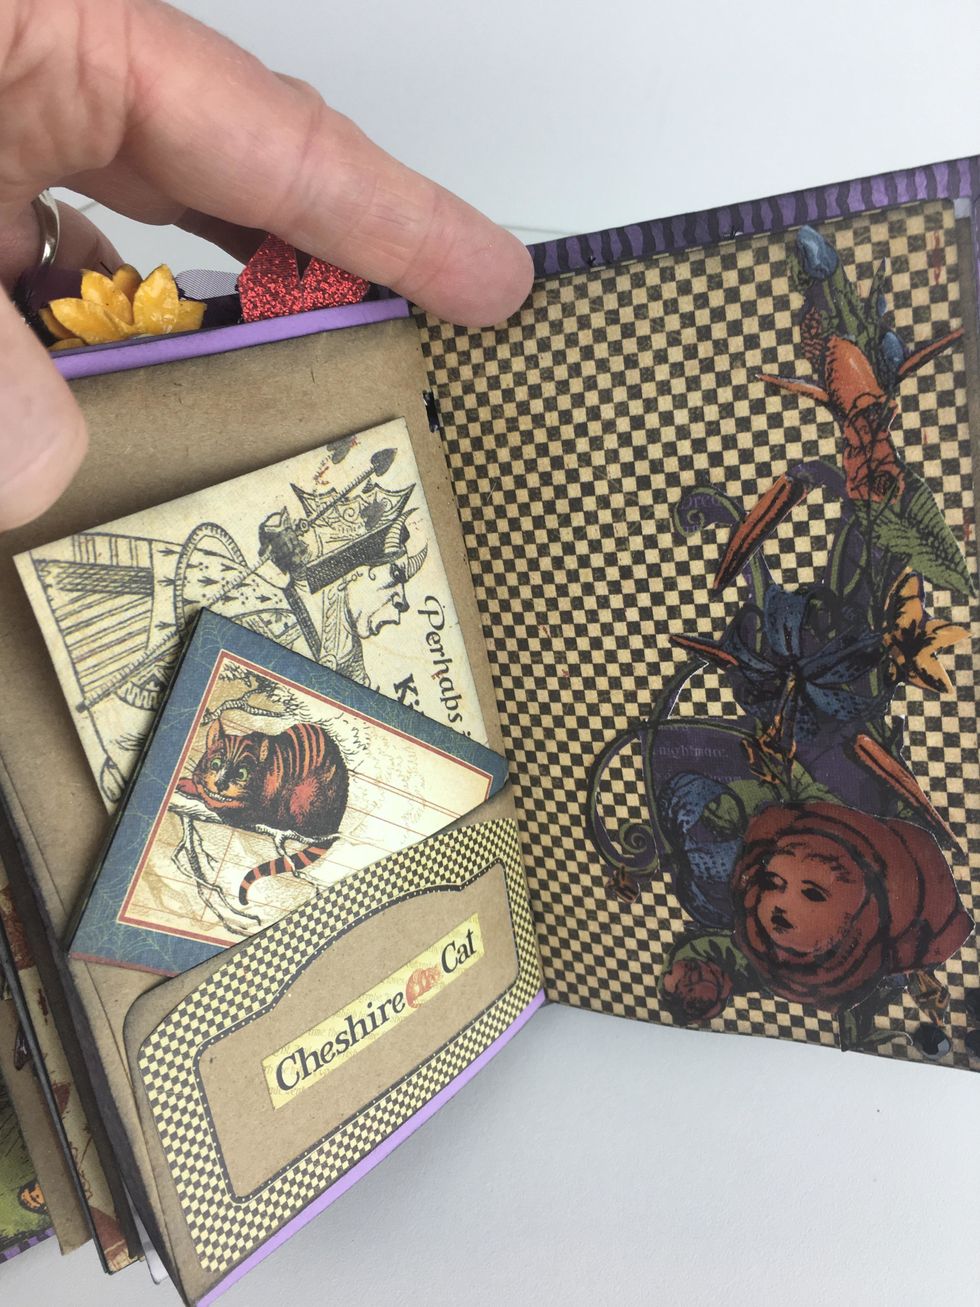
Some of the cut apart cards of the collection also make great pages to insert into the signatures when folded in half. Ink all the edges of the pages.
Fold a piece of lightweight paper in half, line up the fold with the eyelet holes in the spine of the cover and mark with a pencil to create a template.
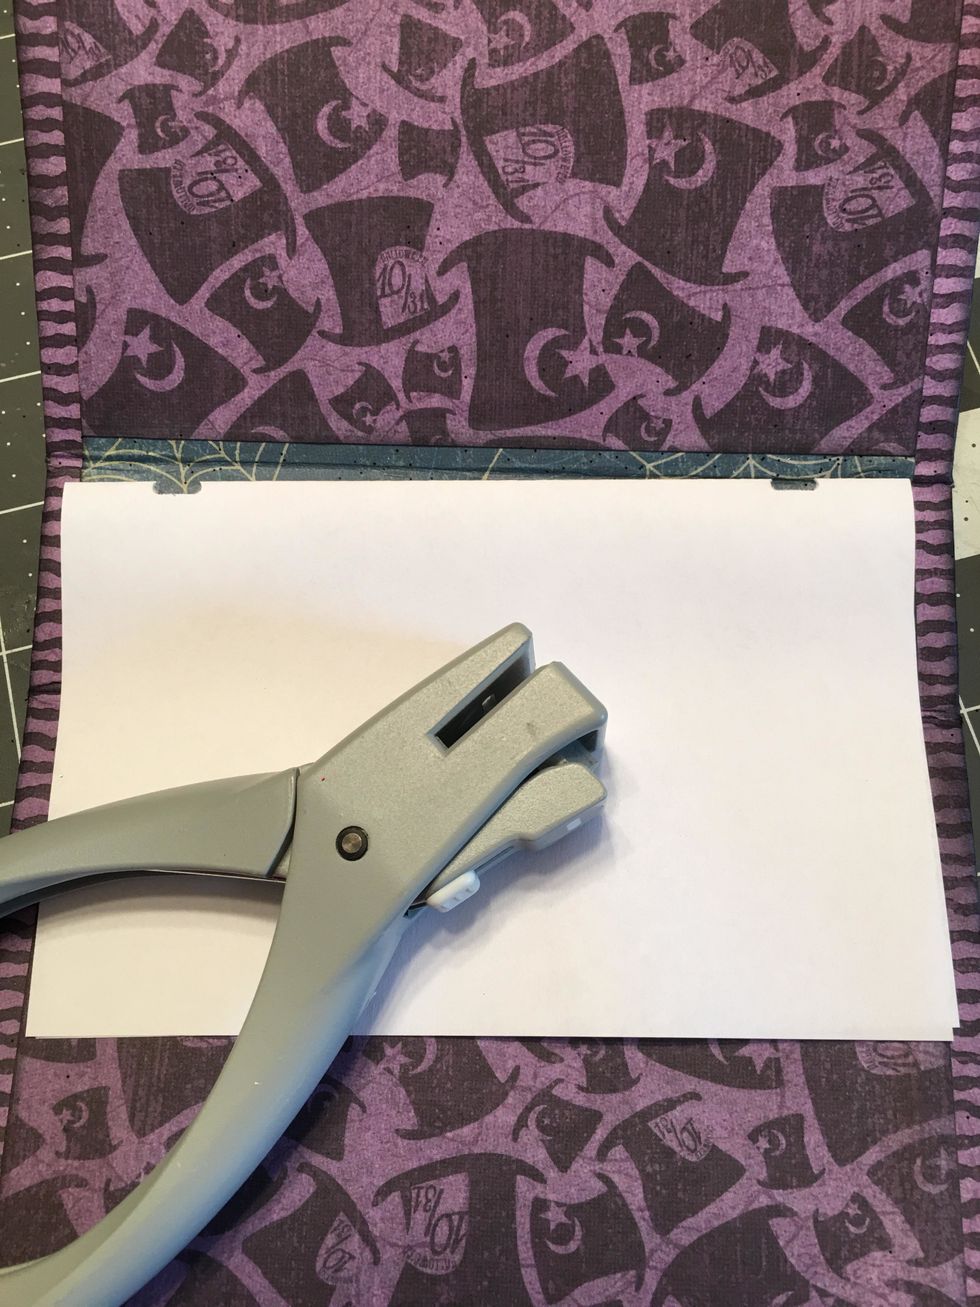
Use a hole punch or a notch punch as shown to punch a hole at each mark on the template paper.
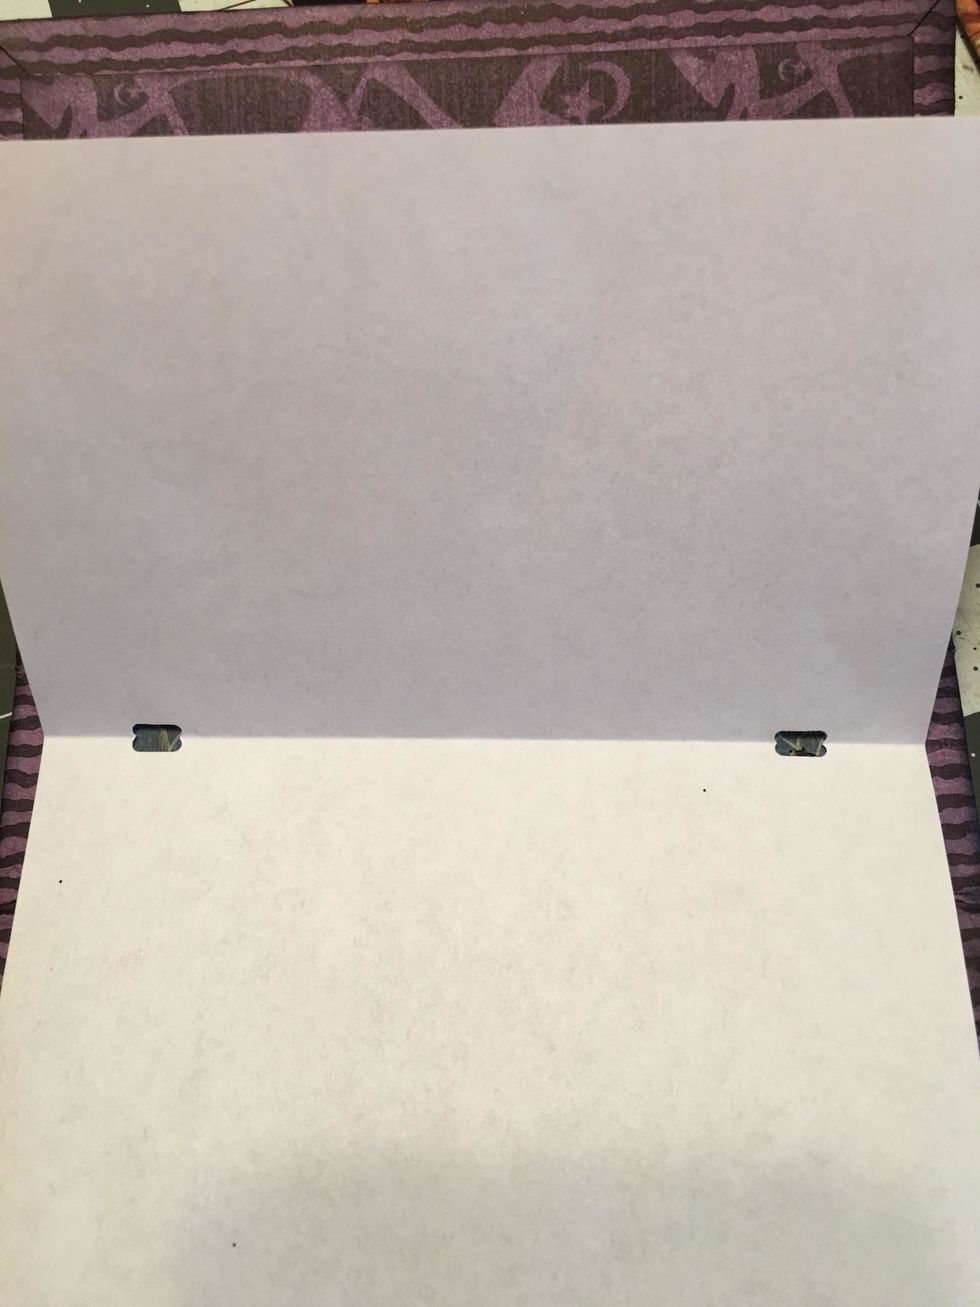
This is what it looks like after it is punched and the paper opened up.
Take the template and lay it folded over a folded page and punch the holes as marked on the template. The holes should be on the fold line of each page.
Repeat this for all the pages. If some of your pages are too small to have holes punched, you will want to lay them between the punched holes of other pages as shown.
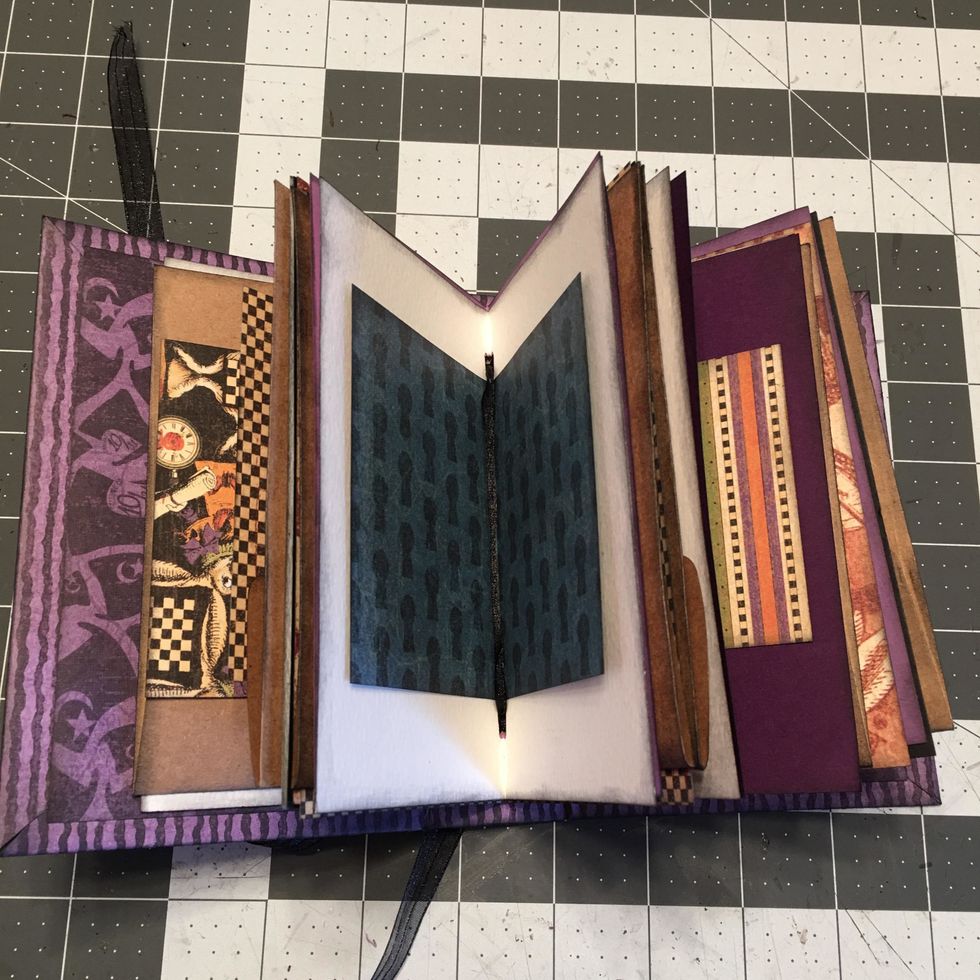
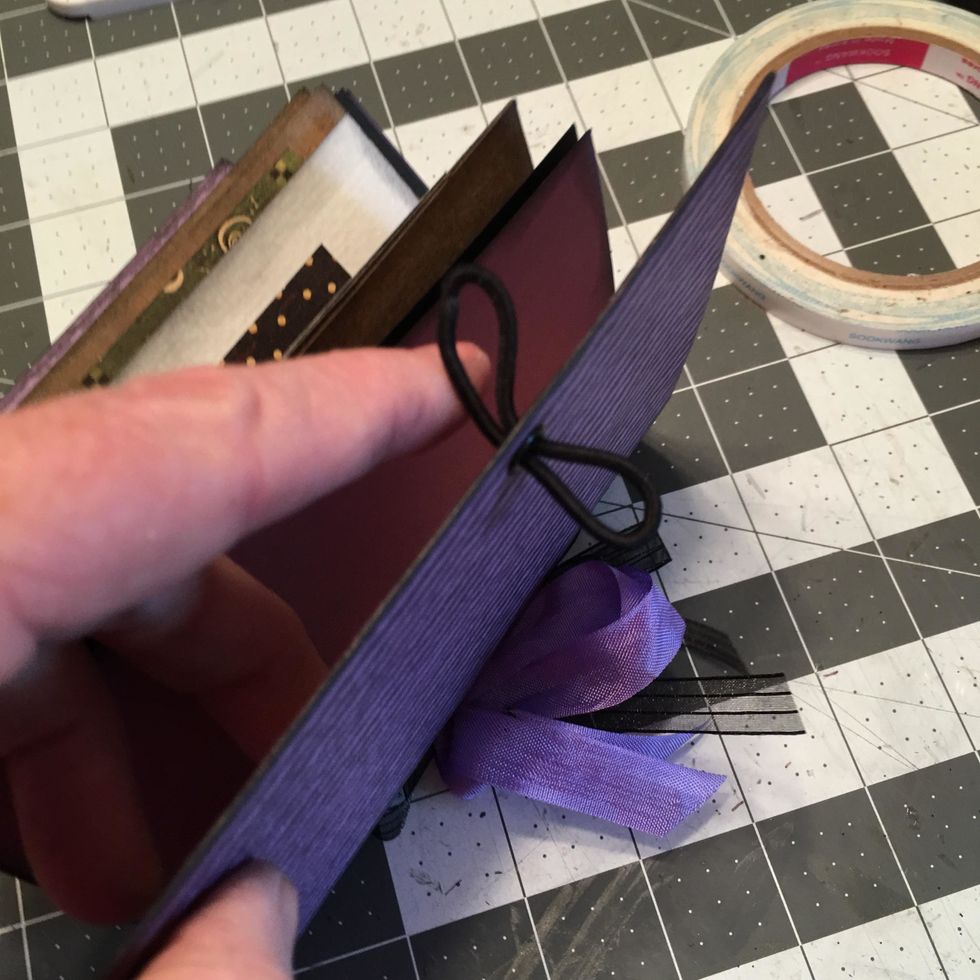
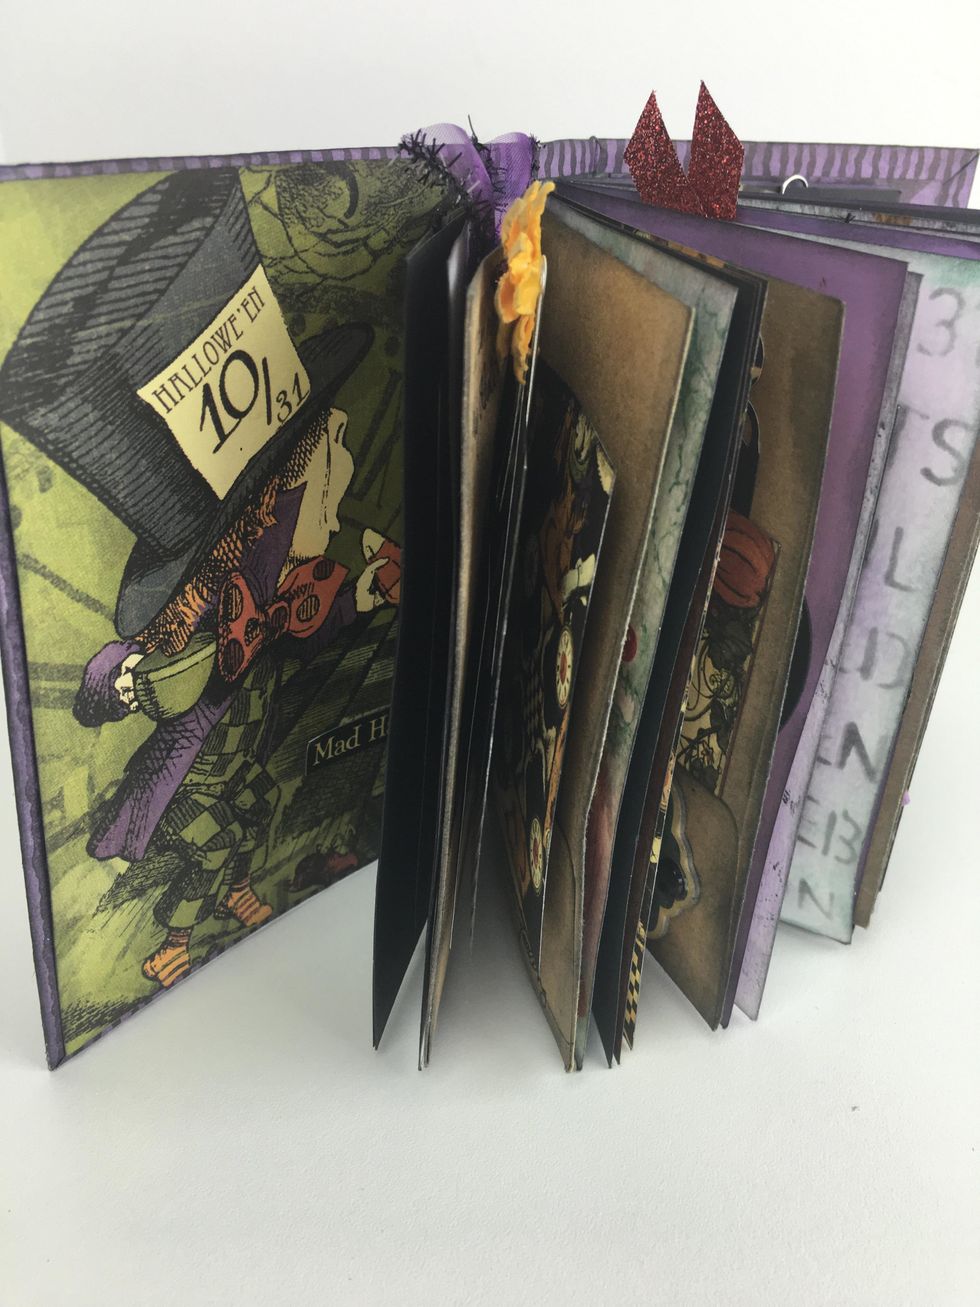
Arrange your pages into 3 signature sets, adding as many pages and envelopes in different sizes as you like. Thread ribbon from the inside through the holes and out to the outside spine area.
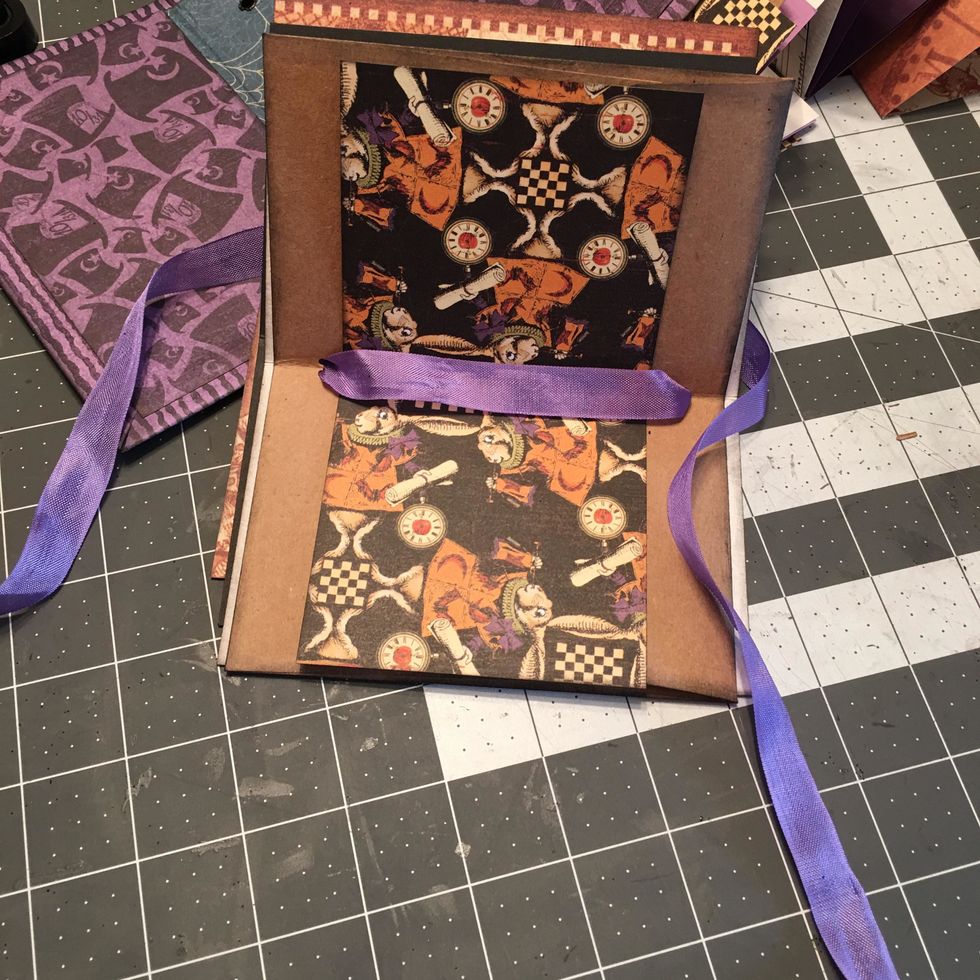
This is how a signature will look with the ribbon thread through. Do this for all of your signature sets.
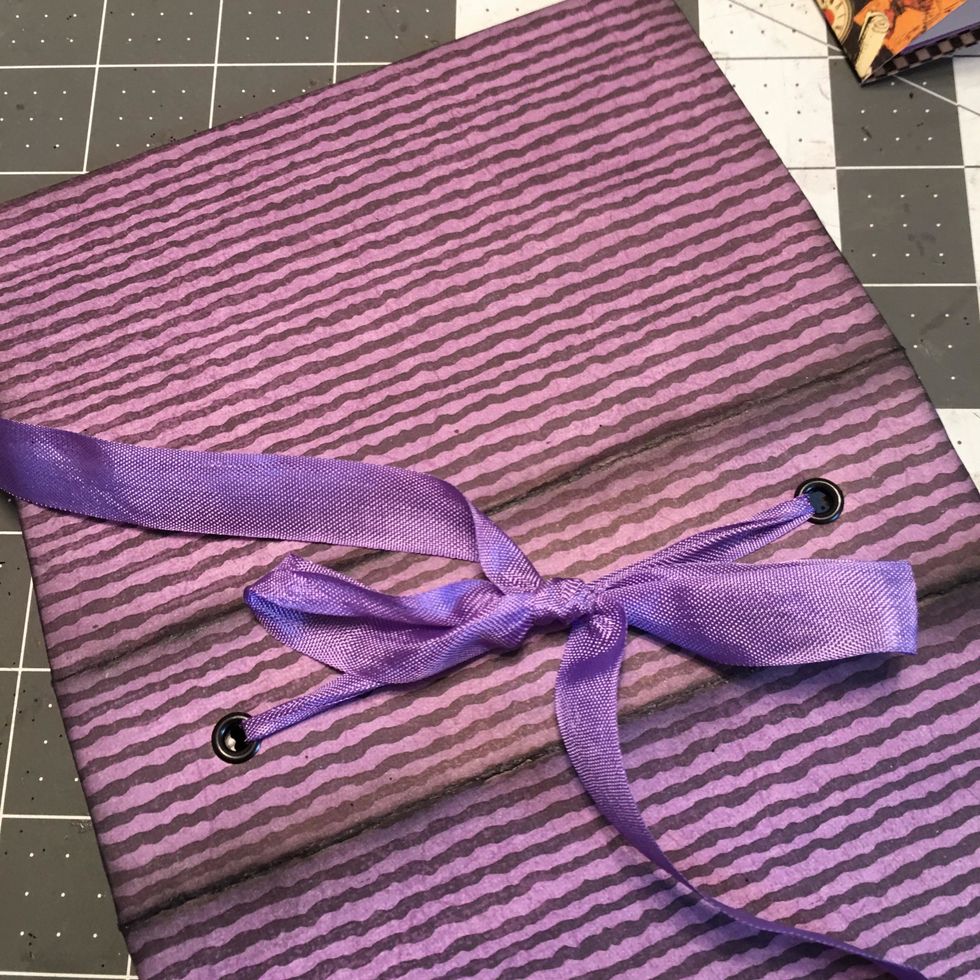
On the outside, tie a loose bow for each ribbon of a signature set. Tie it so you can untie it later to tighten the pages.
You can use different colors and different sizes of ribbon like this narrow black ribbon for this signature set.
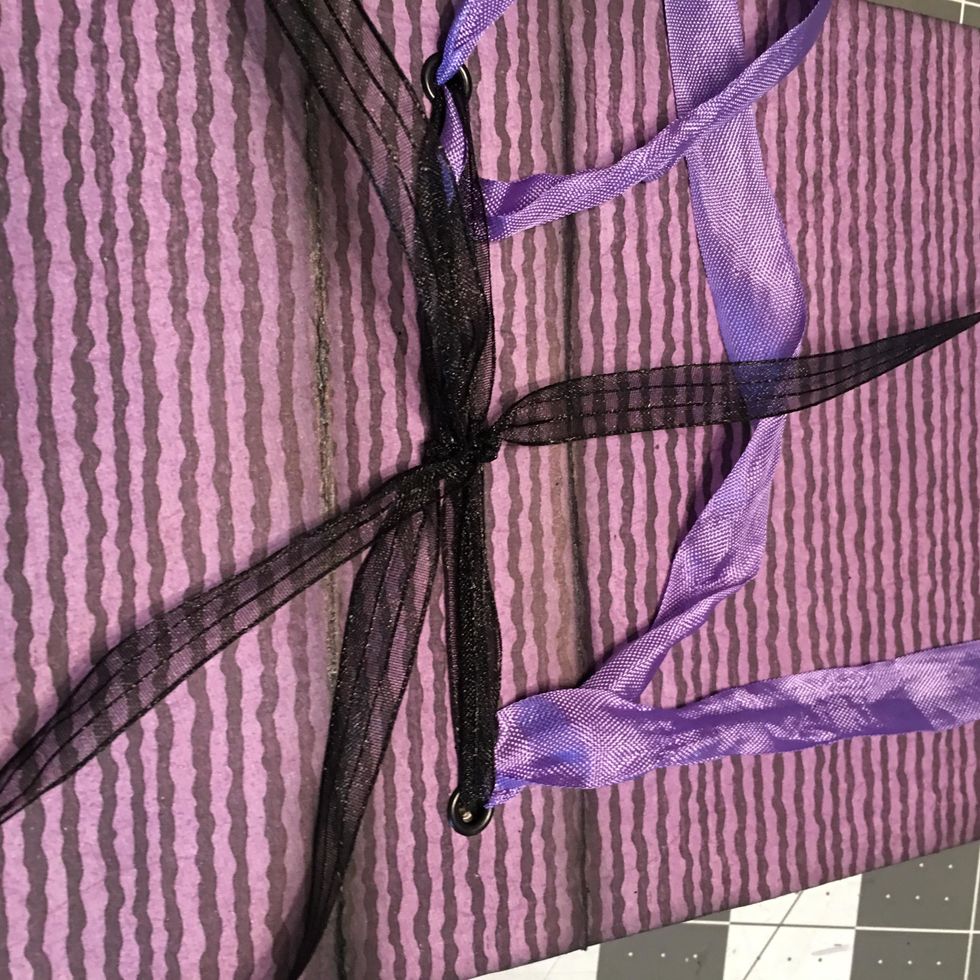
This is how it looks on the outside so far with the three ribbons of the three signature sets.
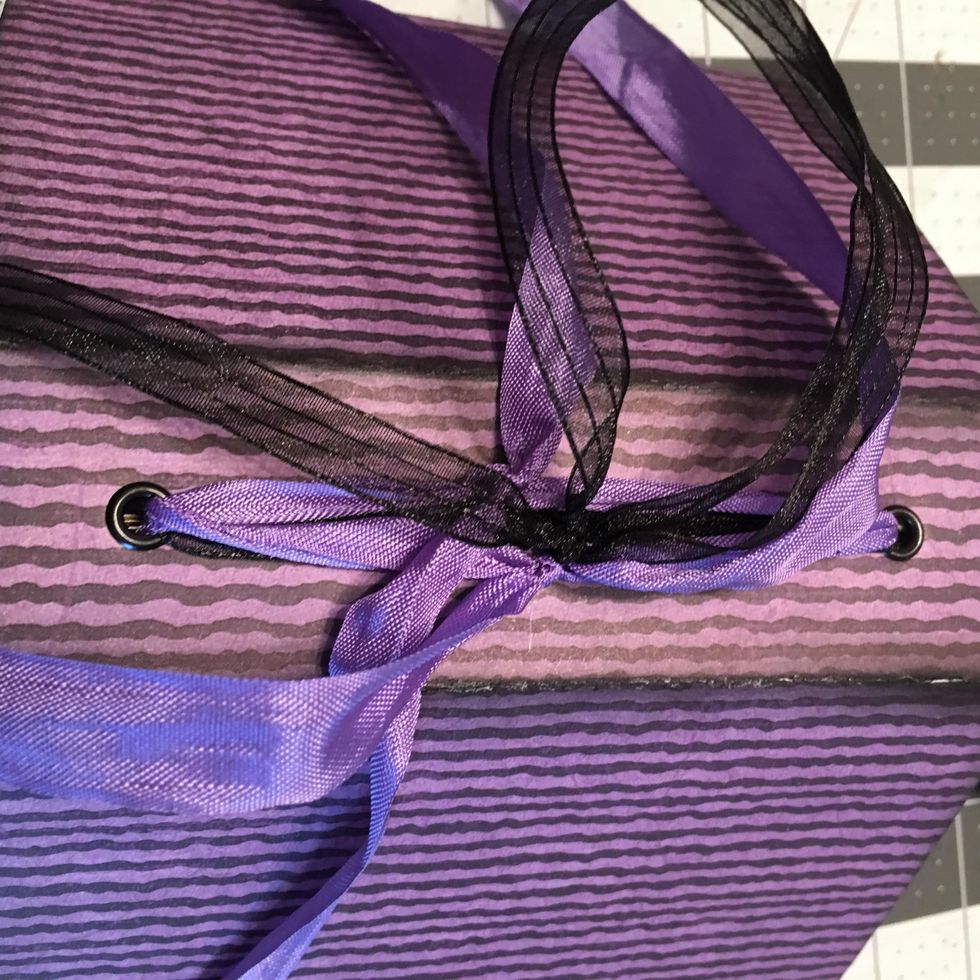
Once all three signatures are in the book, untie the bows and pull gently but tightly and tie in a very tight knot.
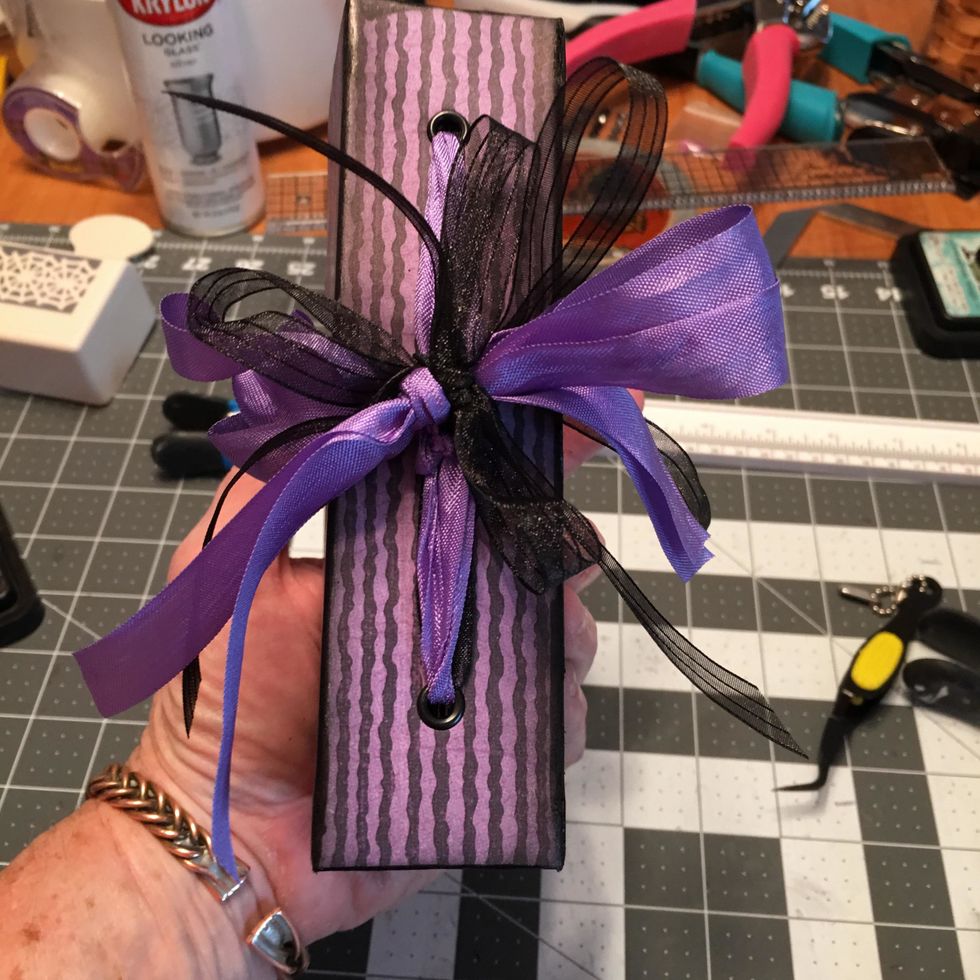
Tie all the ribbons together into bows.
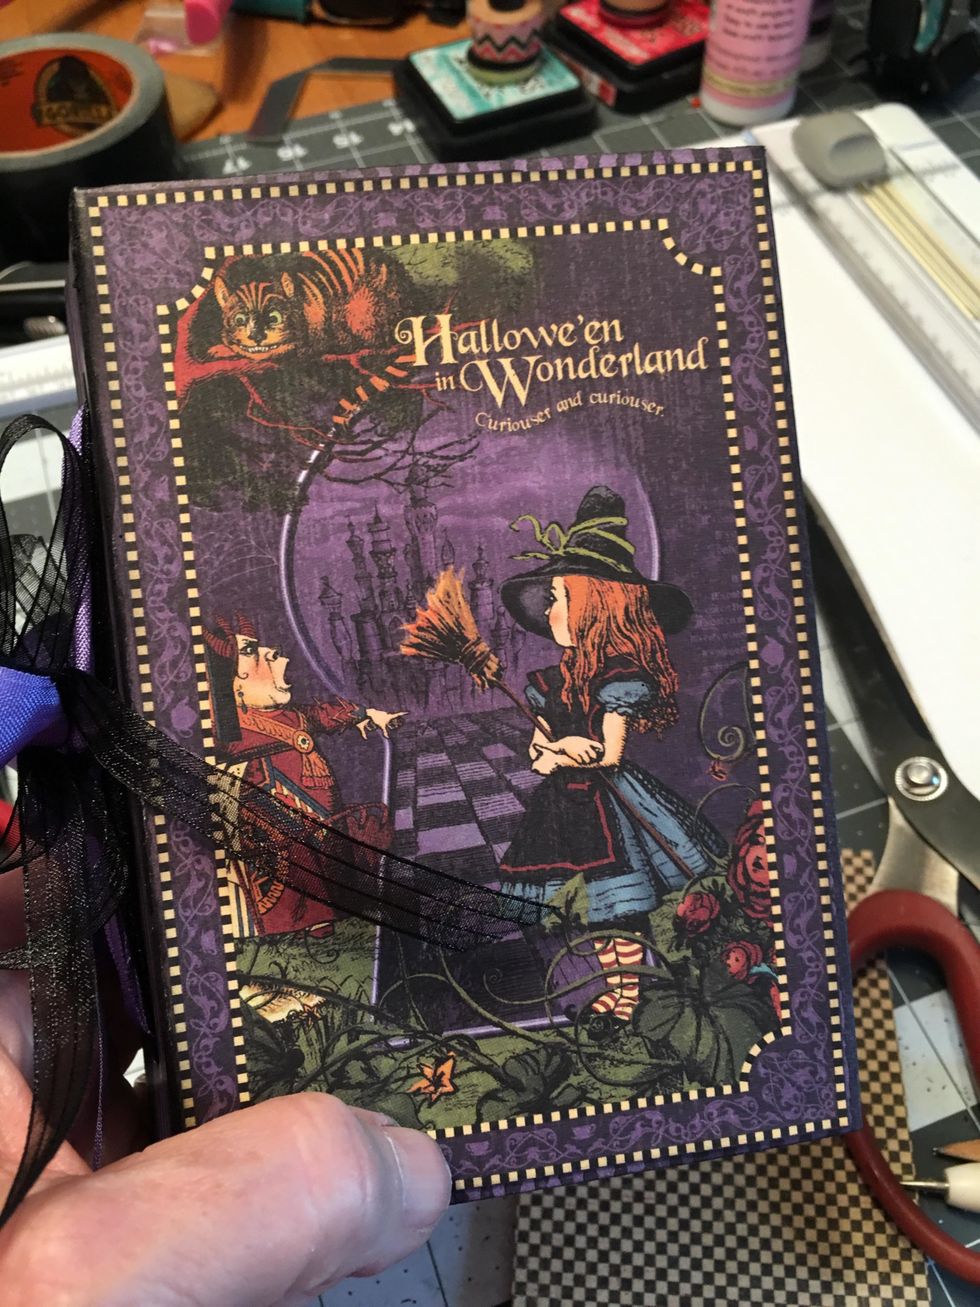
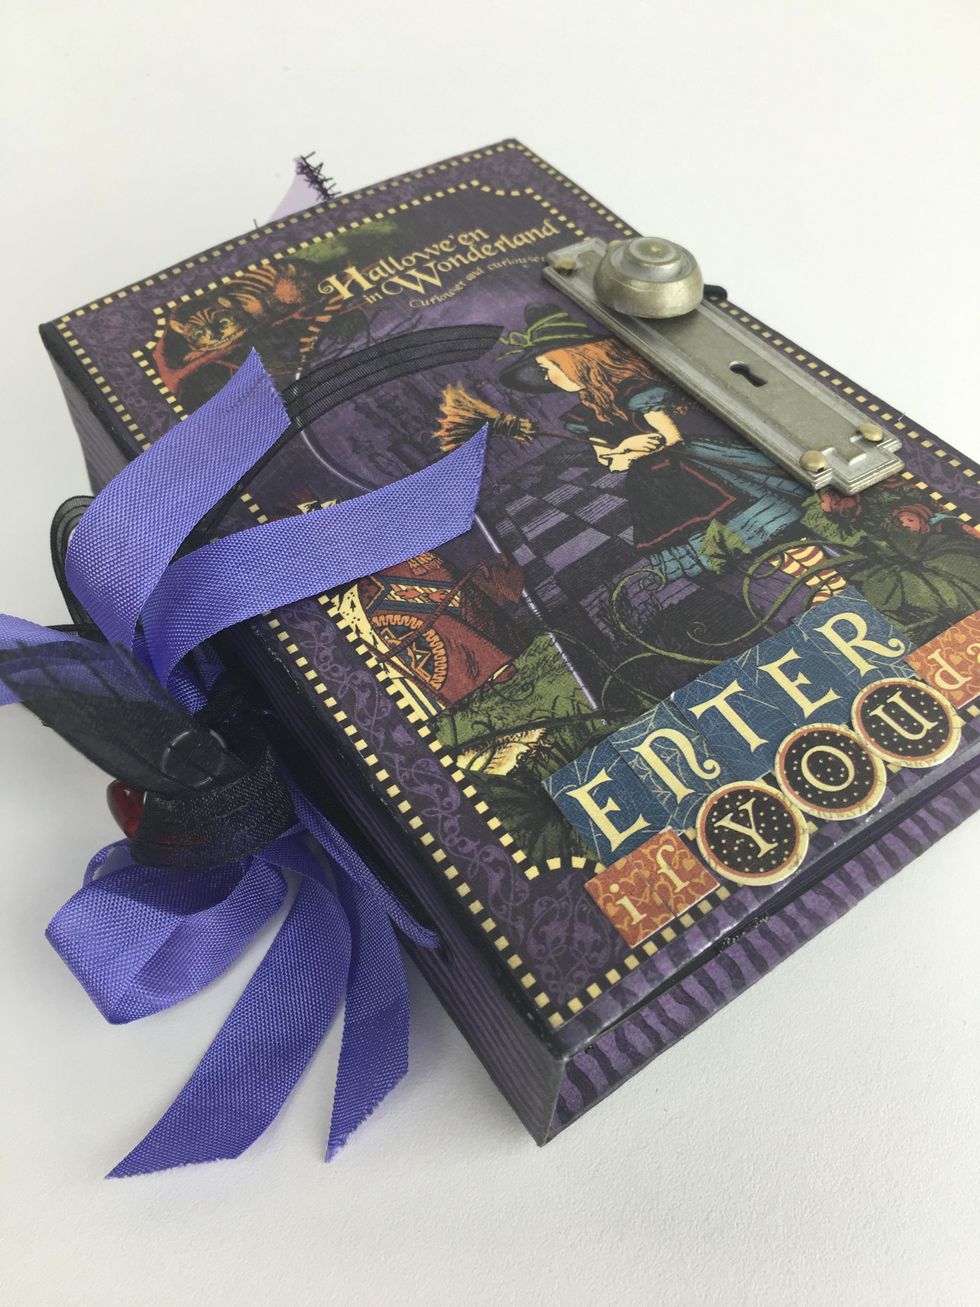
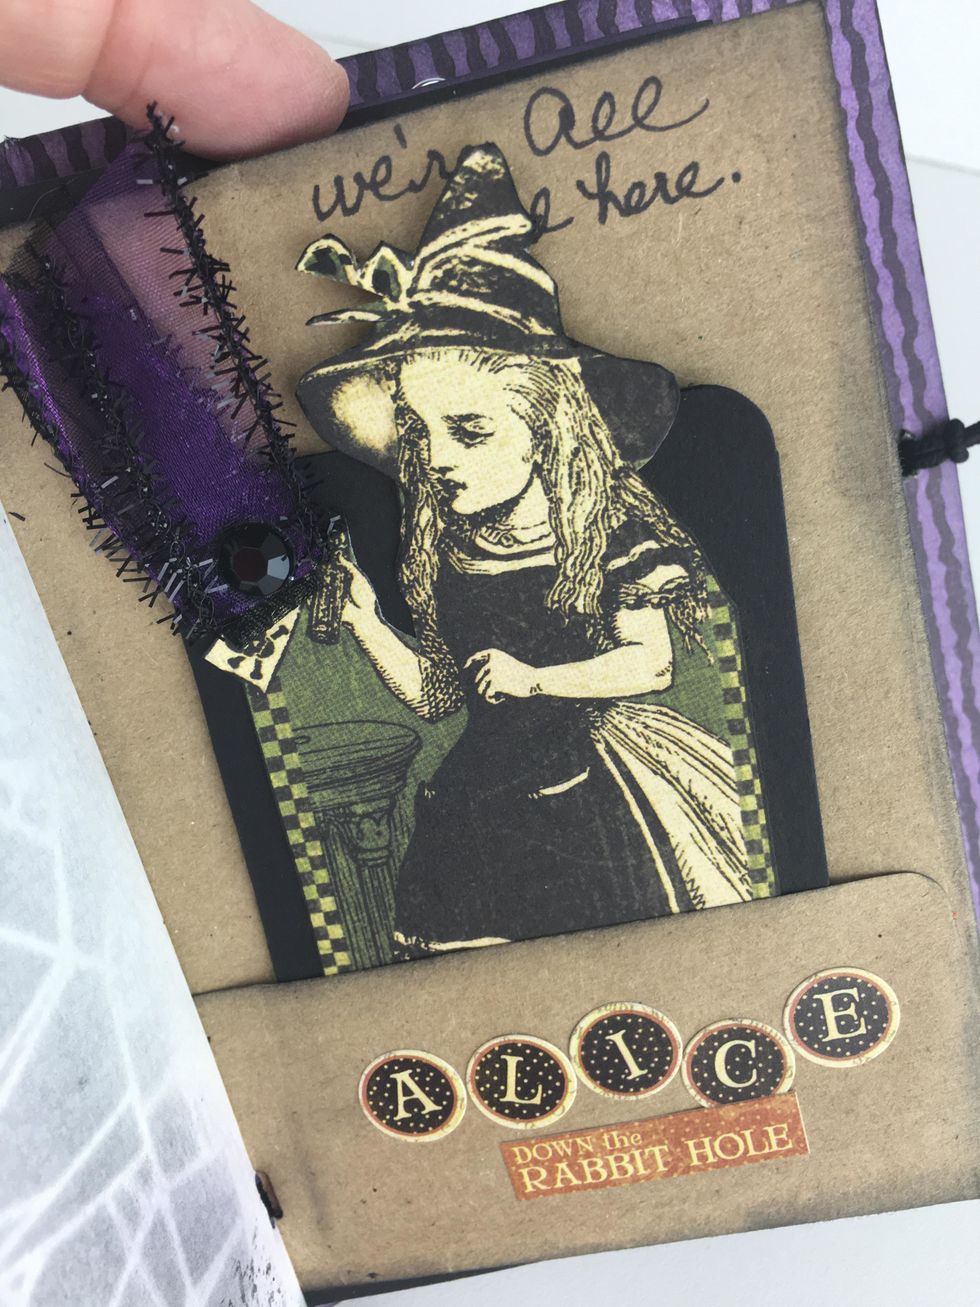
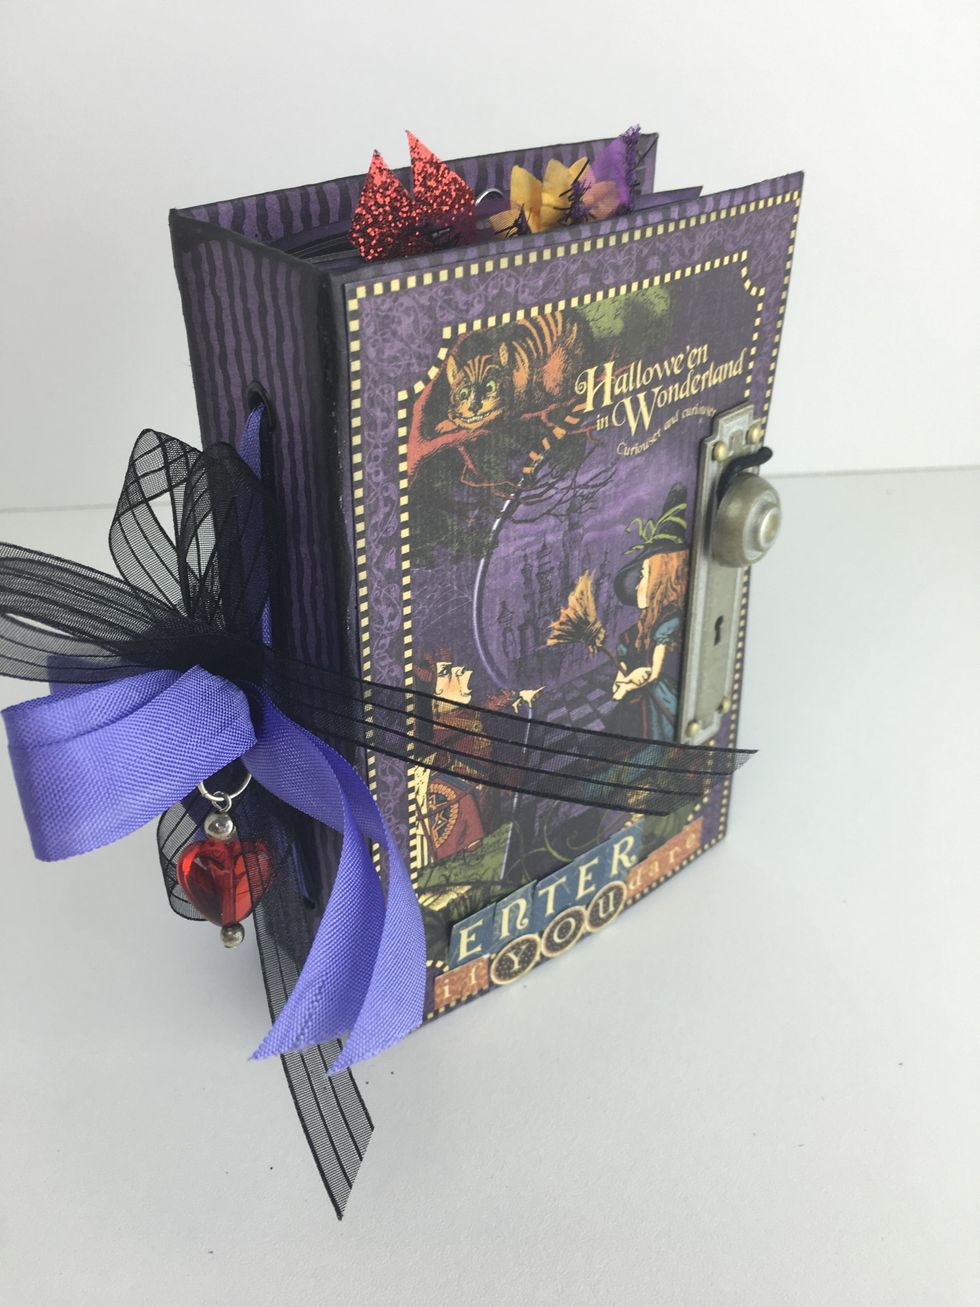
From the paper collection, cut out an image that you want for the front of the junk journal book.
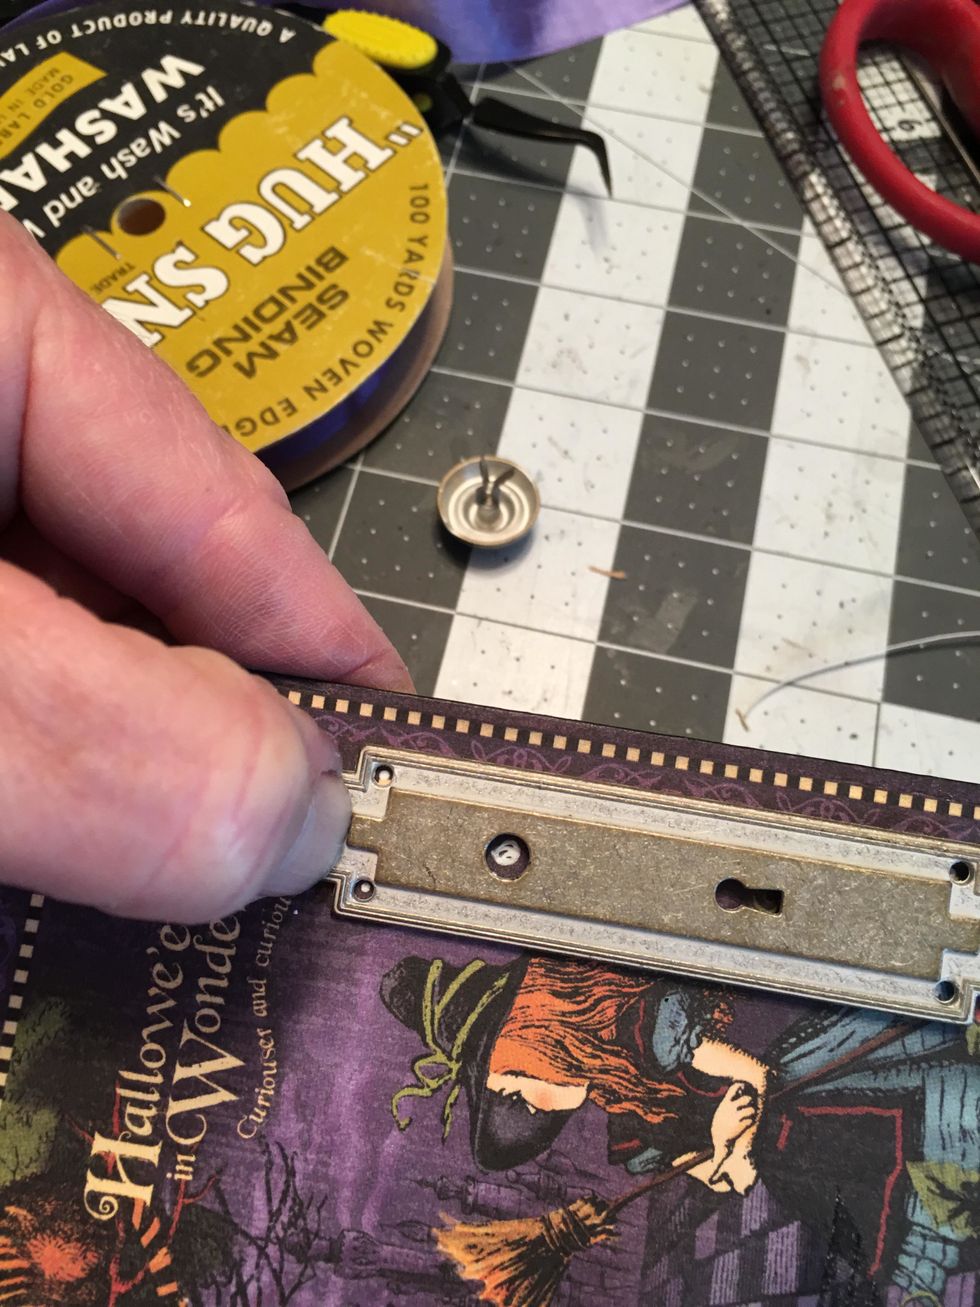
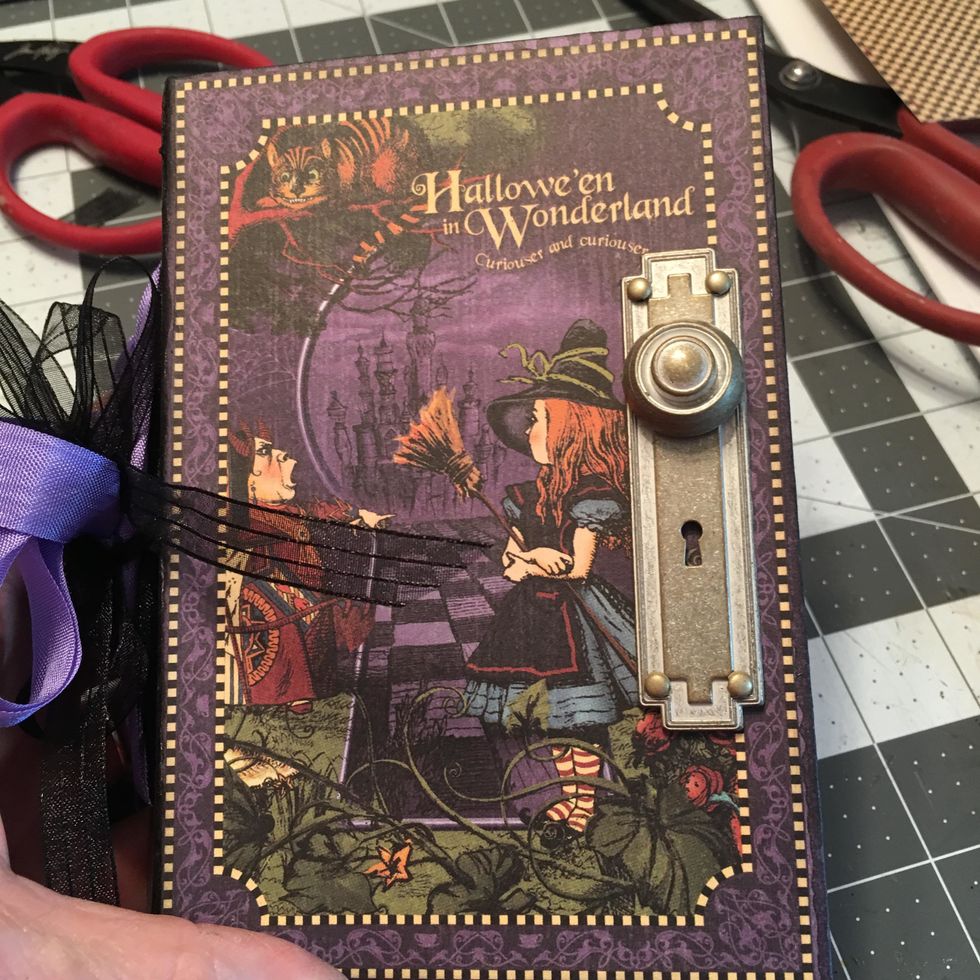
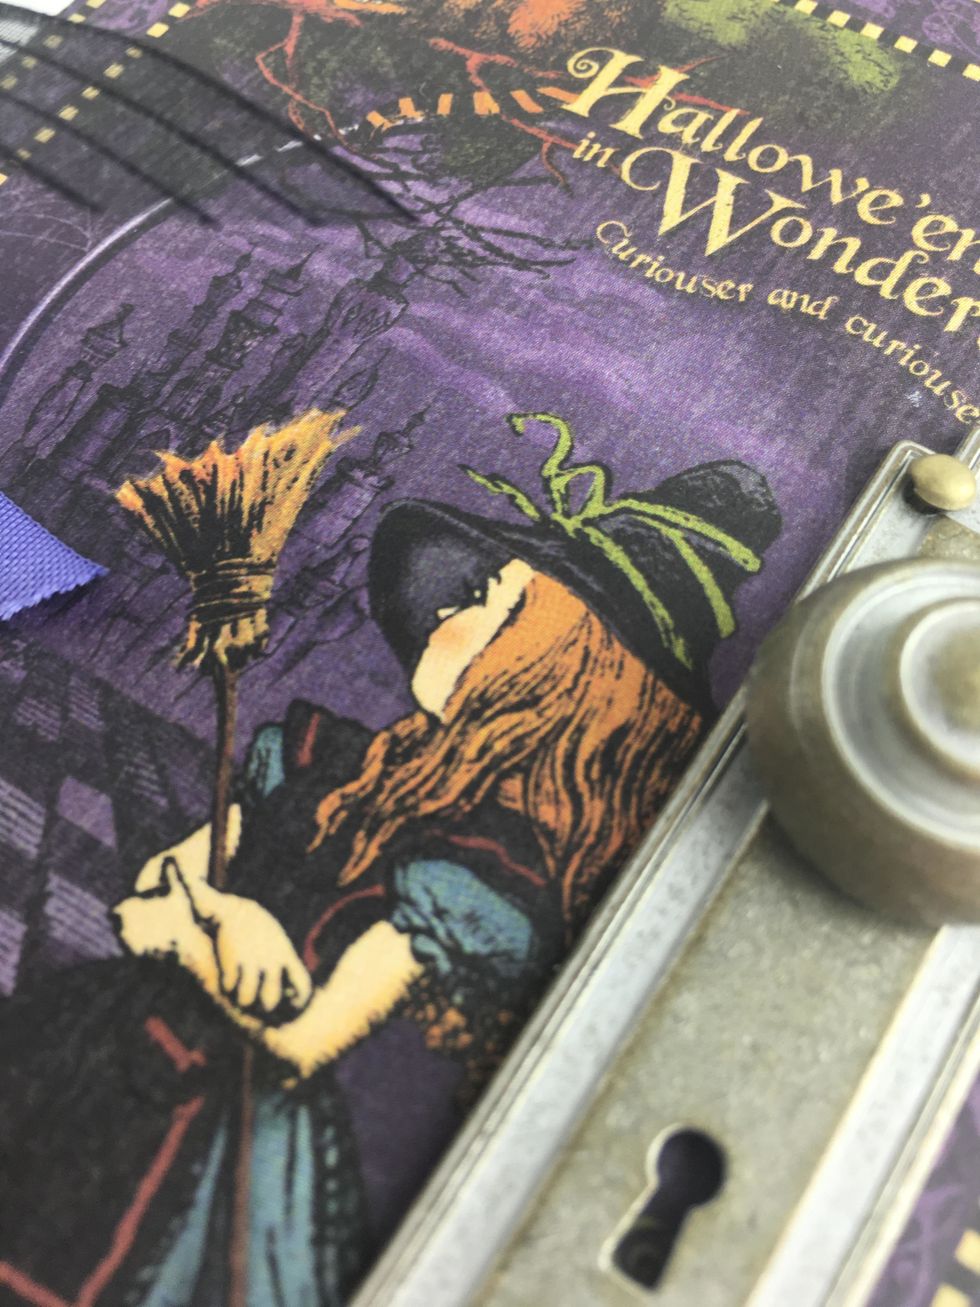
On the side, add a Graphic 45 Door plate and knob. Fasten with the brads that come with the plate and knob.
On the back cover of your book, punch a hole on the edge, centered to create a closure.
Insert an eyelet and set it on the back cover .
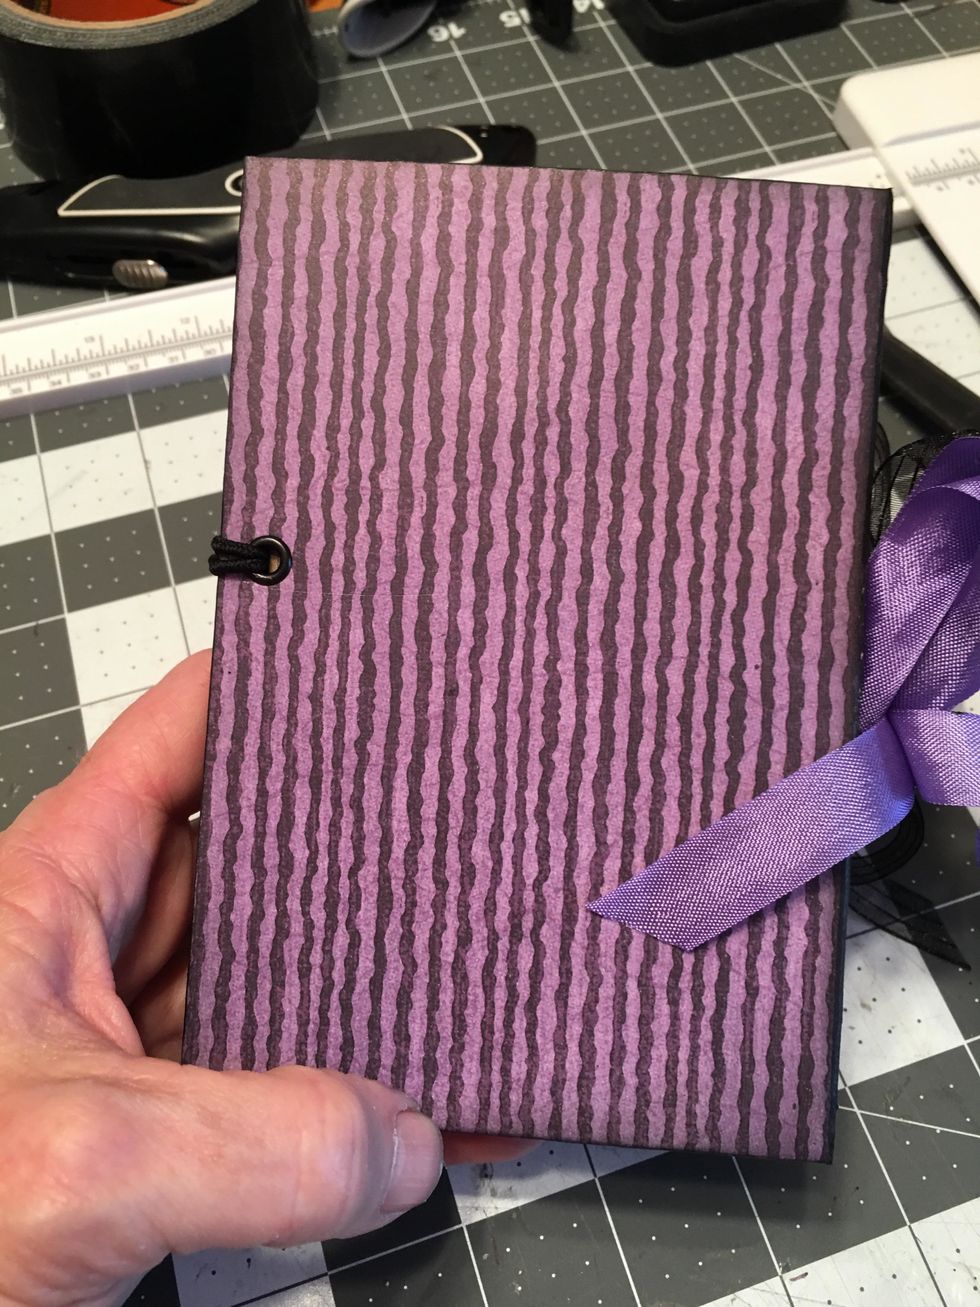
Thread a black ponytail elastic through the eyelet on the cover as shown.
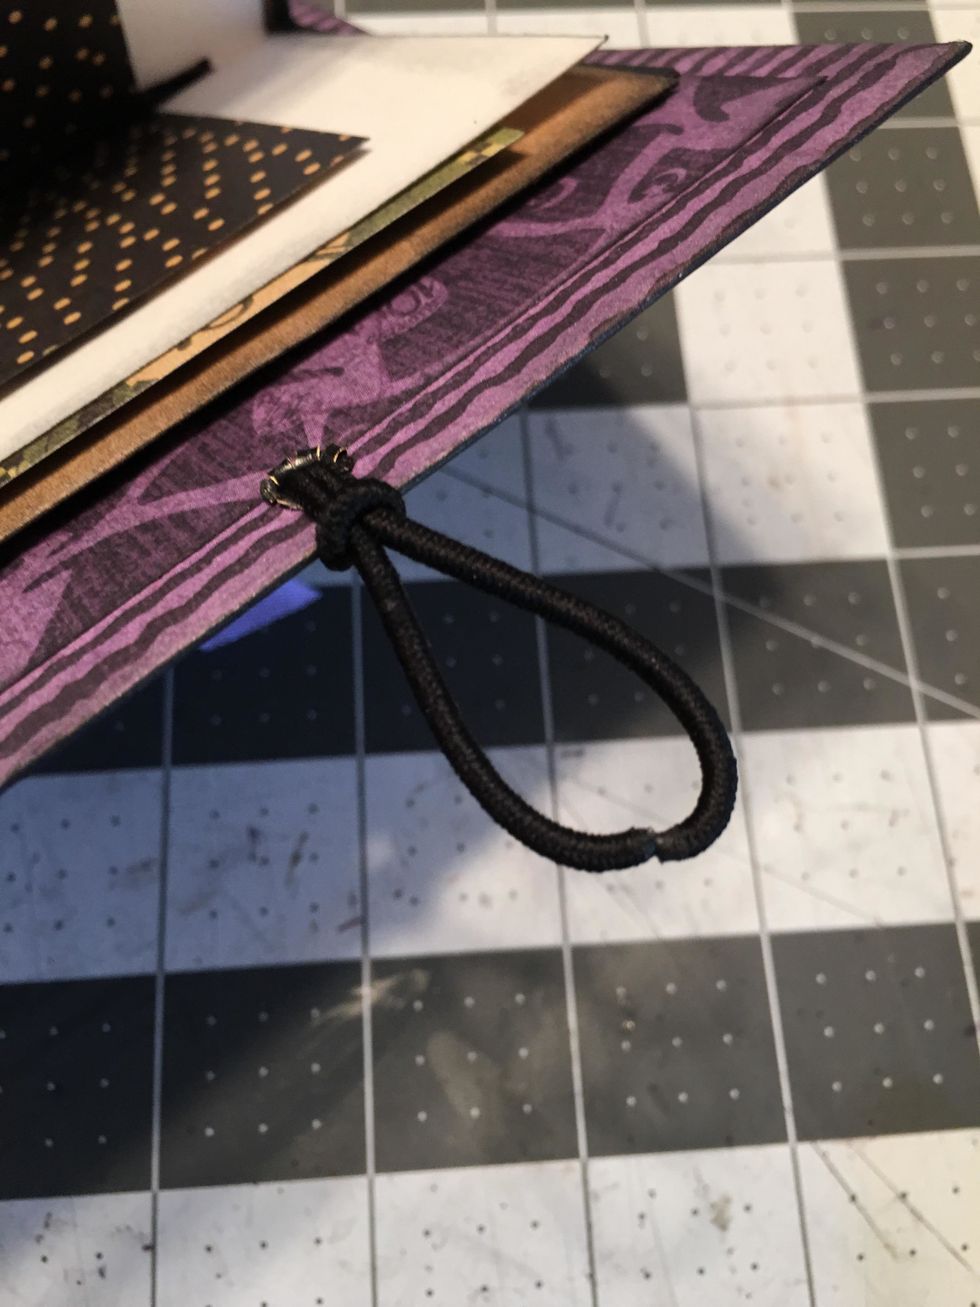
Loop and tie into one knot as shown.
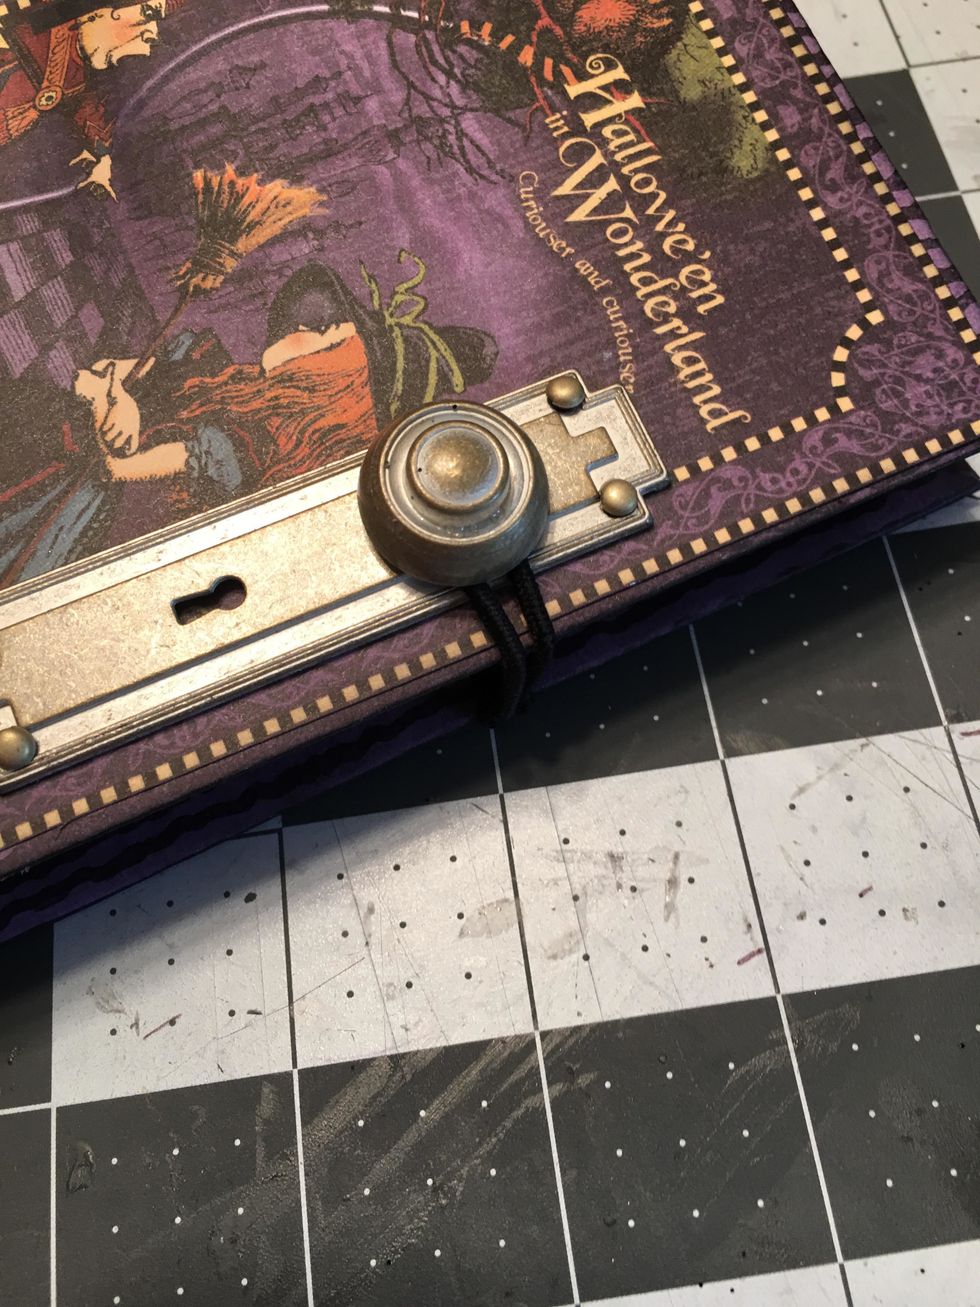
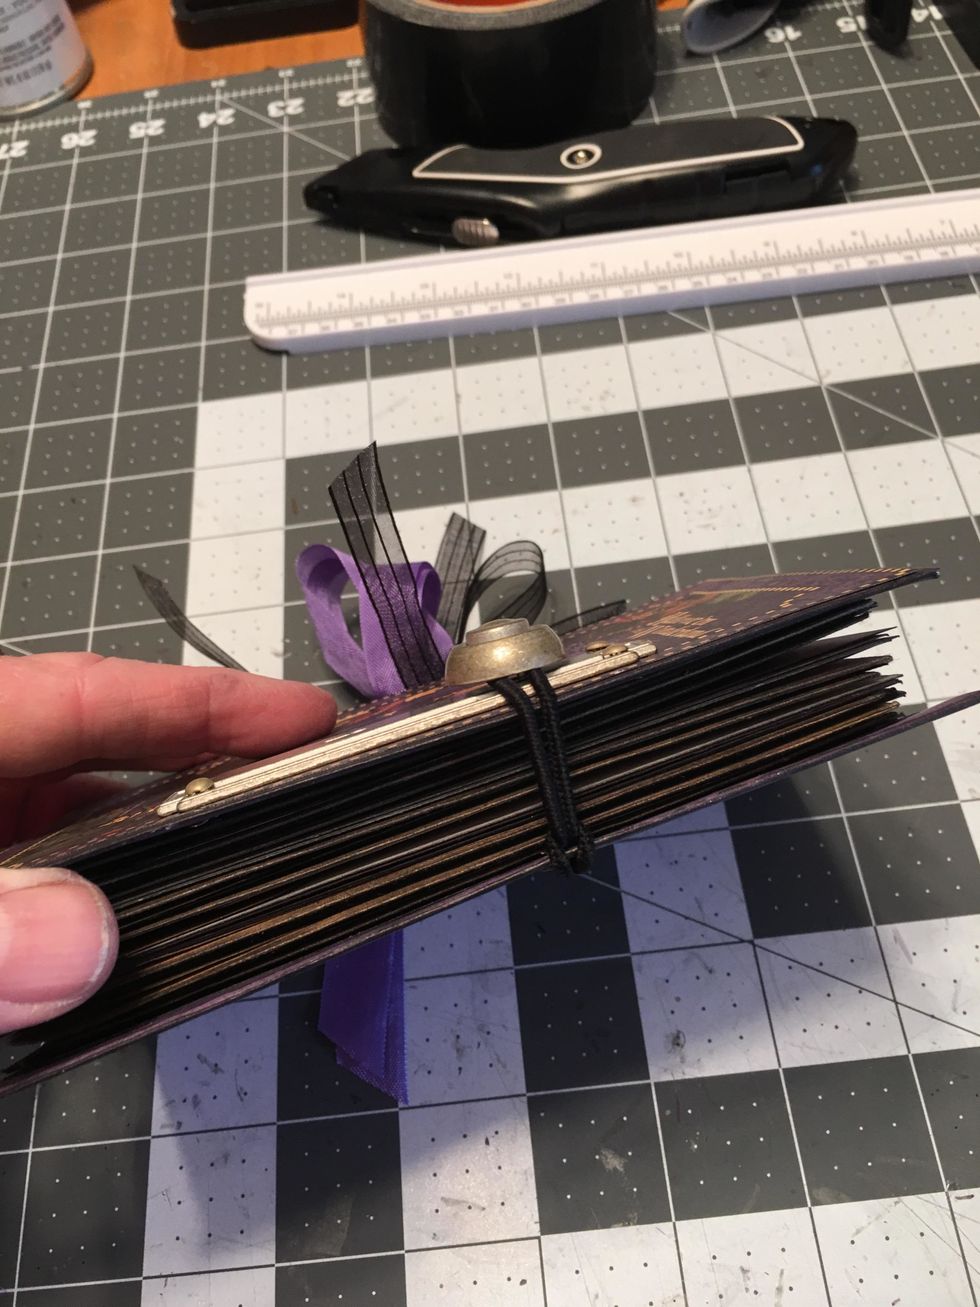
Loop the elastic over the door knob to keep the junk journal closed.

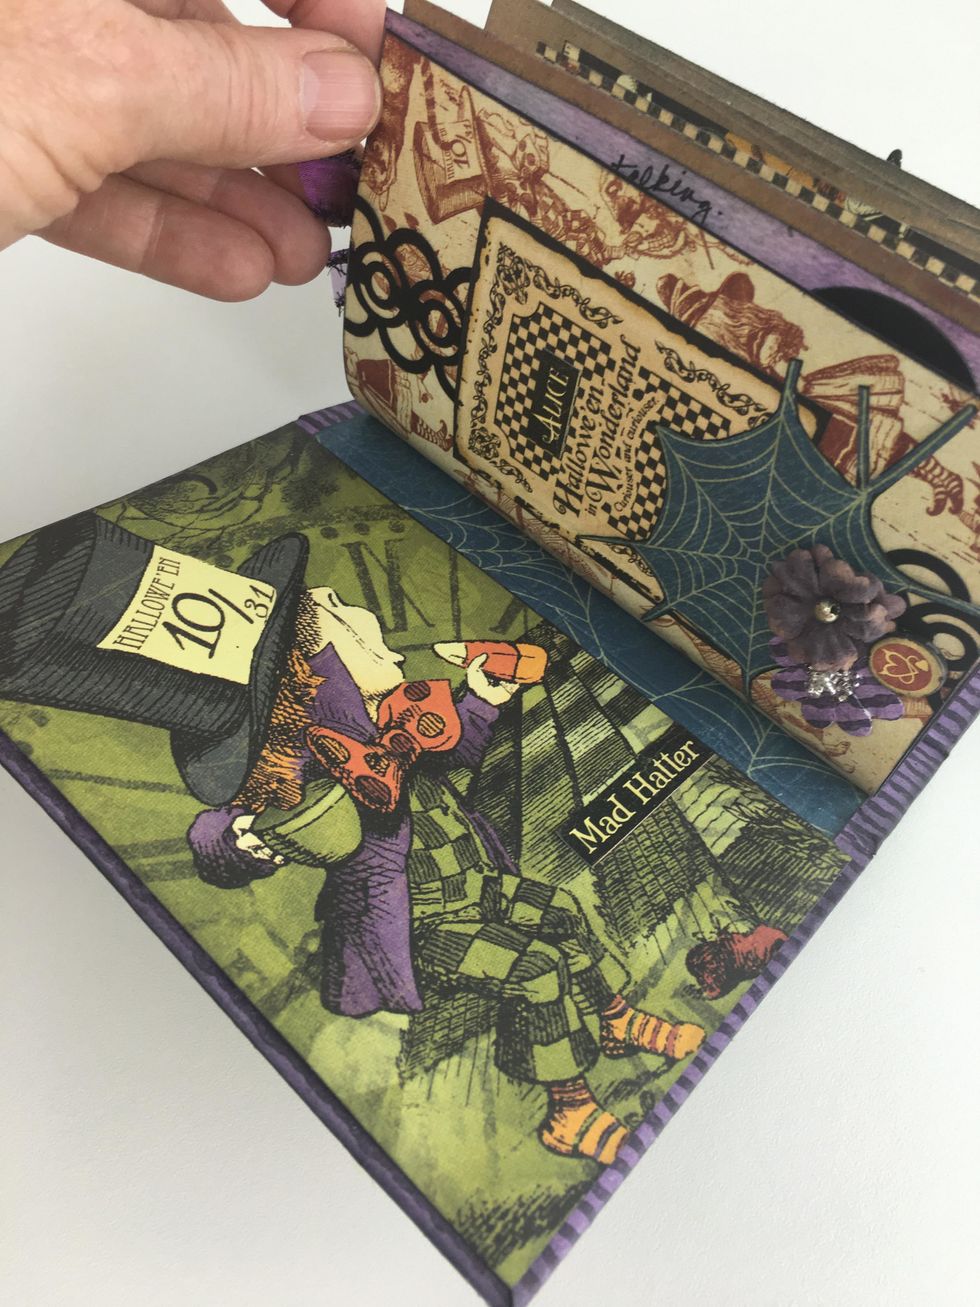
The brads of the door plate and knob will need to be covered on the inside of the front cover.
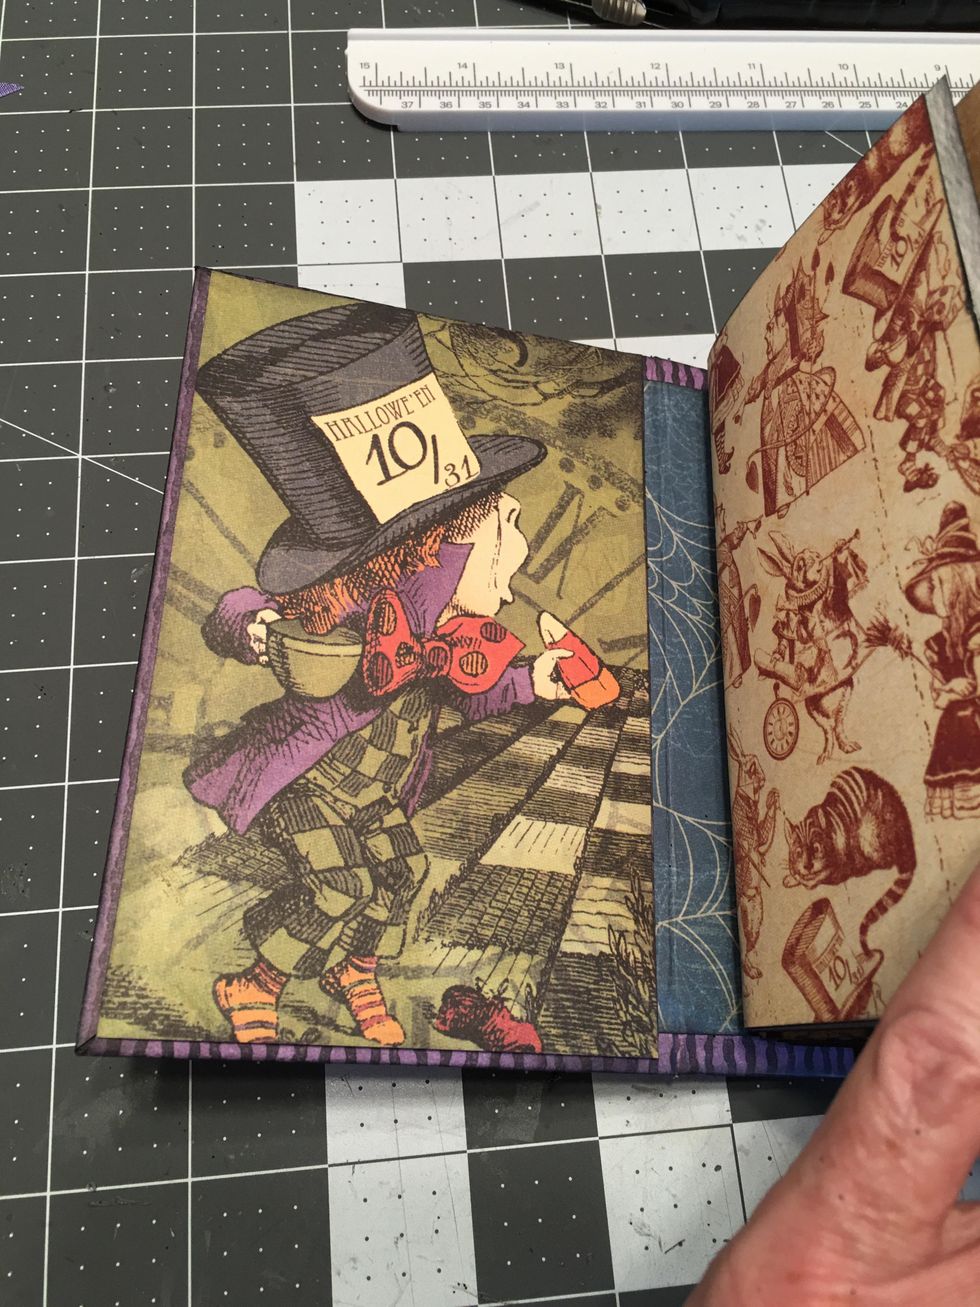
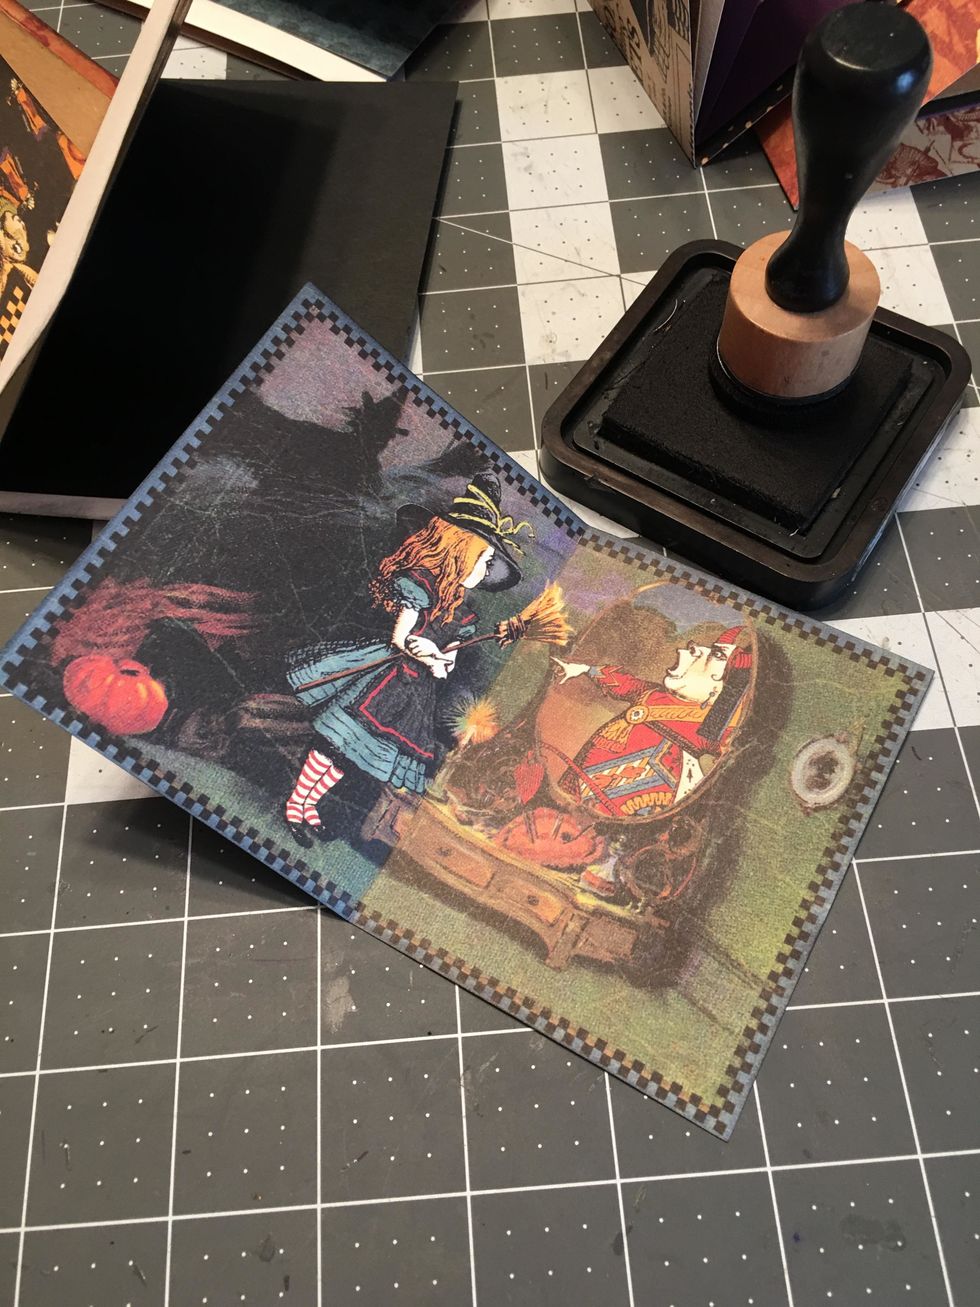
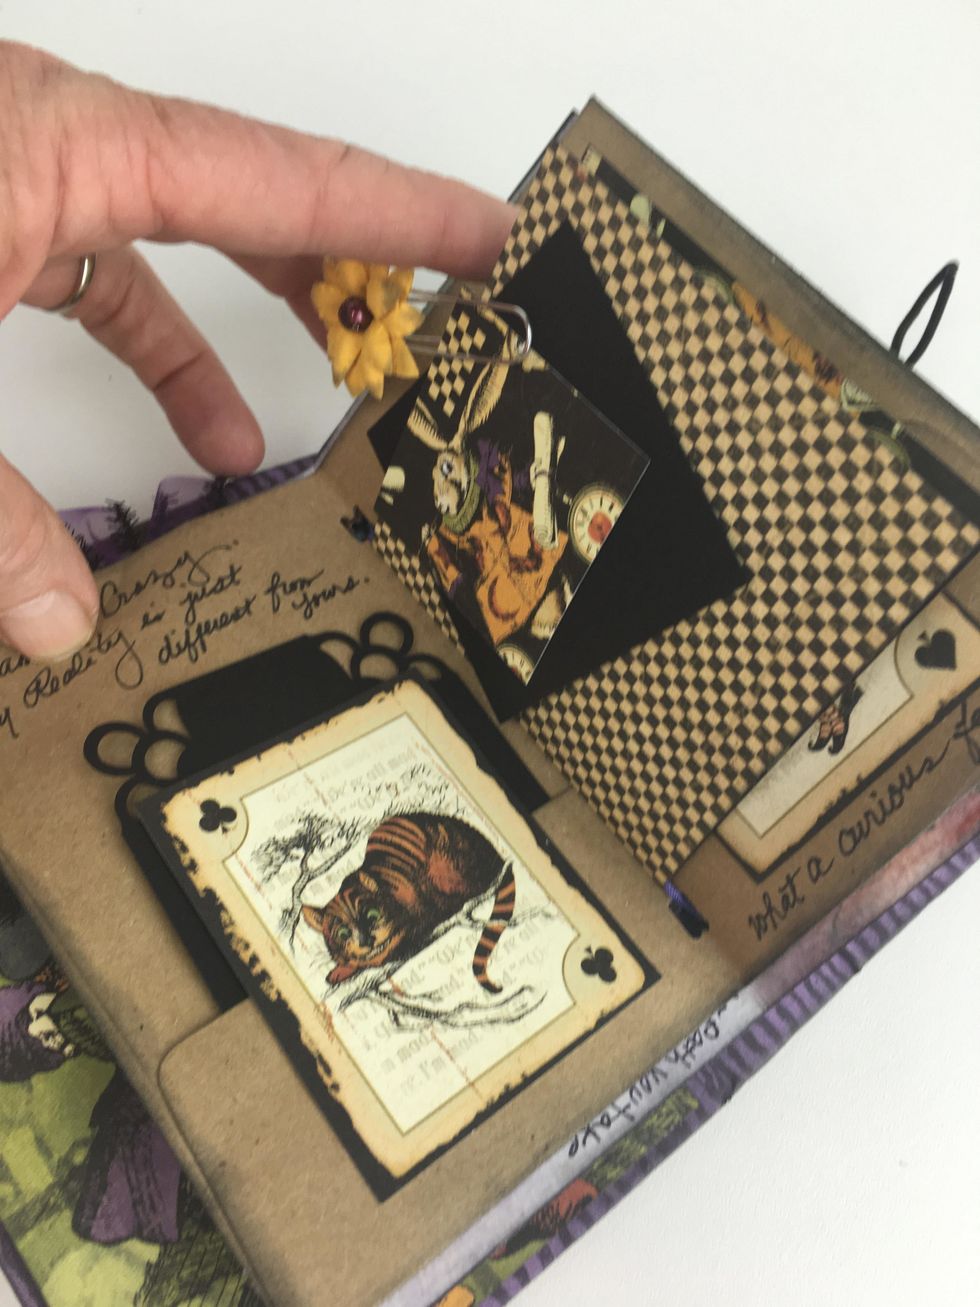
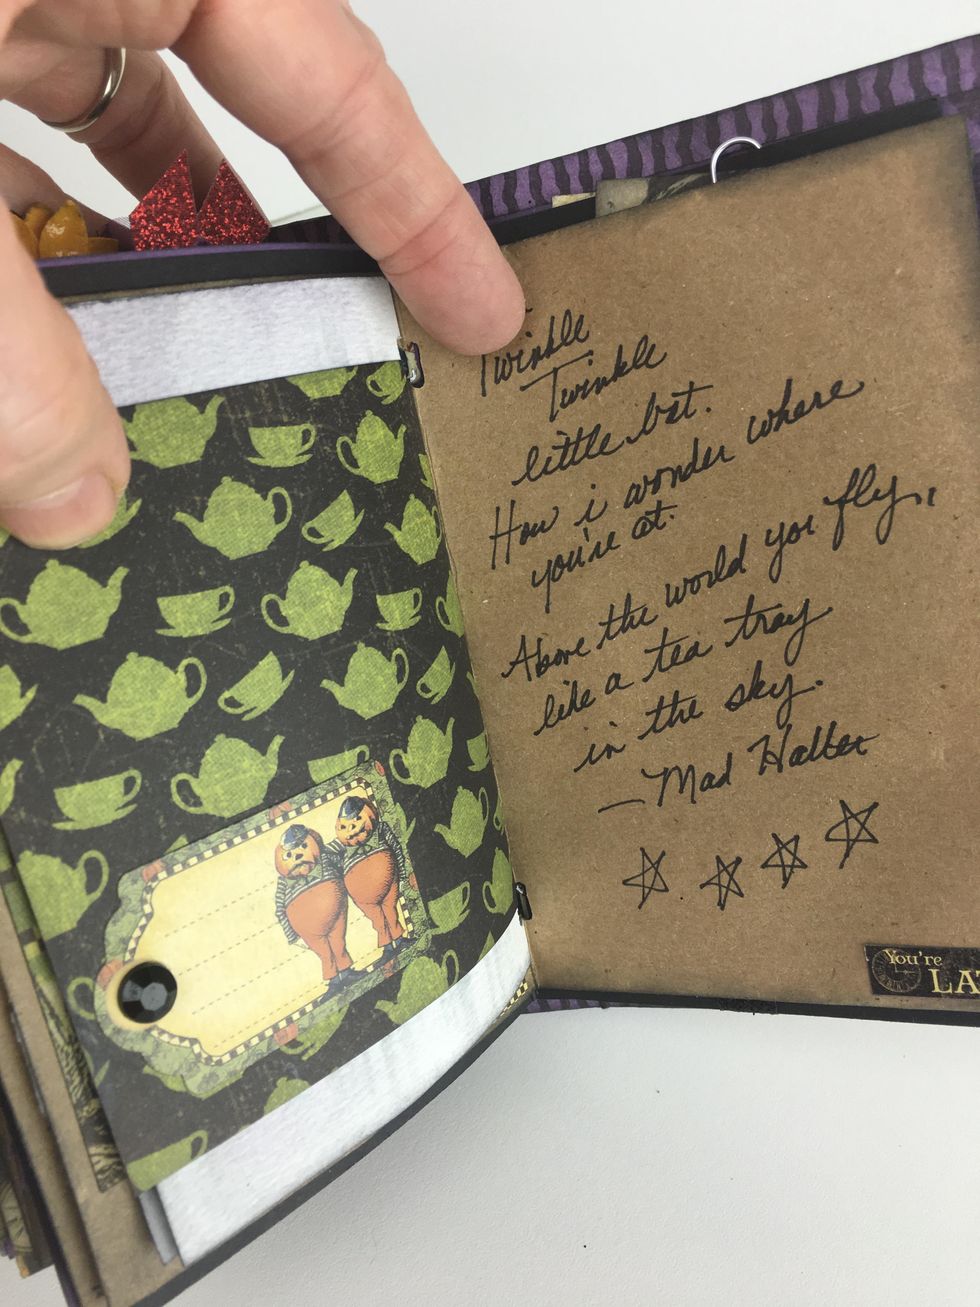
Select a cut apart card or an image on the paper that you'd like to use for your inside front cover like the Mad Hatter shown here.
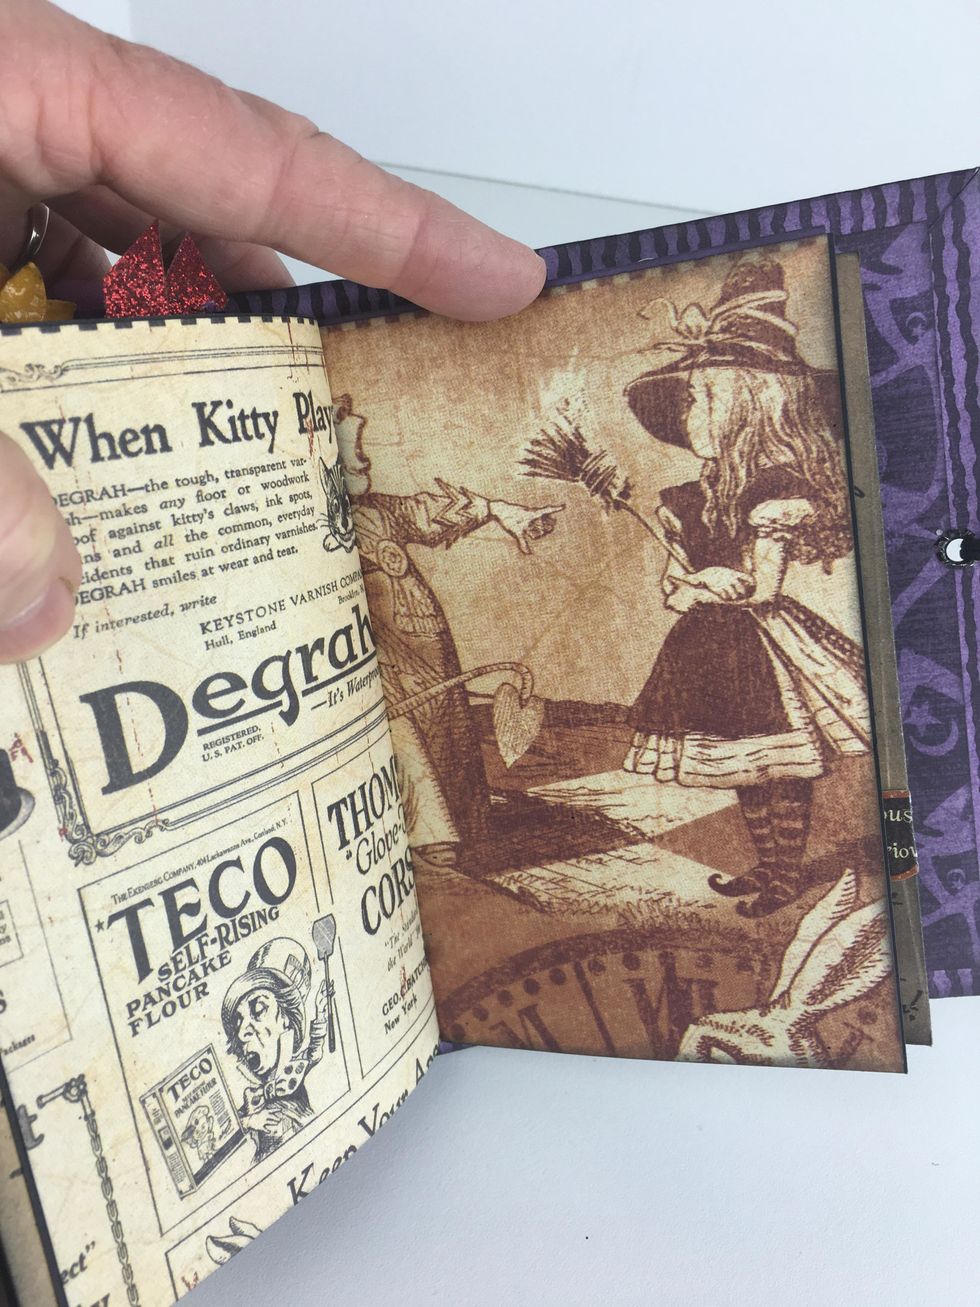
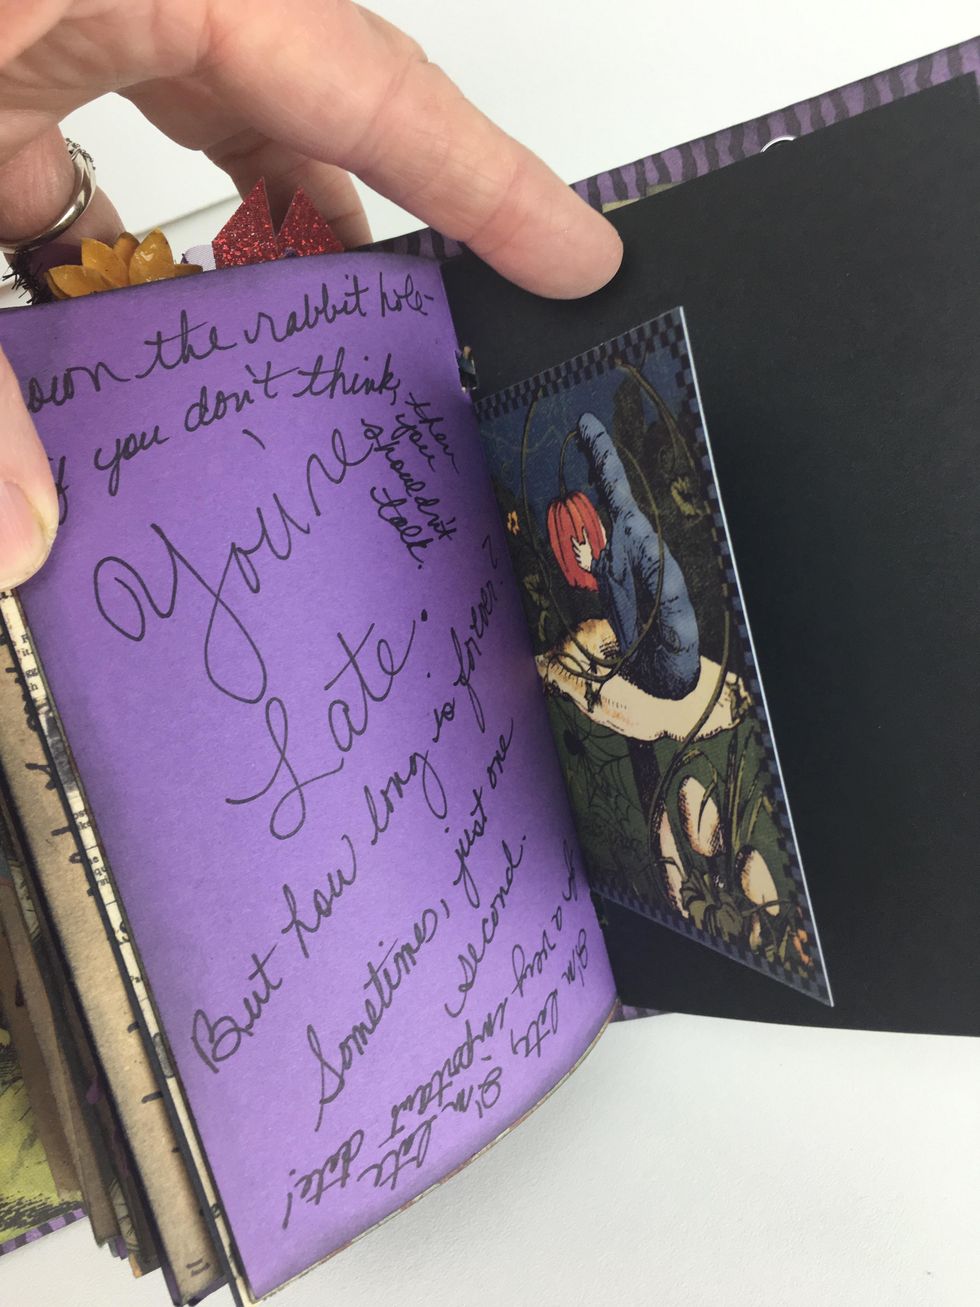
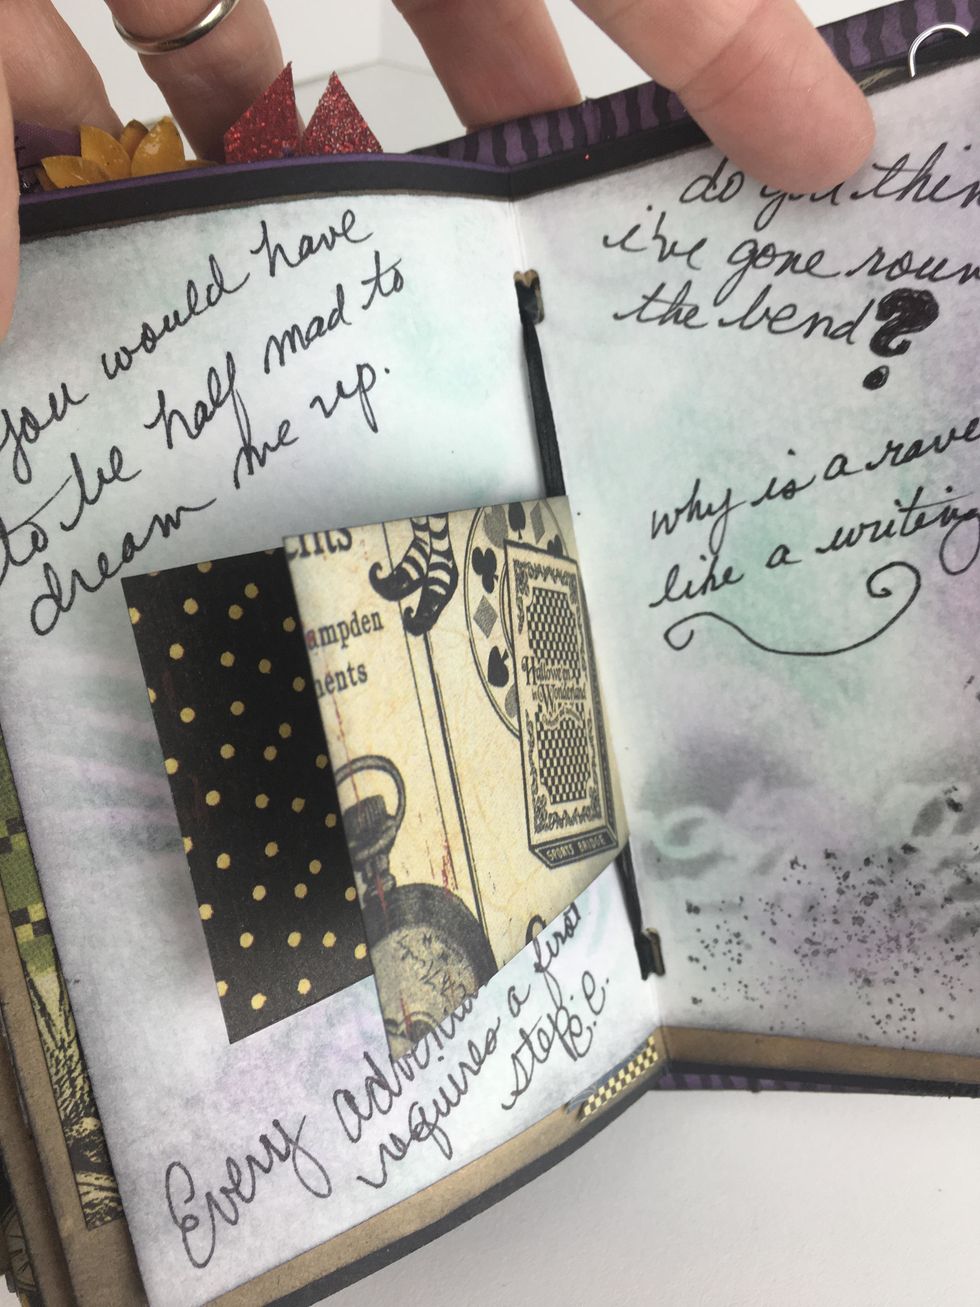
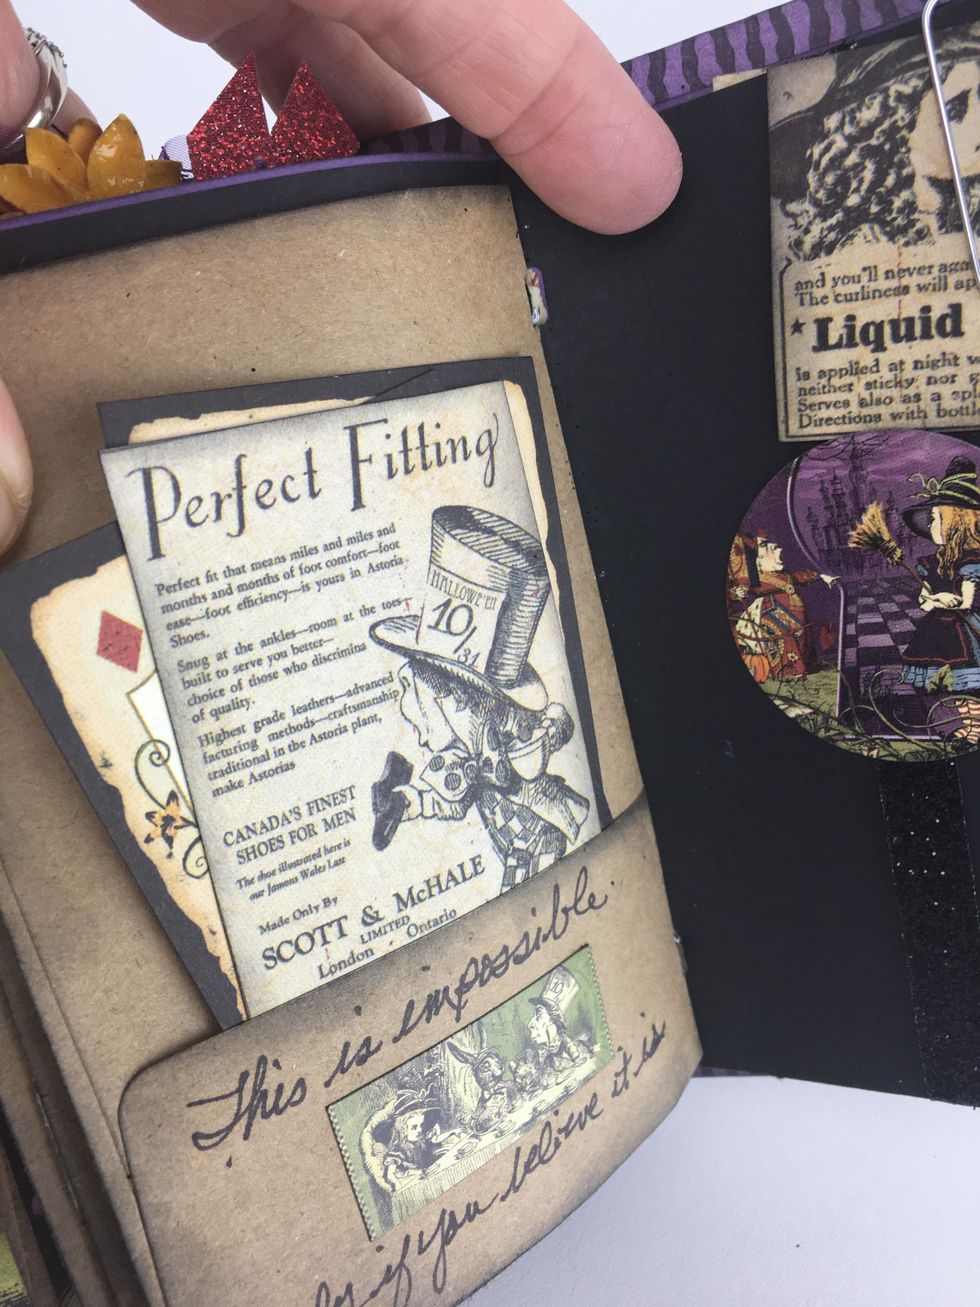
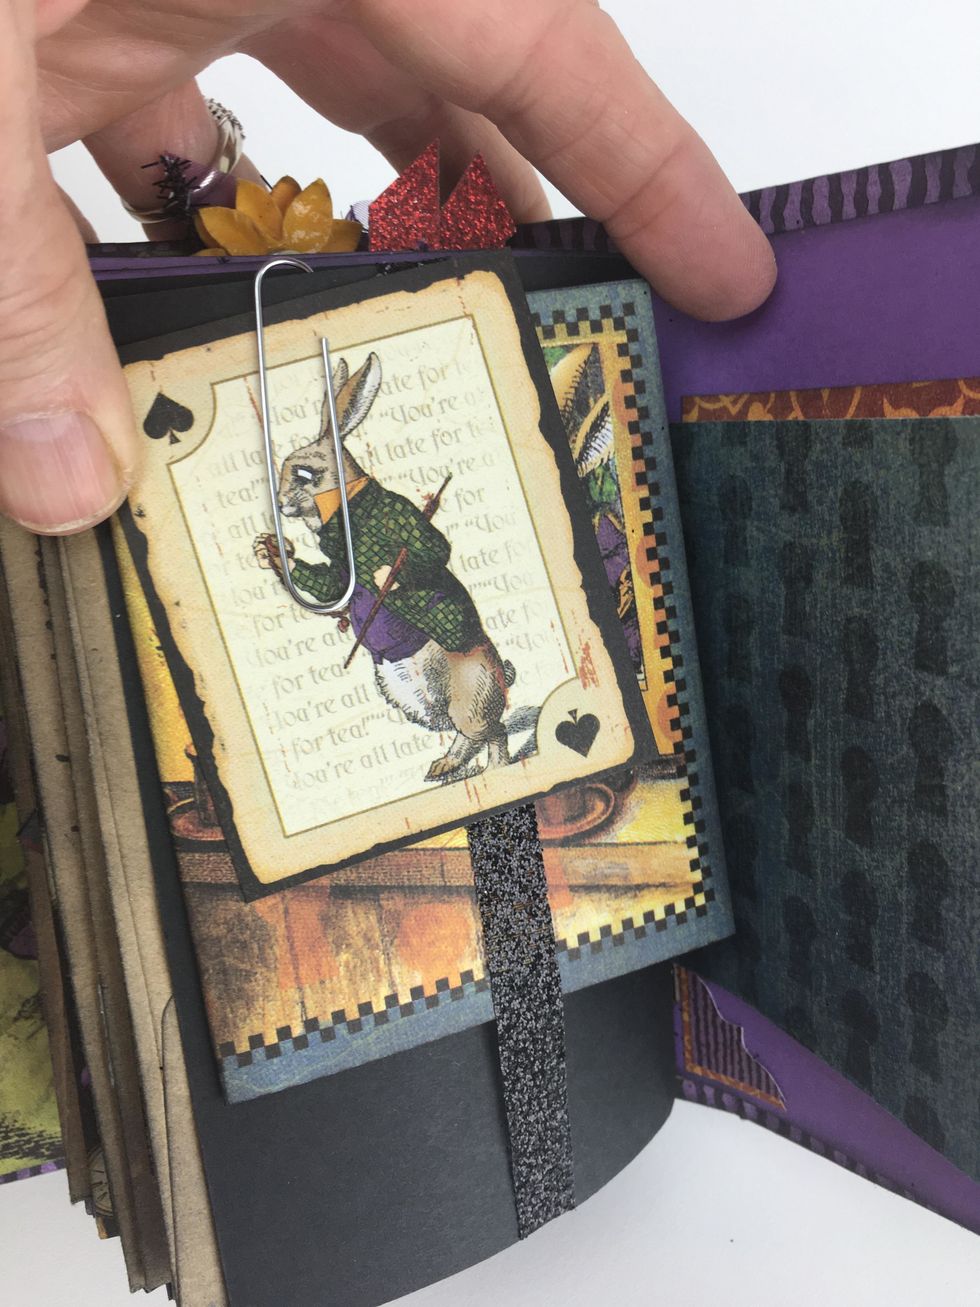
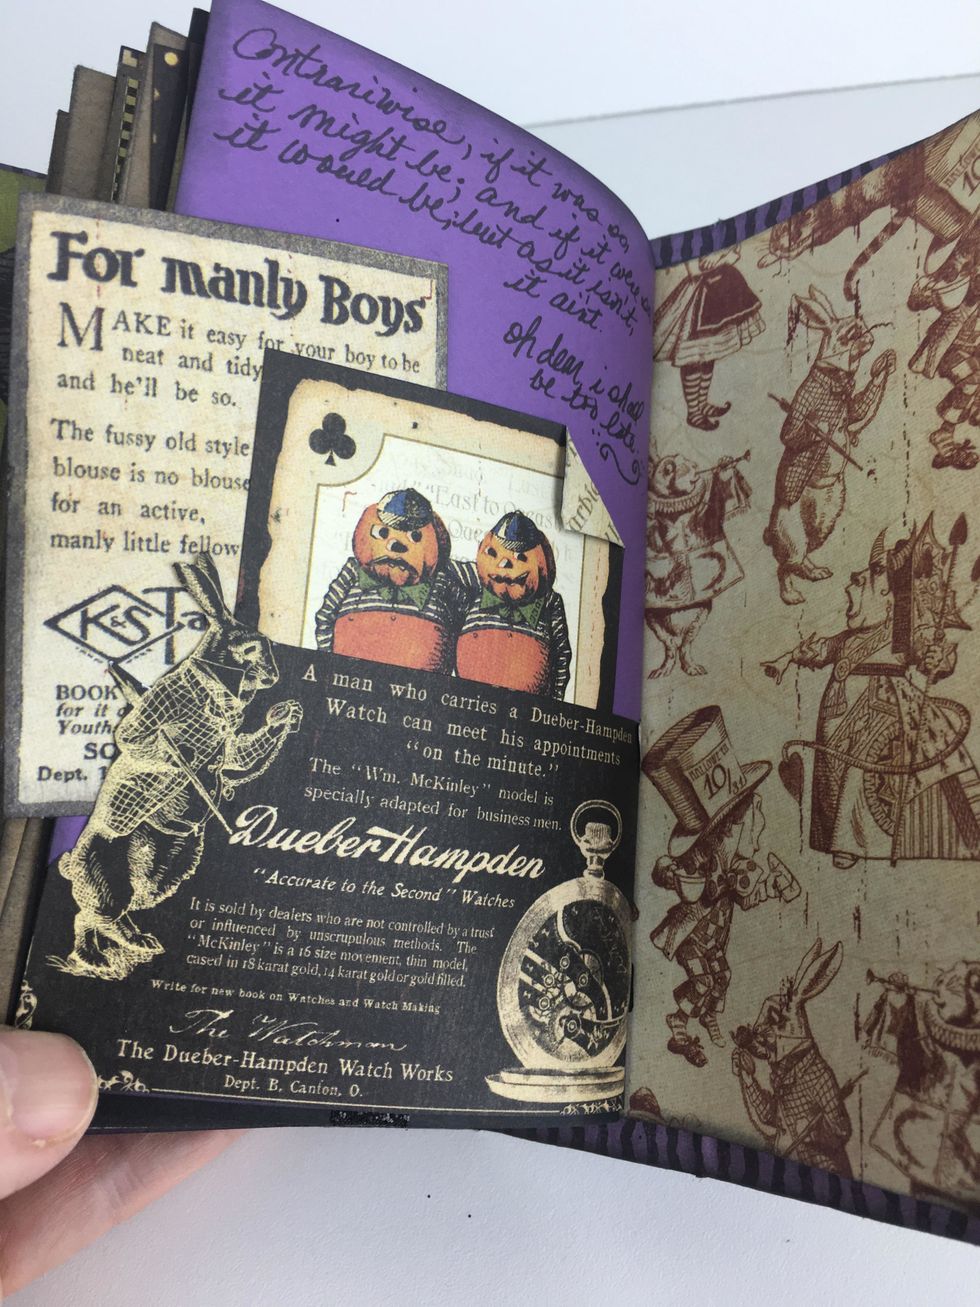
You are now ready to add trim, tags, spider webs, quotes, notes etc. into your junk journal.


On your white watercolor pages, you can ink the pages and add stamped images or ink with stencils or templates.
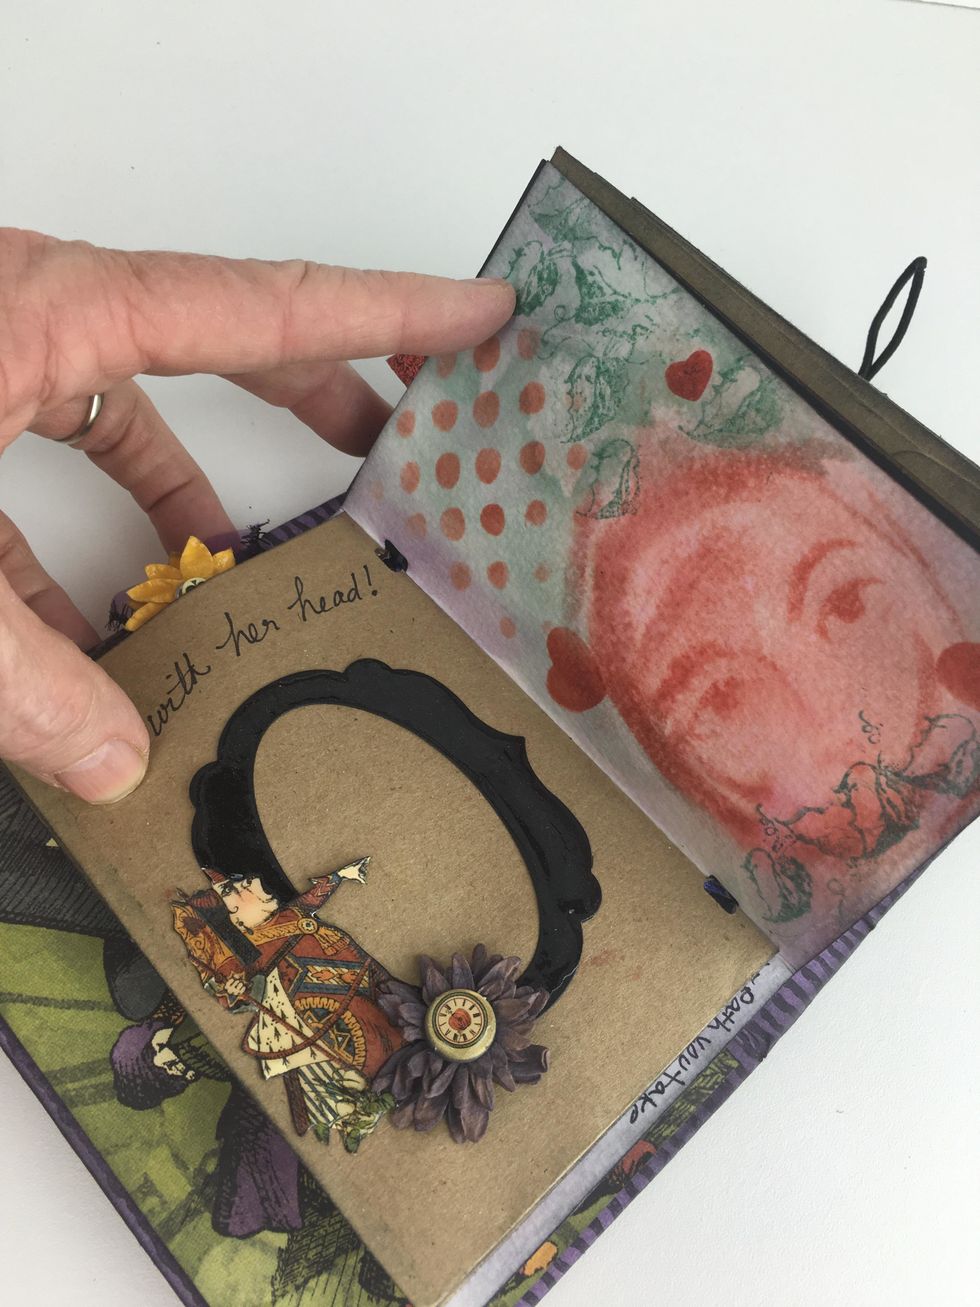
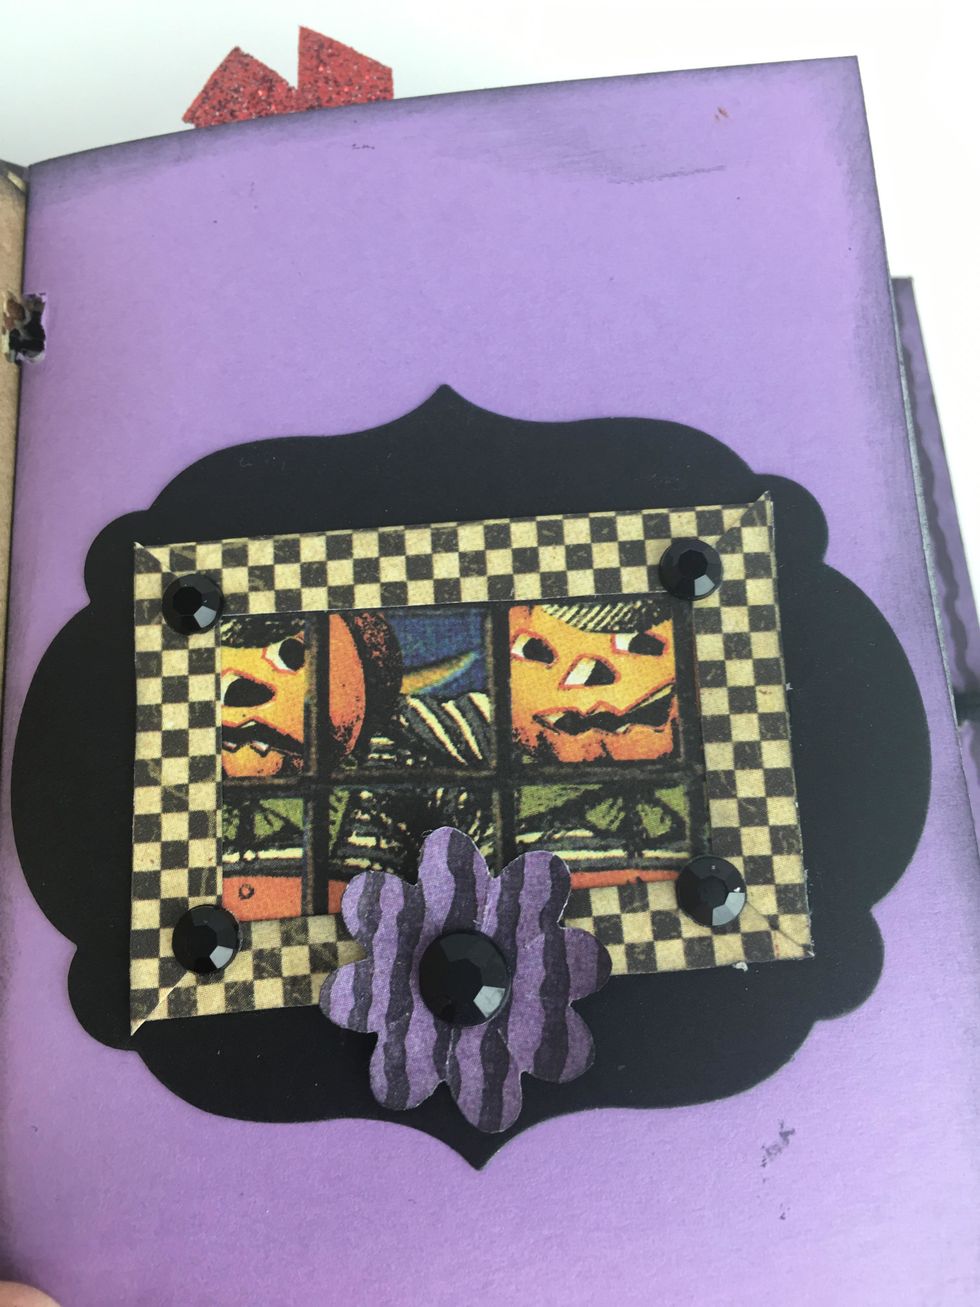
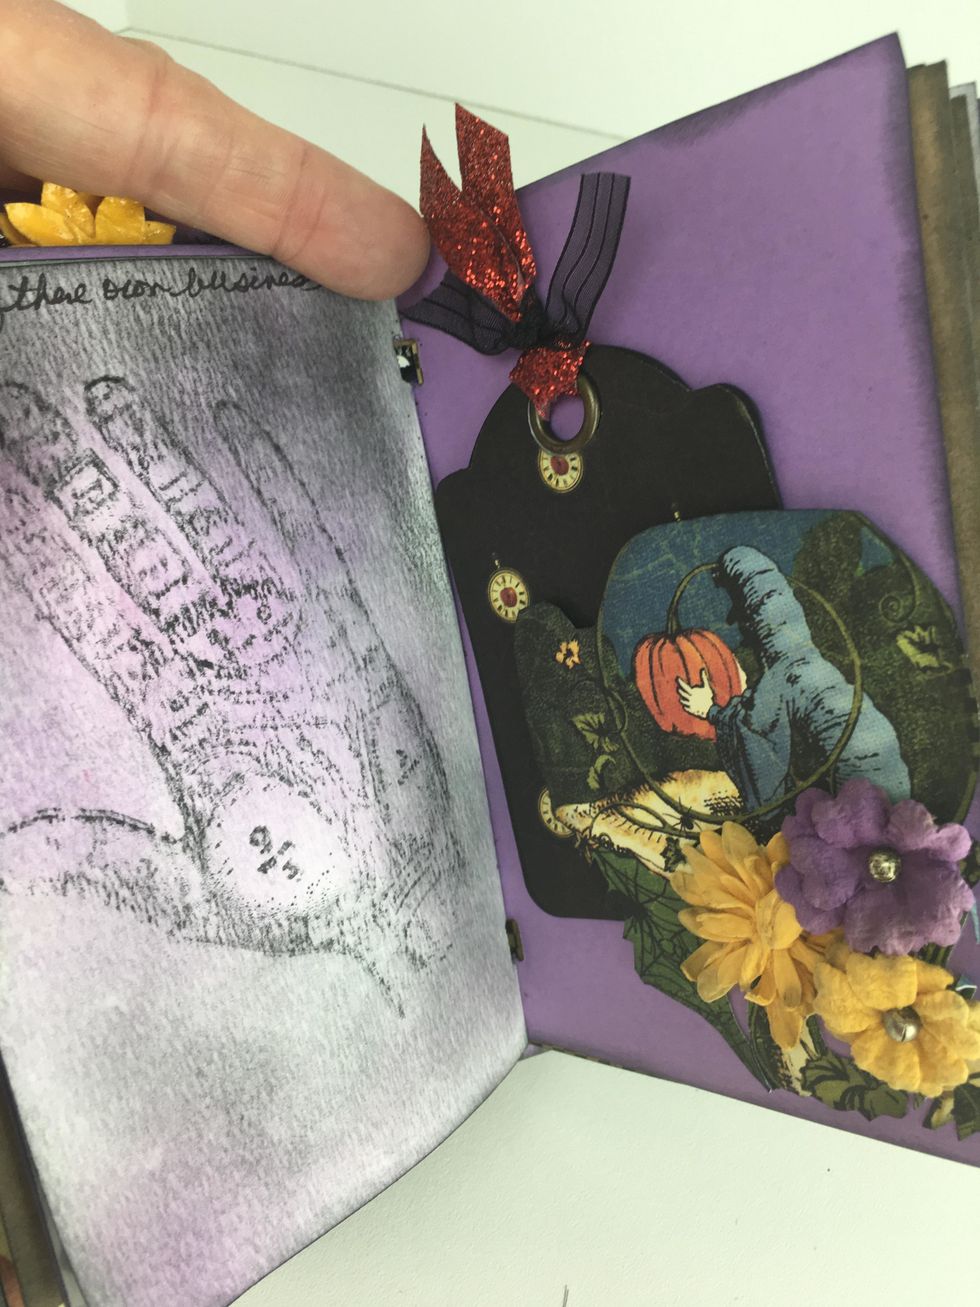
Leave places for some photos by adding decorative frames as shown.

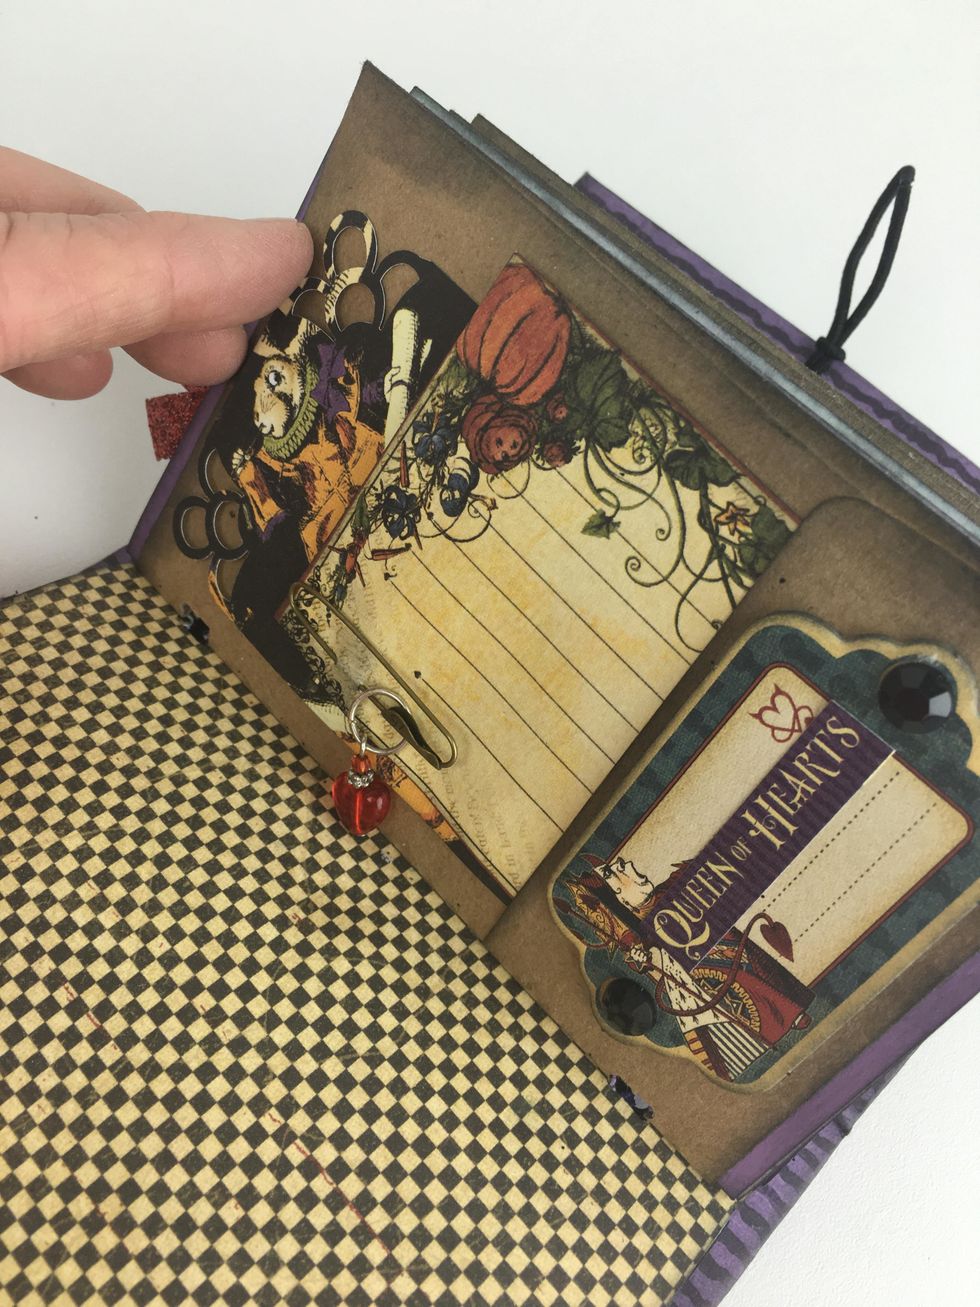
Paper clips and paper flowers are a good addition to your junk journal book.
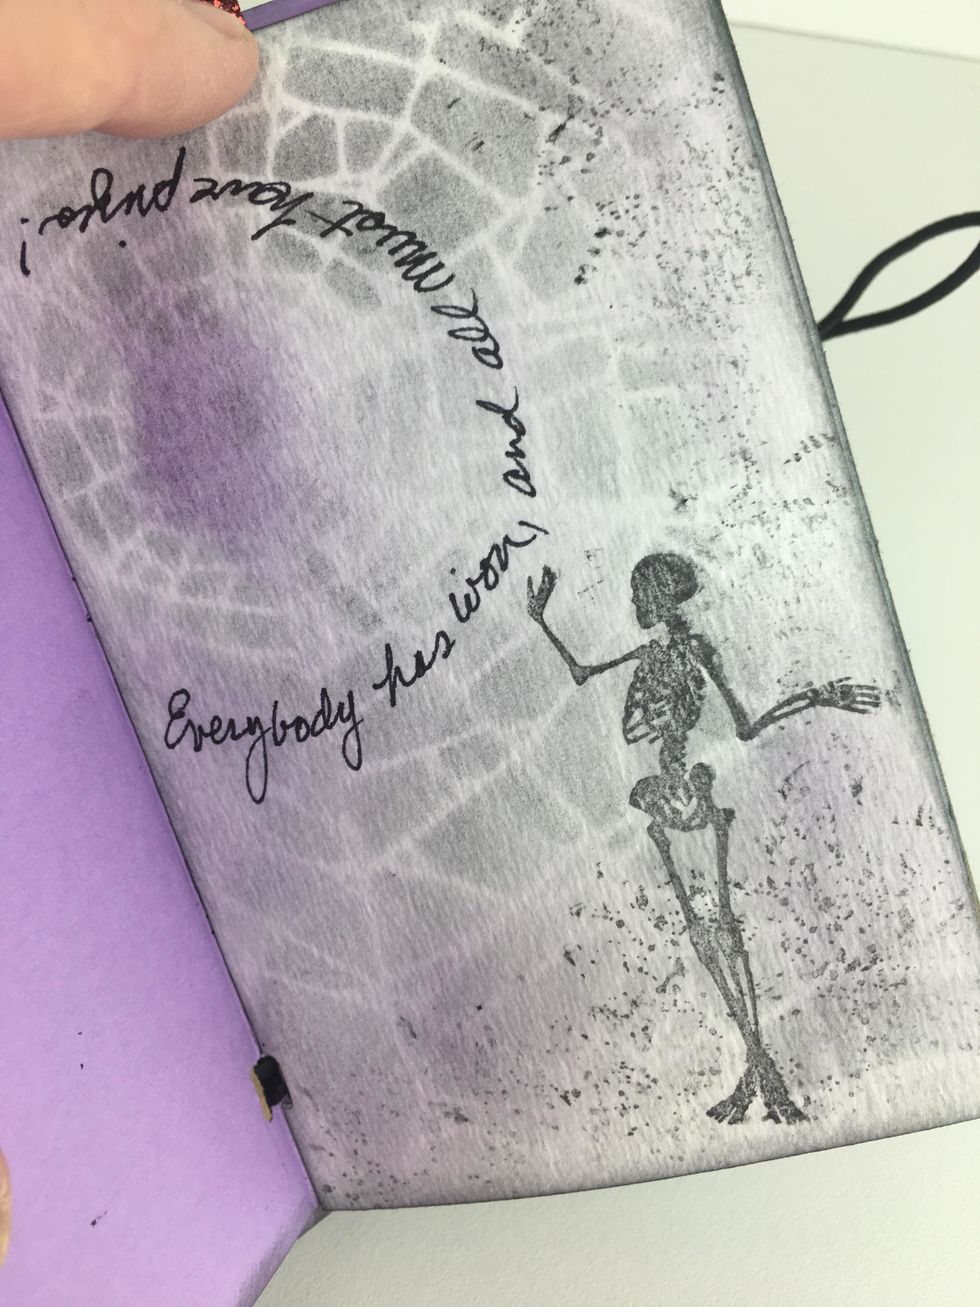
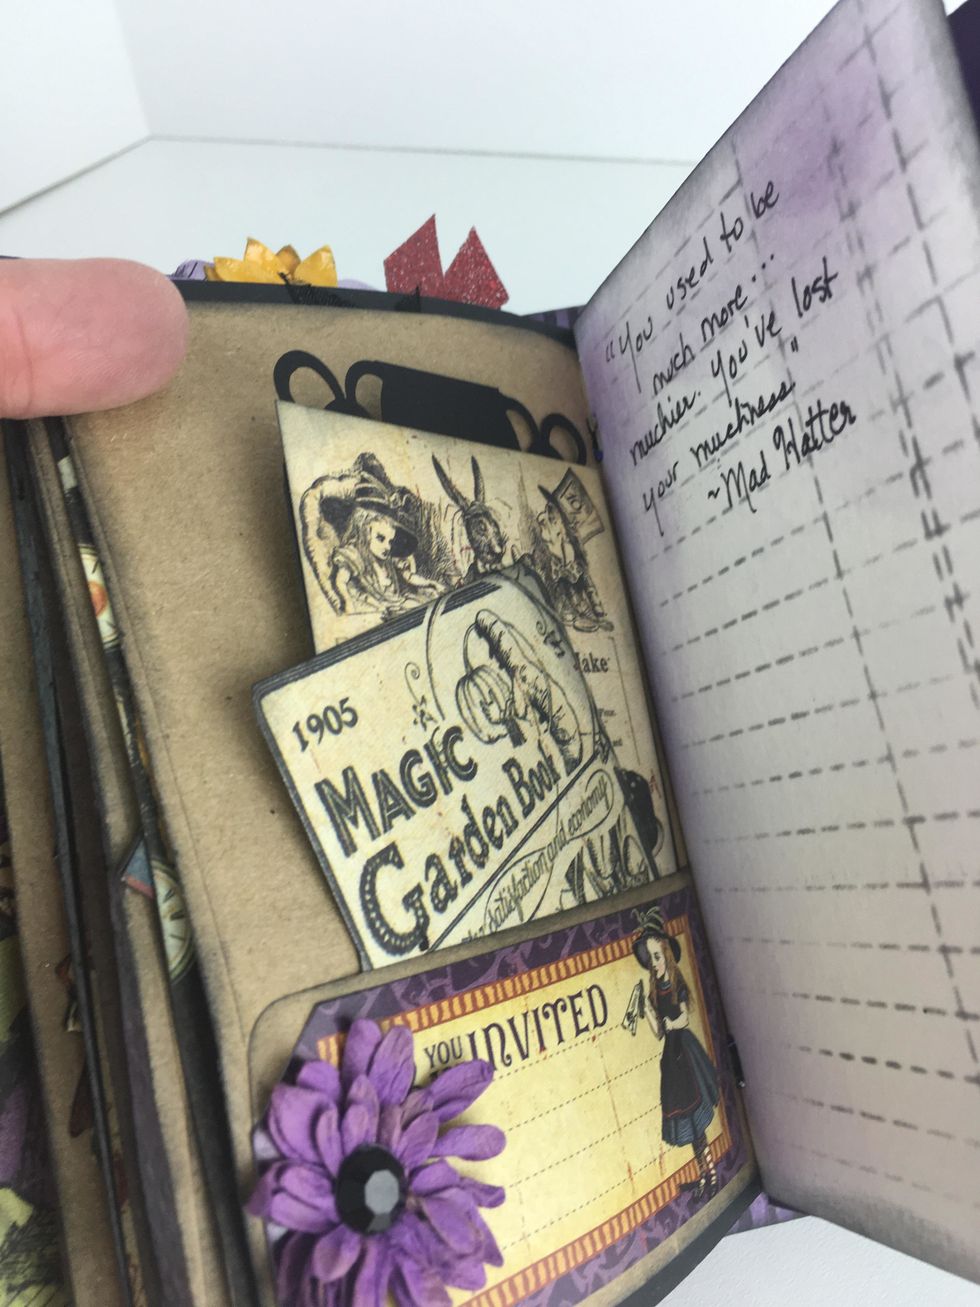
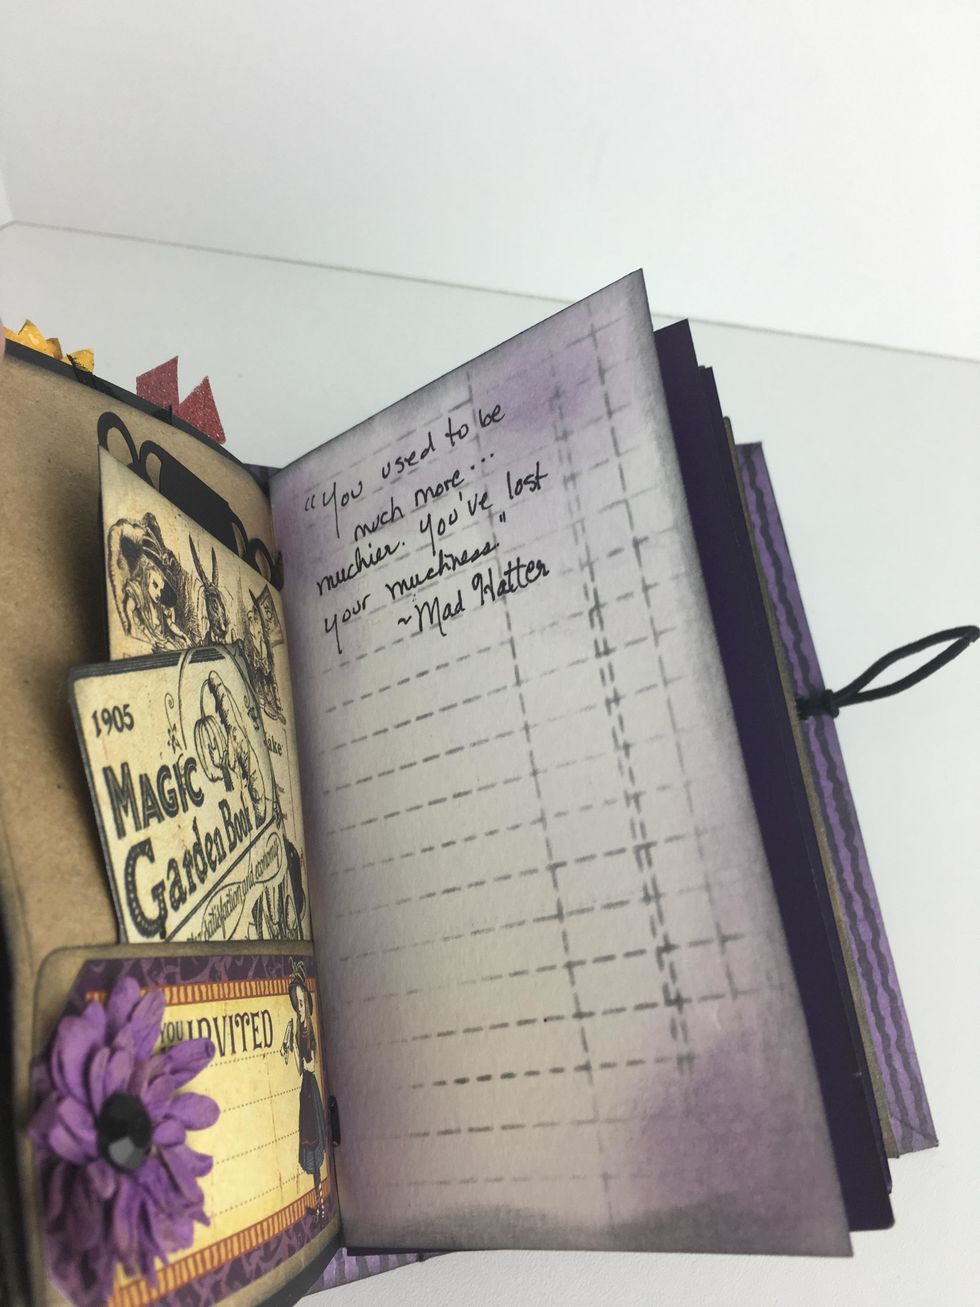
Ruled stencils or stamps are a fun element to add to a page for journaling.
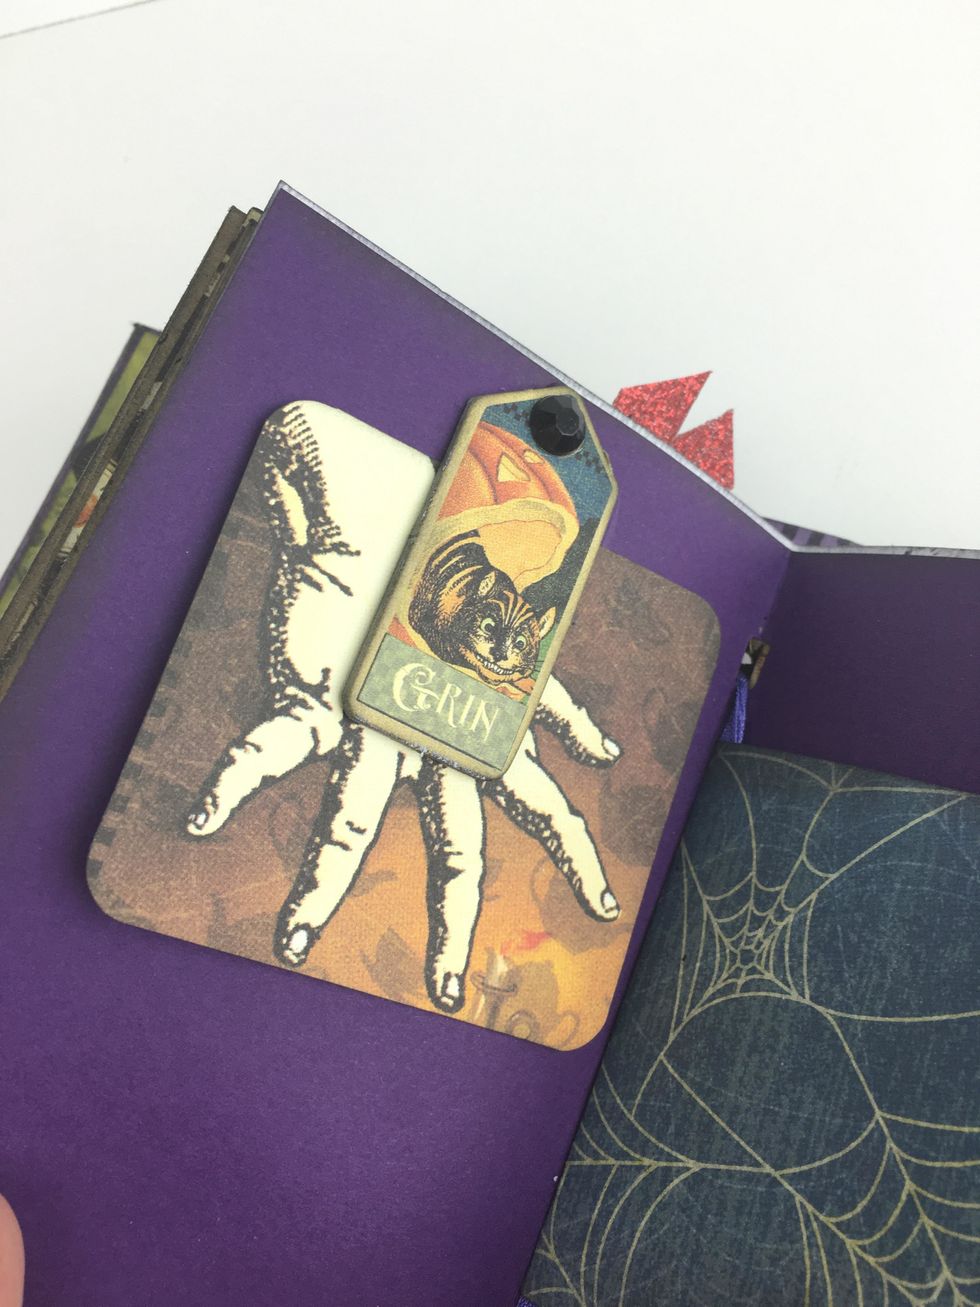
You can also use chipboard tags and rhinestones to create tuck spots in your junk journal.
Glue the flap edges of the envelopes to create fun pockets.
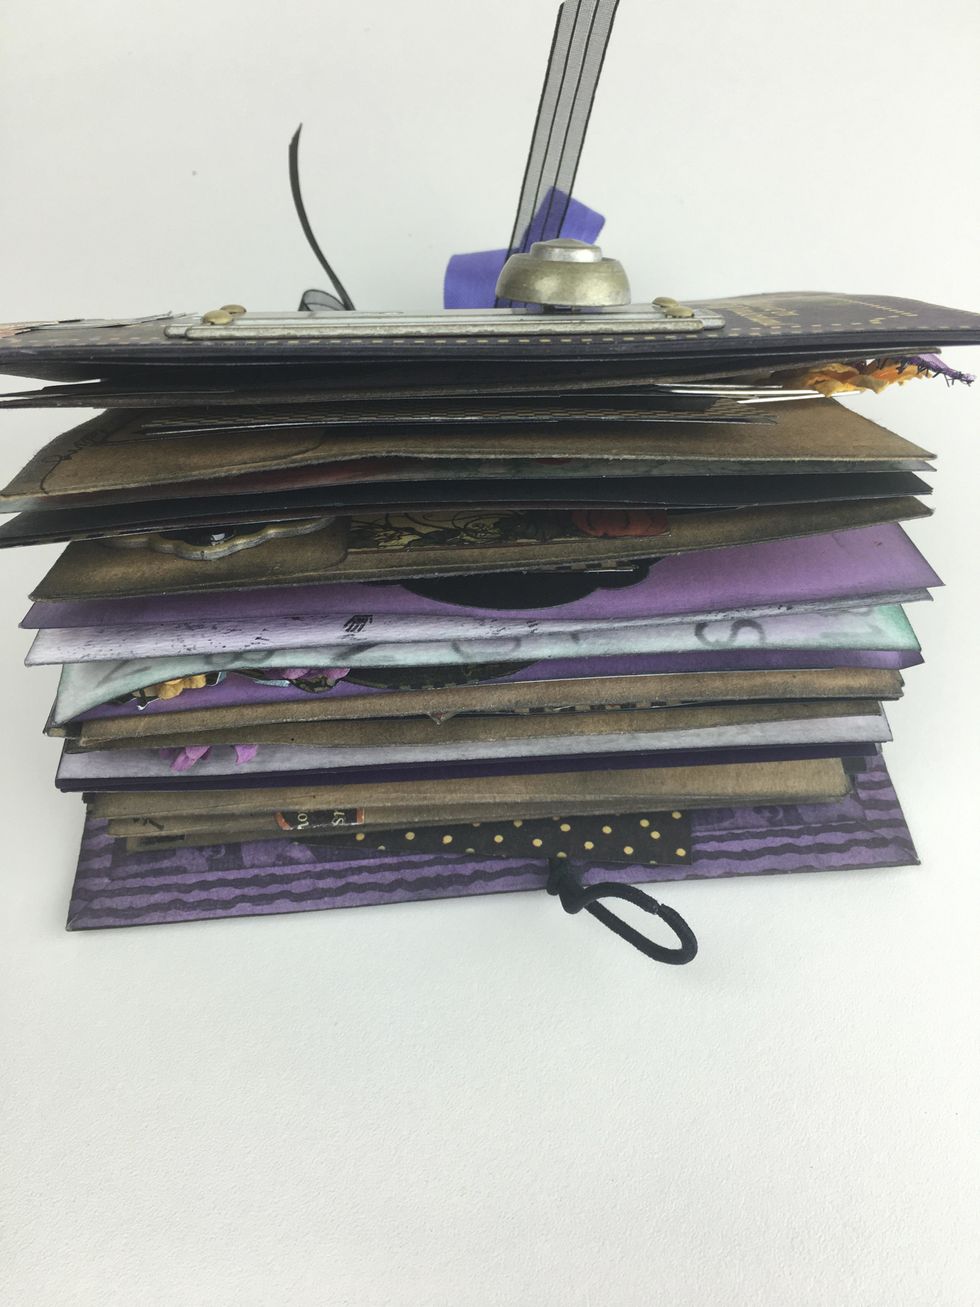
Once your book is filled with tags, pockets, paper clips, photos and notes, it will become chunky and the elastic over the door knob will help keep it closed.
Once done( if you haven't made it too chunky) t will fit in the drawer of the Curiouser Curiouser Trinket Box created in a separate Snapguide Tutorial. Have Fun Crafting! ~Sandy