The Conversation (0)
Sign Up
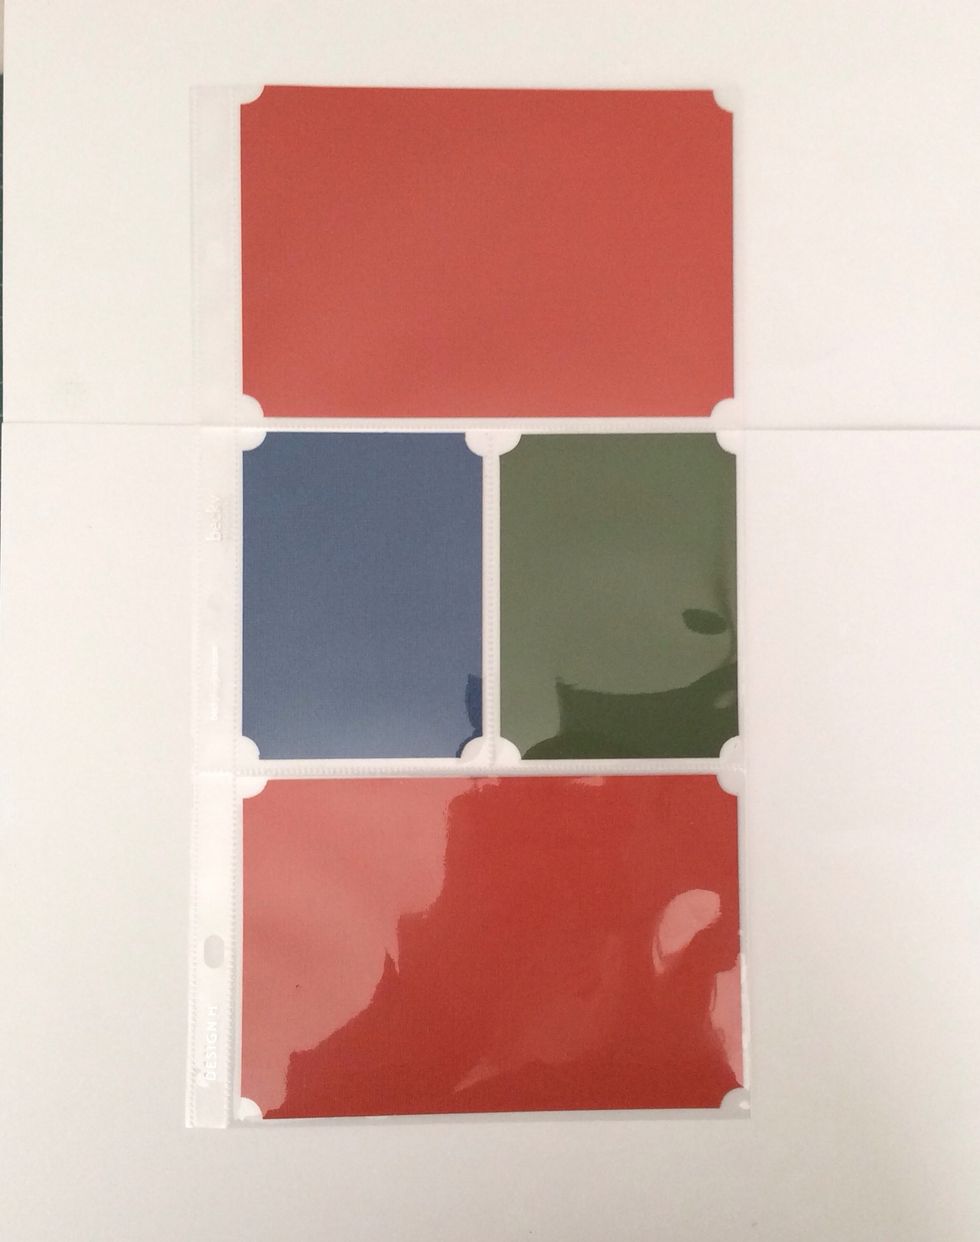
This tutorial uses a half pocket scrapping page. The designs featured an be utilised in a full size page with the same pocket sizes. For this page the pockets are numbered 1 - 4 from the top.
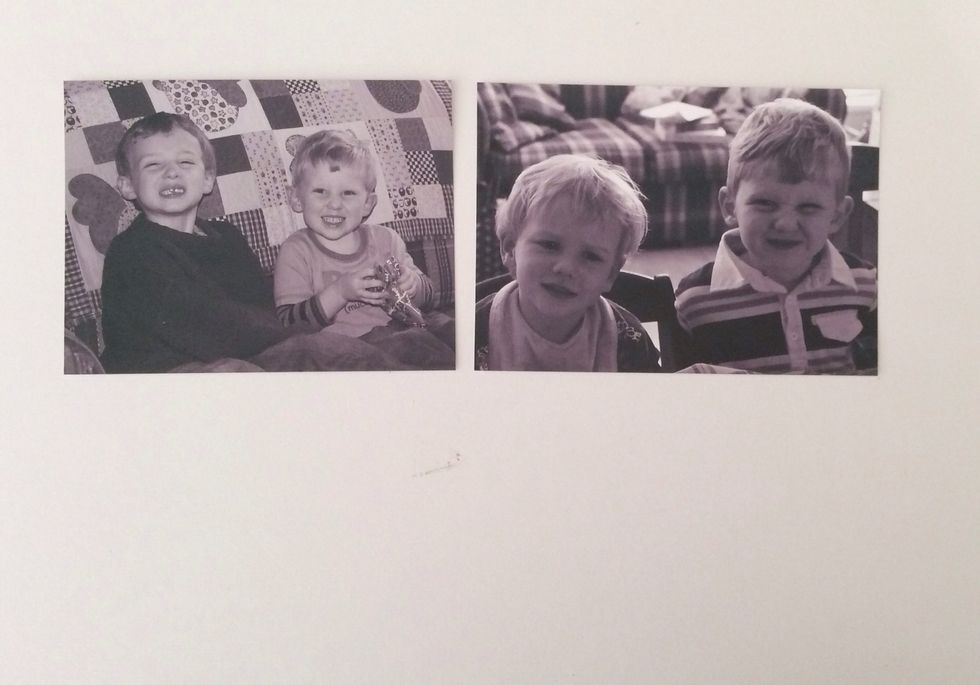
I have used 2 photos in this page. They have been cropped to : photo 1- 3 5/8 x 2 3/4 inches and photo 2 - 3 7/8 x 2 3/4 inches. The photos are used in pocket 1 and 4.
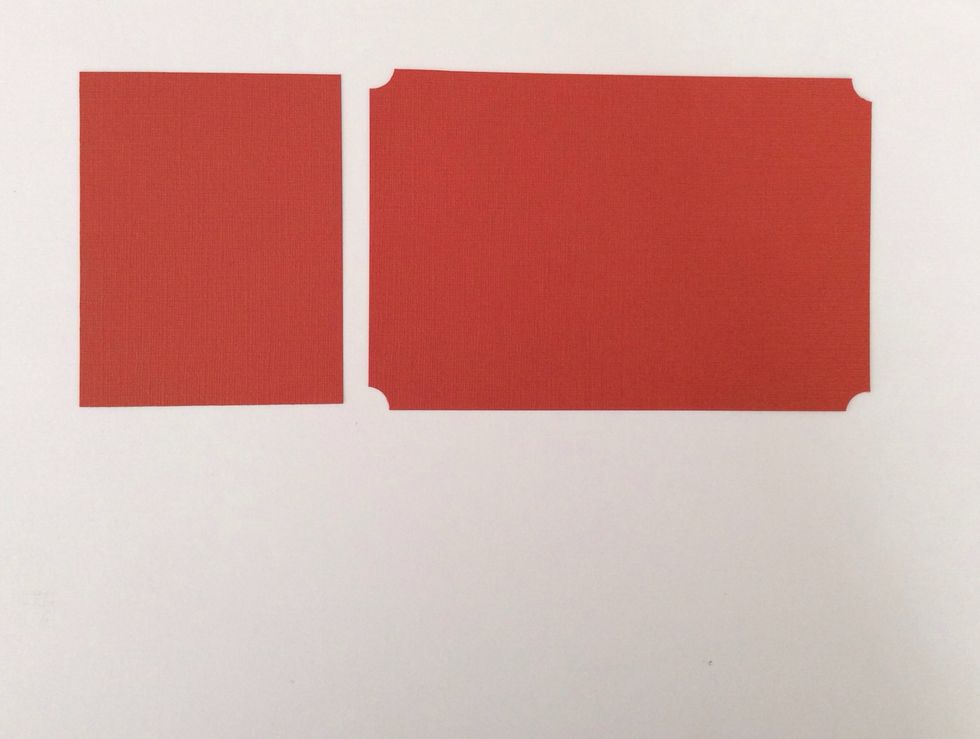
POCKET ONE : Cut two burnt orange card stock mats. 1 at 4 x 6 inches and corner punch all corners. 1 at 3 7/8 x 3 inches.
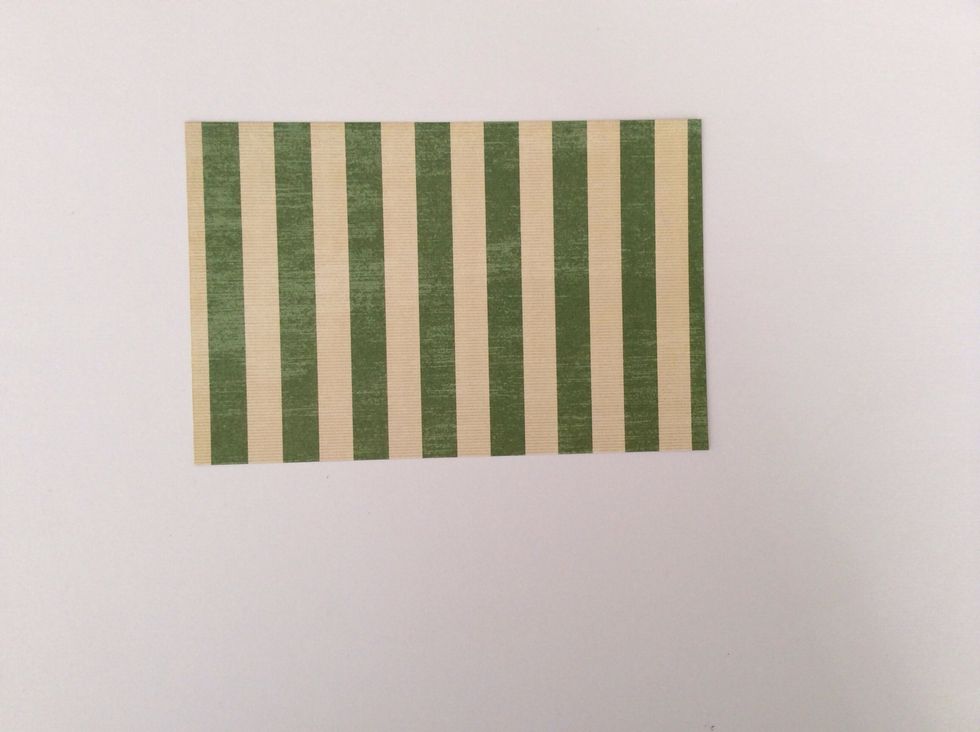
Cut 1 green stripe mat from the paper collection at 5 5/8 x 3 5/8 inches.
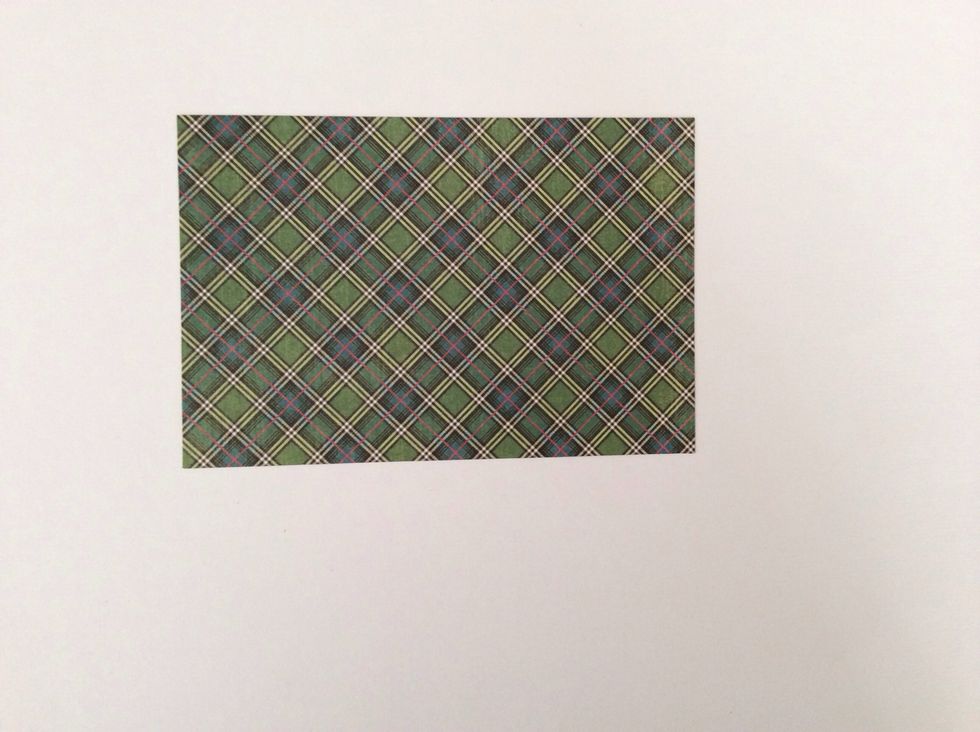
Cut 1 green blue check from the paper collection at 5 x 3 3/8 inches.
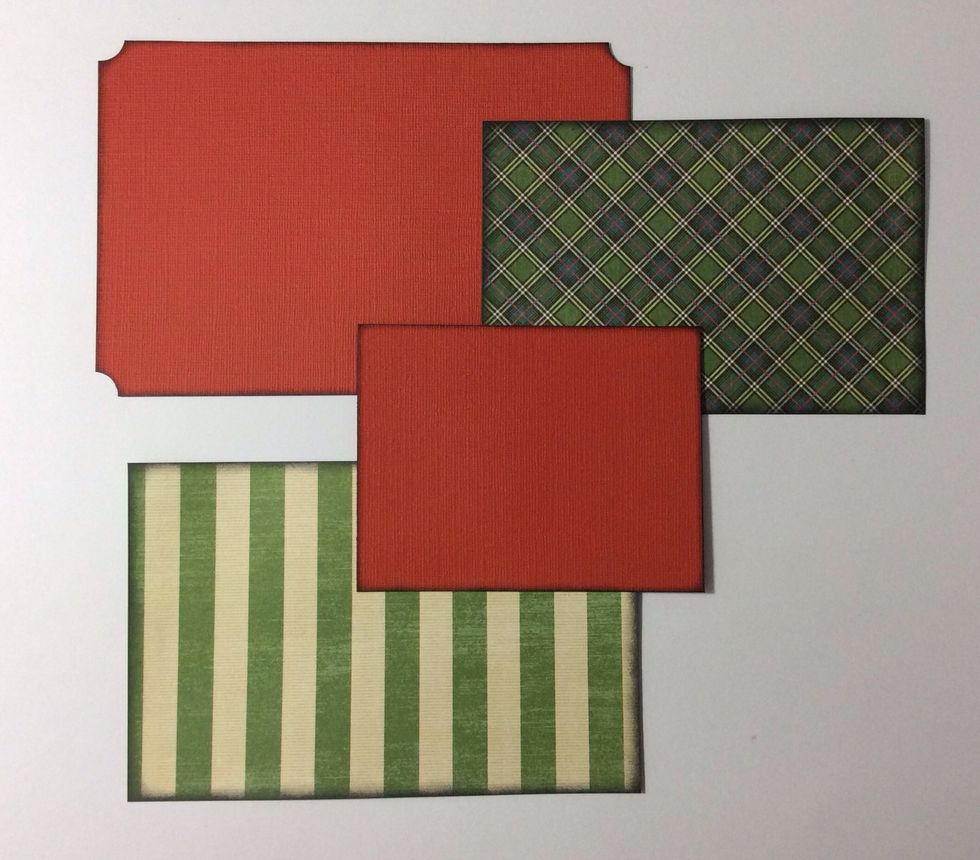
Ink the edges of all mats with black soot distress ink.
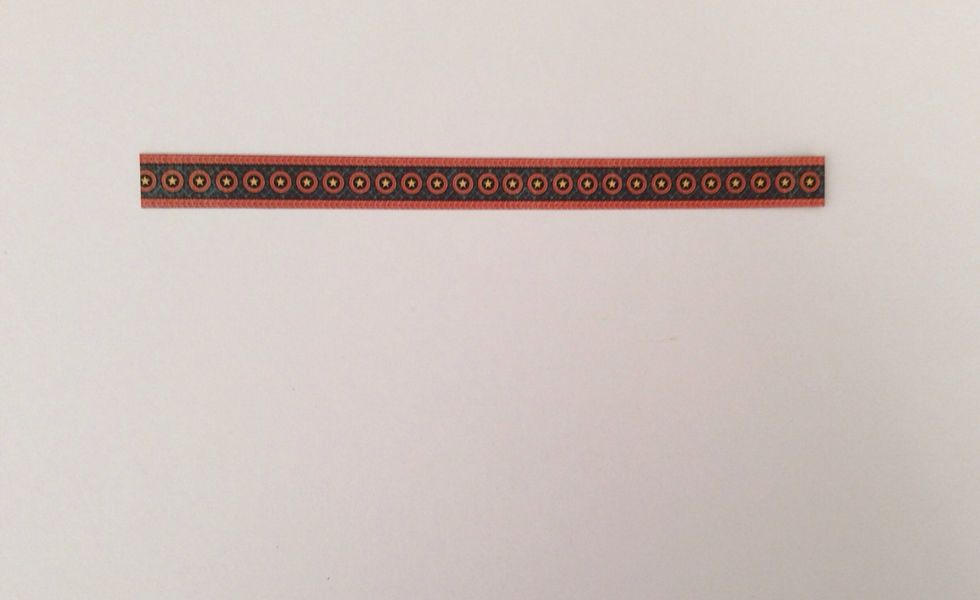
Cut a border strip from the paper collection to 6 inches in length and ink edges with a black marker to hide white paper core.
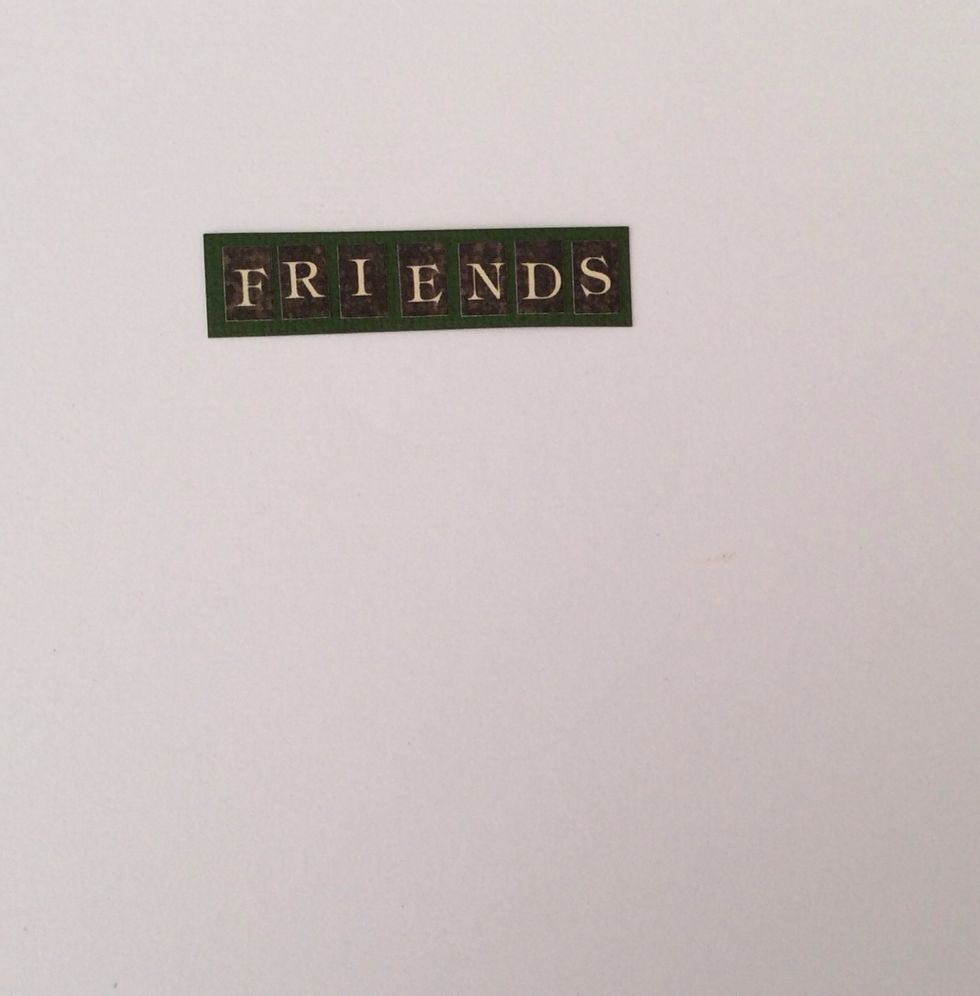
Using coordinating card stock alphabet stickers spell the word friends, mount on green card stock and trim creating a small border.

Fussy cut the above images from the paper collection. Ink edges with a black marker to cover white paper core.
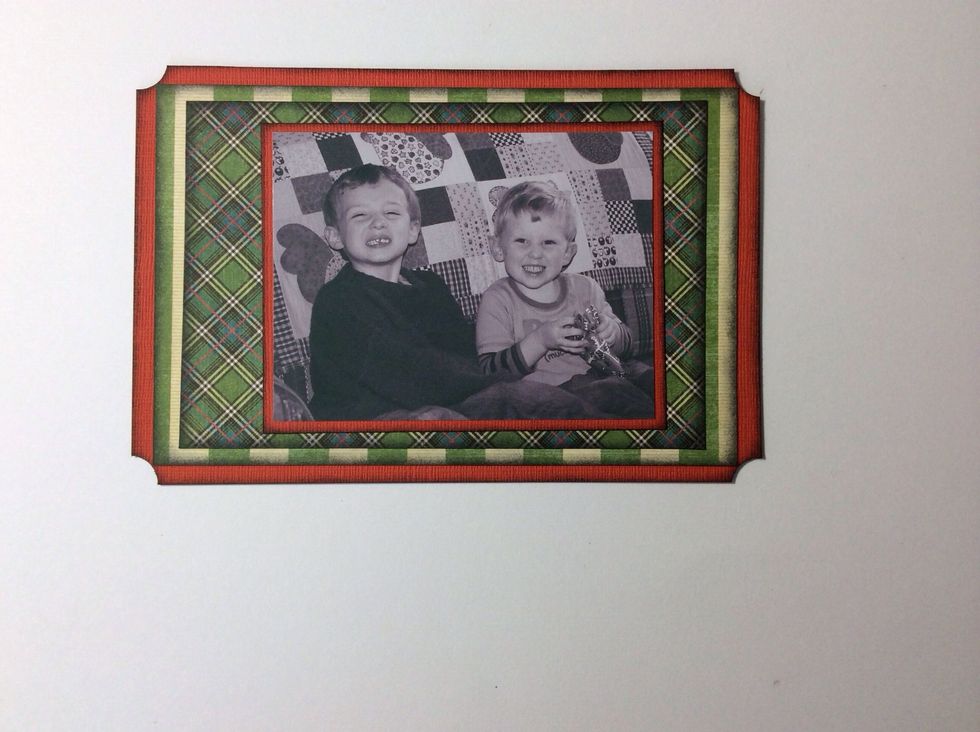
Adhere all mats together in the pictured order. Ensure the small burnt orange mat with photo attached is aligned to one side.
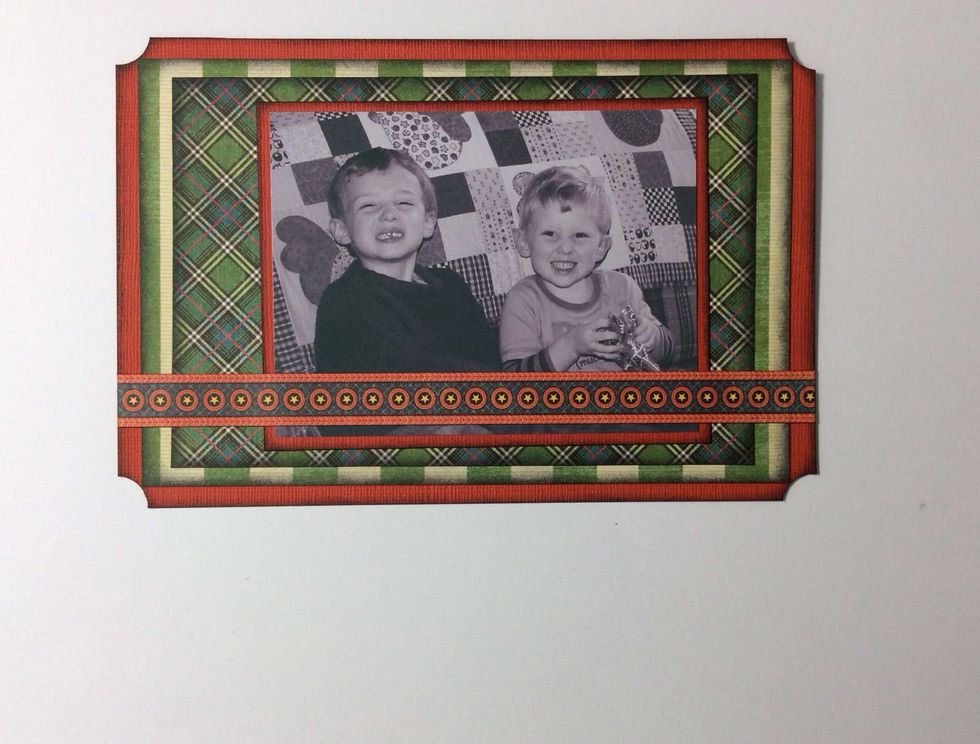
Attach border strip approximately 7/8 inch from the bottom
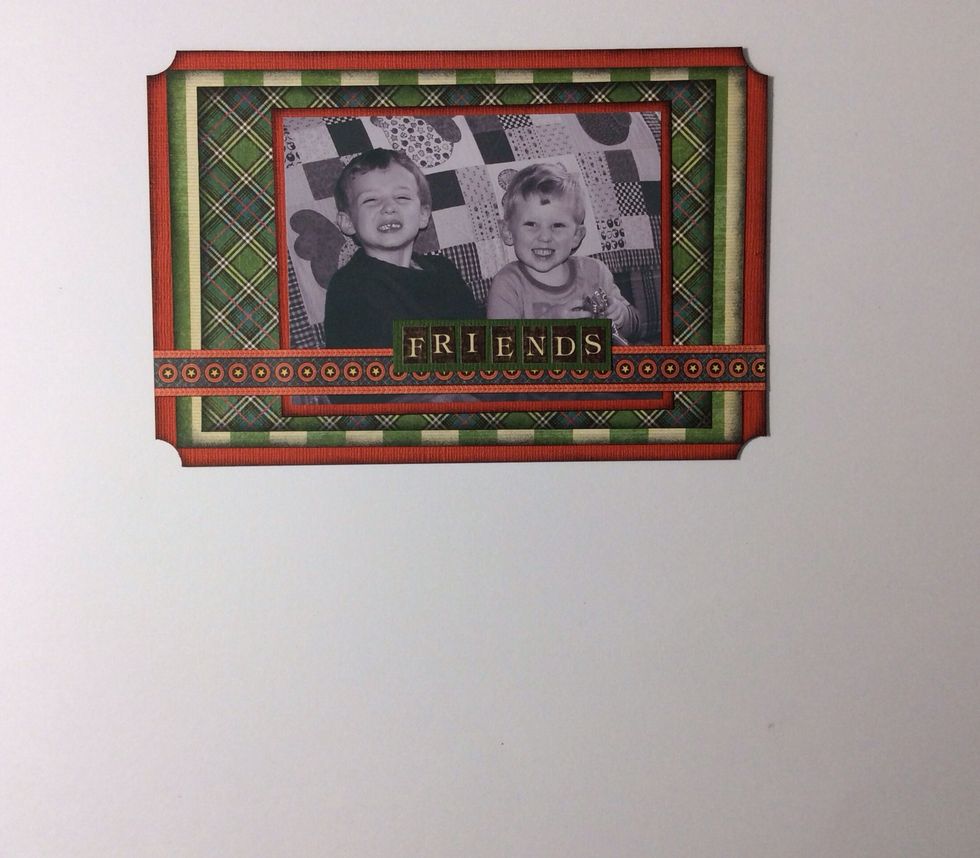
Position word slight off centre and adhere in position

Attach all fussy cut images in to the above configuration and glue or tape into position. You can mount the fore most images on foam tape . Pocket one is complete.
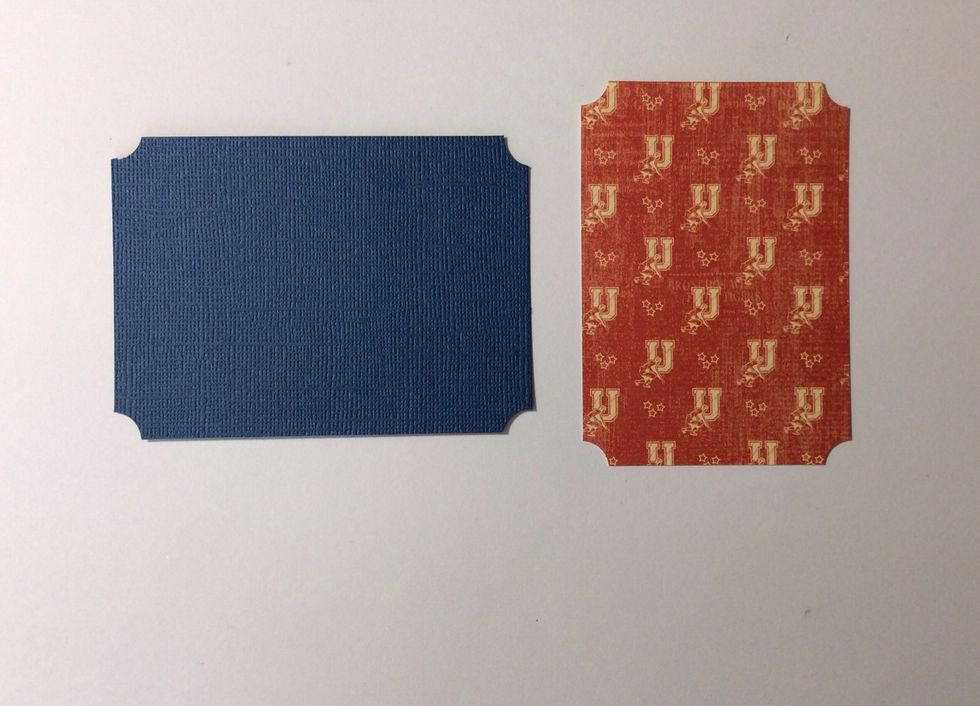
POCKET TWO : Cut 1 blue card stock mat at 4 x 3 inches and cut 1 paper mat from the paper collection at 2 5/8 x 3 3/4 inches and corner punch all corners.
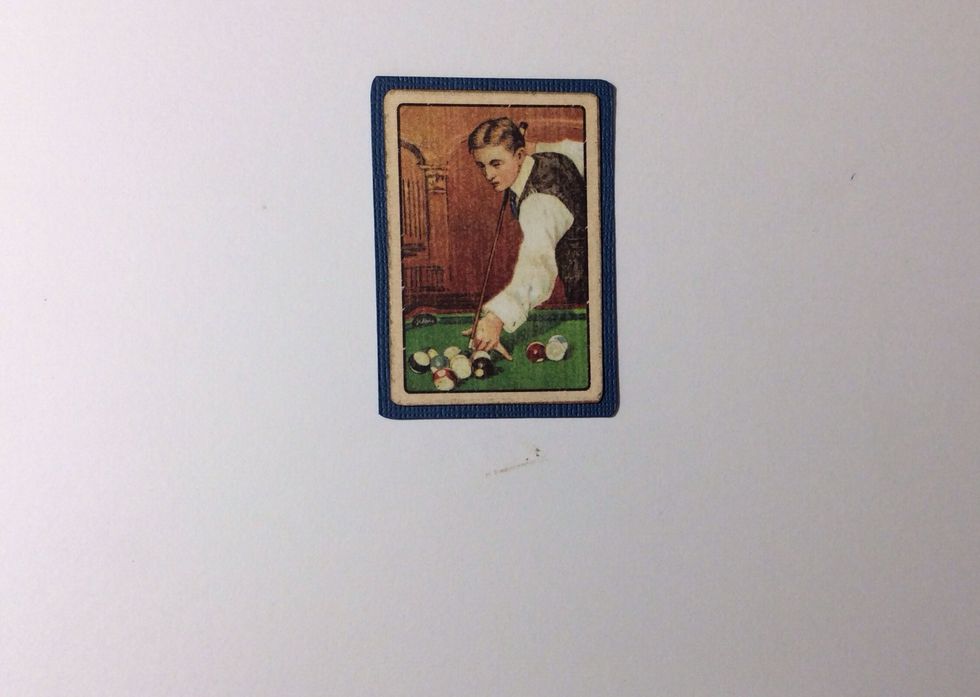
Cut one collector card from the paper collection and mount on blue card stock. Trim all the way round to form a small border.
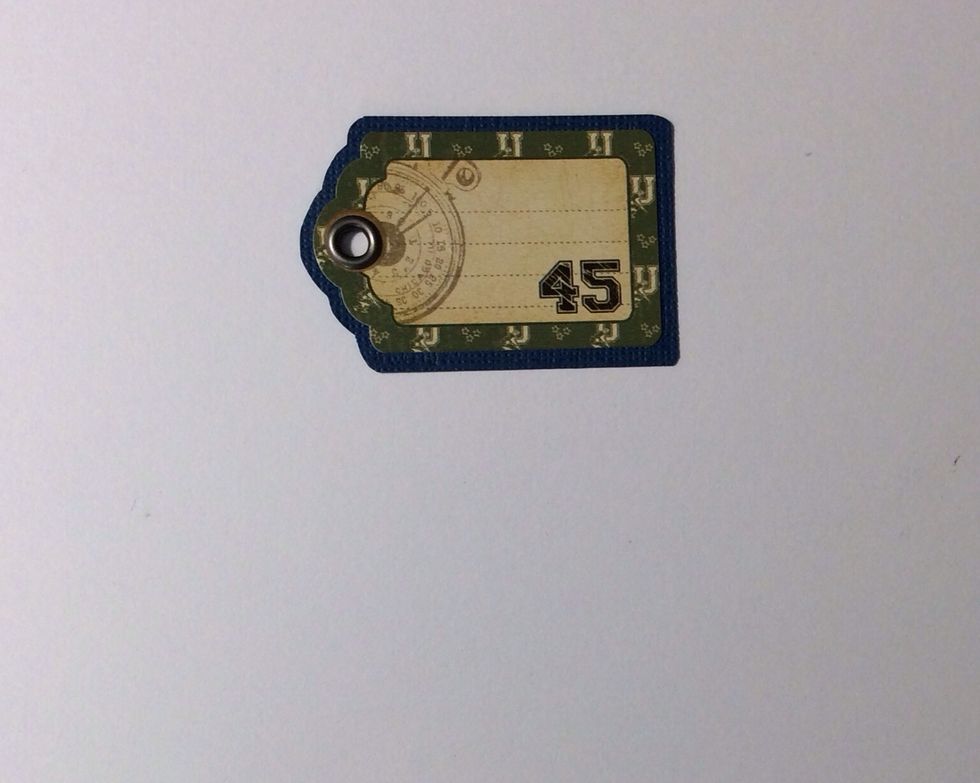
Use this tag sticker from the coordination card stock stickers and mount on blue card stock. Trim around all sides to form a small border. Attach eyelet at the top.
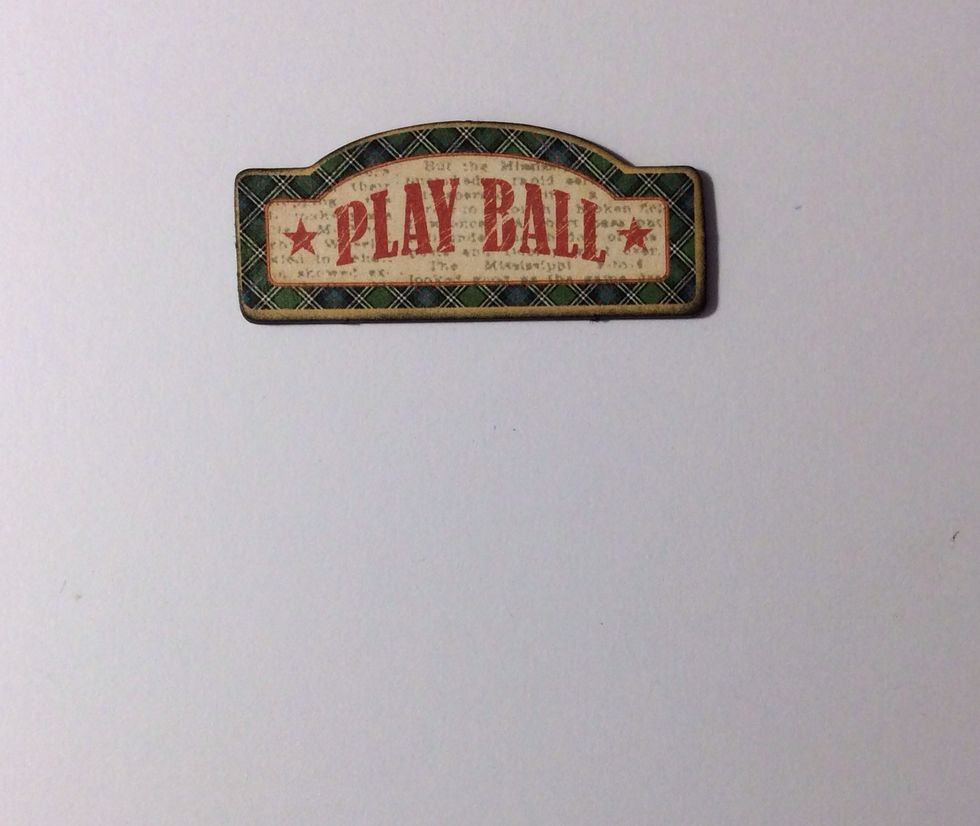
Use the play ball element from the chipboard 2 pack and ink the raw edges with black soot distress ink.
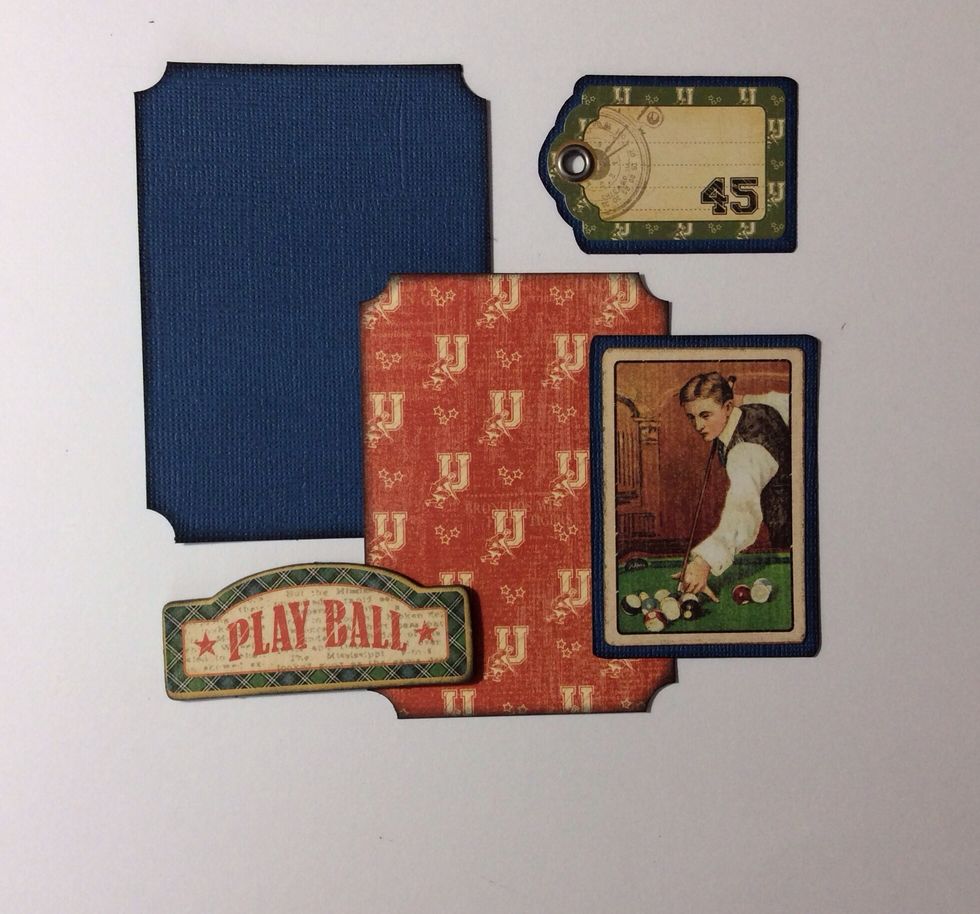
Ensure the edges of all mats and other elements are inked using black soot distress ink .

Adhere the card stock and paper mat together aligning centrally. Apply glue to the straight sides of the chipboard element and position on base. This will form a pocket for the tag and card.
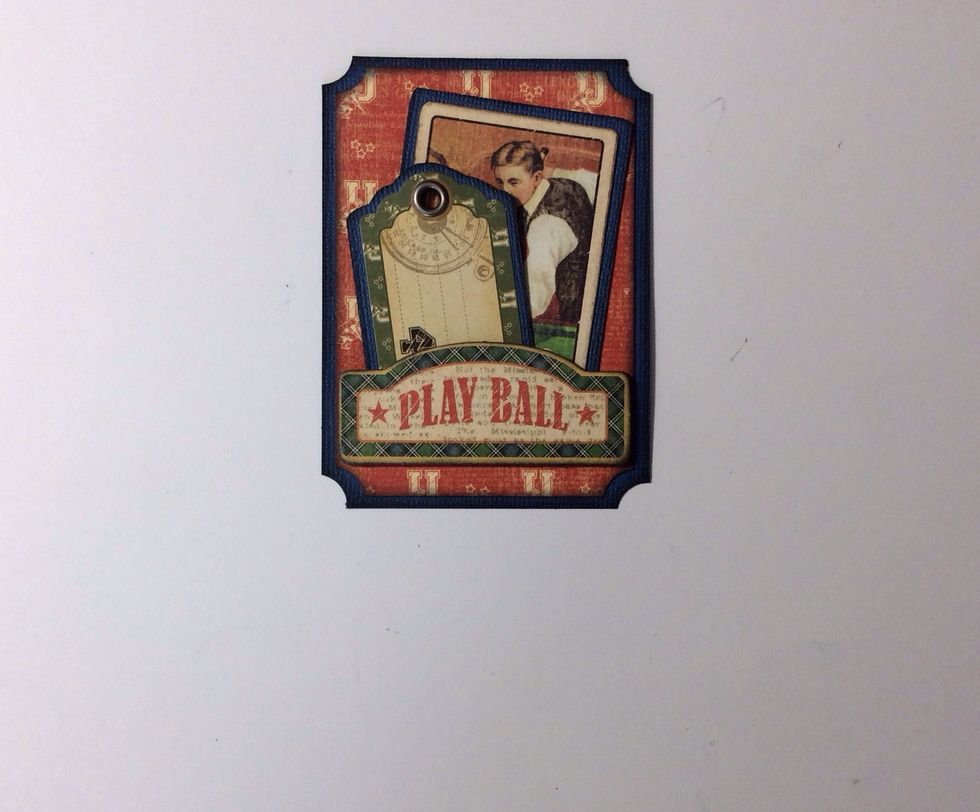
Tuck tag and card in to the pocket . Pocket two is now complete.
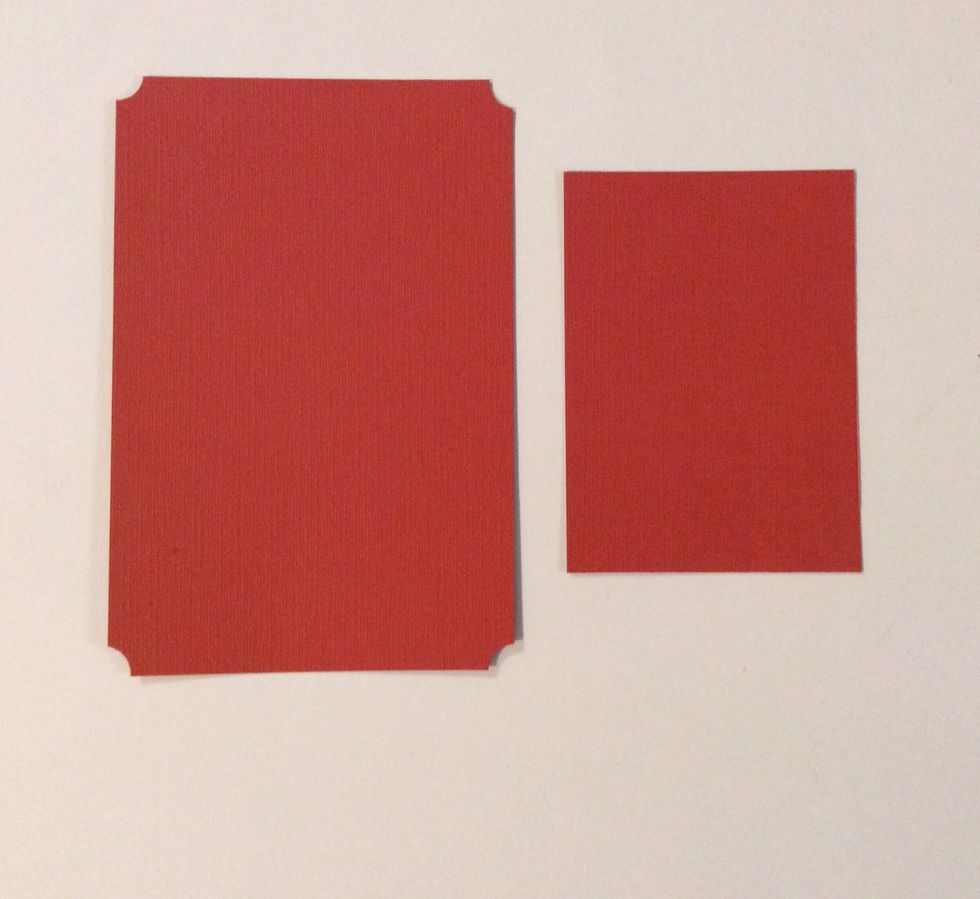
Cut two burnt orange card stock mats. 1 at 4 x 6 inches with punched corners. 1 at 4 1/8 x 3 inches.
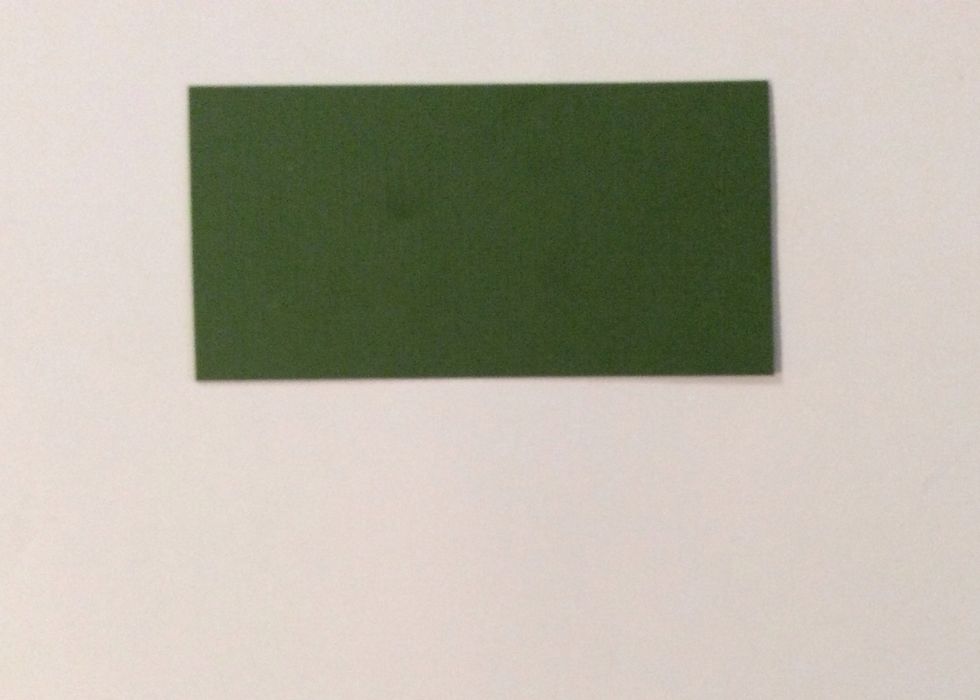
Cut 1 green card stock mat at 4 7/8 x 2 1/2 inches.

Cut 2 patterned paper mats from the paper collection. 1 at 3 5/8 x 5 5/8 inches and 1 at 4 5/8 x 2 3/8 inches.
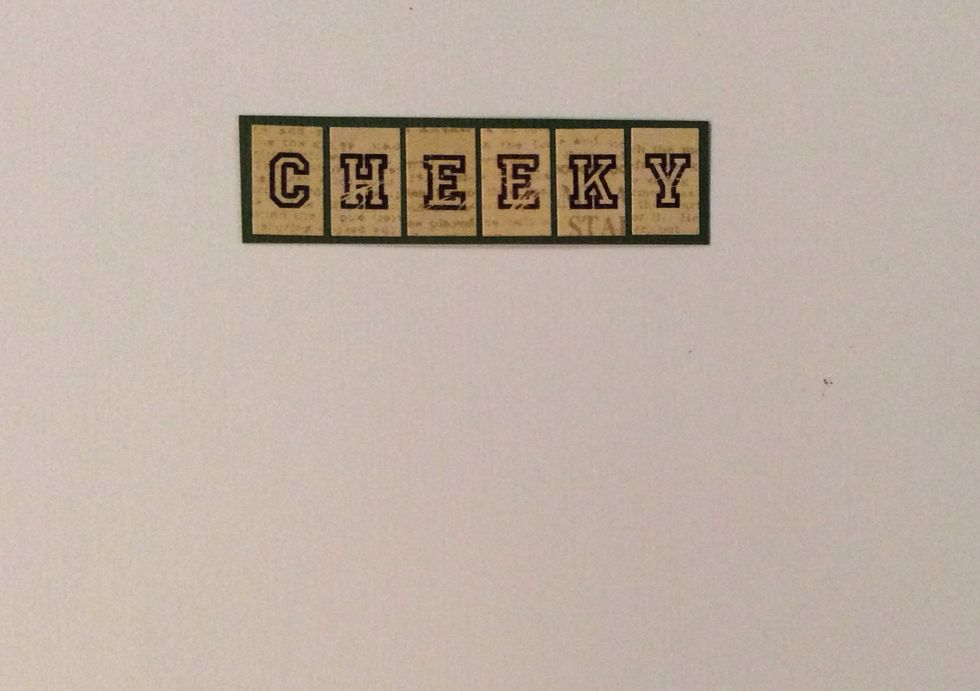
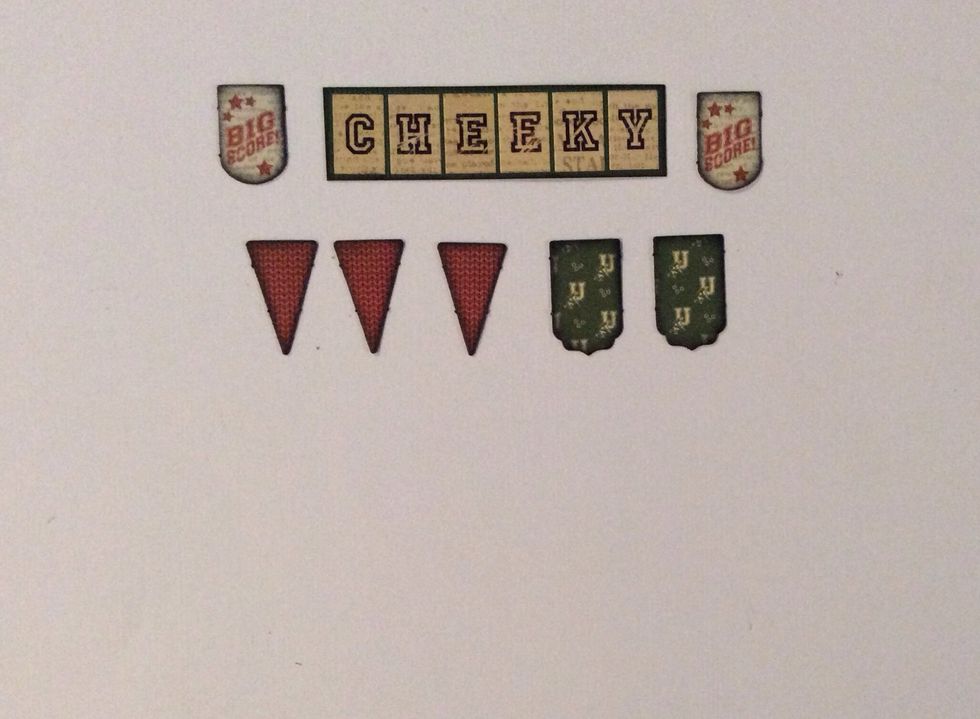
Spell the word cheeky ( or a chosen word ) using the coordinating card stock stickers. Mount on green card stock and trim to form a small border.
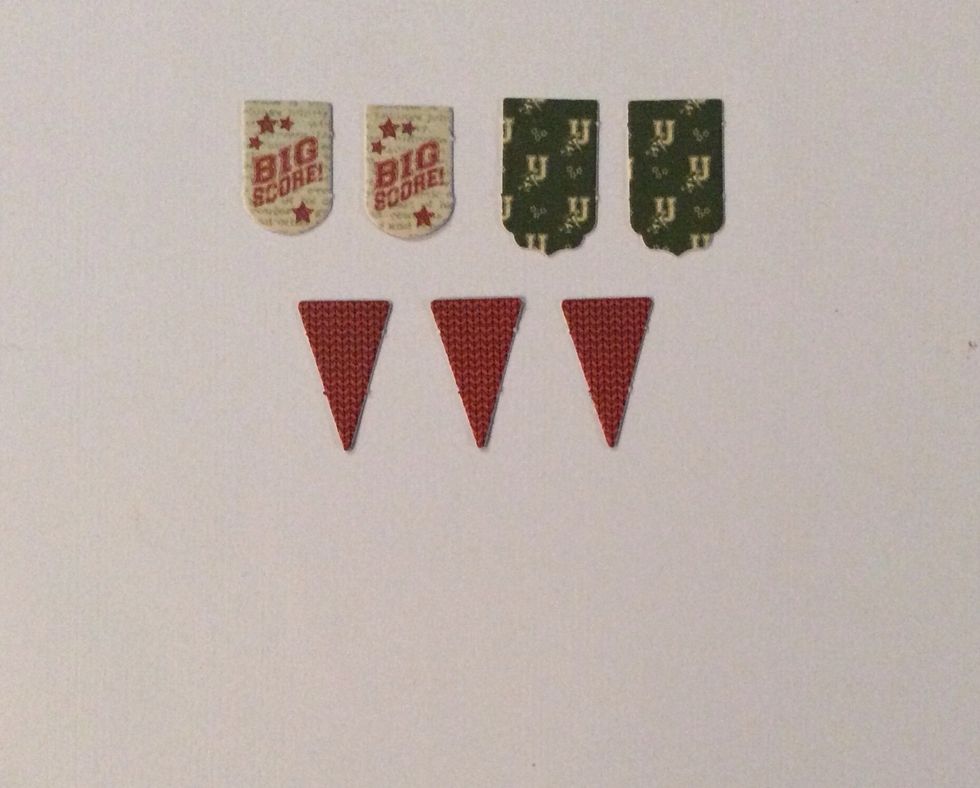
Select banner components from the coordinating banner pack.
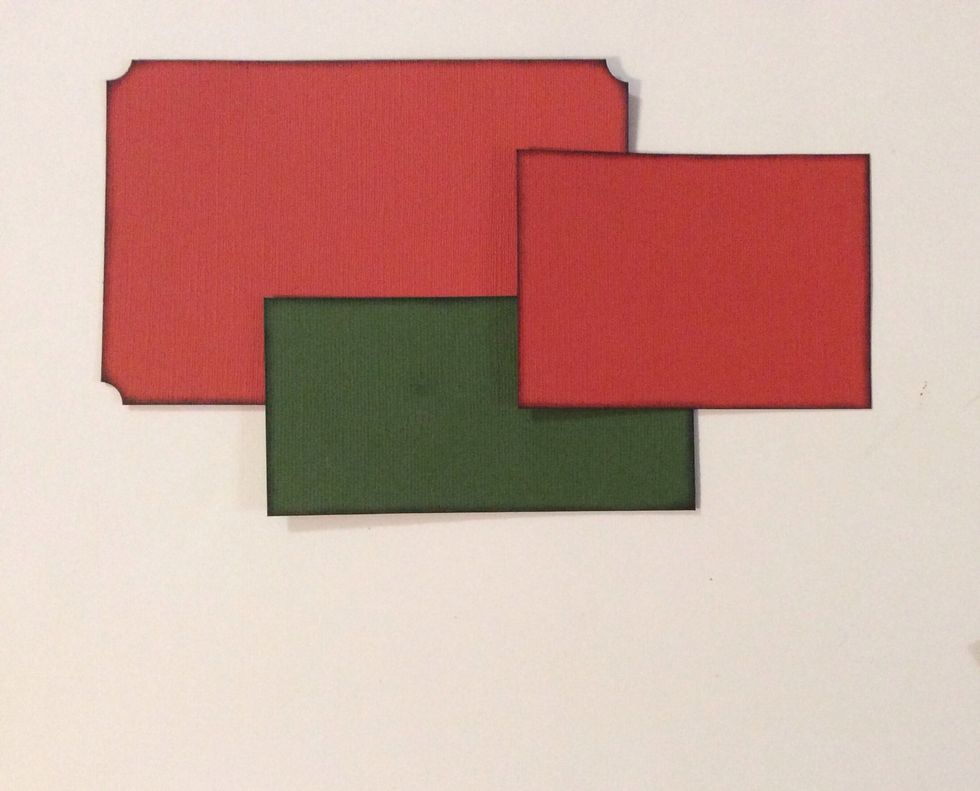
Ink edges of all card stock mats with black soot distress ink .
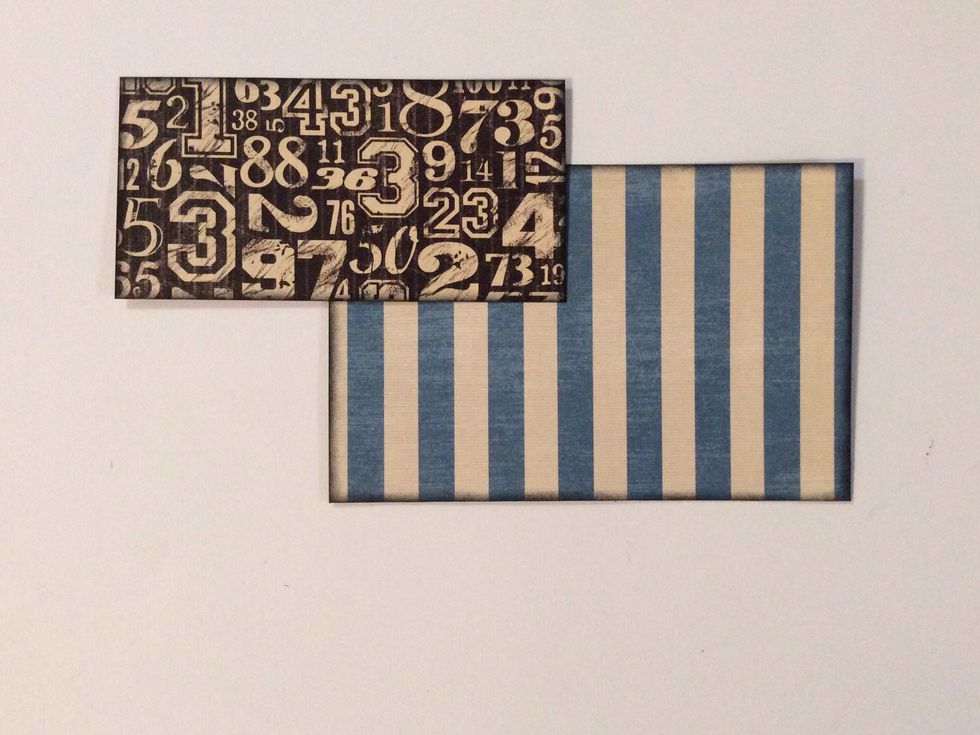
Ink edges of patterned paper mats with black soot distress ink.
Ink edges of embellishments with black soot distress ink
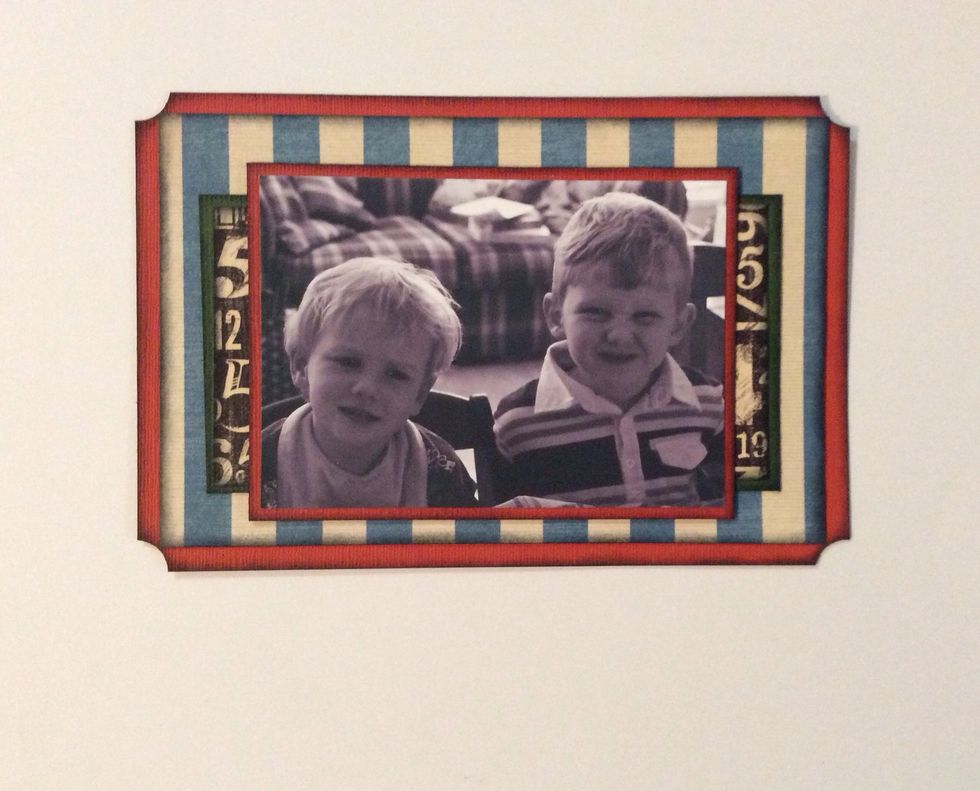
Adhere the mats in the pictured order. Then adhere the photo.
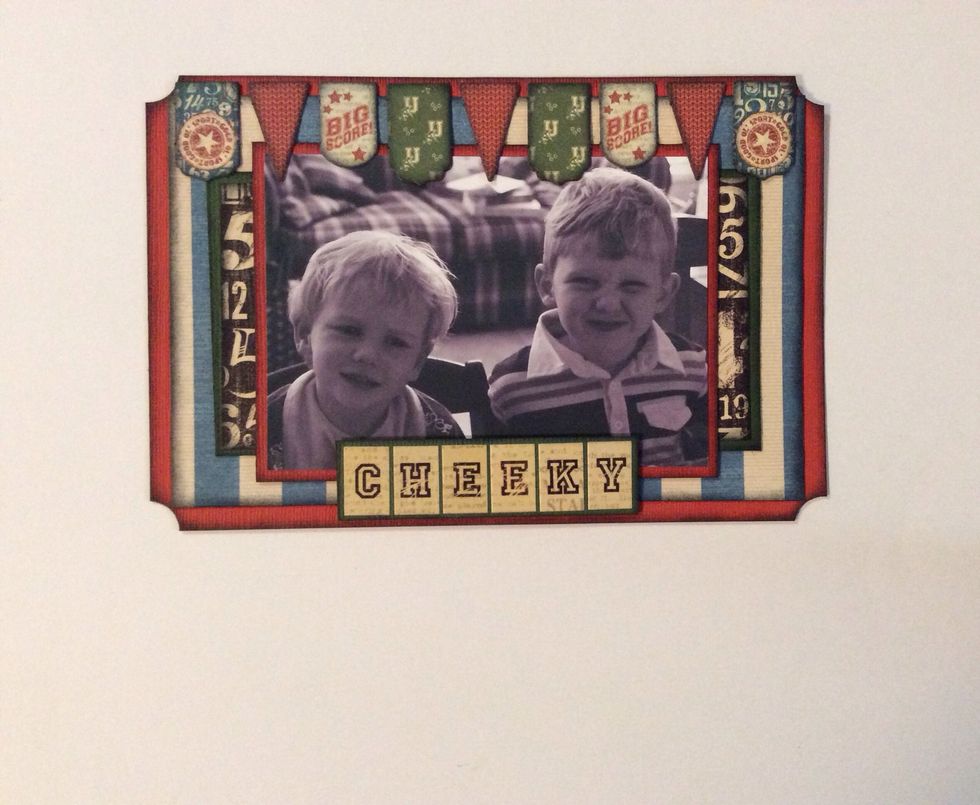
Attach the embellishments in the pictured configuration, or desired position. Pocket four is now complete.
Place all pocket layouts into the place sleeve and your Graphic 45 Good Ol Sport pocket scrapping is complete.
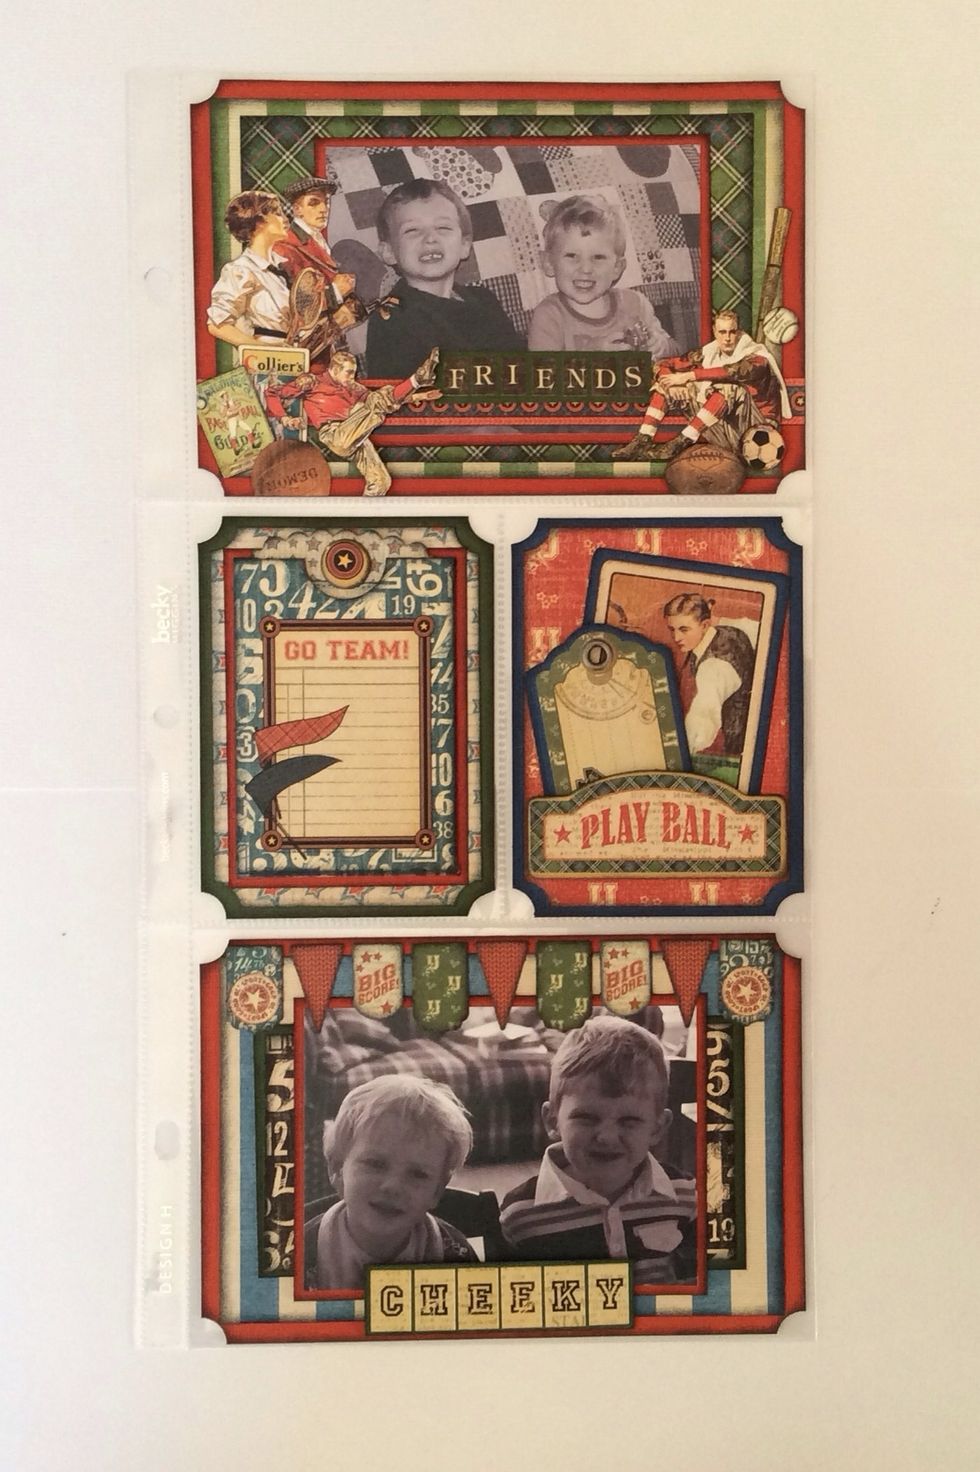
Completed Good Ol Sport pocket page.