The Conversation (0)
Sign Up

You'd never guess that an old box could be made into such a sweet little birthday planner. Follow these easy steps to learn how to make your own.
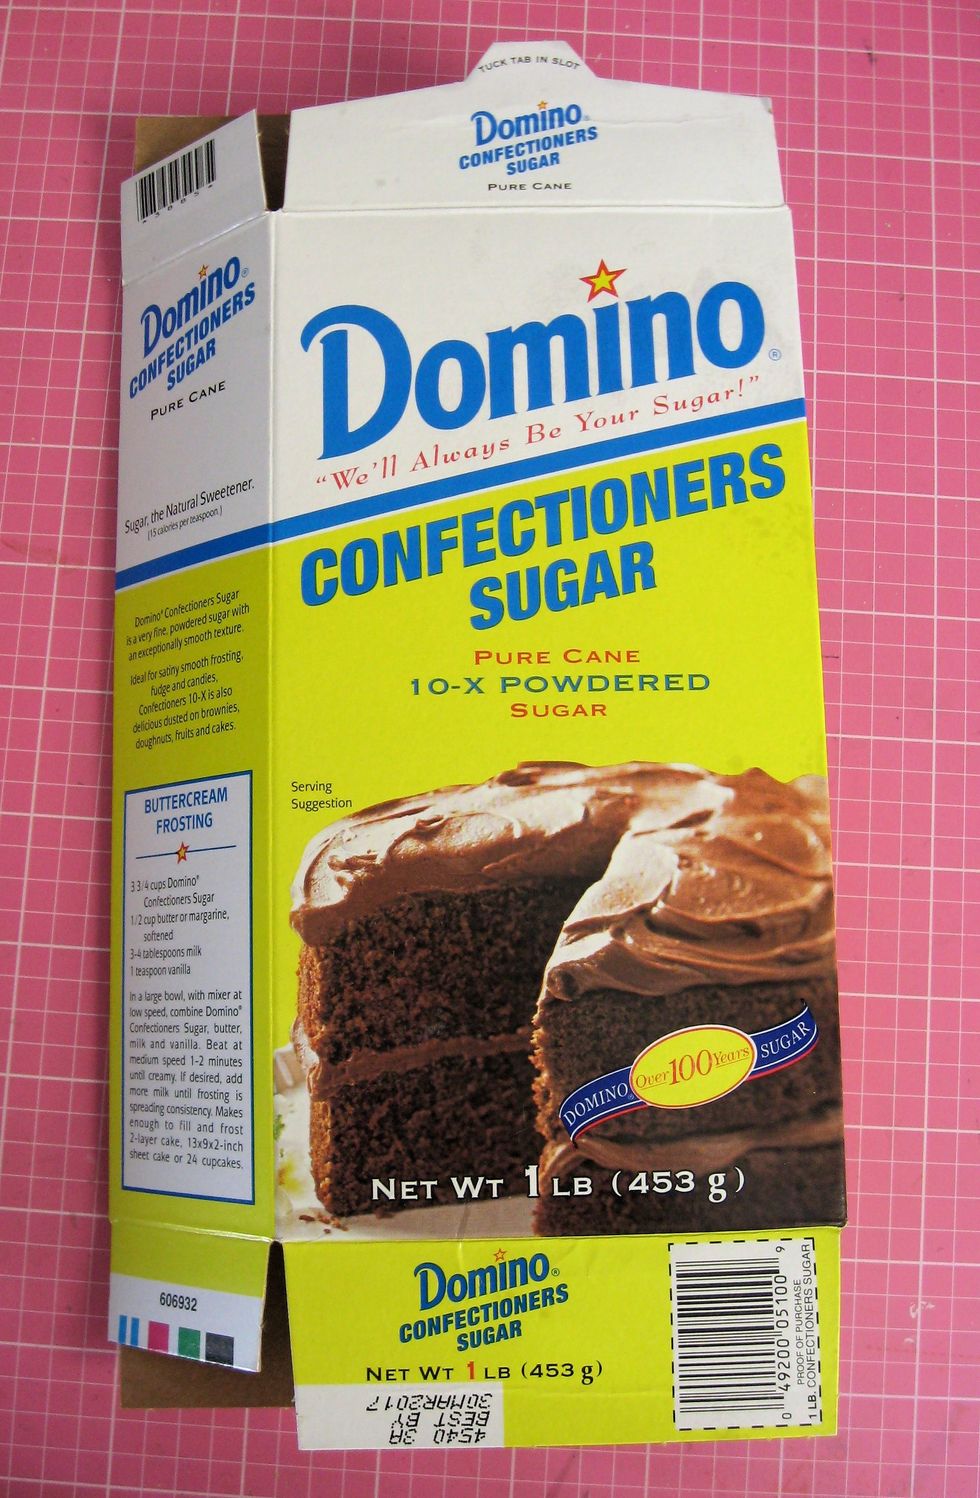
Open the end flaps on a 1# box of confectioner's sugar and flatten.
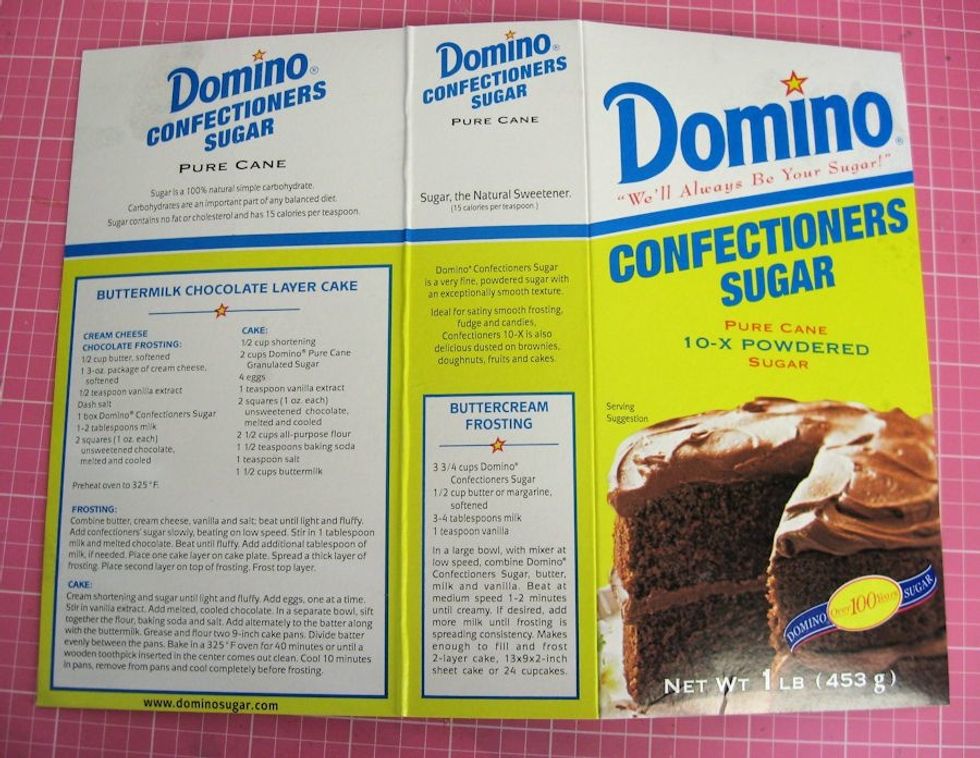
With the box laid flat, cut off the top and bottom flaps just below the seams. Cut the seamed side of the box open so that it looks like this. The remaining side panel becomes the planner's spine.
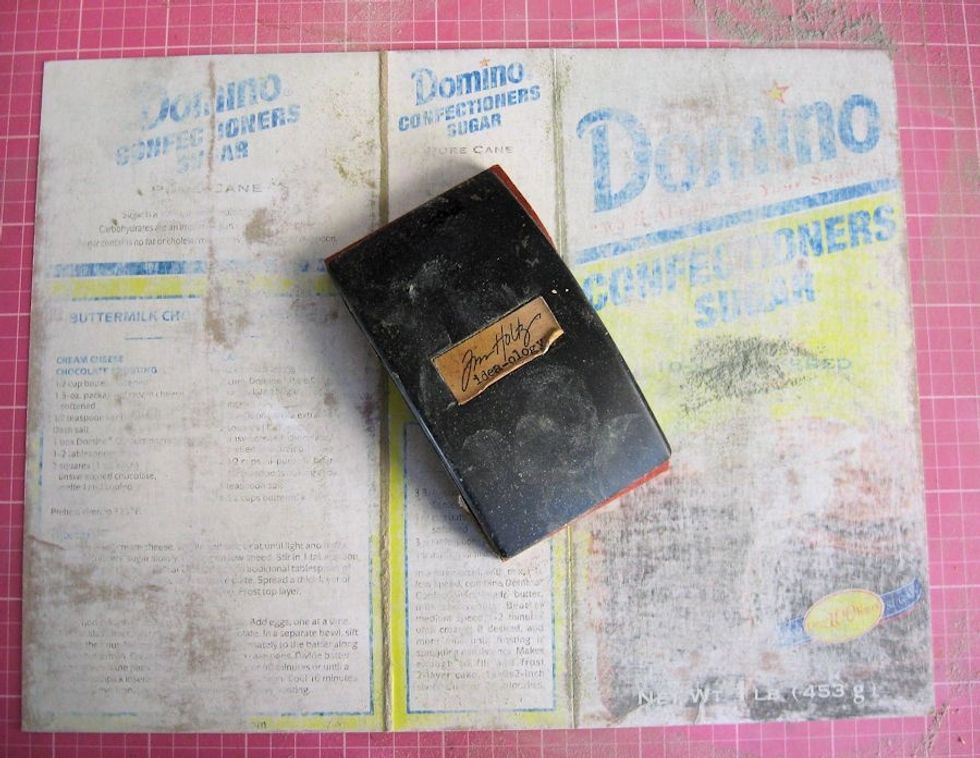
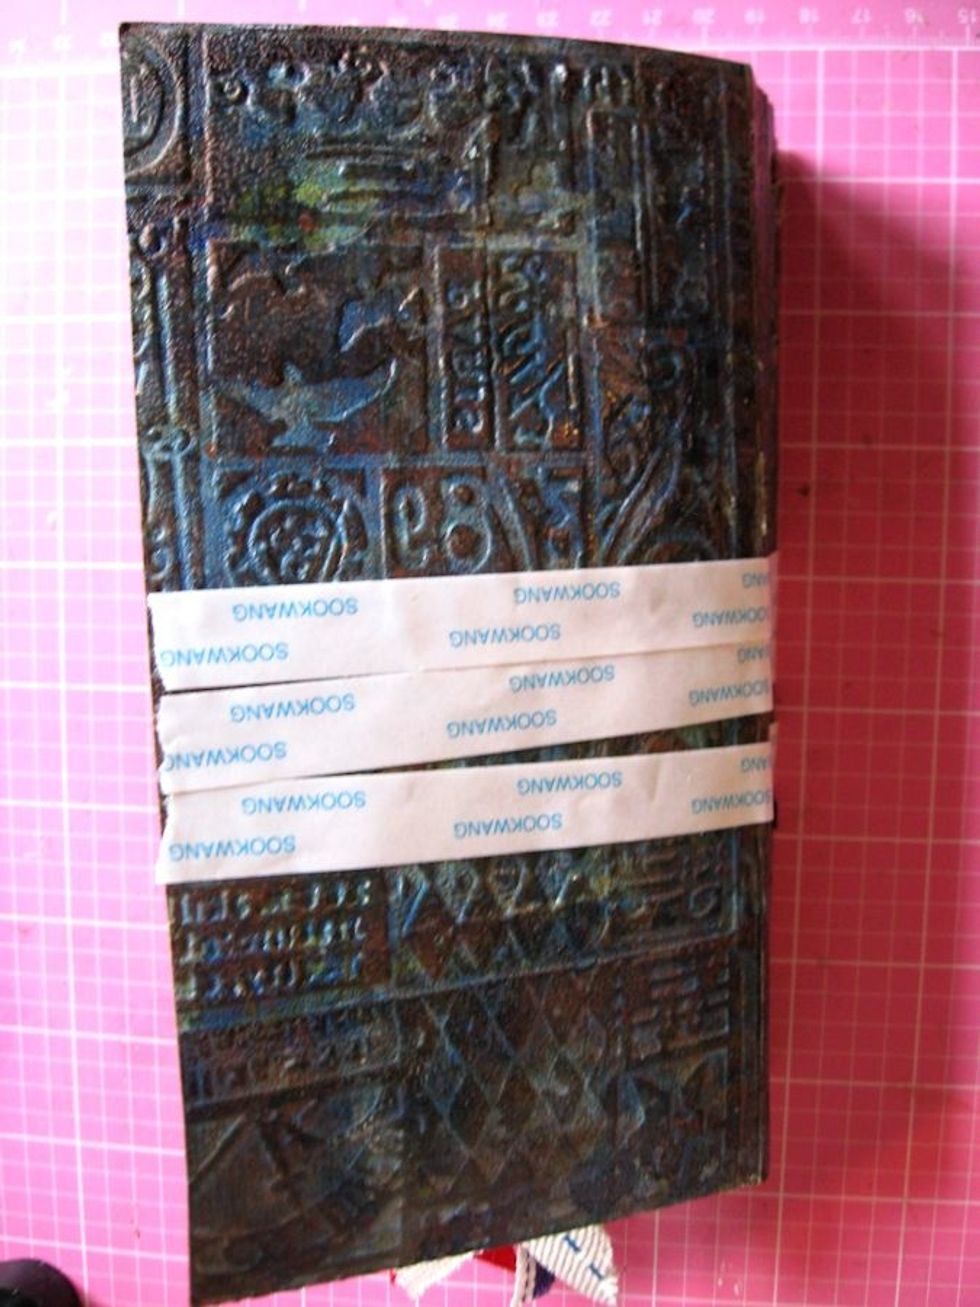
Sand the painted side of the box to create some "tooth." You don't have to sand all the way through to the kraft base, however.

Use a felt applicator and blending tool to apply the following Ranger Alcohol ink colors to the sanded surface: Stonewashed, Aqua, Latte, and Denim. Blend with Ranger Blending Solution.
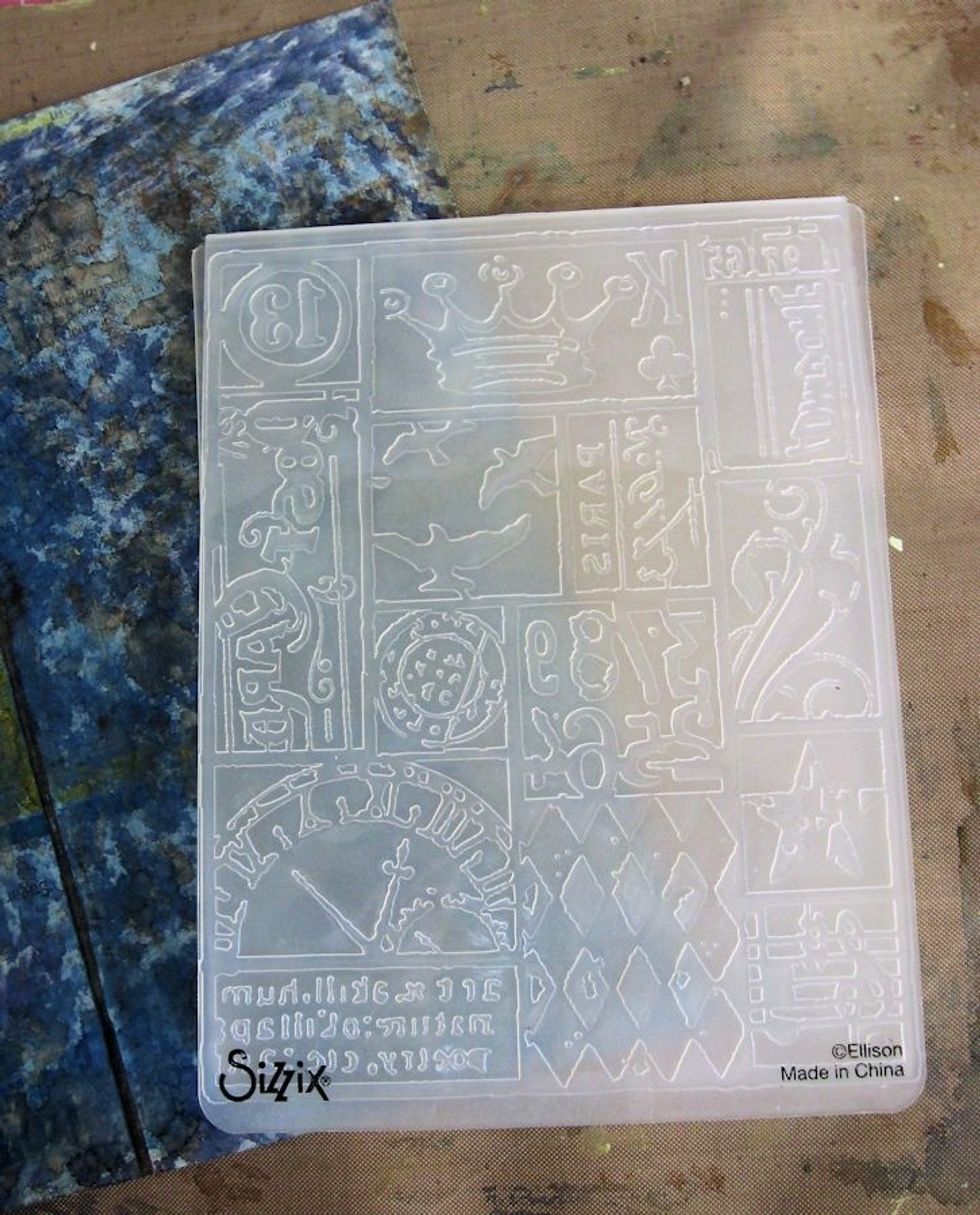
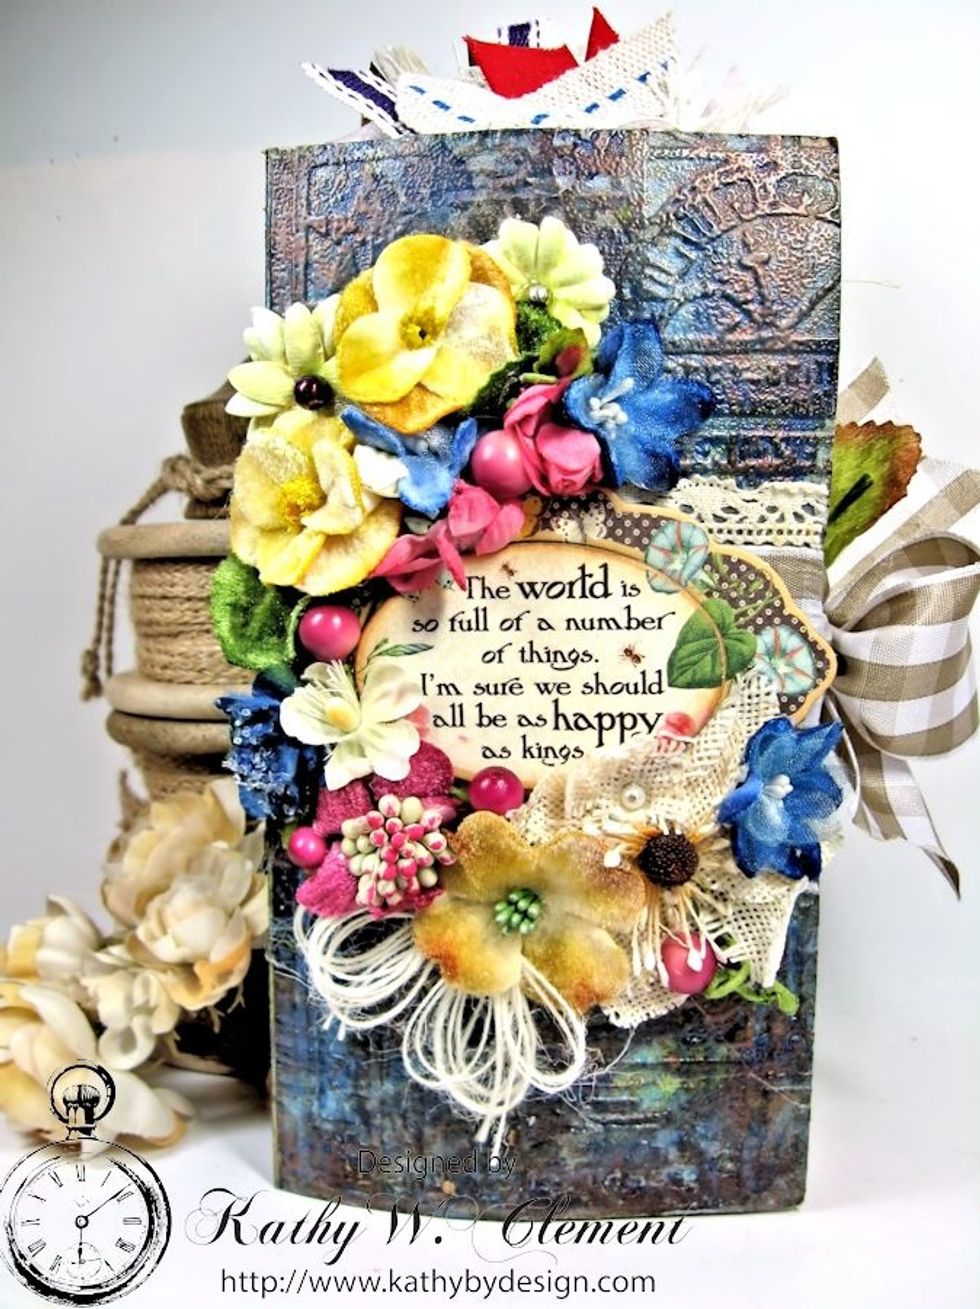
Run the inked surface through a die cutting machine using a texture fade. I used Tim Holtz collage. Turn the box so that all surfaces are embossed. It's OK to overlap designs, or emboss upside down.
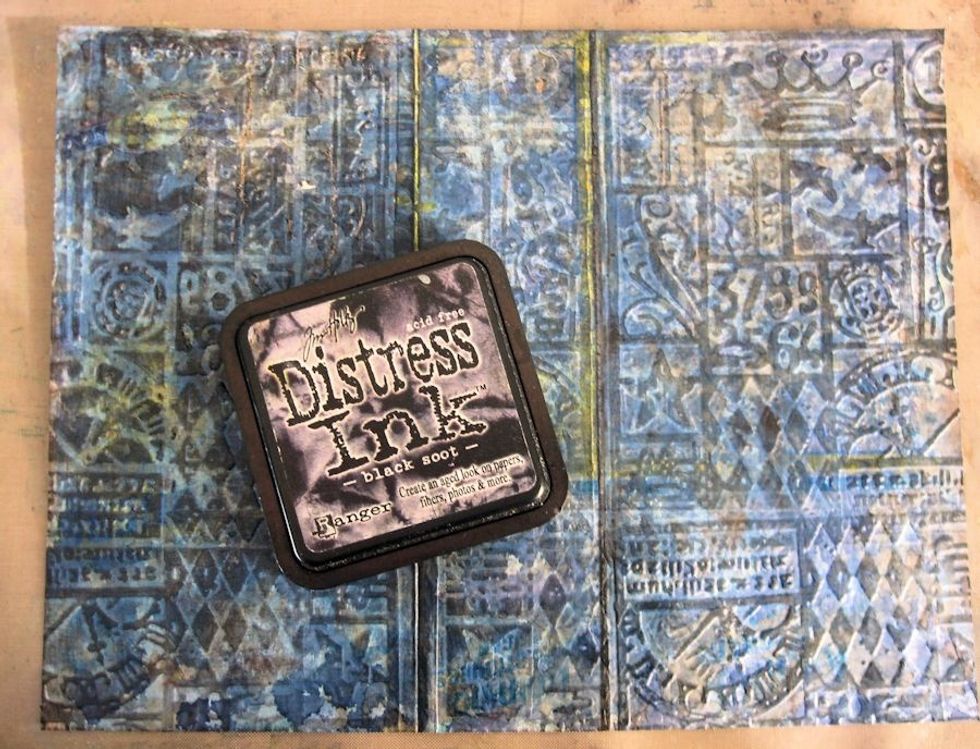
Rub the entire surface with Black Soot Distress Ink, being sure to take it all the way to the edge and into any crevices. I applied the ink pad directly to the surface instead of using an applicator.
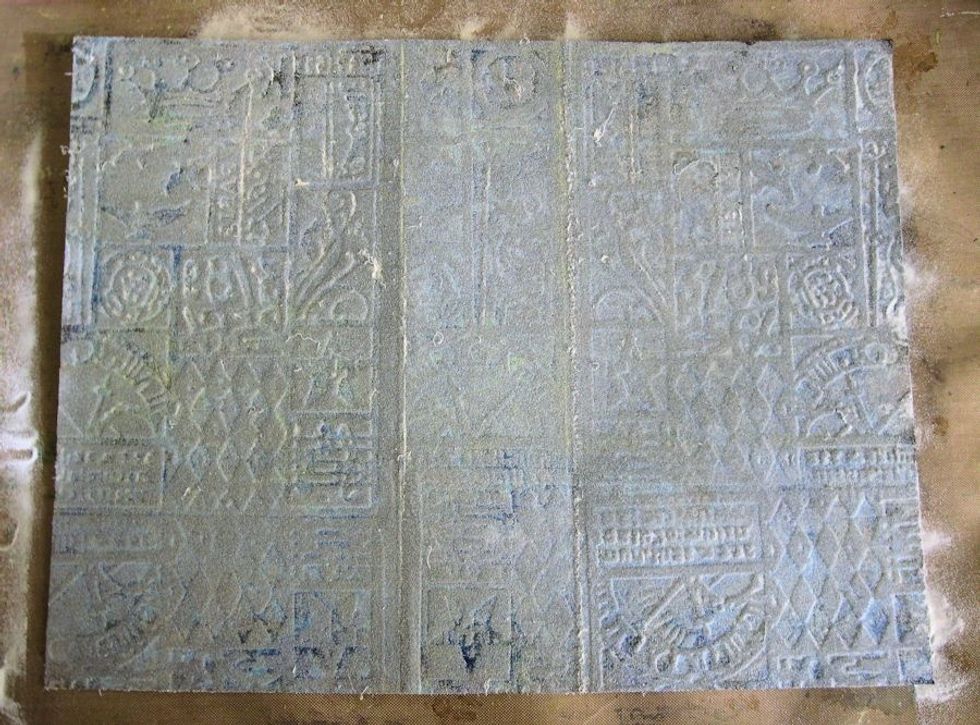
Immediately after inking, cover the entire surface with clear embossing powder. Very gently tap off the excess, but remember that you want a thick coating if possible.
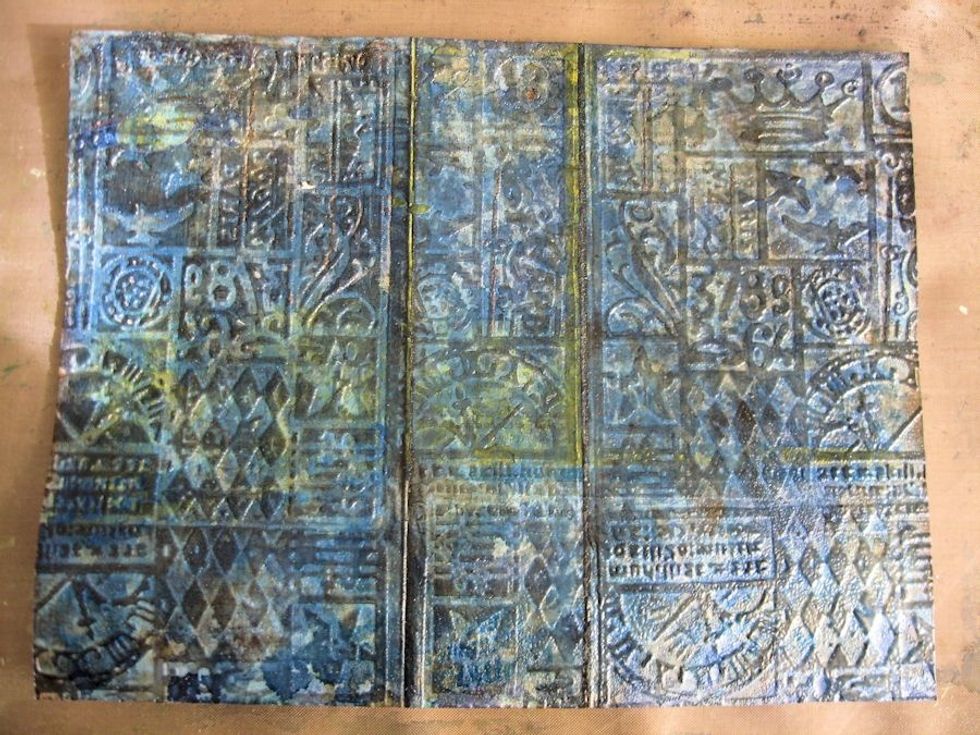
Use a heat tool to melt the embossing powder, starting on the underside of the surface and moving to the top once the powder starts to melt.
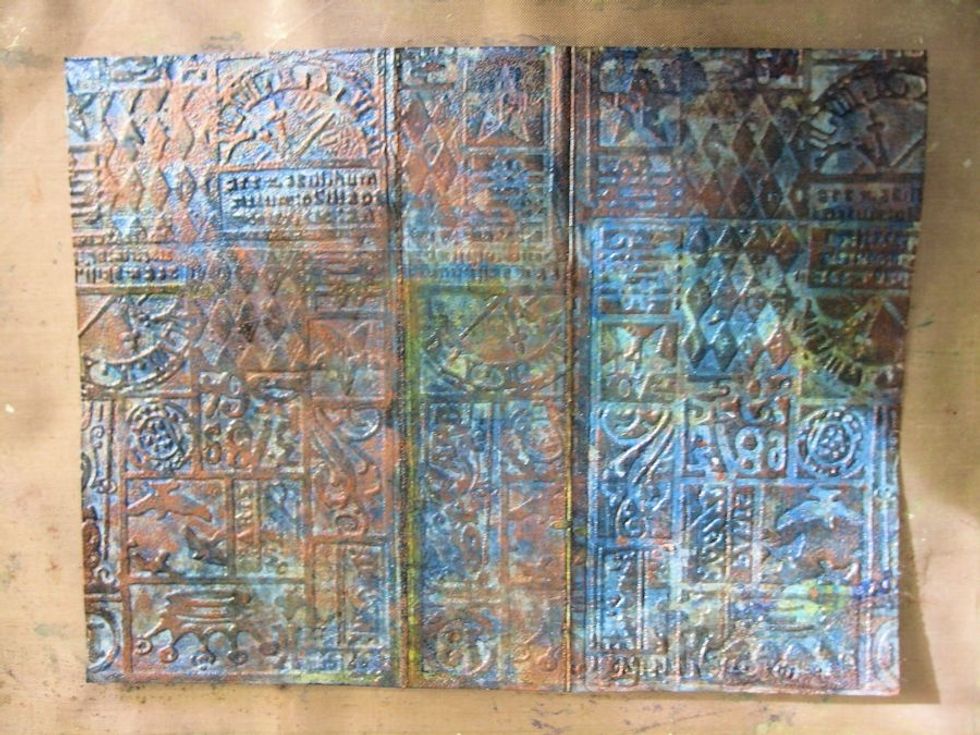
To complete the faux leather look, use a felt applicator to add Ranger Copper Mixatives to the embossed surface of the birthday planner cover.
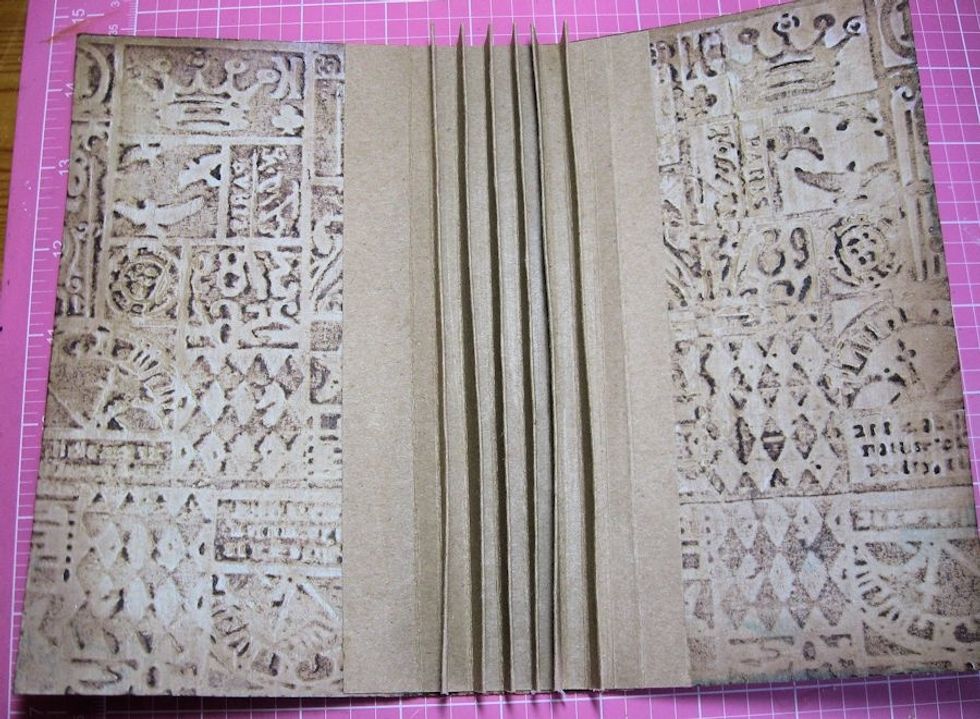
Ink the inside with Vintage Photo Distress ink. Create a 6 page hidden hinge binding. Tutorial: https://www.youtube.com/watch?v=nUtkJ9u6M6w Secure to spine of planner with Scor-Tape.
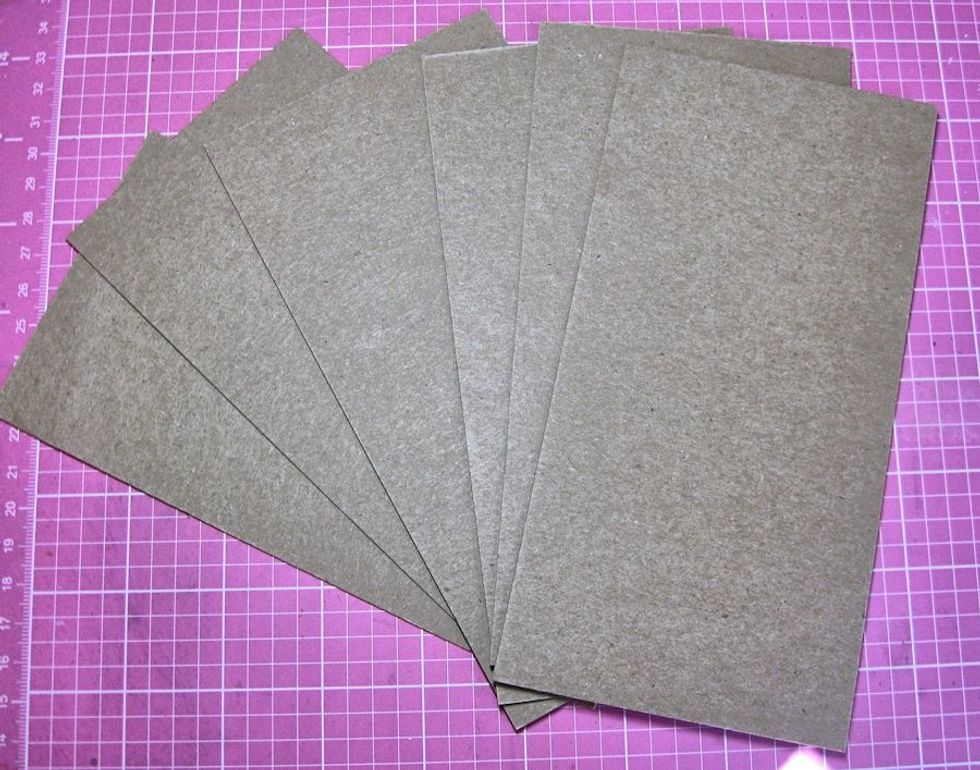
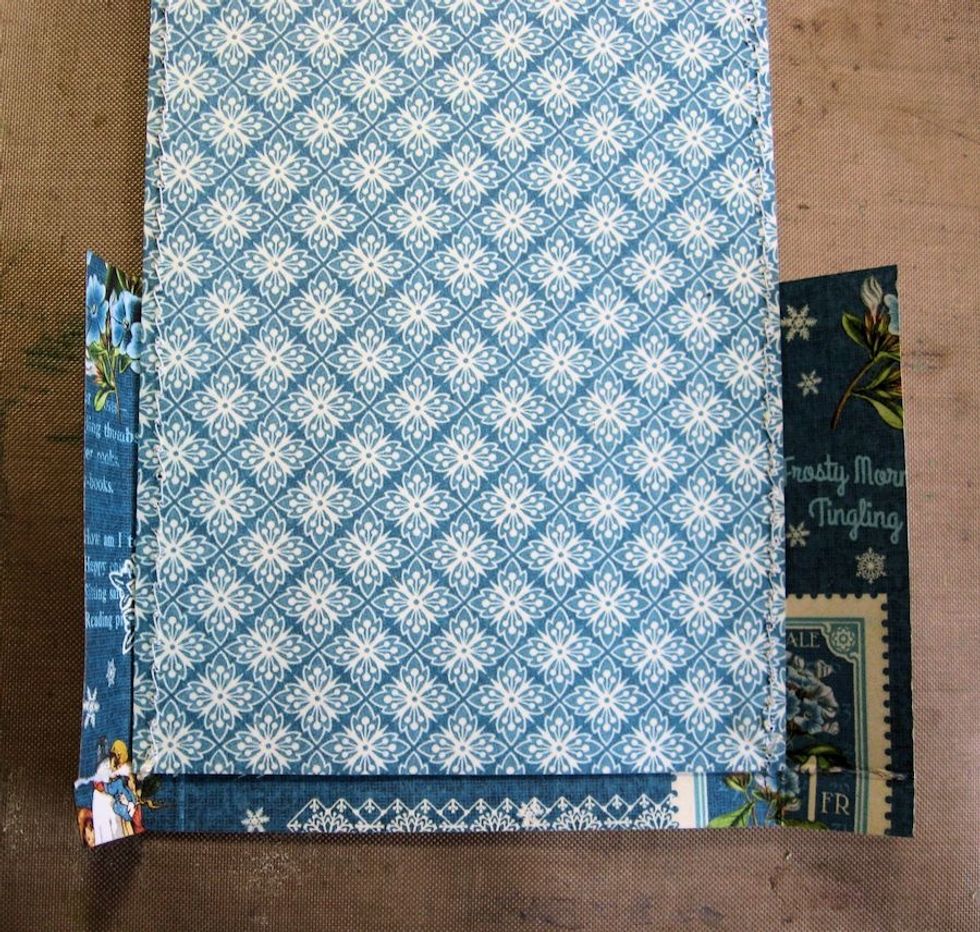
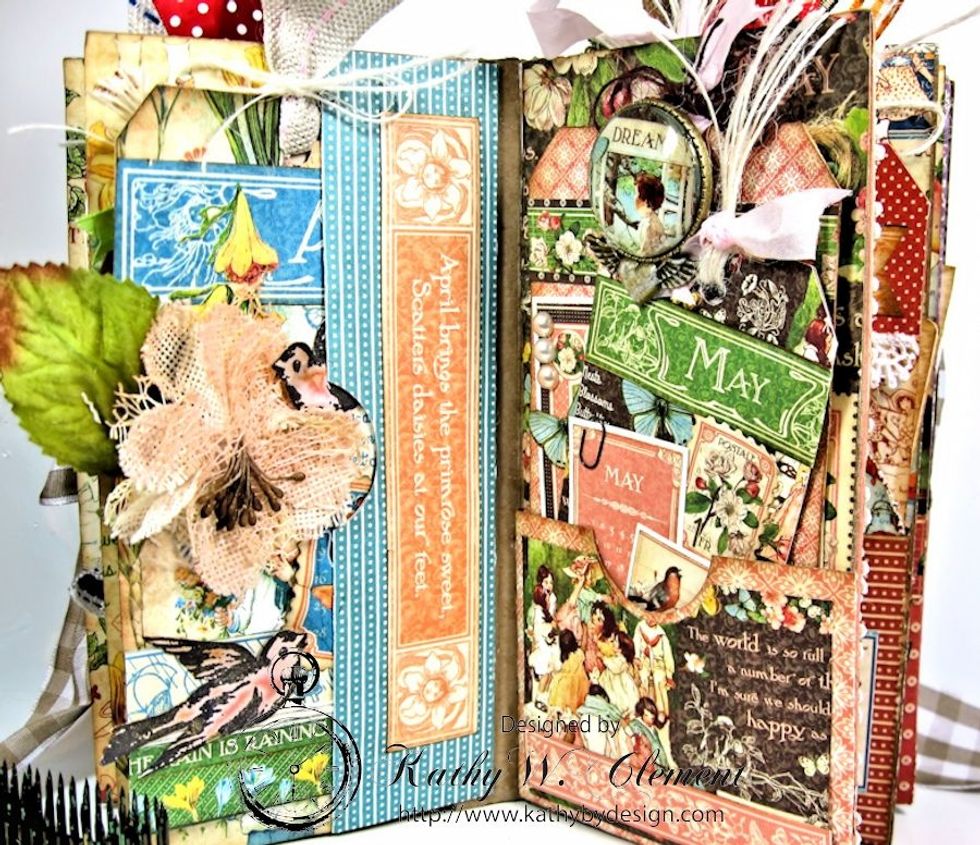
Set the open cover under heavy books overnight. While waiting, work on the inside pages. Cut chipboard pages to measure 3 5/8" wide by 7" tall. Line the inside cover of the book with designer paper.

Decorate each page with monthly papers from 8x8 pad. To create the side pocket, cut paper to measure 5 5/8" wide x 7" tall. Score to fit chipboard page, glue top & bottom edge & add thumb hole.
For vertical pocket, cover chip page with paper. Cut a rectangle to measure 5" wide x 3" tall. Score 3/4" on each side and 1/4 inch on bottom. Trim corners, add thumb hole & wrap around pocket.
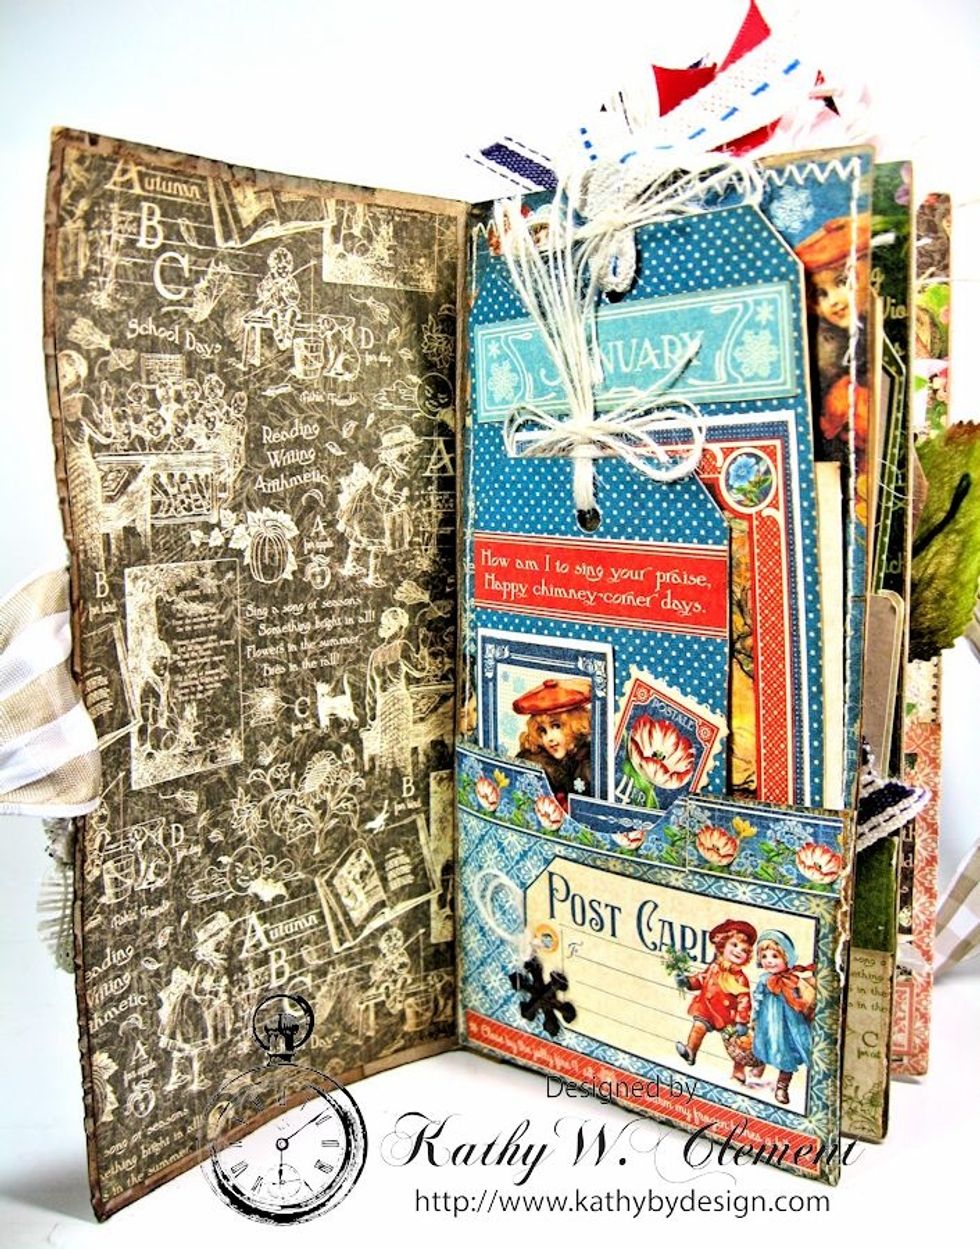
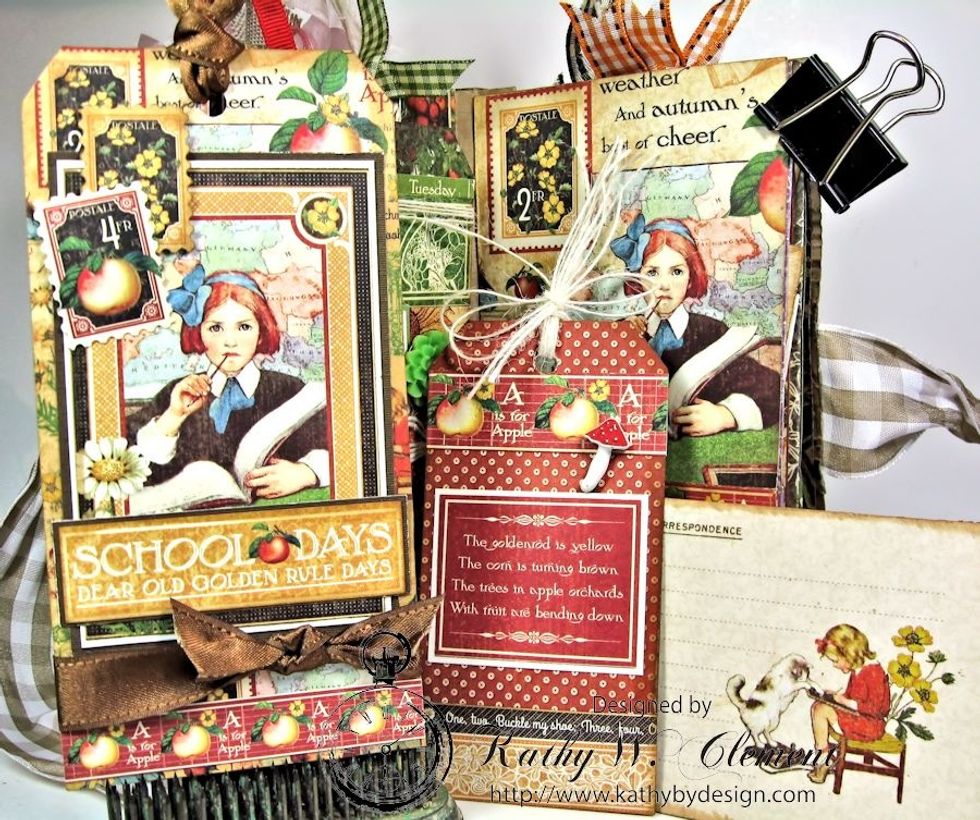
Decorate pockets, insert decorated tags and folded ephemera page into each pocket. Write monthly birthdays on ephemera tag. Use decorated tags on gifts or as birthday cards. Add ribbon/burlap string.
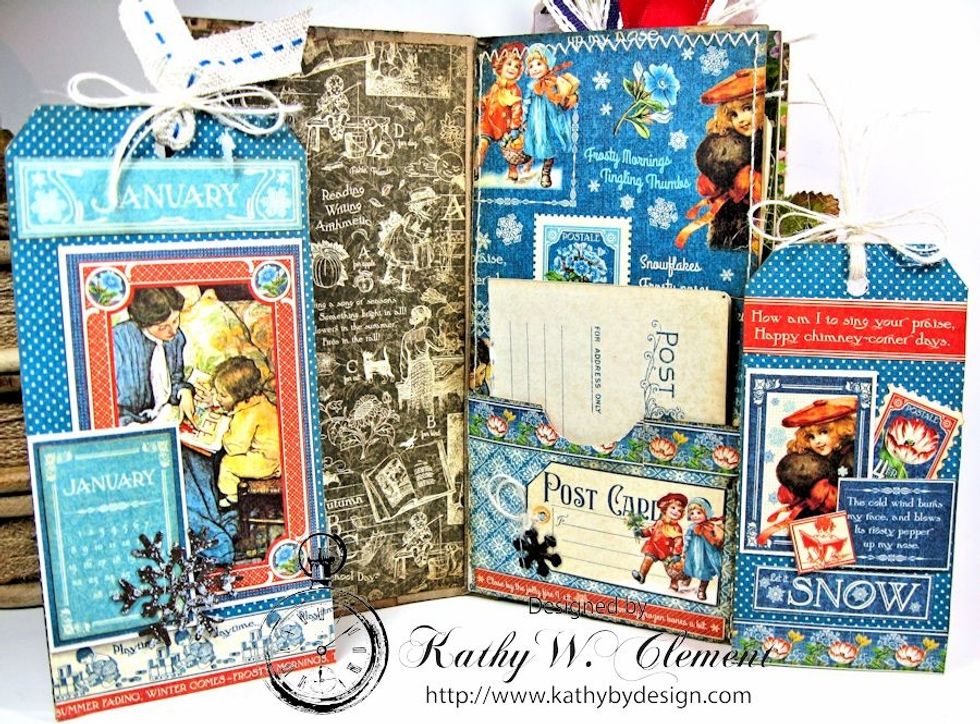
A large folded ephemera card fits perfectly in the pocket along with the decorated tags.
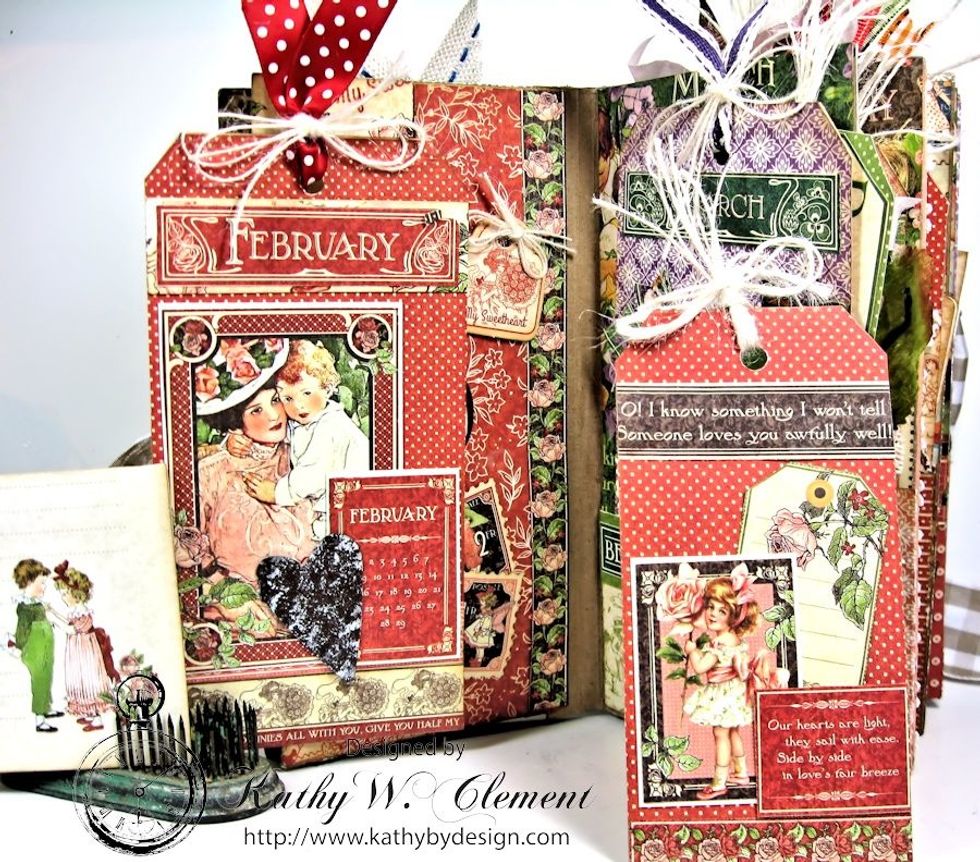
Repeat the same process for each month. Decorate all the pages before securing to the hinges.
Wrap cover with 3 rows of 1/2" Scor-Tape from edge to edge. This will hold the ribbon closure in place.
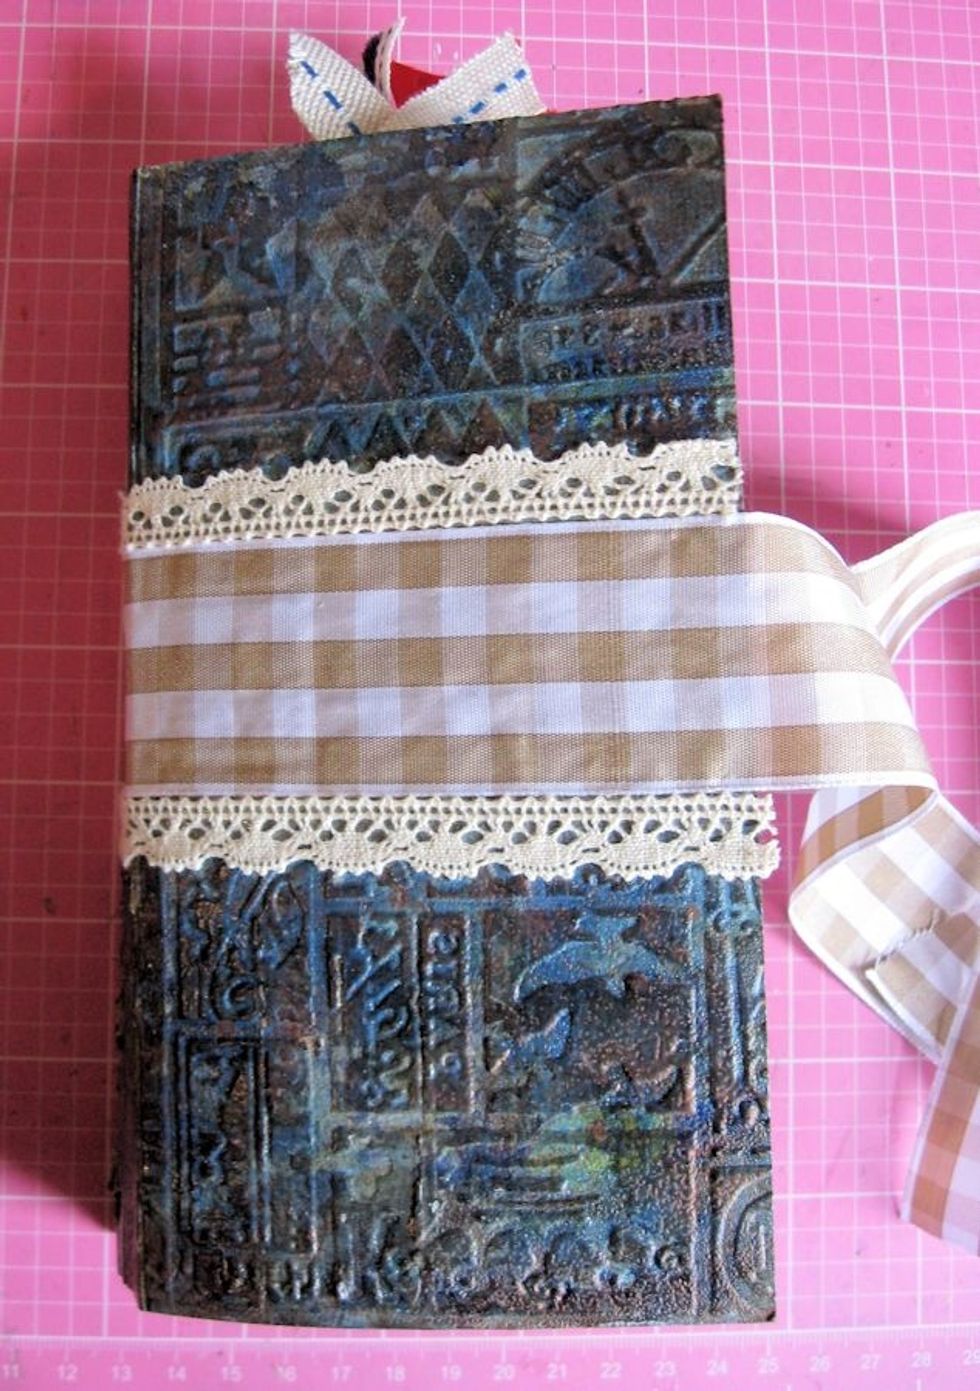
Add 1.5" antique gold plaid ribbon and crocheted lace over the exposed Scor-tape.
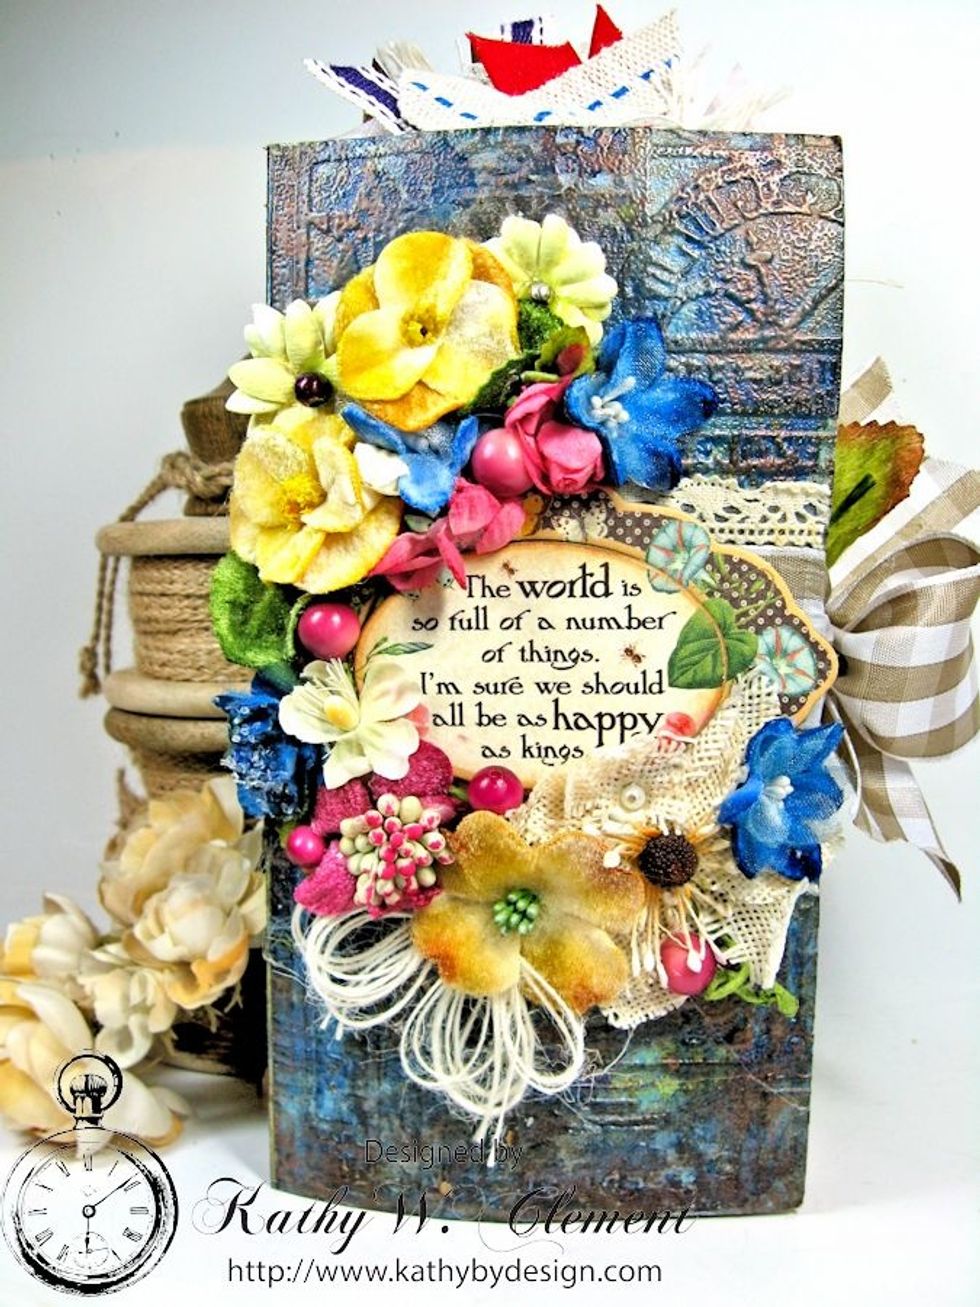
Decorate the cover with chipboard medallion, securing with foam tape. Add Petaloo flowers and burlap string bow.
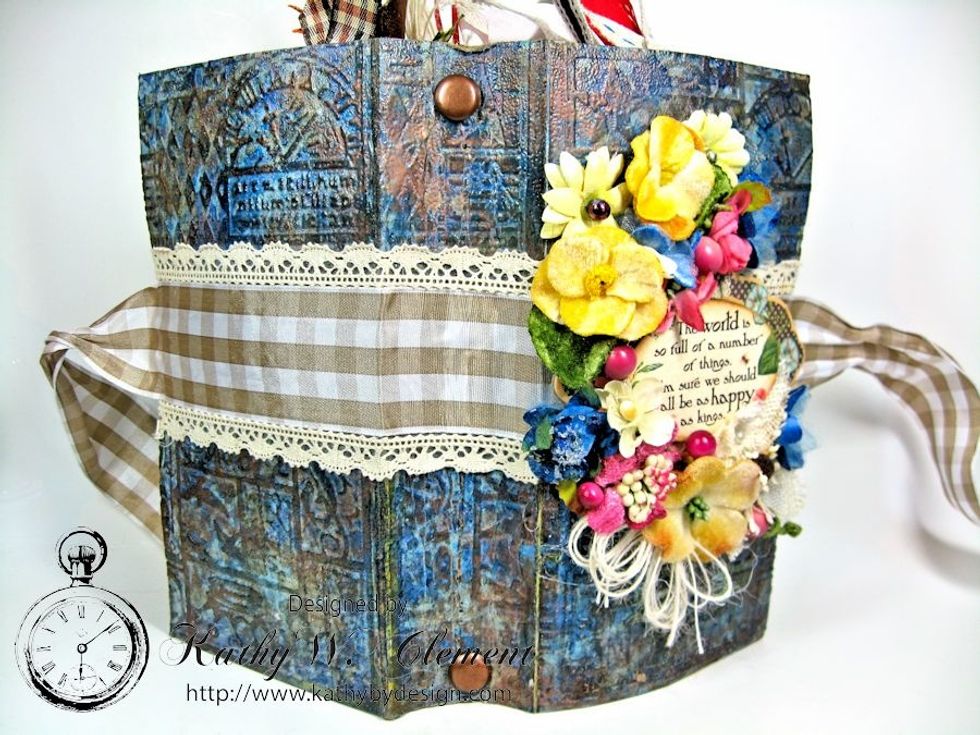
Add brads or charms to the spine if desired.
Write birthdays and special occasions on each ephemera card and tuck everything into the pockets. Now you'll never forget a birthday or anniversary again. You'll have beautiful tags ready as gifts.
This would make a wonderful Mother's Day gift, too!
Thanks for joining me, and happy crafting! To see more, visit http://www.kathybydesign.com