The Conversation (0)
Sign Up

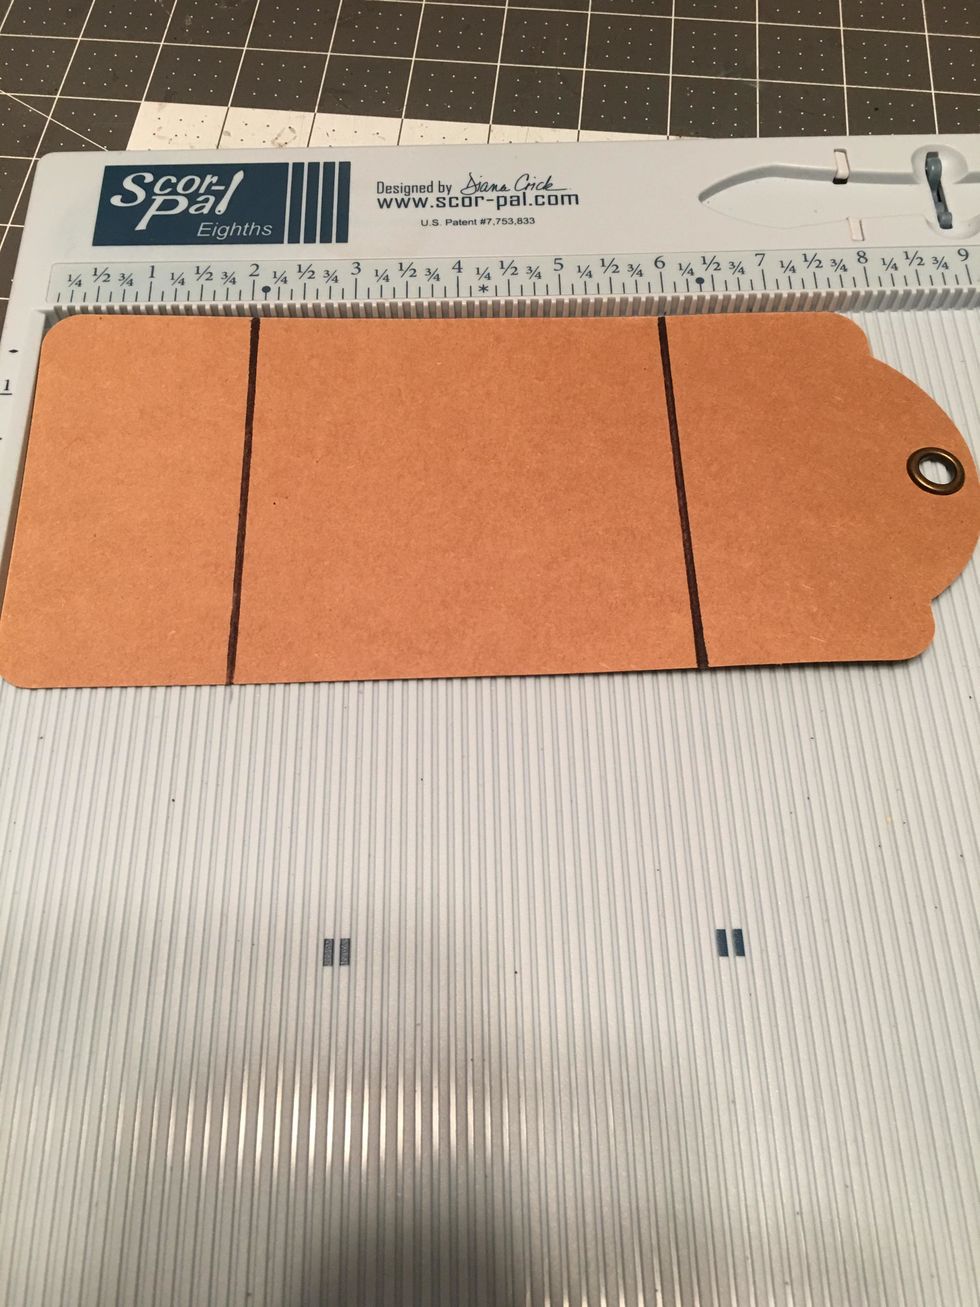
To create the mini album, cut one sheet of 12x12 black cardstock to: 12" x 10 1/4"

Score the 10 1/4" side at 2 1/4" and 6 1/4"
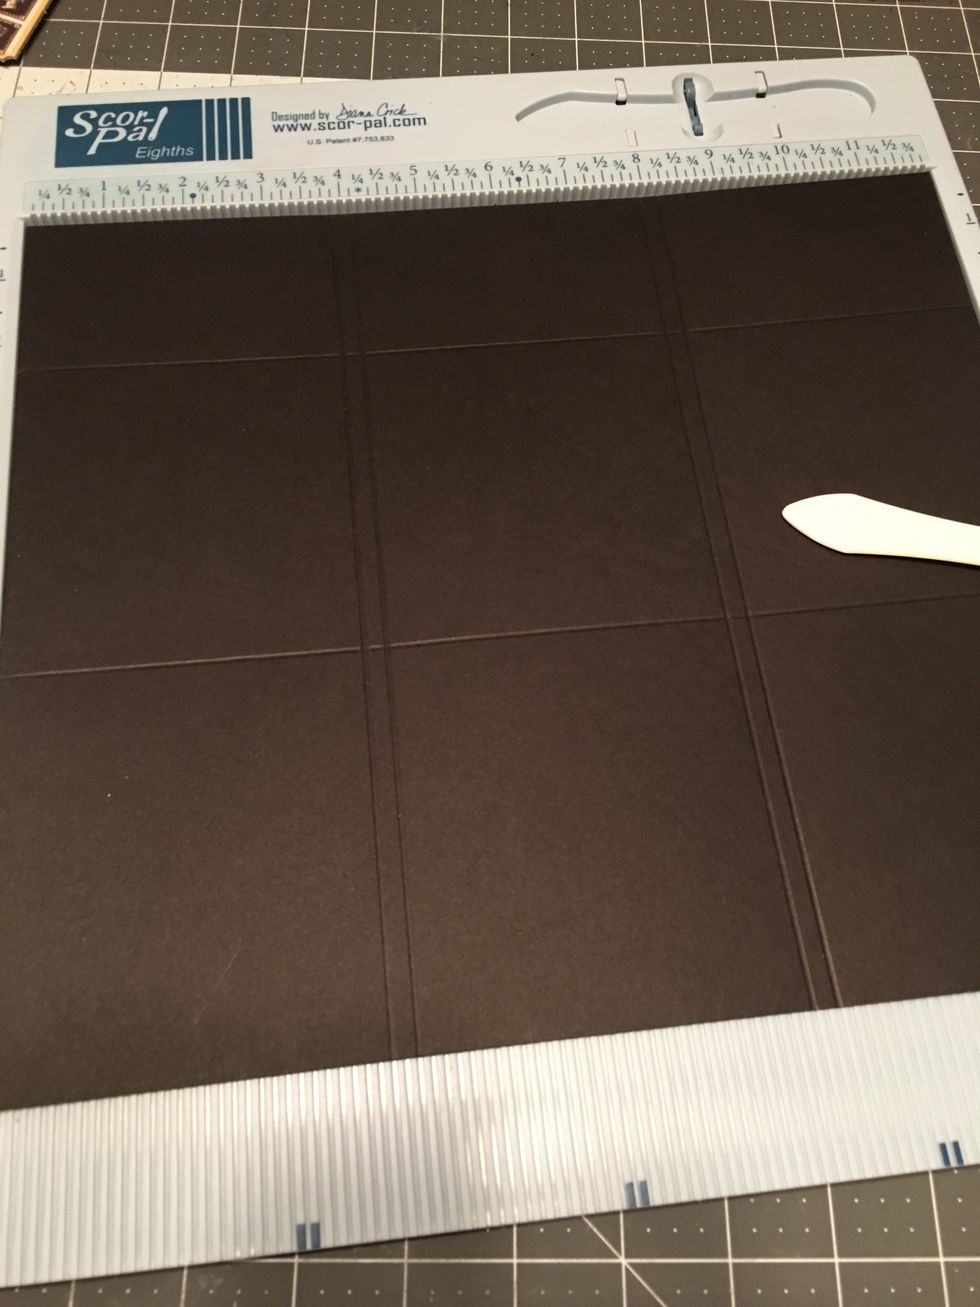
Turn the piece of cardstock CLOCKWISE so the 2 1/4" section is at the top and score the 12" side at 3 7/8" , 4 1/8", 8" and 8 1/4"
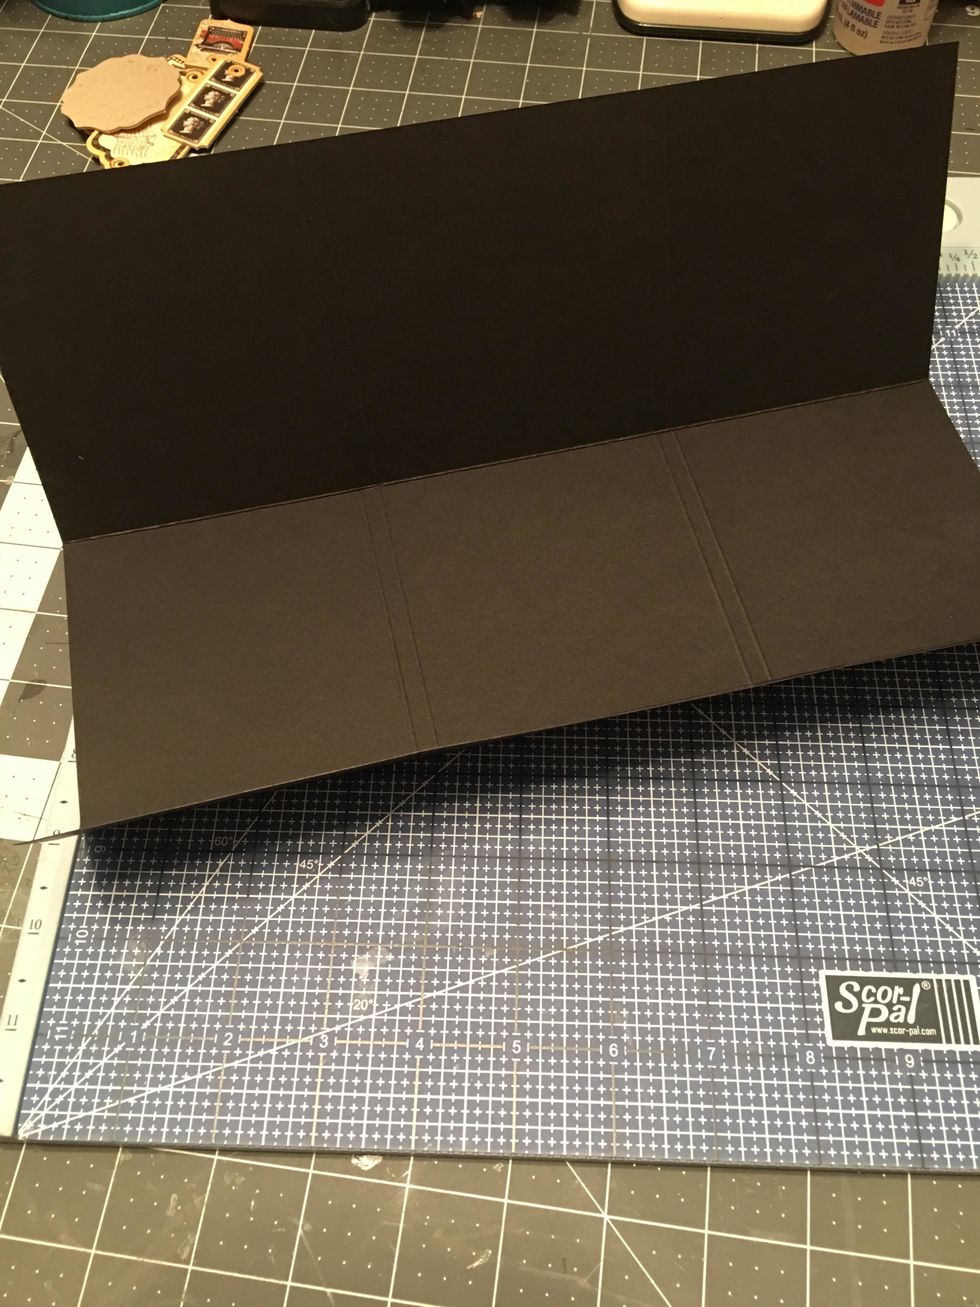
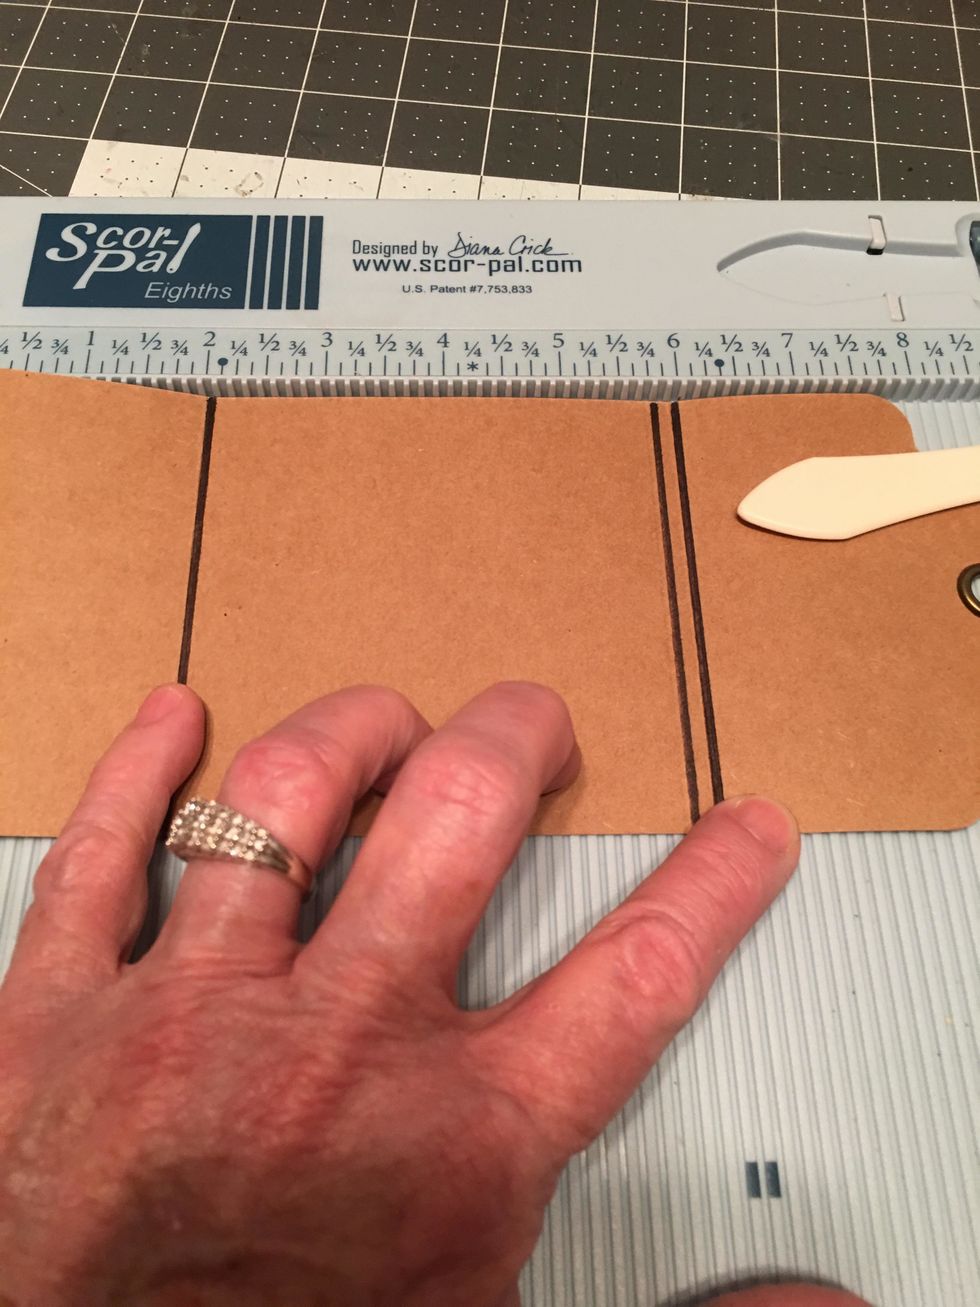
Fold up the score lines that you just scored on the 12" side.
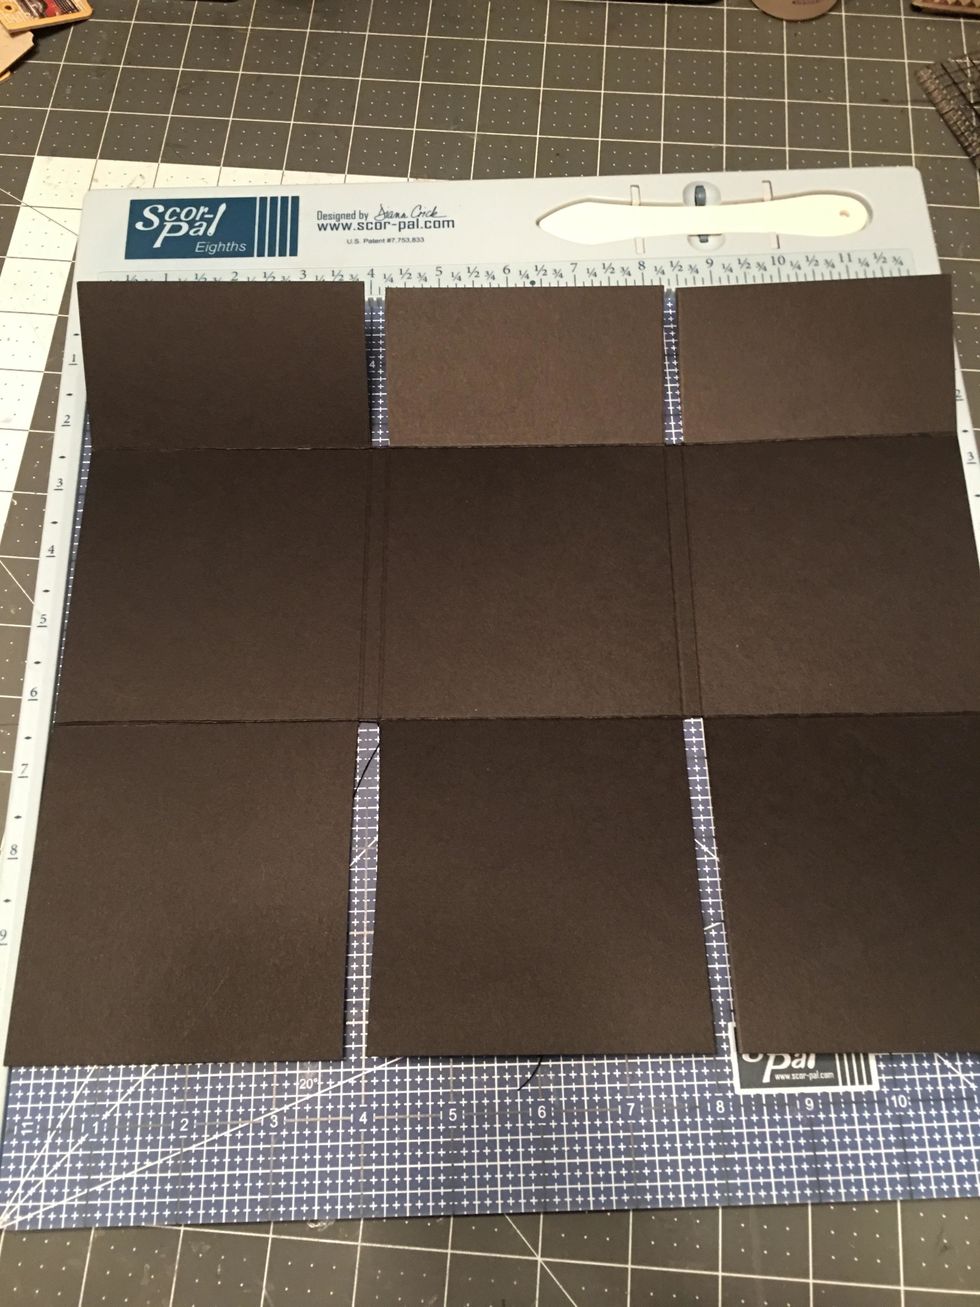
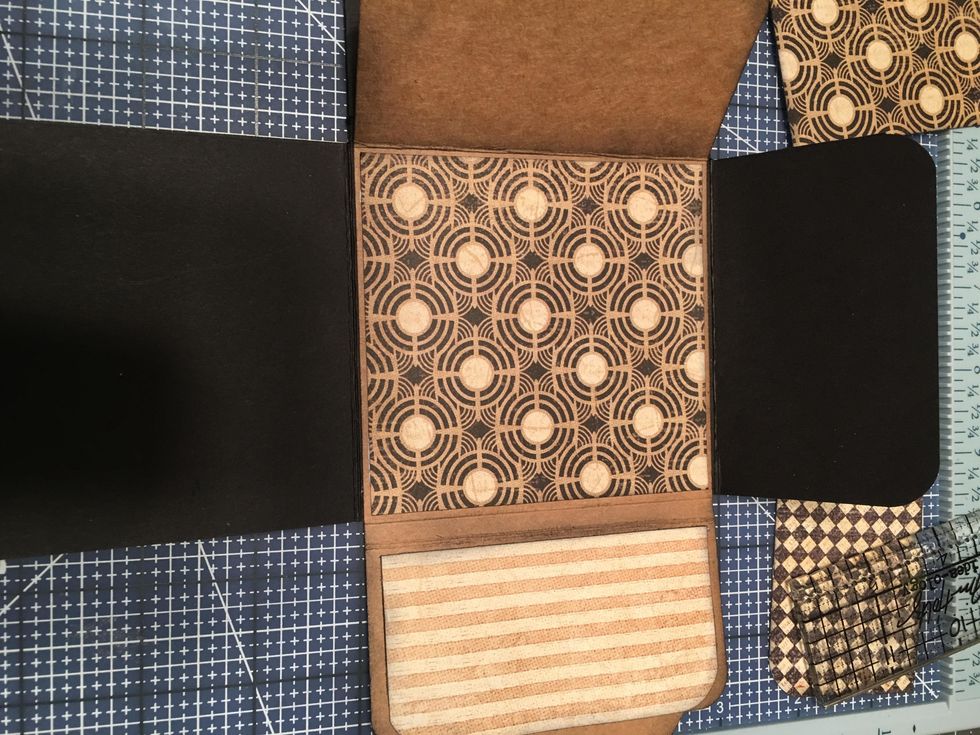
Use your scissors to cut out the 1/4" spaces on the top and the bottom as shown in this photo. Only cut up to the score lines of the center sections.

For variety on your top flaps, trim the center flap by cutting off 1/2" from the top edge of the flap.
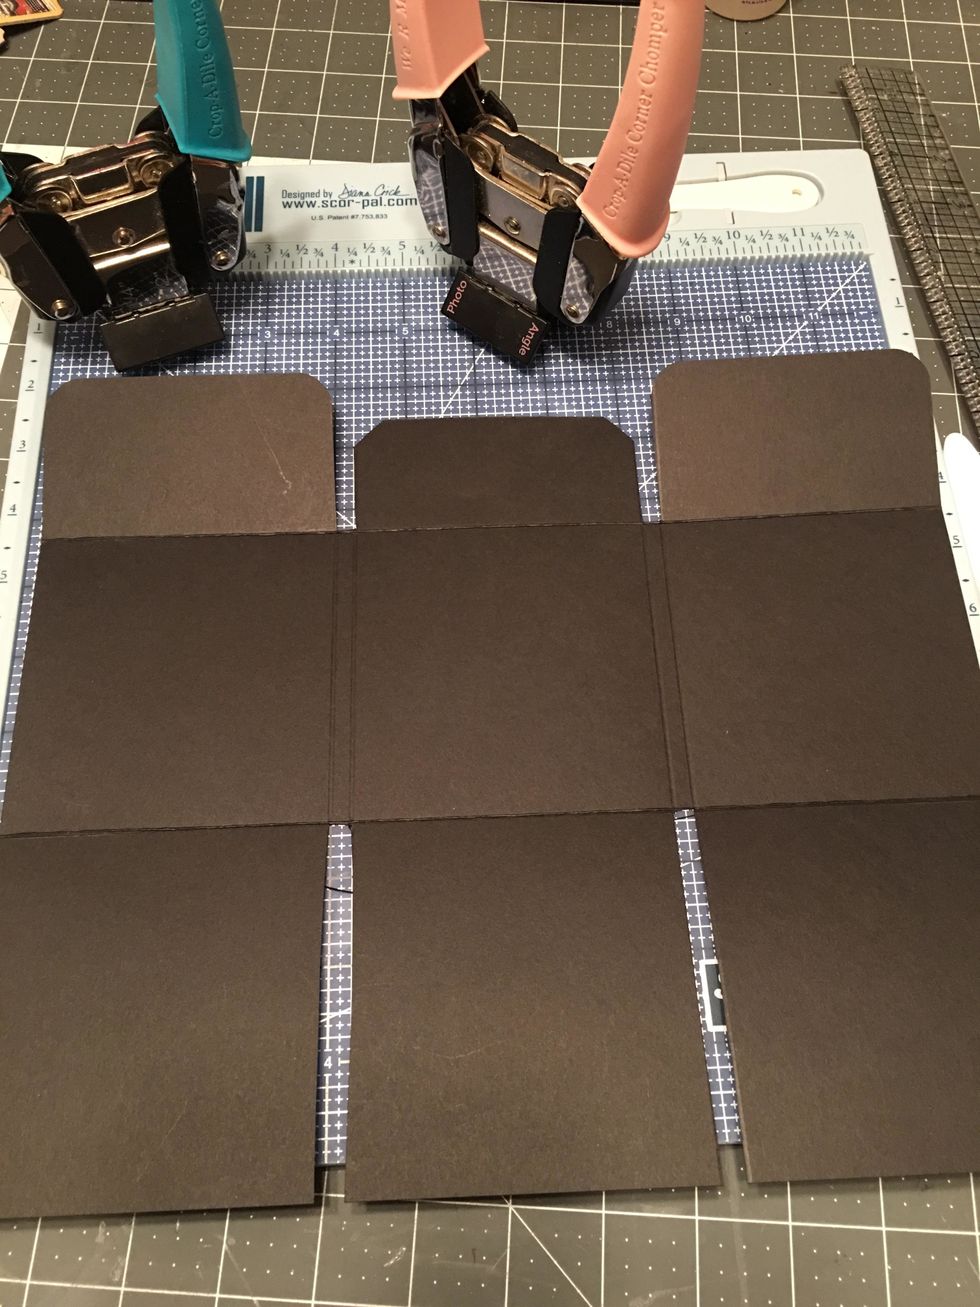
Round the corners of the left and right flaps and angle punch the center flap on the top side only.
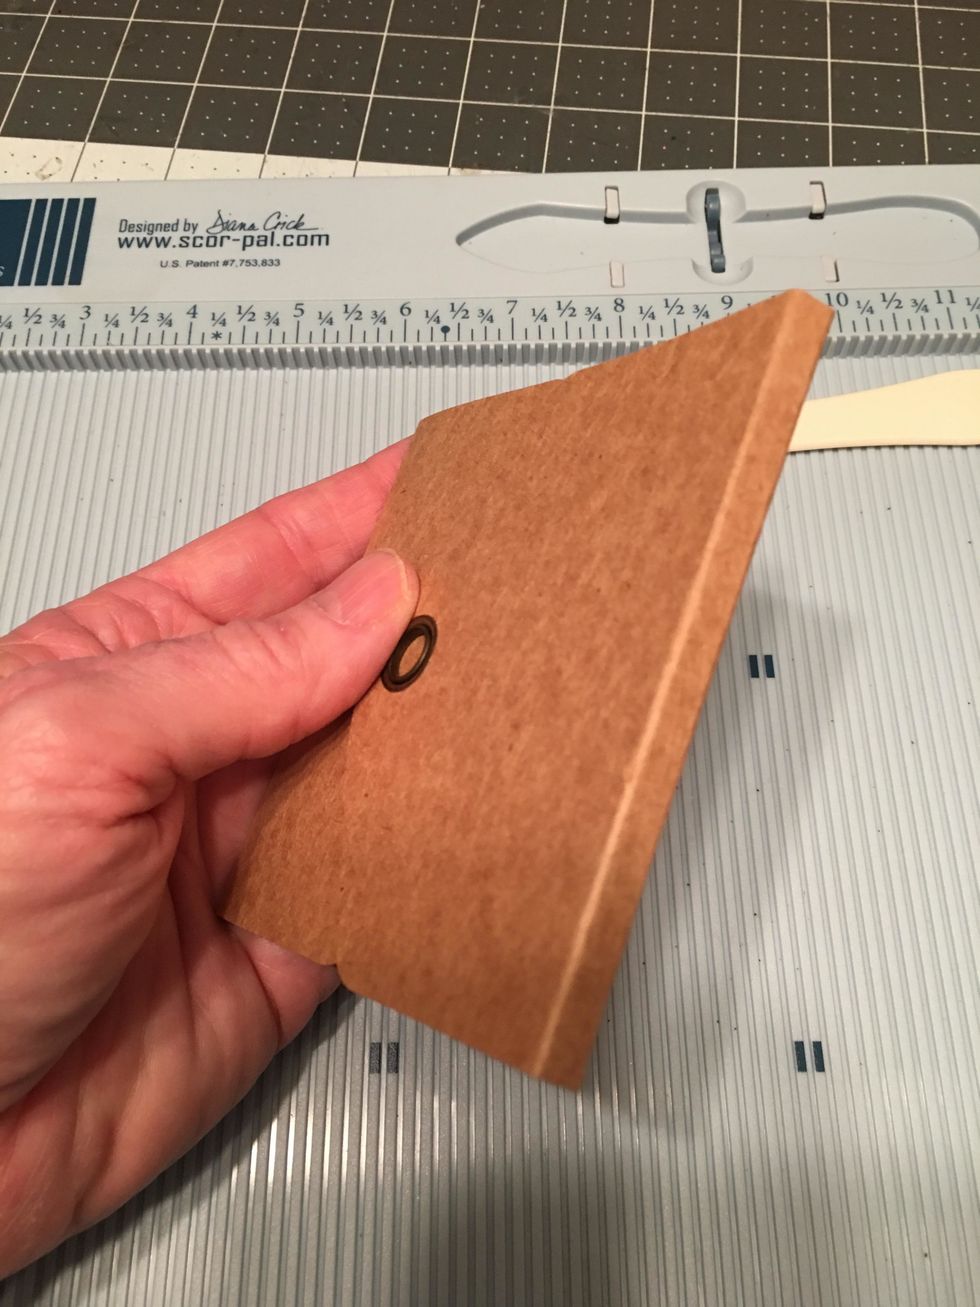
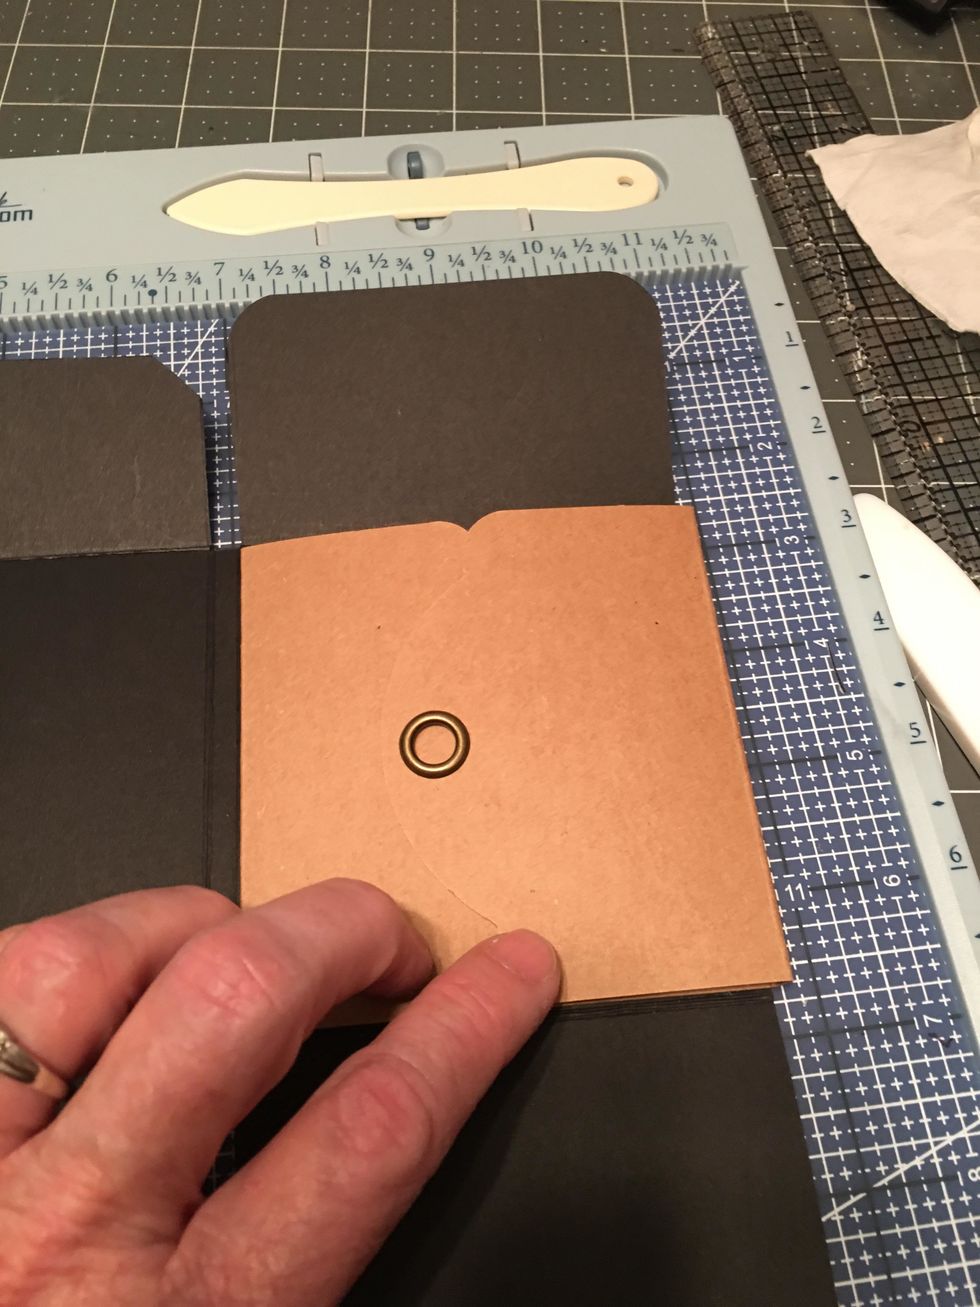
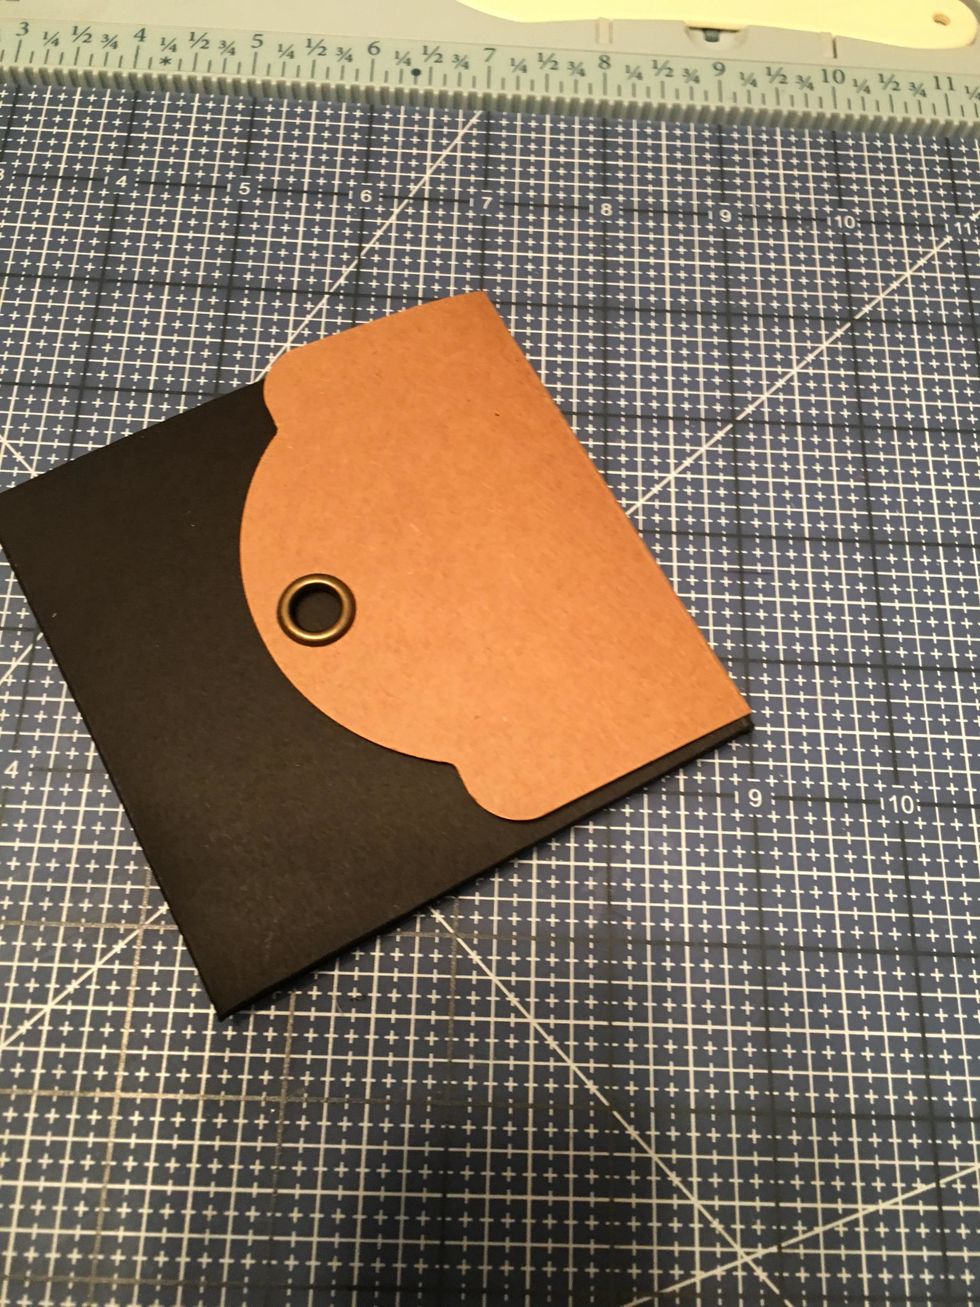
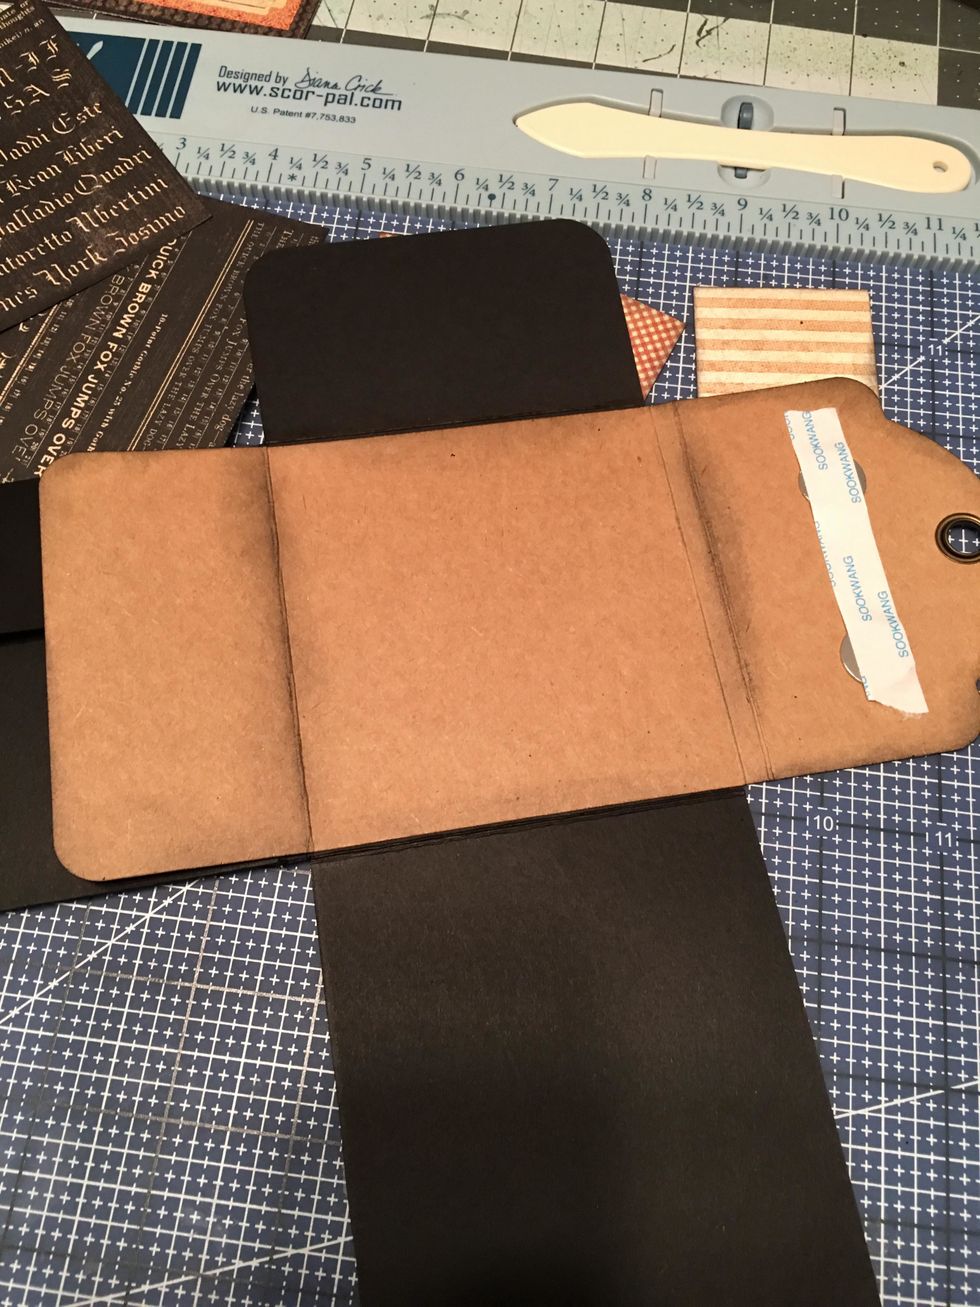
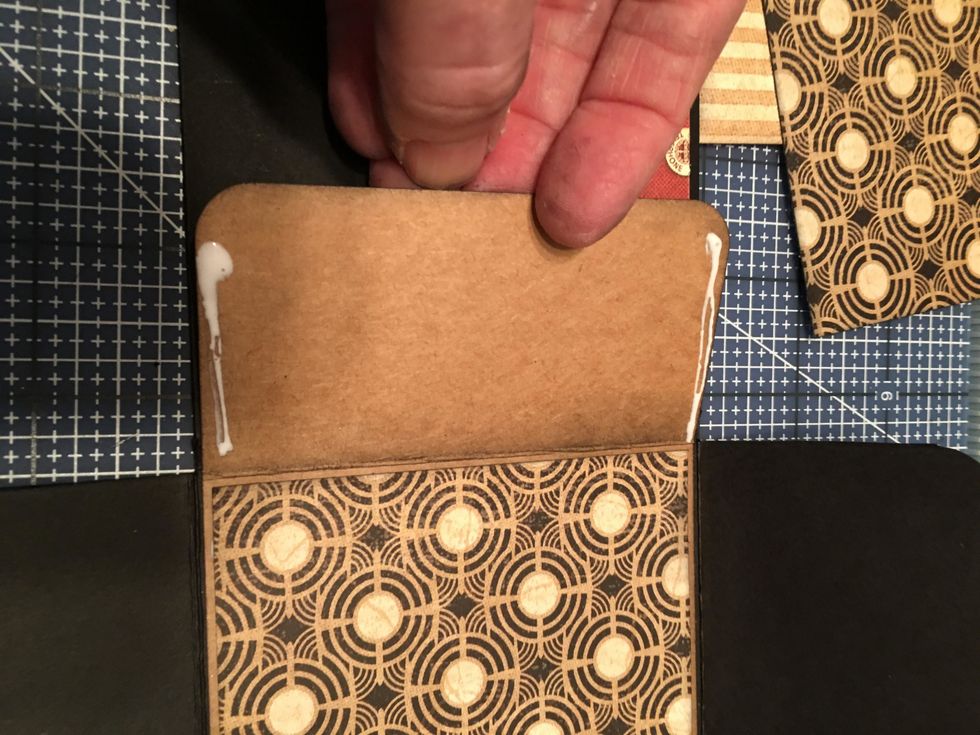
You will need one Graphic 45 Tag from their Large Tag Album to create a closure. Score the long side of the tag at 2" and 6". Measure and score from the rounded bottom edge of the tag.
Also make a score line at 5 3/4" as shown in this photo. I marked my score lines with black pen so you could easily see all three score marks.
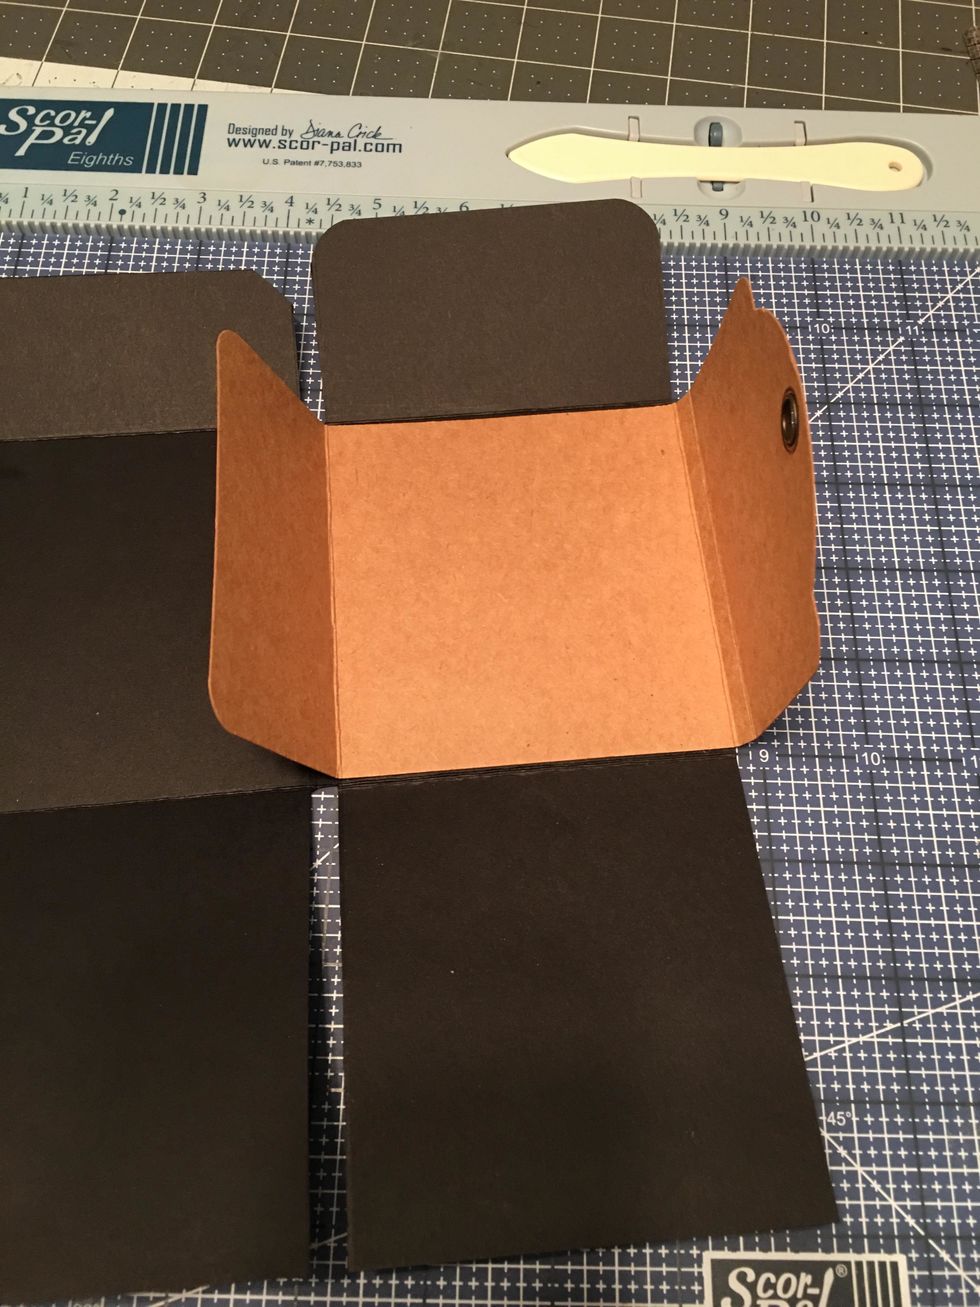
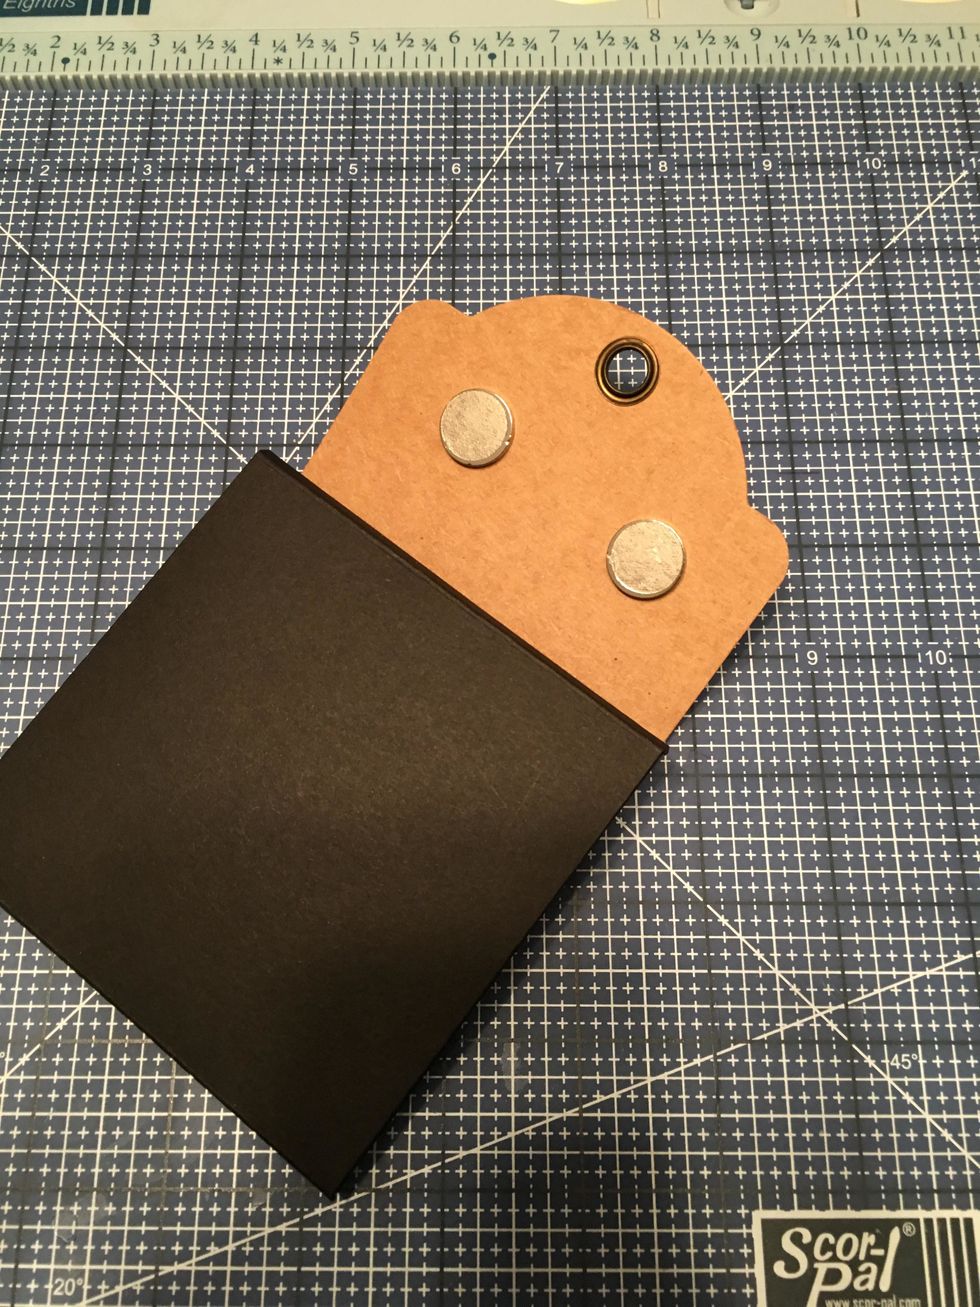
Fold up the score lines so that the finished grommet is on the outside. The 1/4" space will become the folded edge of the album.

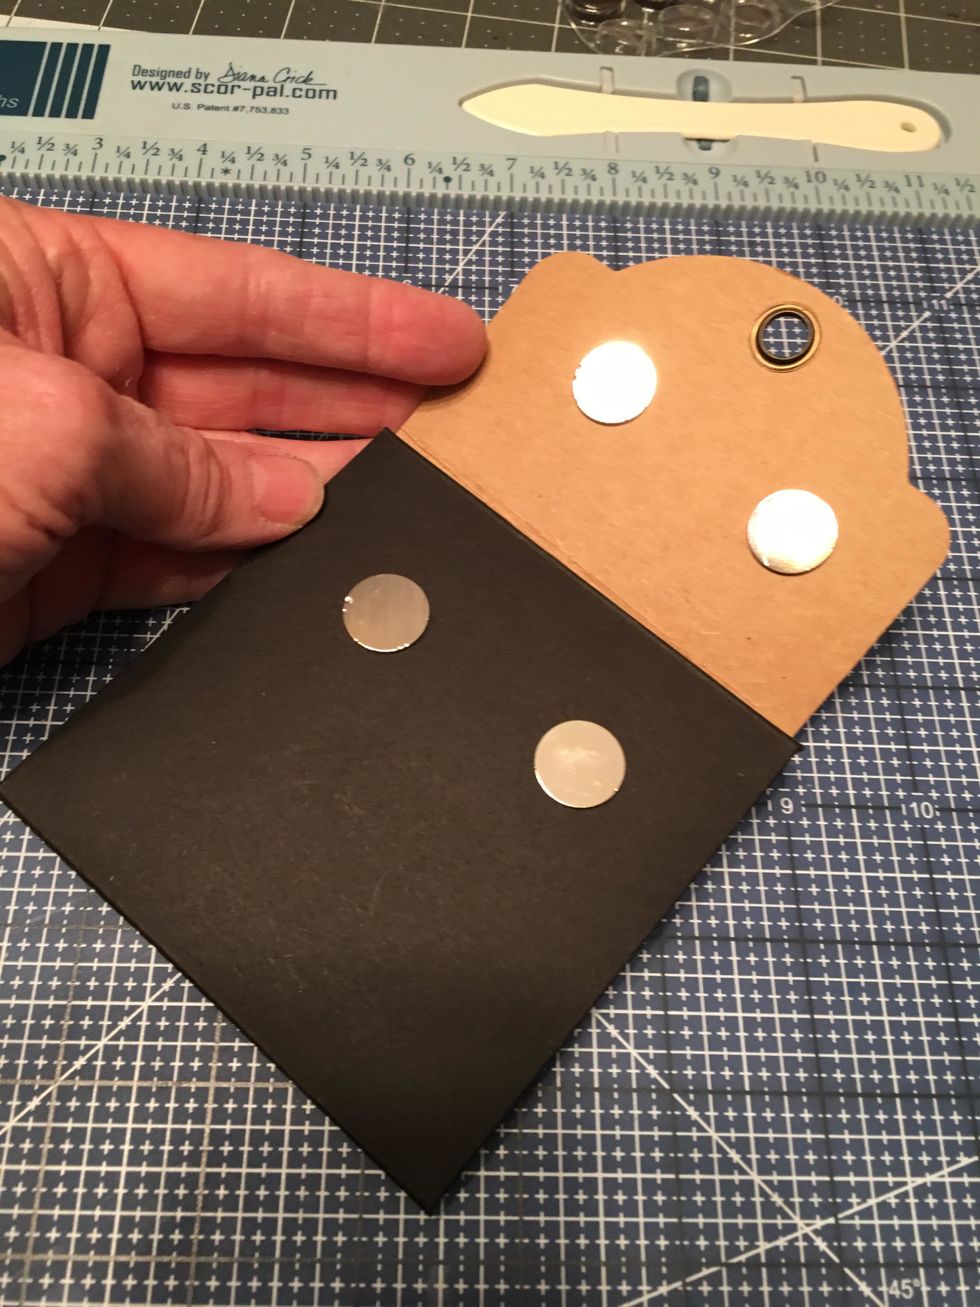
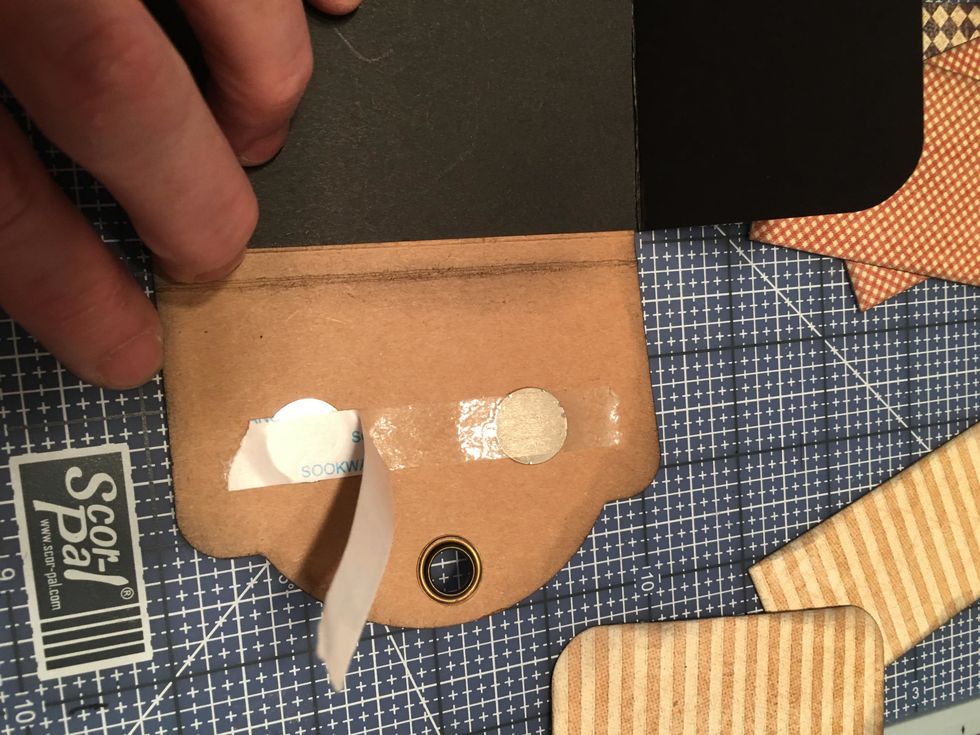
Apply glue to the back center of the tag.
Attach it down into the inside of the album and on the right side with the grommet flap on the right.
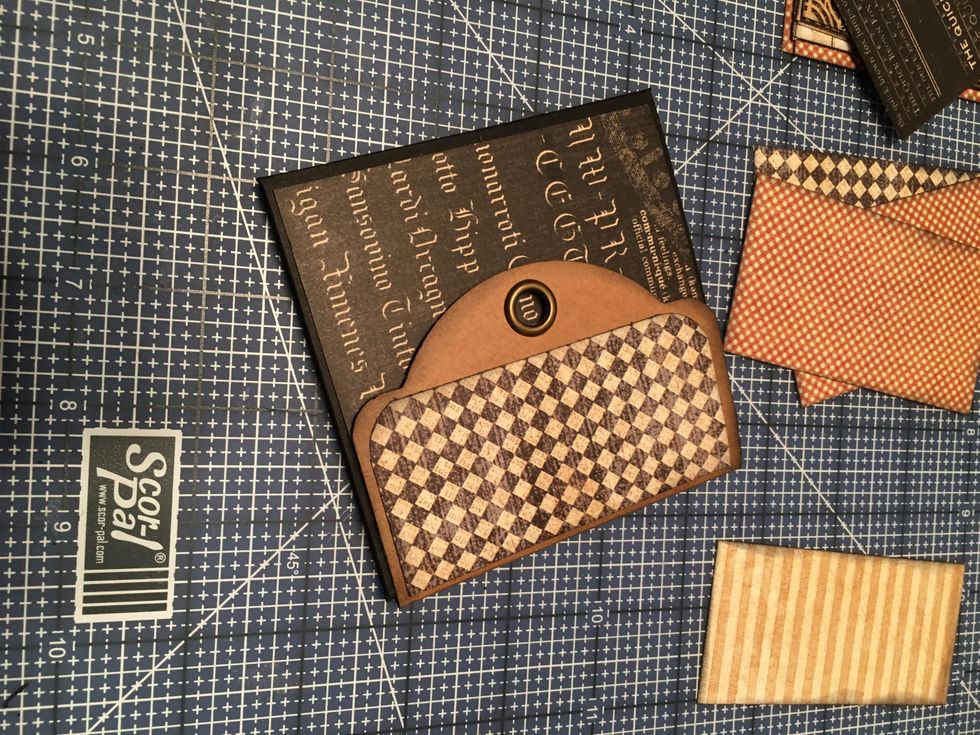
When you close the flap it should look like this with the finished grommet on the outside as shown.
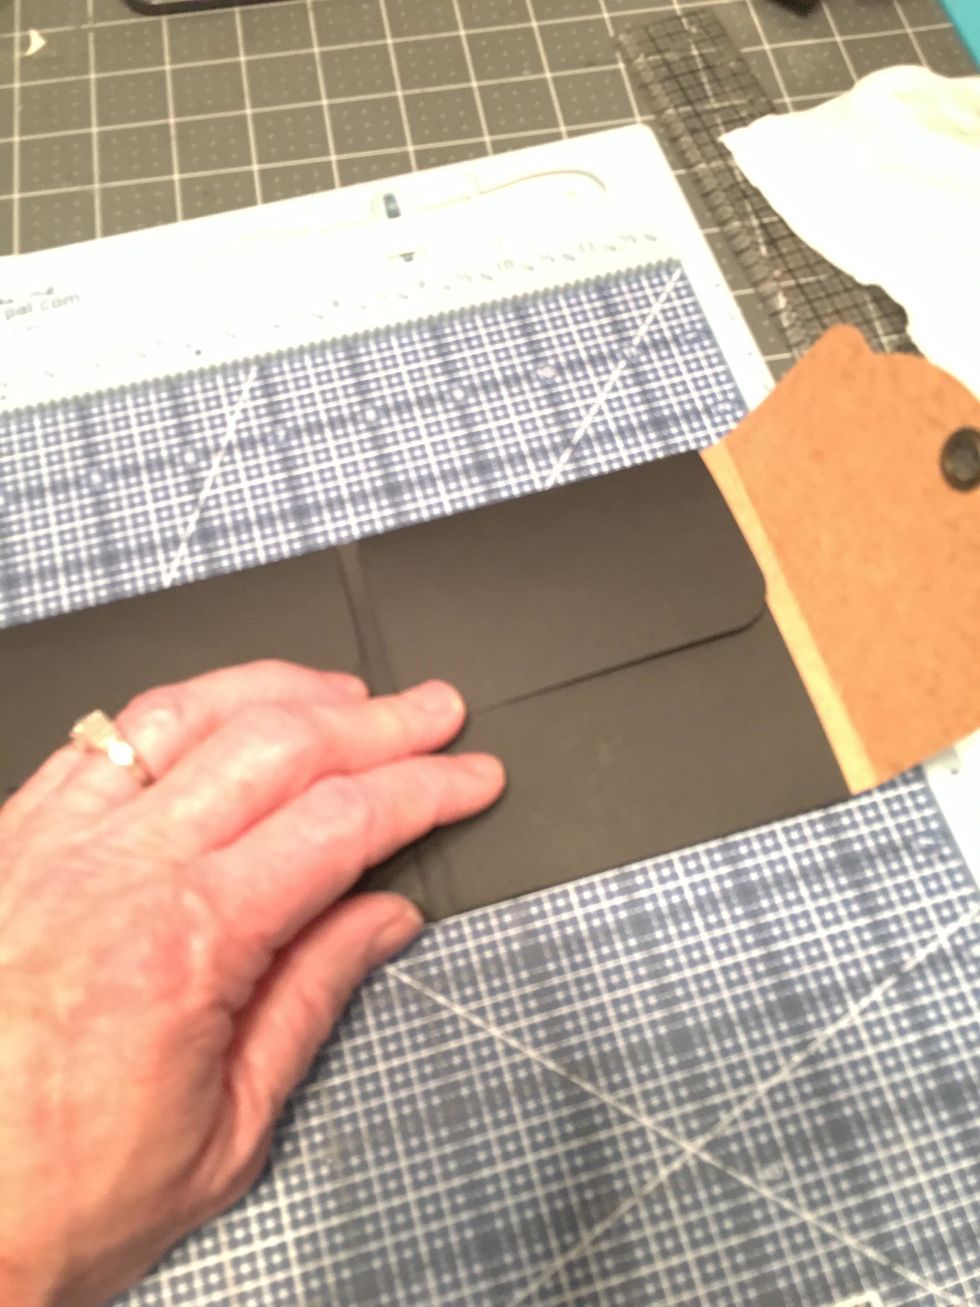
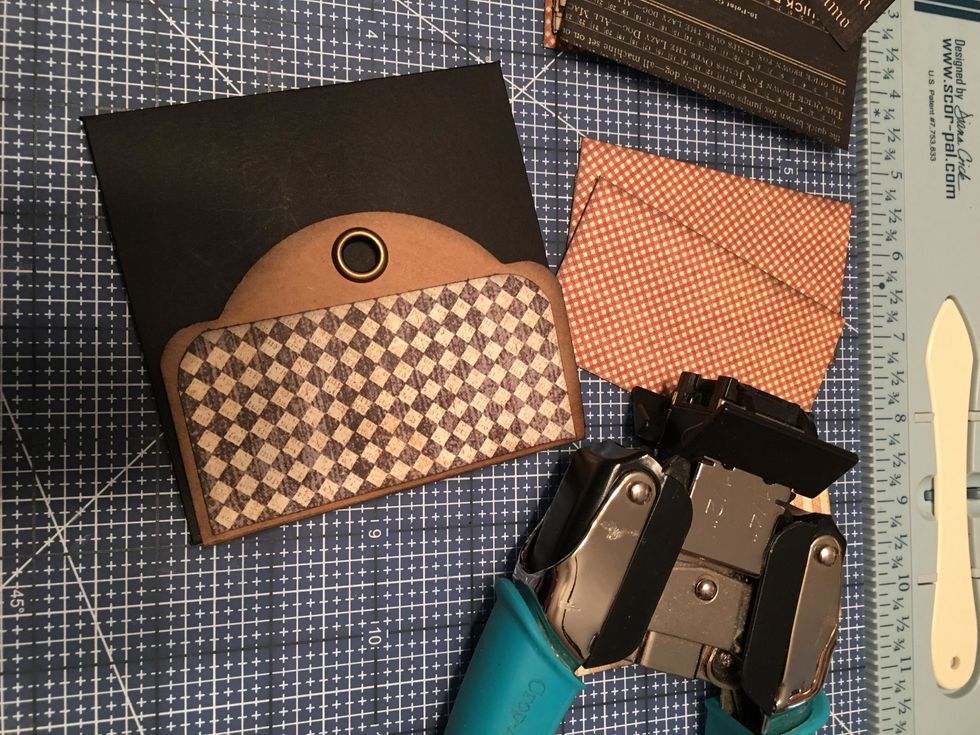
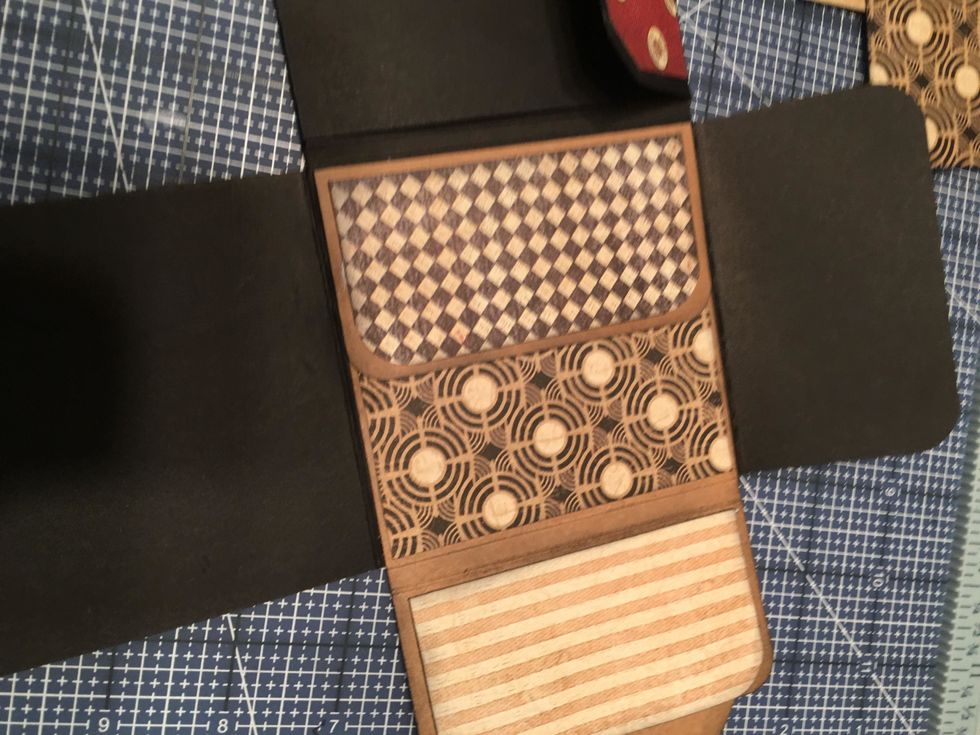
Open the tag back out and close the inner flaps of the album. The black flaps on the right will go over the remaining part of the Kraft tag as shown in this photo.
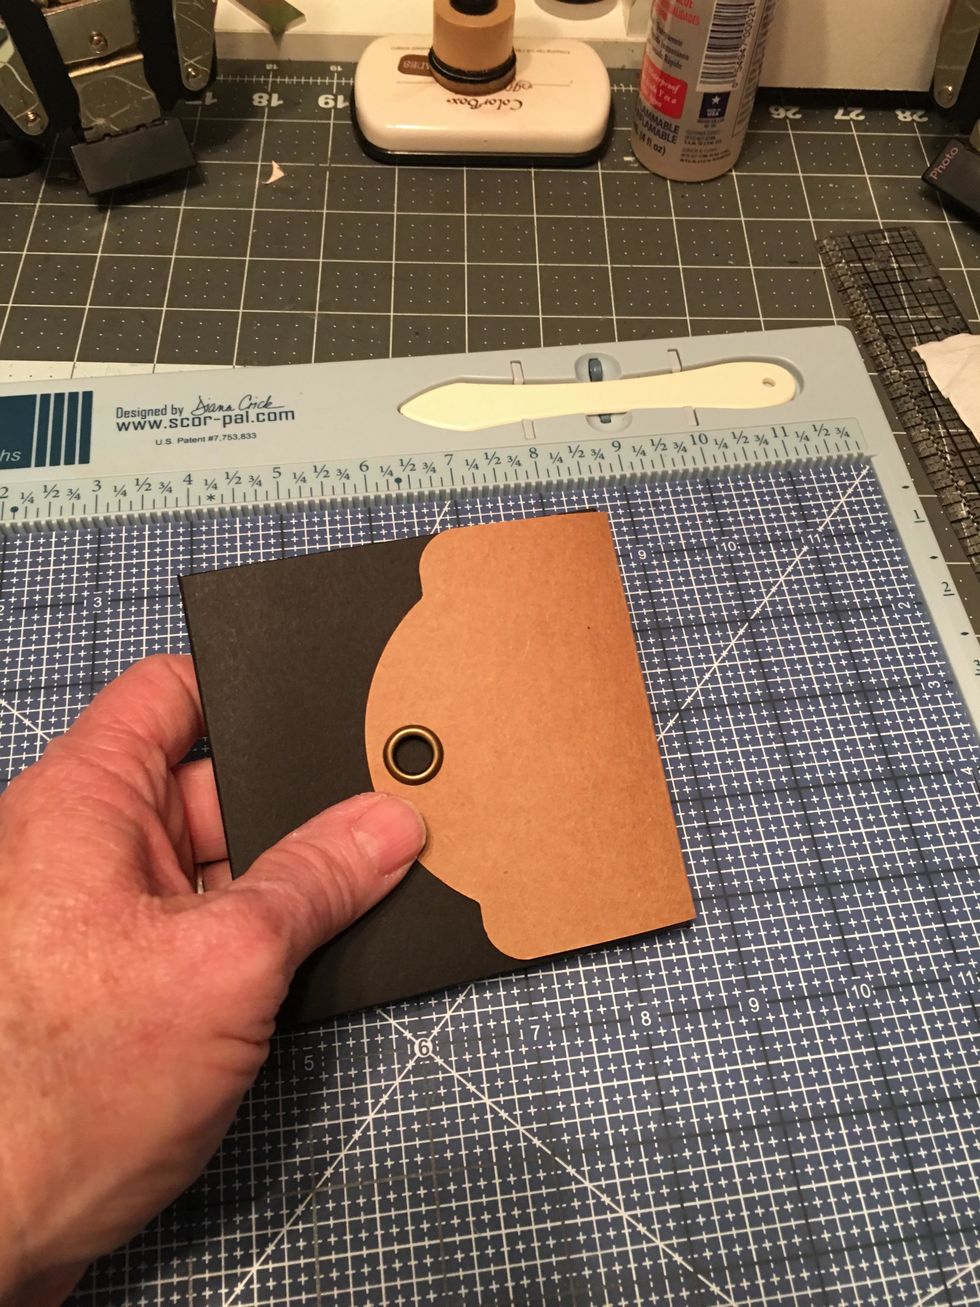
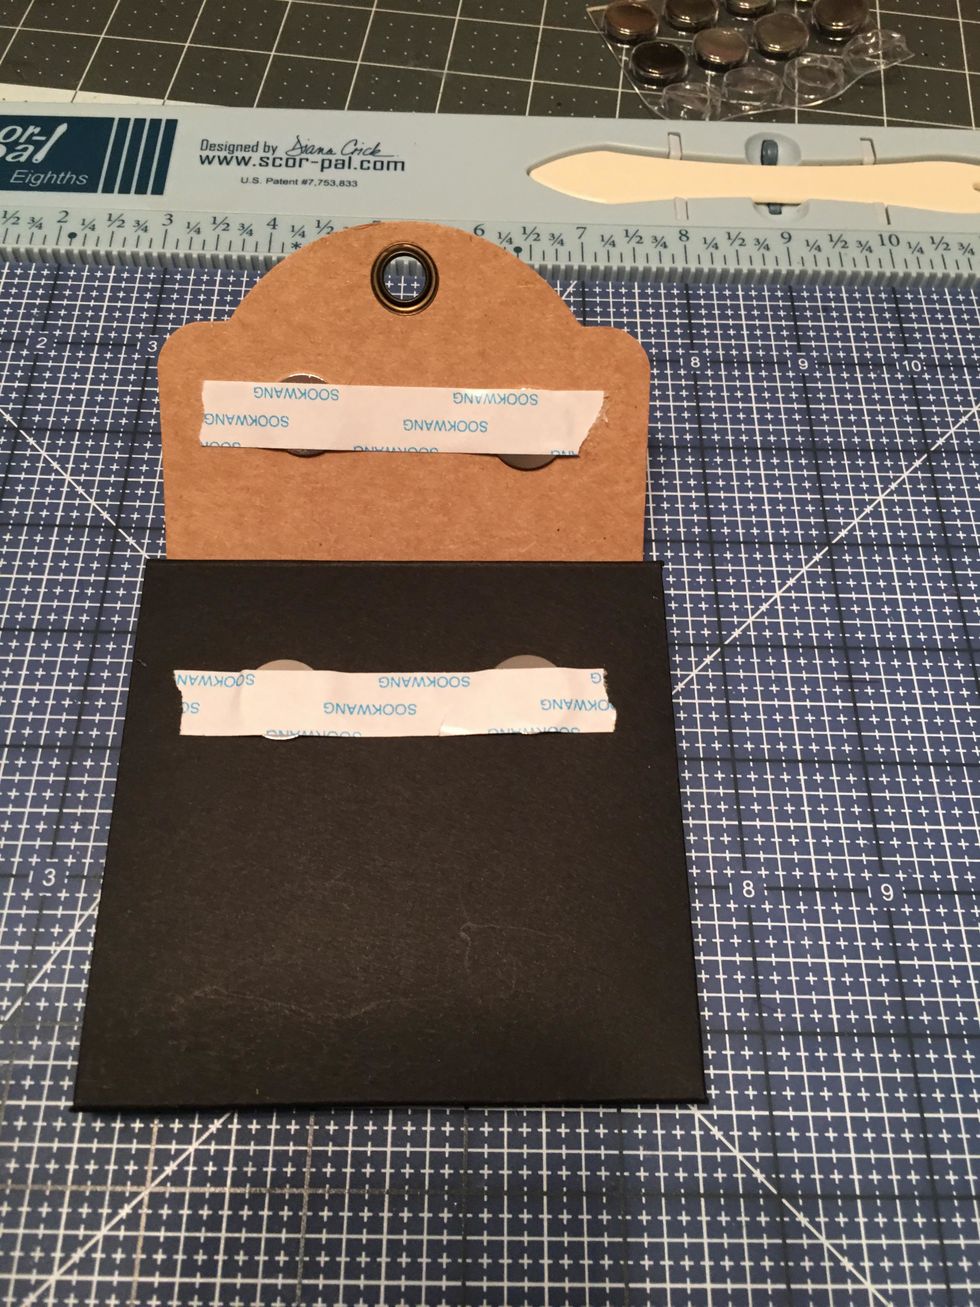
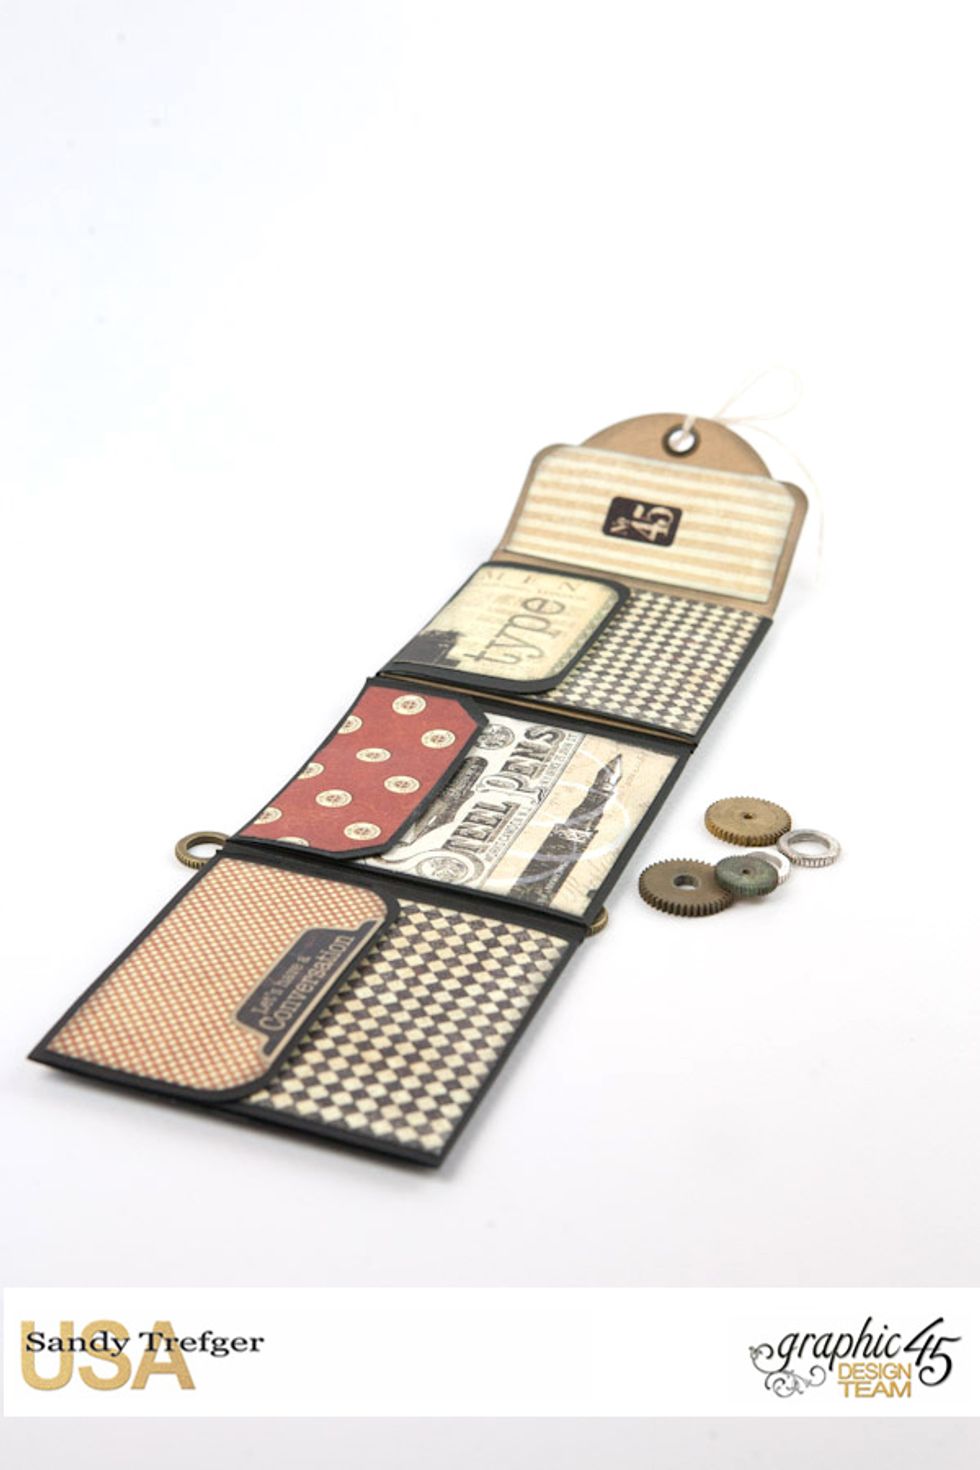
This is how your album will look when all the flaps and the tag are folded up.
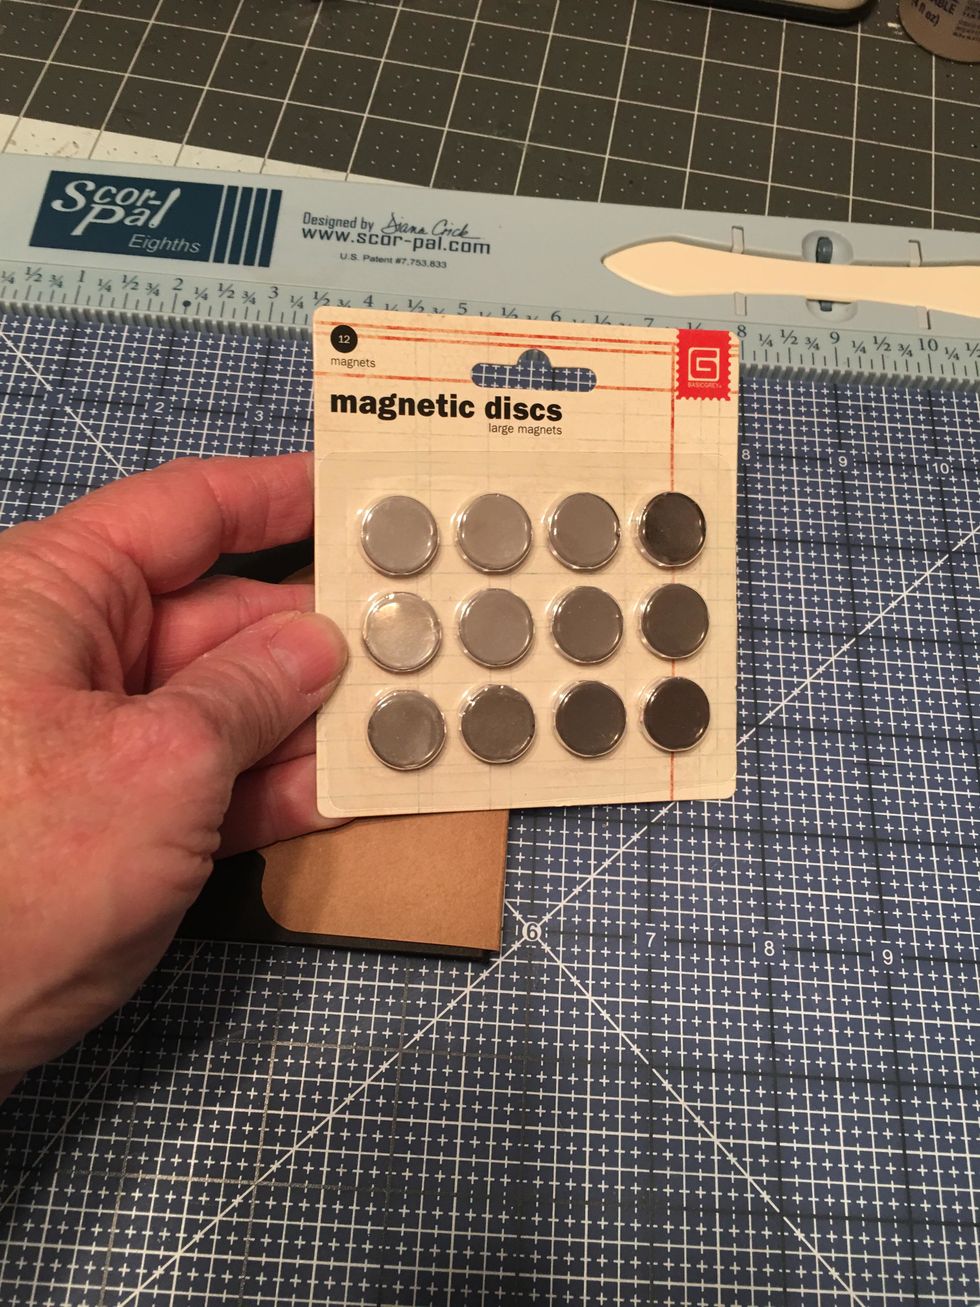
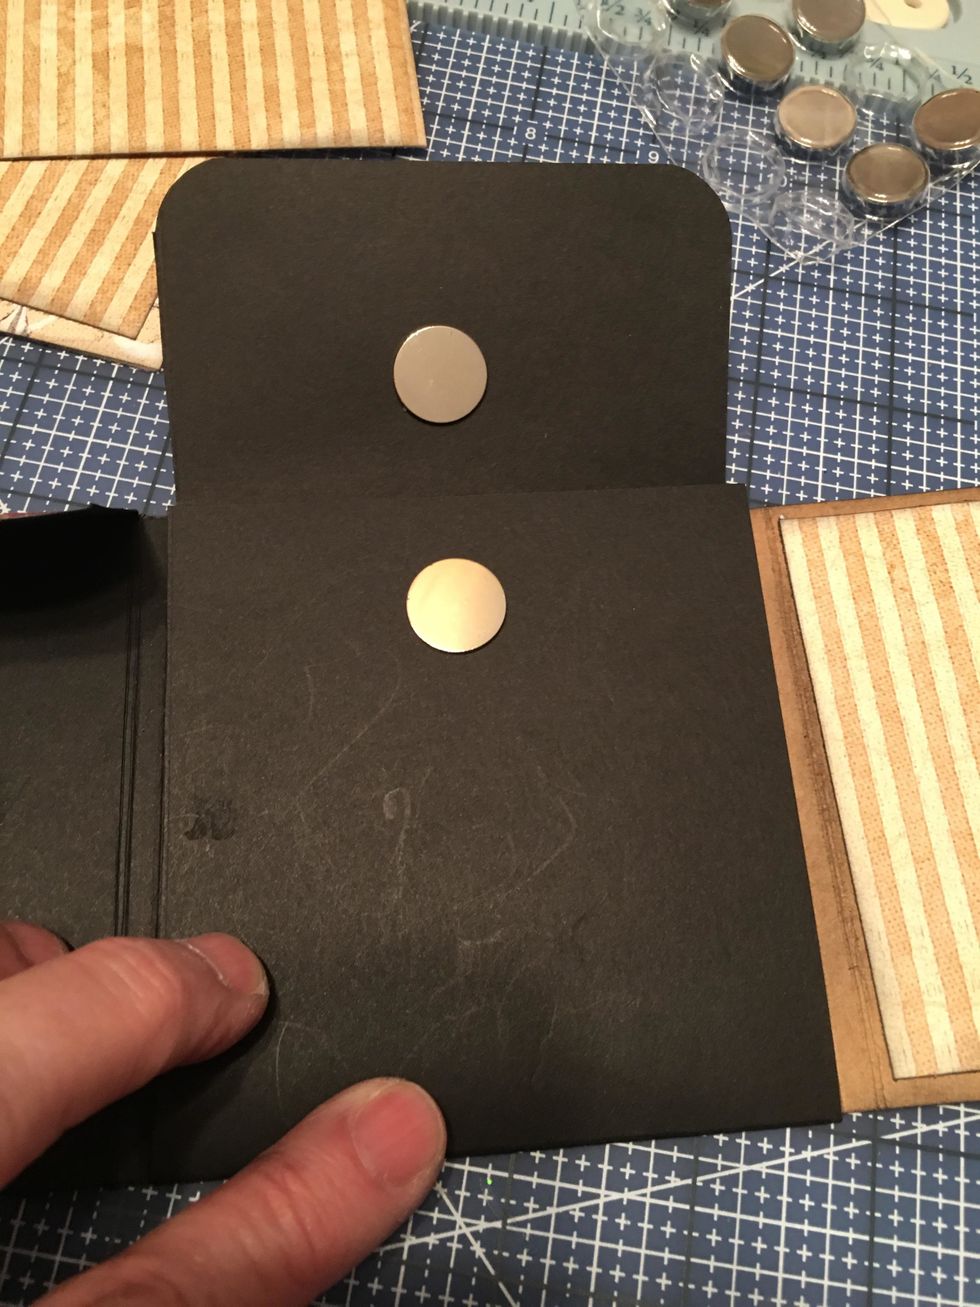
You will need a package of large magnetic discs for the outside closure of the album and for the flaps inside the album.
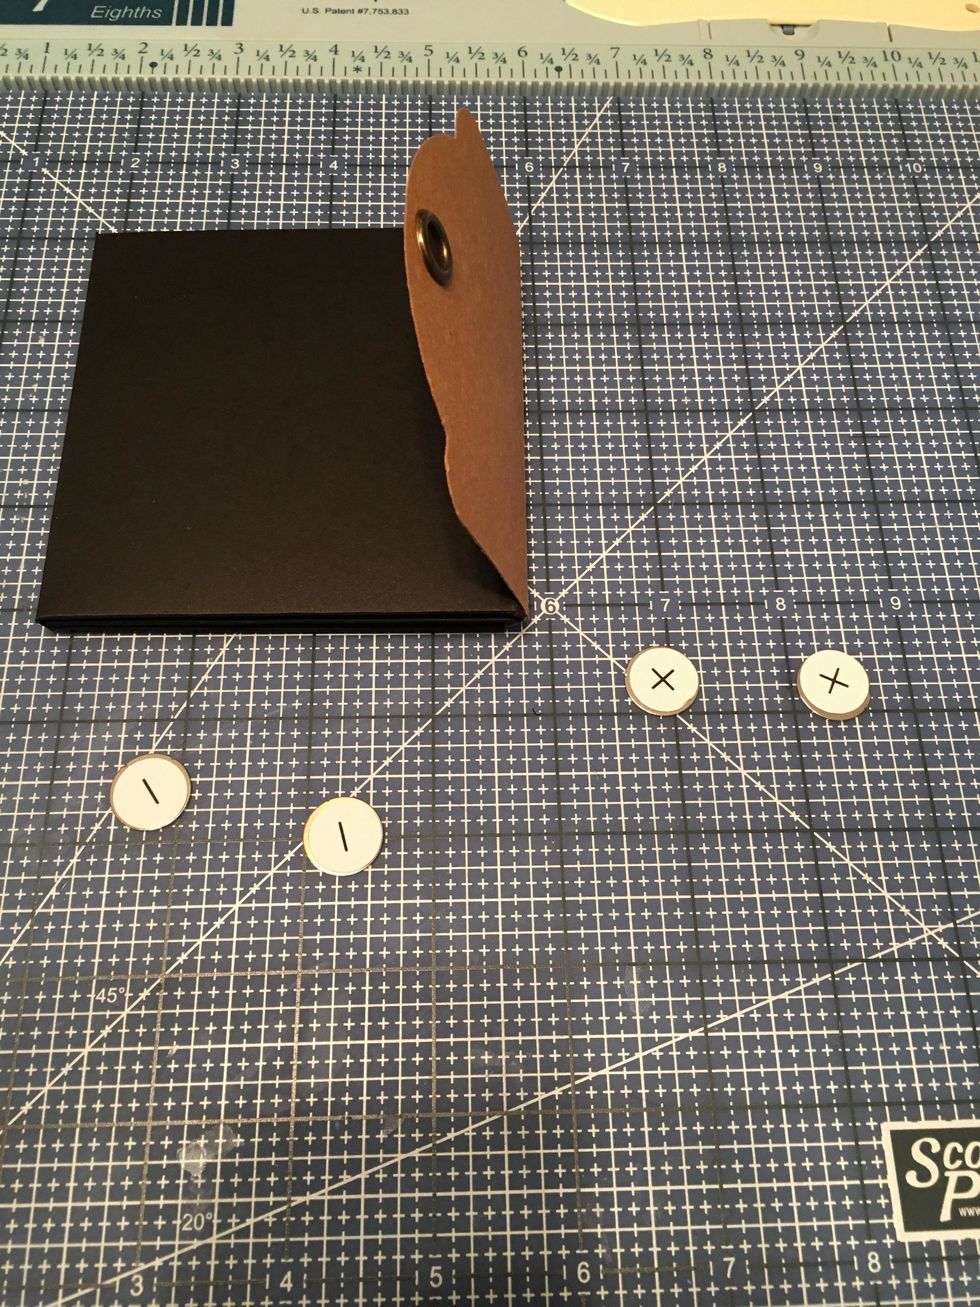
For the outside closure, you will need two sets of magnets as shown. Two + and two -
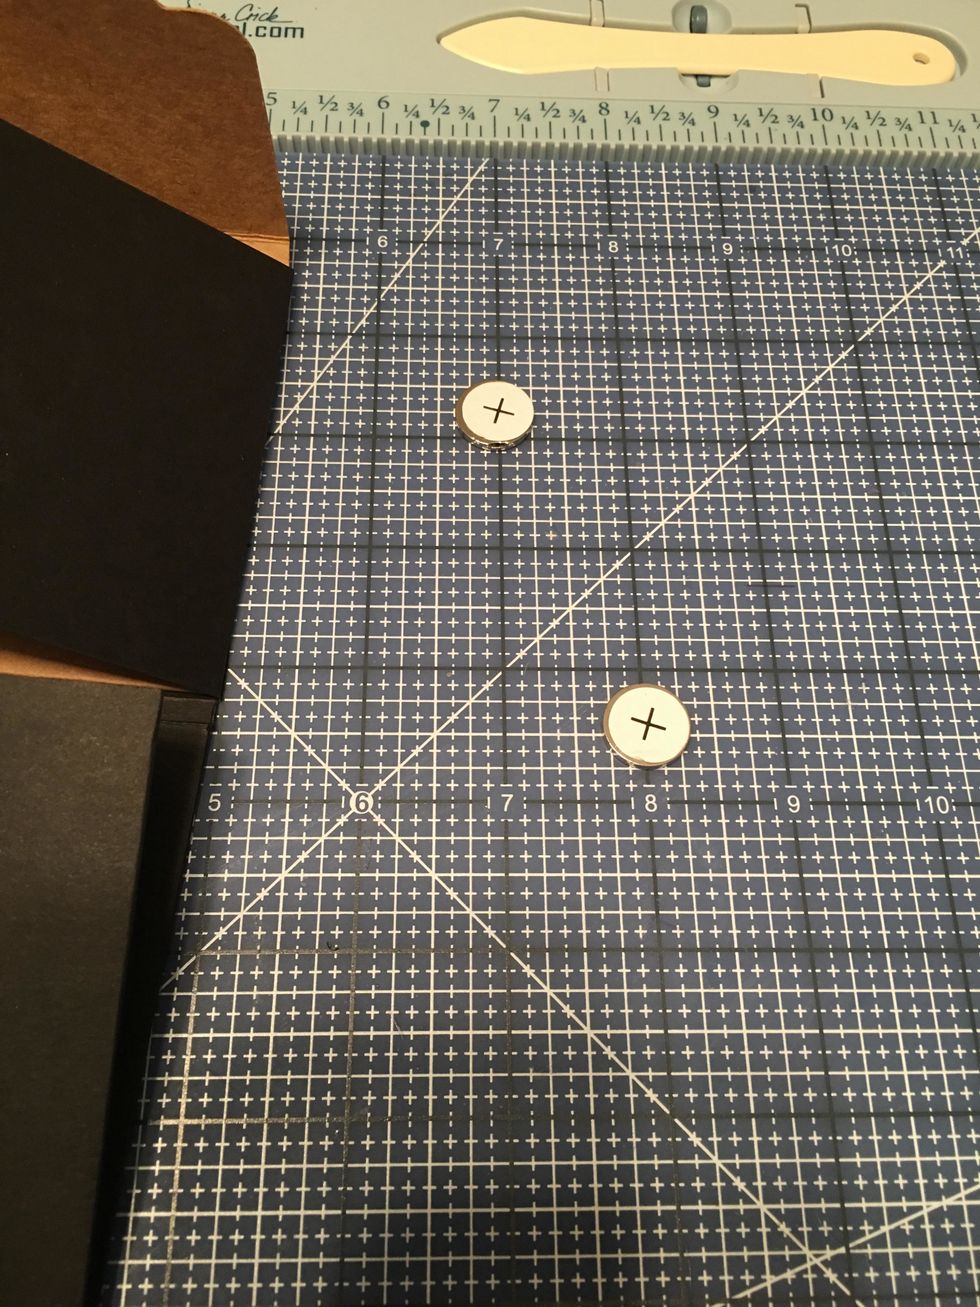
Attach each set together with the + and - paper labels to the outside. In this photo the minus side is underneath each plus magnet.
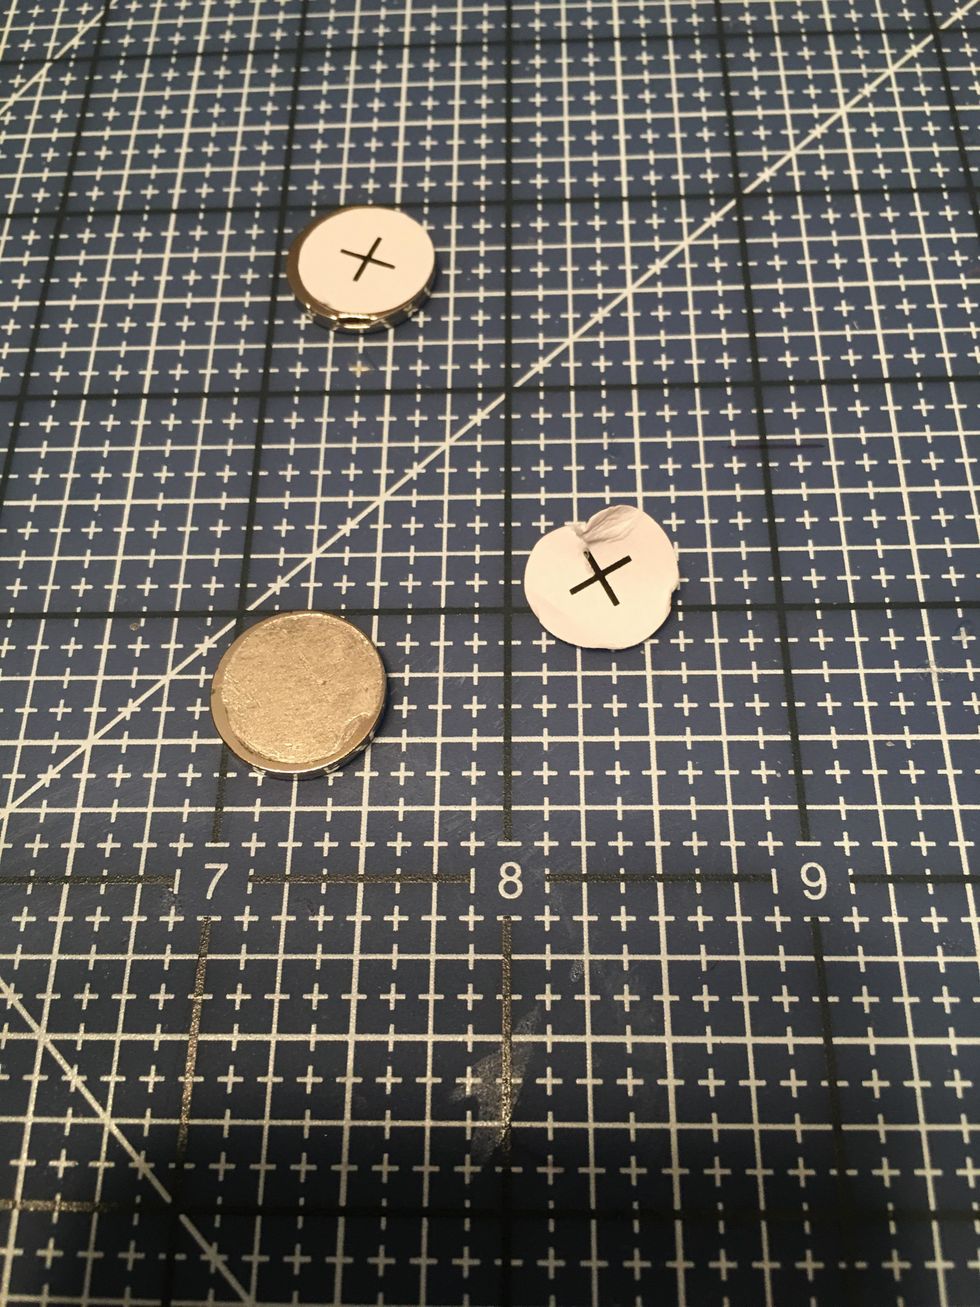
Peel the paper backing off of the plus side as shown.

Attach the sticky side of the plus magnets to the inside of the flap as shown with the minus magnets and papers still attached.
Peel the paper backing off of the minus magnets that are still attached by magnetism to the plus magnets.
Close the flap shut and rub with your fingers over where the magnets are. Then gently open the flap, separating the magnets from each other.
Your magnets should now look like this with the plus ones on the flap and the minus ones on the front section of the album.
Secure your magnets in place for now with a strip of scor-tape (leave the backing on) or with scotch tape.
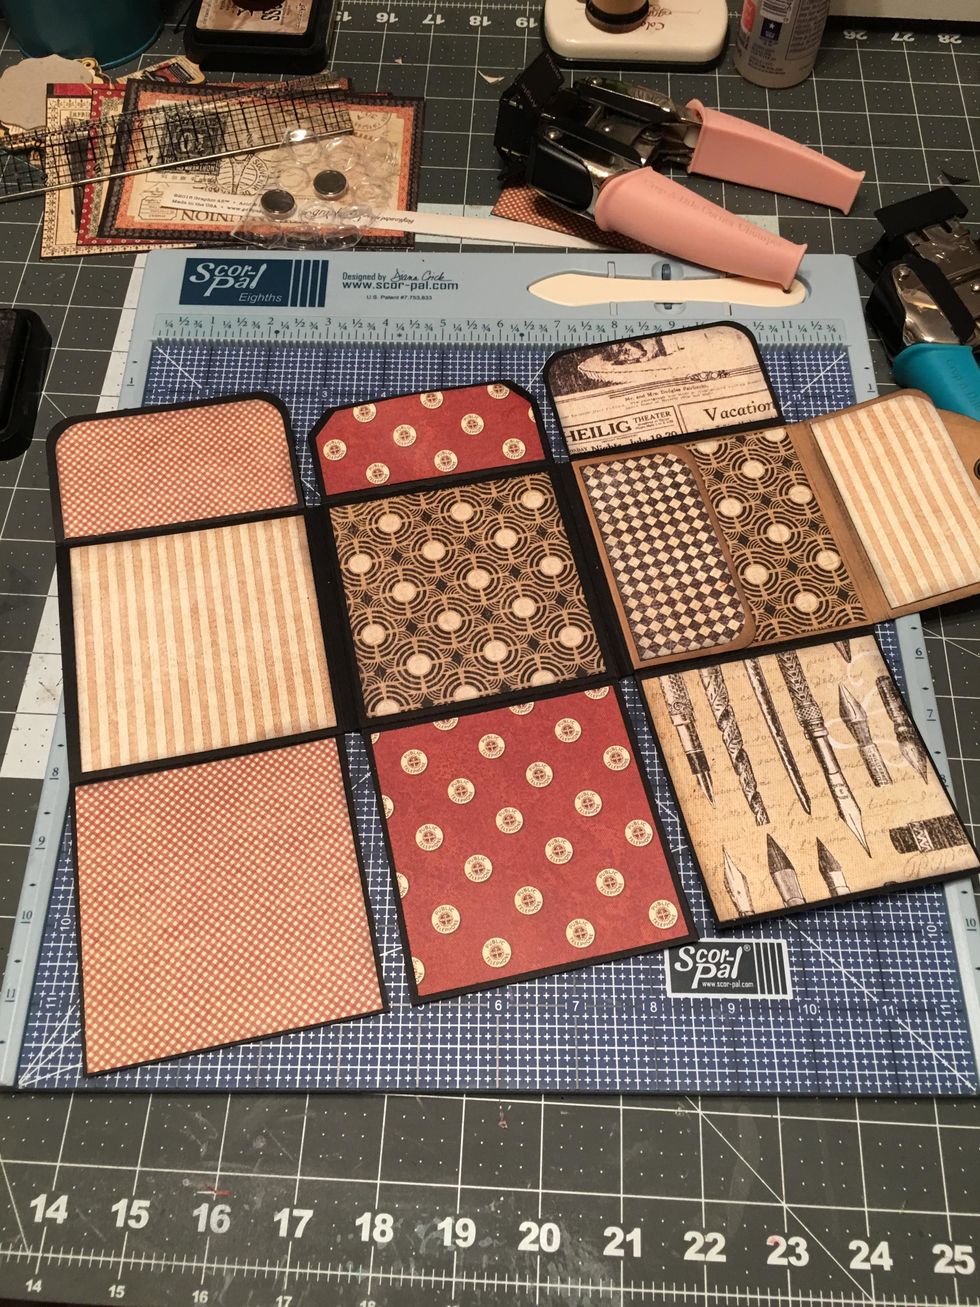
Use a trimmer & cut the patterned papers for the different sections of the inside and outside of the album. See the next six steps for patterns used and cut measurements.
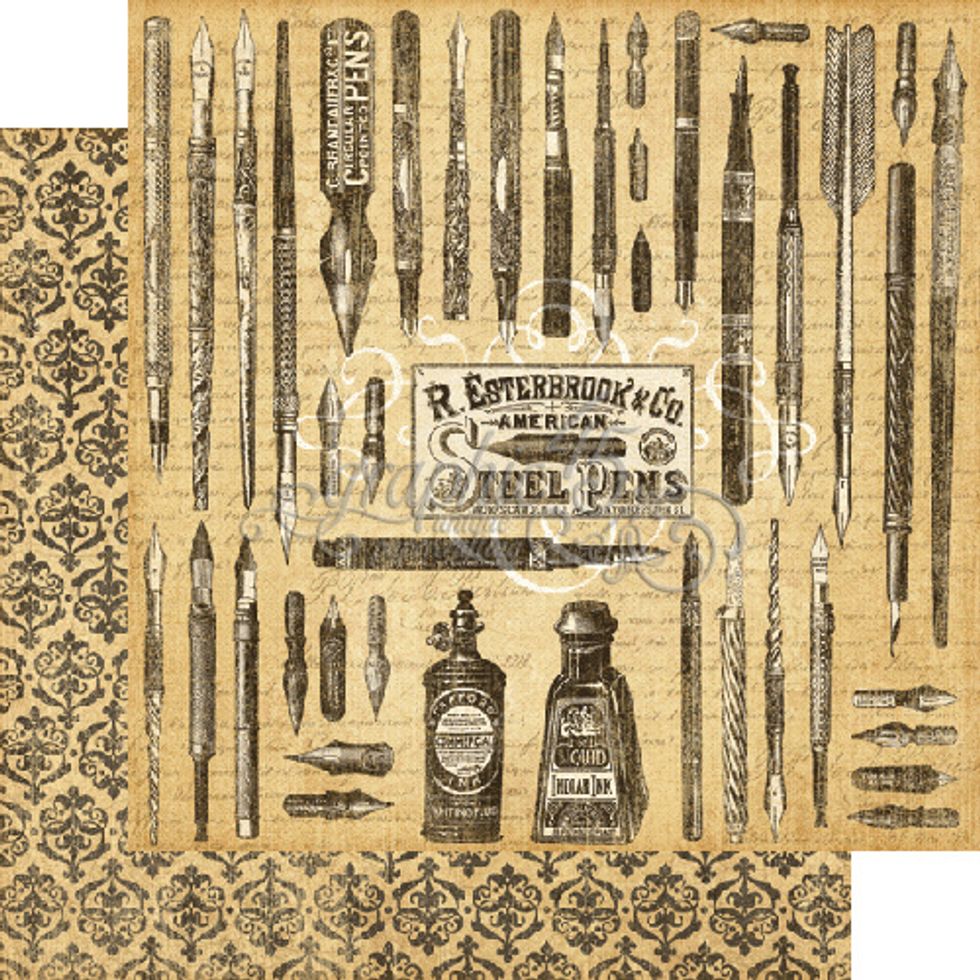
From "Pen in Hand" (pen image side) cut: 2 each 3 5/8" wide x 3 3/4" tall and 2 each 3 5/8" wide x 2" tall
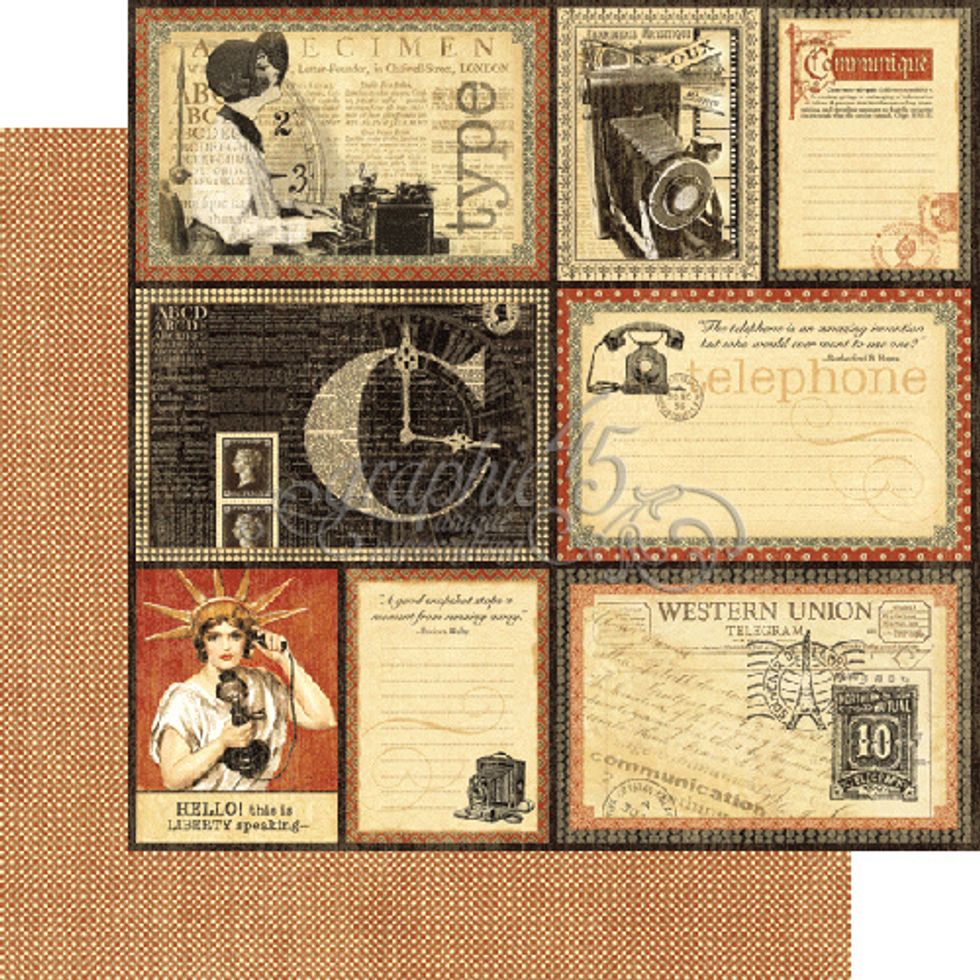
From "Telegram" (Small Red Check side) Cut: 2 each 3 5/8" wide x 2" tall and 1 each 3 5/8" wide x 3 3/4" tall. Plus for an optional pocket cut 1 each 3 5/8" wide x 1 1/2" tall for Step # 46.
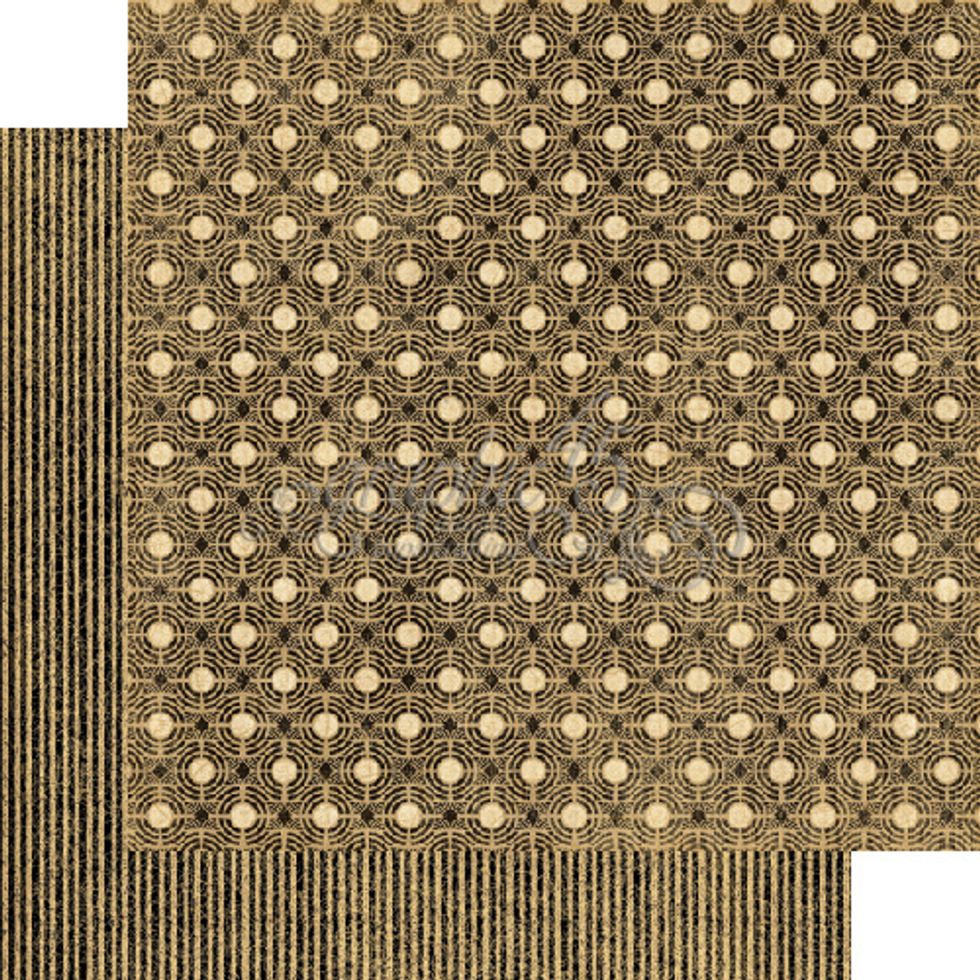
From "Shutter Speed" (Circles side), Cut: 2 each 3 5/8" wide x 3 3/4" tall.
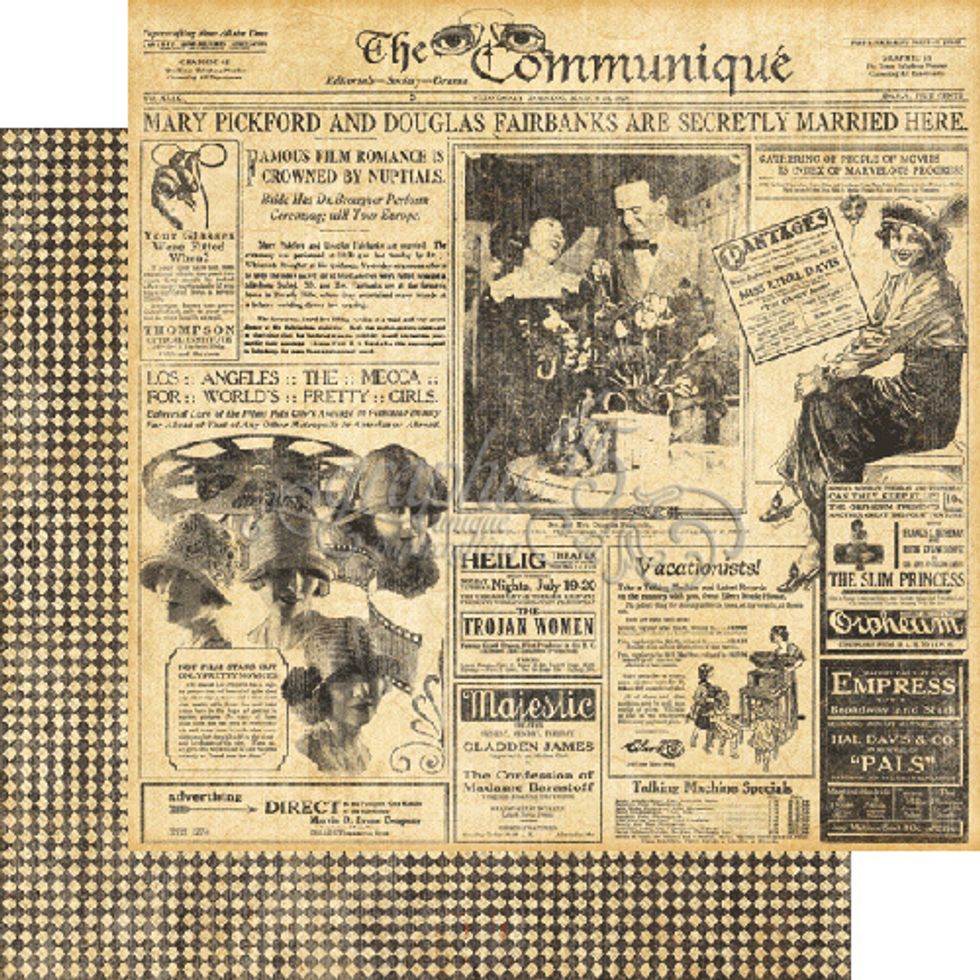
From "Society Page" (Black Check Side), Cut: 2 each 3 5/8 wide x 3 3/4" tall and 2 each 1 3/4" wide x 3 5/8" tall.
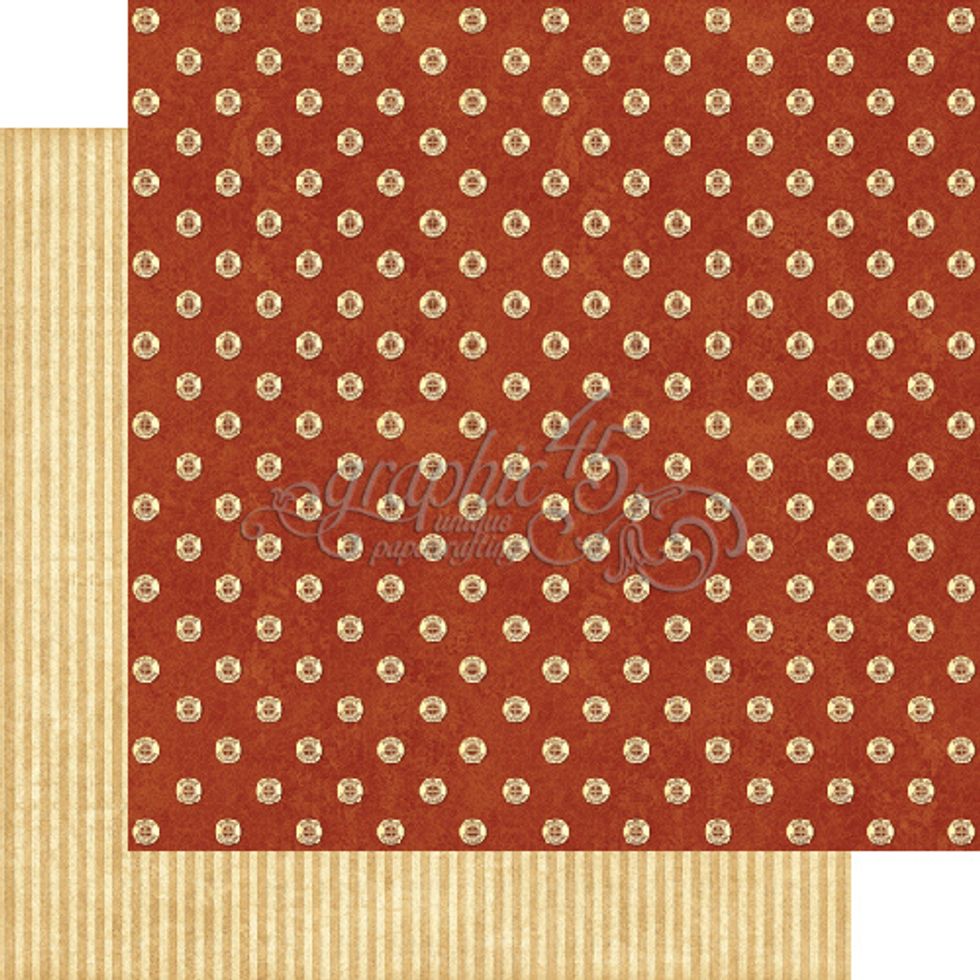
From "On the Dot" (Red w/circles)Cut: 2 ea. 3 5/8" wide x 1 1/2" tall and 1 ea. 3 5/8" wide x 3 3/4" tall Also (Stripe side)Cut: 1 ea. 1 3/4" wide x 3 5/8" tall and 1 ea. 3 5/8" wide x 3 3/4" tall.
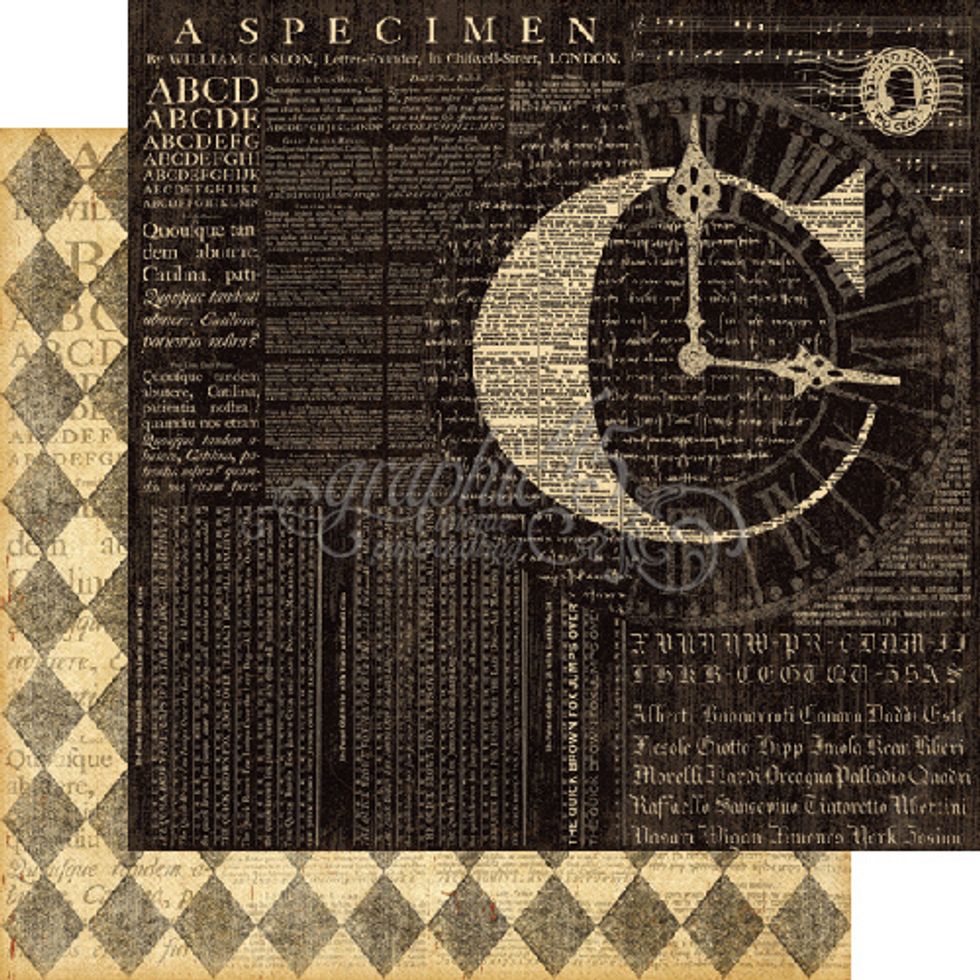
From "A Fine Speciman" (Black with Words) Cut: 3 each 3 5/8" wide x 3 3/4" tall.
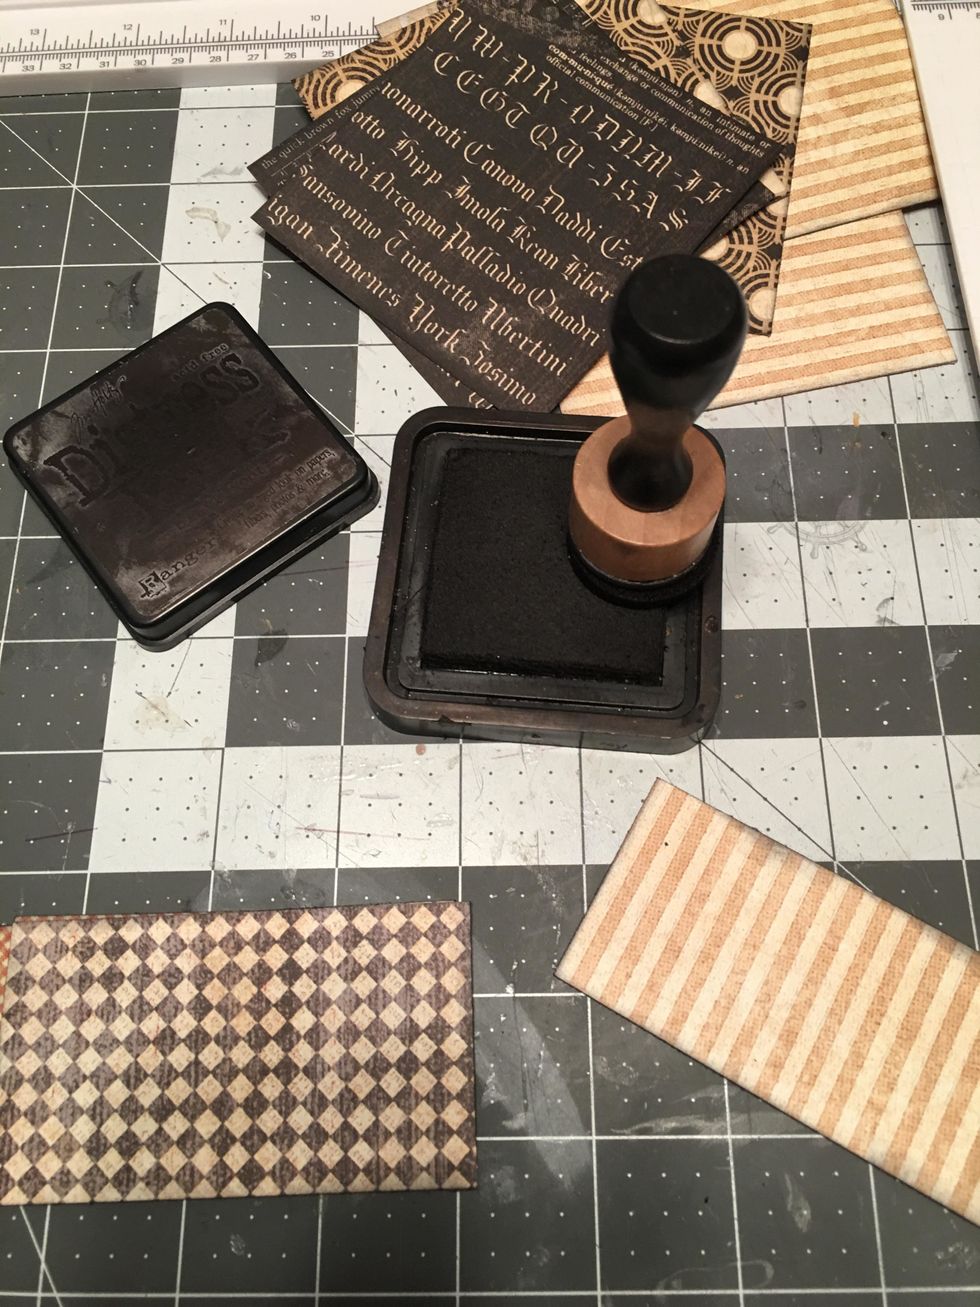
Ink the edges of all the papers with Black Soot Distress Ink.

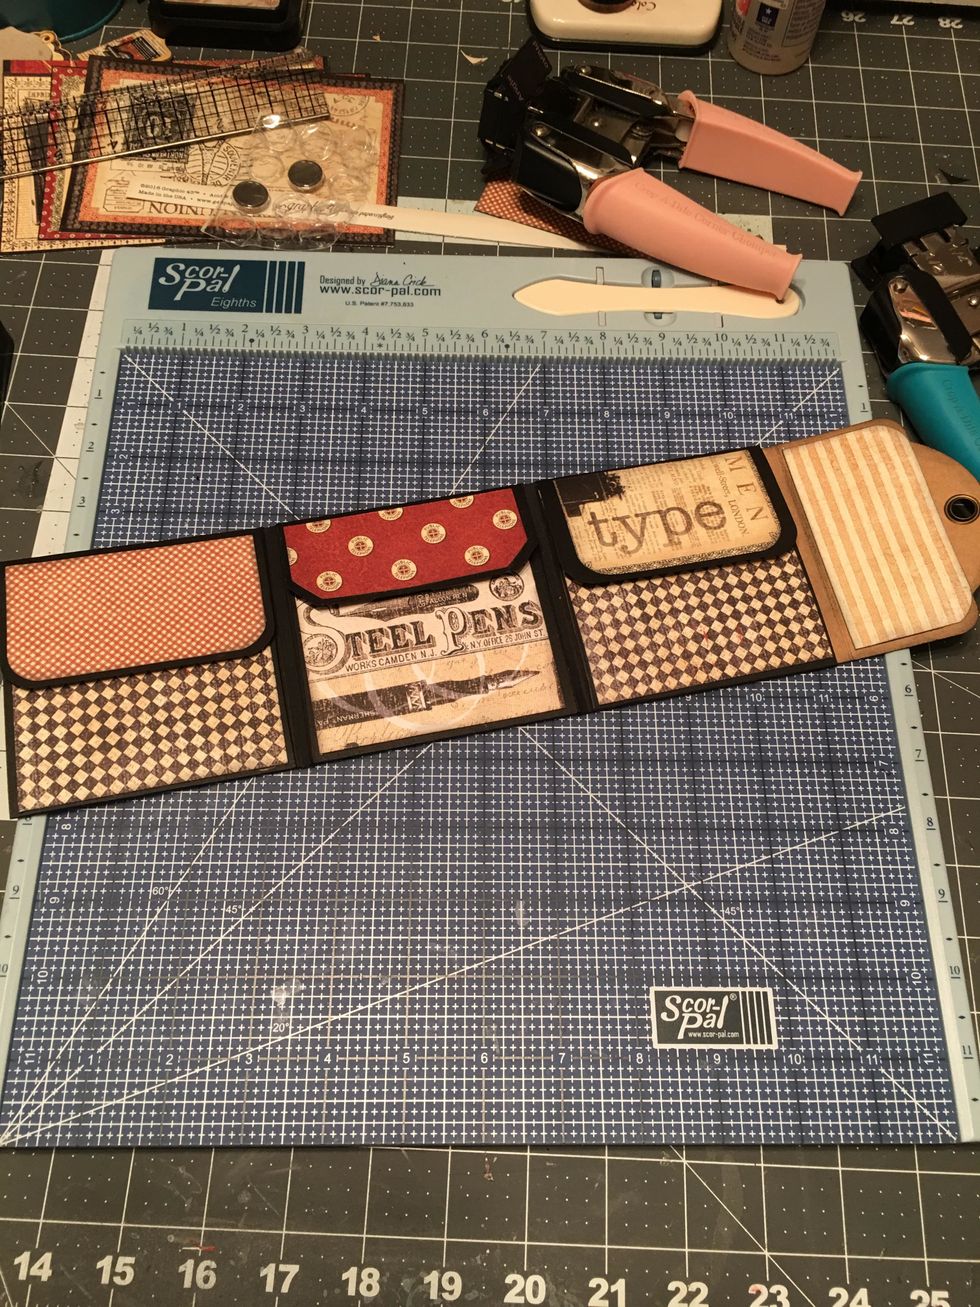
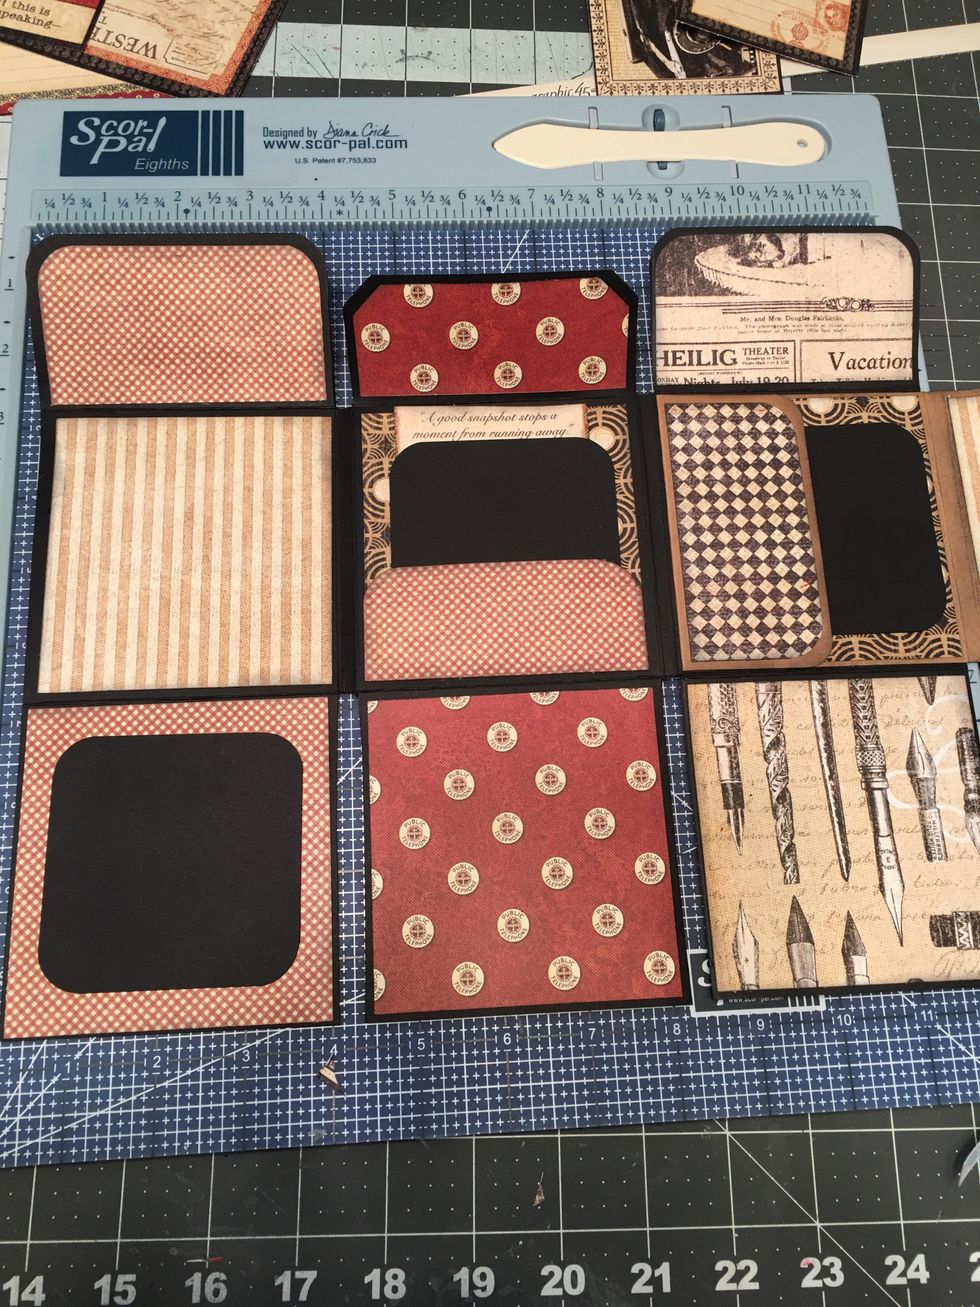
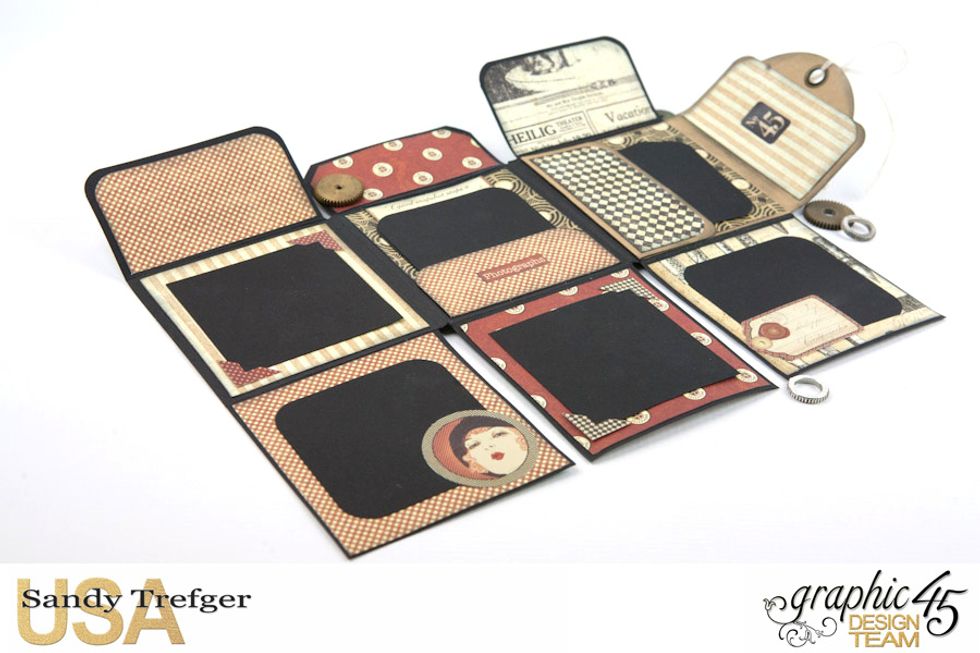
Refer to this photo of outside of album for adding of papers. Because the album folds in,some patterns will be upside down. Follow remaining steps in this guide BEFORE adding all patterned papers.
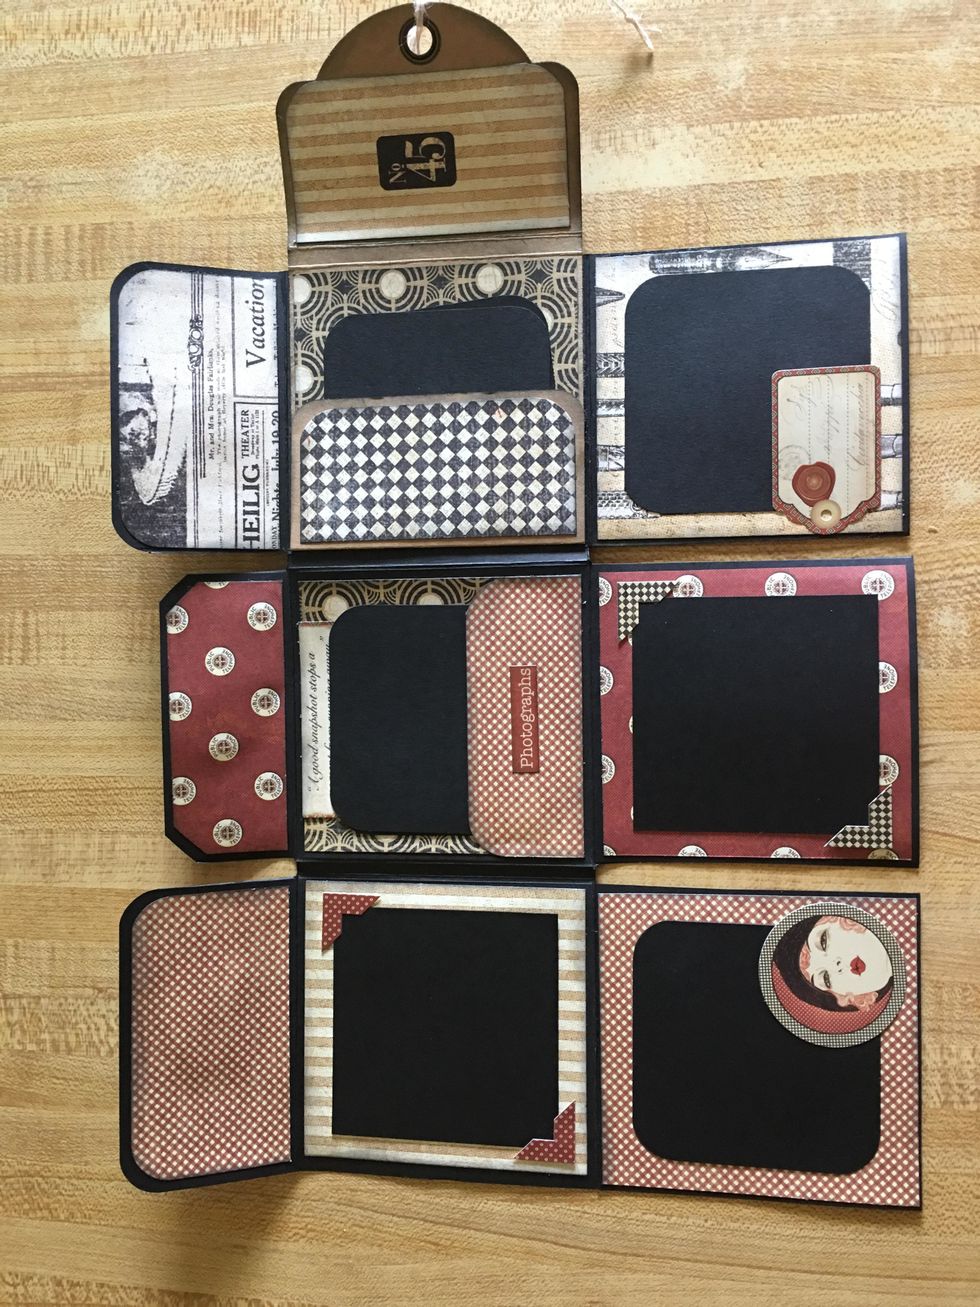
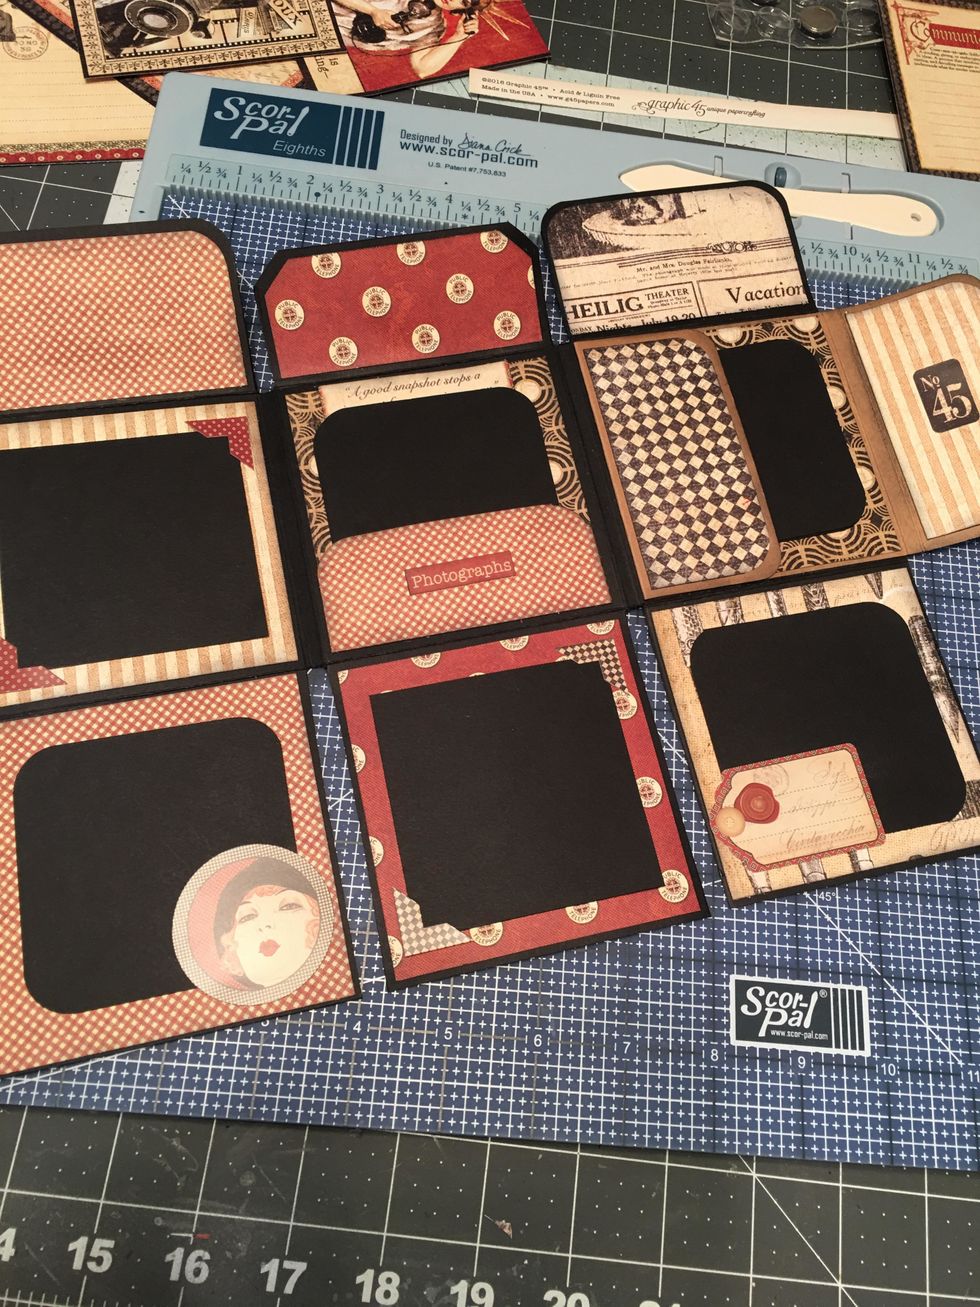
Refer to this photo of inside of album for adding paper. All the patterns on the inside should go in the same direction. Follow remaining steps in this guide BEFORE adding all patterned papers.
Optional: Ink all the edges and fold lines of the Kraft Tag.
Corner round the patterned paper that attaches to the the flap of the tag as shown in this photo.
Before you pattern any of the sections that have magnets, remove the paper backing before attaching the patterned paper.
Continue patterning the outside of your mini album.
Pattern the inside center section as shown in this photo on to the kraft tag.
Once you've patterned the inside center section on the tag, you can create a pocket with the remaining part of the tag. Put glue on just the sides and attach it down onto the patterned section.
Round the corners of the patterned paper and attach to the pocket section as shown above.
Before patterning the other sections, you will need to add a magnet set to the inside of each flap and to the outside of the larger flaps. Use 1 magnet set (+ & -) for each flap section.

Pattern all the remaining sections, see reference photo in Step# 34 for inside of album to make sure you are adding the papers on the correct sections and in the correct direction.
When top flaps are folded down over bottom flaps, your album should look like this.
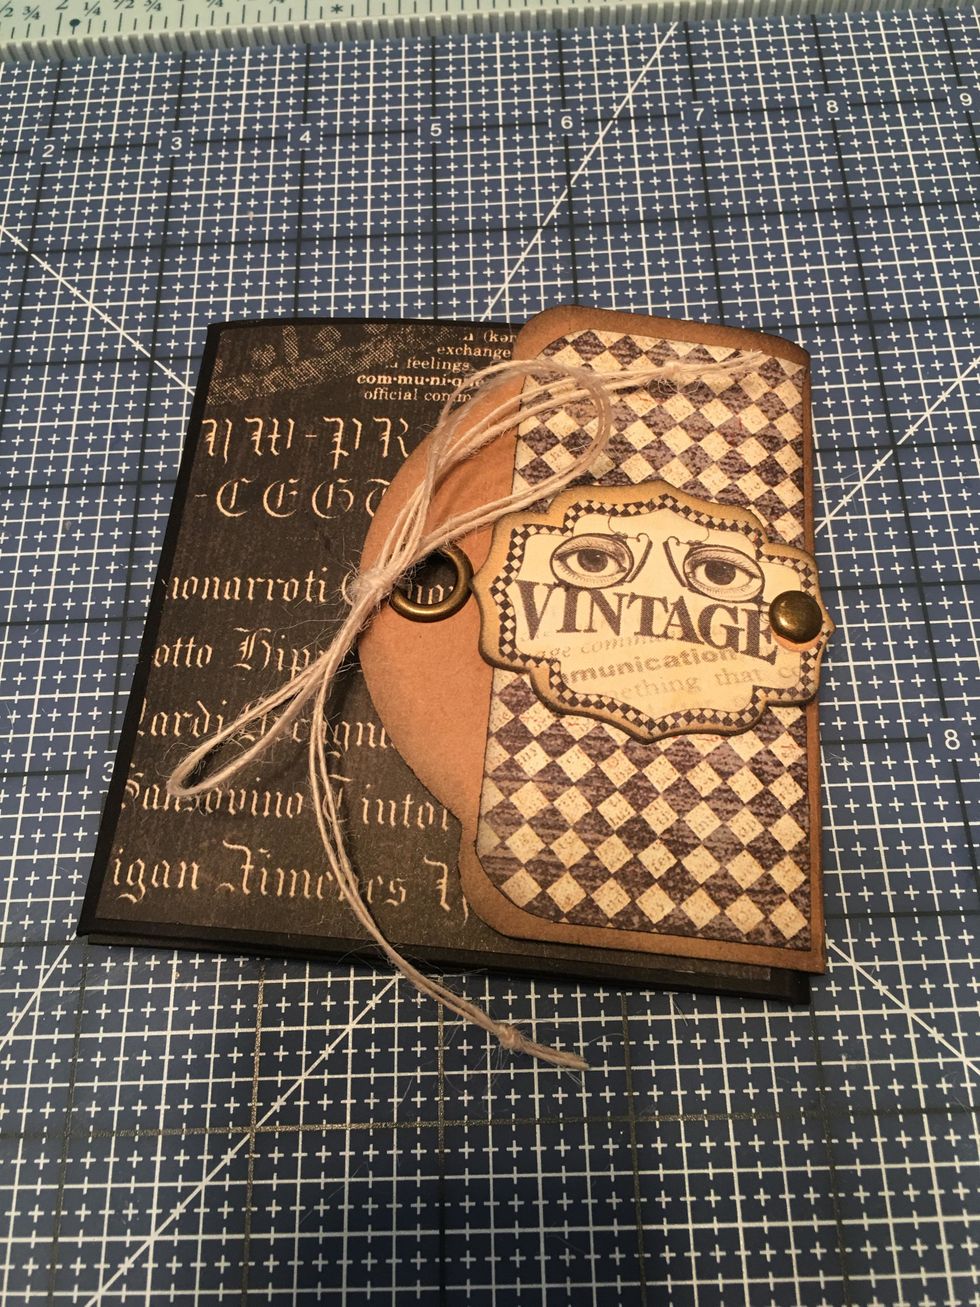
Tie a double button string through the grommet on the outside and tie into a bow. Secure the knot with a bit of glue so it does not come untied. Tie knots in the ends of the string.
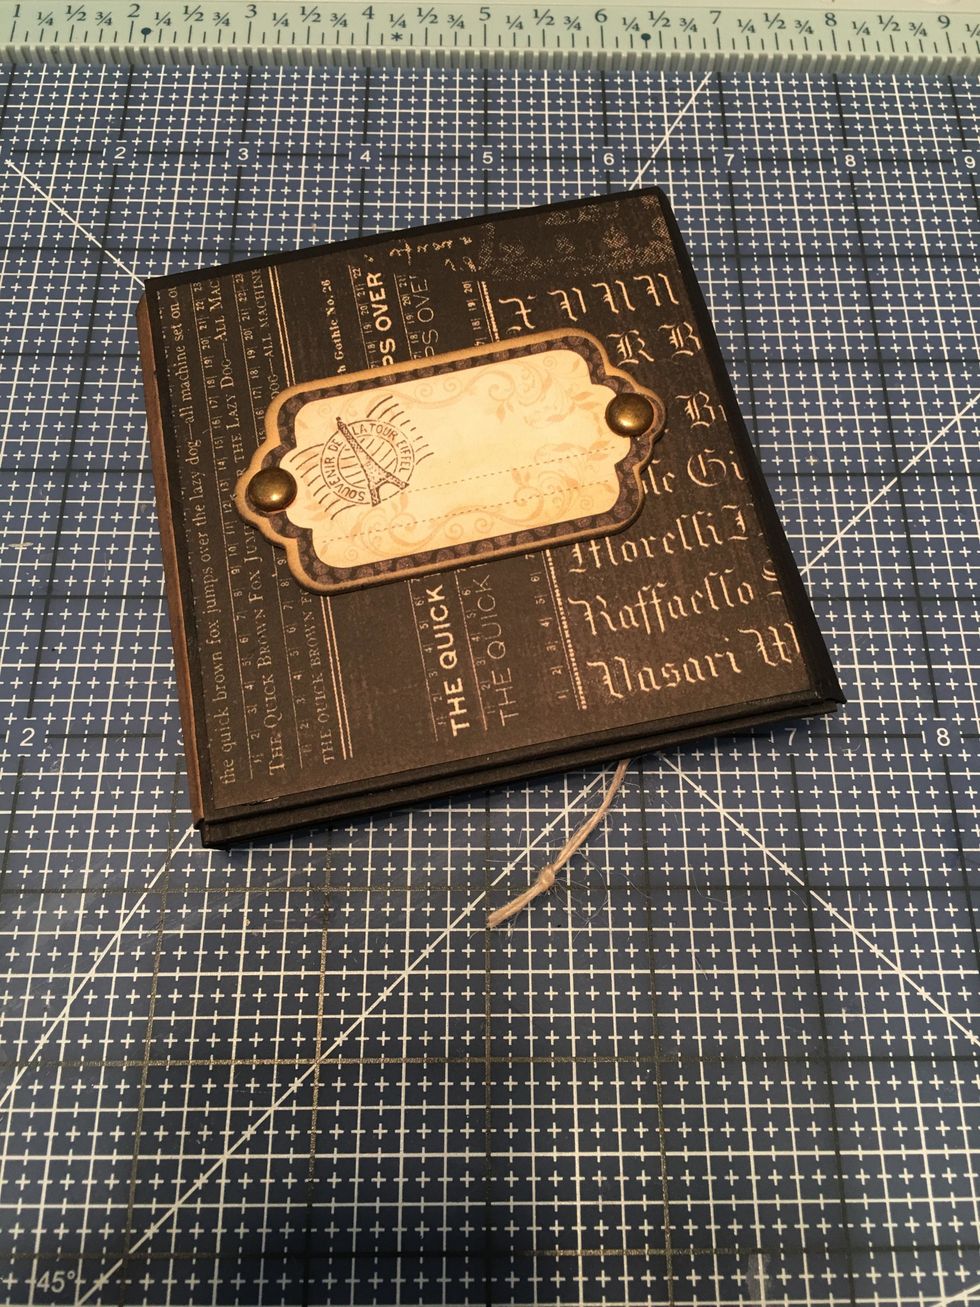
On the back you can add a chipboard element from the collection. Insert brads and cut off the prongs if they are too long for your piece. Glue to the back of your album.
Attach 3 5/8" wide x 1 1/2" tall patterned paper for optional pocket, glue to the center upper section as shown in this photo. Cut 3"x3" photo mats and tags out of 2nd 12x12 sheet of black cardstock.
Insert some of the photo mats into the pockets and attach others to the sections. Add corners and decorative stickers as desired from the collection sticker sheet.

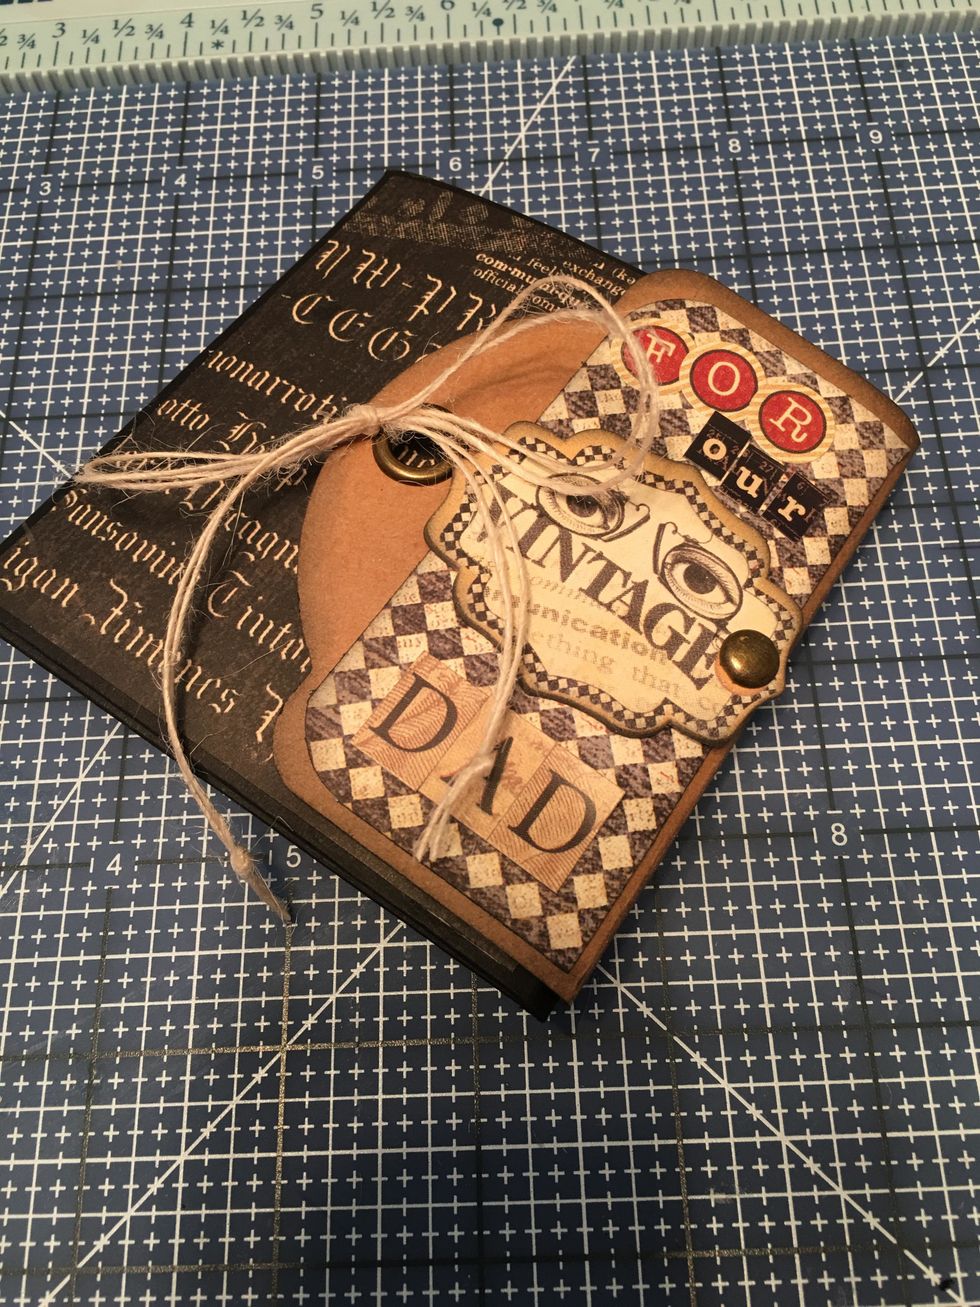
To the "vintage" chipboard piece, insert a brad and cut the long prongs off if needed. Glue the piece to the center of the front cover flap. Add sticker letters for the title "For Our Dad" as shown
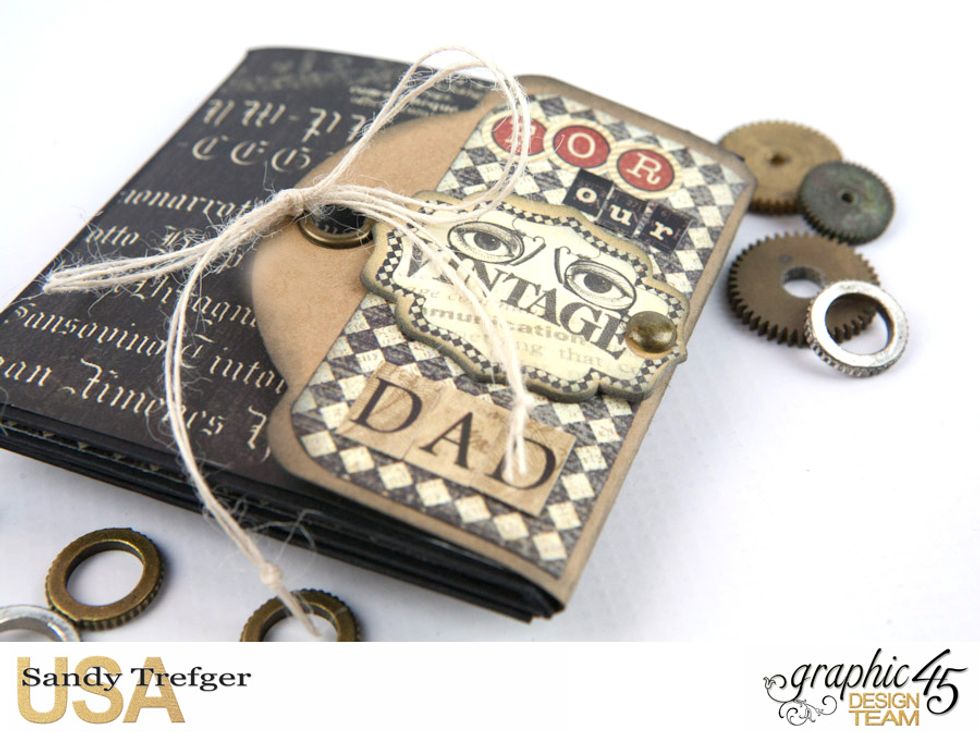
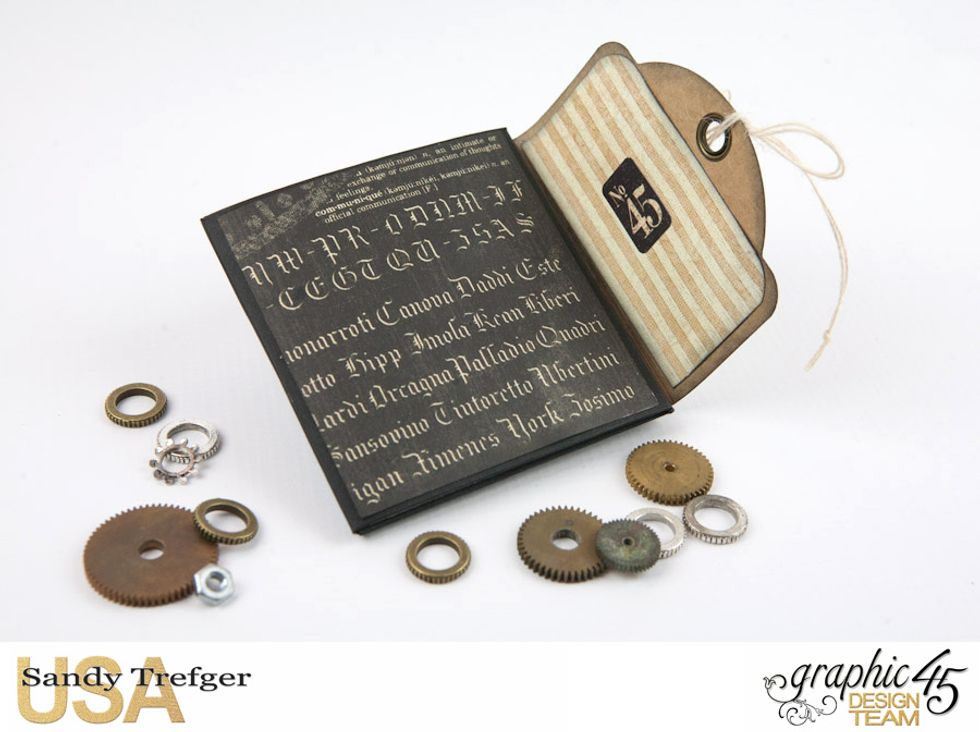
Your Father's Day Mini Album created with Graphic 45 Communique Deluxe Collector's Edition is done and ready for you to add photos.
Thank you so much for following along with this tutorial.
This project was designed as a Simpy G45 project. It can easily be completed in 60 minutes or less.
I hope you'll create one of these projects for yourself and it would be fabulous in any of the Graphic 45 paper collections.


Happy Crafting! ~Sandy www.sandyscraftycreations.com