The Conversation (0)
Sign Up

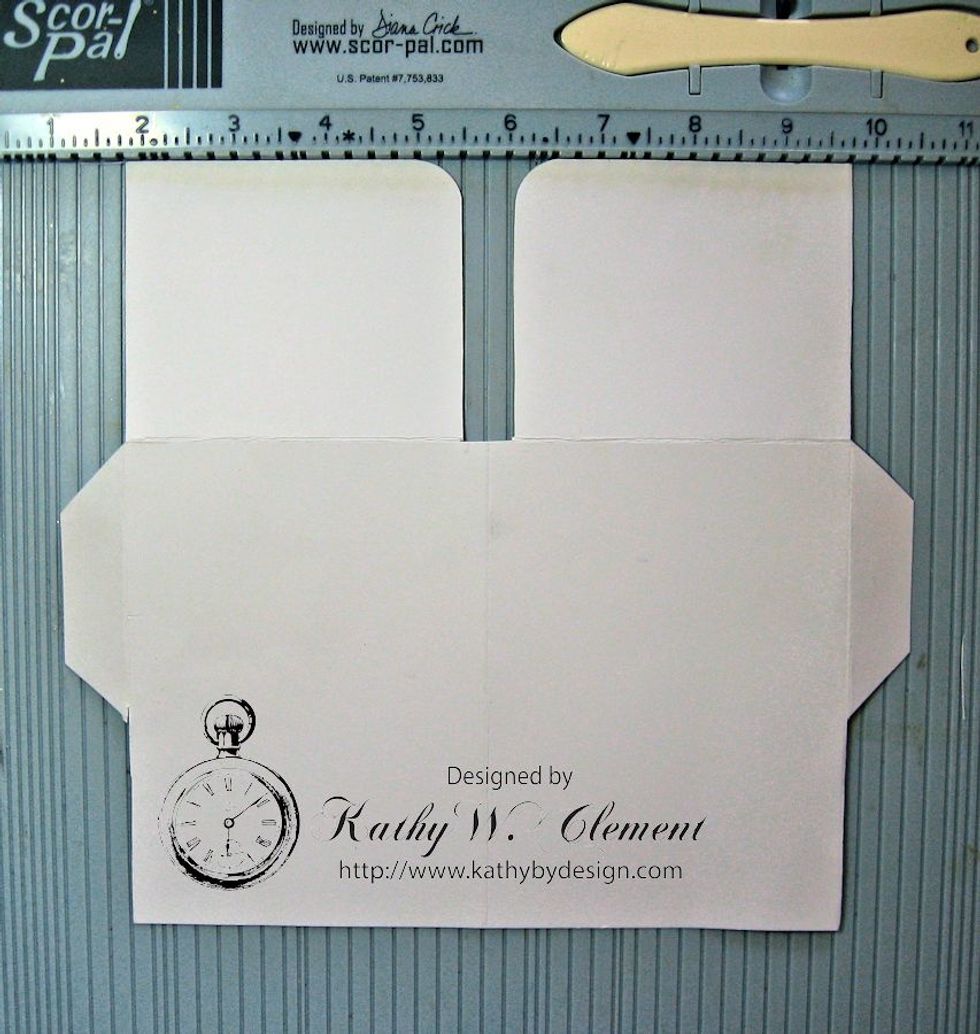
To create this 4" x 5.5" folder album base, follow these easy steps.
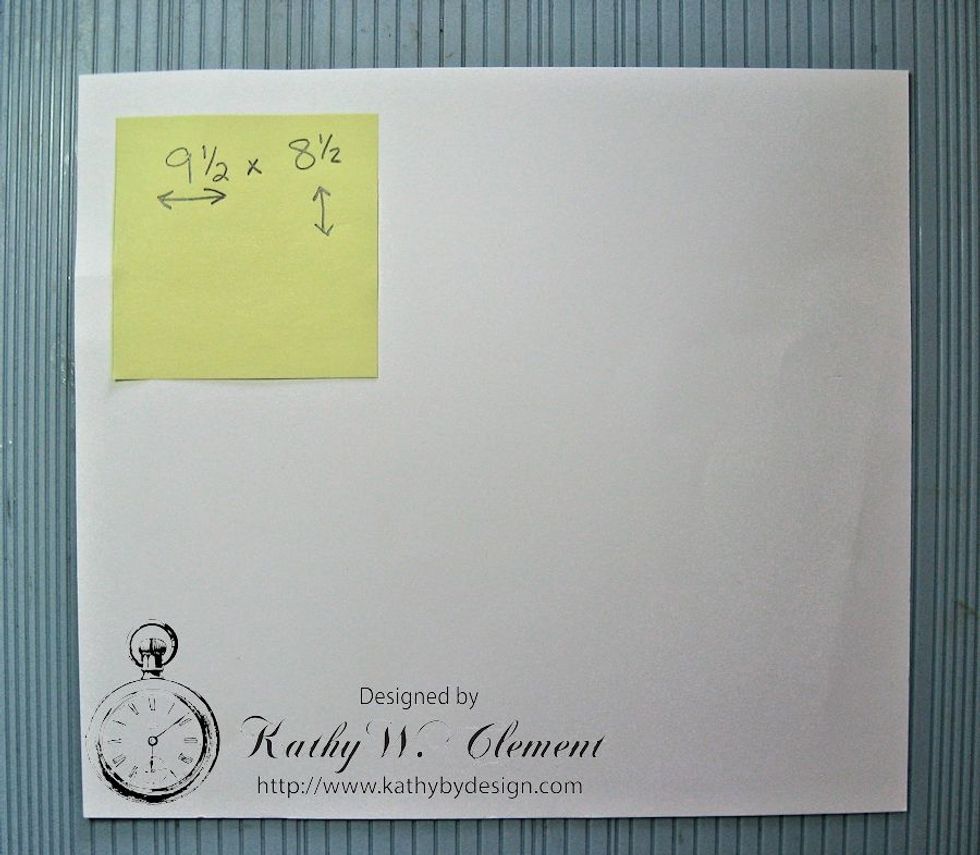
Cut heavy white card stock to measure 9.5" wide x 8.5" tall.

Place the long side of the cardstock along the top rail of your scoring tool. From left to right, score at 3/4", 4 3/4", and again at 8 3/4".
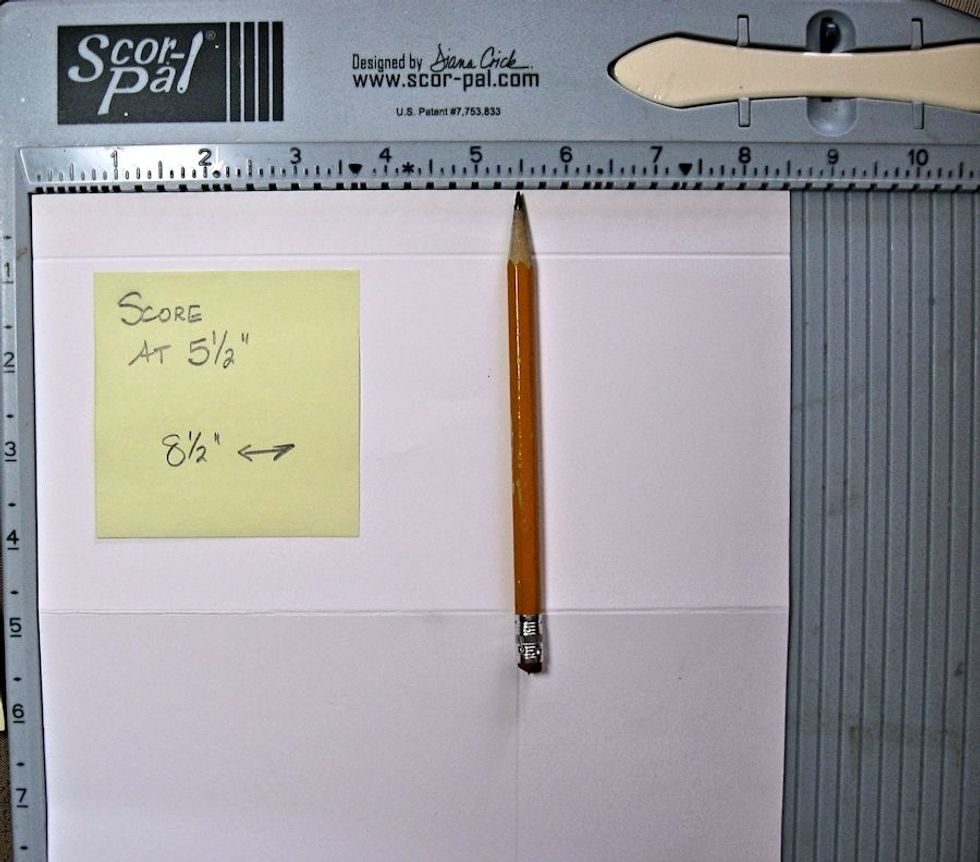
Rotate to the 8/5" side and score at 5 1/2".
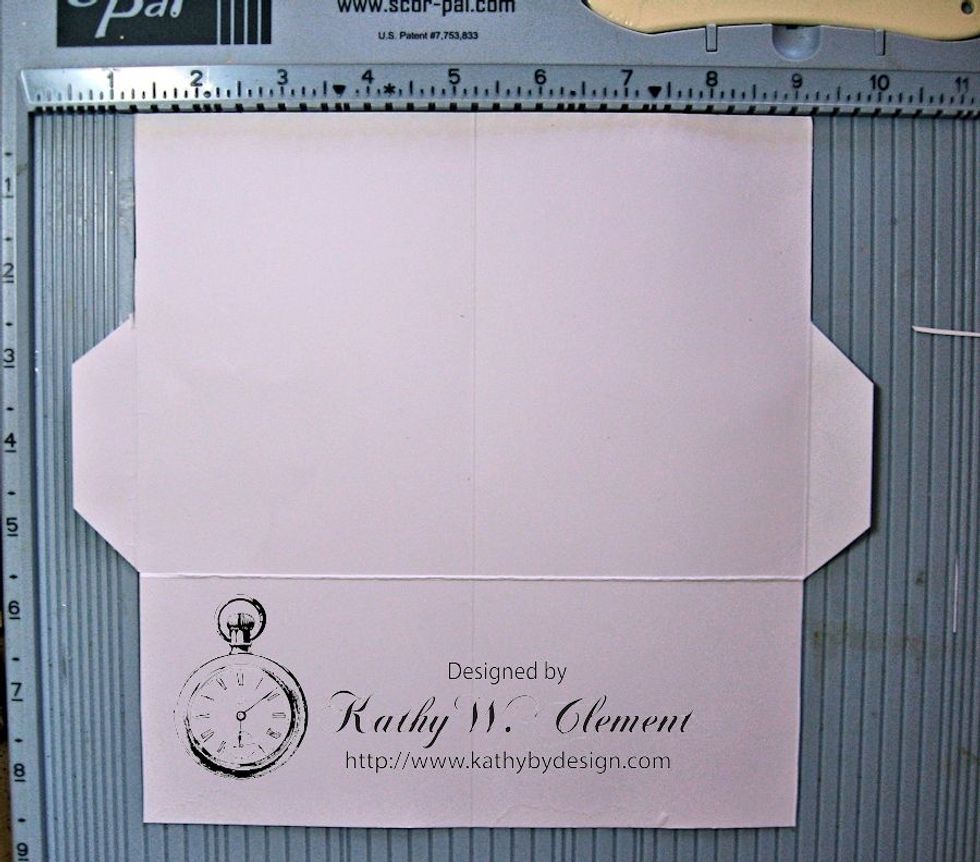
With the long side at the top measure down 2.5" from the top of each side. Cut along the score line, beveling the edge as seen here. Cut from the base to the horizontal score line to form tabs.
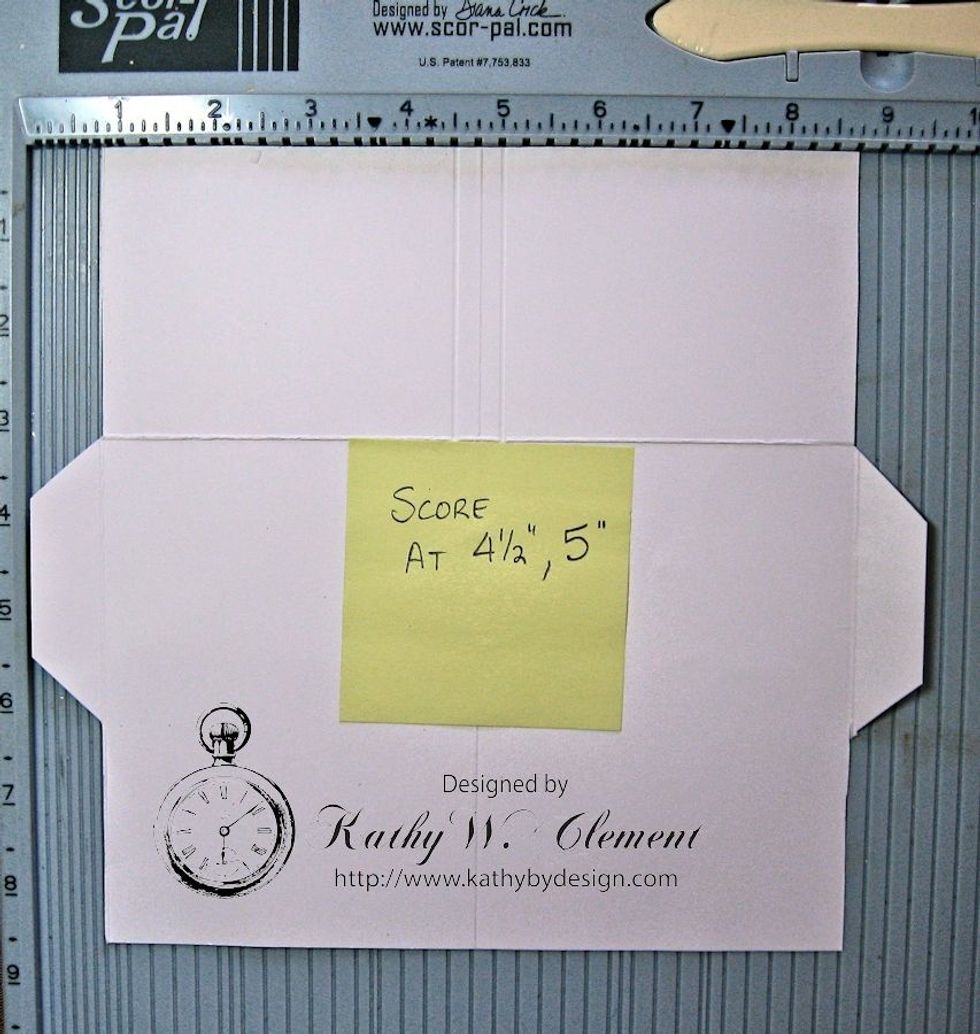
Rotate the cardstock so that the bottom edge is at the top and the left side is lined up with the left hand rail. Score at 4.5" and again at 5 from the top edge to the horizontal score line ".
Cut along the lines you just scored, from the top edge to the horizontal scored line. Use a corner rounder to shape the inside corners, if desired.
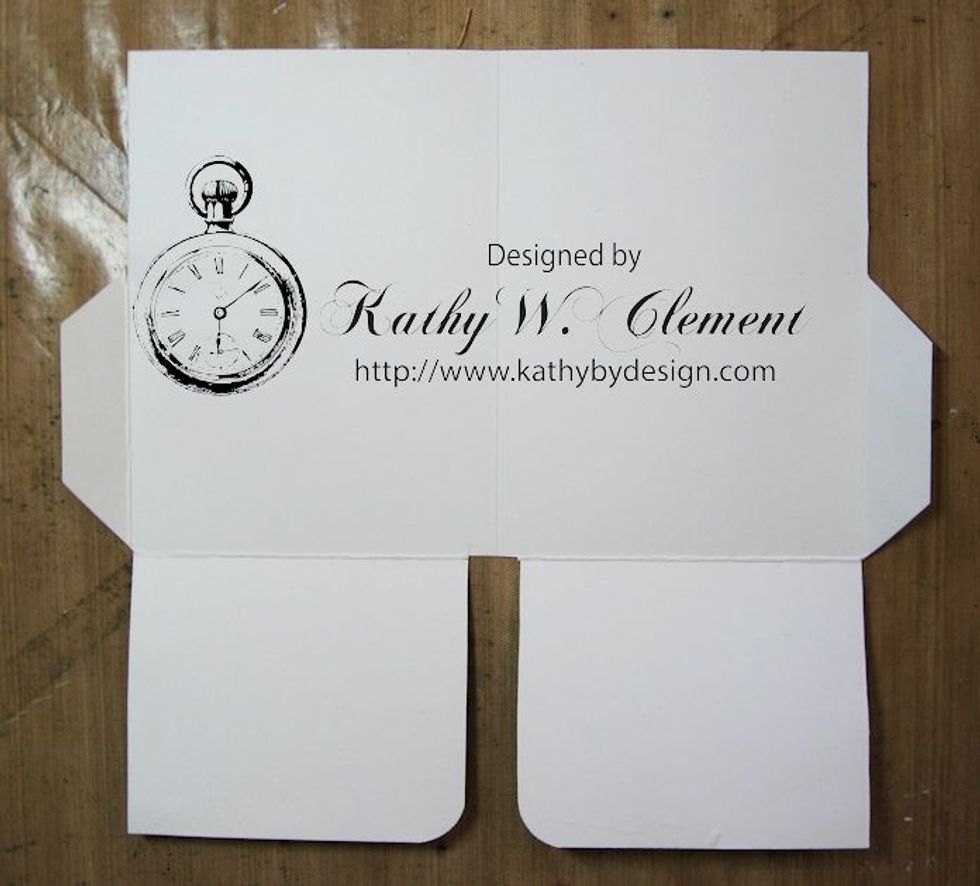
This is the base for your folder.
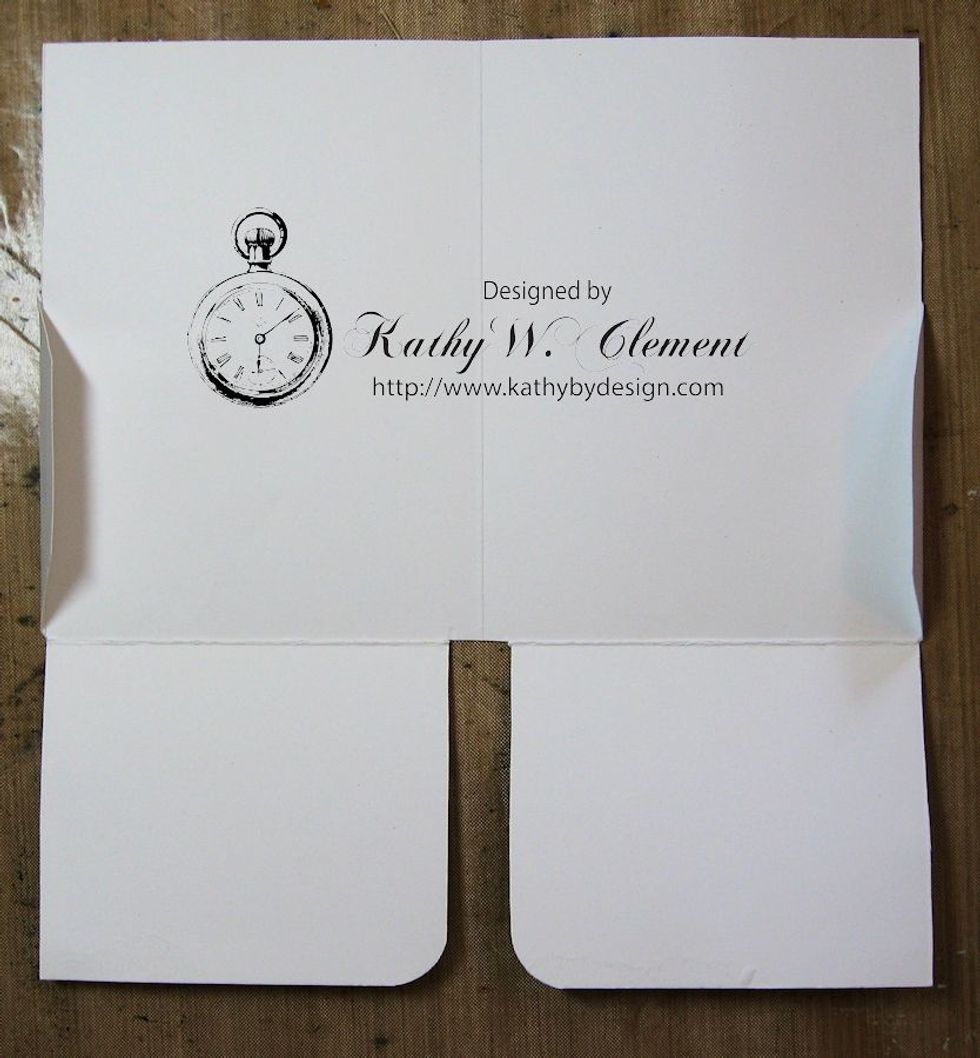
The tabs on the side will fold in.
The flaps on the bottom will fold up to form pockets. But don't glue anything together until after you have lined your inside.
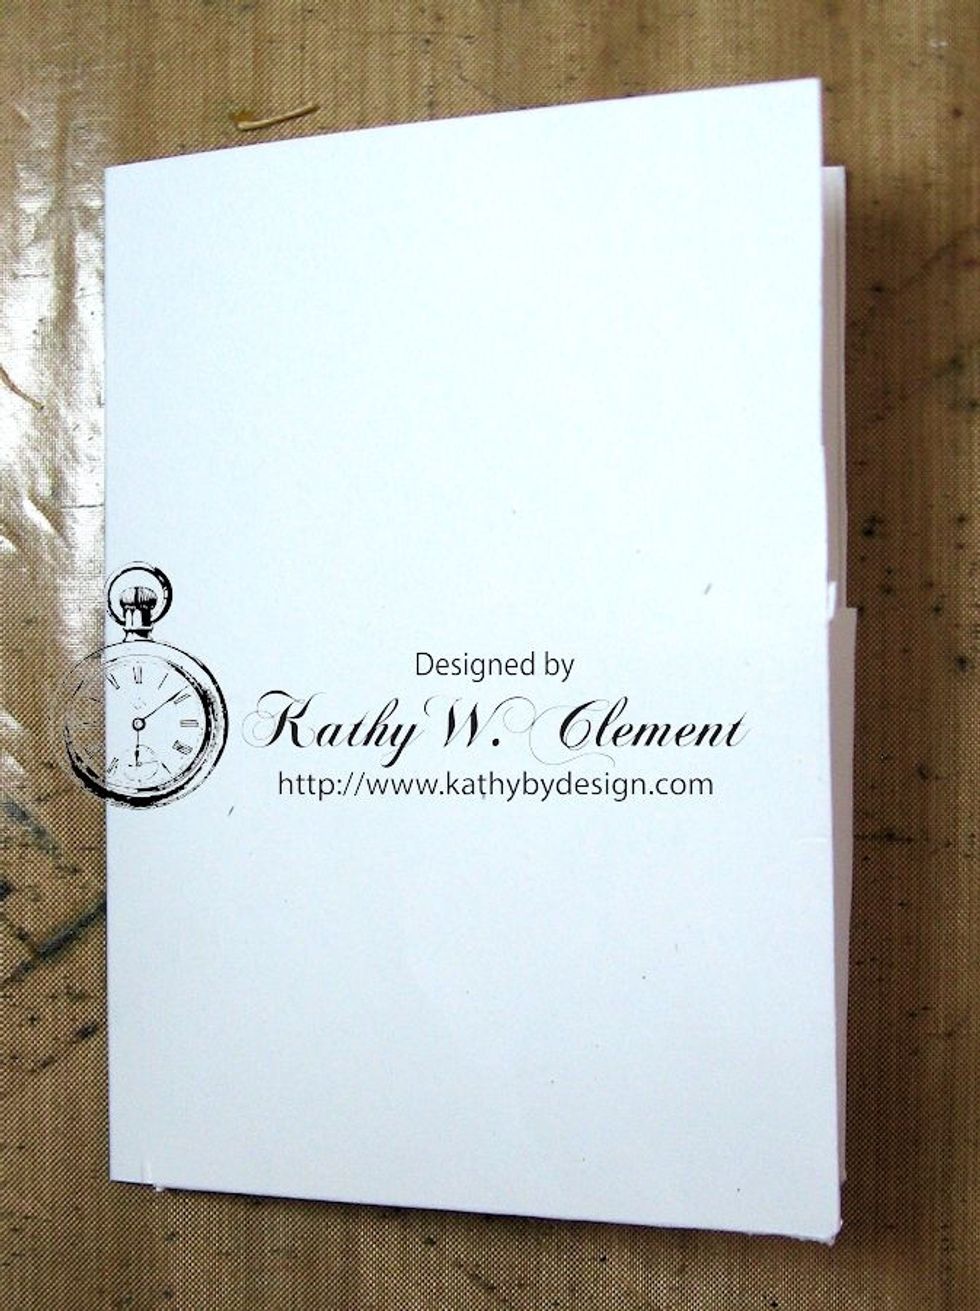
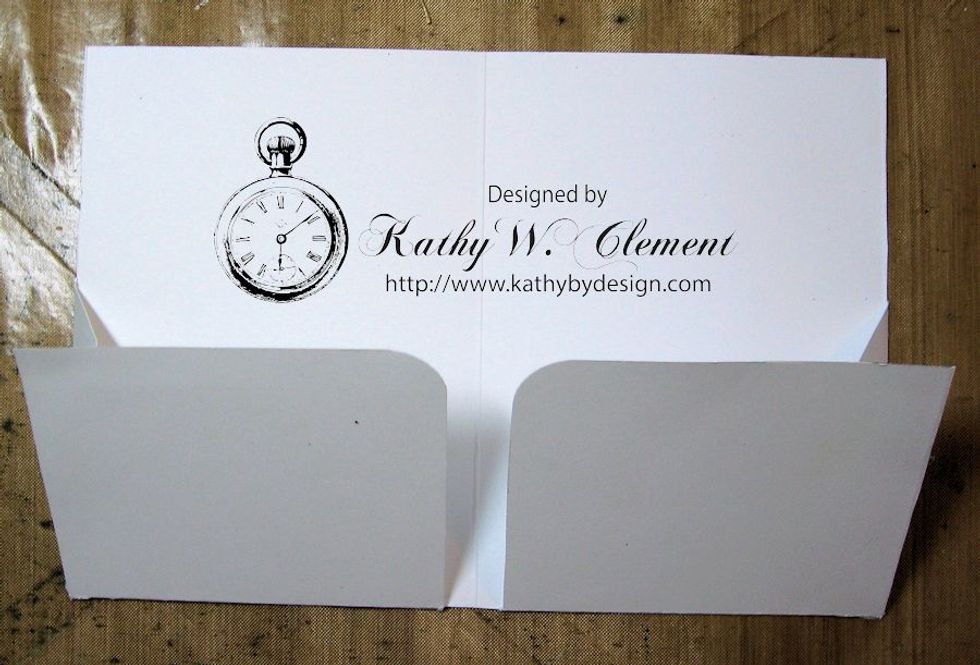
This is what the base looks like when all folded. The crease is on the left, the opening on the right. Crease all the folds and trim up any uneven edges before you proceed to the next step.
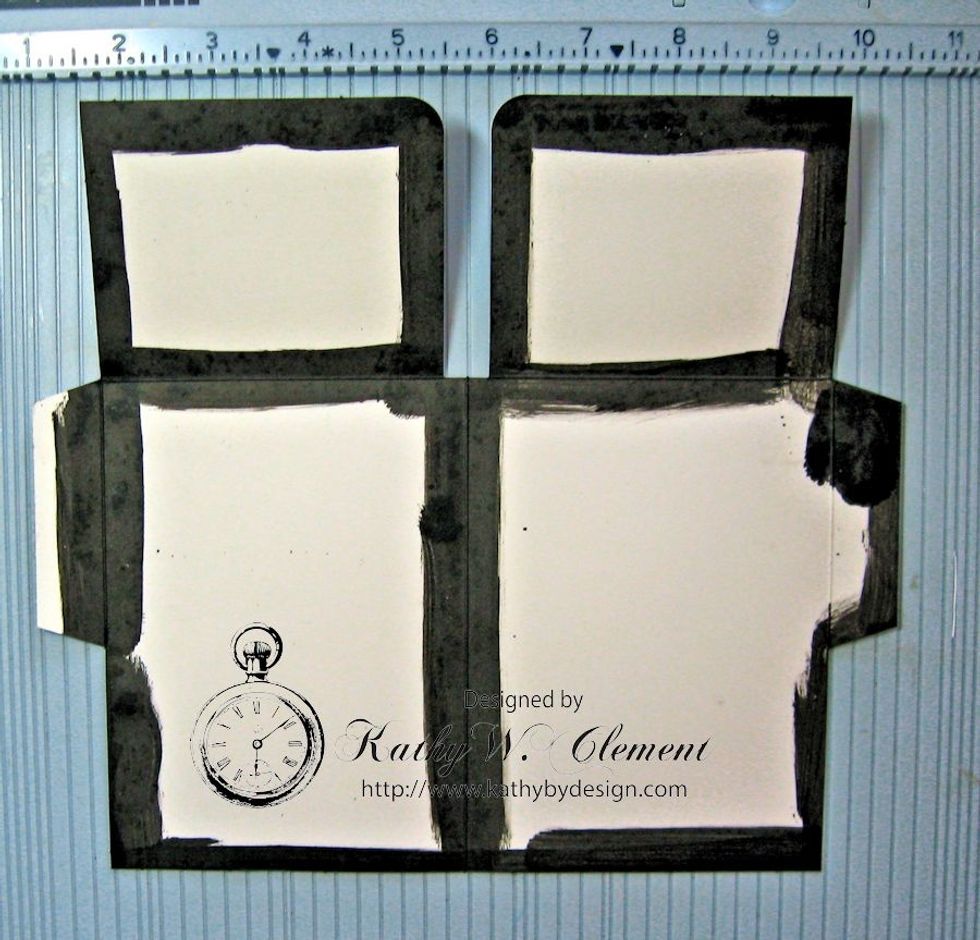
Use Black Soot Distress Paint to cover all the tabs, edges and fold lines on both the front and back of the base. Let dry completely. Make a 2nd folder in this same way.
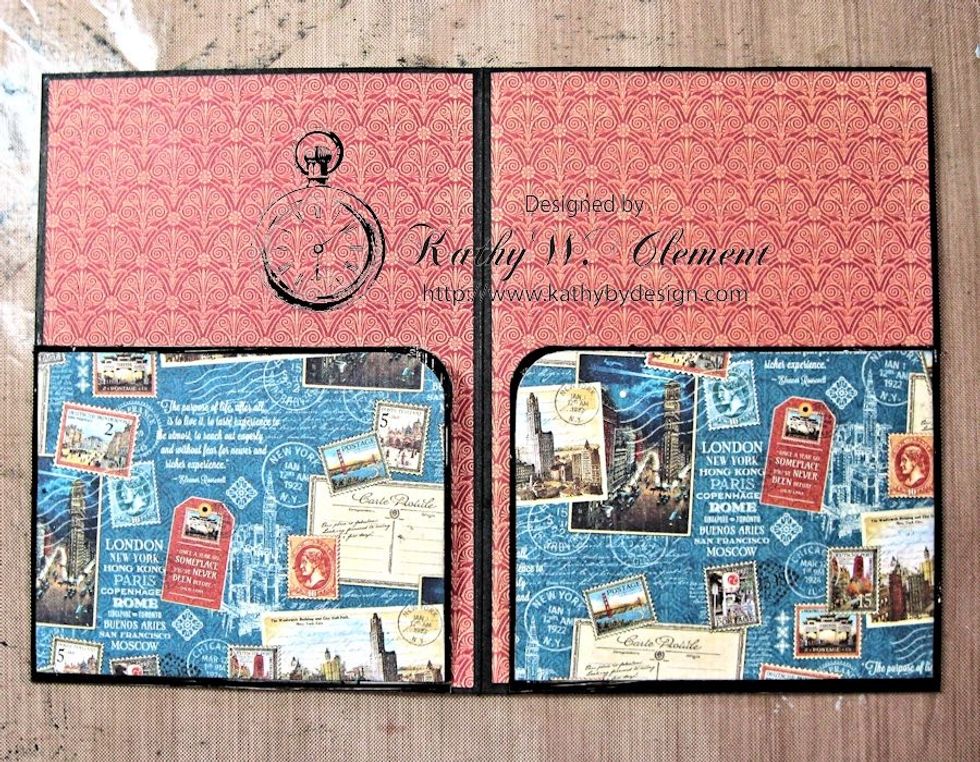
Glue the back of the 1st folder to the front of the 2nd folder. Use a thin bead of glue along the crease, top and bottom only, leaving a pocket for photo mounts. Line the interior of each folder.
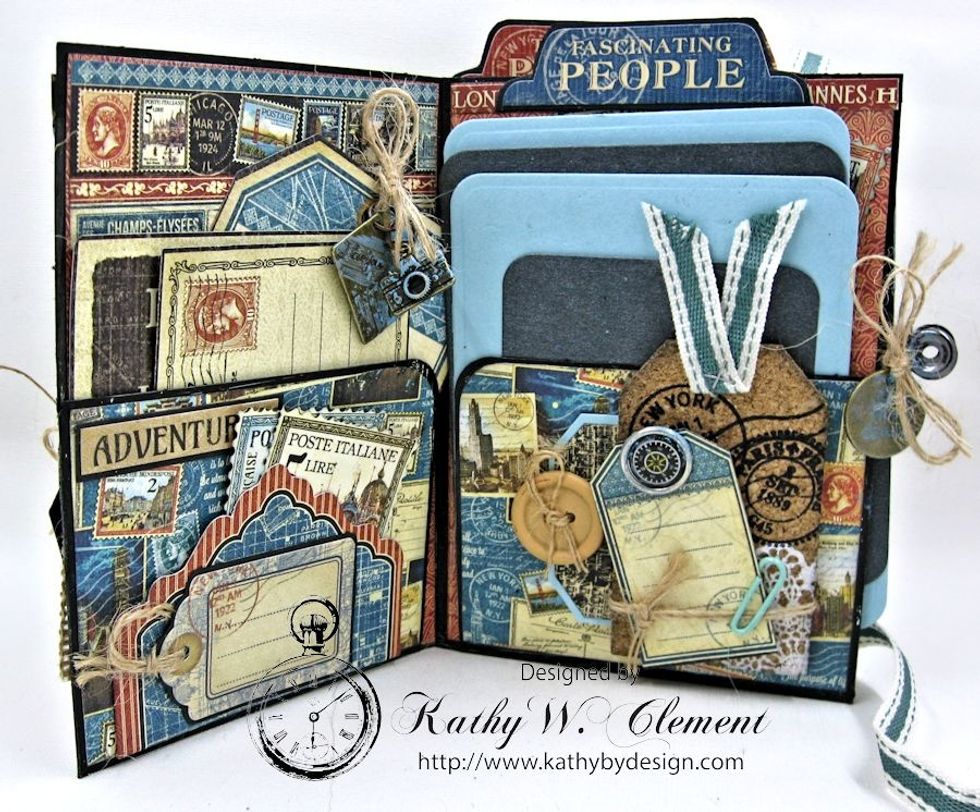
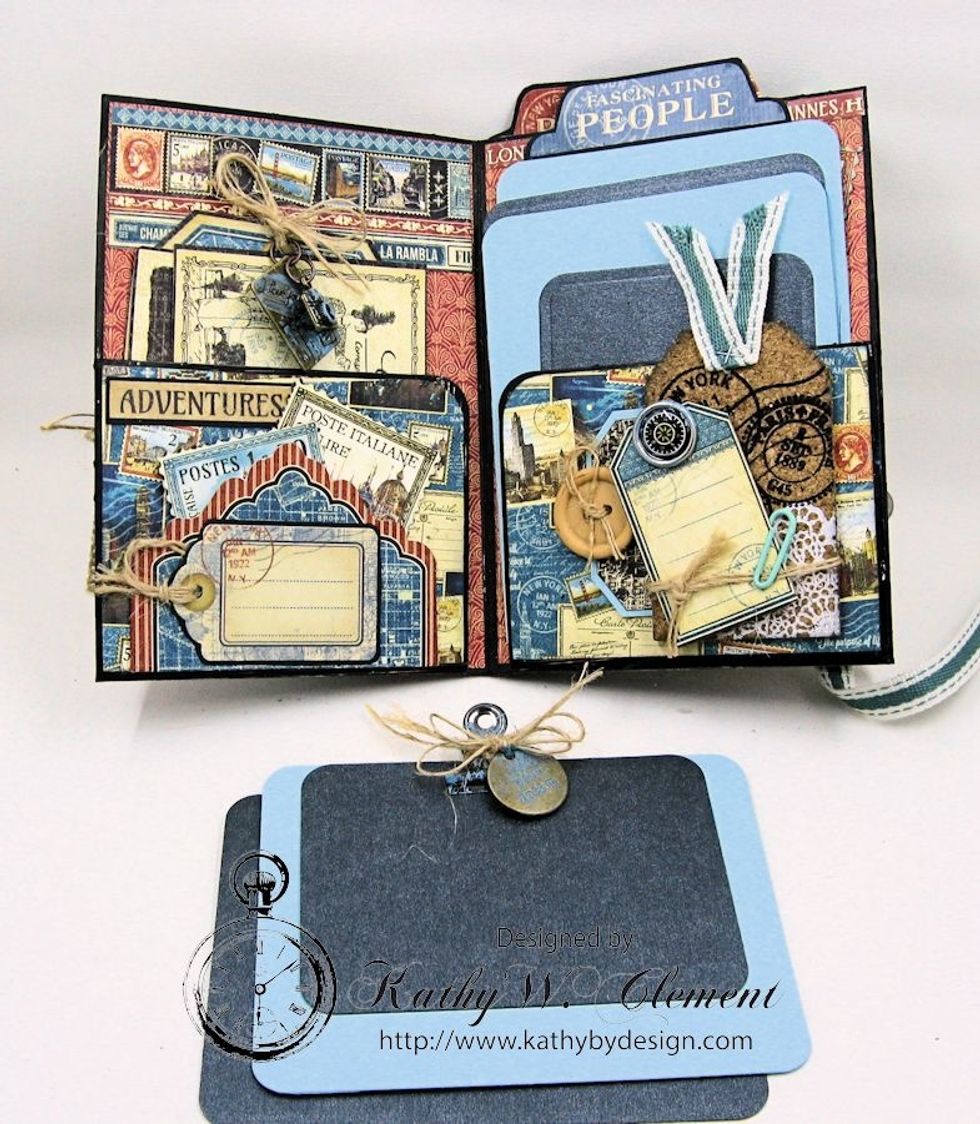
Decorate each pocket and flap with images from the collection. Use Heartfelt Creations Cut, Mat, Create dies to make photo mounts.
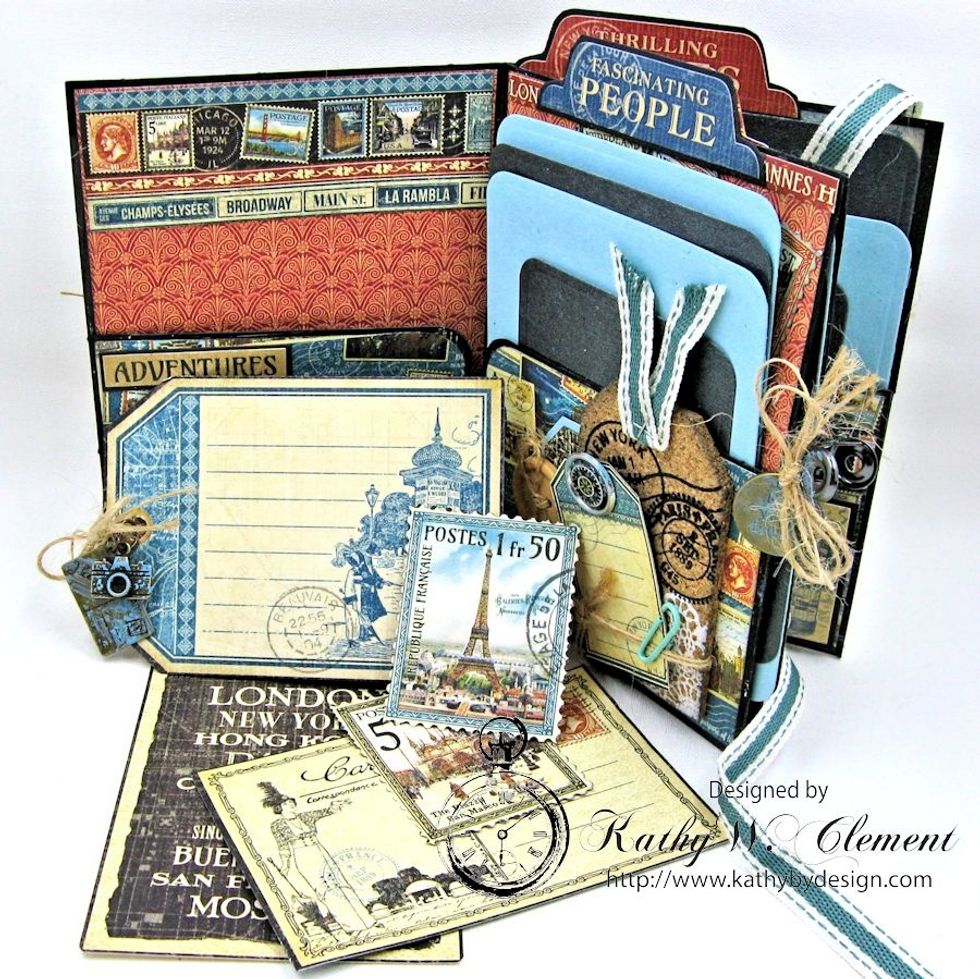
Use the cut apart pages to create tags, journaling spots, postcards and more to fill the pockets. Add charms, burlap string and brads for extra fun. These charms were tapped with Broken China Paint.
Where you glued the two folders together, you will have a pocket for even more photo mounts. Hold together with a mini clip, and tie a charm to it with burlap string. Tuck in the pocket.
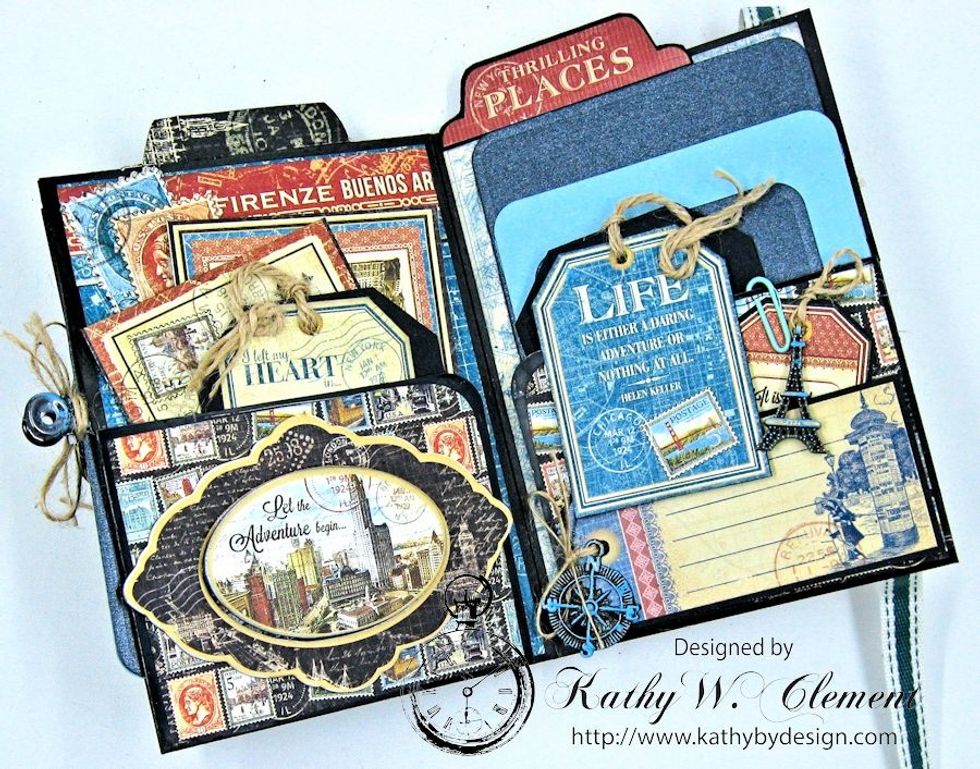
Decorate the inside of the 2nd pocket in the same way you did the 1st. It's loads of fun to pull out all these tags and postcards. But you can journal here, or add small photos to the backs.
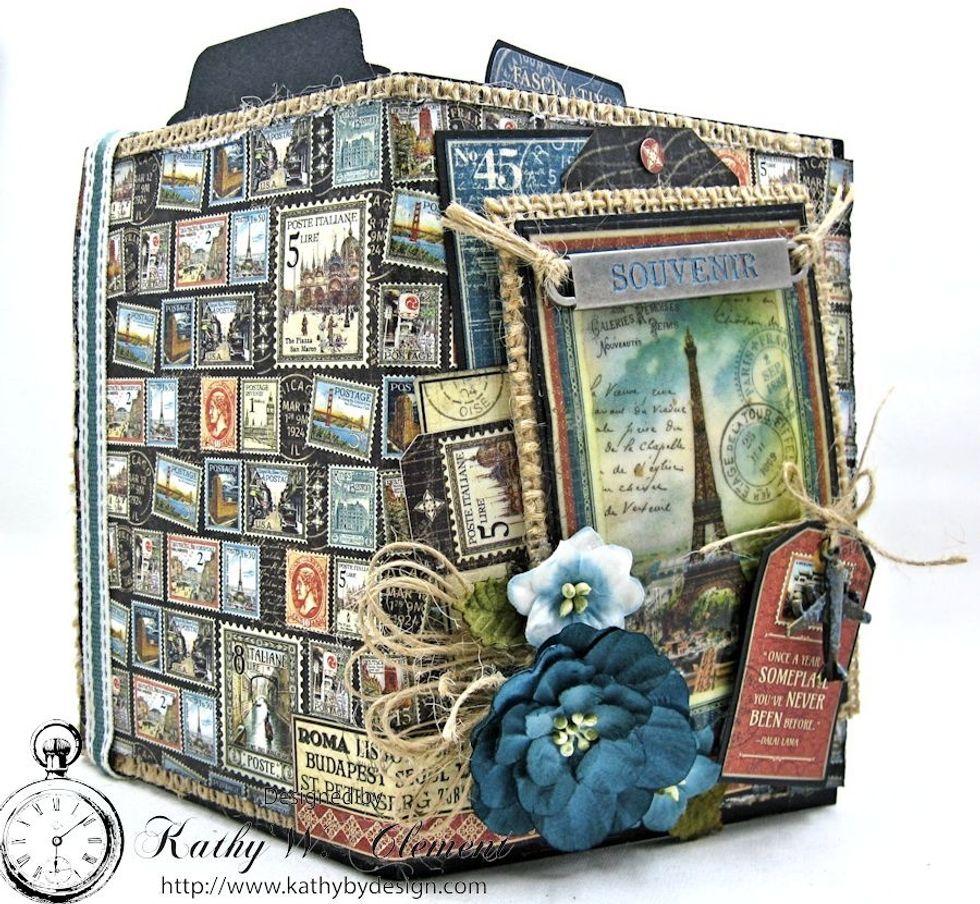
When the inside is done, line the outside with burlap, then cover with designer paper. Add tags and embellishments, using foam tape to create dimension. Add Petaloo flowers & string bow
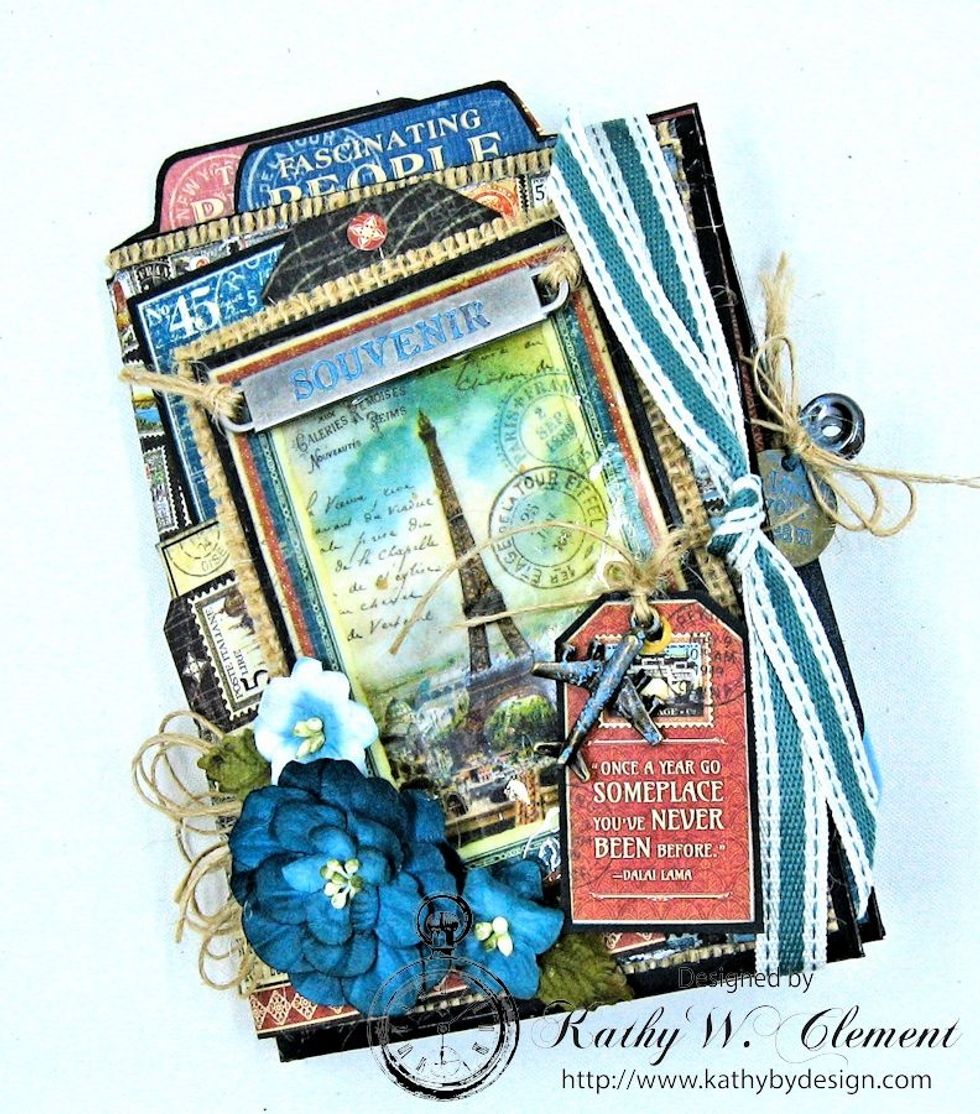
Tie the folder together with ribbon & it's ready to go! The small size makes it easy to pack in a suitcase or carry on. I hope you'll have as much fun making this as I did. Go get your craft on!