The Conversation (0)
Sign Up
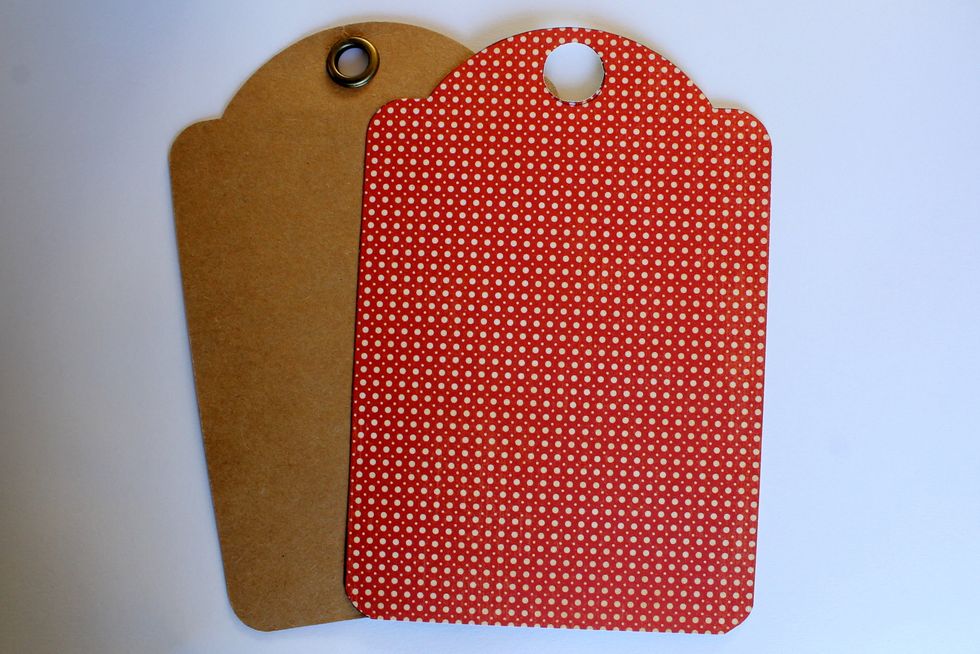
Take a kraft tag from the Regular Tag Album and cut the same form out of a red polka dot paper from the 8x8 Pad. Also cut out a hole of the same size as the hole in the kraft tag.
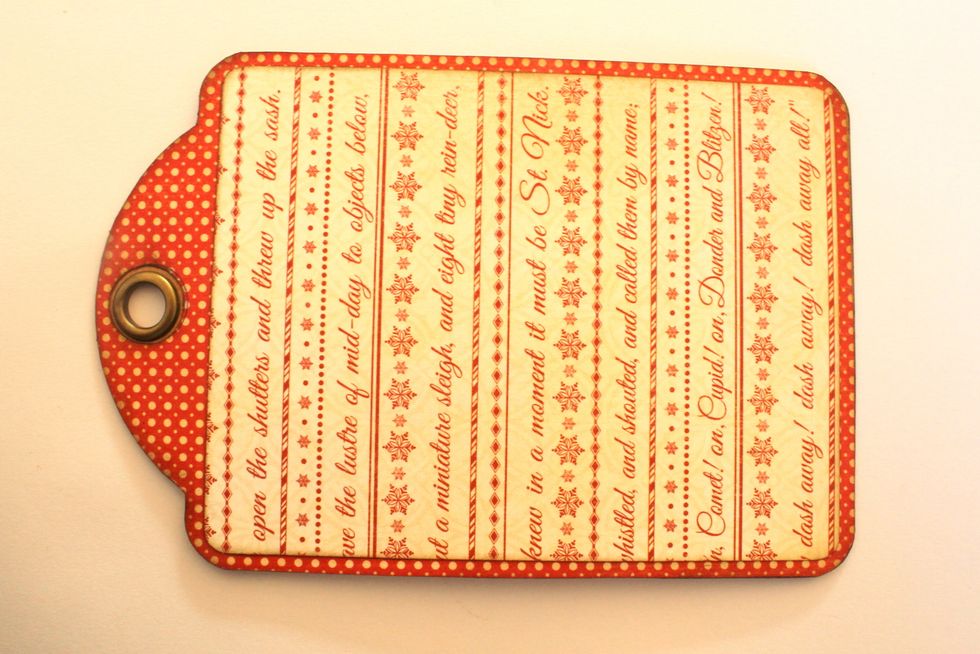
Attach the red paper tag to the tag base. Cut out a rectangle that is slightly smaller than the tag from another paper out of the 8x8 Pad. Ink the edges and attach it on top of the red paper.

Cut out another rectangle from the gingham paper from the 8x8 Pad. Ink the edges and glue it down on top of the other papers.
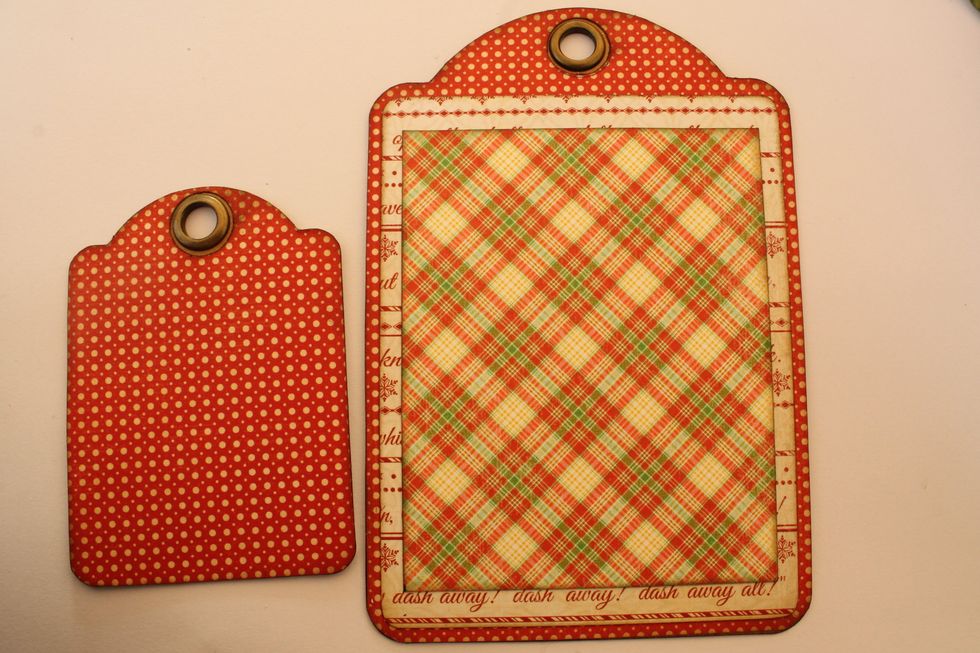
Take an ATC tag and cut out a tag of the same size from a sheet of red polka dot paper. Attach it on top of the ATC tag.
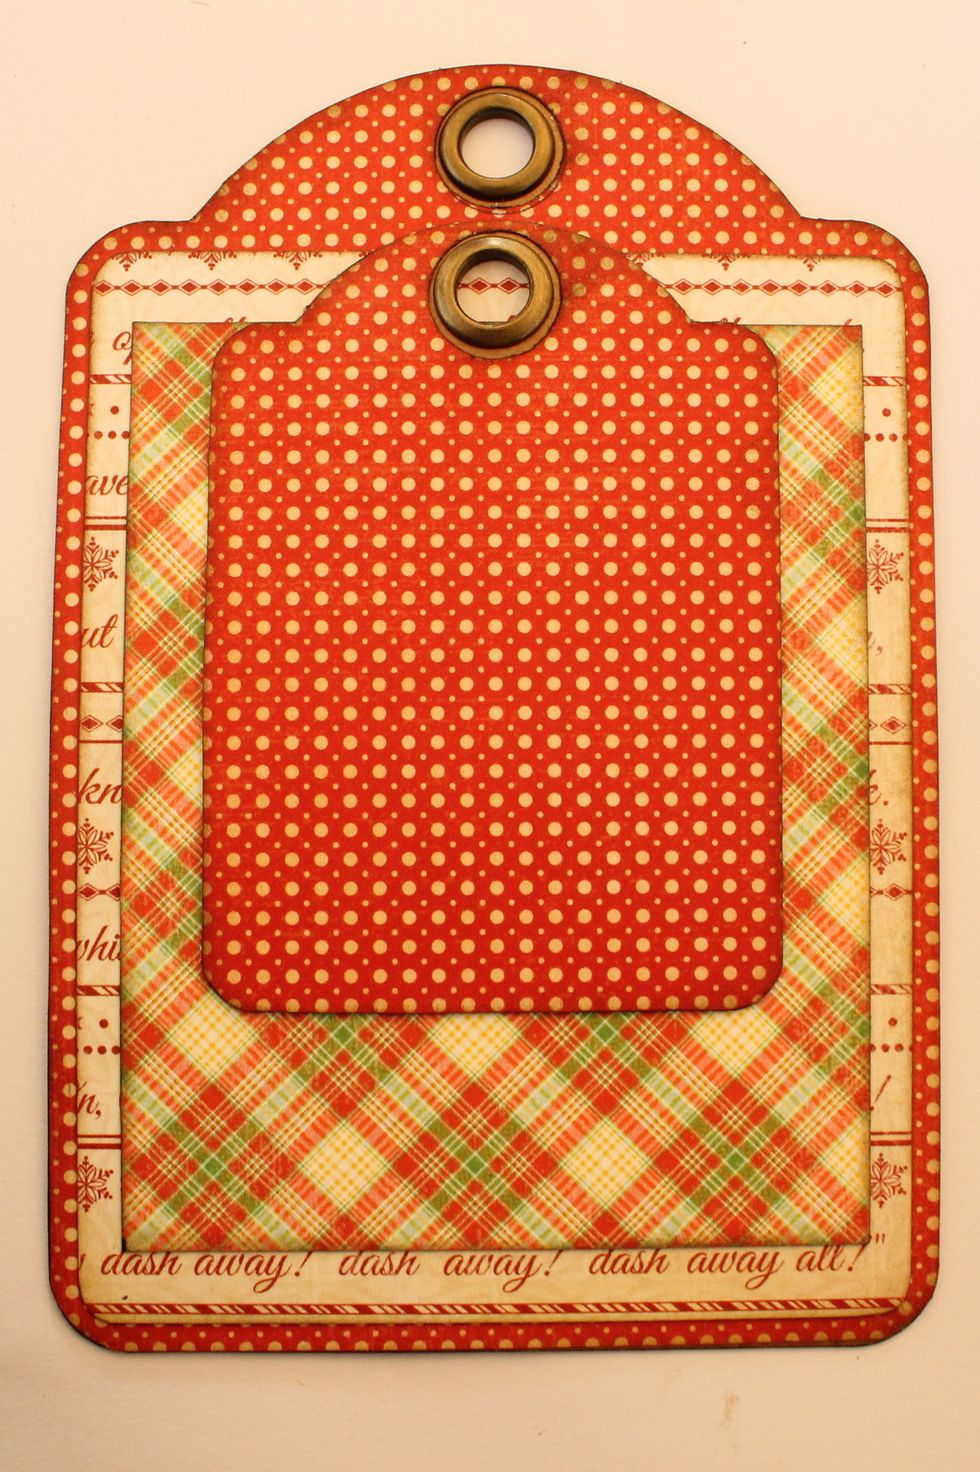
Attach the ATC tag on top of the larger tag.
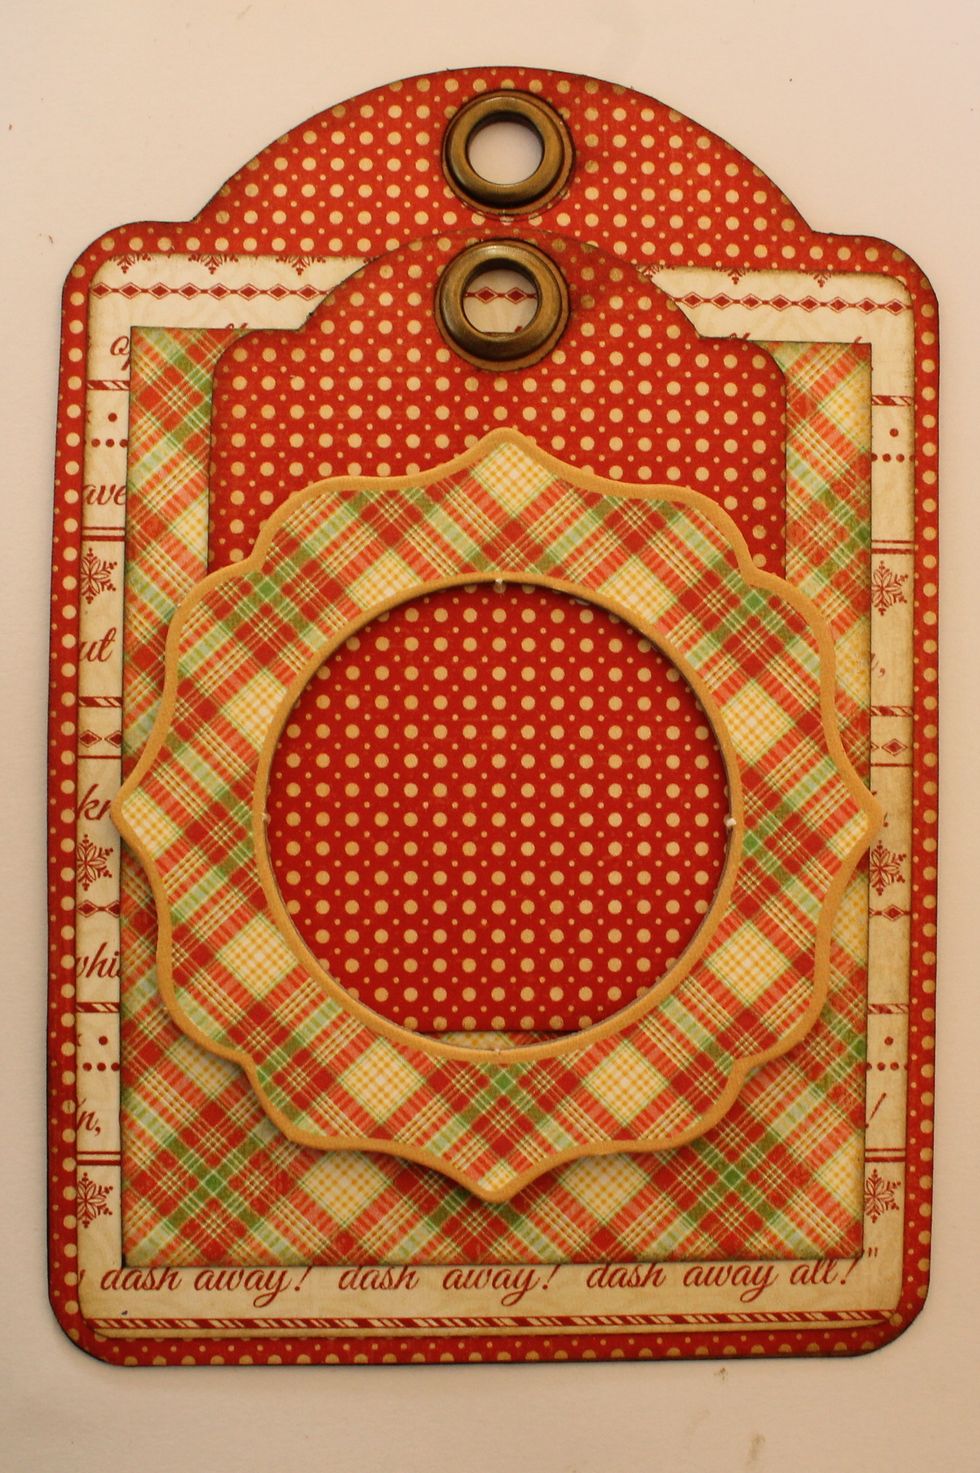
Glue down a chipboard frame onto the ATC tag.
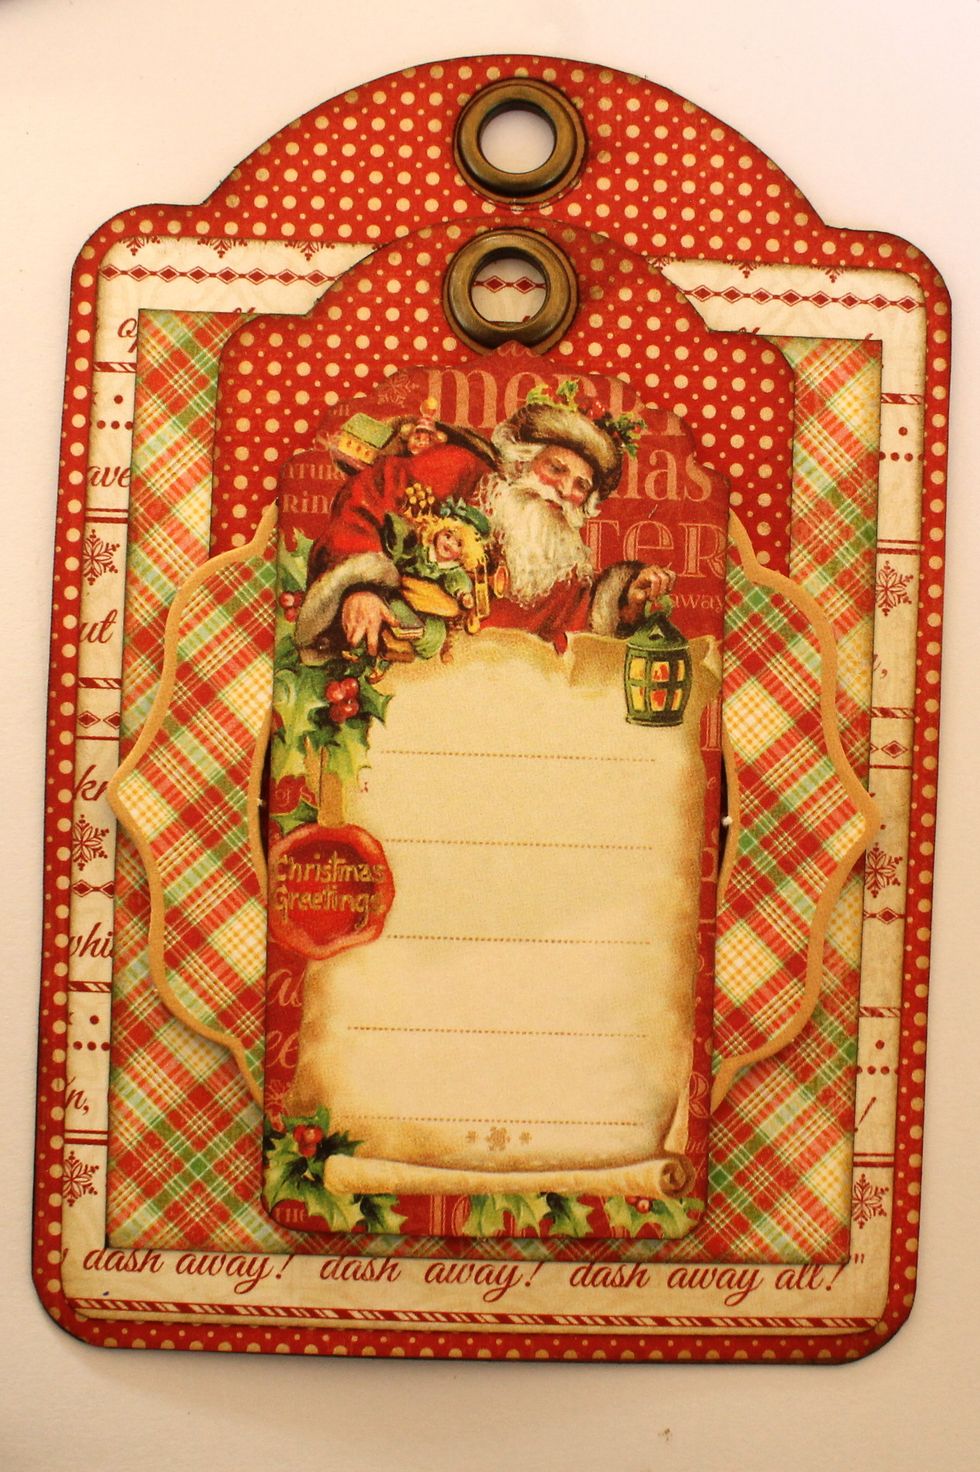
Take out one of the die-cuts from the Tags & Pockets packaging and attach it on top of the chipboard frame.
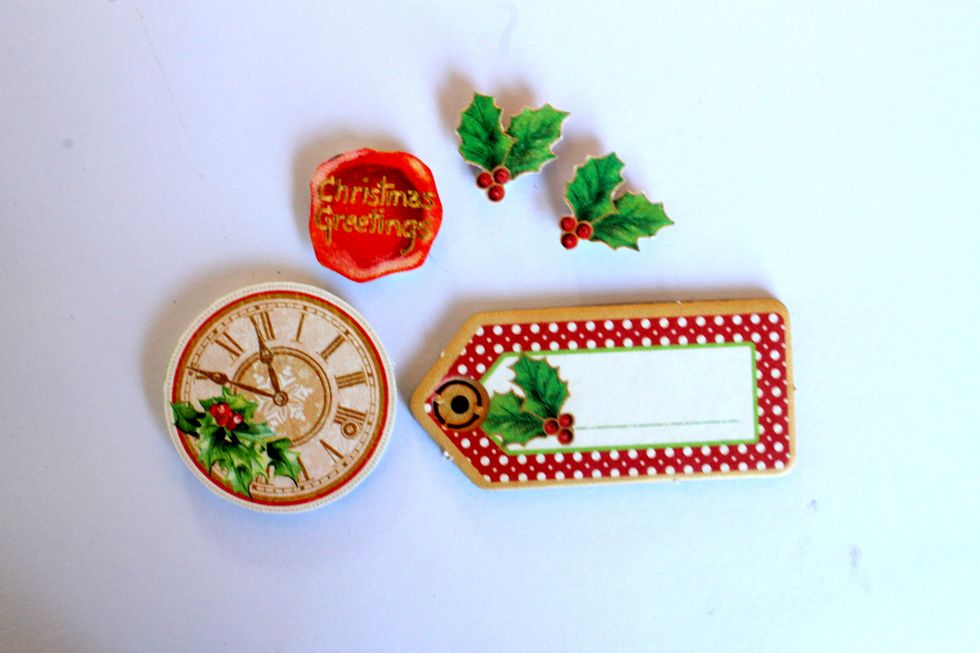
Take a small chipboard embellishment from the chipboard package. Also cut out two holly leaves, a sentiment and a clock from the Twas the Night Before Christmas papers.
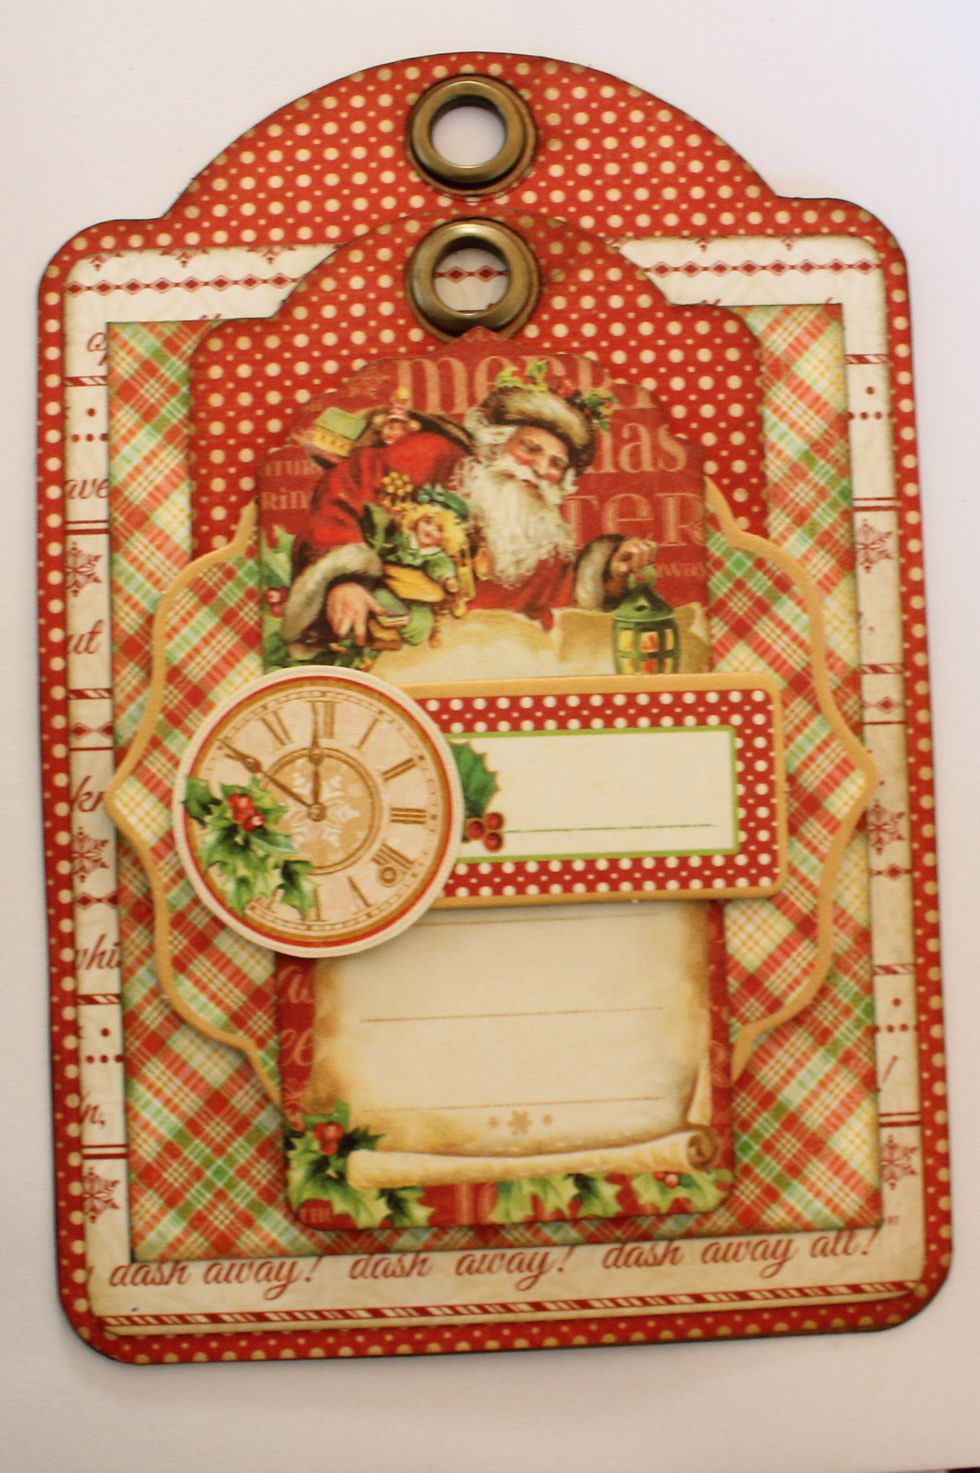
Attach the chipboard embellishment and the clock onto the tag.
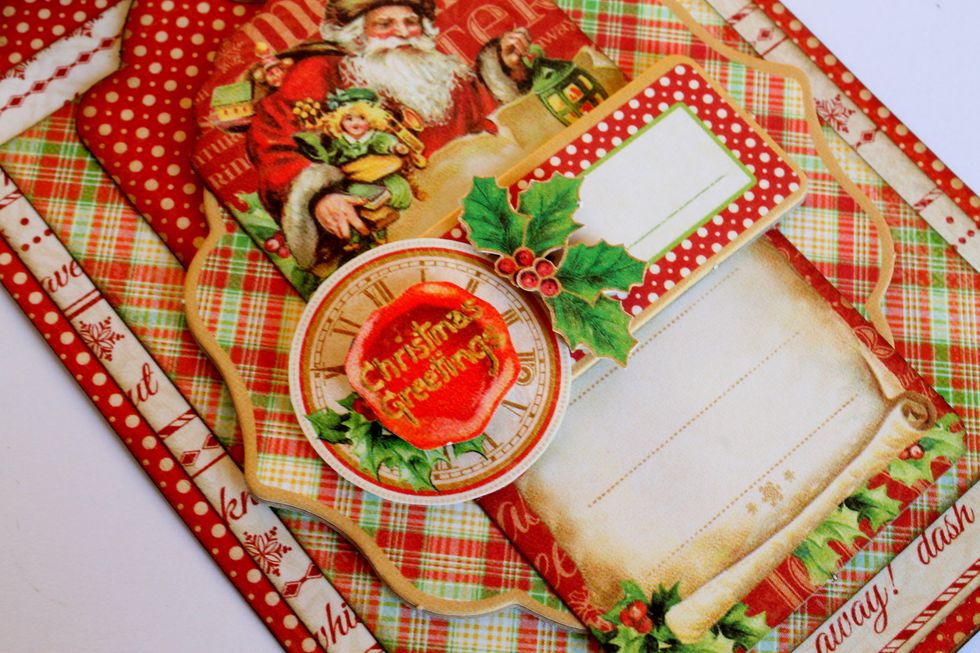
Use foamtape to attach the holly leaves on the right side of the clock and the Christmas Greetings sentiment on top of it.
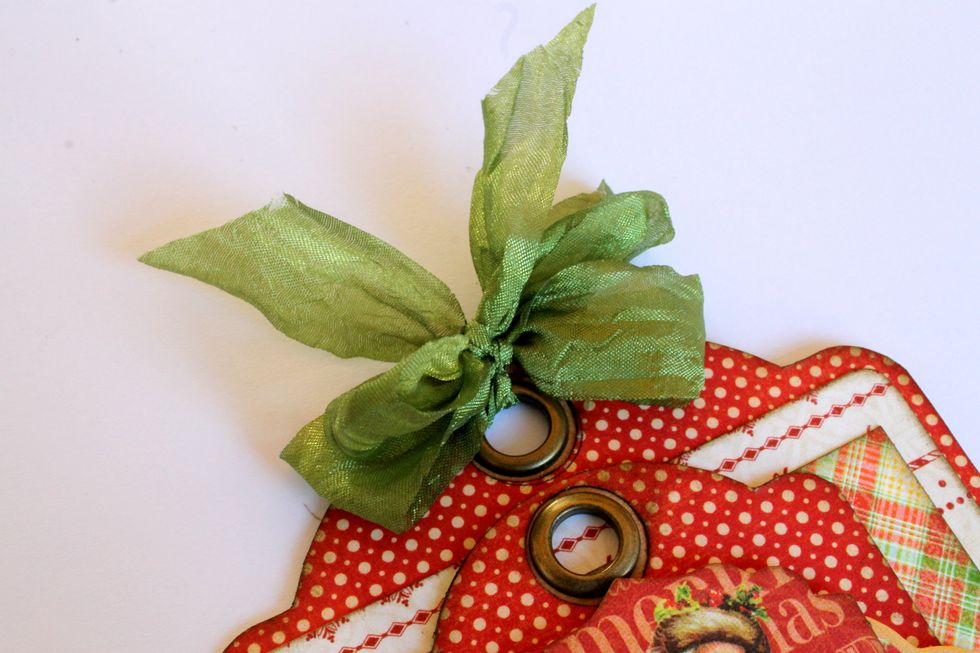
Tie a double bow from green seem binding.
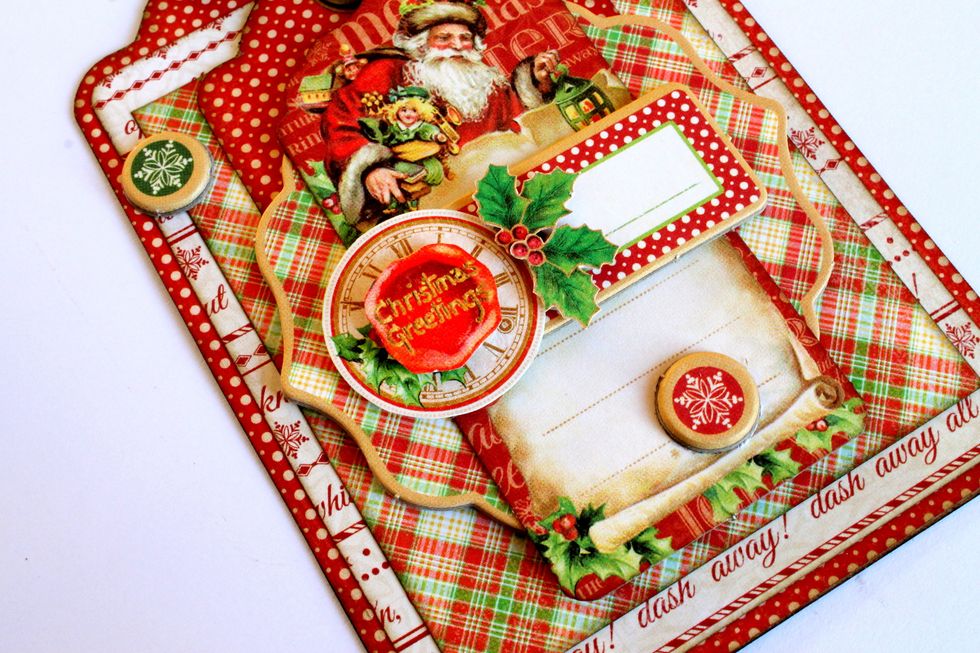
Add two small chipboard snowflakes to the card.
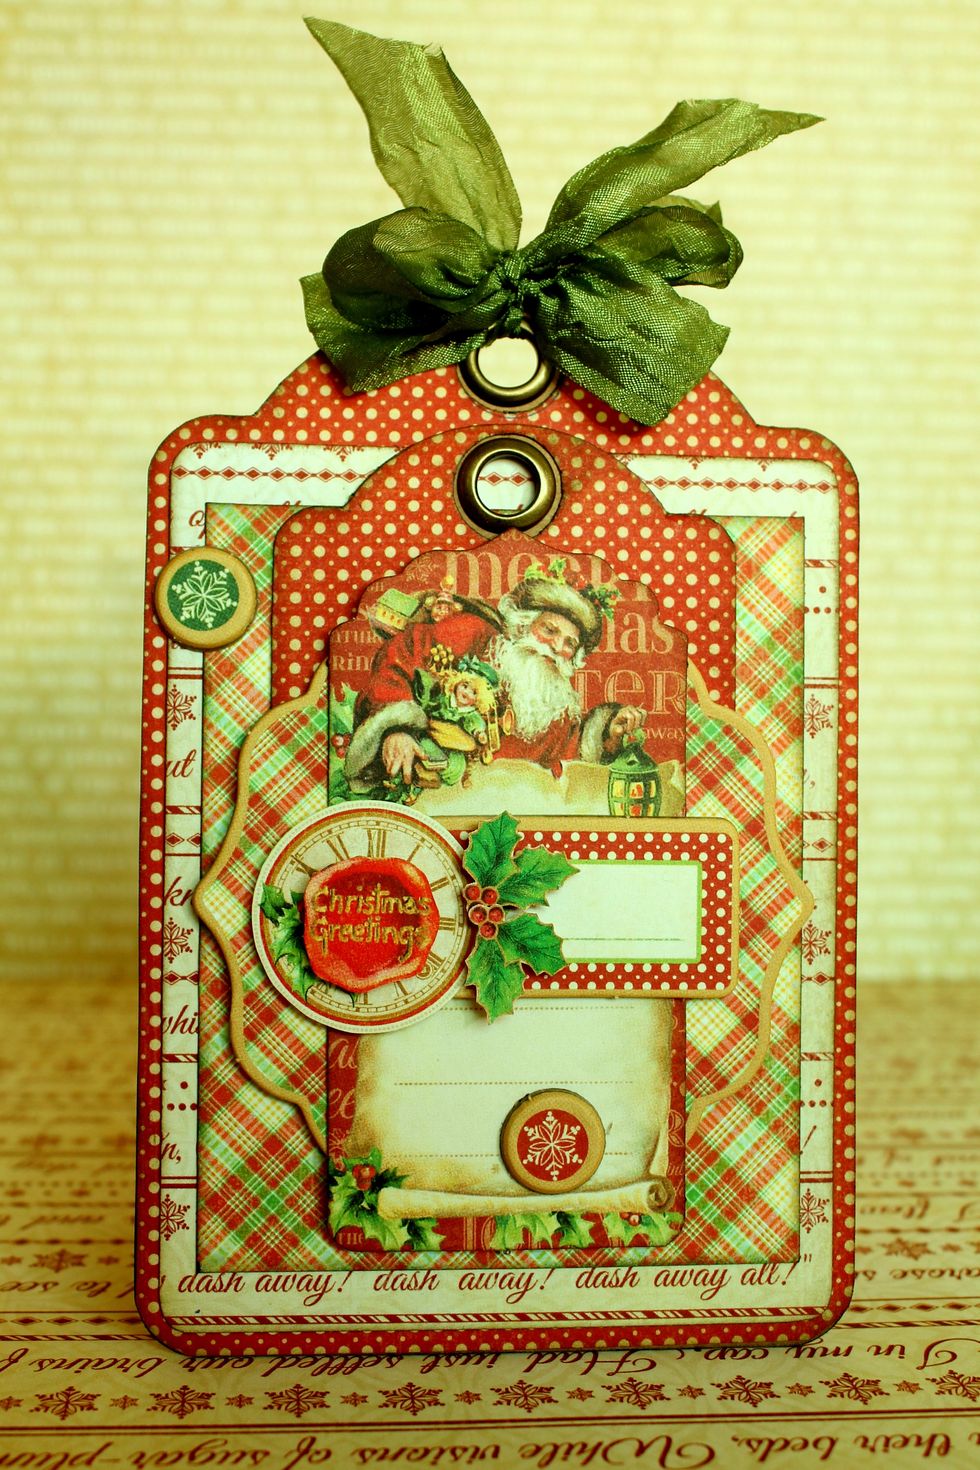
Now your card is all finished!