The Conversation (0)
Sign Up
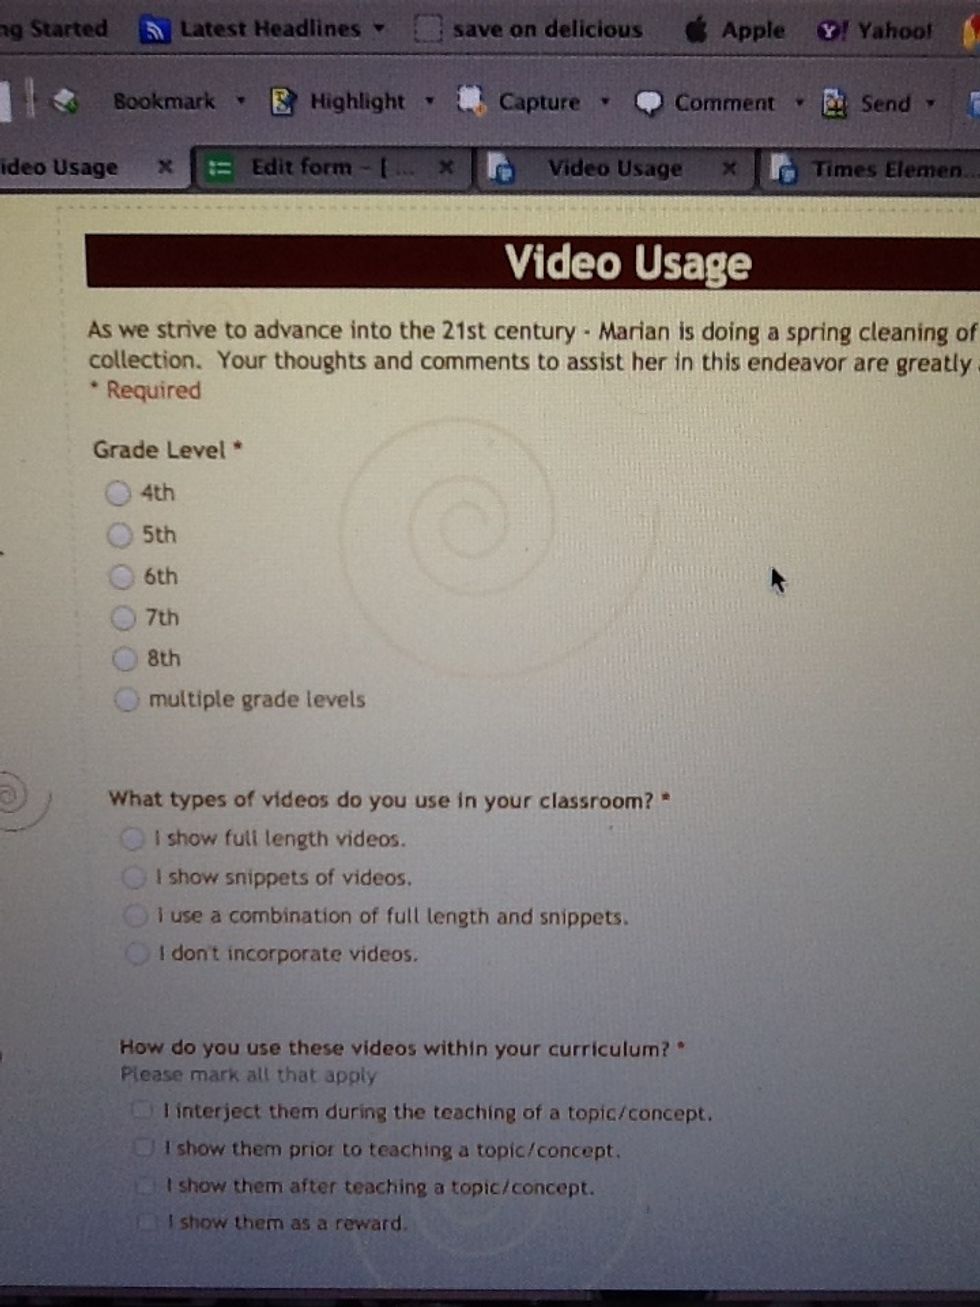
This is a form we used to determine how teachers were showing videos. These forms can be emailed, embedded or found with a hyperlink.
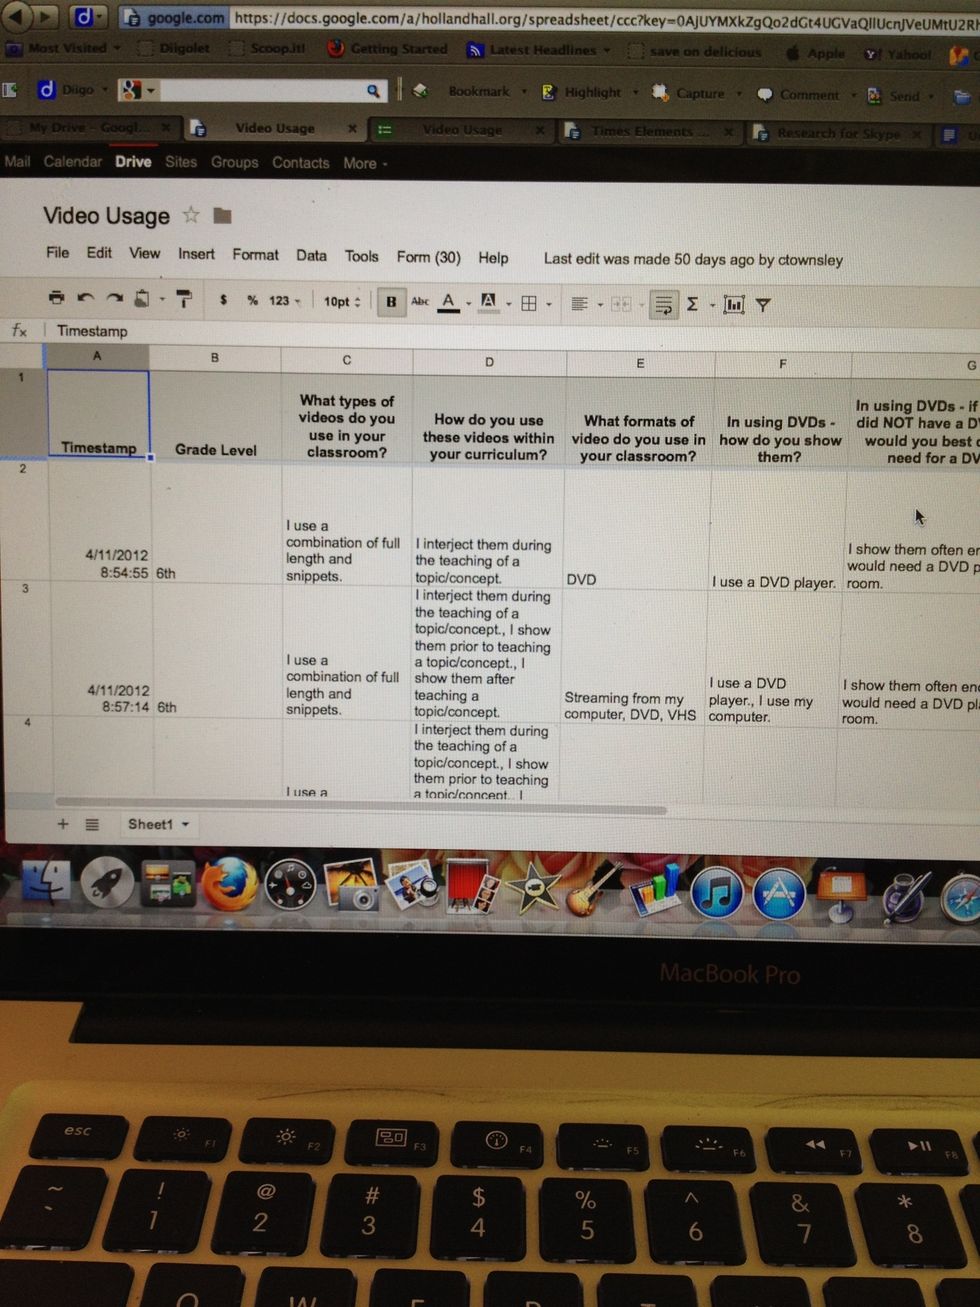
For your answers you will see a time-date stamped Google Spreadsheet. Are there other ways these forms can be used?!? Of course!! That is a whole other Snapguide!!
Don't forget- you will have to have or create a Google account. Then once there look on the top left for the word DOCS (or the new term DRIVE).
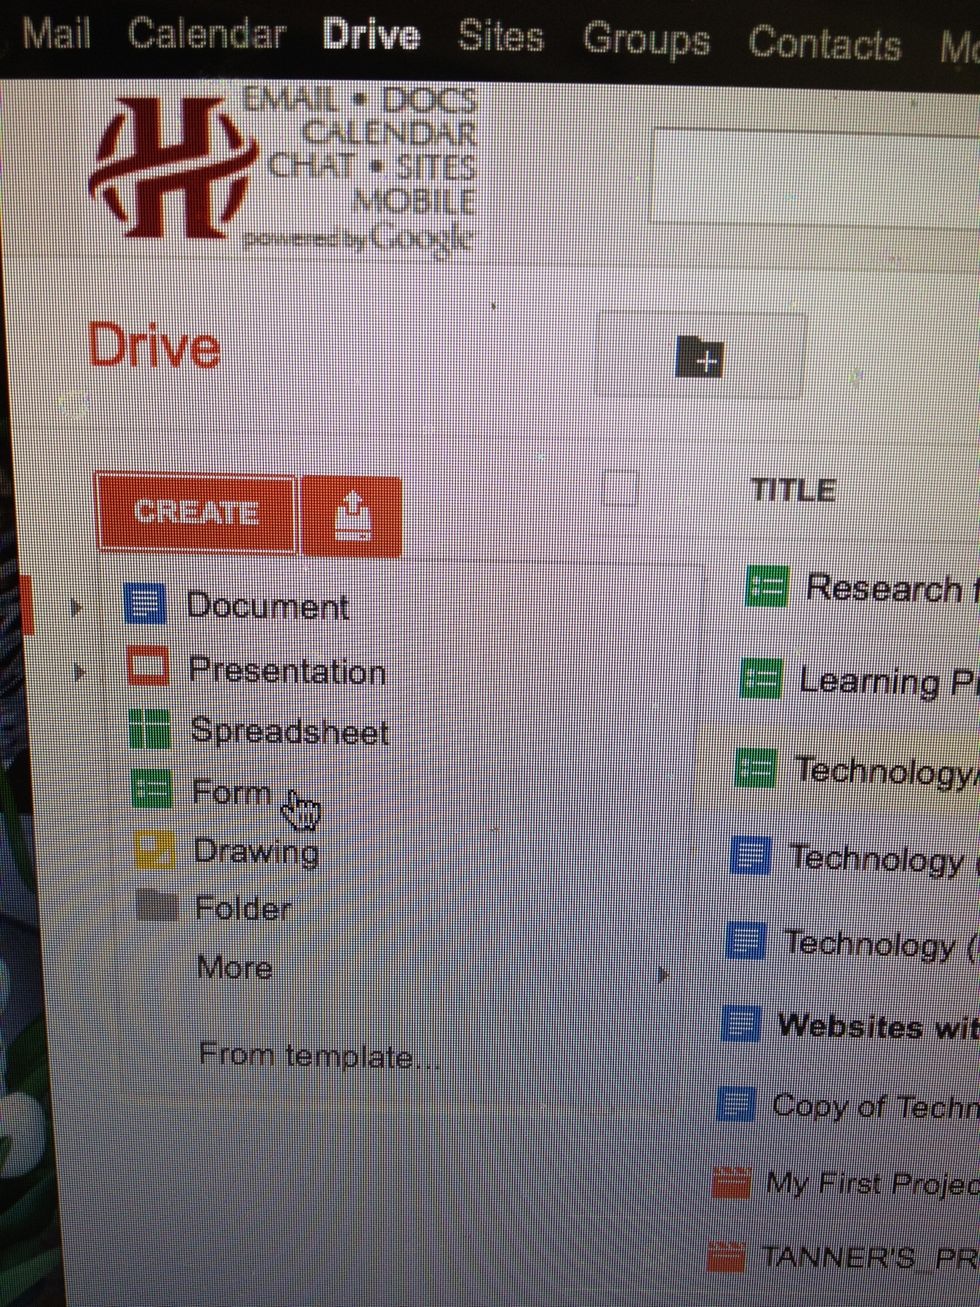
When you are in Google Docs (which is changing to Google DRIVE), on the left click on CREATE then scroll down to choose FORM.

This is how your Google Form will initially appear.
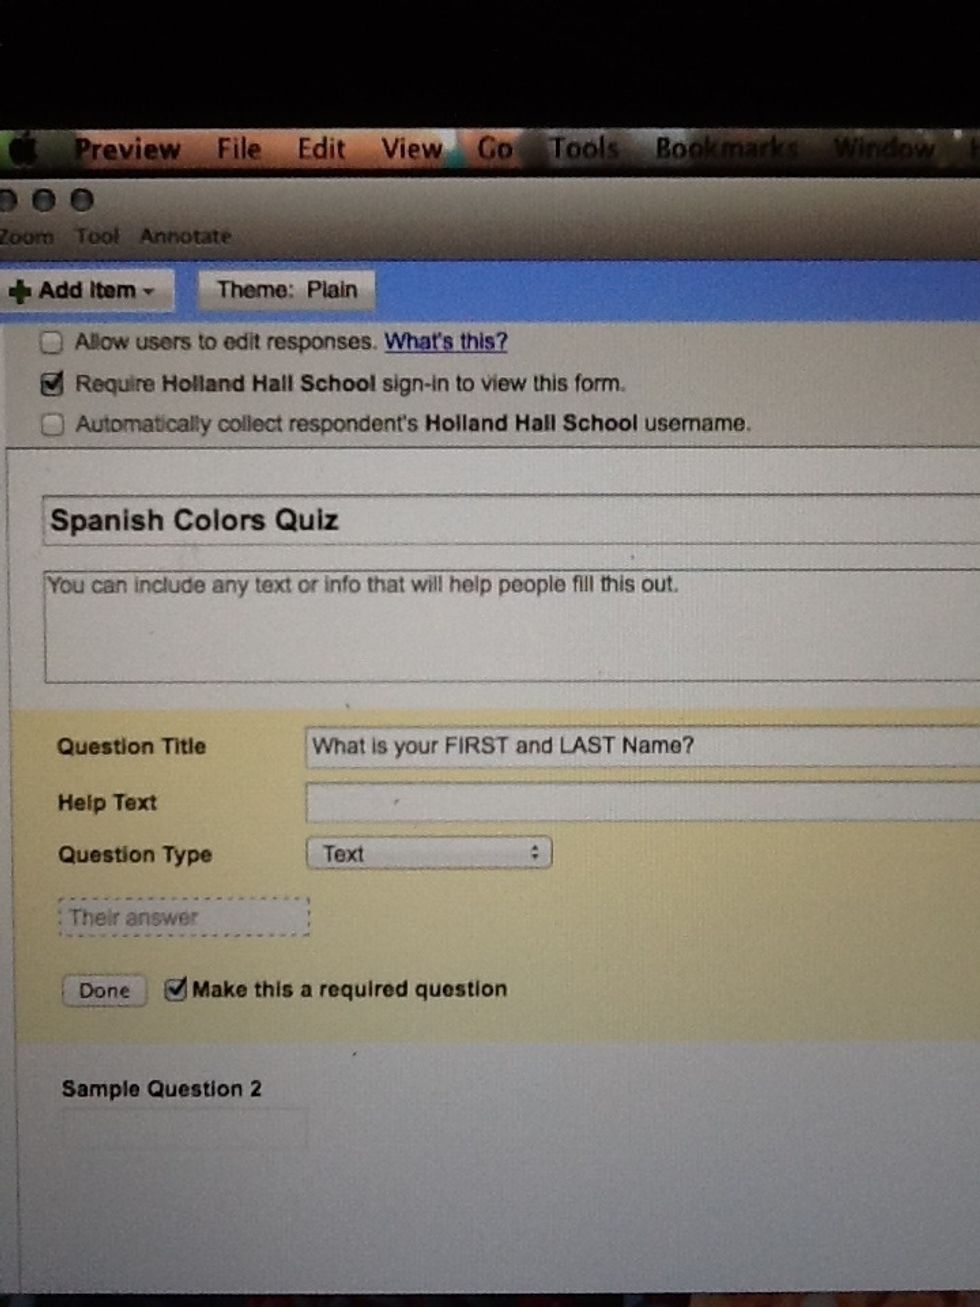
You will need to title your form- and unless this is something that is being answered anonymously, it might be best to make the first question type a "text" and ask for first and last name.
For the second question- click on the "edit" button.
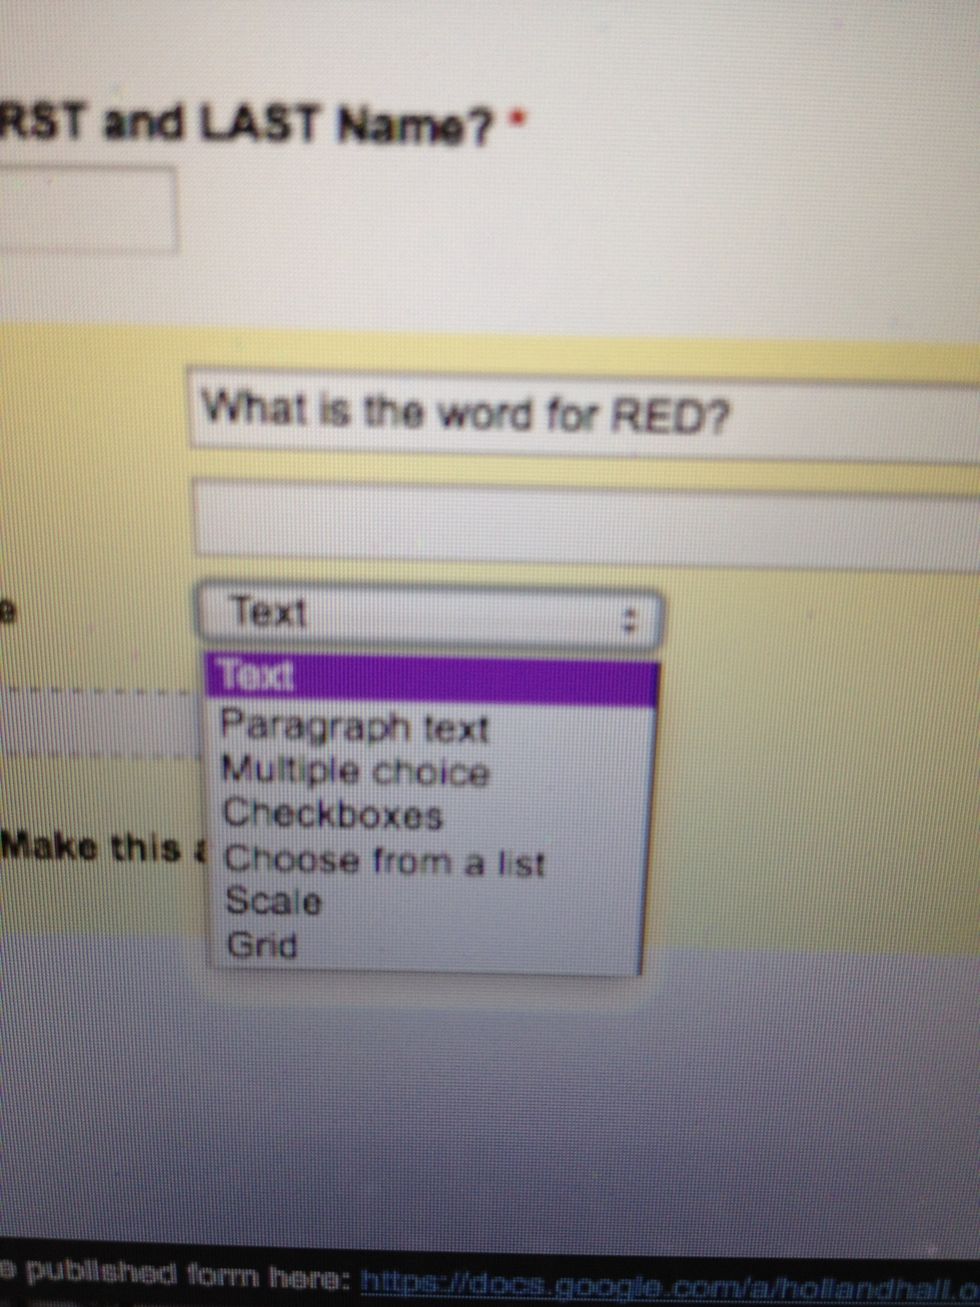
Notice you can choose from various types of questions.
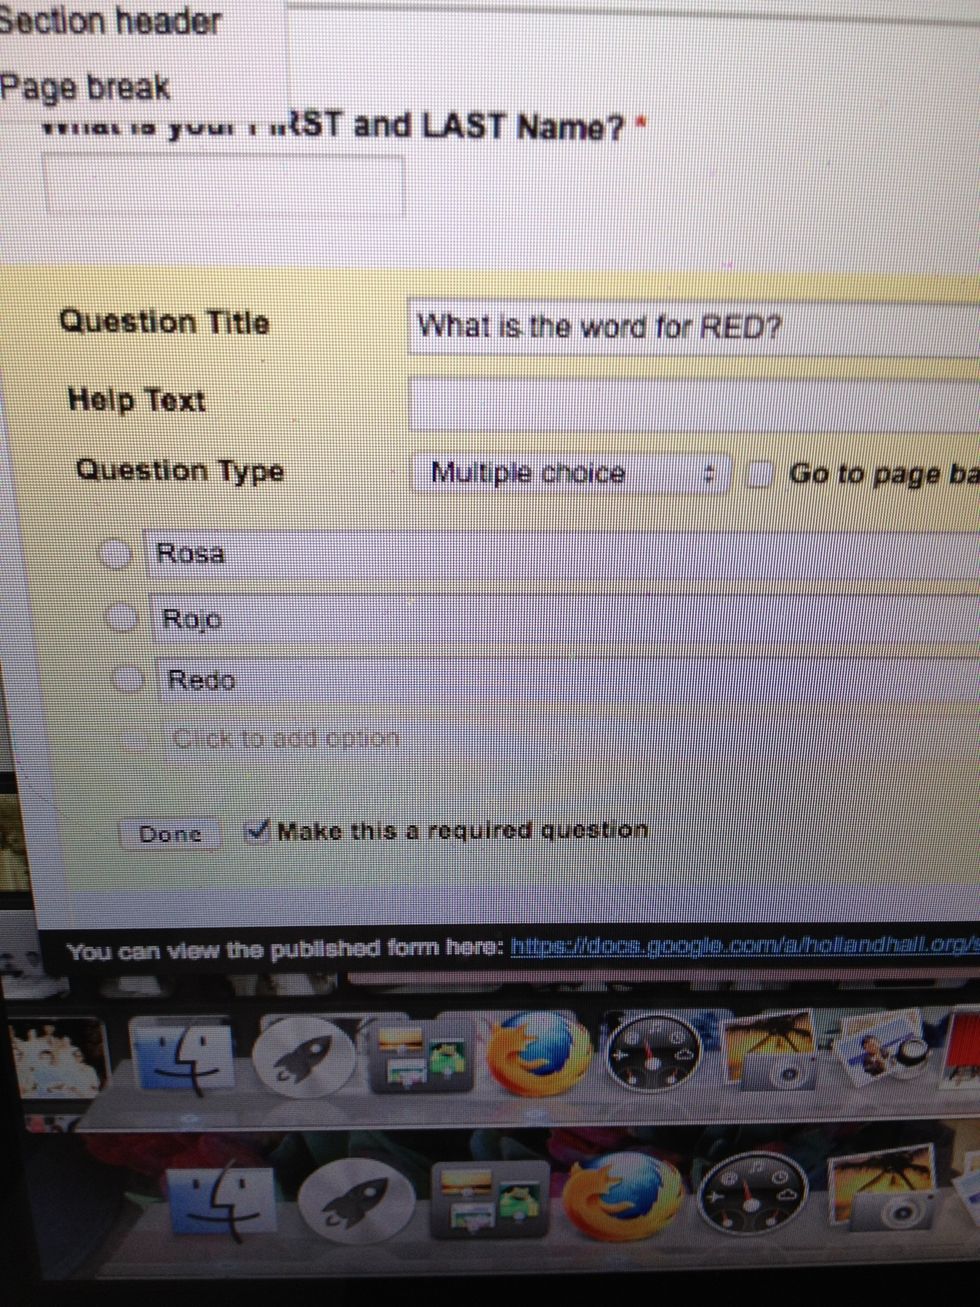
For this multiple choice question I will pick three choices.
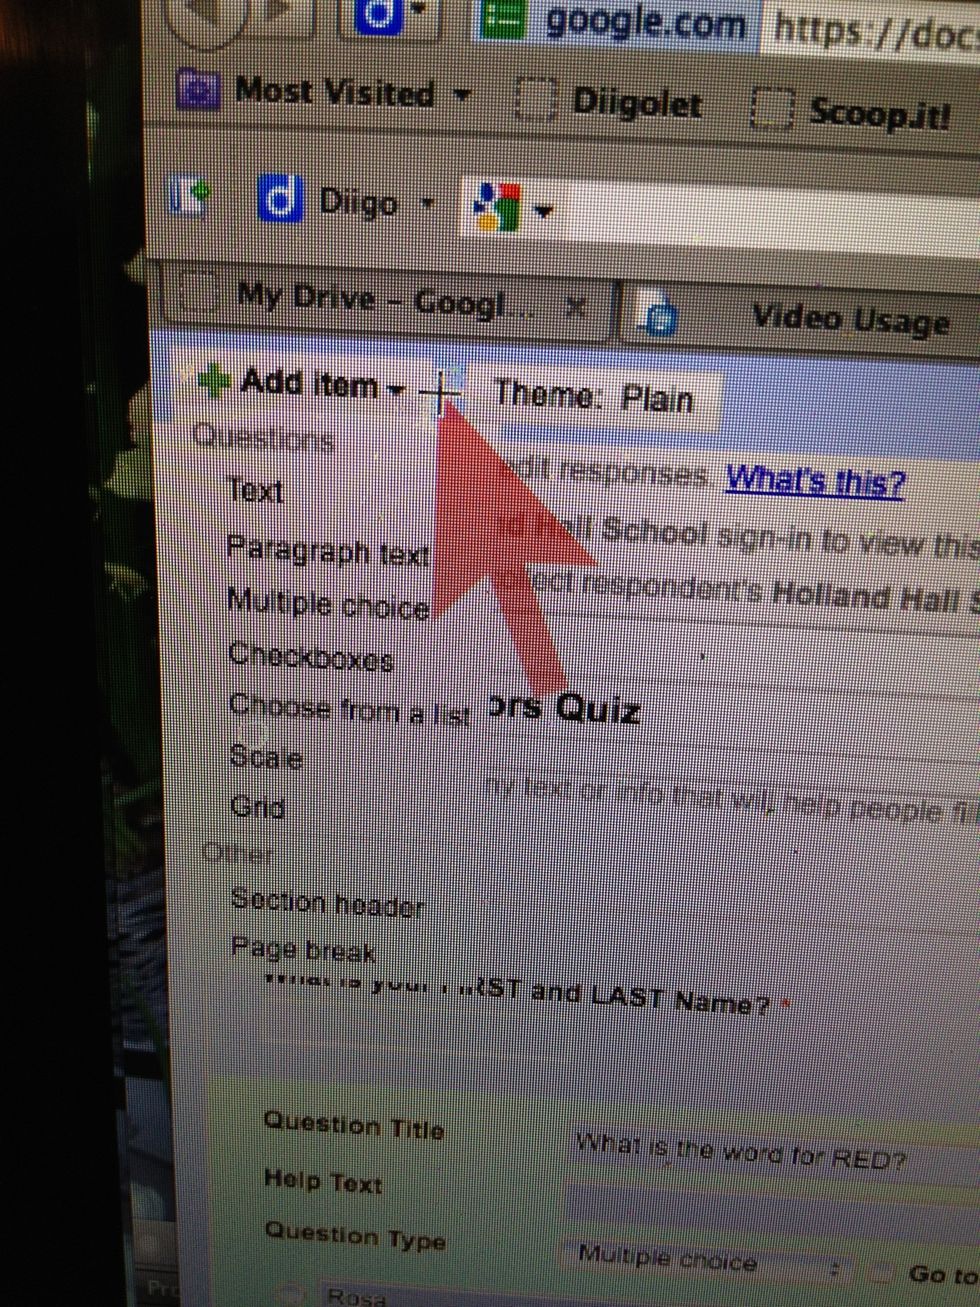
Your initial form starts with two questions. To add more click on the top left "add item" button. The next question I will pick "choose from a list". Also take notice of the THEME button!
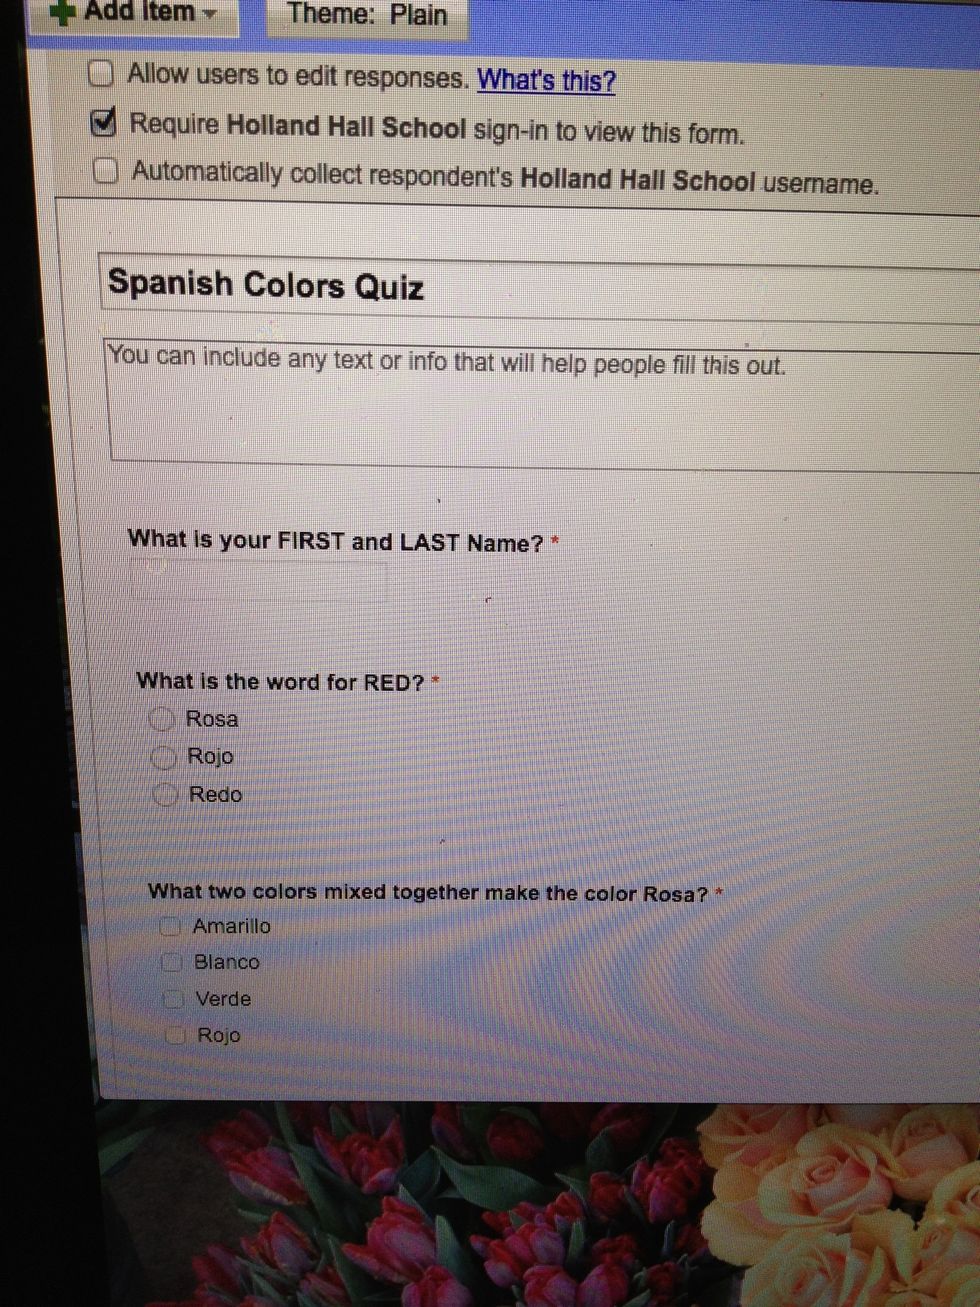
This is a different type question so the choices are boxes instead of circles. I can pick the two colors that make pink!
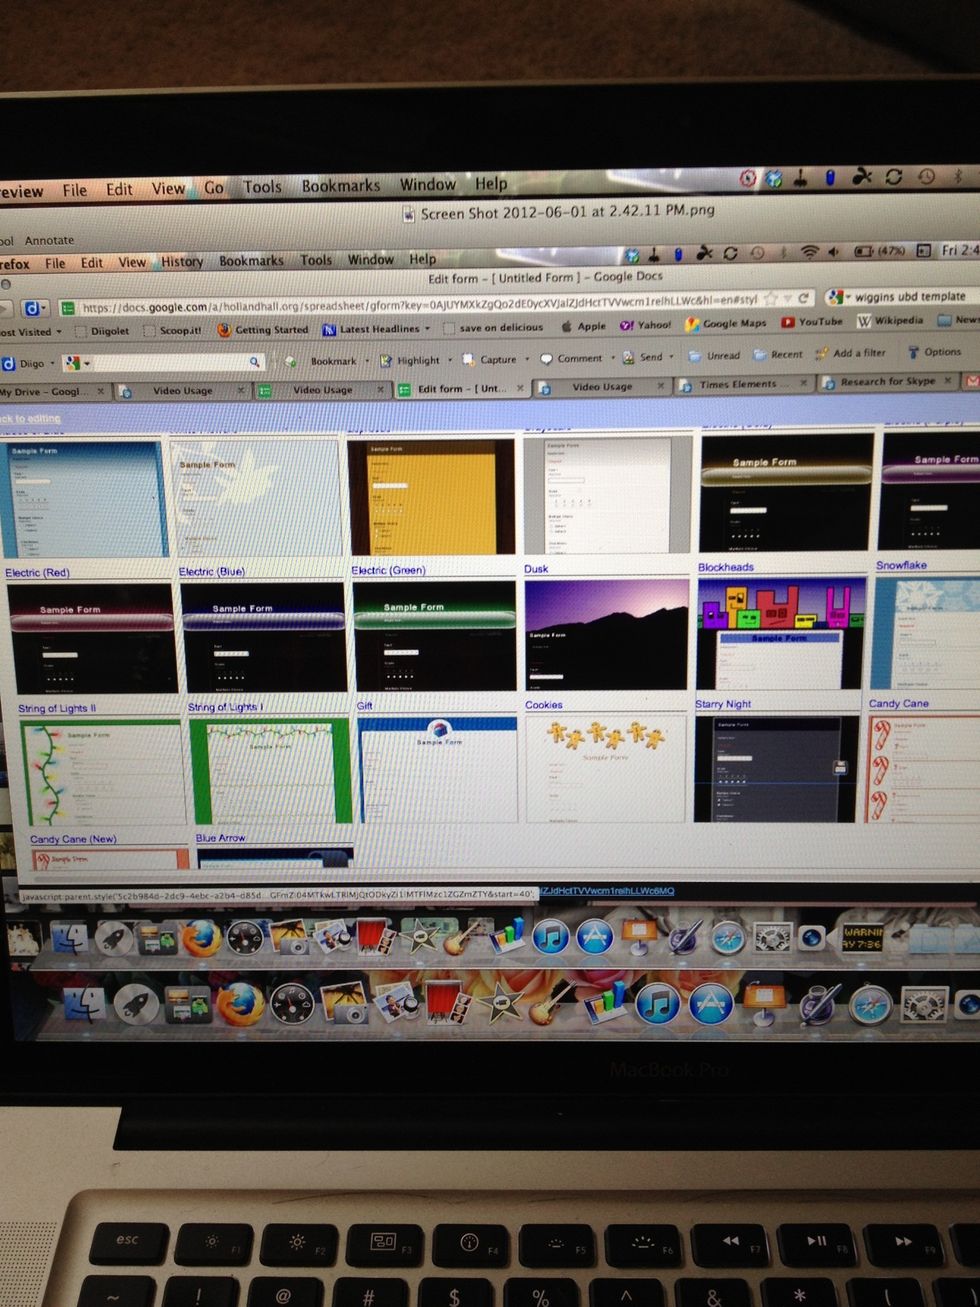
Remember the THEME button?!? Now you can add some pizzazz to your form!!

I like this one!! After you preview- be sure to hit APPLY!
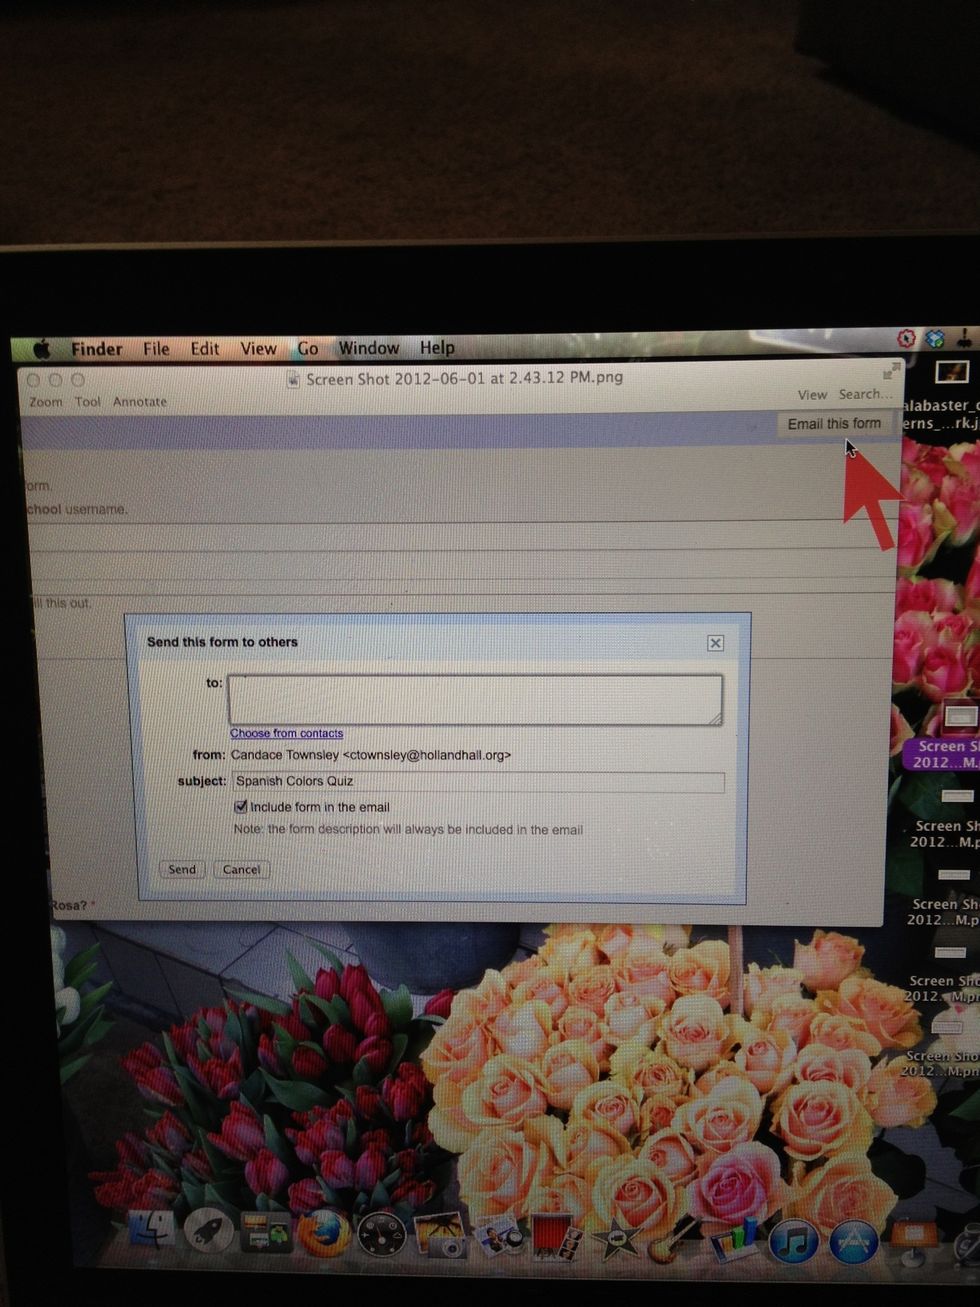
You have three ways to share your new form: email, hyperlink...
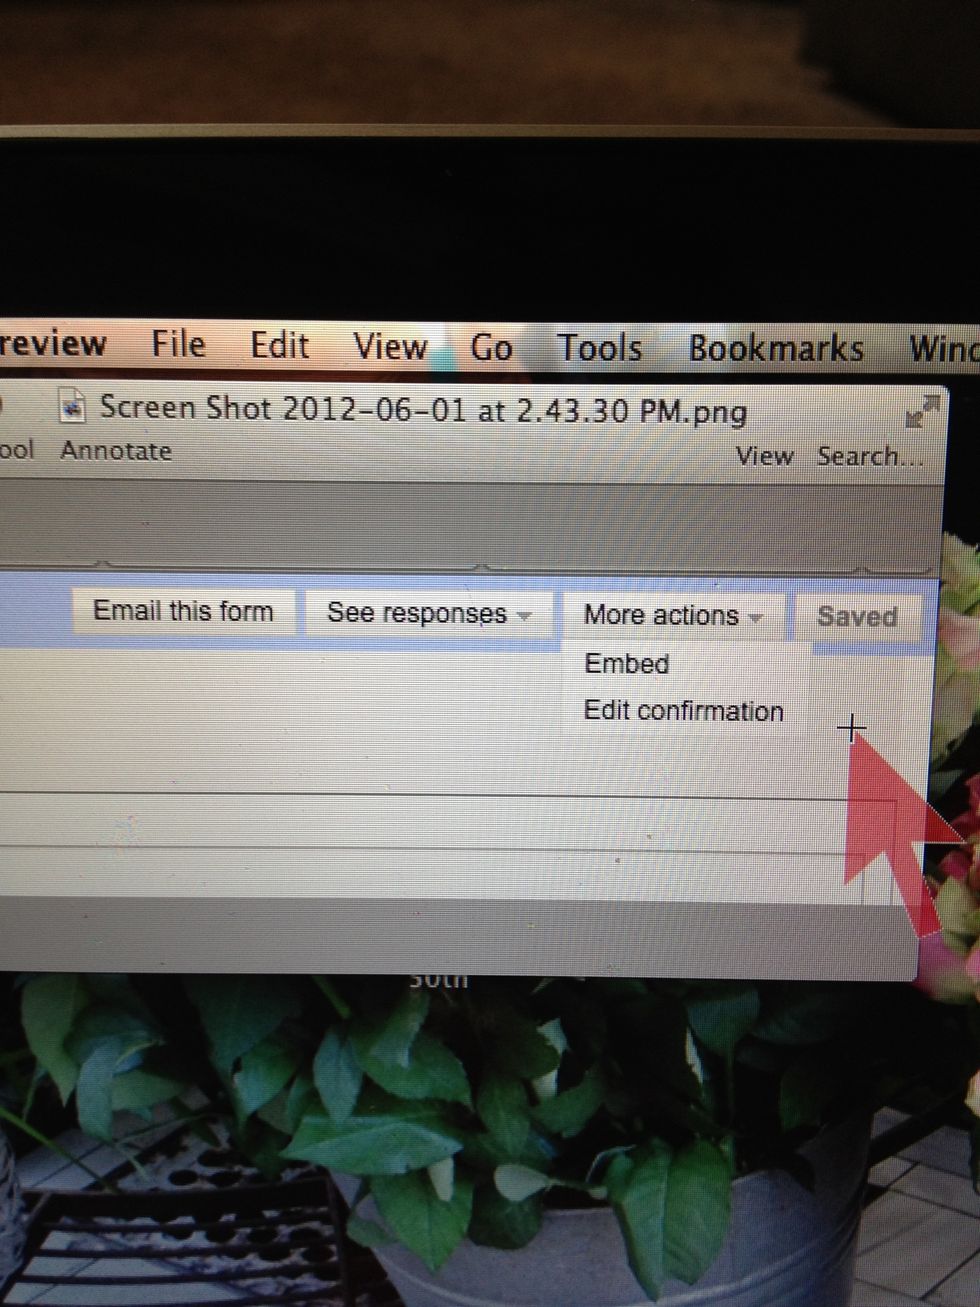
... or embed it into your blog or website with HTML. (that's a whole other Snapguide!) The confirmation is the message users see when the complete the form!
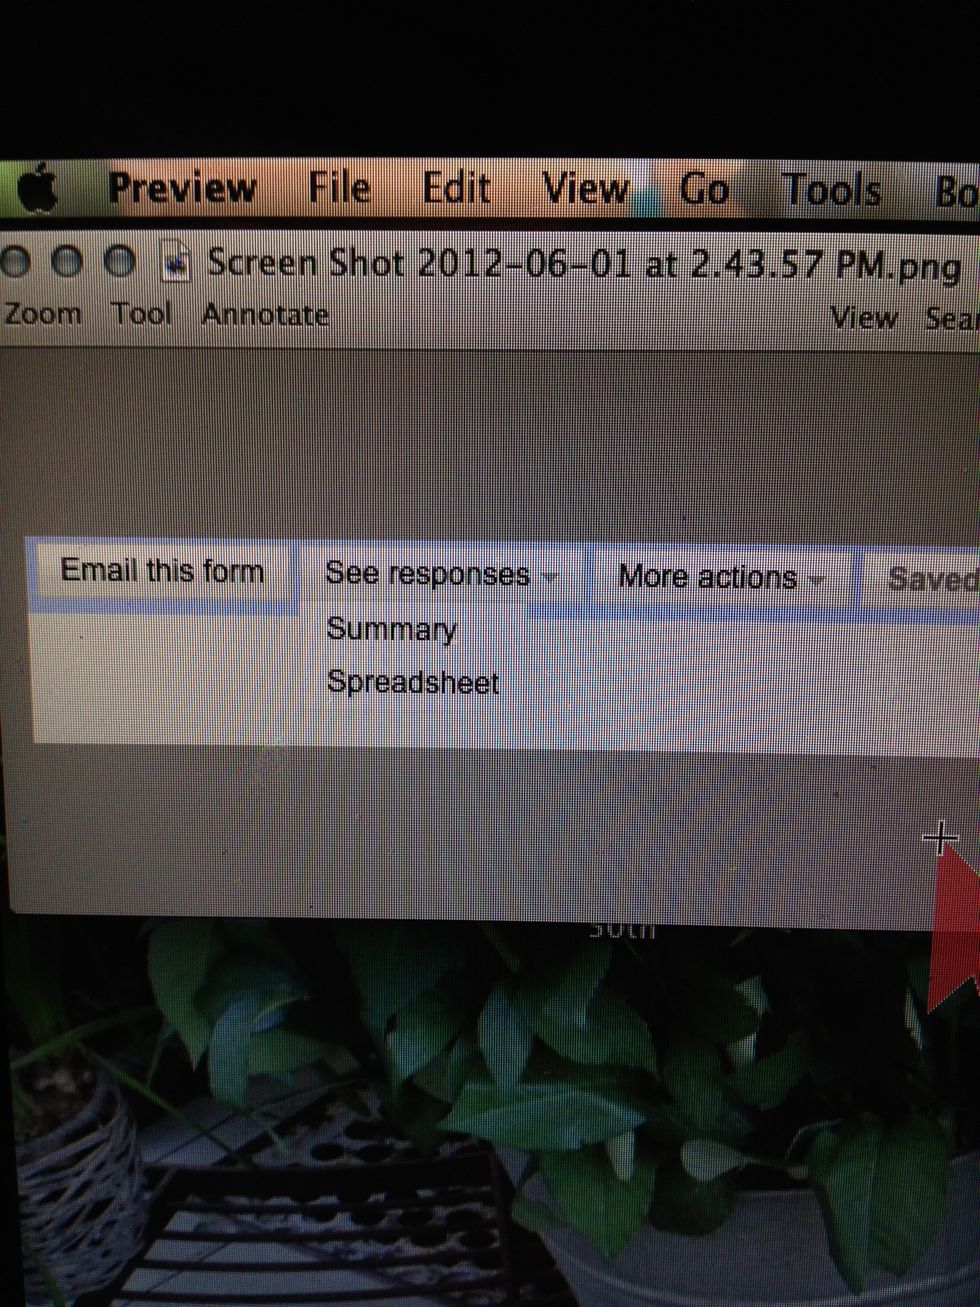
With SEE RESPONSES you can go to the spreadsheet with your time and date stamped answers or you can see your answers as analyzed data in chart form!!!
Stay tuned for more Snapguides on how to use Google forms - by embedding them into a website and GRADING them with an additional FREE add on called FLUBAROO!! Hope this was helpful! See ya!!