The Conversation (0)
Sign Up

Gather all of your supplies.
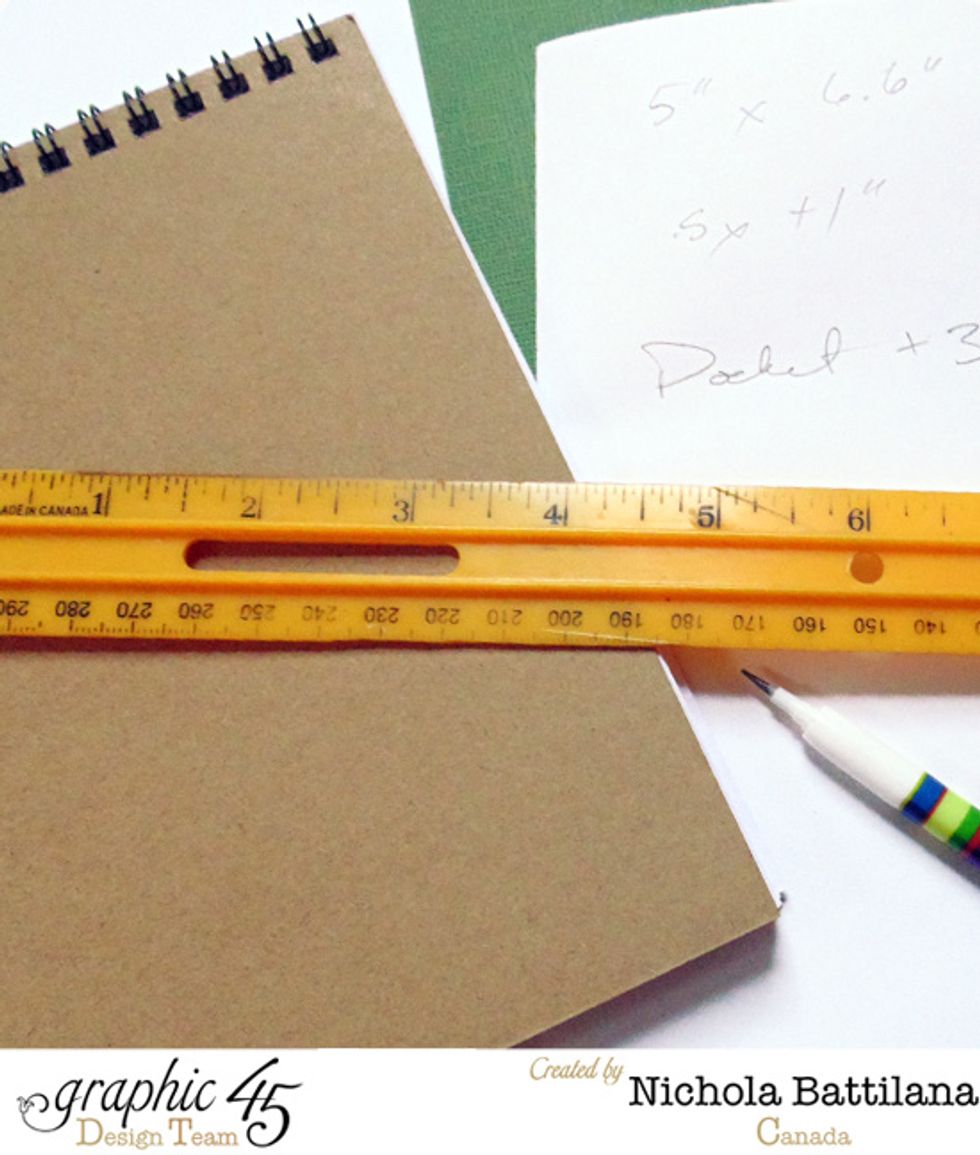
Measure the journal/book you are covering.
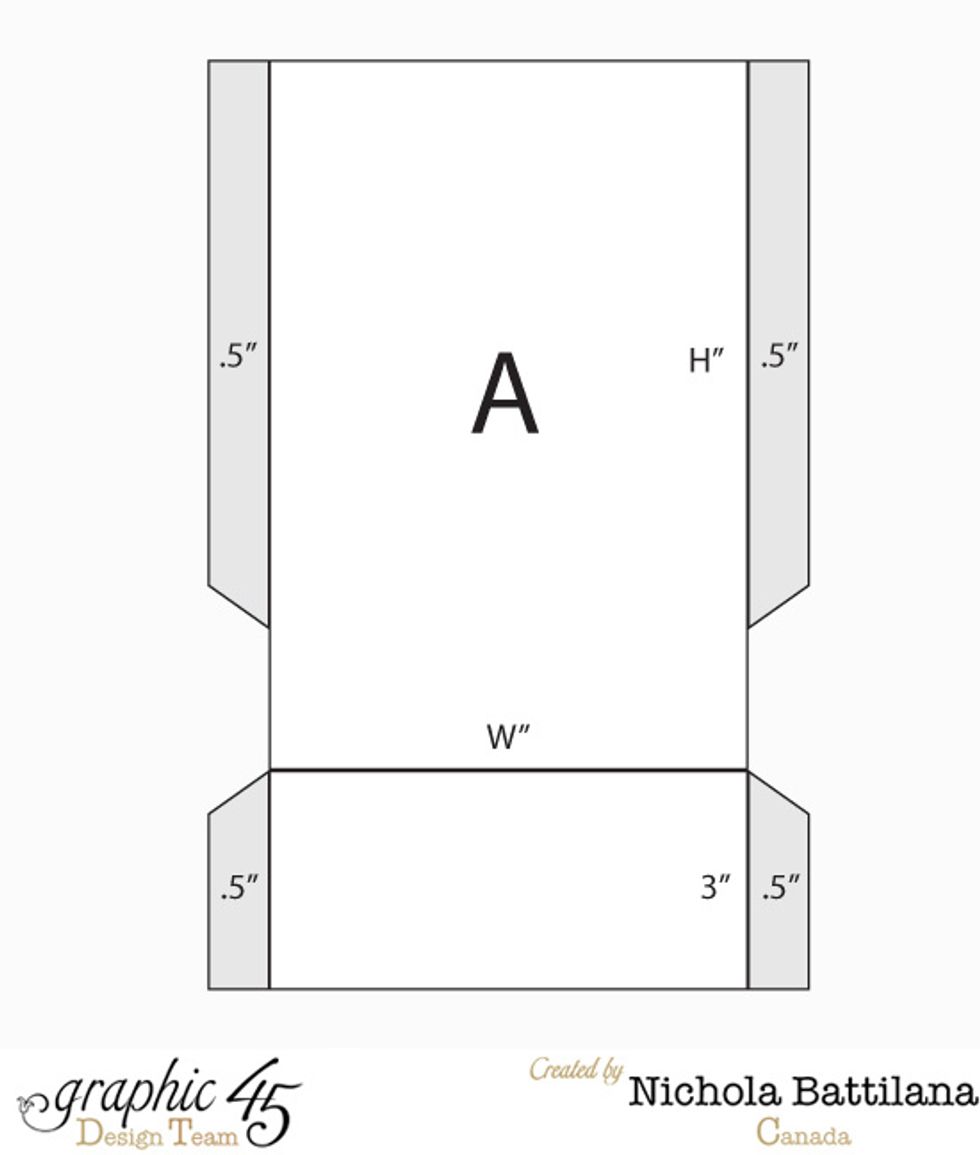
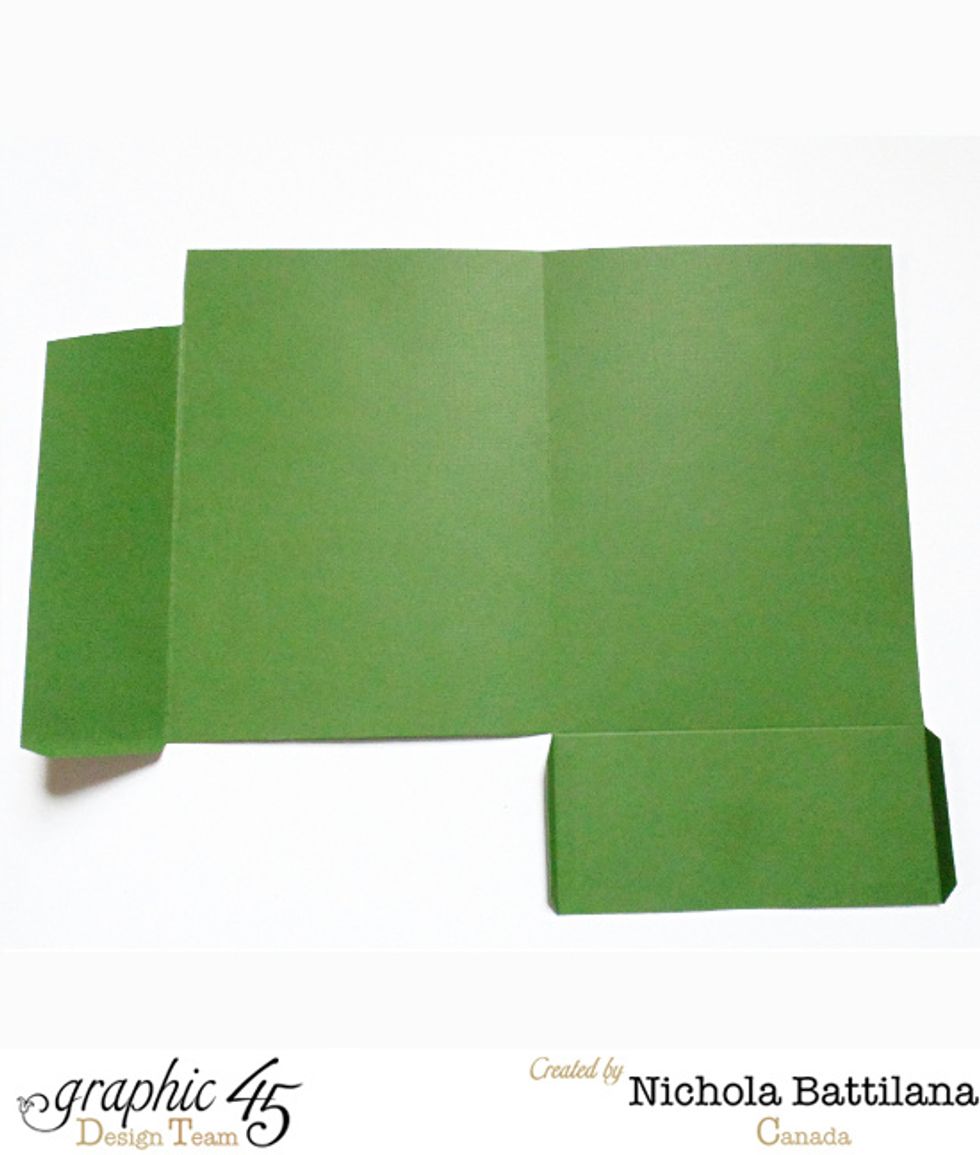
I'm beginning with the inside front cover. I make a shape like this. The shaded areas are .5" tabs/flaps that will be folded.
I fold the bottom 3" area forward, forming a pocket. The side flaps will be folded backwards, adhering to the front cover...

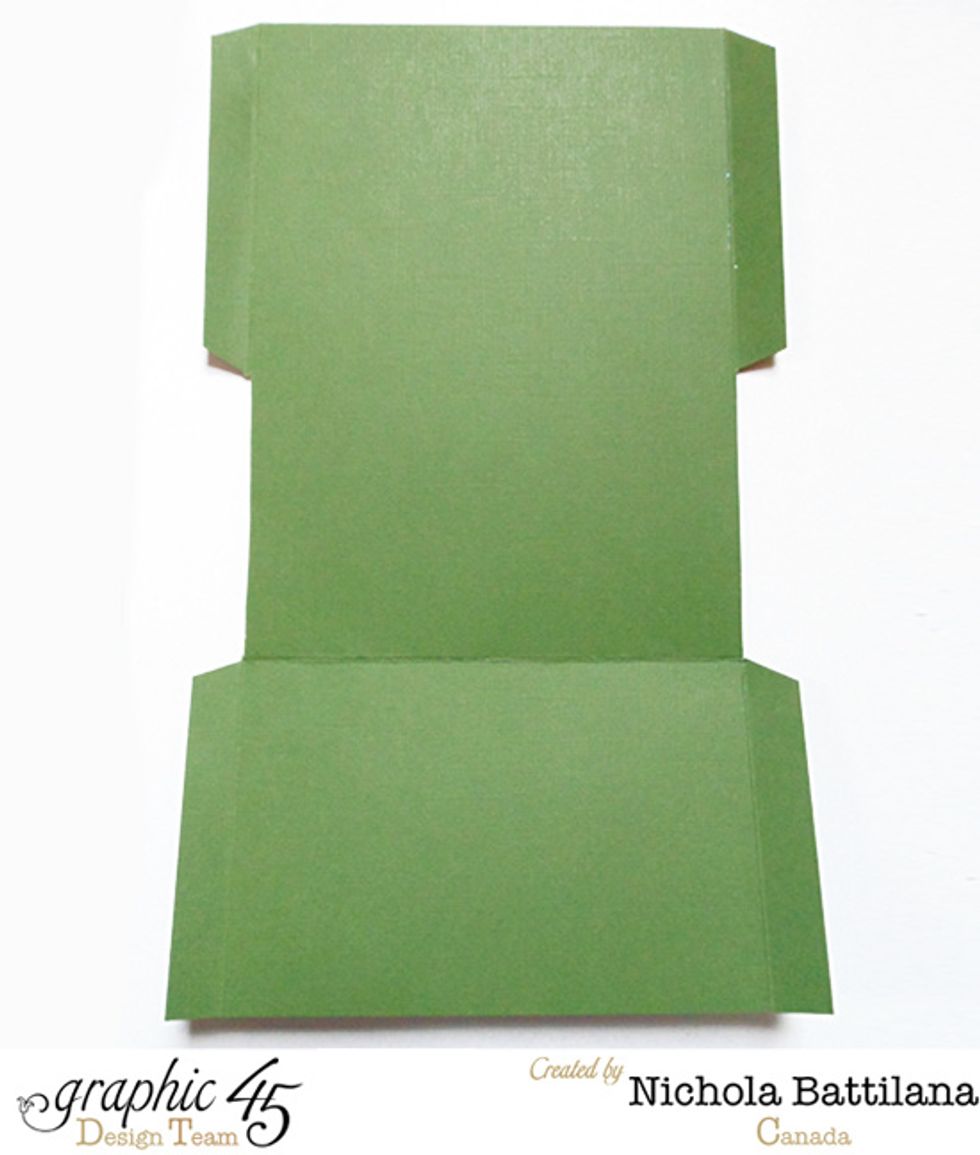
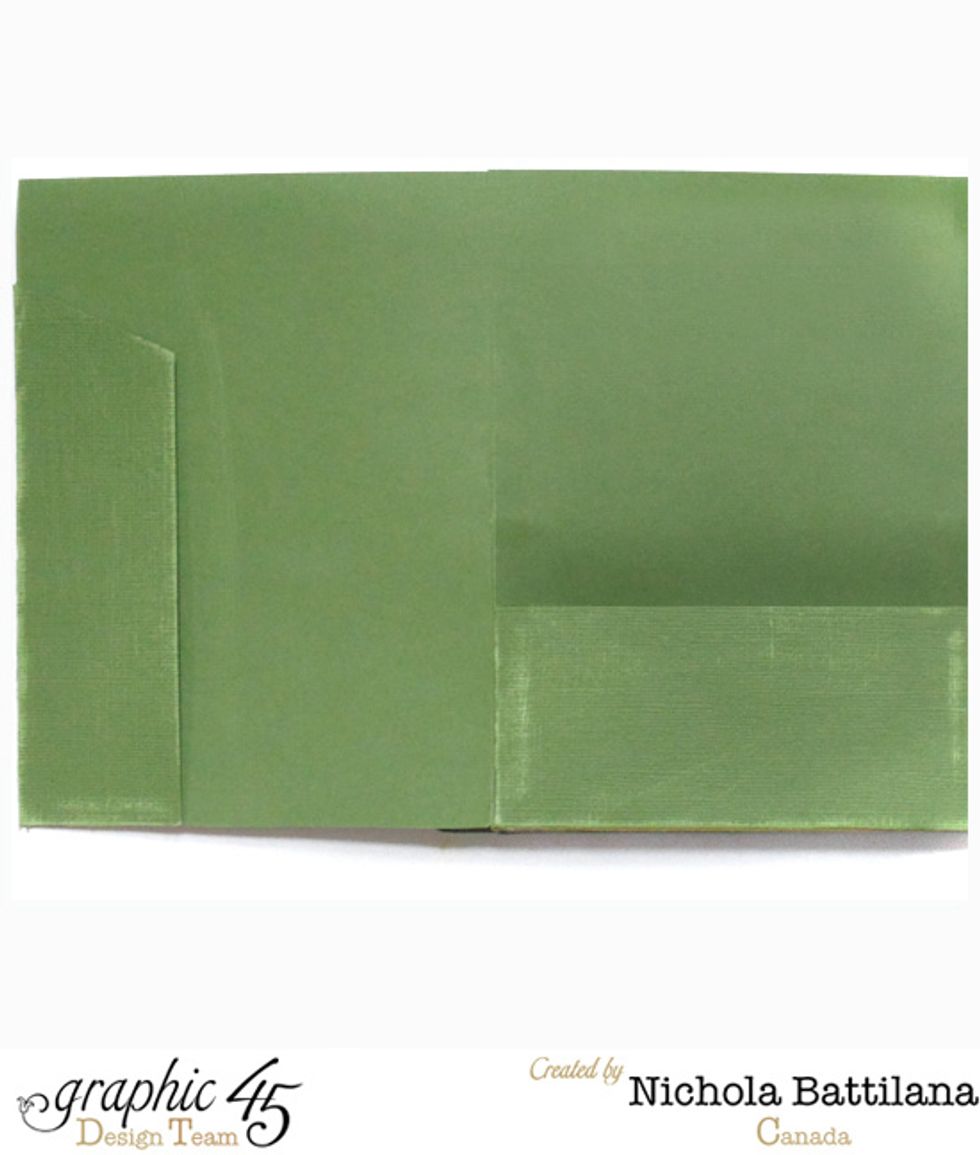
Fold the small flaps around the side edges to the front, like so.

And this is inside cover now, with a nice, neat pocket.
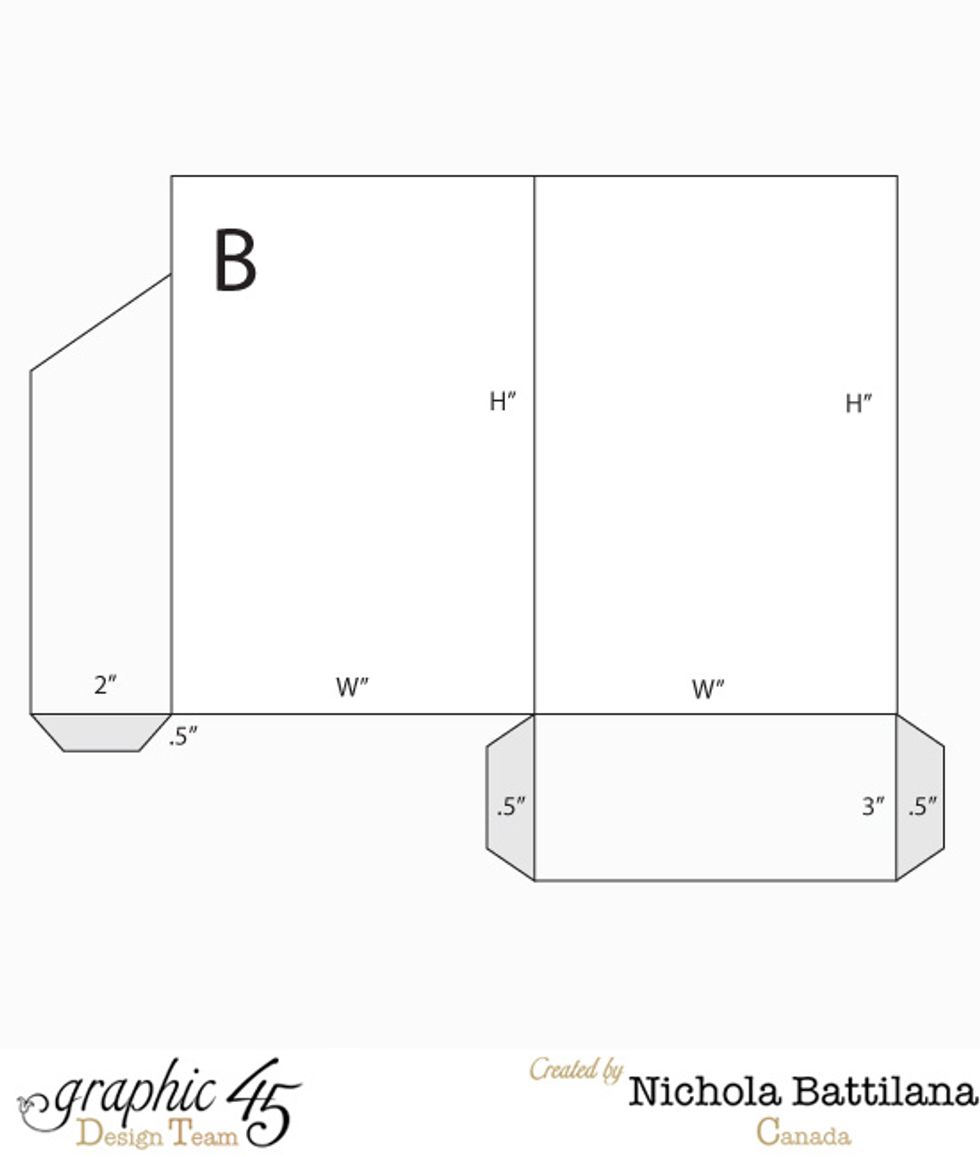
For the front cover, I created a sort of card with two pockets. These tabs will be folded inside to hold the pockets in place.
After folding and gluing the tabs in place, you should have a piece that looks like this. Affix this to the front of your book.
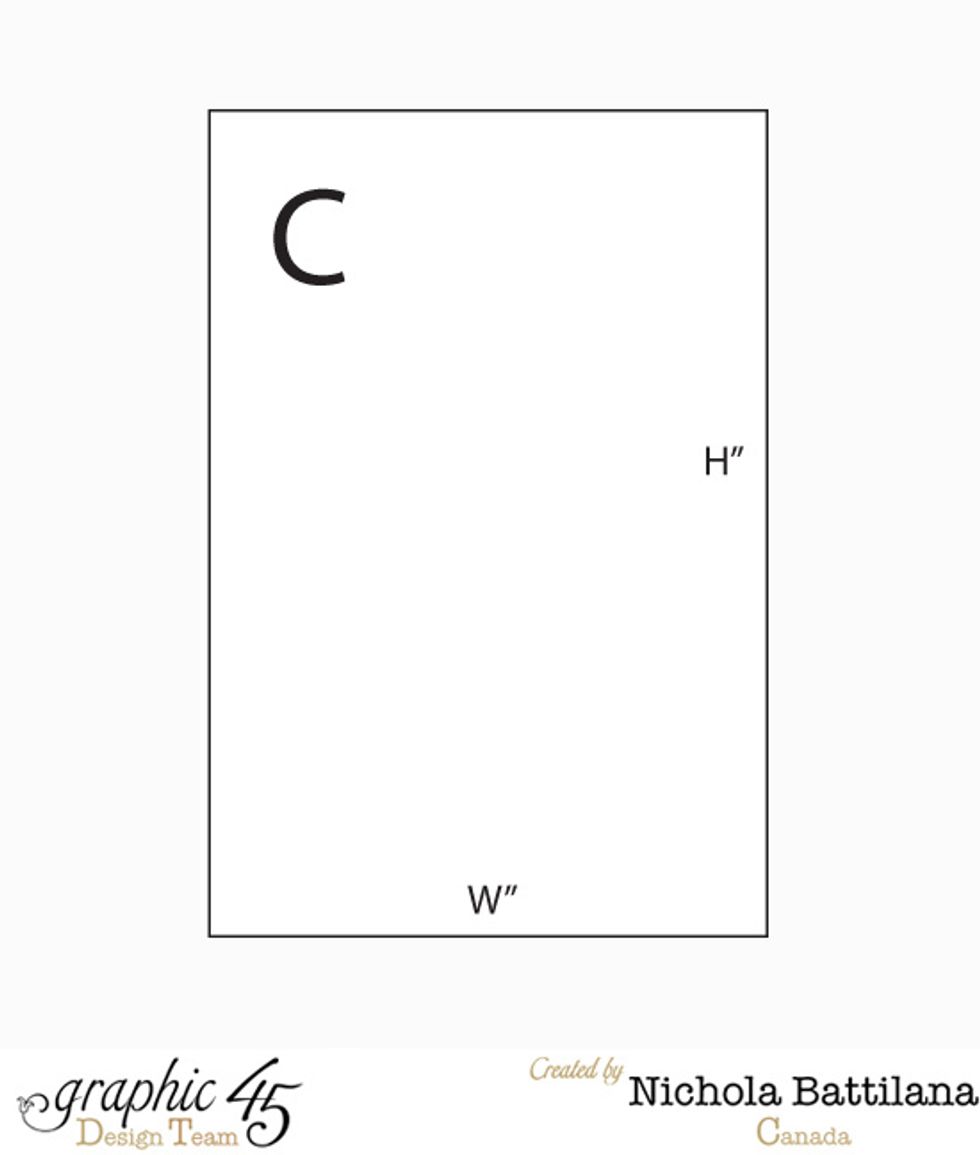
The inside back cover is simply a rectangle, the same size/shape as the book.
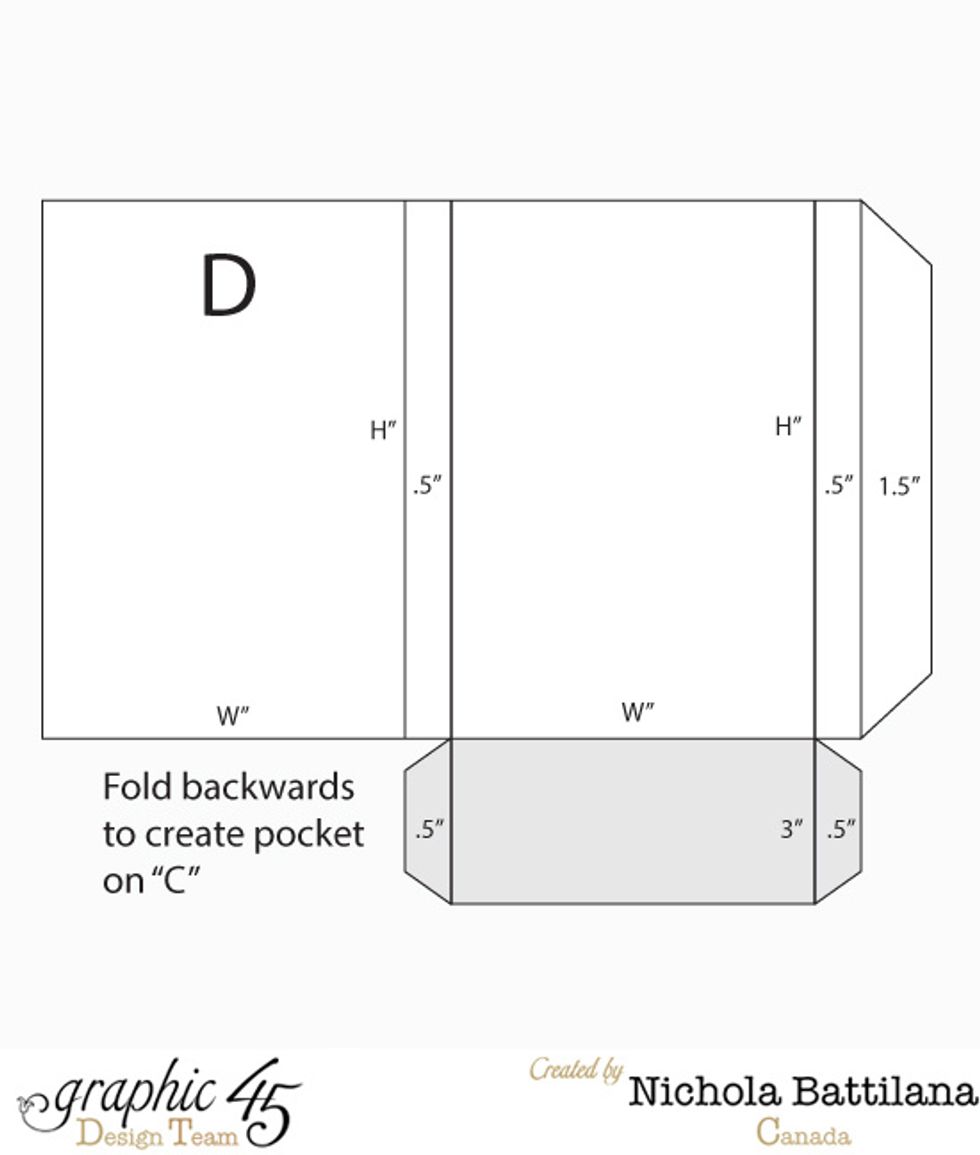
I used this template for my back cover. NOTE: the narrow .5" strips will allow this cover to wrap around your book. You may need to add to this if your book is thicker than .5"

With the back cover in place, when I open the book to the back, it should look like this.
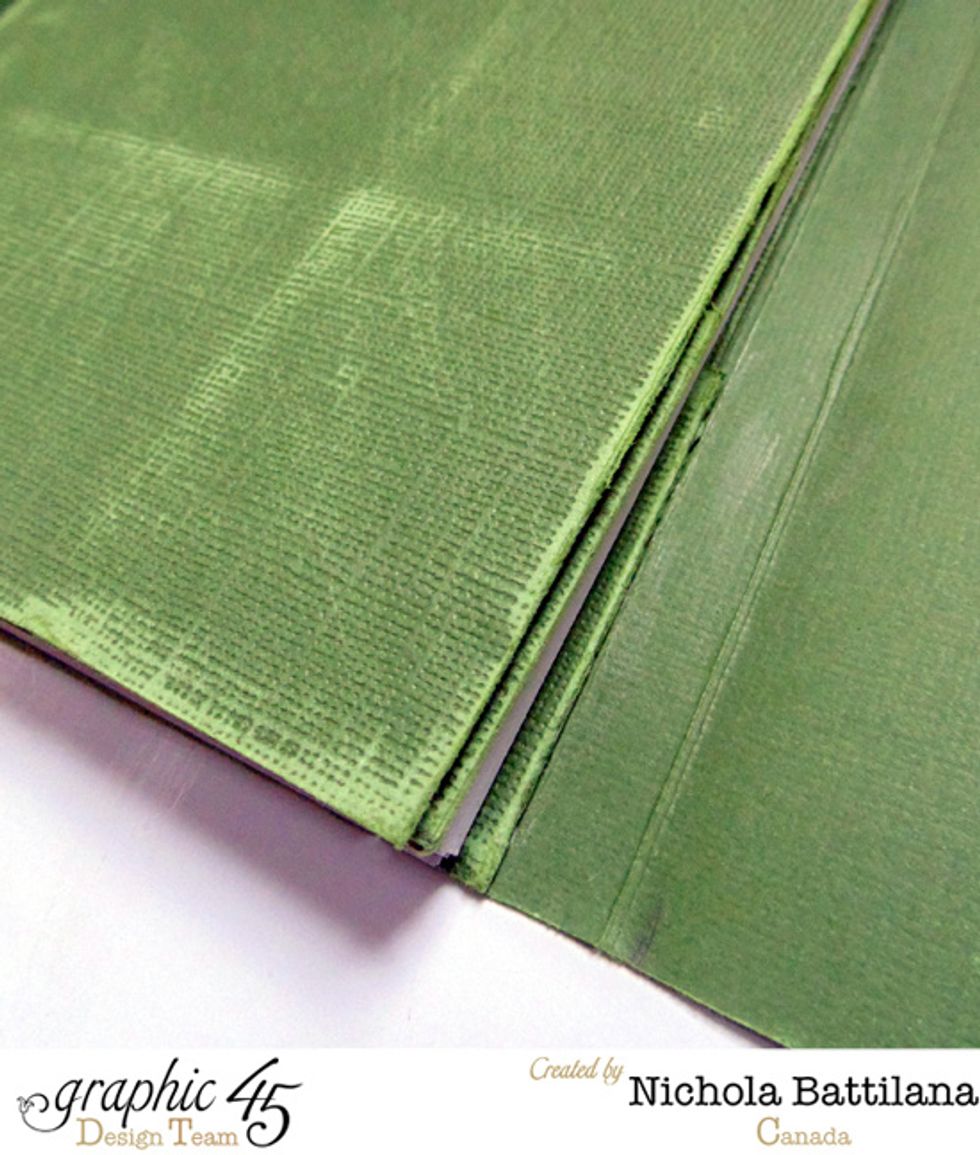
At this point I sand the edges and distress the covering paper. I think the texture it gives is like an old, well loved, book.
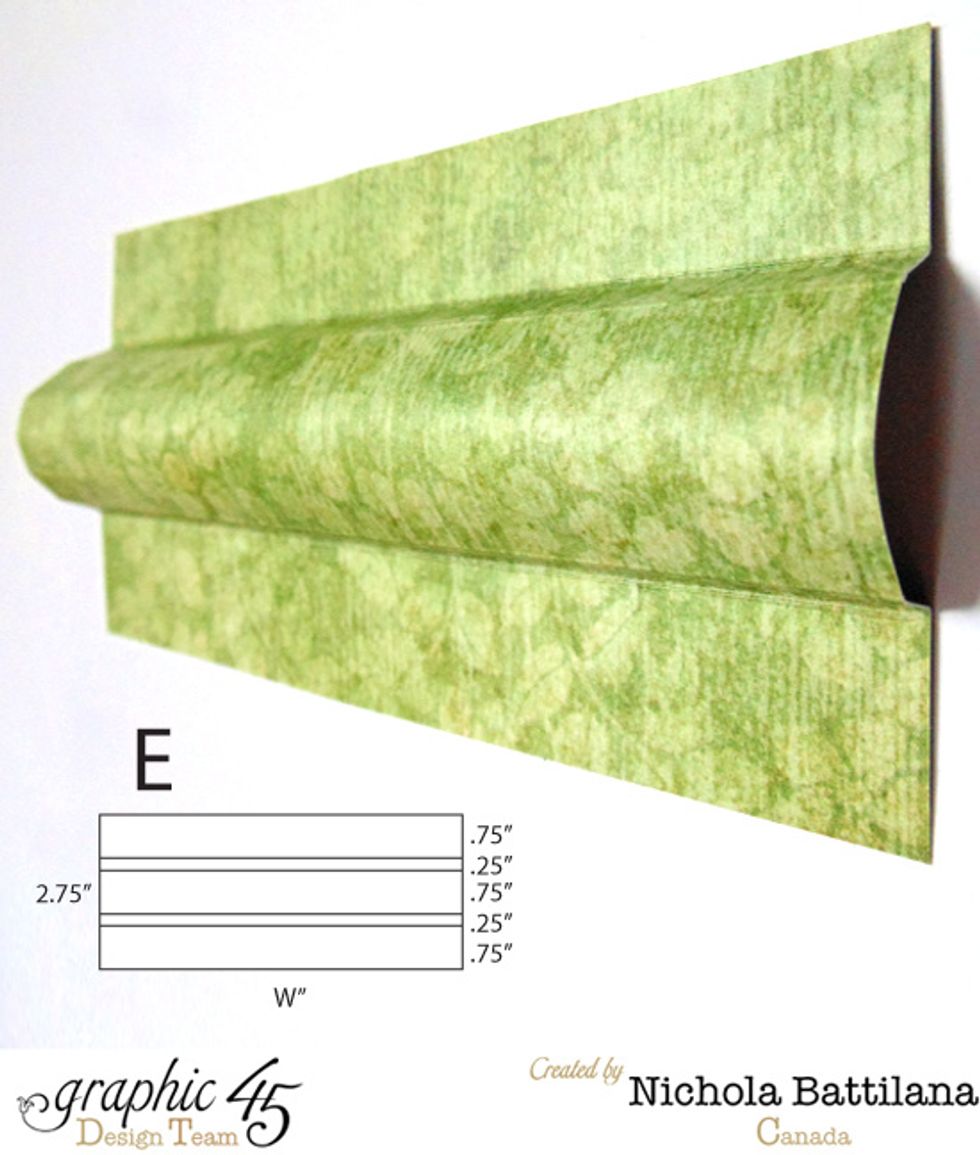
I wanted to cover the coil binding on my book so I created this to hide it. NOTE: if your book is quite thick, you may need to adjust these measurements.

It creates a nice finished look to the book. Be certain you don't glue it down in such as way that it hinders the opening/closing of your book.
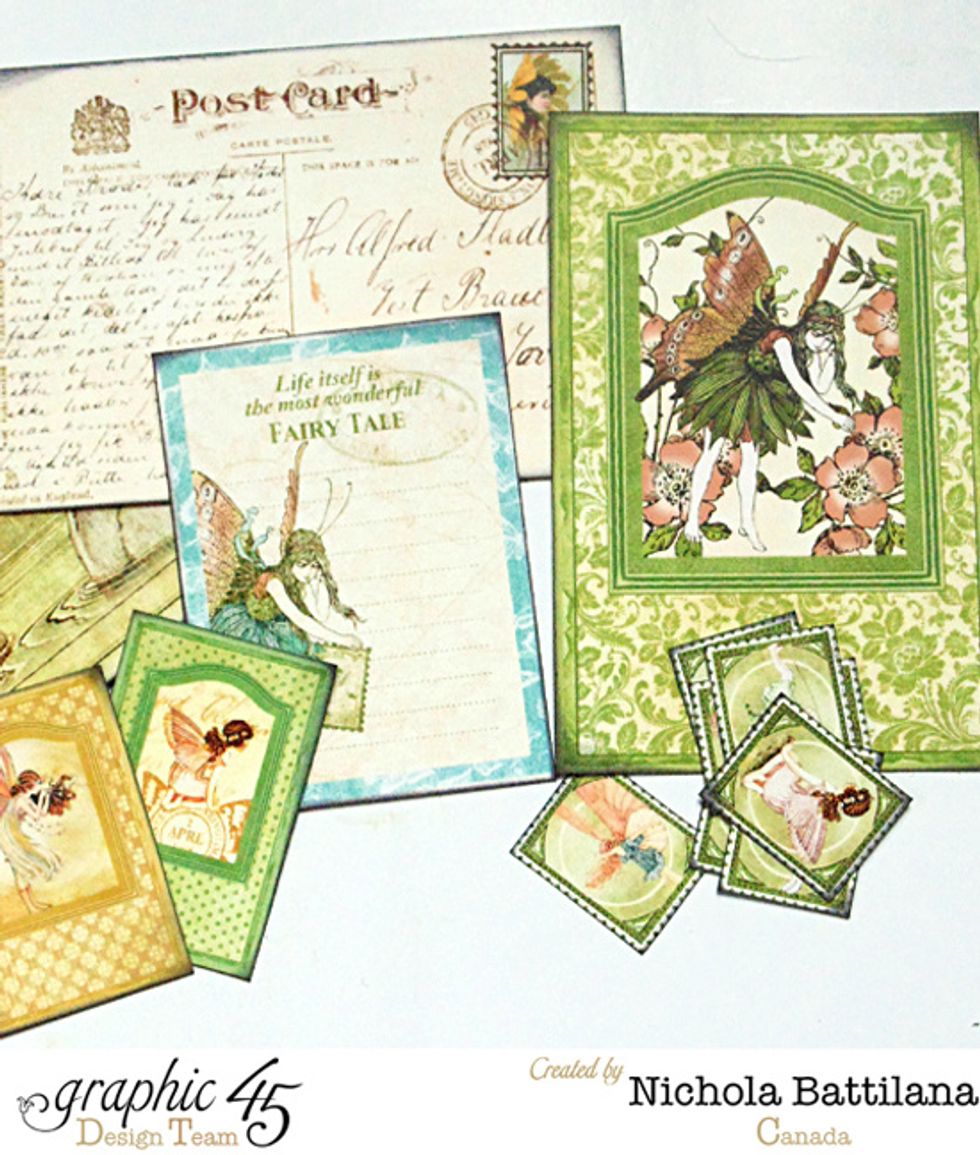
Your journal is now ready to embellish to your hearts content! I've prepared a bunch of design elements to play with.
Add pretty elements to your journal.
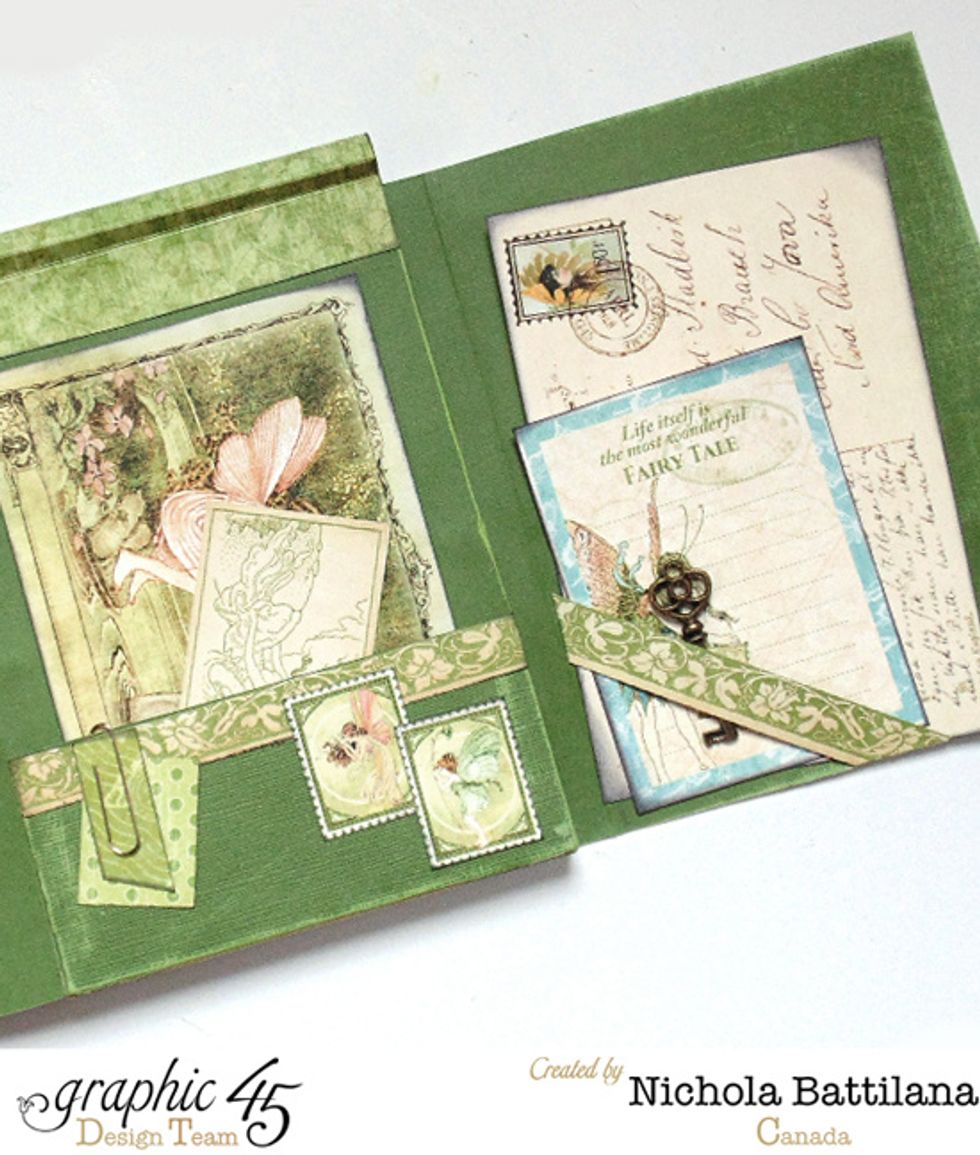
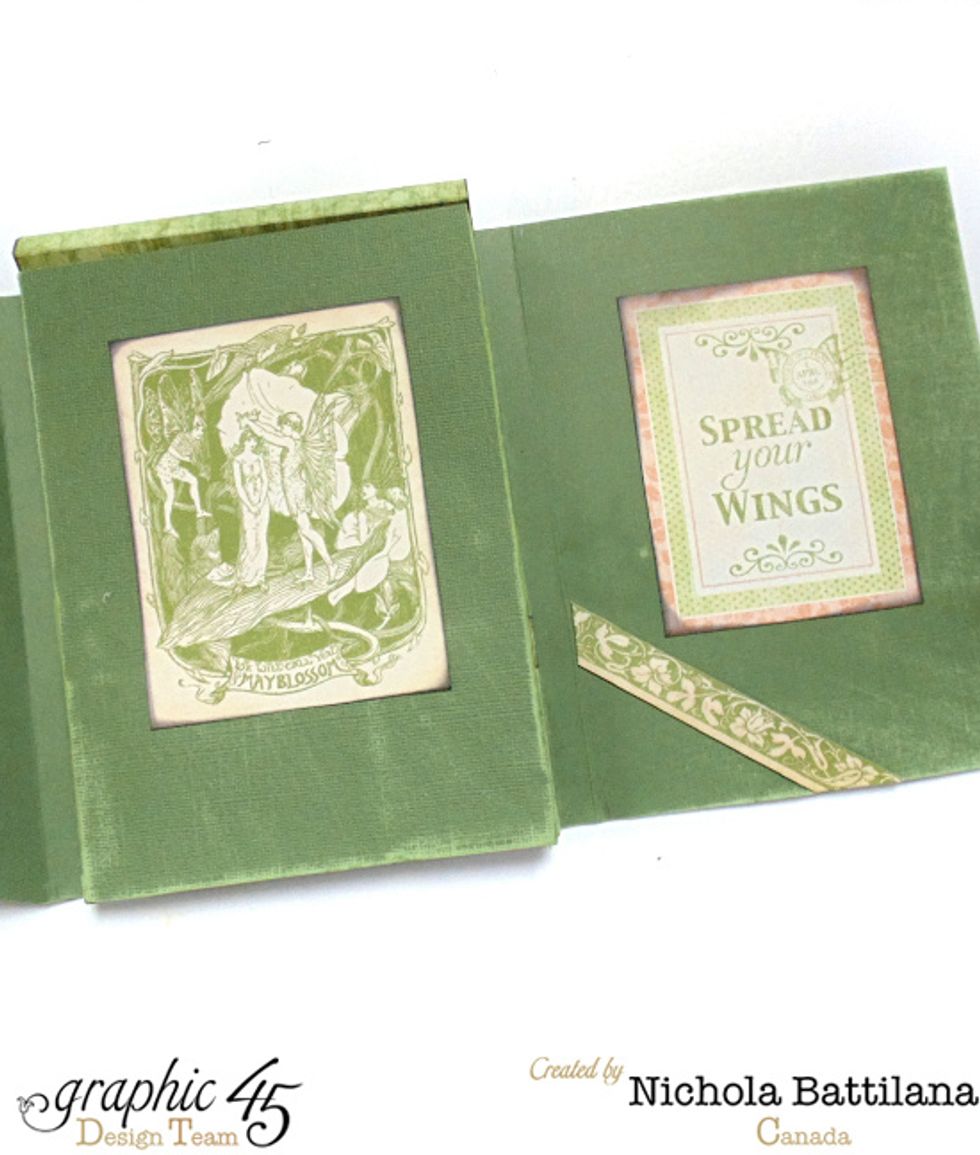
Tuck papery bits and bobs here and there, filling and trimming your pockets.
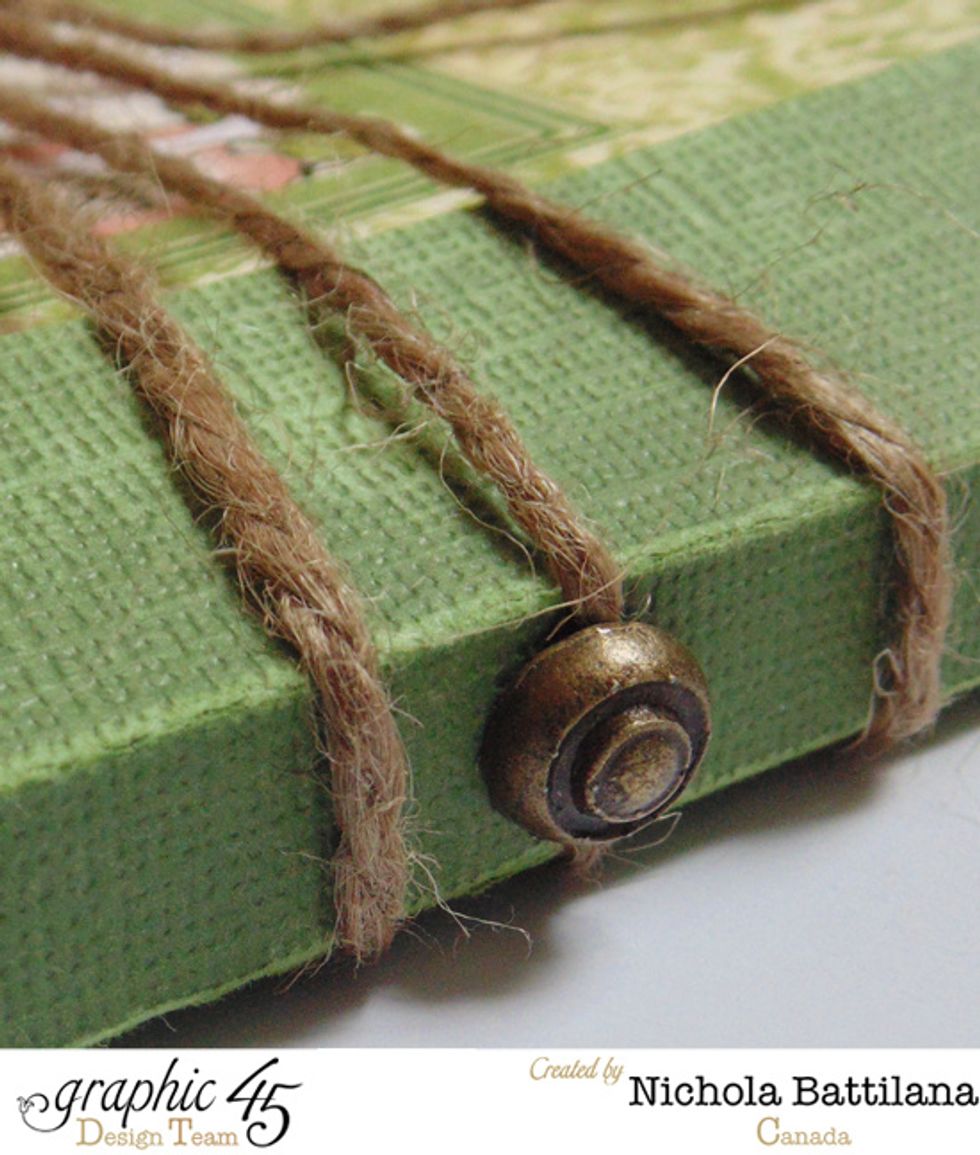
To securely close my book I've placed a brad on the spine and added a length of jute twine.

To create a clean finish, I've added a strip of paper to hide the prongs of the brad on the reverse side.
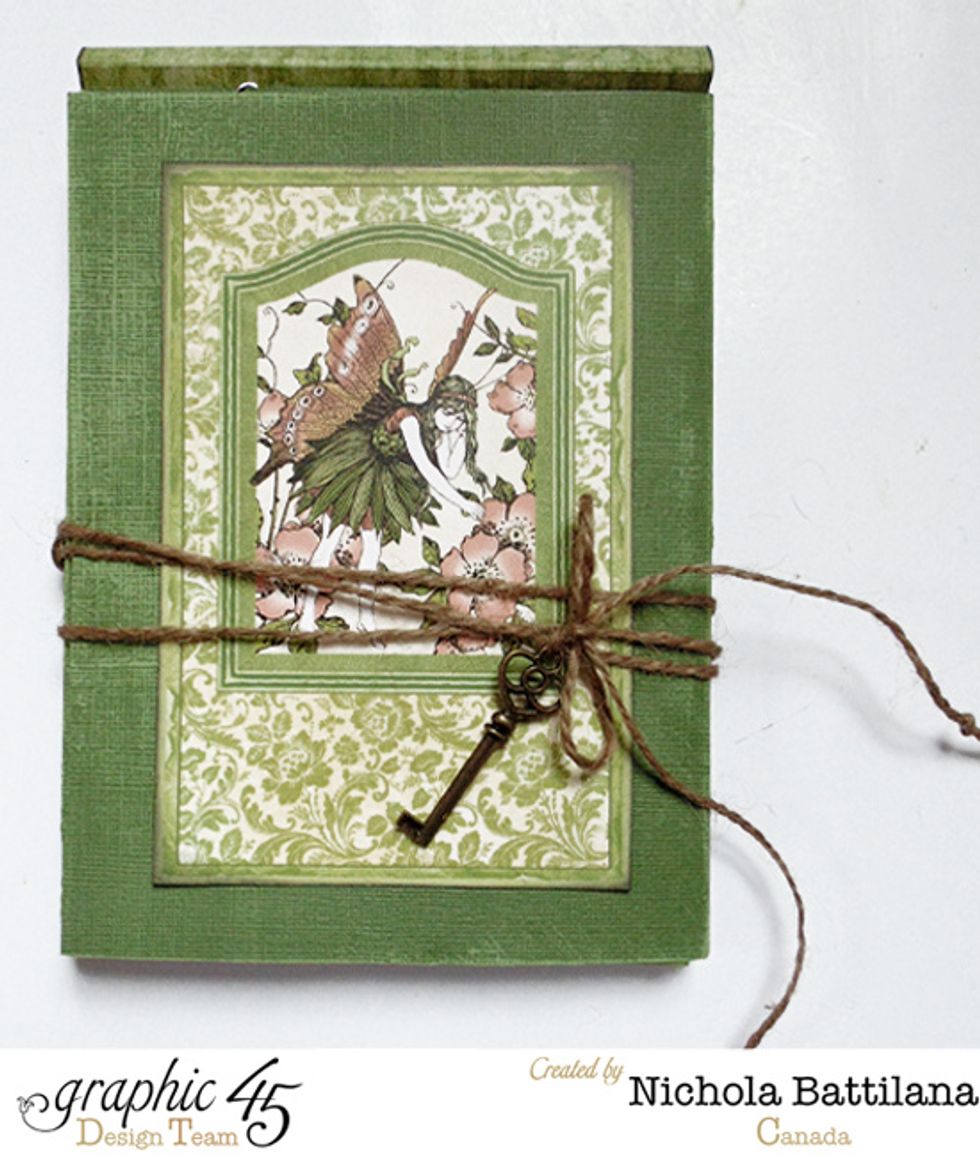
And that's it! All that's left is to collect sweet thoughts and nice words in your Graphic 45 Once Upon a Springtime Journal.