The Conversation (0)
Sign Up
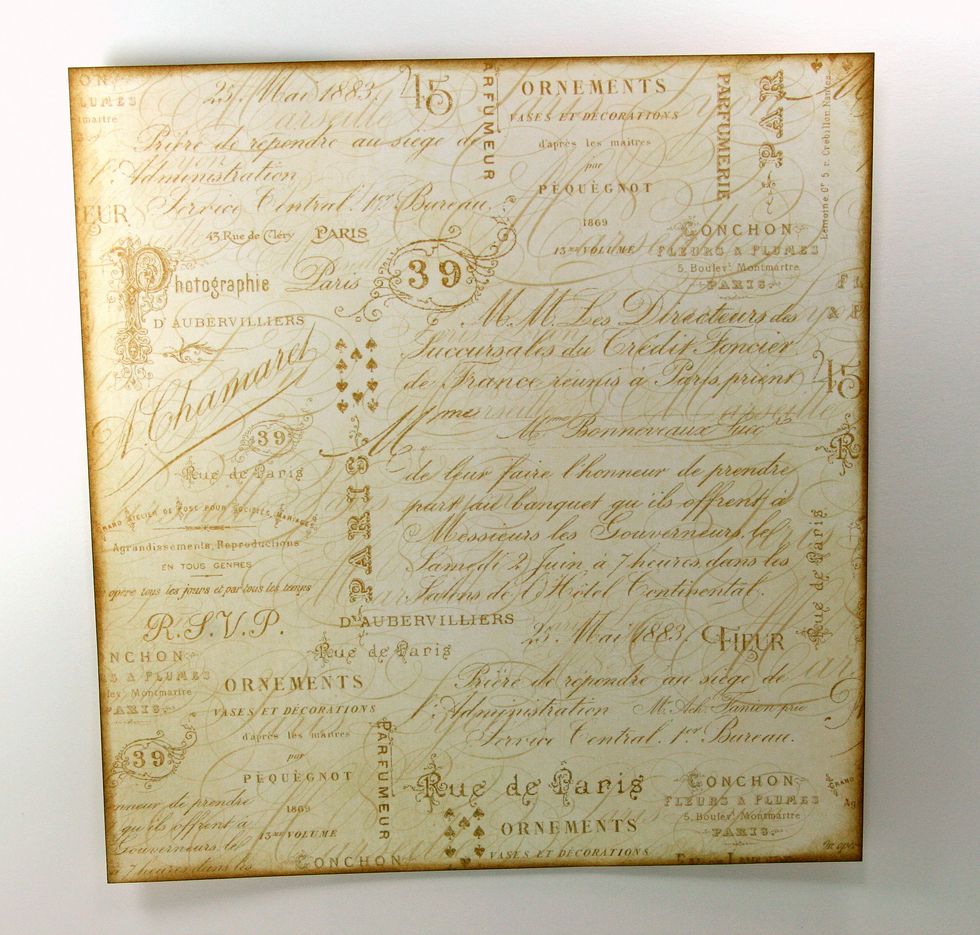
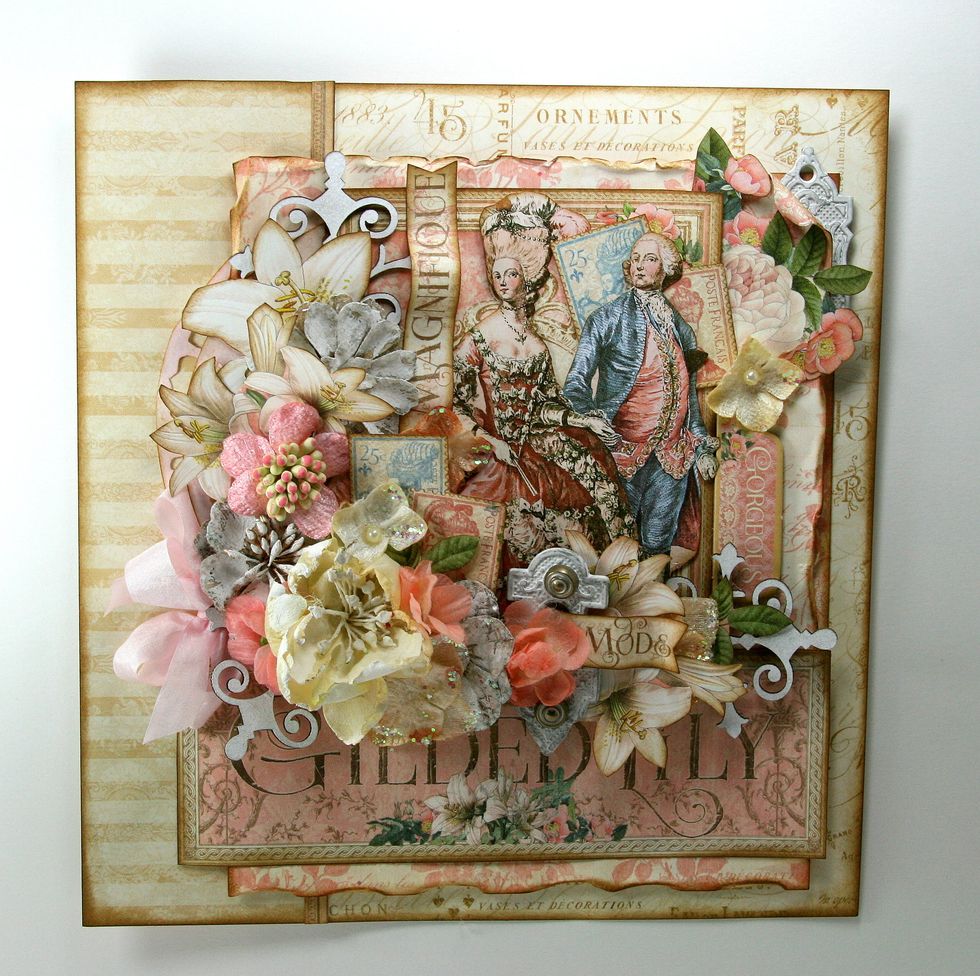
Cut G45 Creme de la Creme to size and ink heavily around all sides.
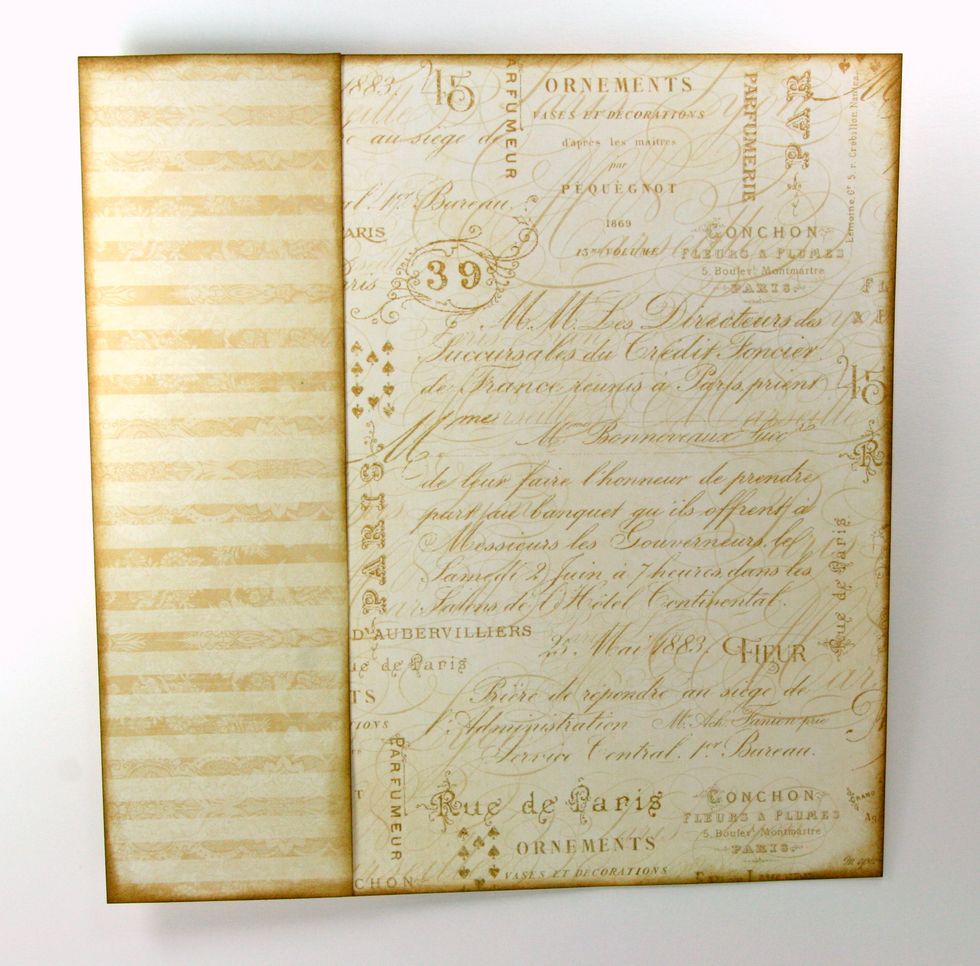
Cut border strip from G45 Gilded Lily. Ink all sides and adhere to left side.
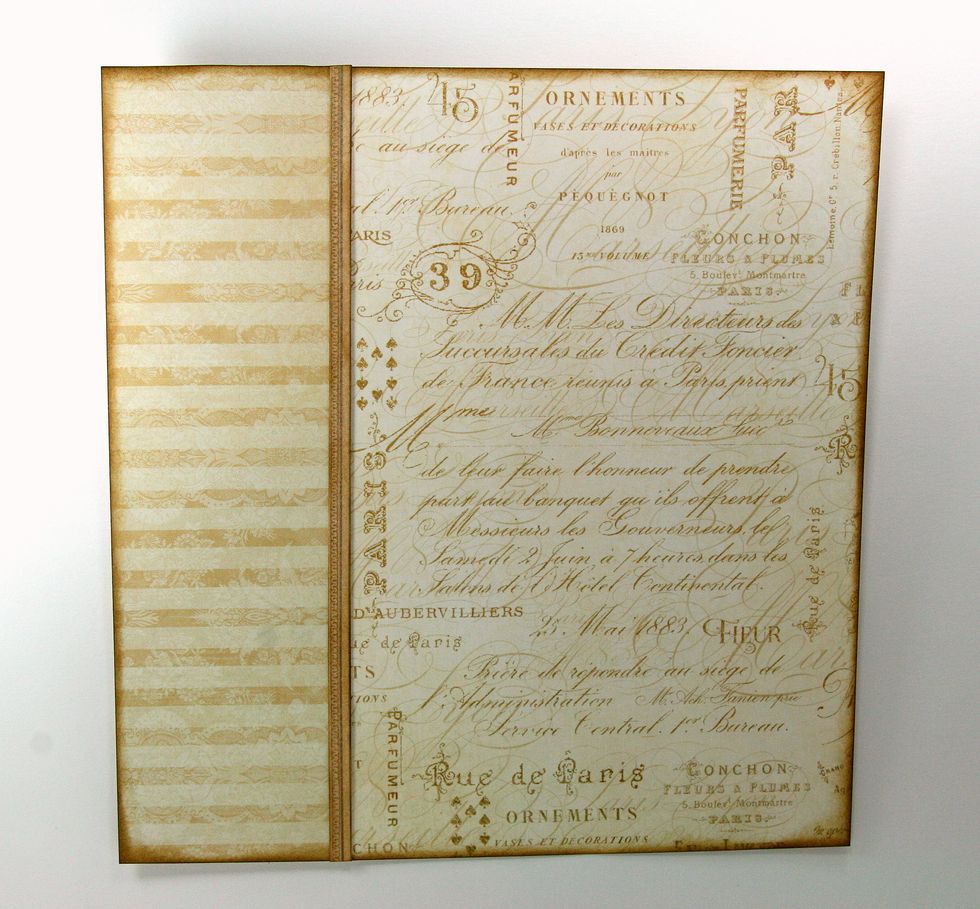
Trim thin border strip from G45 Gilded Lily. Ink all sides and attach to separate patterns.
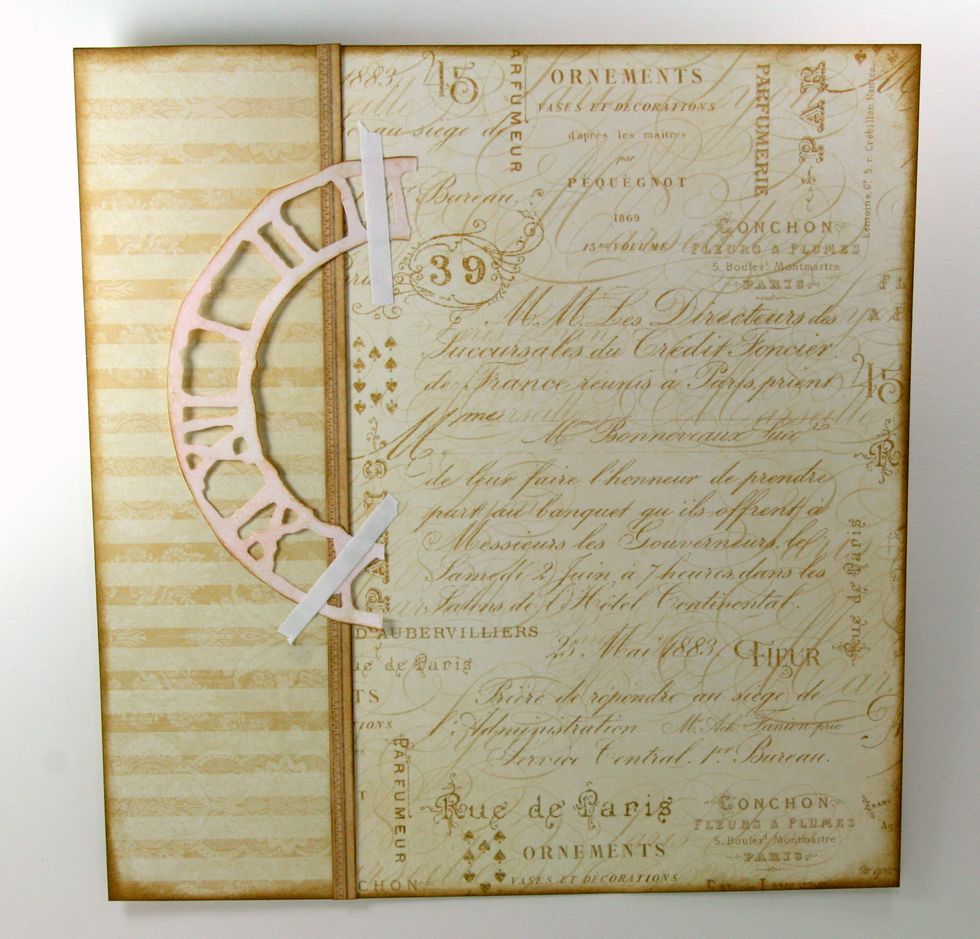
Add inked die cut clock and add to just over the last border strip.
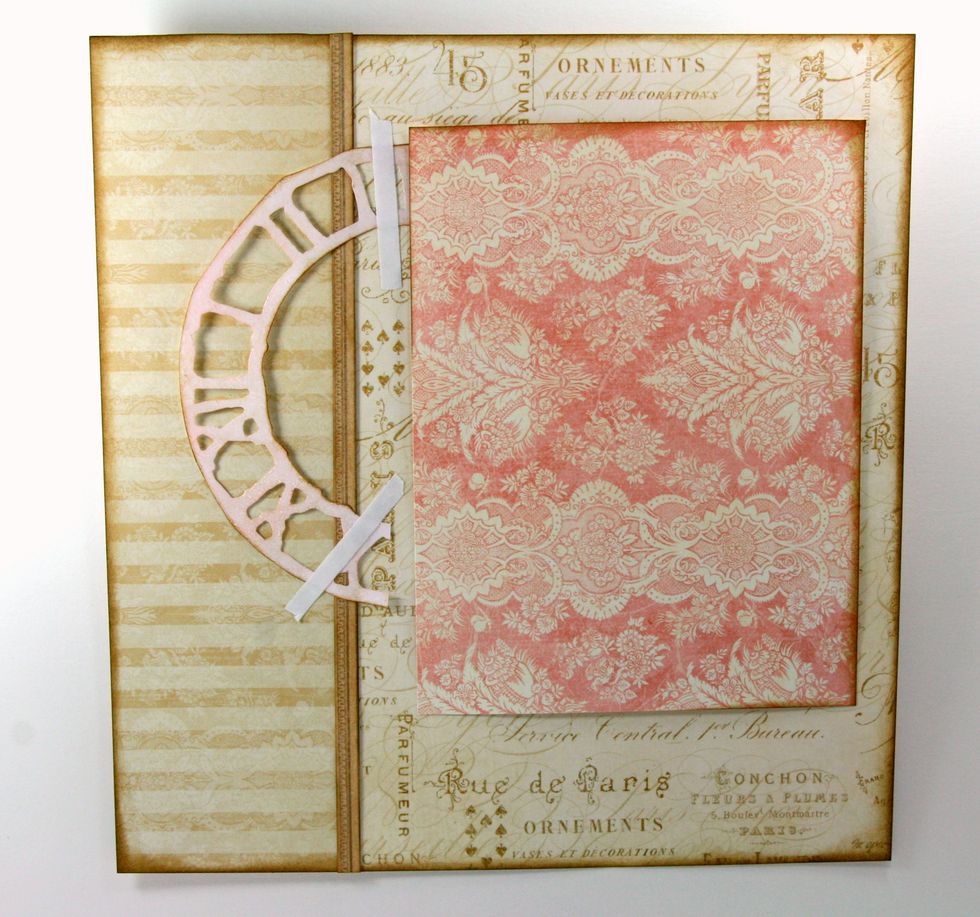
Trim inset section from G45 Golden Age. Ink sides and attach just so it's touching the edge of the die cut.
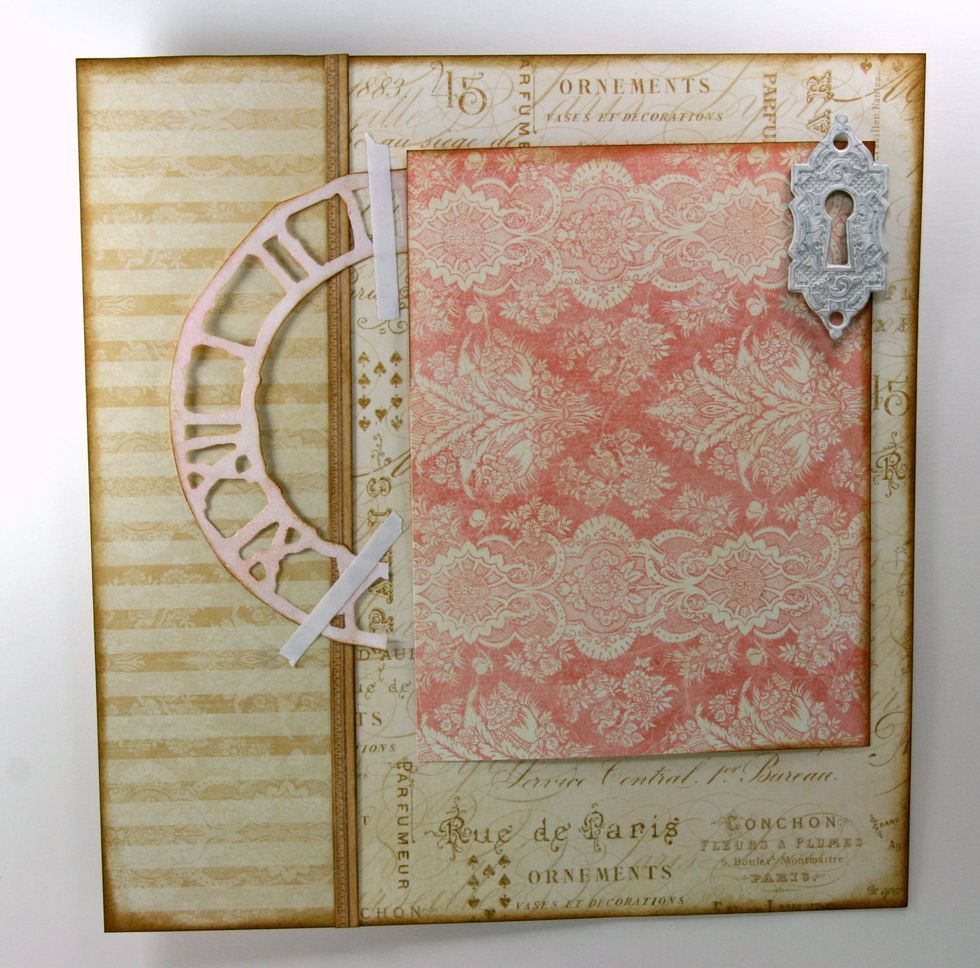
Paint G45 Metal Staples Shabby Ornate Key Hole and attach to top right corner of inset section.

Trim additional block of patterned paper from G45 Golden age using the reverse side this time. Scrunch up all edges heavily and ink all sides. Attach so Key Hole is just peeking out.
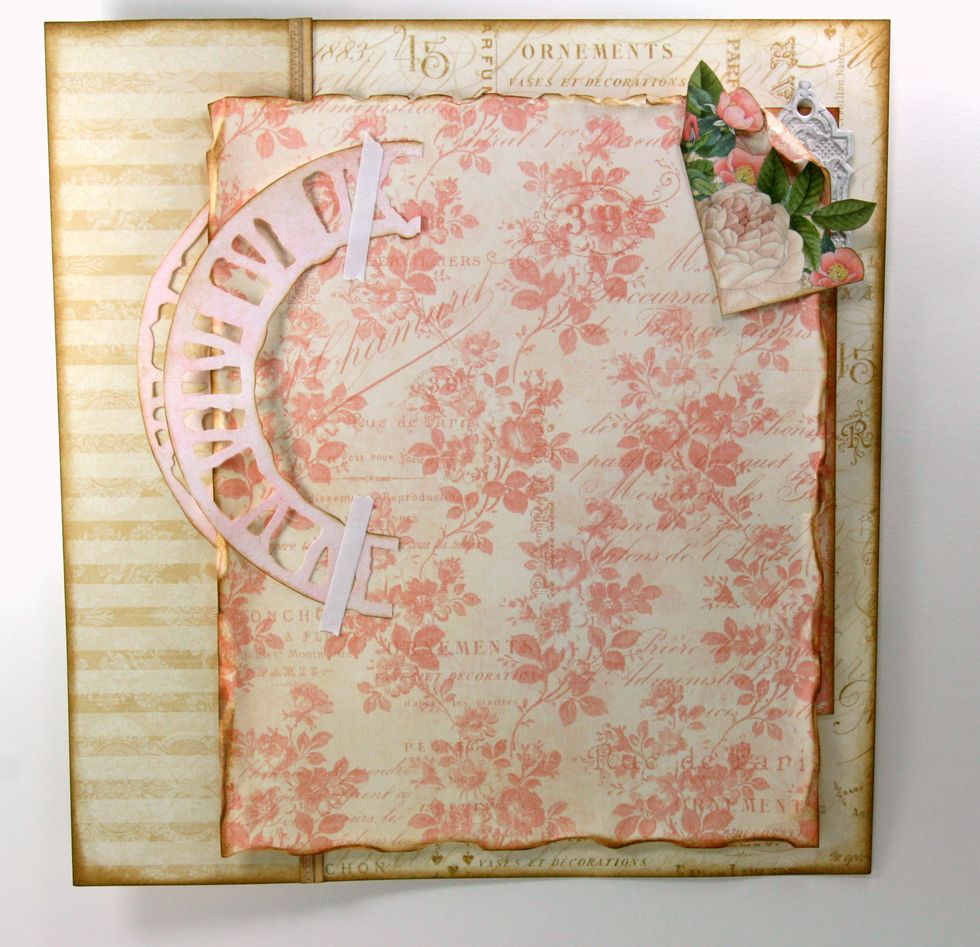
Trim corner from G45 Lavish Lifestyle. Ink well and attach to top right corner of inset section. Layer on the other half of the clock die cut.
Adhere additional well inked section from G45 Lavish Lifestyle.
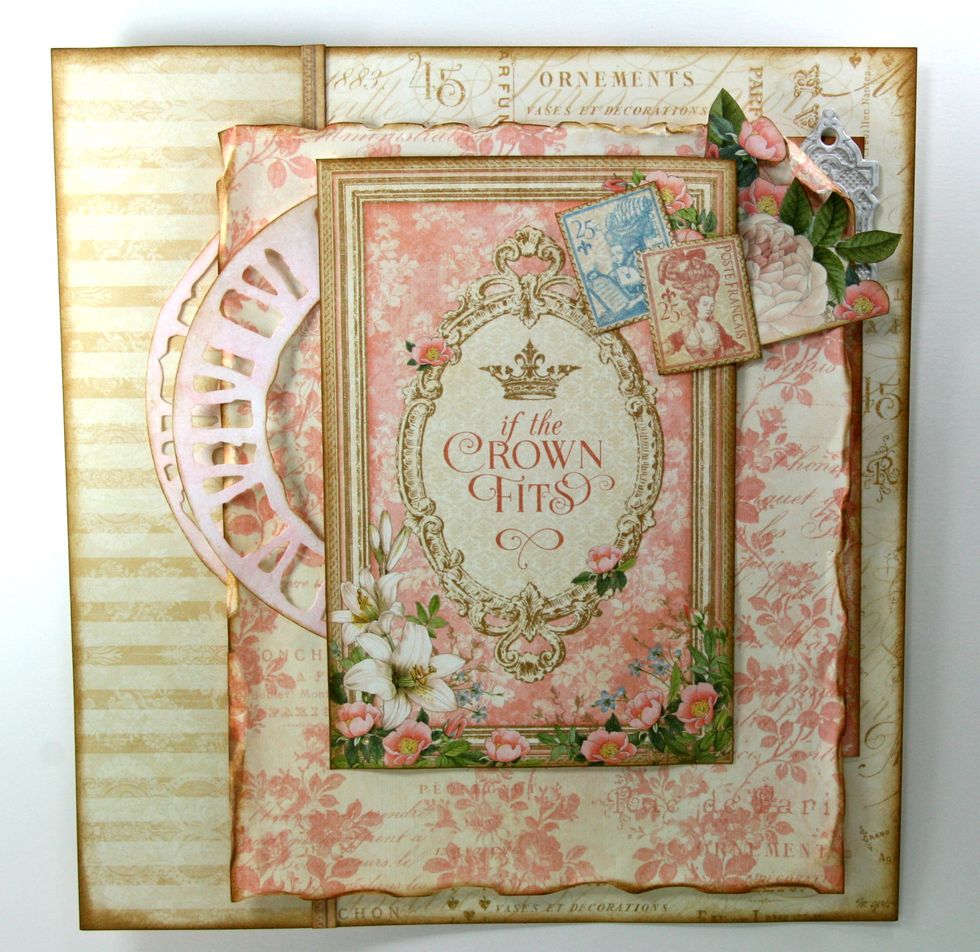
Fussy cut stamps from G45 Her Majesty. Ink all sides well and attach to top right corner.
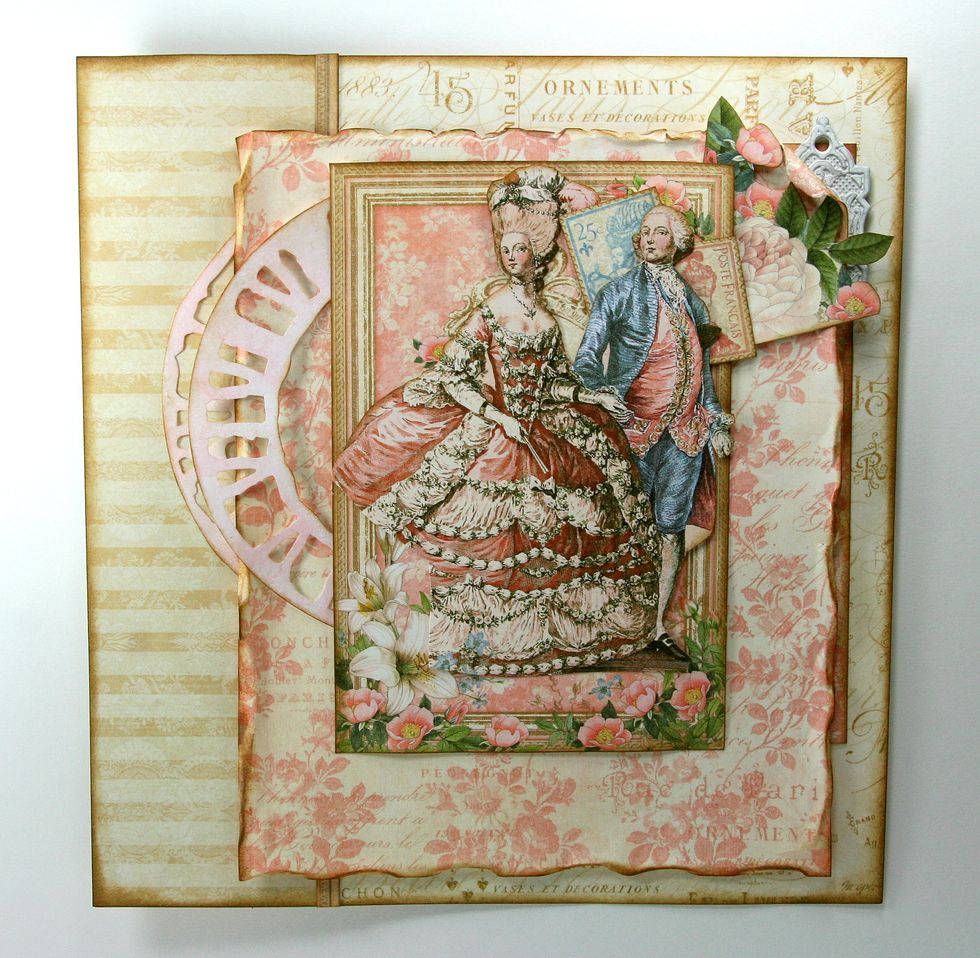
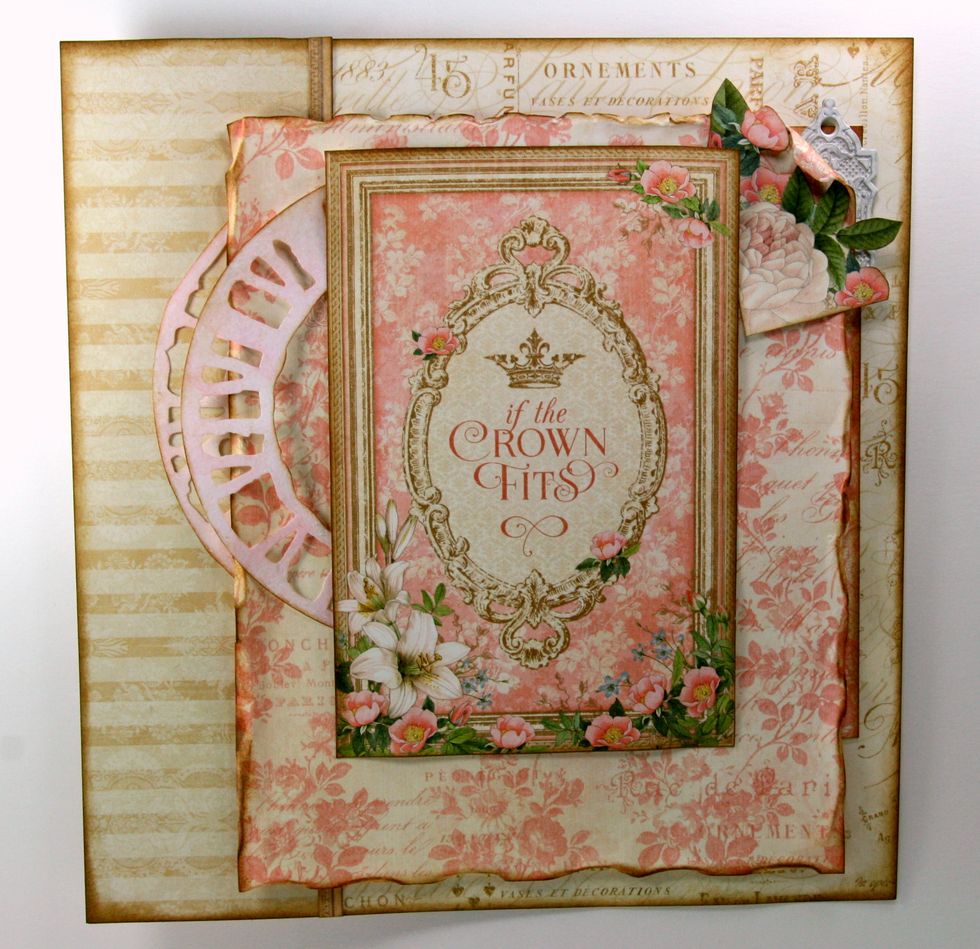
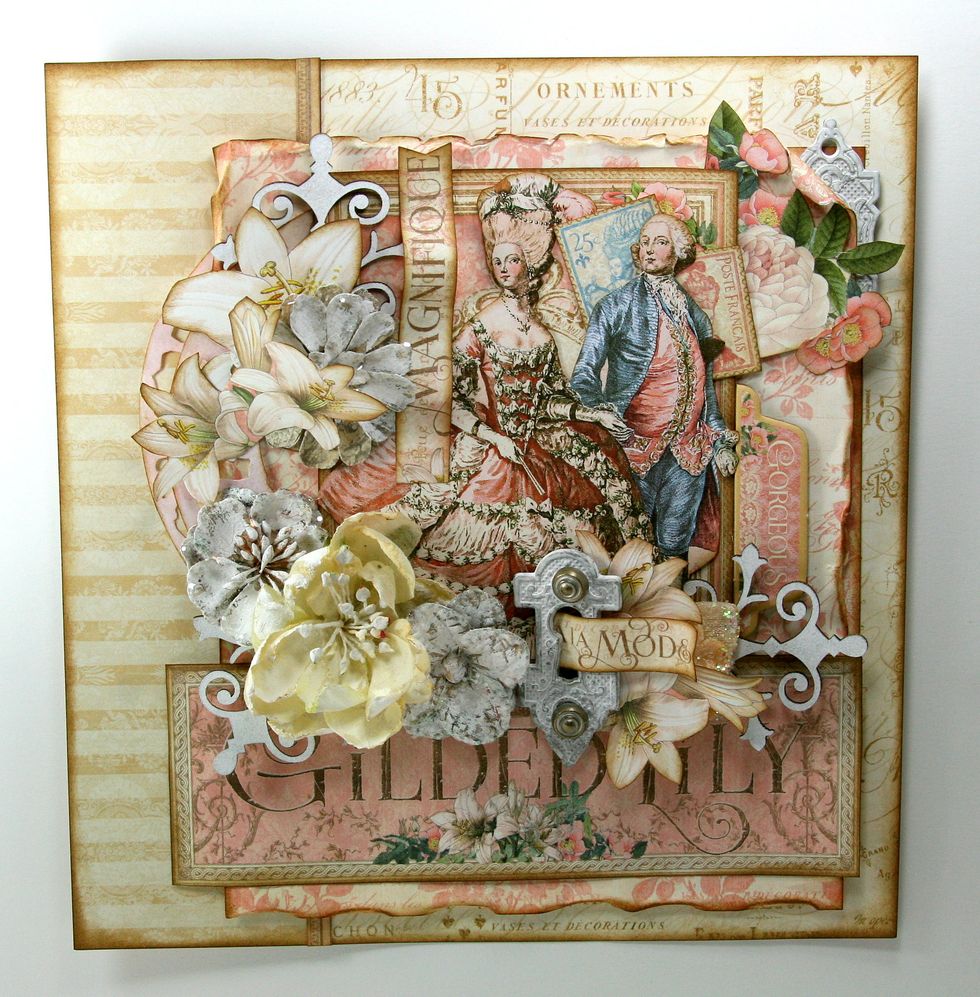
Fussy cut vintage couple image from G45 Gilded Lily. Ink well and position on the center of cut apart.
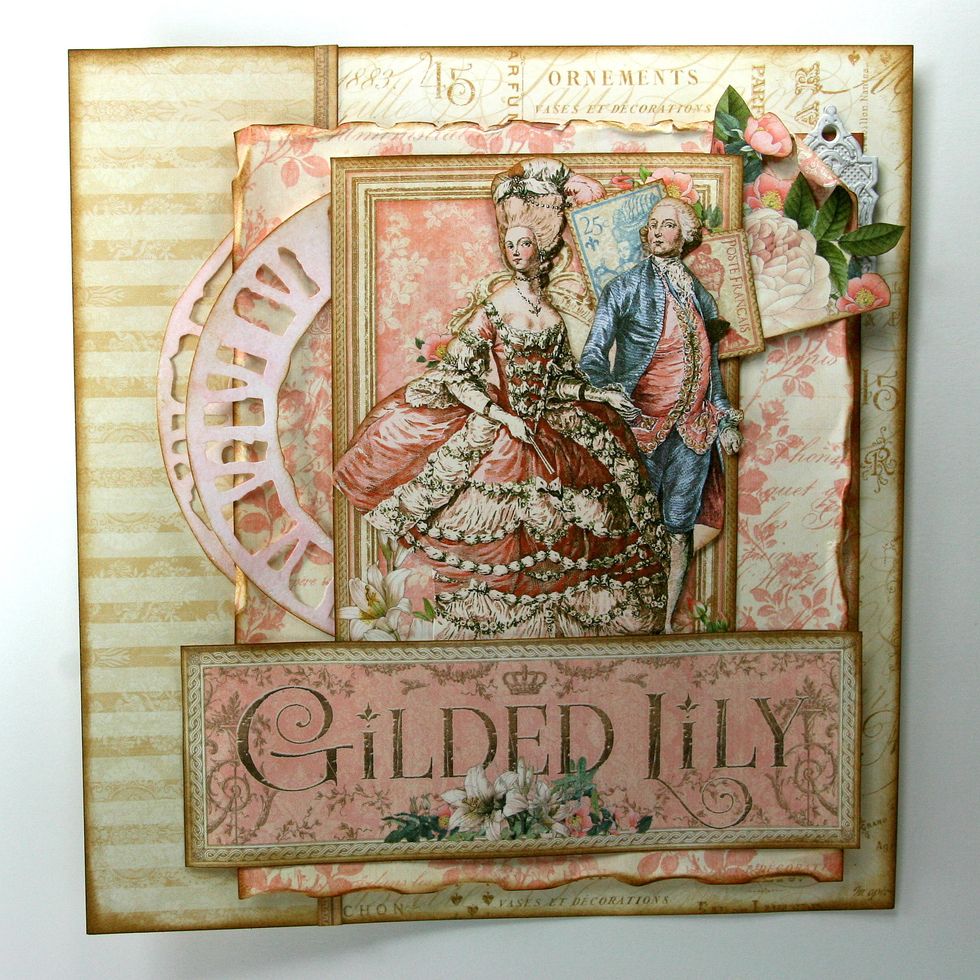
Finish off center section with the Gilded Lily verbage block from G45 Gilded Lily.
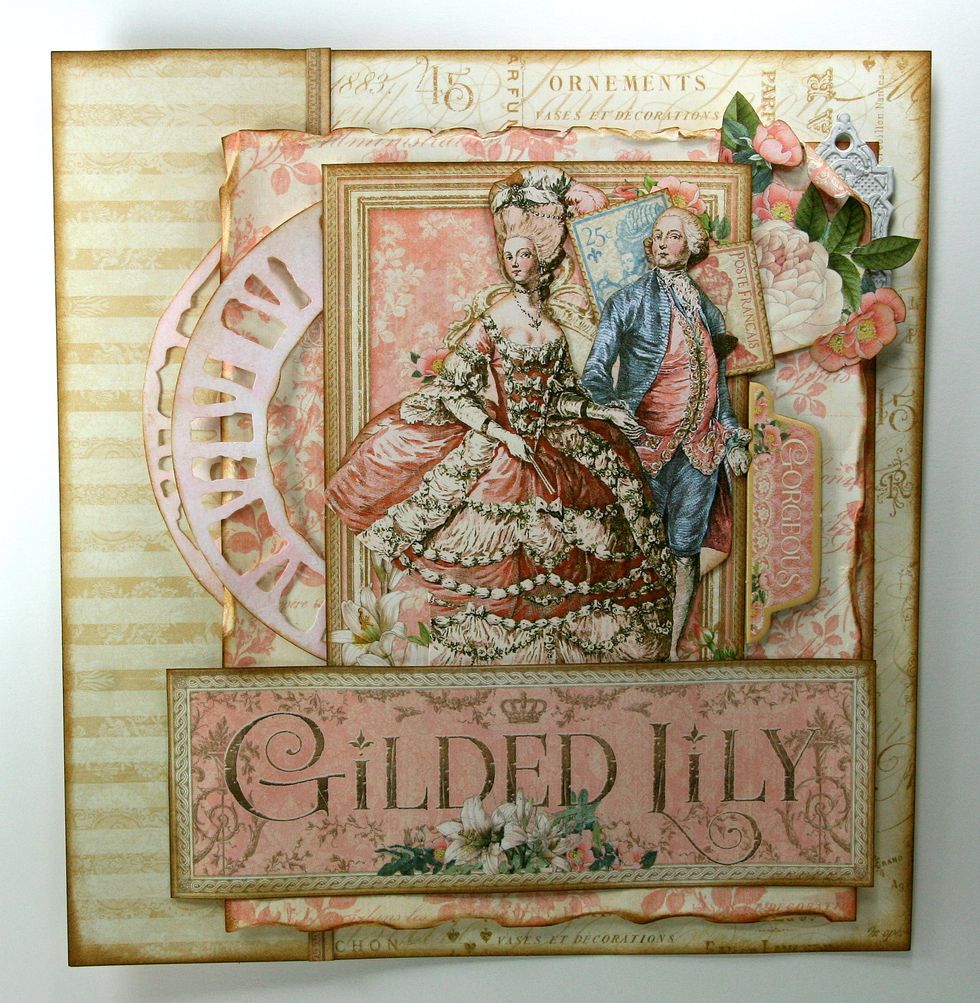
Attach tab from Gilded Lily Decorative Chipboard. Make sure to file down edge until smooth and ink.

Anchor floral elements with painted chipboard flourishes.
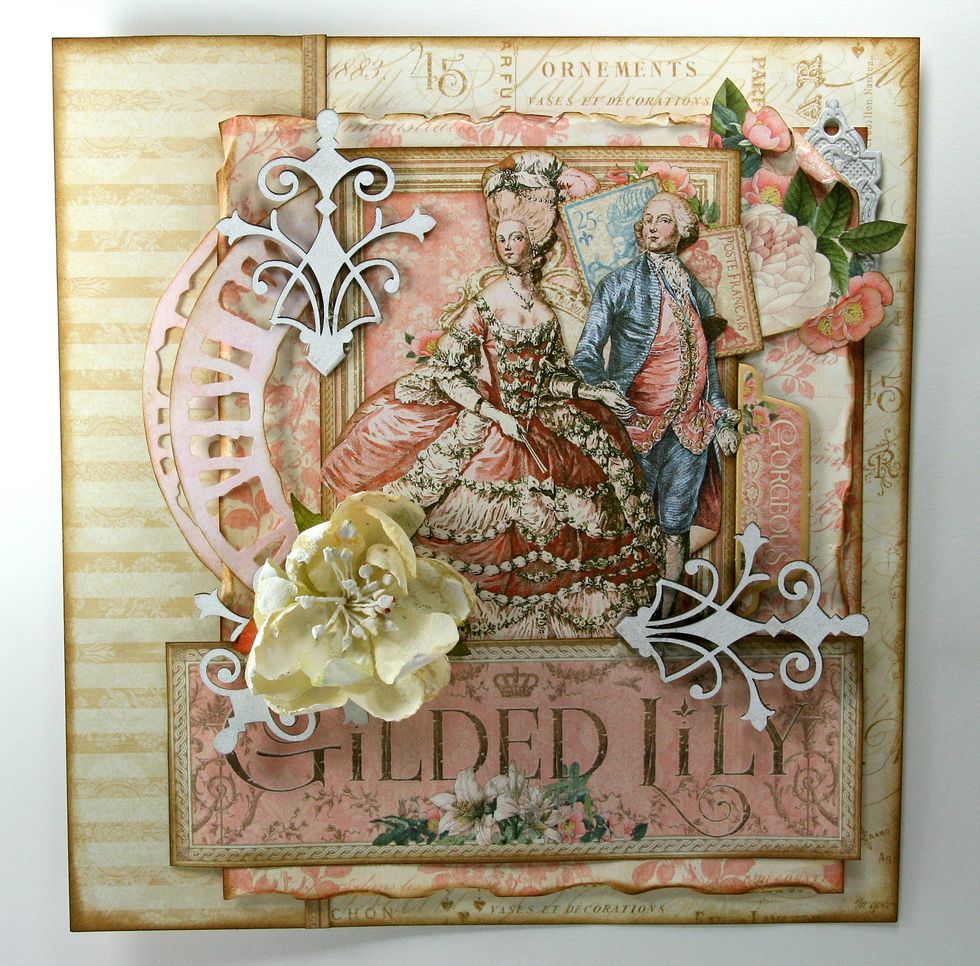
Begin adding flowers with large bloom from Petaloo.
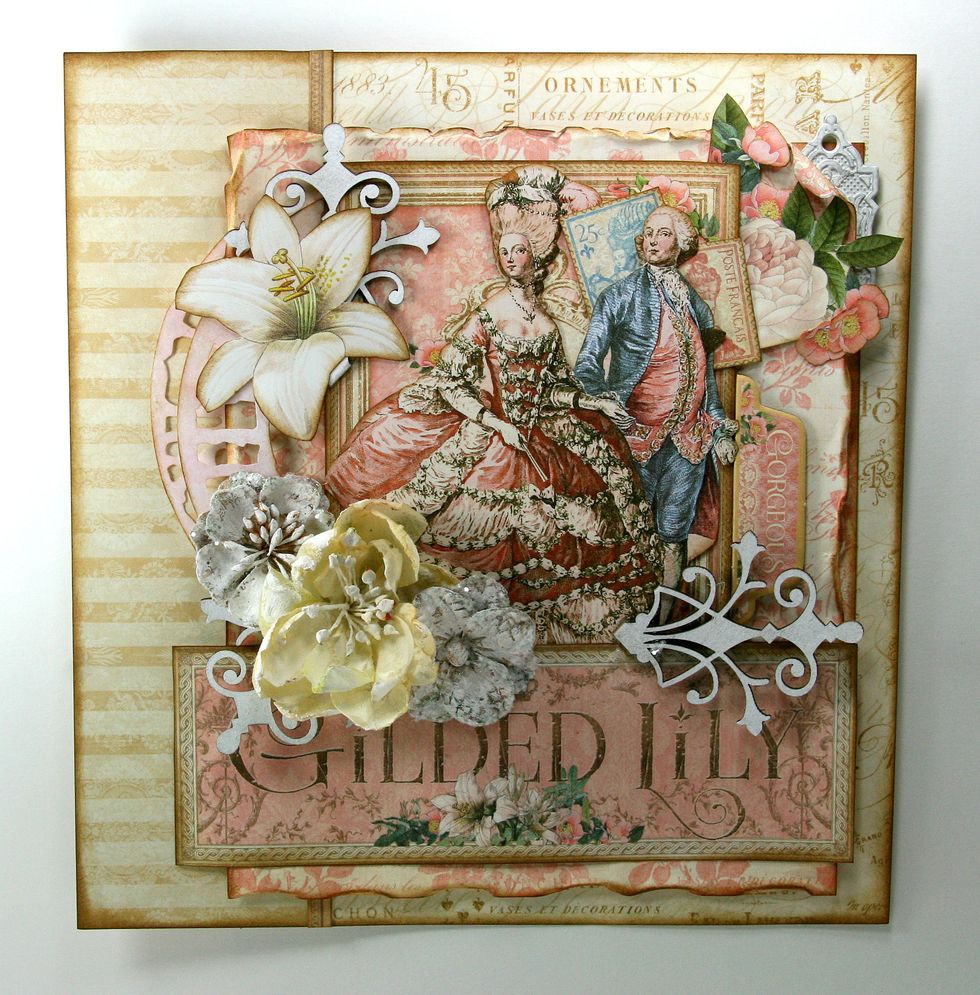
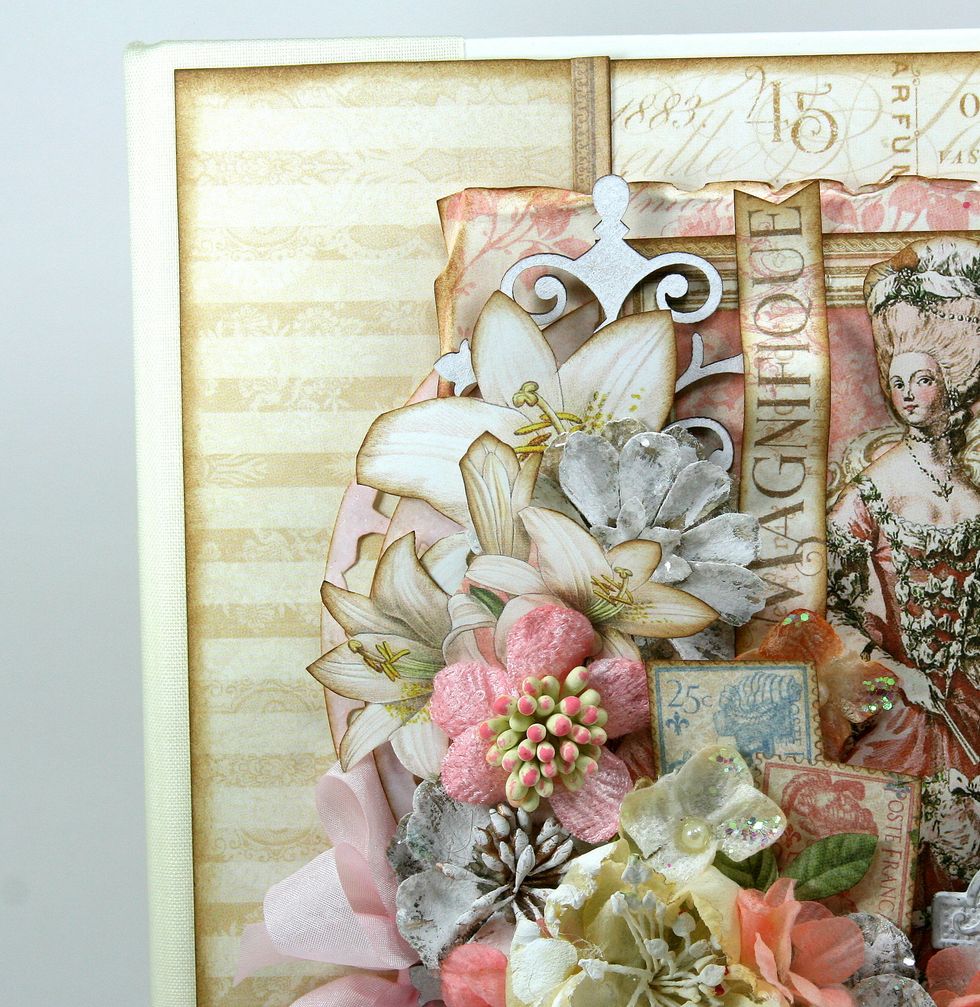
Continue filling in corner with smaller flowers. These I've painted and added glitter to edge of petals. Near the top of the arrangement incorporate a large fussy cut Lily image from Creme de la Creme
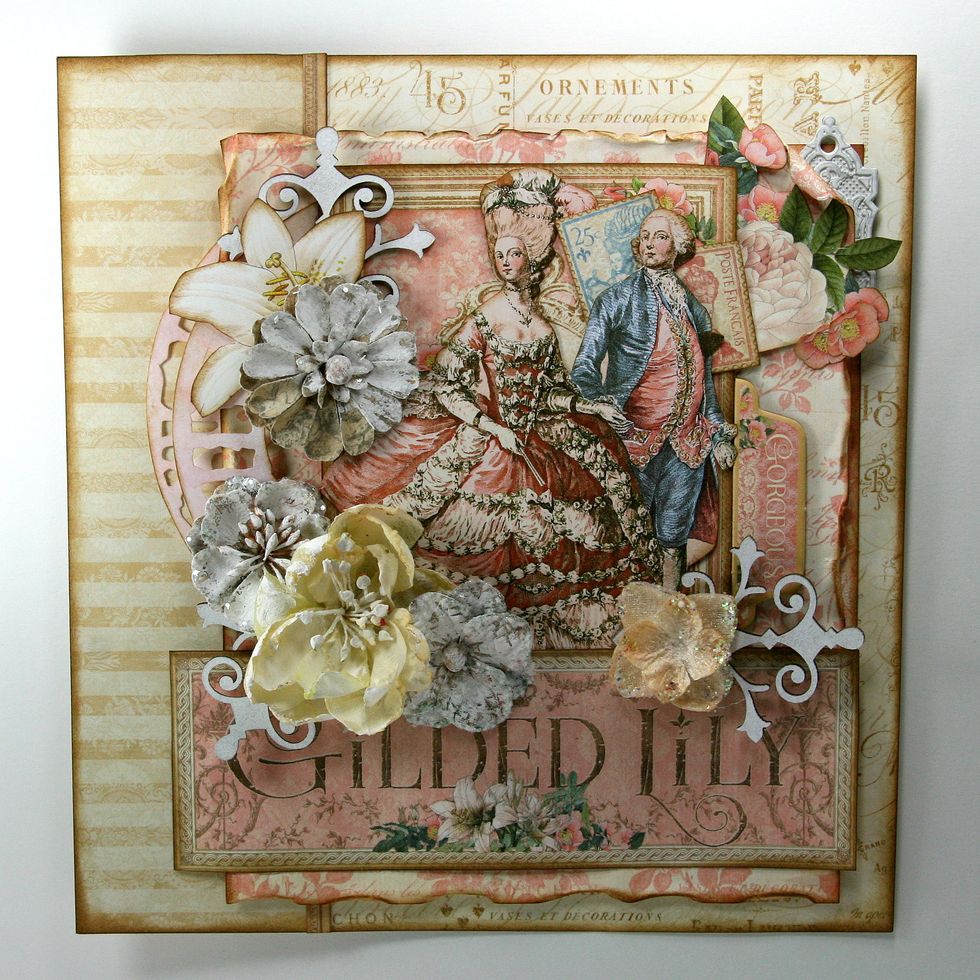
Continue building up flowers with a variety of off white varieties.
Layer in additional fussy cut Lilies from G45 Creme de la Creme.
Trim small text image from G45 Her Majesty and tuck into center of painted Key Hole. Add Metal Staples Shabby Chic Ornate Brads. Ad this to floral section and curve paper for extra dimension.
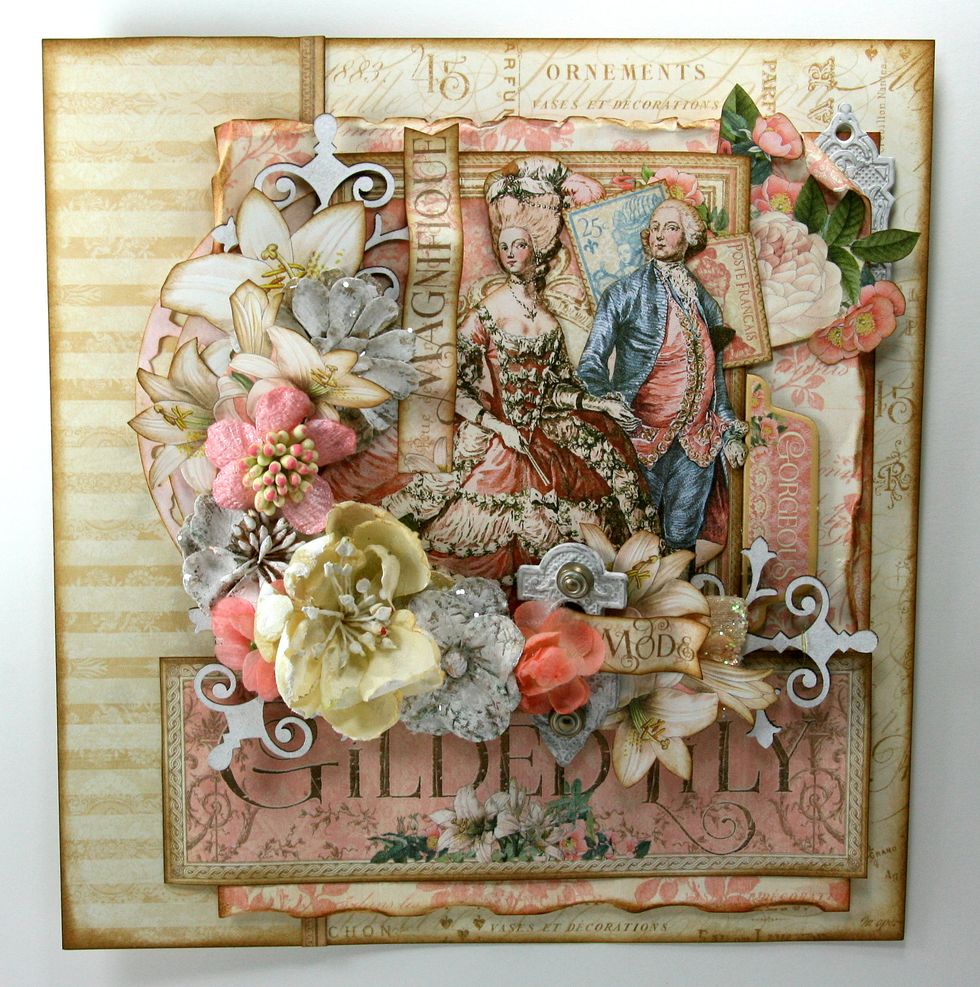
Now add some pink and coral colored flowers from Petaloo.
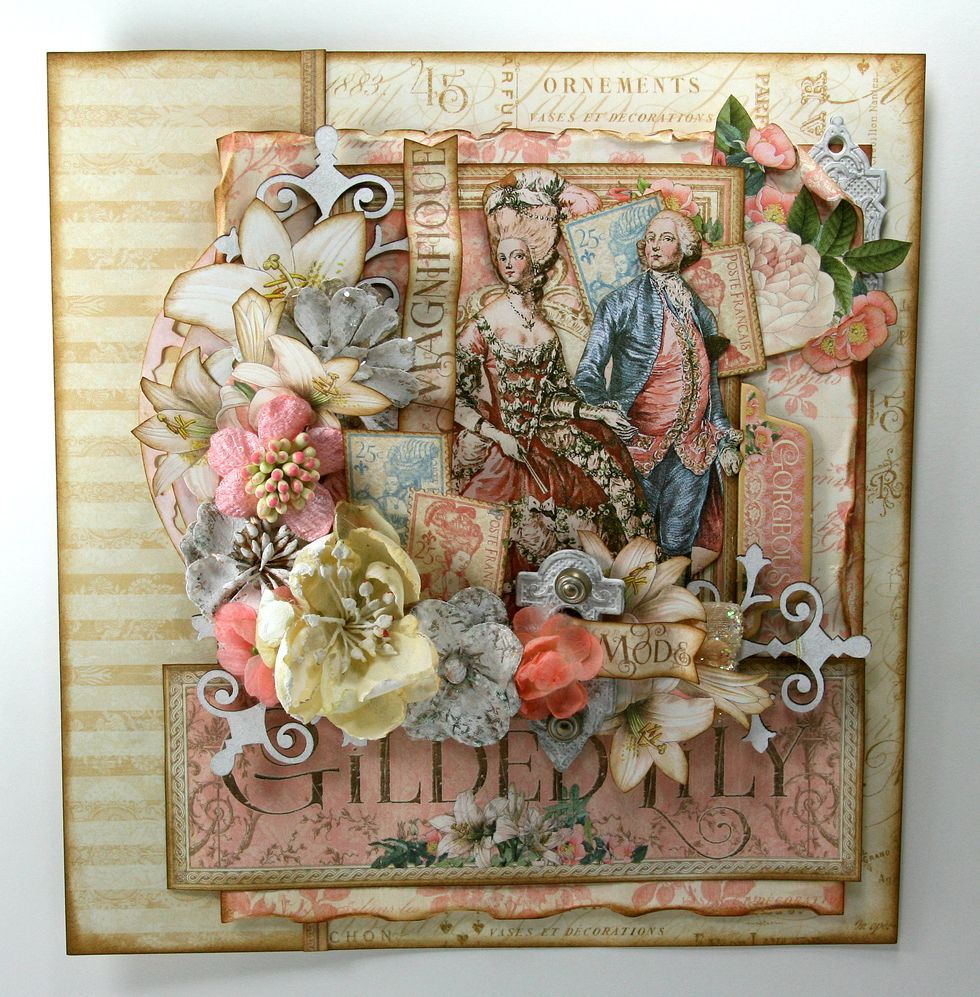
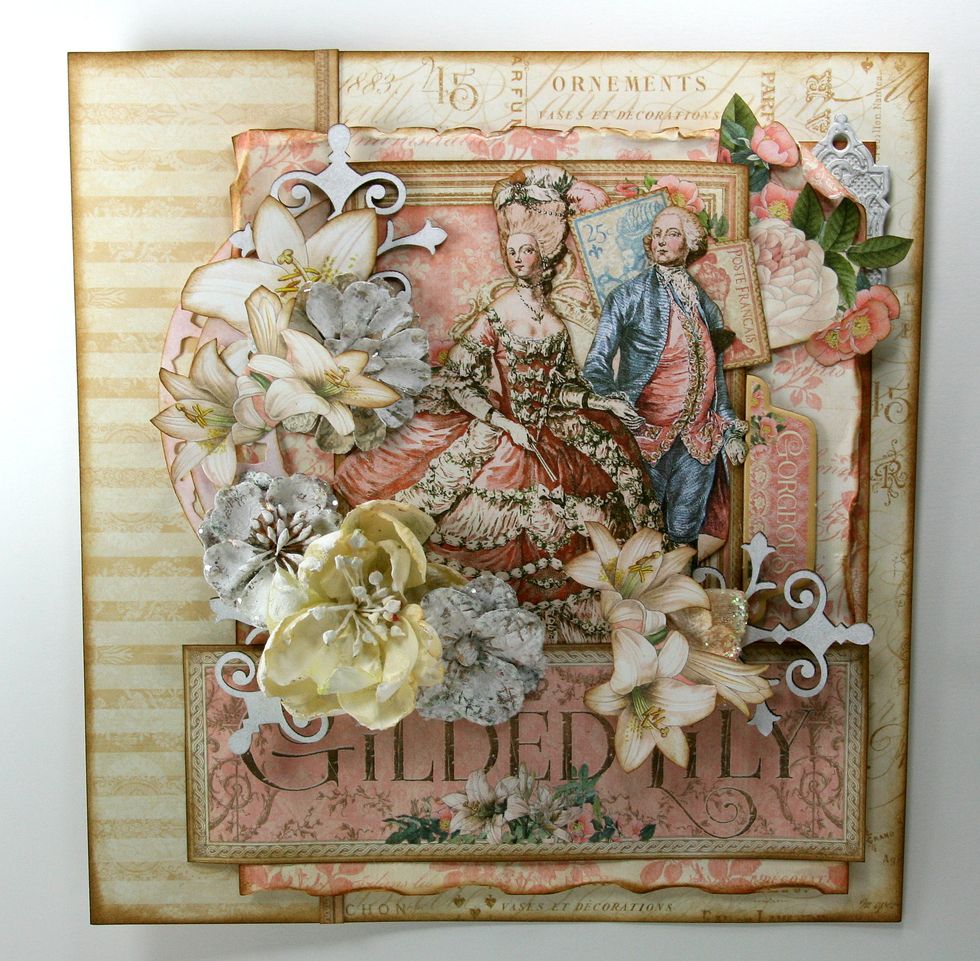
Tuck some additional fussy cut stamps from G45 Her Majesty. Use adhesive foam spacers to add volume to center of flower arrangement. Add another text strip ..this time going vertical.
A few more smaller flowers layered on to finish off the floral section.
Make a smallish loopy bow from Pink Wrinkle Ribbon and attach just under the flowers on the left bottom corner. Use a chopstick or small tool to get it firmly under the arrangement.
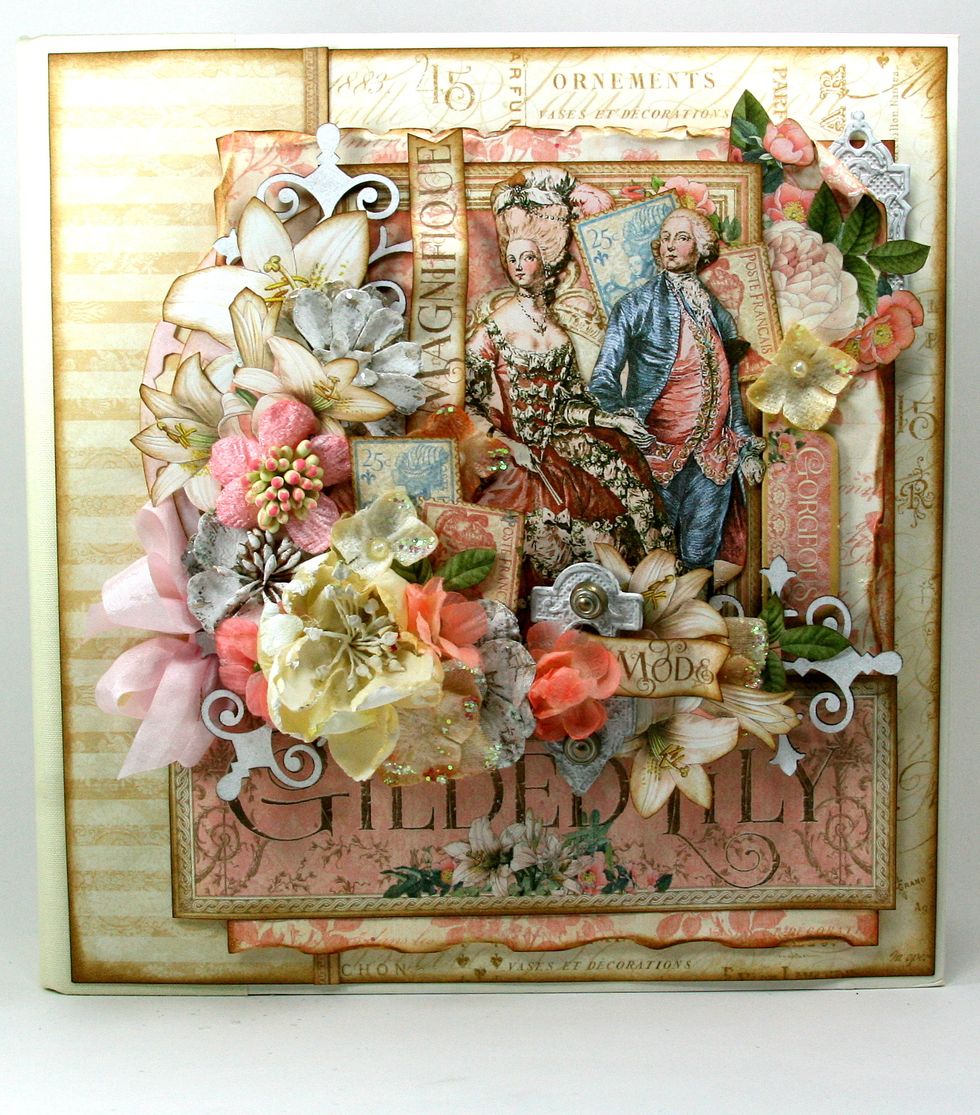
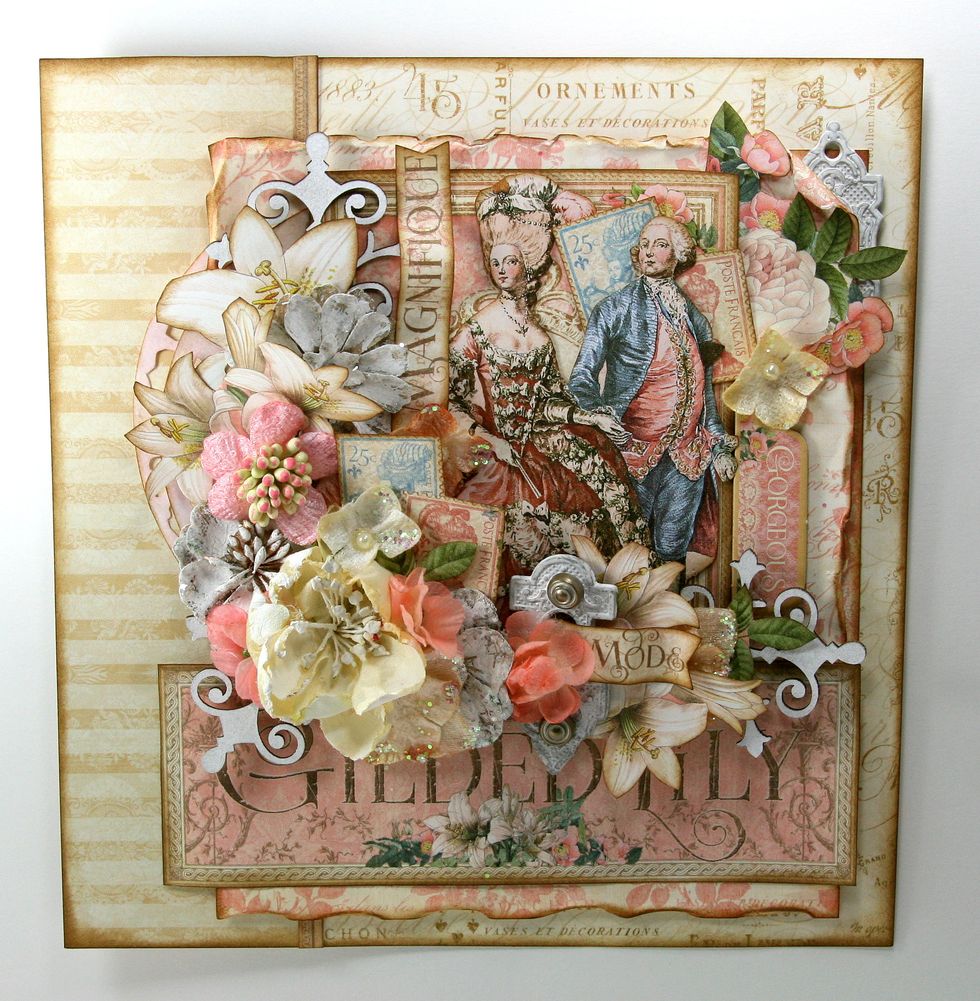
Once you've finished ..attach to G45 Staples Ivory Mixed Media Album.
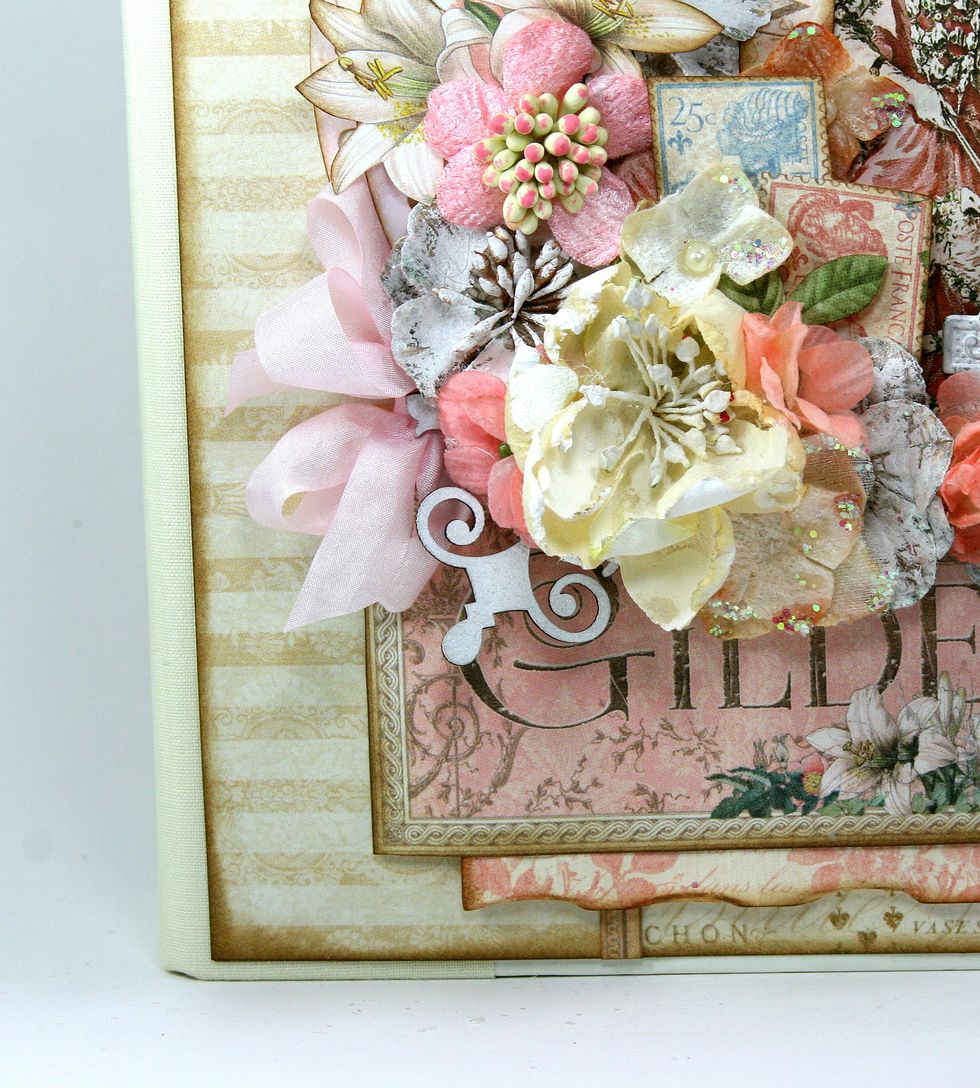
Close up of bottom corner.
Close up of flowers.
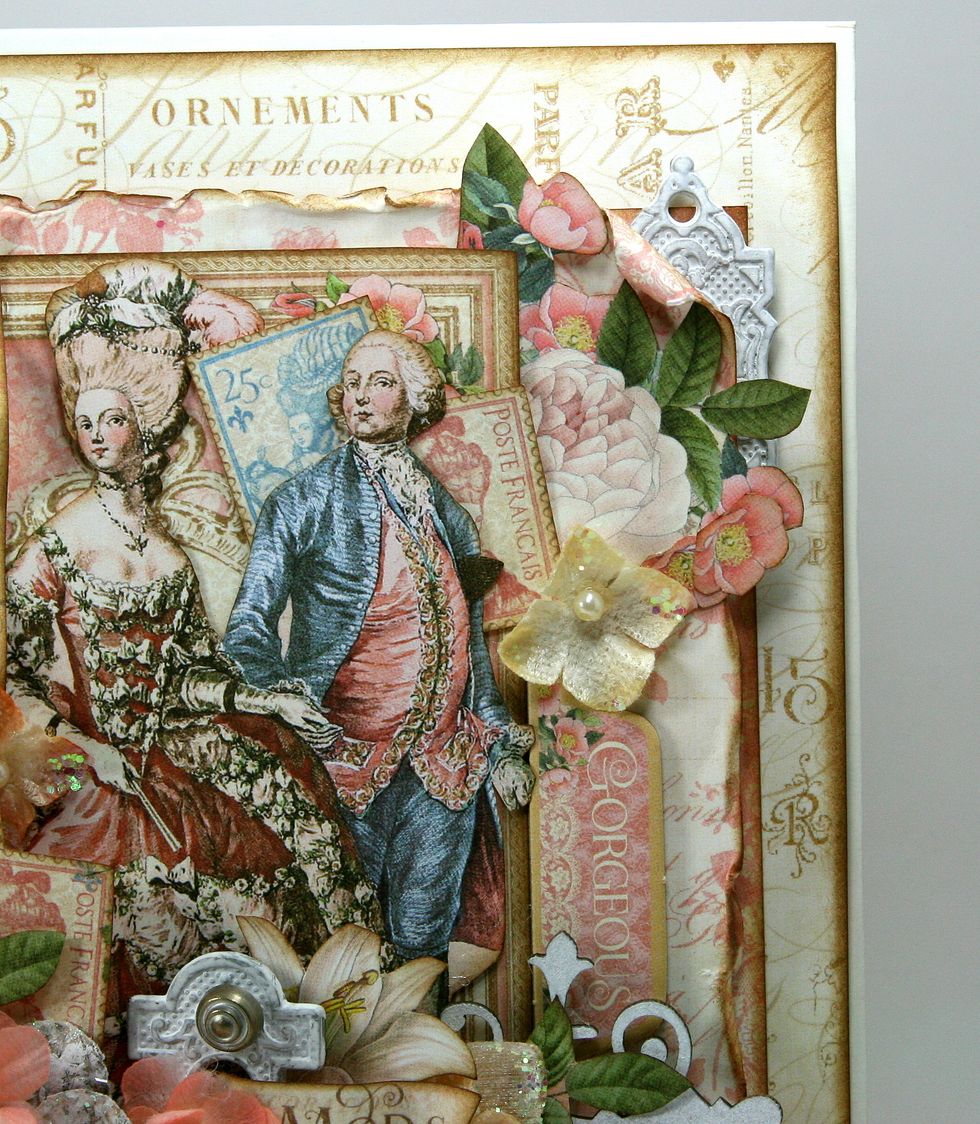
Close up of top right corner.
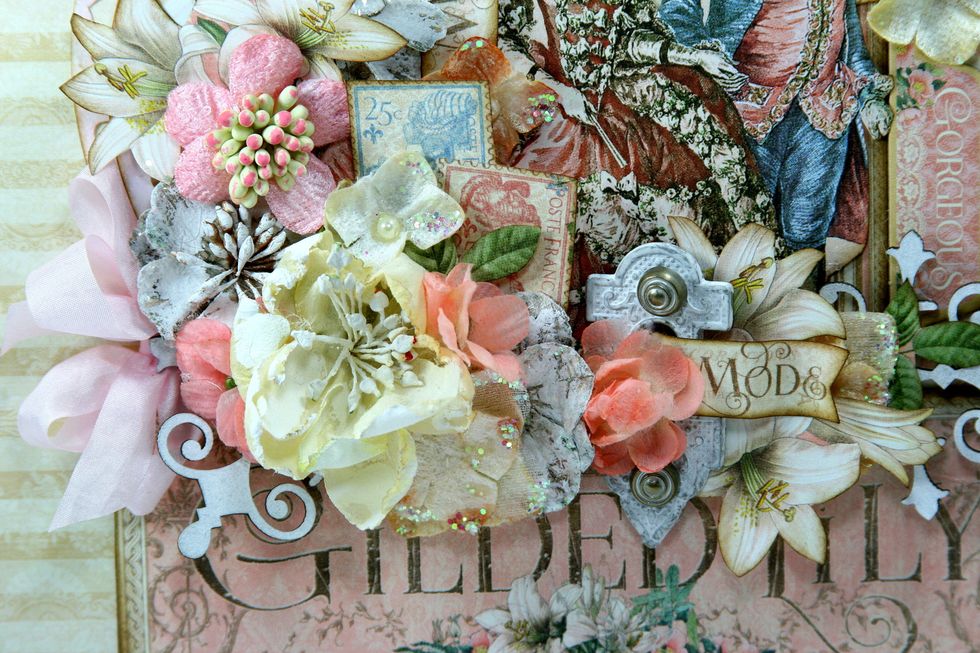
Using foam spacers really adds depth to the arrangement.