The Conversation (0)
Sign Up
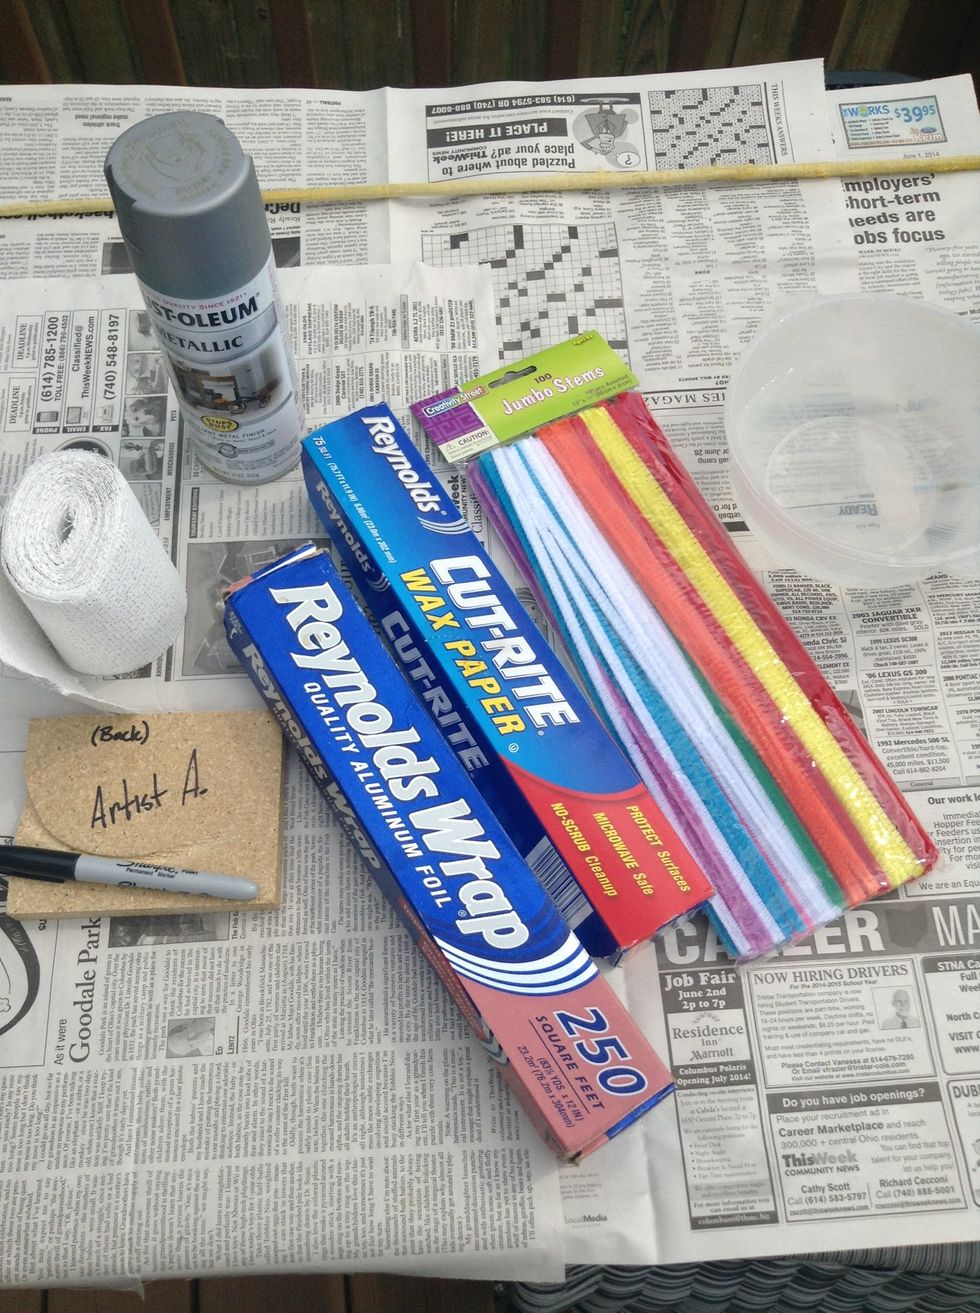
A visual of the materials you'll need. It's nice to have a towel nearby.
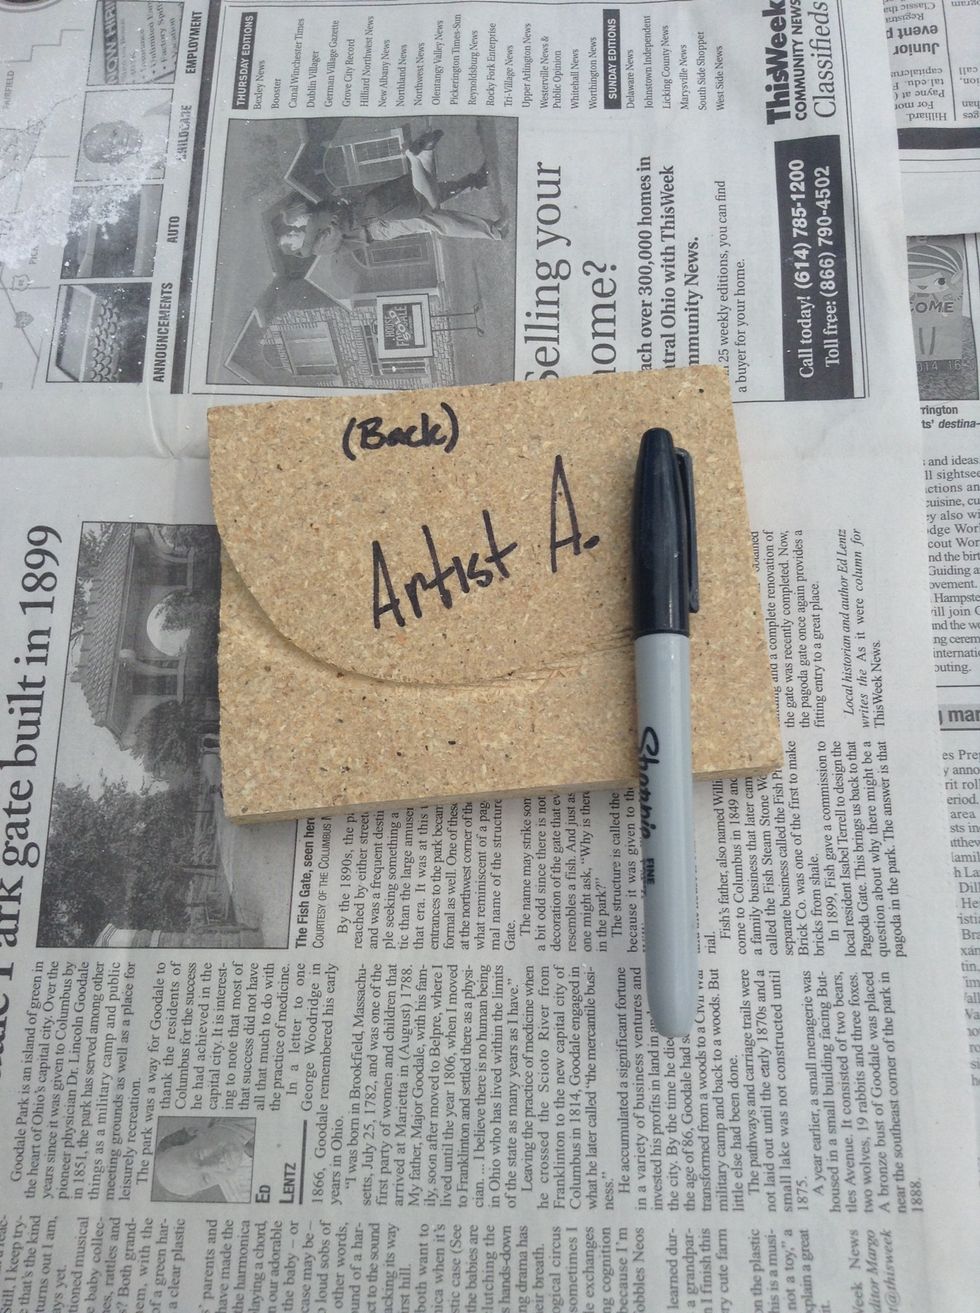
Write your name on the BACK with a permanent marker. Don't forget to dot your I's. ;>)
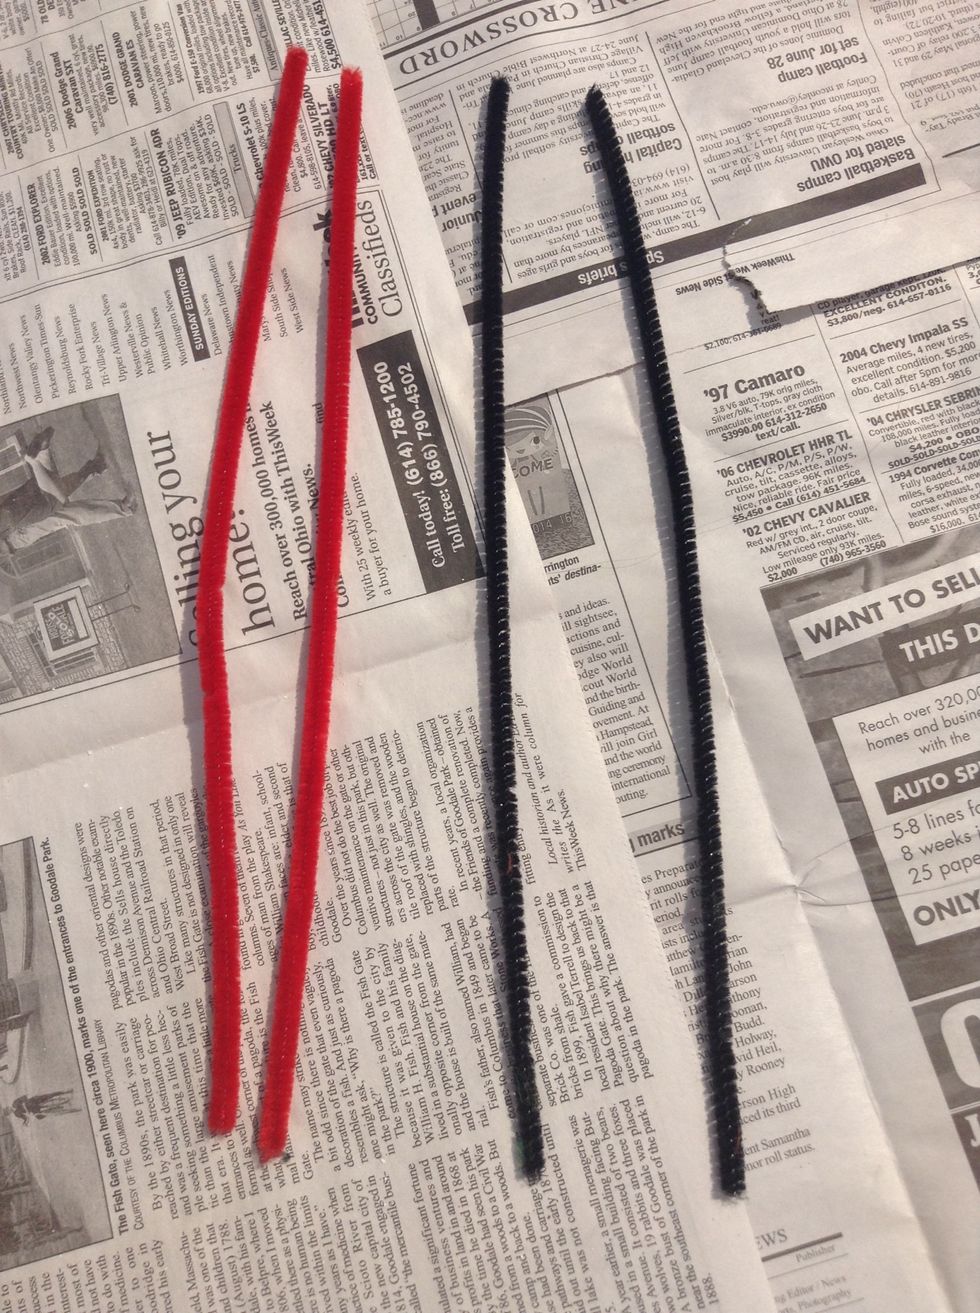
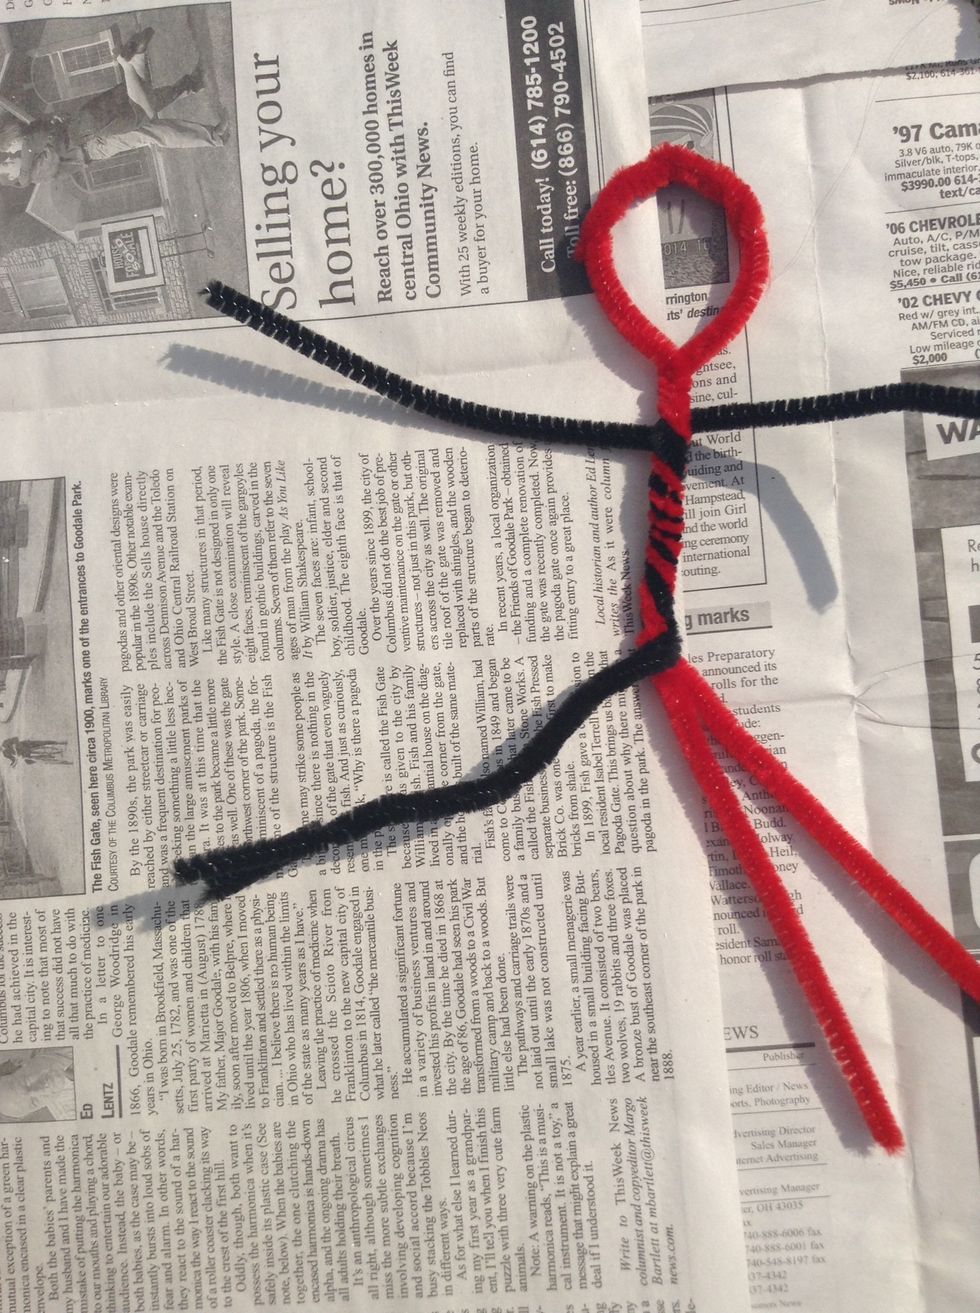
Use 4 chenille stems. I like to use to different colors to isolate the body parts.

Twist ALL 4 stems in the middle to make the torso of your figure.

At the top, tie 2 stems together to make the shape of the head. The 2 other stems will make each arm.
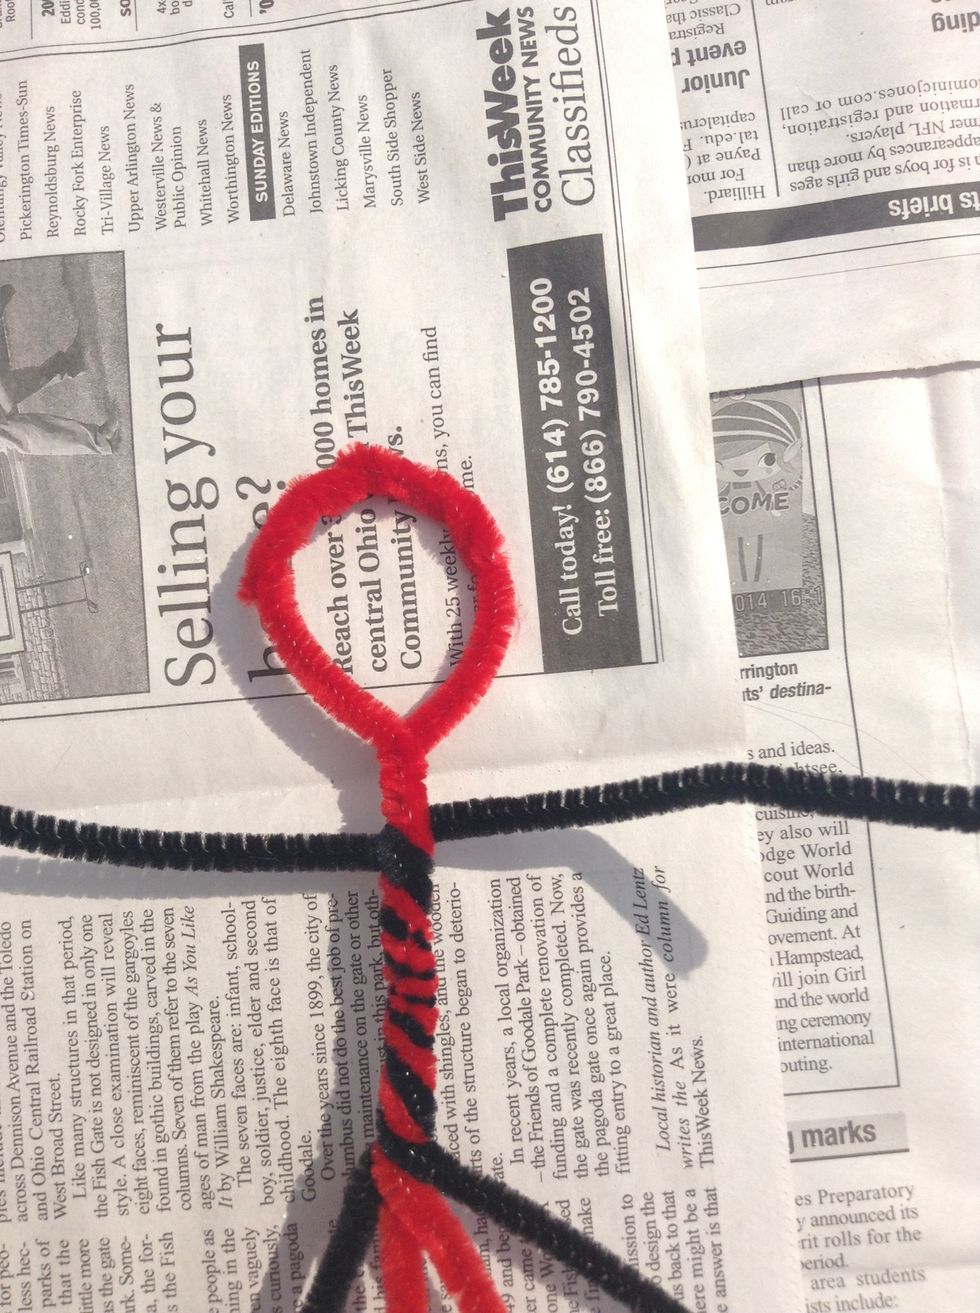
Tuck the ends of the stems in and define the shape of the head.
Twist 2 stems together to make each leg.
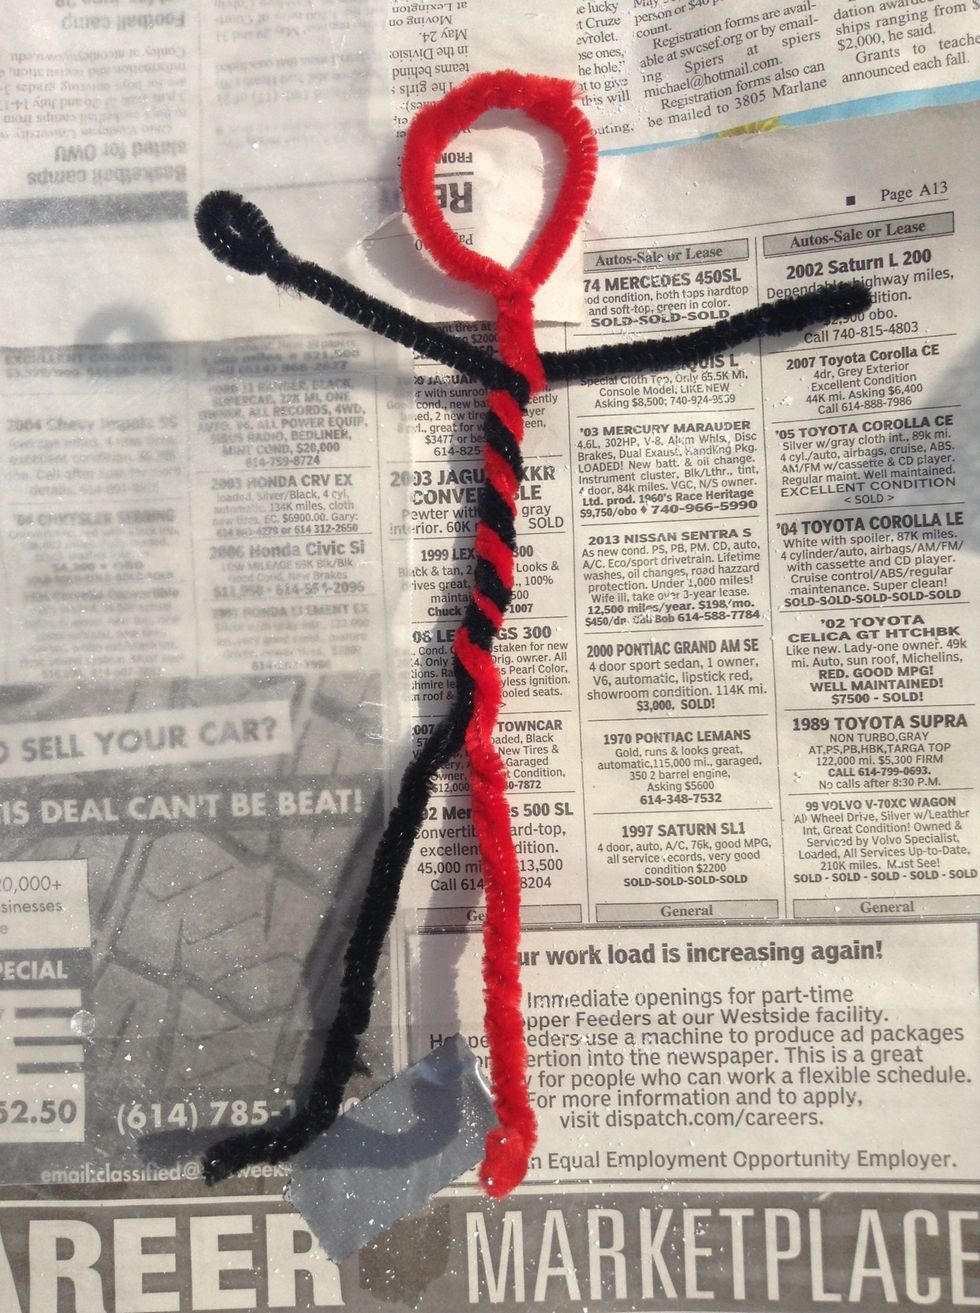
Form the feet and hands.

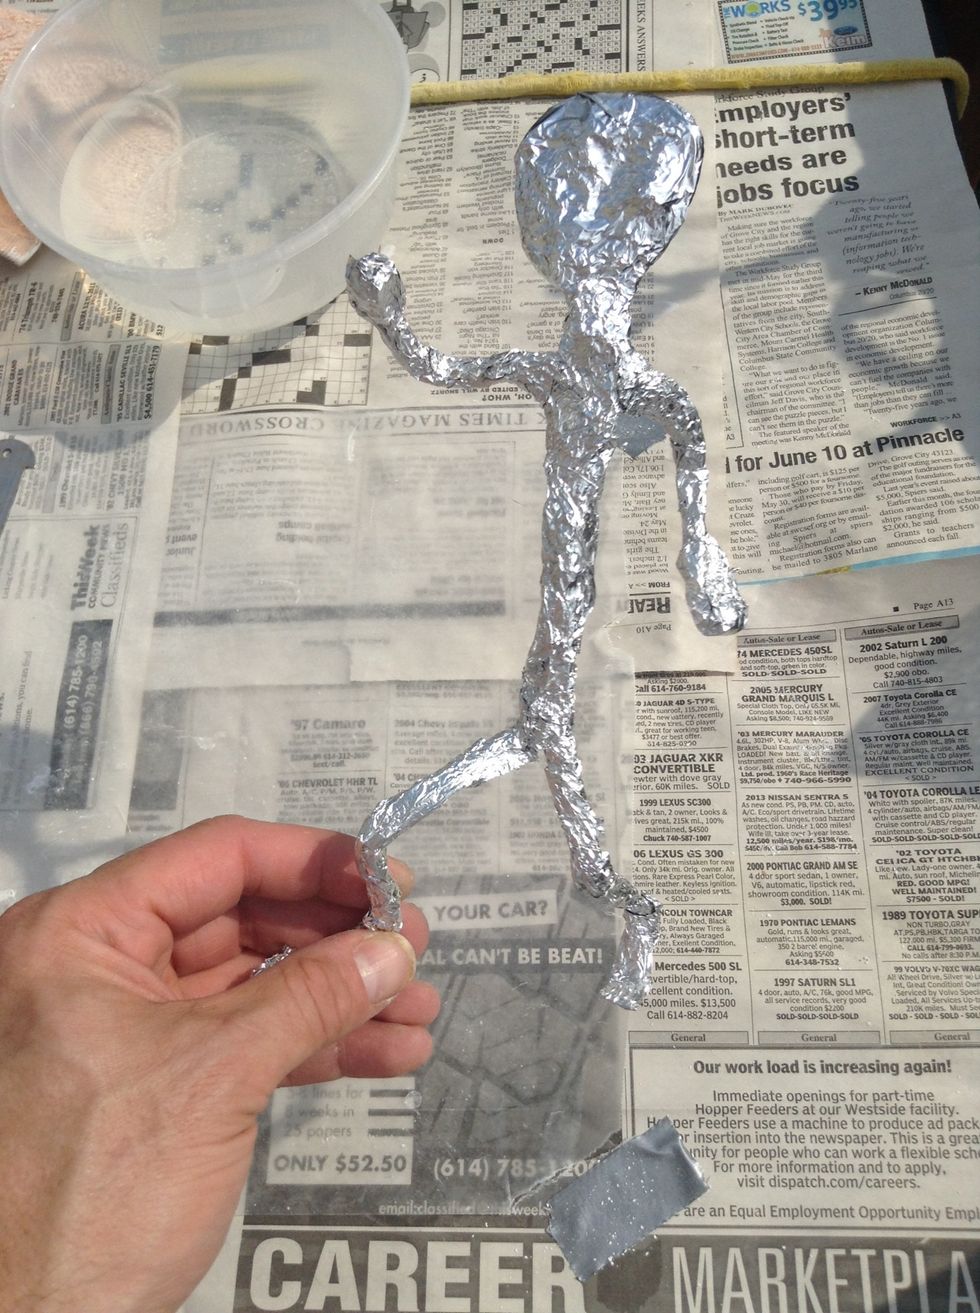
Wrap your figure in foil strips. Experiment with what sizes work covering different areas. The foil will make the armature stronger, but still flexible.
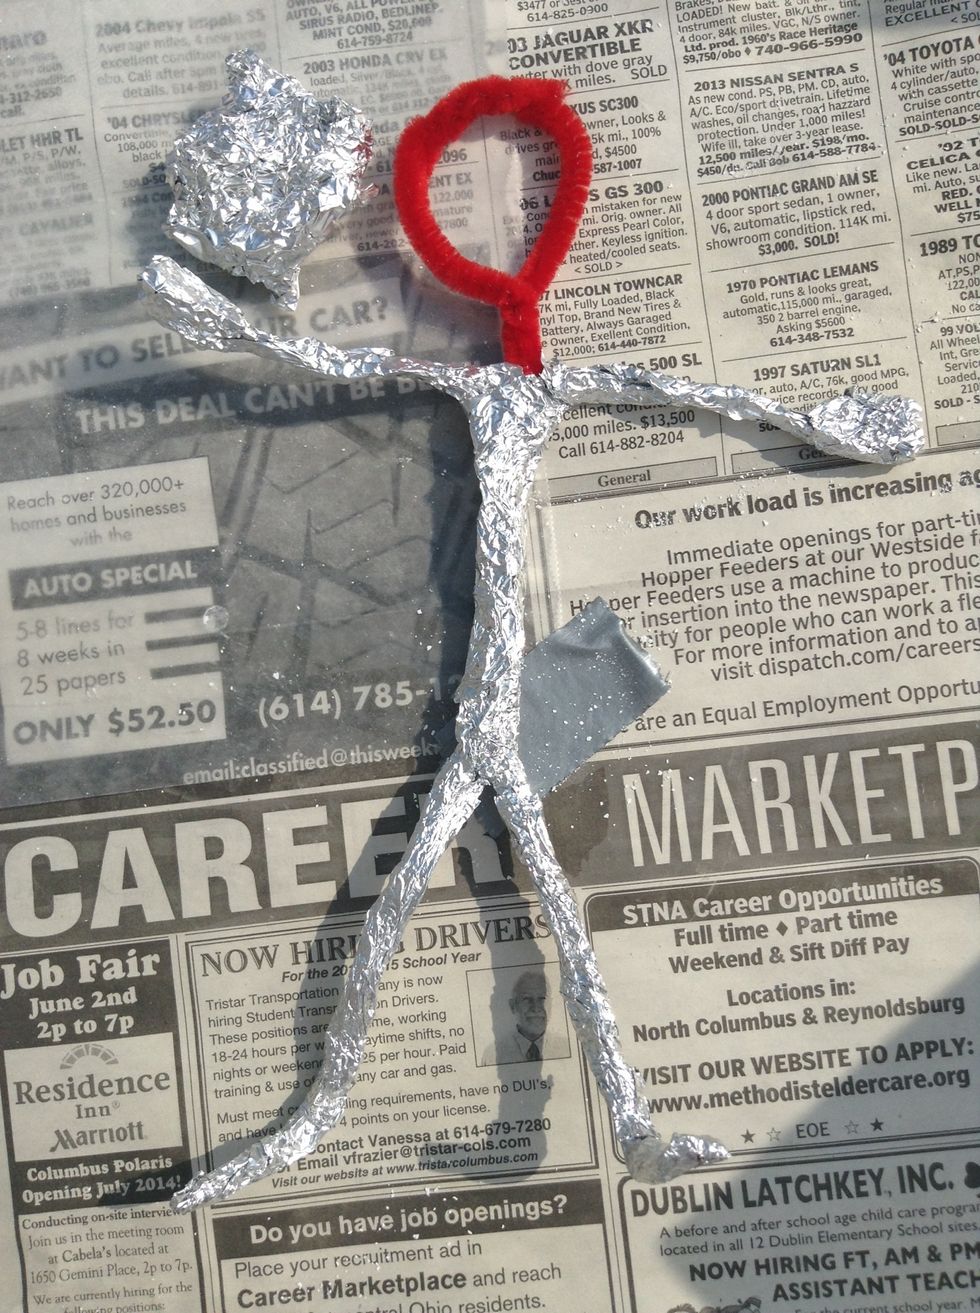
COMPLETELY wrap your figure. You can use the foil to change the shapes of features and add thickness.
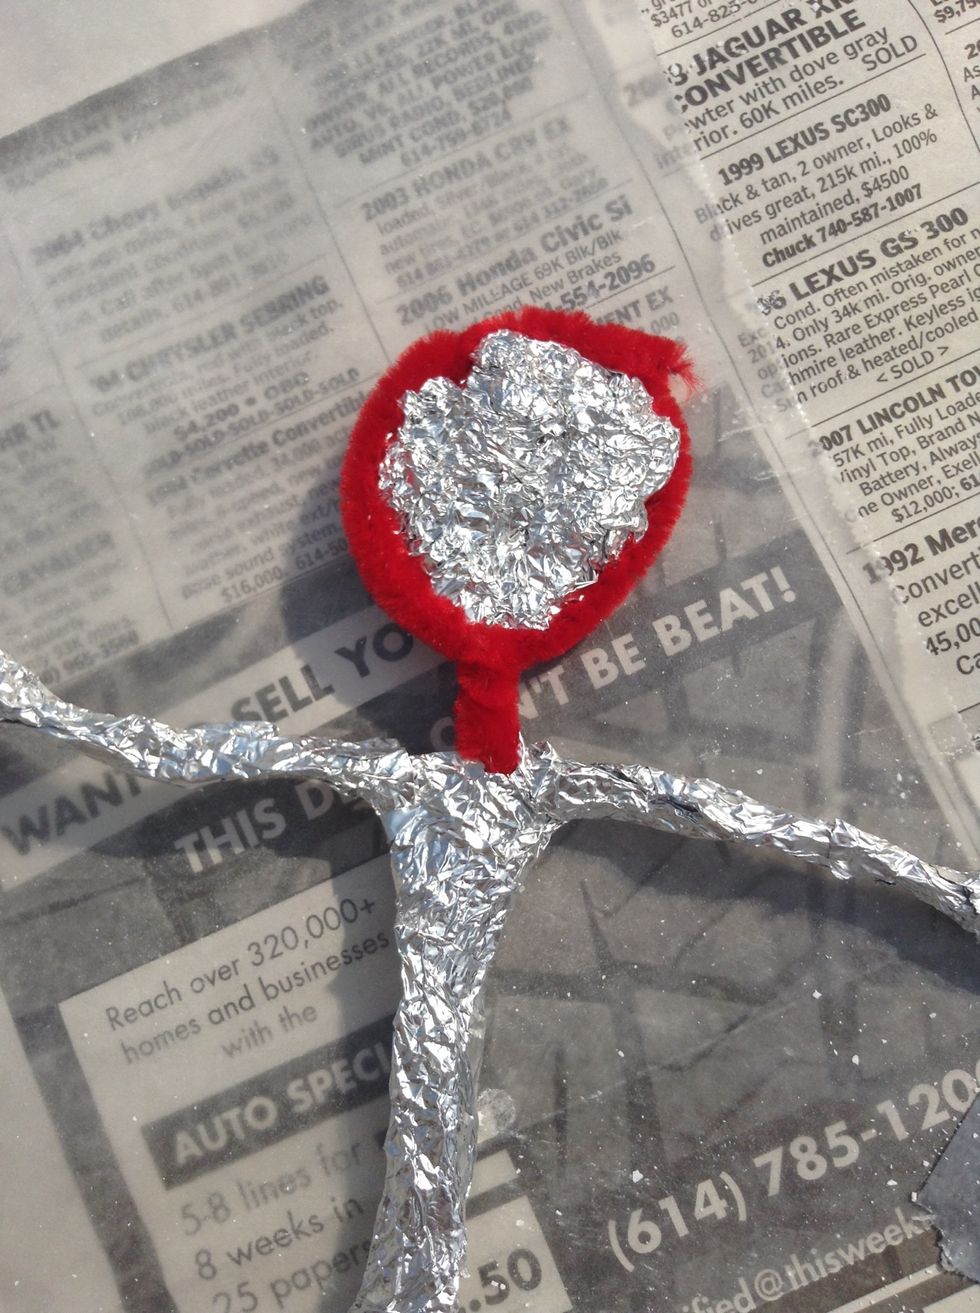
I ball up some foil to fill the center of the head. It can be left hollow, if you desire.
All those years of playing with dolls and action figures now pays off! Pose your figure.
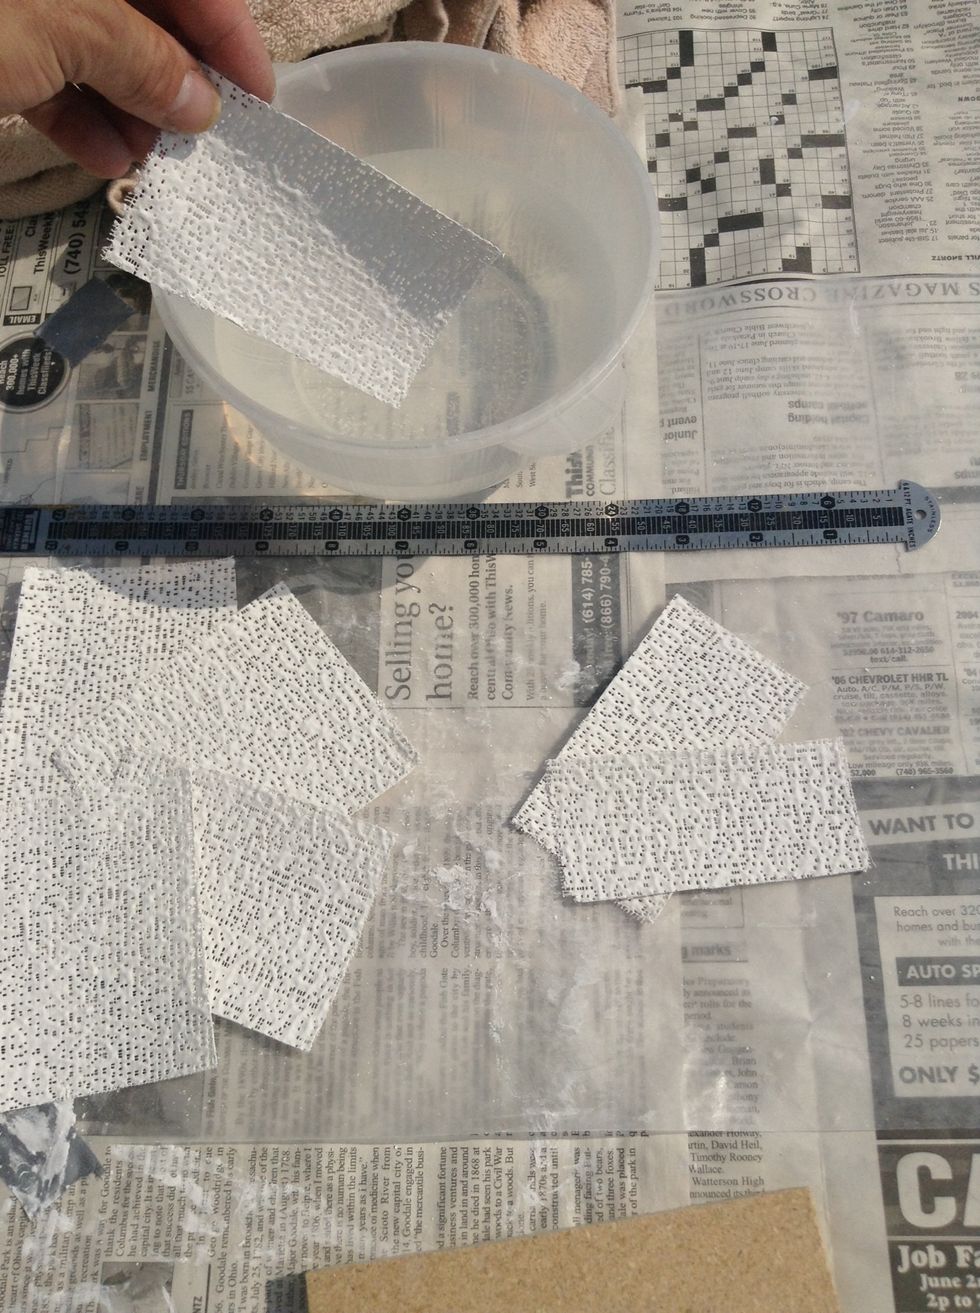
Pre-cut the plaster strips into smaller piece. Dip a piece into the water and wipe off any excess water (with exception to this picture, try to keep the water & plaster strip supply separated)
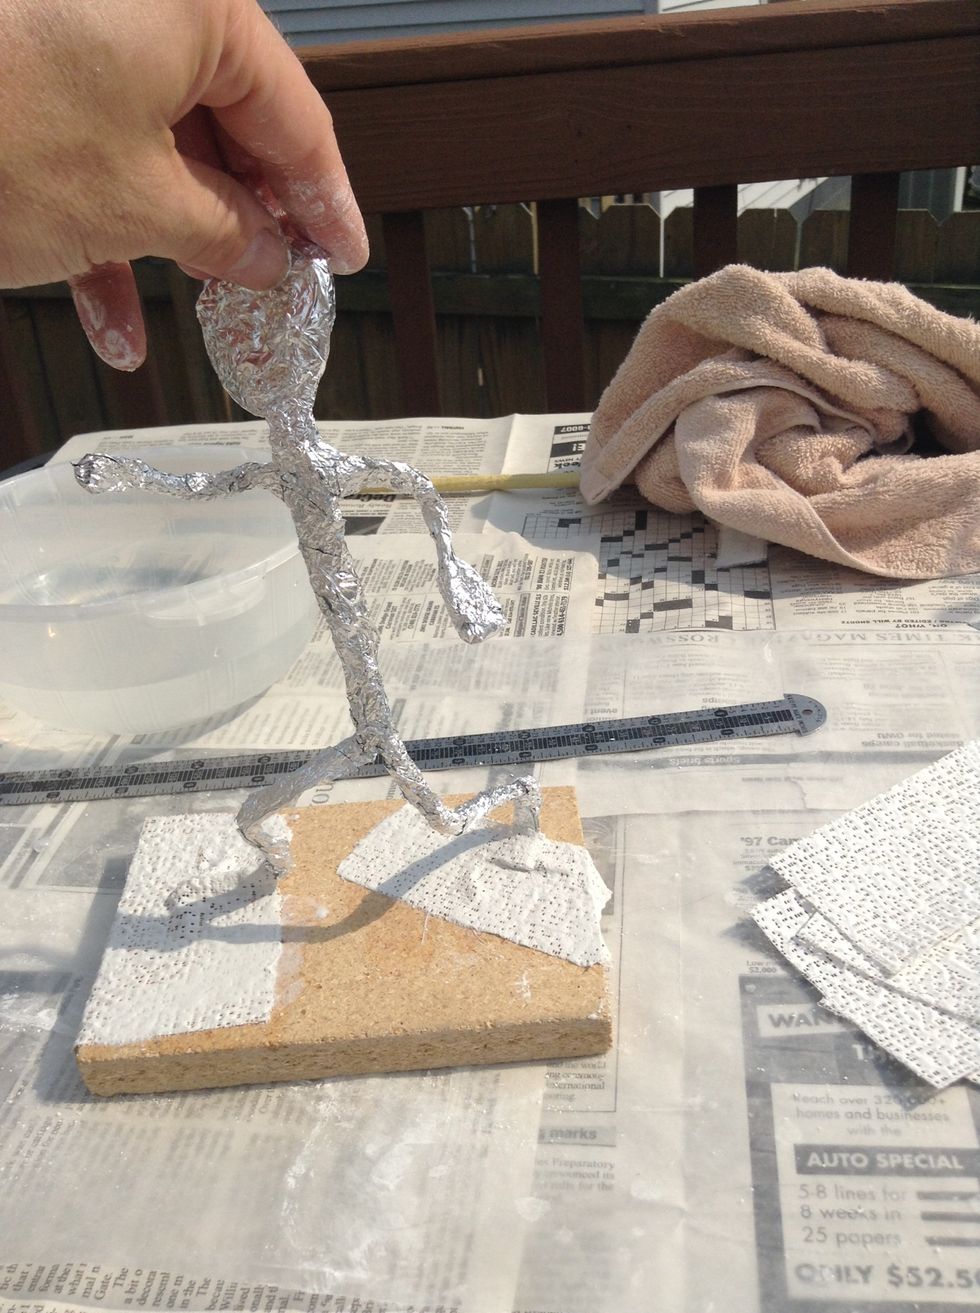
Start by securing your figure with plaster strips.
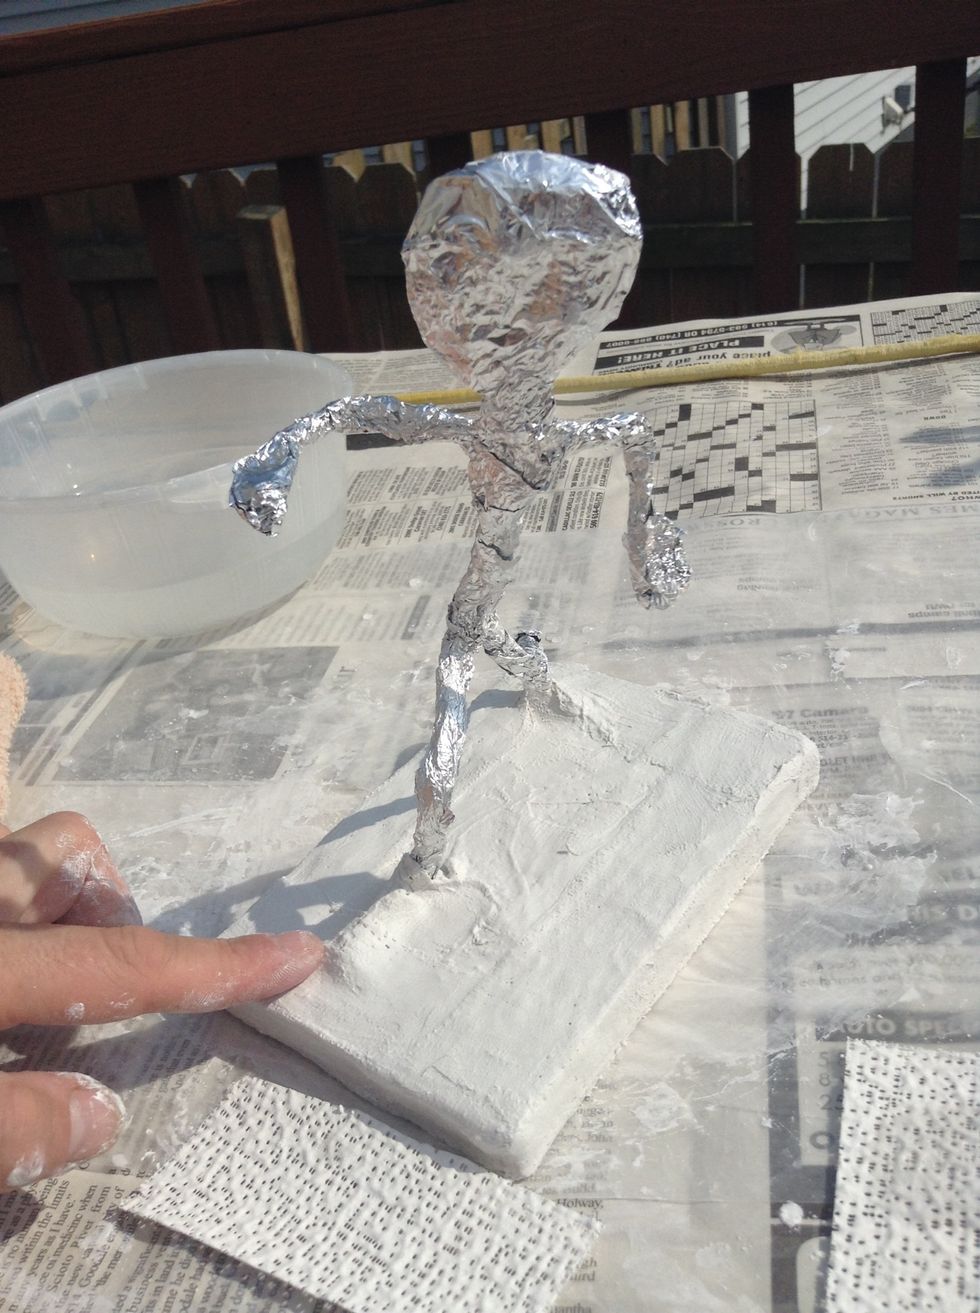
Once the figure is securely attached to the base, you can smooth out the strips. Don't forget to cover the sides too.

Pre-cut different length and shape pieces of plaster cloth. You can even cut slits to help around appendages and joints.
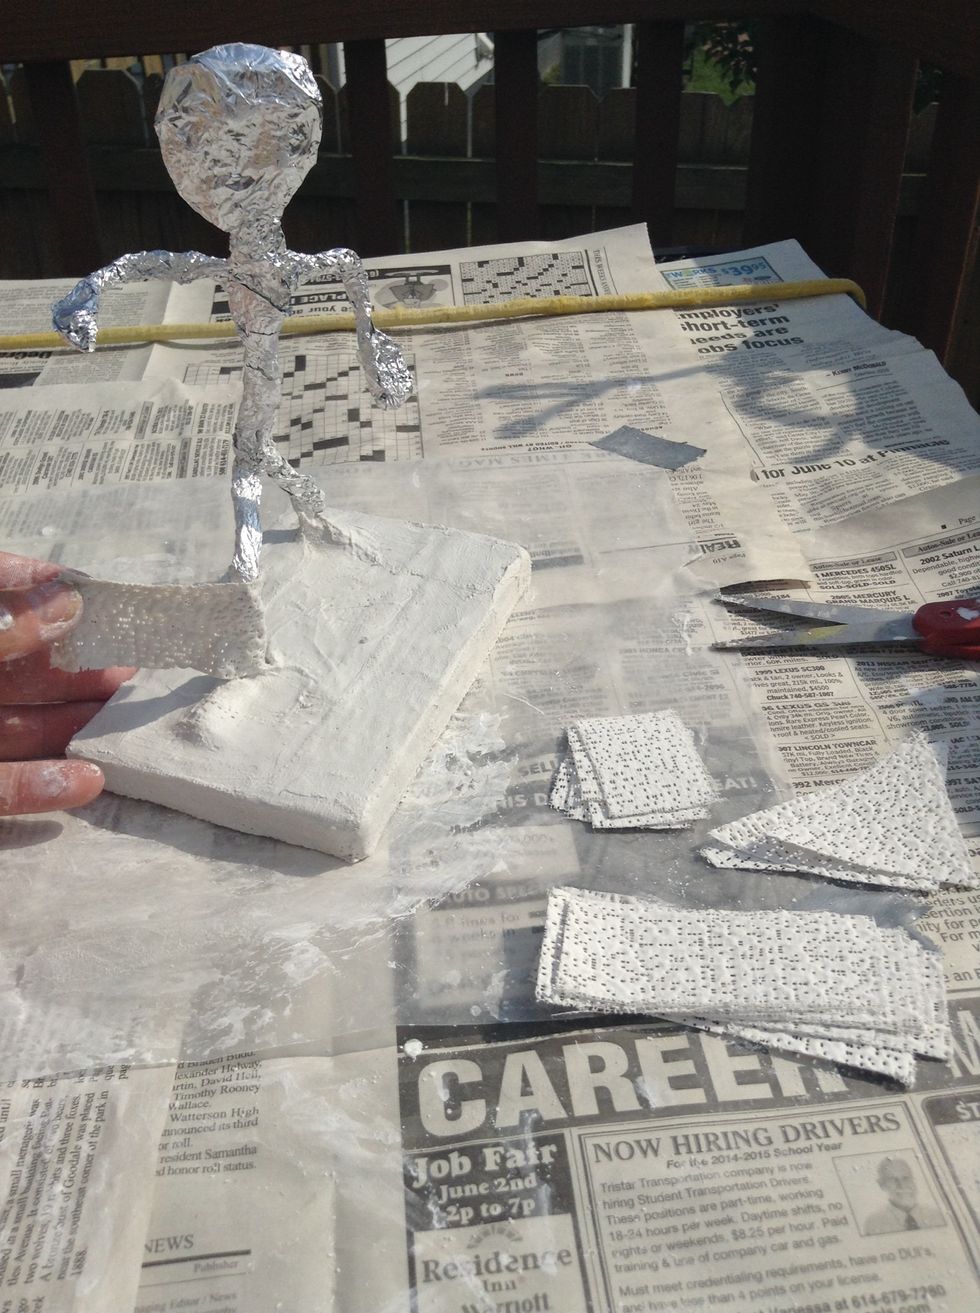
Start wrapping your figure from the BASE and work your way up from there. If your figure becomes unstable or top heavy, stop and let it dry and strengthen. You can also reinforce the bottom.

When your done, you can add accessories to the figure and base. Check to make sure ALL of the foil is covered.
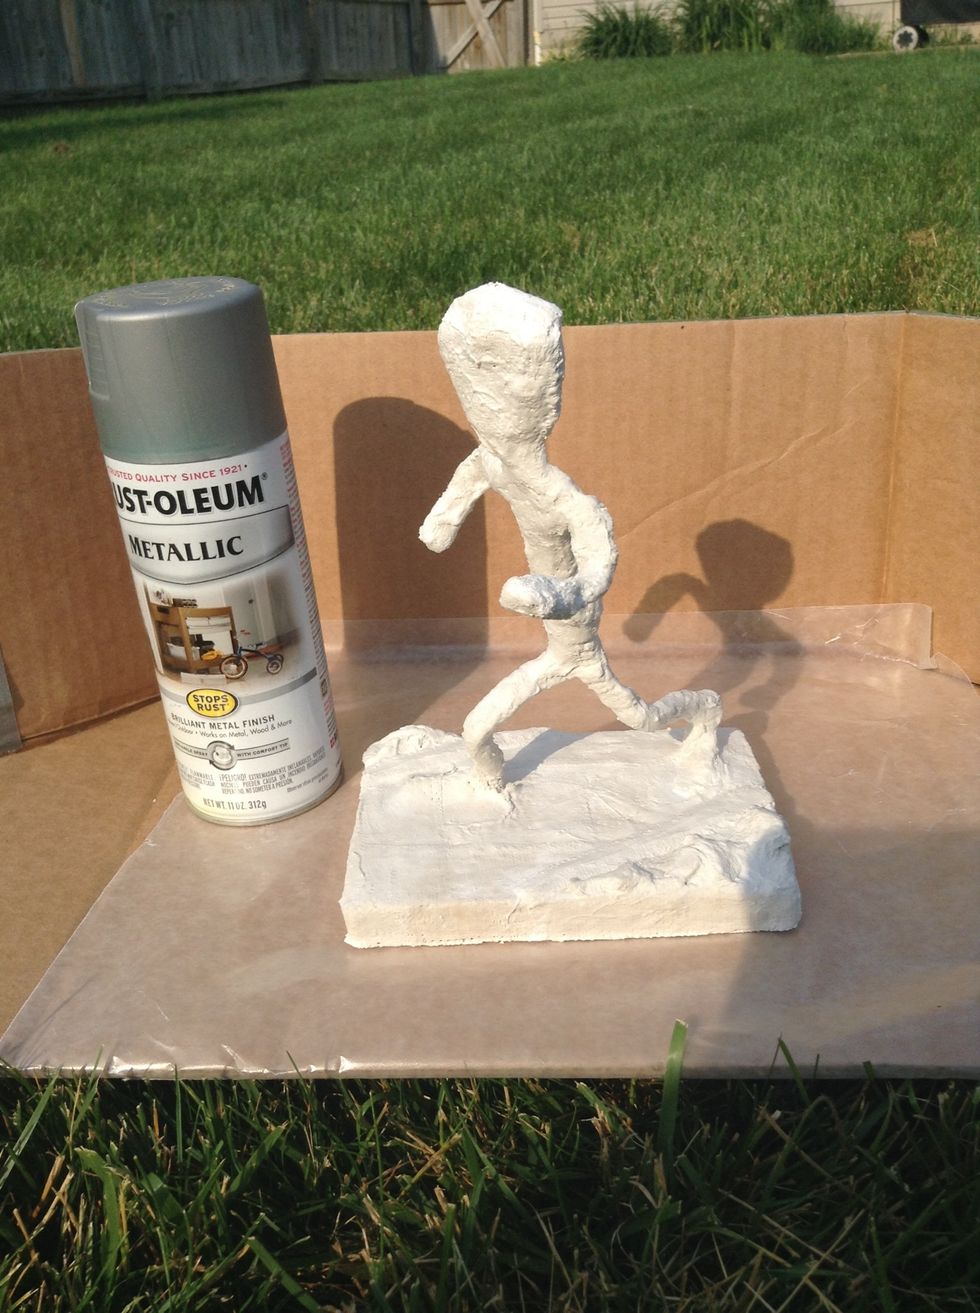
I like to use spray paint to evenly cover my figure. There are a lot different textures and finishes. I prefer the stone or metallics, like the silver I chose here. Just about any paint will do.
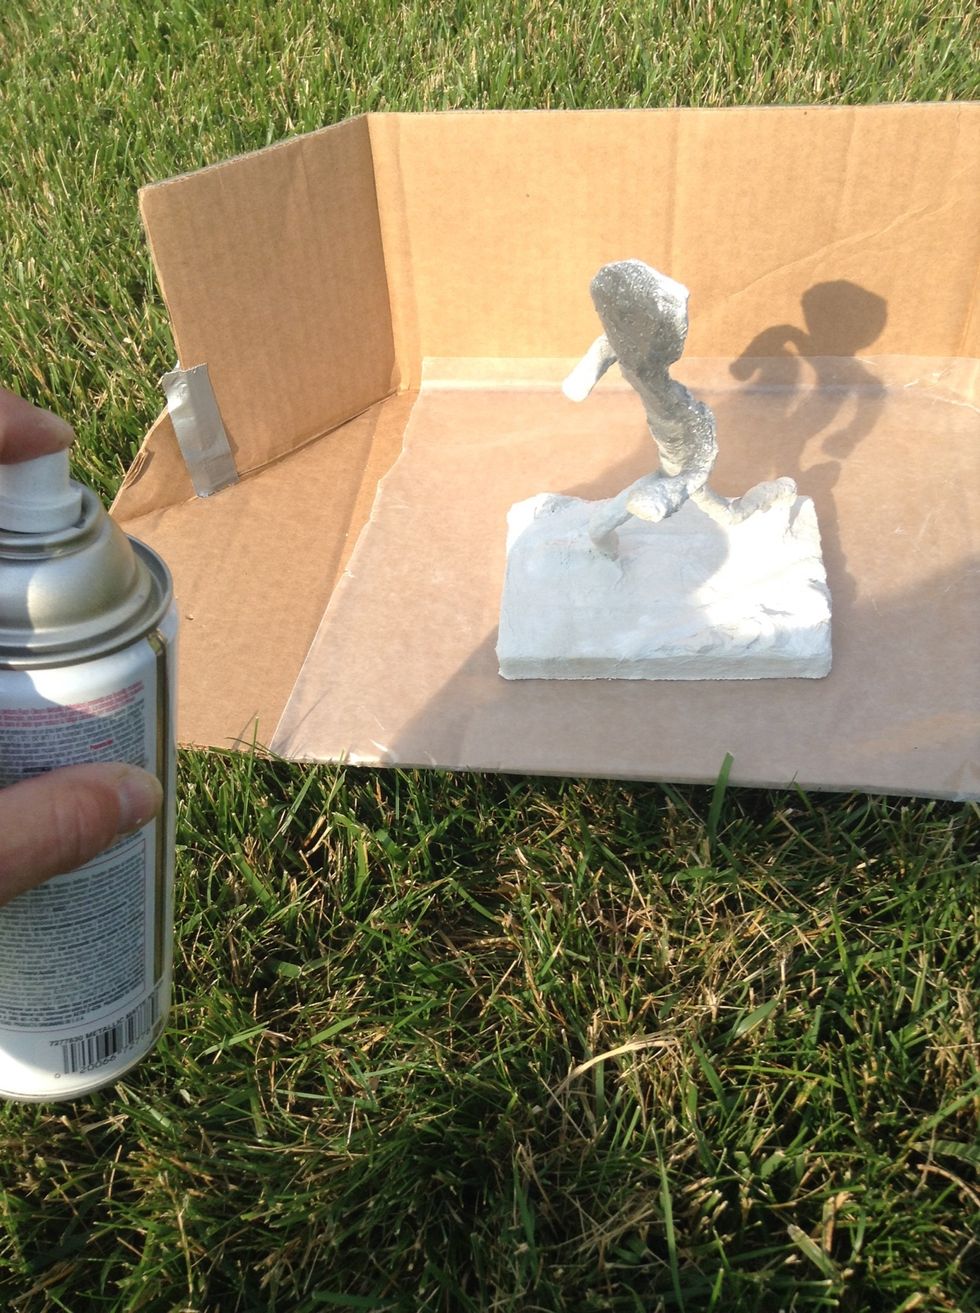
I made a mini spray booth to help with some of the overspray, but to be safe, put yourself far from anything you don't want painted. Use wax paper so it doesn't stick to the cardboard.
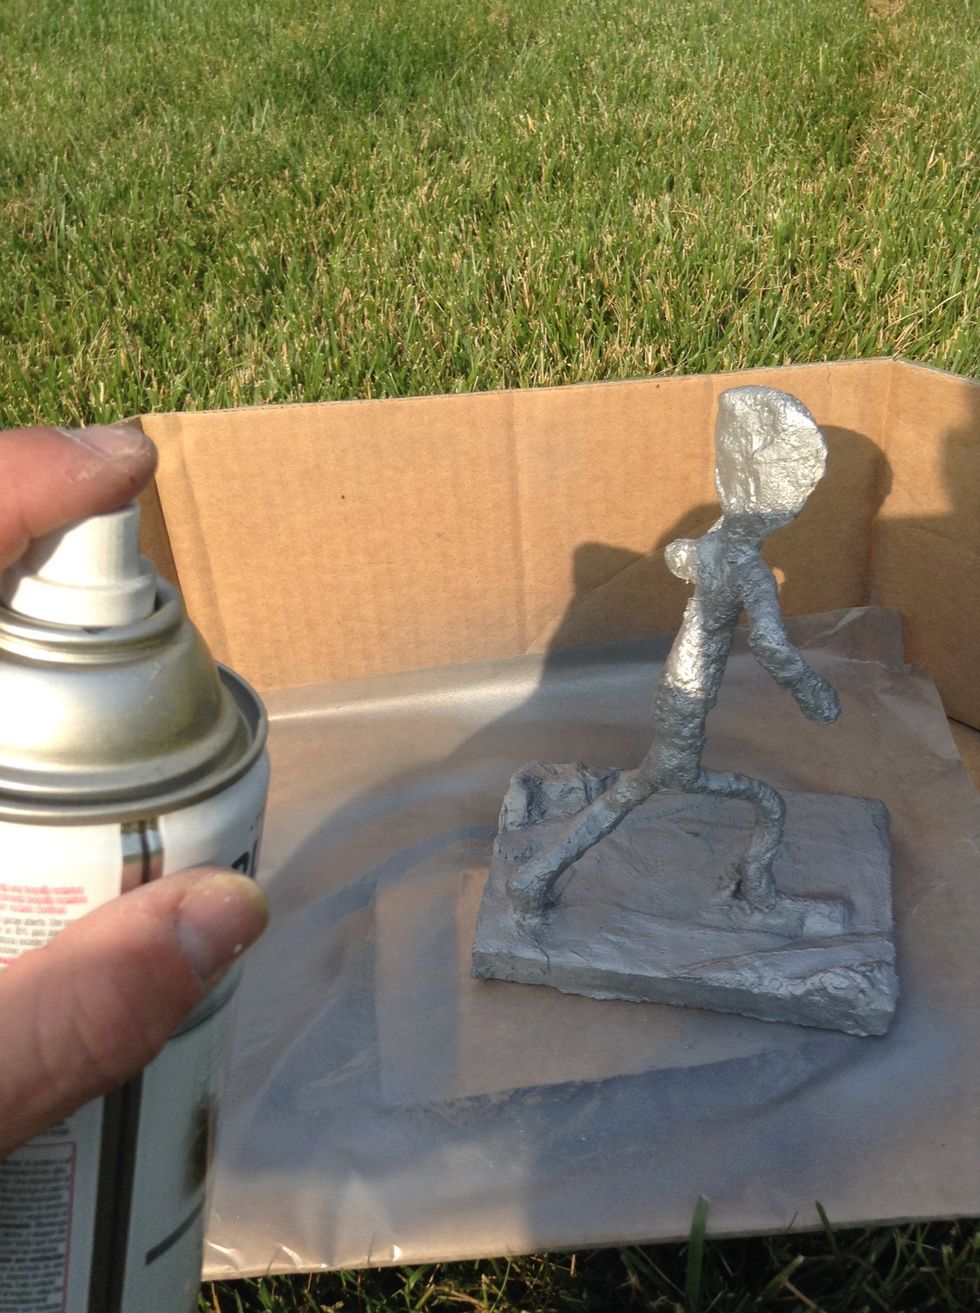
Turn your figure so you don't miss any spots. You may want to pick it up and spray from underneath to get to some more missed spots.
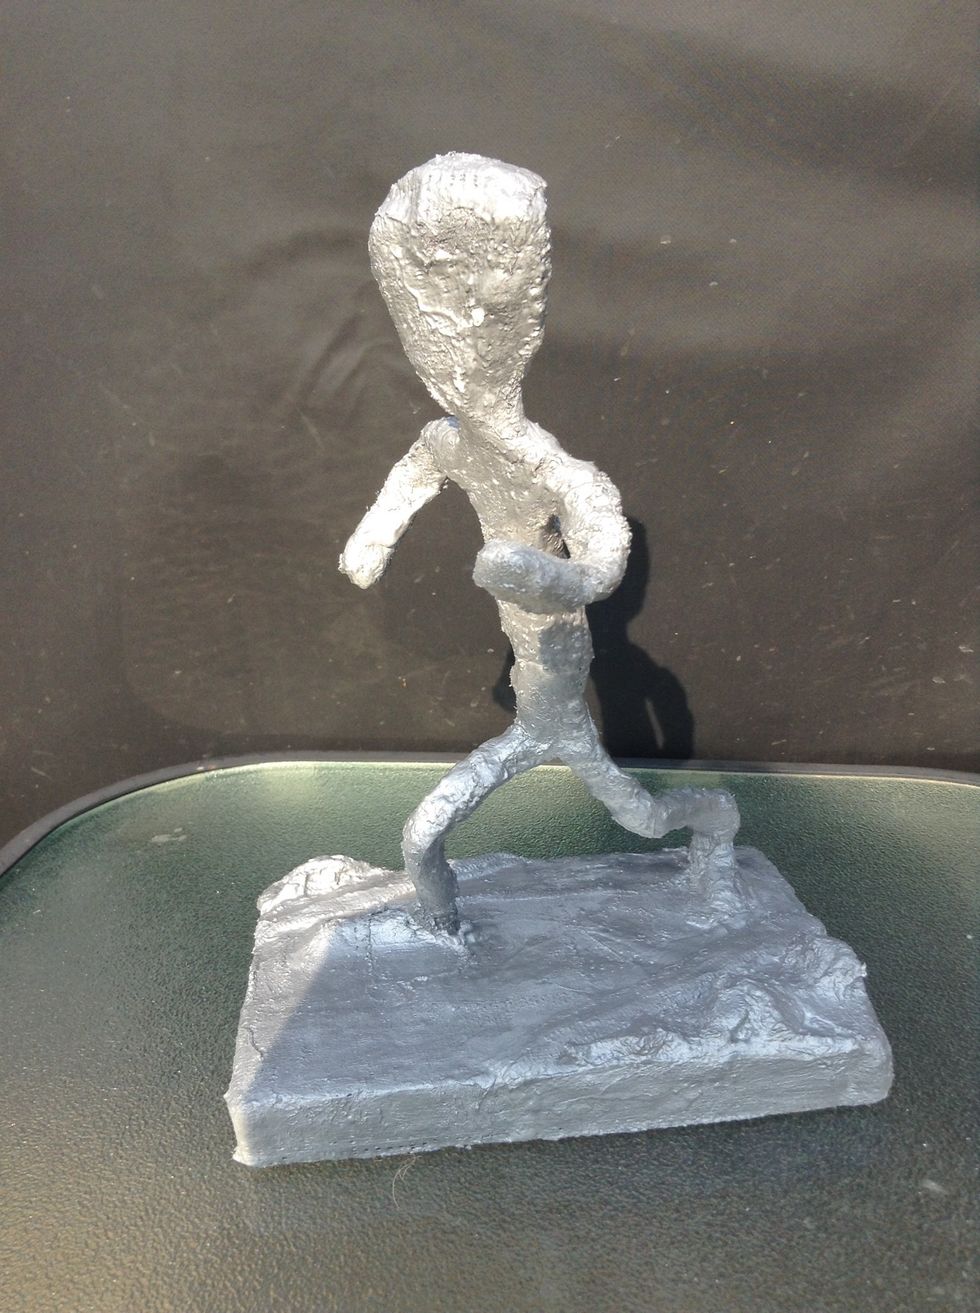
Let it dry and there you have it, your own Giacometti-inspired figure. Now go clean your mess up...Geesh, are you waiting for the maid service?