The Conversation (0)
Sign Up
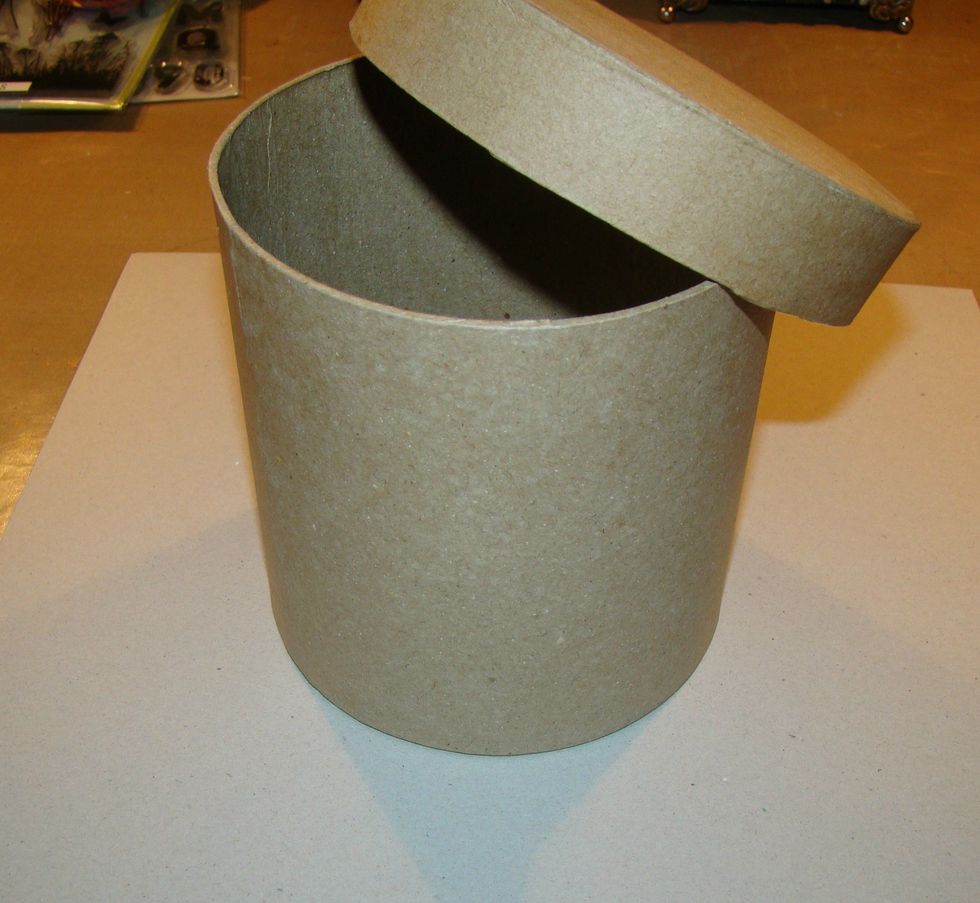
I purchased this paper mache box at Hobby Lobby with coupon it was only $2. Get a piece of chipboard and cut a circle for the rim of your hat. I used a bowl as my template.
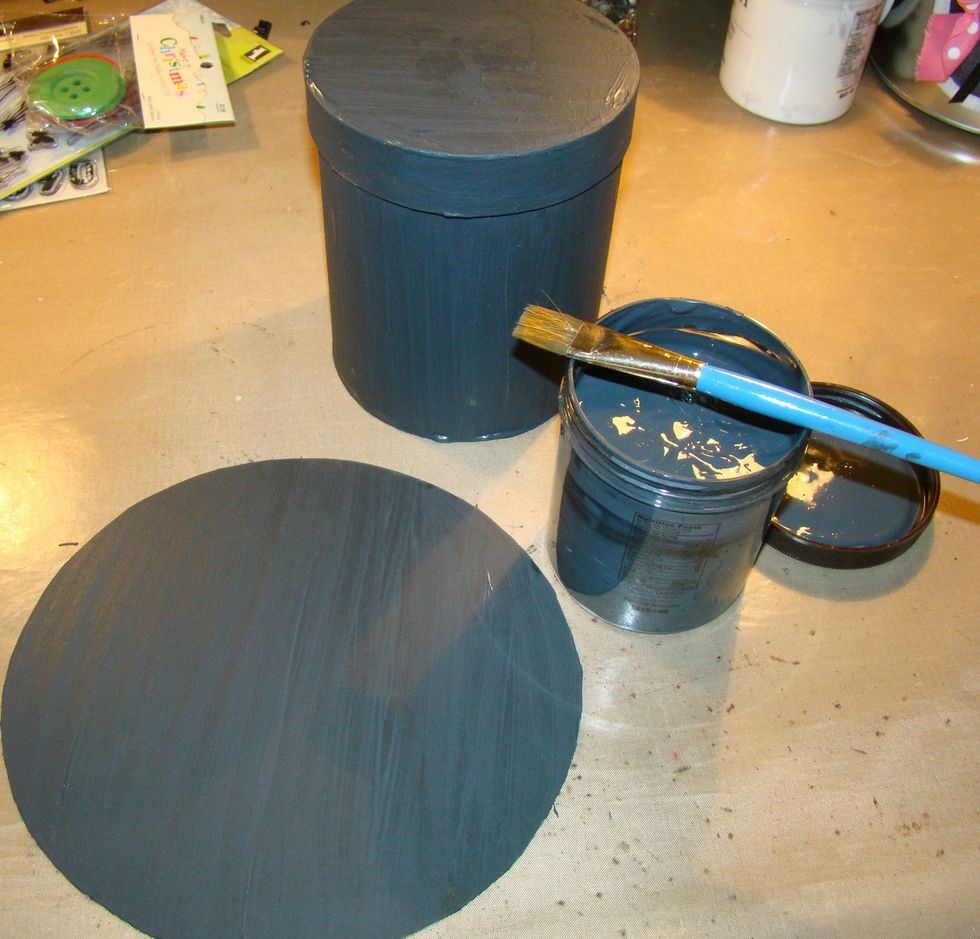
Give a coat of black gesso to entire box as well as chipboard circle. I ran out of black gesso in the middle of the night so I made my own. The recipe is at the end of the tutorial.
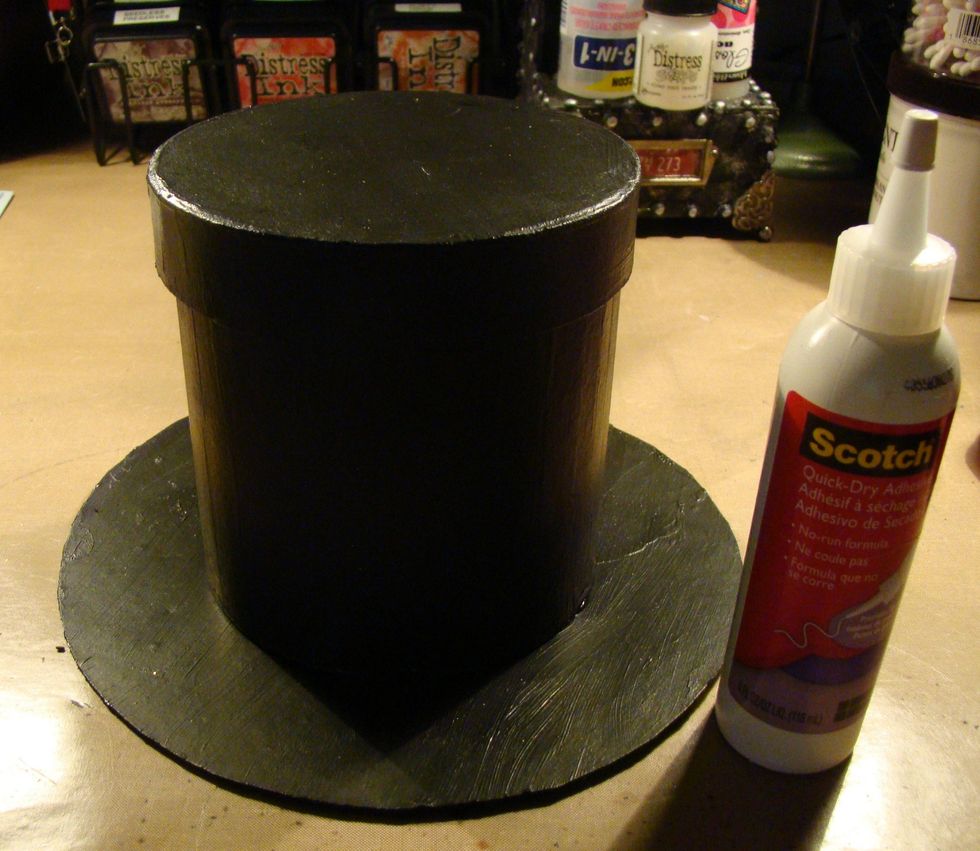
Glue your box to the top of your circle.
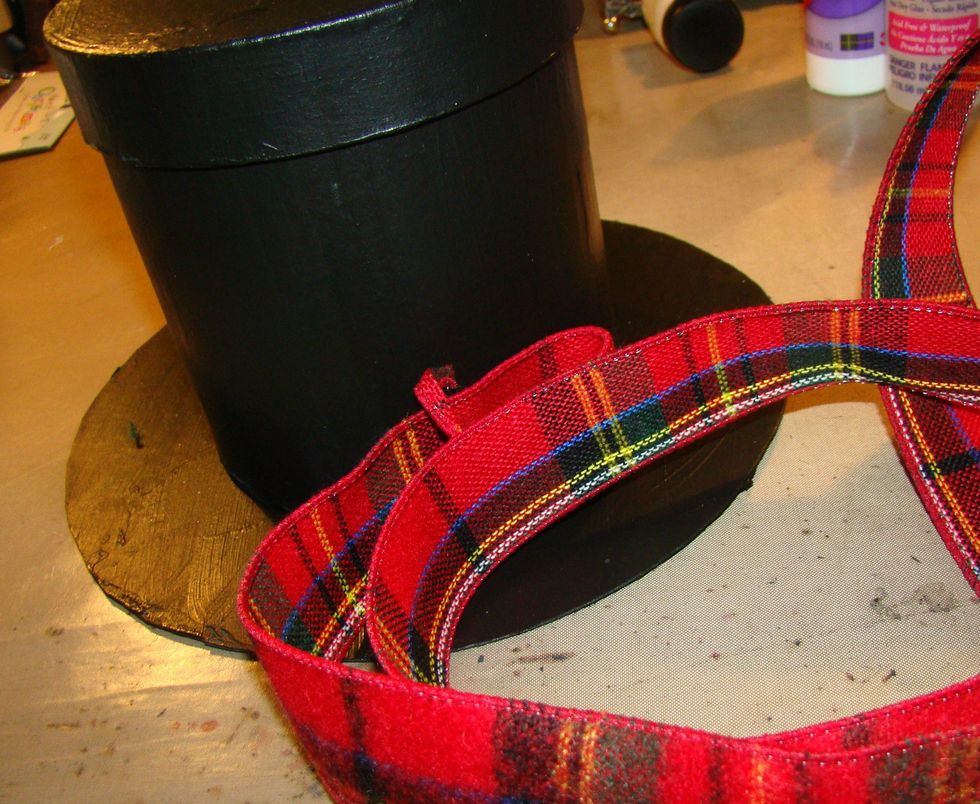
Choose some ribbon to go around the base of your hat. Mine was wired, so I removed the wire because I wanted to fringe the ends.
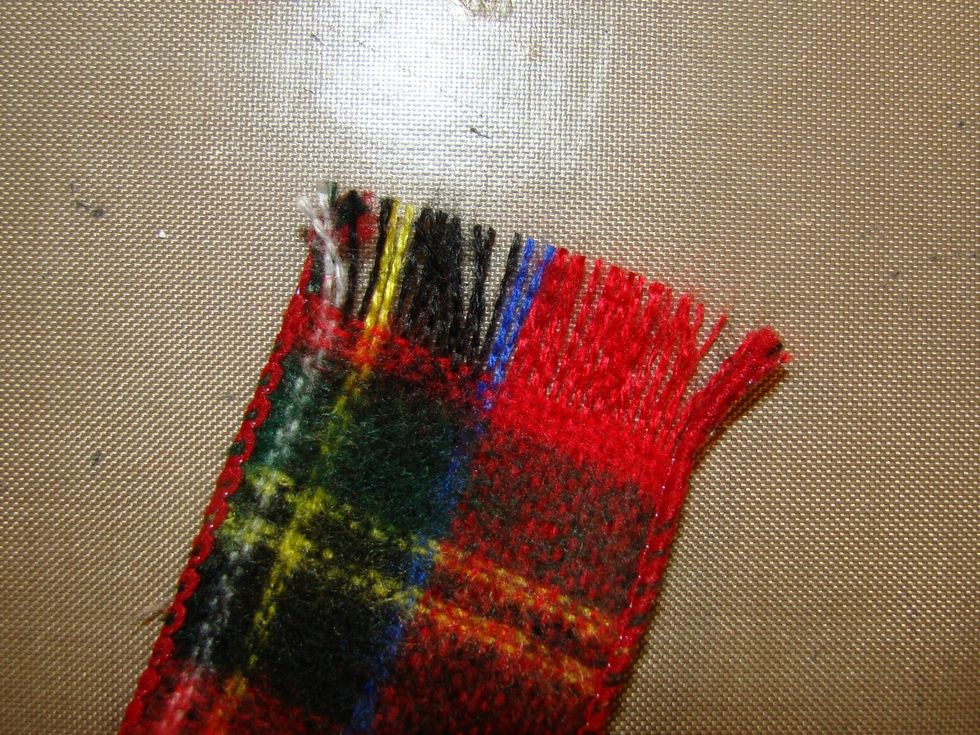
Like this... just start pulling threads horizontally out from the ends of the ribbon till you get the fringe length you desire.
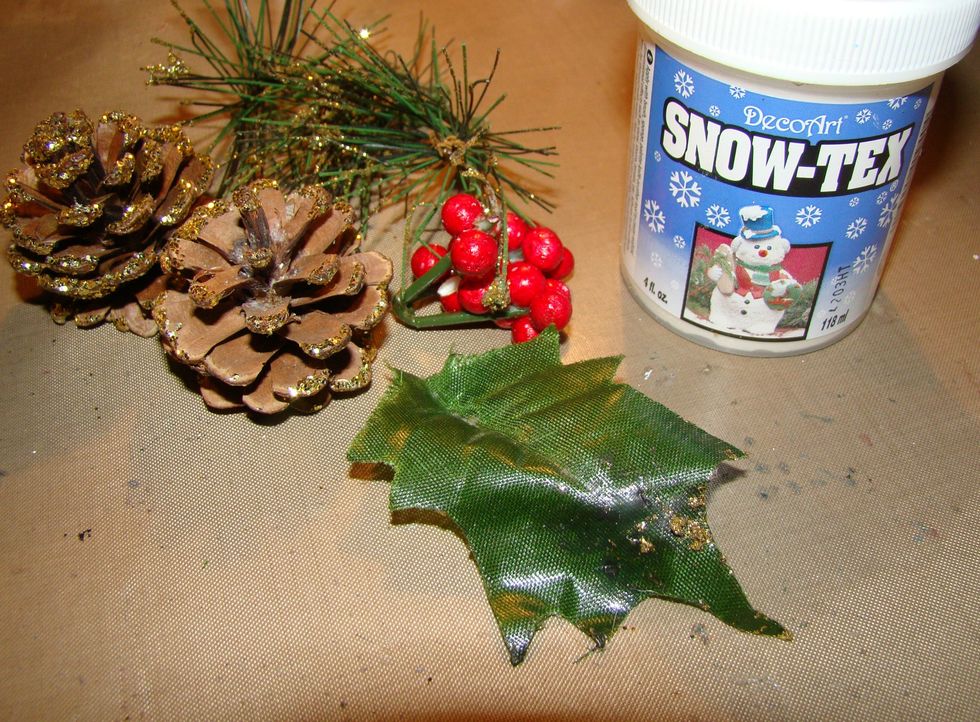
Gather some winter floral pics, pine cones, berries etc. Dab a bit of glitter on them. Apply Snow Tex to the edges of your floral items. Allow to dry.
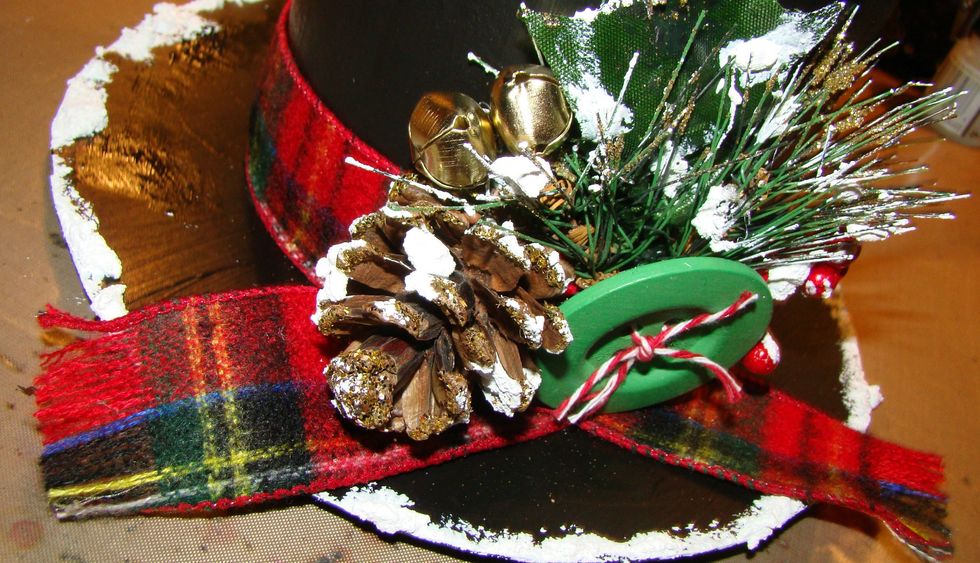
Using a hot glue gun, attach your florals, buttons, bells etc.
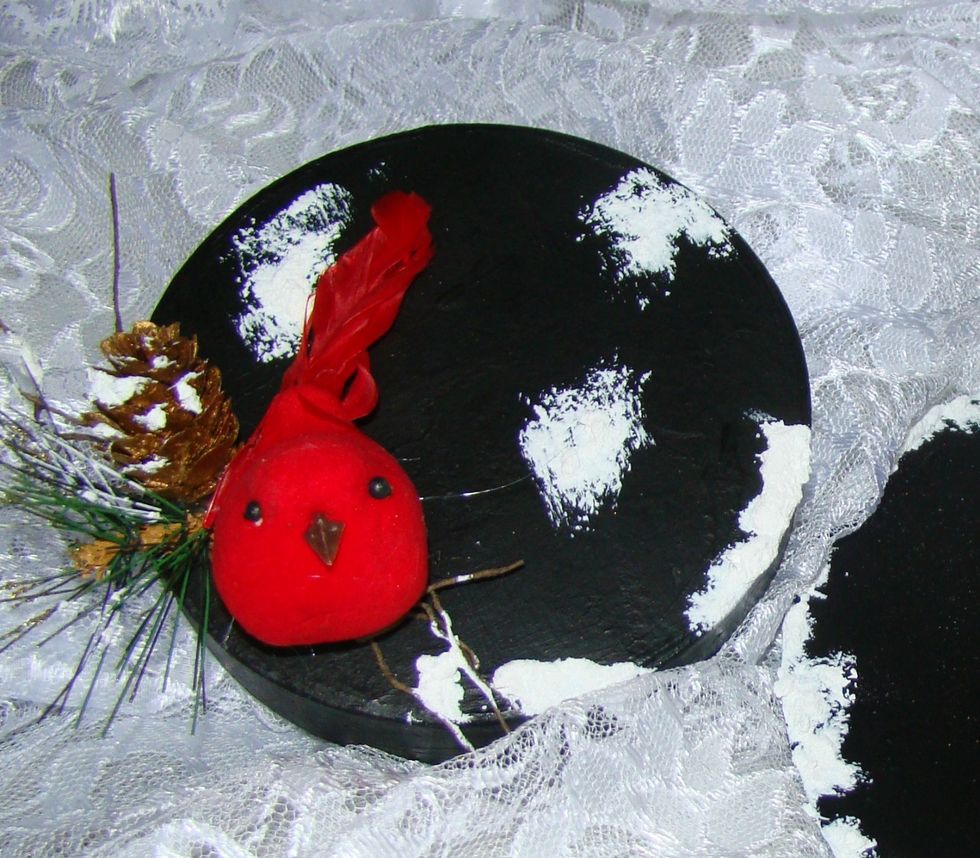
I decided I wanted to decorate the to of the hat. I glued a red cardinal atop some twigs. Added pinecones and greenery. Add Snow Tex along the sides of the top hat.

Add Snow Tex along the edges of the brim of the hat.
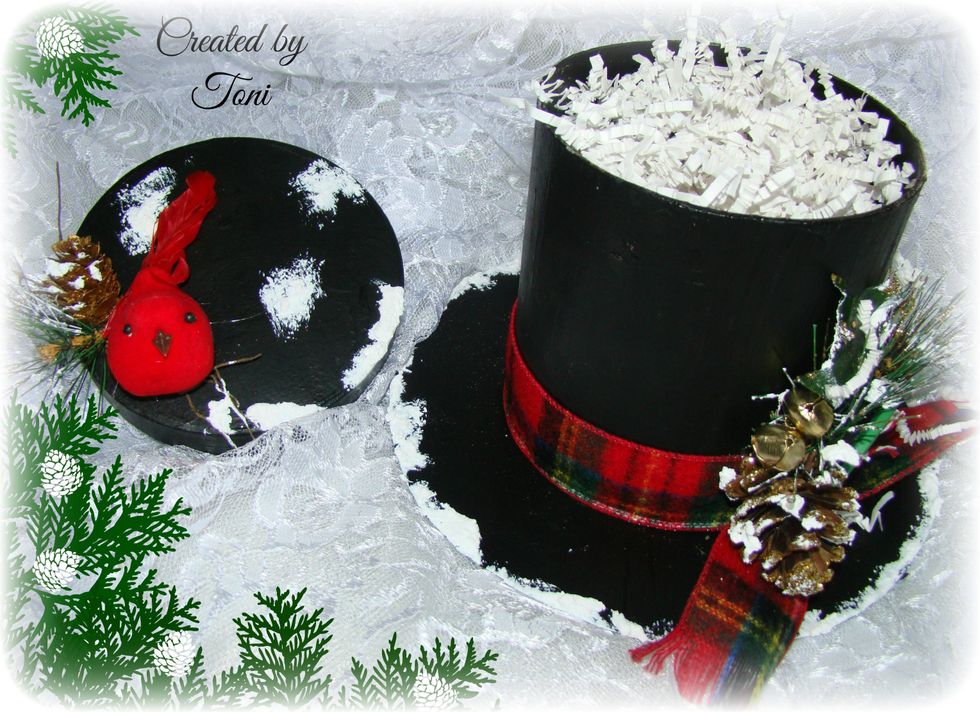
And there you go... a cute Frosty's gift box which can be a table decoration for later use. I hope you enjoyed & Merry Christmas.
Black Gesso: half cup glue, half cup baby powder, half cup water, cup of black acrylic paint. Stir well