The Conversation (0)
Sign Up
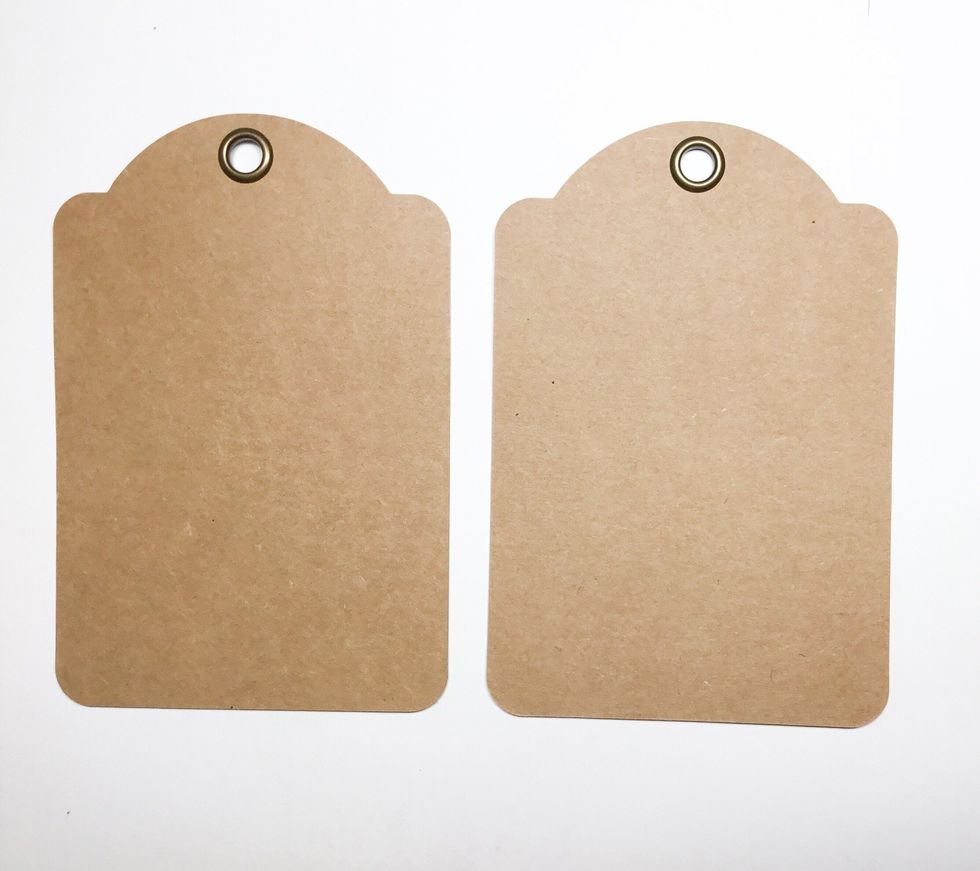
To create the cover you will need 2 regular tags as shown.
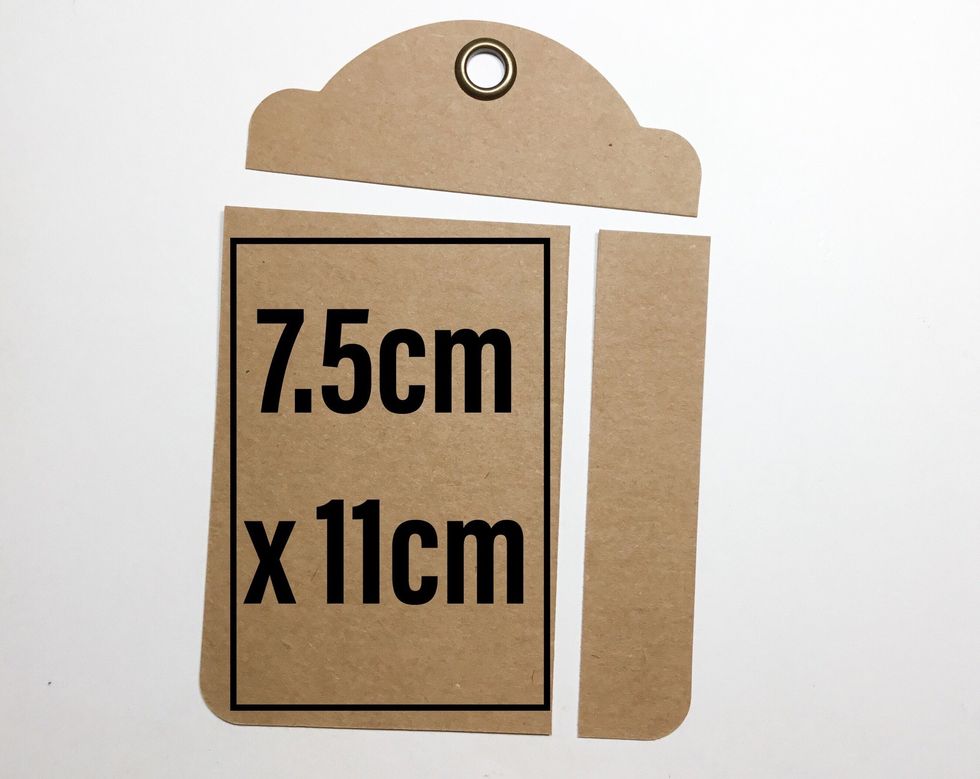
From the tag cut a 7.5cm x 11cm piece as shown. You will need to do this to both of the tags. Using a corner punch, round the corners of both pieces.
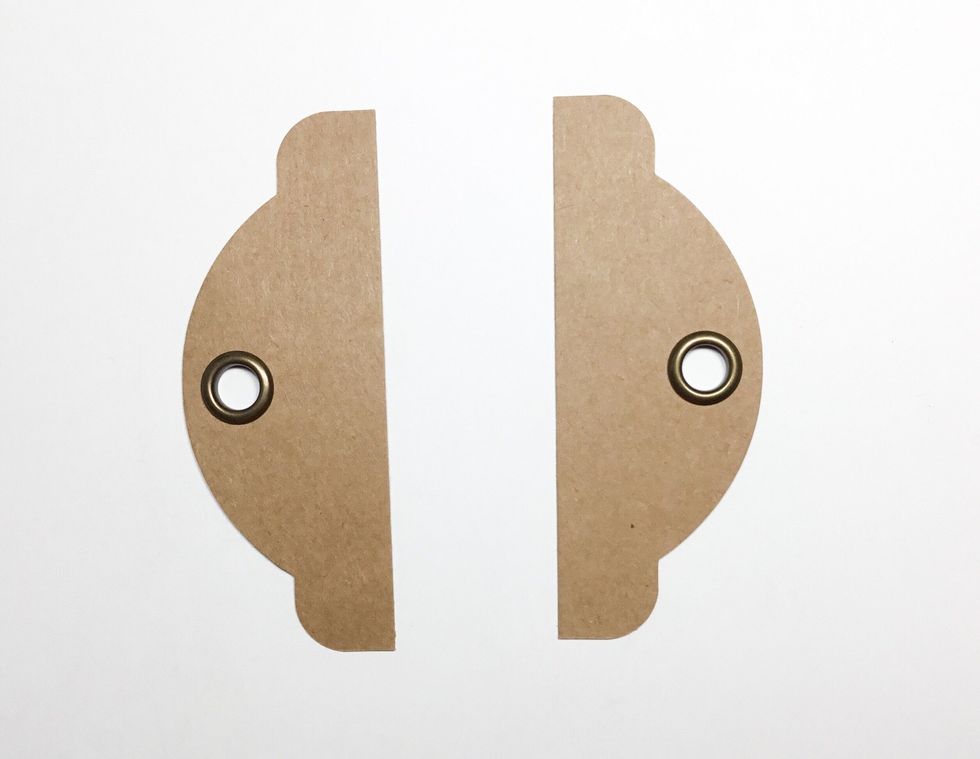
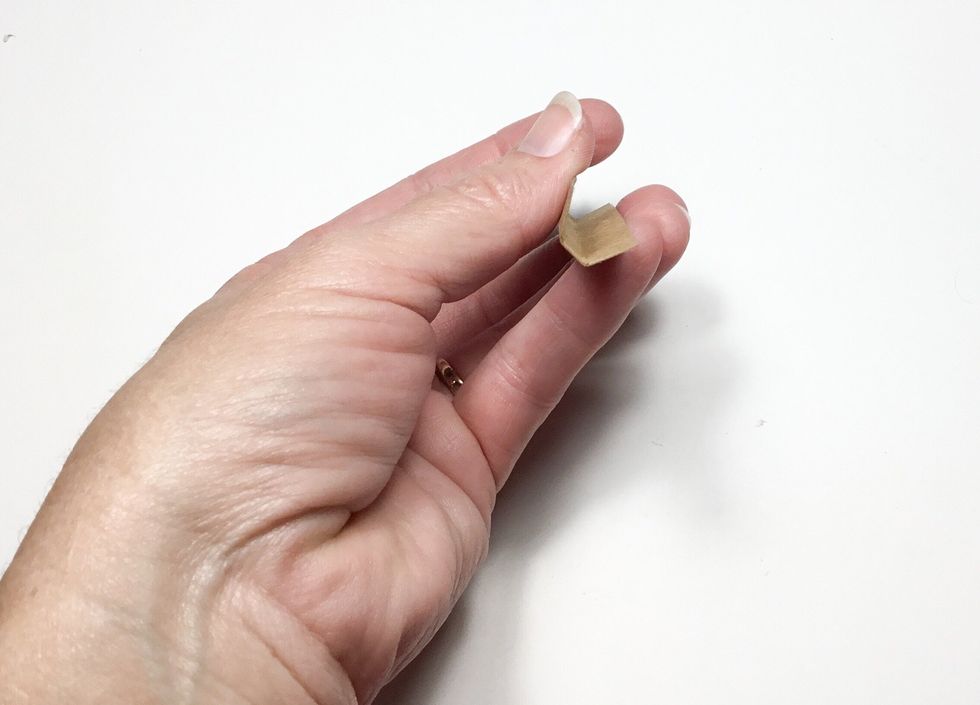
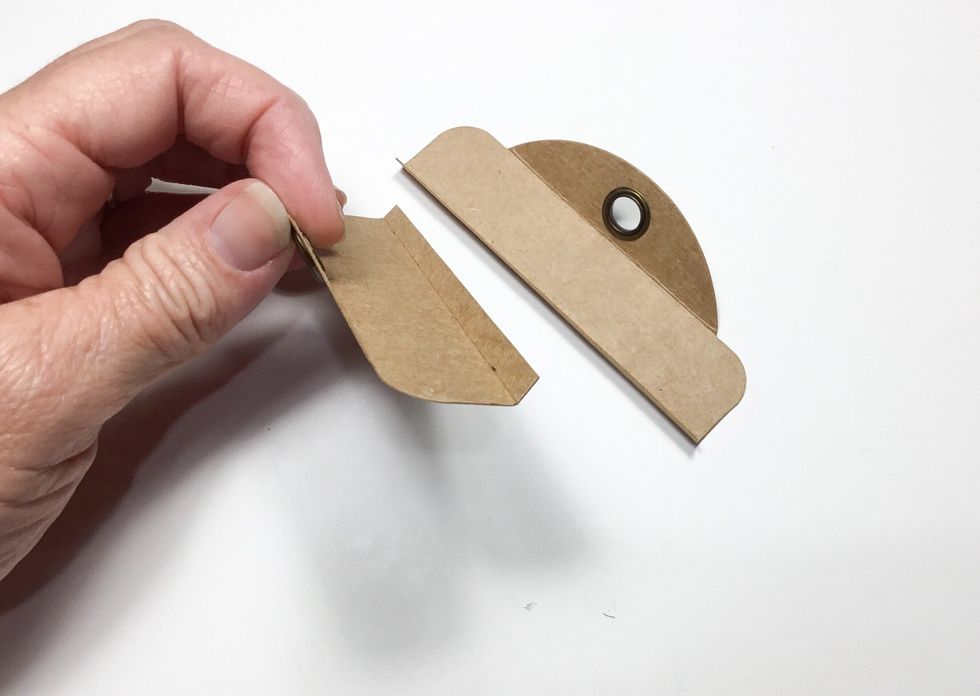
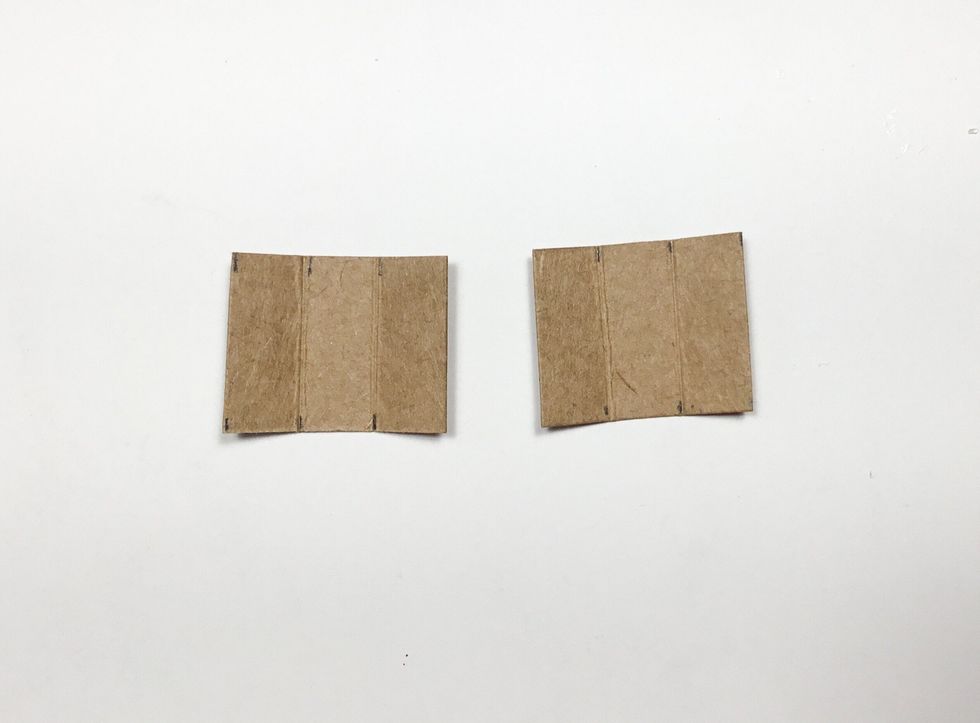
You will need the 2 tops from the tags as shown.
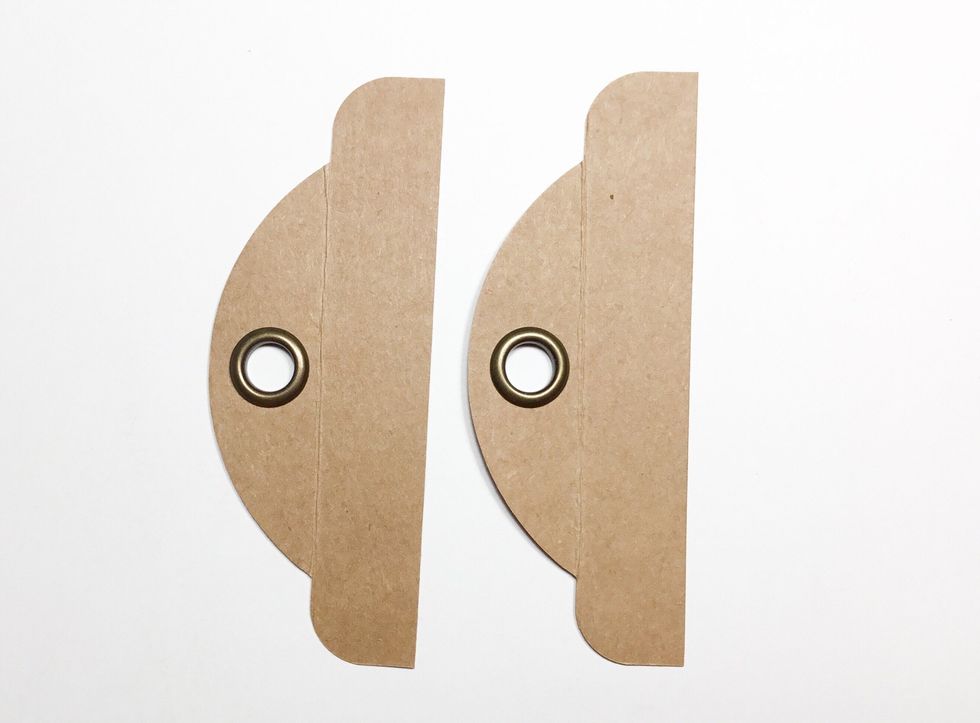
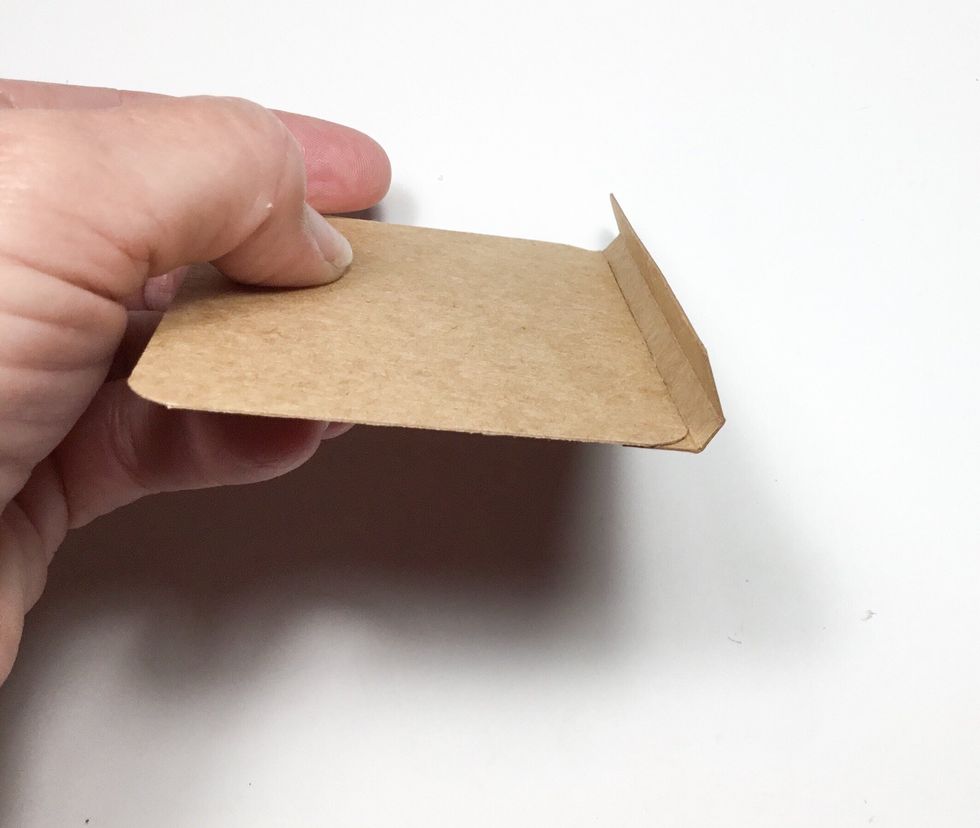
Score across the tag tops as shown.
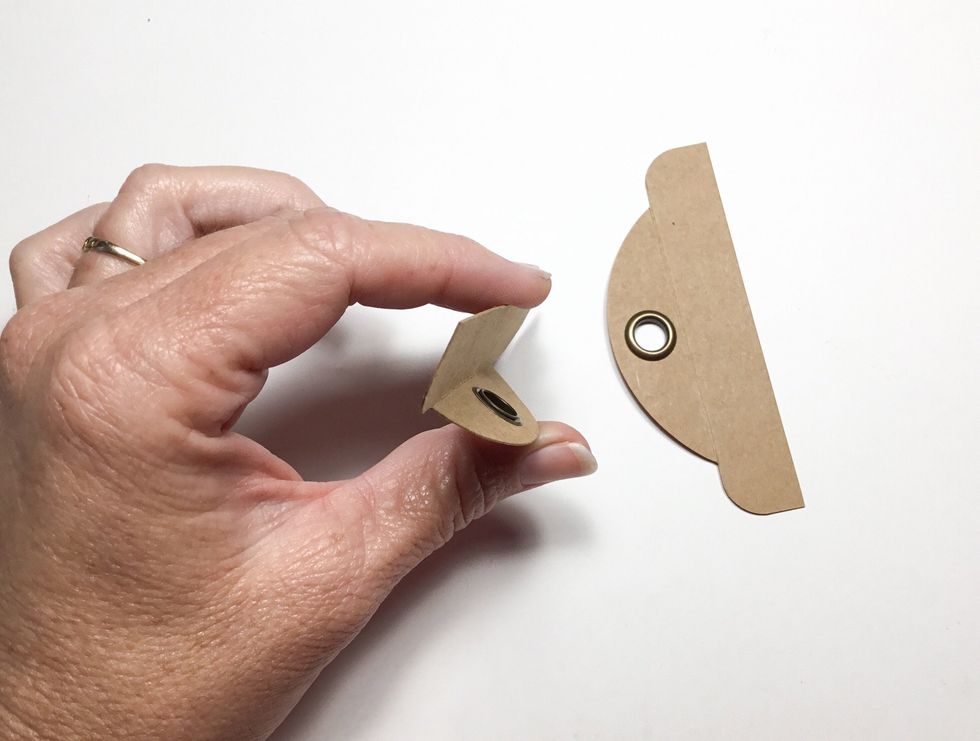
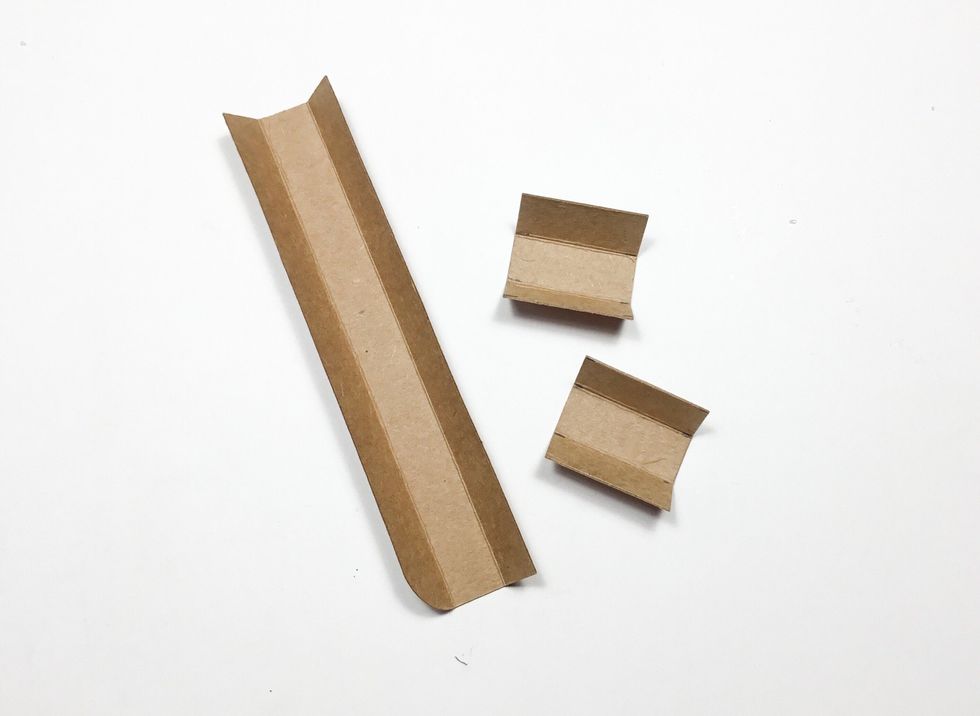
Fold as shown. These will become the flaps that hold the album closed.

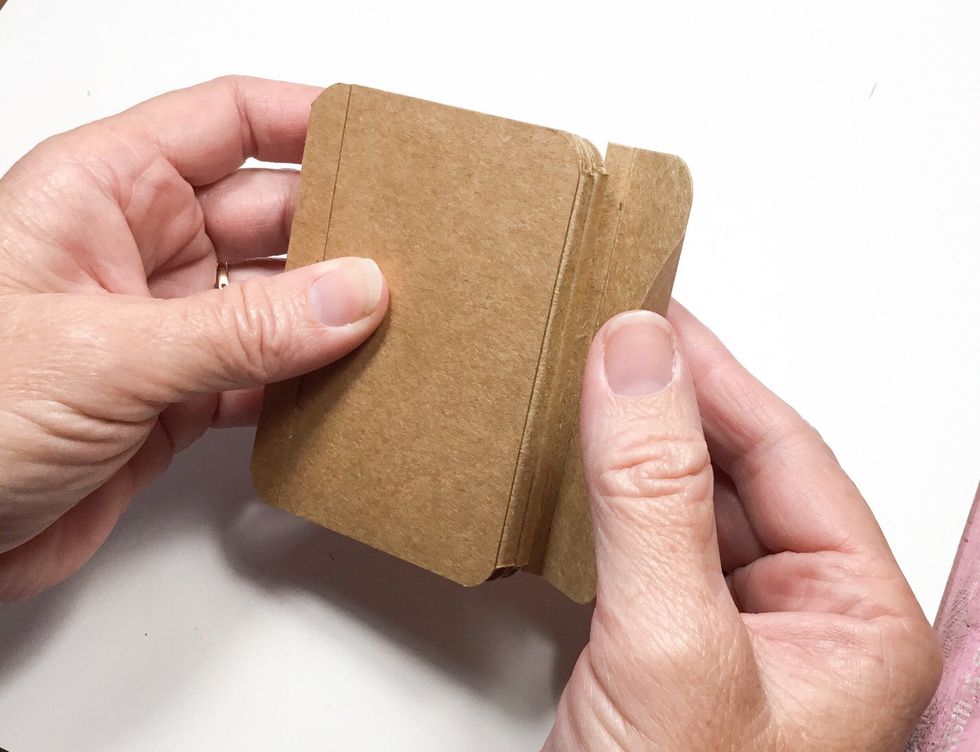
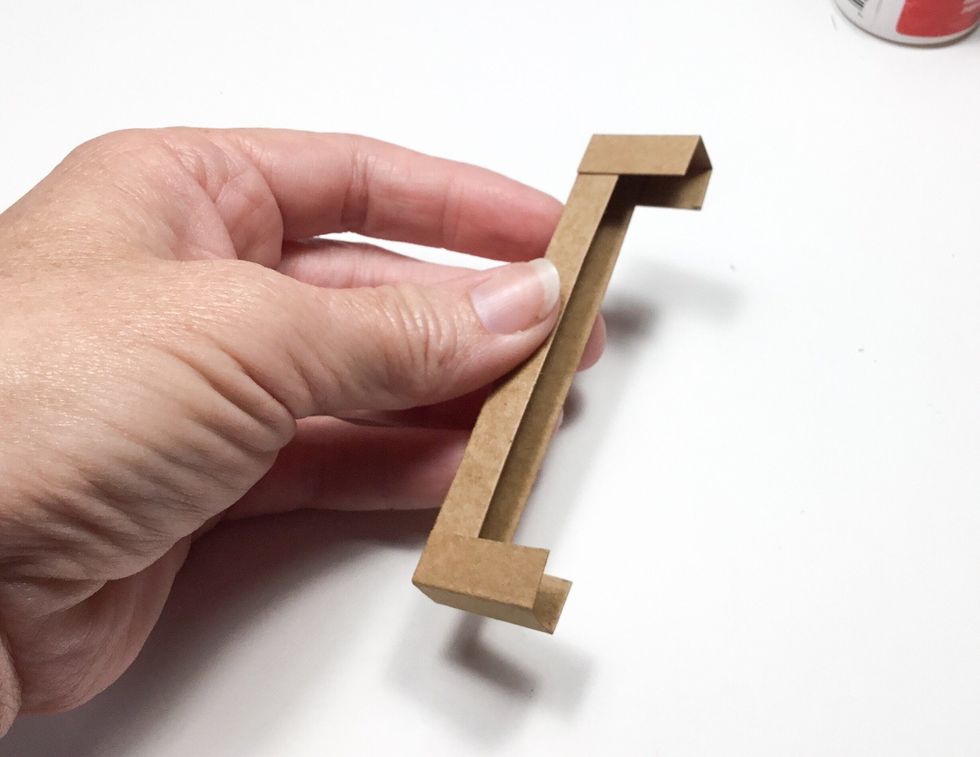
Attach pieces as shown. These will become the front and back covers.
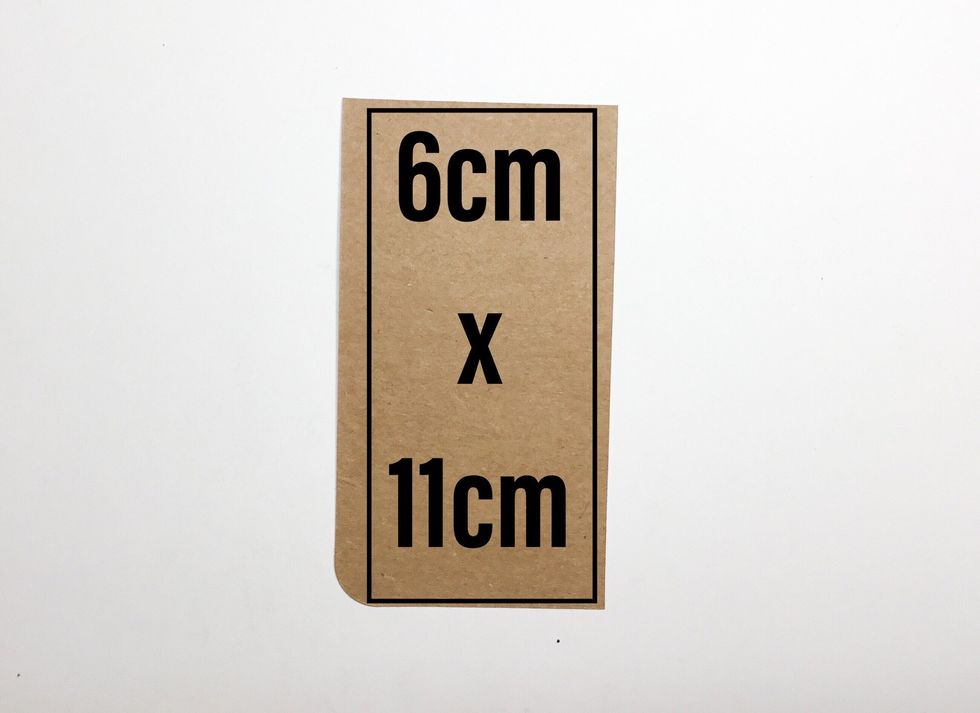
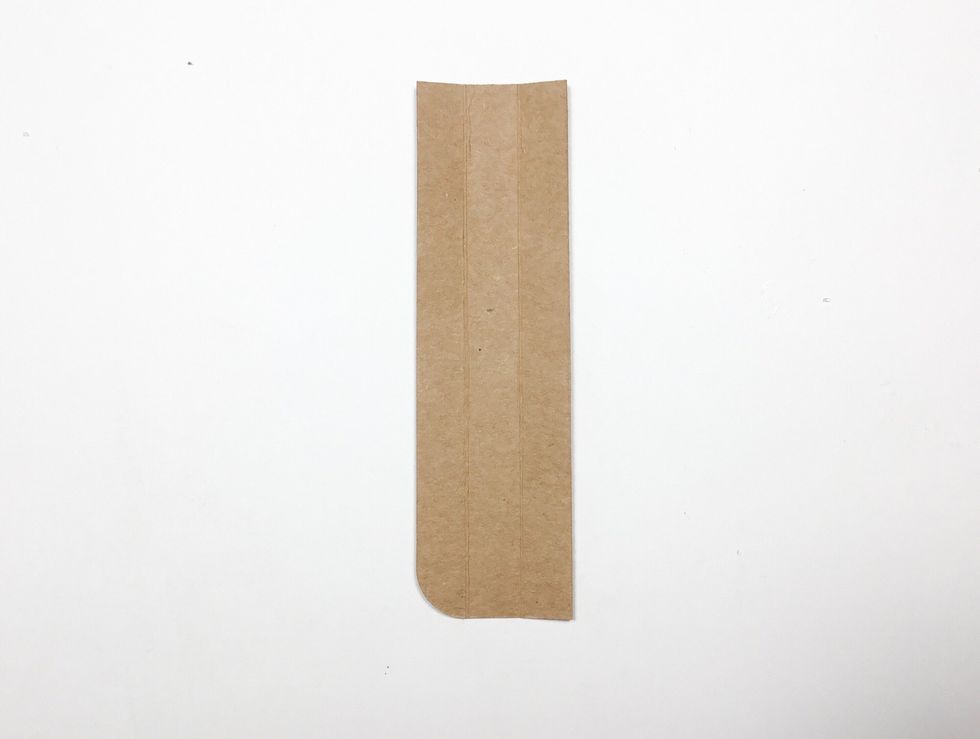
From an additional tag you will need to cut a piece 6cm x 11cm as shown.

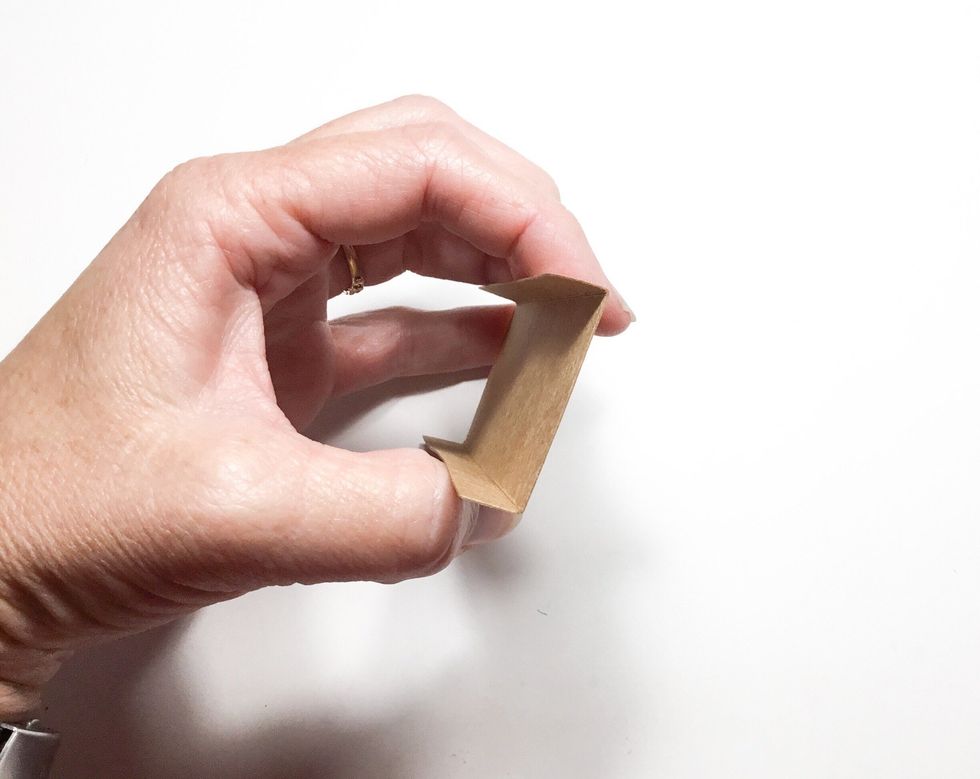
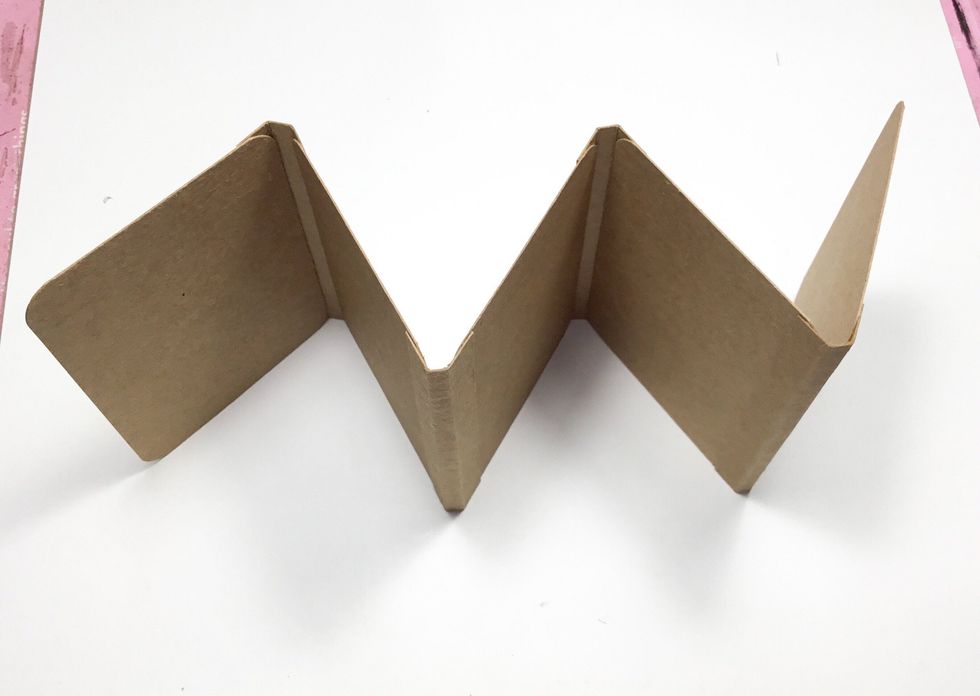
Fold edges as shown.
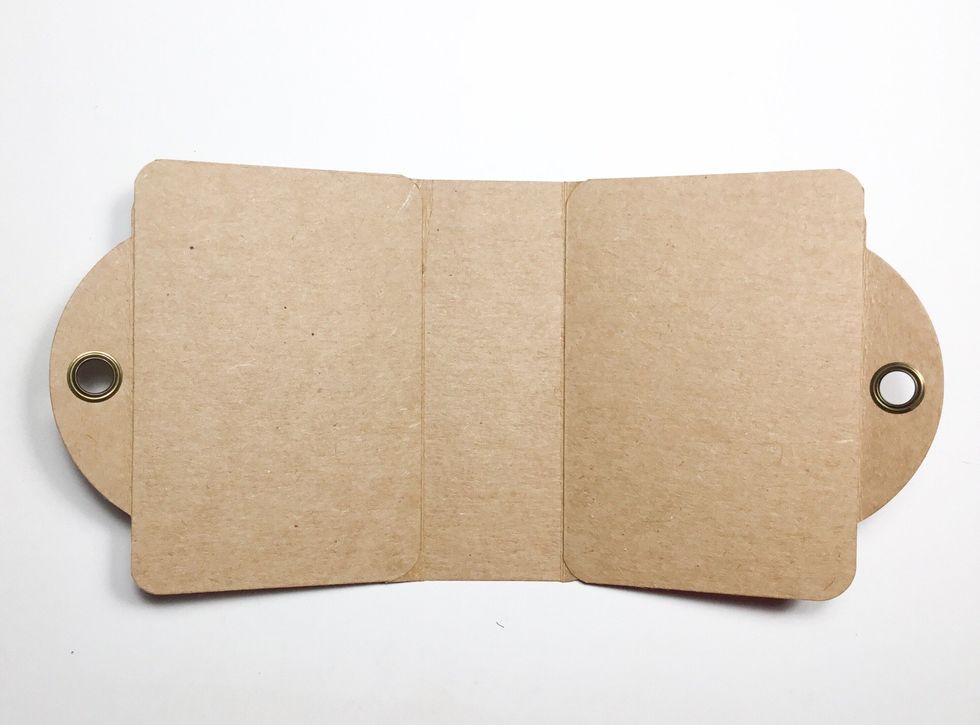
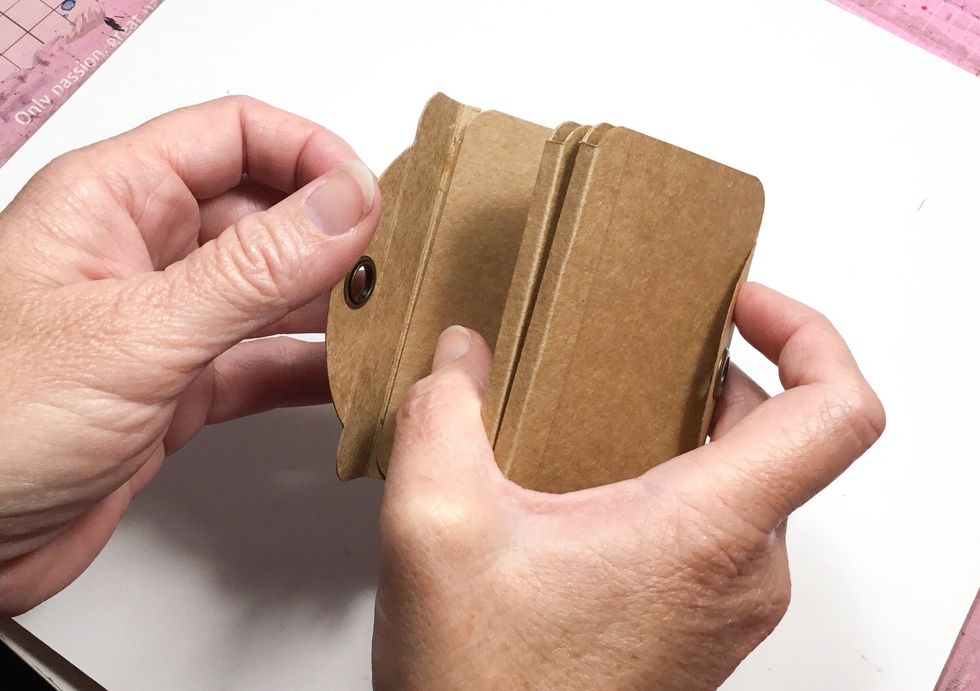
Attach to the front and back cover pieces as shown.

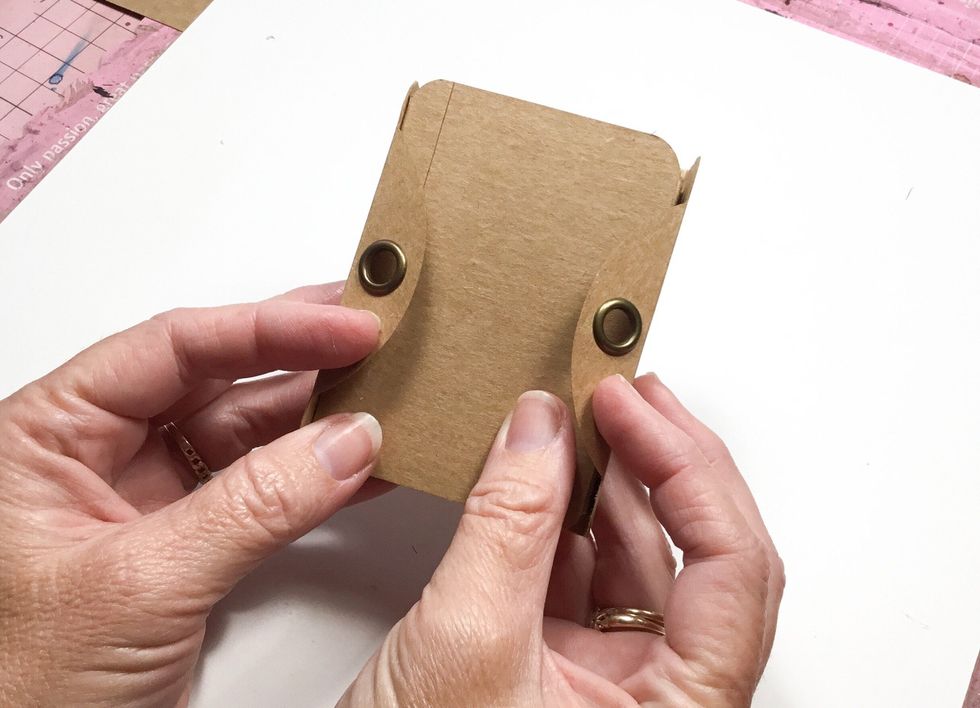
The outside cover is now finished.
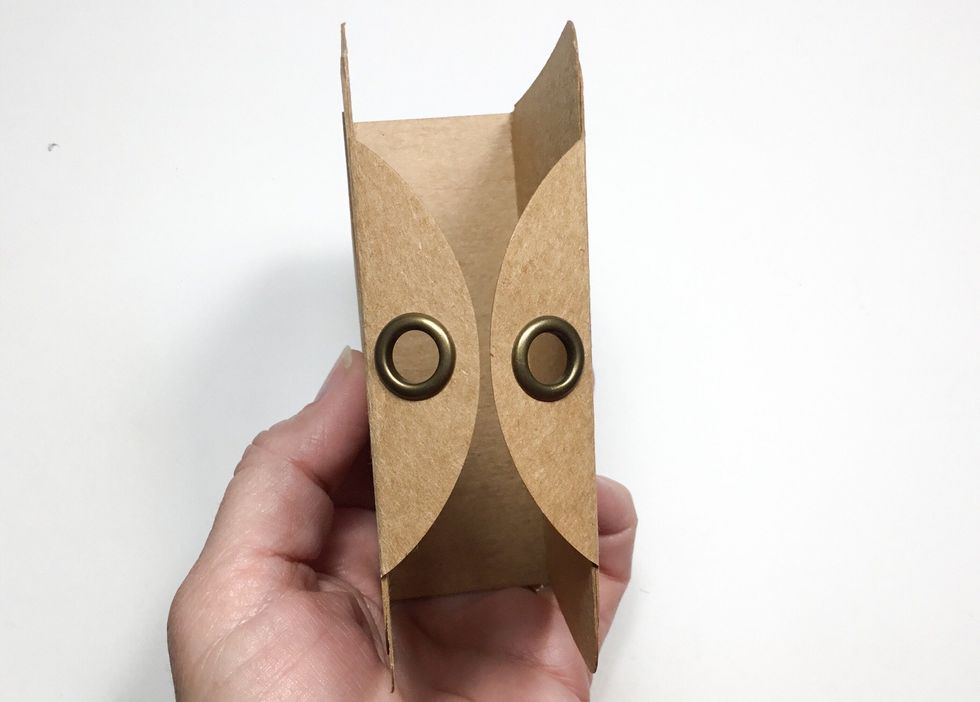
It will close nicely and allow a binder ring to be inserted to hold the album closed.
Now you will need 5 more tags. They will need to be cut as shown here.
Cut pieces as shown from each tag measuring 10cm x 7cm and use a corner punch to round edges. These will become the mini album pages.
Cut pieces as shown from each tag measuring 10cm x 2.5cm then score 1cm from each edge as shown. You will need 4 of these pieces.
Fold as shown. These will become the folding spines for the inside album.
Now attach to a page as shown.
Continue attaching spines as shown.
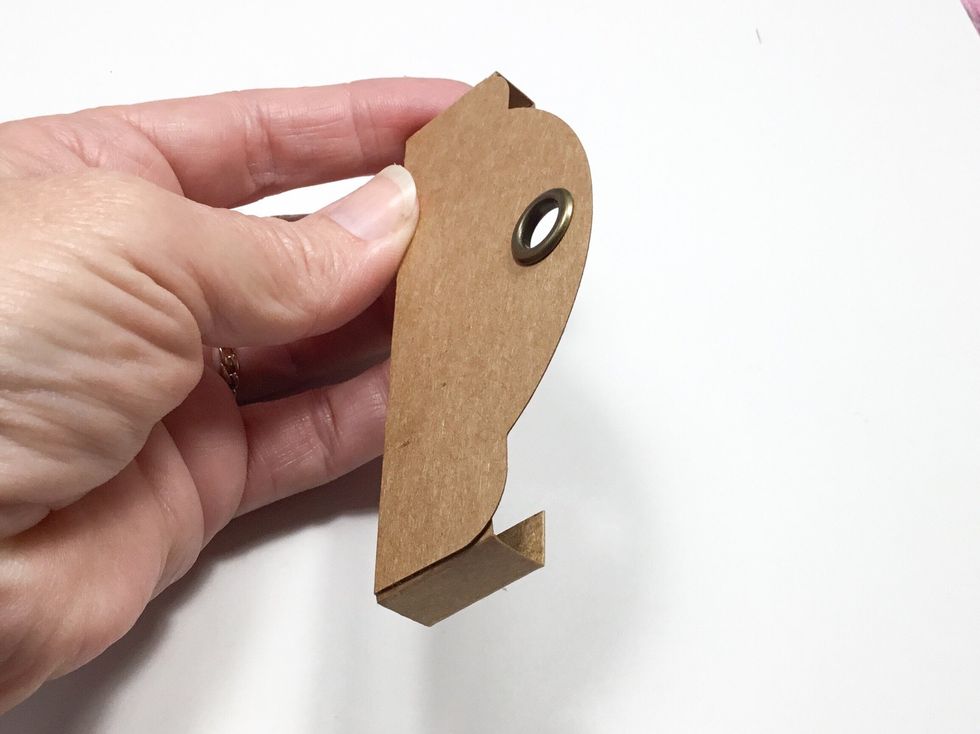
You will now need 2 of the tag tops.

Score across the tag top as shown. Then measure 0.5cm from the bottom of the tag top and score.
Fold as shown.
Now attach to the back page of the inside album as shown.
Attach to both sides.
Now the tag tops should fold around as shown. These will now help to hold the inside album closed.

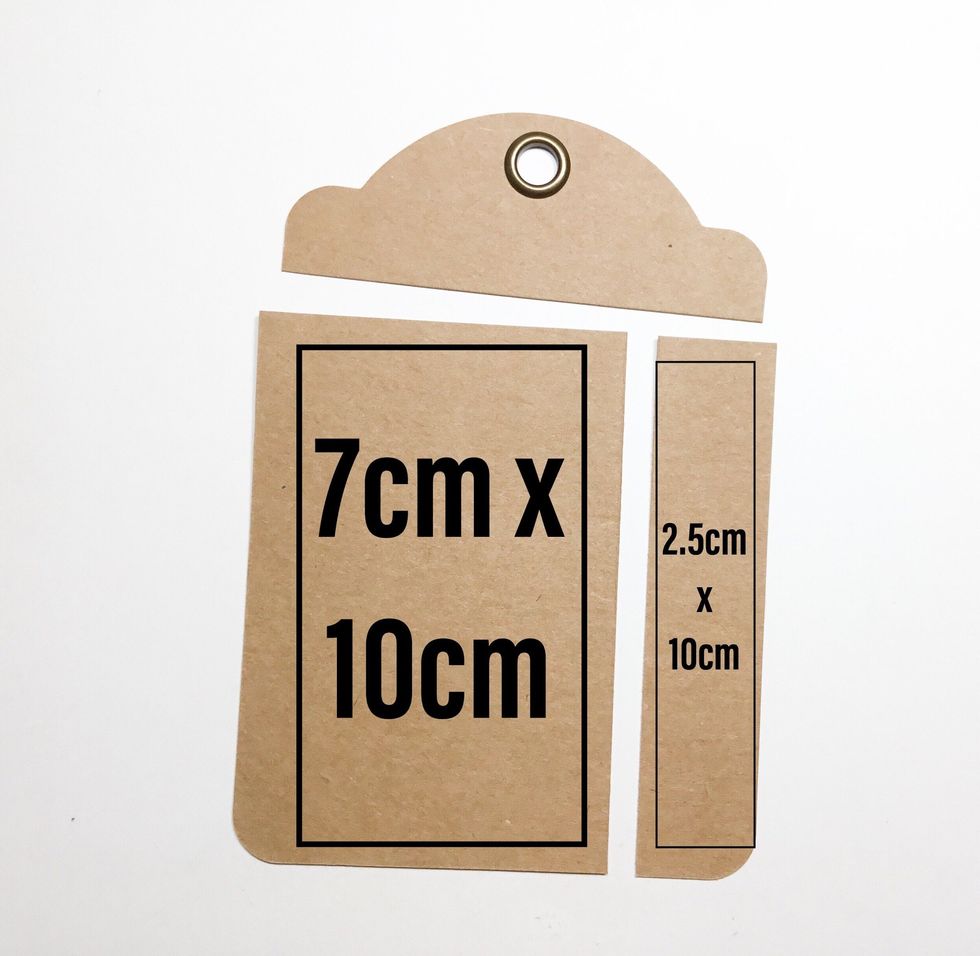
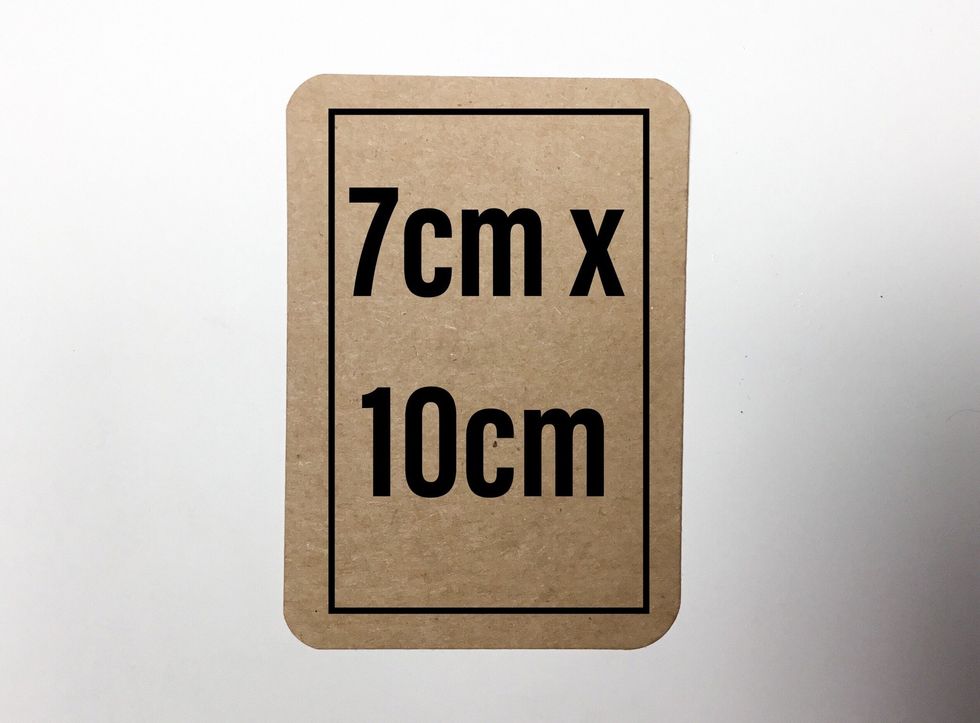
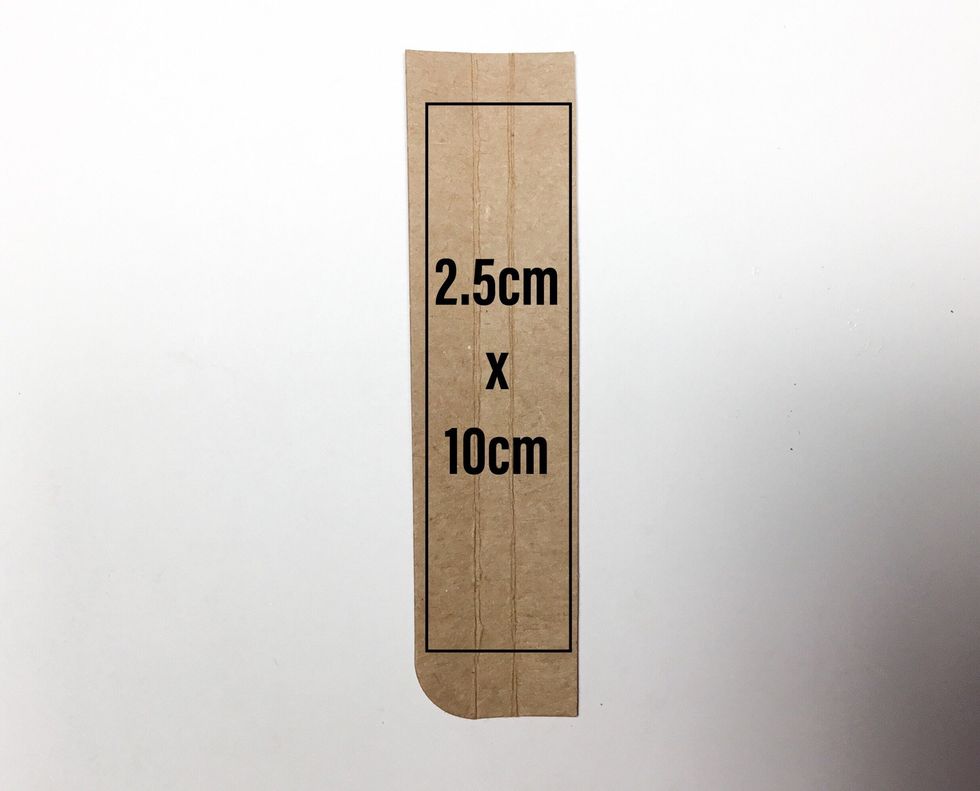
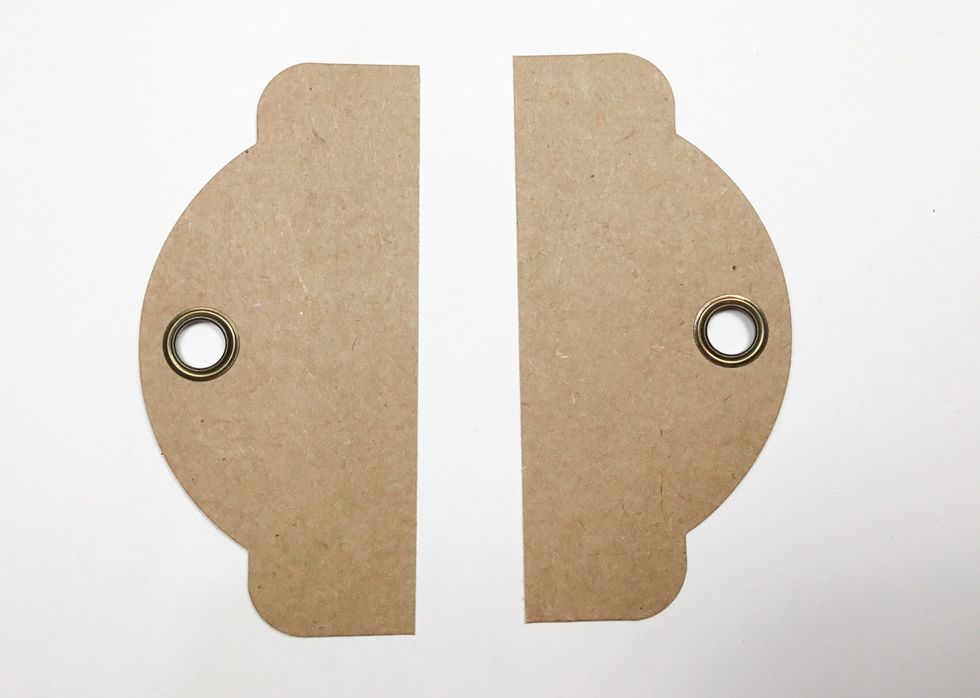
You will now need 1 tag top, 1@ 10cm x 3cm, 2@ 3cm x 2cm as shown in image.
Score 1cm in from each edge as shown.
Score 1cm in from each edge as shown.
Fold on score marks as shown.
Glue together as shown.
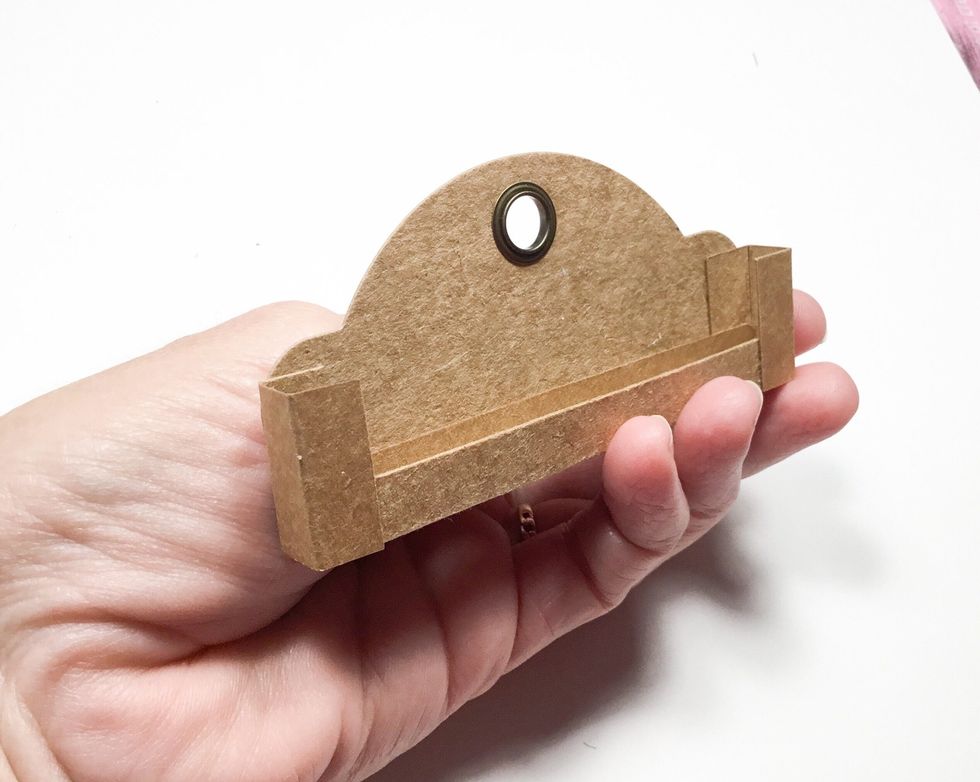
Attach to tag top as shown.
Make sure to line up bottom edge.

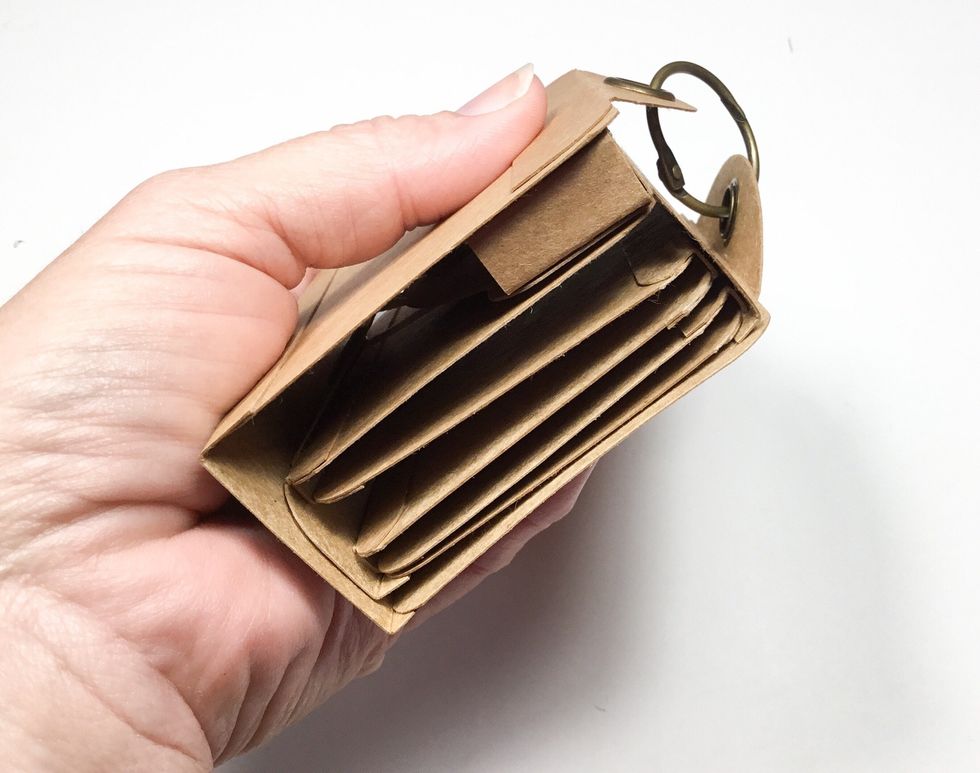
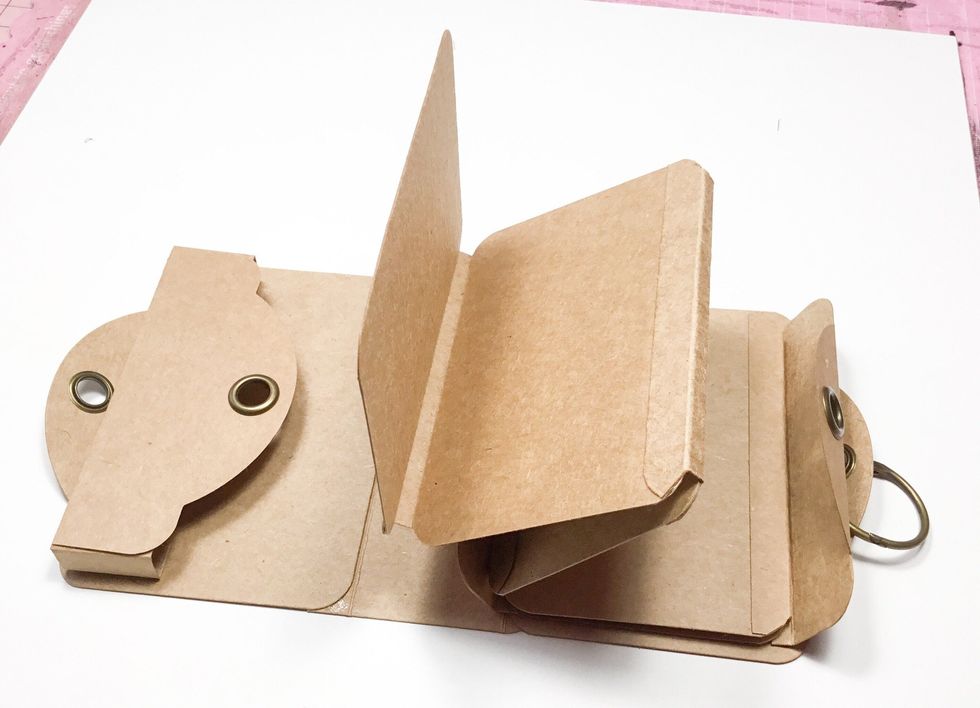
Now you should have a cover, a mini album and a pocket just like the image shown.
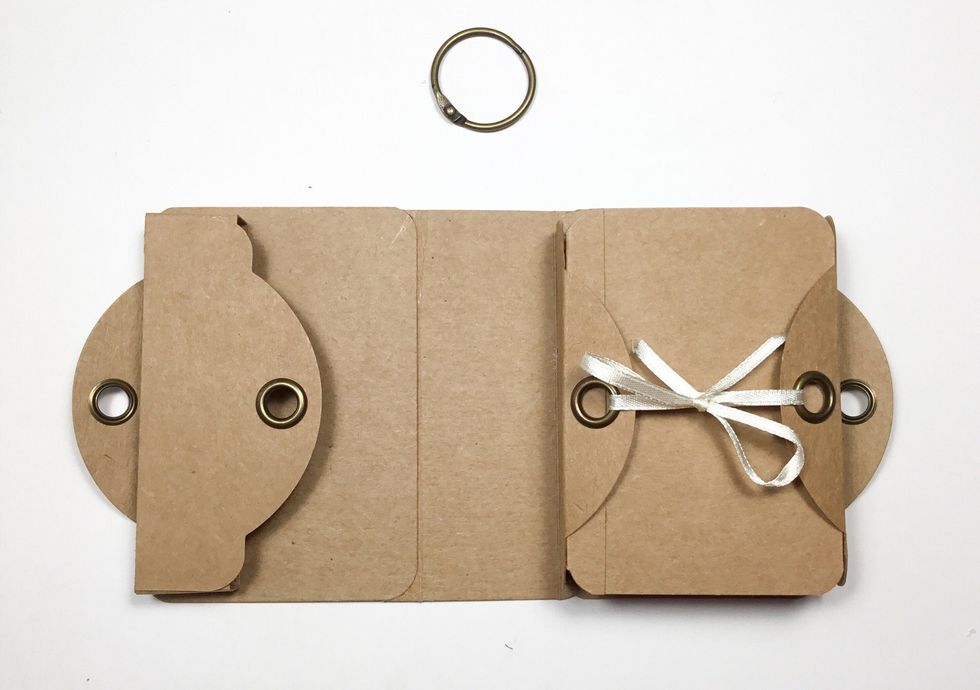
Now time to assemble. Glue mini album to the inside of the cover on the right side and the pocket on the left side as shown. The base of the mini album is now complete.
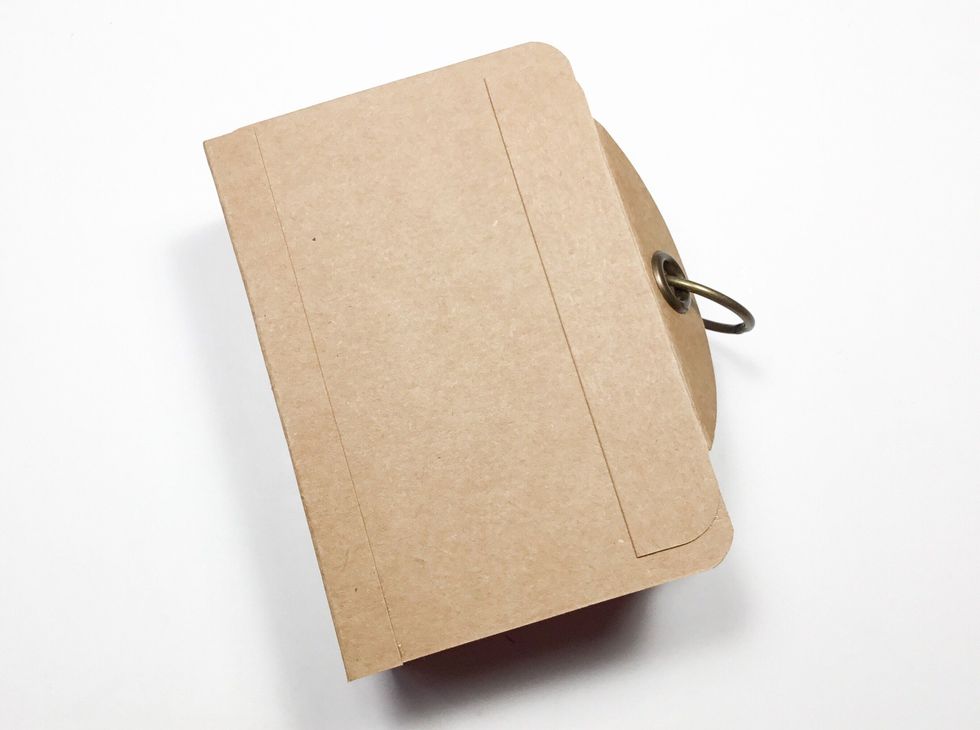
You can use a small binder ring to hold the album closed.
It all folds in nicely.
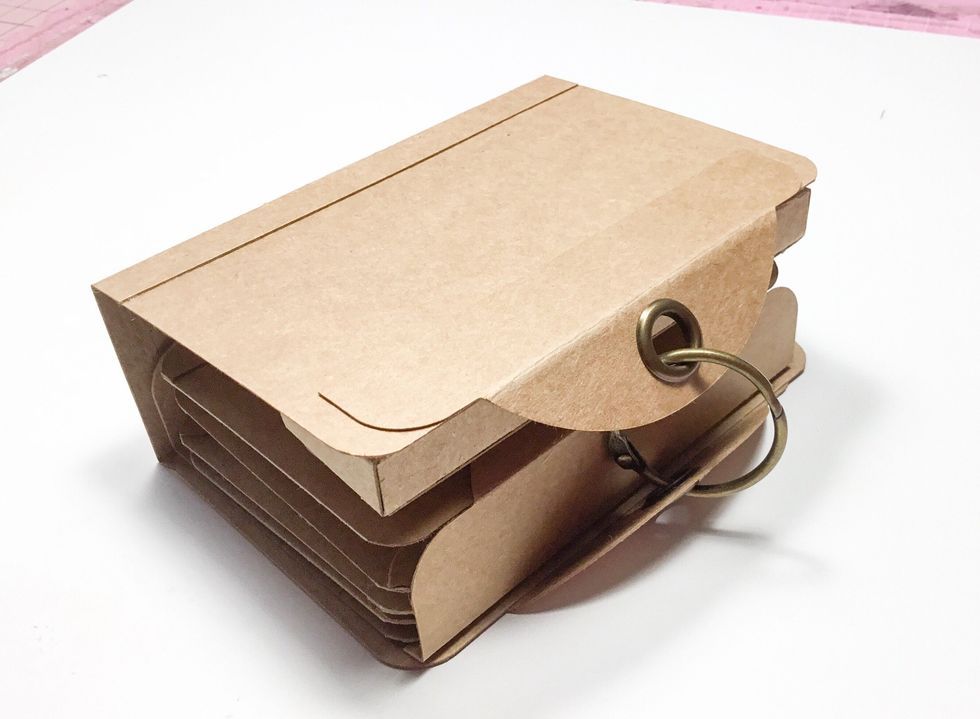
Ribbon could be used instead of the binder ring to hold the album closed.
I hope you have enjoyed my tutorial. Please visit my blog - www.scrappinforme.blogspot.com.au