The Conversation (0)
Sign Up
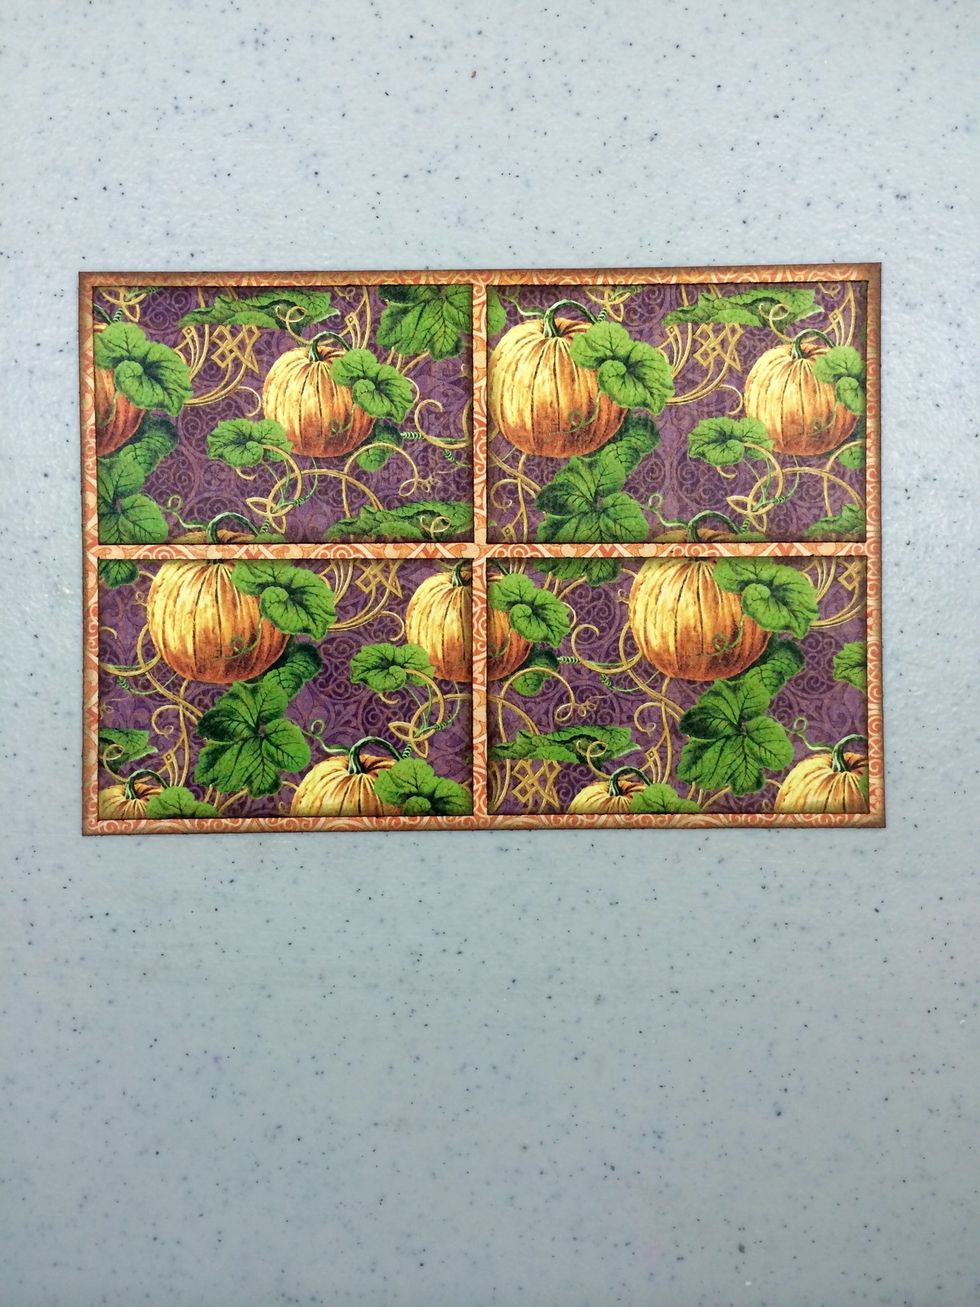
Cut a 6 3/4" x 4 3/4" piece of "Grand Illusion" paper as your base. Cut four 3 3/16" x 2 3/16" pieces of "Abracadabra" paper. Ink all edges with a brown ink. Adhere together as shown.
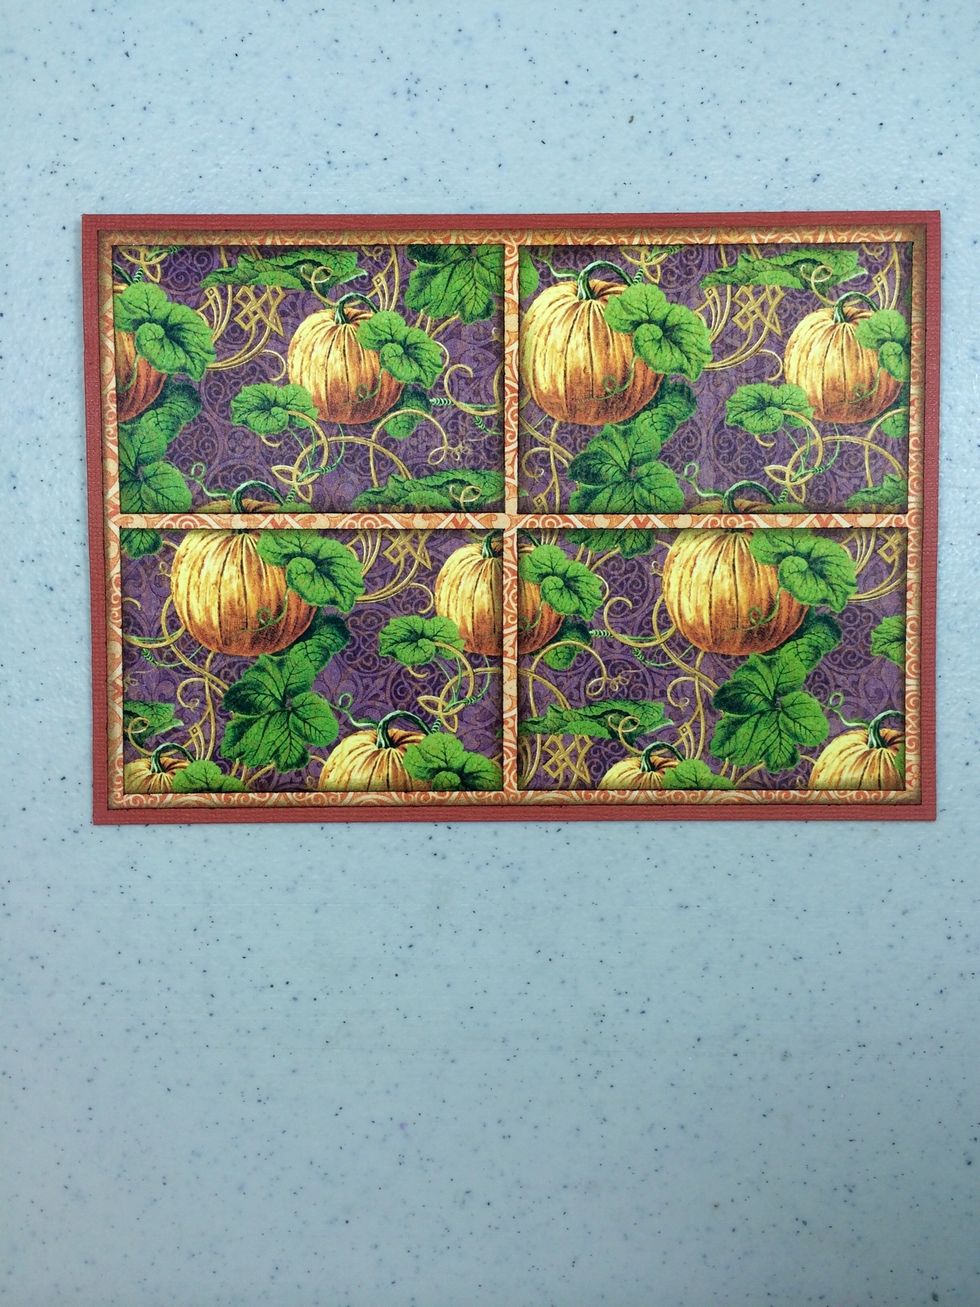
Cut Tuscan Sunset cardstock for a 5" x 7" card when folded. Adhere the unit from step 1 to the card front.
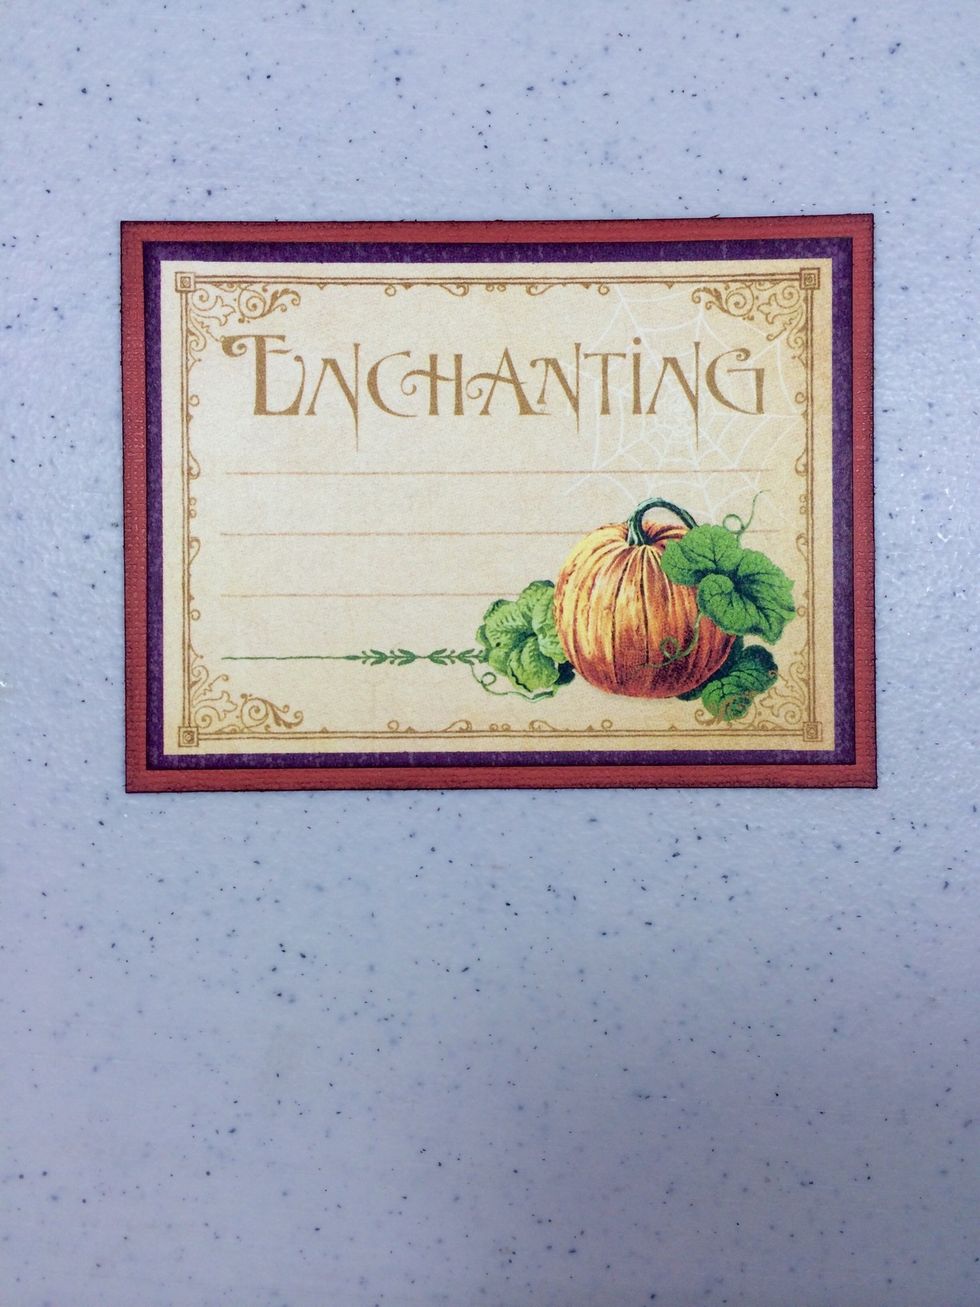
Cut a 4 1/4" x 3 1/4" piece of Tuscan Sunset cardstock. Cut apart the the Enchanting journaling card from "You Bewitch Me" paper, ink edges and adhere these together.
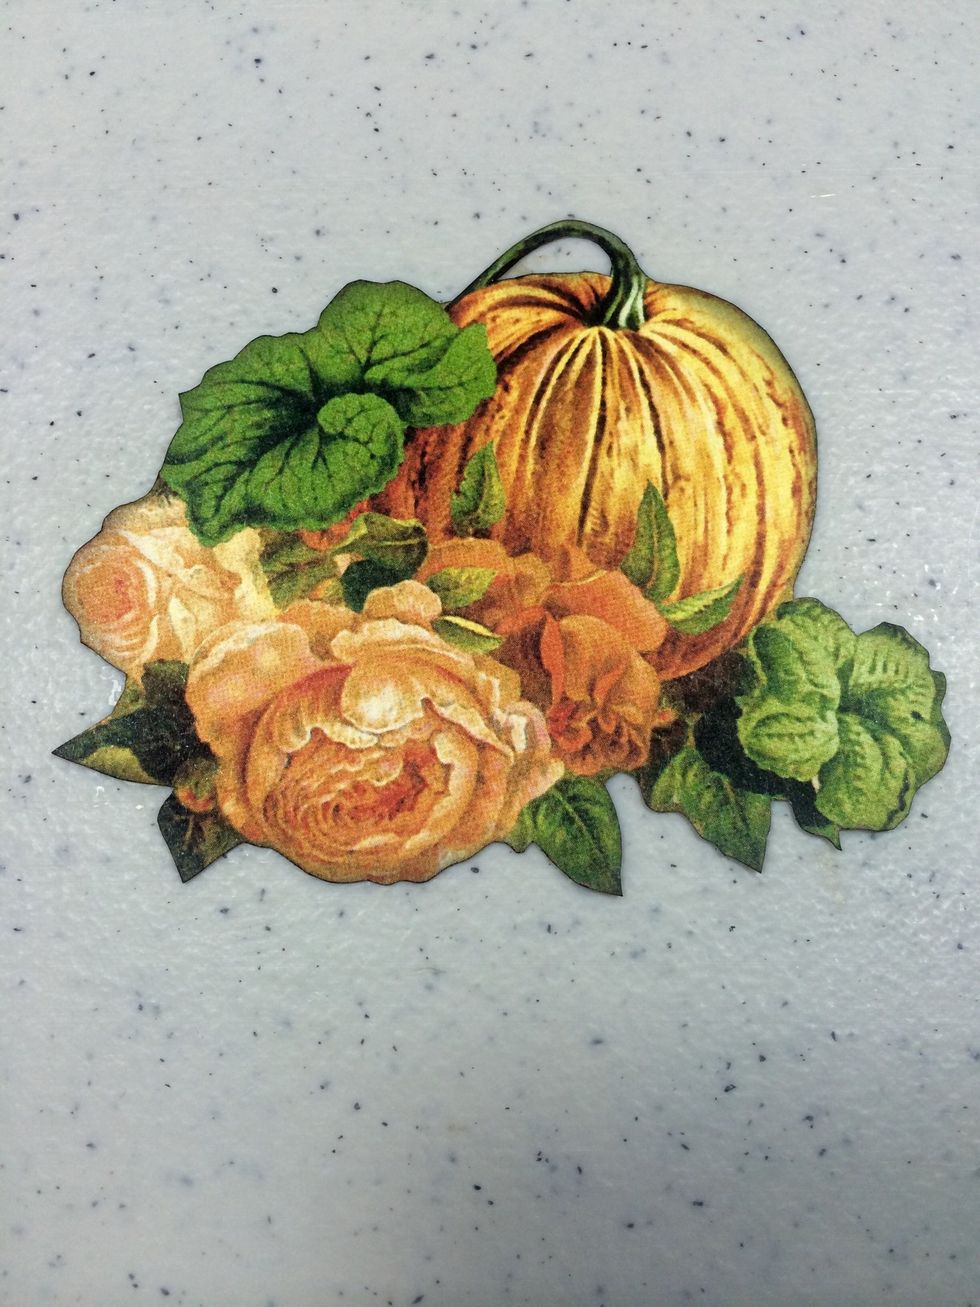
From "An Eerie Tale" paper, fussy cut the pumpkin image including flowers and leaves. Ink edges.
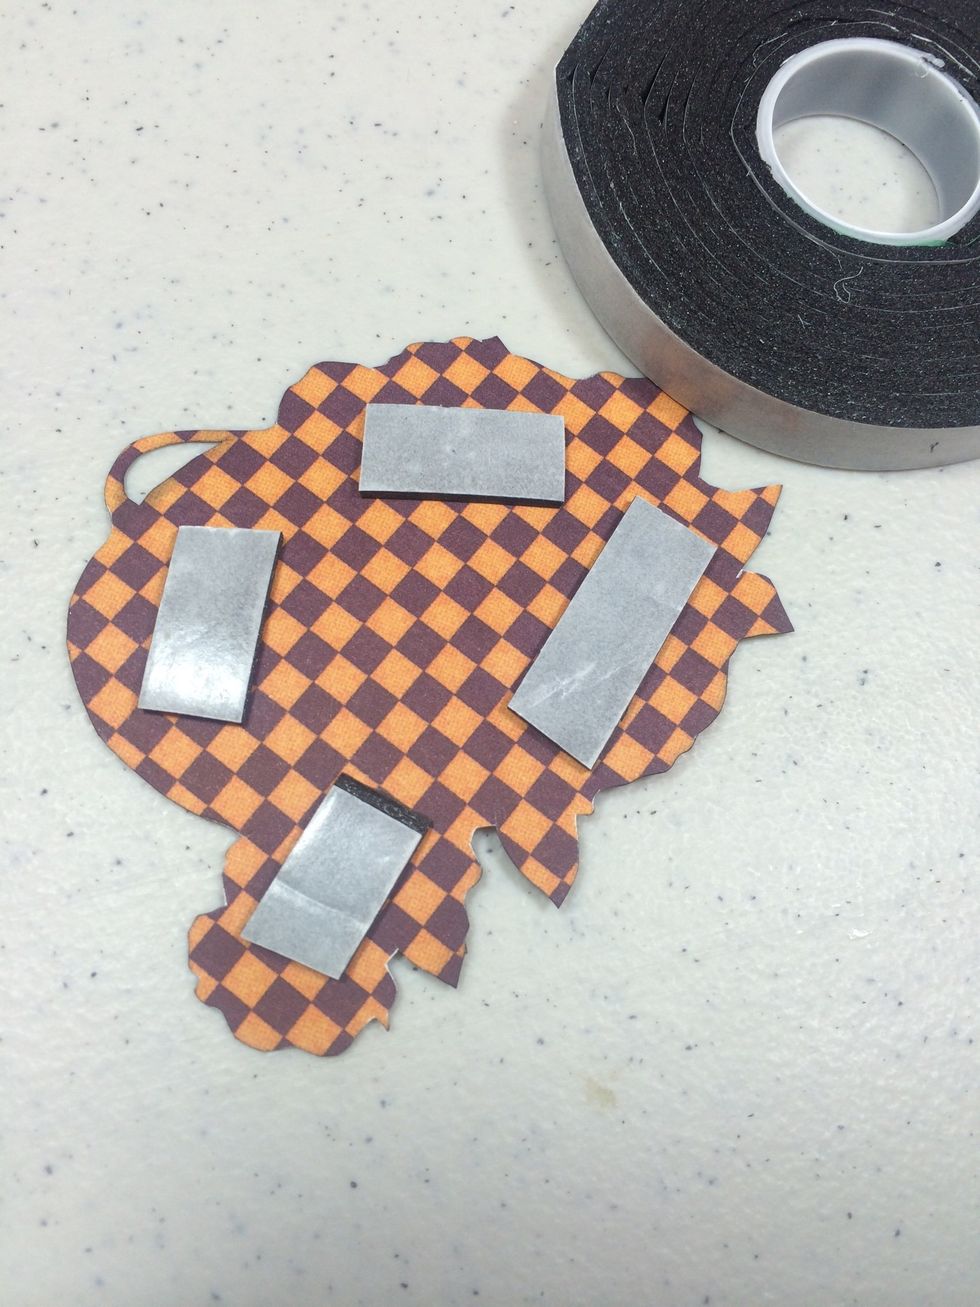
Add adhesive foam tape to the back to pop it up.
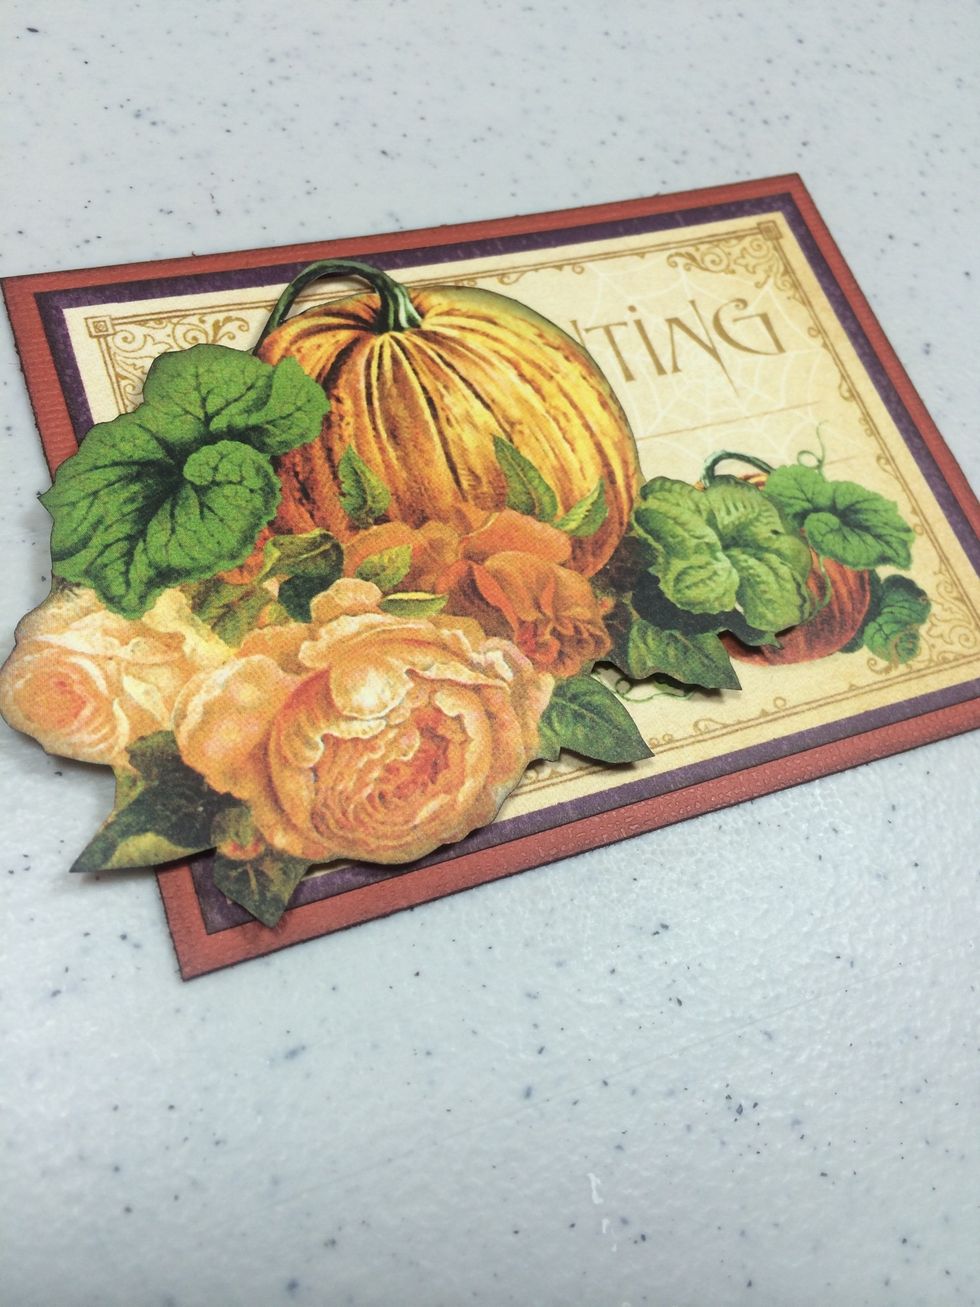
Adhere the fussy cut image to the unit from before. This will mostly cover the word Enchanting, which is what we want.
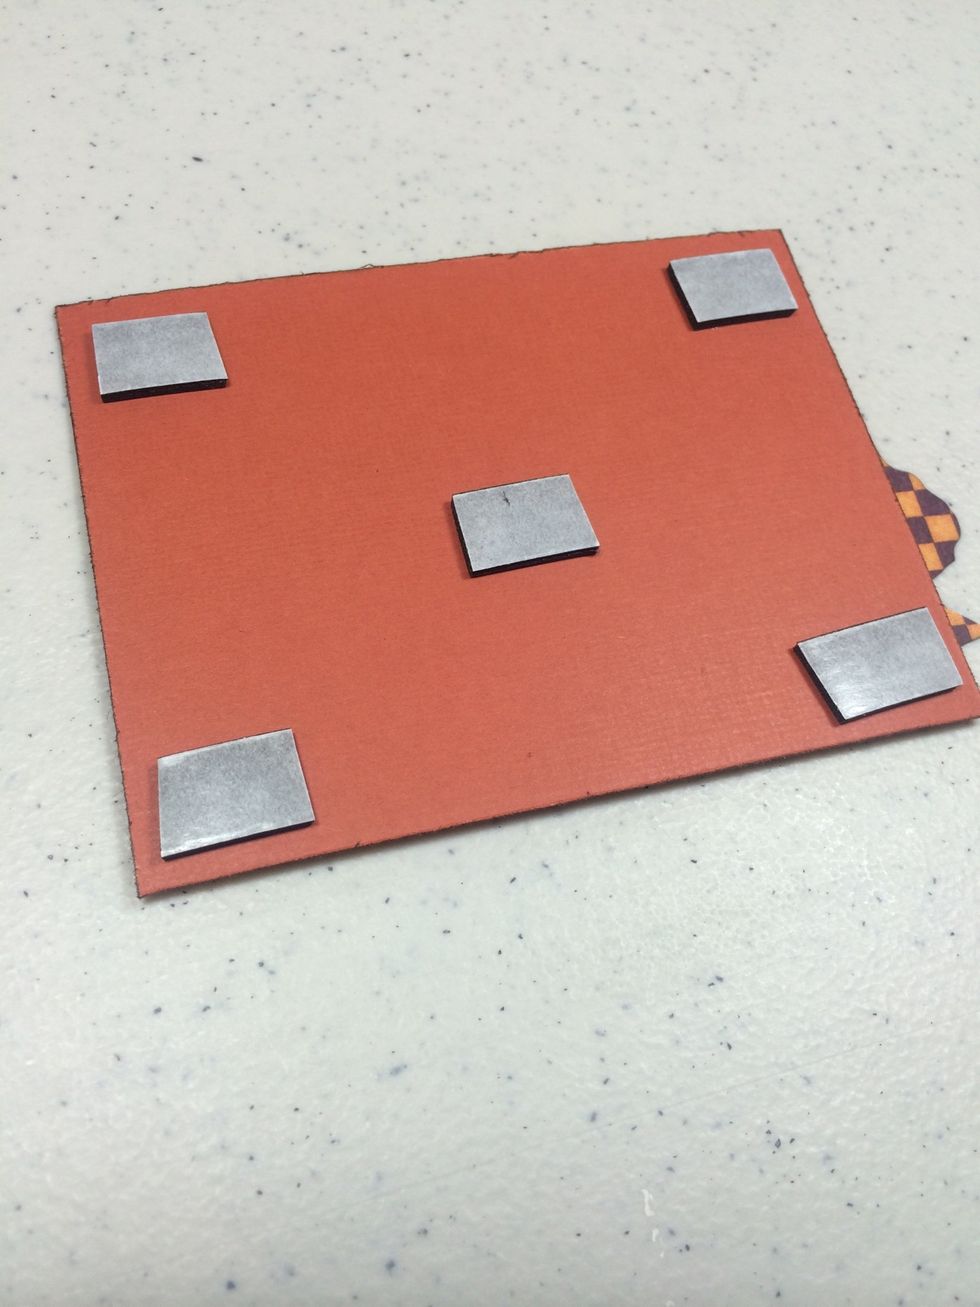
Add adhesive foam tape to the back of this unit.
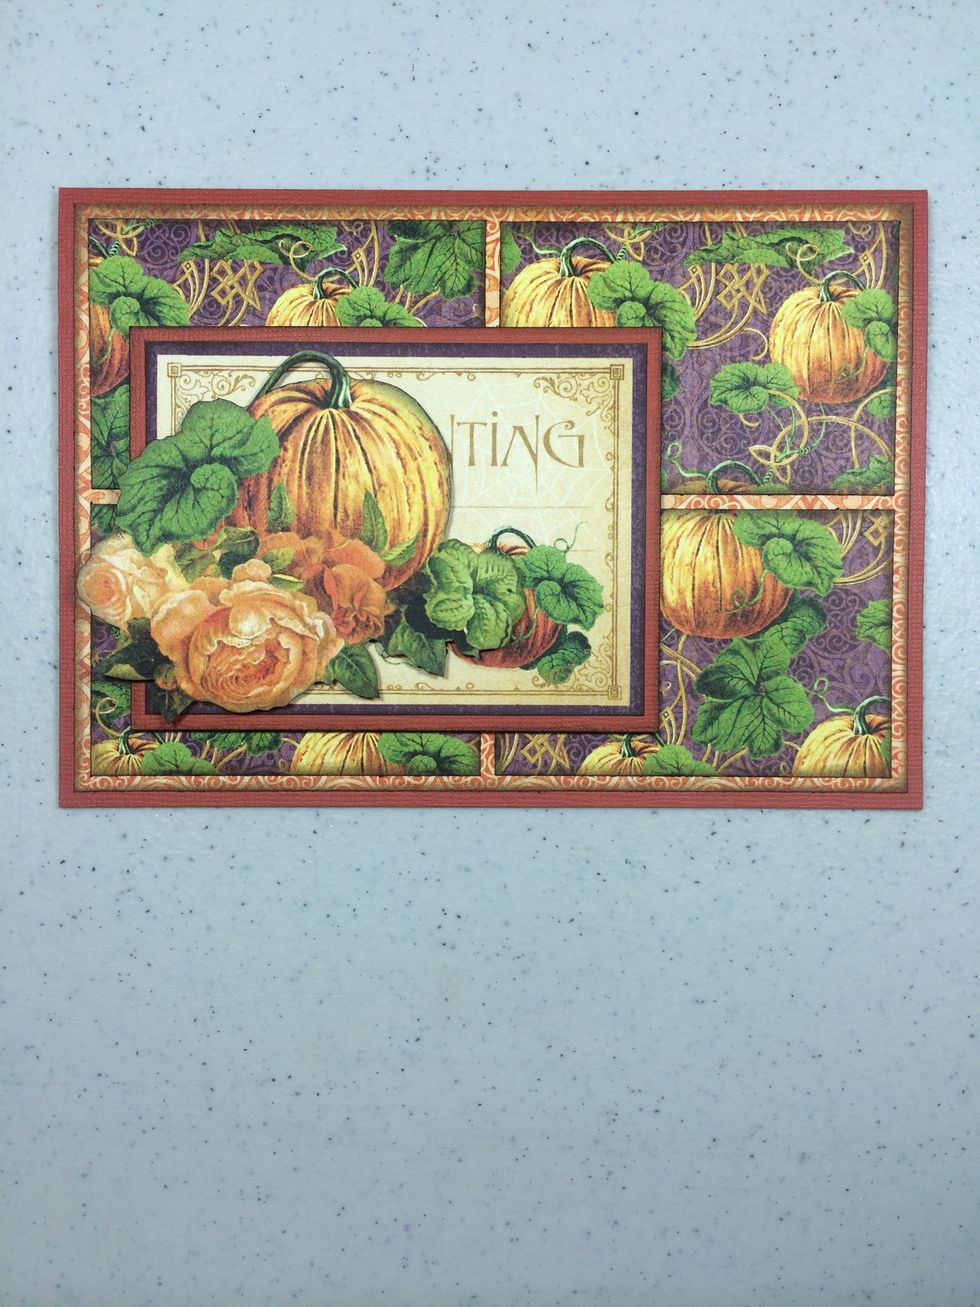
Adhere to the card front in the lower left area as shown.
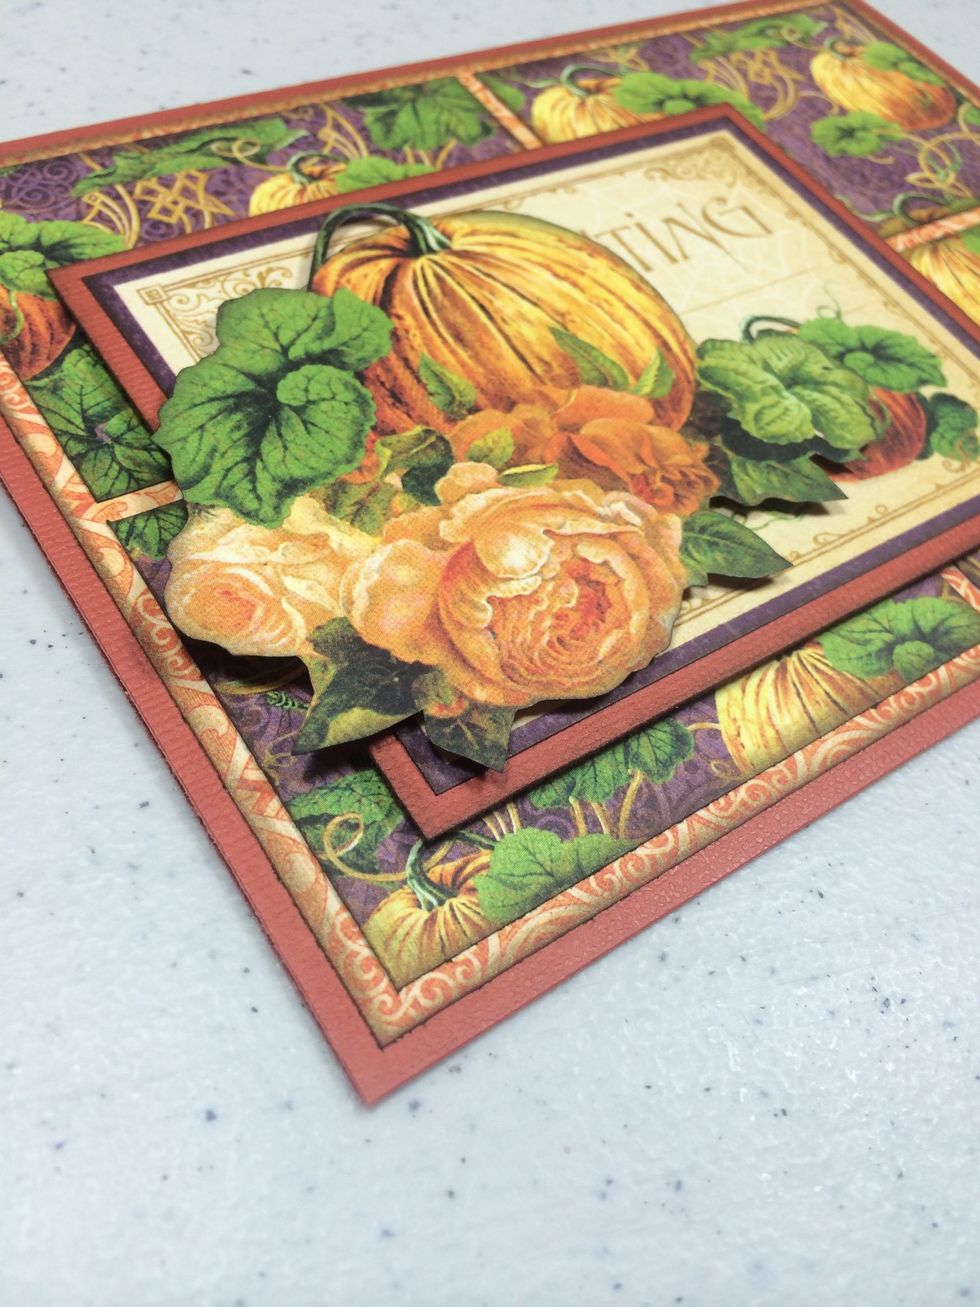
The foam tape really adds nice dimension.
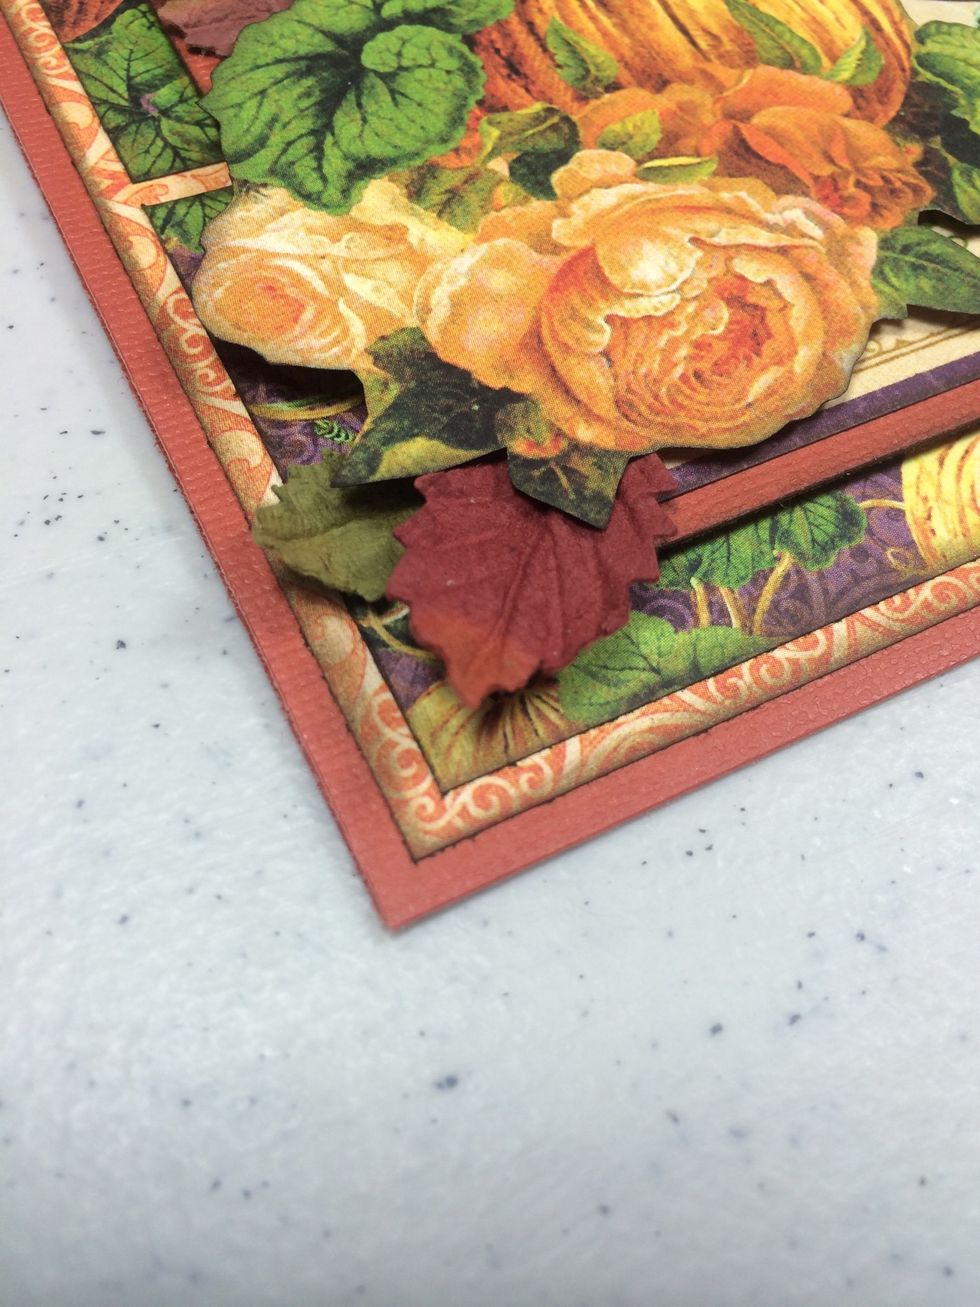
Use tacky glue to start adhering some Petaloo leaves here and there.
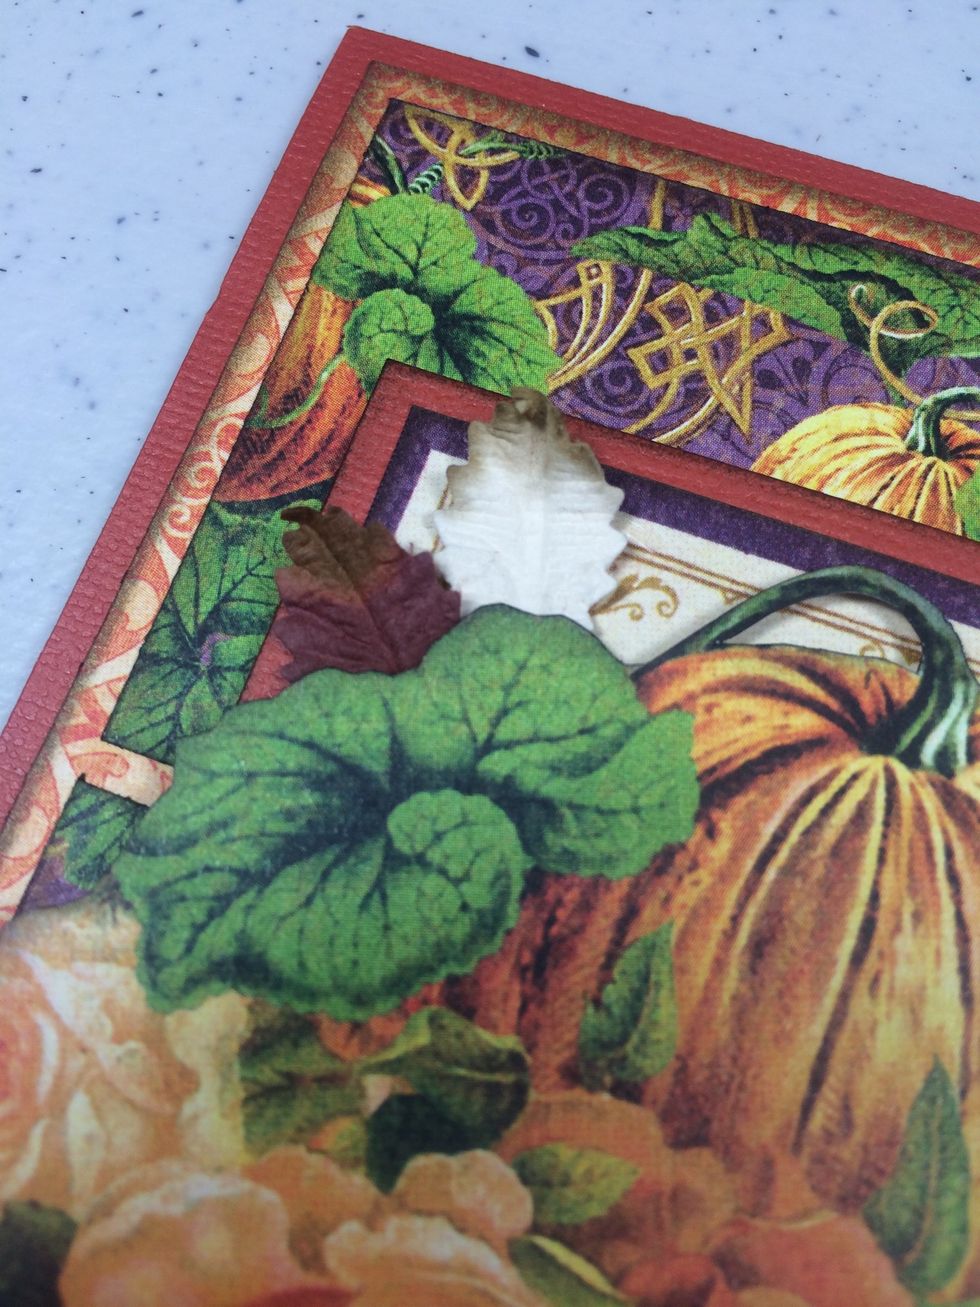
Add two or three more leaves in the upper left area, layering them under the fussy cut image a bit.
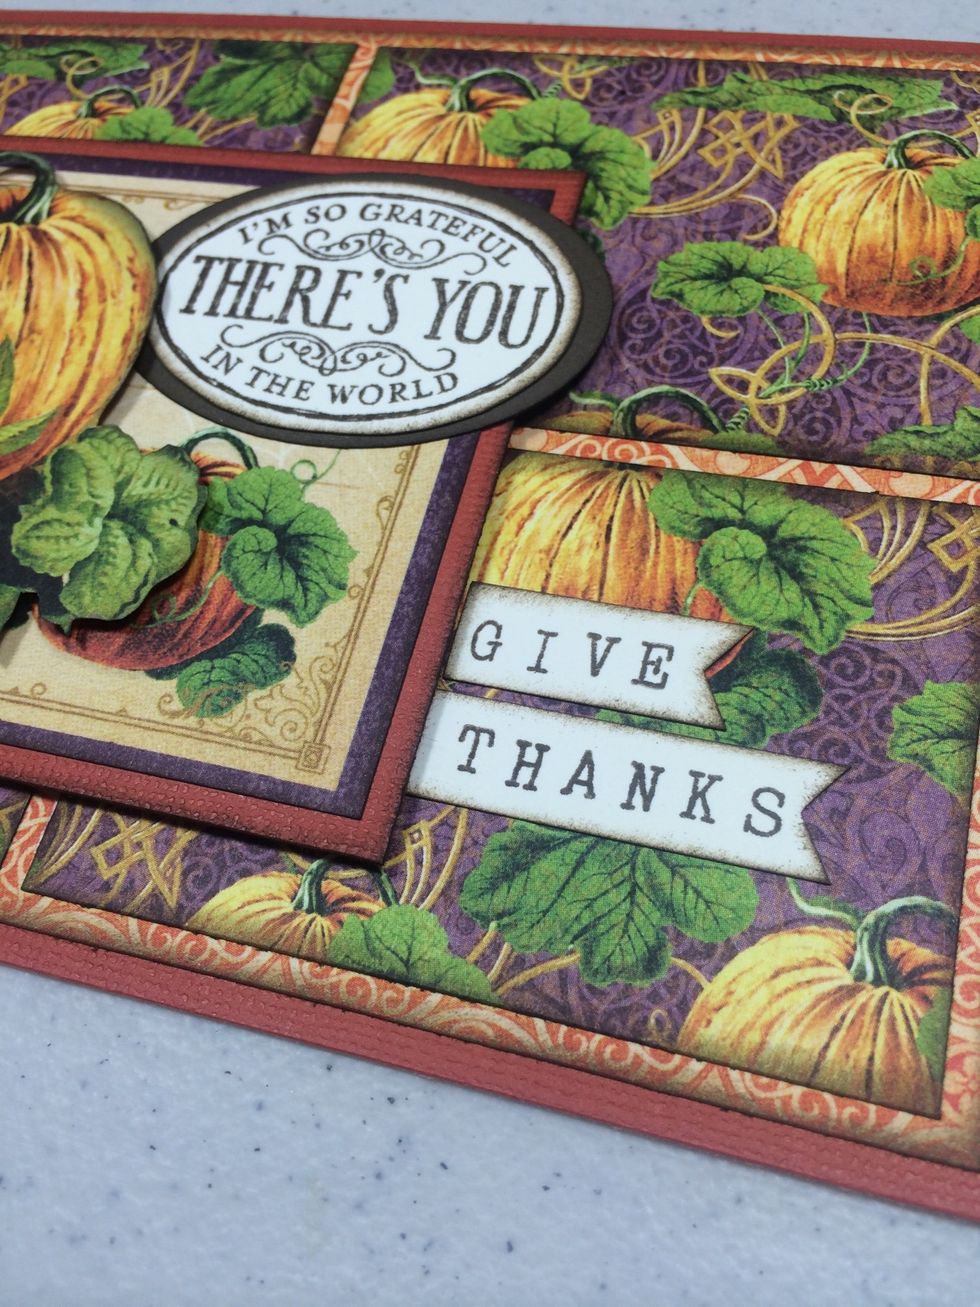
Stamp desired sentiments onto cream cardstock pieces. These are both from Stampin' Up.
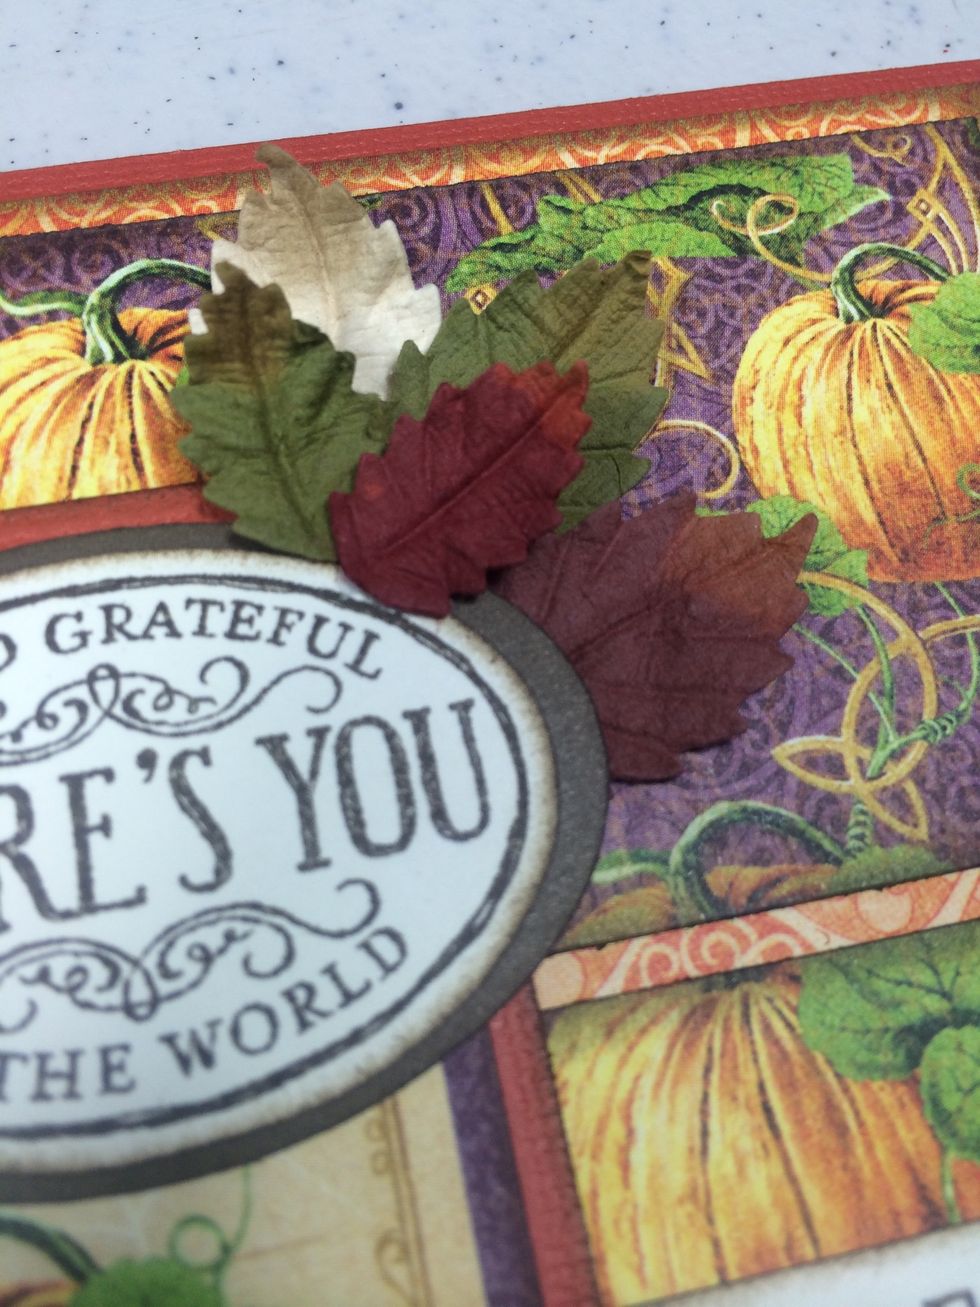
Add more leaves as desired to fill it out nicely.
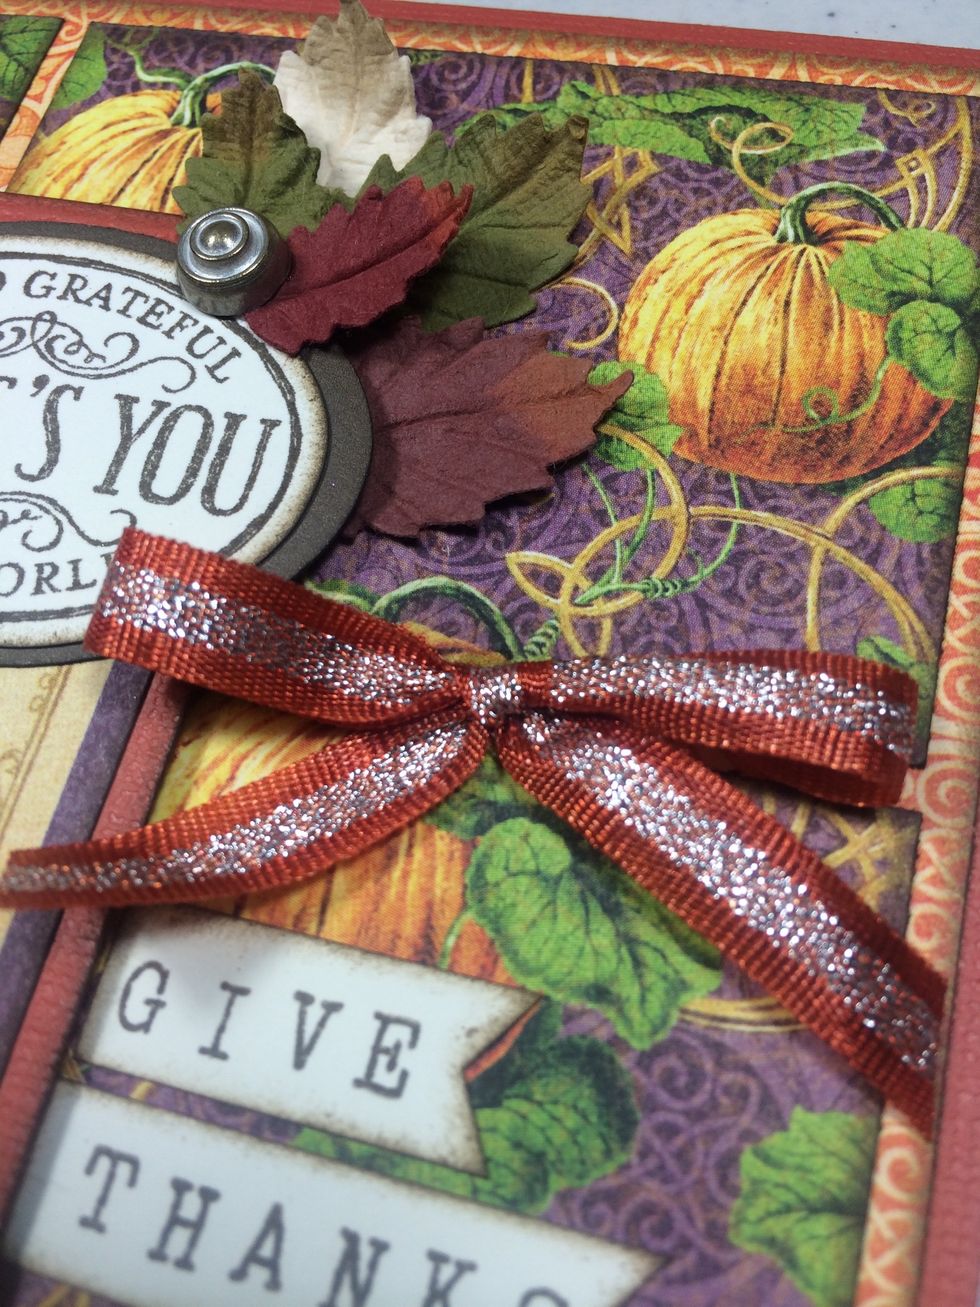
Adhere the head of a Shabby Chic brad at the base of the leaves as shown. Tie a 12" piece of ribbon into a bow and adhere to card with tacky glue.
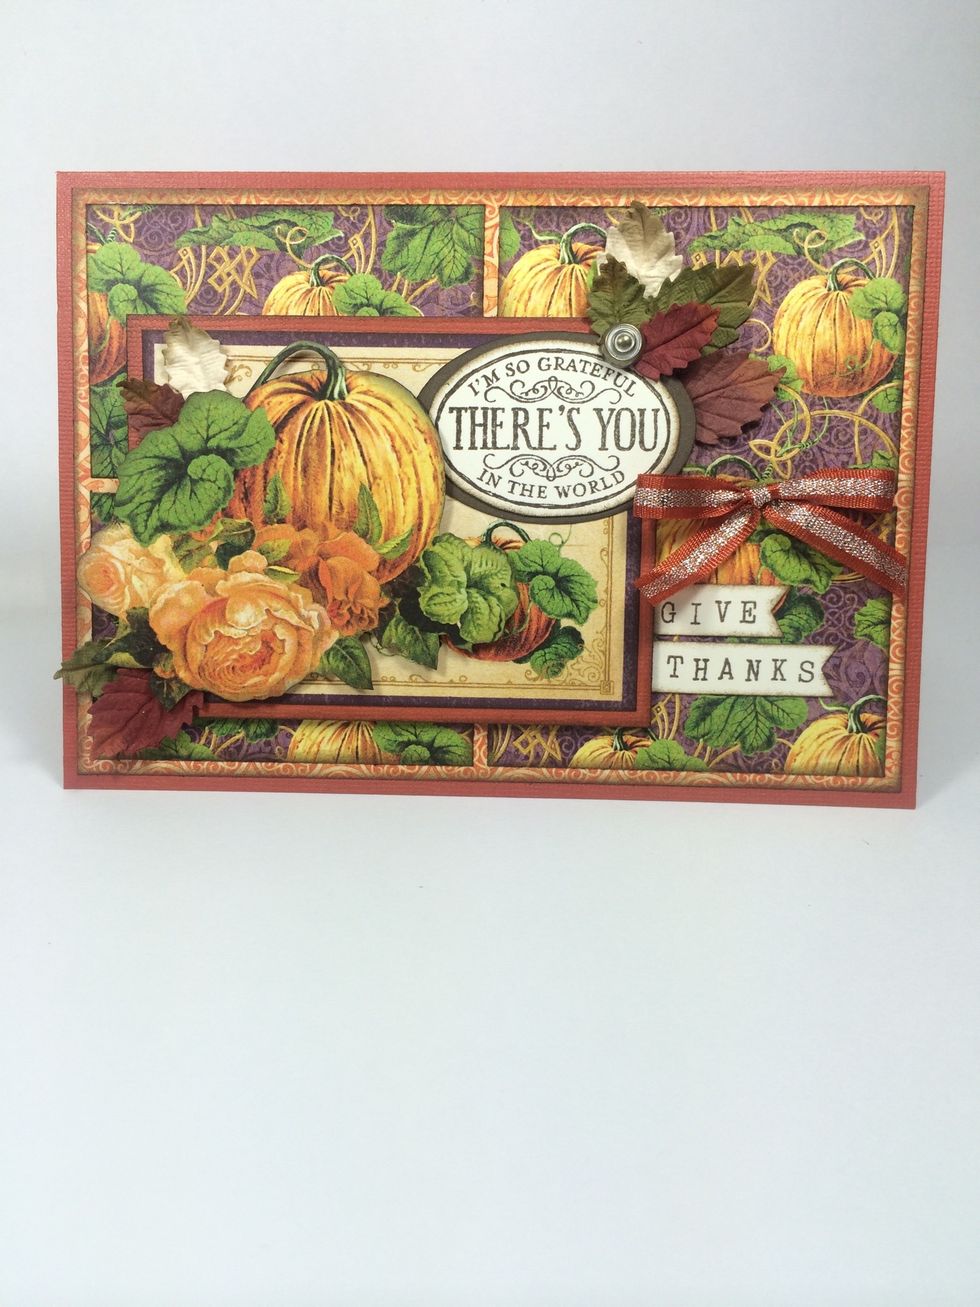
Your card front is done! Now let's do the inside.
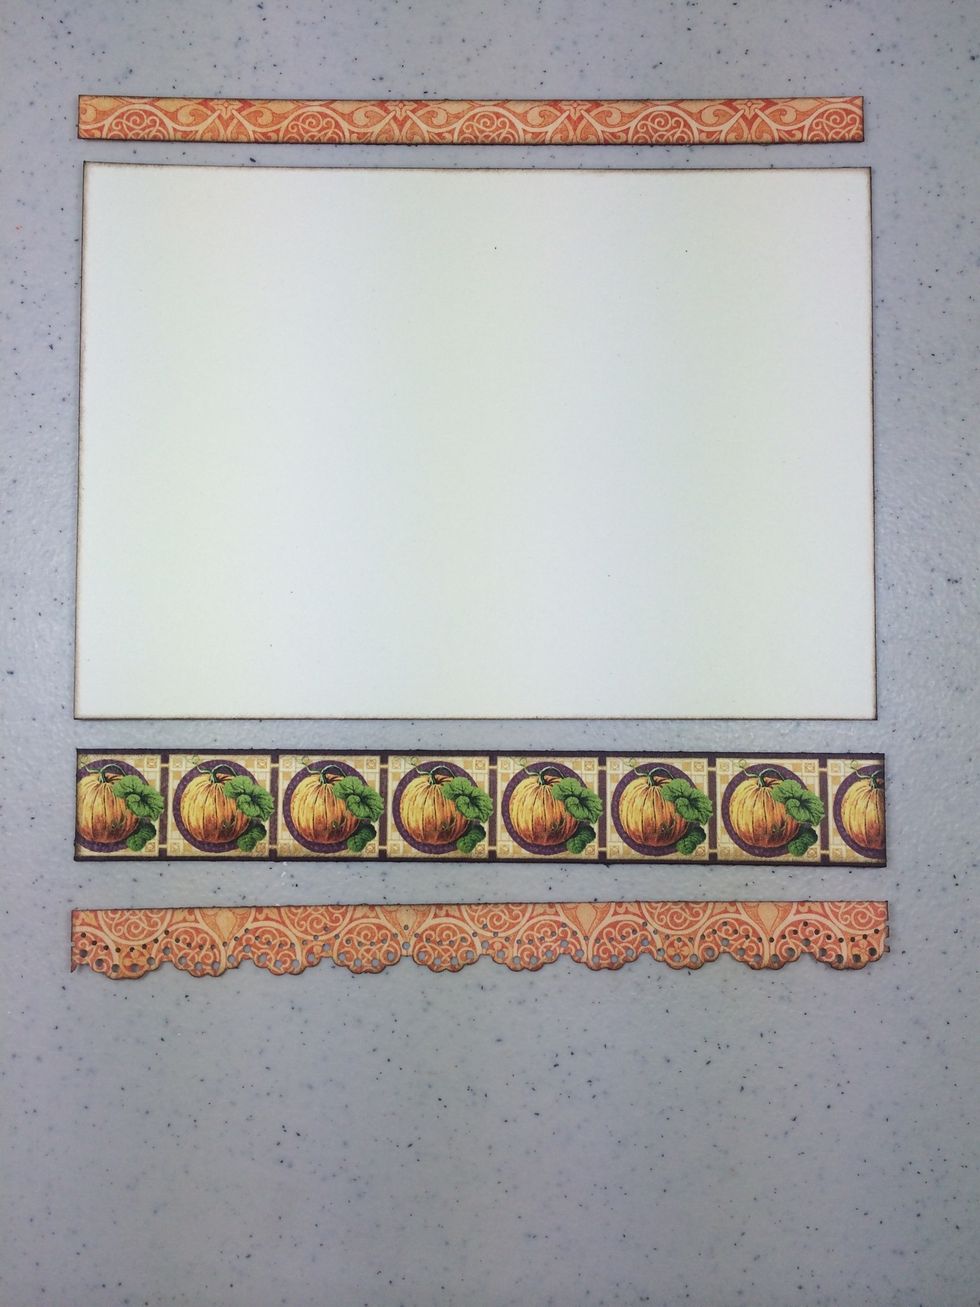
Cut a 6 3/4" x 4 3/4" piece of cream cardstock then cut a few 6 3/4" strips as you like from various papers in the collection. Ink all edges.
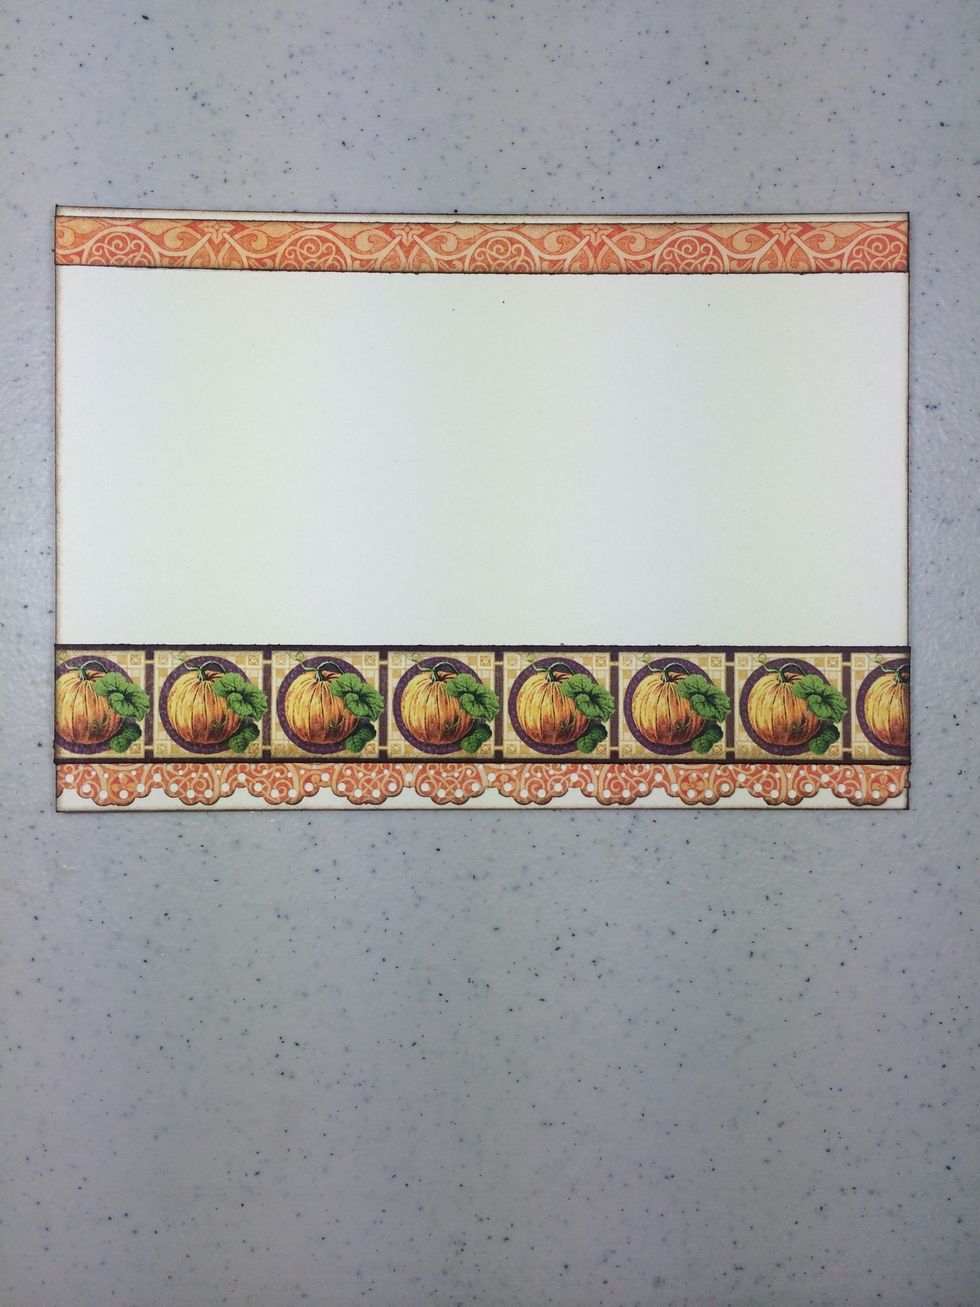
Adhere the strips to the cream base.
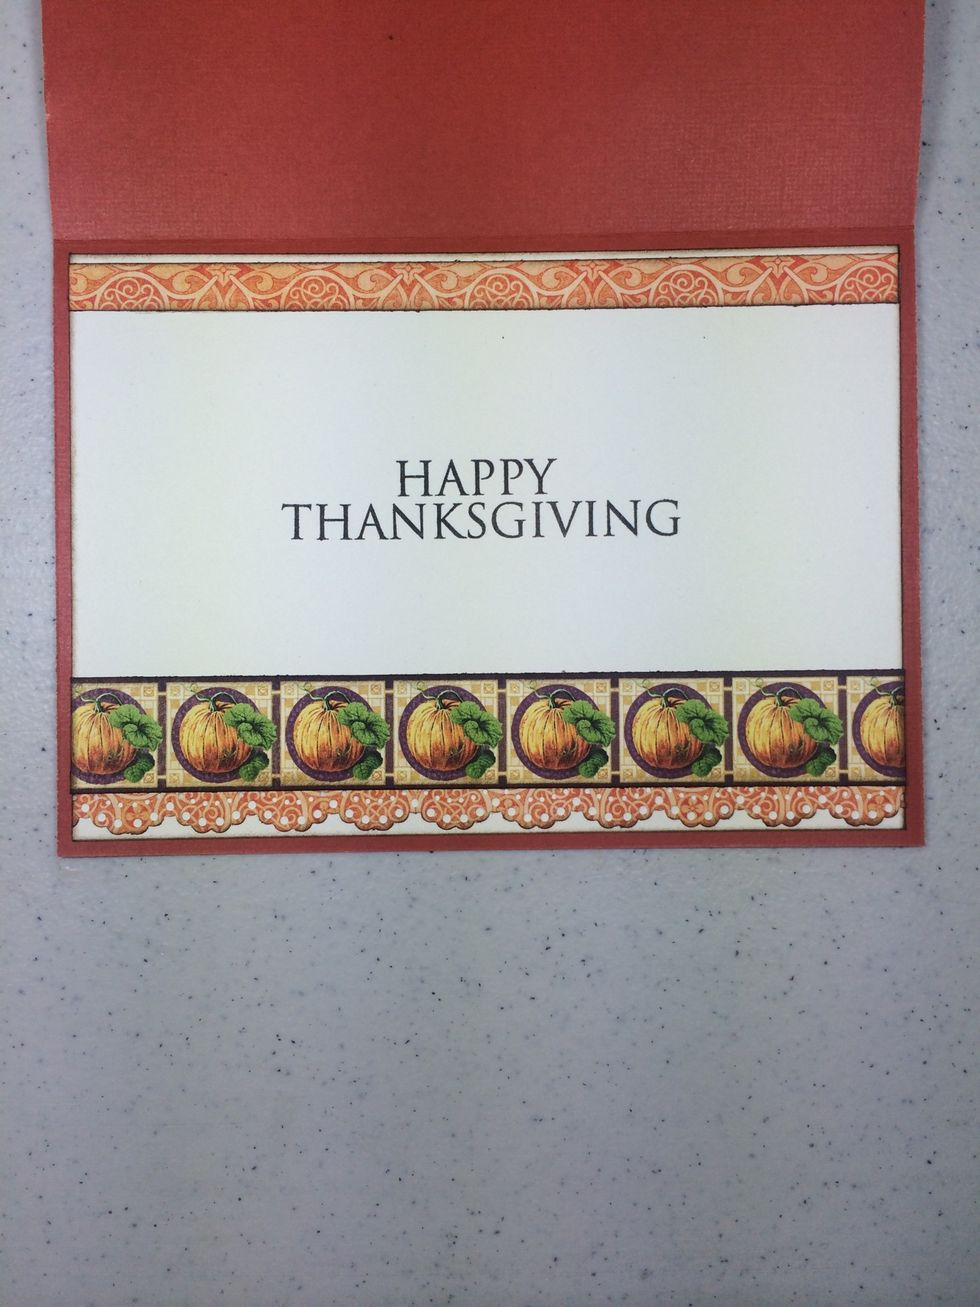
Stamp a sentiment as desired. This one is from Close To My Heart. Adhere this unit to the inside of your card.
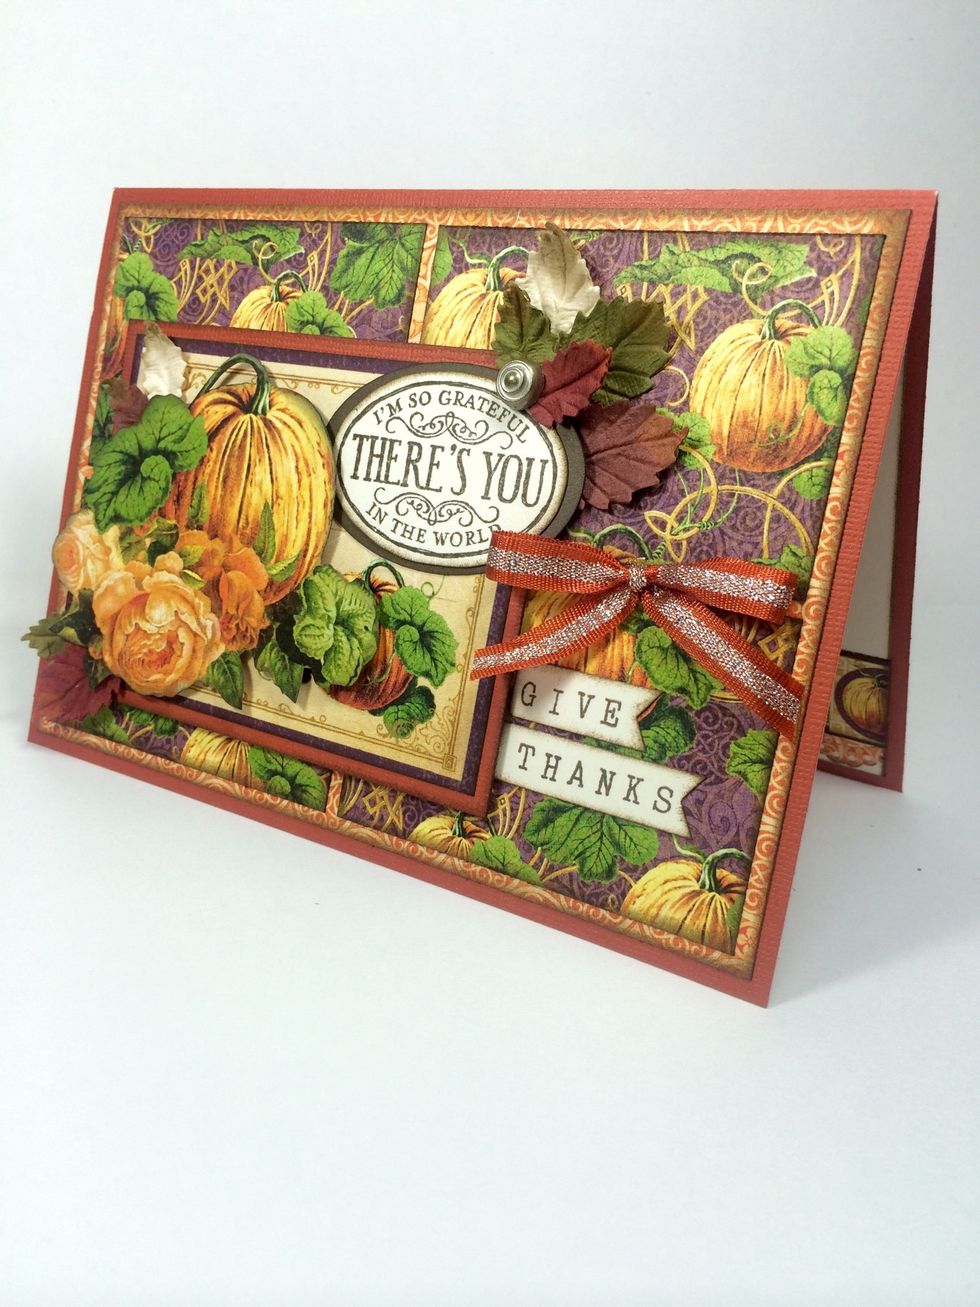
Now you have a beautiful card for someone special this Fall season. For more inspiration and creative ideas, please visit my blog at AnnettesCreativeJourney.blogspot.com