The Conversation (0)
Sign Up
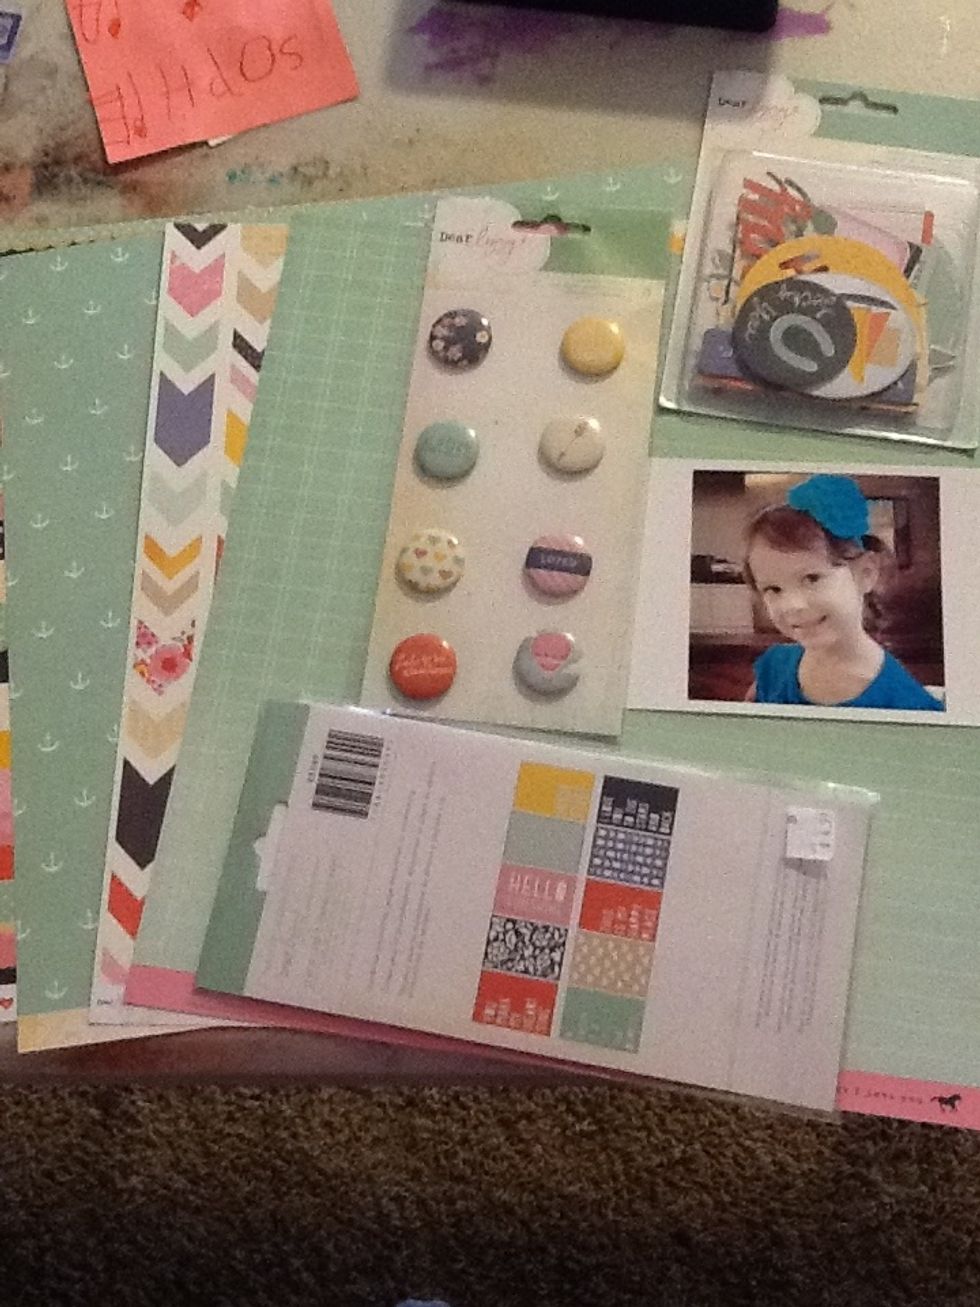
First I have gathered all of my materials before beginning. This way I don't have to do a lot of digging around looking for things.
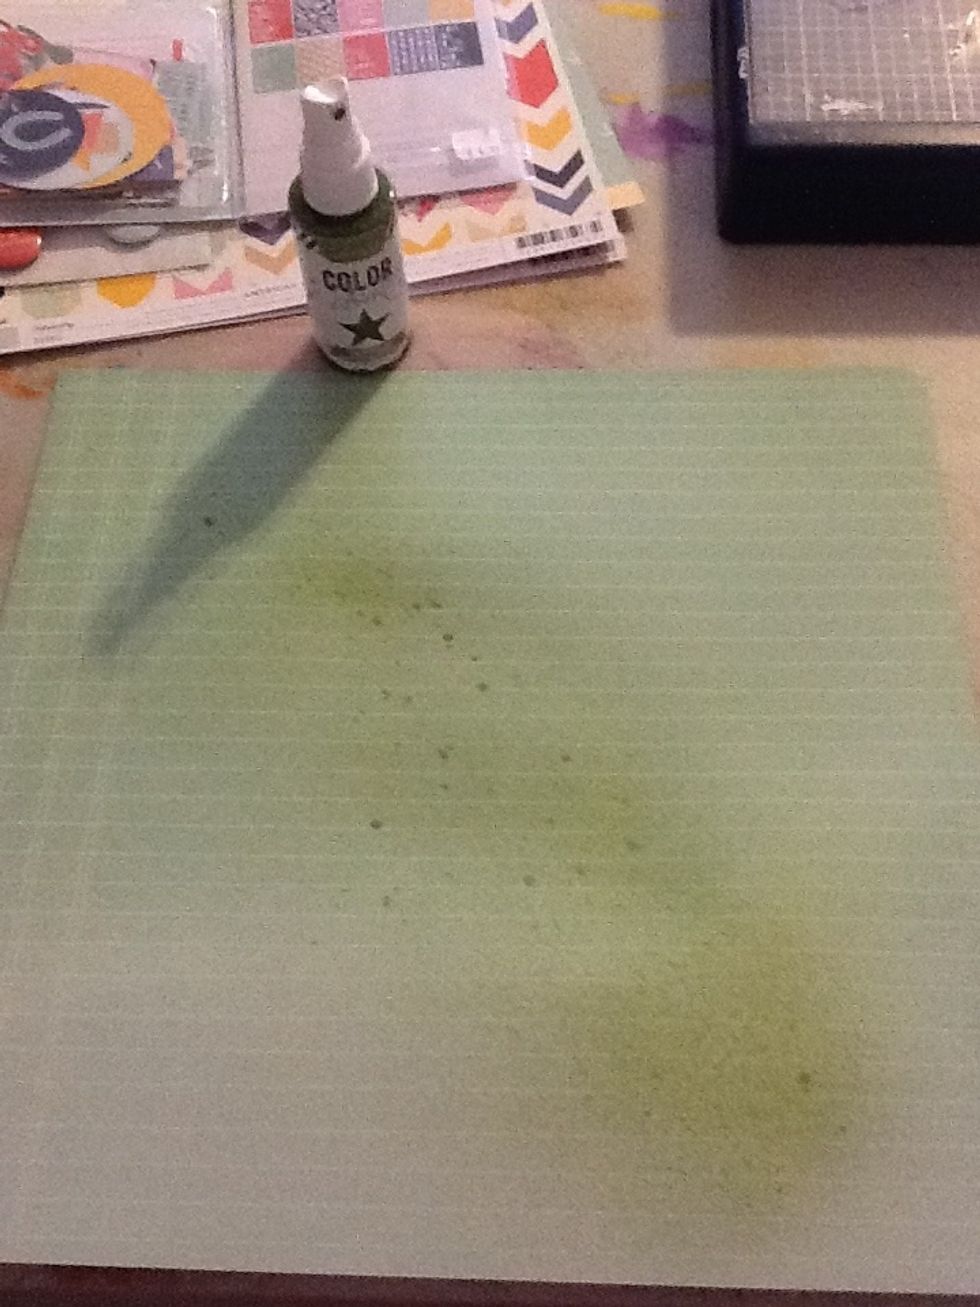
Here I used some Color Shine spray ink in chartreuse. Shake well and spray it lightly diagonally across the page. This adds some extra depth of color to the page.
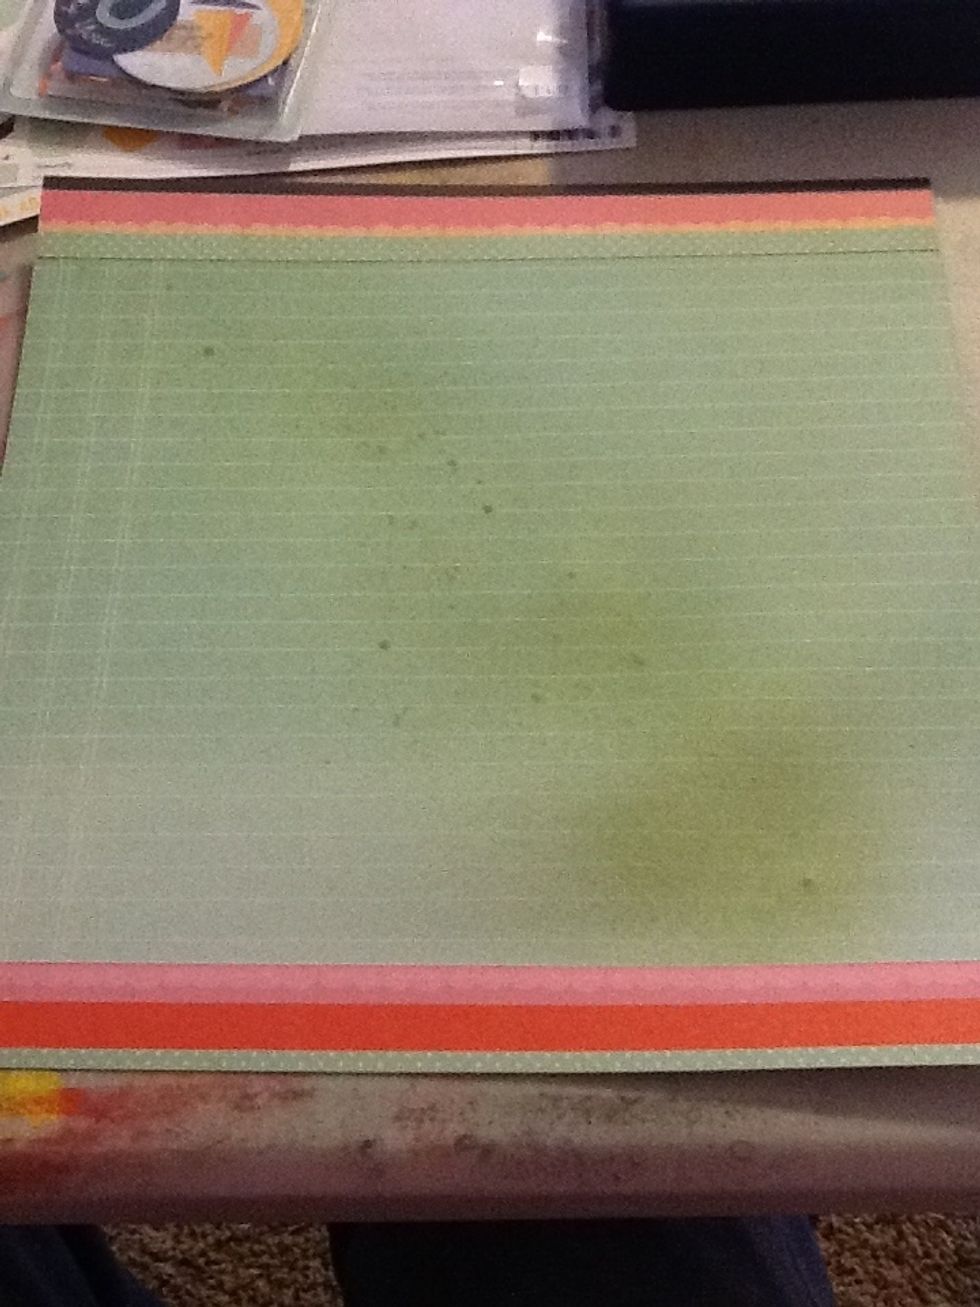
Here I've cut two strips of paper and adhered them to the top and bottom of the page. This helps to sort of "frame" the page.

I've begun placing some items on the page. They are not glued down yet so I can move them around until the look right. It's always a good idea to mat your pictures so they stand out.
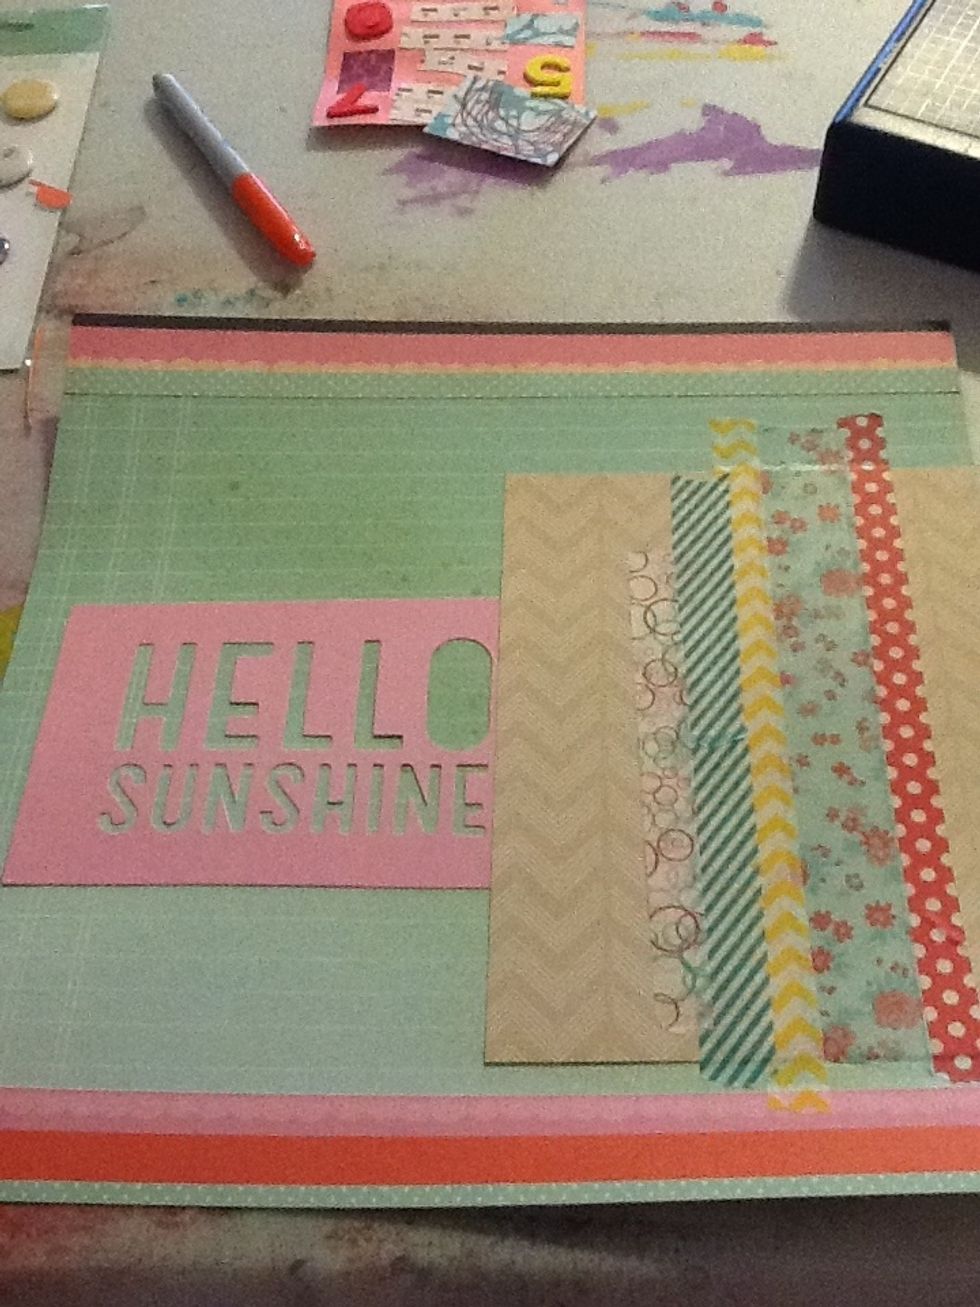
I've added some strips of washi tape. I will use these strips to ground my photo.
I handcut the pieces of patterned paper at the top to create a little banner. Chevrons are trendy right now and I love the way they look on a page. I fussy cut those from another piece of paper.
Now for the details. I did some faux stitching across the arrow and banners using a t-square and a pen. If you're good at sewing you could actually use a machine or hand stitch. Pen is quick though :)
I also added the cute flair button at the corner of the pic and a strip of teal washi tape at the top and bottom to coordinate with the photo and tie it all together. For the last step add journaling.
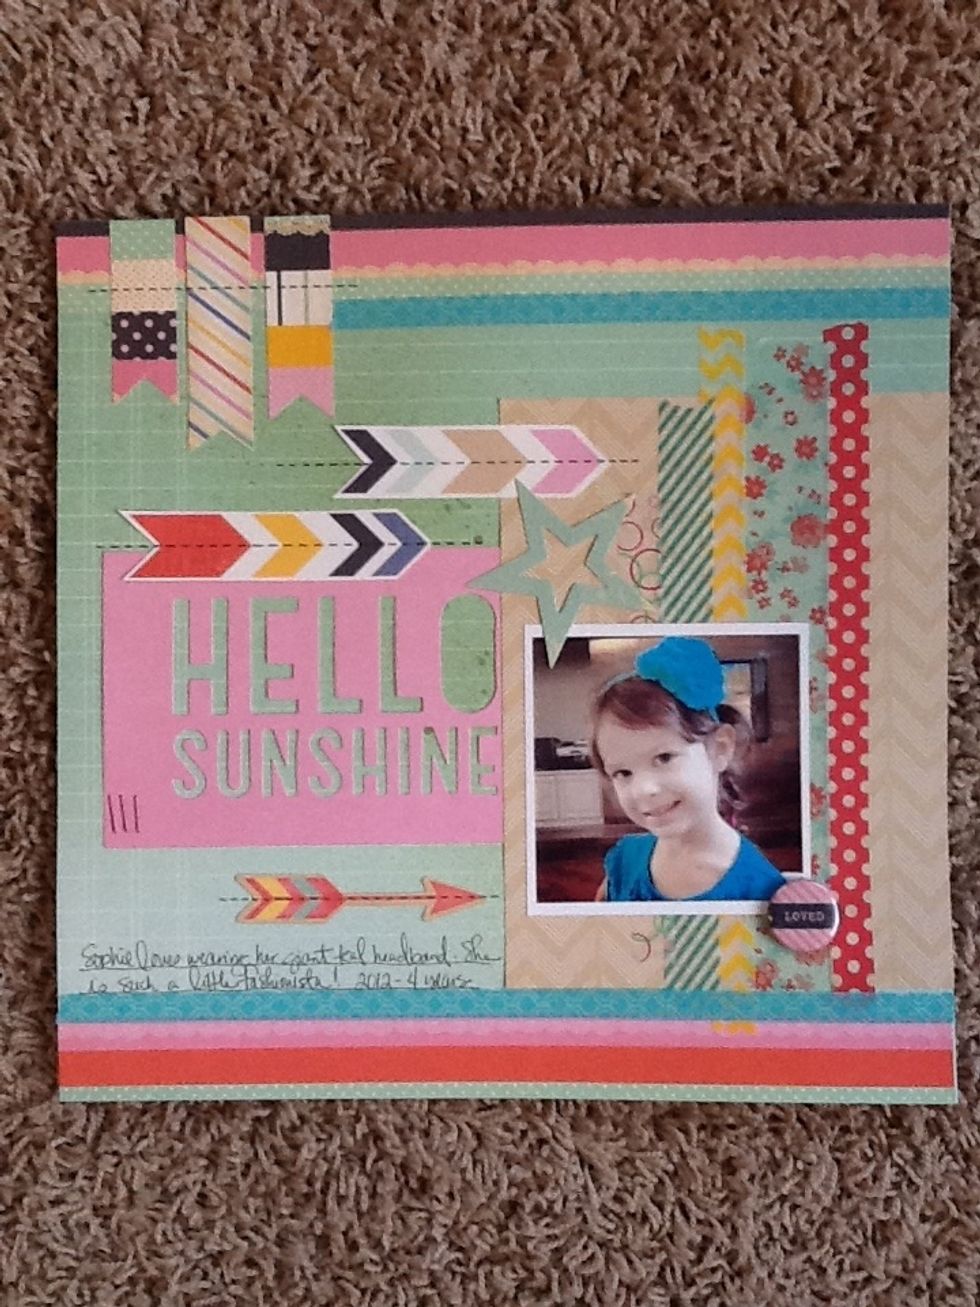
Here is the finished product. Remember that everything is better in odd numbers, if you look closely at the design you will see odd numbers and even distribution of colors tying everything together.
If you enjoyed this, please stop by my scrapbook blog to see more at www.melshappyscrappyplace.wordpress.com