The Conversation (0)
Sign Up
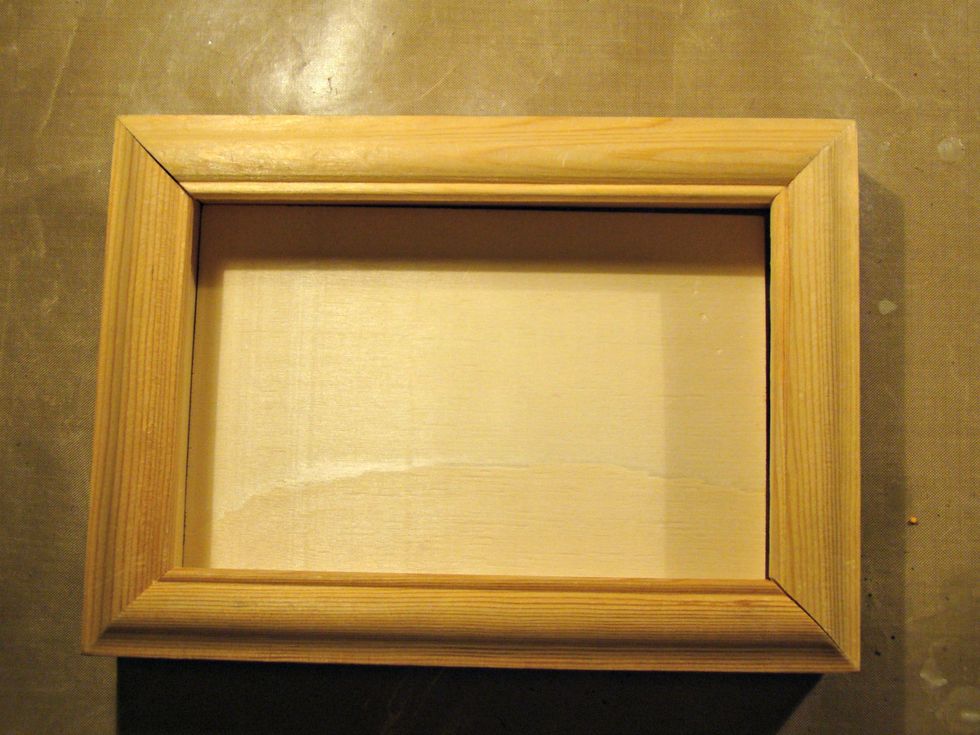
Just a old broken frame I had in my stash.
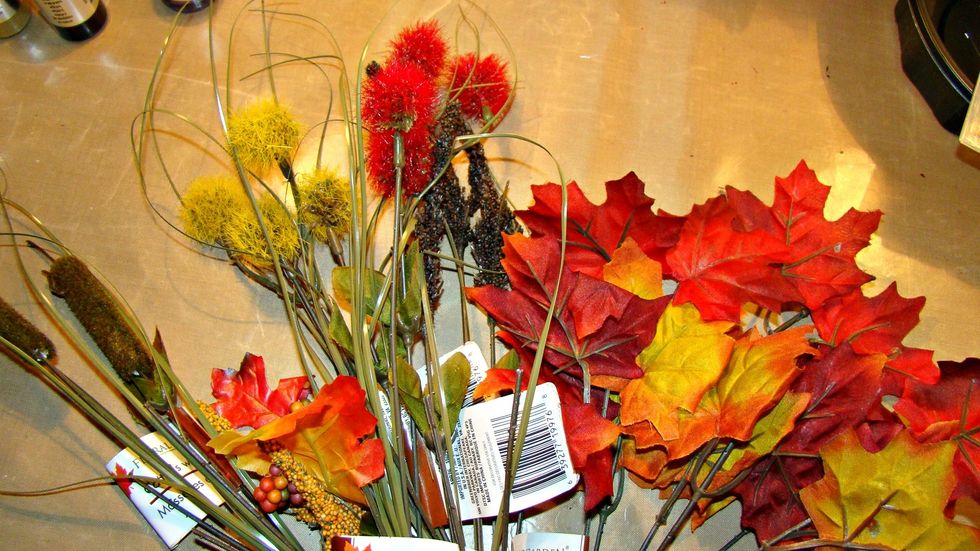
Assorted flowers and leaves from the $1.00 store.
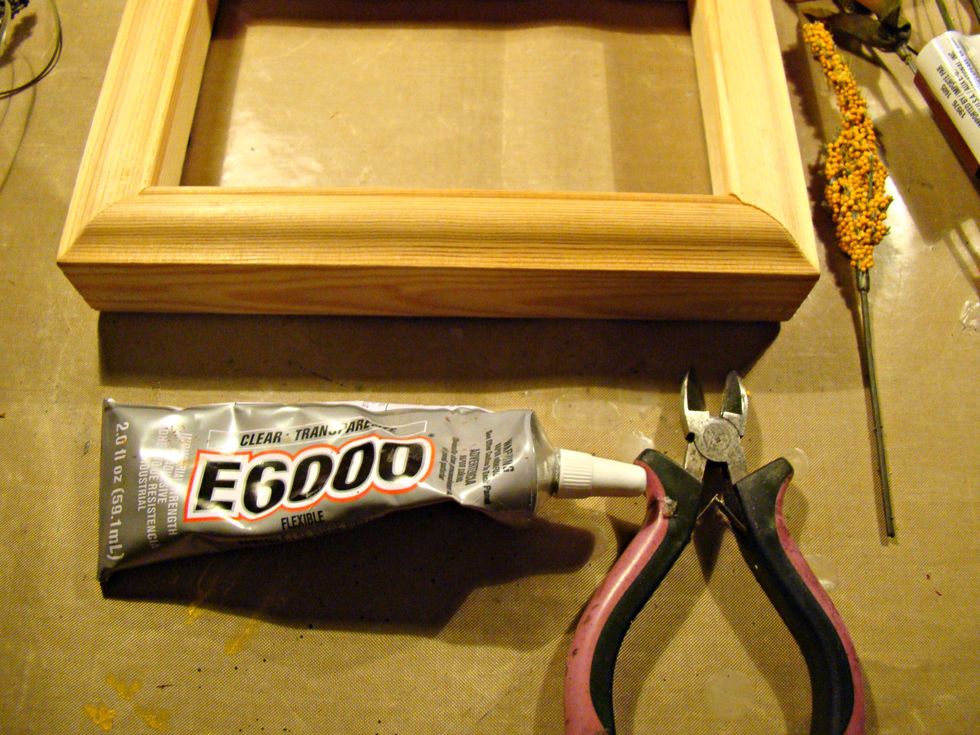
E6000 is the best glue around to hold items in place, I also use hot glue with it to hold your items in place til the E6000 is dry.
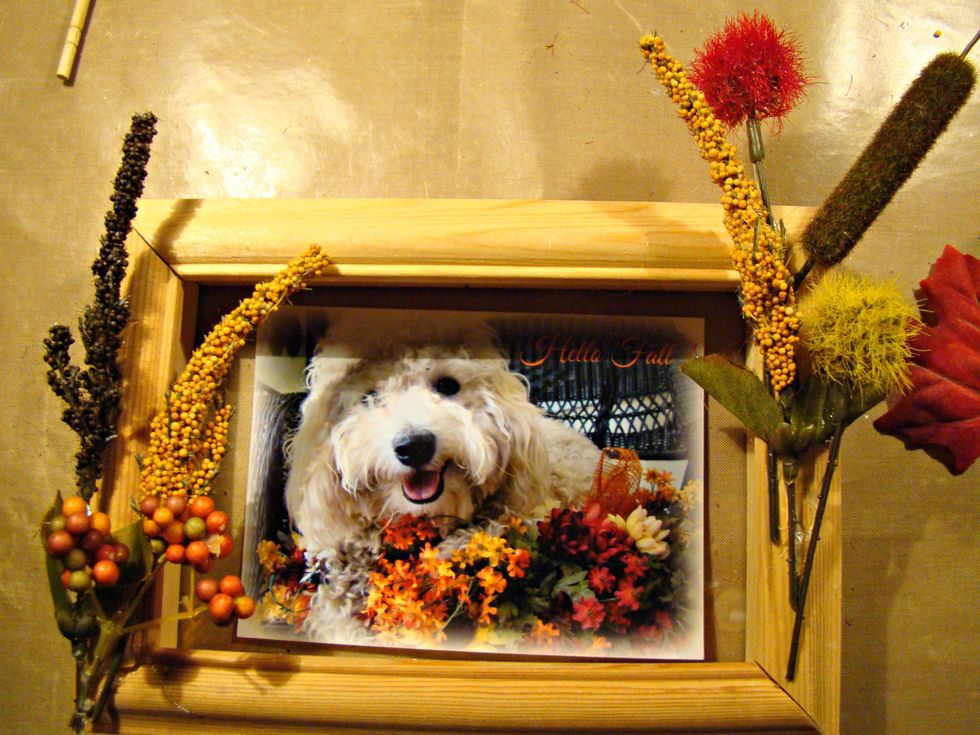
Start gluing down your flowers.
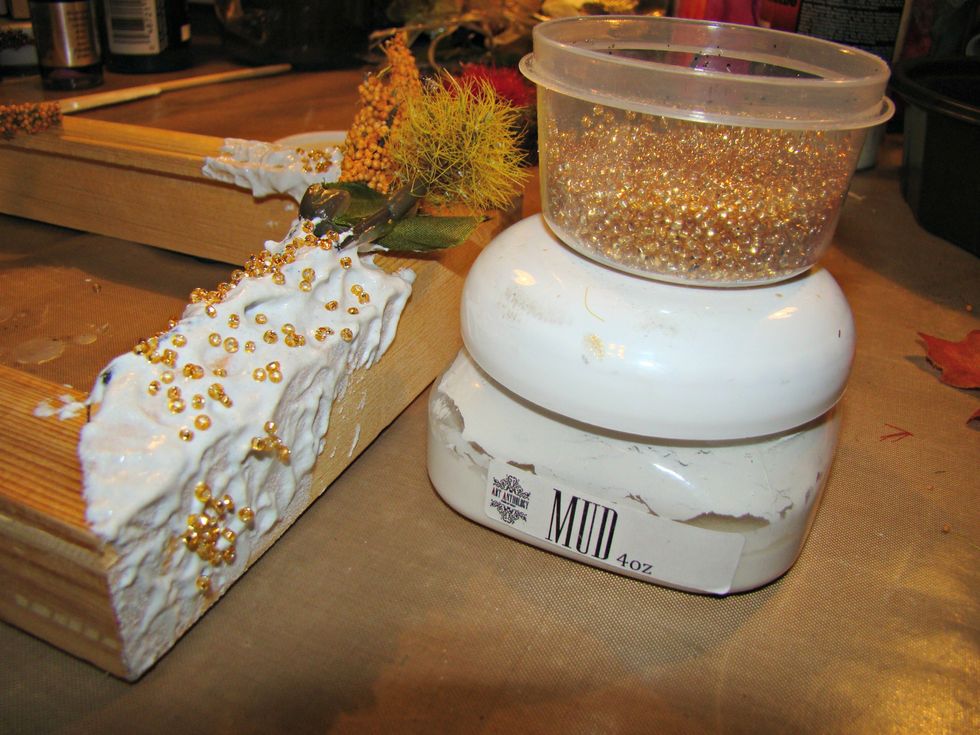
Gob on your Mud and sprinkle seed beads for added texture. Allow to dry.
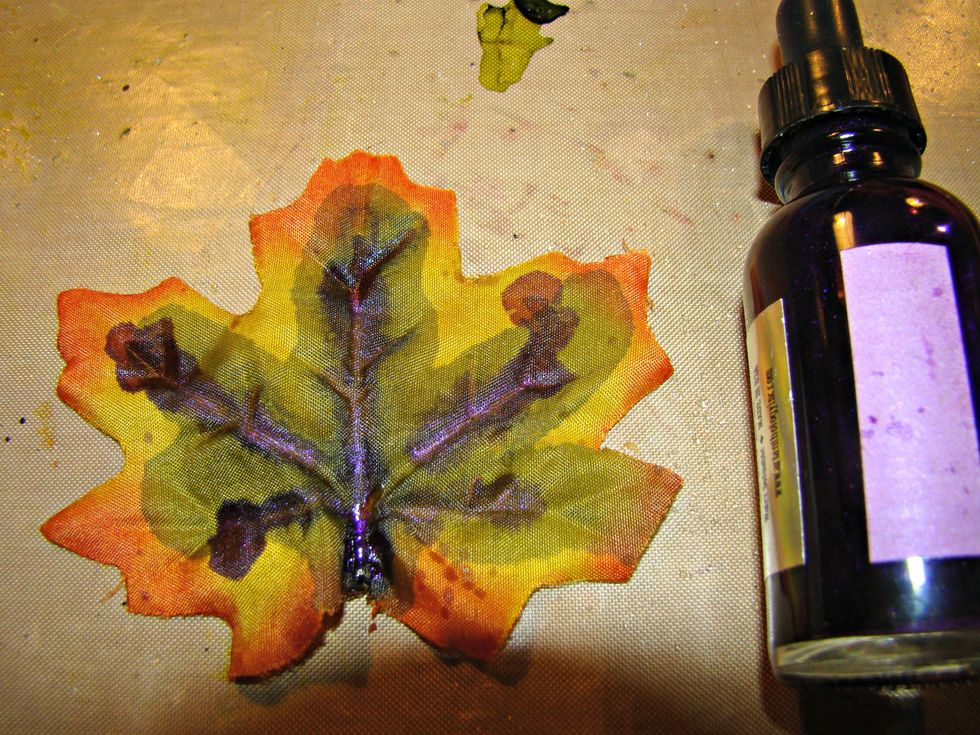
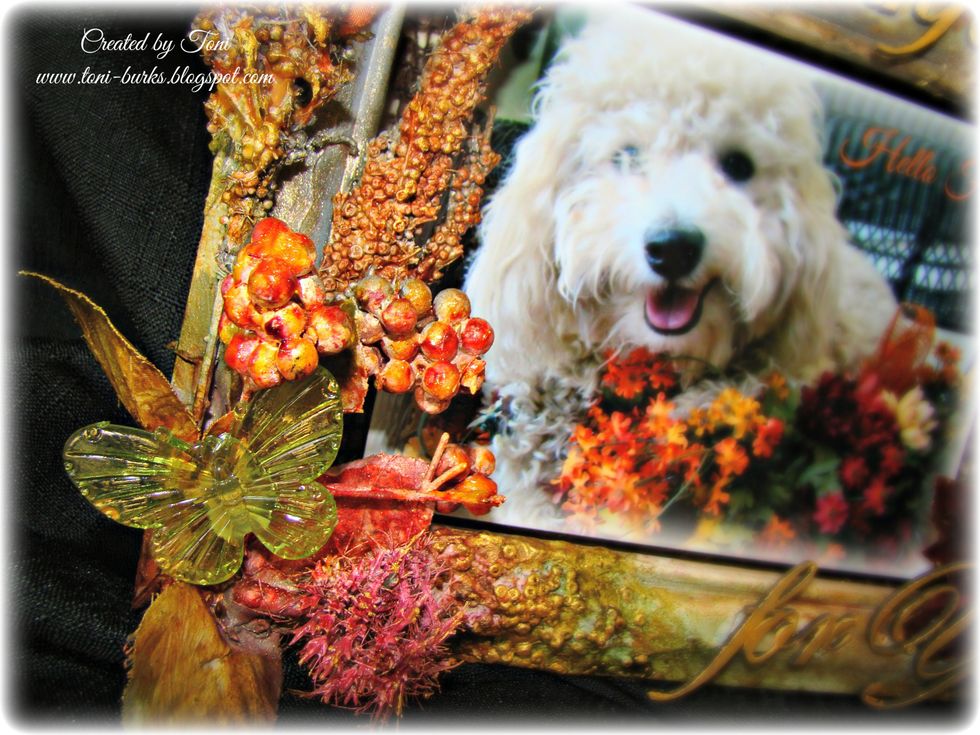
Minx inks were added to the dull inexpensive leaves for added glimmer and vibrancy.

Add your embossing glue and dip in UTEE and heat, do this 2 times for a beautiful glass effect.

Minx inks were added for more shimmer and color. Then add another coat of UTEE. The Minx color here is Allure.
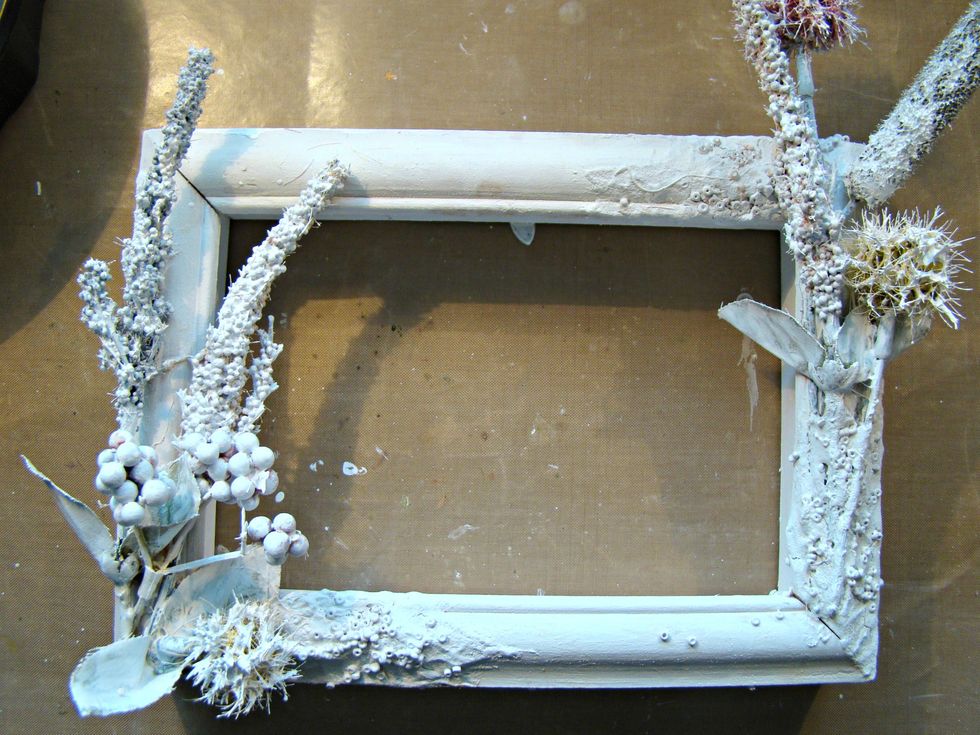
Let's add two coats of gesso to entire canvas and all foliage. Allow to dry.

Start adding your Minx inks over the top of the Colorations sprays for a gorgeous vibrant color.
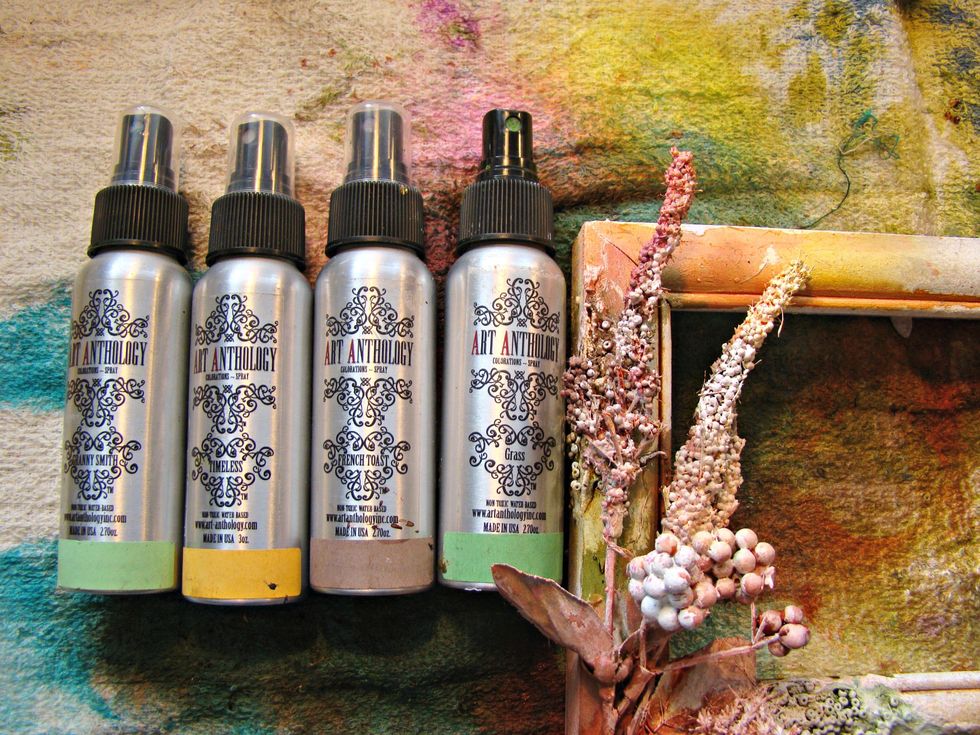
Start spraying your Colorations for the base of your frame.

I apologize but didn't photograph that I also then added in my sorbets and velvet paints for more dimensional texture and color. Just look how these flowers have been transformed.
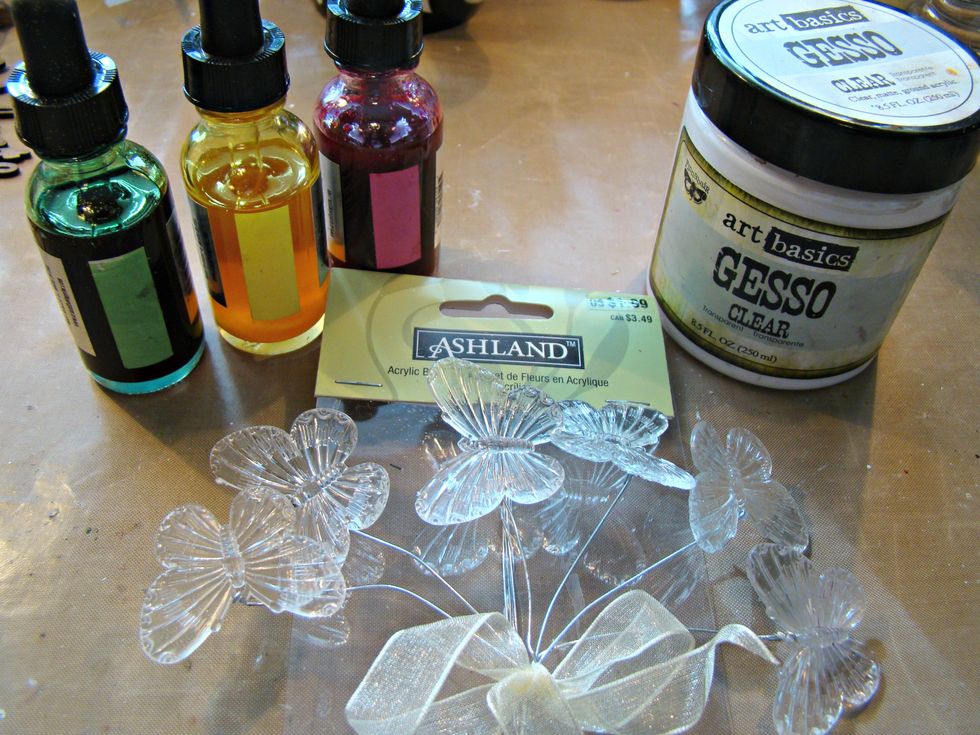
These are acrylic and will not hold the inks, so giv them two coats of clear gesso to provide tooth for the Minx inks to hold onto. Once the gesso is dry I added 3 coats of the inks for vibrancy.
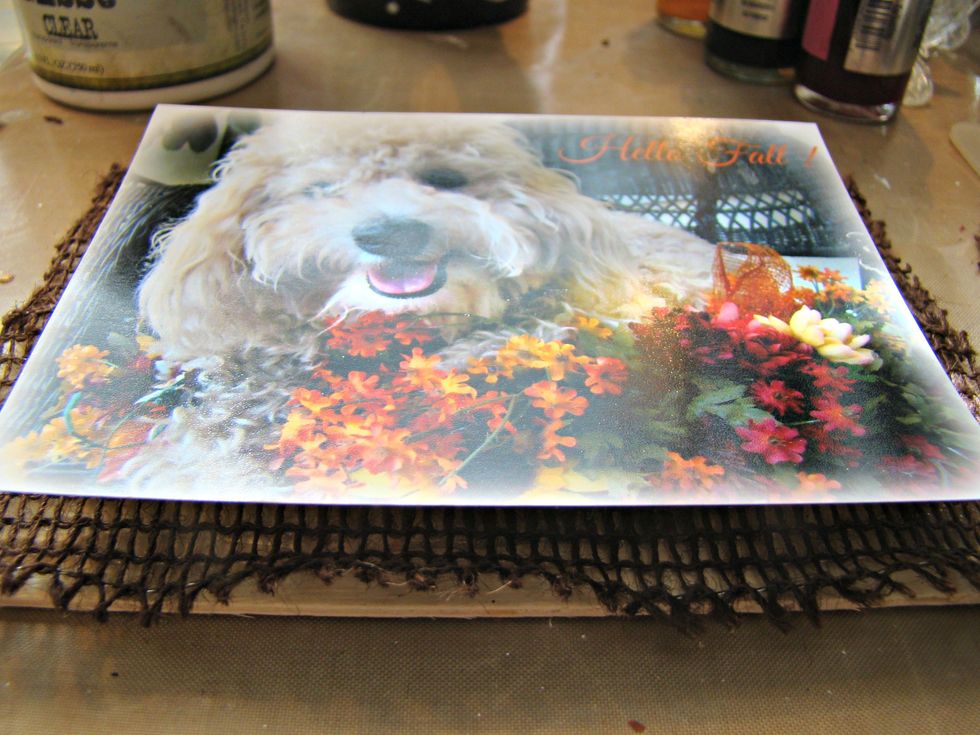
I wanted my photo to be dimensional on the top of the burlap backing so I added pieces of 3 pieces of cardboard to the back of the photo and adhered to the matting.

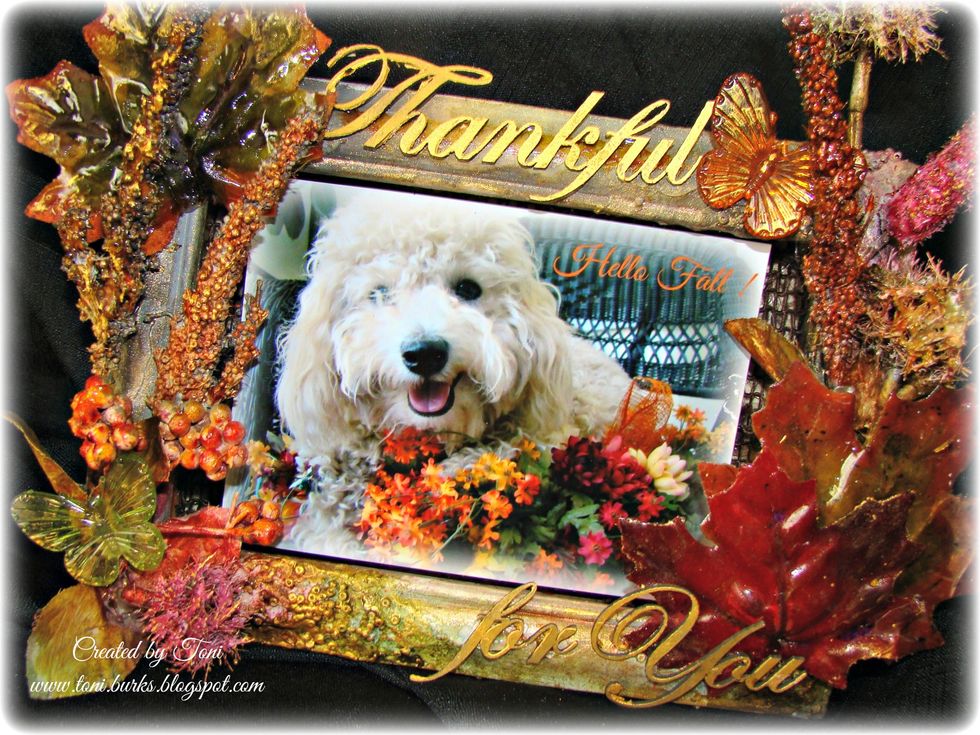
My chipboard piece was painted with two coats of Metal Effects Gold and adhered with glue gun.
Wonderful textures and colors, really adds to my photo. The butterfly was also dabbed with Metal Effects Gold for highlights.

I hope you enjoyed this tutorial. For more photos visit our blog @ http://artanthologyinc.com/blog/