The Conversation (0)
Sign Up
Welcome to my tag tutorial. In this tutorial I am only showing how to make one tag from the series of 3 but once you have made one the others will be simple to create.

This tutorial is showing you how to create only the bottom tag.
These tags look complicated but really they aren't. They have been created using only 3 pieces of patterned paper and a little bit of fussy cutting. Which as you can see is well worth it.

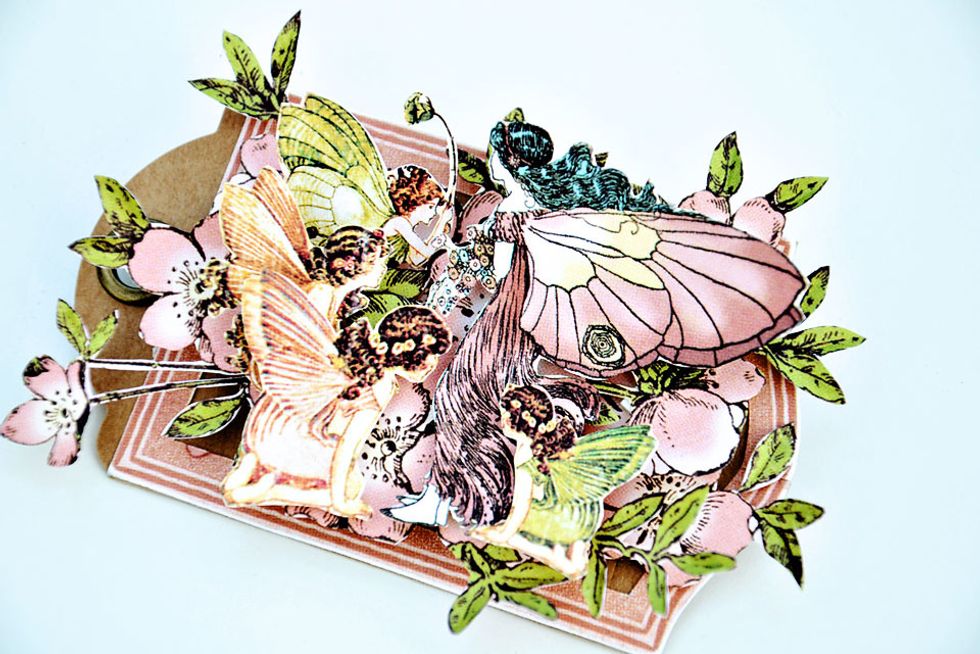
This is the tag you will be creating with this tutorial. So lets get started.....

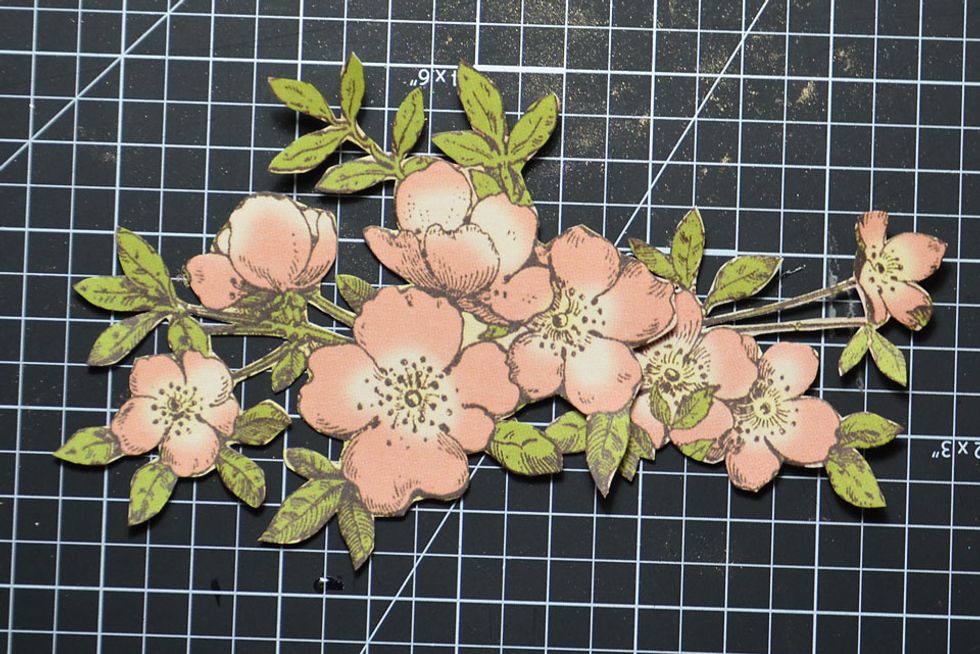
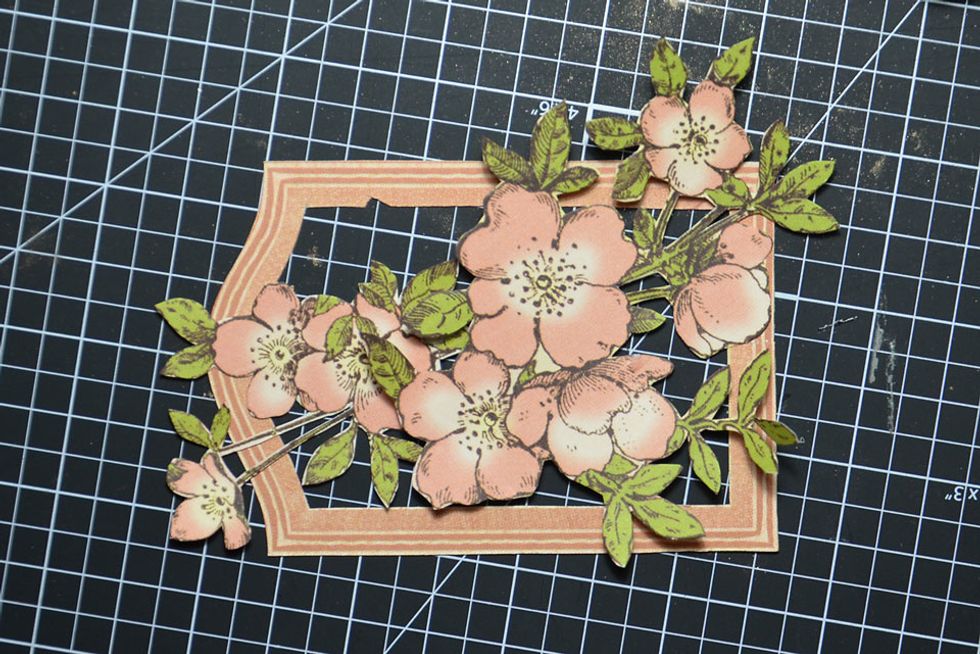
Locate and fussy cut images. As we want this tag to take no longer then 15 minutes to create I have cut minimal images but still enough to fill the tag.
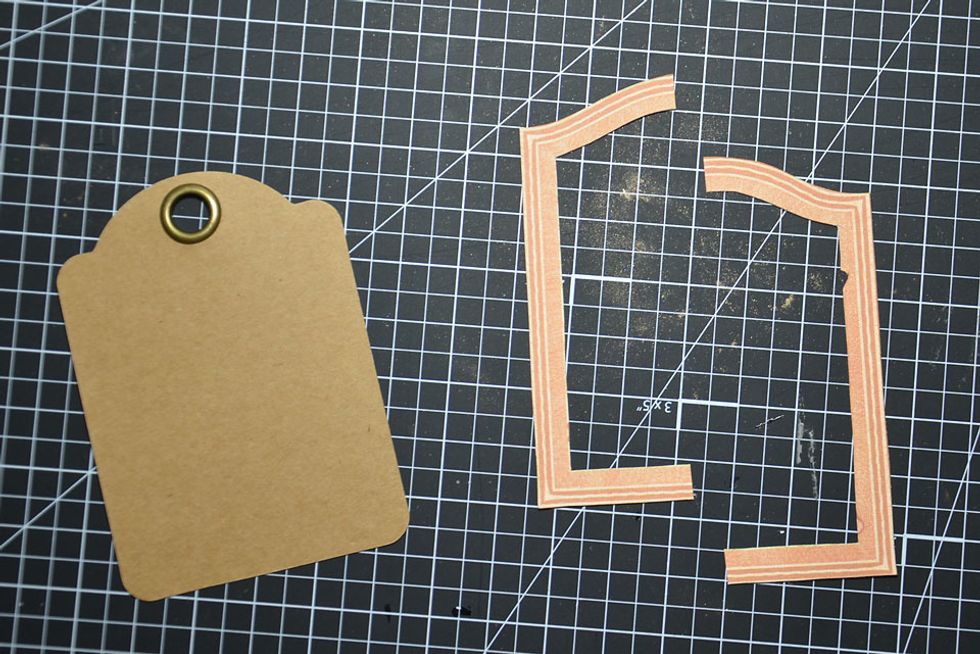
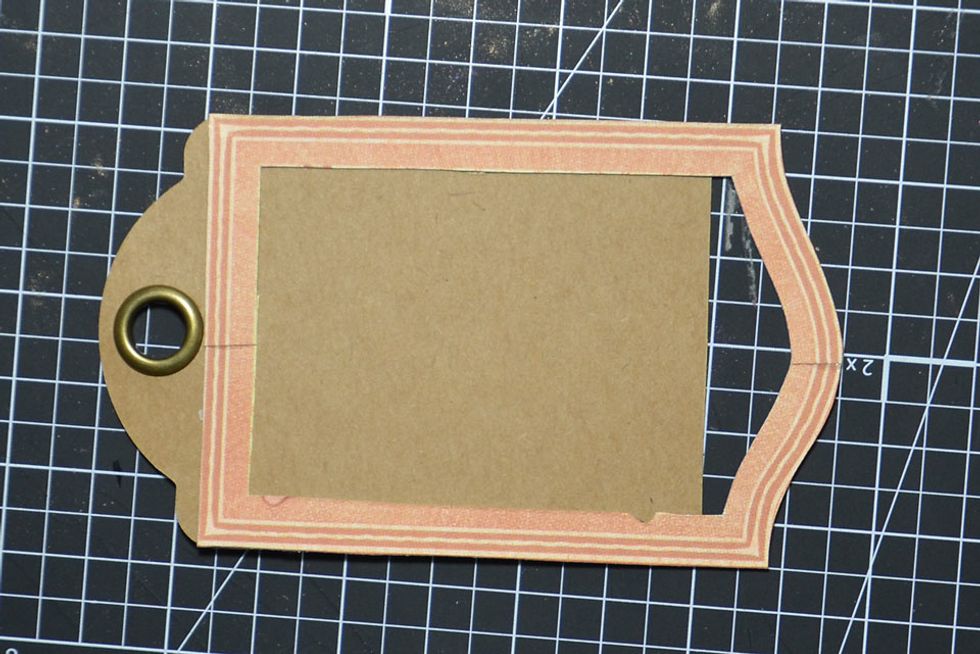
Cut frame in half as shown.
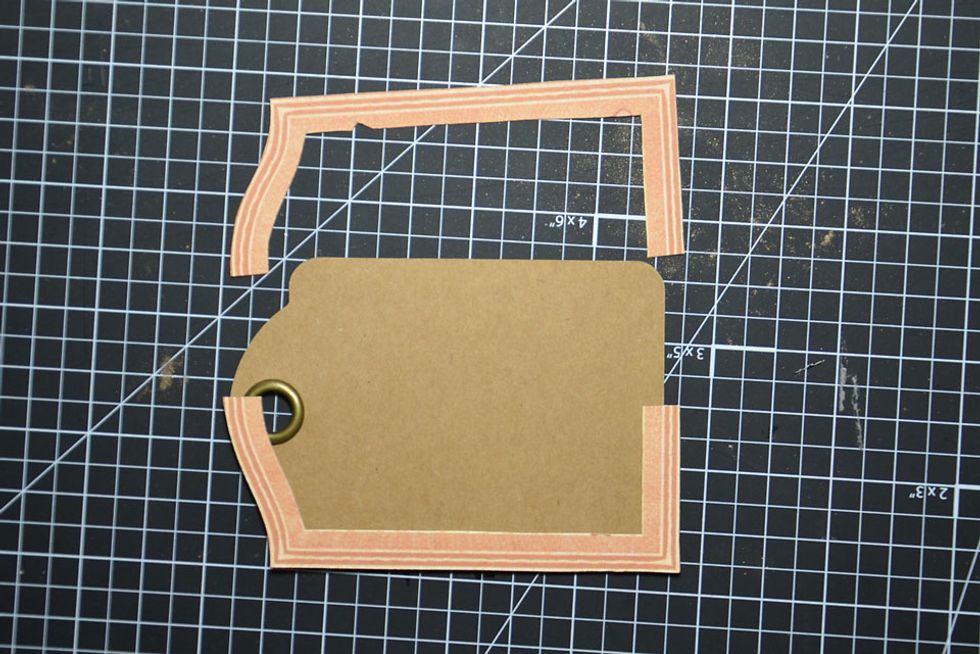

This is showing the frame the same width as the tag. NOTE - It is not glued to the tag.
Now you will need the piece of Kraft cardstock.
Turn the tag frame around so the fancy top faces the bottom of the kraft tag.
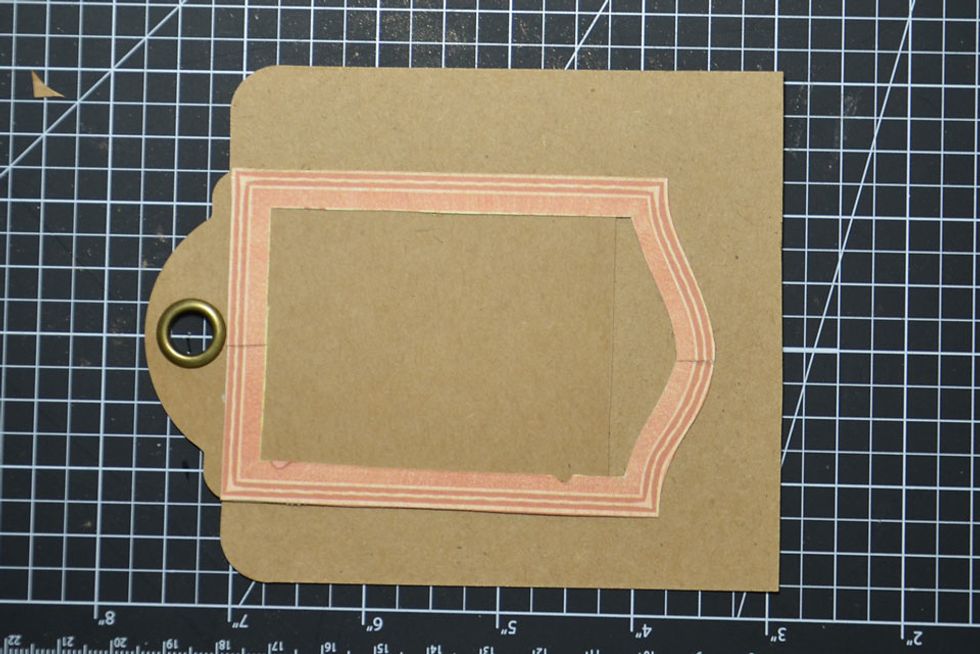
Attach kraft card to the under side of the tag and trace around the end of the tag frame.
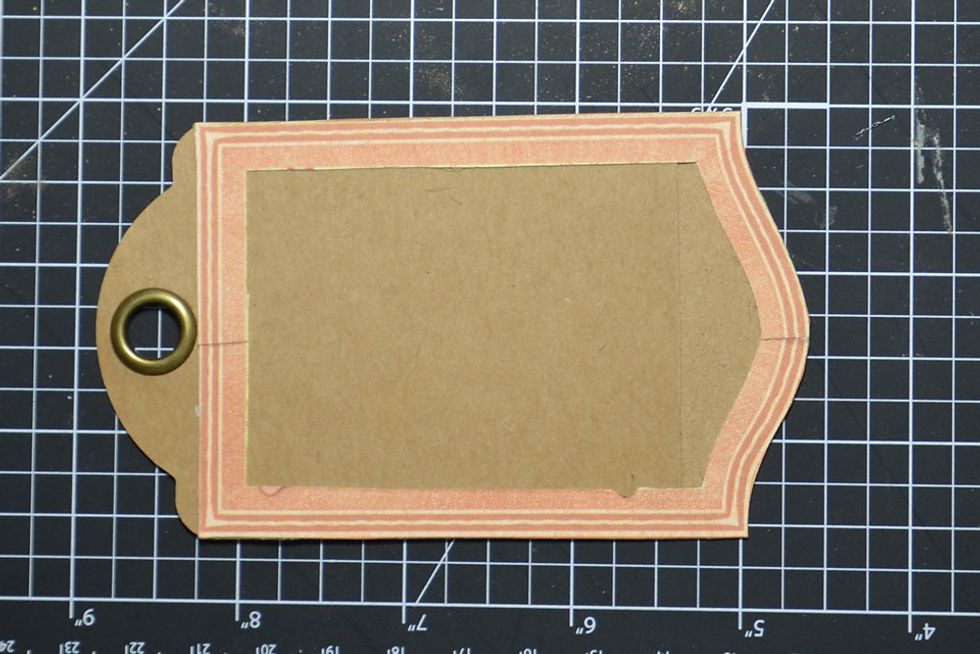
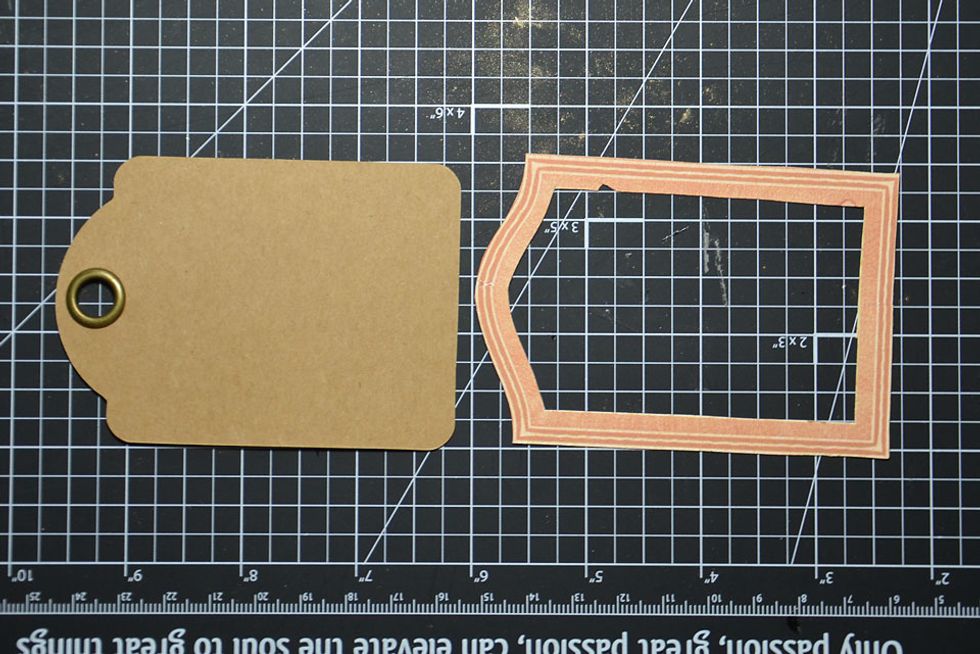
Cut away excess kraft card from side of tag and around your traced edge. Now the tag frame will fit nicely later.
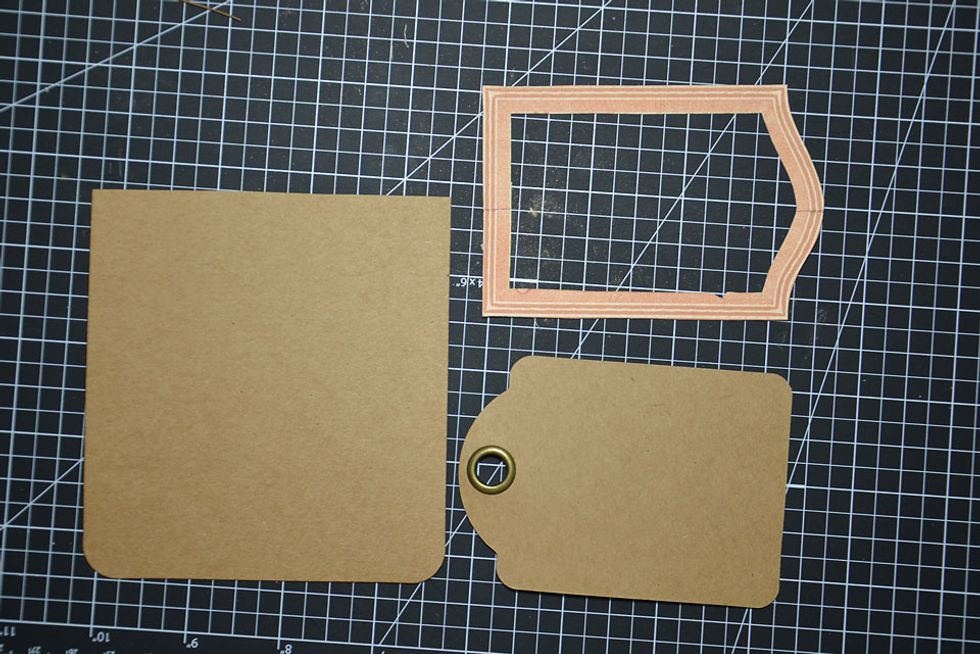
Now the layers. Follow the steps to create the layered tag centre.
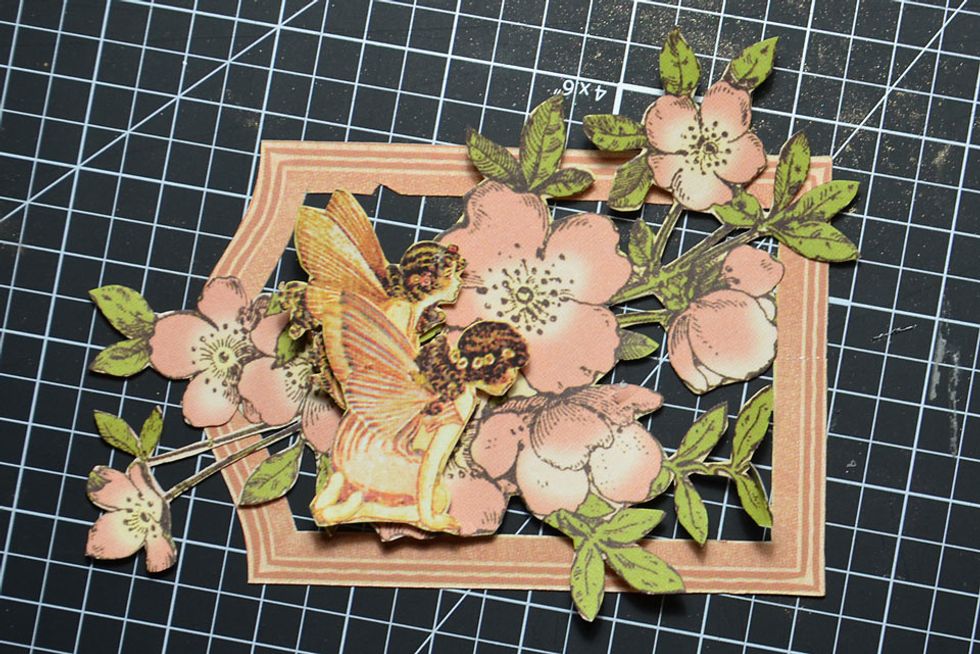
Add 2 little fairies as shown.

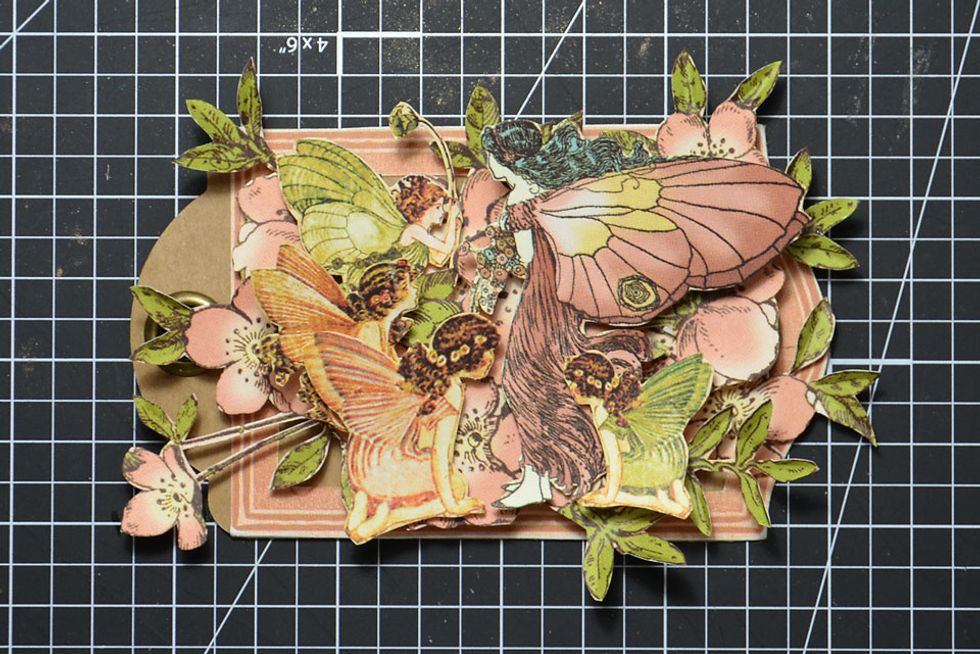
Add the little green fairy to the top as shown.

Add the largest fairy as shown.

Now lastly add the little kneeling green fairy.

Glue the tag frame to the tag and slightly distress the edges.
Attach the fairy cluster to the tag.
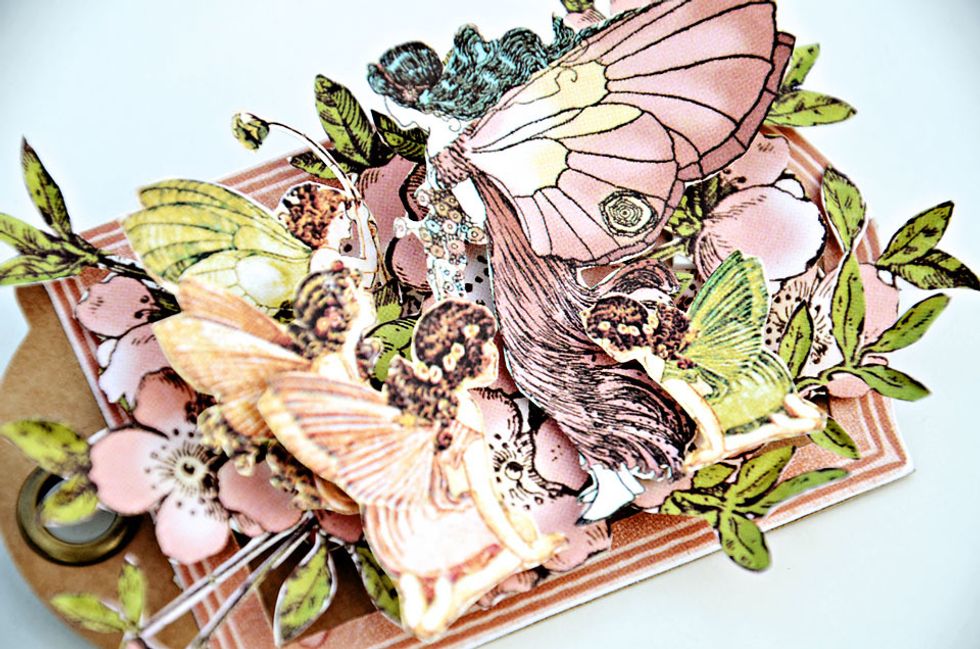
The tag is now finished.
Thank you for viewing my tutorial. Joanne Bain - http://scrappinforme.blogspot.com.au/