The Conversation (0)
Sign Up

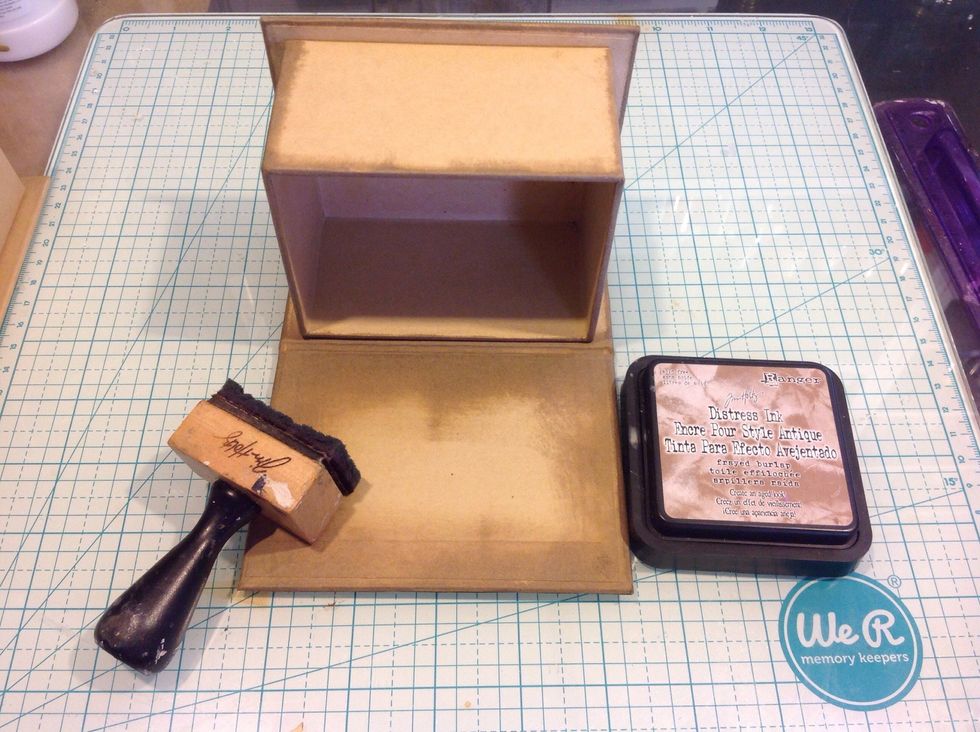
Ink all edges of box.

Gather all your papers and a sharp pair of scissors. Fussy cut the images you would like to use. I am using Botanical Tea paper and Once Upon A Springtime as well.
Measure your box and cut papers to fit. Adhere them down with. Strong glue. I am using Beacons Fabri Tac. Make sure to distress and ink all your paper edges.
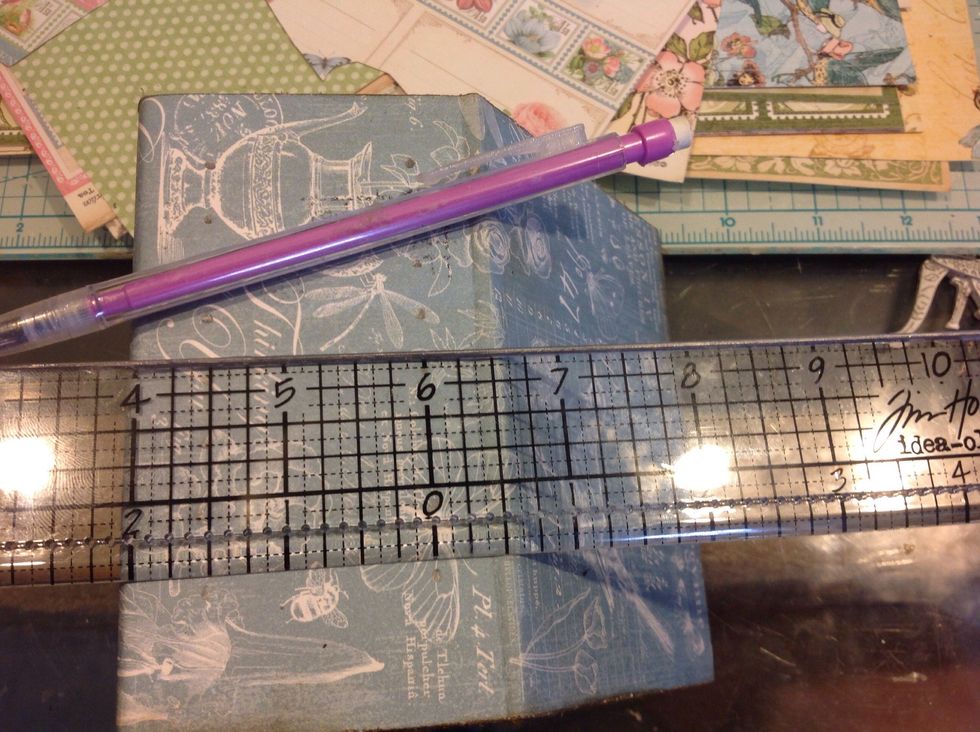
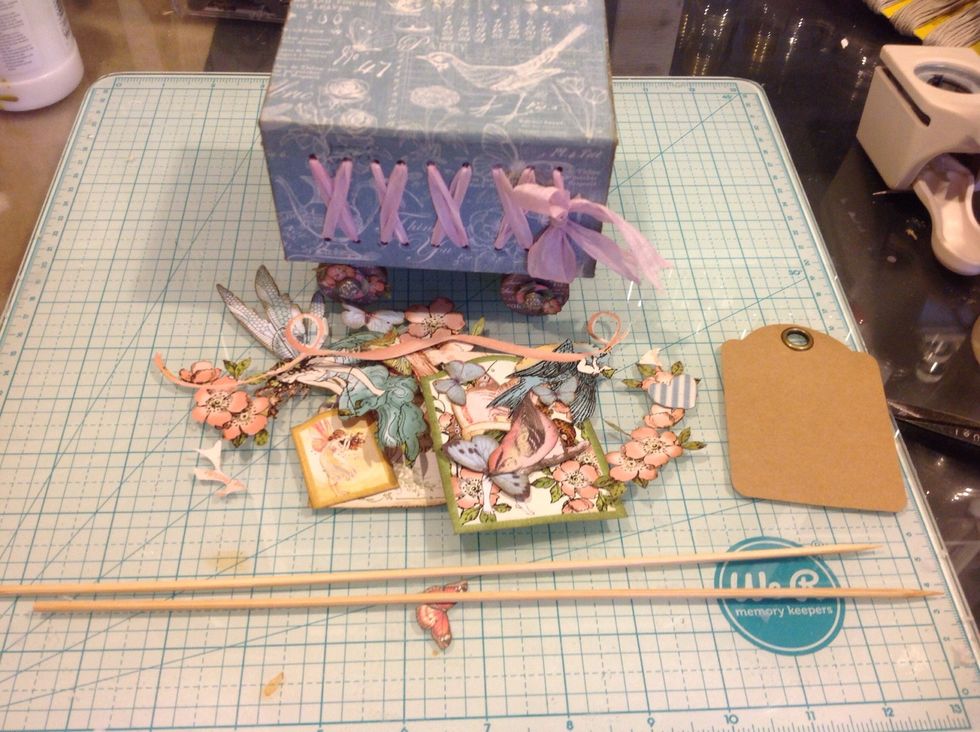
For the spine I wanted to lace it up with ribbon. Using my ruler I am marking every half an inch on both sides.

Punch holes on your pencil marks. I am using the Big Bite to punch mine in the small setting.

For the wheels of my little cart I am using wooden spools. Ink the edges of them, then cover middle section with paper
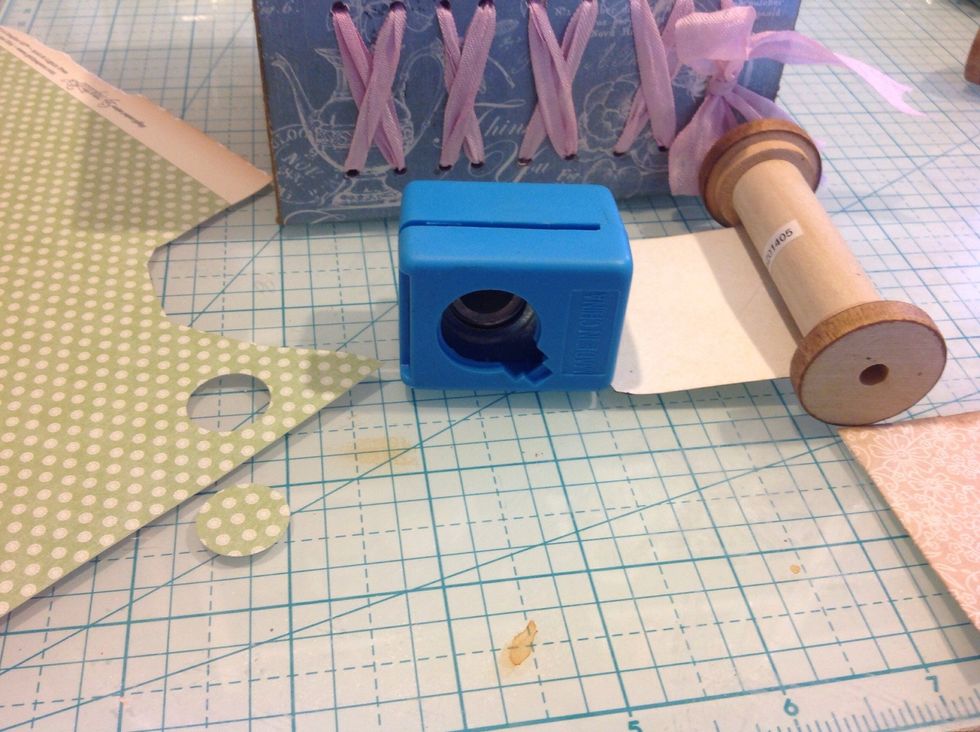
For the ends of the spool I used 2 sizes of circle punches. You can trace the spool bottoms if you do not have a punch.
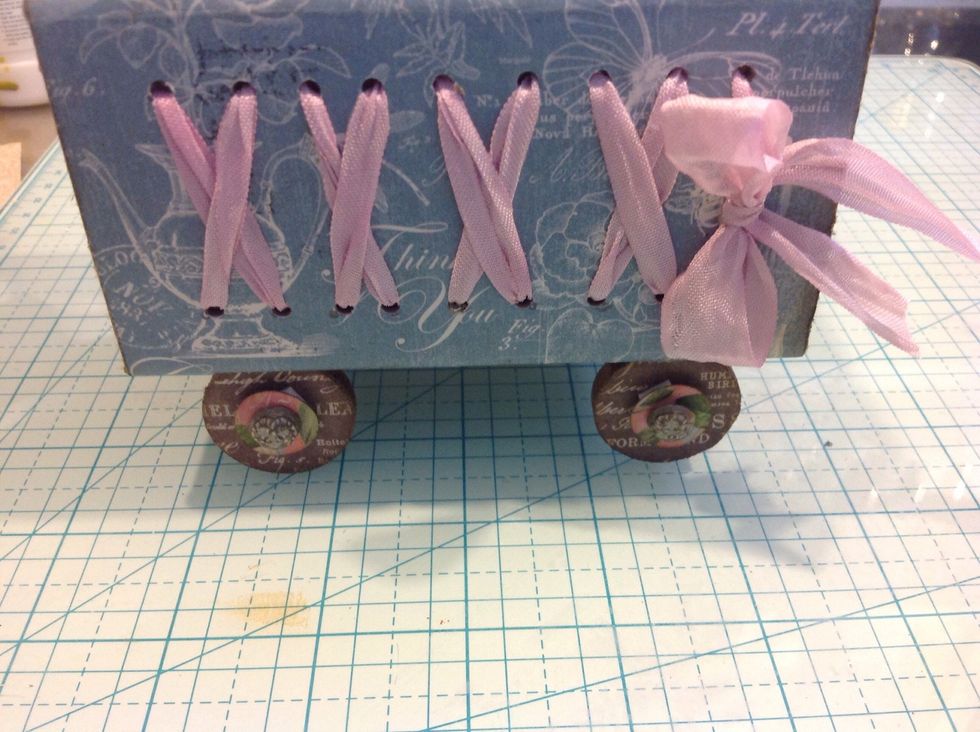
I added my first circle then popped up the smaller one for dimension. I added tiny fussy cut flowers around wheel and added G45 metal brads to center. I laced up the spine with seam binding.
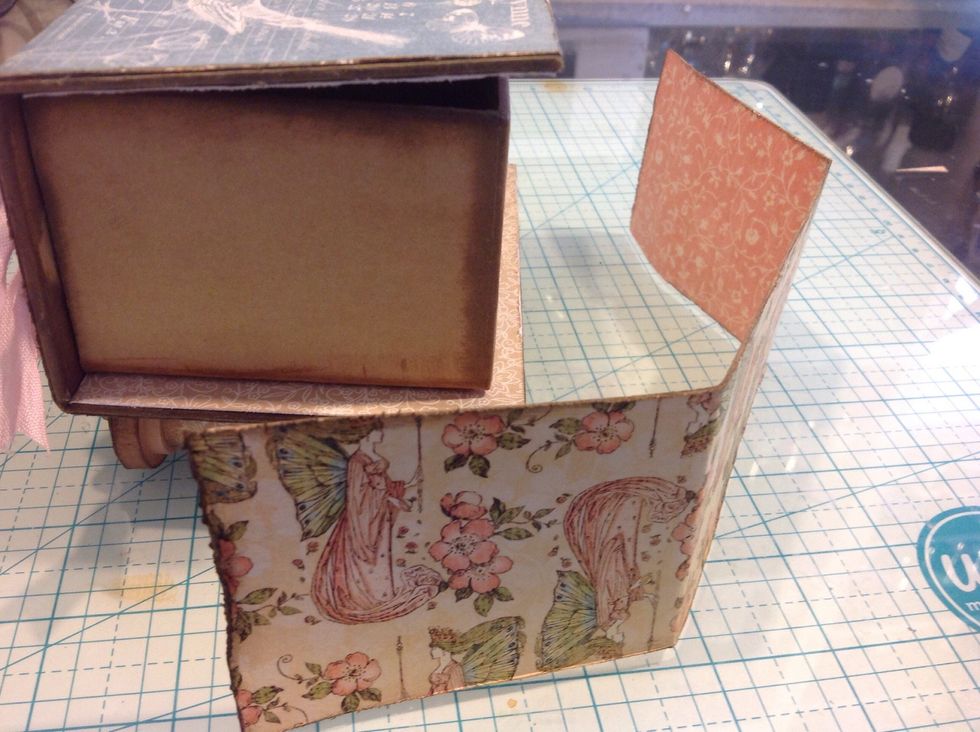
Cover the sides and front of box with another sheet of paper. Distress the paper well.
Ink all the edges of your fussy cut images. It makes them look much better. I wanted to make a banner in the background so I grabbed bamboo skewers for my poles.
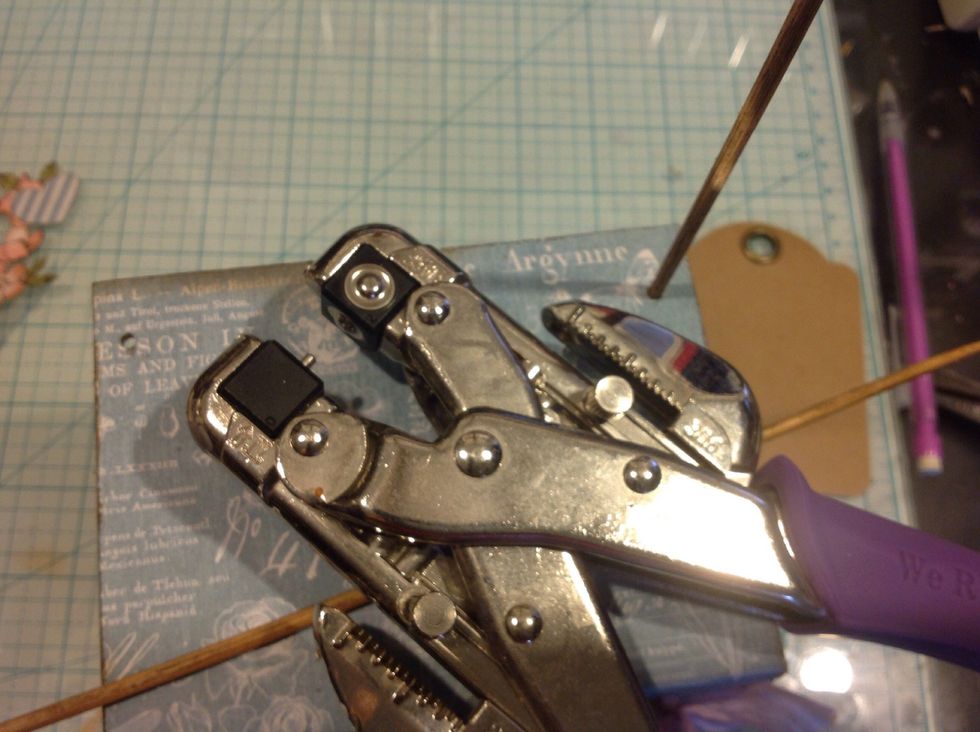
With my crop a dile I used the smaller hole to punch on both sides. This was the perfect size for the bamboo skewers to fit snugly in them.
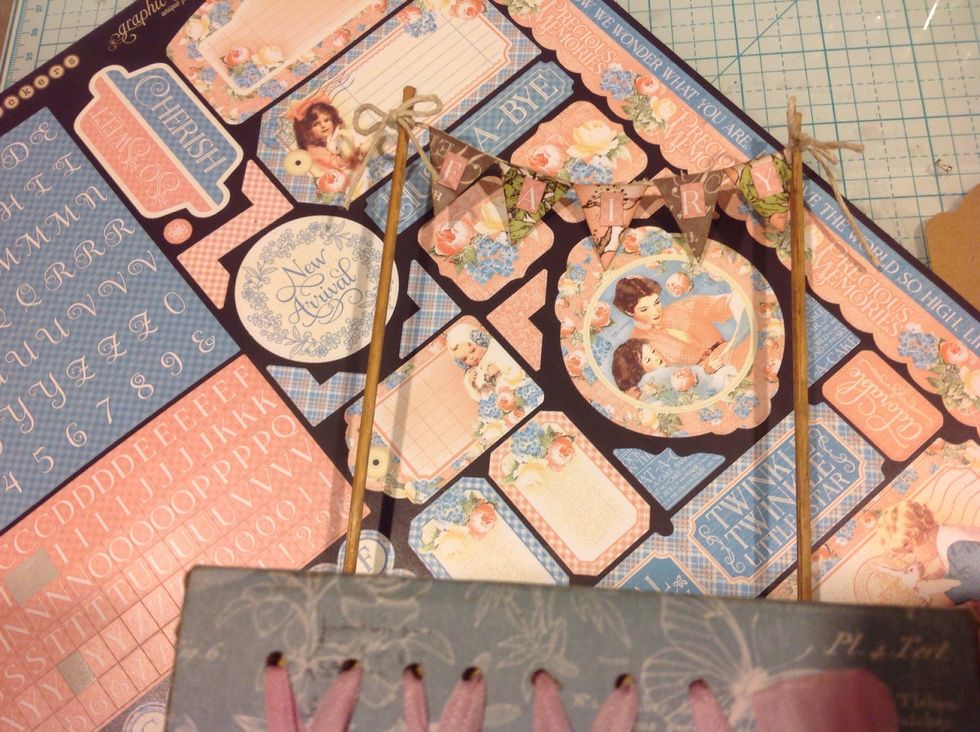
I used the alphabet stickers from Precious Memories paper to write my word, fairy.
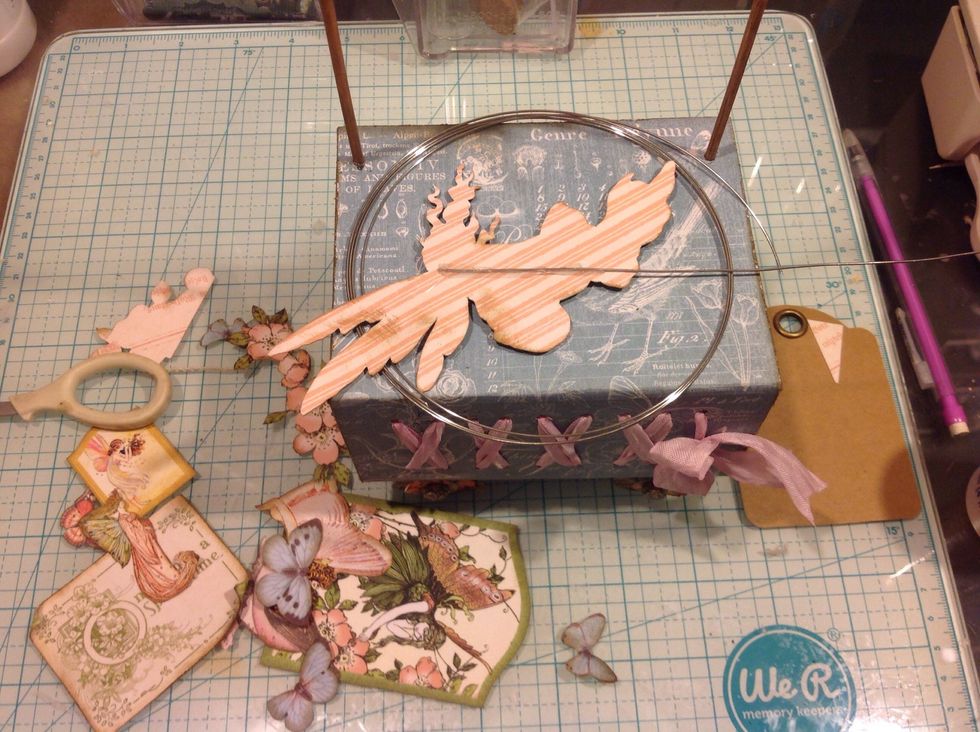
To make my images fly/float I am using metal wire. Just cutting a piece and adhering it to the back of my images.
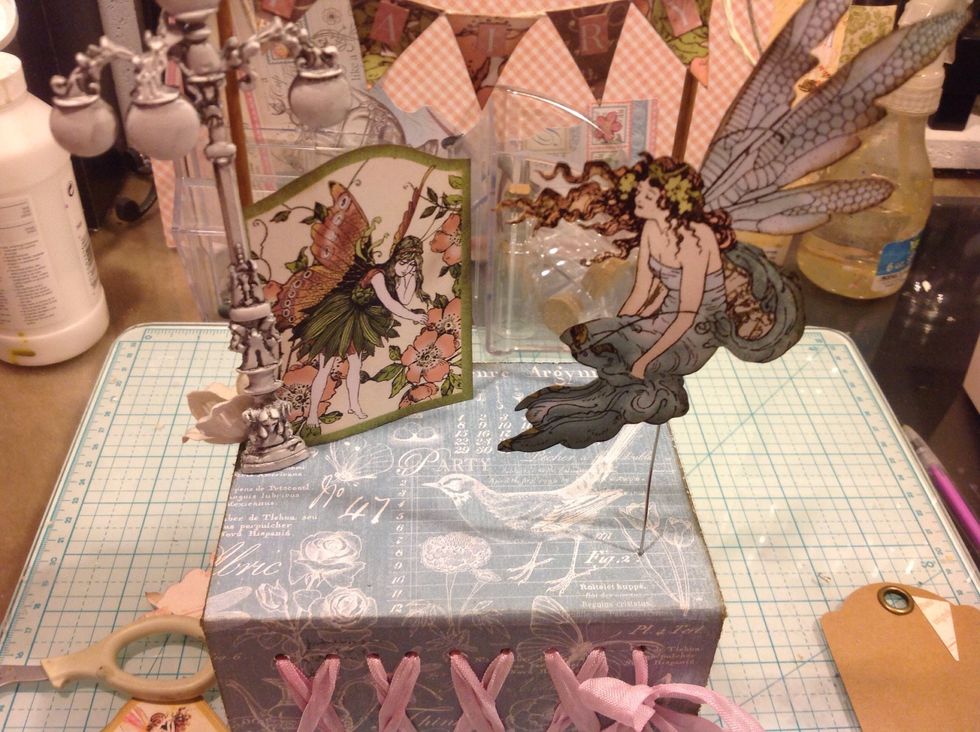
Make a TINY hole for your wire to slide into. Bend it on the inside of the box to make it stay in place After you cover inside with paper you won't see any of the wire.
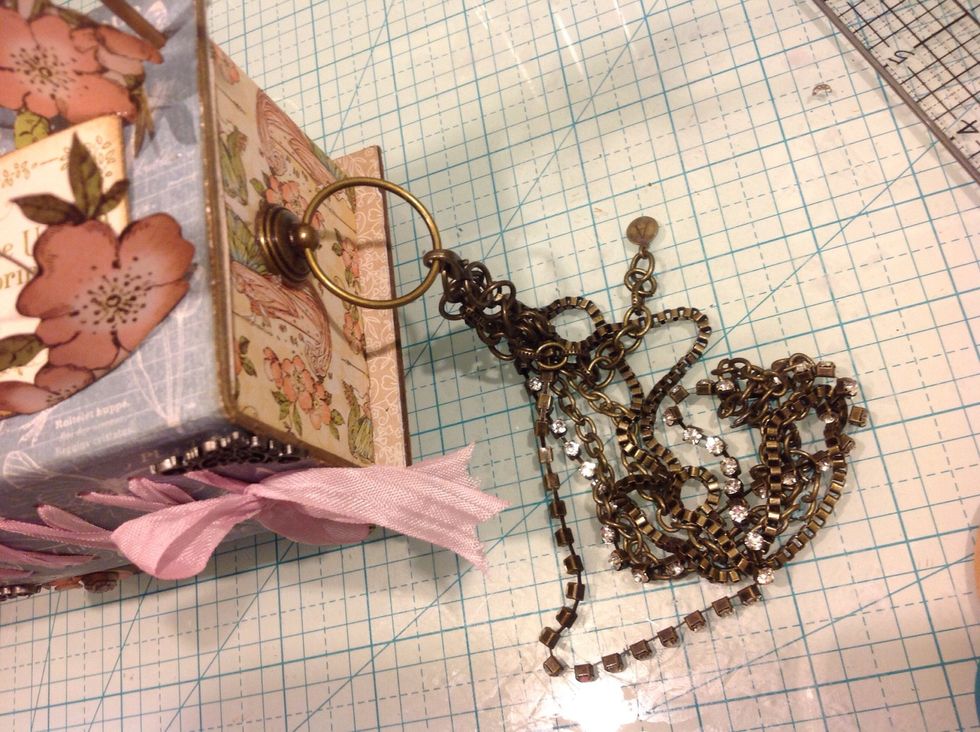
I added some chain to pull the cart :)

Then I just added images until I was satisfied with it. I just love the Once Upon A Springtime. So gorgeous.