The Conversation (0)
Sign Up
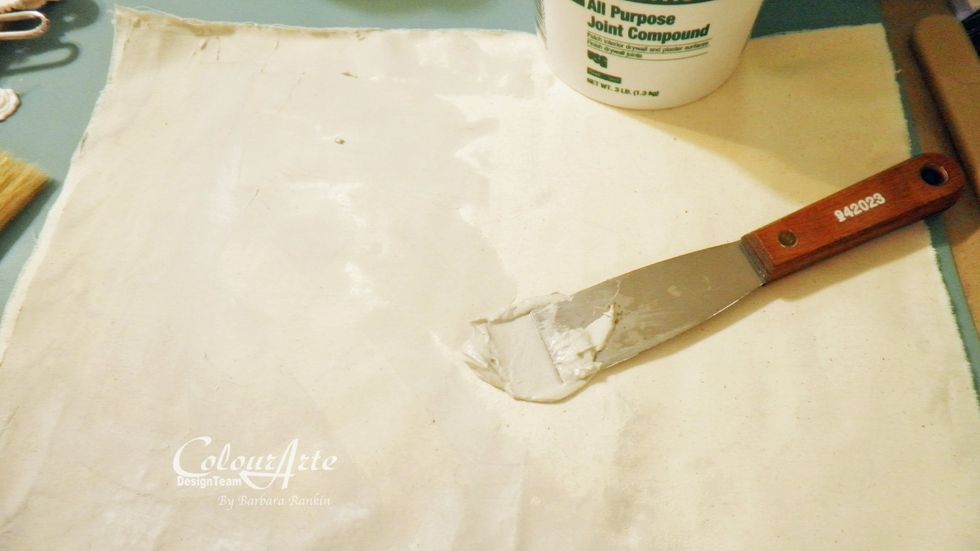
Tear two pieces of unbleached muslin to 11″ x 14″. These will be folded in half to make 7″ x 11″ pages. Use a spatula to spread a thin layer of joint compound on both sides. Allow to dry.
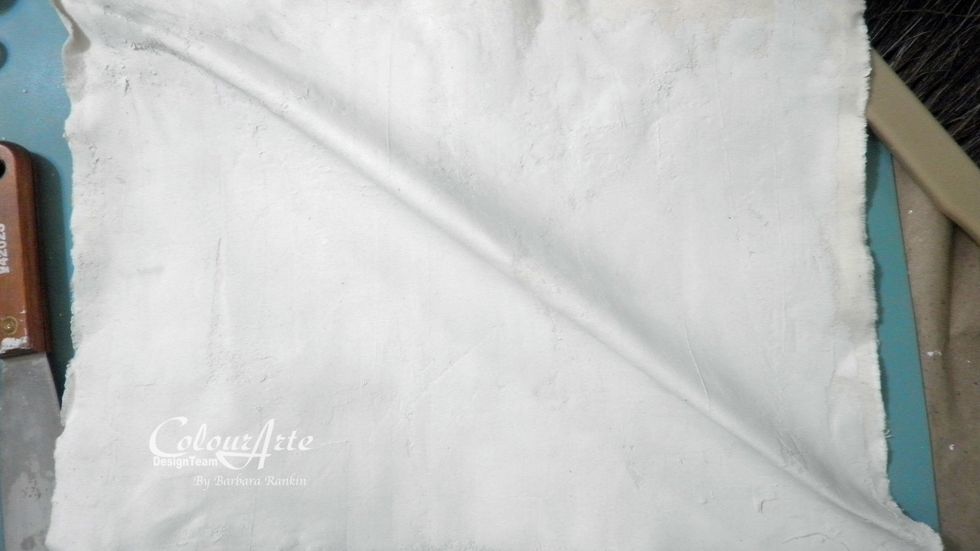
For a grungier look, you can pull the muslin on the bias (diagonal) in each direction. This will release some of the joint compound from the fabric, giving a really cool texture.
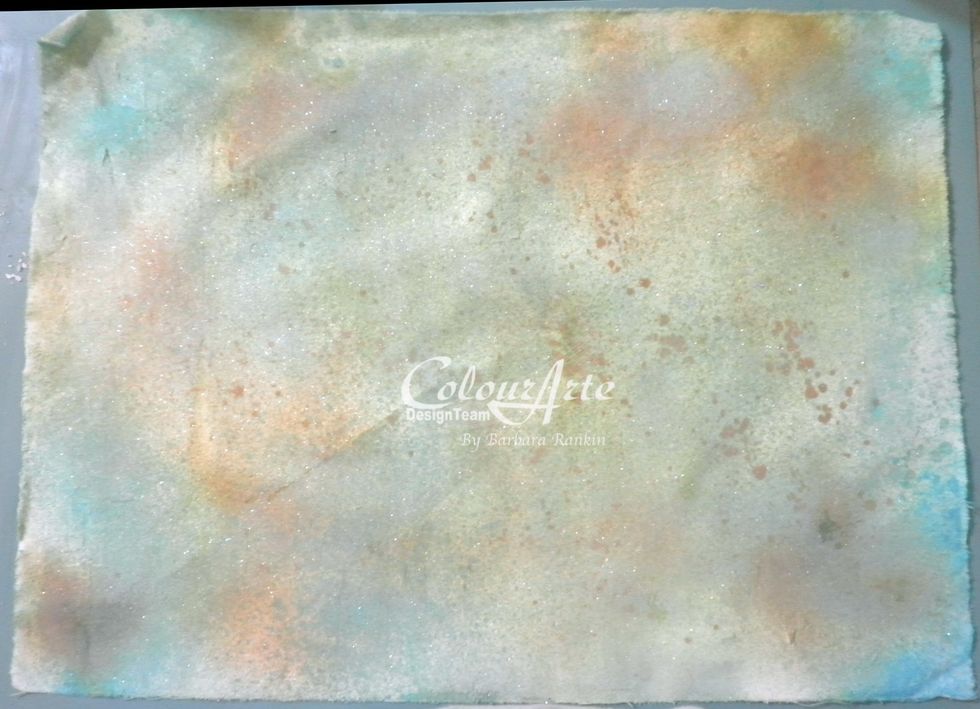
Spray muslin with Radiant Rain Shimmering Mists™ in this order: Autumn Leaf, Butternut, Seafoam, Key Lime, and Teal Zircon. Allow to dry.
The joint compound is very porous, so the mists soaked right into the compound, just as it would if it were a watercolor paper. If you do not like this effect, then seal it with gesso or gel medium.
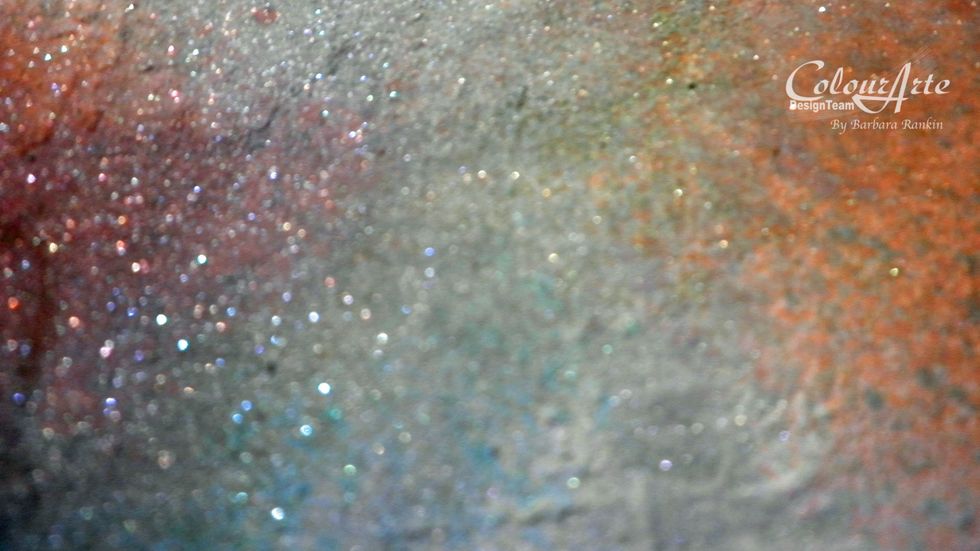
Here is a close up of the shimmery effect these mists give your work. It is gorgeous! Can you see the texture from the joint compound, too?
Each page will be an individual spread except the center page, which could be a double page spread, if you wish. Decide which side of your muslin will be the center page and work accordingly.
Fold muslin in half to delineate the pages as they will appear in the book. Now lets work on the right side of the page.
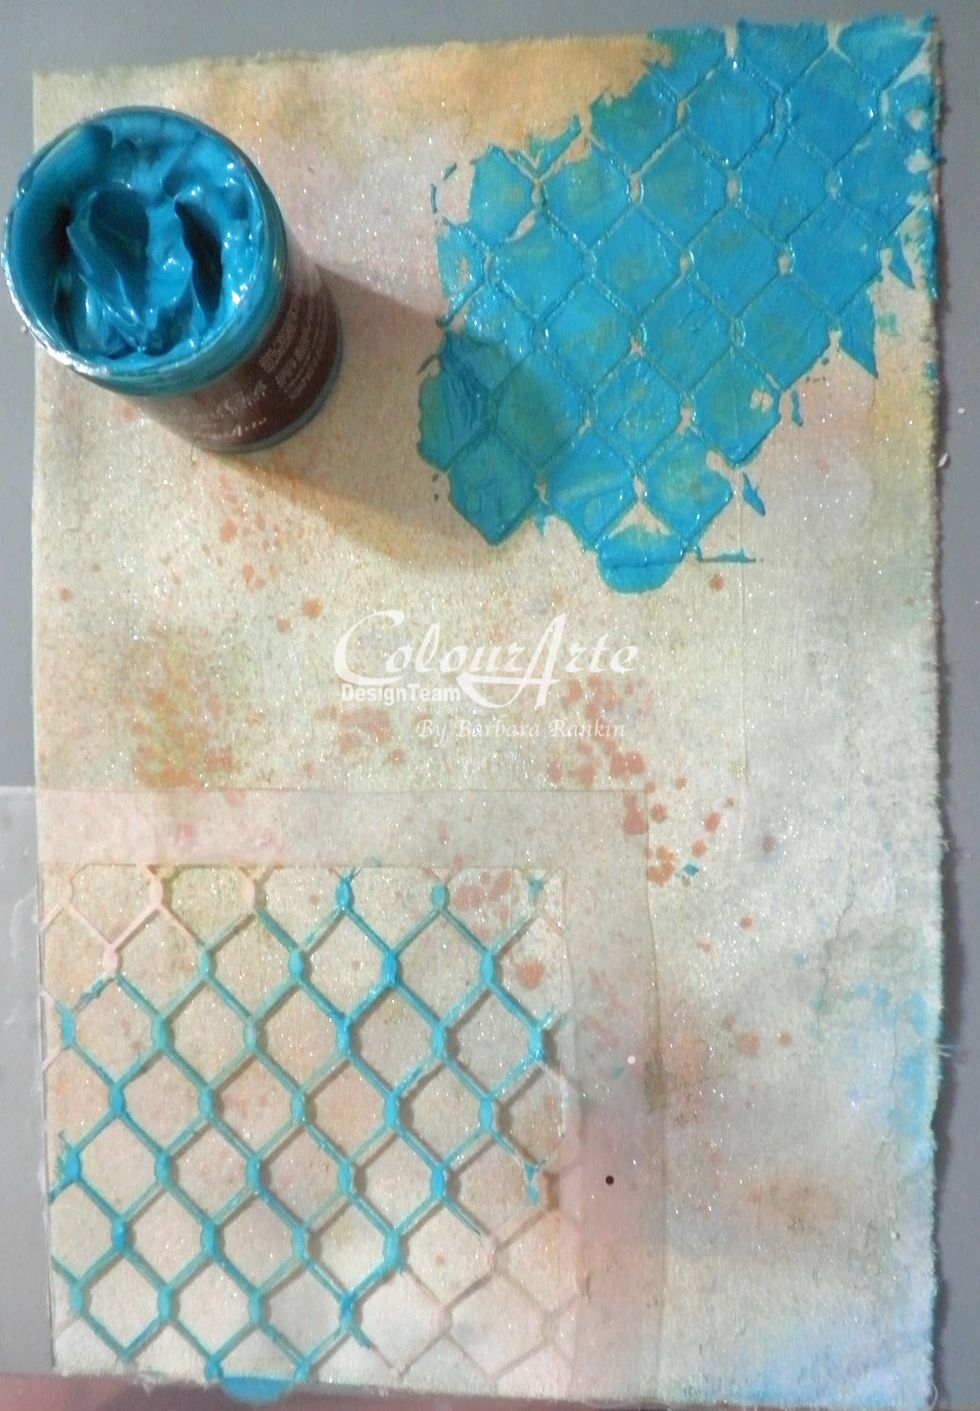
Spread ColourArte Guatamalan Green Radiant Gel dimensional paint through the Sin City Stamps chicken wire stencil in three places. Allow to dry.
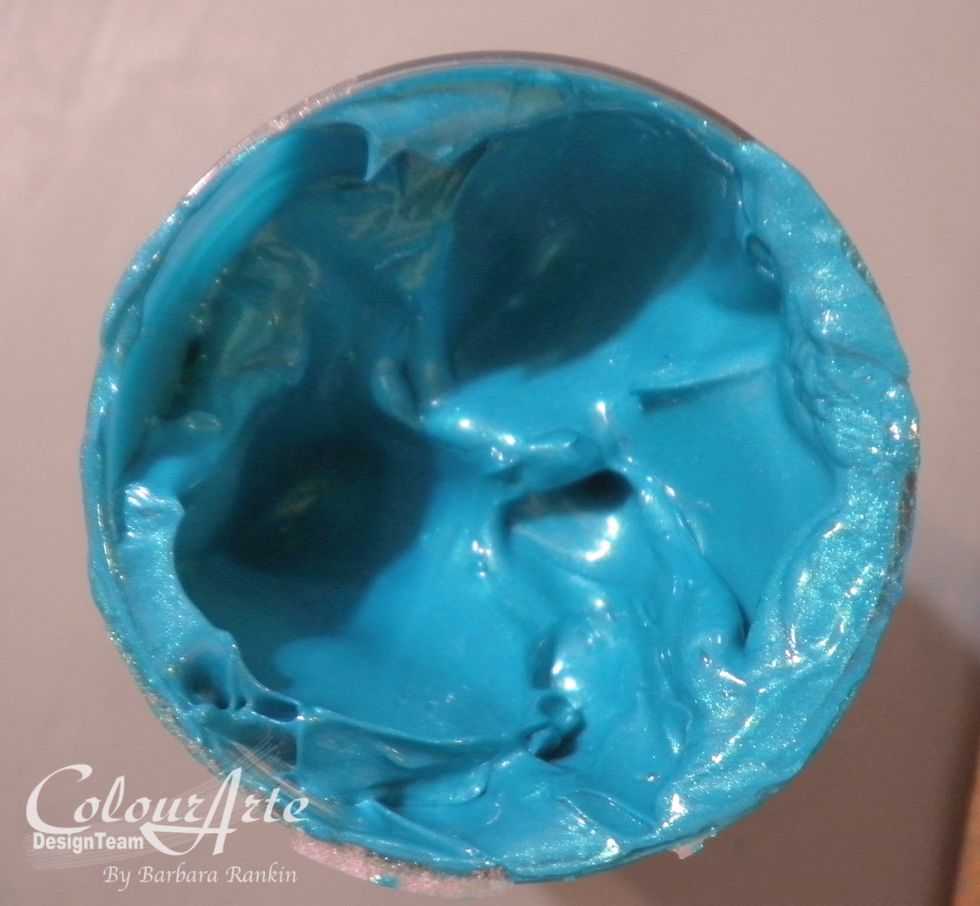
ColourArte Radiant Gels dimensional paint is very thick and gives a beautiful, shimmery dimension when added through the stencil.
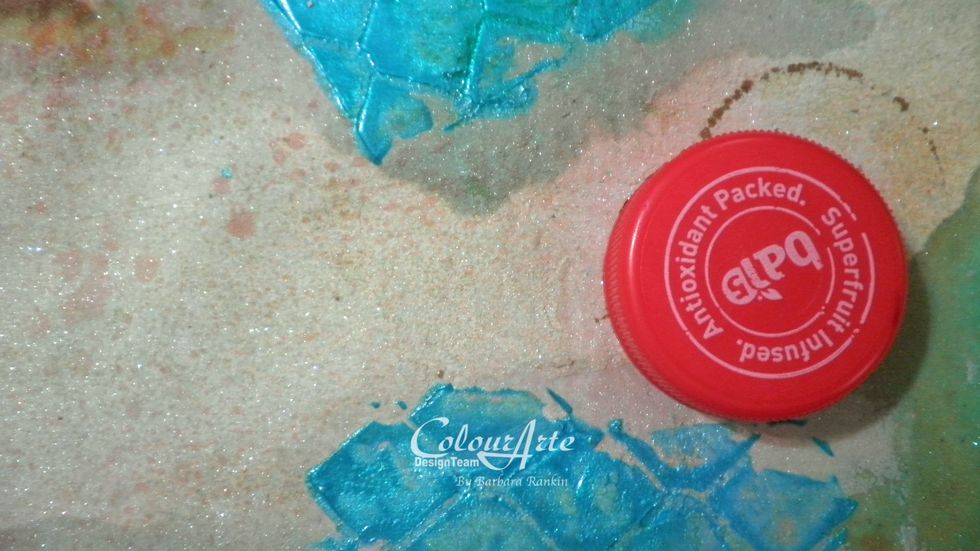
Using a plastic bottle cap, add circles of color using ColourArte Nutmeg Radiant Rain Color Concentrate. I applied some of the color to my craft mat and picked up the color on the cap.

Then tap the Nutmeg dauber tip straight down onto the fabric, causing “splats” of color. The harder the tap, the bigger the splat. Pretty cool, huh?

Stamp the sentiment with sepia archival ink. For color variety, dab ColourArte Mallard Radiant Rain over the dried gel, spritzing with water and allowing to run in different directions. Let dry.
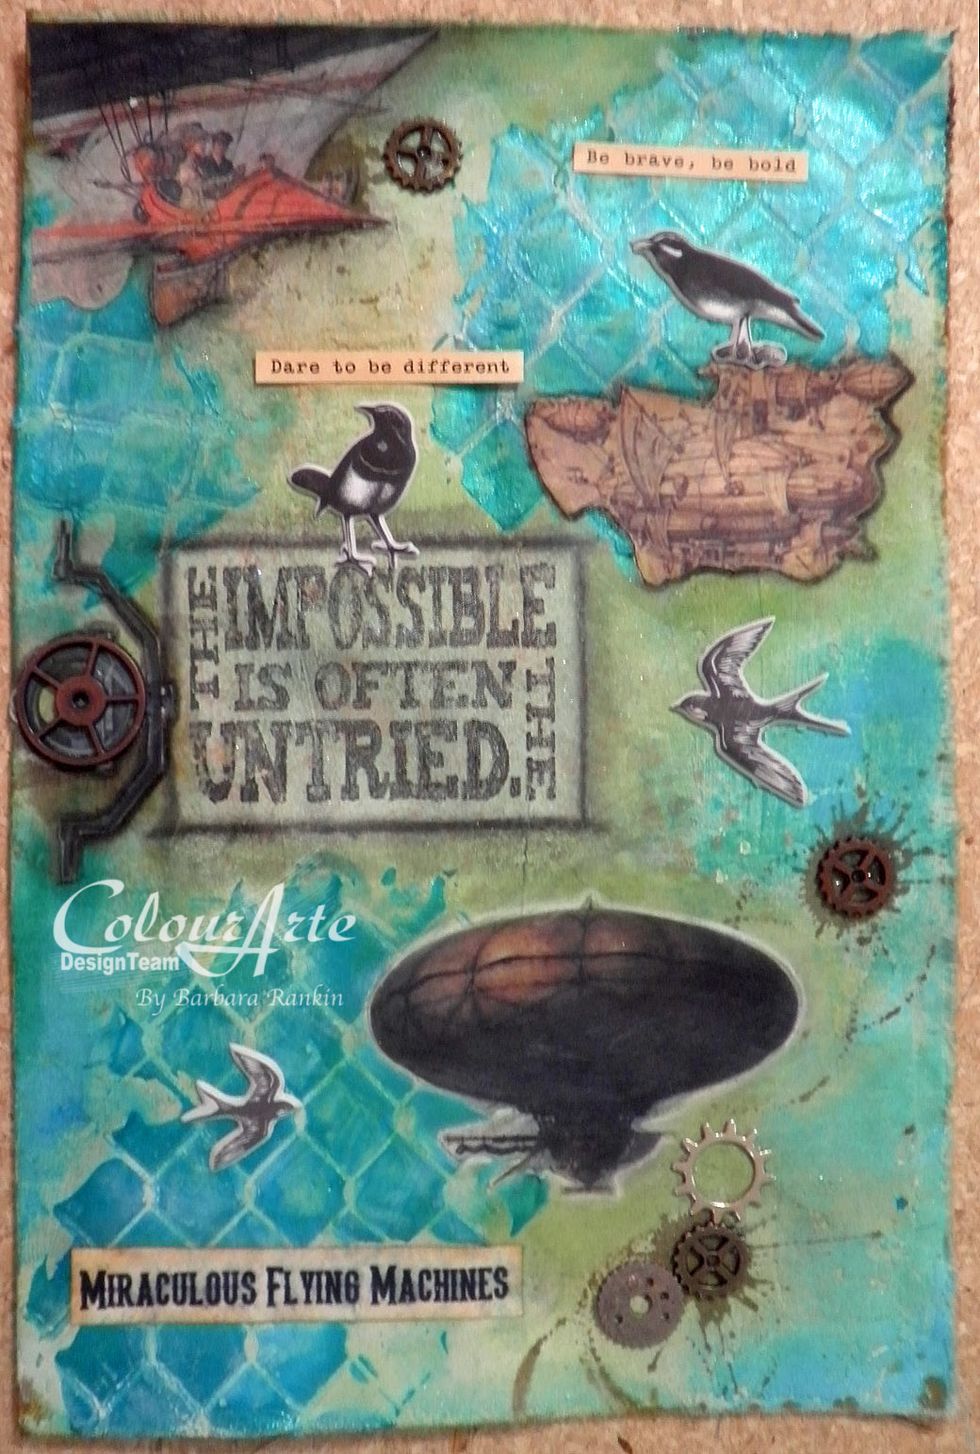
Add collage images from Altered Pages, stickers, metal embellishments, and add additional colors to finish your page. Use charcoal pencils in black and/or white to make the images pop off the page.
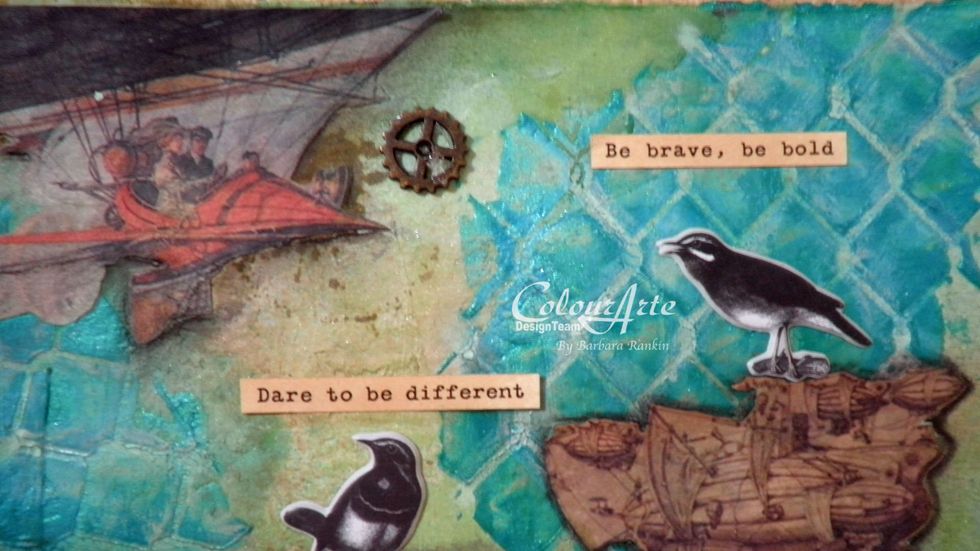
Here are a few closeups. Top of page.
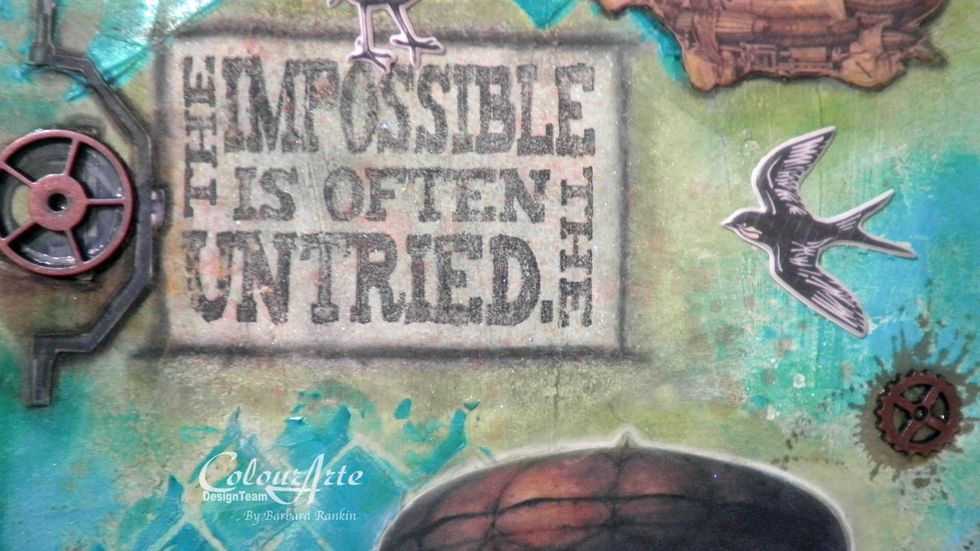
Closeup of middle of page.
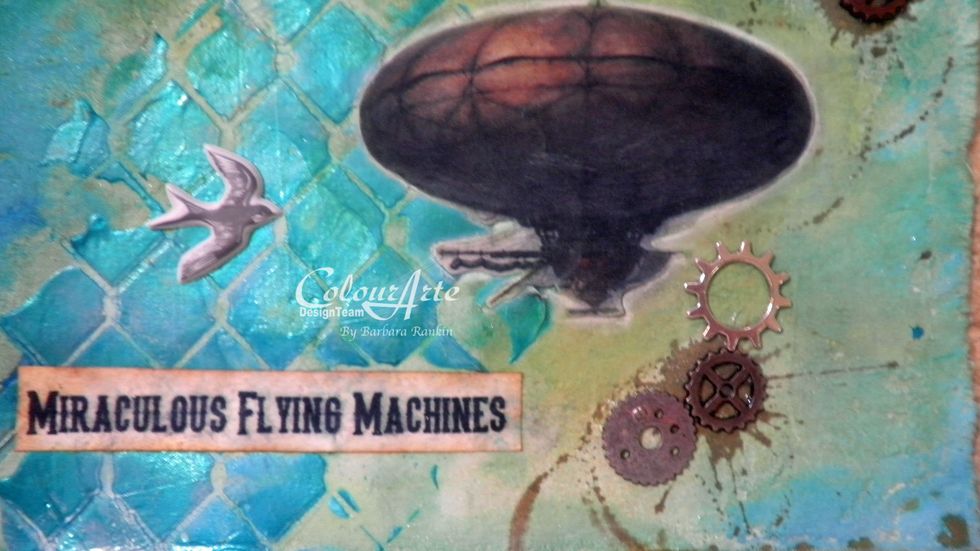
Closeup of bottom section of page.
Let's turn the folded fabric over and start working on the left side of the page.
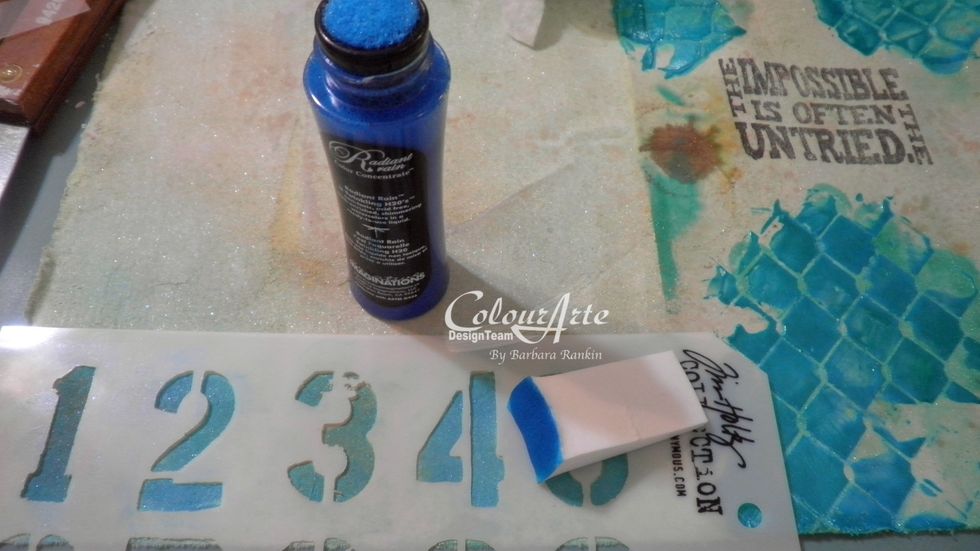
Use a makeup sponge to add Mediterranean Radiant Rain through a Tim Holtz number stencil by picking up the color from the dauber tip. This gave me total control and no bleed through.

Remove stencil and see the crisp results achieved by applying the color with a makeup sponge.
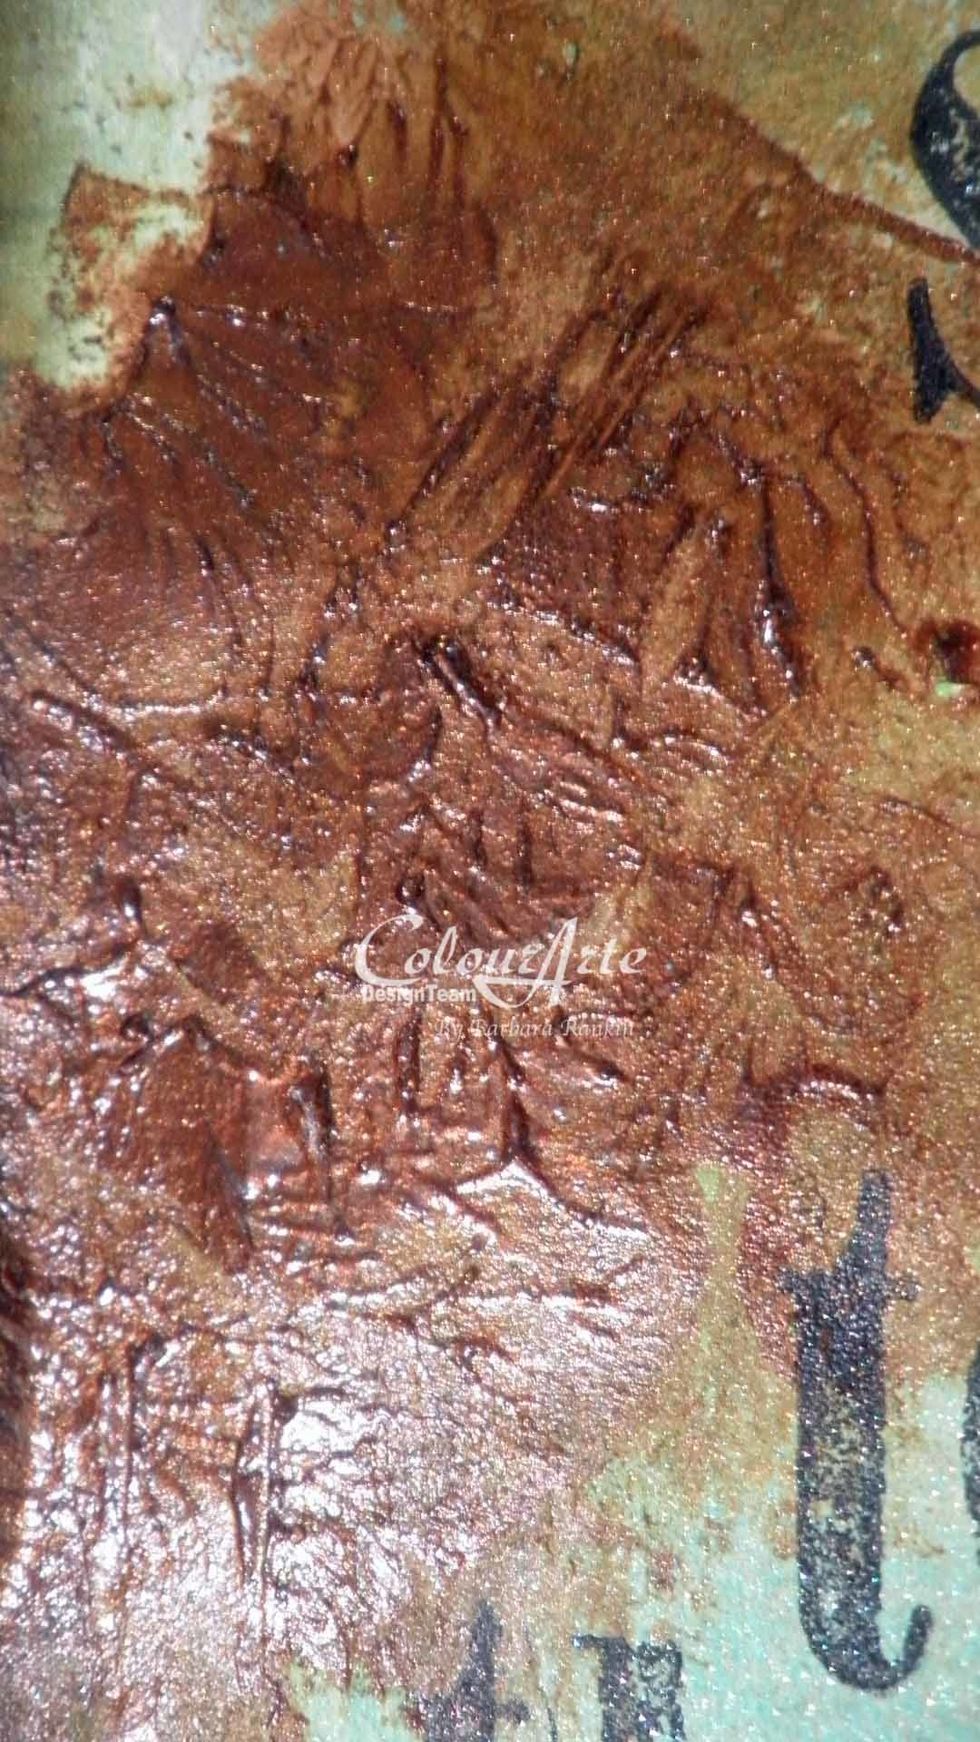
Use a spatula to spread Indian Copper Radiant Gel dimensional paint in three spots on the page. Pat the spatula over the paint to give it a texture, almost like a crackle effect.
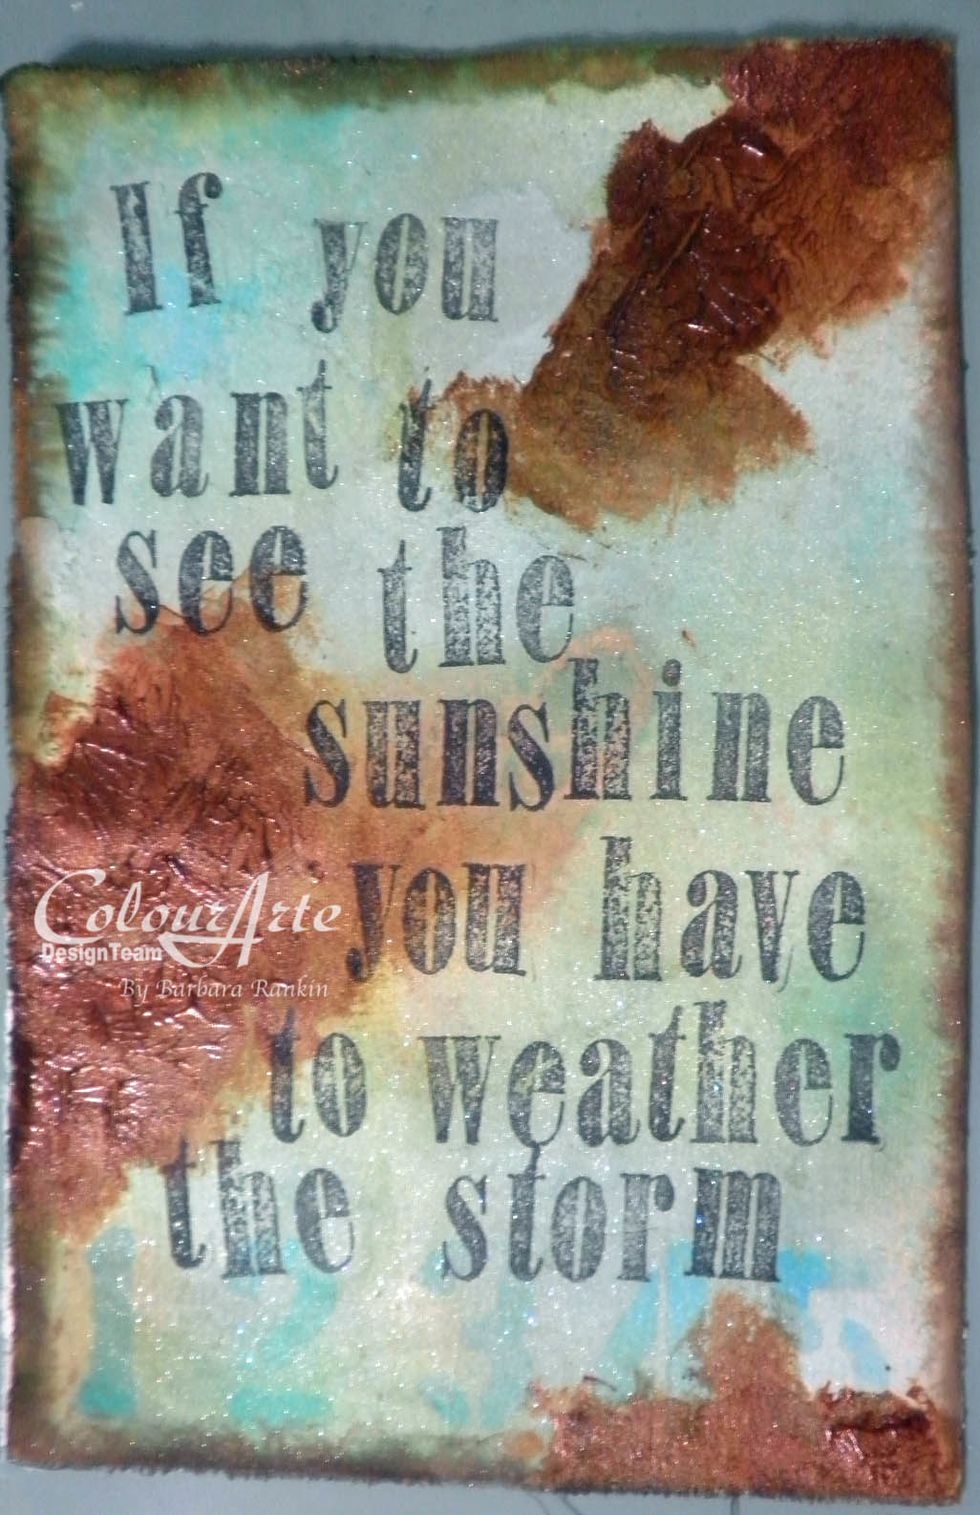
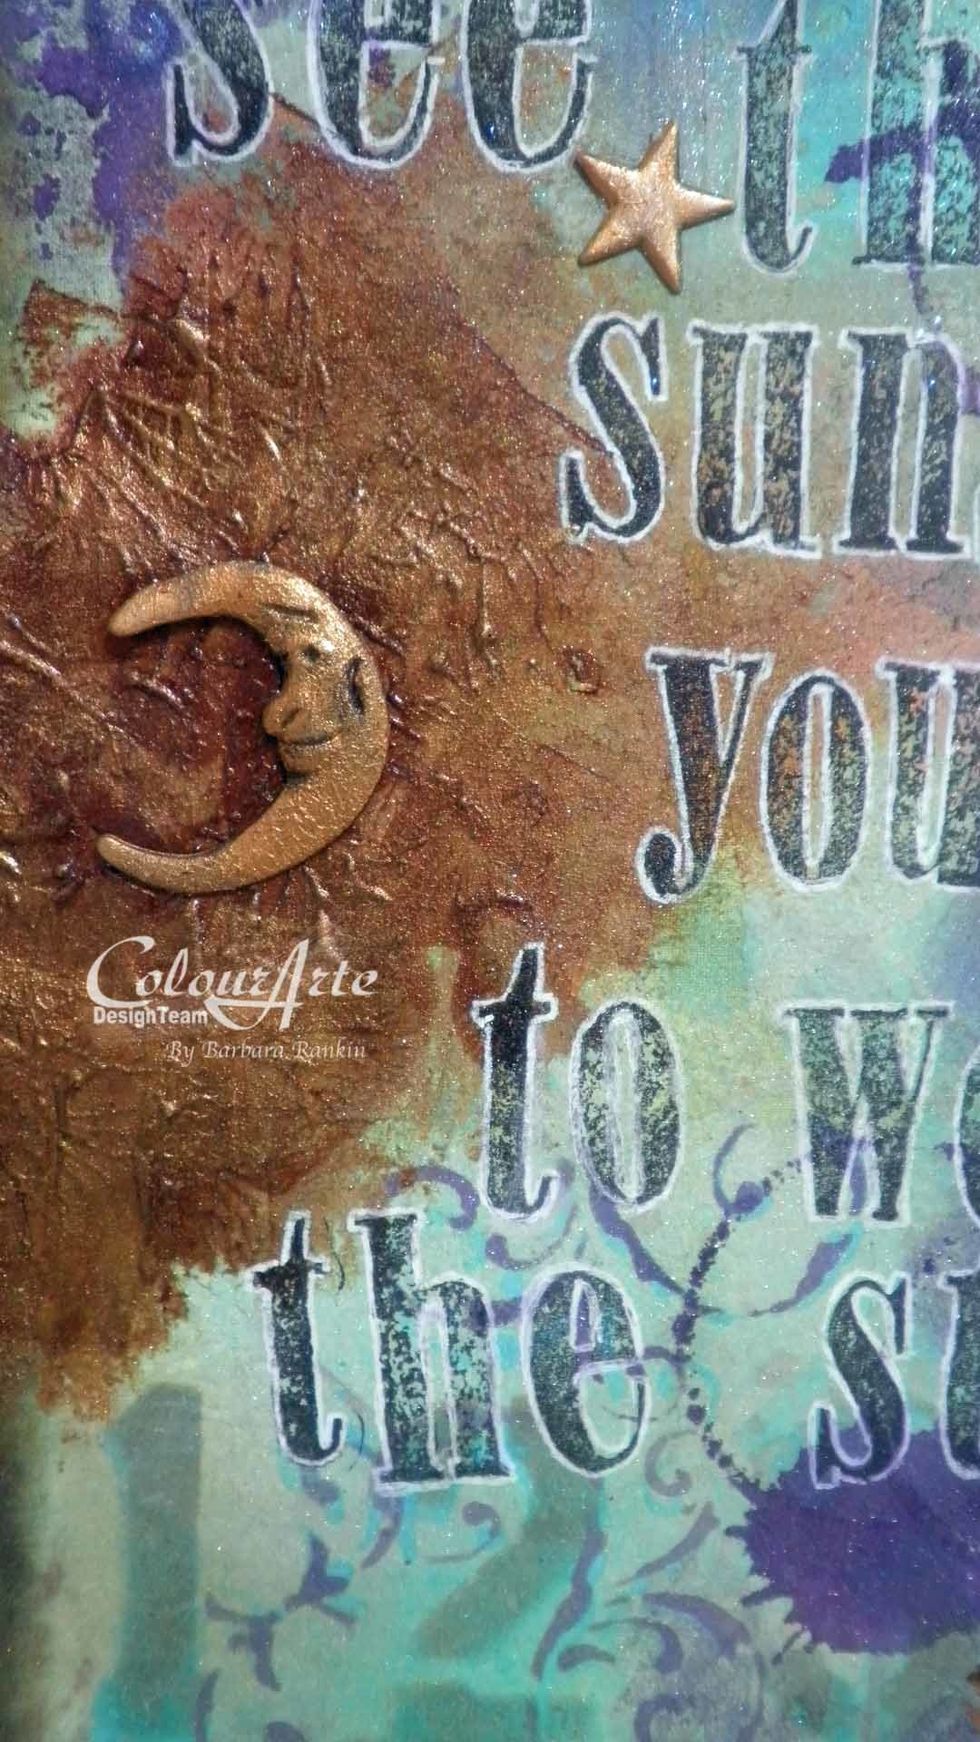
Use the Tim Holtz alphabet stamps to stamp the sentiment with black archival ink.
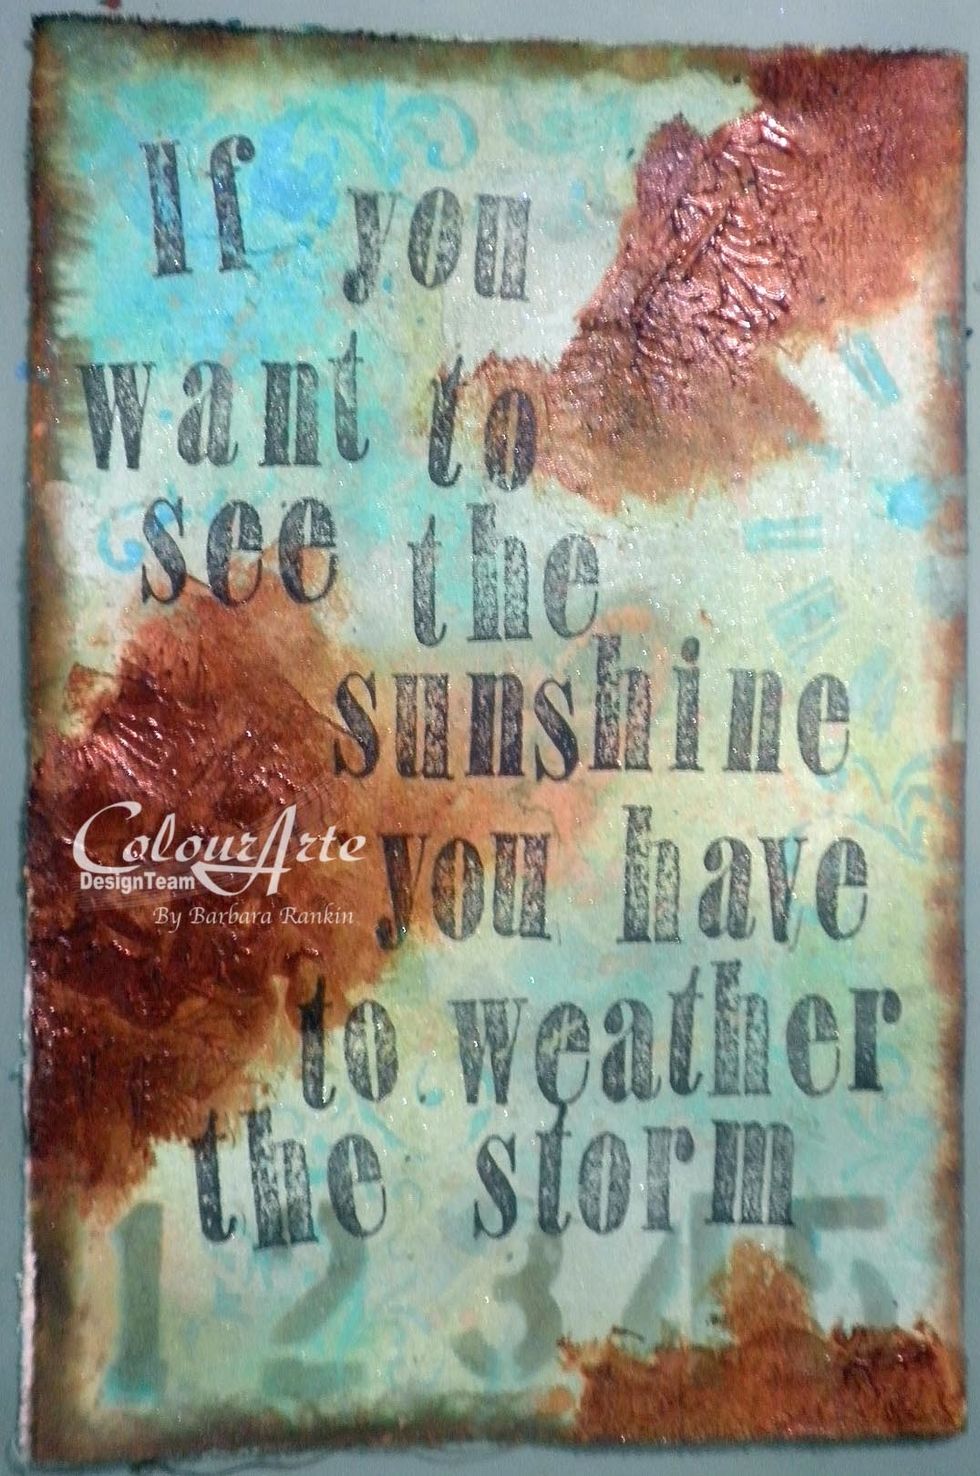
Use makeup sponge to apply Mediterranean Radiant Rain through various sections of the Bee on Time stencil. I sponged through the clock face and the flourishes randomly over the page for depth.
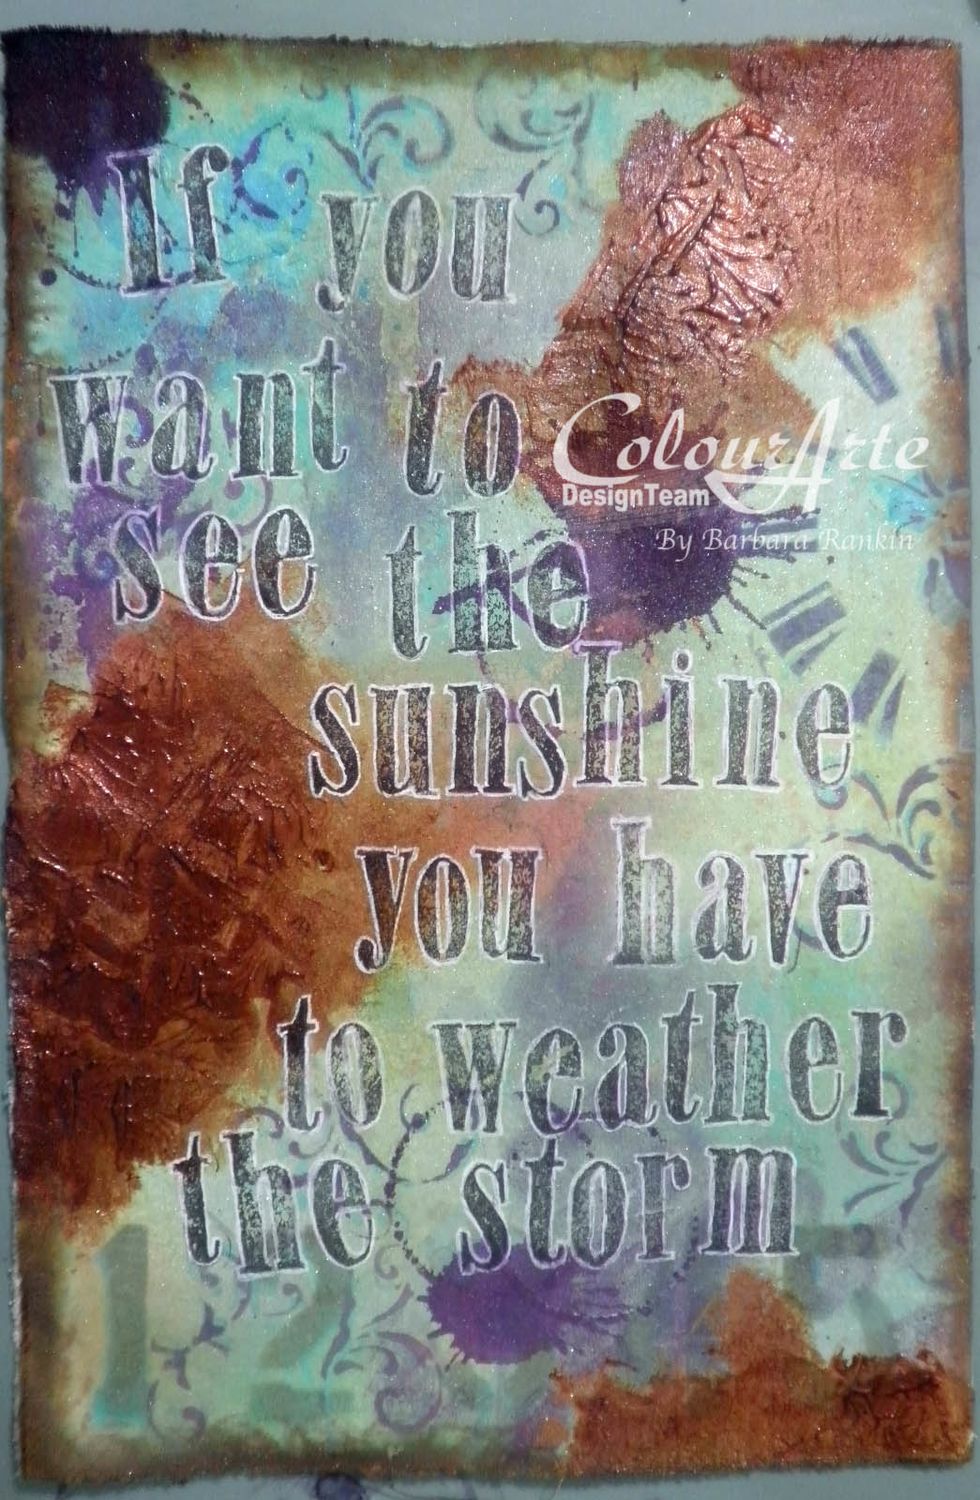
For added color strength, spray ColourArte Key Lime Radiant Rain shimmering mist over the page, adding a bit of Mediterranean color, and making splats with the Wine & Roses Color Concentrate dauber.
Lightly sponge more color to the background with the Wine & Roses Radiant Rain color concentrate.
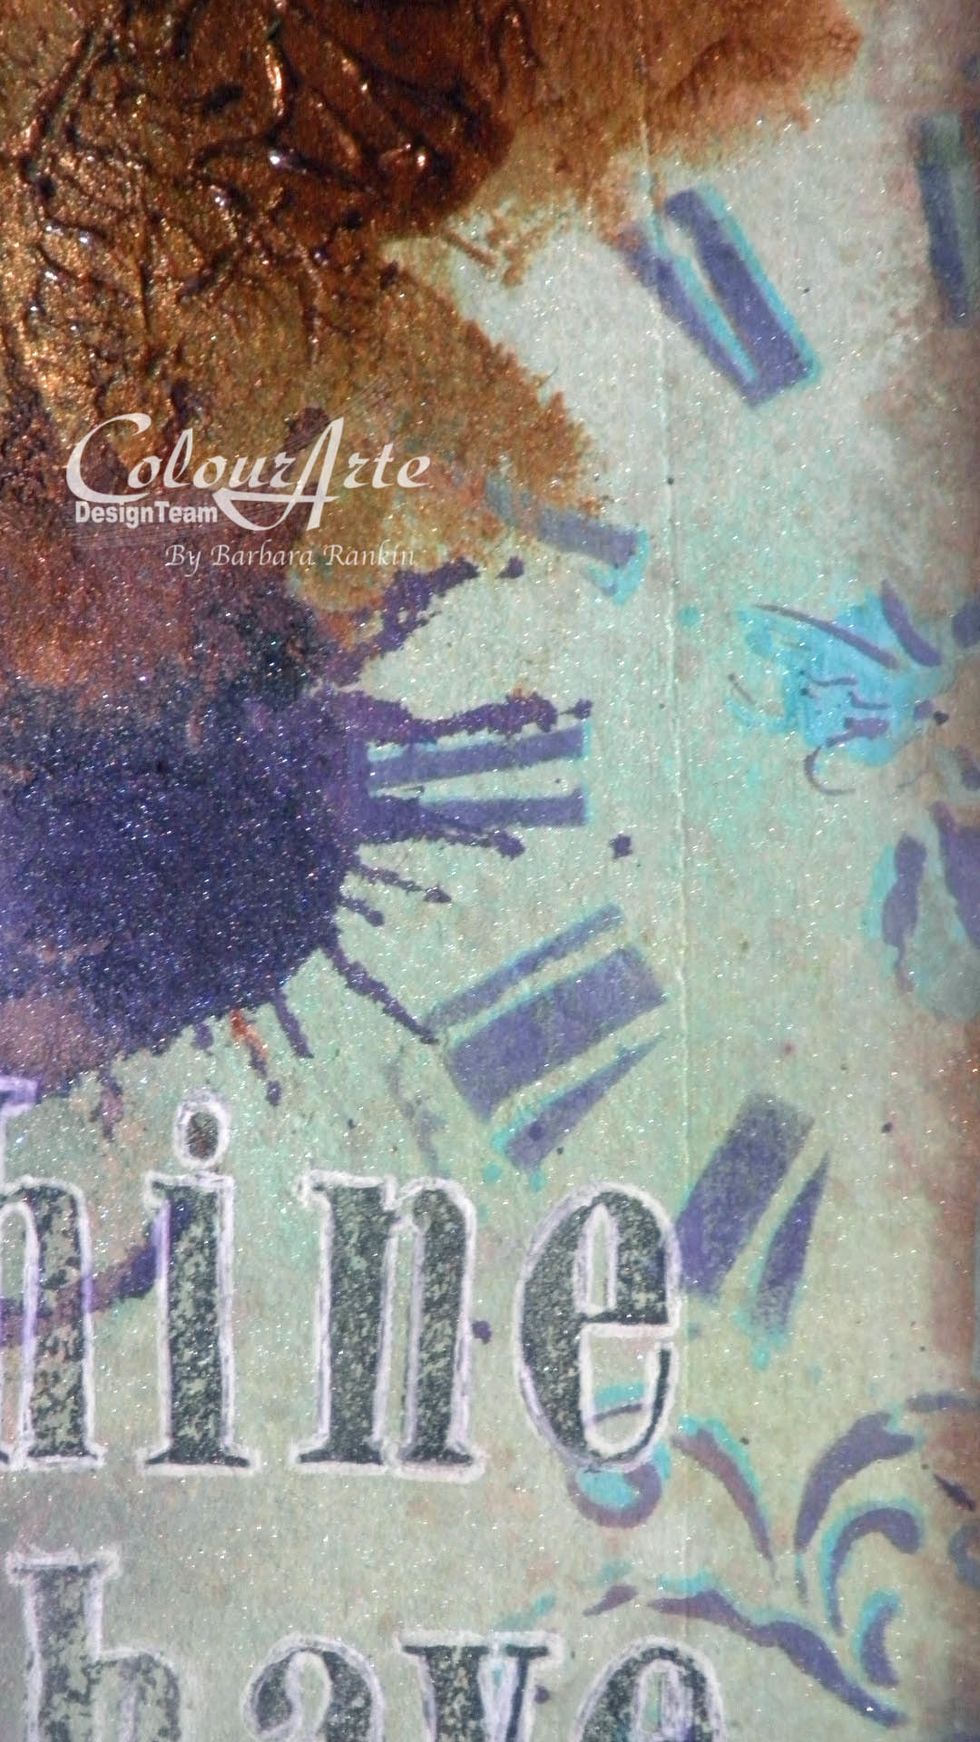
Here you can see a closeup of where the two colors were sponged through the same stencil, a little off center to give it a nice depth.
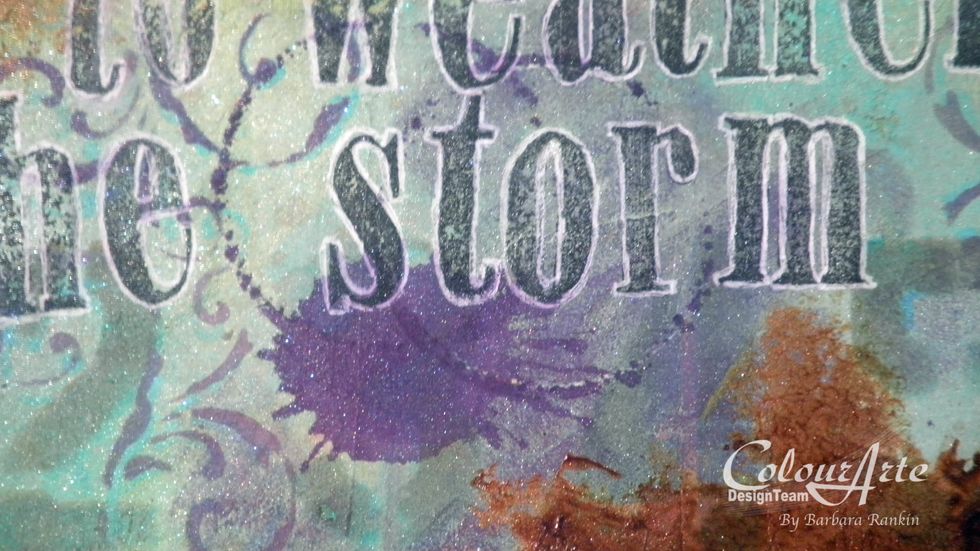
A closeup of the splats made with the dauber tip, as before, and the outline of the alphabet with a white gel pen.
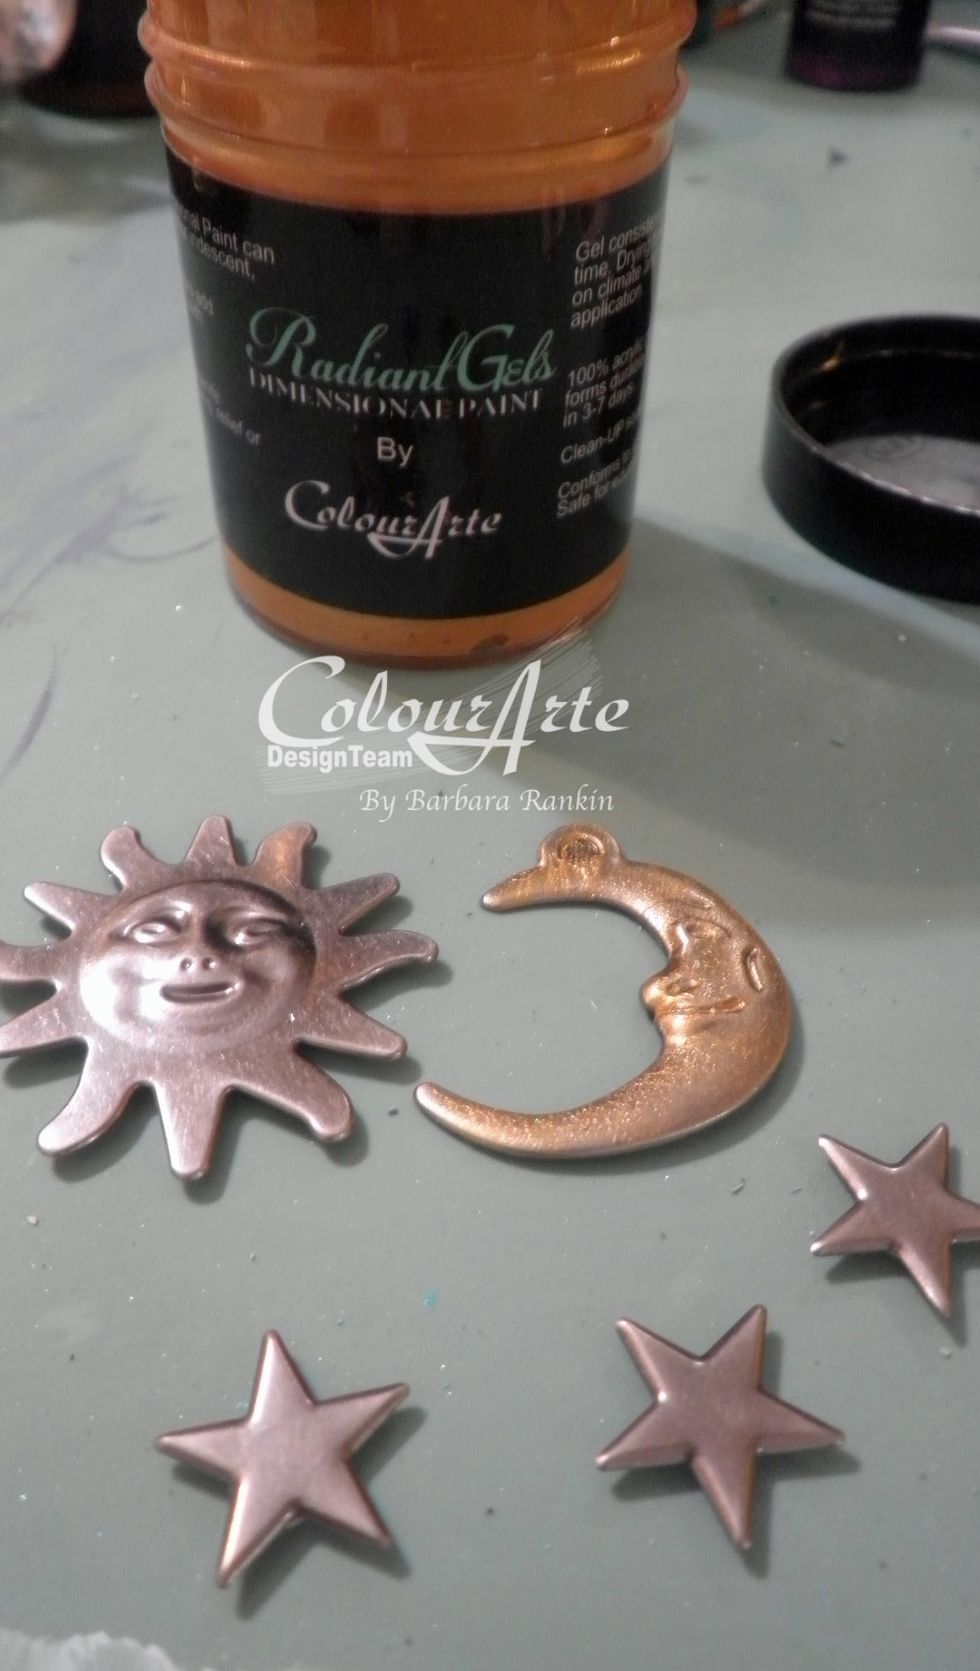
Sponge and dab Emperor’s Gold Radiant Gel onto sun, moon, and stars metal charms. This will give more texture. In the photo, I applied the color to the moon only so you can see the difference.

Can you see the texture on the metals? Add a bit of black ink in the crevices to bring out the face details.

Add the metal charms to the page, as shown, and you are finished!
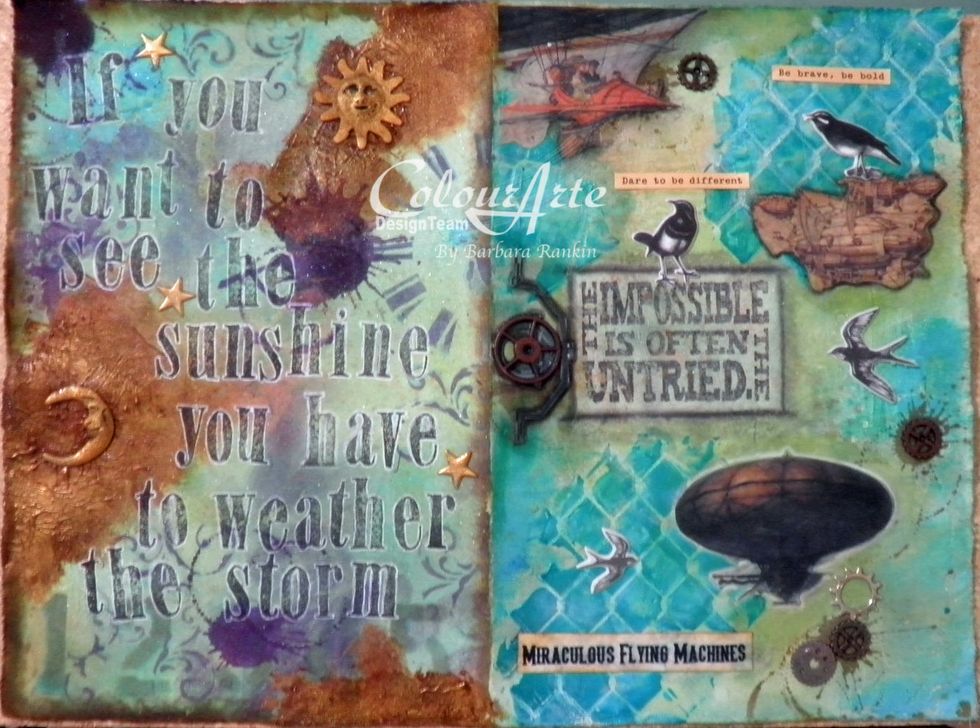
Here are the two pages, side by side, on the piece of muslin. Remember, they will not appear side by side in the book, however.
I hope you enjoyed my project today and that I have inspired you to try some of these mixed media techniques with ColourArte and other mediums. For supplies, stop by www.colourarte.com
If you like my work, I would love for you to stop by my blog at http://blackholeartstudio.blogspot.com and become a follower so you don't miss anything. Stay tuned for Part 2 of this work in progress.
Thanks for looking, and if you need a complete supply list, it can be found at http://www.colourarte.com/blog/?p=506