The Conversation (0)
Sign Up
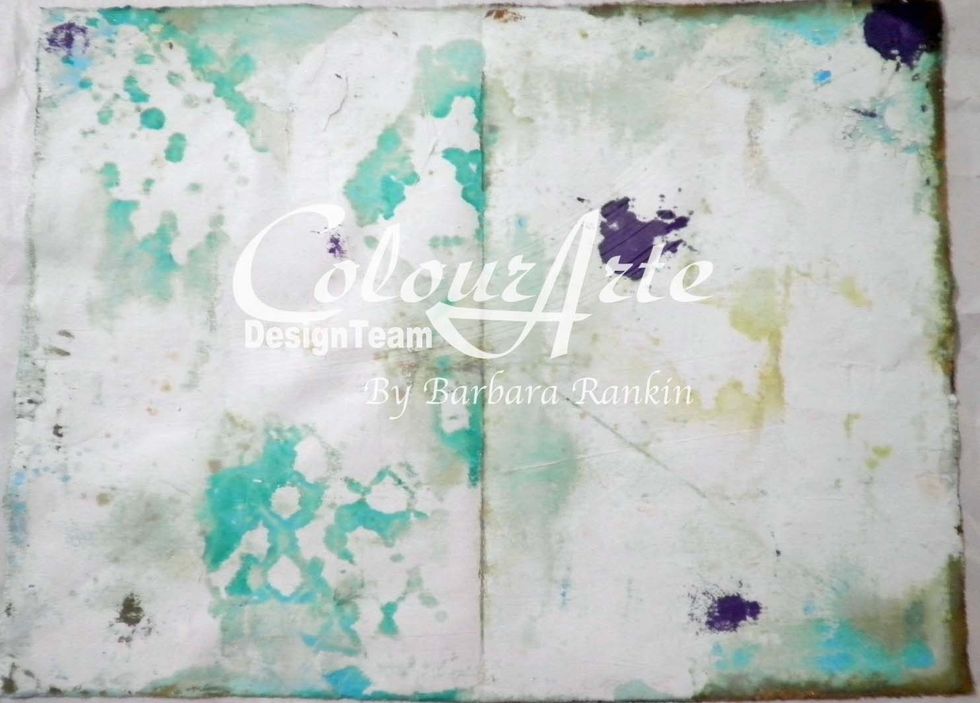
Here is a picture showing the unfinished page from Part 1. If you recall, I did not seal the pages with anything, so my colors from the finished page (opposite) bled through to this side.
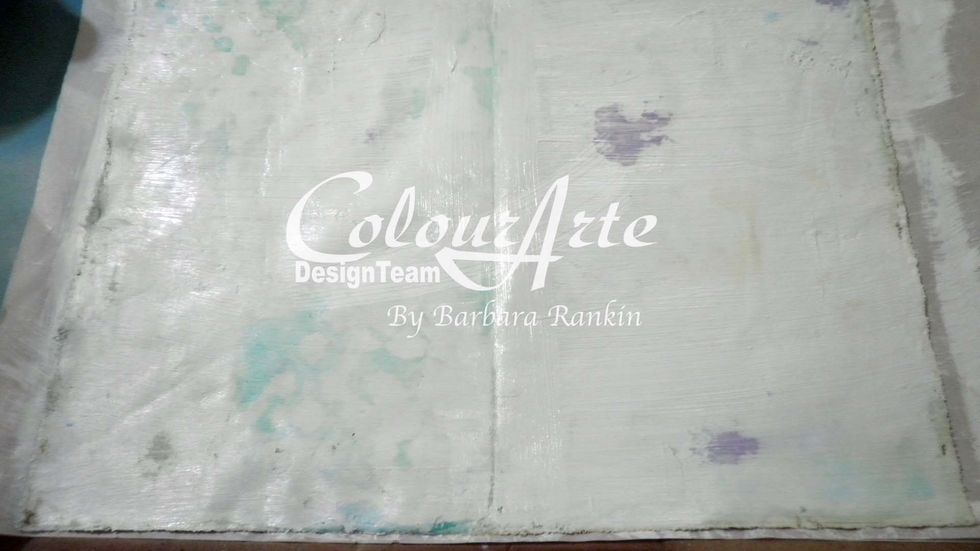
To prevent any further bleeding, especially since the opposite side from Part 1 is completed, I covered this side with one coat of white gesso.
I did not mind if some of the color still shows through, but if you don't want this, then you would need to apply one or two more coats of gesso to cover it completely.

Left page: Adhere torn piece of paper napkin to bottom and a piece of white lace to top. I used Mixed Media Adhesive, but gel medium would also work.
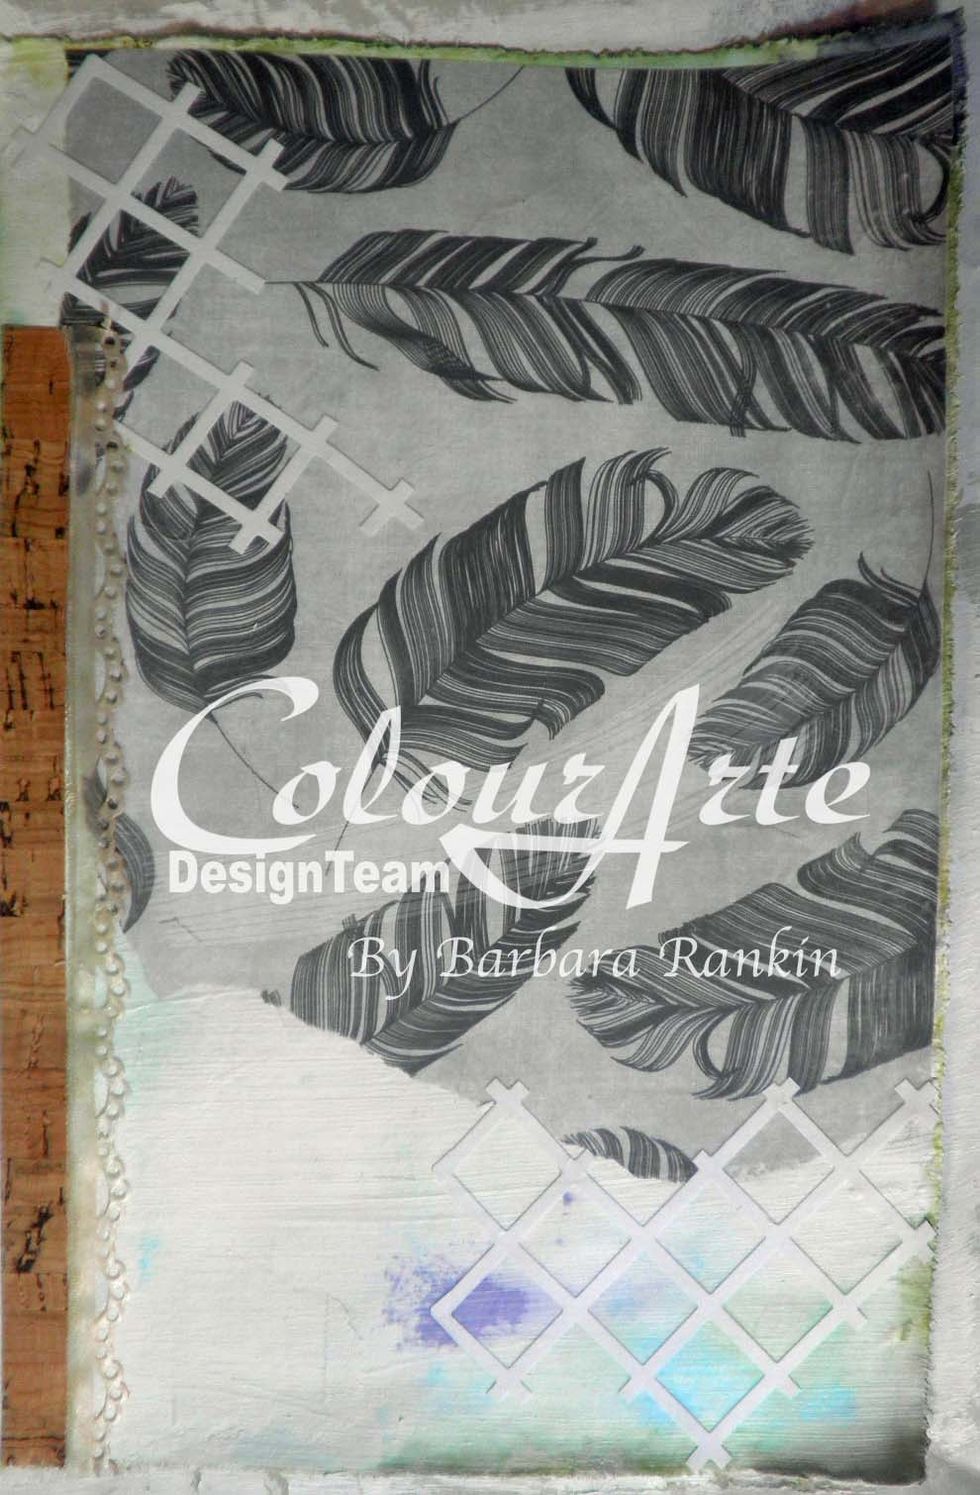
Right page: Adhere torn scrap of printed feathers paper to upper right, pieces of a cut apart lattice die cut from white paper, a strip of cork paper, and the scalloped edge of a piece of ribbon.
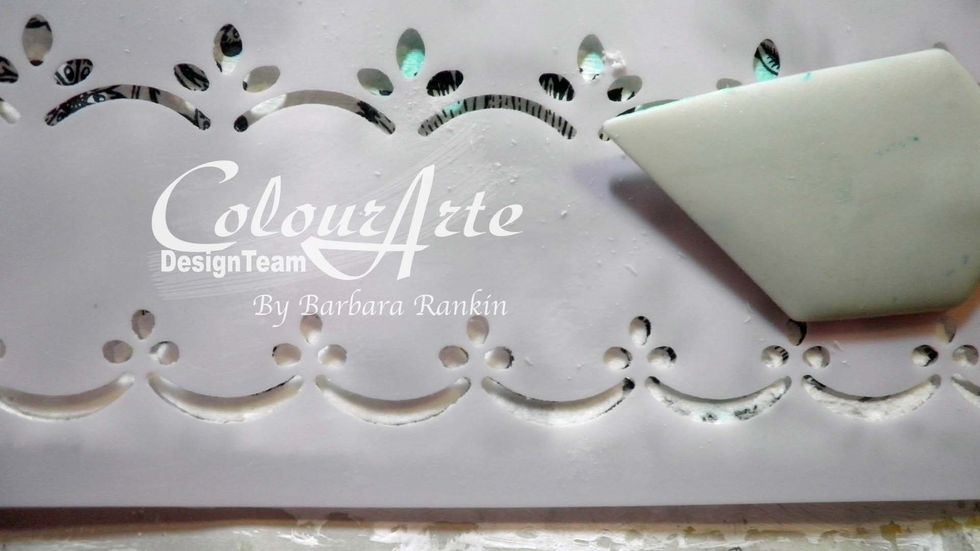
Left page: Spread light modeling paste through eyelet border stencil along the left side and the bottom edges. Allow to dry.

Right page: Spread light modeling paste through a Recollections wood stencil. Allow to dry.

Add a white gesso wash over both pages, just to tone everything down and give it some more tooth for the next steps.
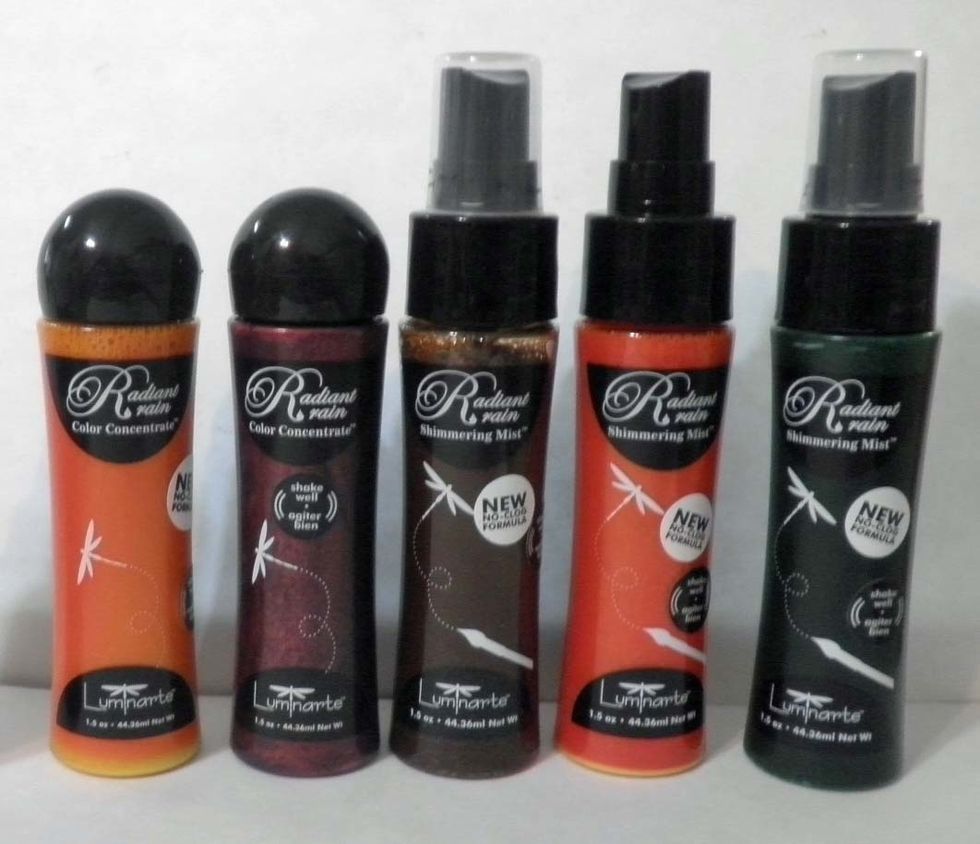
Begin coloring page with Radiant Rain dauber in Yellow Rose, Jasper Red, and water misted over all. Let dry, then add Radiant Rain shimmering mists in Ginger Peach and Autumn Leaf from colourarte.com
Mist page again with a bit of water to spread the colors. Radiant Rain Color Concentrate daubers and Shimmering Mists from www.colourarte.com
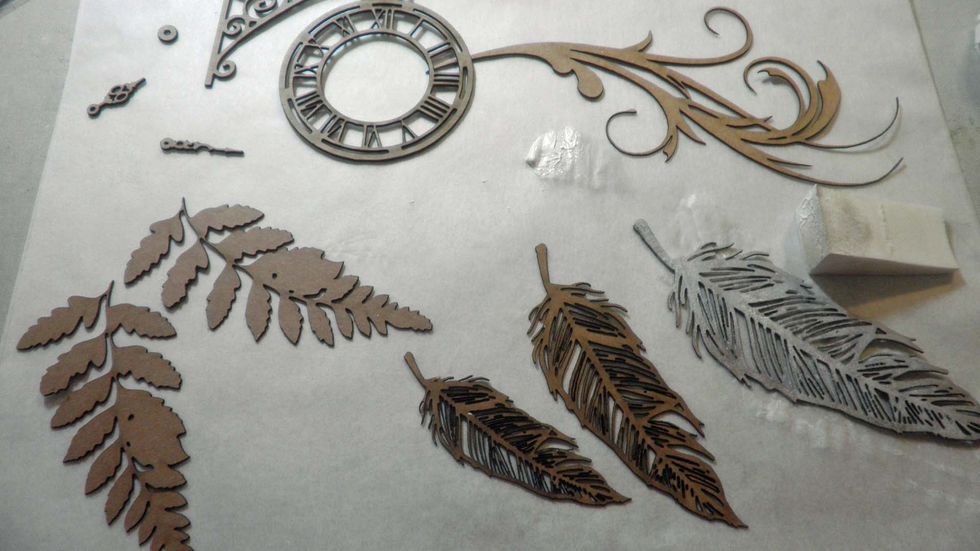
While that is drying, I chose some chipboard pieces from http://www.ginasdesigns.net and added white gesso to each with a makeup sponge.
Adhere chipboard pieces with Beacon Quick Grip adhesive.
Spritz some ColourArte Radiant Rain shimmering mist in Fern onto a piece of plastic and pick up the color with a brush, adding it to just the fern leaves.
Since I used the Fern (green) on the chipboard leaves, I used it again by loosely coloring in the leaves printed on the napkin near the bottom of the page to help bring it all together.
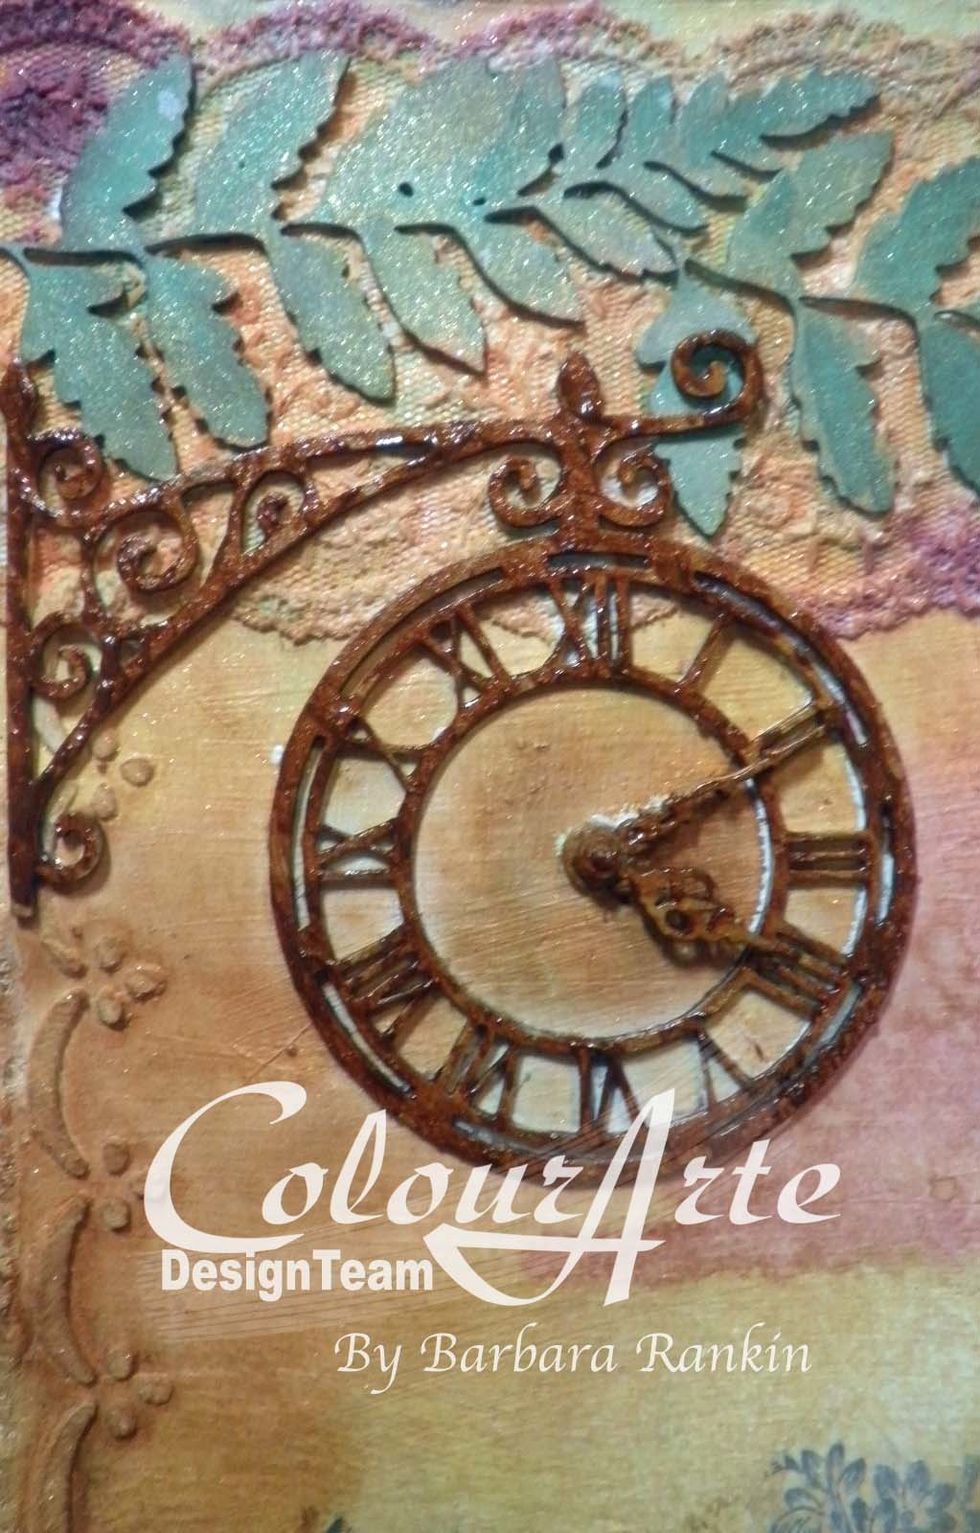
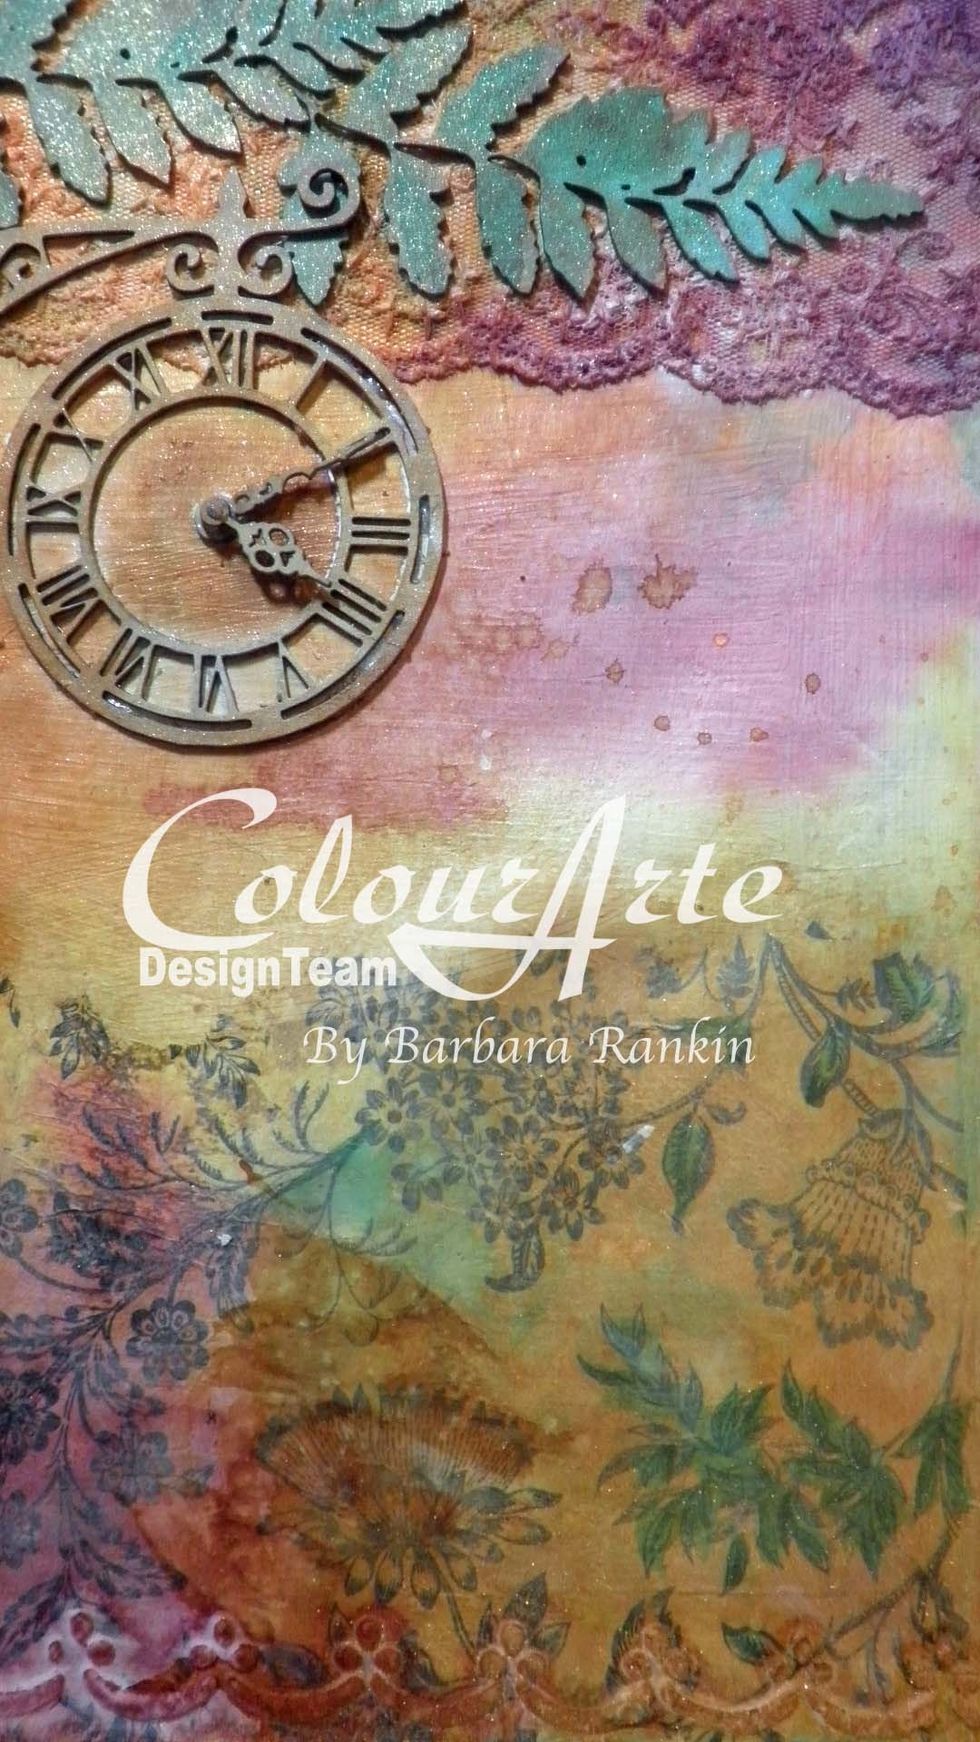
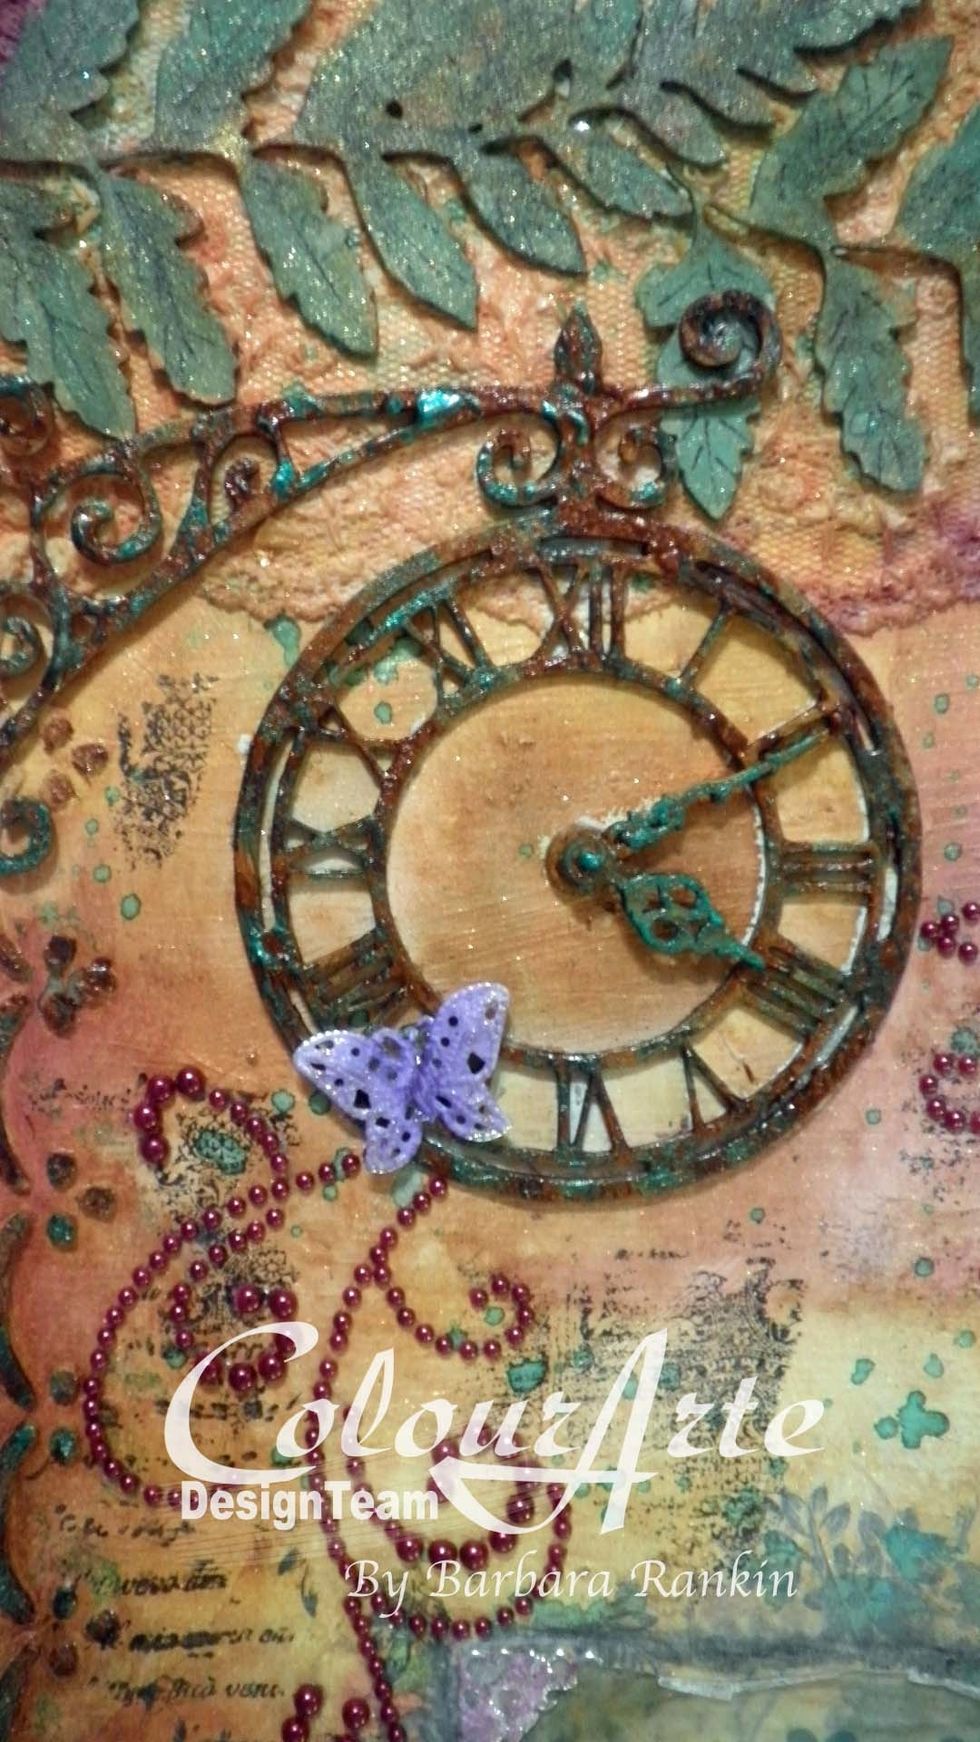
I colored the chipboard wall hanging clock and eyelet border with ColourArte Radiant Gels Autumn Leaf dimensional paint first, dabbing the paint for texture.
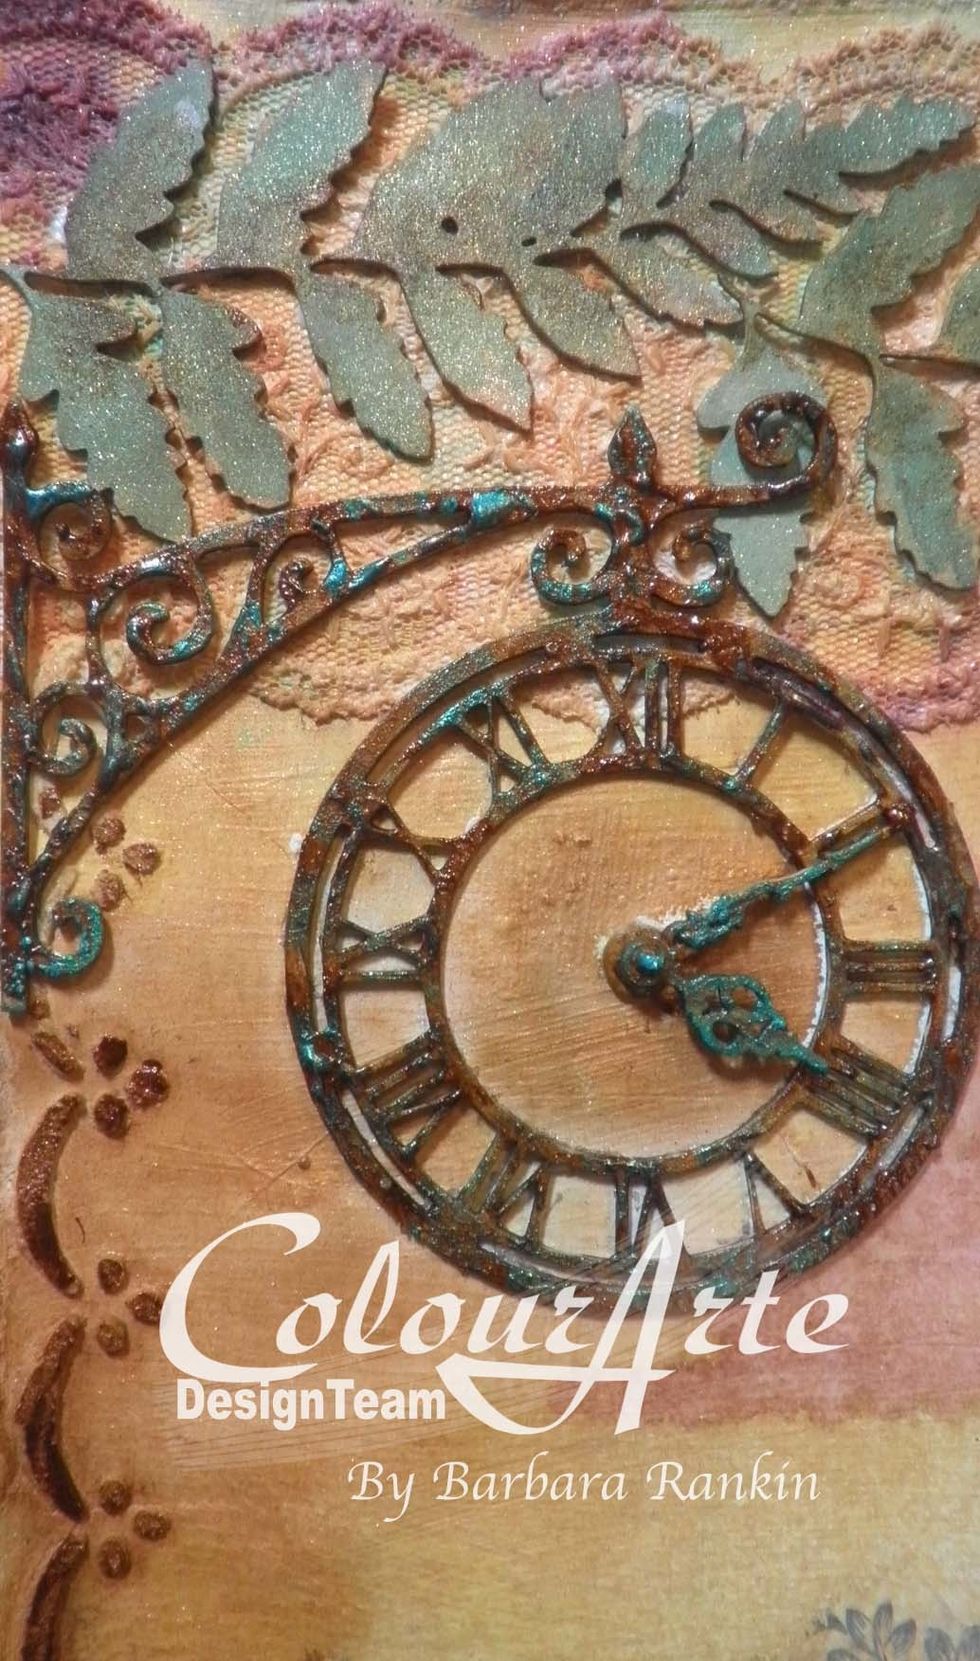
When dry, I added ColourArte Radiant Gels Guatemalan Green to the high spots to make it look like patina on a rusty metal.
By adding these colors to the border, I not only made it look like it belongs with the clock, but also carried out that color once again.
Here is a closeup of the Guatamalan Green dimensional paint added to give my clock the desired patina.
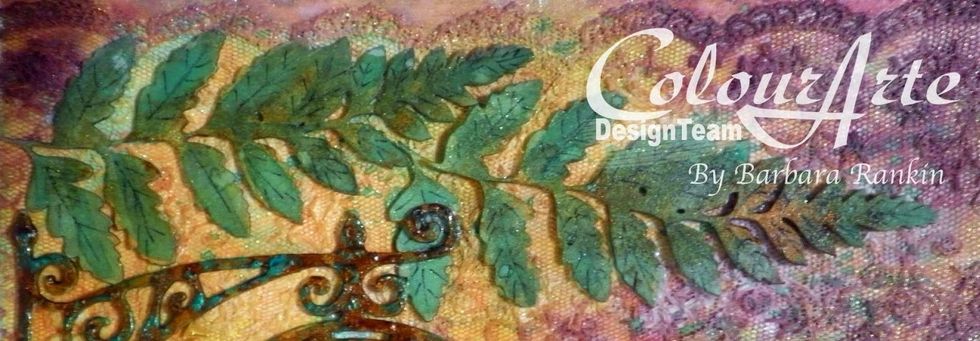
Add veins to leaves with black Micron pen.
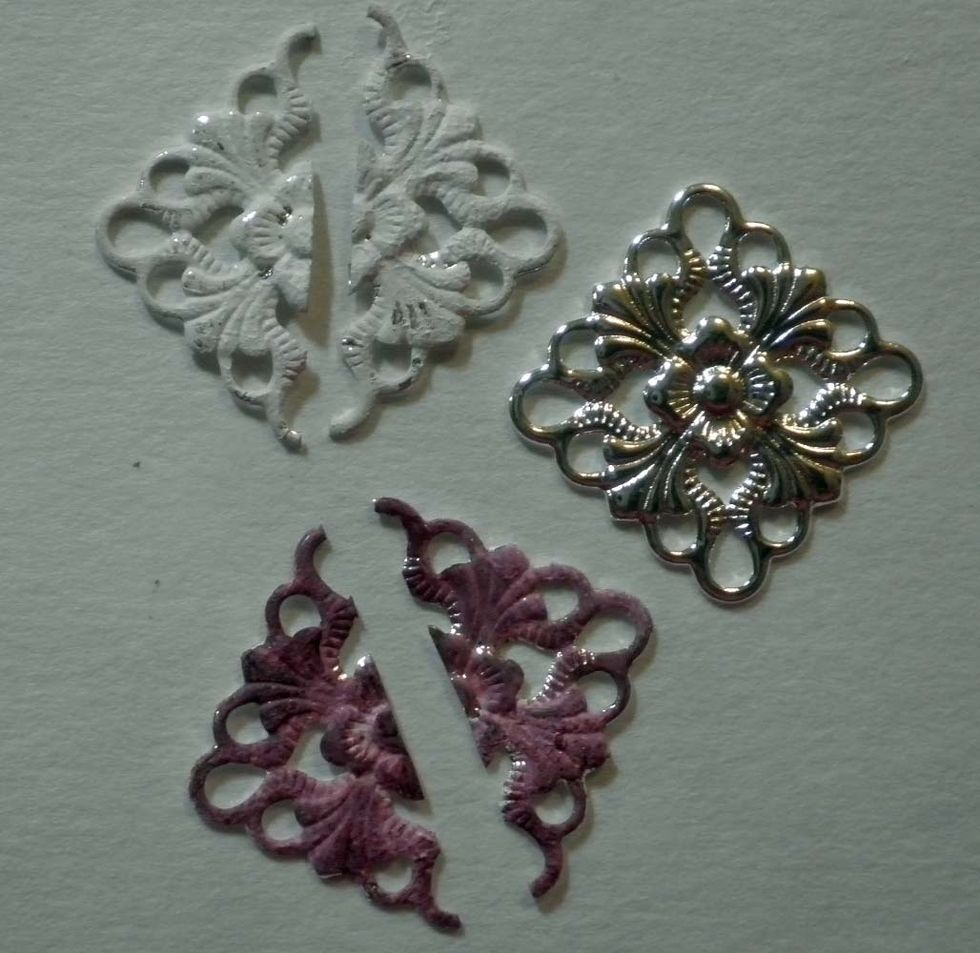
Cut apart two metal filigree charms, as shown. Sponge white gesso over each corner piece, then add ColourArte Radian Rain Wine & Roses dauber color atop. Let dry.
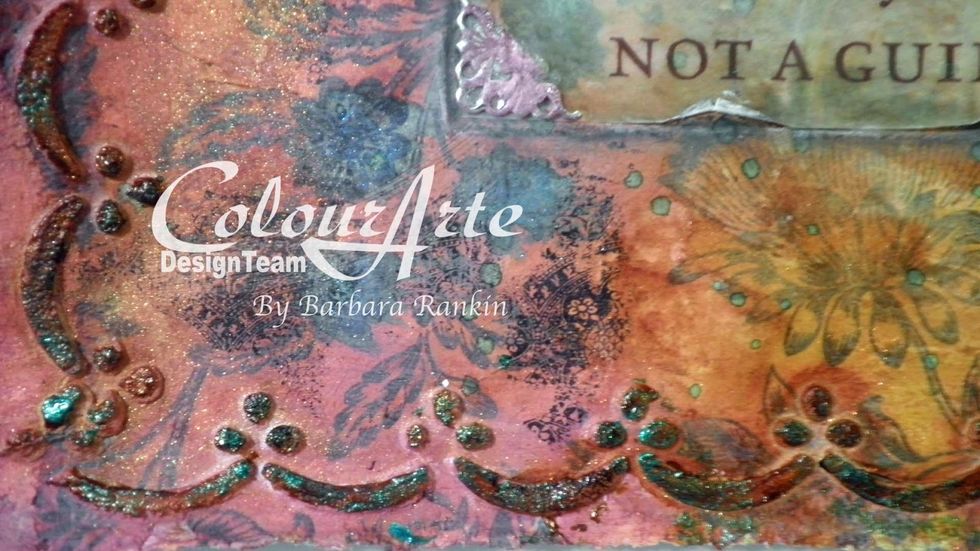
Distress edges of vellum phrase and adhere metal filigree corners with Beacon Quick Grip adhesive. Add white charcoal pencil along torn edges, then add shading with a black charcoal pencil.

Add stamping randomly using the script and lace rubber stamps from the Sin City Stamps art journaling set using black archival ink.
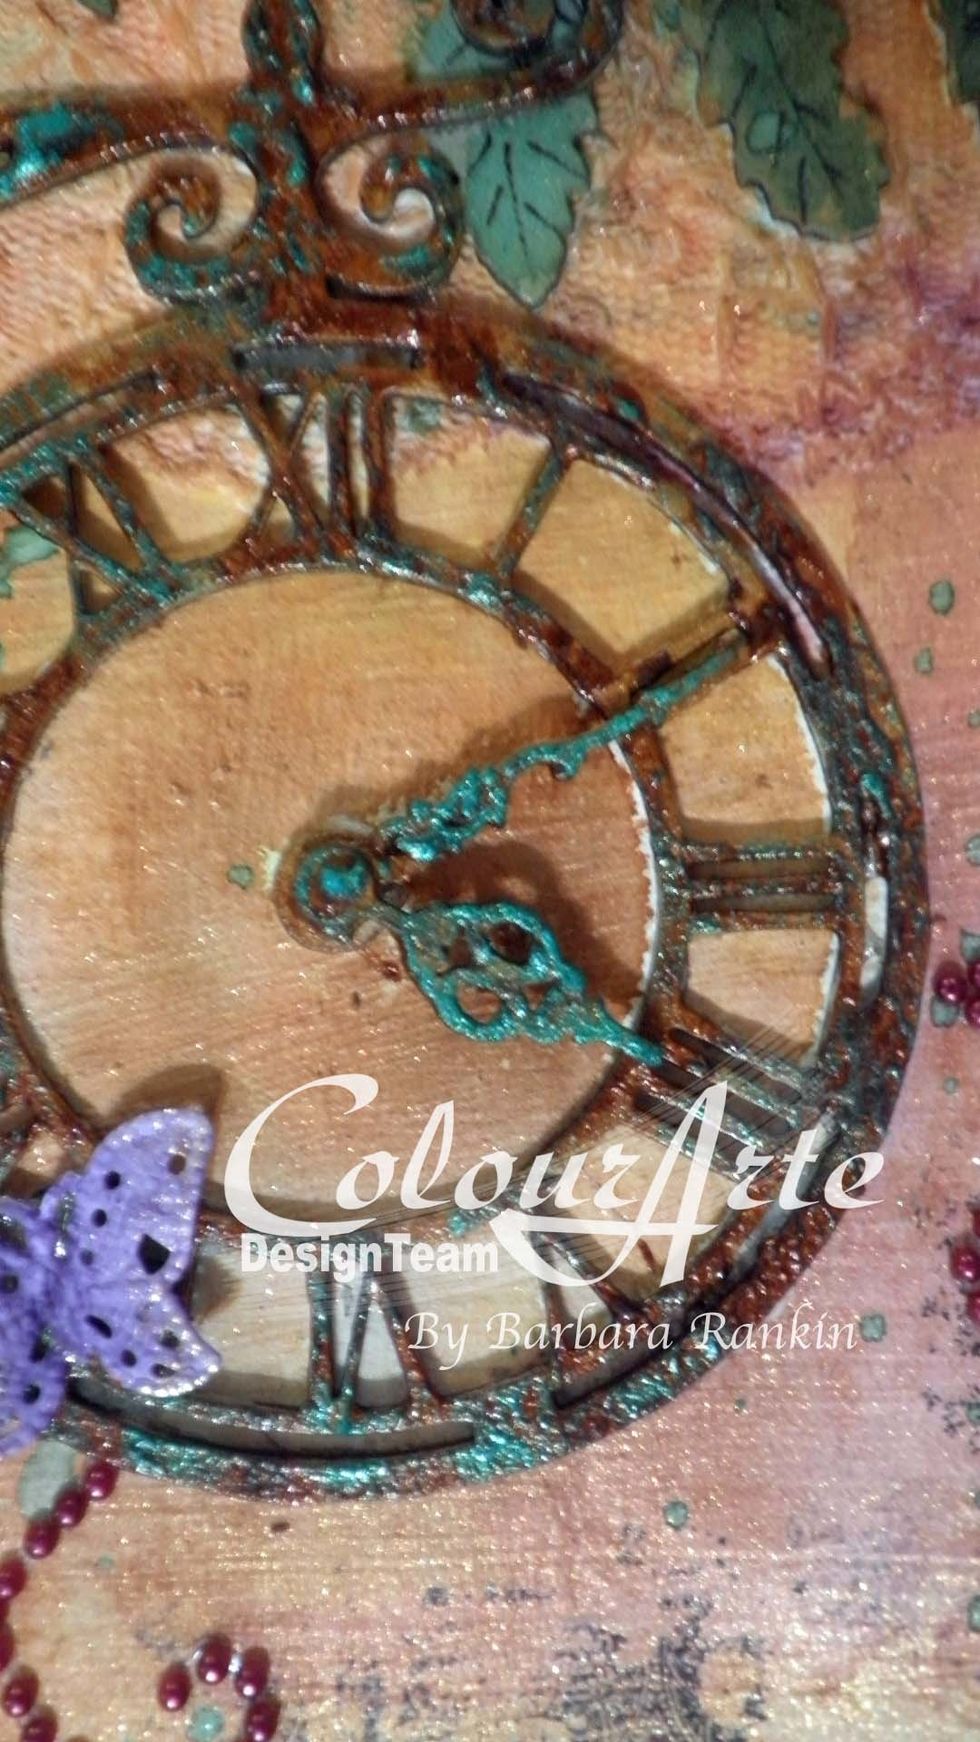
Then add Want2Scrap wine pearl swirls stickers to page around the clock. Color the metal filigree butterfly with white gesso, then ColourArte Radiant Rain Plum Crazy dauber, then adhere to clock.
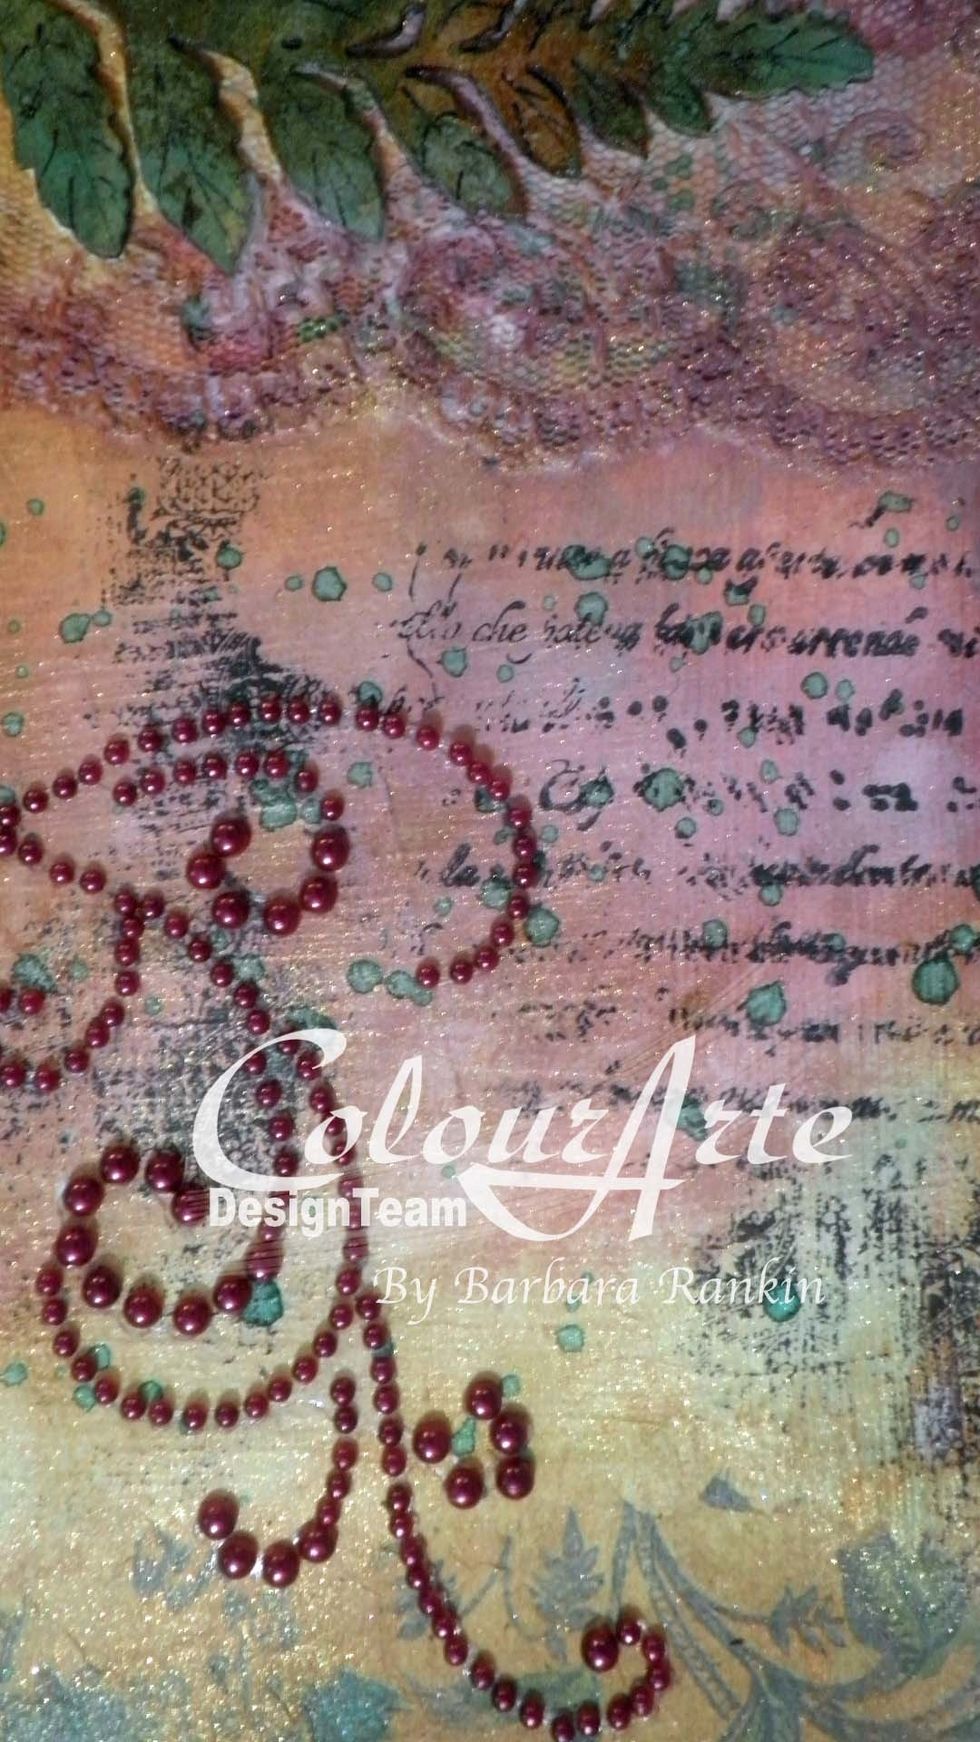
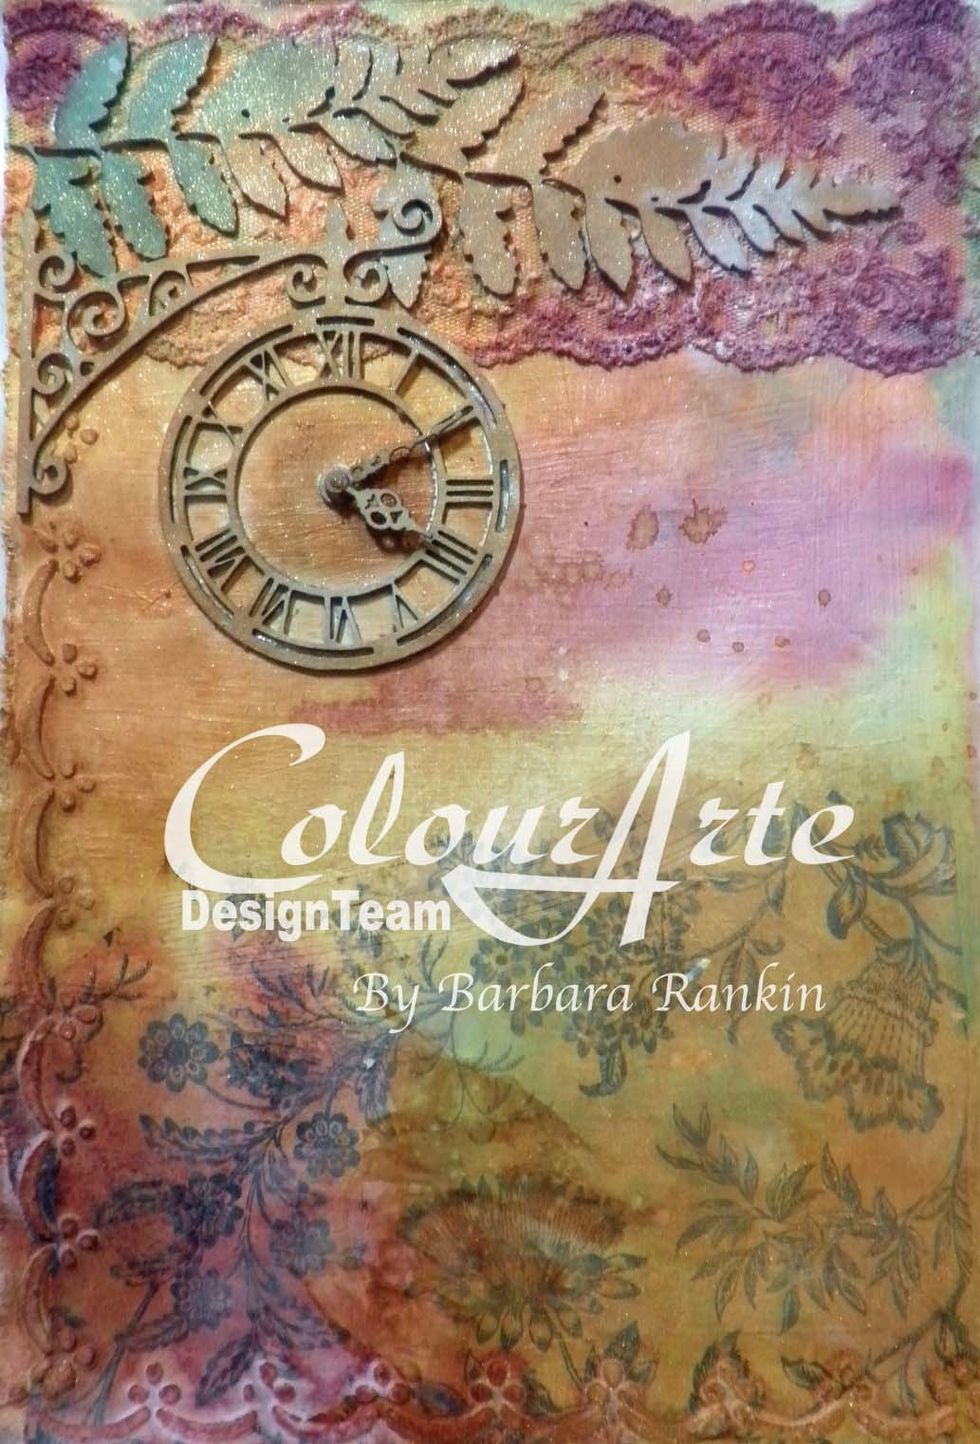
Splatter watered down Radiant Rain Fern mist with a paint brush.
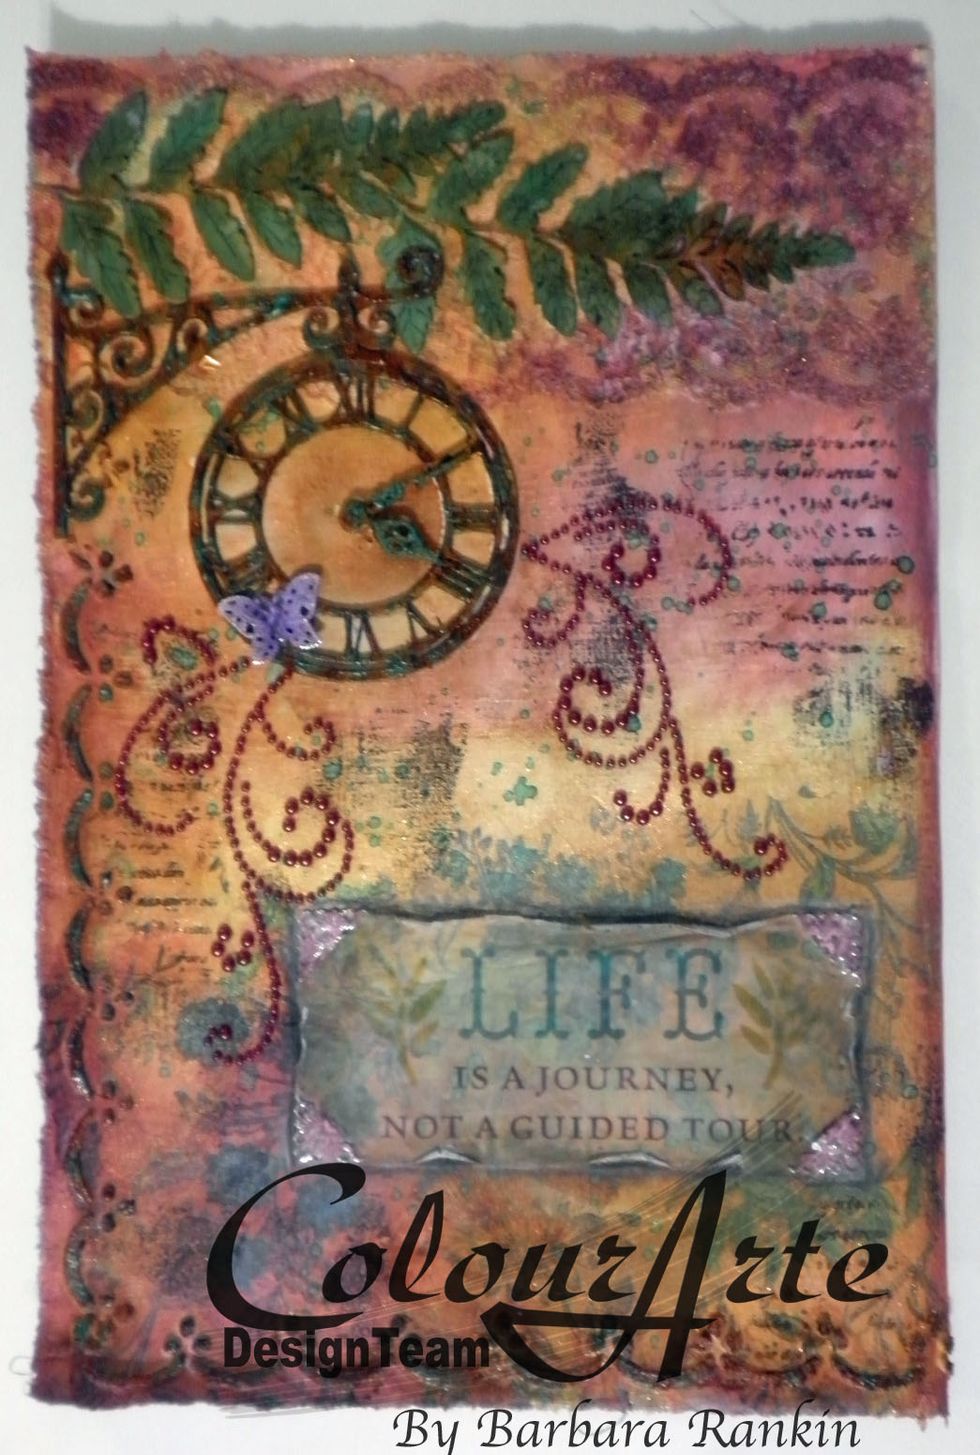
And voila! Here is the finished page.
Now back to the right side! We will pick up where we left off in Step 12 above.
I started to color the background by dabbing some ColourArte Yellow Rose first, misting with water and Walnut Ink, allowing it to run, then spreading with a brush to mix and blend colors. Let dry.

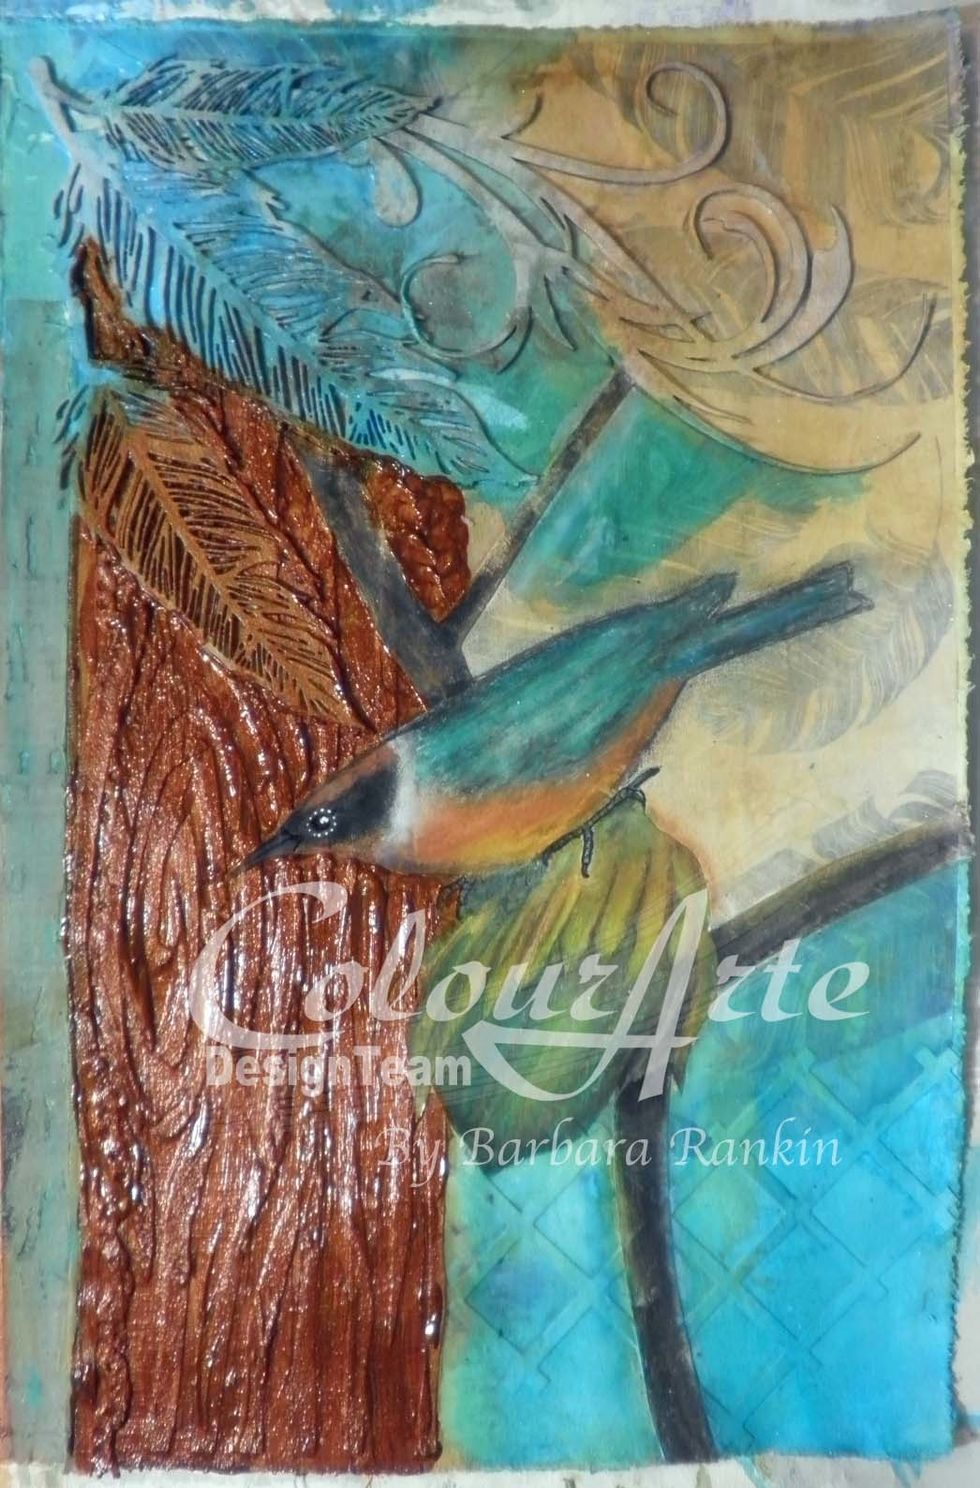
I fussy cut this image of a bird on a branch from an old calendar and adhered to the page with my mixed media adhesive (or gel medium), as shown.
While this looks beautiful just as it is, I wanted to incorporate the picture and make it look more like it was painted onto my page, not simply a picture glued onto the page.

Apply a very light coat of white acrylic paint over the image. You do not want to obliterate the image, but instead, still be able to see some of the details through the light coverage.
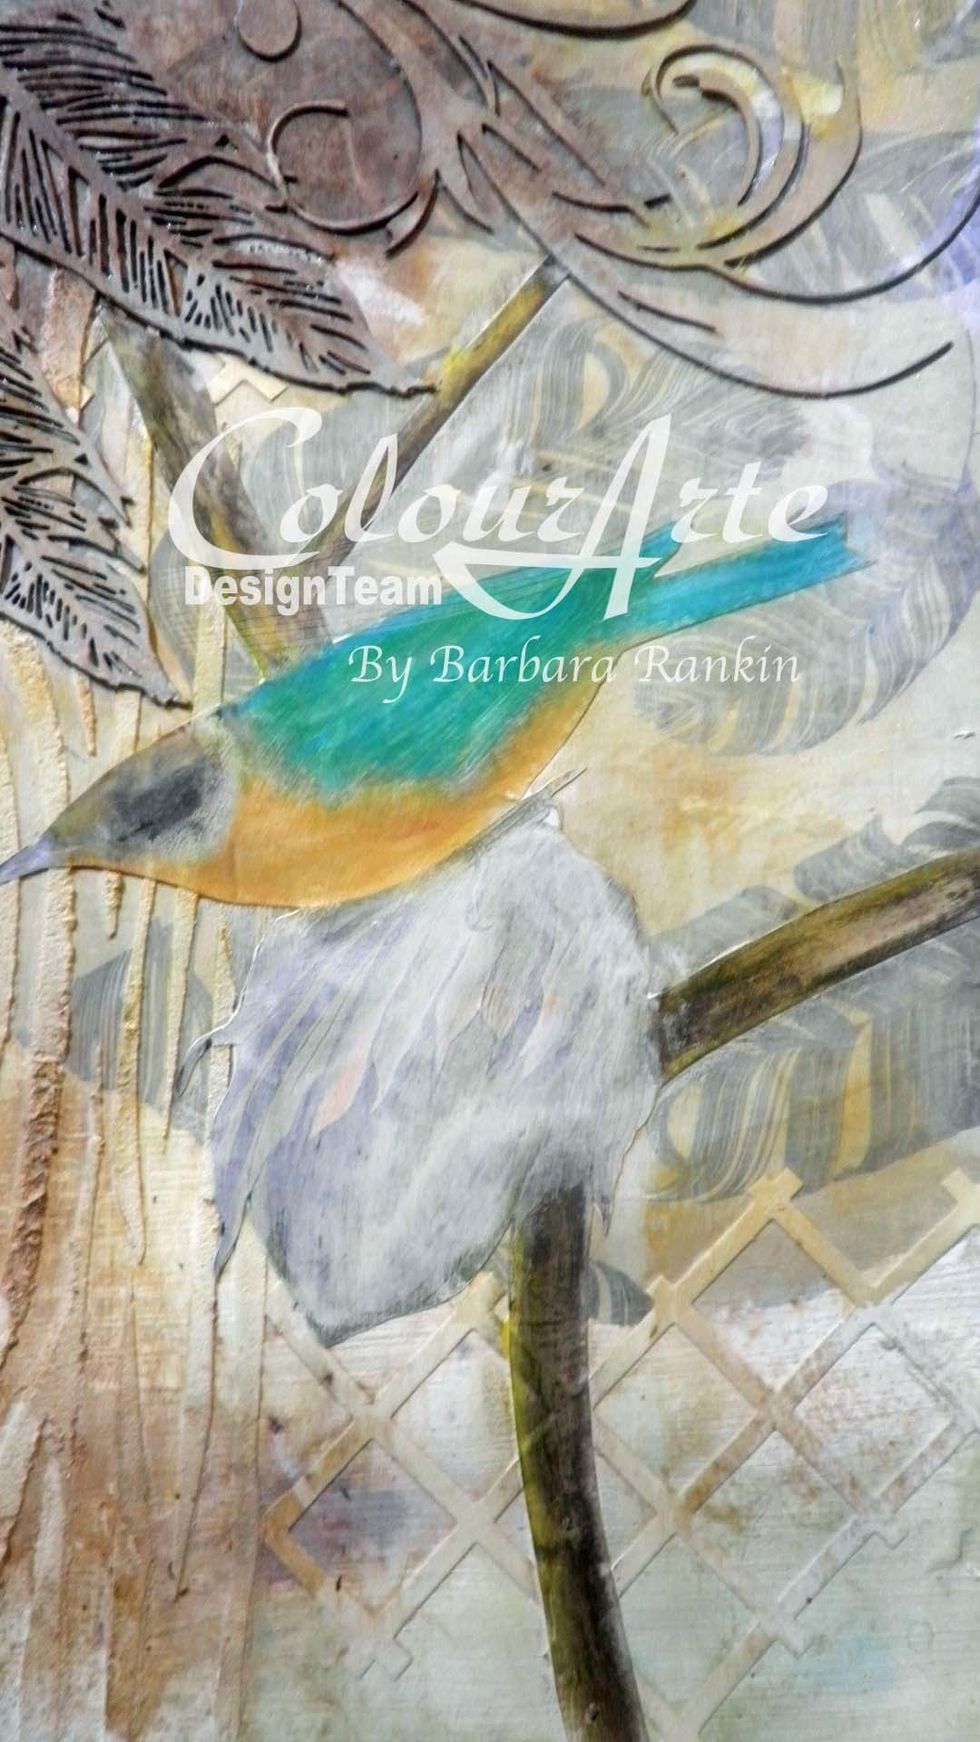
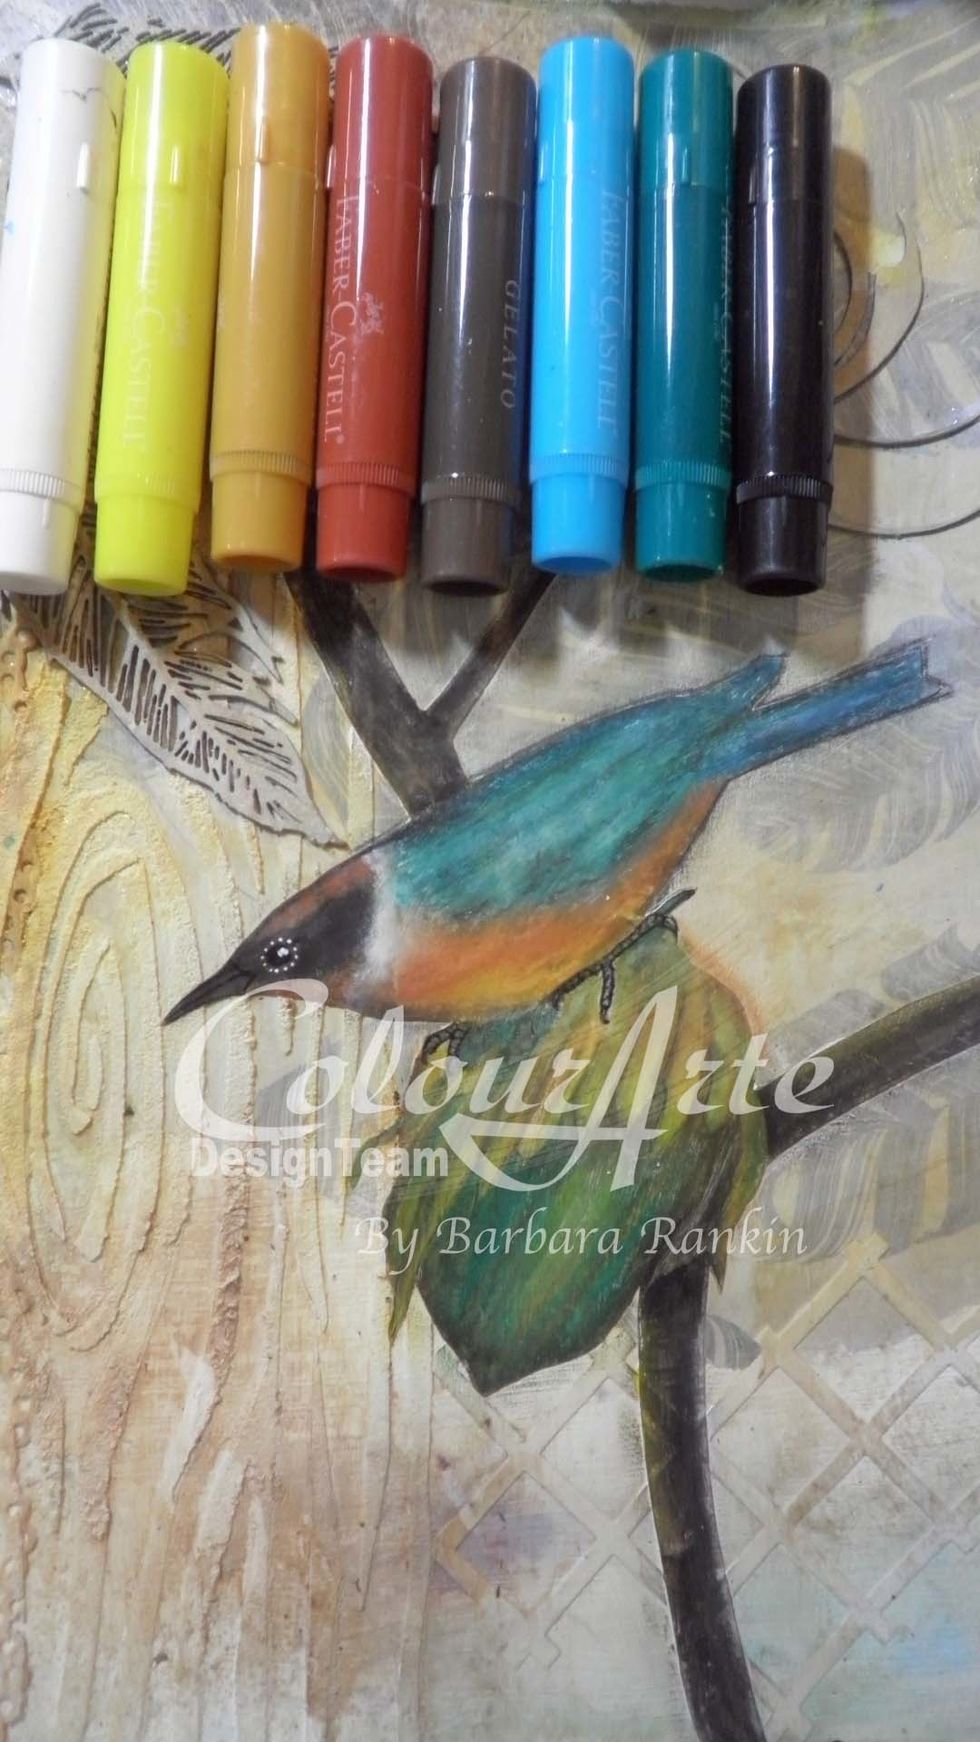
Begin adding Faber-Castell Gelatos in ochre, blue, green, yellow, brown, black, and white, rubbing and blending each with your finger as you work.
Add more Gelatos to the pod, and begin coloring the branches.
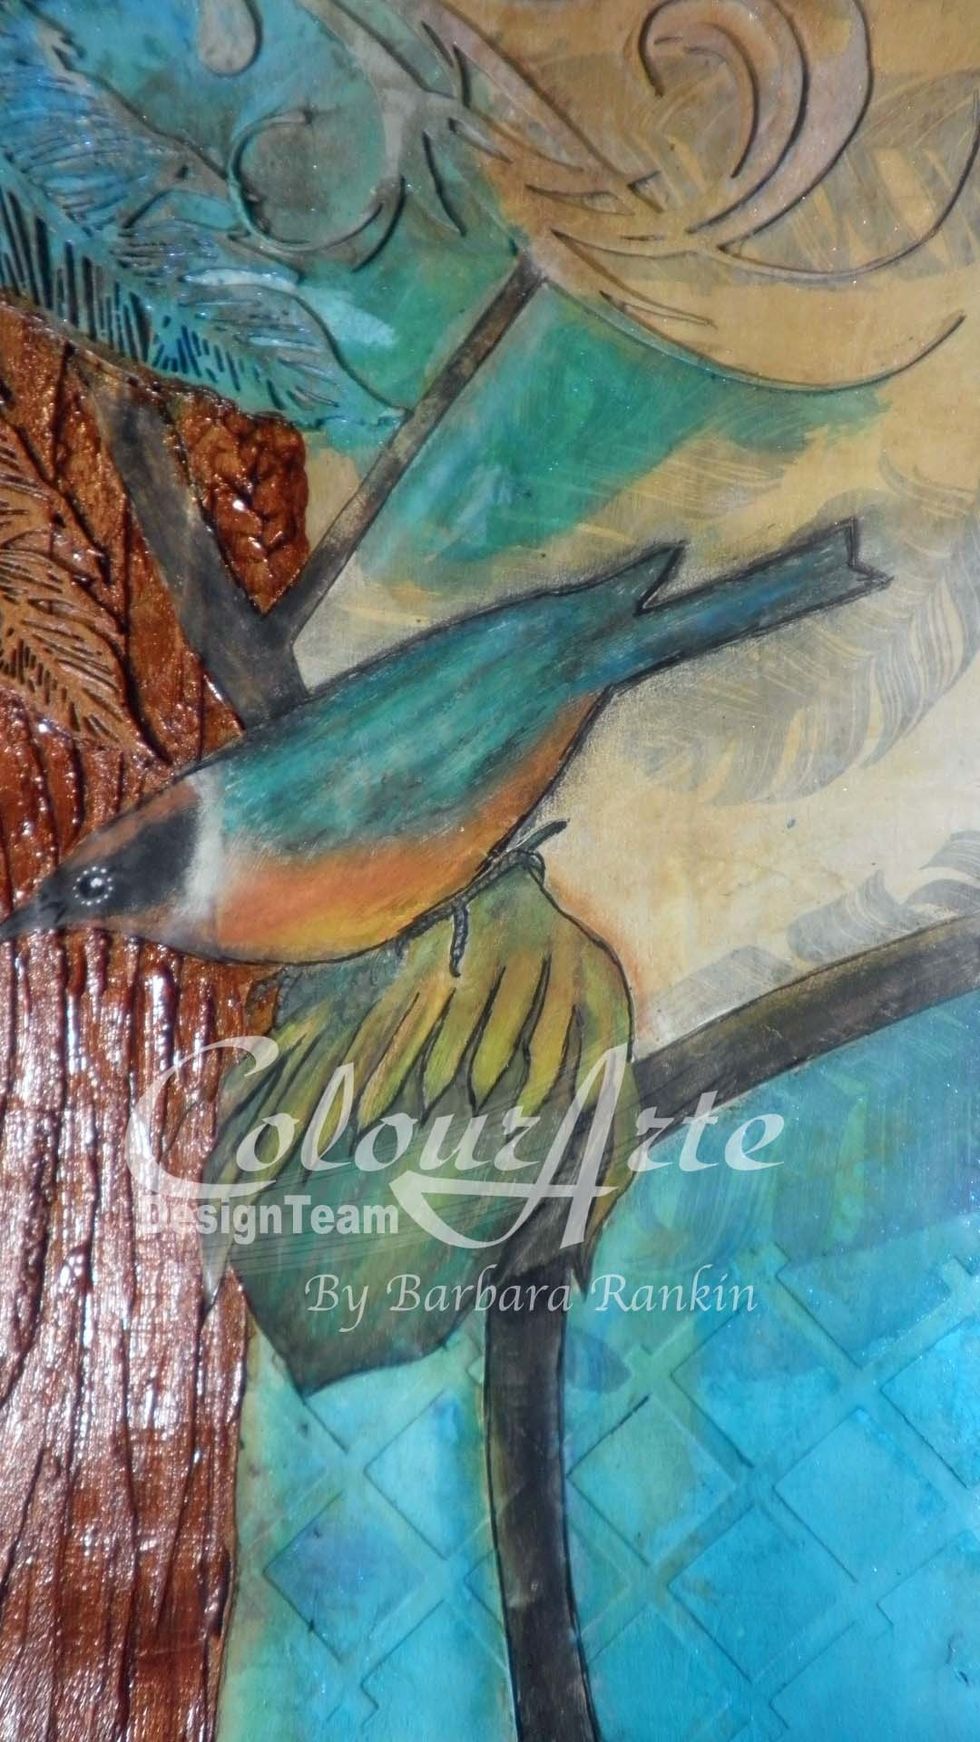
Continue adding the Gelatos to the image. You can wet your finger with a bit of water to help spread the colors, if needed.
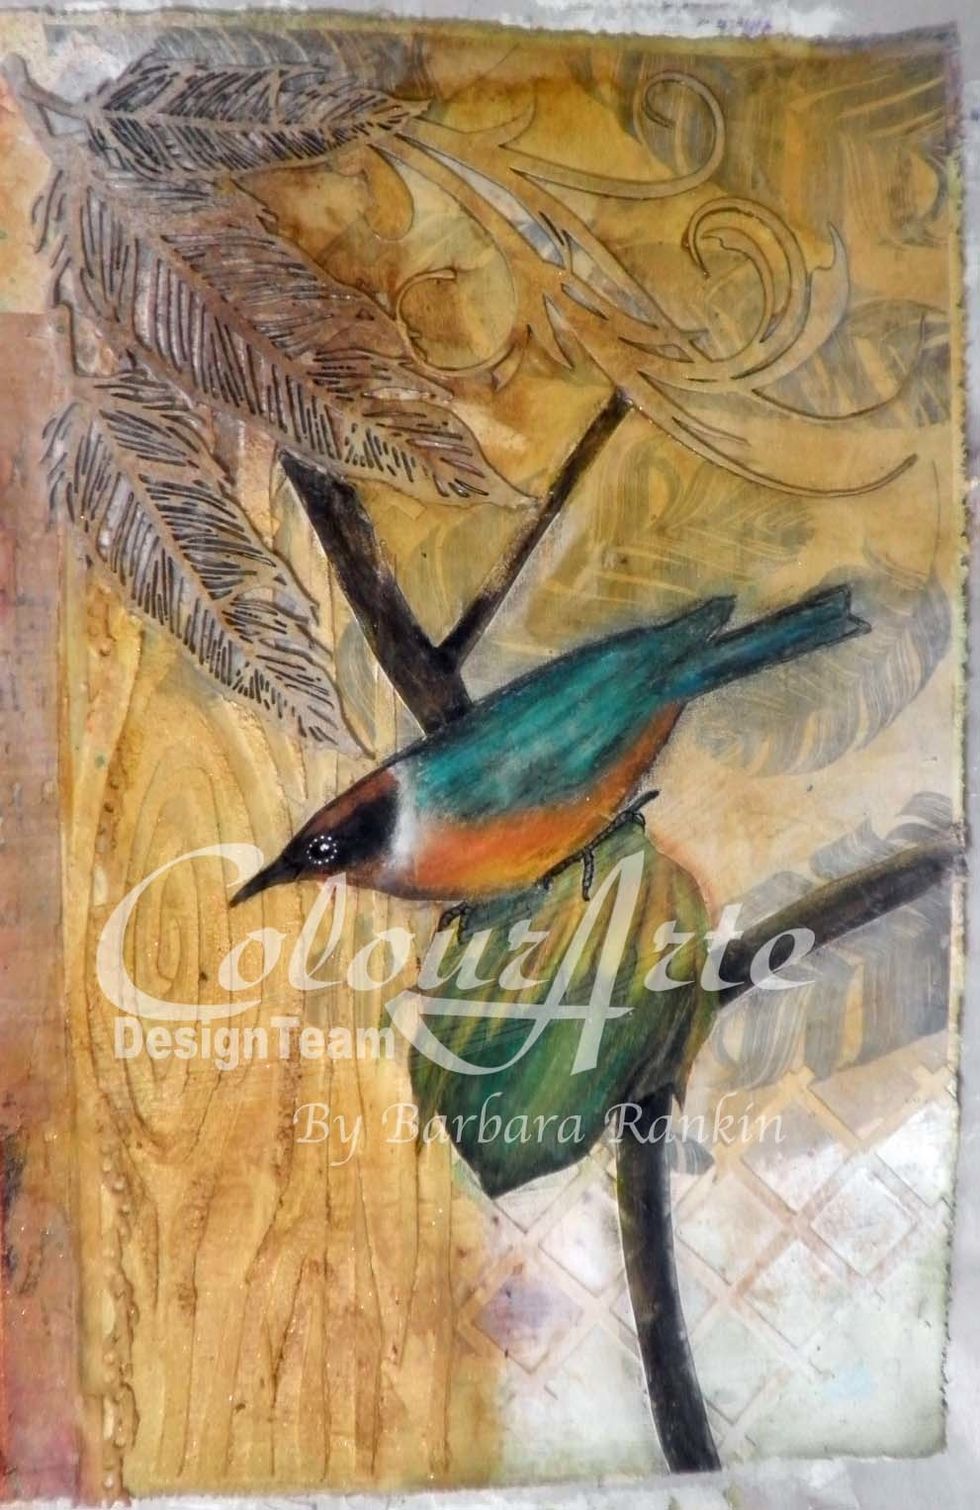
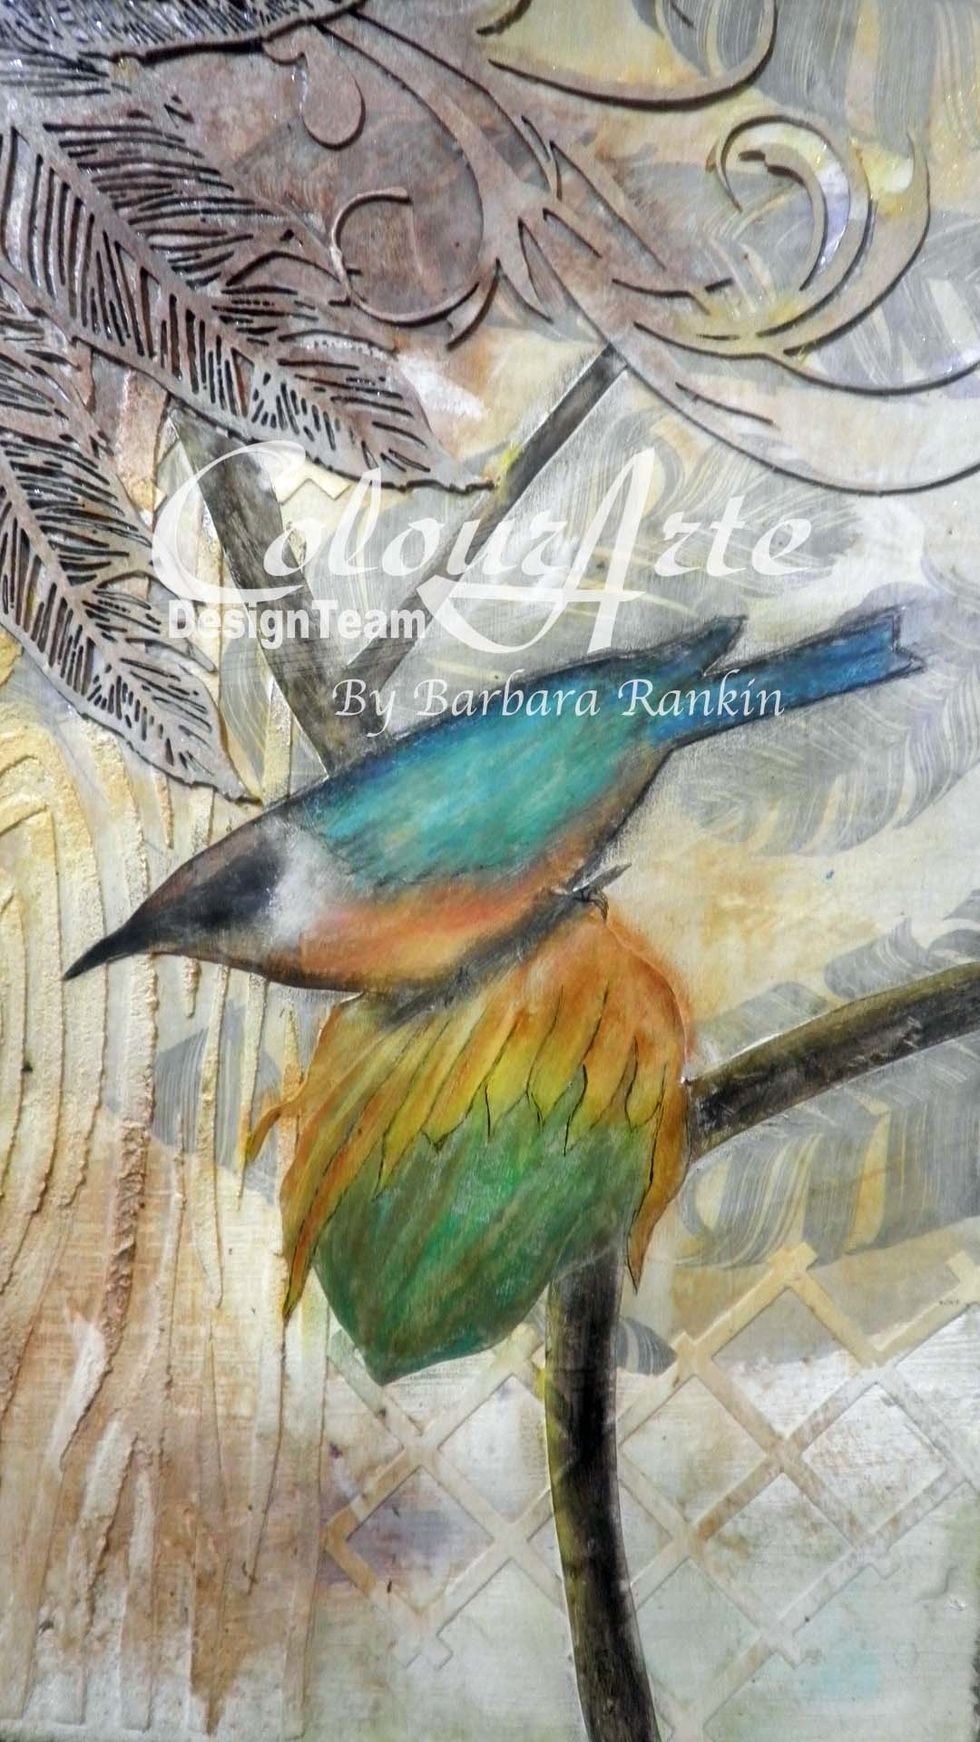
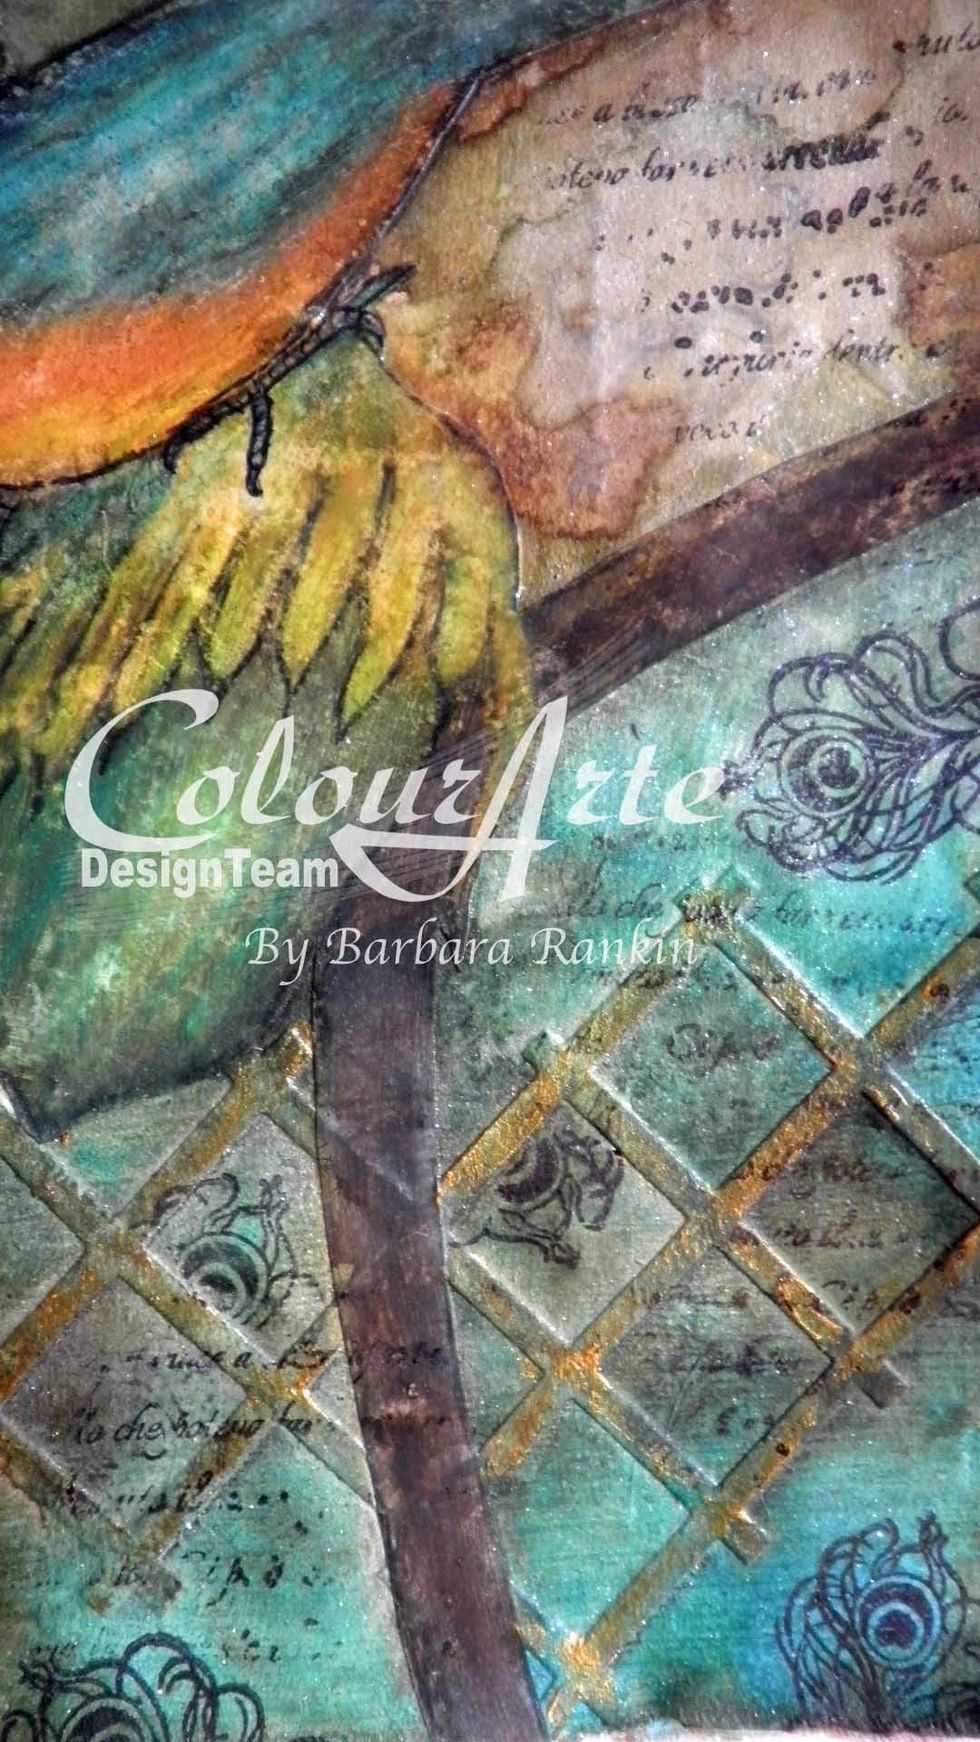
Add more details with the Gelatos until you like it. Mist top right and lower left sections with Butternut mist, then use a wet paint brush to spread the color.
Use permanent black pen to detail the beak, eye, and feet of the bird image. Add a white dot from a gel pen to the eye to bring it to life.
Use ColourArte Mediterranean dauber to add color to top left and bottom right sections and then use a wet paint brush to spread the color.
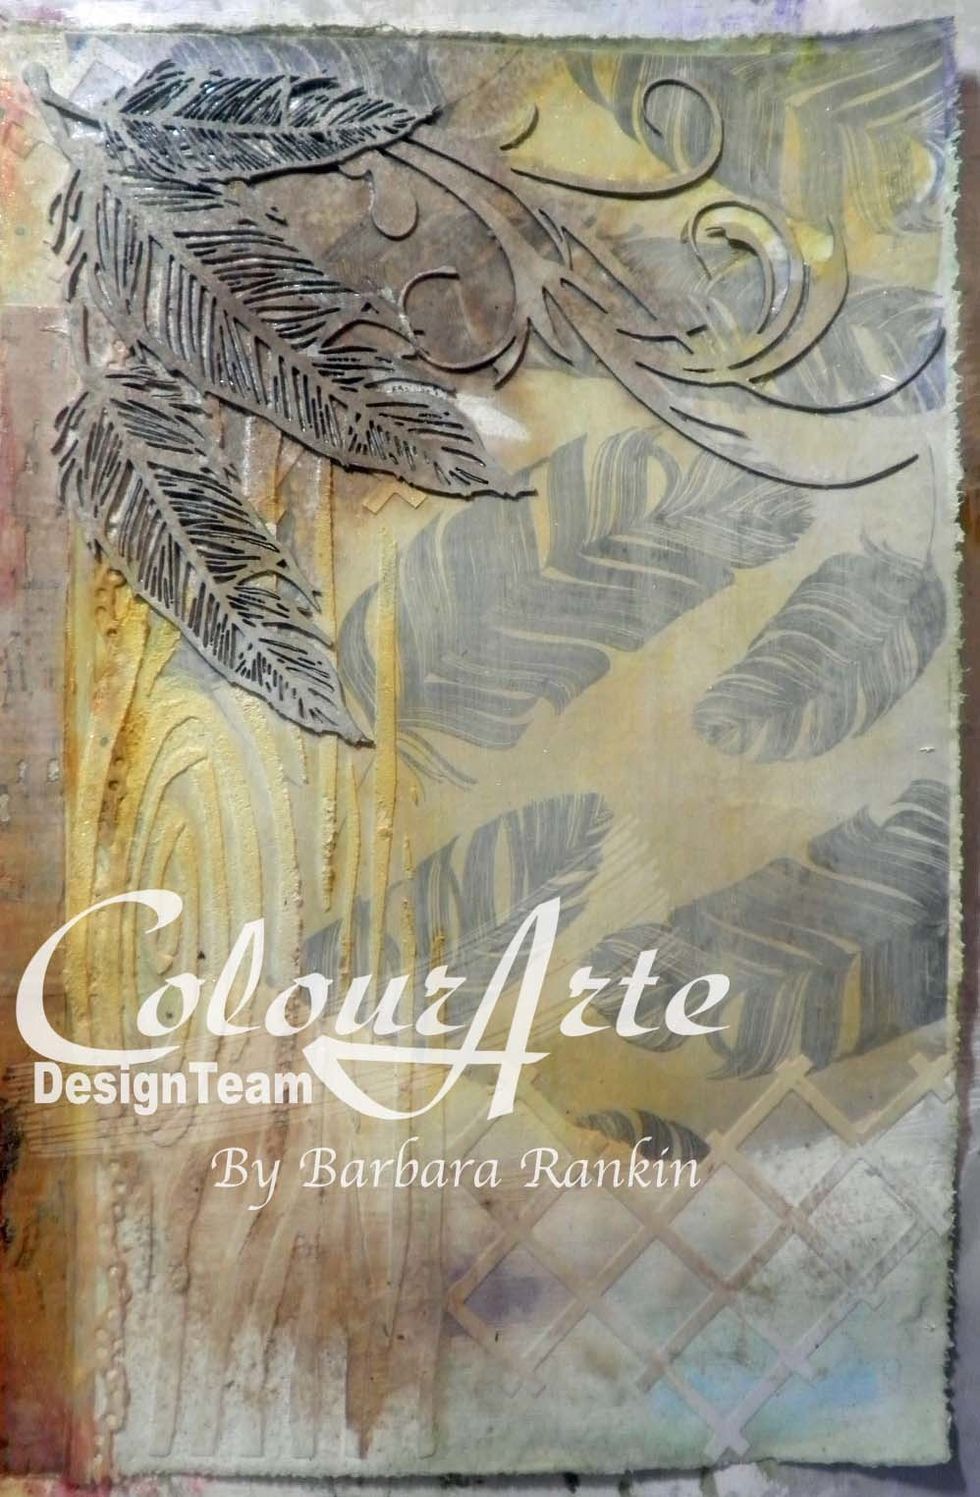
Color the wood grain stenciled area with Autumn Leaf Radiant Gel dimensional paint.
Add a sketchy outline to the collaged image with a permanent black pen.
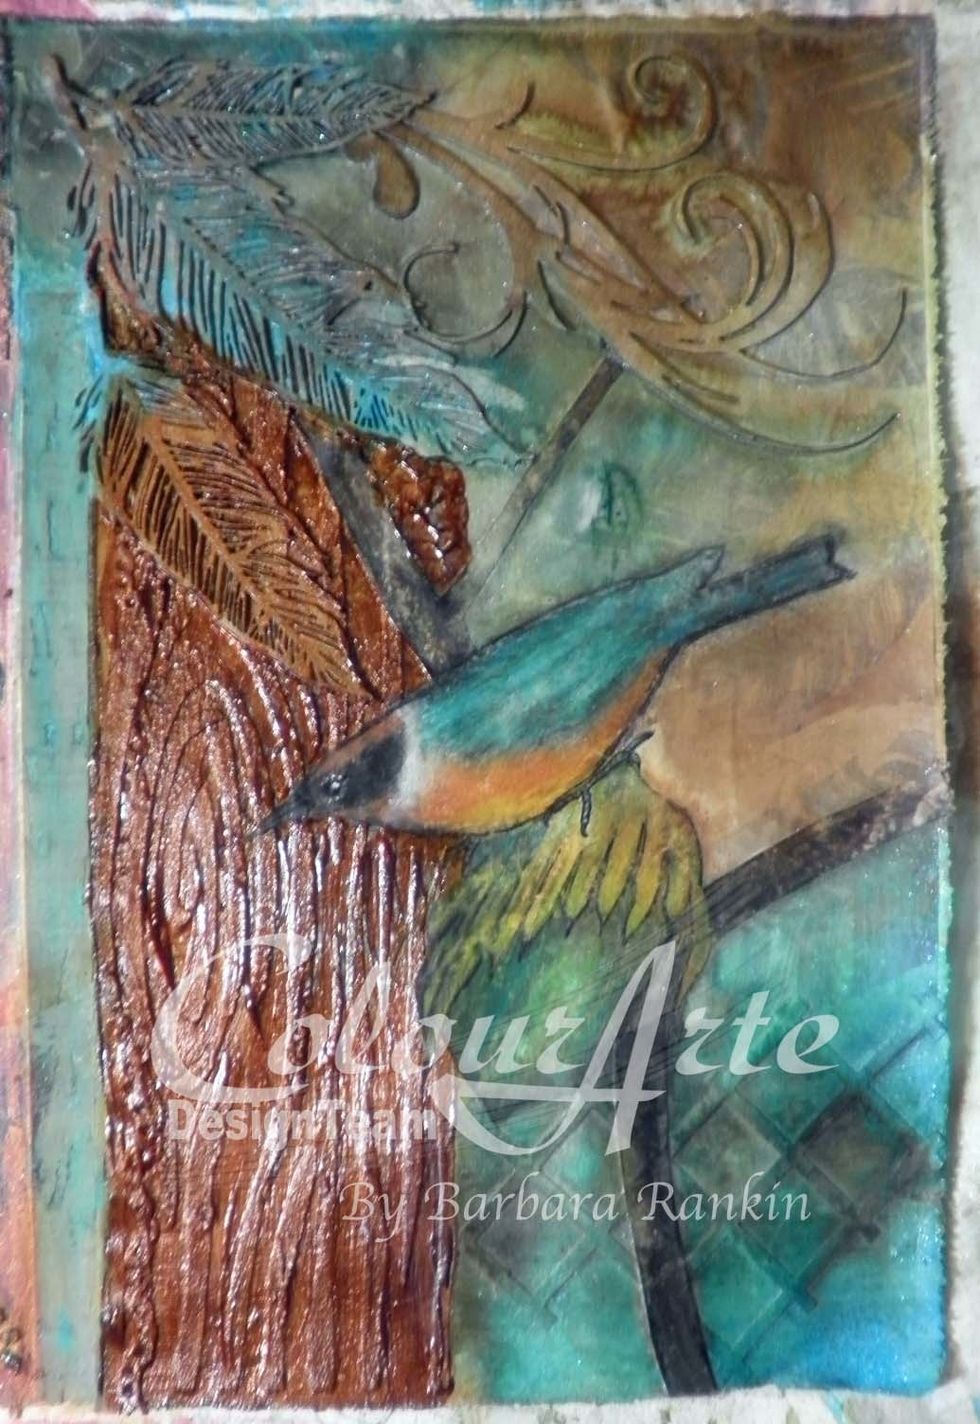
Mist page with Walnut Ink and ColourArte Radiant Rain Honeydew shimmering mist to give the page some warmth. Let dry. Protect collage image with paper towel while misting.
Highlight chipboard pieces with another coat of white gesso and let dry.

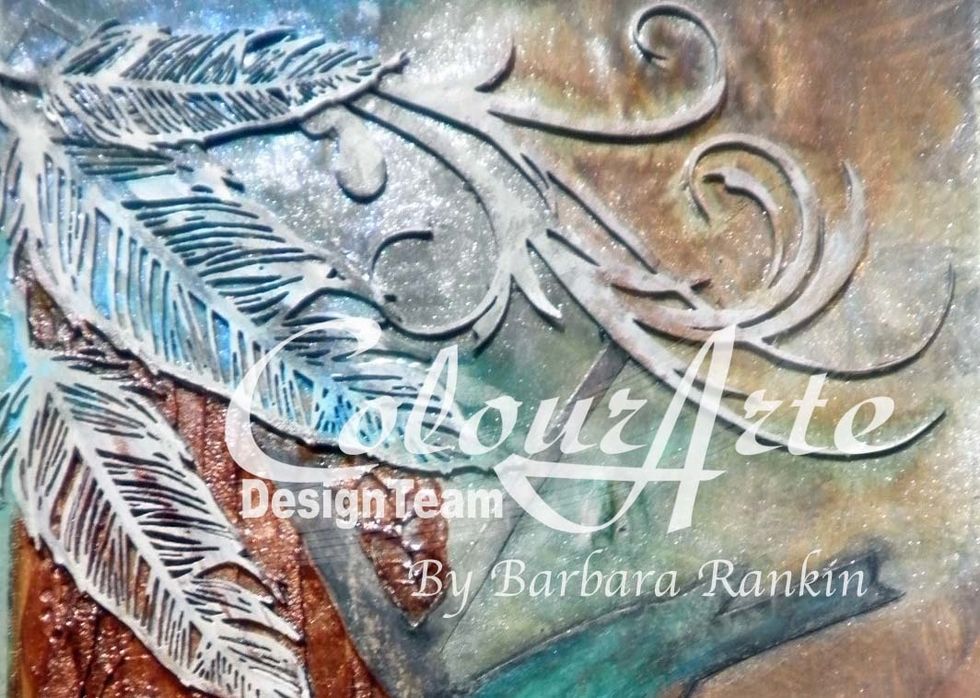
Dab ColourArte Mallard, Rich Cobalt, and Lime Green over chipboard feathers. Color the chipboard flourish with Emperor's Gold Radiant Gel. This color is so rich, not brassy like some golds.
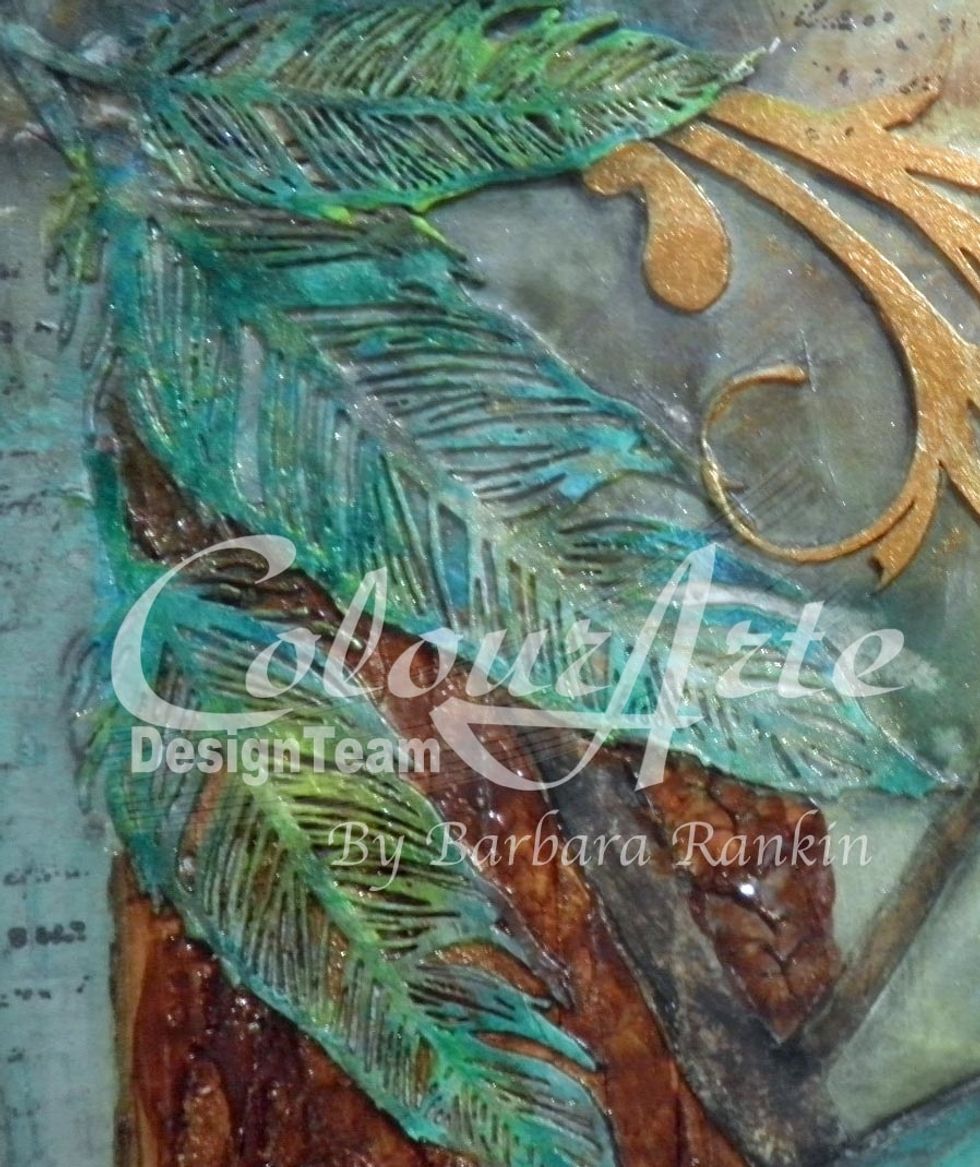
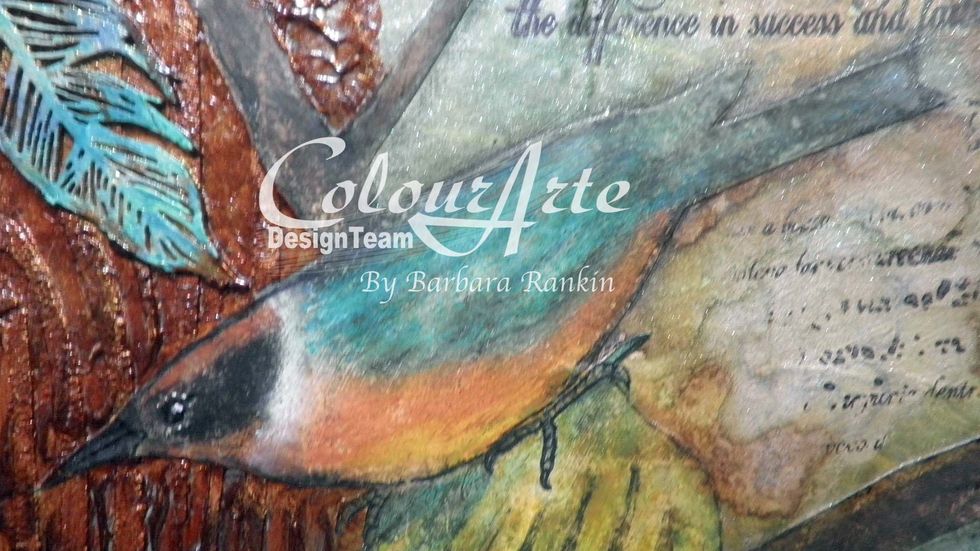
Here is a close up after adding the Key Lime Radiant Gel to the feathers.
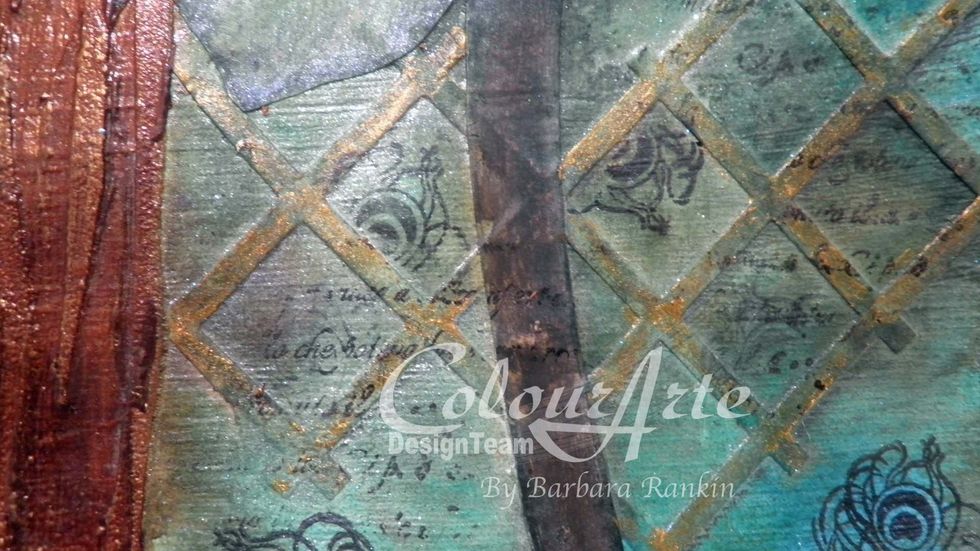
Dab Emperor's Gold Radiant Gel over the paper lattice die cuts ...
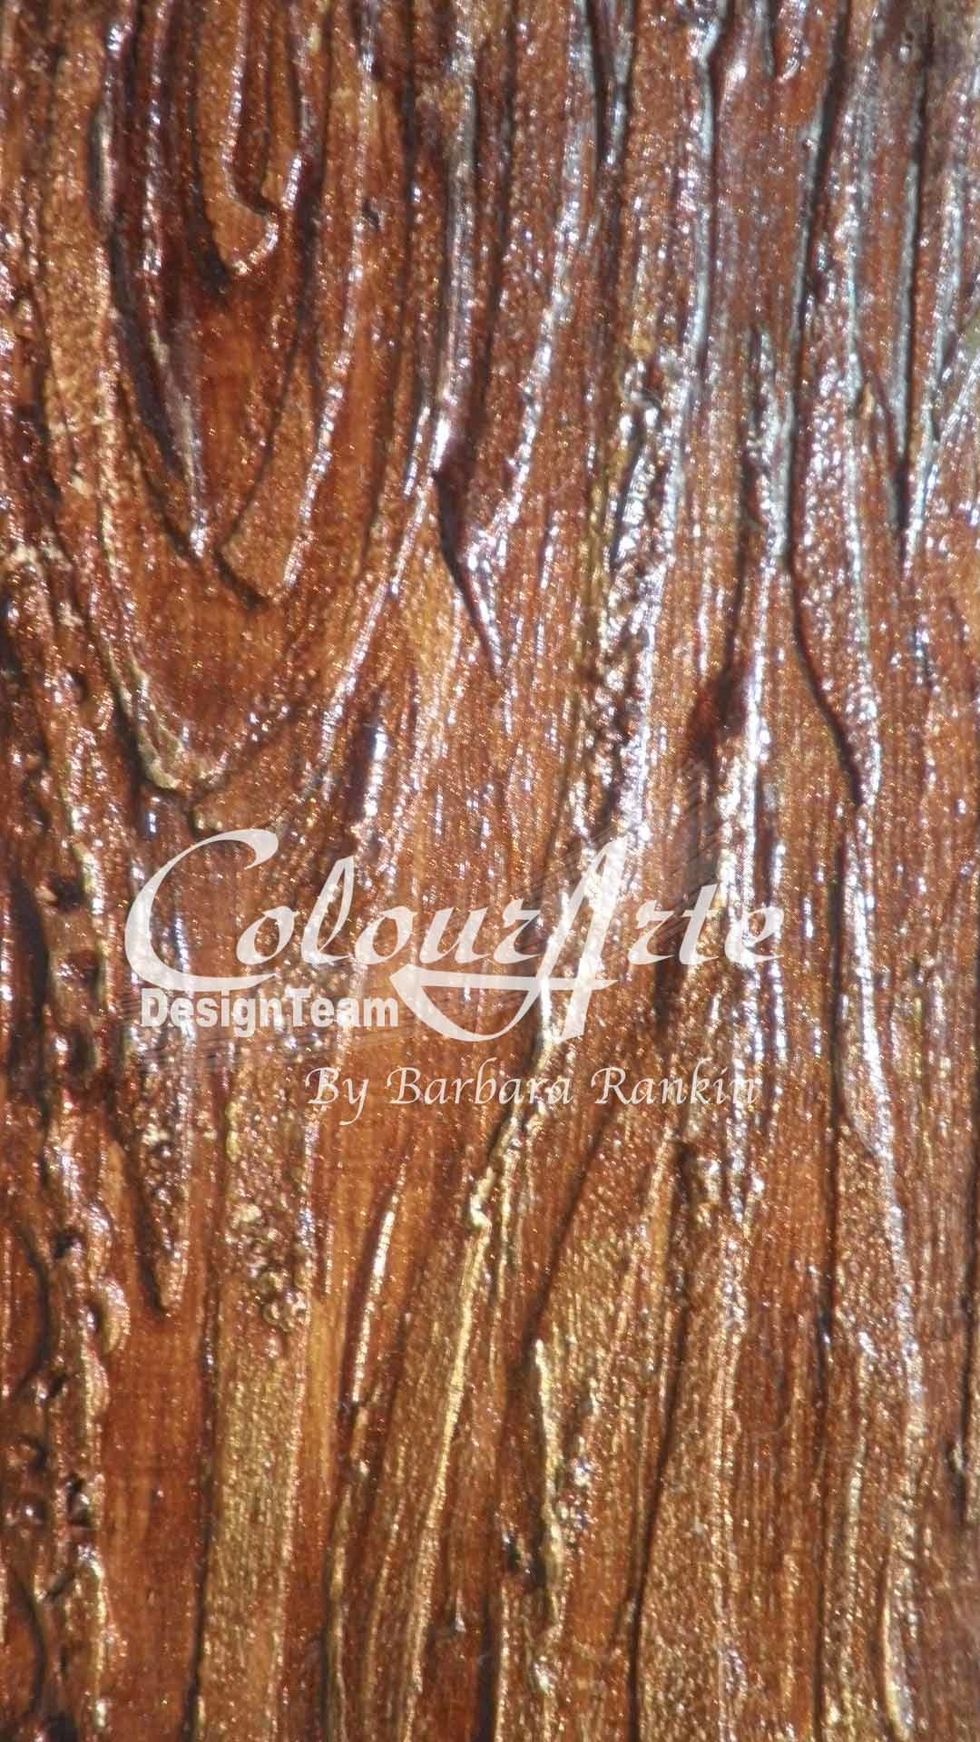
... and the high spots on the wood grain.
Add stamping with peacock feathers from Sin City Stamps Wildlife set, and script from the Art Journaling set. Both available at www.sincitystamps.com

Add some script stamping to the cork strip along the edge of the wood grain, too.
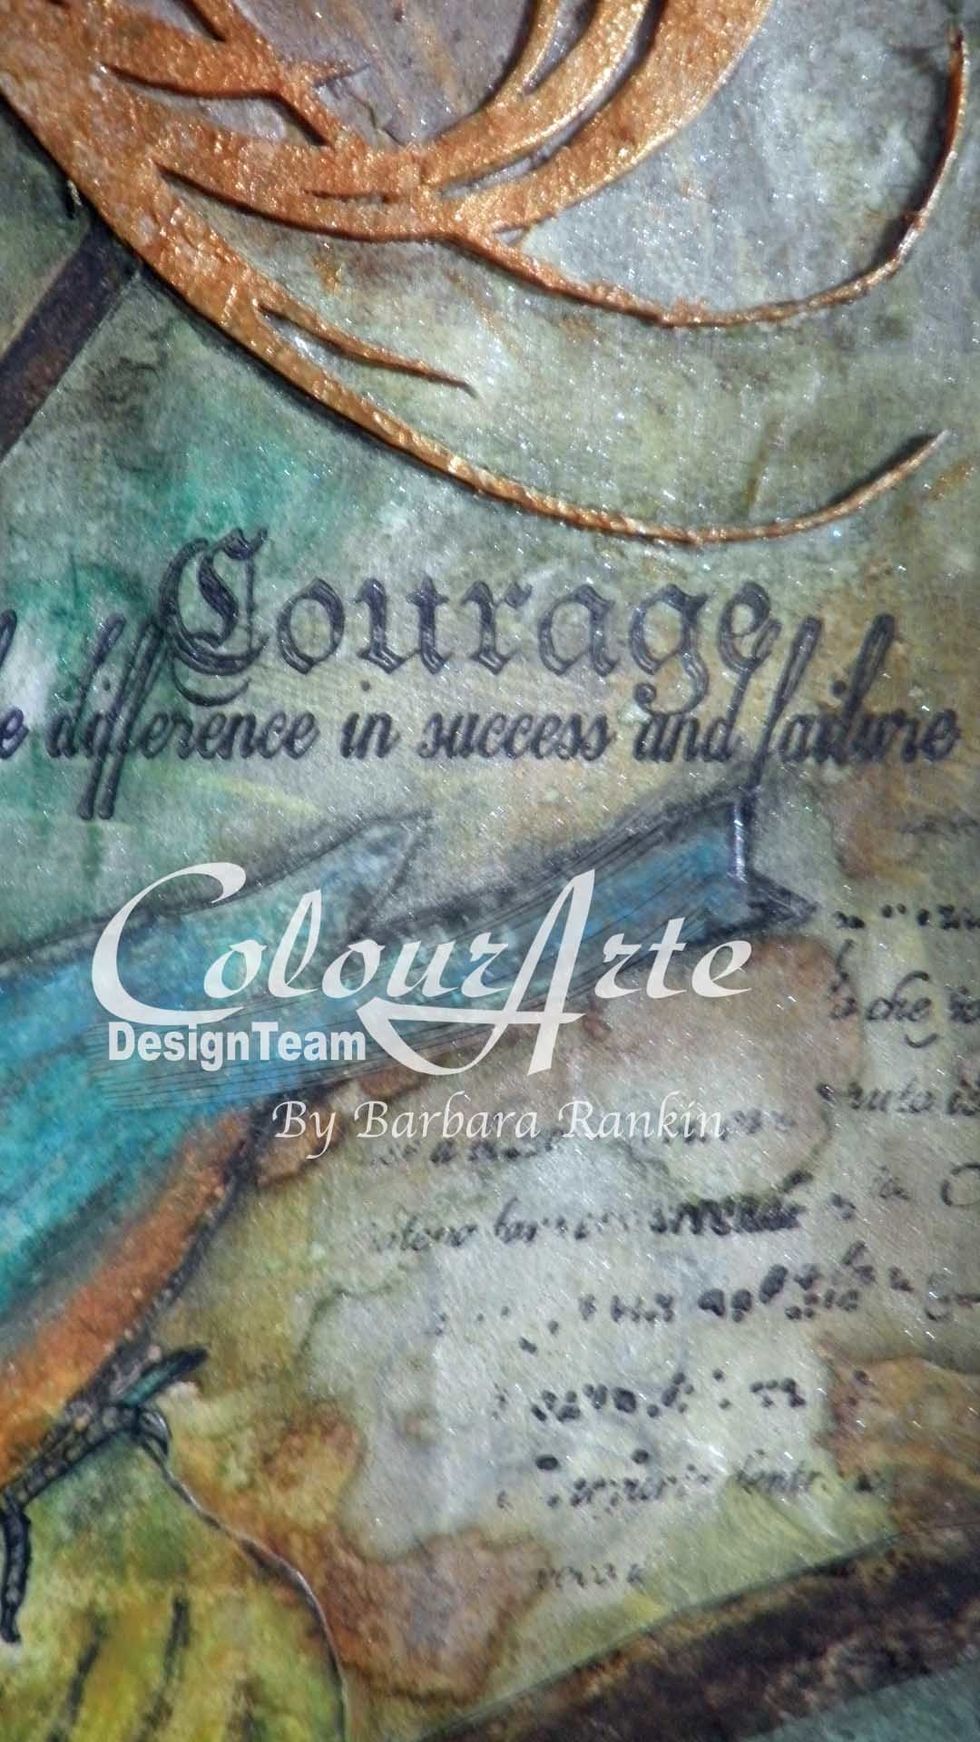
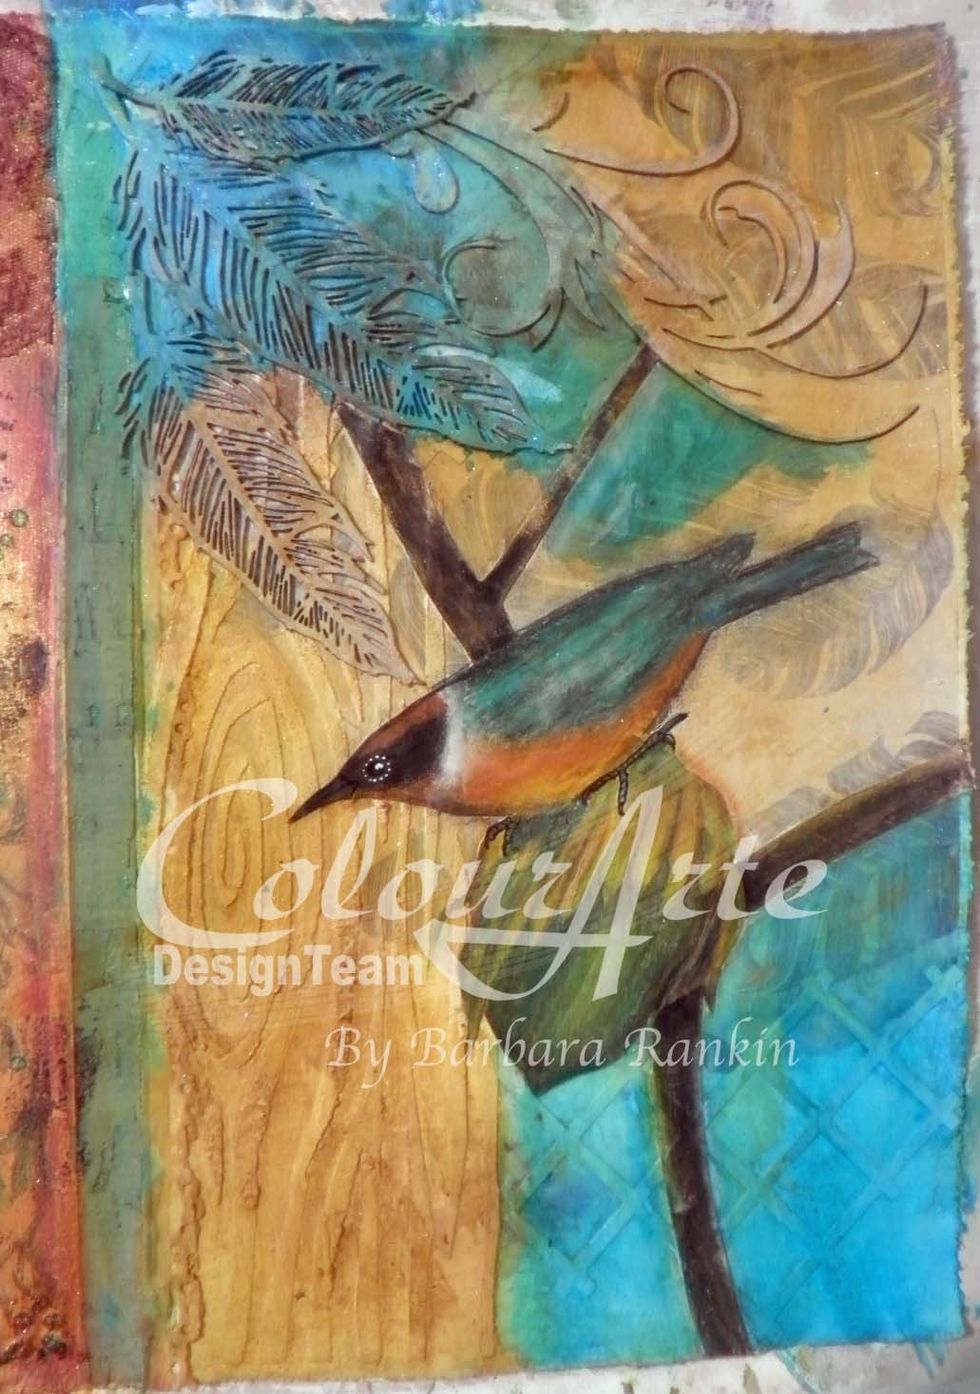
Stamp the "Courage" sentiment beneath the gold flourish with black archival ink.
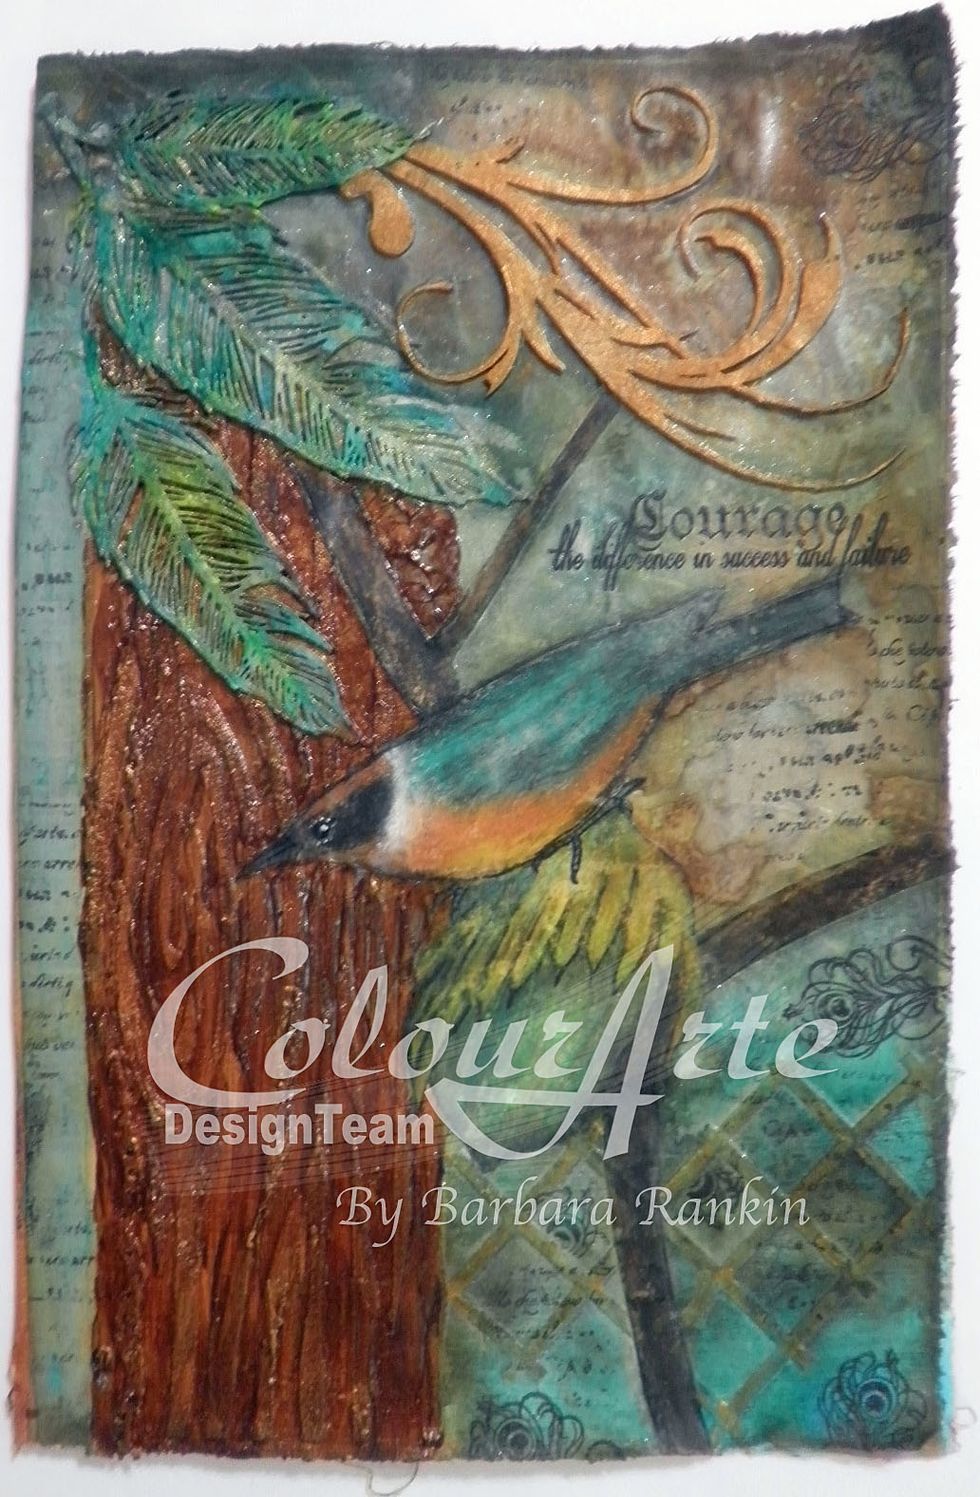
Edge the page with the ColourArte Nutmeg dauber. Voila!!! You are done!
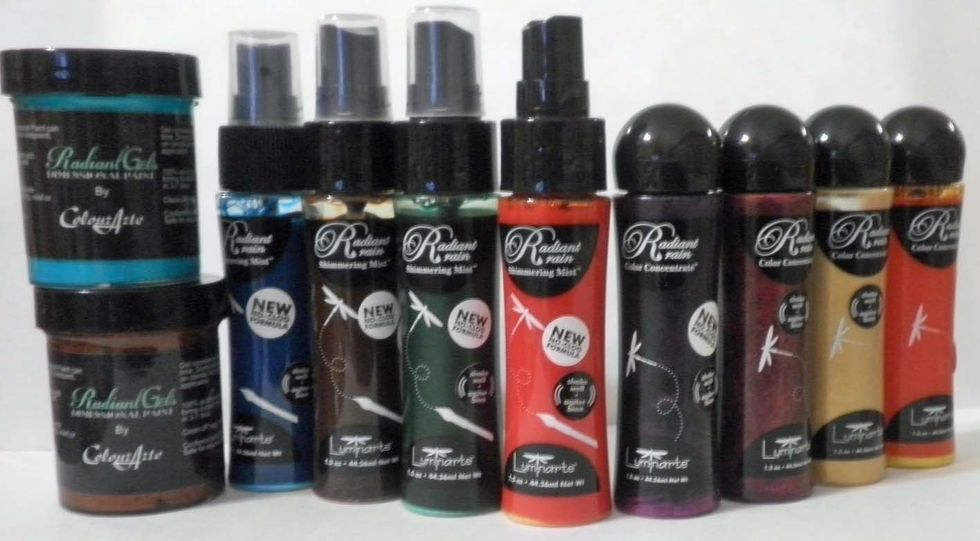
ColourArte makes these fabulous shimmering mists, color concentrates in dauber bottles, dimensional paints, as well as the well-known Twinkling H20's. Stop by www.colourarte.com today to see it all.
If you like my project today, and would like to see more of my work, I would love for you to visit my blog at http://blackholeartstudio.blogspot.com, and perhaps follow me to keep up with my work!
Thanks so much for stopping by today, and I hope you are inspired to try some mixed media projects too! They are so much fun! A complete list of supplies can be found on my blog.