The Conversation (0)
Sign Up
From the Tags & Pockets, take one of the arrow journaling pieces out. Ink the edges of the arrow using Photogenic Ink and a blending tool with foam.
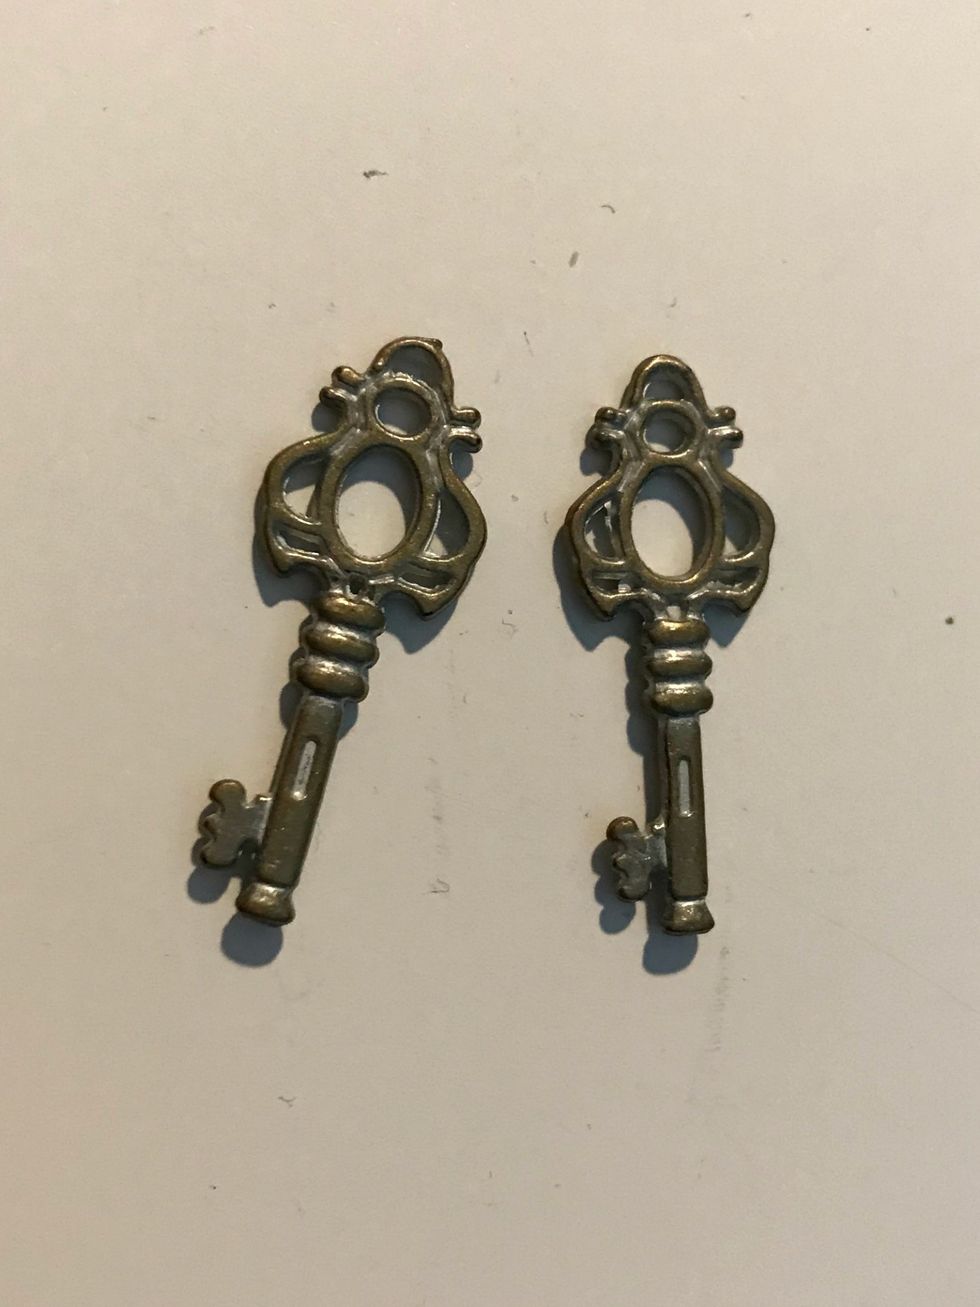
From the Shabby Chic Ornate Metal Keys, take four keys out.
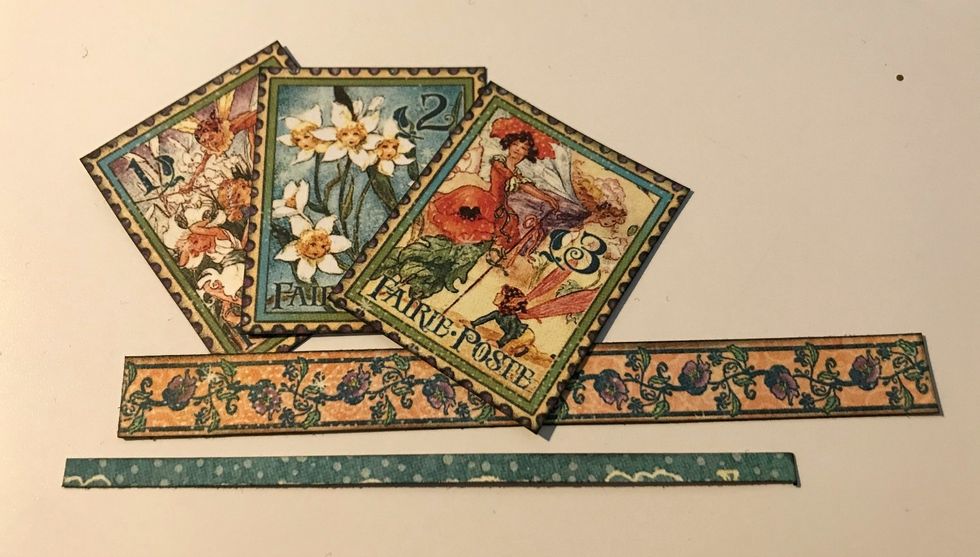
From the borders paper, cut out 3 stamps out, the floral border and the small blue border. Cut the floral border to 4 1/2". Cut the blue border to 4". Ink the edges using the Photogenic Ink.
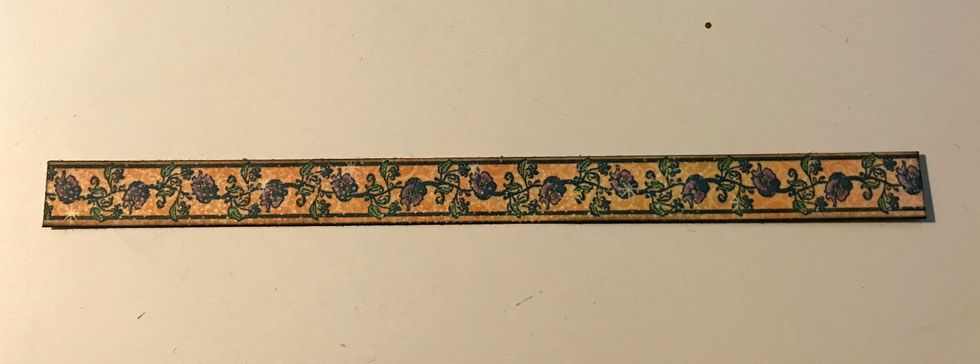
Ink the edges of the left over floral border piece with Photogenic Ink and a blending tool with foam.
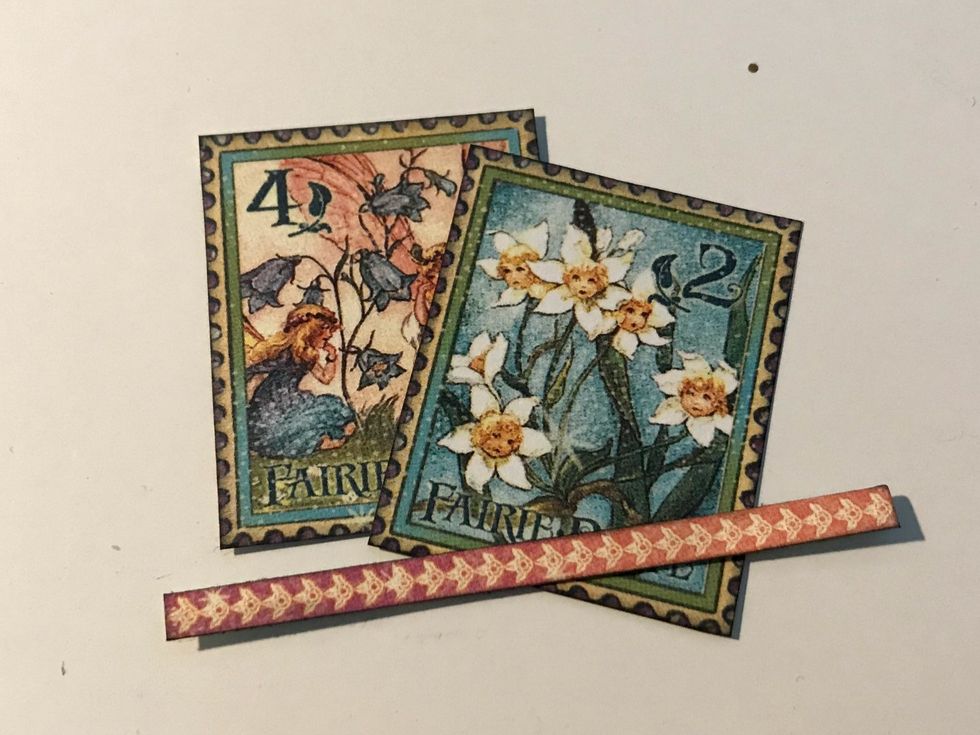
From the border paper, fussy cut 2 stamps out as well as the pink flower border. Cut the pink flower border to 2 3/4" long. Ink the edges of the border using Photogenic Ink and a blending tool.

Fussy cut one more stamp from the border paper. Ink the edges of the stamp using Photogenic Ink and a blending tool.
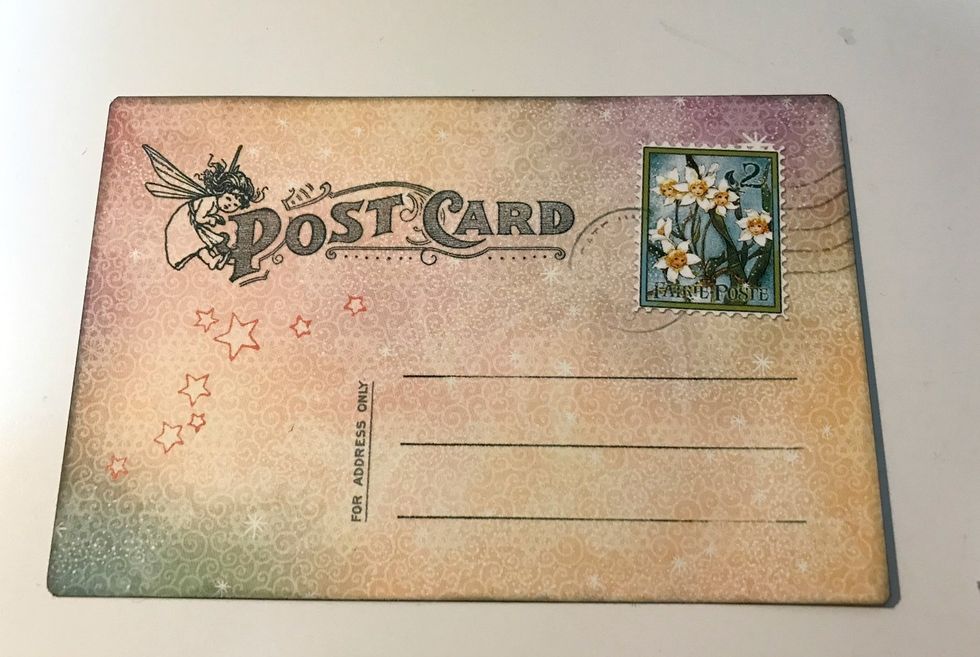
Pick out one of the 4"x6" ephemera cards. You'll use the back side of it. Ink the edges of the card using Photogenic Ink and a blending tool with foam.
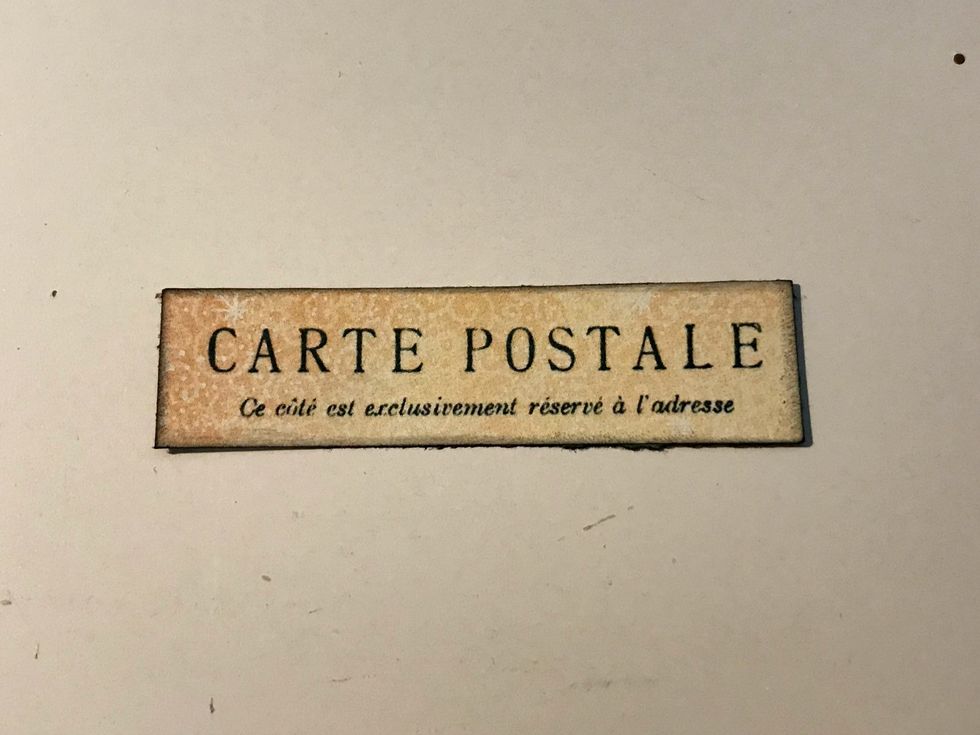
From the backside of another ephemera card, cut out the Carte Postale. The piece of paper will measure 1/2" x 2 1/2". Ink the edges of the paper using Photogenic Ink and a blending tool.
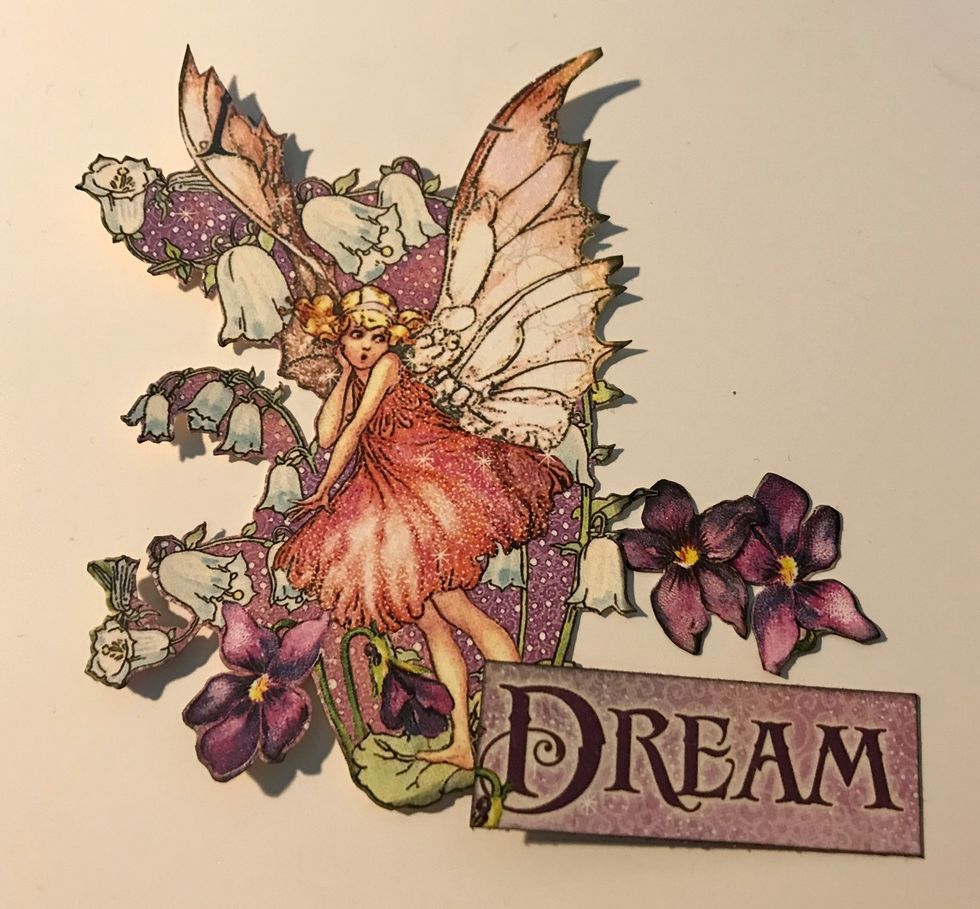
From the card paper, fussy cut the fairy and two purple flowers. From the backside of the ephemera card, cut the dream word out. Ink the edges of the pieces using Photogenic Ink and a blending tool.

From the floral paper, cut which ever flowers you desire out. Ink the edges of the flowers using Photogenic Ink and a blending tool with foam.
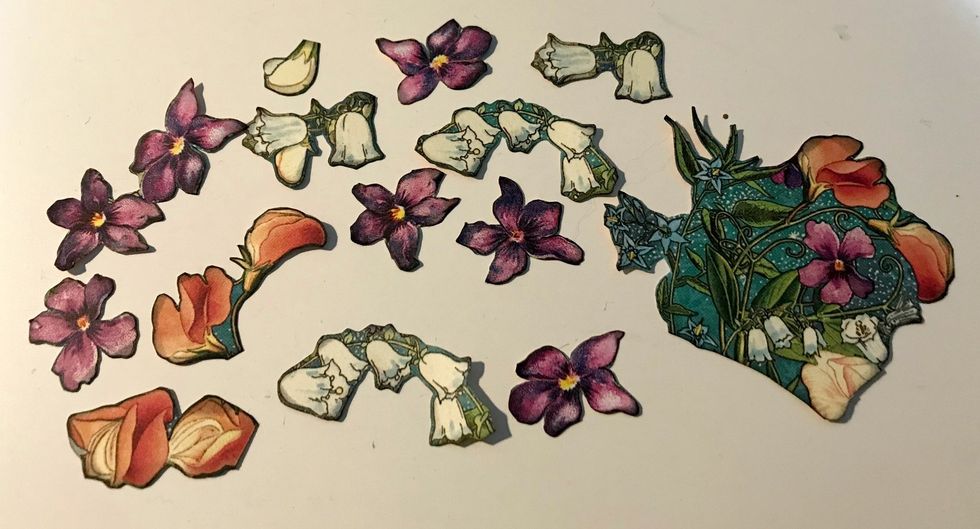
From the floral paper, you'll need to cut out some more flowers. You'll need a total of 12 smaller flowers and 1 bunch of flowers. Ink the edges of the flowers using Photogenic Ink & a blending tool.
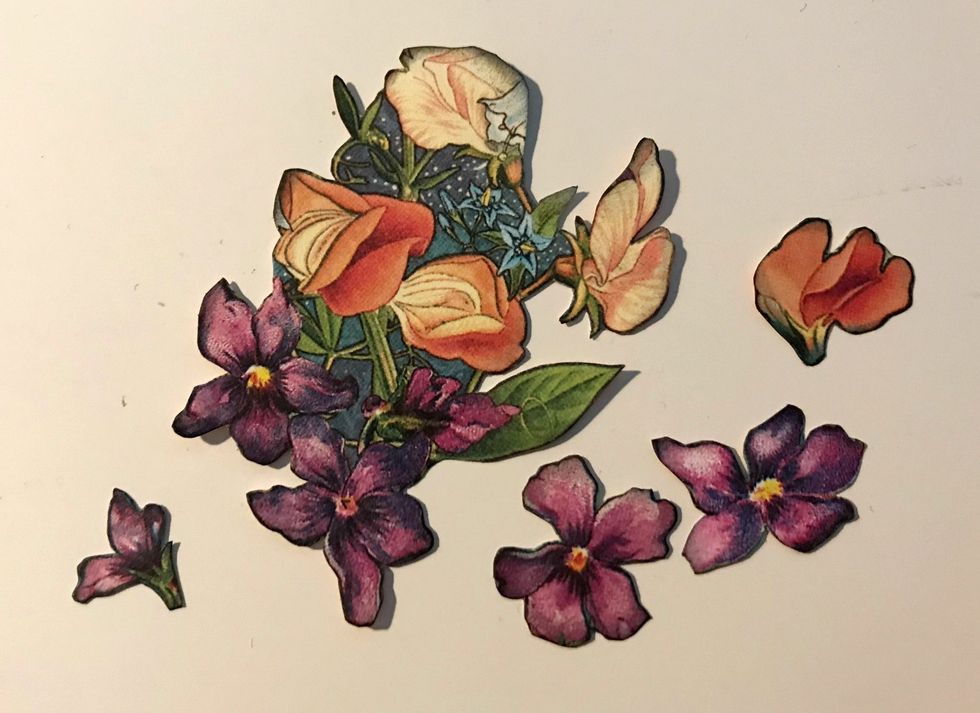
Cut another flower bunch along with four smaller flowers out of the floral paper. Ink the edges of the flowers using Photogenic Ink and a blending tool.
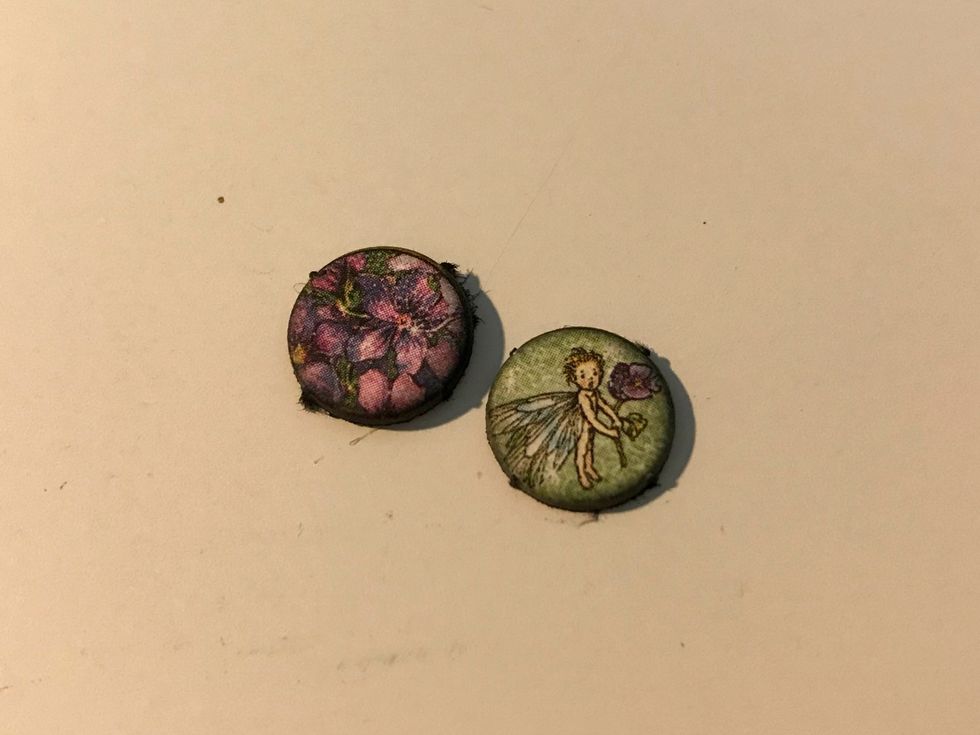
From the chipboard pieces, punch out two of the small circles. Ink the edges of the circle using Photogenic Ink and a blending tool.
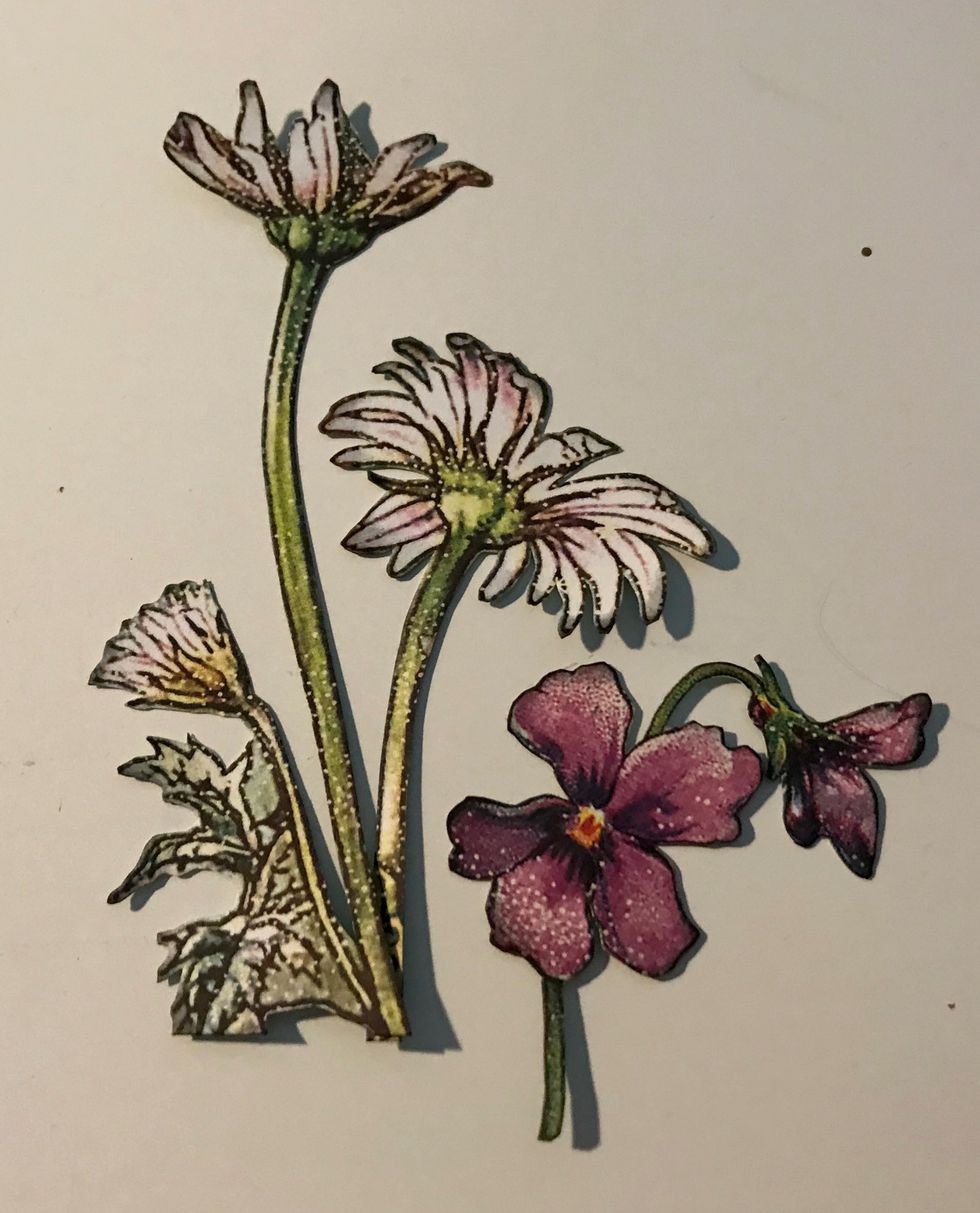
From the Fairie Dust paper, cut out the daisy bunch as well as the pansy bunch. Ink the edges of the flowers using Photogenic Ink and a blending tool with foam.
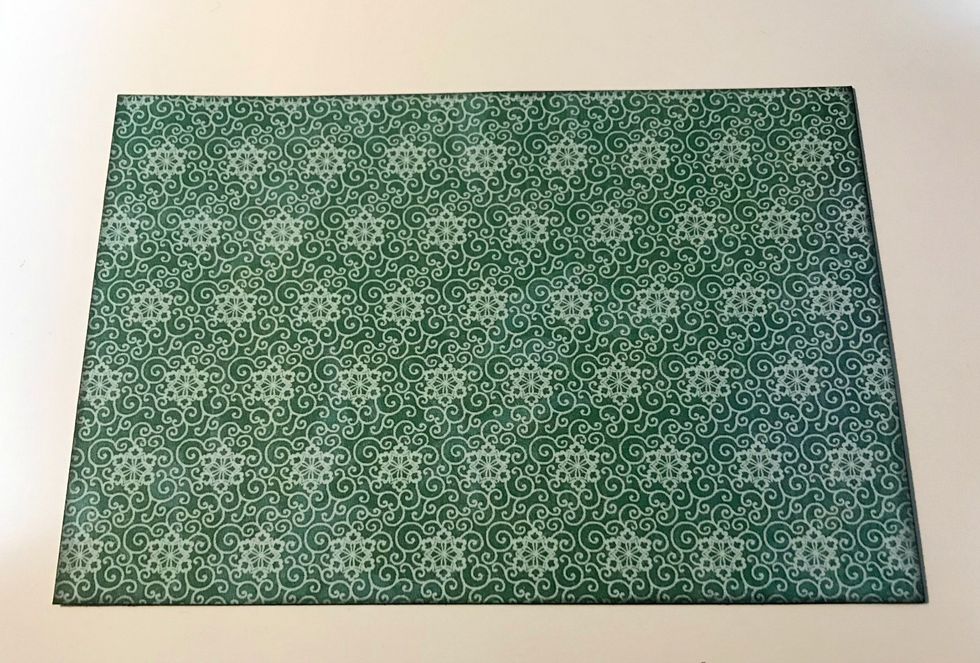
From the backside of the Fairie Dust paper, cut a piece that measures 4 1/4" x 6 1/4". Ink the edges of the paper using Photogenic Ink and a blending tool.
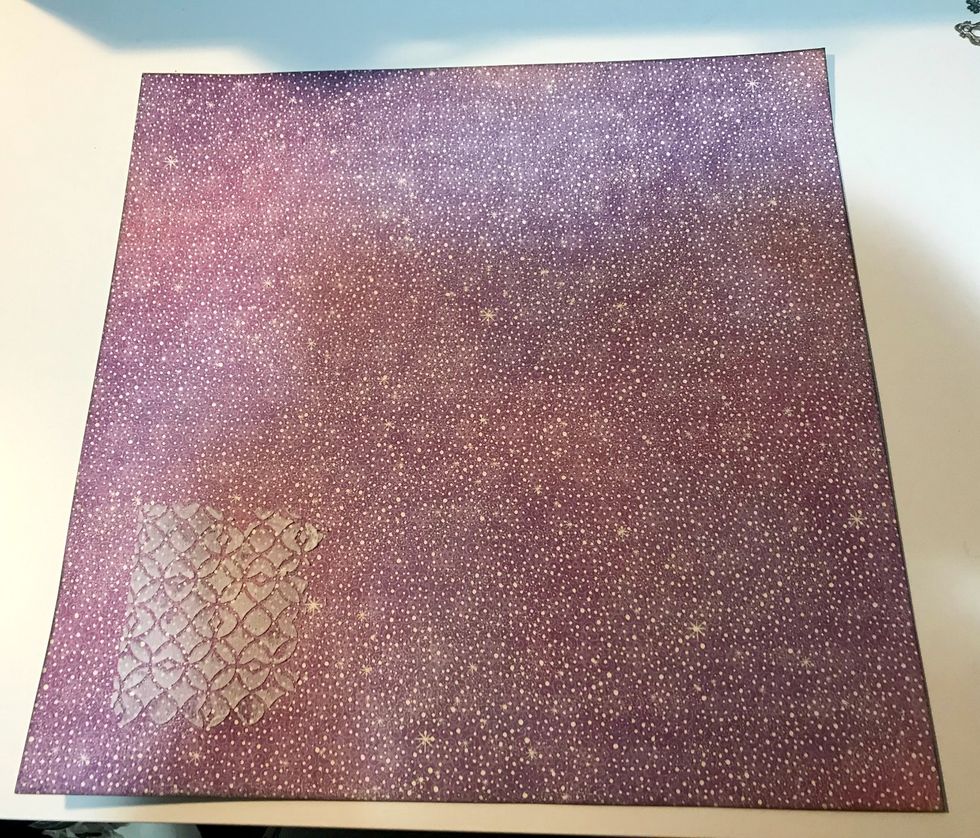
Cut barcode off of toadstool paper. Ink edges of paper with Photogenic Ink & a blending tool. Place lattice stencil in bottom left corner & use a palette knife to spread paste overtop of the stencil.
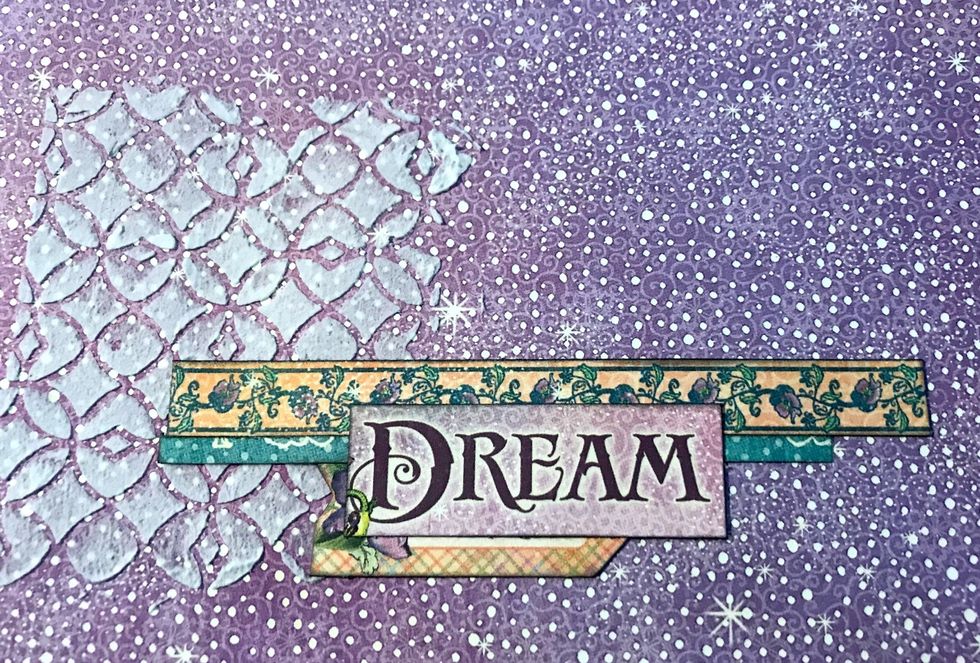
Adhere blue border 1 5/8" from bottom of paper & 2 1/2" from left of paper. Adhere floral border 1/8" over blue border. Adhere arrow 1" from bottom of paper. Adhere Dream tittle in middle of borders.
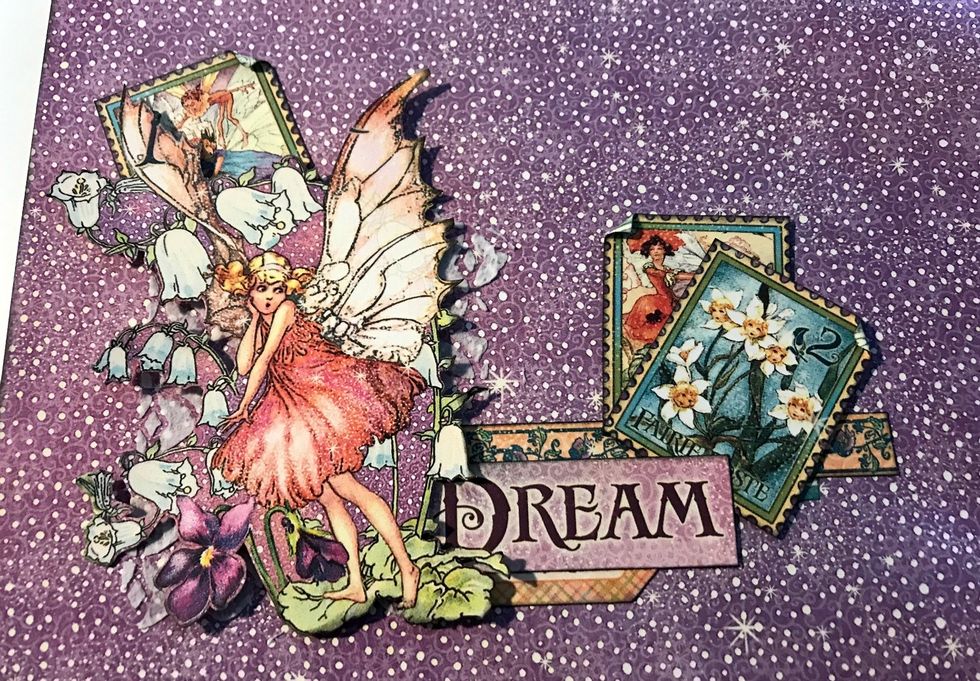
Foam square the fairy to the left of the dream word. Adhere 1 stamp in the top left corner of fairy. Adhere 2 stamps to the right of the Dream word. Roll one corner down on each stamp.
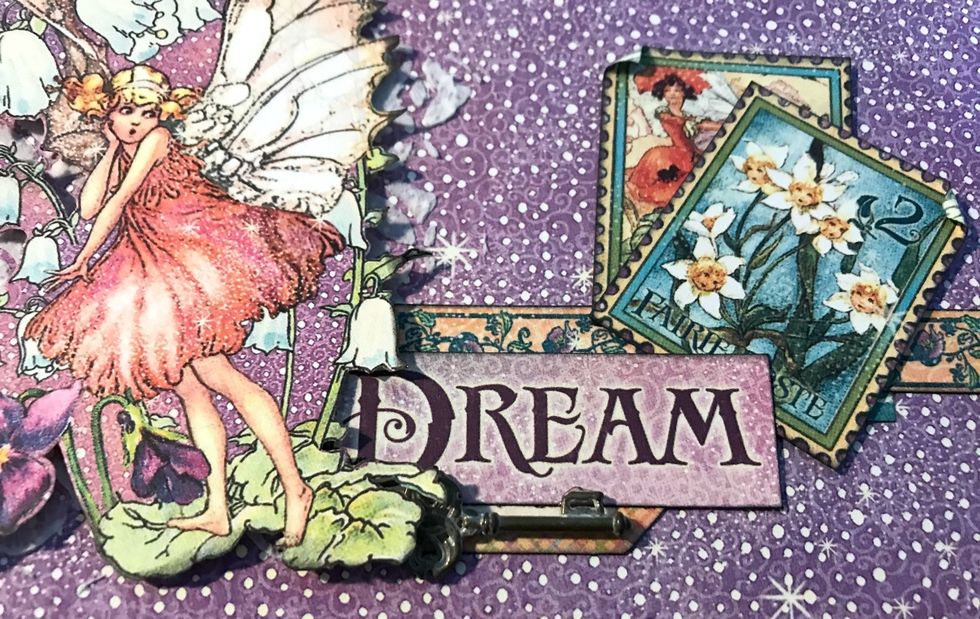
Adhere a bunch of flowers to the right of the fairie's wing. Adhere a shabby chic key underneath the Dream word.
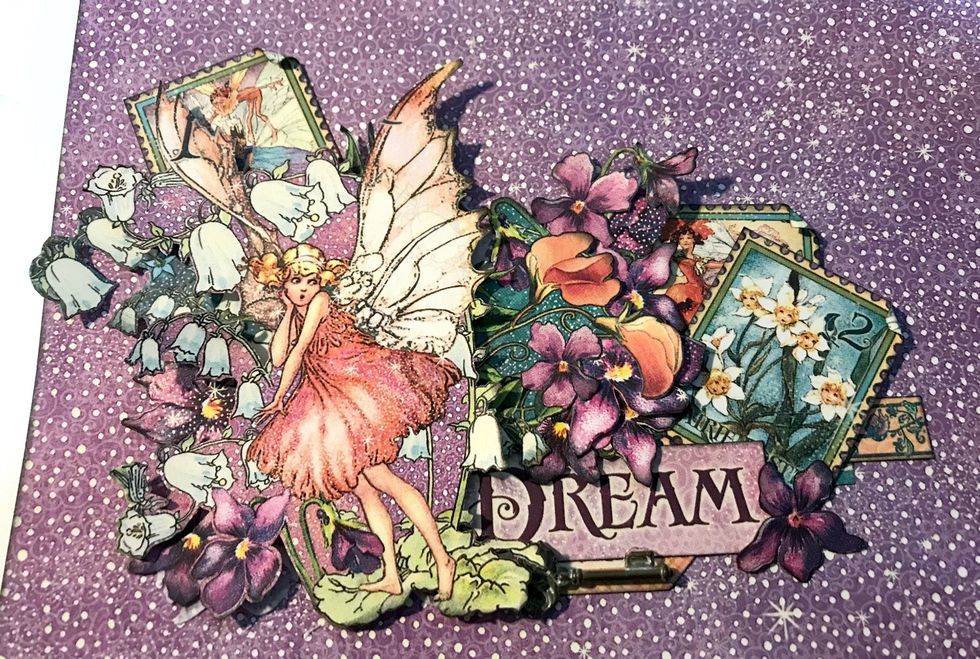
Using some of the single flowers, adhere them in amongst the fairy, other flowers and stamps.
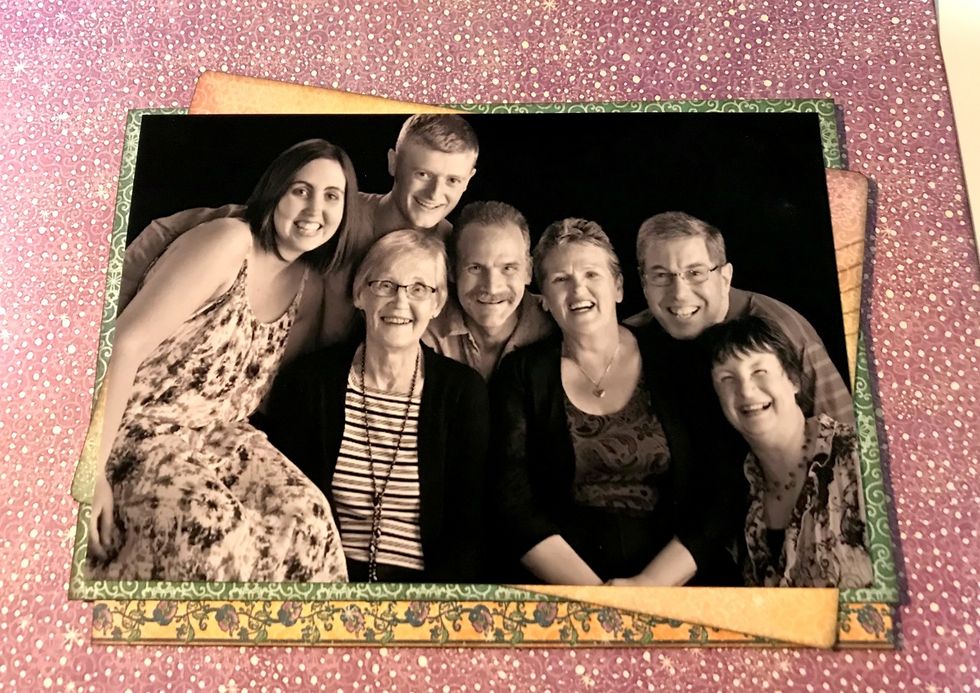
Adhere 4"x6" postcard on an angle to the blue paper. Adhere photo to the blue paper. Adhere blue paper 1" from right & 2 1/4" from top of paper. Adhere floral border at bottom of blue paper.

In the top right corner of blue paper, adhere the pink floral border & foam square the Carte Postale piece to the same area. Adhere 2 stamps in corner. Roll one corner down on each stamp.
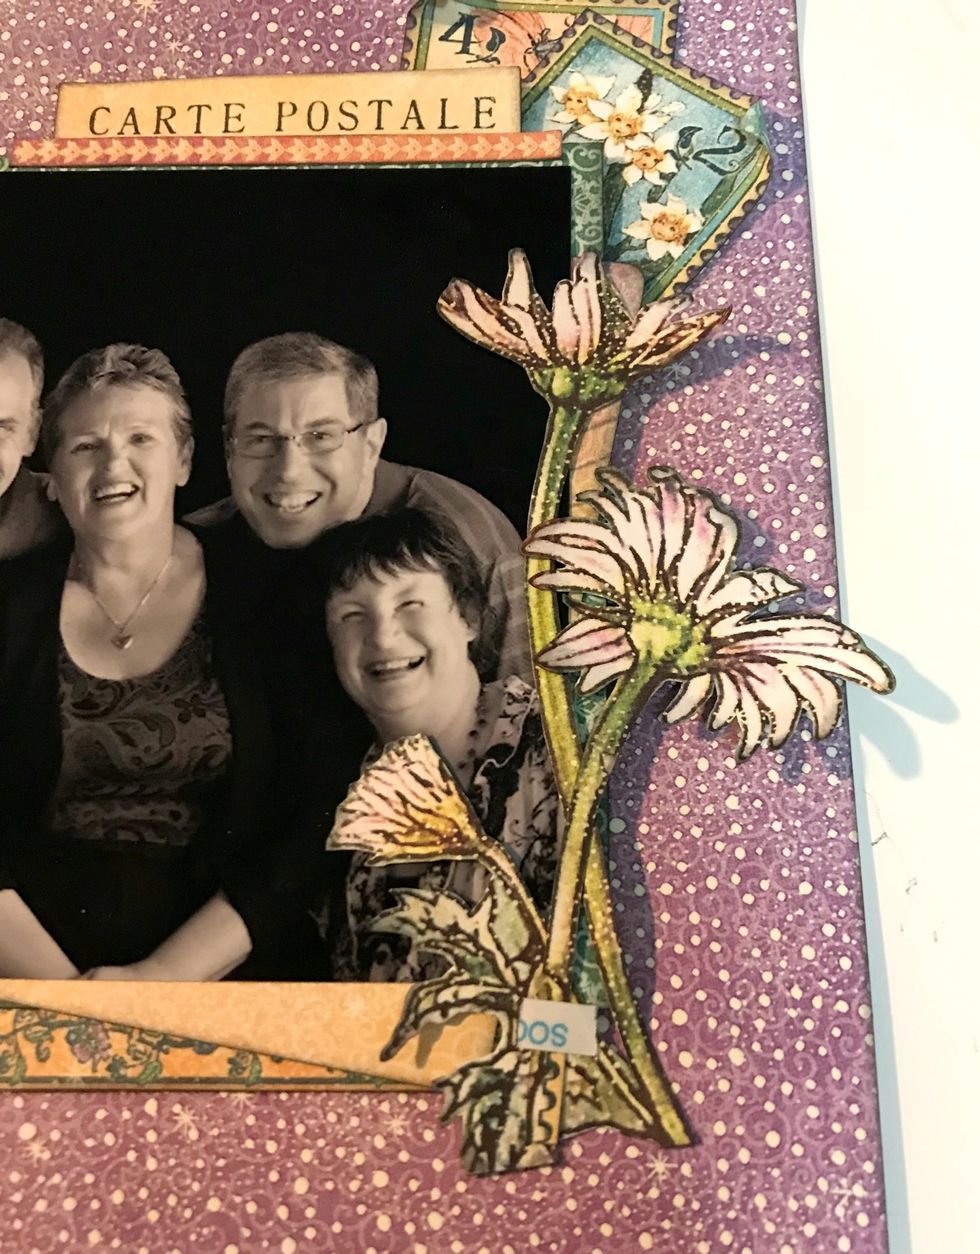
Adhere the daisy flower bunch up the right hand side of the photo.
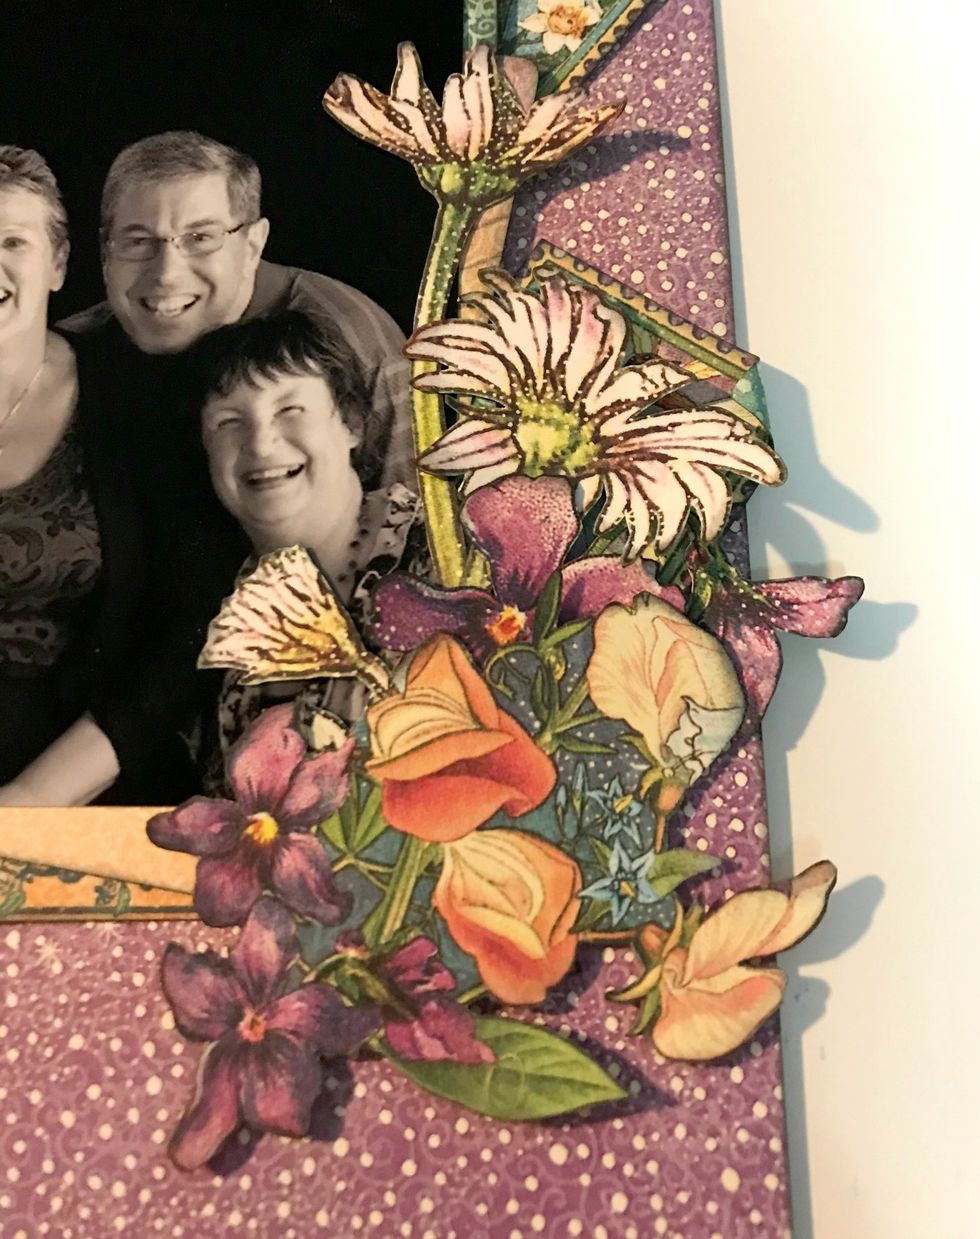
Adhere a stamp underneath the daisy bunch. Roll one corner down on stamp. Adhere the pansy bunch to the right of the daisies. Adhere a flower bunch at the bottom of the daisy & pansy bunches.
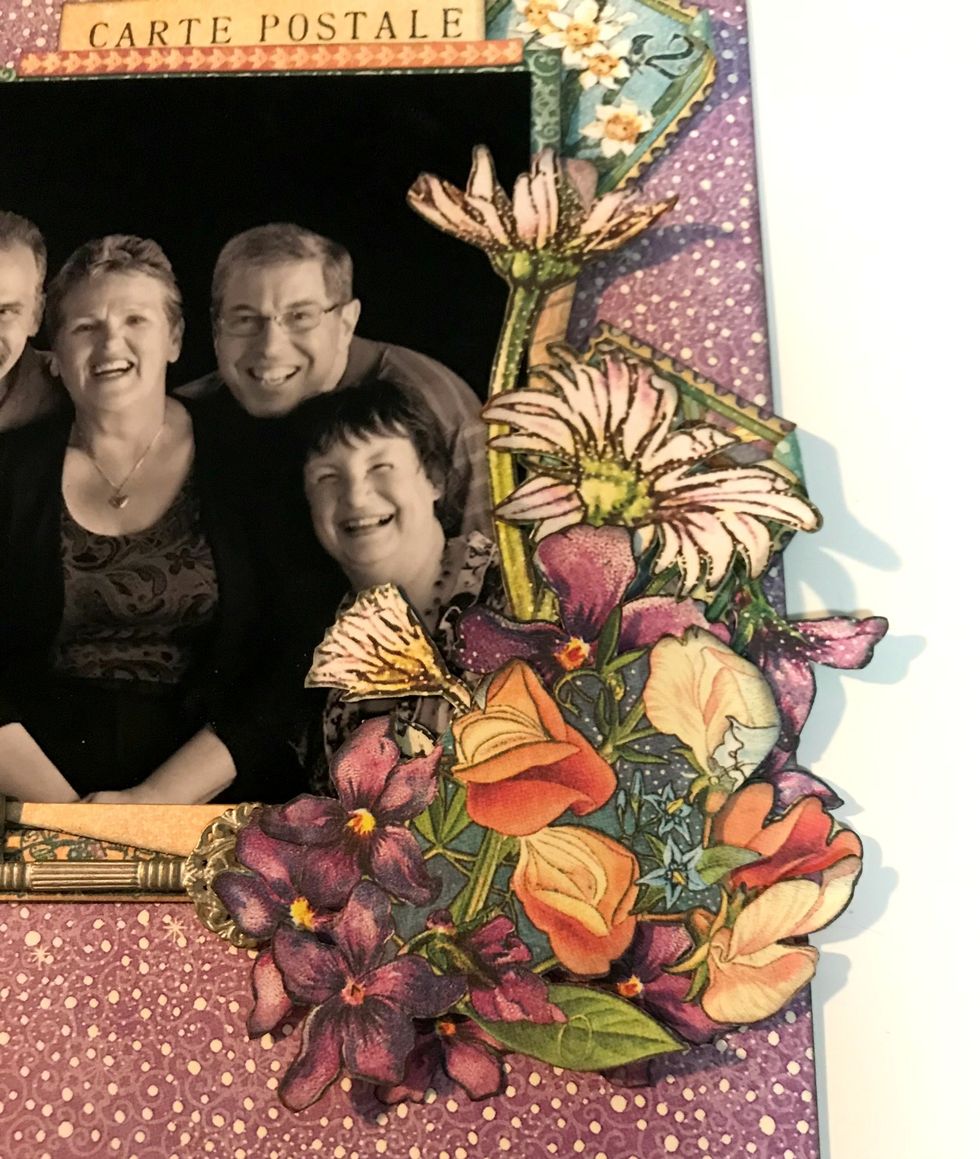
Adhere a shabby chic key to the left of the flower bunch. Adhere a few single flowers in amongst the other flowers.

From the Decorative Stickers, pick a photo corner and adhere it in the top right hand corner of the photo.
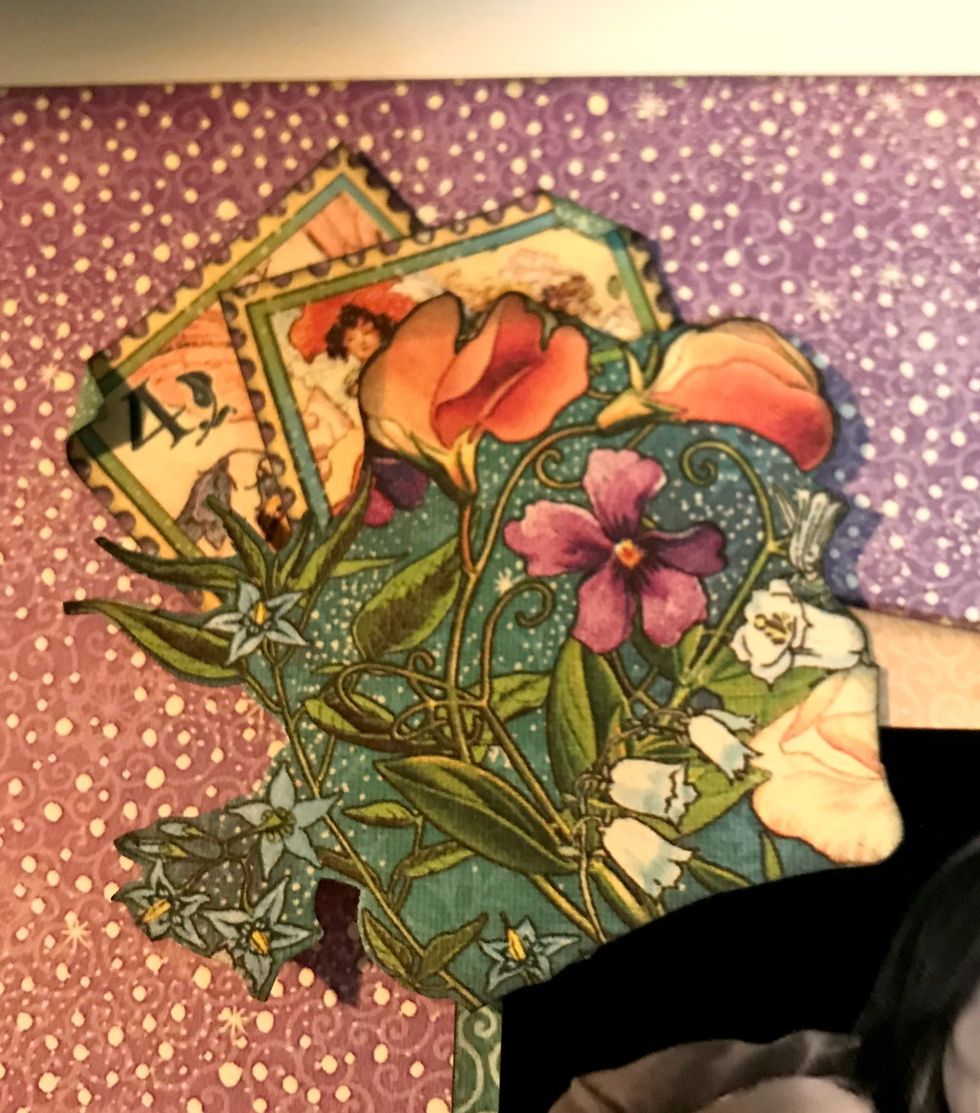
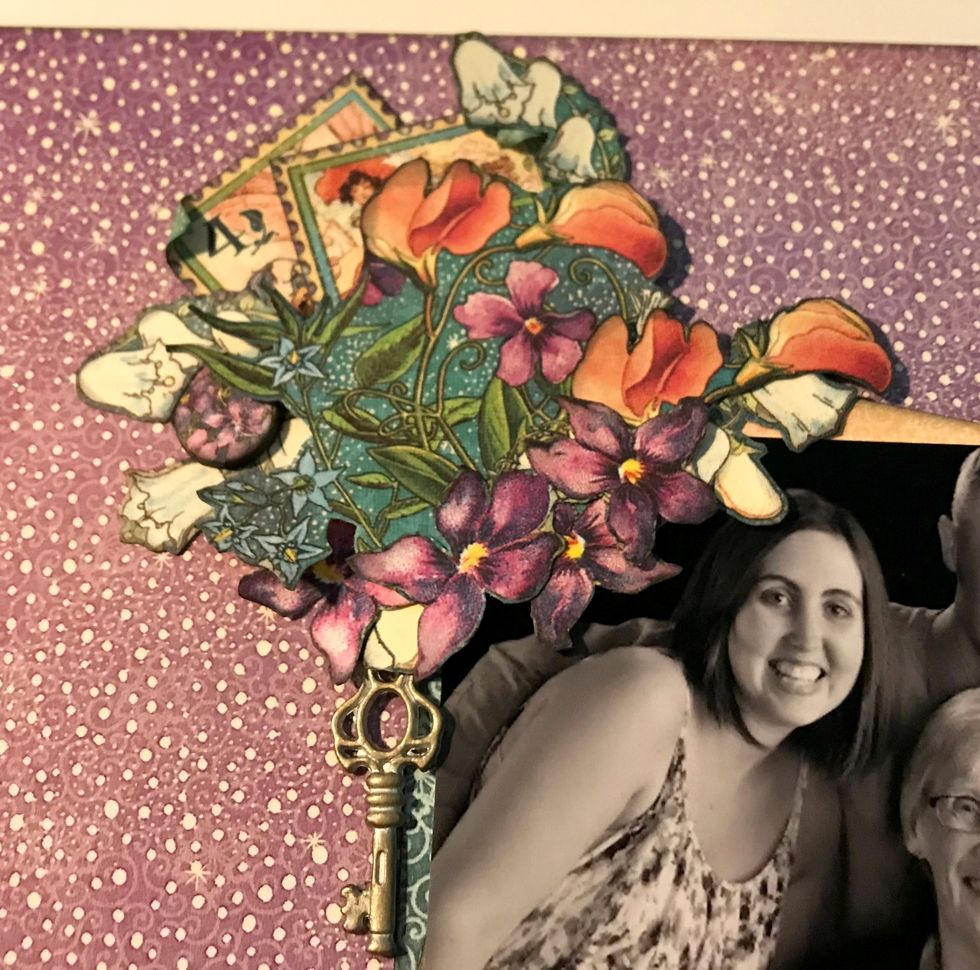
In the top left hand corner of the photo, adhere two stamps and one flower bunch. Roll one corner down on each stamp.
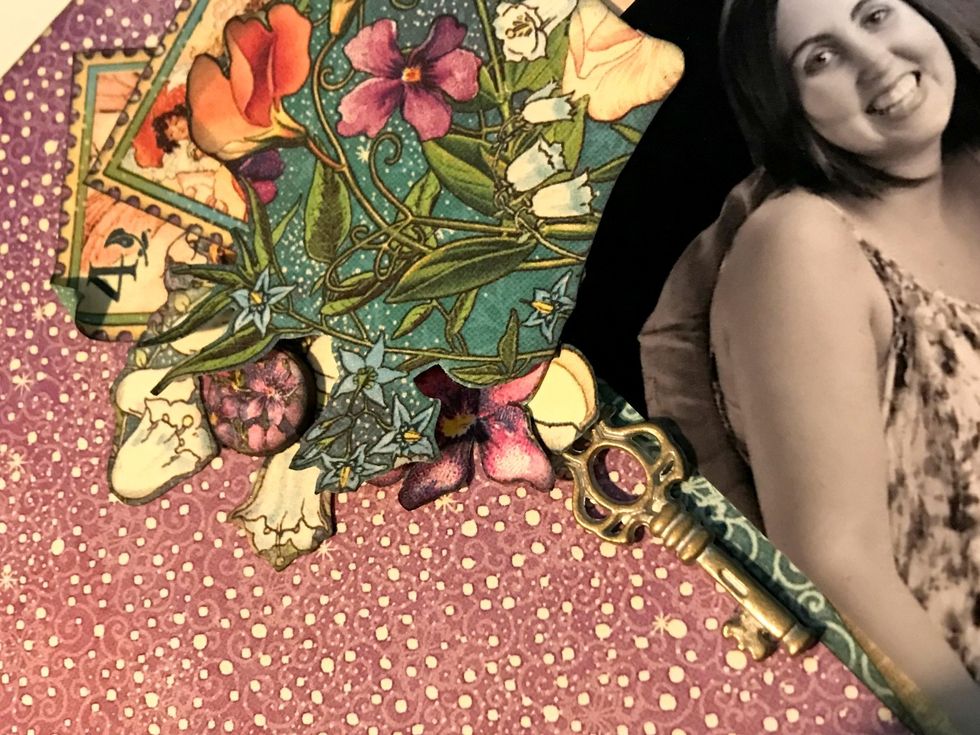
To the left of the flower bunch, adhere a shabby chic key, a chipboard circle, two white flower bunches and two single flowers.
To the right of the flower bunch, adhere two white flower bunches and a couple single flowers.
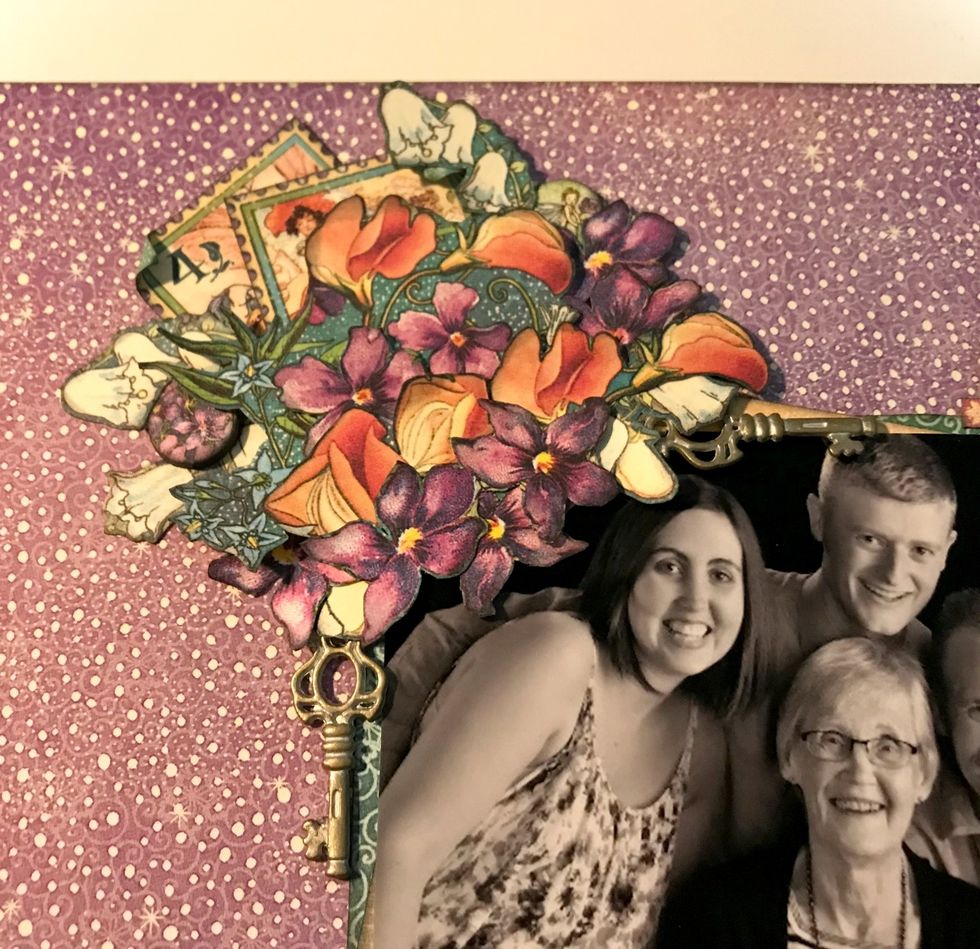
To finish off the right side of the flower bunch, adhere a shabby chic key, a chipboard circle and the rest of the single flowers in amongst the flower bunch.
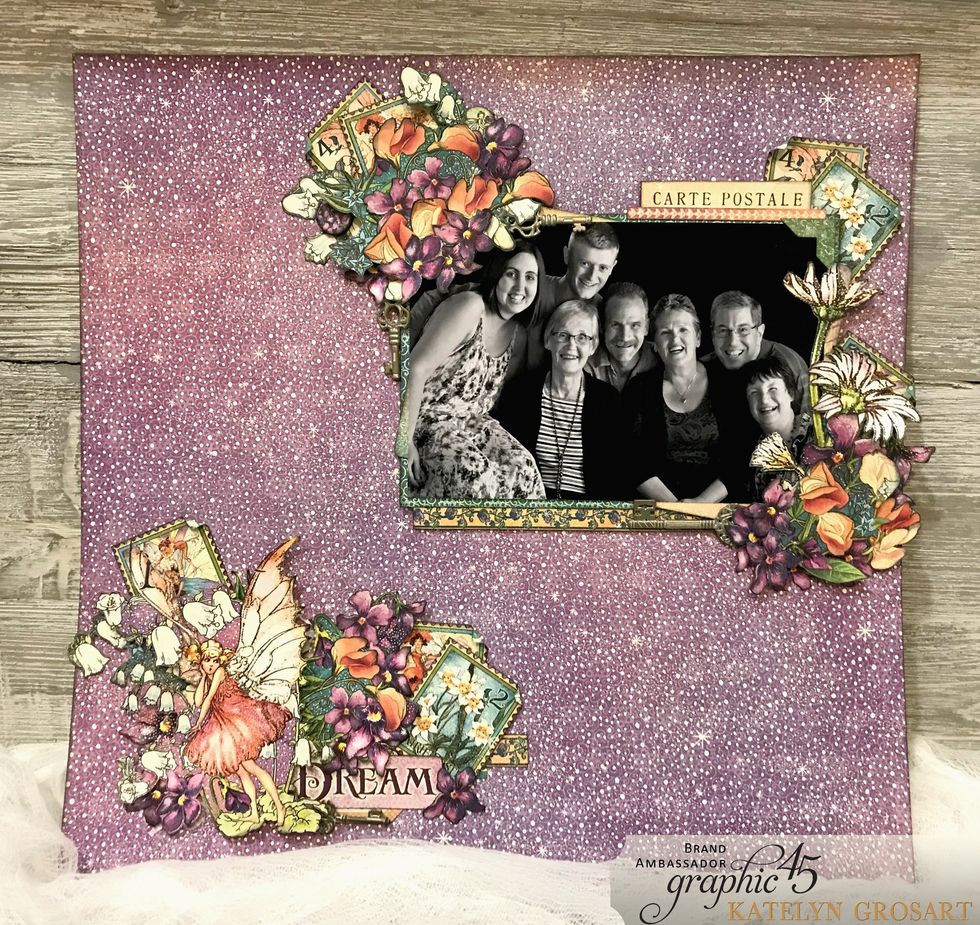
Your Dream Scrapbook Layout is now complete!