The Conversation (0)
Sign Up
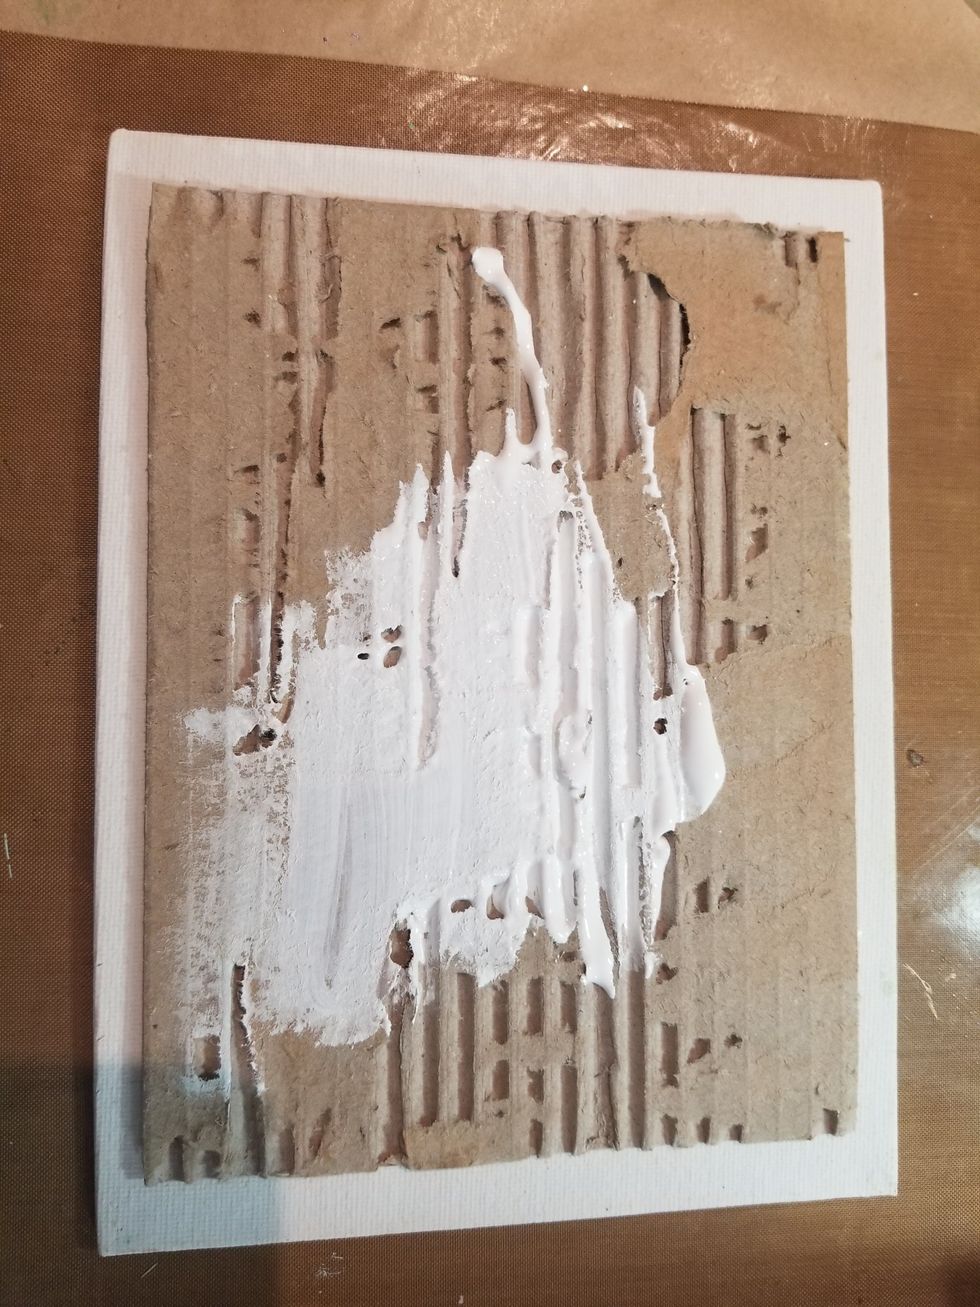
From a shipping box cut a 5x7 piece of corrugated cardboard. Tear off the top layer to reveal the core and add a coat of gesso, Heat set to dry
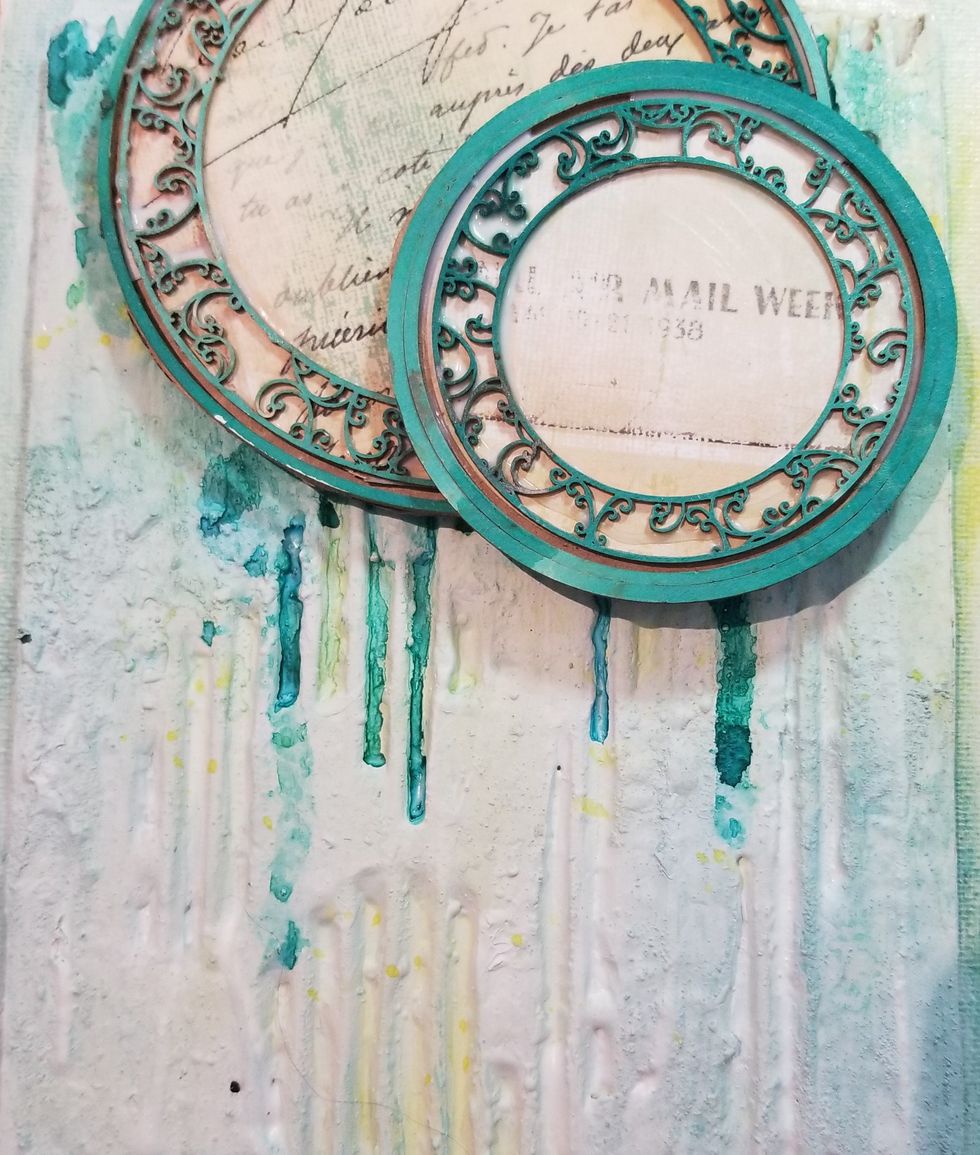
Once the gesso is try, add some peacock feathers spray and let it drip. You can use a baby wipe to dab off excess color. I sprayed some peacock feathers on the chipboard to add some color.
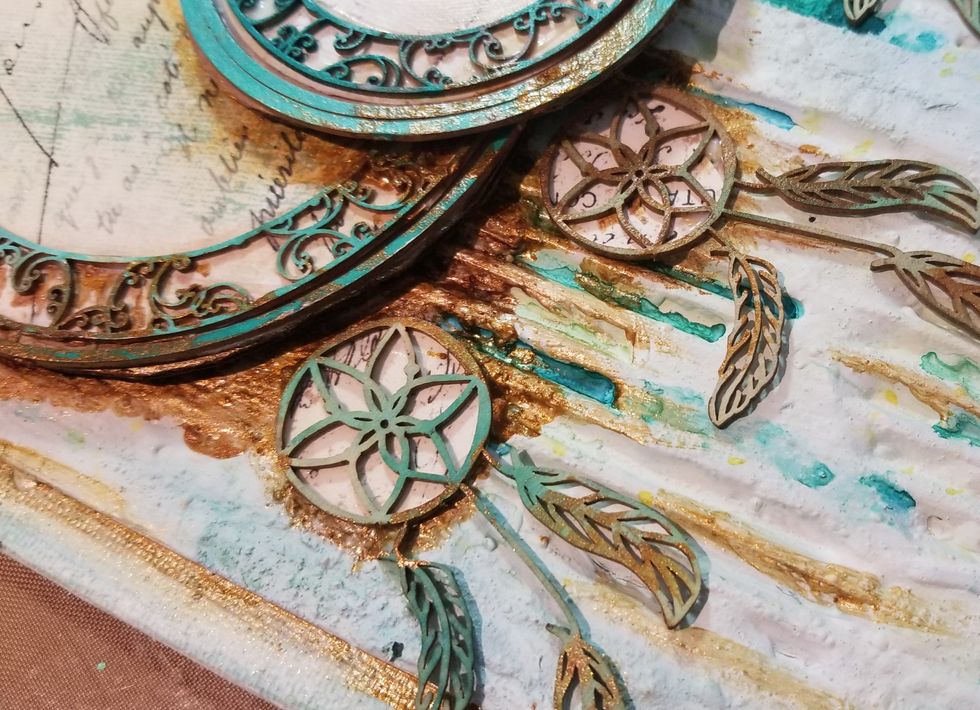
Determine where your catcher will go, add some color so it looks like it is dripping, I also added stone effects - patina to give it some texture
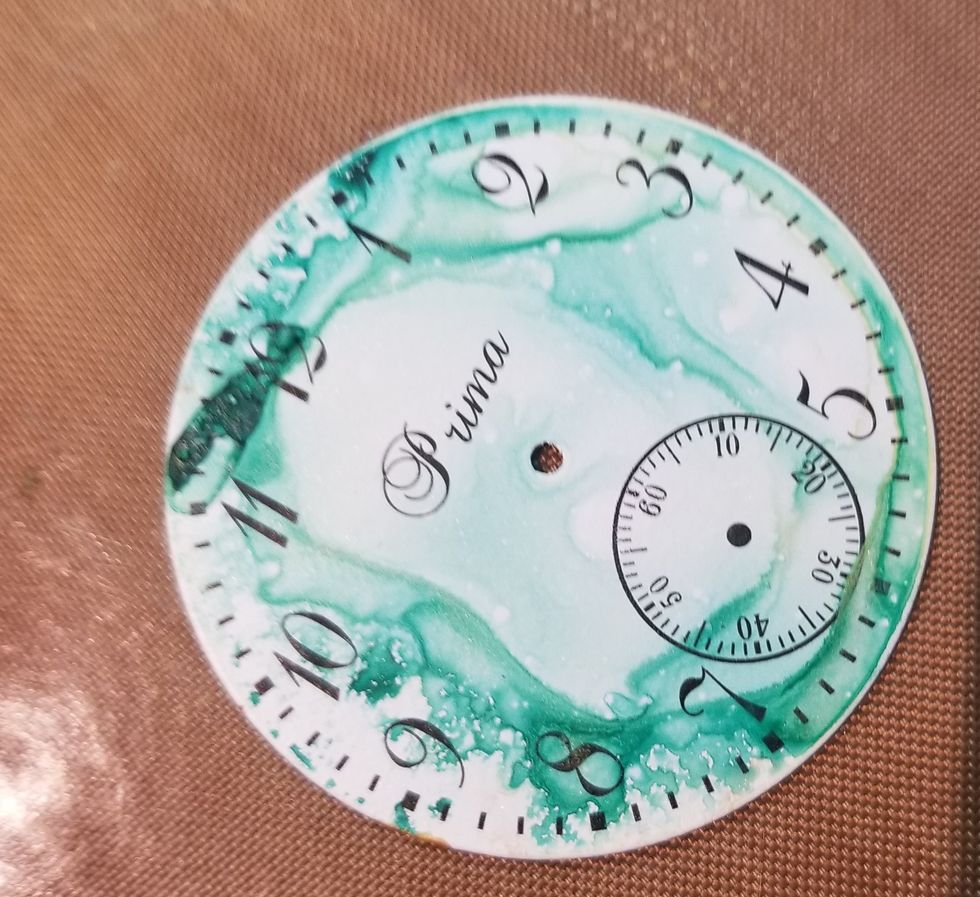
the metal clock piece i spray some peacock feathers on it, and heat set to dry. I like how it gave it that waterlook effect.

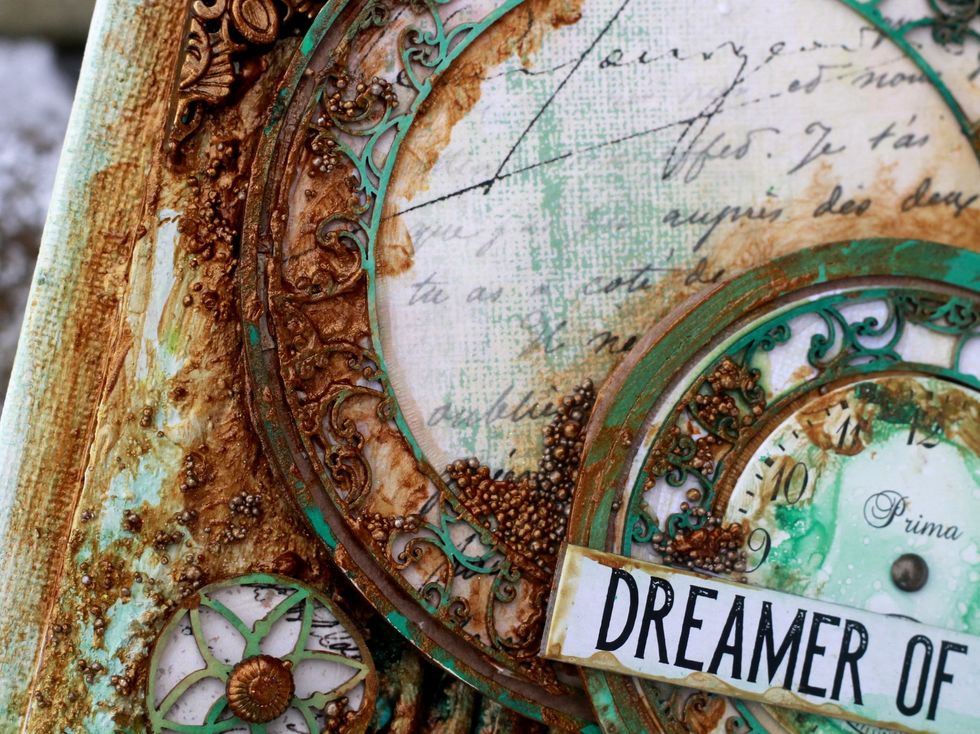
I added some Amber Rust to the edges and a brad to the clock face center and set my title ontop. I adhered some prills for added texture.

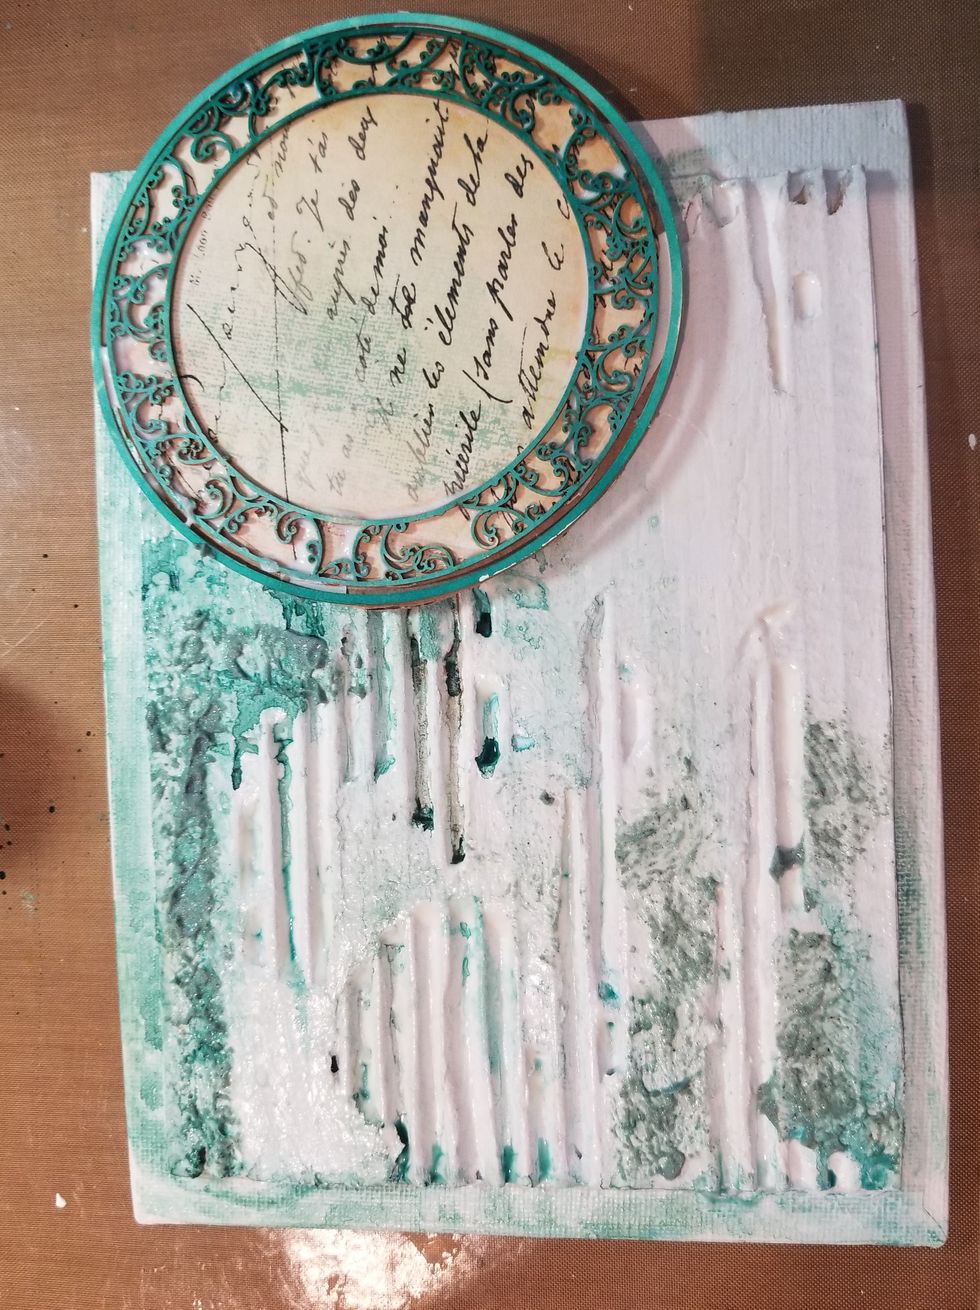
After adding my smaller catcher chipboard i wanted to add some shadows under the larger circles to add depth
I dabbed i some warm colorations spray and minx Decadent just at the edges of the large circle chipboard pieces and heat set to dry
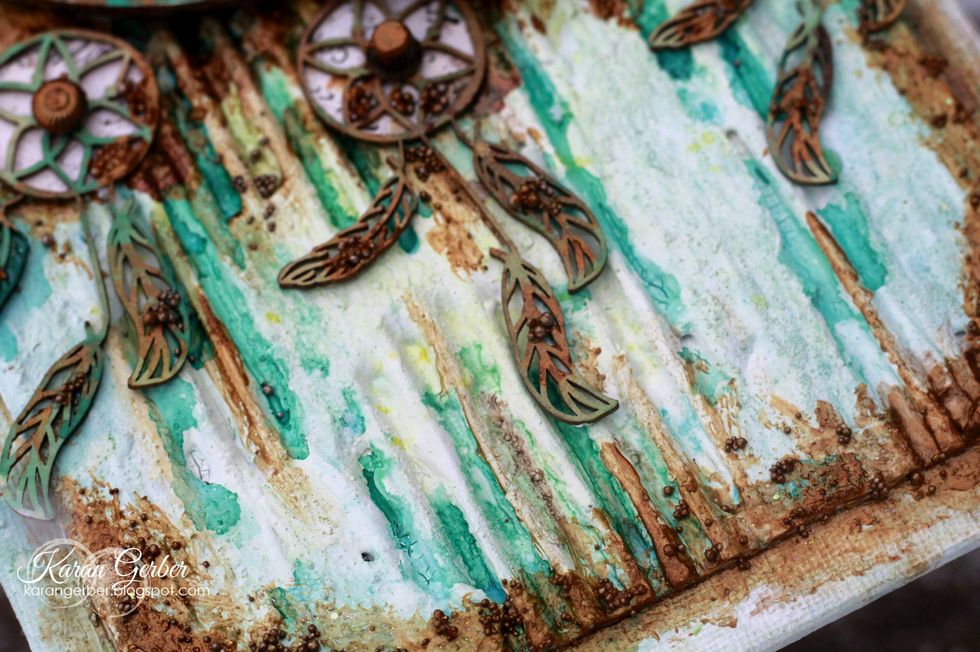
I added some decadent minx to the areas of the smaller catcher chipboard to add shadows. I glued some prills and metal embellishments to the center of them and dabbed them with Amber Rust.
I love the Amber Rust and added it to the chipboard and created shadows, i colored the prills and dabbed in some peacock feathers to give them a patina look.
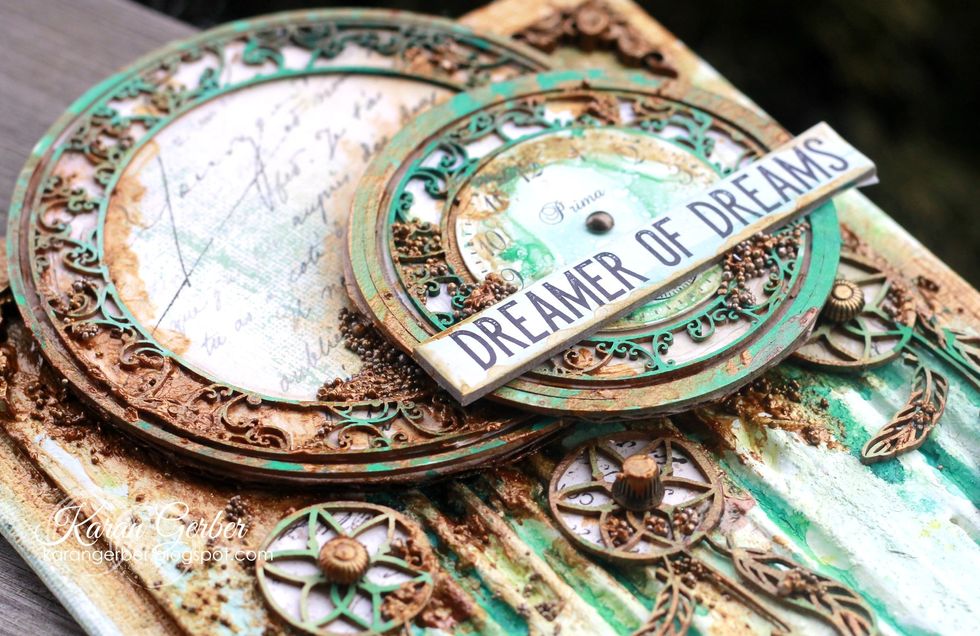
I went back and added more Amber Rust, have fun playing with these fabulous products.