The Conversation (0)
Sign Up

I am gathering all of my supplies to get started. I will be using the new wooden DIY chandeliers , Soft Gloss Gel, Salvage District papers, Chalkboard Paint, and Glass Glitter to create my background.
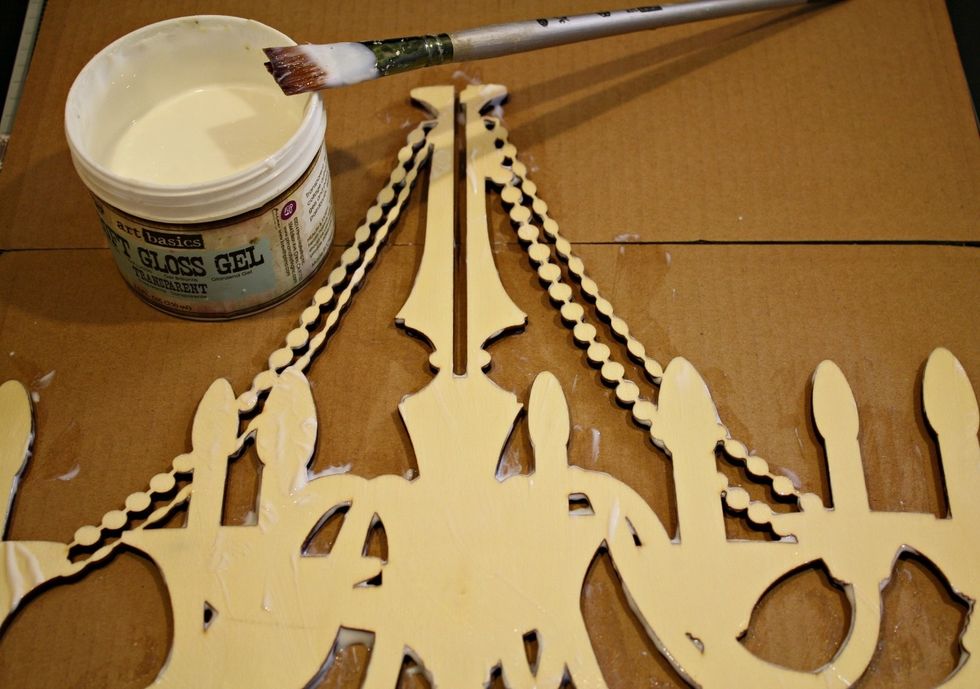
For my chandelier I chose Art Basics-Soft Gloss Gel to do an image transfer. Using a paintbrush add lots of gloss gel, making sure the entire wooden chandelier piece is covered.
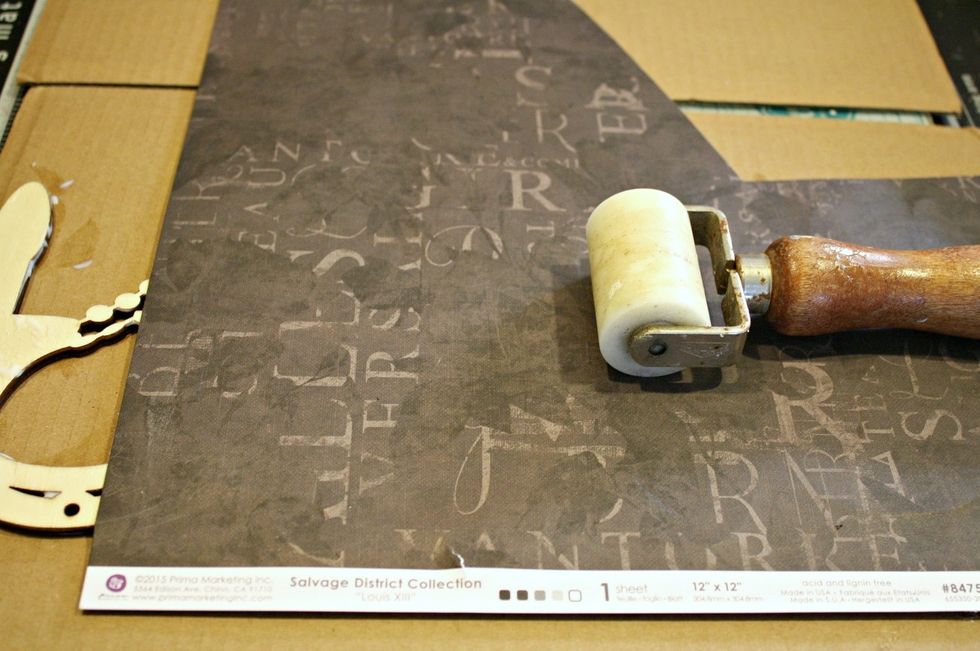
After the gel is added, I adhered my paper, making *SURE* the pattern I want to show is the one being glued down! I use a brayer to make sure that the paper has great contact with the wood.
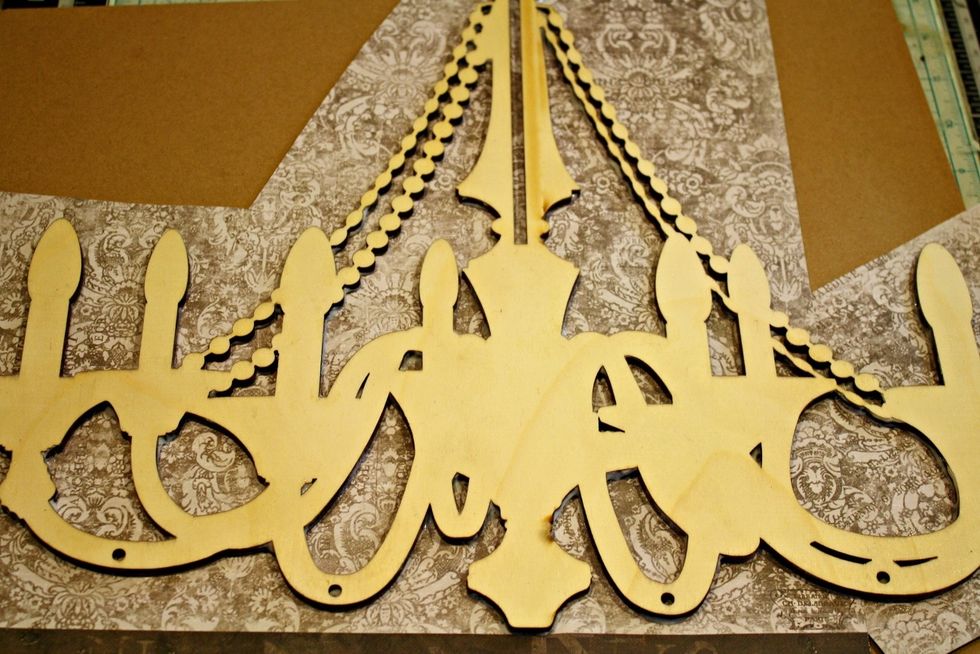
After the glue has dried completely, I trim off the excess paper around my chandelier with scissors. This is just my preference. I like to have as little paper to deal with later on as possible.
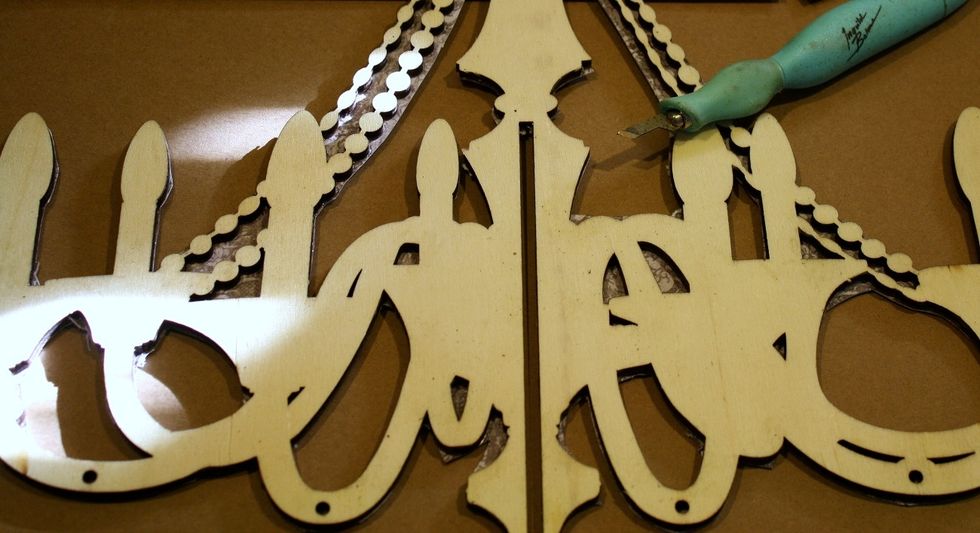
Since I am covering BOTH sides of my chandelier, I used my Prima craft knife to cut away even more excess paper just to have a cleaner work area. I will wet both sides at the same time.
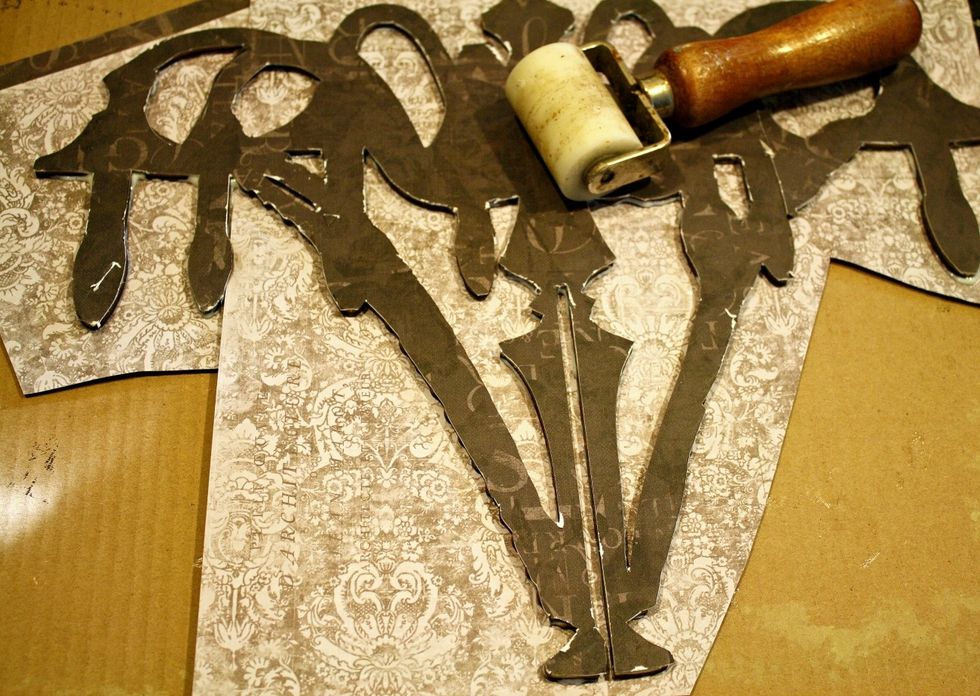
After I adhered paper to the backside , I used a brayer again to flatten my paper to my surface. I like to flip the chandelier over and roll the backside too.
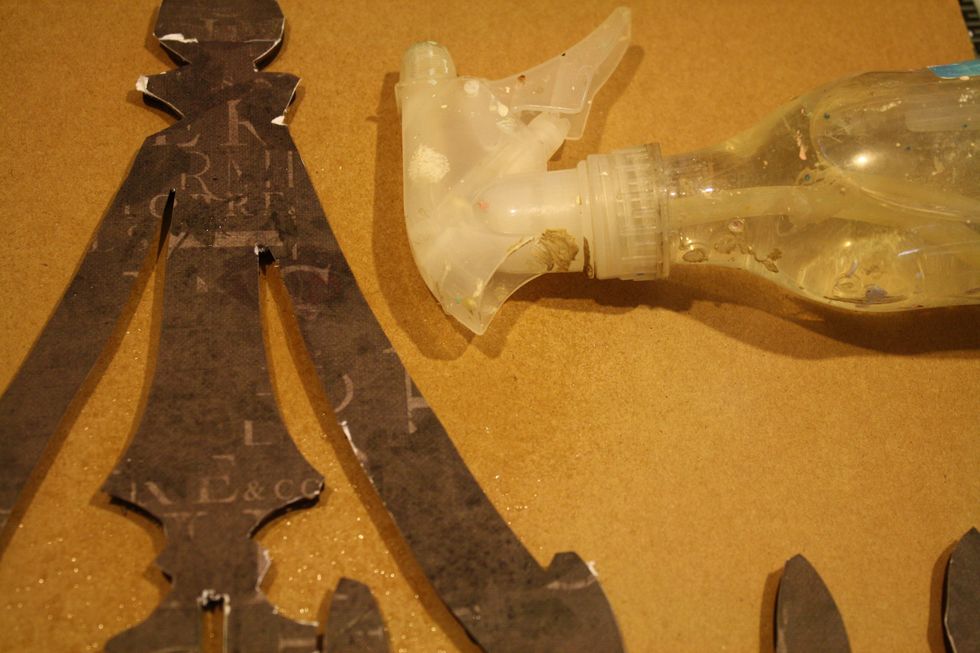
Start adding water to the paper. You don't want to soak the chandelier, just keep spritzing or spreading water with a sponge or towel until the paper is moist. I work small areas at a time.
After I spritz with water I gently rub the paper with my fingertips. Start very gently at first, then a little more firm once you start to see the paper layer exposed underneath.
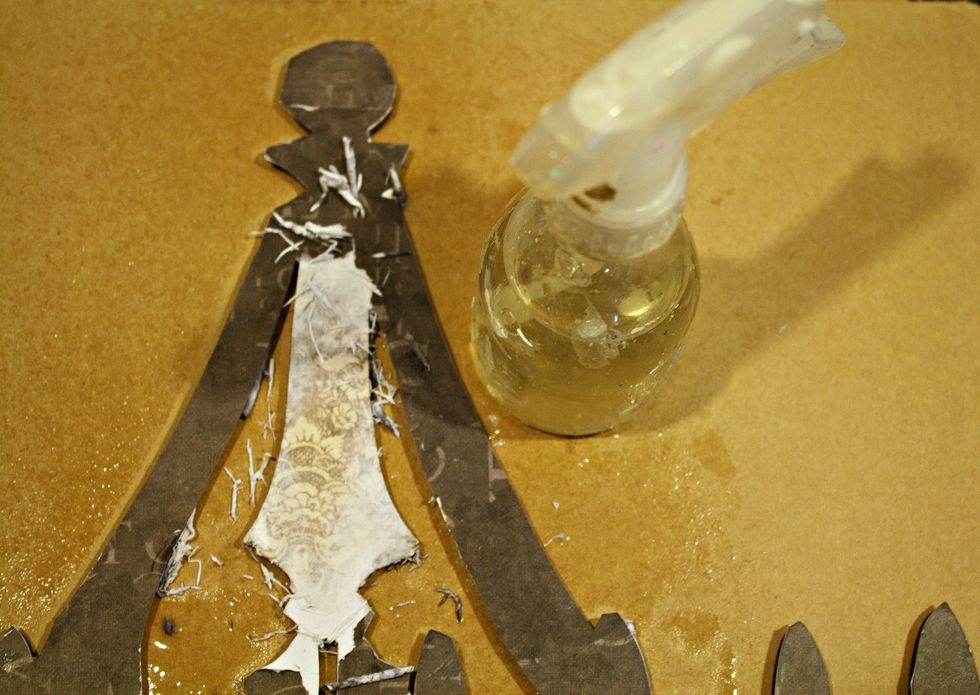
You are going to keep on spritzing and rubbing over the entire piece. You can see there, on the "beaded" area of the wooden chandelier, any excess paper will start to just crumble right off.
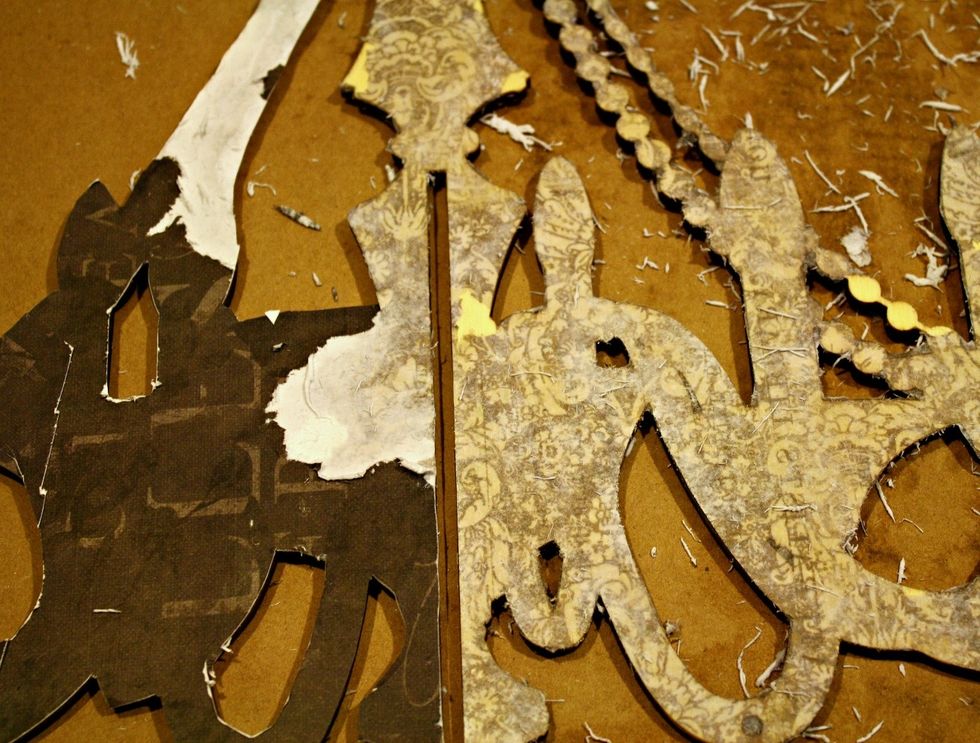
Here is a "during" shot to see the top layer of paper rubbing off. Do not rub too hard or get it too wet. You just want all that "white" color pulp gone, leaving a beautiful pattern behind.
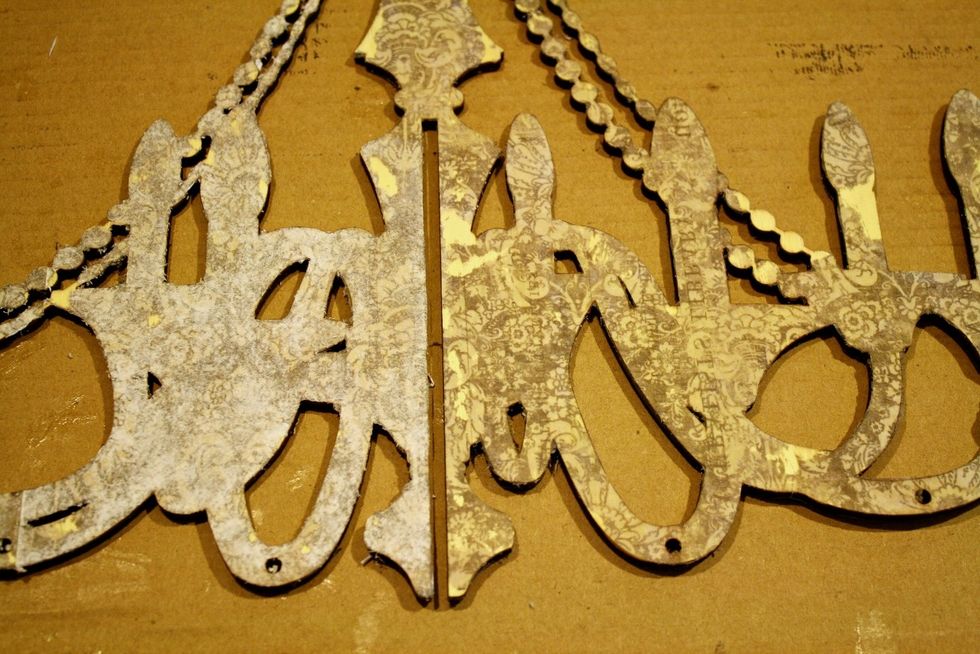
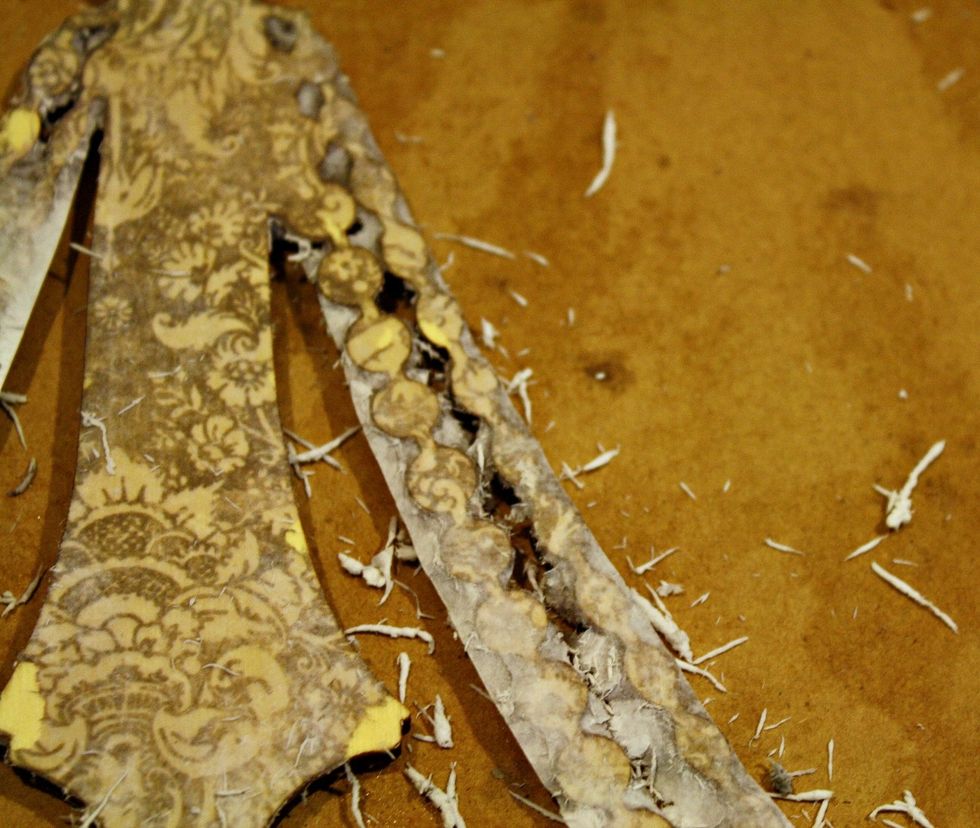
The left side is NOT ready yet. After drying, if you still see a layer of white paper pulp, give it another go with water/rubbing. The right side is good to go! Seal that with more Soft Gloss Gel.
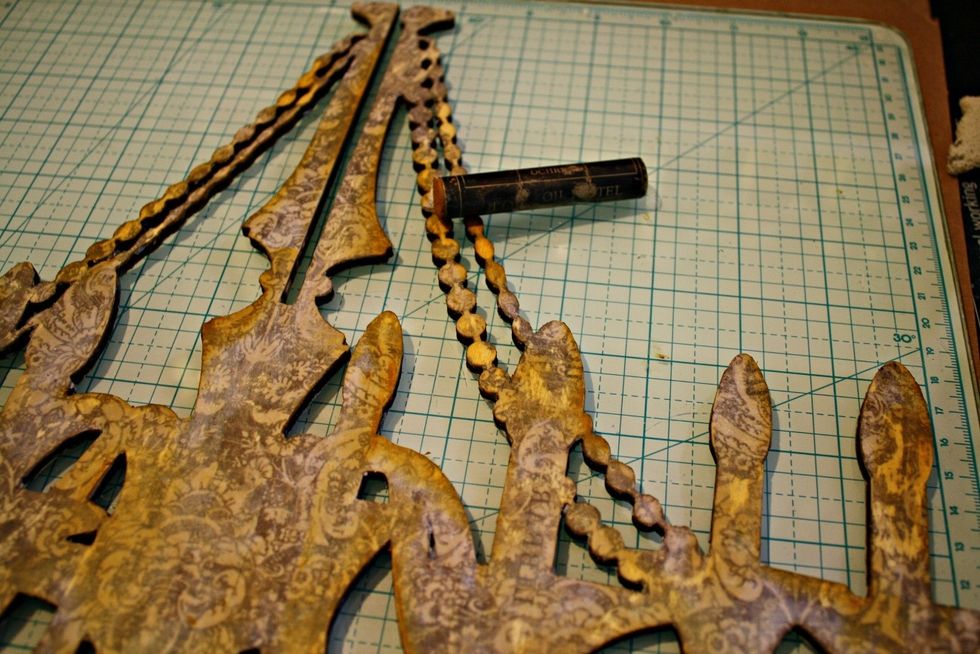
Once paper is removed and piece is sealed with gel, add oil pastels in "ochre" to distress the edges. It will lend a vintage / aged look and fill in any areas the paper design came off.
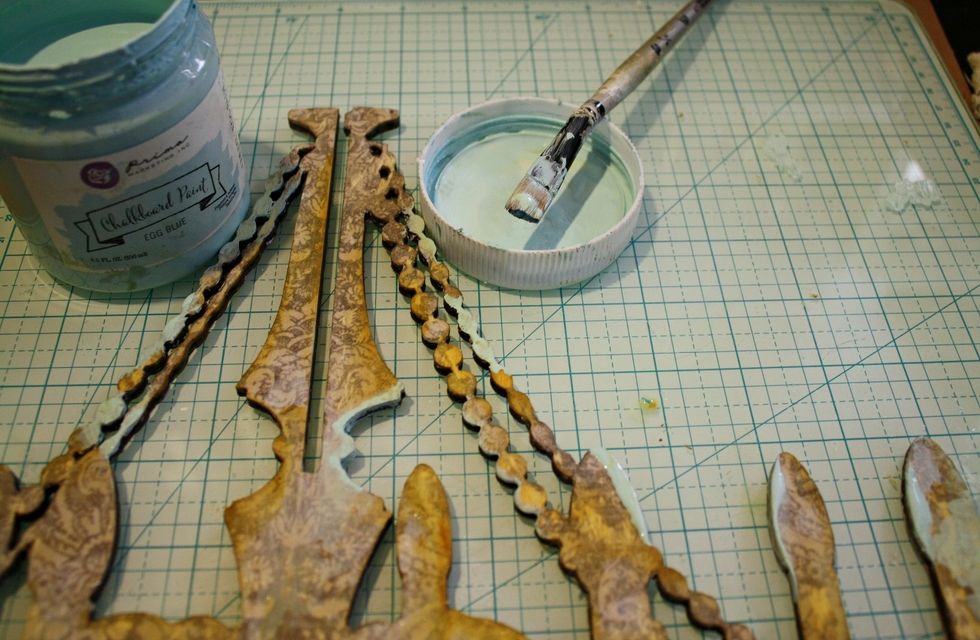
I decided to add my favorite blue to the mix with Egg Blue Chalkboard Paint. I just kept applying until I was happy with the look. :) This Prima Paint dries beautifully!

Here is a quick shot of the paint almost dry and my edges all finished with the ochre oil pastel. It really adds that extra depth to these gorgeous chandeliers! The sky is the limit!
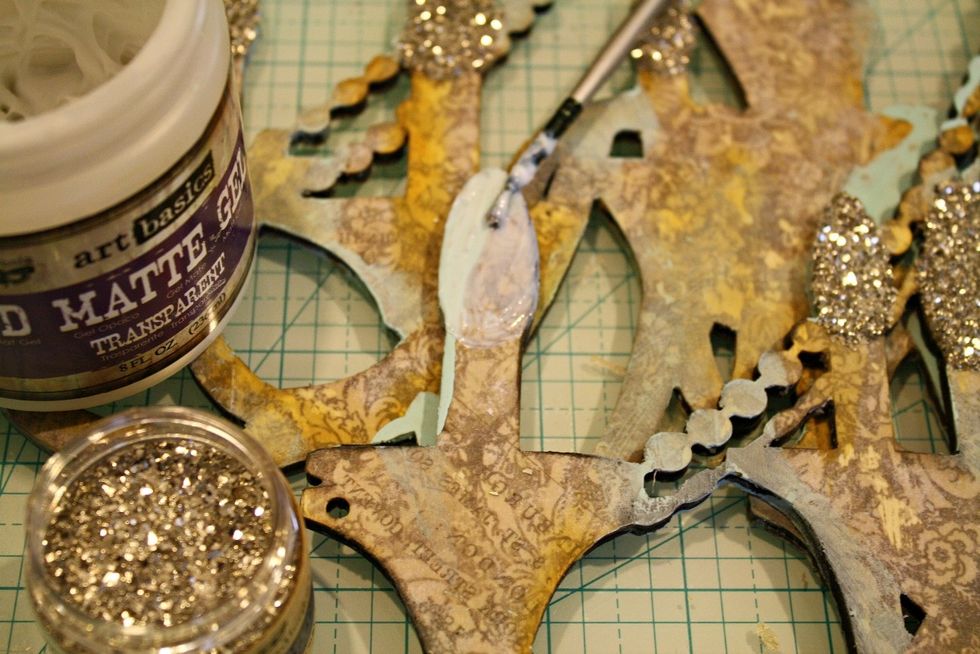
These chandeliers have a "flame/candle" to them which I LOVE! I used Sterling Glass Glitter to accentuate & highlight them! First add 3D matte gel to each candle tip for dimension.
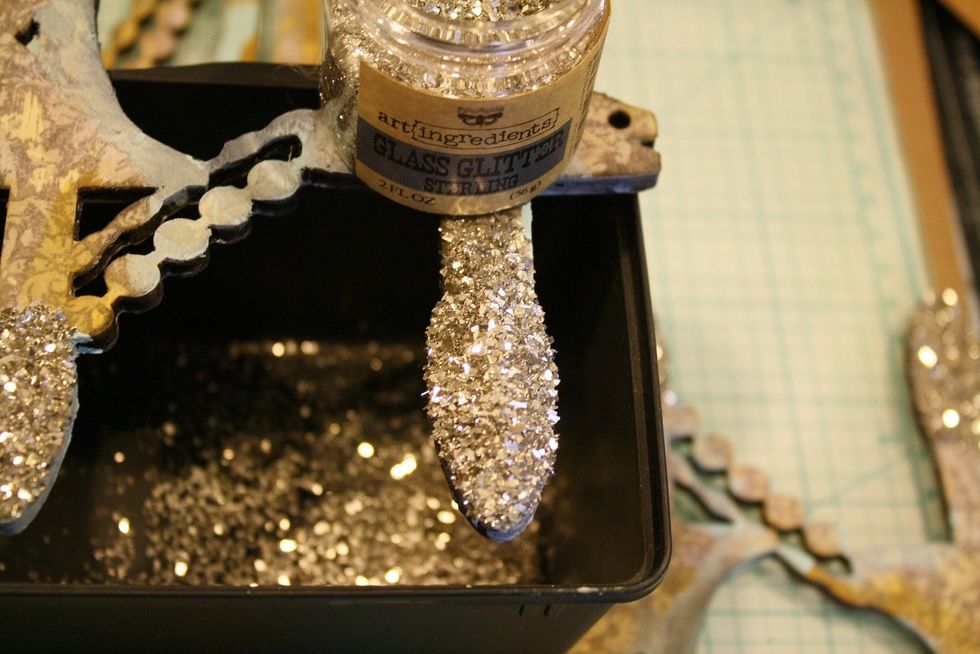
Then pour Glass Glitter on and let it dry. Tap away the excess right into your bottle. Now it's time to add your embellishments! :)
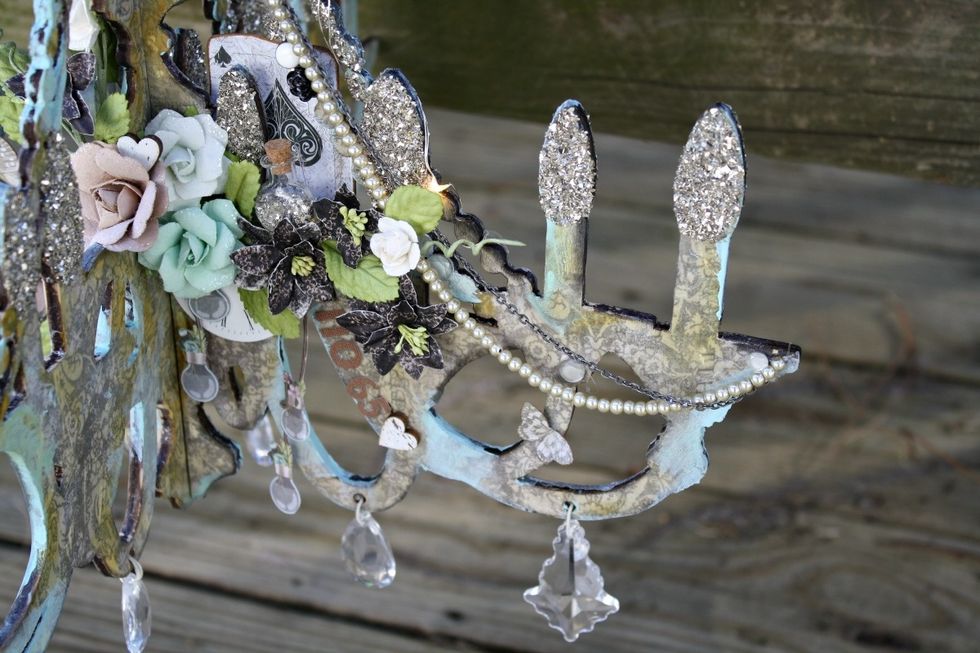
Prima's Chandelier Adornments (a coordinating kit made just for the DIY Chandeliers) were so perfect for this! I love how they look at the bottom!
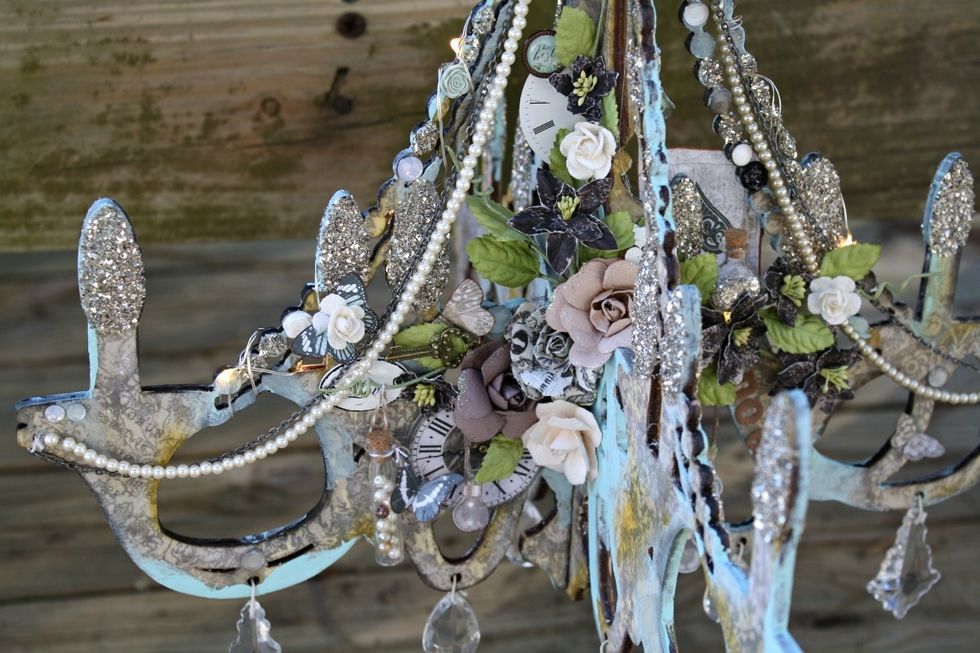
Here you can see all of the Prima goodness tucked in. Most of my pieces are from the Salvage District line. I wrapped in Lumies battery-operated LED lights, tucking the battery pack in the back.
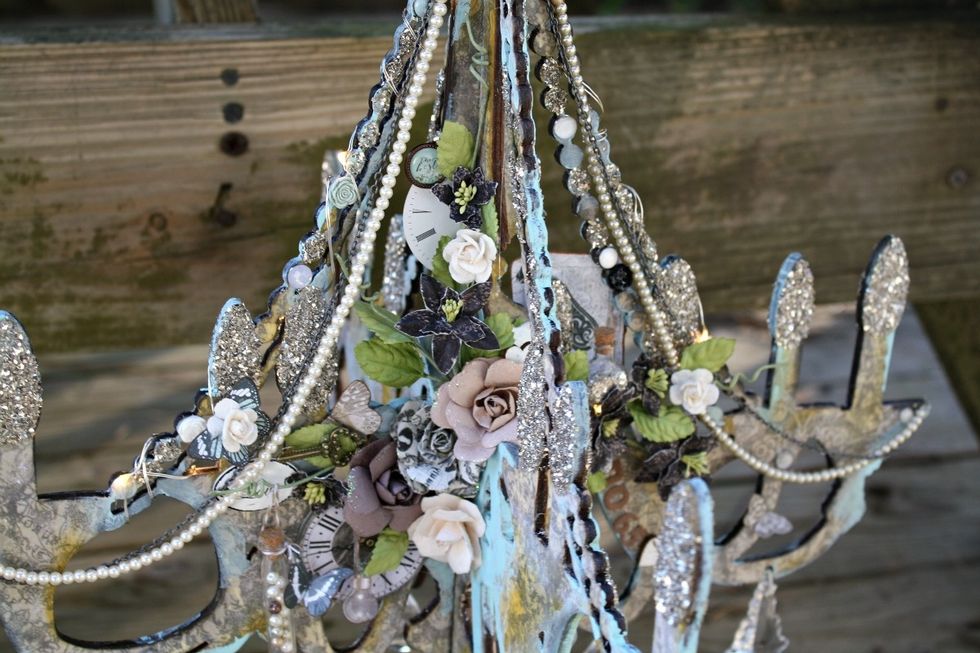
I forgot to photograph, but I added more of the glass glitter to that "beaded" area on the chandelier too. It really highlights it well. And the Lumies are so pretty lit up in there!

See the gorgeous Chandelier Adornments dangling on the bottom? They'll sparkle and shine when you hang your DIY Chandelier up!