The Conversation (0)
Sign Up
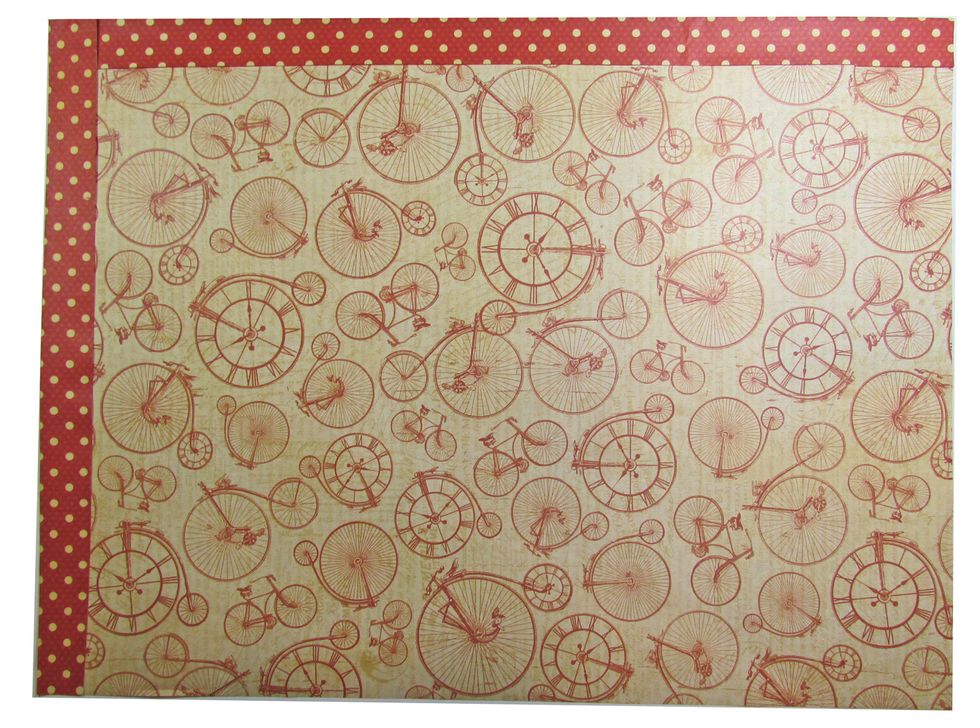
Cut G45 Bicycle and Polka Dot DIY Craft paper to 14" x 18" and fold 1" of the top and left edges toward the center. Secure with tape.
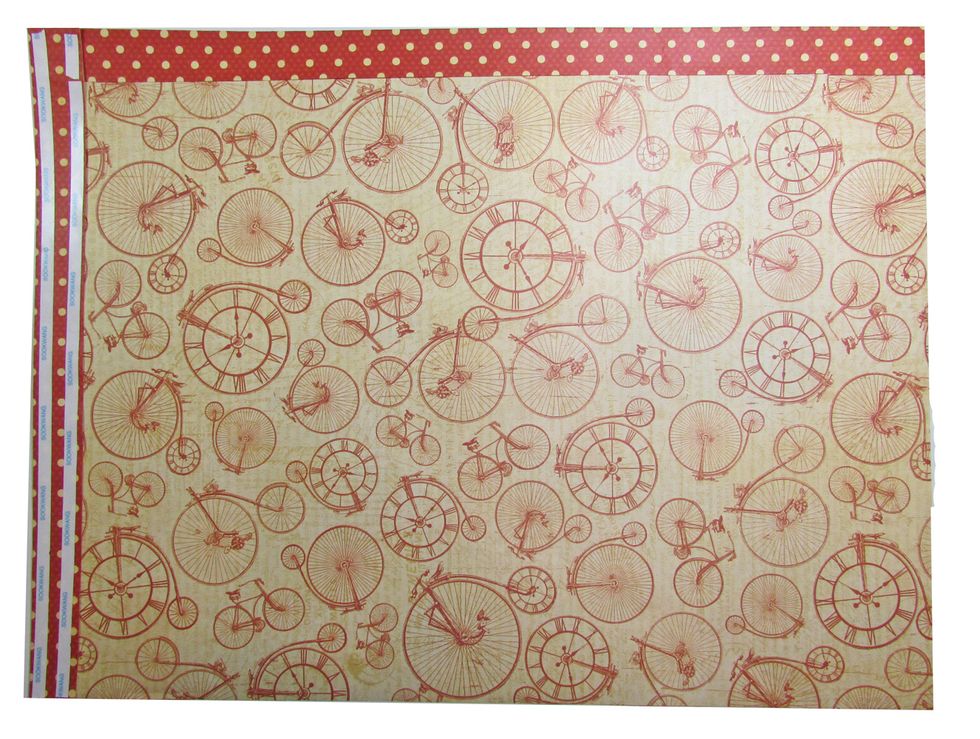
Place double-stick tape onto the folded section along the left edge of the Craft paper.
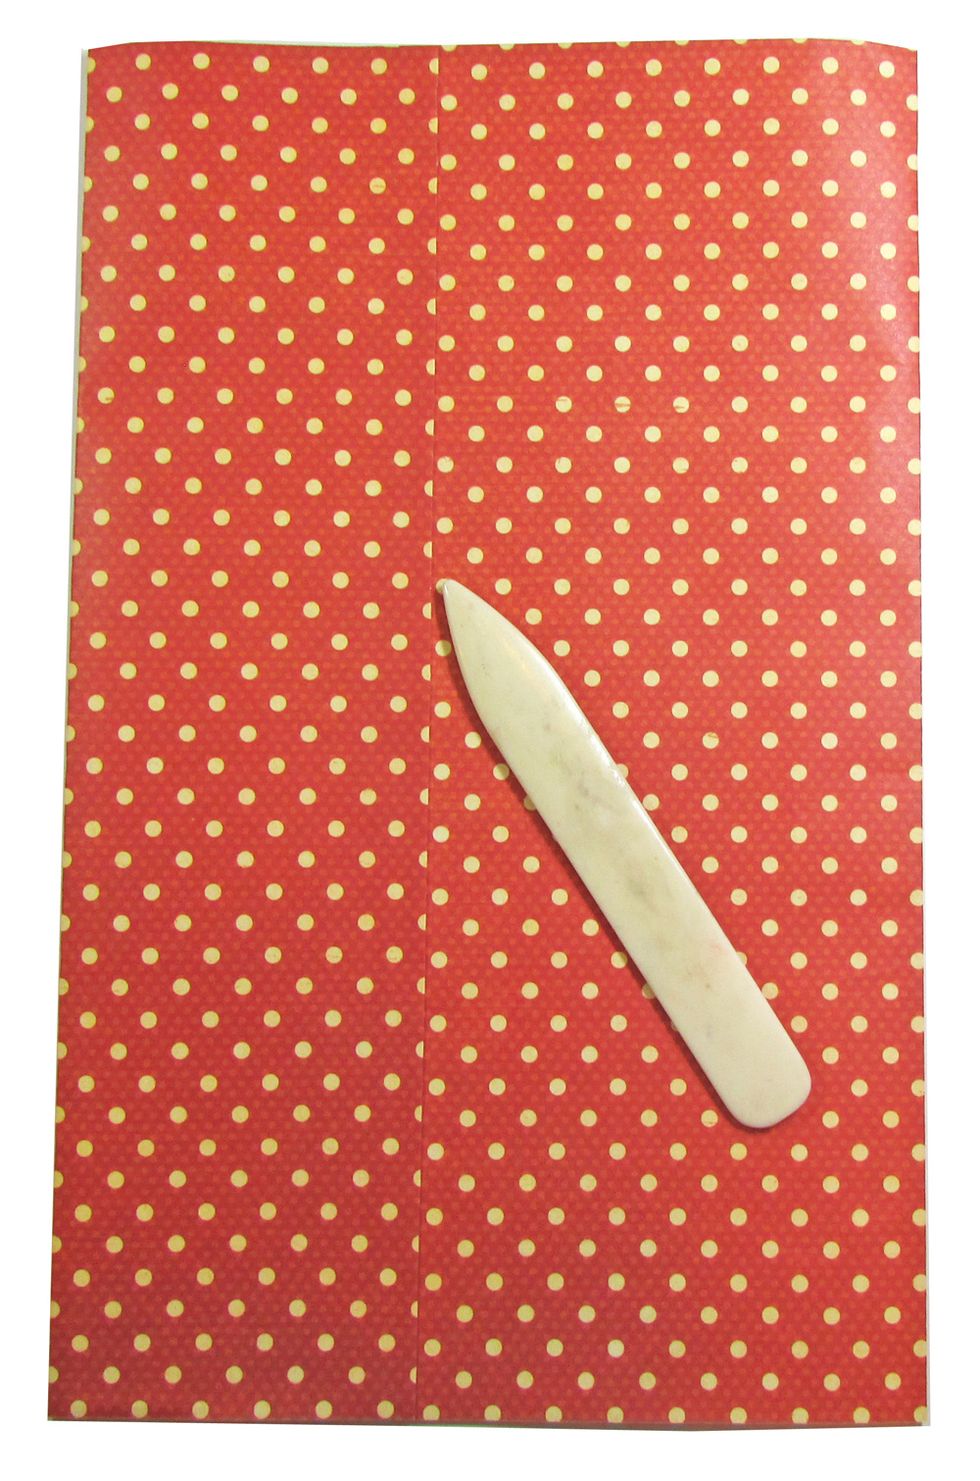
Fold the left and right edges toward the center, securing with the tape. Make sure the width is 8 1/4".

Fold at 2 1/2" from the bottom of the paper, bringing the edge of the paper up toward the center.
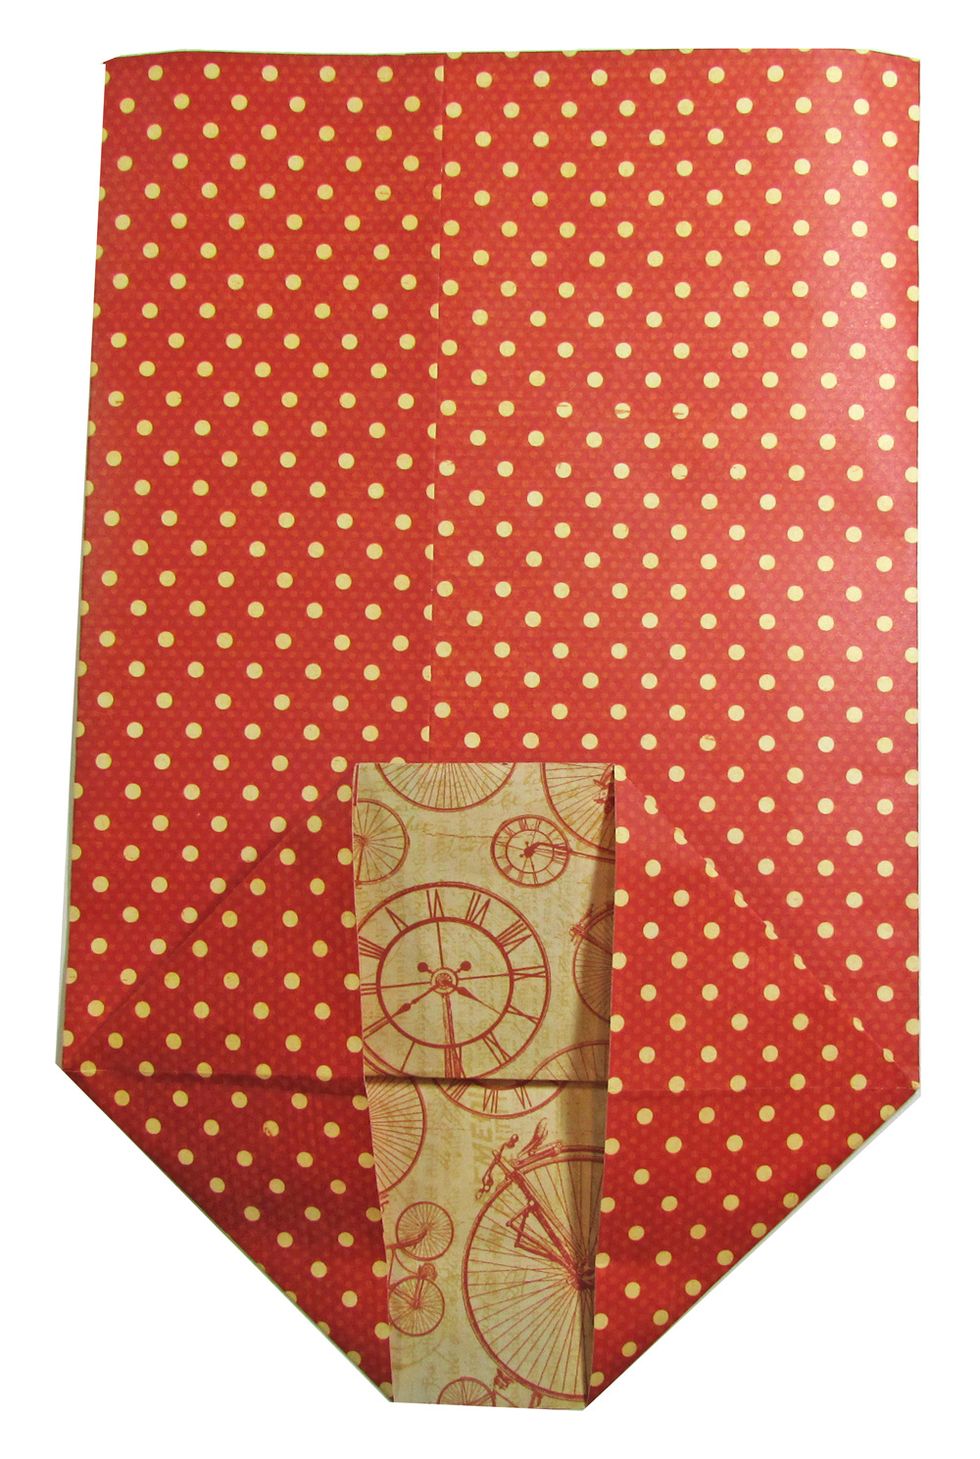
Unfold the bottom section, at the score line. Gently, fold each side of the 2 1/2" section into a triangle shape as shown.

Fold the top and bottom sections of the triangle shape toward the center, creating the bottom of the bag. Secure with tape.
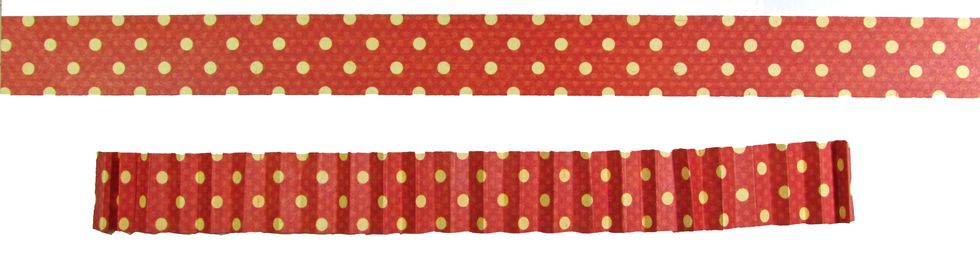
To create a rosette decoration for the bag, trim a piece of the Dots DIY Craft Paper to 1" x 12" and score at 1/4" all the way across the strip. Accordion fold on the score lines.
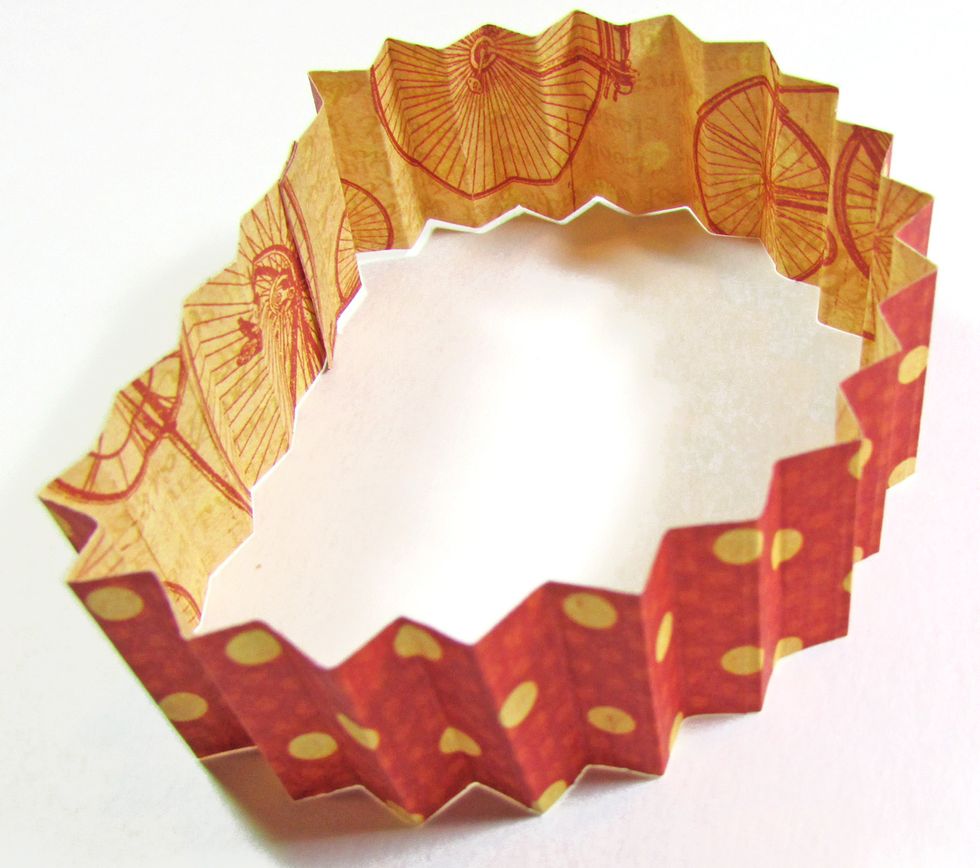
Glue the ends of the paper strip together.

Gently press the folded paper toward the center, creating a rosette. Secure with 1/2" circles, front and back. Punch a 1/2" decorative circle from World's Fair paper.
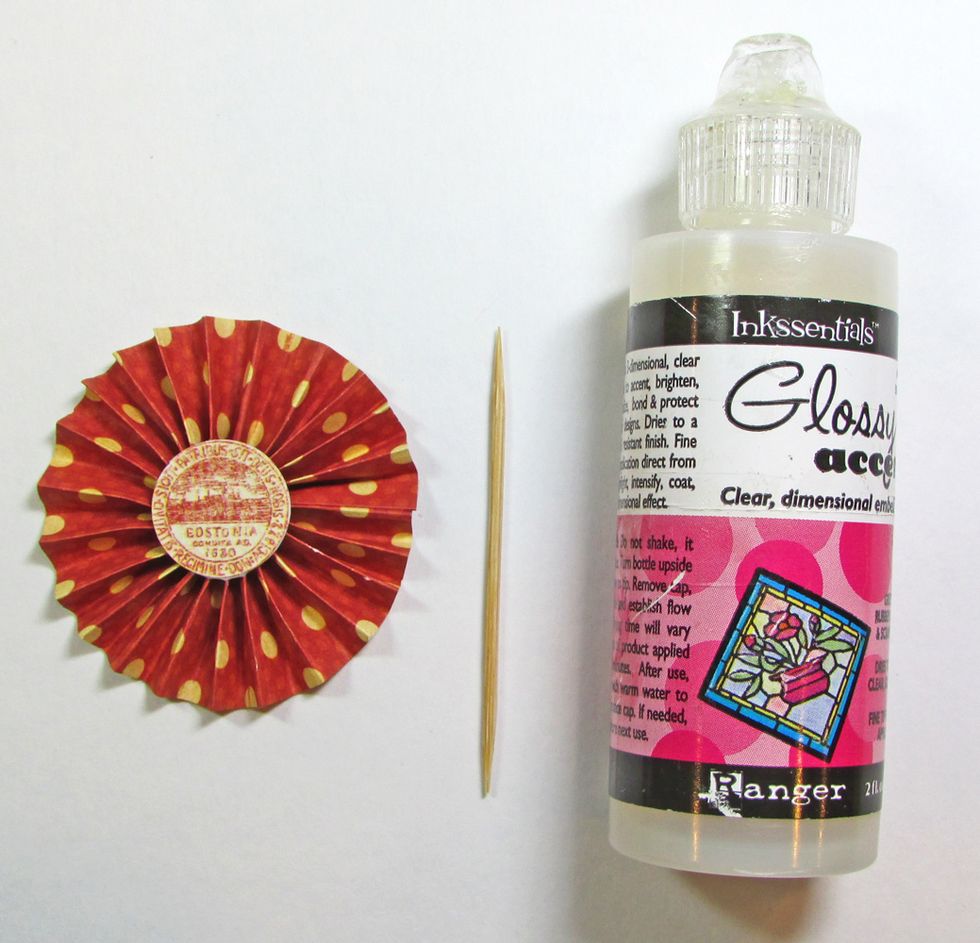
Glue the decorative circle to the center of the rosette. Apply a layer of Glossy Accents or similar dimensional adhesive to the circle and allow to dry. This creates a faux epoxy element.
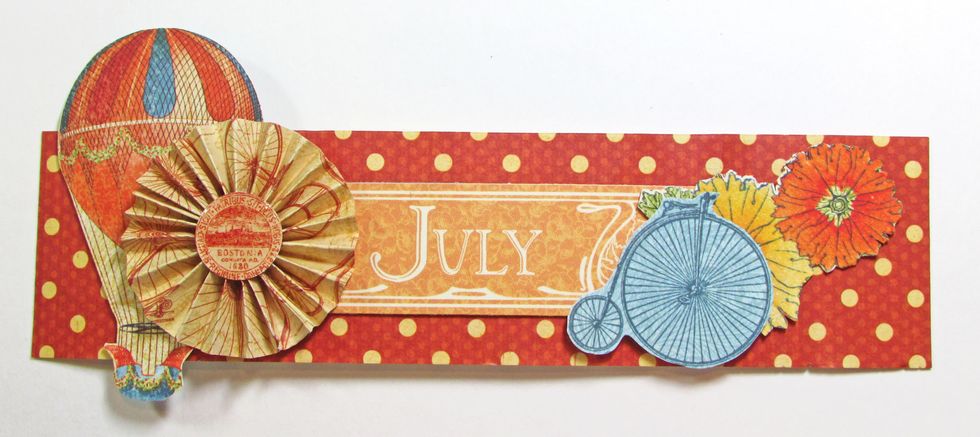
Trim a piece of Dots DIY Craft paper to 2" x 8" and decorate with fussy cut and cut apart elements, as well as the paper rosette. Use foam adhesive for dimension.
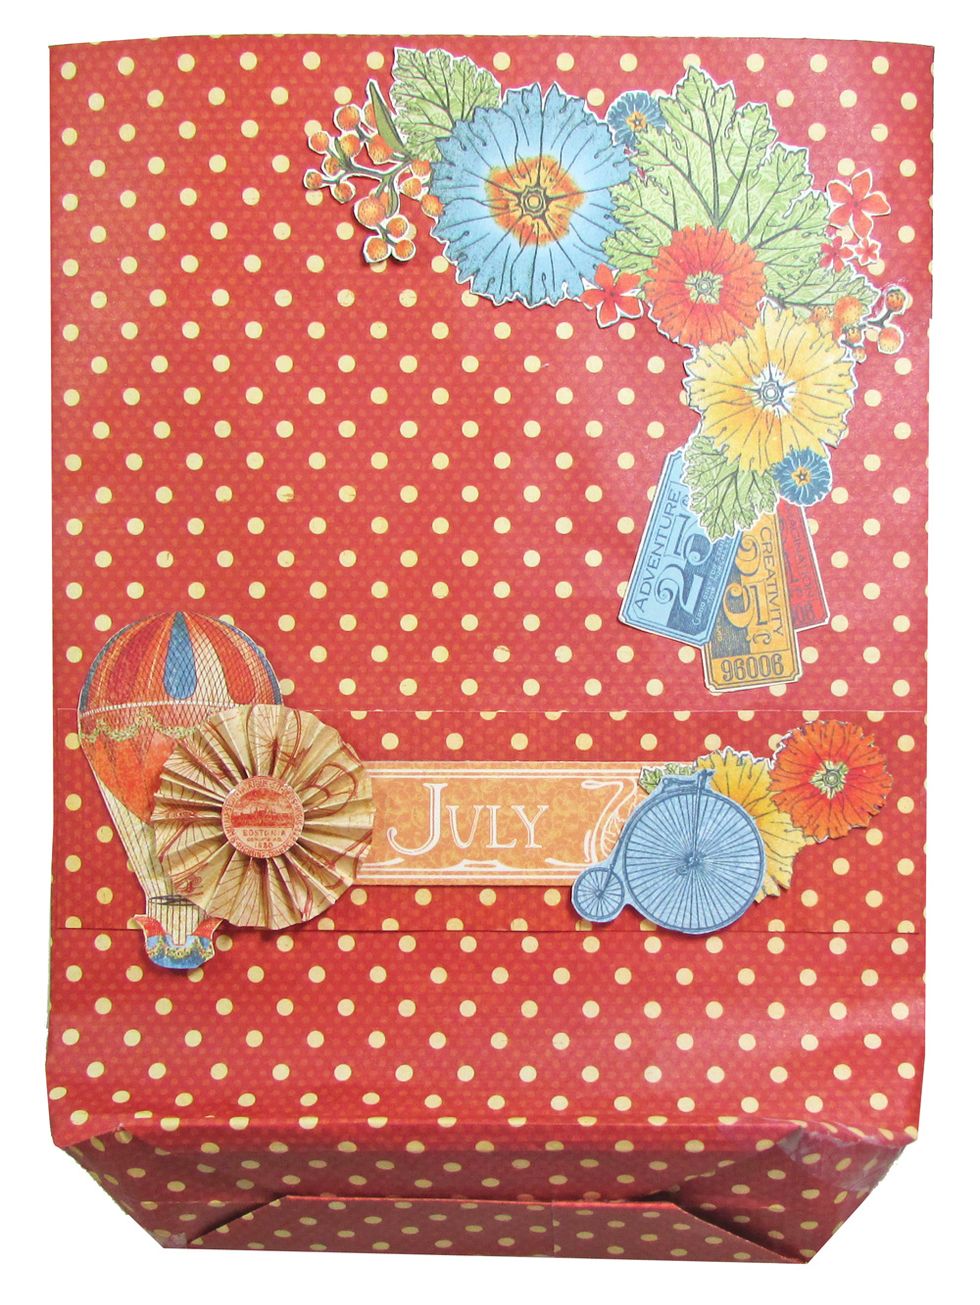
Attach the decorated strip to the front of the gift bag, approximately 3" from the bottom. Add a large, fussy cut element to the upper right corner of the bag.
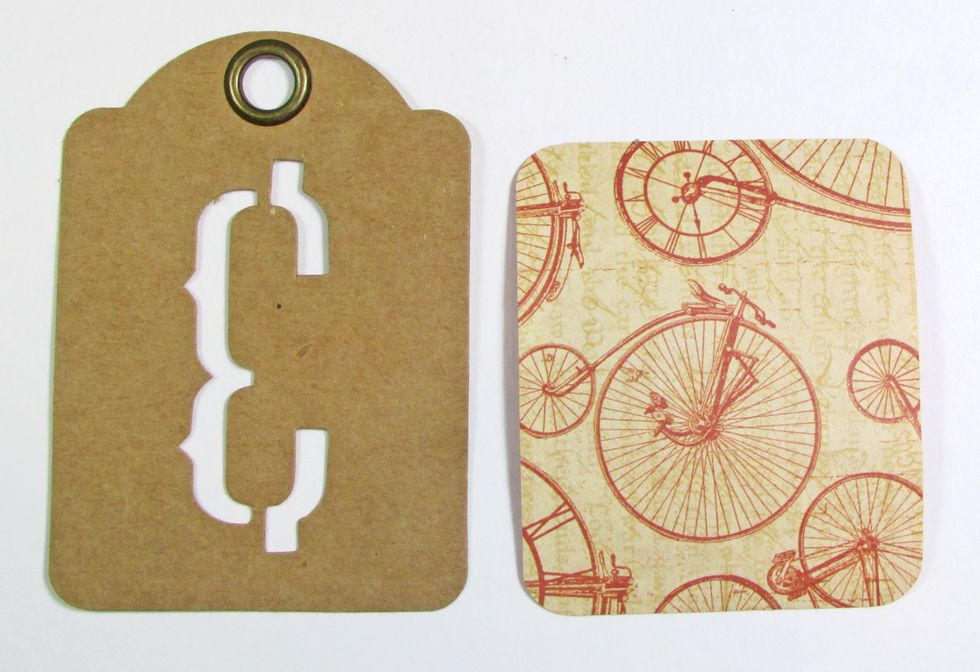
Create a decorative tag using a left-over Alphabet Banner or an Artist Trading Tag. Cut DIY Bicycle paper to slightly smaller than 3" x 2 1/2" and round the corners. Attach the paper to the tag.
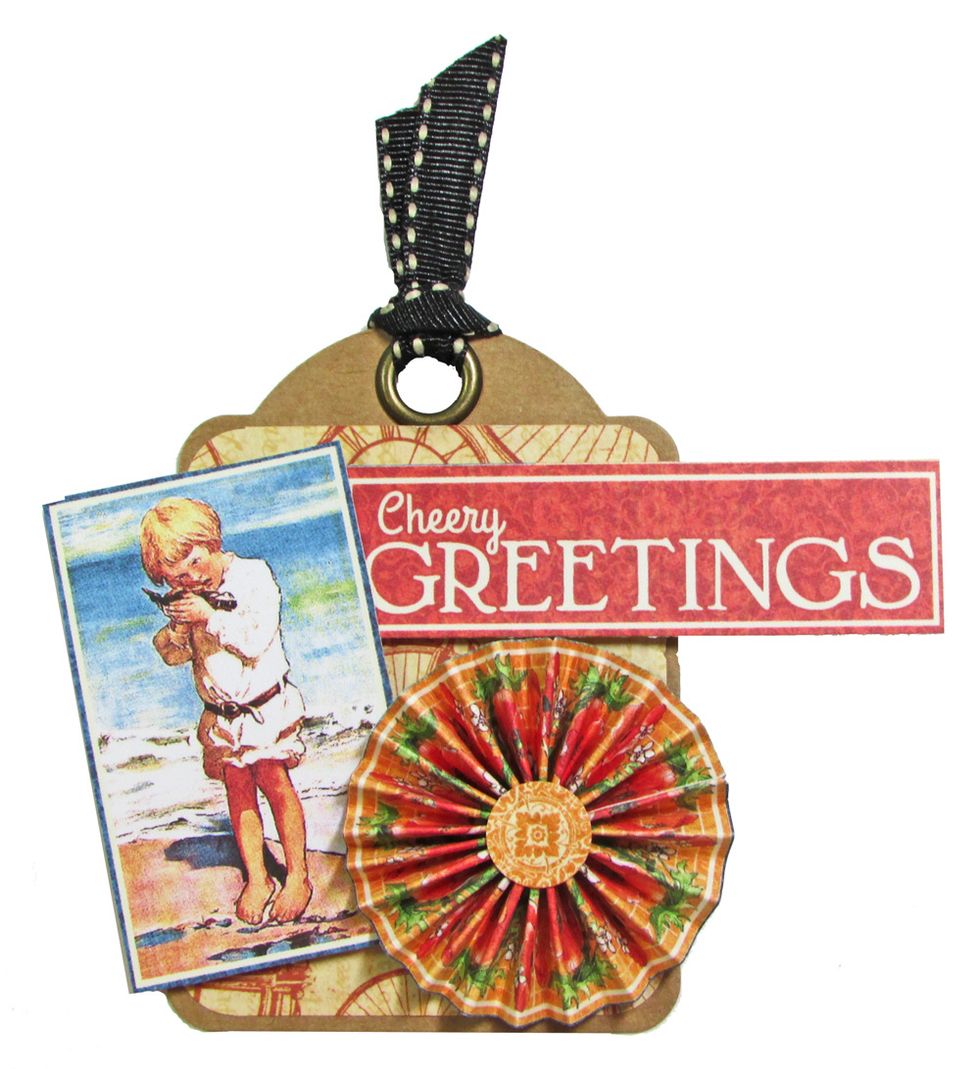
Decorate the tag with cut apart elements from Children's Hour July Collective paper. Create a rosette from one of the paper borders.
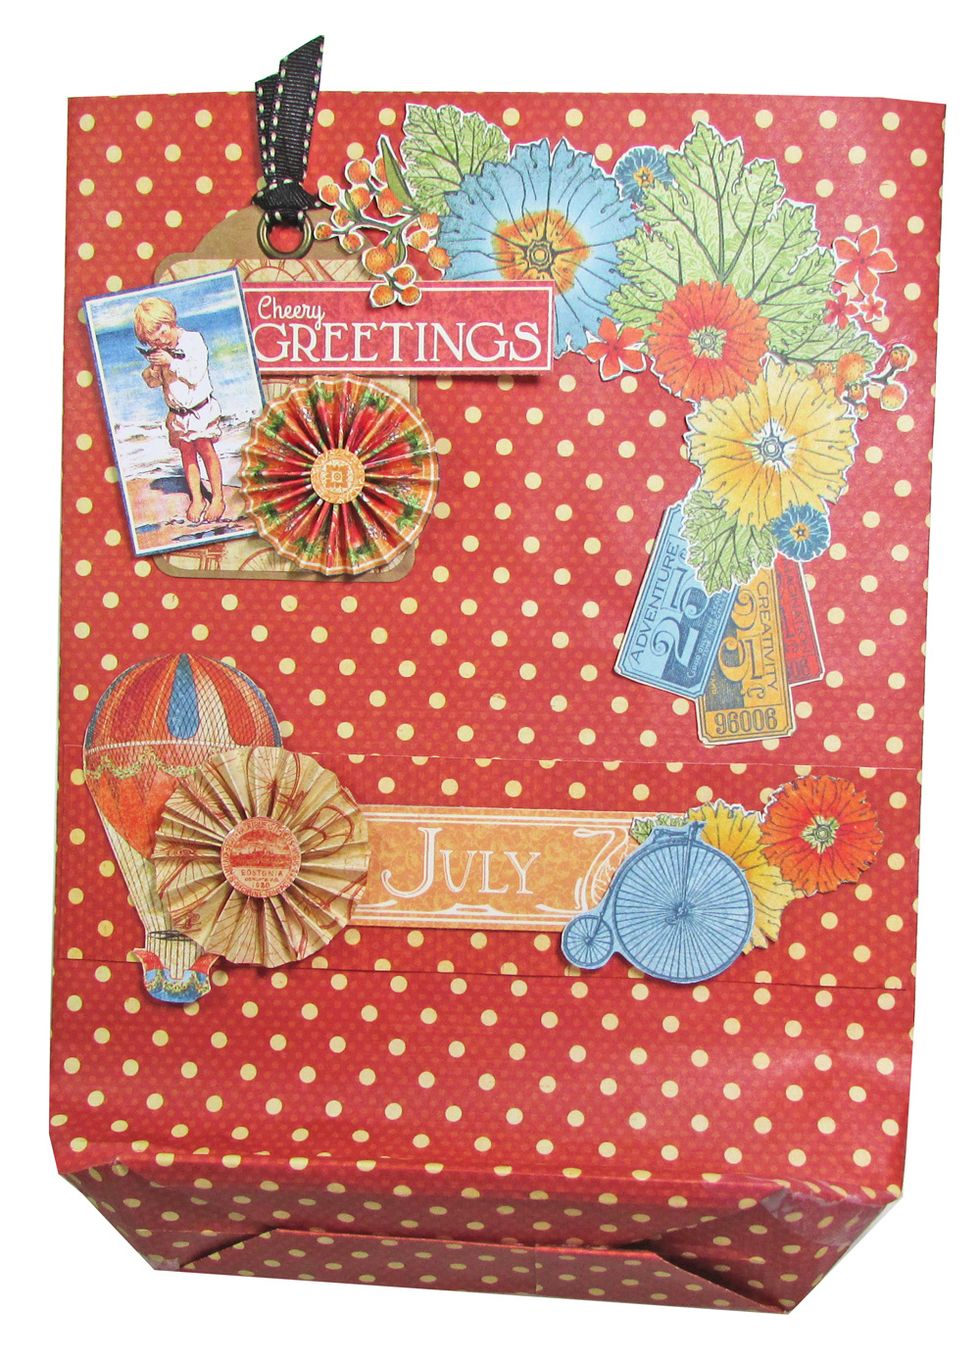
Use foam adhesive to attach the tag to the upper left corner of the bag.
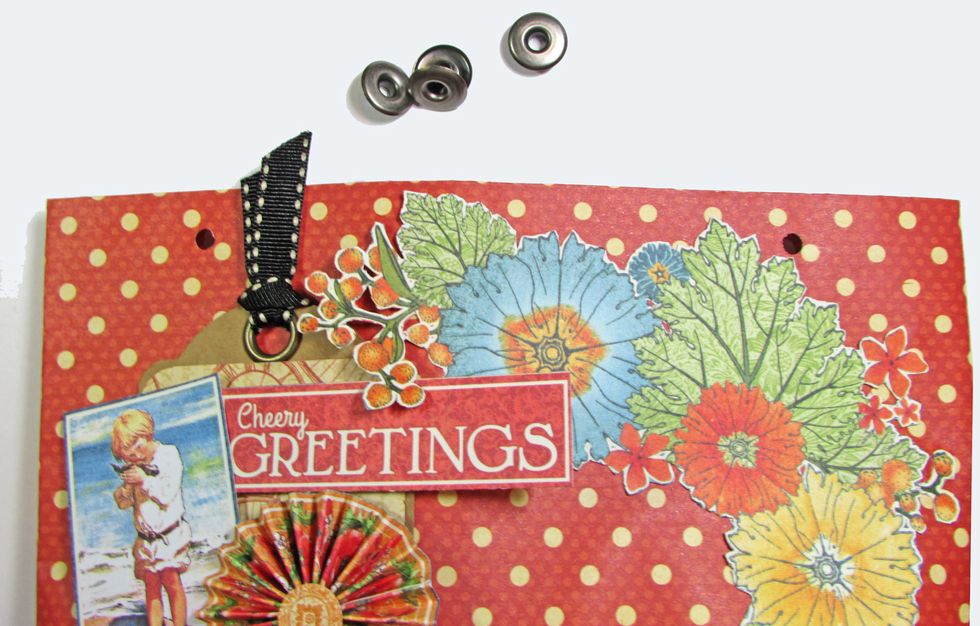
Use a Crop-a-Dile or similar tool to punch holes through all layers at the top of the bag, approximately 1 1/4" from each edge and 1/2" from the top. Add one grommet to each hole (total of 4).
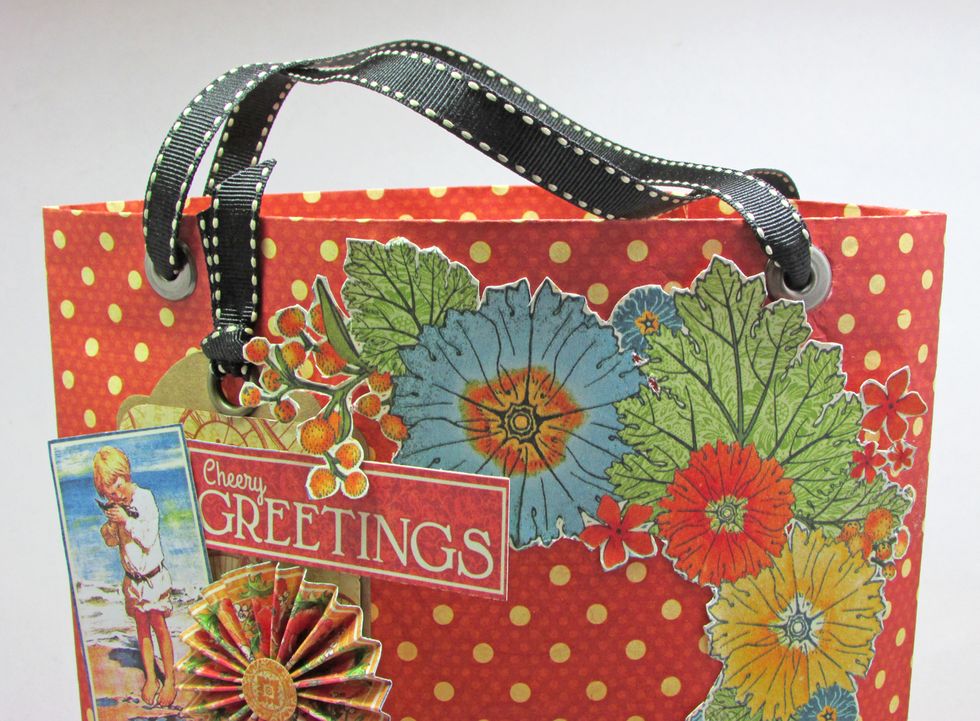
Add ribbon handles to the bag. Cut two pieces, 10" each, of ribbon and thread through the grommets. (Ribbon from the Alphabet Banner Kit). Knot the ends to keep ribbon in place.
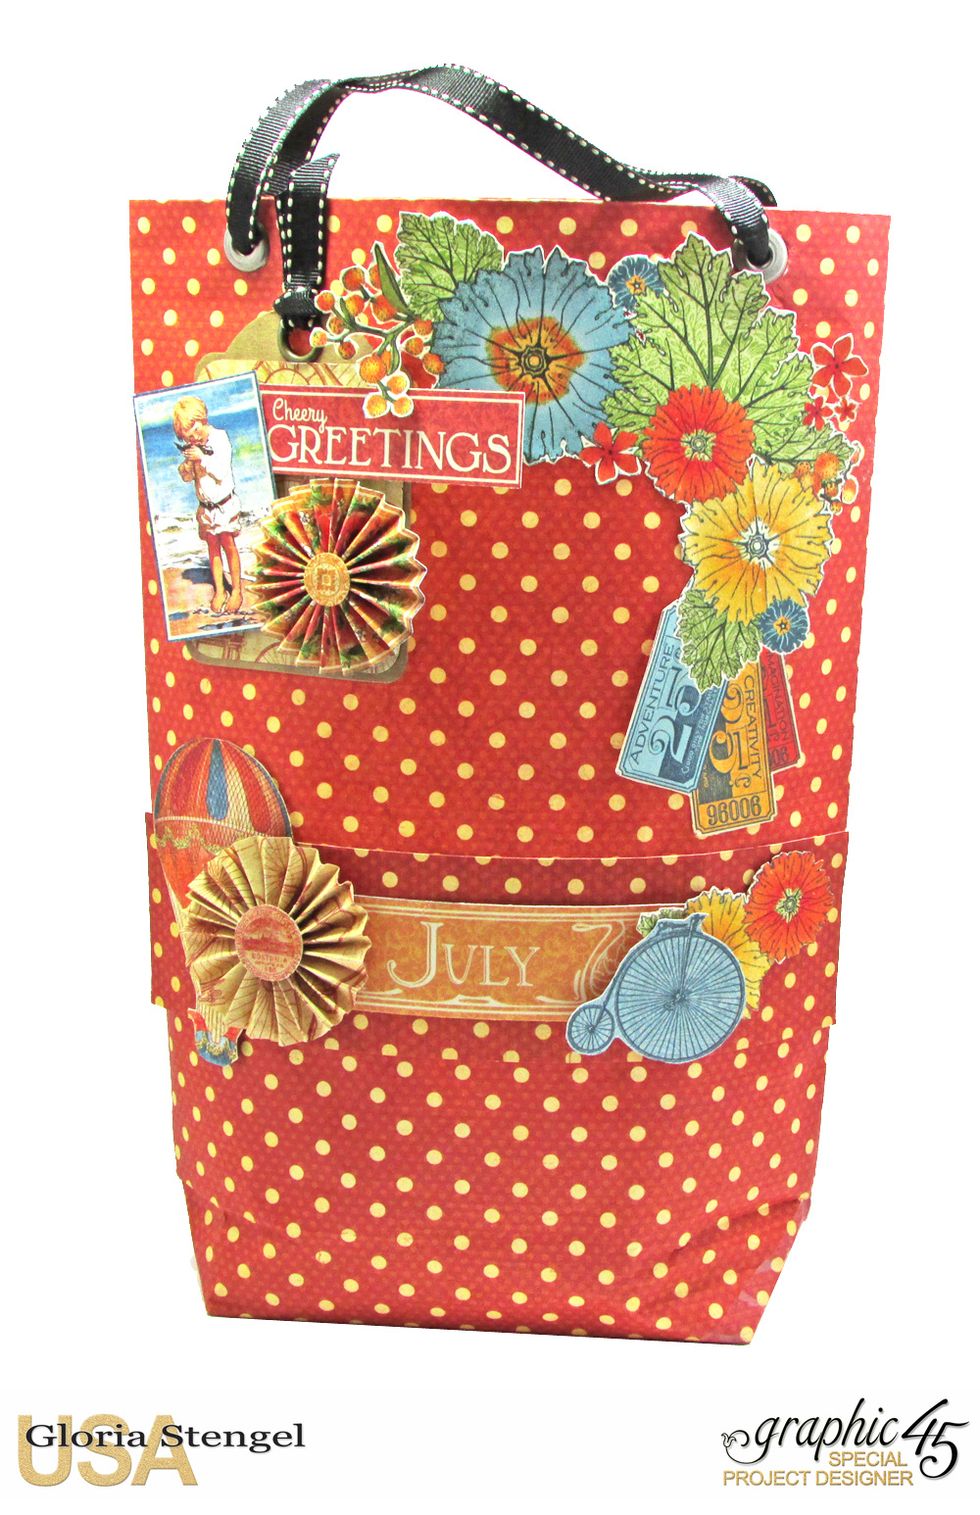
For extra stability, place a piece of cardboard into the bottom of the bag. Add your gift!