The Conversation (0)
Sign Up
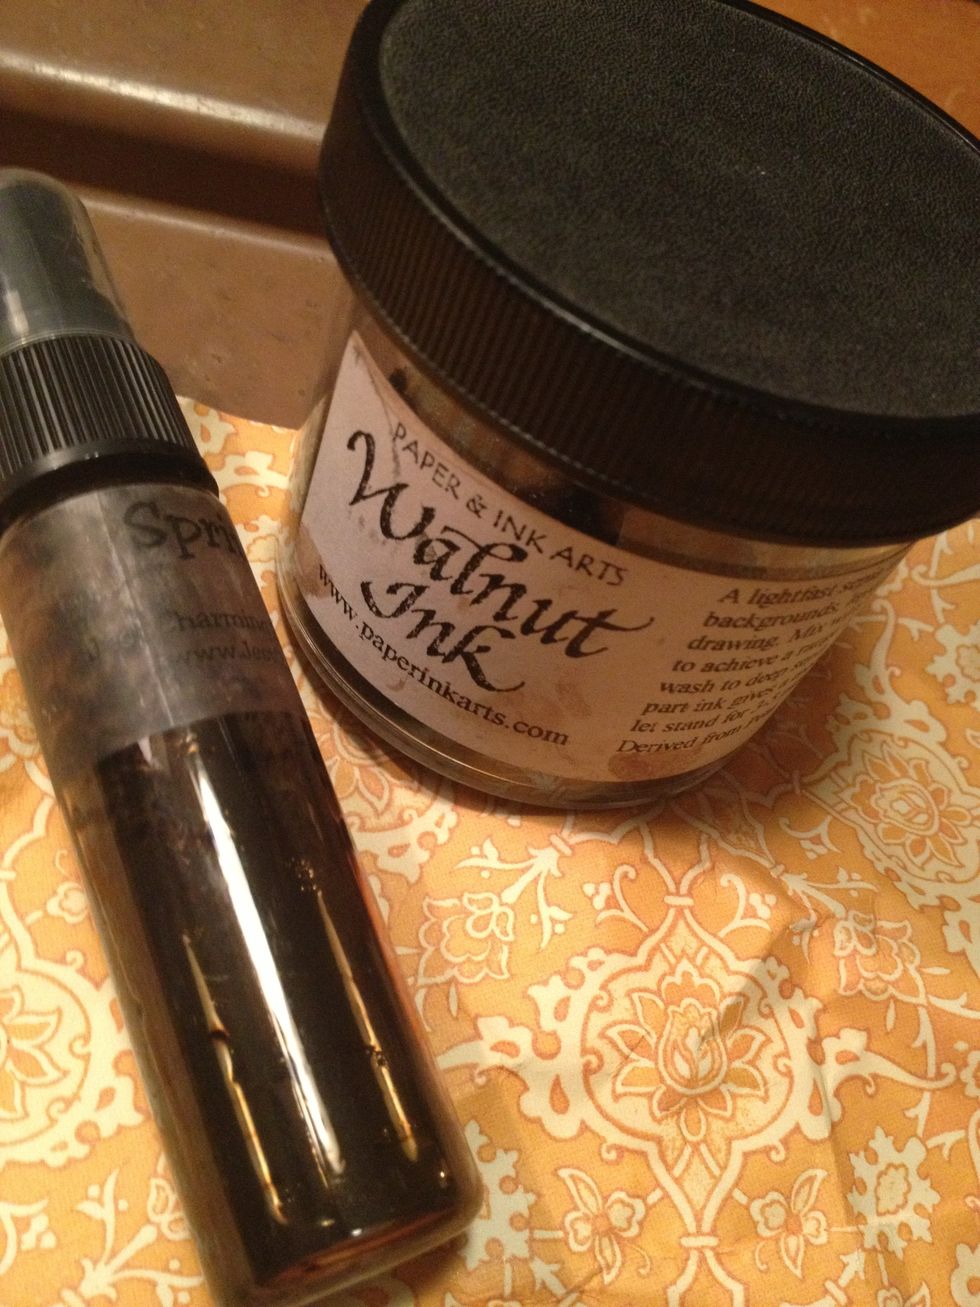
create a solution of walnut ink crystals dissolved in water. shake well.
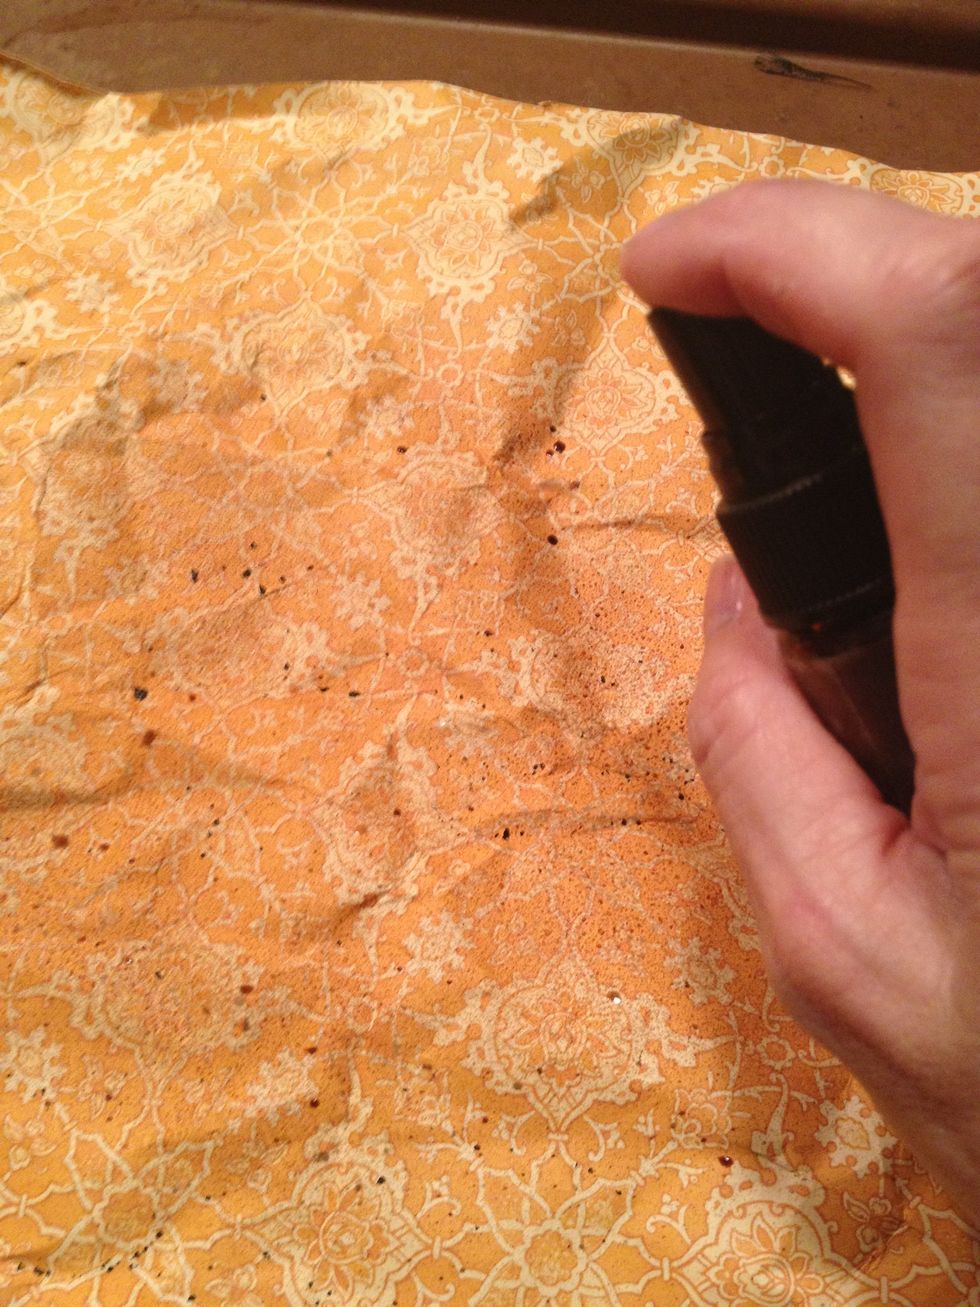
spritz paper.
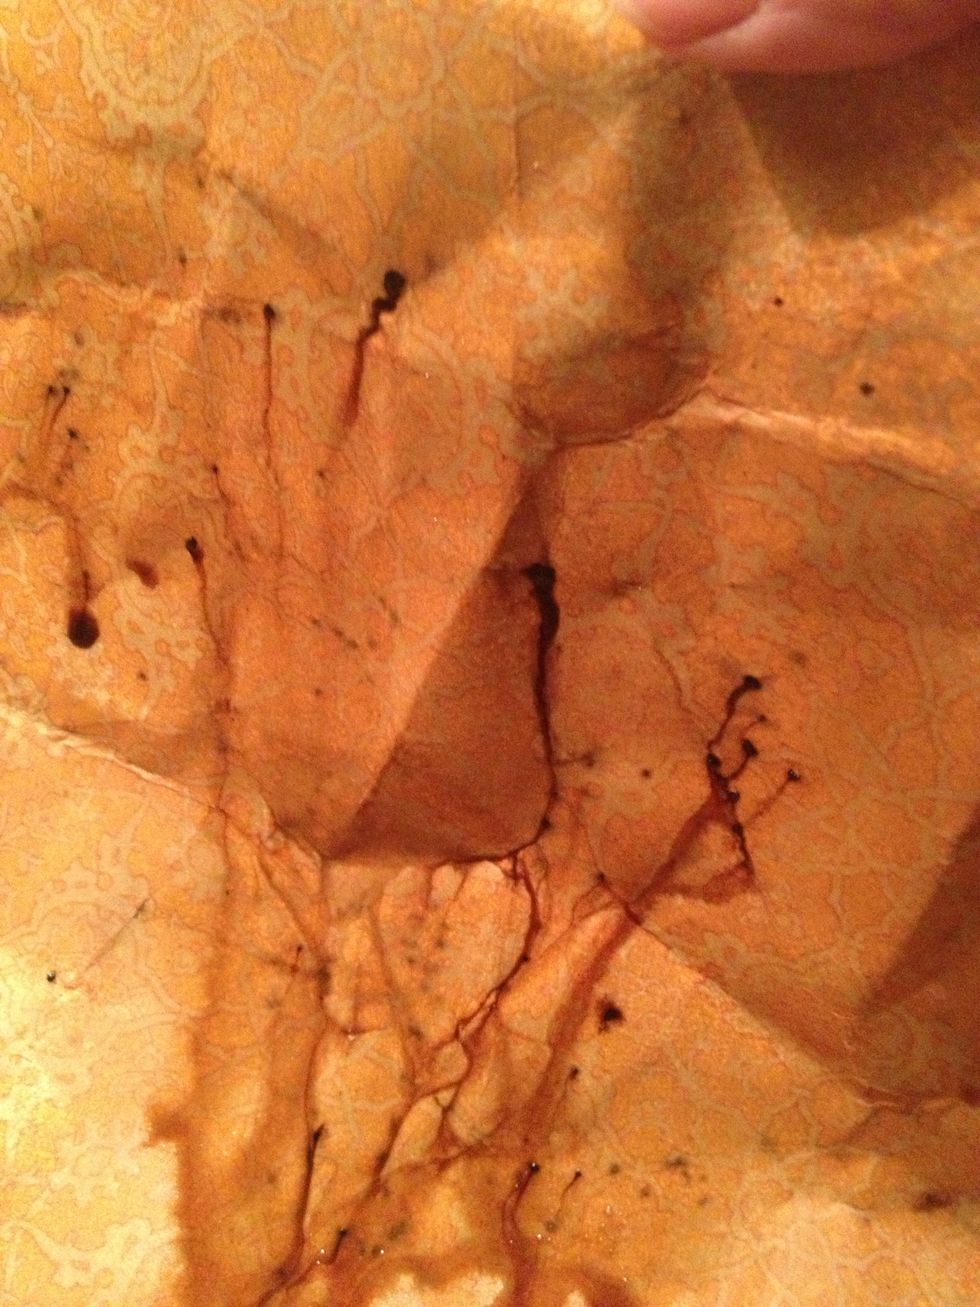
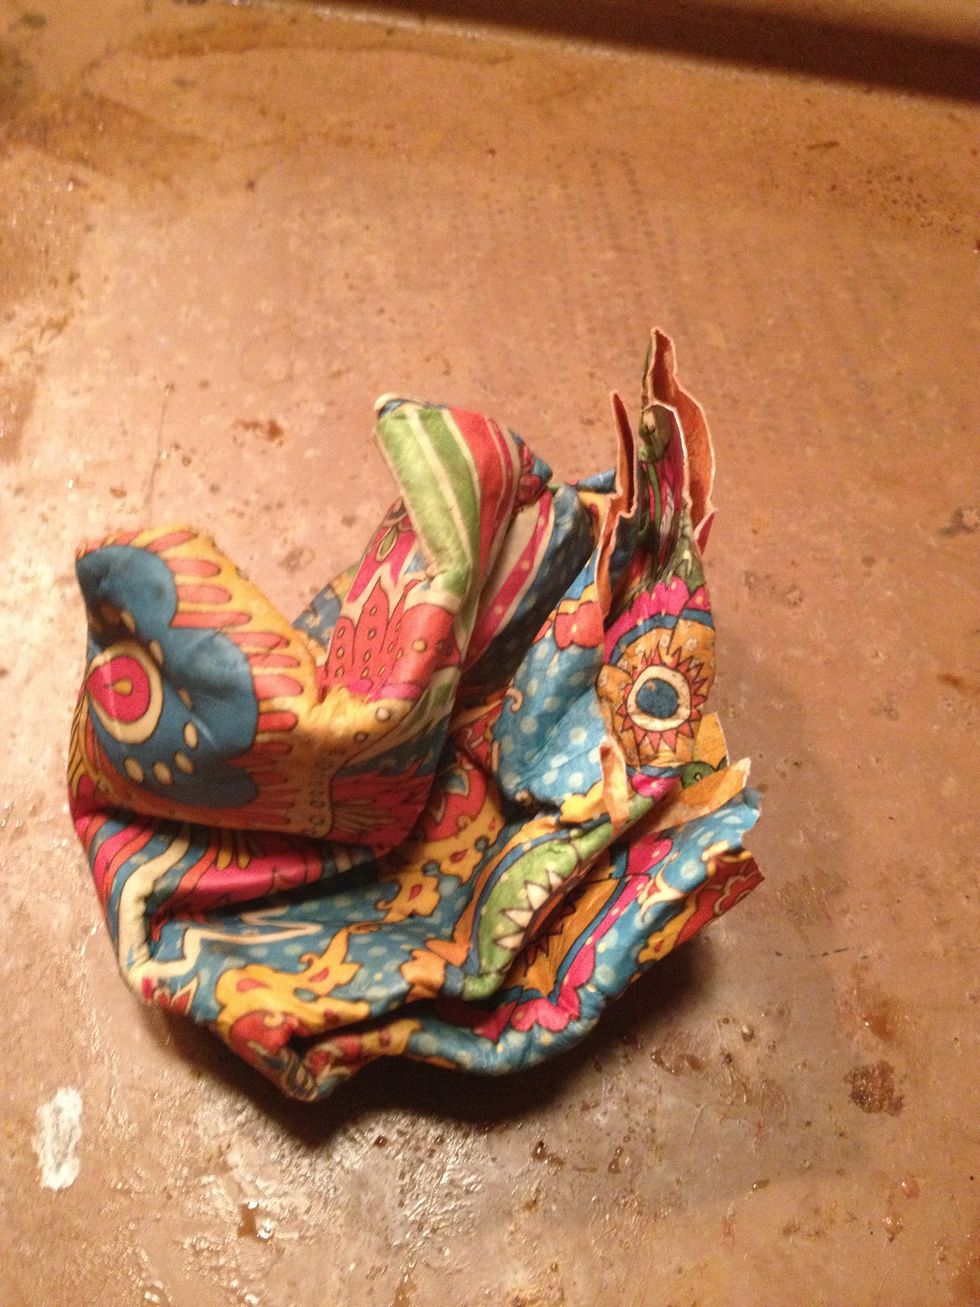
once paper is very damp, crumple into a ball.
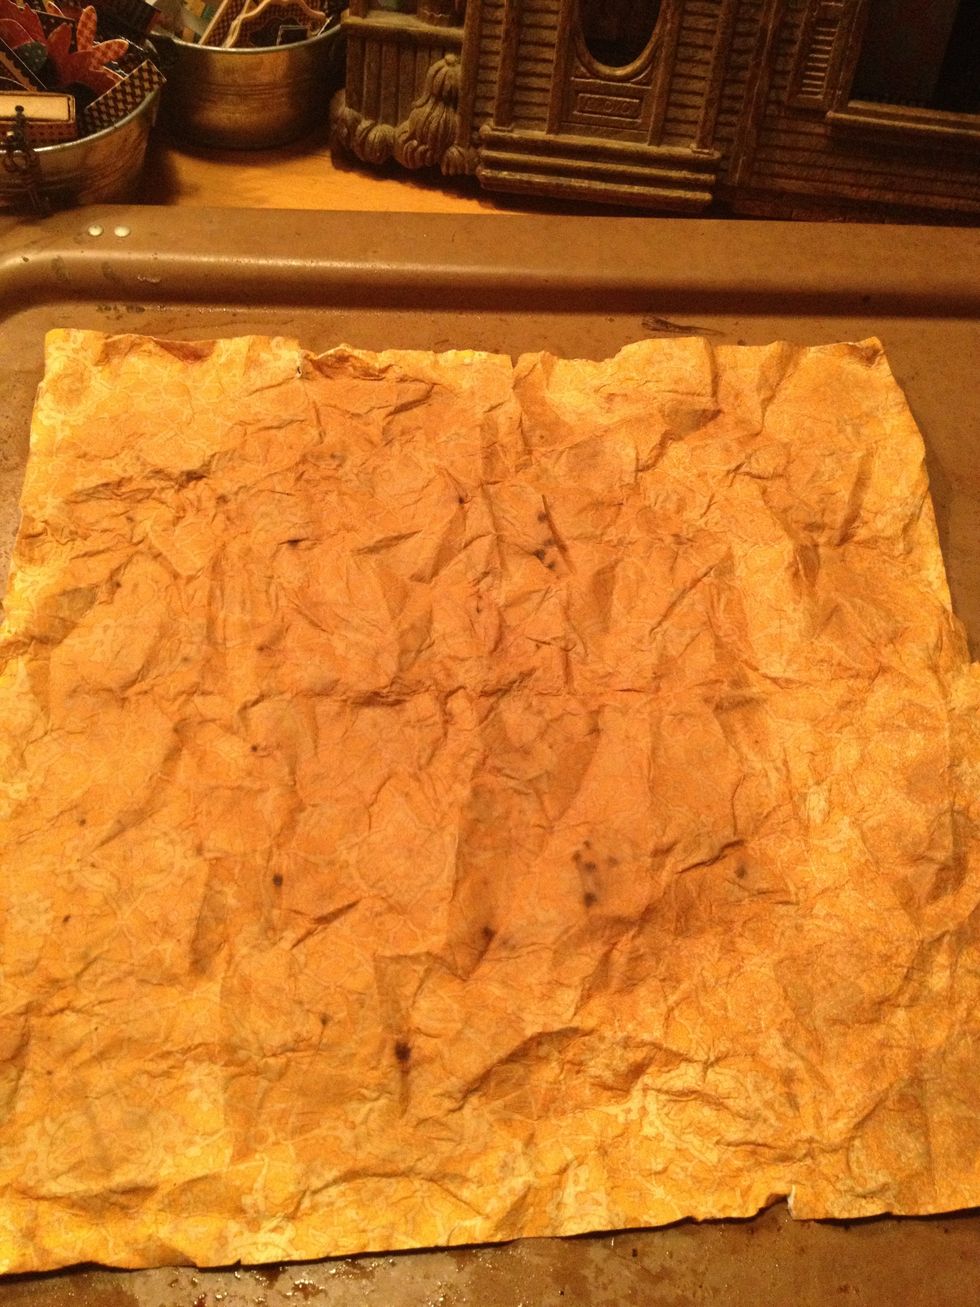
uncrumple.
now we'll "shrink" this paper so we can layer our pages together. pinch paper and gather and fold as you pinch.
create a variety of folds. make them very random and at varying angles.
by creating folds we are "shrinking" our paper size. this page will become approx. 1-1.5 inches smaller. (from 12 x12 to almost 10 x 10)
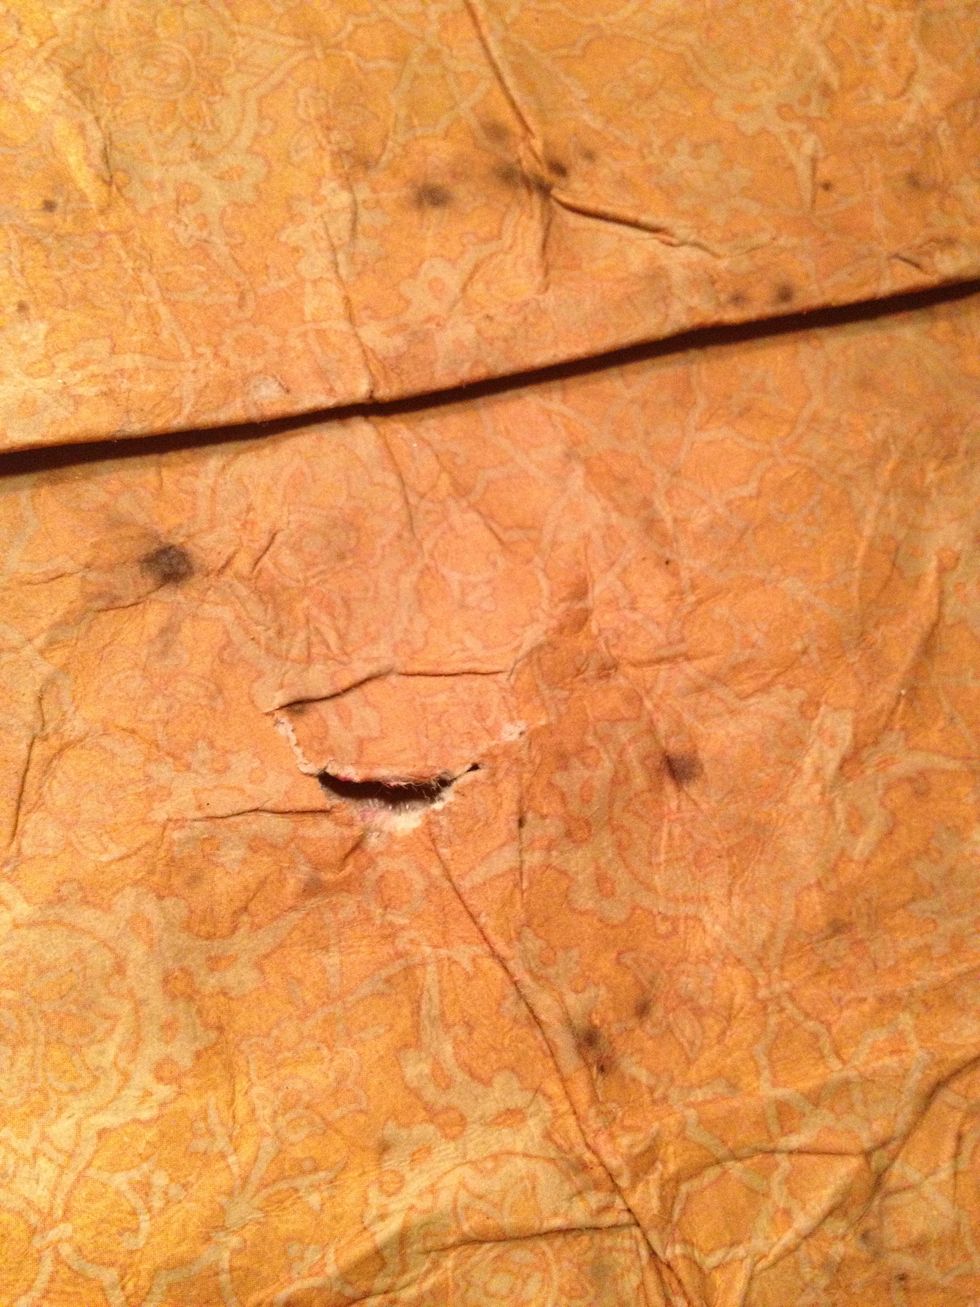
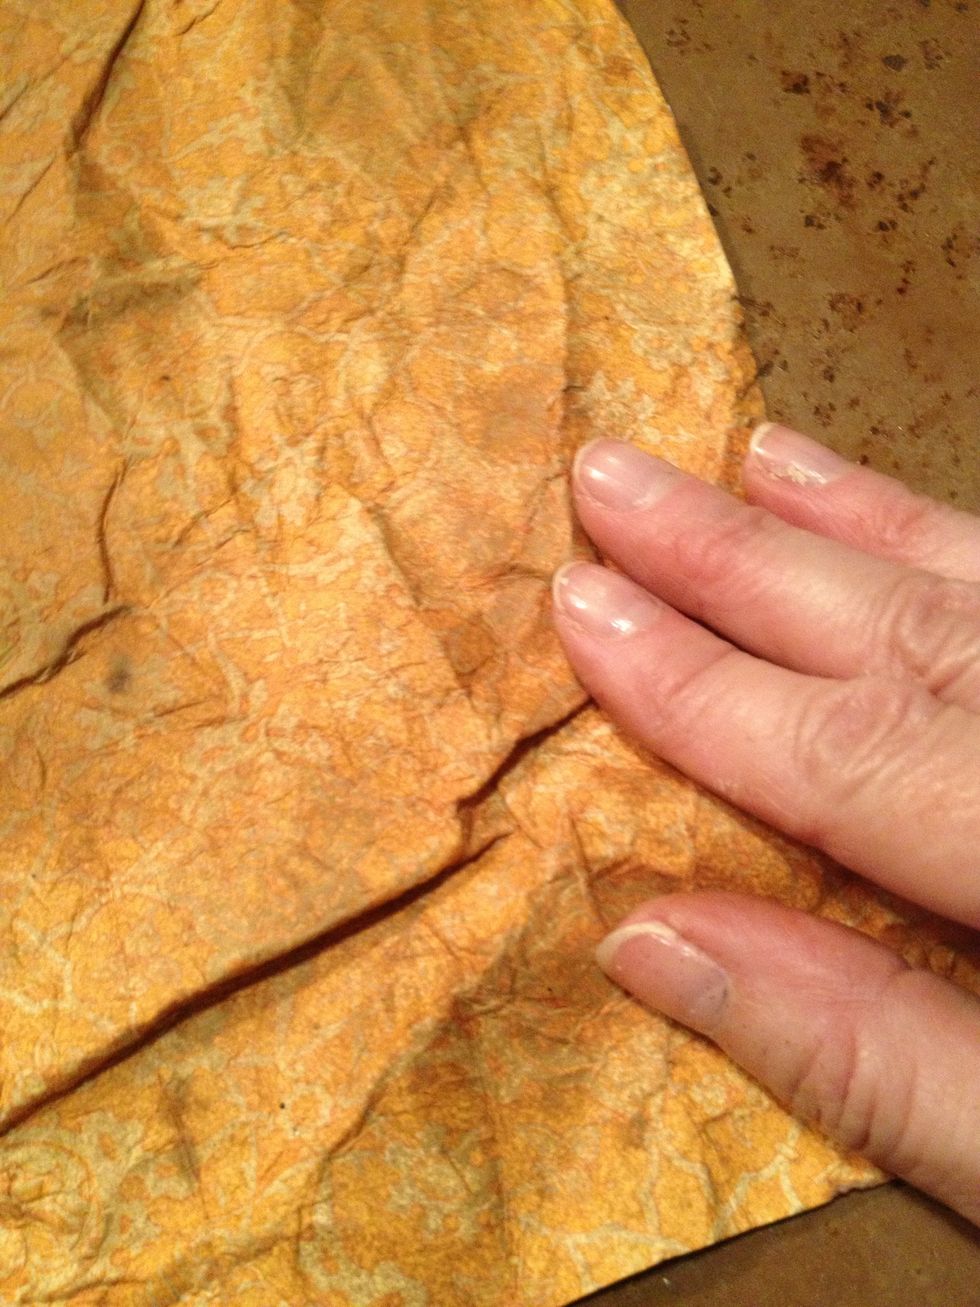
as you fold and pinch, distress here and there too. small holes will add great texture and interesting reveals thru to the next layer.
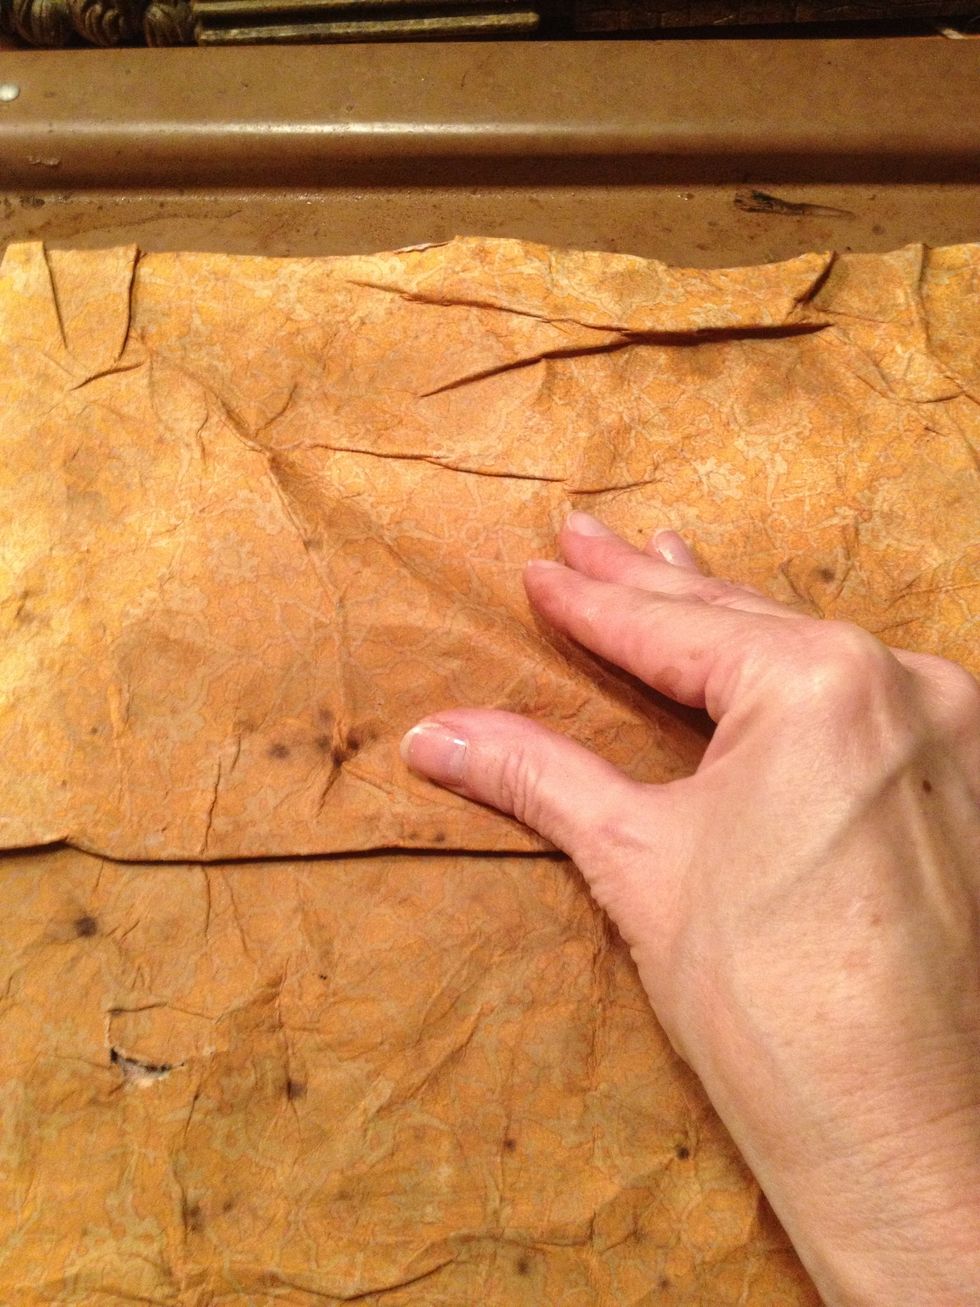
...keep pinching and distressing.

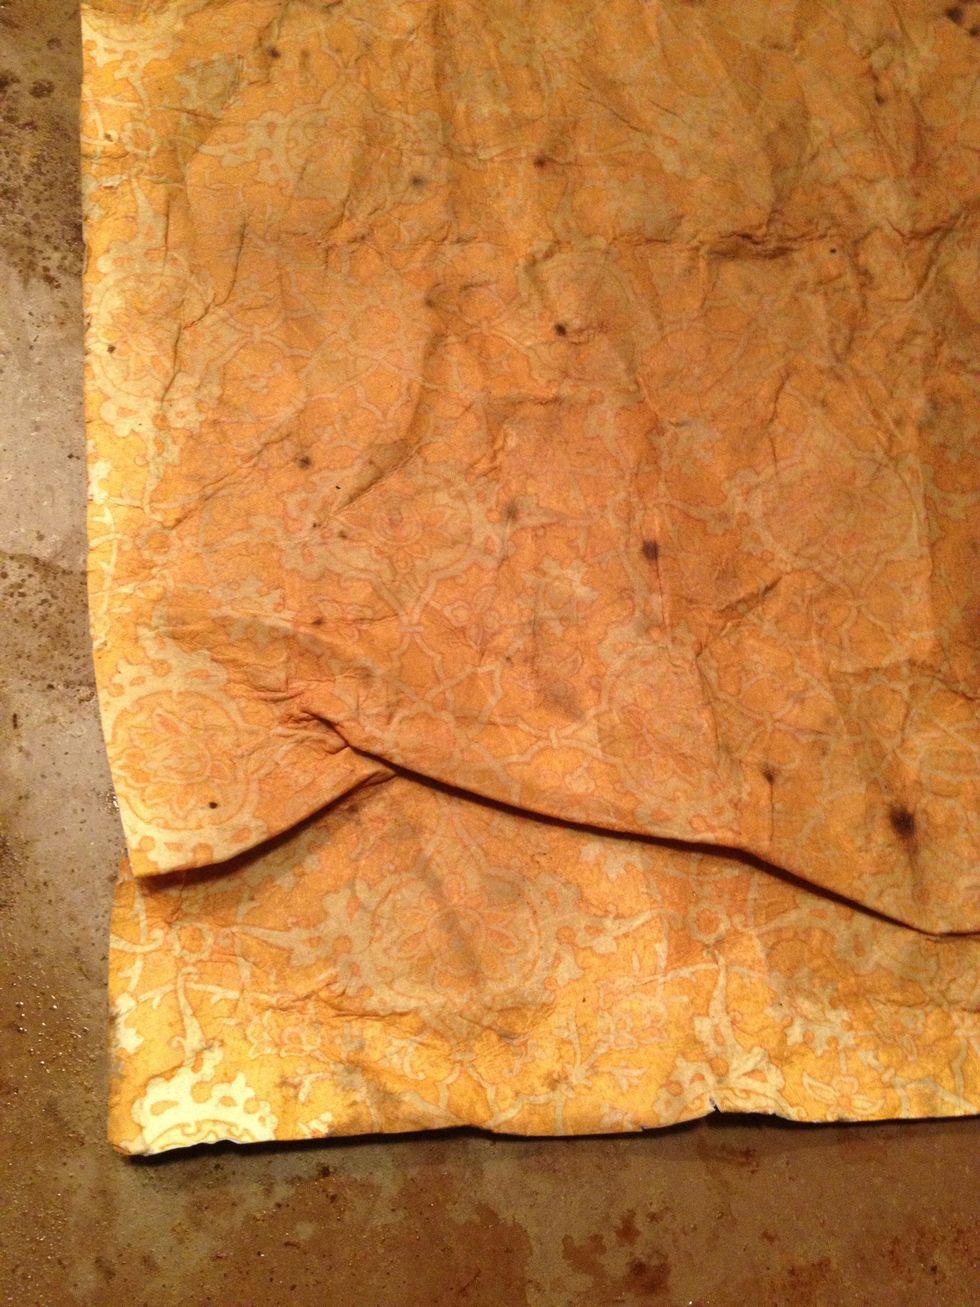
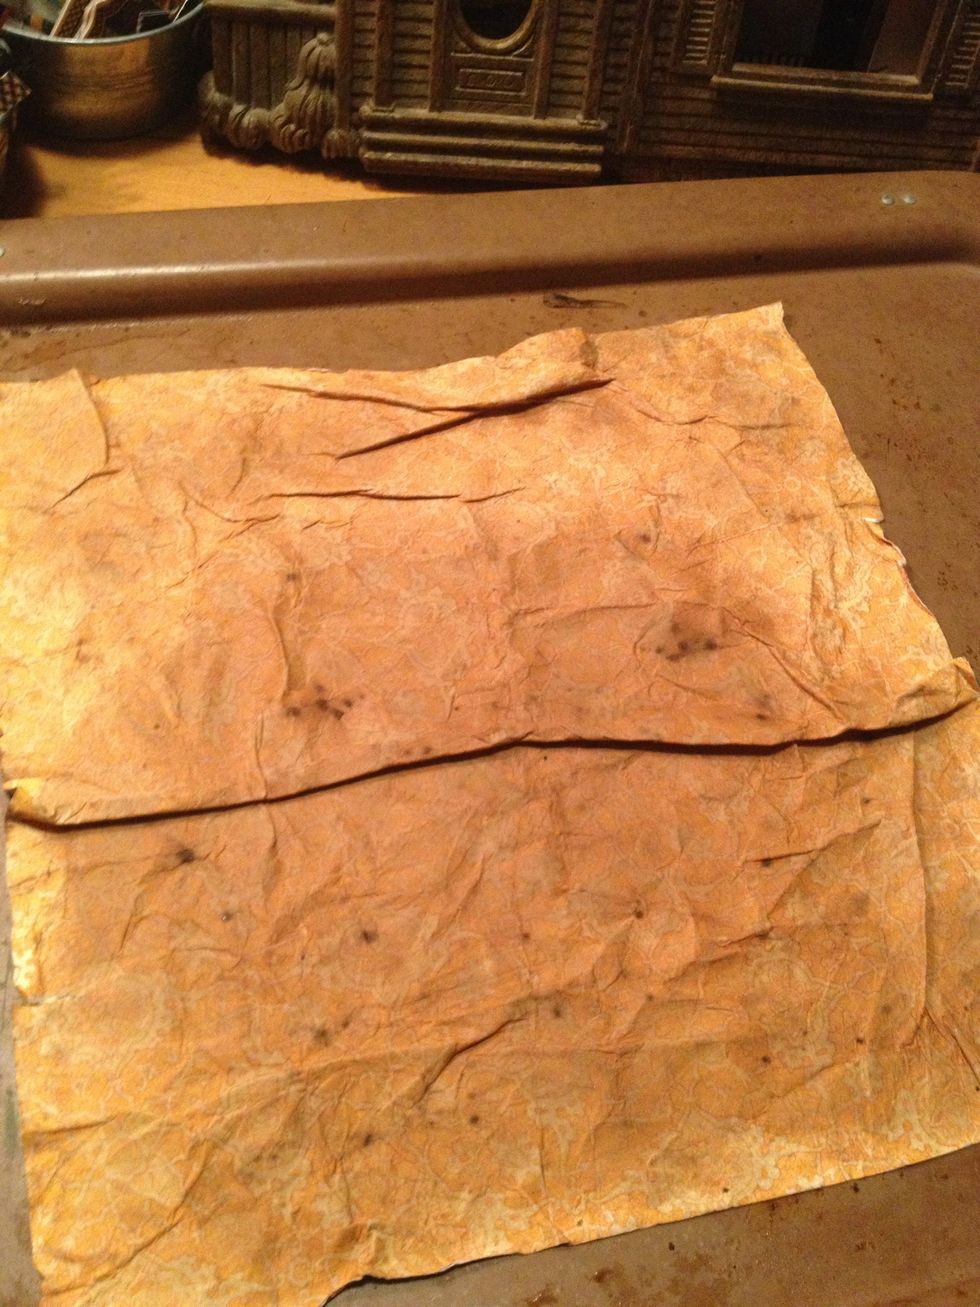
once the desired shrinkage and distressing is achieved, allow paper to dry thoroughly.
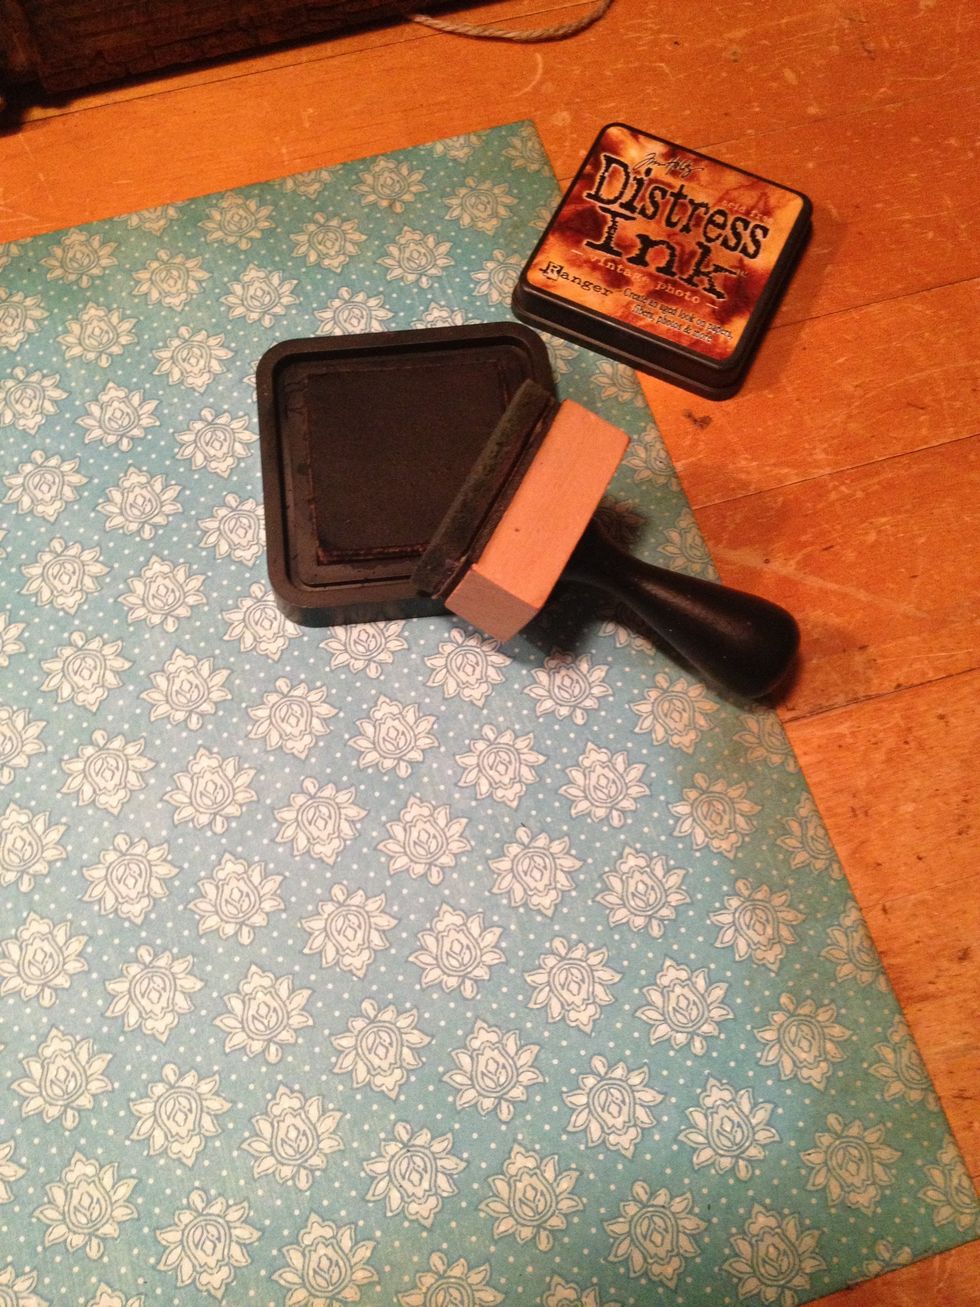
distress edges of second layer.
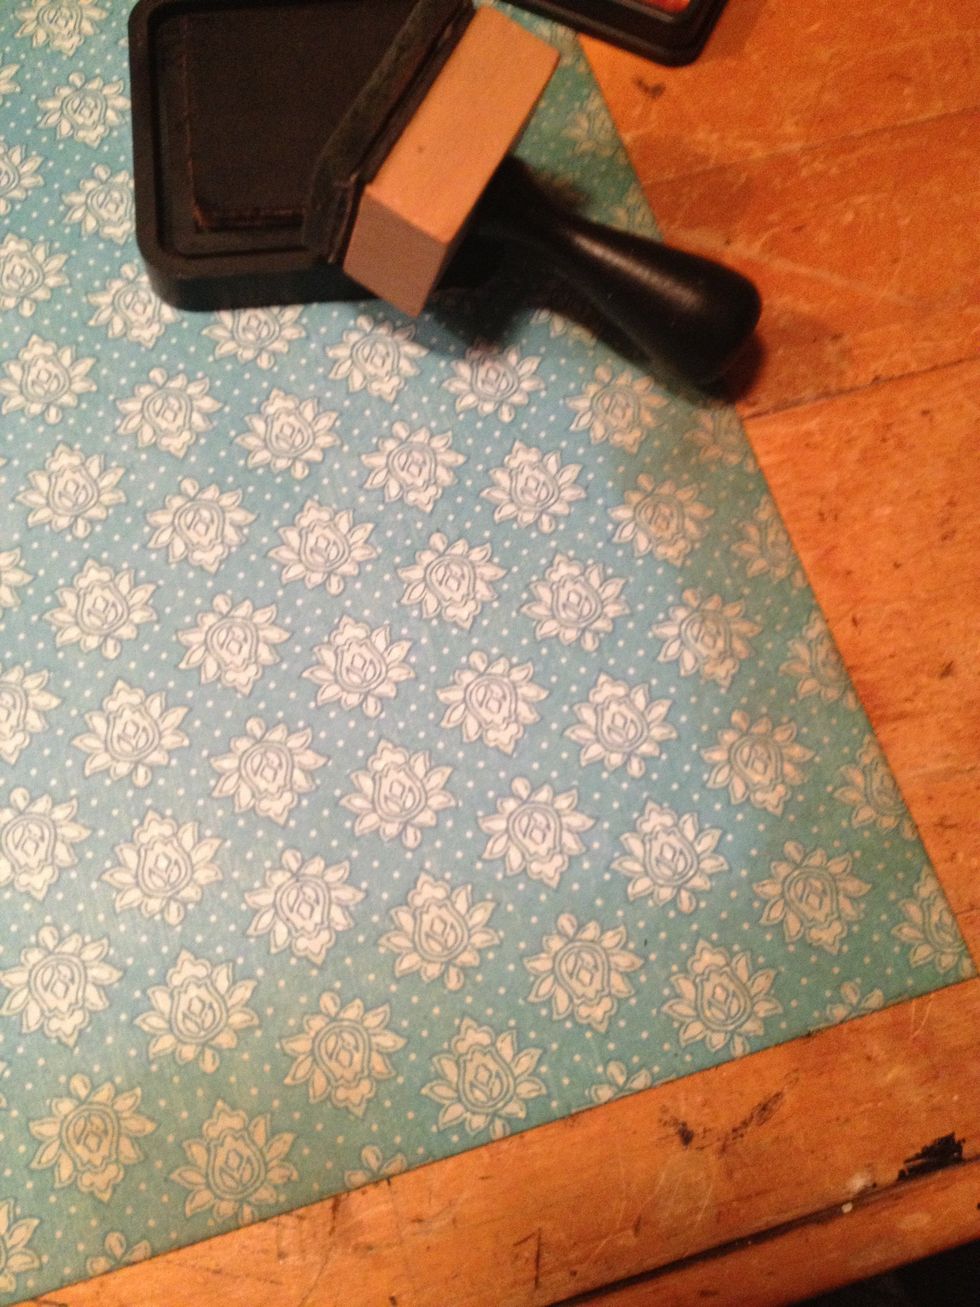
you only need to distress the edges because the inner portion of the paper will be covered by our shrunken layer.

once "shrunken" paper is dry, layer over 2nd paper.
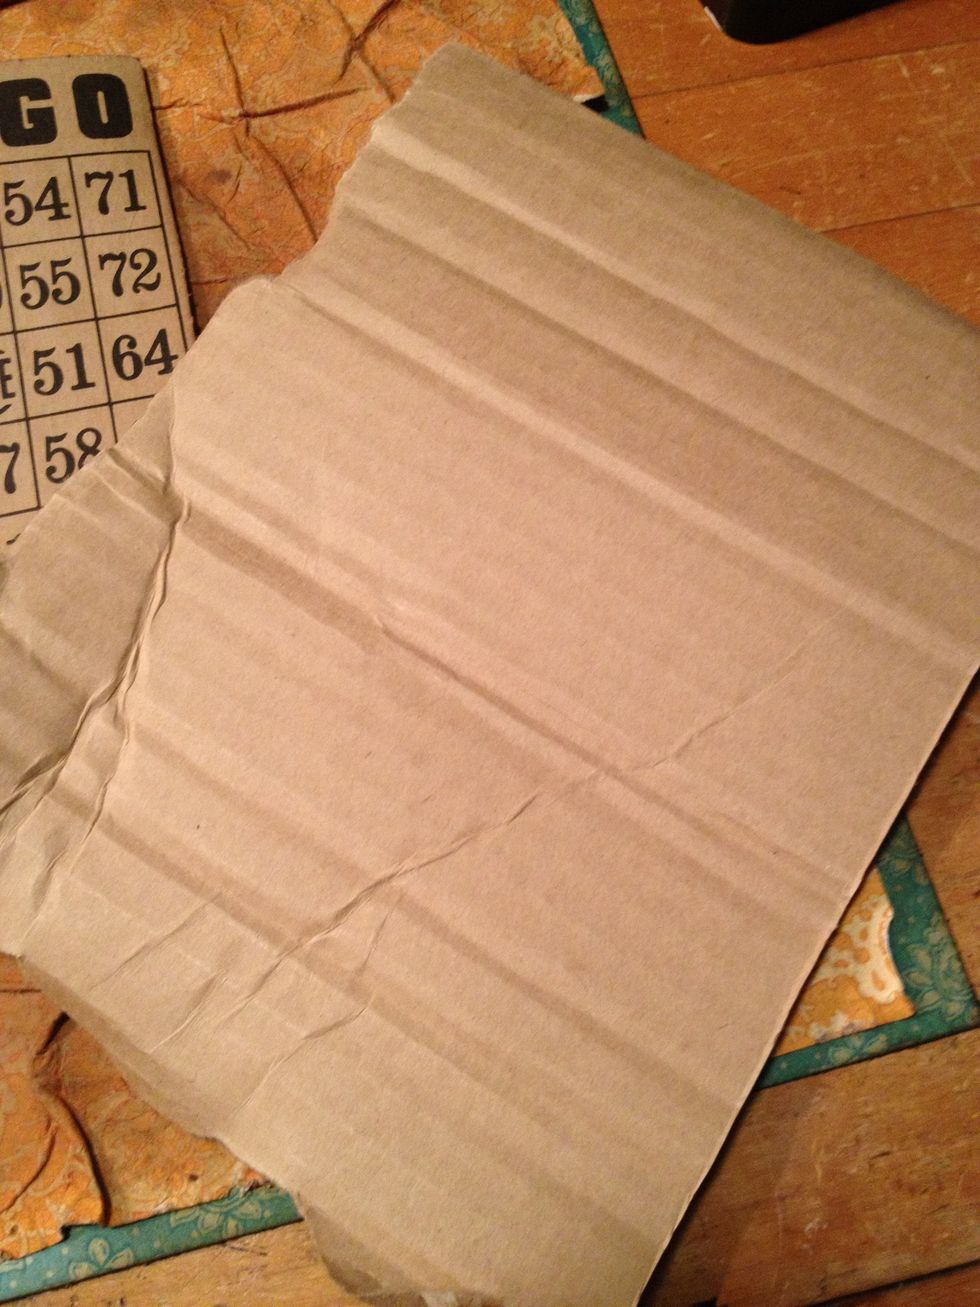
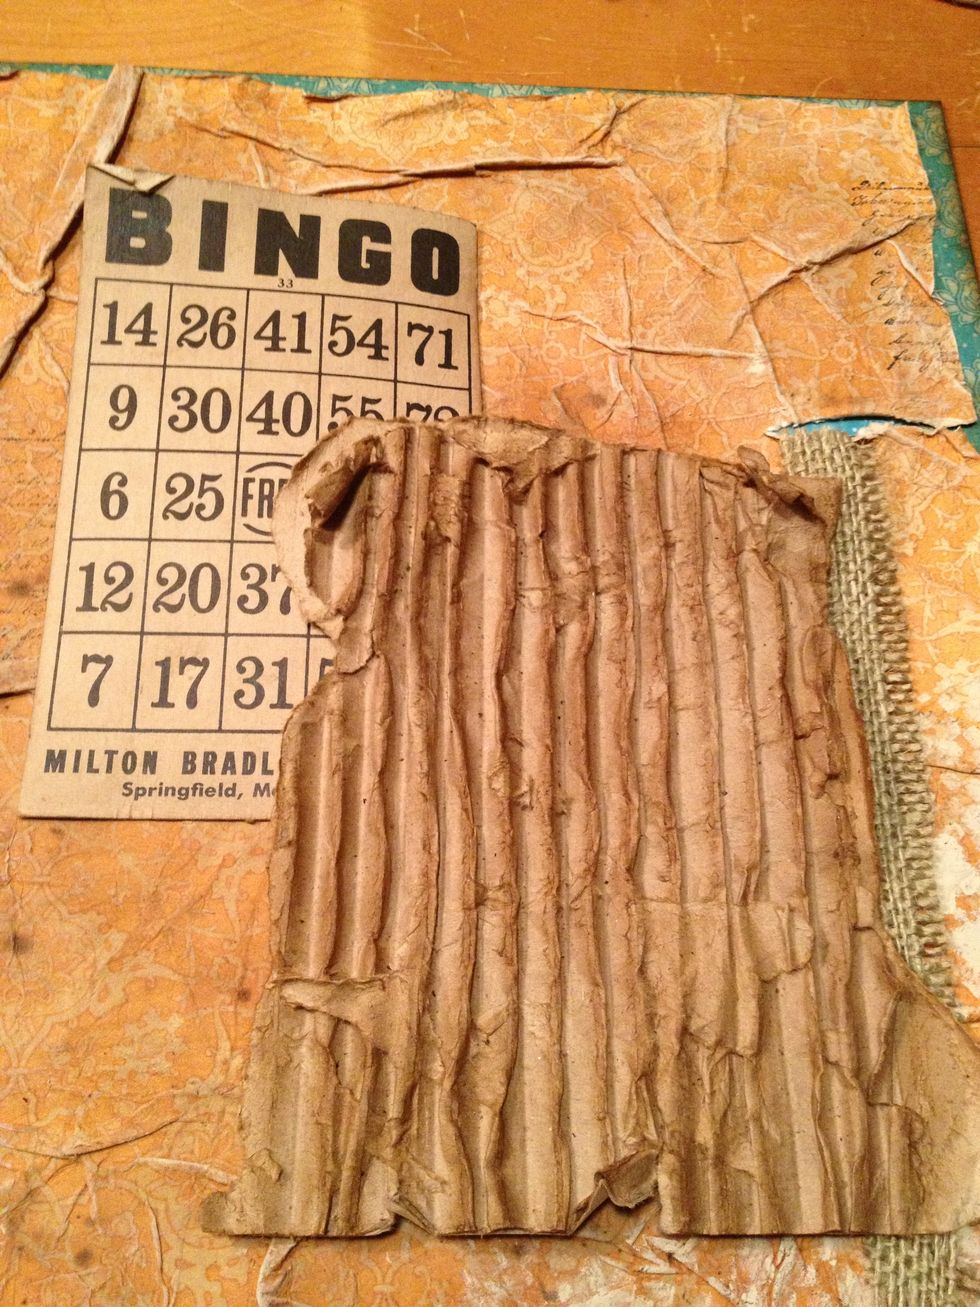
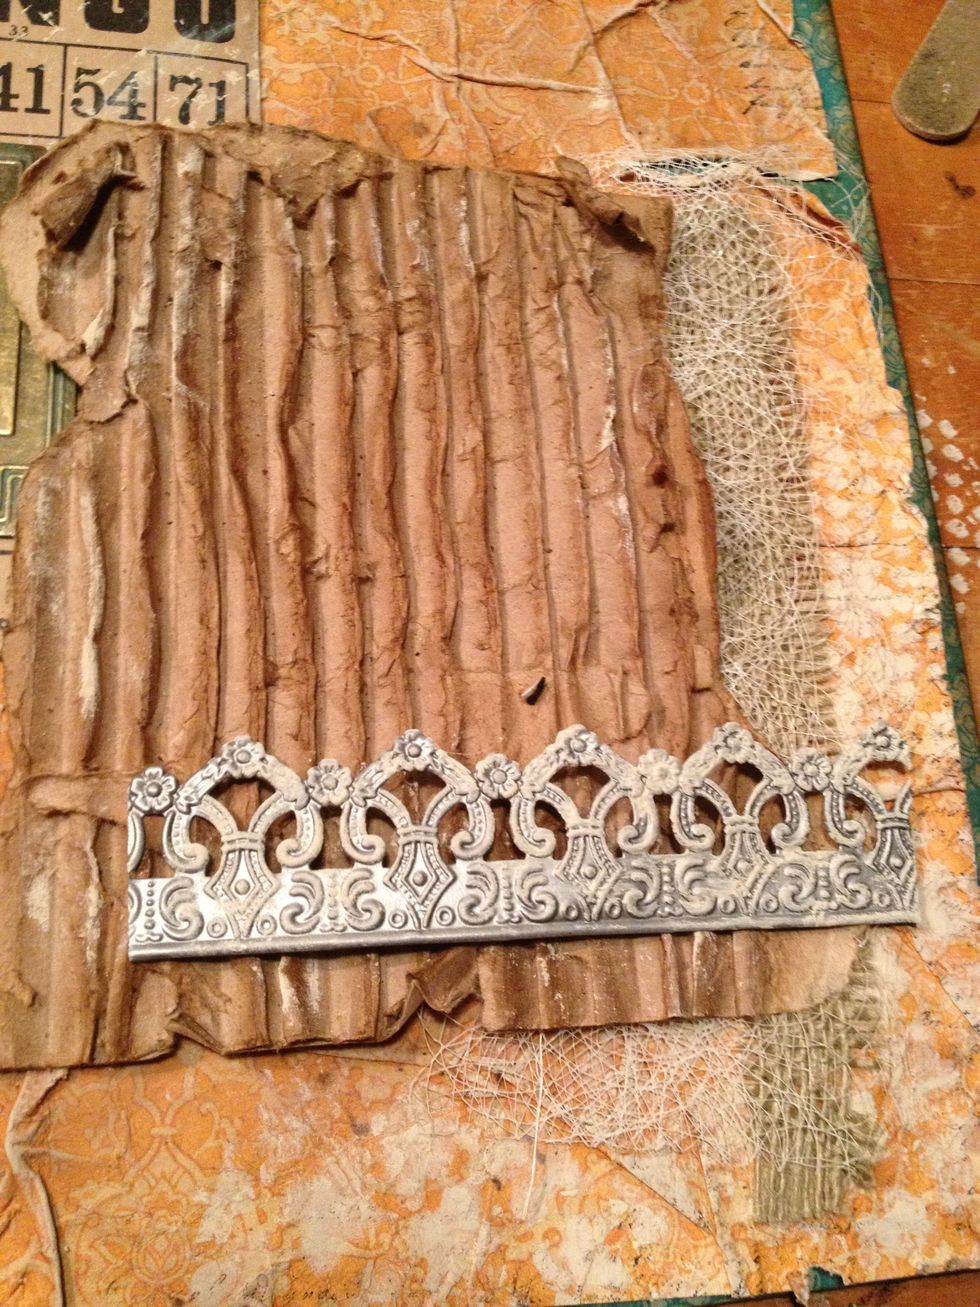
tear a piece of corrugated paper (box scrap) a bit larger than photo you will be placing on layout. I used a 4 x 6 photo so I tore my piece to about 5 x 7.
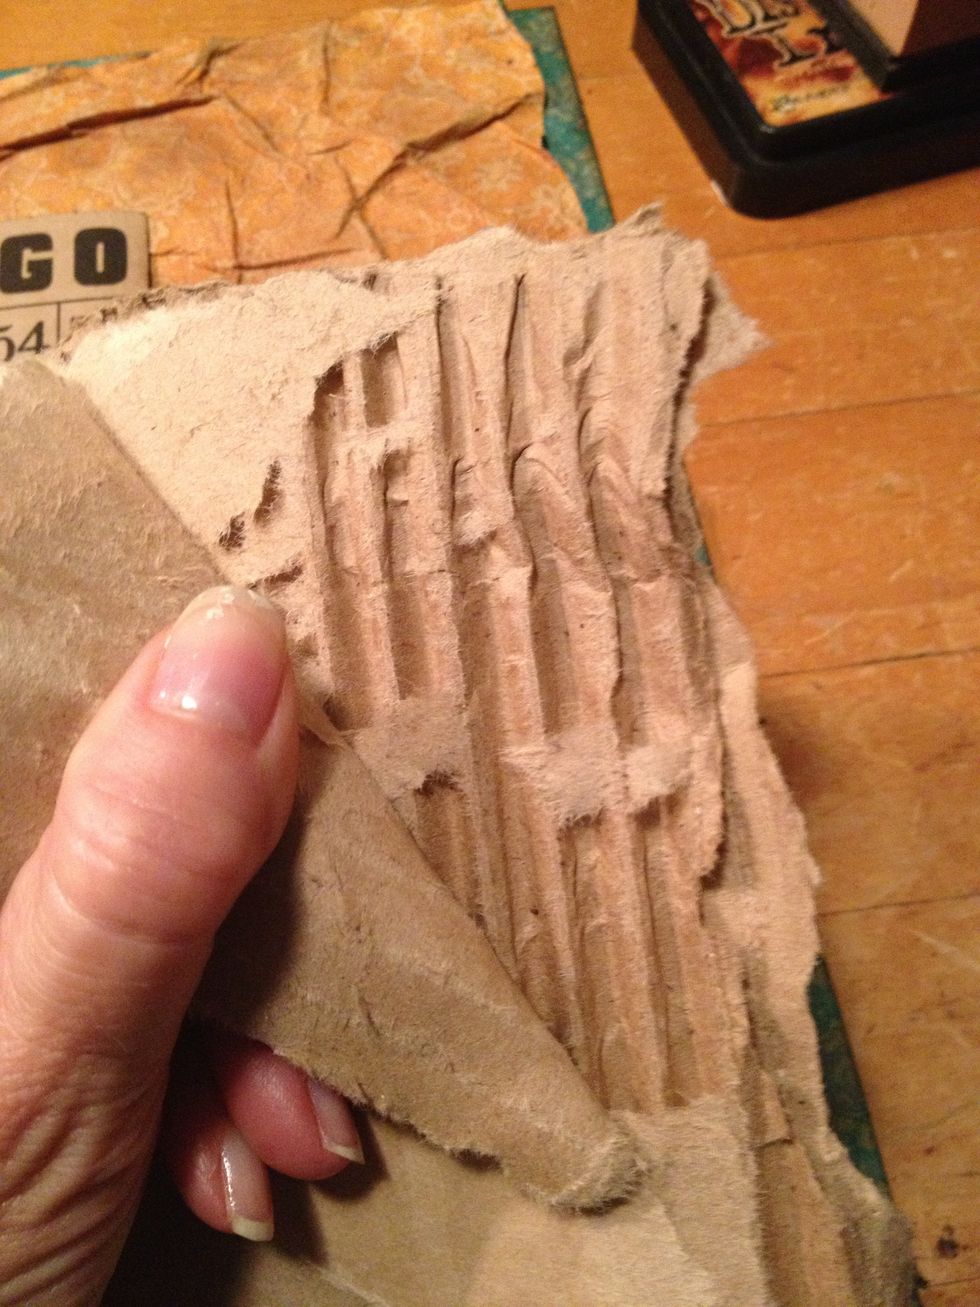
tear the top layers of paper revealing the corrugated layer. tear and distress.
...like this.

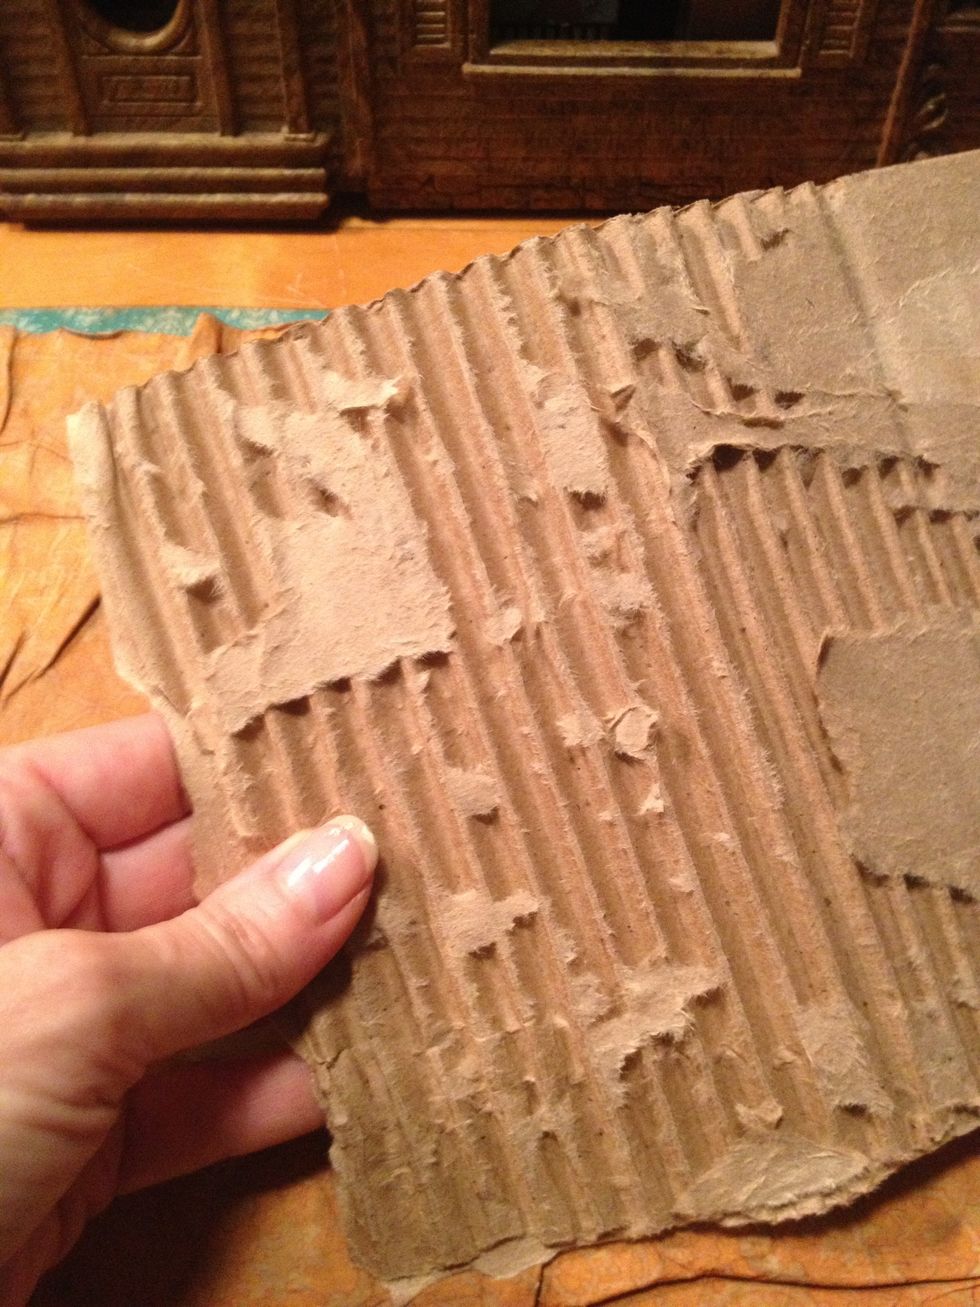
spritz with walnut ink or use distress ink to distress and age corrugated piece.
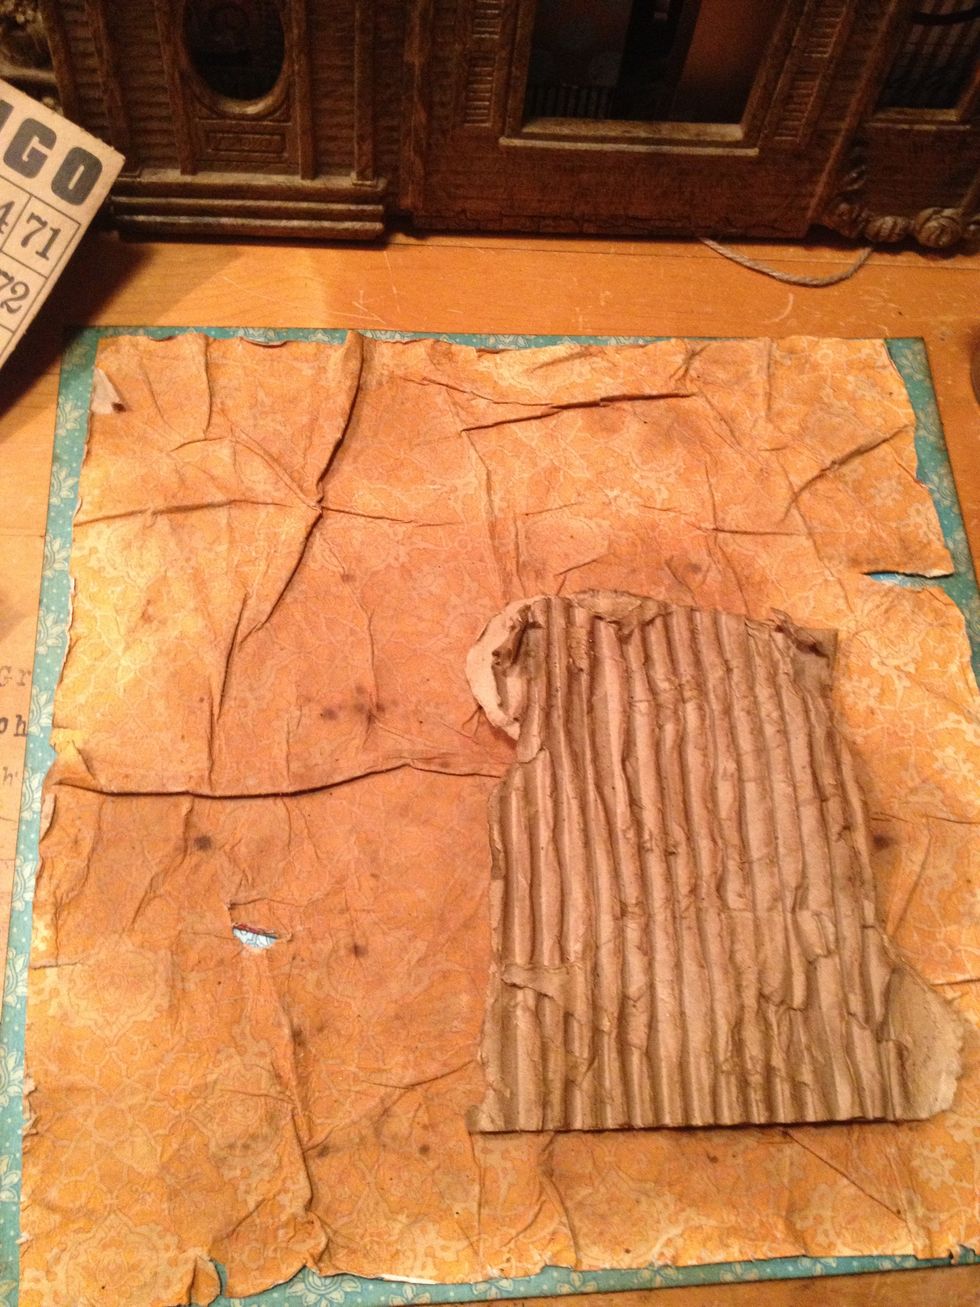
place corrugated photo mat on layout.
begin adding layers.

add vintage elements and scraps of vintage style paper.
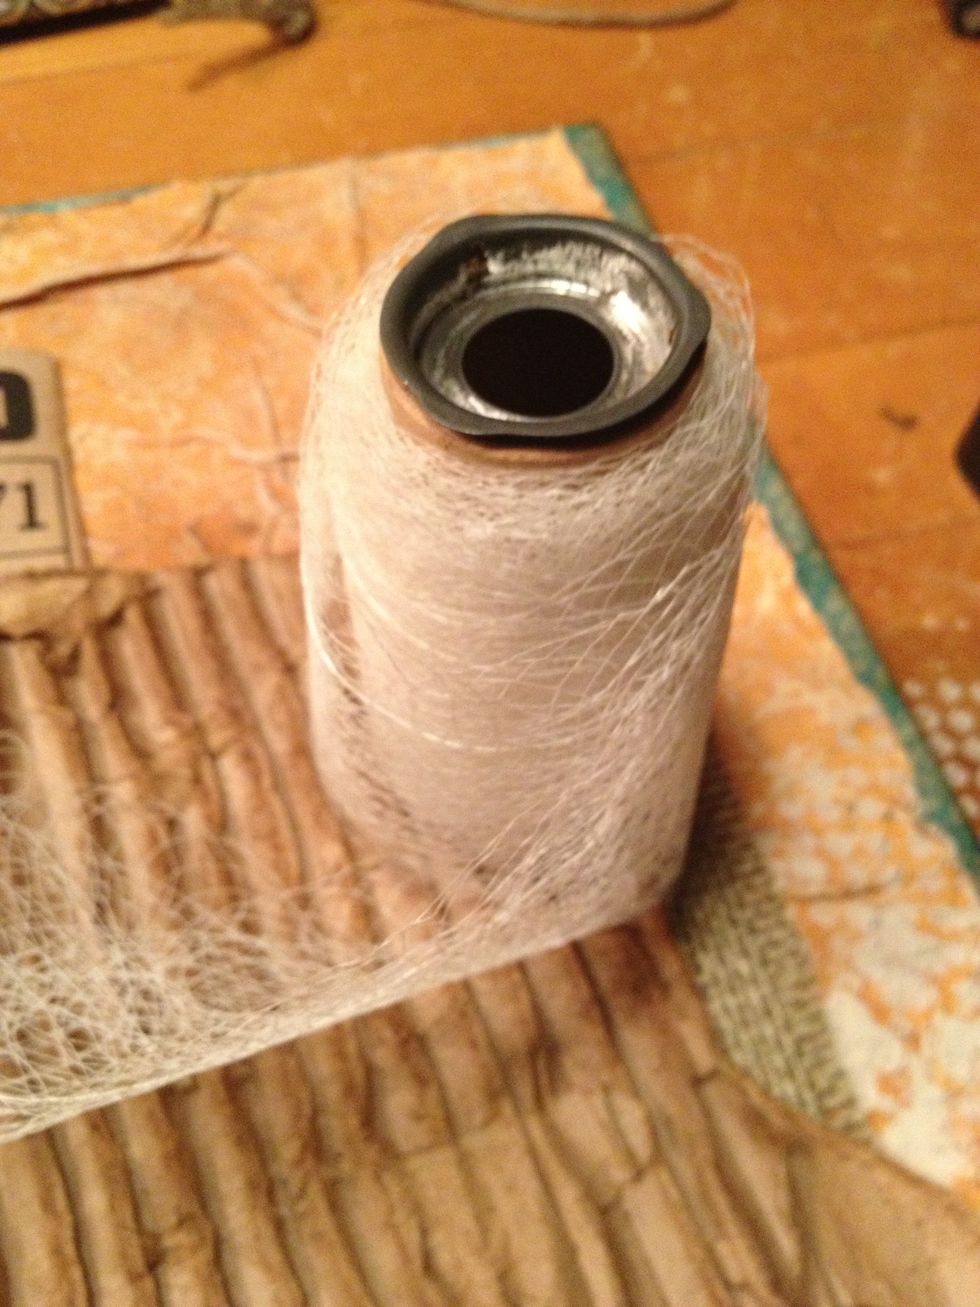
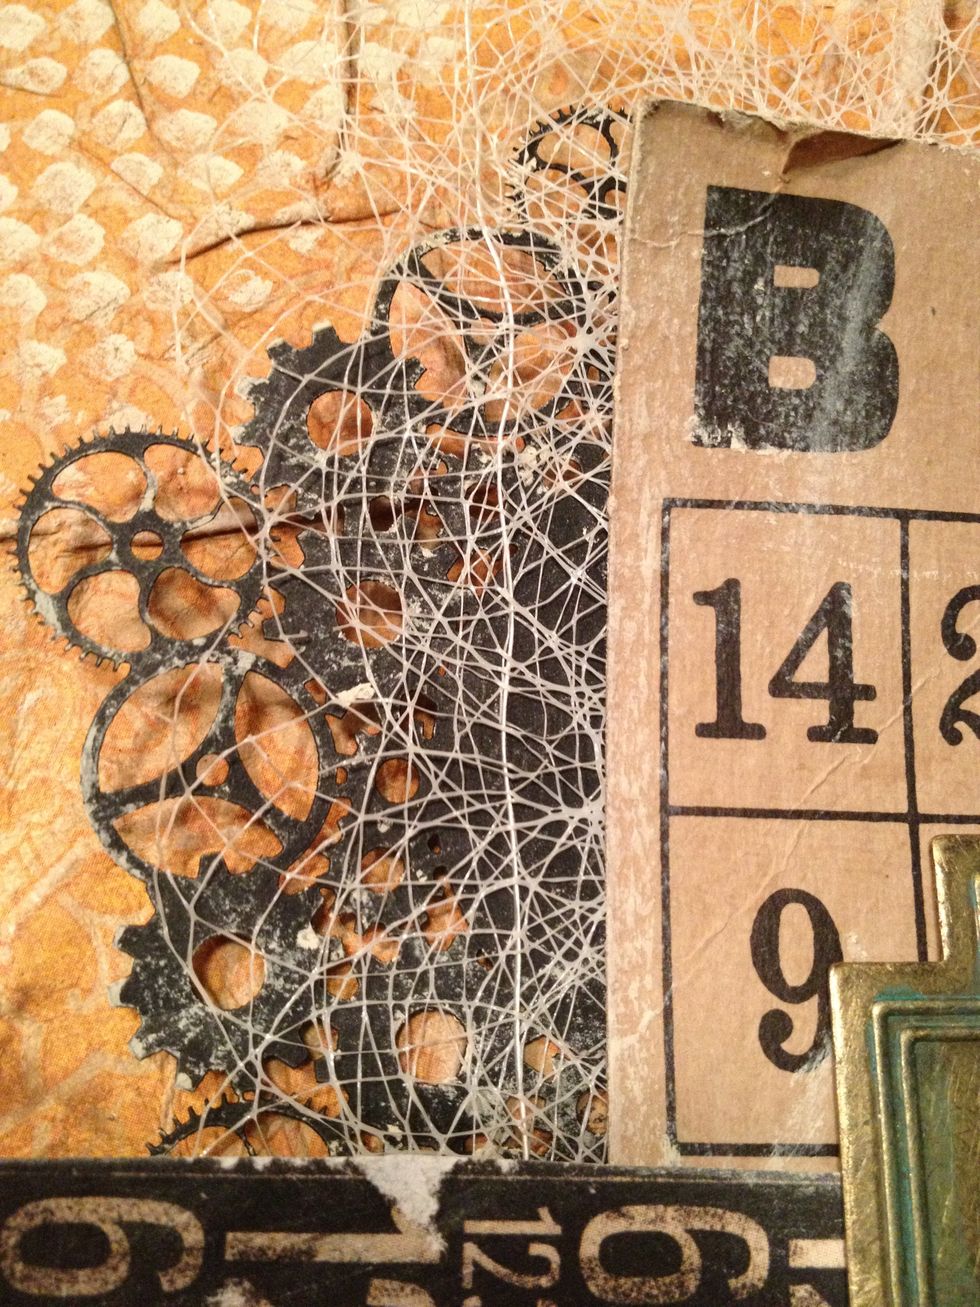
this vintage netting adds great interest and texture.
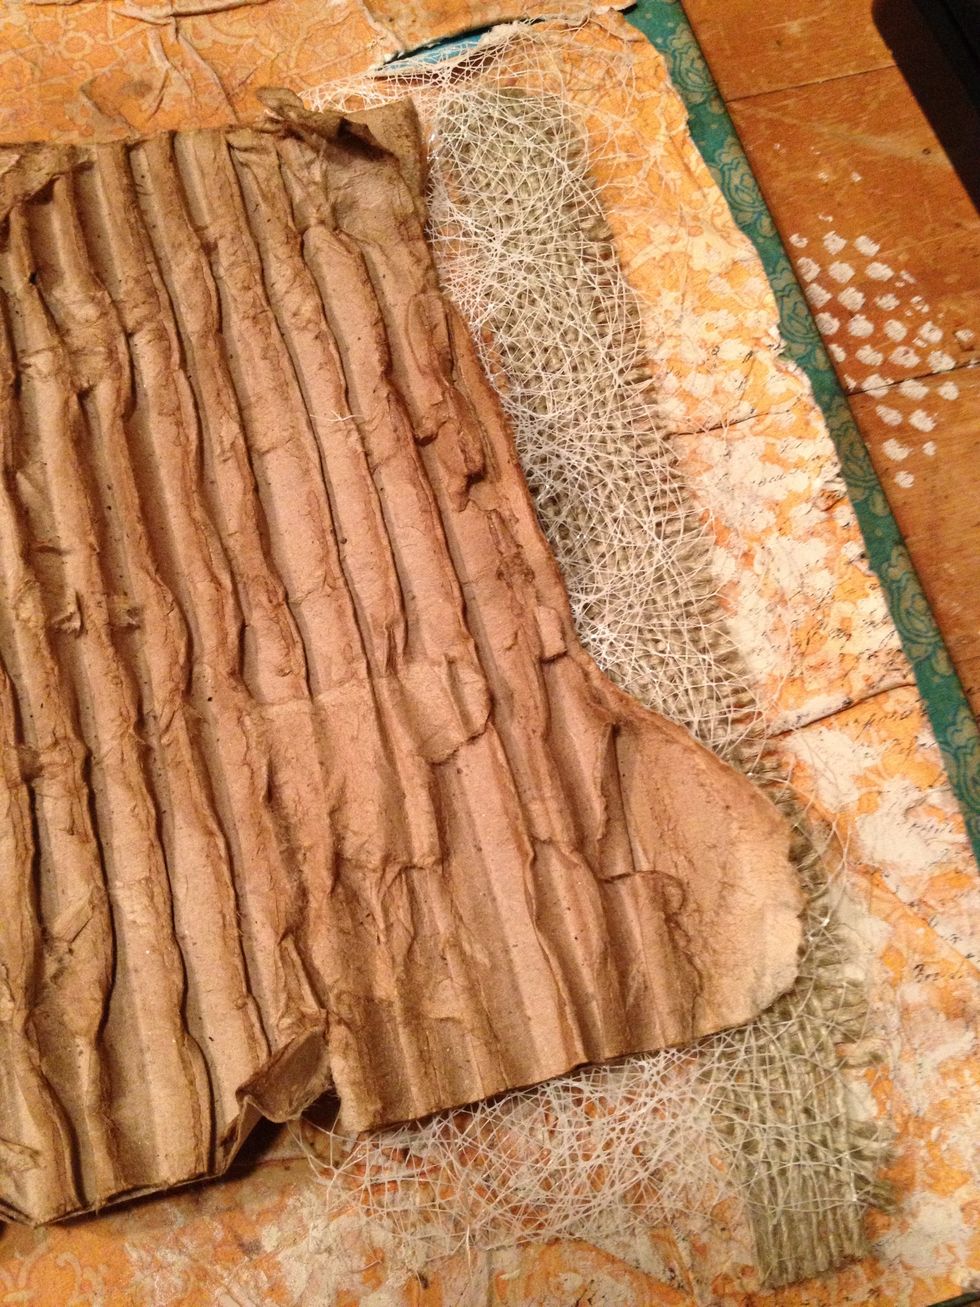
burlap and netting layers.
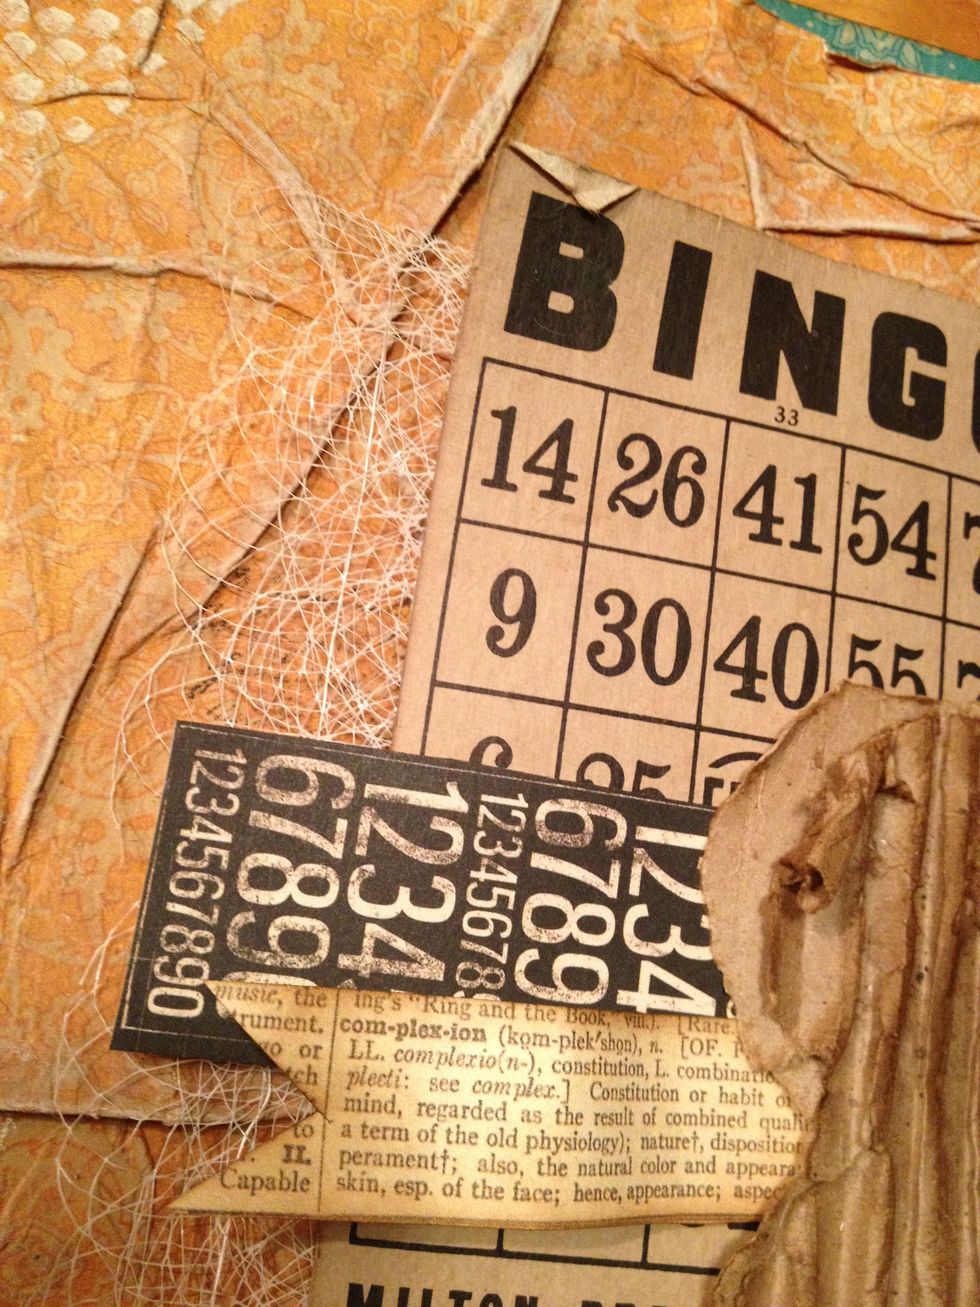
keep layering, tucking in bits and pieces here and there.
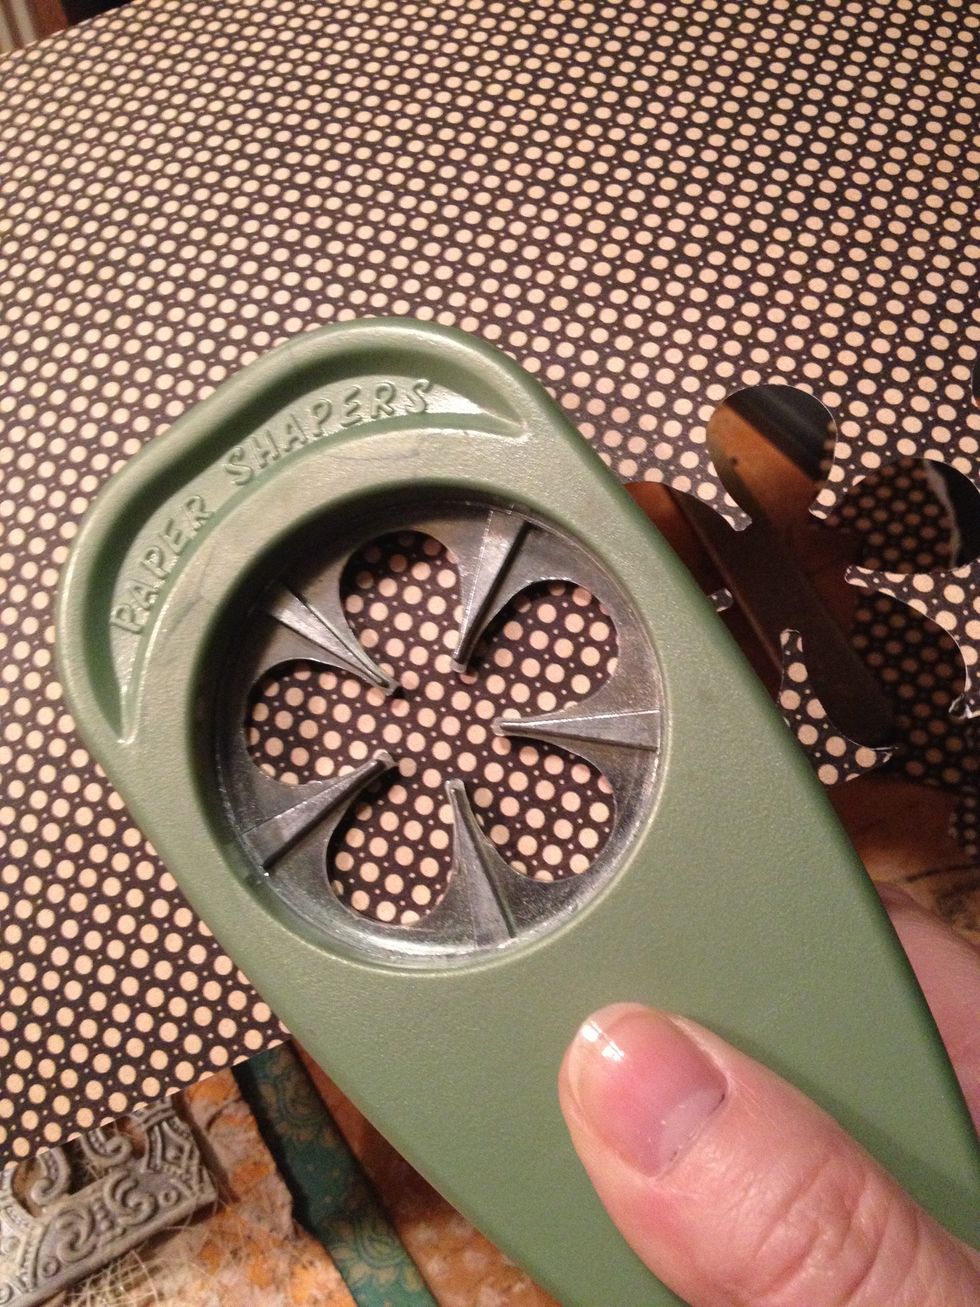
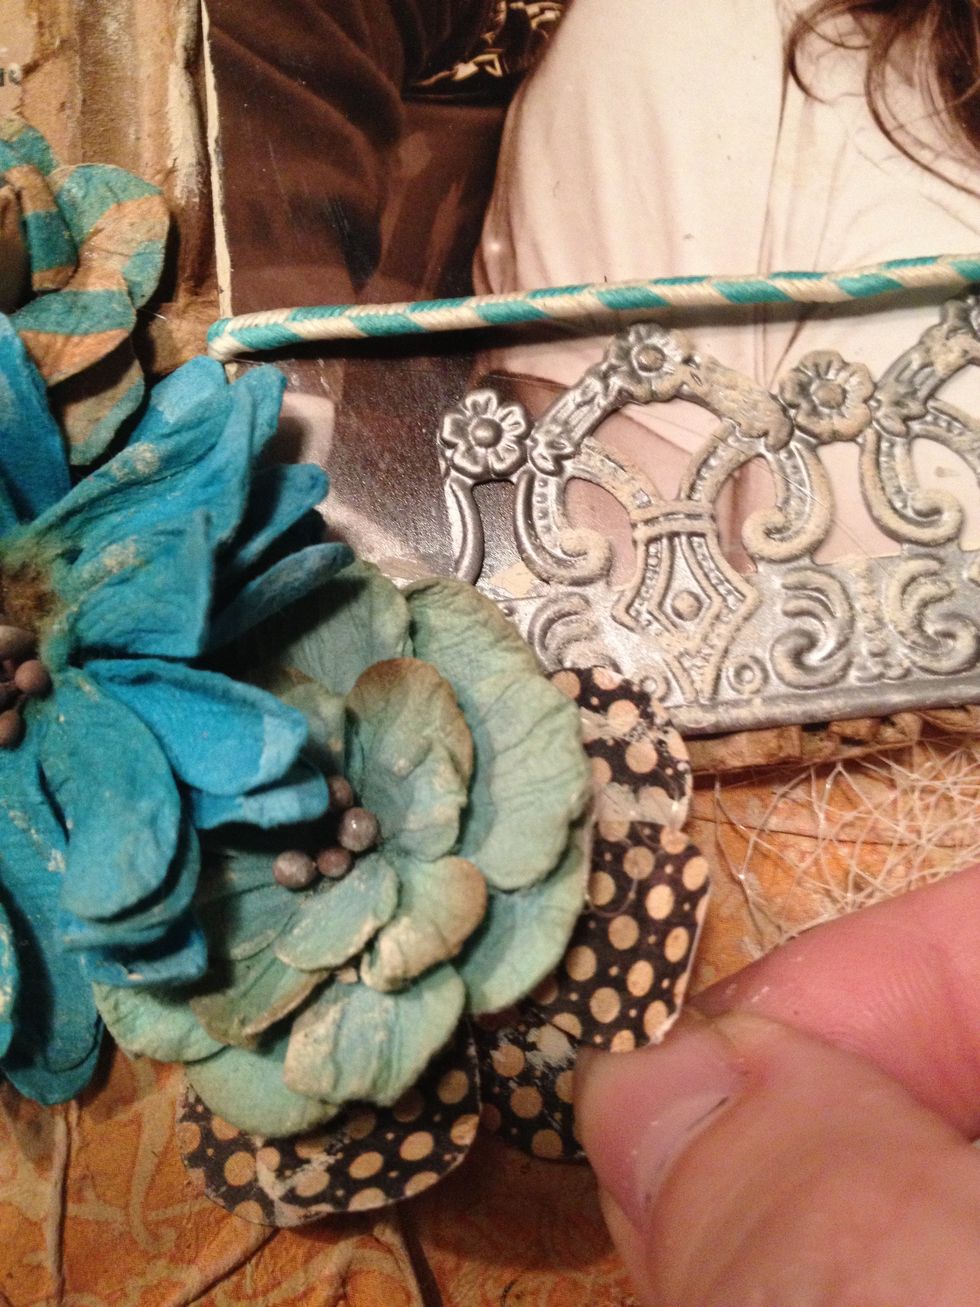
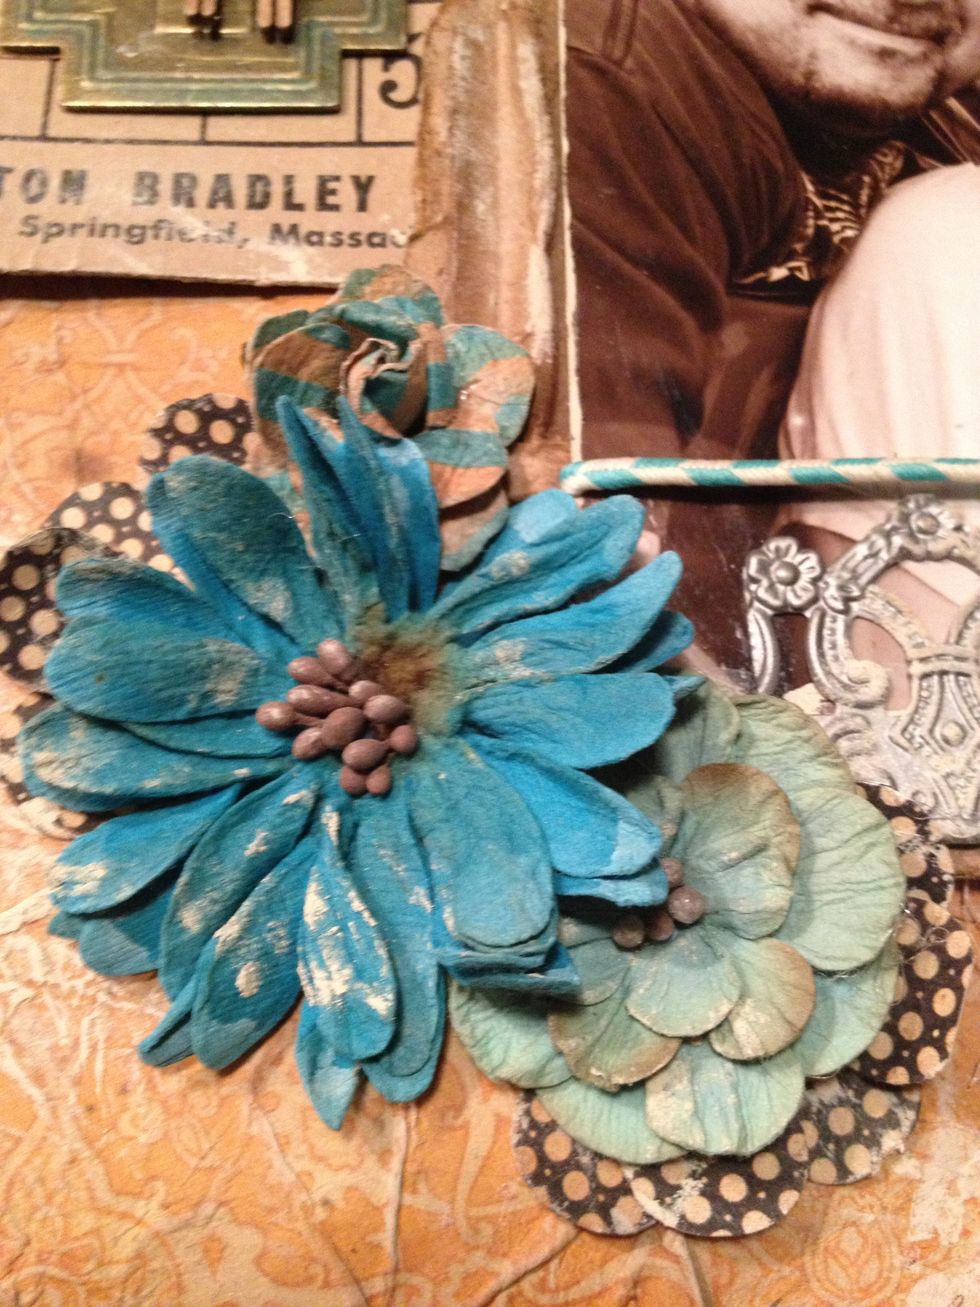
punch a variety of paper flowers.
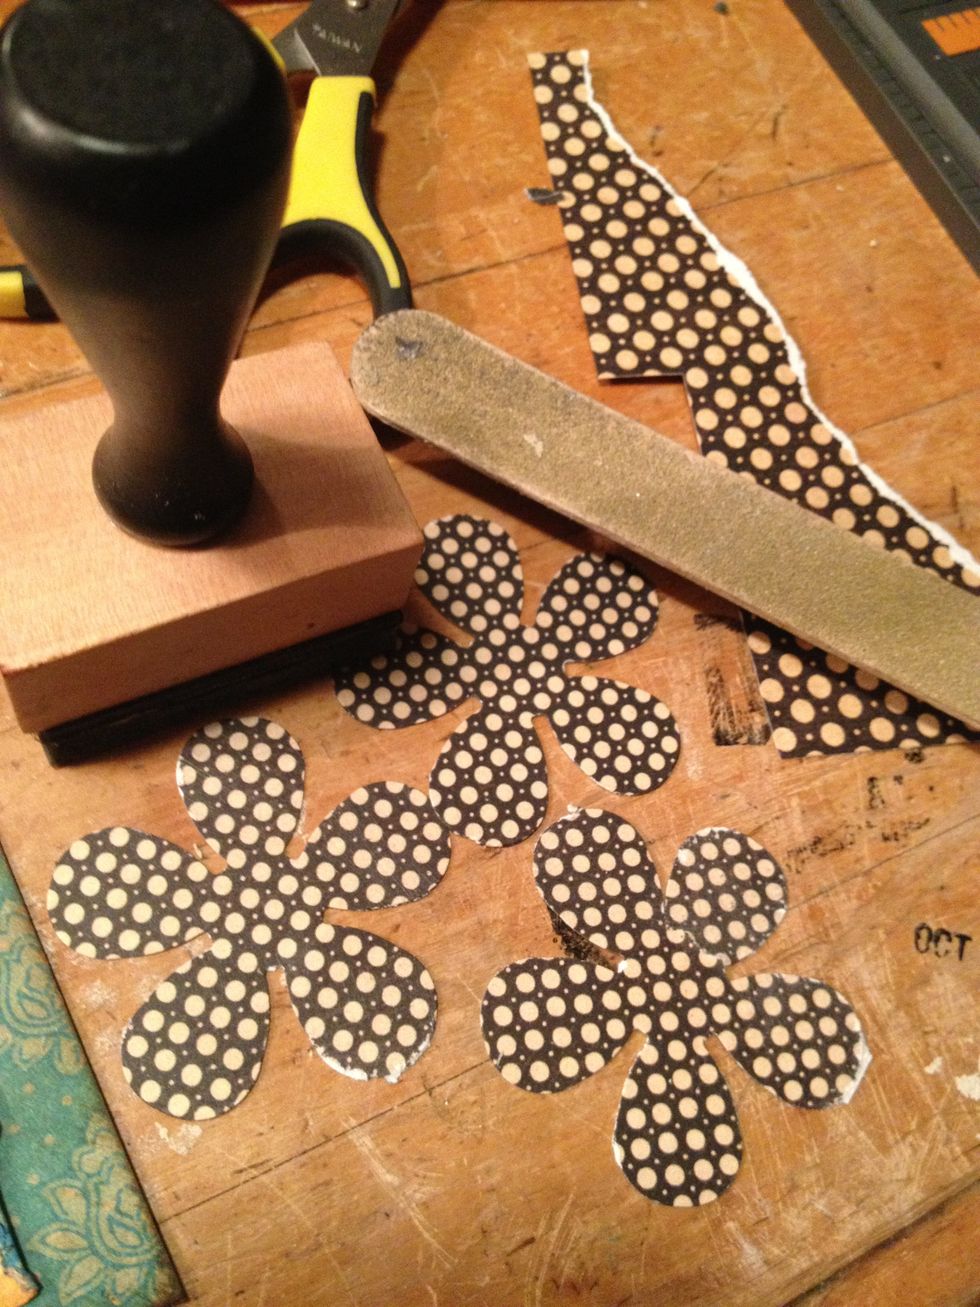
sand the edges of flowers to distress, then ink with distressing ink.
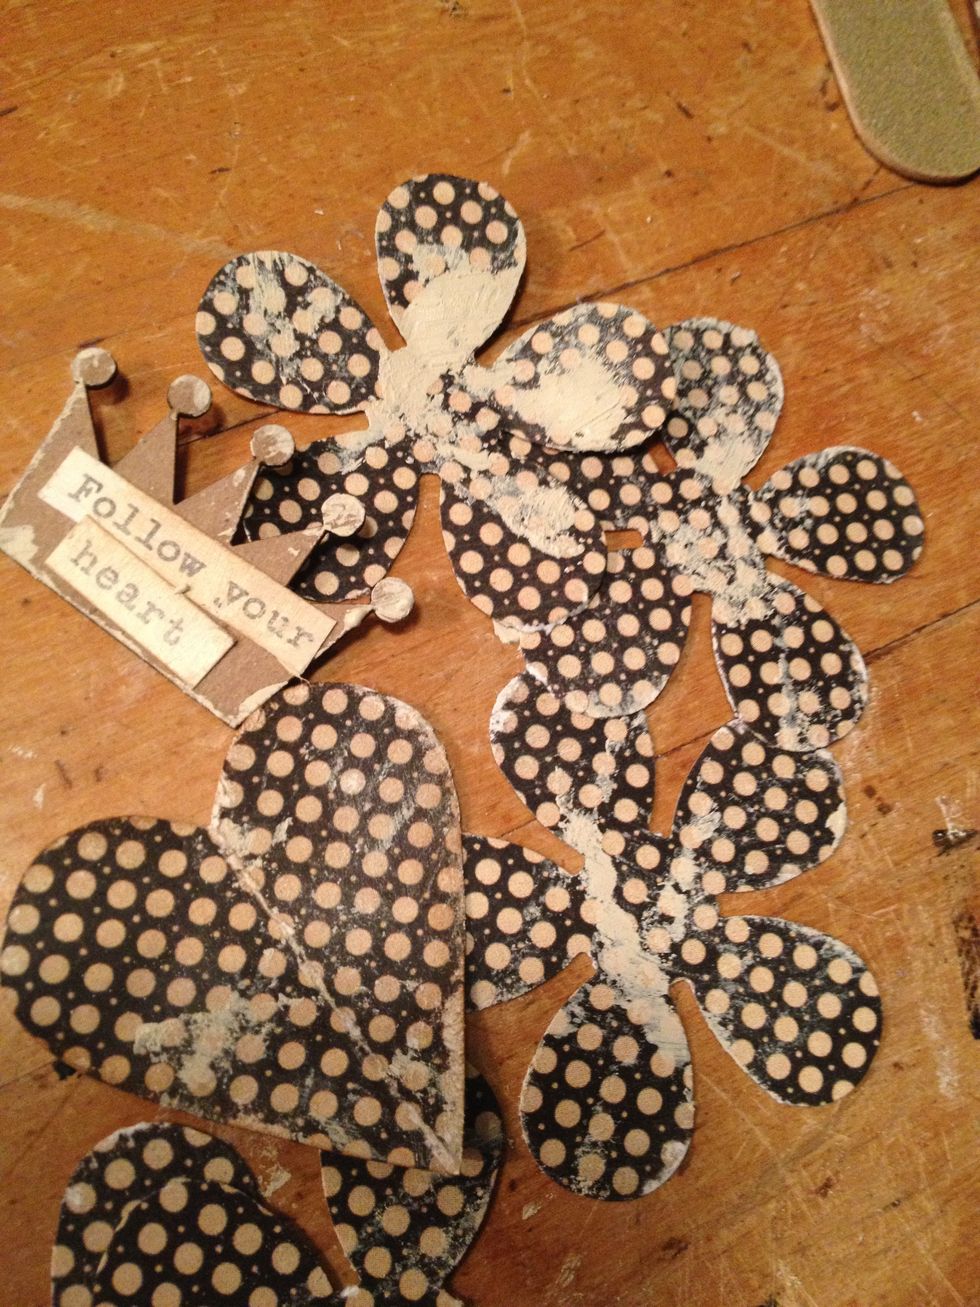
dry brush flowers (and embellishment pieces) with gesso or paint.
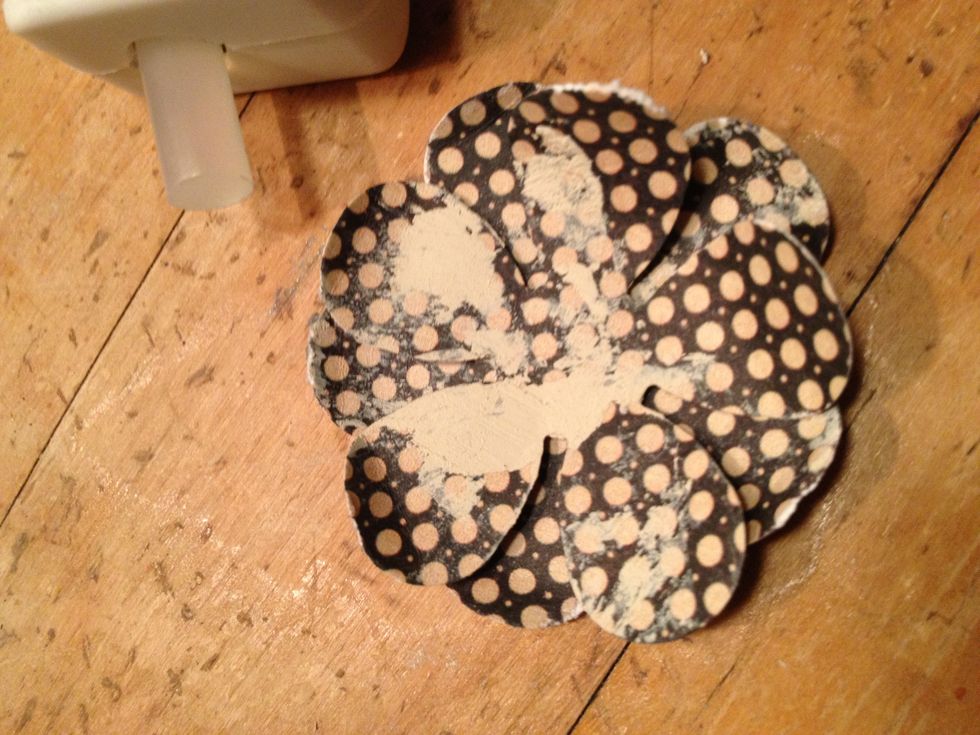
layer flowers.

...and keep layering.

continue to build layers using flowers, embellishments and texture items, brushing with paint as you build.
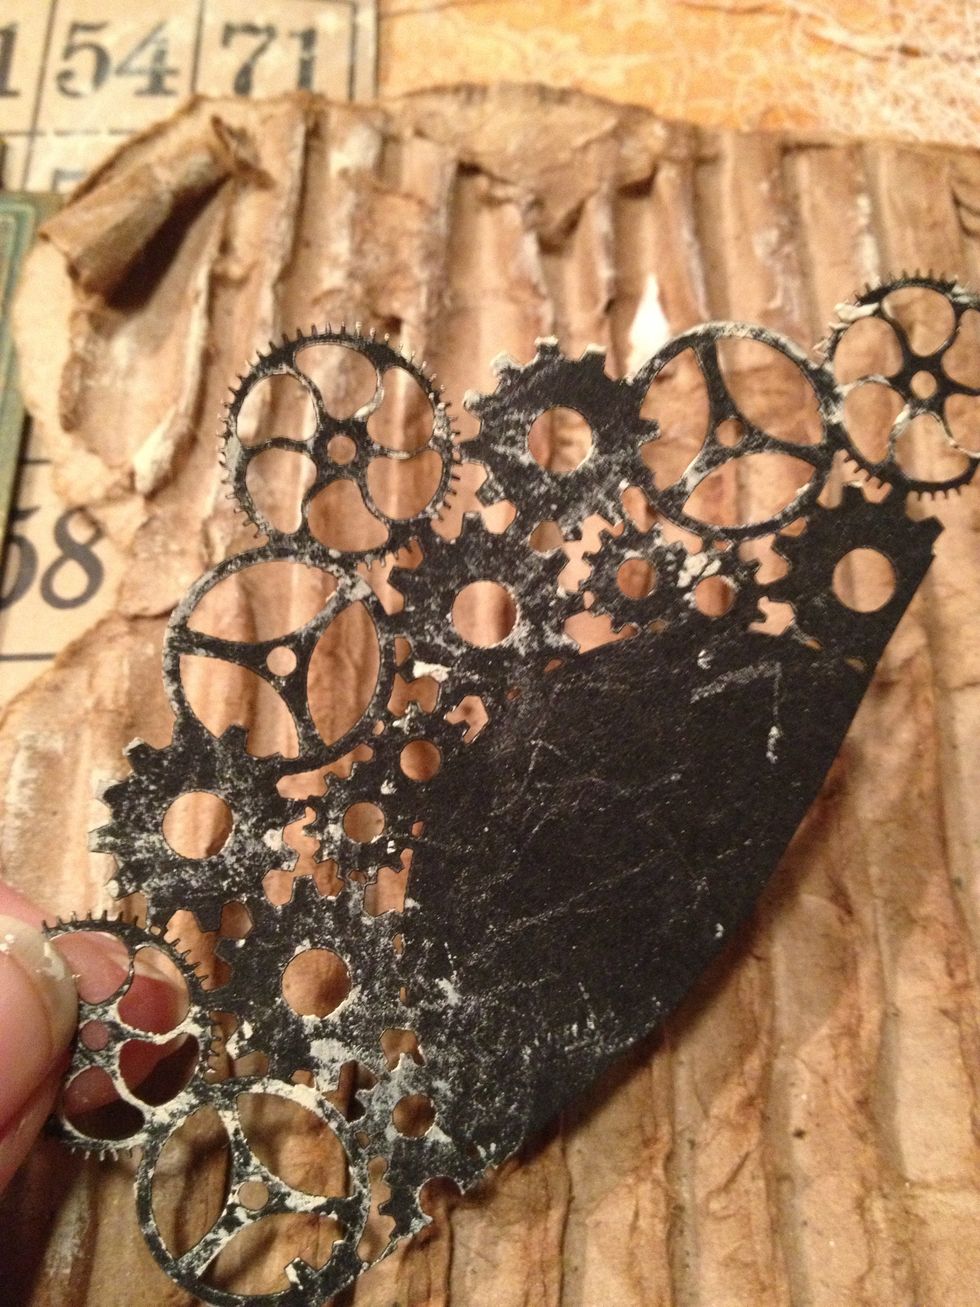
love these steampunk doilies!!
look at those lovely layers!

dry brush wrinkles and distressed edges of paper.

keep adding paint...dry brushing random strokes over layout.
a light touch is best.

you can cut constructed flowers in half and tuck here and there.
...tuck.
great way to get double use from just one flower!
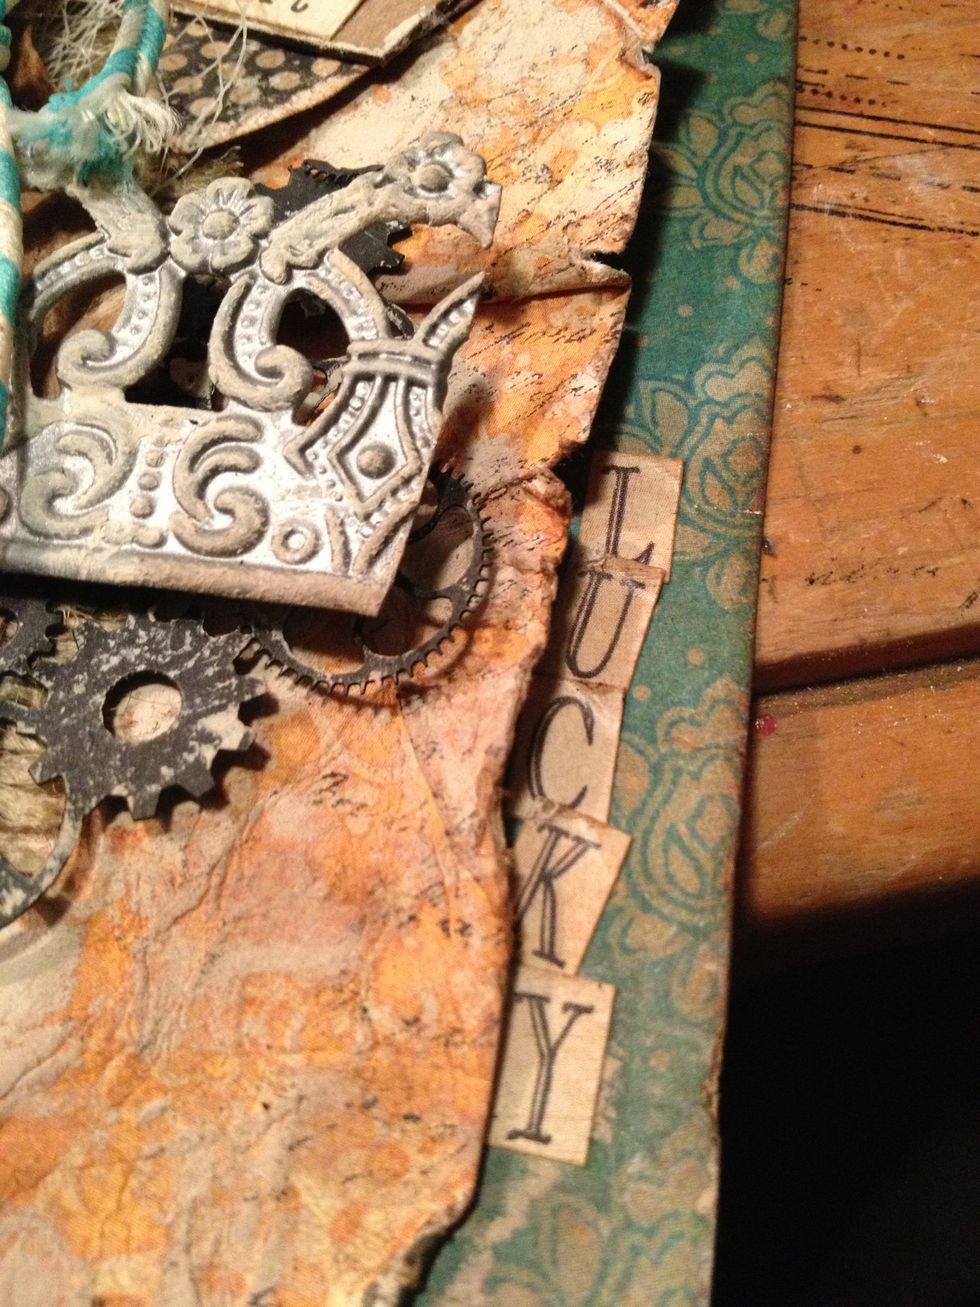
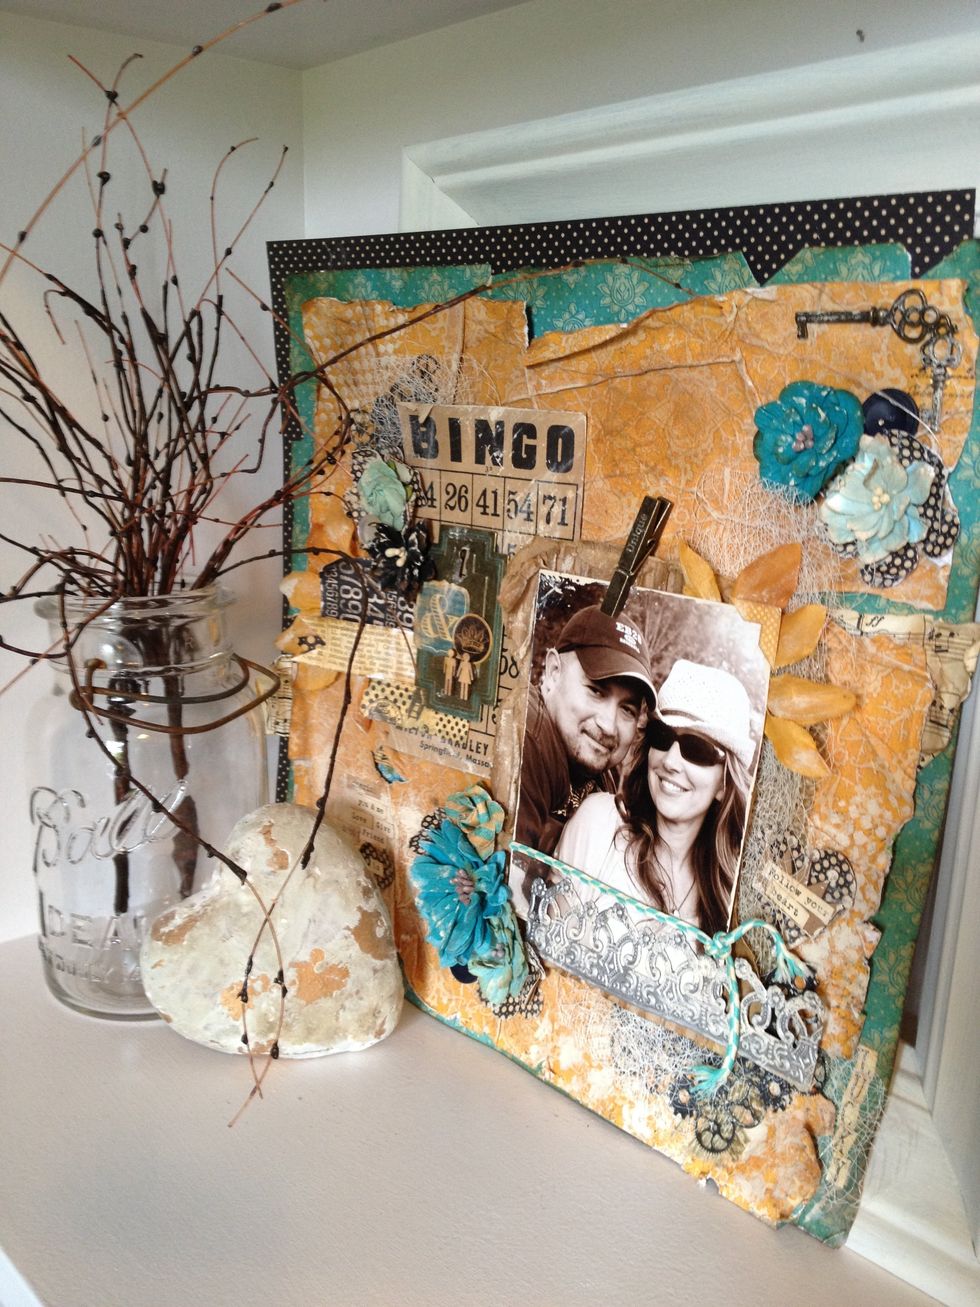
fun little details can be found all through this layout.

remember the holes we created during the shrinking process? look how fun! little distressed windows to the next layer.

unique photo corners made with 2 metal keys.
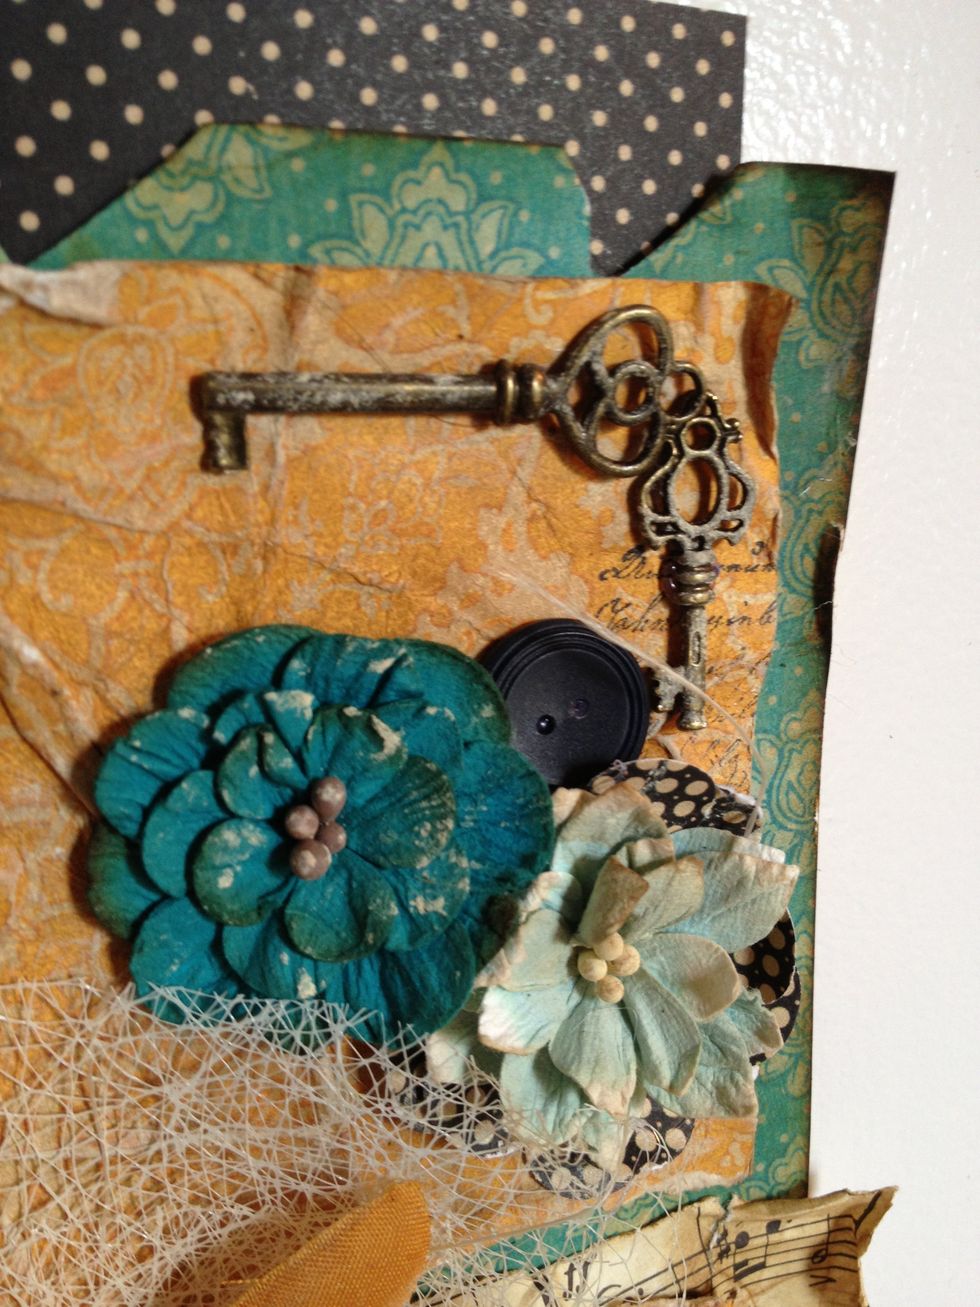
paper, flowers, metal..oh my!!

fabric flowers add yet another texture to our masterpiece.
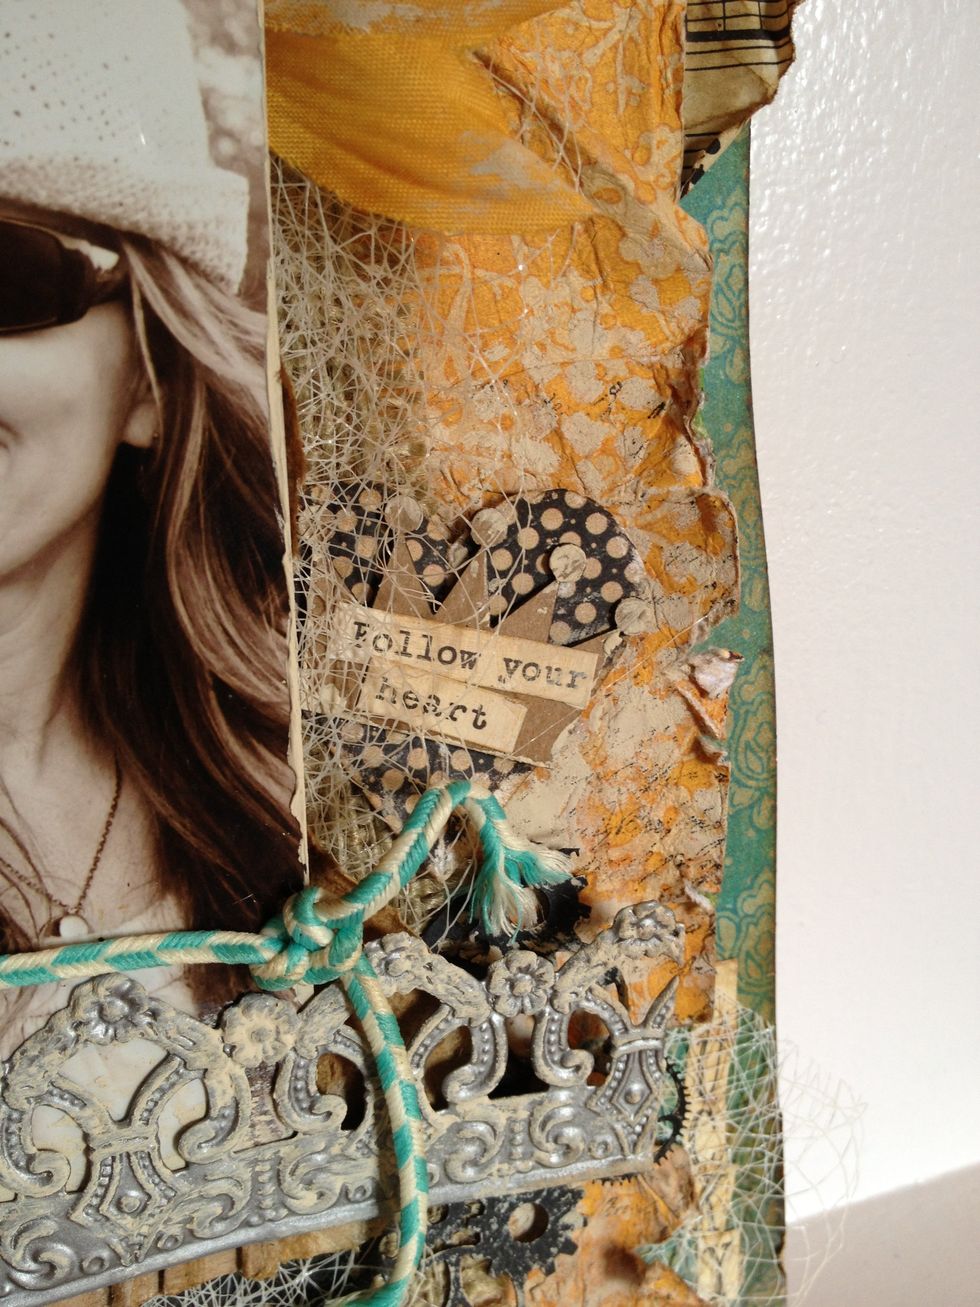
...more of those fun, unique little details.

...tiny typed sweet sentiments.

add a stable, full size layer behind the 2 distressed canvas layers (black and cream polka dot).
....