The Conversation (0)
Sign Up


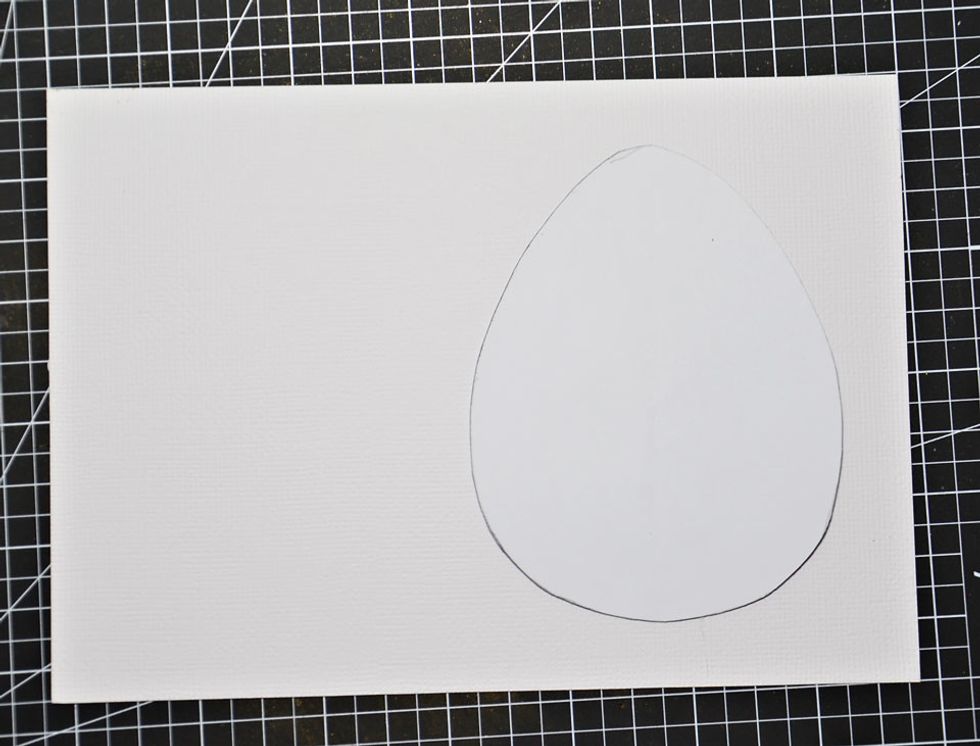
BASIC EGG MATERIALS - Egg shape template - Google it there are heaps on the web. PLEASE NOTE - it needs to fold evenly in half. Graphic 45 - #4501091 - Precious Memories 6x6 Paper Pad and ribbon.
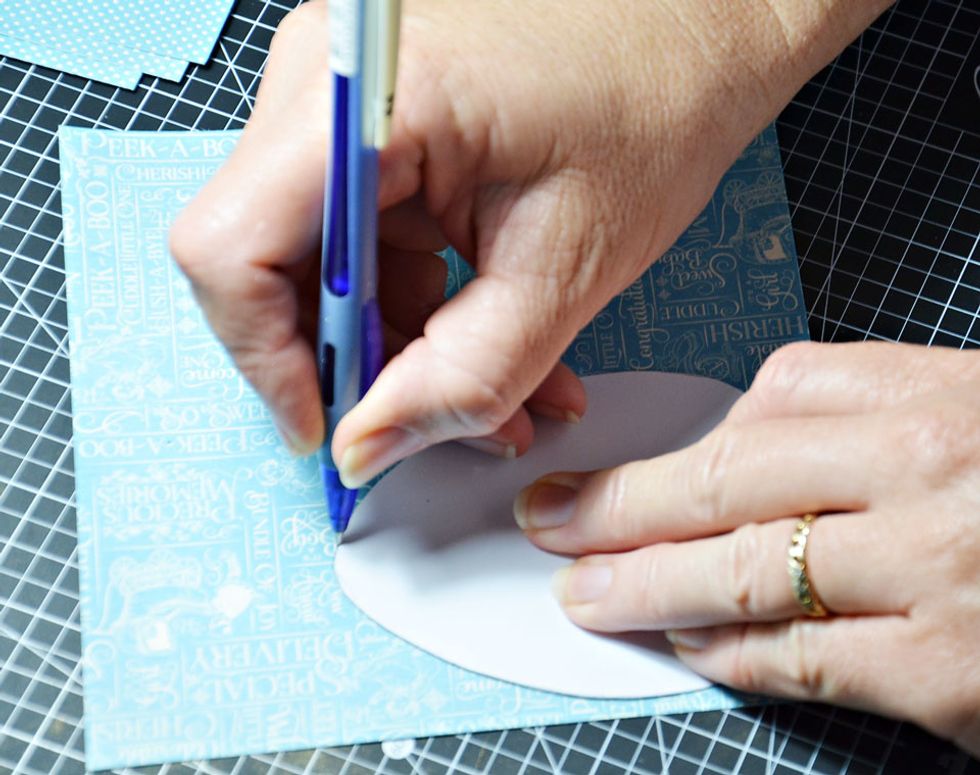
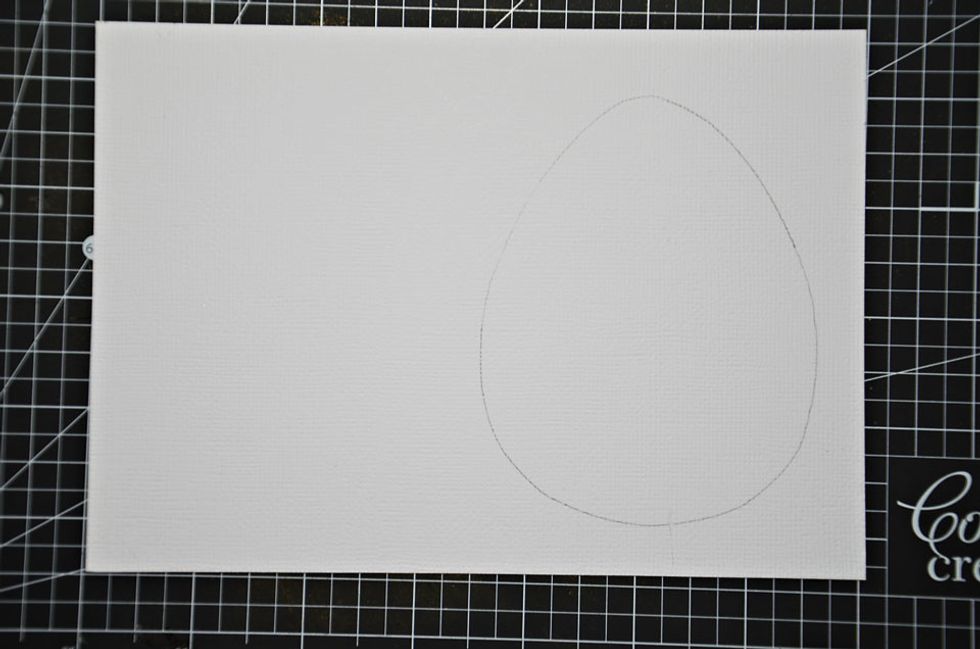
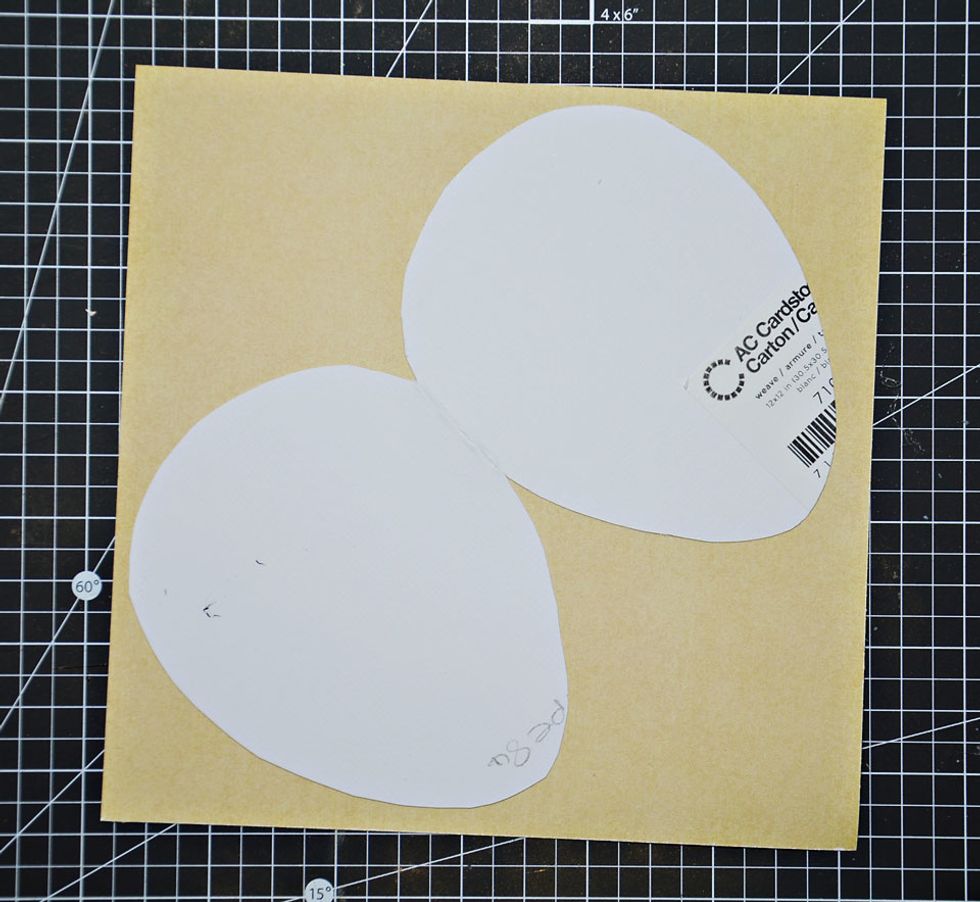
Once you have created a template in the shape of an egg you will need to trace around it 12 times on your choice of patterned paper.
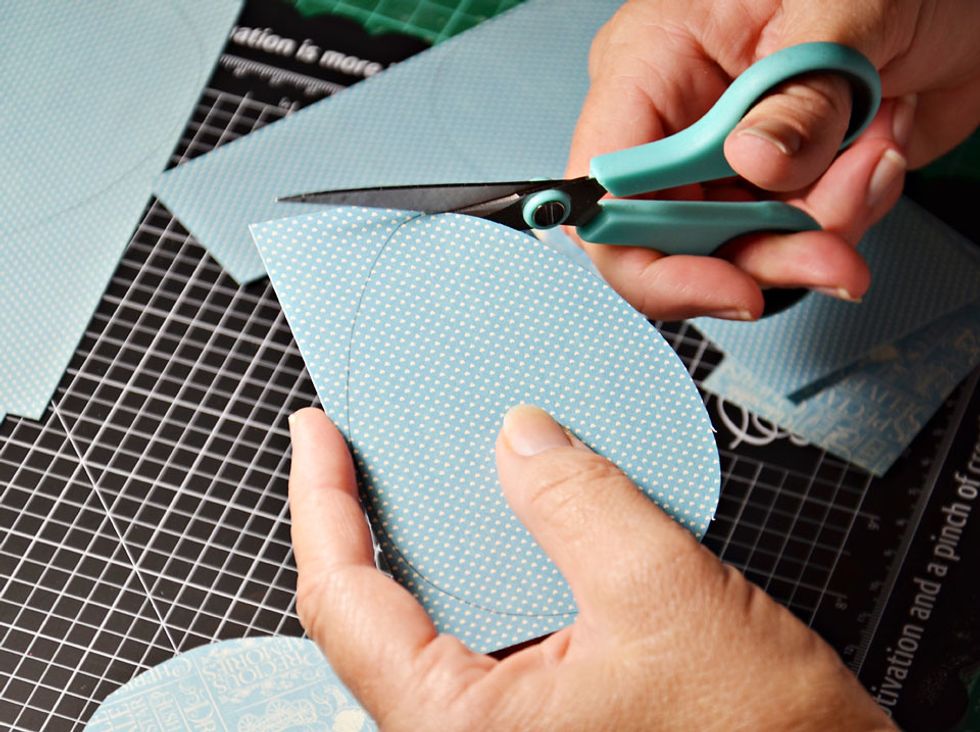
Cut them all out.
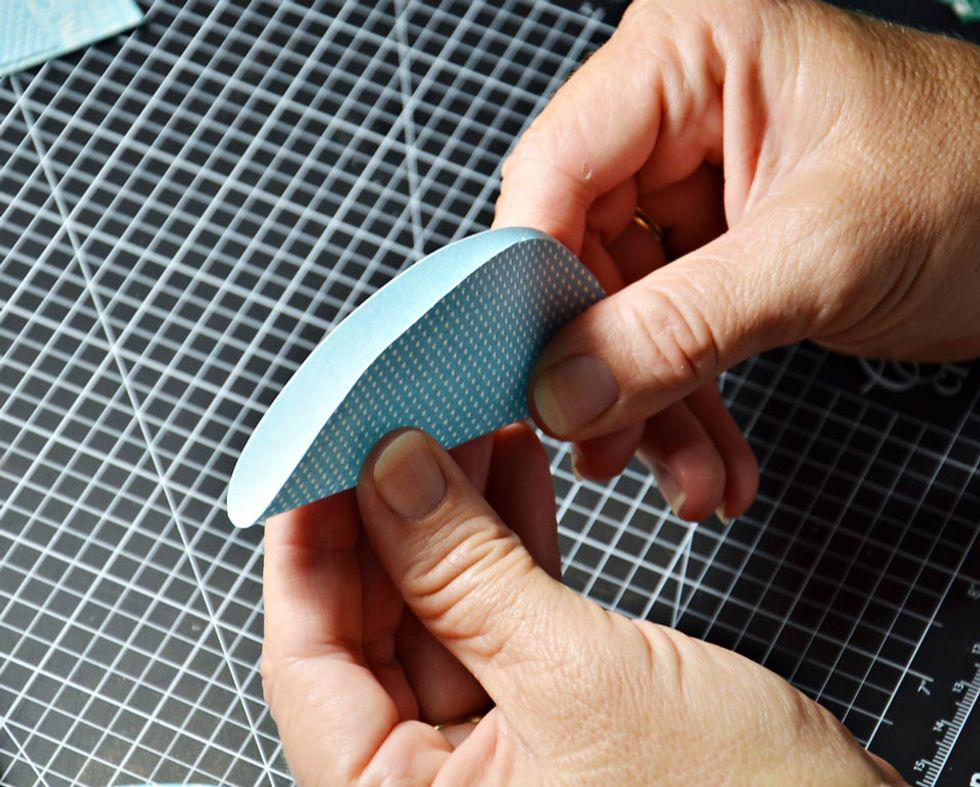
Fold each egg shape in half evenly.
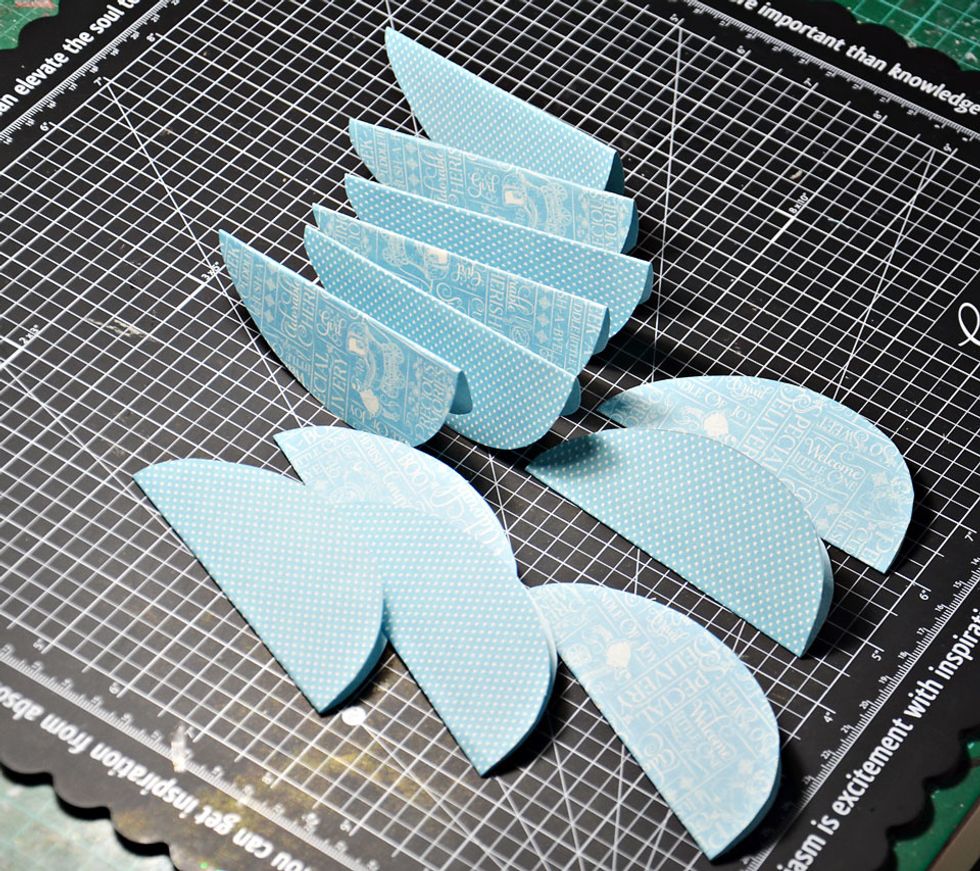
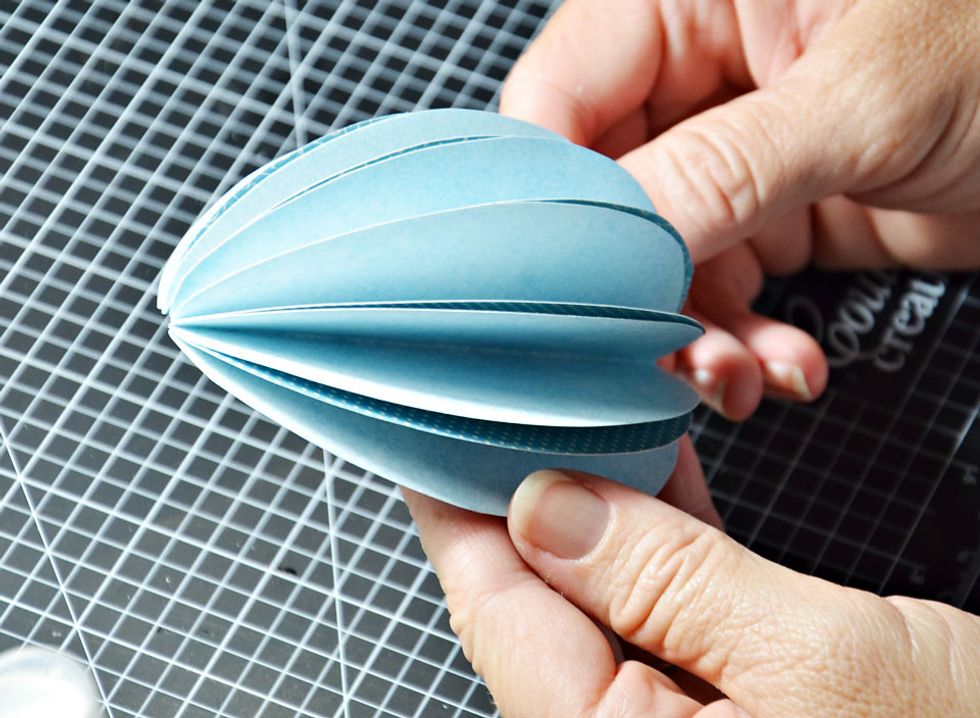
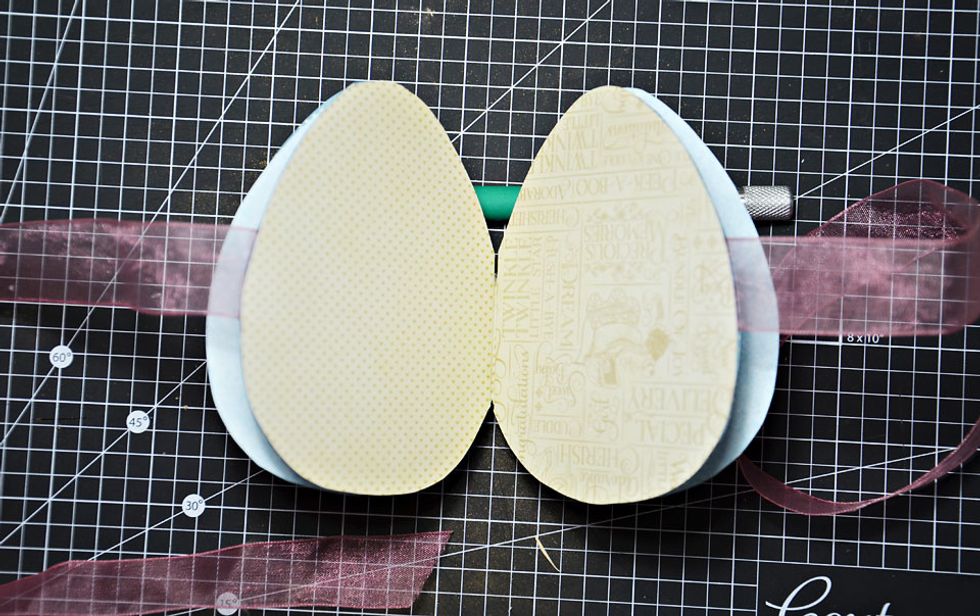
You should have 12 eggs folded nicely in half.
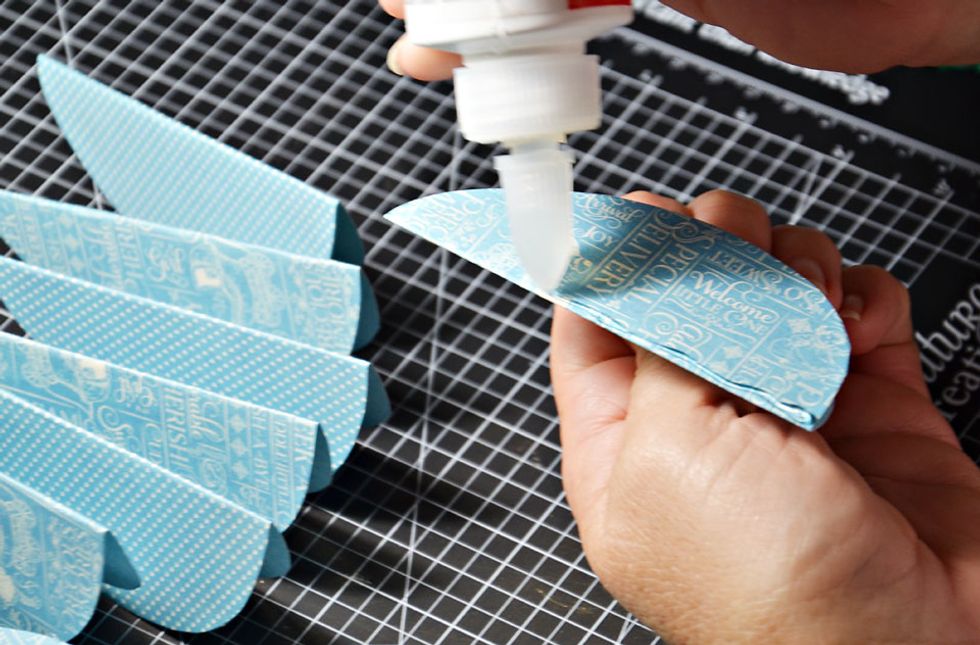
We are creating 2 halves of the egg, so you will need to glue 6 together as shown, then repeat the process with the other 6. PLEASE NOTE - only glue along the folded edge only.
Allow glue to dry.
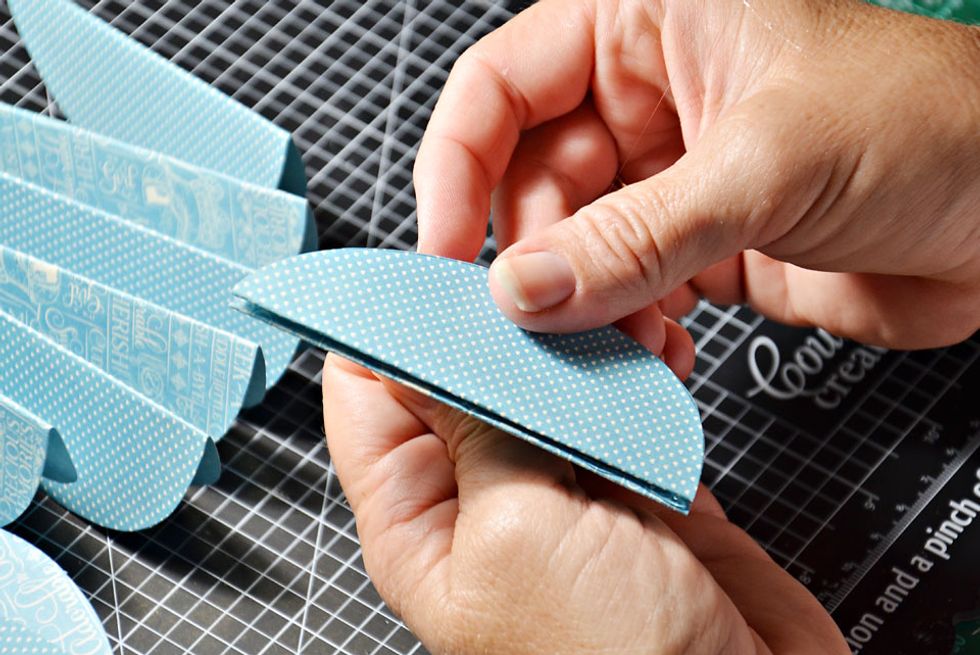
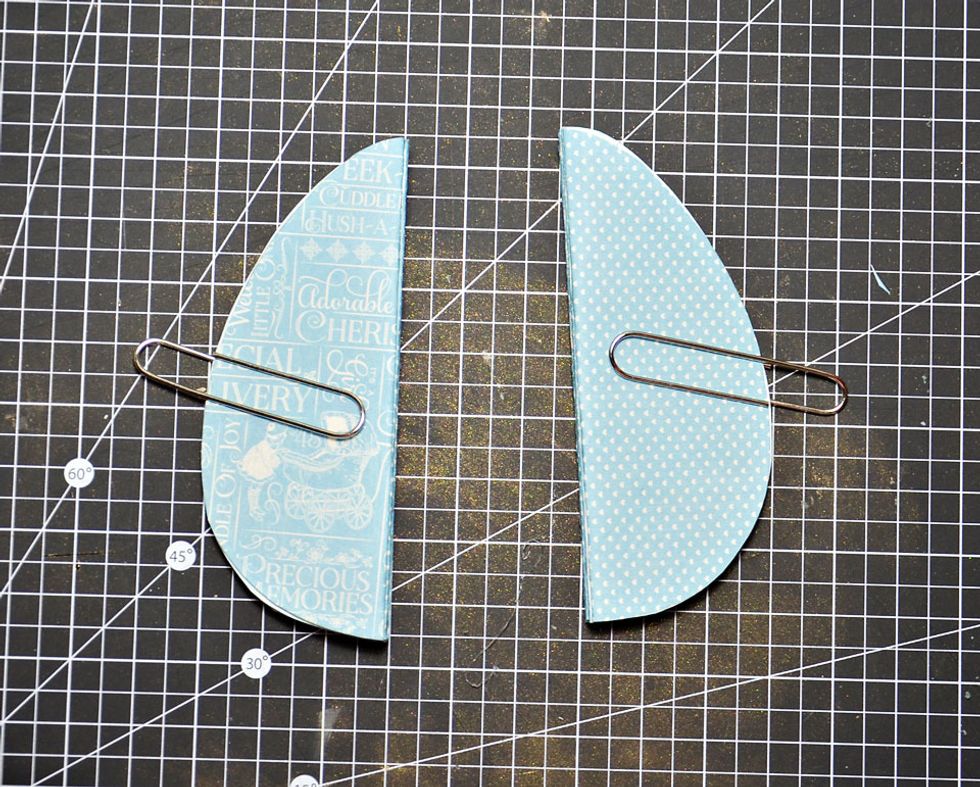
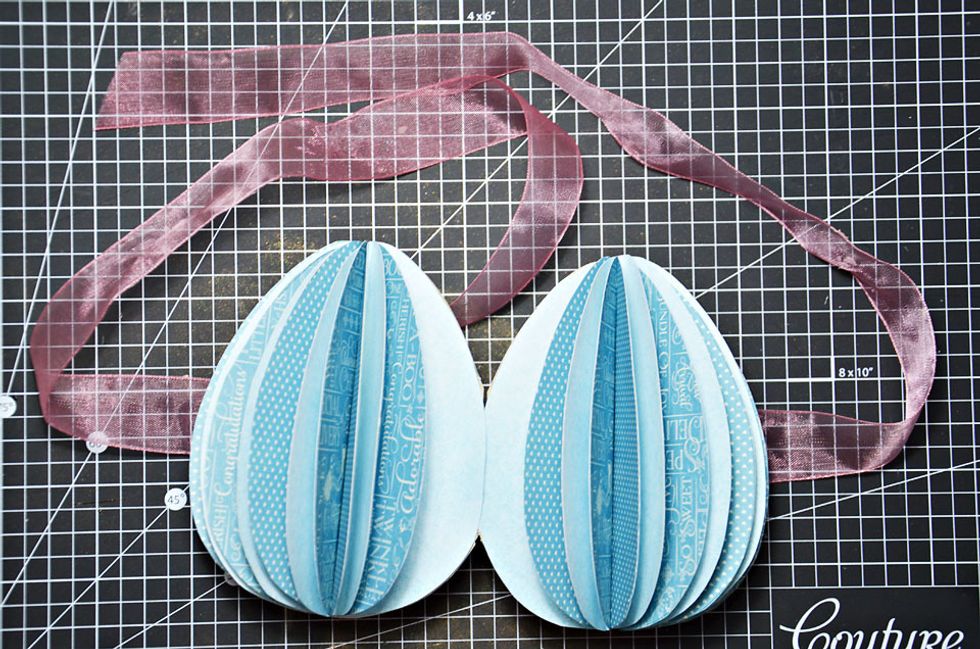
Now fold out each half of the egg.

You should now half 2 half eggs like above.
Creating the inside of the card. You will need a scrap of card stock big enough to allow you to trace 2 egg shapes side by side.
Trace around egg template.
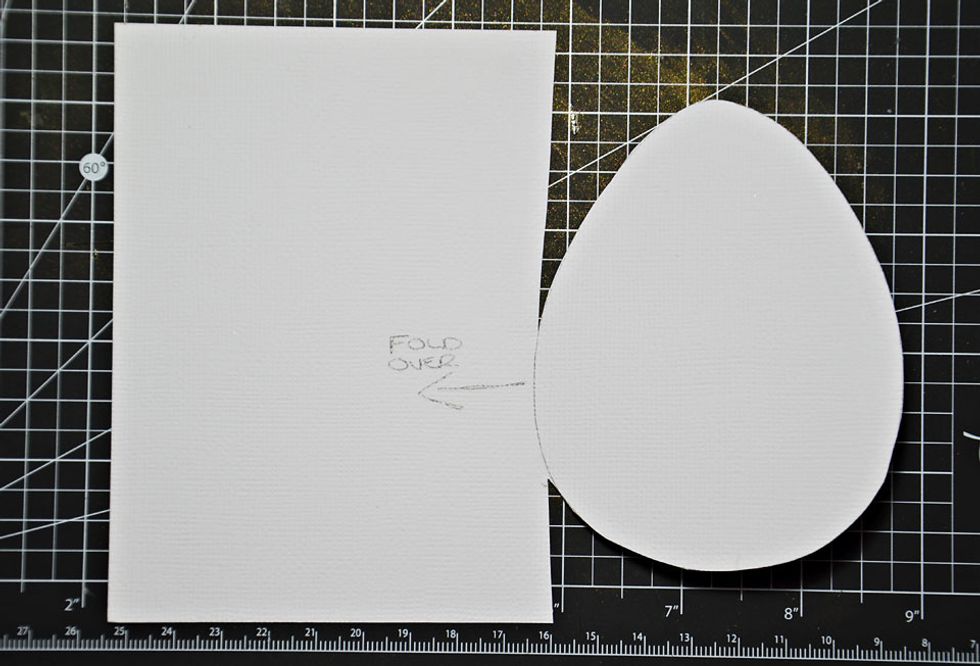
Cut around the egg shape leaving and small piece uncut for a fold line. Fold the egg shape over and then cut around the other egg shape.
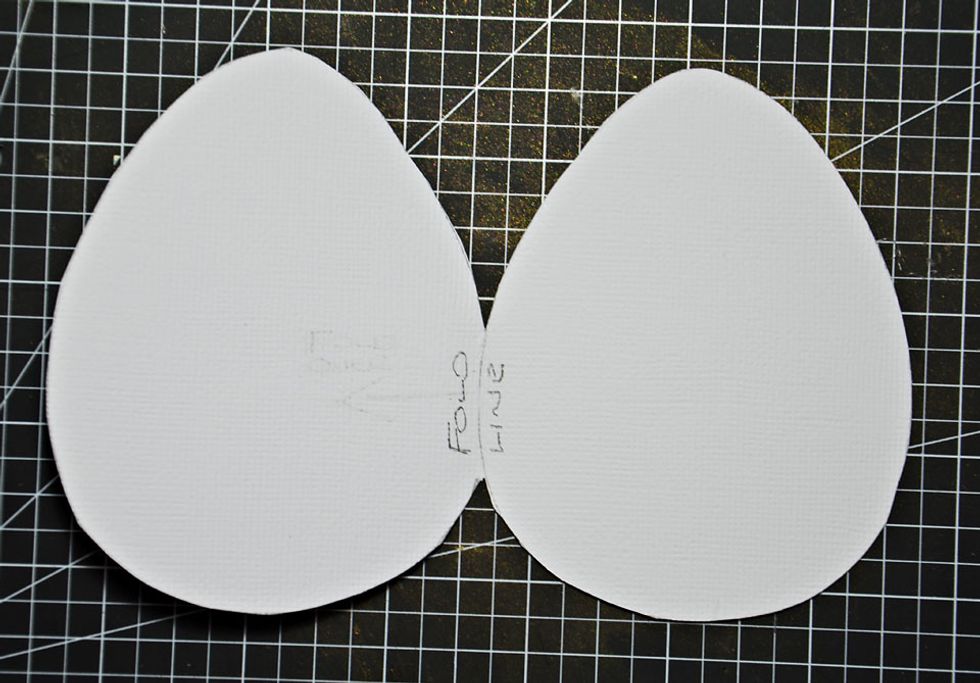
It should look like this if it was done correctly.
Now cover the inside with your choice of patterned paper. Cut around as this will be the inside of the card.
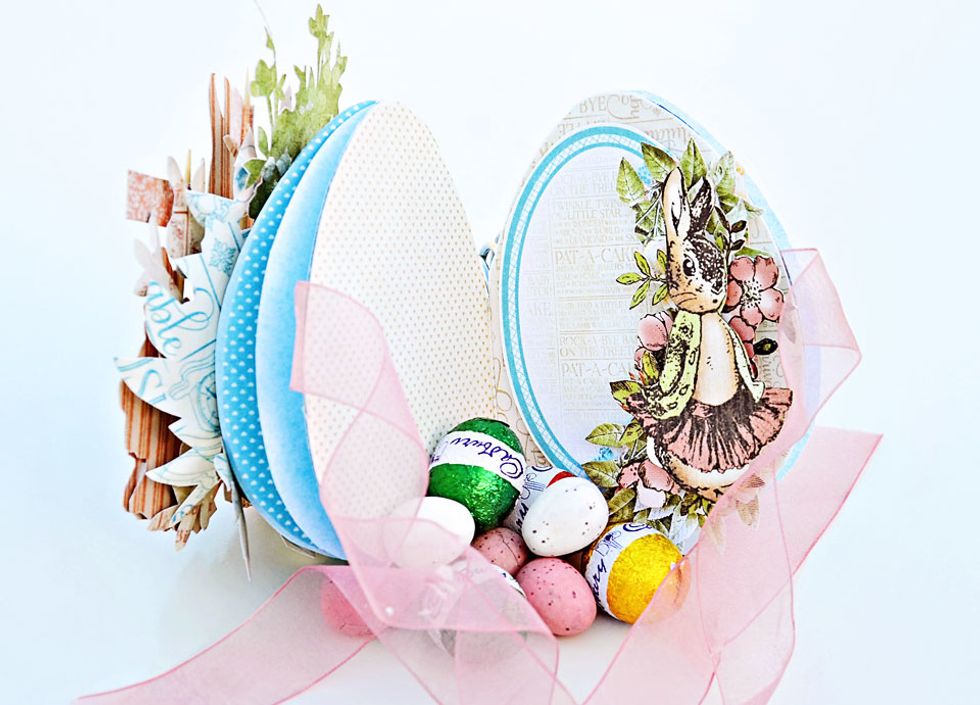
Choose some ribbon to tie your egg closed. Attach the ribbon to the back side of the inside card backing. Now attach the inside card to the egg halves as shown.
It should look like this from behind when it is opened.
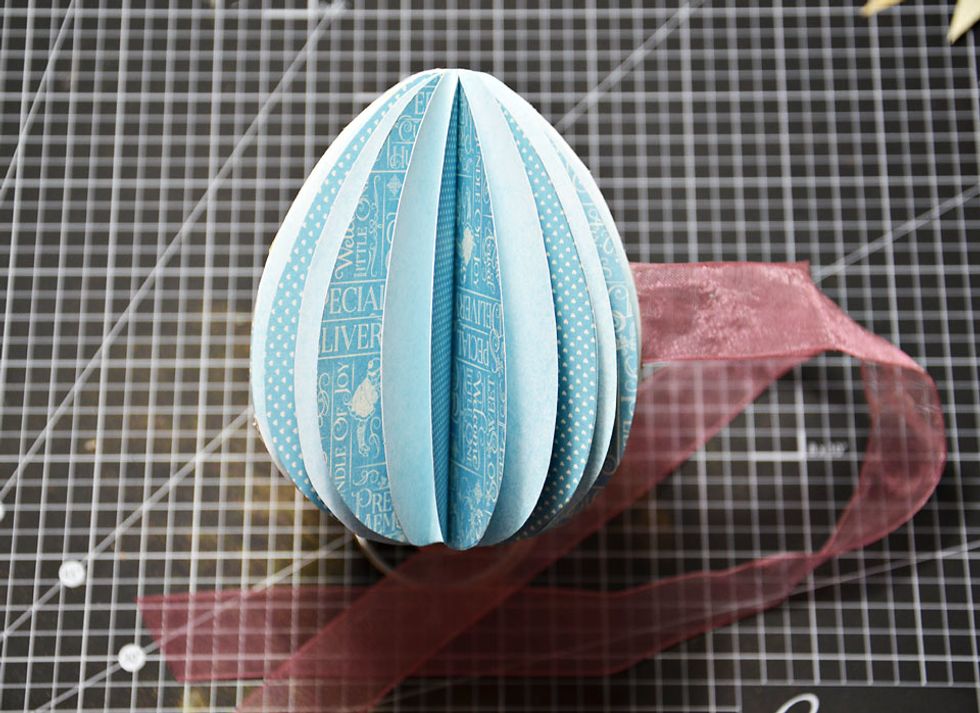
Close and the basic egg if finished. Ready for you to decorate and way you choose. Please continue on if you wish to see the steps as to how I decorated mine.
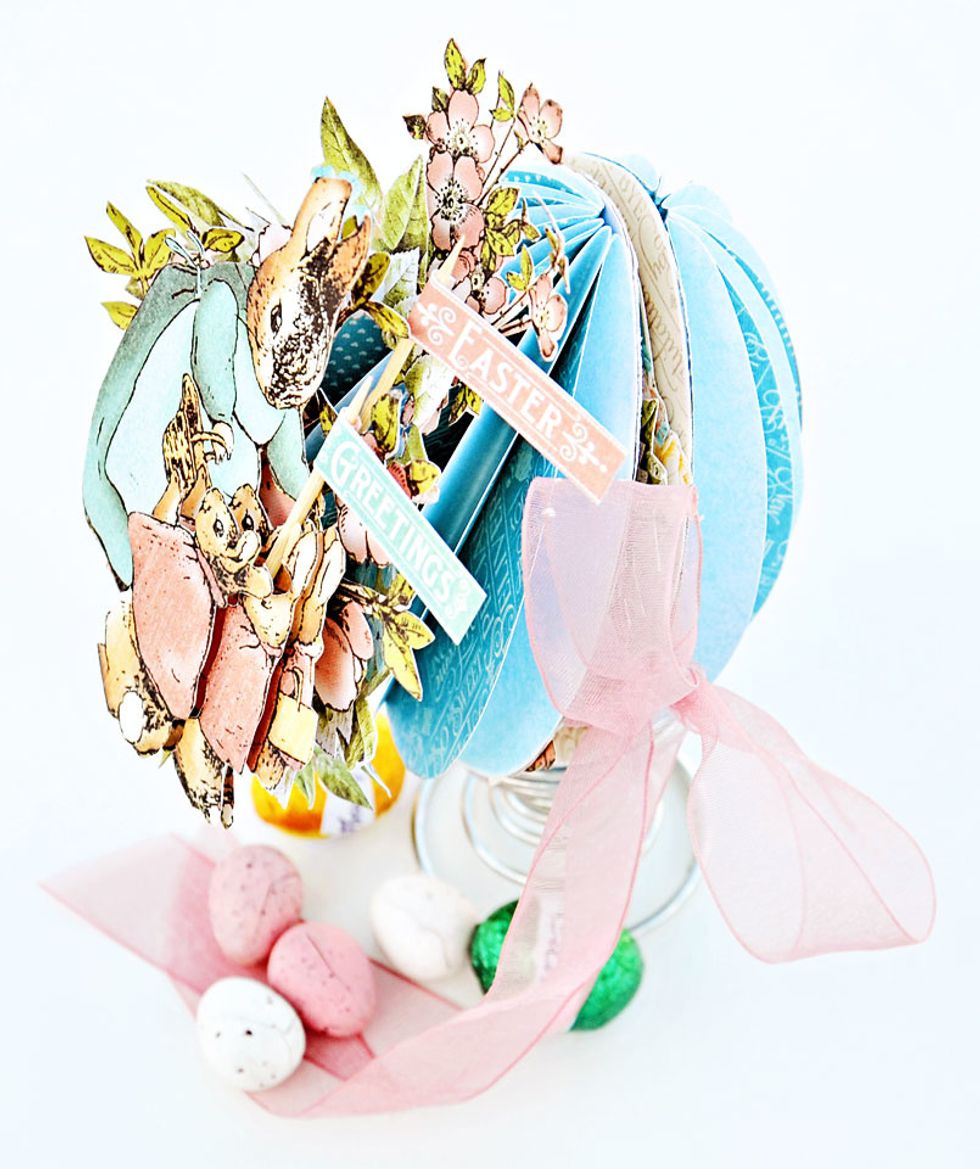
CARD DECORATION MATERIALS - Graphic 45 Once Upon A Springtime papers - Primrose Cottage & Once Upon A Springtime. Graphic 45 Precious Memories paper - Baby's Breathe and Journalling Cards
Lots of lovely layers.
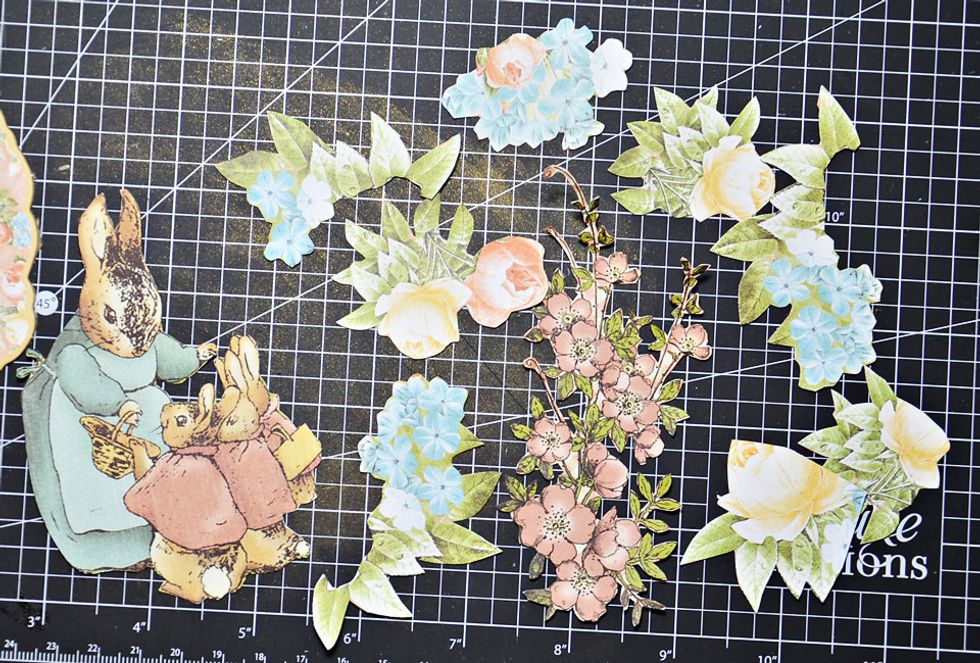
You will need to locate these images. These are cut from papers from G45 Once Upon A Springtime Collection and G45 Precious Memories Collection.

Attach fussy cut pieces as shown. These are from Graphic 45 Precious Memories collection paper.
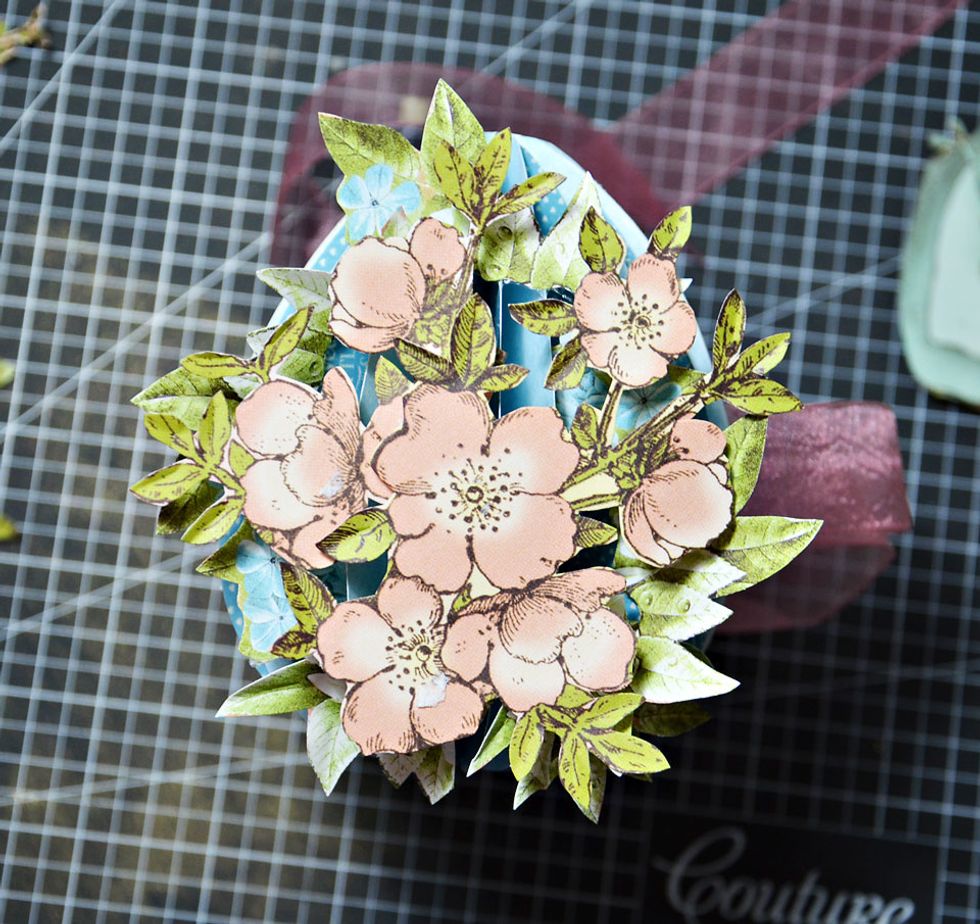
Add some flowers from Graphic 45 Once Upon A Springtime collection papers.
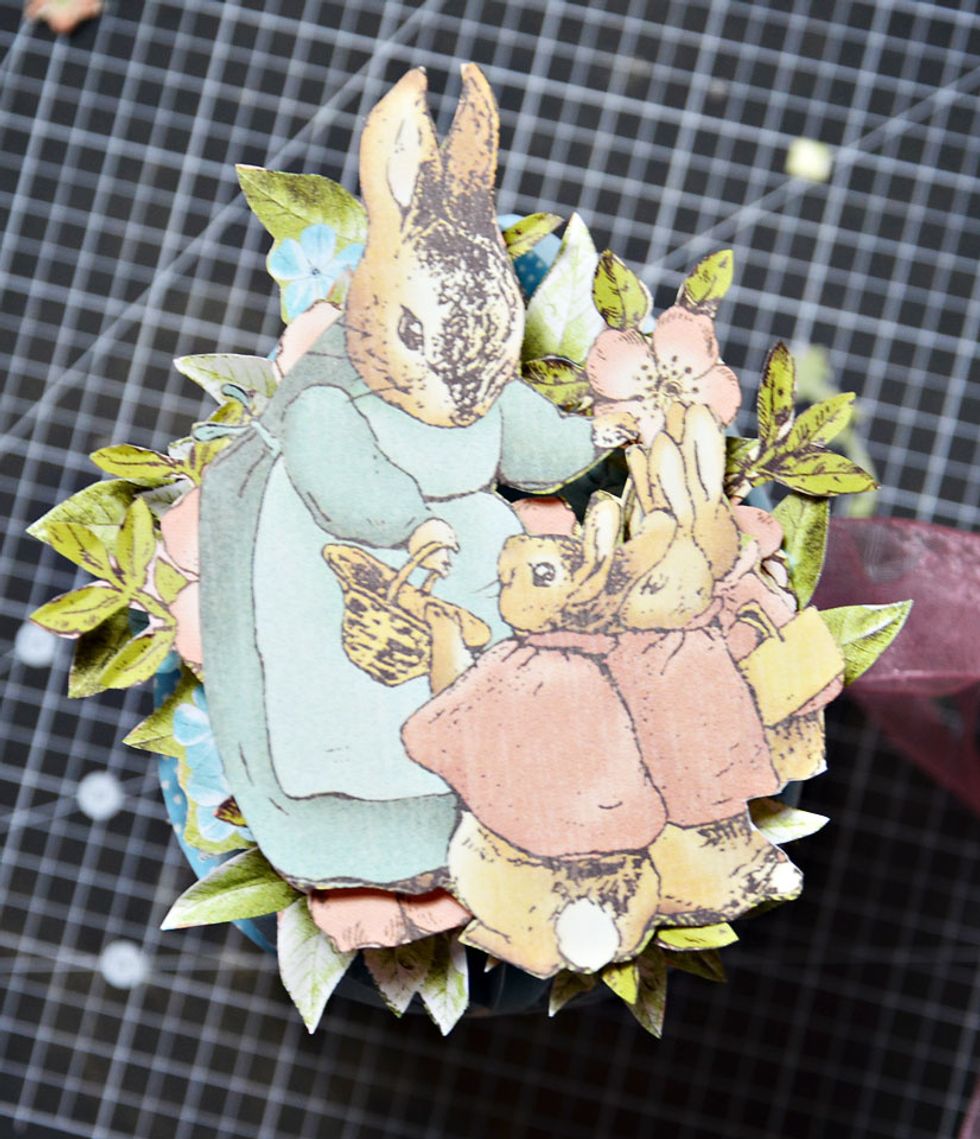
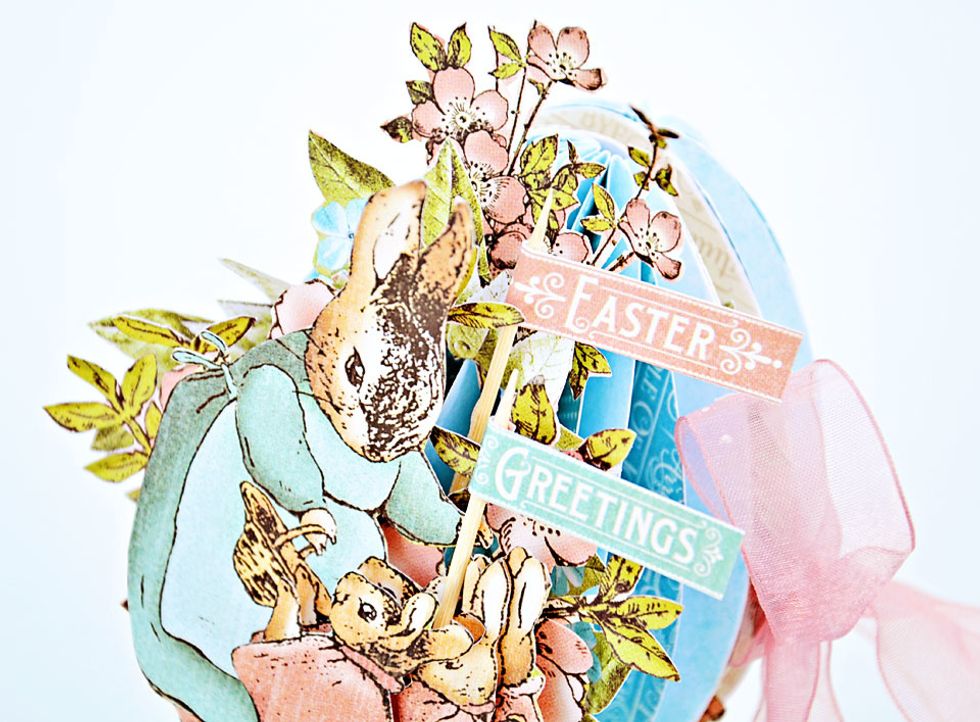
Add the bunnies from the Graphic 45 Once Upon A Springtime collection paper and the front of your egg is complete.
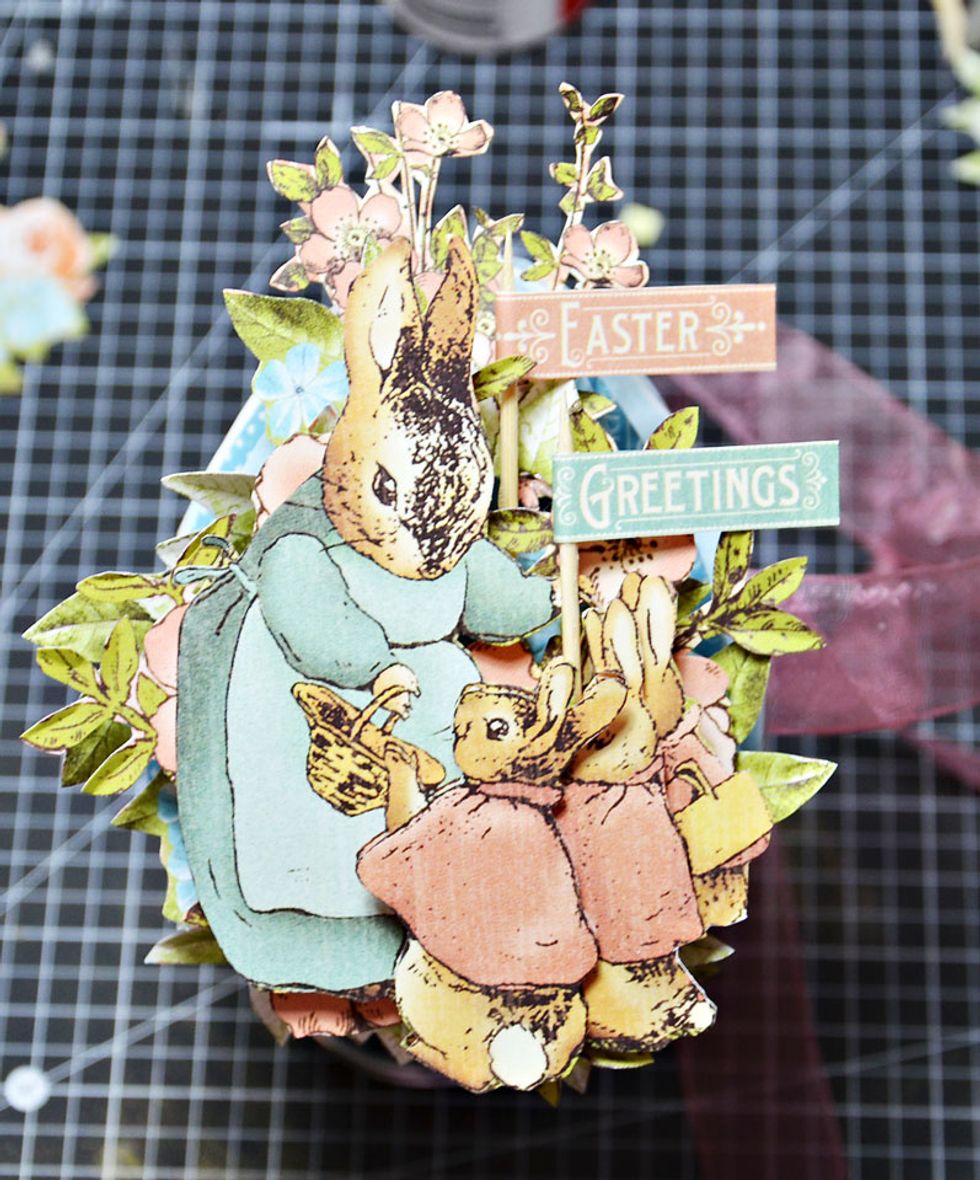
For an extra touch I added little banners which i made from toothpicks and greetings from Graphic 45 Time To Flourish collection paper. This isn't a necessity it's only an extra that I chose to add.
TIME TO CREATE THE INSIDE OF THE CARD.
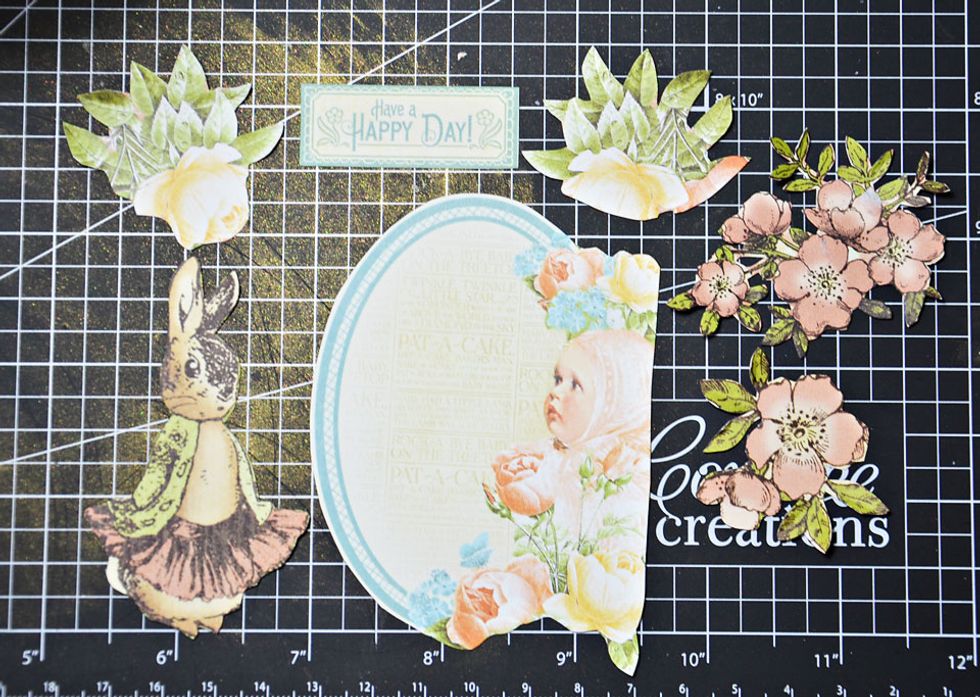
Now we are creating something a little fancy for the inside of the card. From the same papers used to create the cover you will need to fussy cut the images shown above.
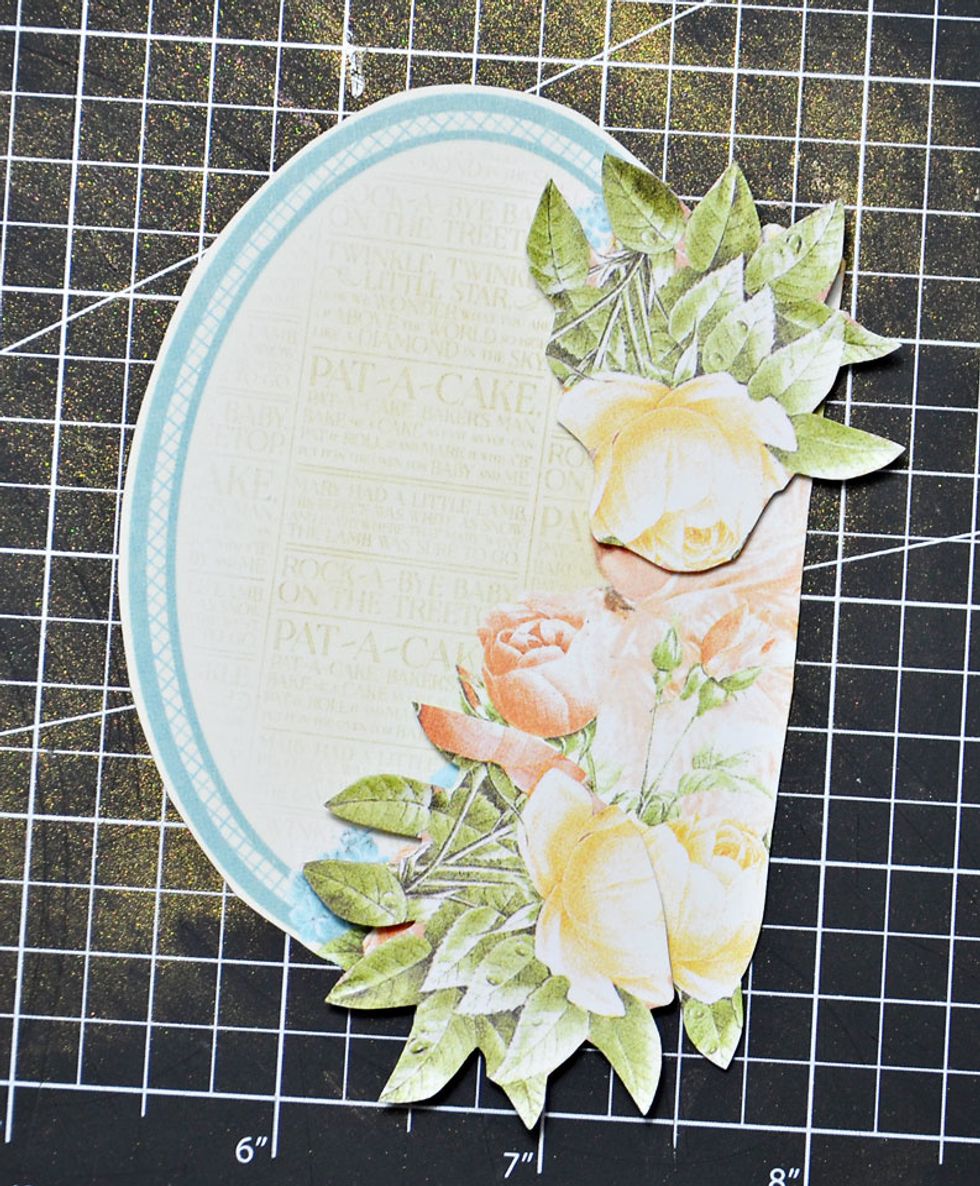
Layer as shown.
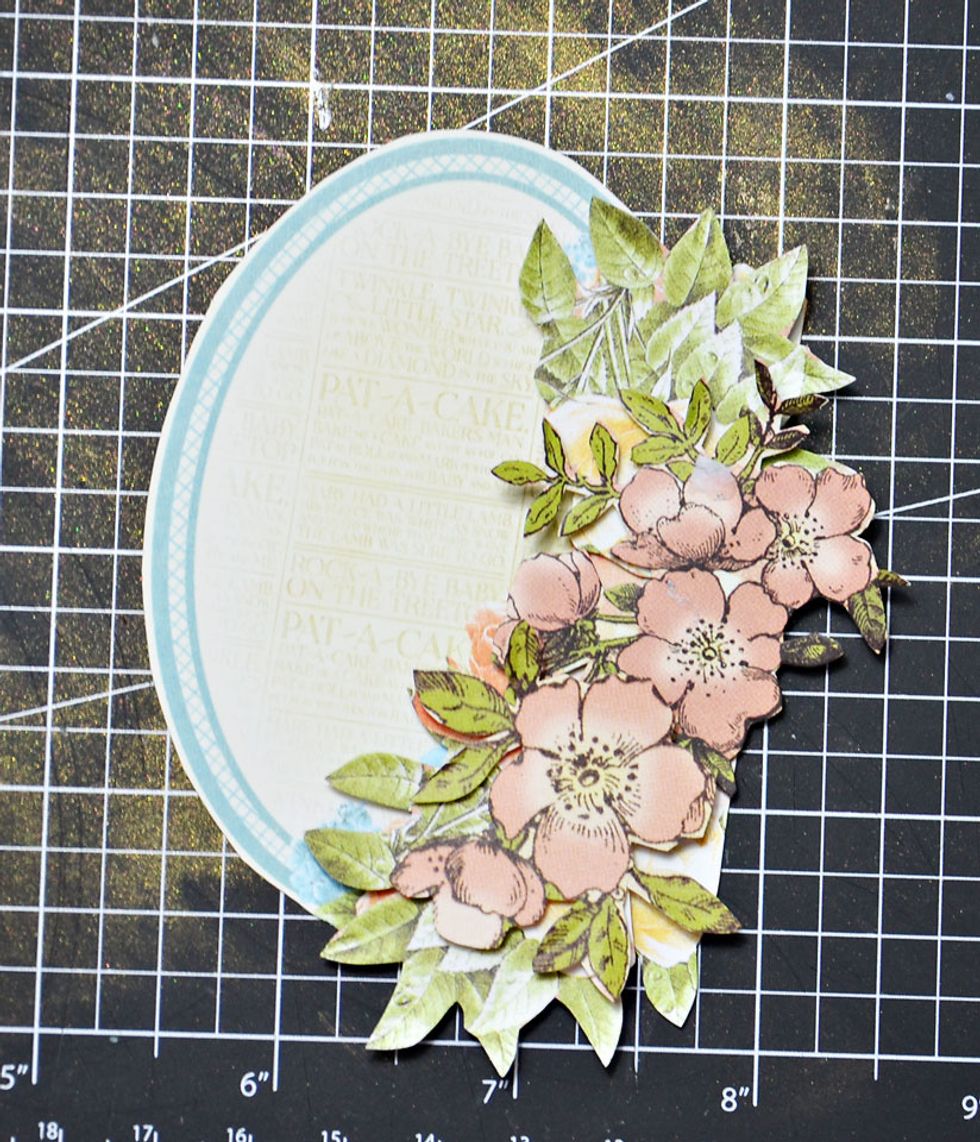
Layer some more flowers.
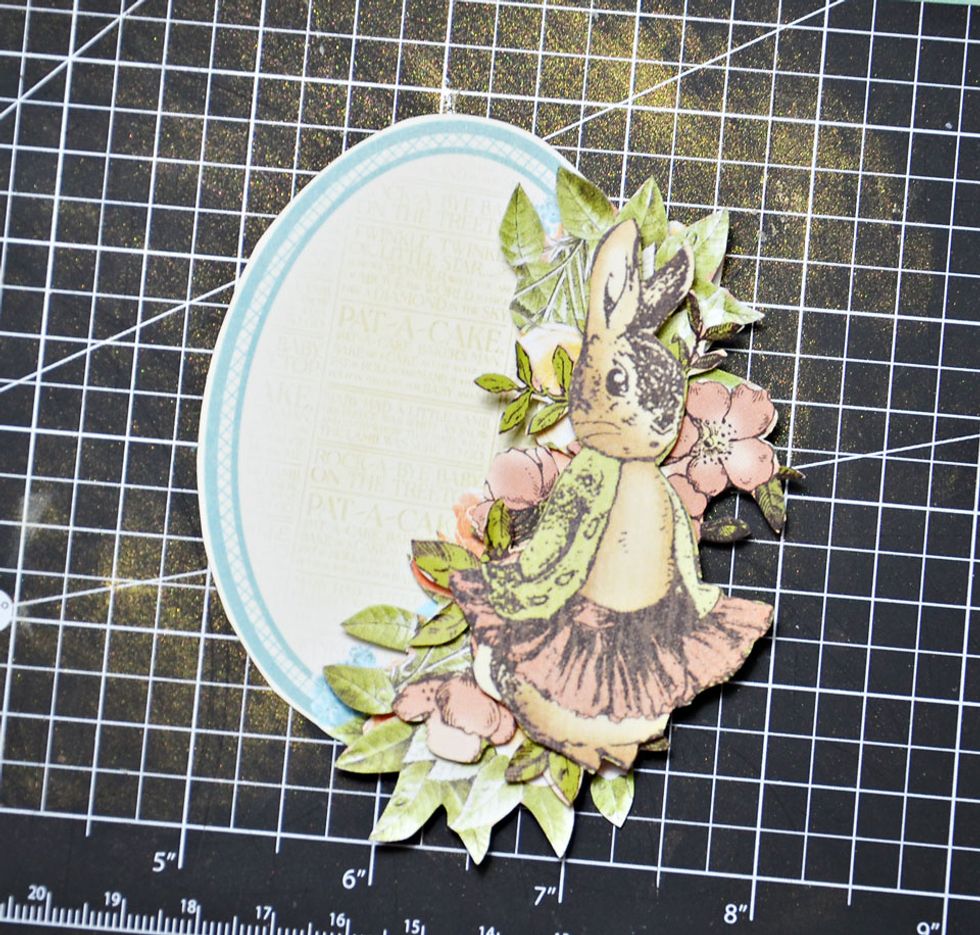
Top with the super sweet bunny.
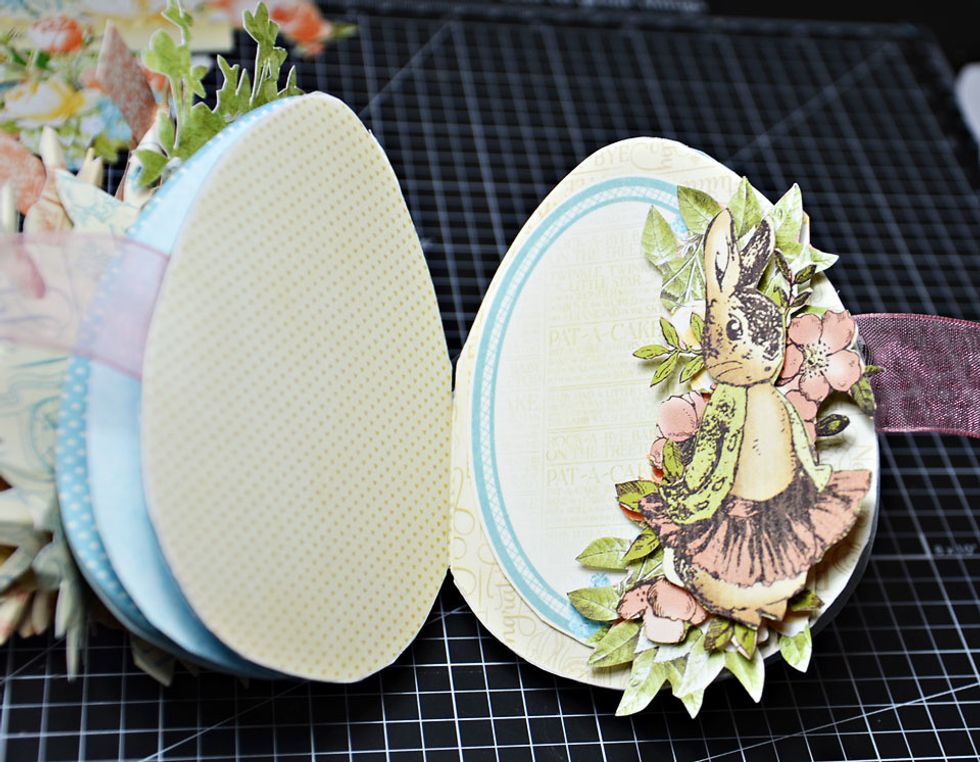
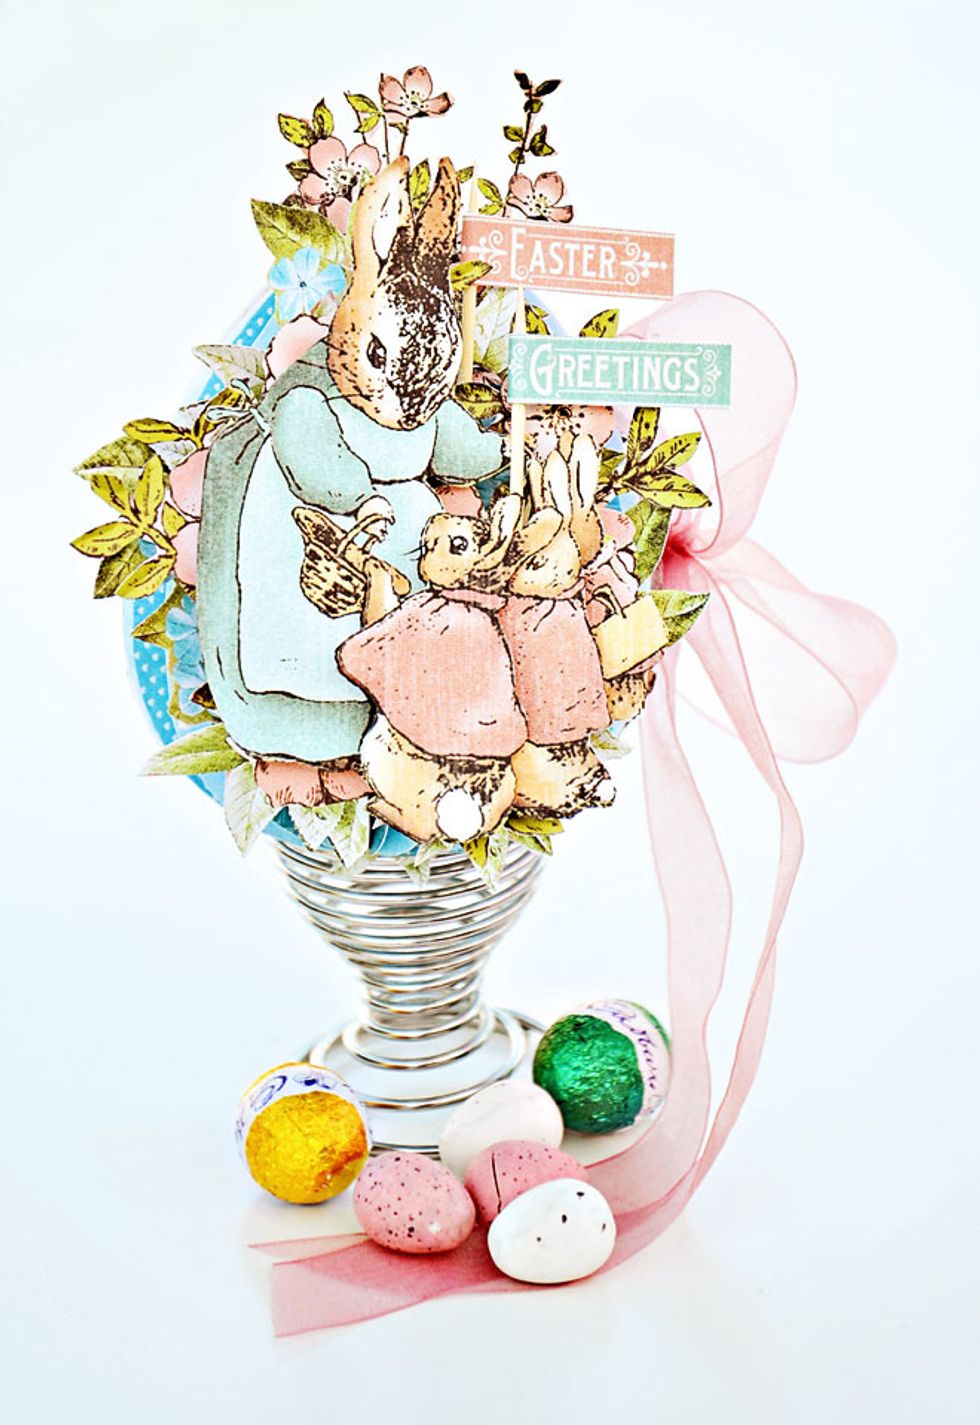
Attach to the inside of the card. Your Easter Egg card is now complete.
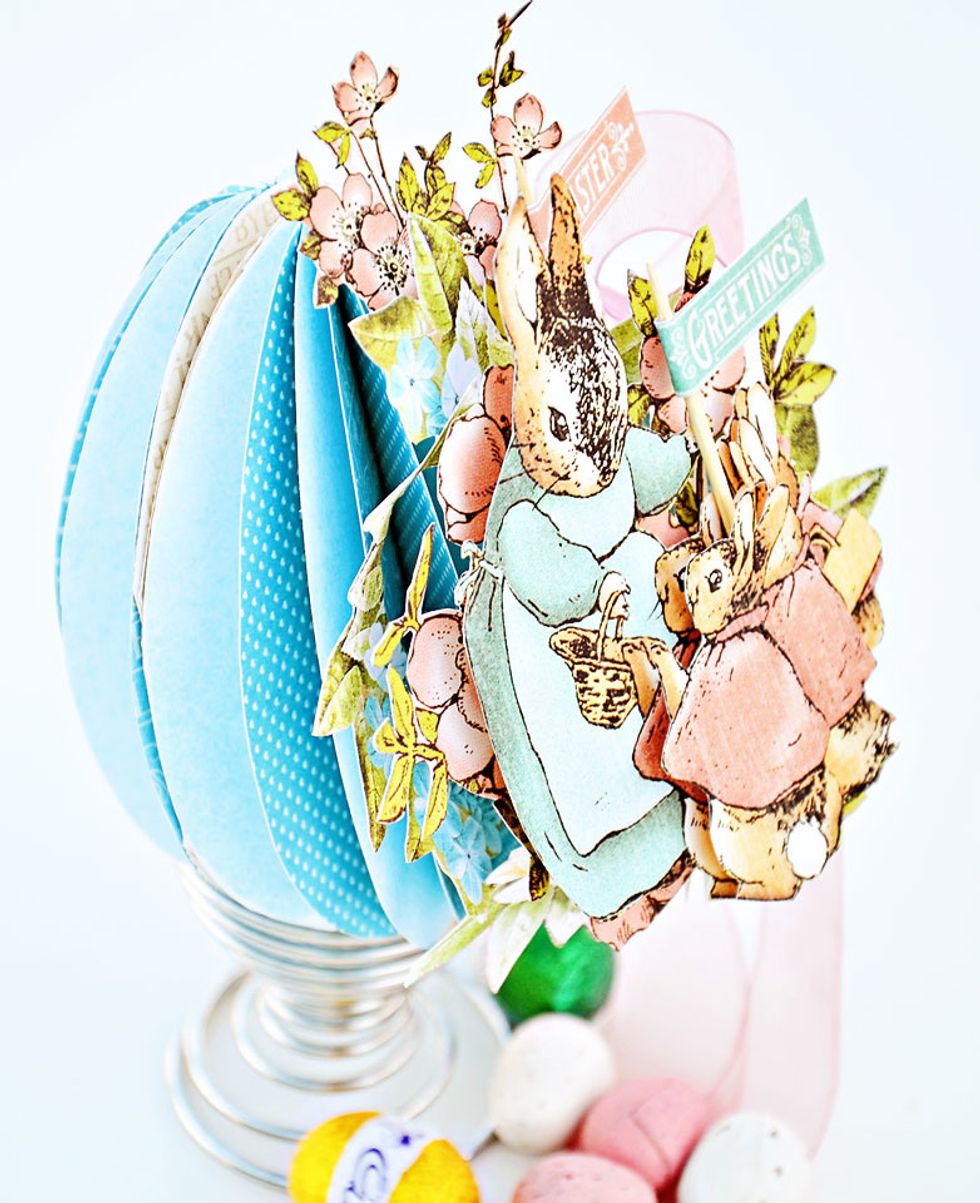
So pretty :)
A few of the little details.
Thank you for viewing my tutorial. Joanne Bain - scrappinforme.blogspot.com.au/