The Conversation (0)
Sign Up
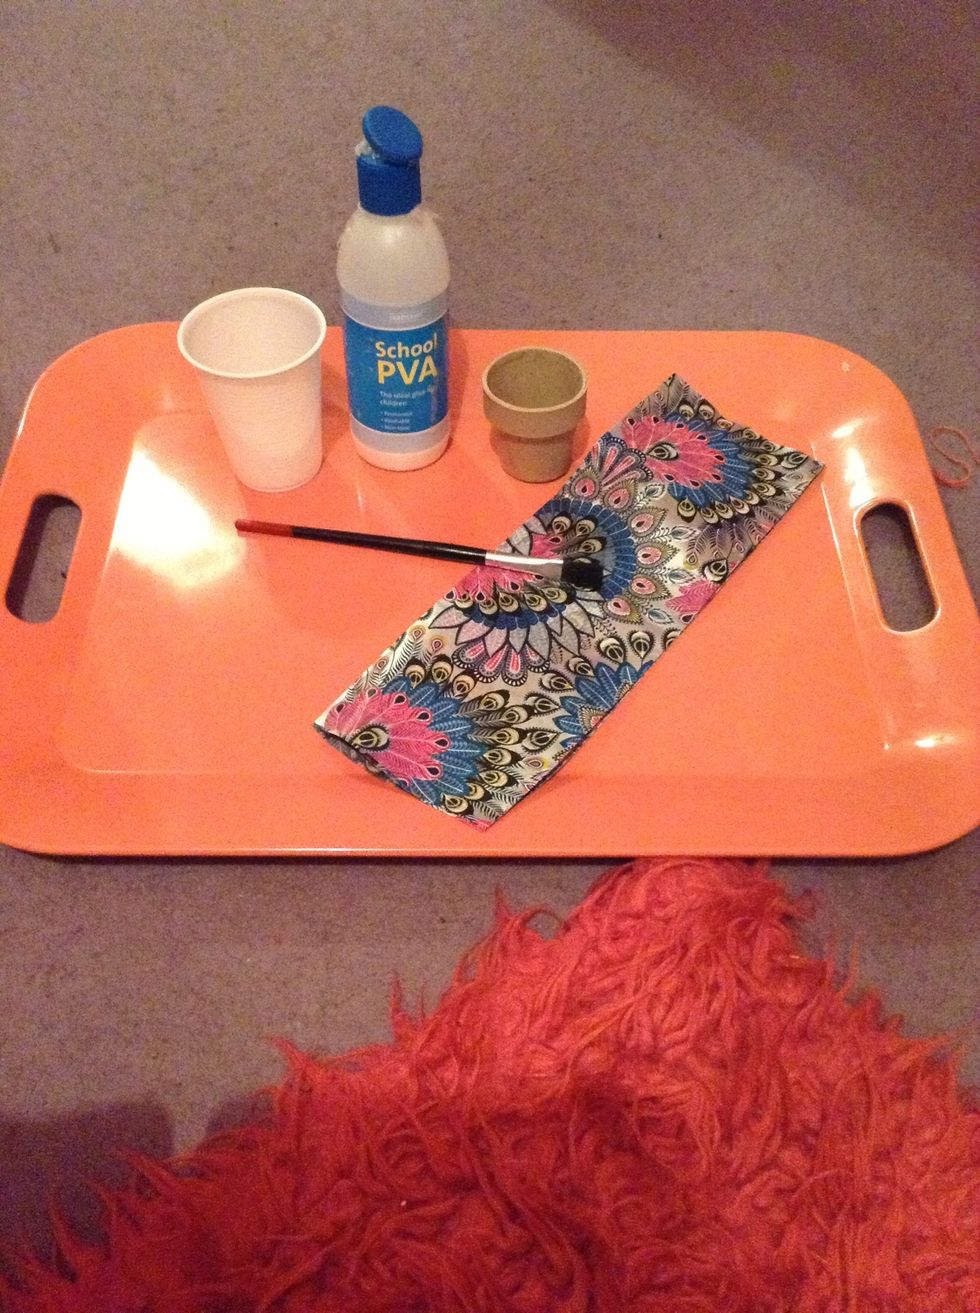
Gather your supplies
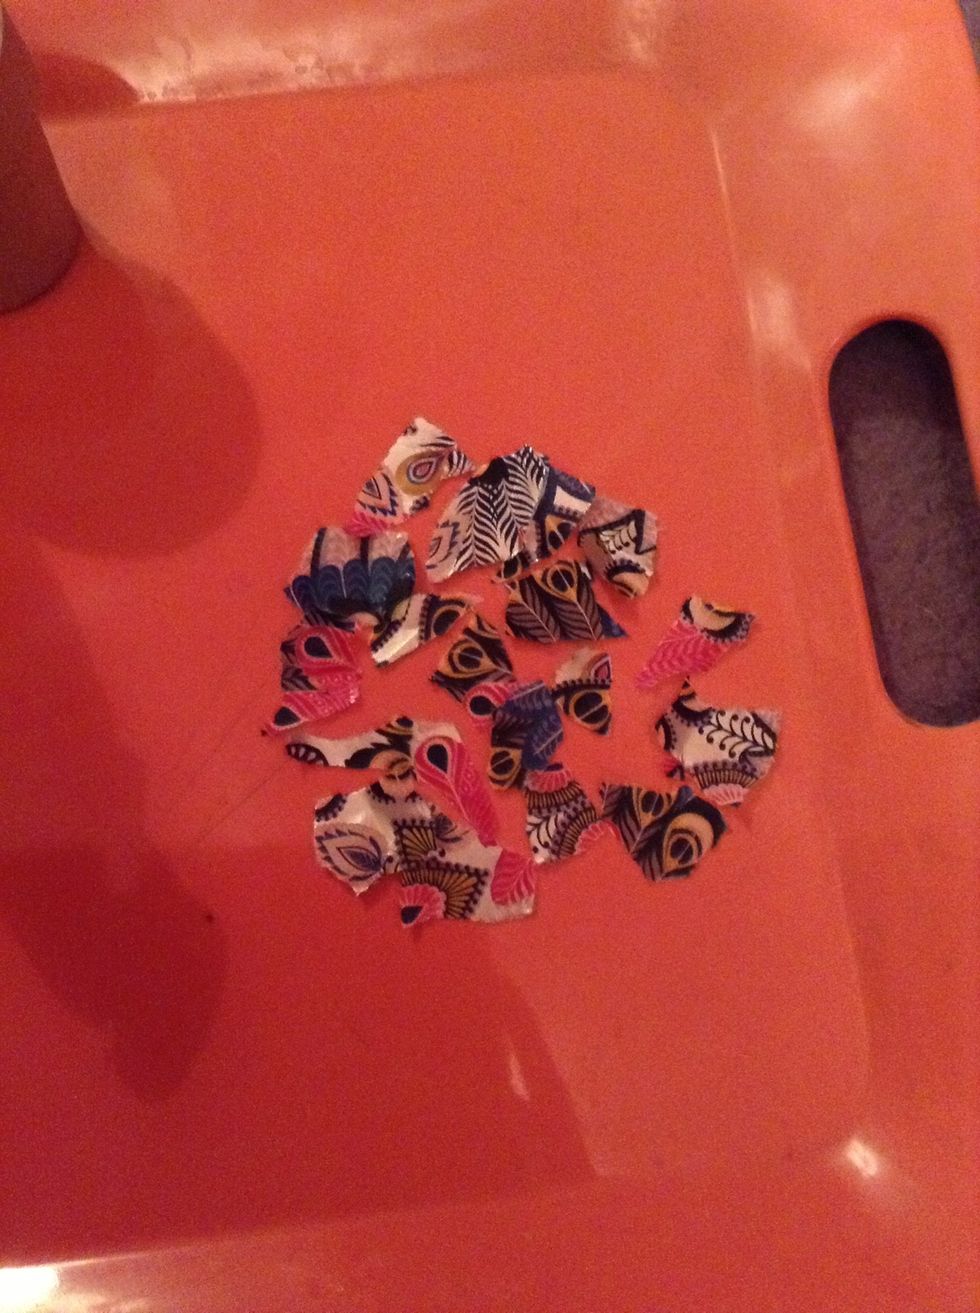
Tear or cut your paper into smallish pieces.
The next step is to prepare your glue. You can buy decopatch glue and varnish but it is very pricey. I find it a lot easier and cheaper just to water down pva.

Pour some glue into a pot and add a little water, I usually just eyeball it.
Stir it up until all the water is mixed in, it will look like it isn't working at first but keep stirring!
The glue is the right consistency when it runs off of a paint brush.

Glue a large portion of your object.
Pick up a piece of paper with your brush.
Stick your paper onto your object.
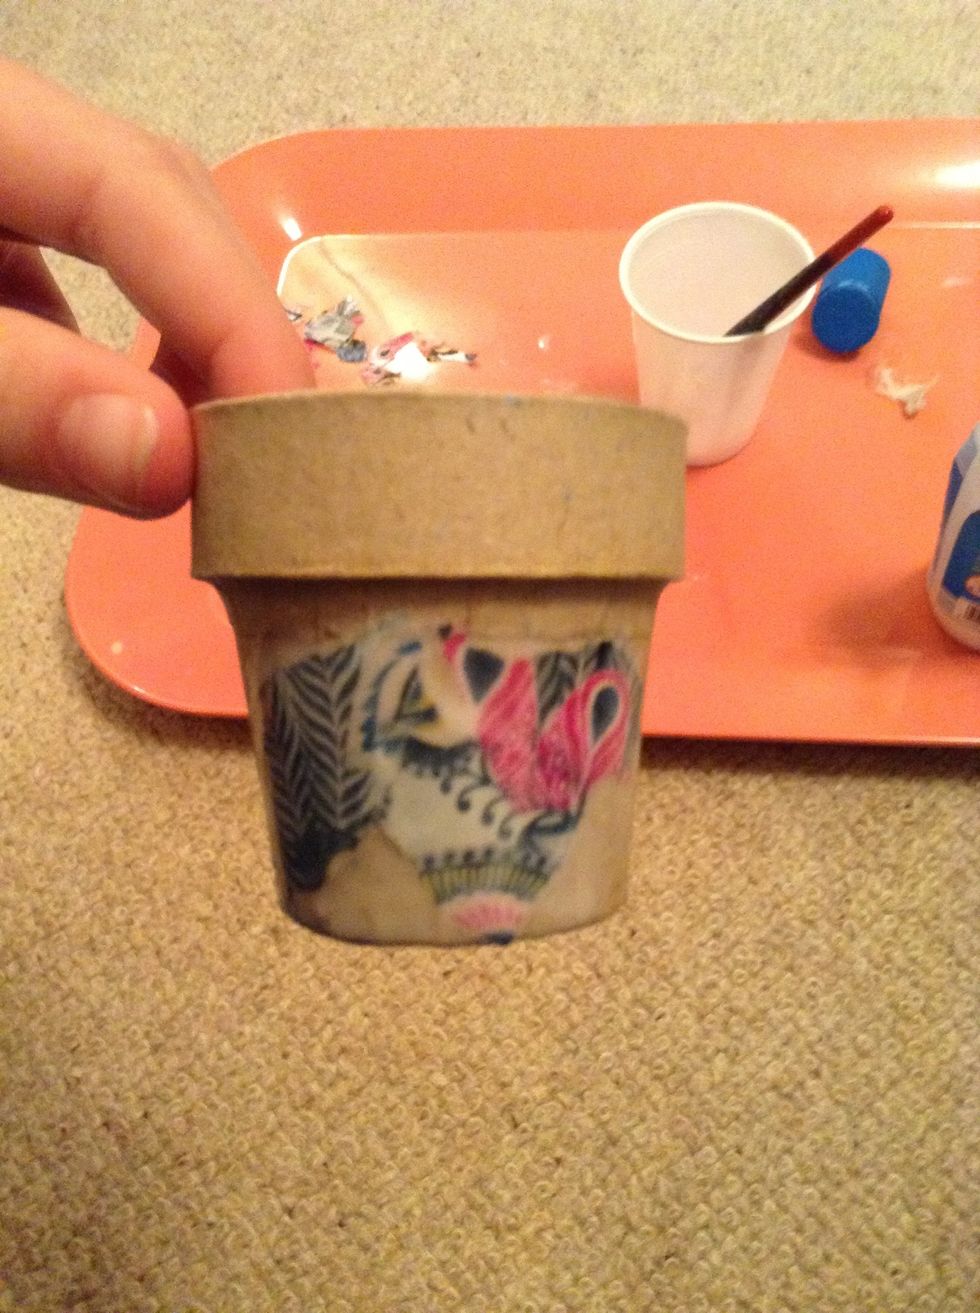
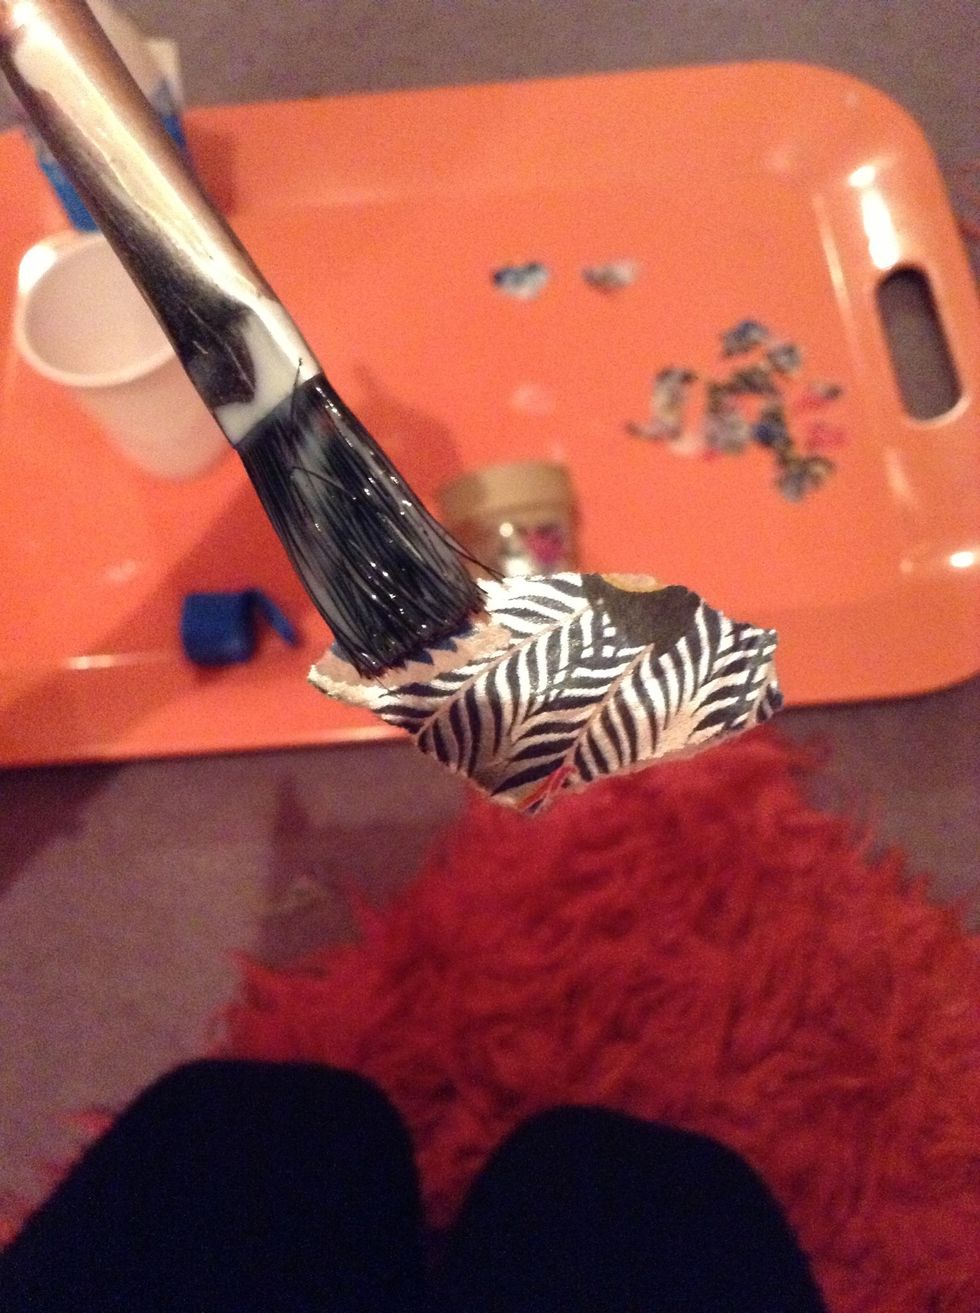
Cover your paper with a thin layer of glue, I usually use the glue that's left over on my brush.
Repeat steps 7-10 until you have covered your whole object.
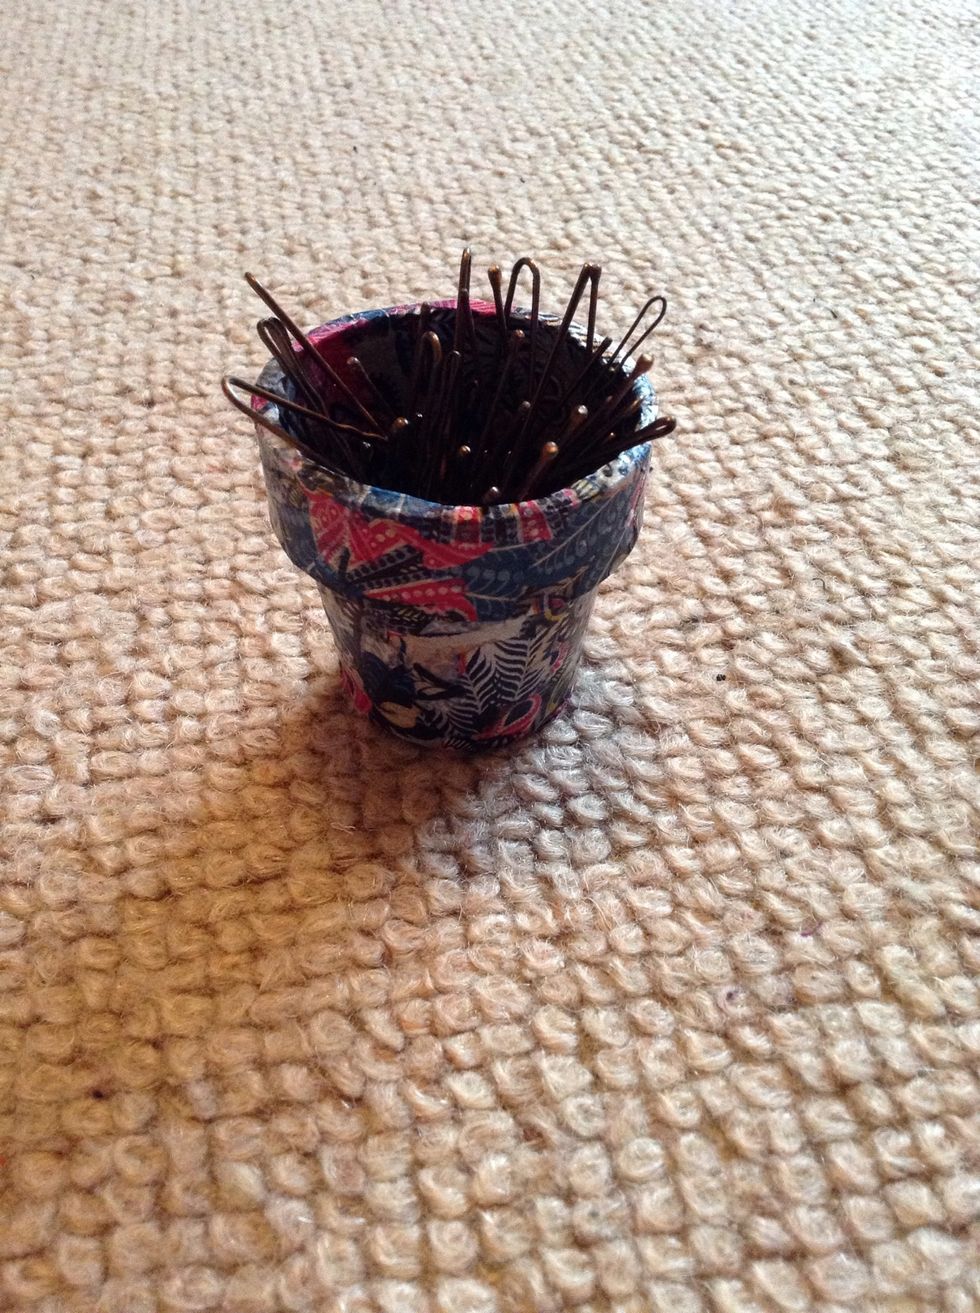
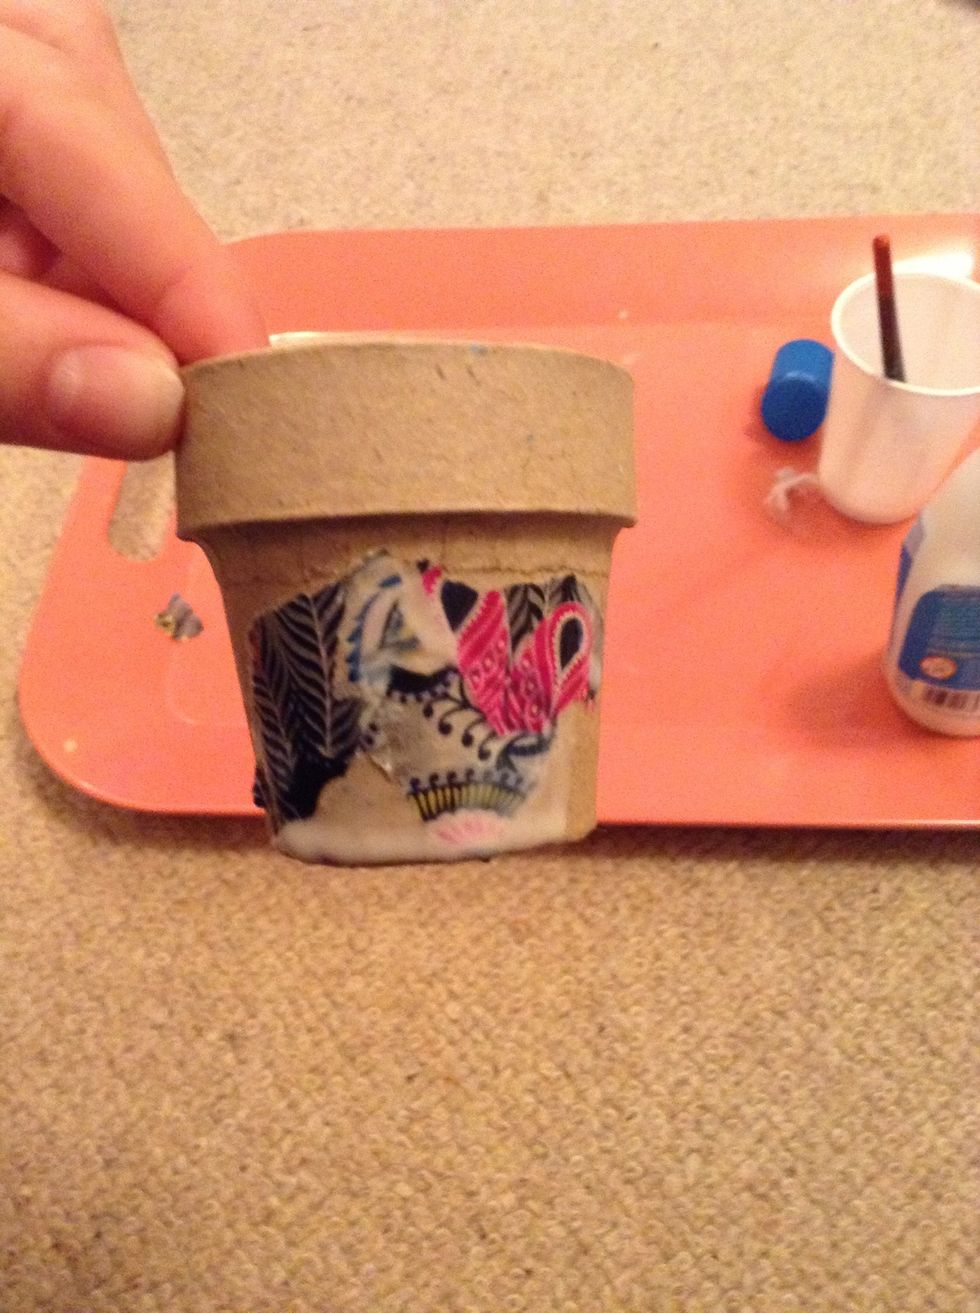
Here is the finished product, I'm using this pot to store my hair grips and bun pins.
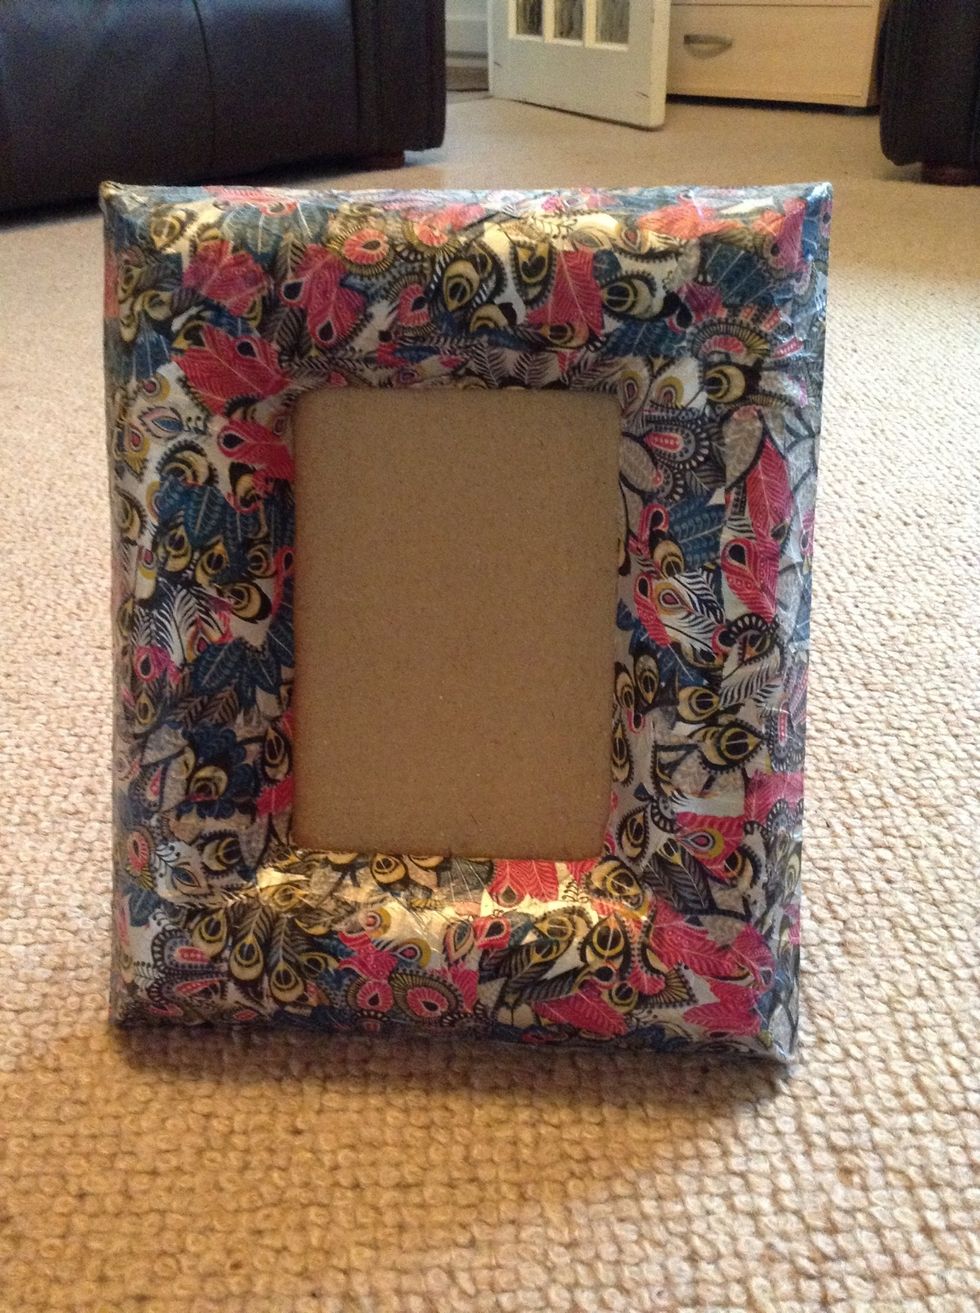
I also created this photo frame using decopatch!
Thanks for reading my guide and please comment any thoughts or questions below! 😃