How to create a decorative light plate cover
Create a Decorative Light Plate Cover
409
STEPS
TOOLS
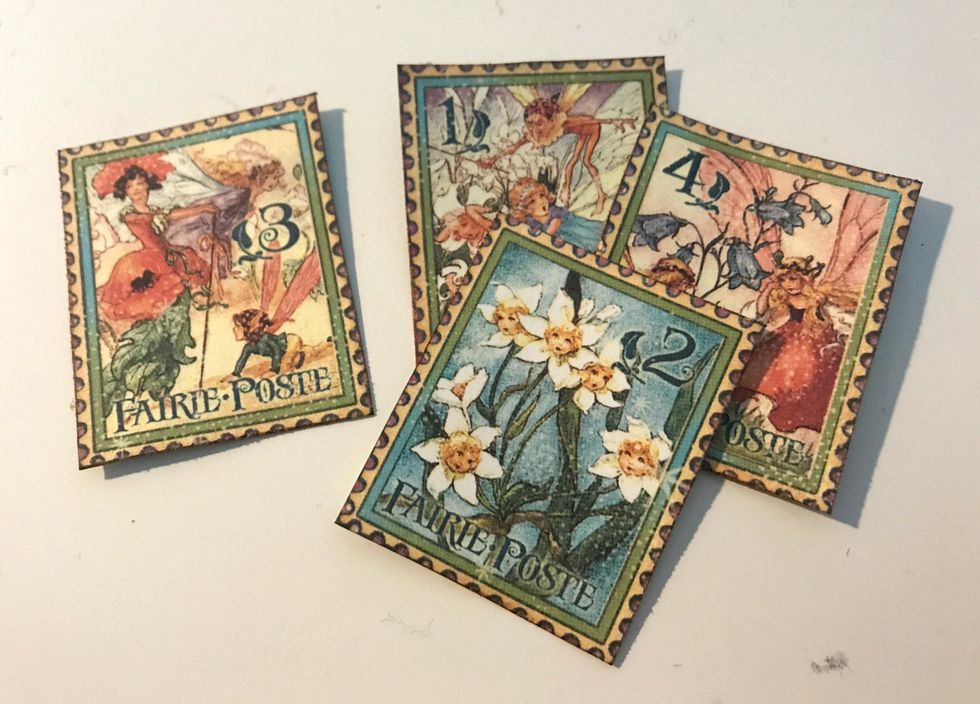
From the Magic Wishes paper, cut out 4 stamps. Ink the edges of the stamps using Vintage Photo Distress Ink.
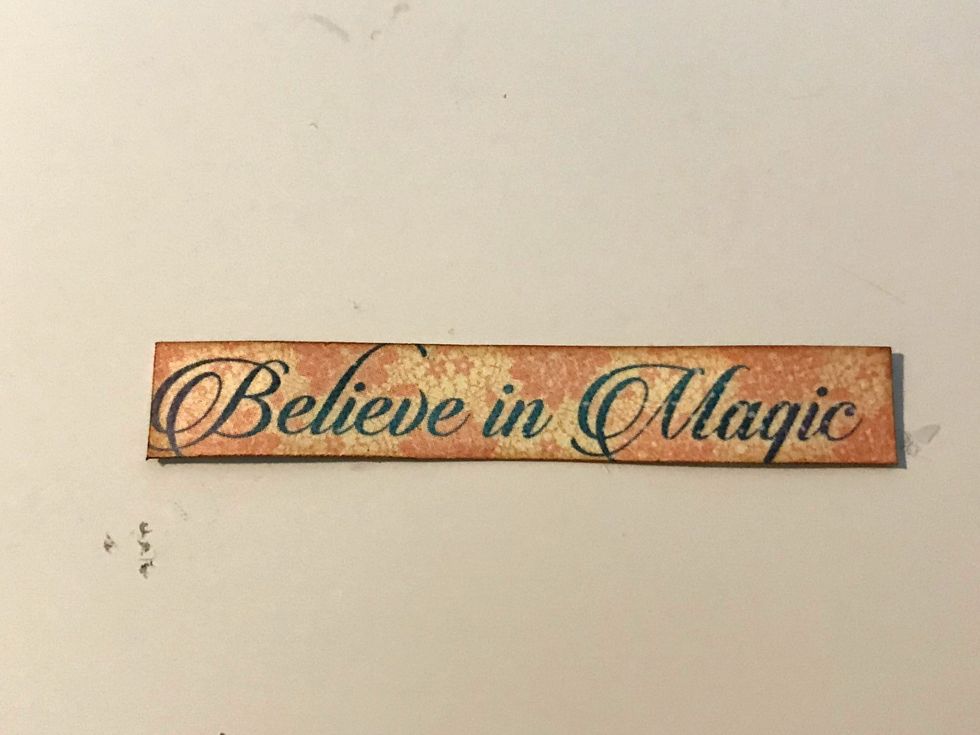
From the Magic Wishes paper, cut out the believe in magic sentiment. Ink the edges of the sentiment using Vintage Photo Distress Ink.
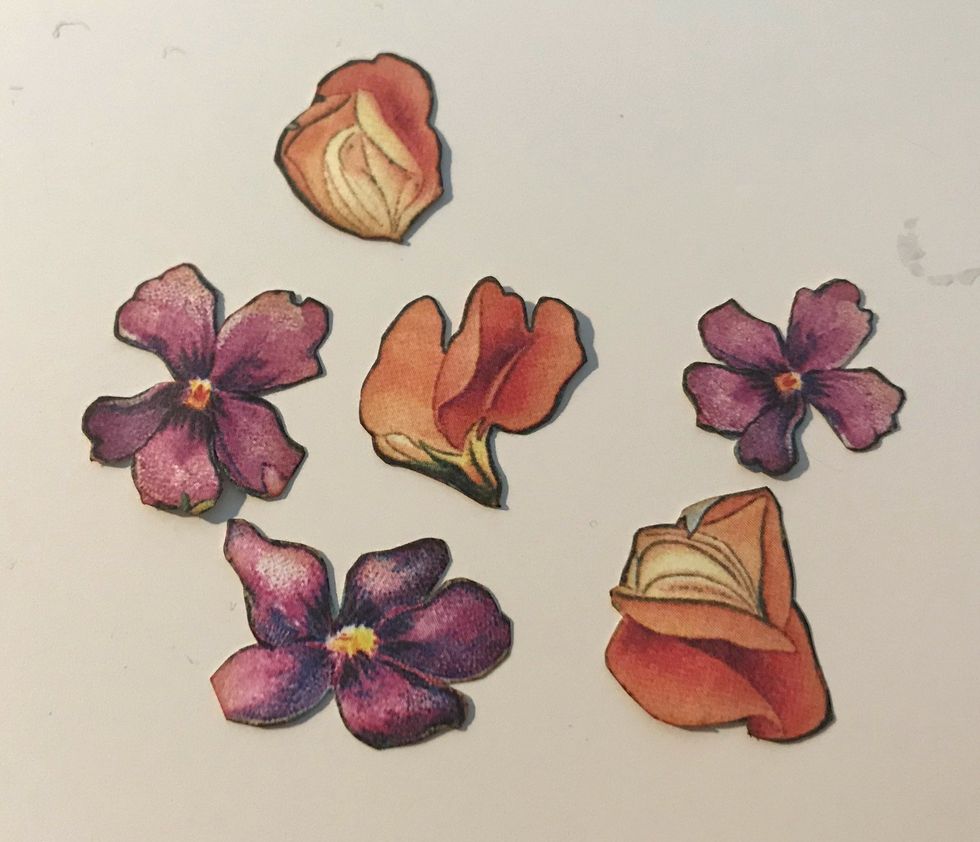
From the Moonlit Blooms paper, fussy cut out 3 purple flowers and 3 coral flowers out. Ink the edges of the flowers using Vintage Photo Distress Ink.
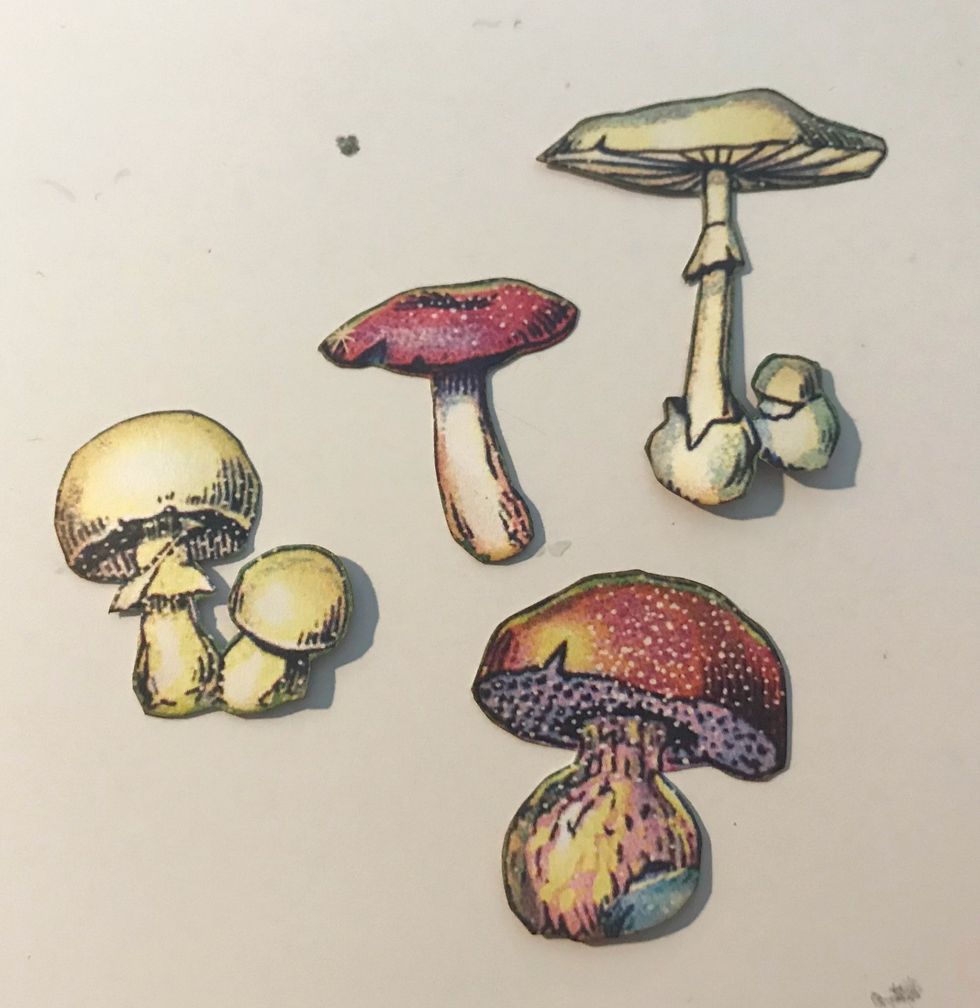
From the Tiny Toadstools paper, fussy cut out 4 toadstools out. Ink the edges of the images using Vintage Photo Distress Ink.
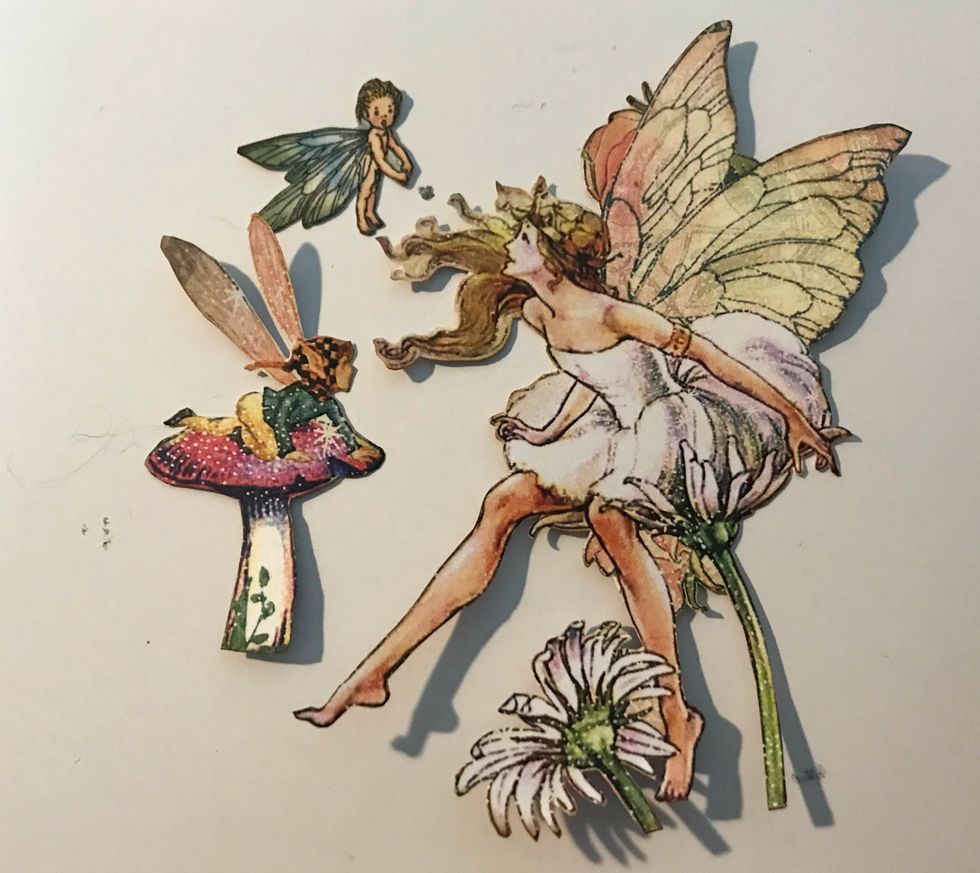
From the Dreamland paper, fussy cut out the large fairy, a small fairy and a fairy on a toadstool. Ink the edges of the images using Vintage Photo Distress Ink.
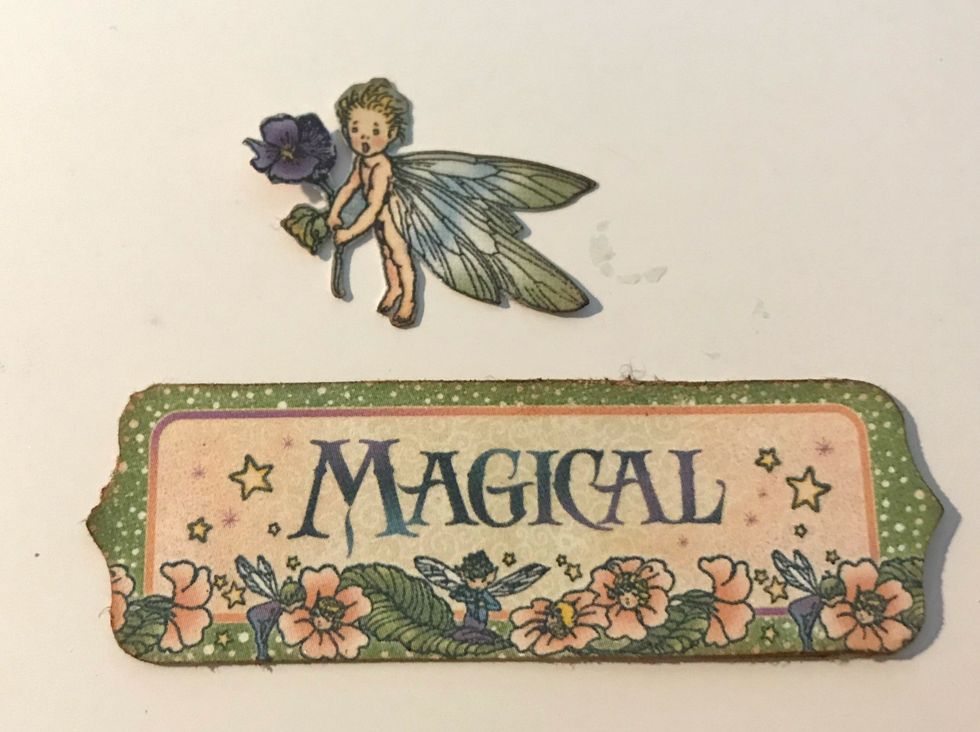
From the Tags & Pockets, punch out the Magical tag and fussy cut the small fairy from one of the other small tags.
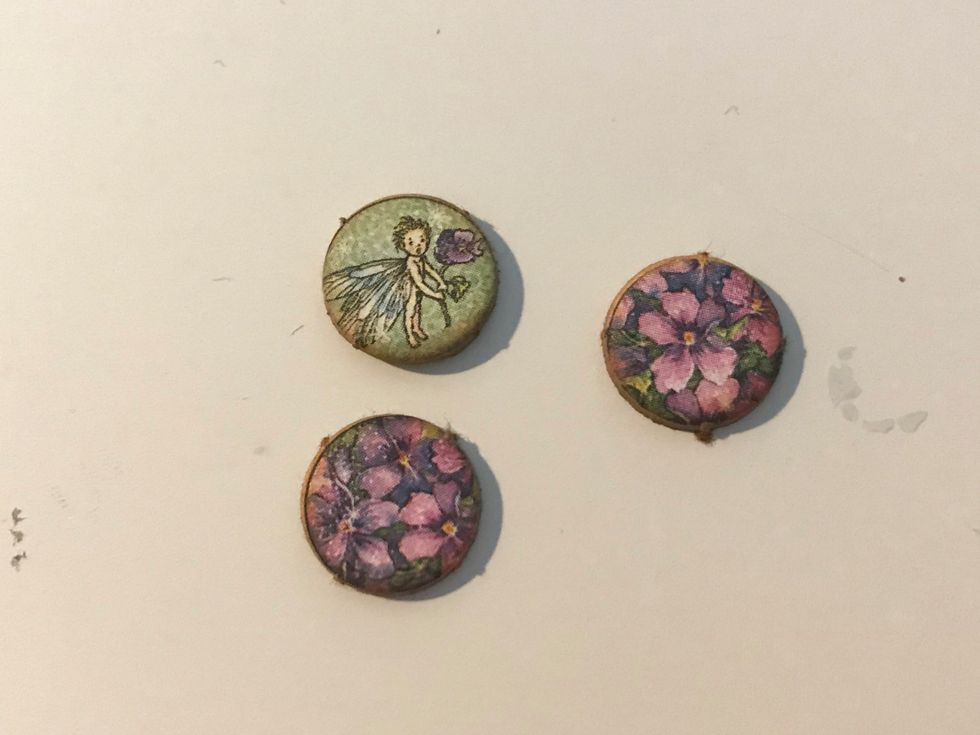
Punch out three decorative circle chipboard pieces. Ink the edges of the circles using Vintage Photo Distress Ink and a blending tool with foam.
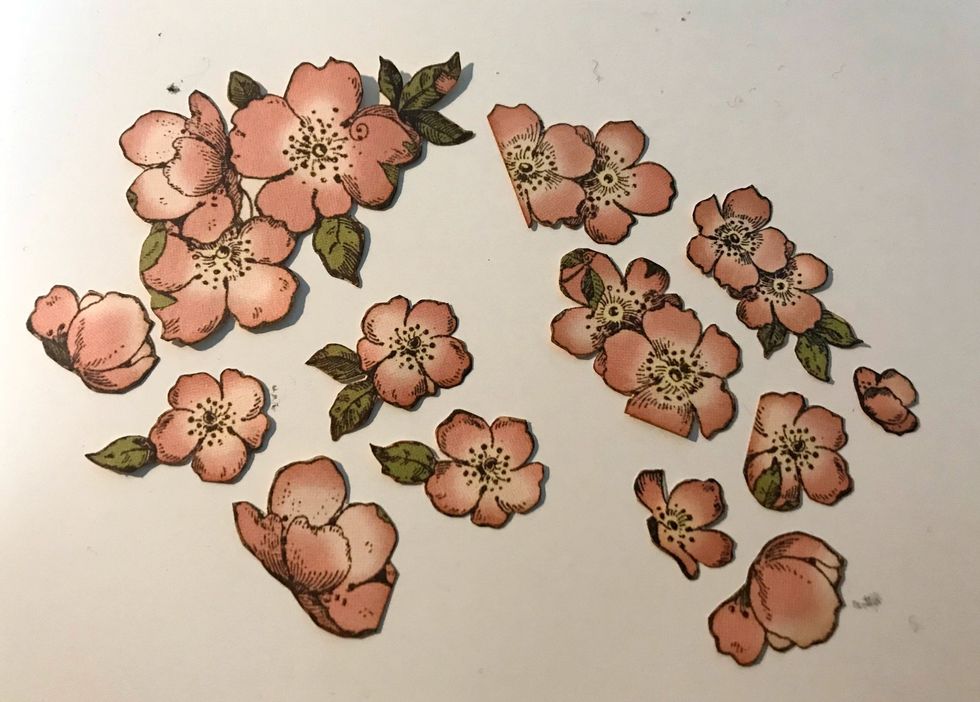
From the flower out of the Once Upon a Springtime DCE, fussy cut 13 flowers out. Ink the edges of the flowers using Vintage Photo Distress Ink.
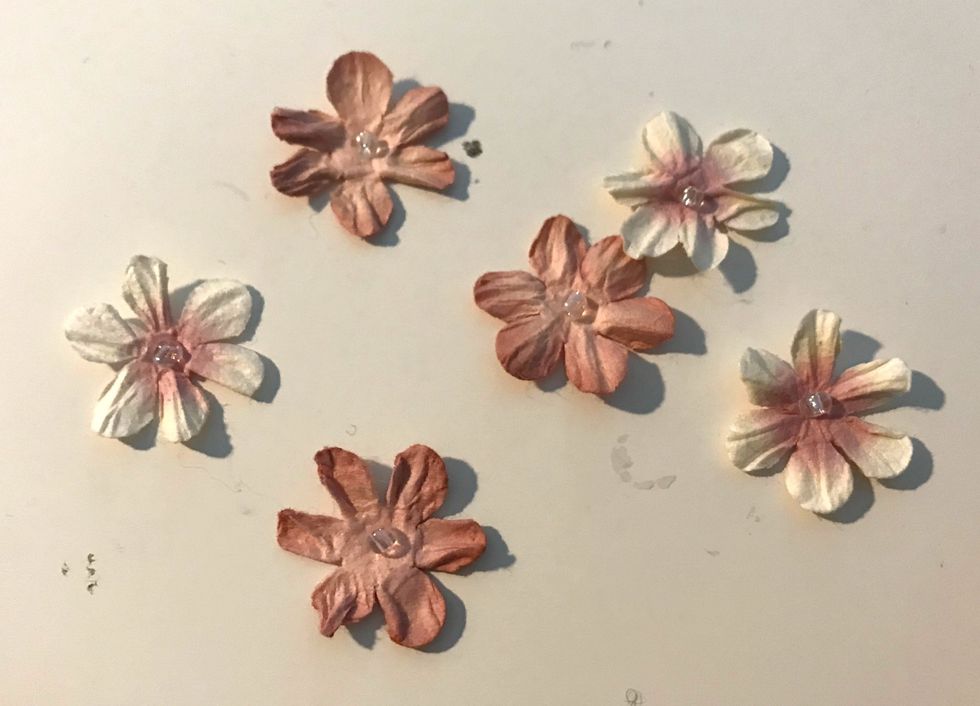
Take out 6 daisies from the Mini Daisy Petites package.
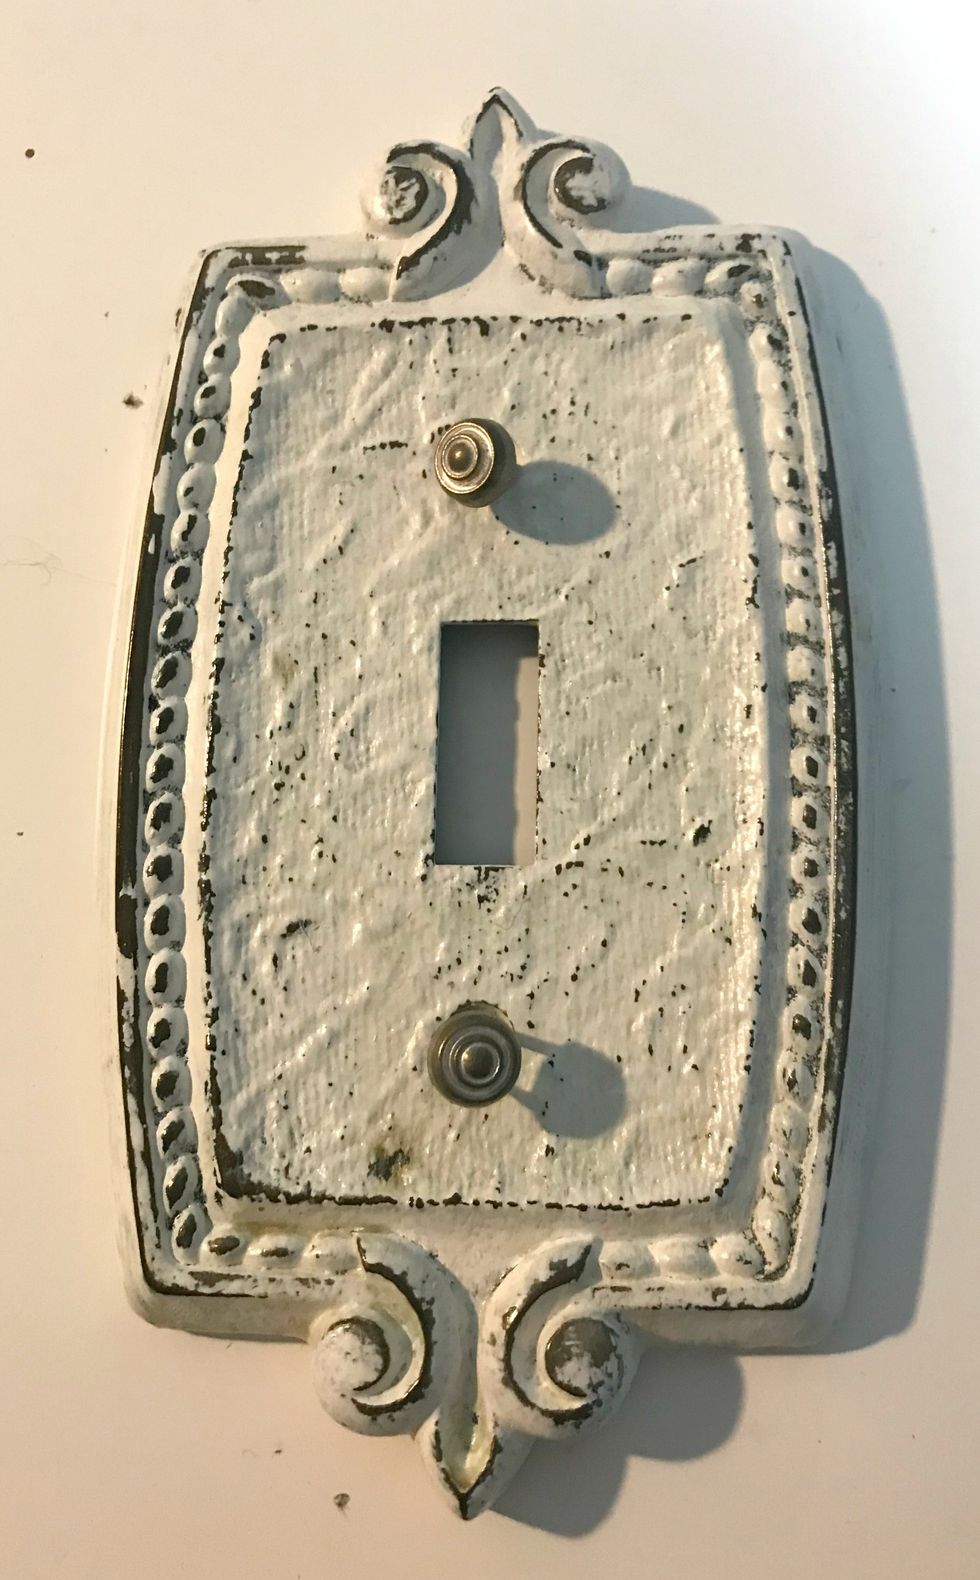
Take out 2 brads from the Shabby Chic Ornate Metal Brads package. Also grab your light plate cover.
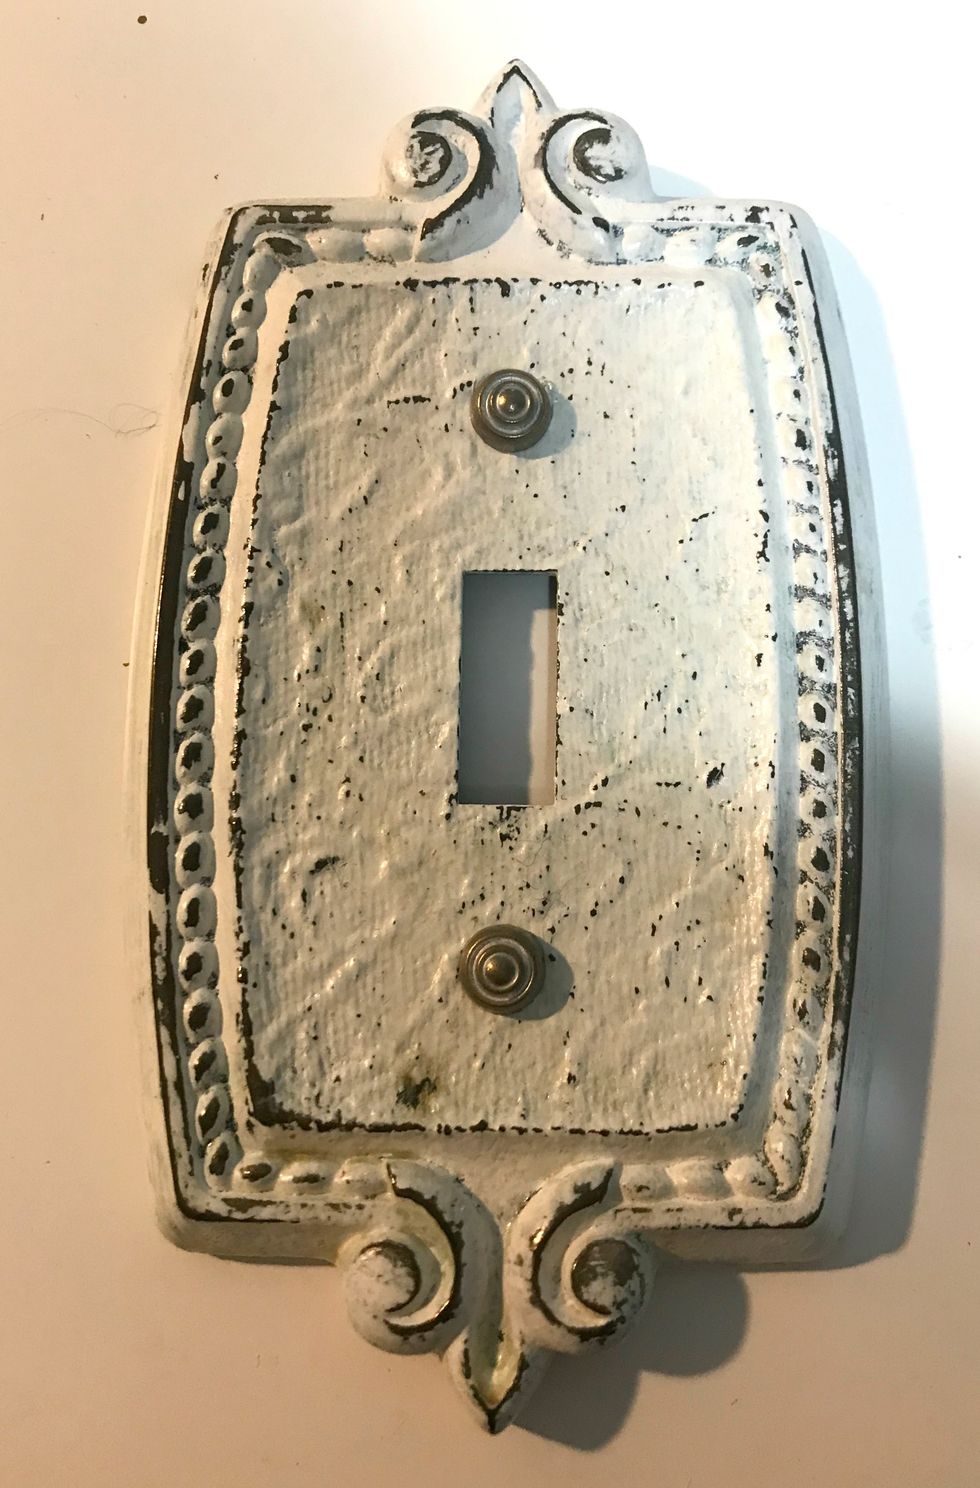
Adhere the brads to each hole on the light plate cover.
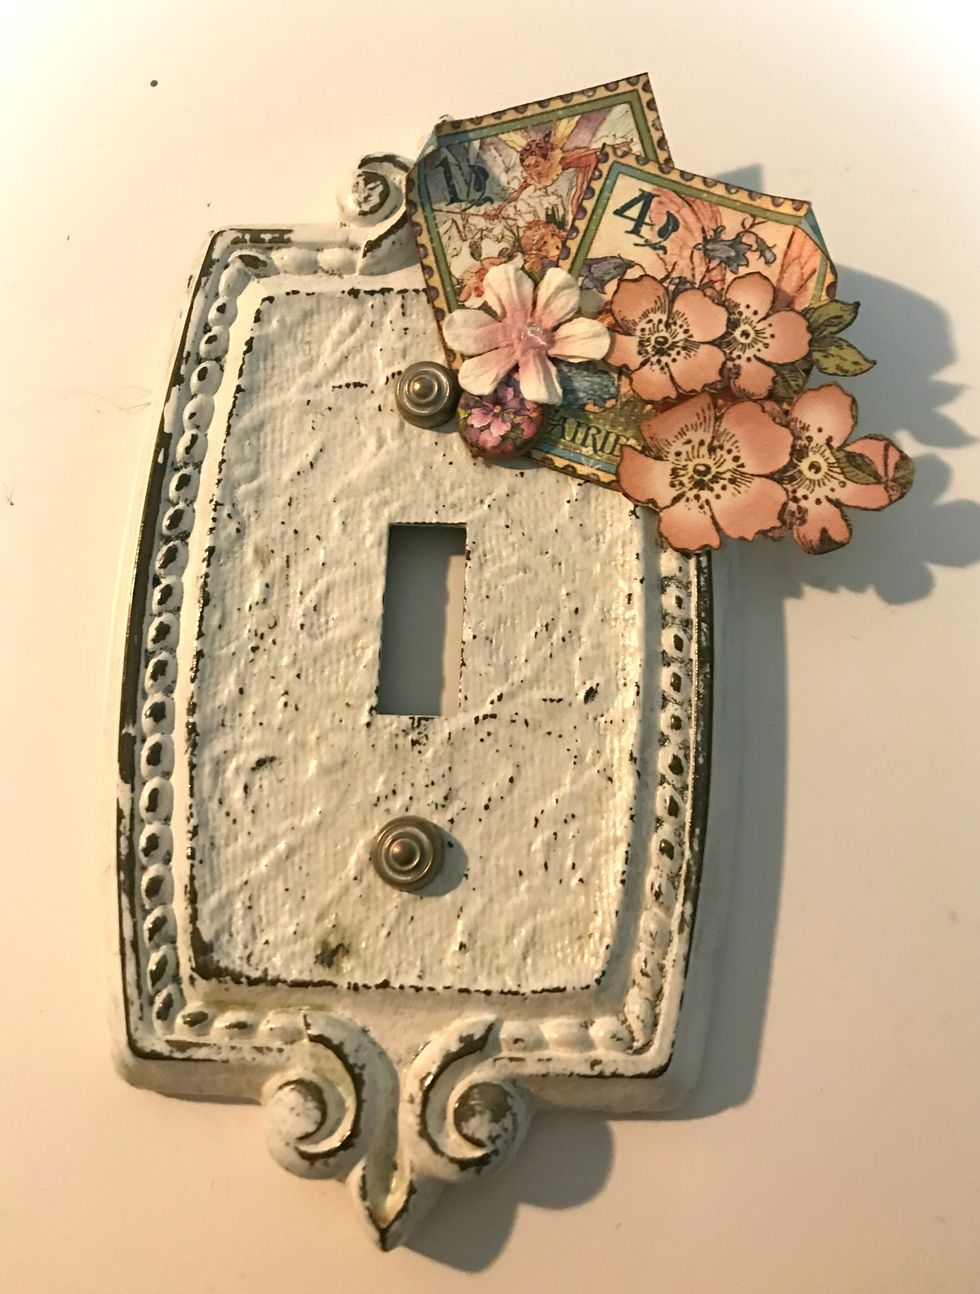
In the top right corner, adhere 2 stamps, 1 bunch of 3 flowers, 1 single flower, 1 daisy and 1 chipboard piece. Use foam squares as desired. Roll one corner down on each stamp.
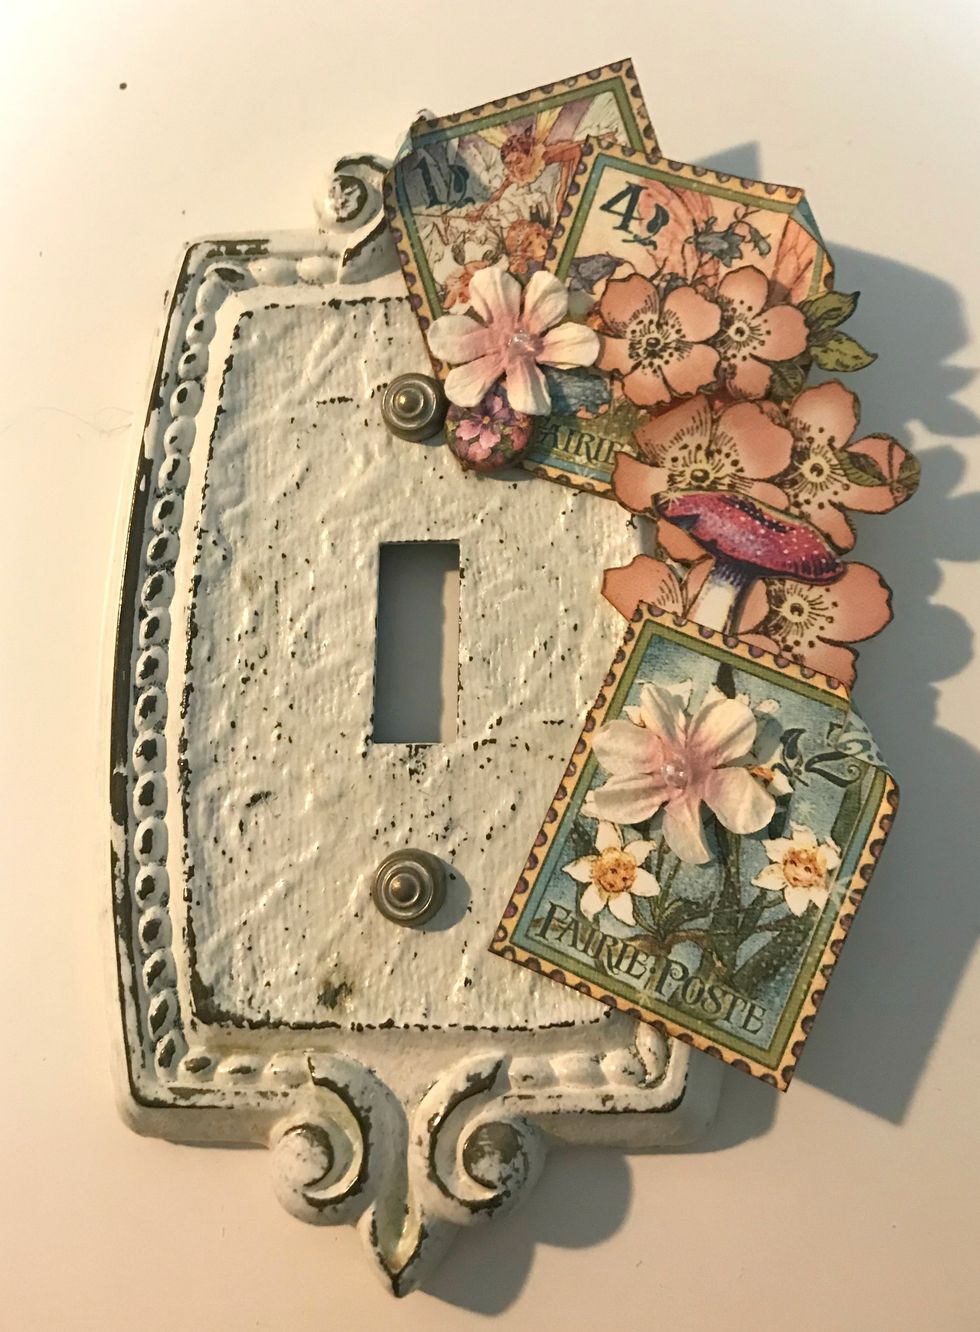
Down the right hand side, adhere 2 more flowers, a toadstool and a stamp. Roll one of the corners down on the stamp.
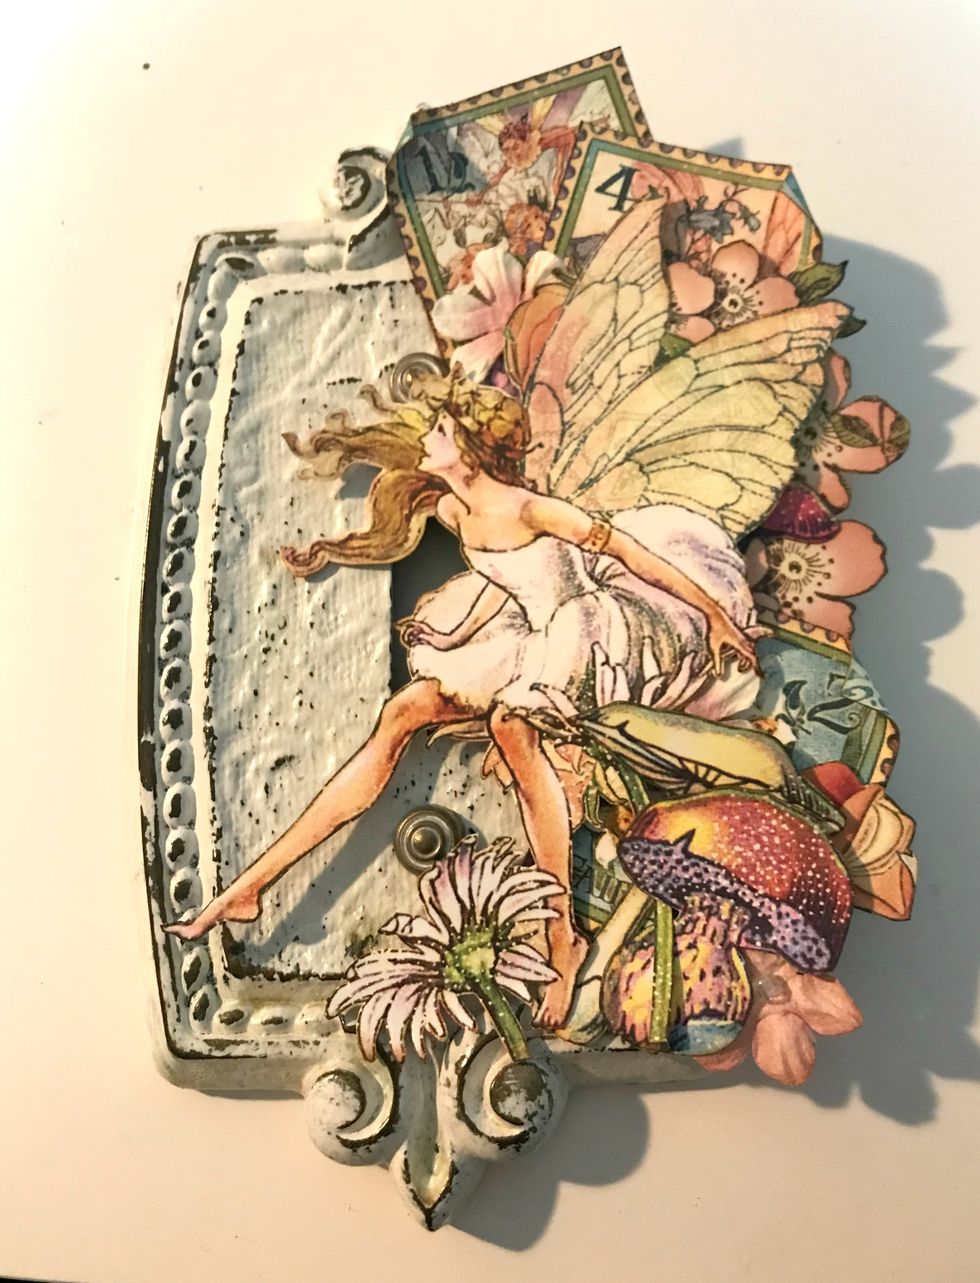
In the bottom right corner, adhere 1 coral flower, 2 toadstools & 2 daisies. Foam square the large fairy on the right side of the hole for the light switch.
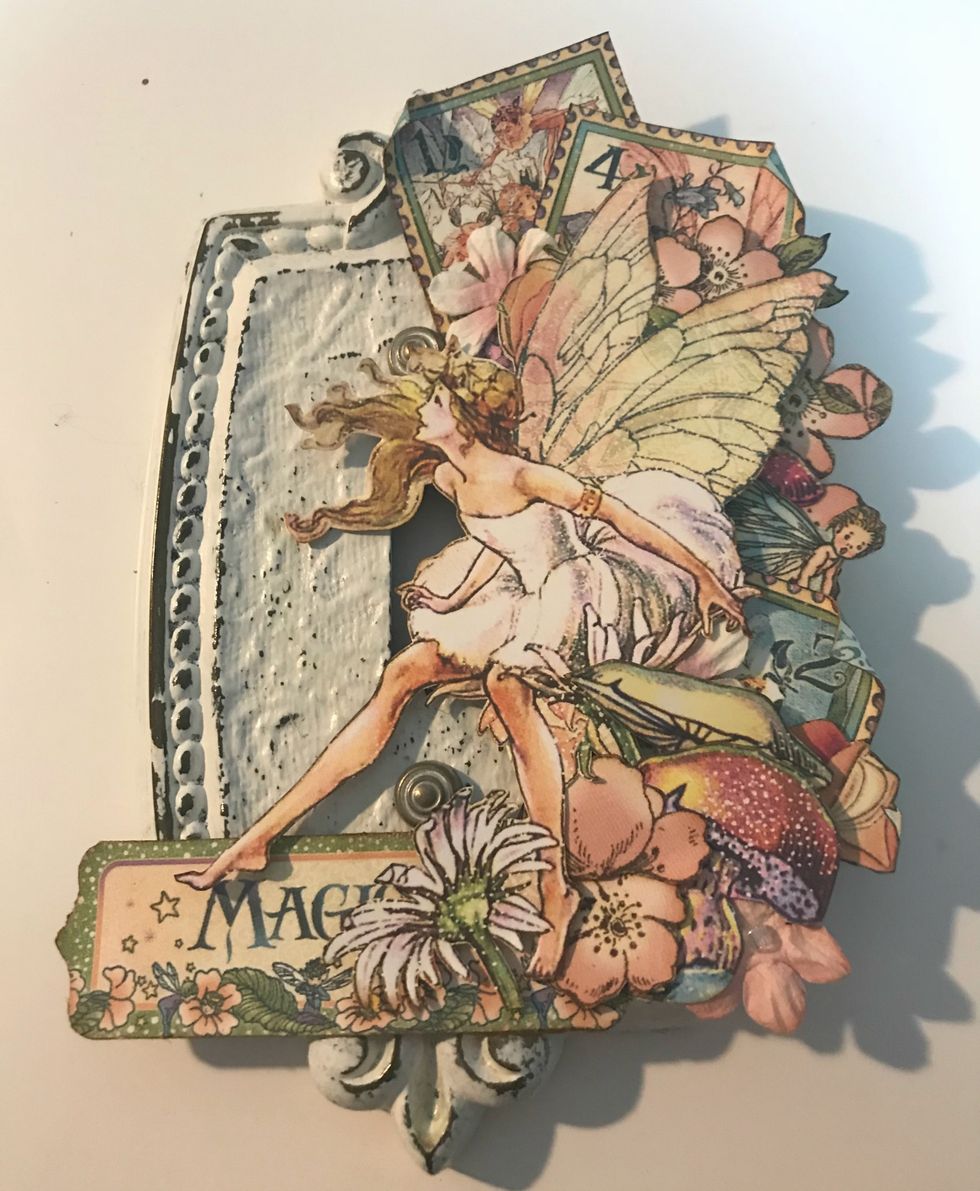
Adhere the Magic tag to the bottom left hand side of the fairy.
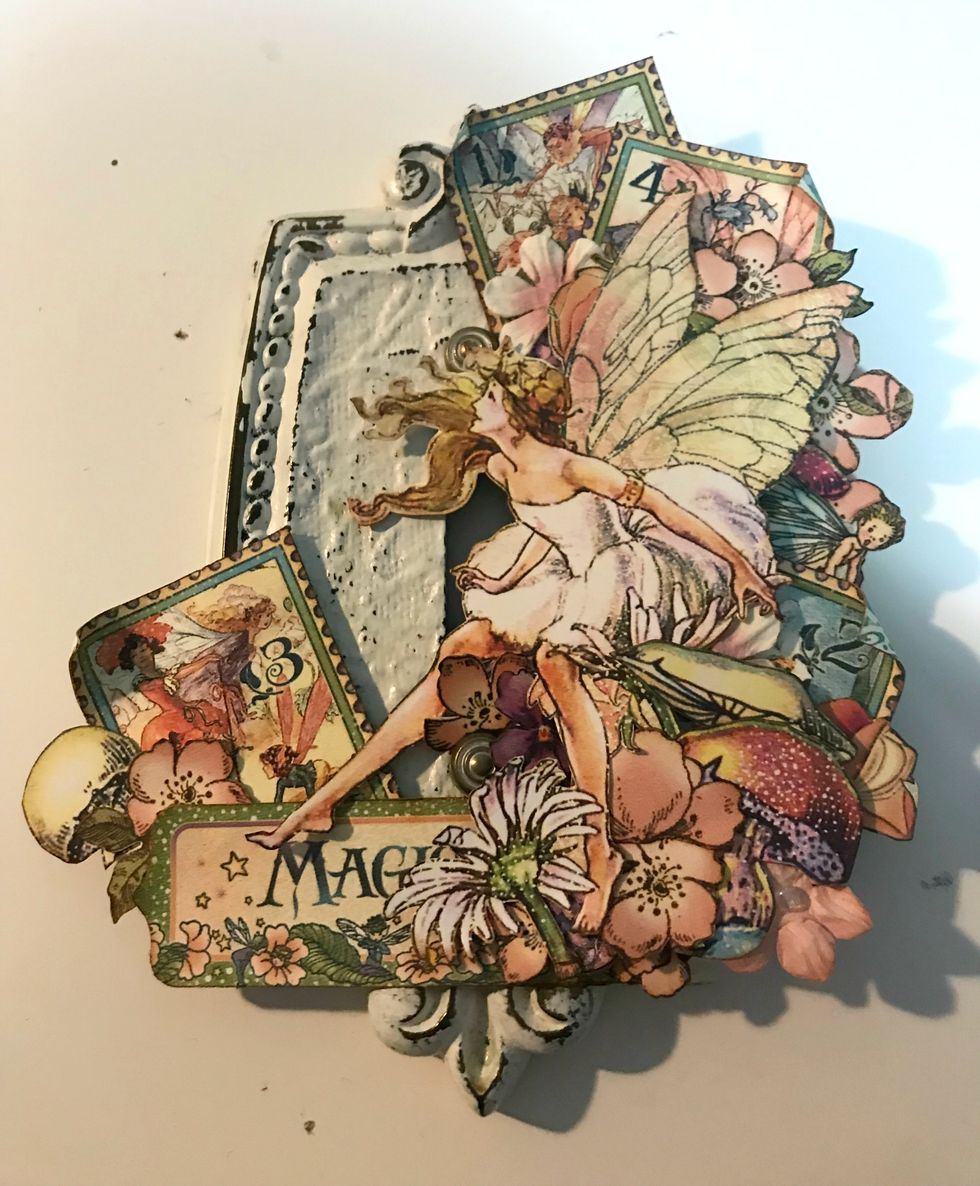
In behind the Magic tag, adhere a toadstool, a stamp and 1 single flower. Roll down one of the corners on the stamp.
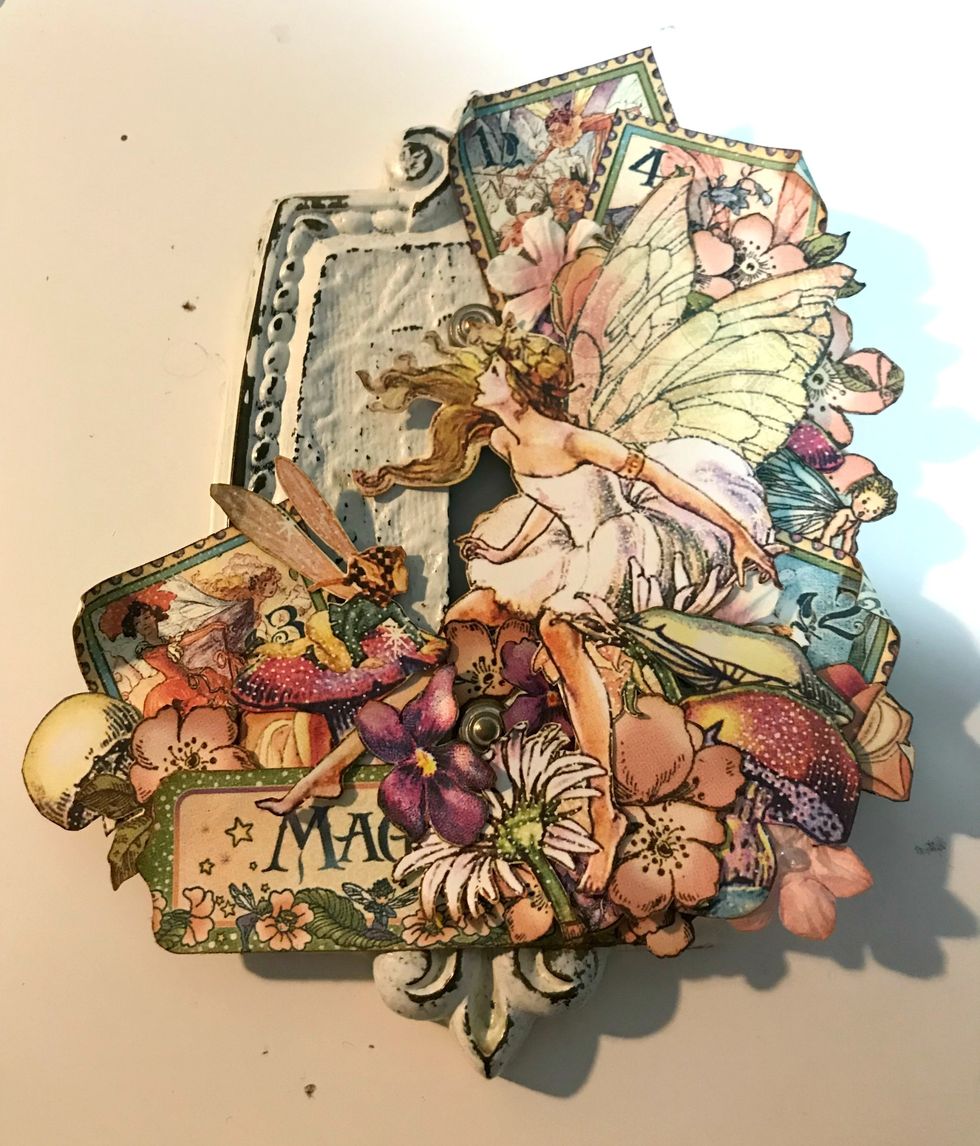
Around the bottom of the fairy, adhere 2 large pink flowers, 2 purple flowers & 1 pink flower. Around the Magic tag, adhere the fairy on toadstool & 1 coral flower. Use foam squares as desired.
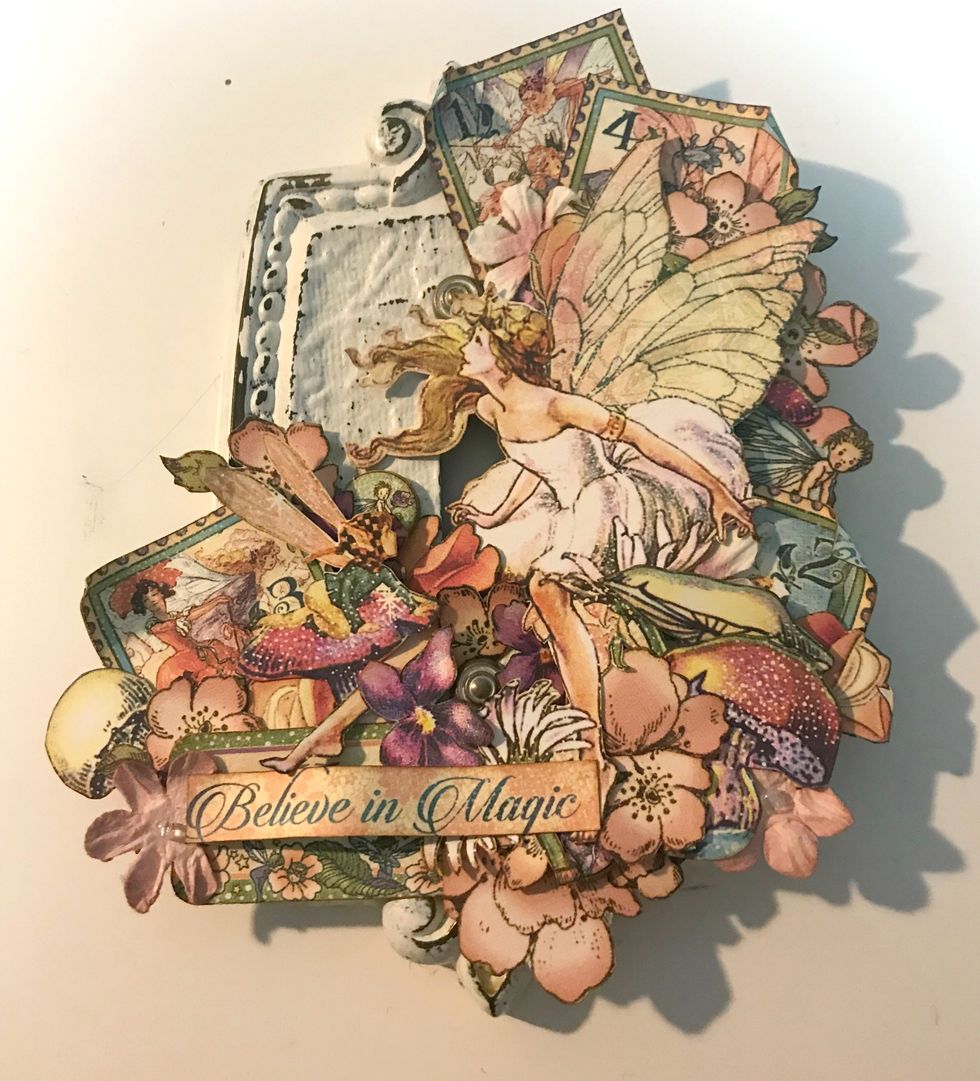
On the left side above the stamp, adhere 1 small pink flower, 1 coral flower and 1 chipboard circle.
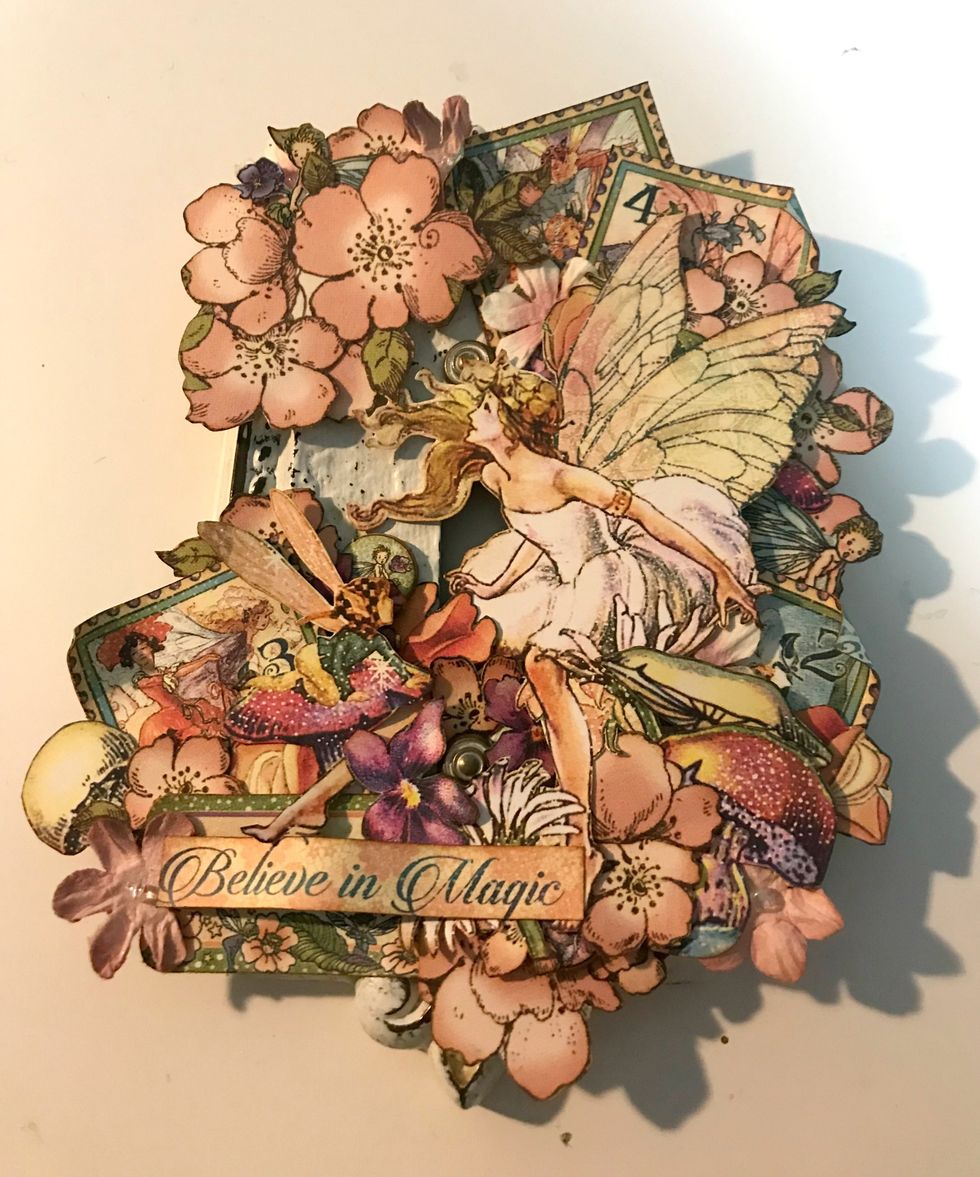
In the top left corner, adhere the remaining flowers. Use foam squares as desired. On the bottom left side, adhere the believe in magic sentiment.
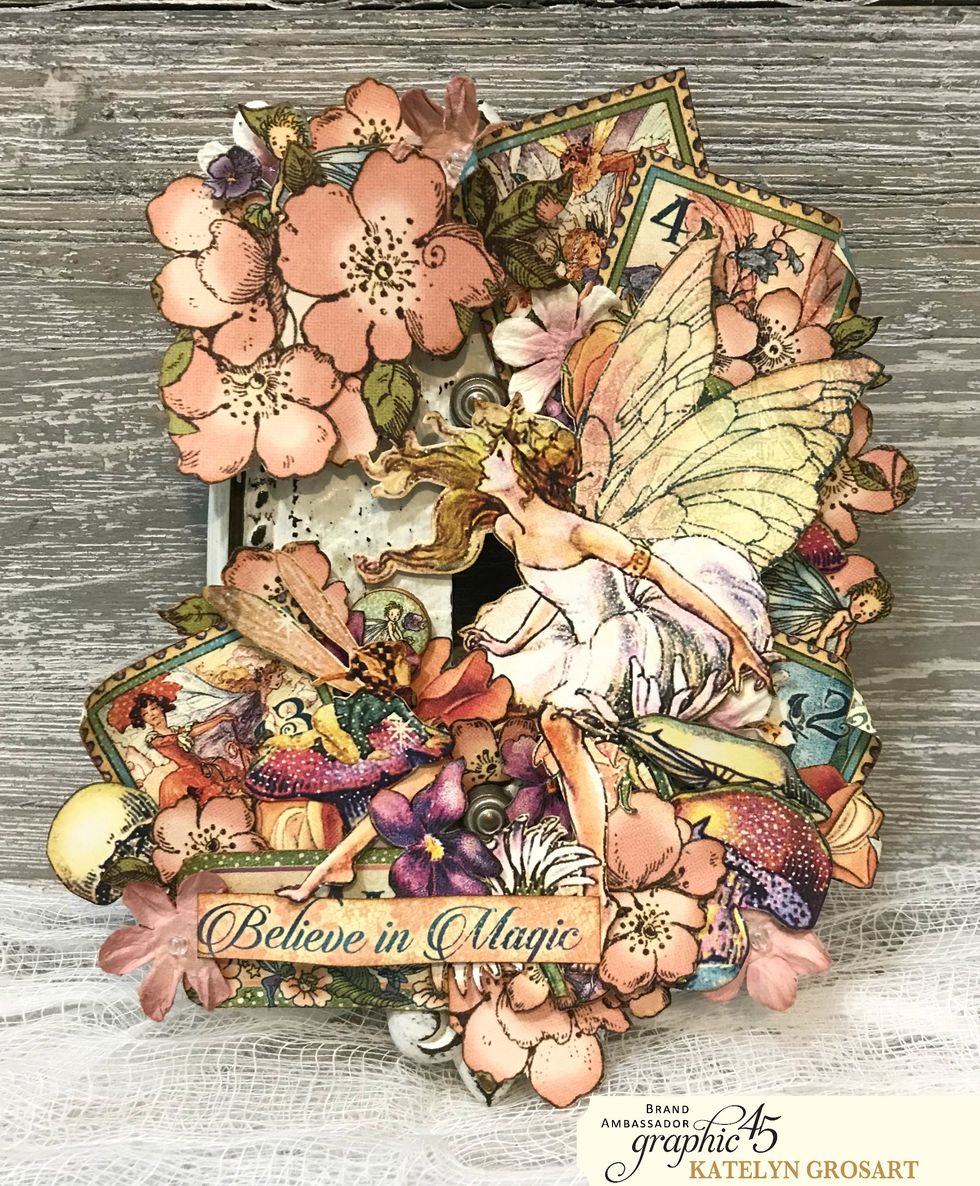
Your decorative Light Plate Cover is now complete!
- 1.0 G45 - Fairie Dust - Tiny Toadstools
- 1.0 G45 - Fairie Dust - Magic Wishes
- 1.0 G45 - Fairie Dust - Moonlit Blooms
- 1.0 G45 - Fairie Dust - Dreamland
- G45- Once Upon a Time DCE
- G45 - Fairie Dust Chipboard
- G45 - Fairie Dust Tags & Pockets
- G45 - Staples - Shabby Chic Ornate Metal Brads
- Petaloo: Mini Daisy Petites
- Ranger Ink - Vintage Photo Distress Ink
- Liquid Glue, Glue Dots, Sookwang Tape
- 3D Foam Squares
- Light Plate Cover
- Scissors & Edge Distressor
- Wink of Stella - Clear
The Conversation (0)
Sign Up