The Conversation (0)
Sign Up
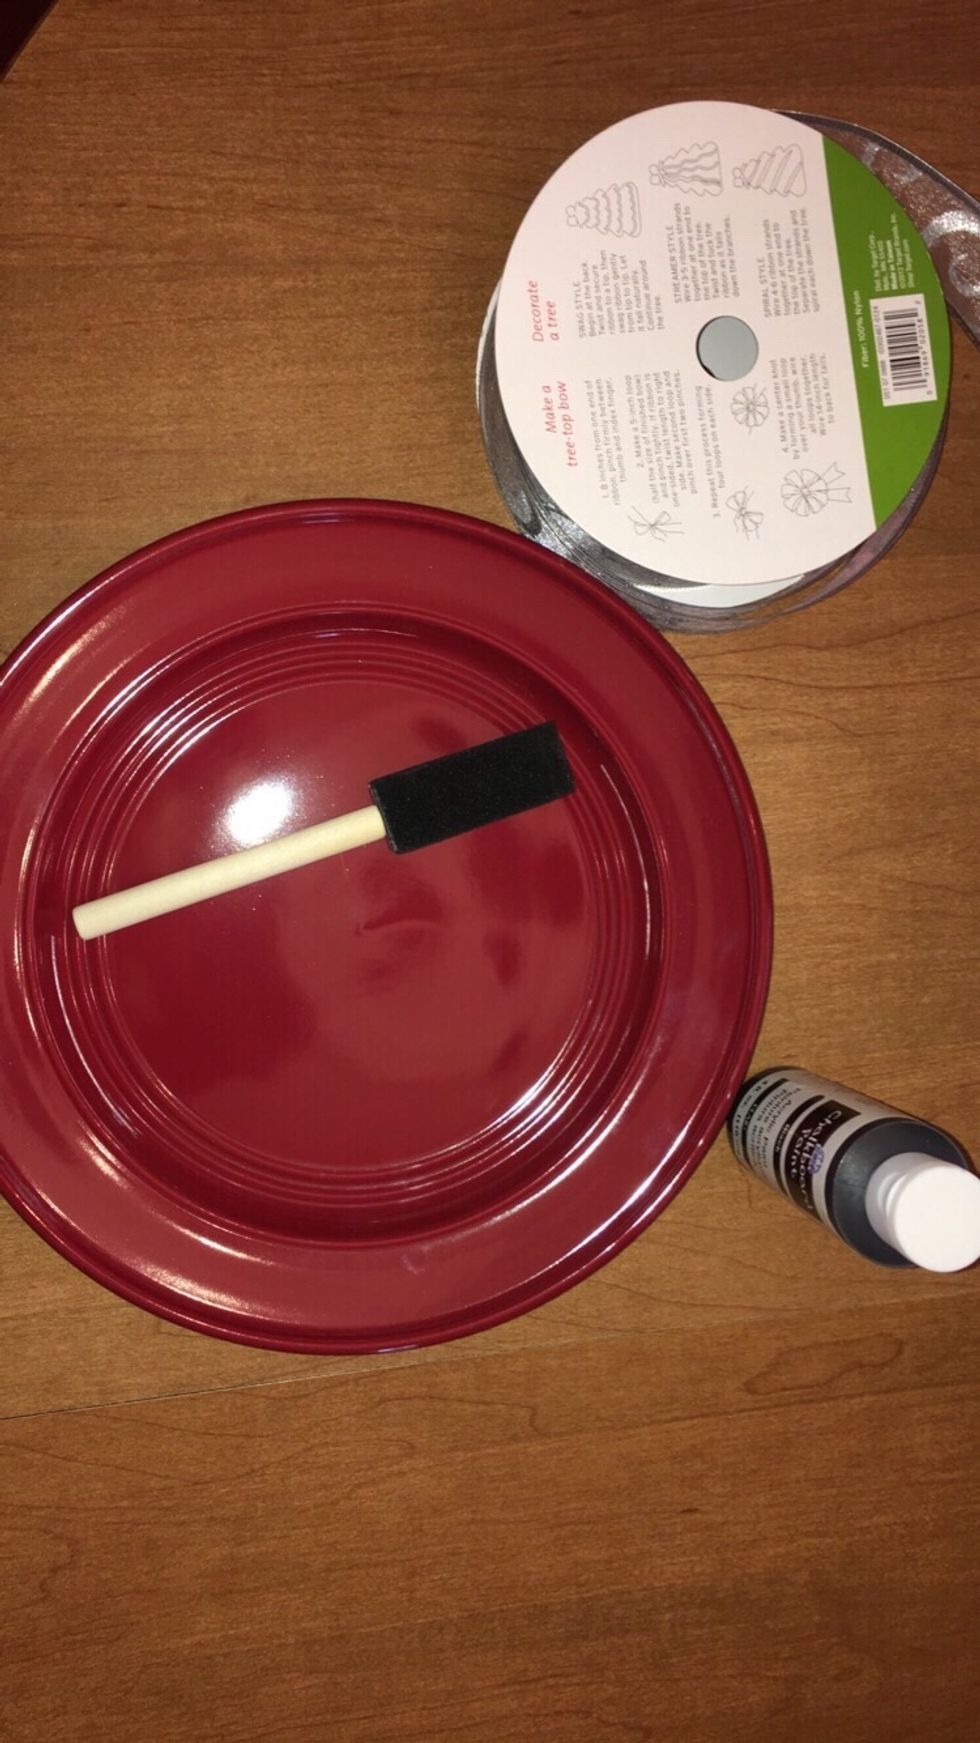
To start, clean off your plate with glass cleaner or something to clean off the dust on the plate. I got my plate from Family Dollar for $2!
Next step, start painting a thin layer of chalkboard paint onto the inside portion of the plate. Be careful on the edges to not make any rigid lines.
While waiting for the paint to dry, start making your bow out of 1.5" thick ribbon of your choice.
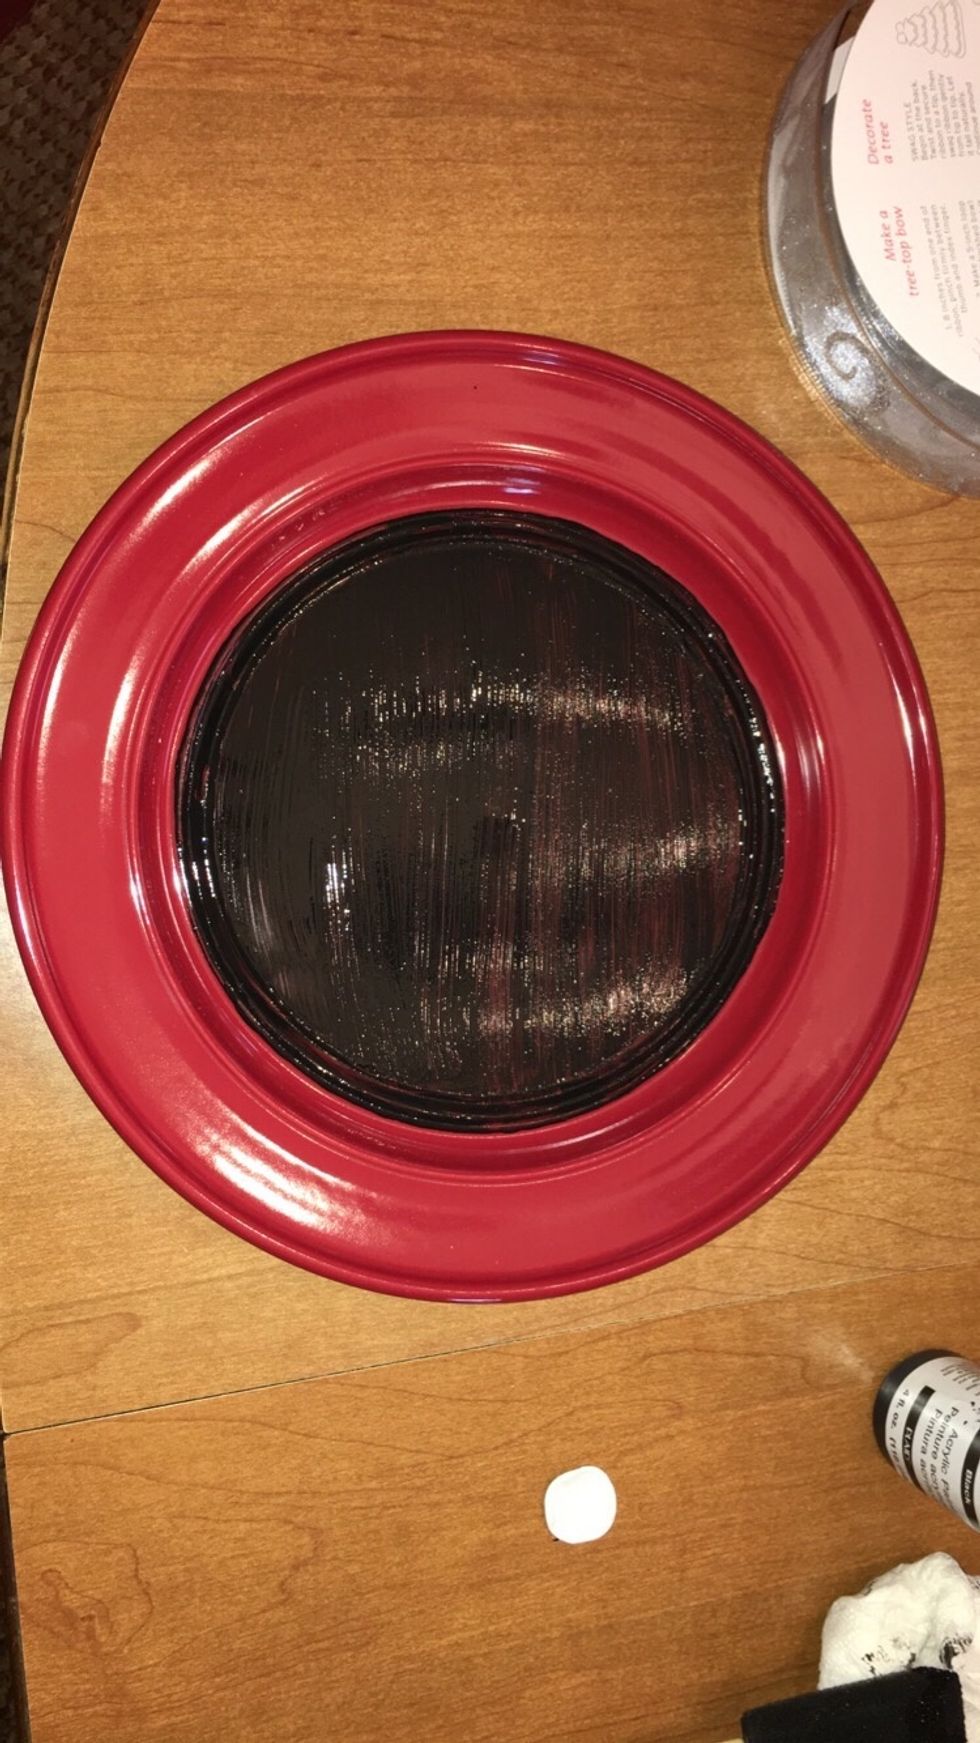
Once the paint is dry (usually 2+ hours) it's time for the second coat. Repeat exactly what was done the first time the plate was painted.
Now wait another 2+ hours for the second coat to dry.
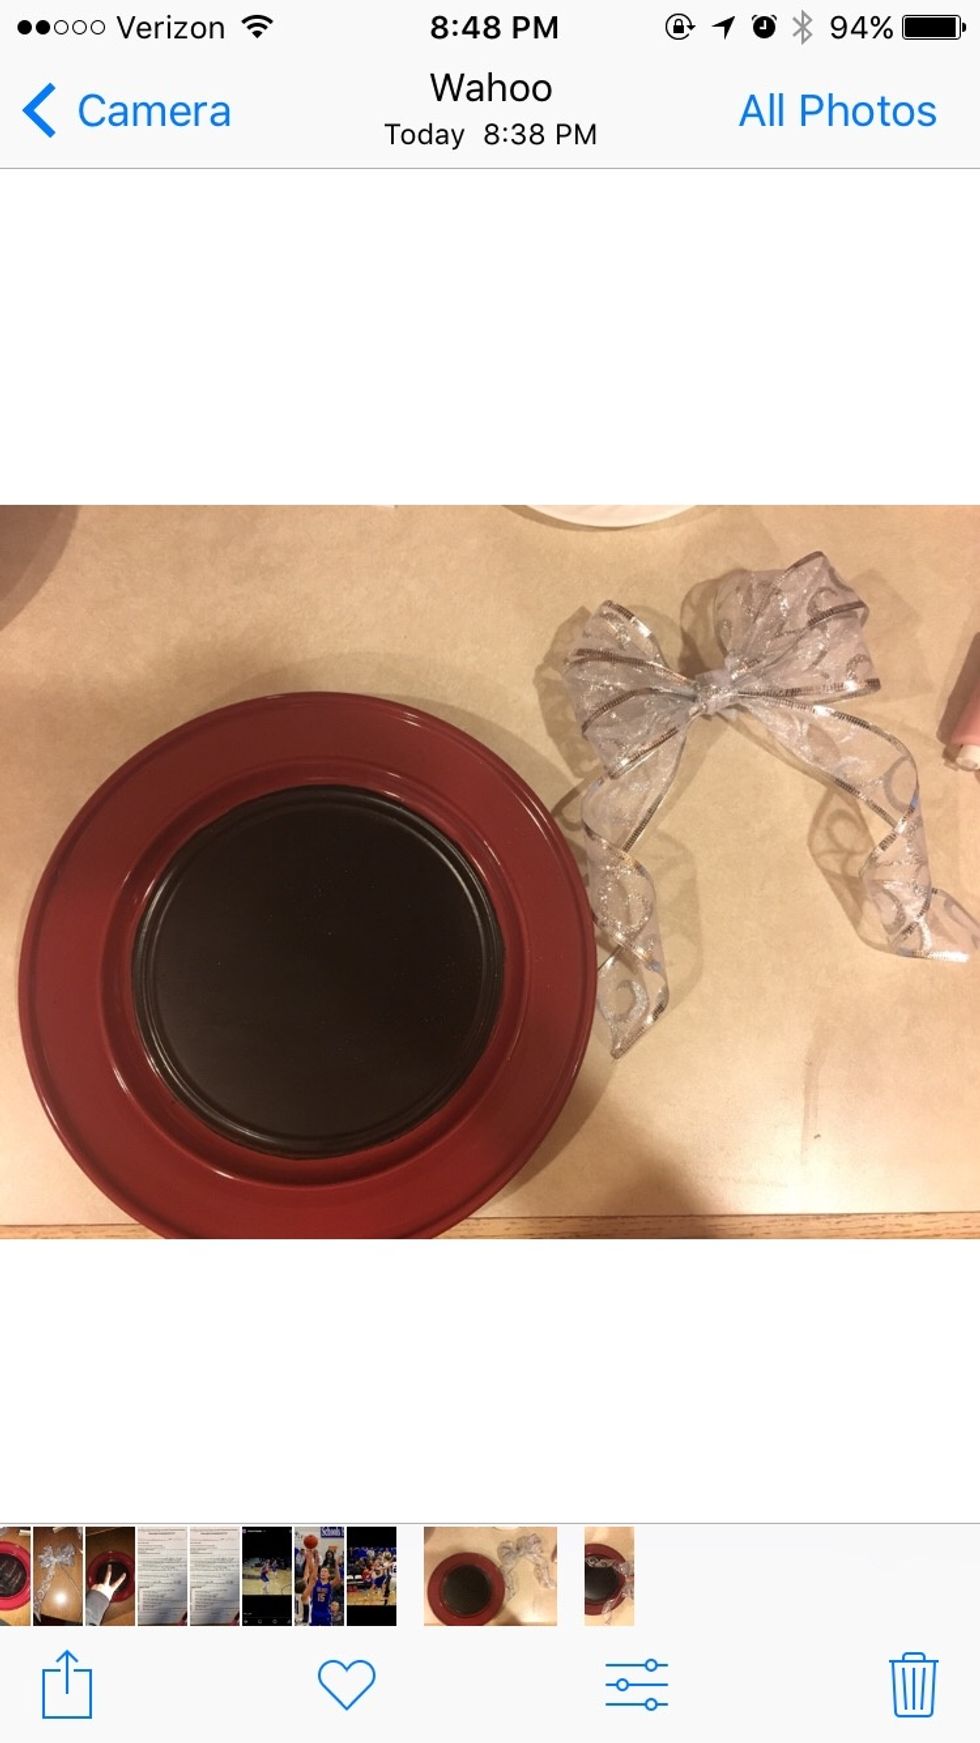
Now it's time to glue the bow onto the plate using the hot glue gun.

Add a dime size amount of glue to the top of the plate and stick the bow to it. hold it for about 15 seconds
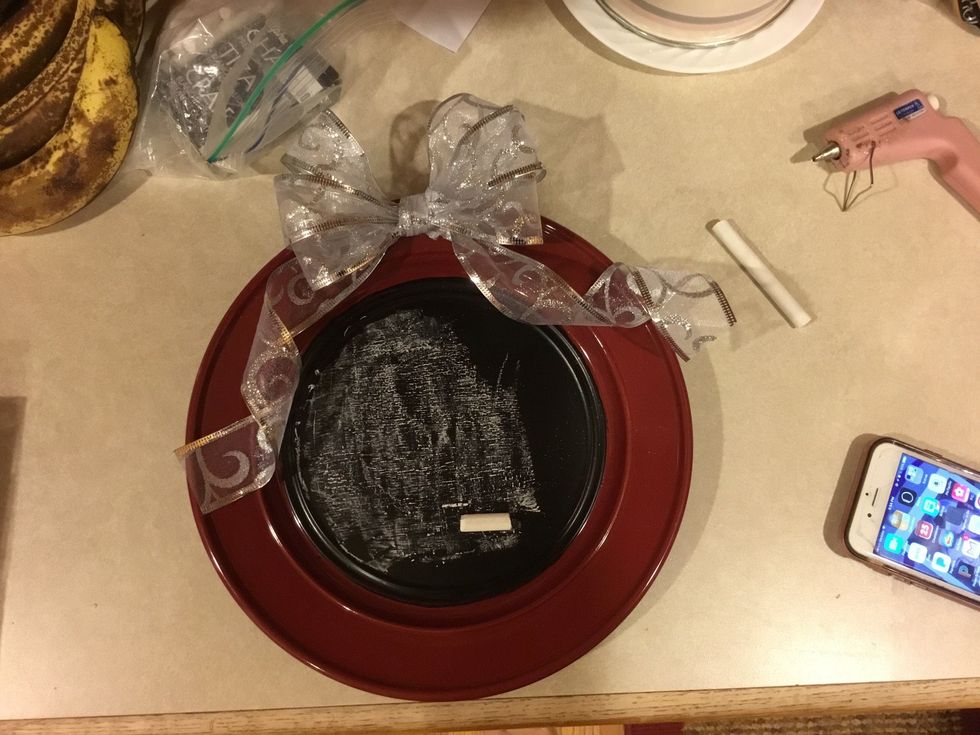
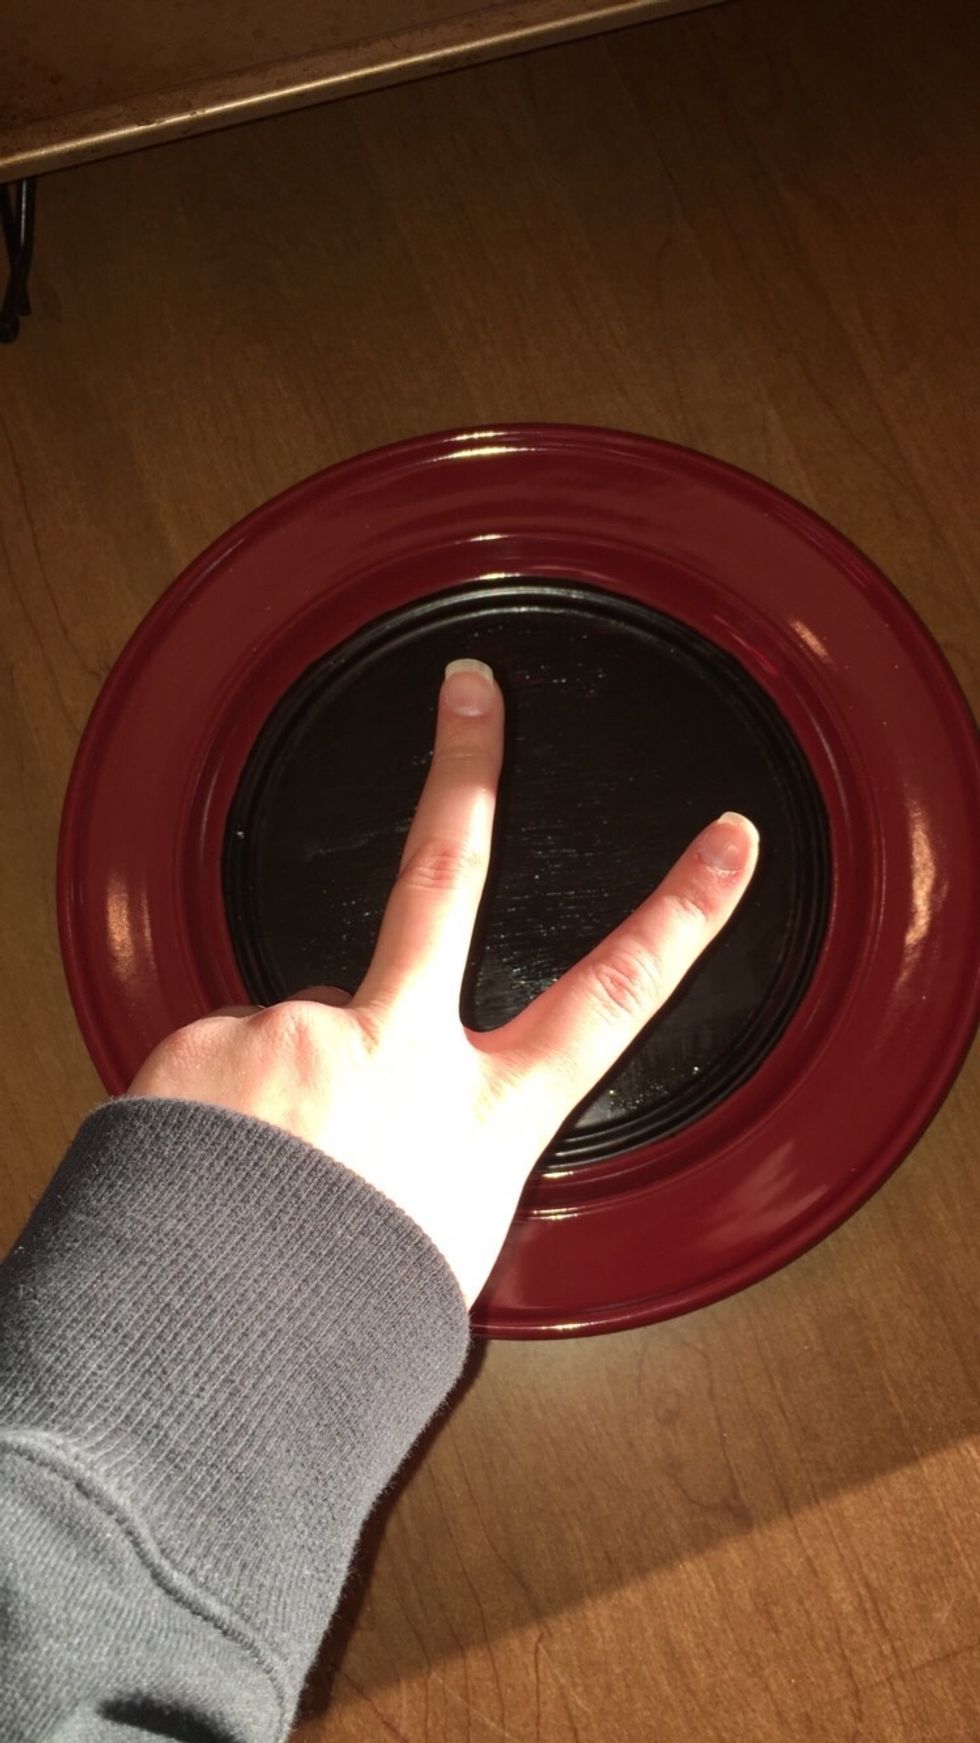
This next step is called "seasoning." Lightly chalk up the chalkboard paint and then wipe it off with a paper towel.
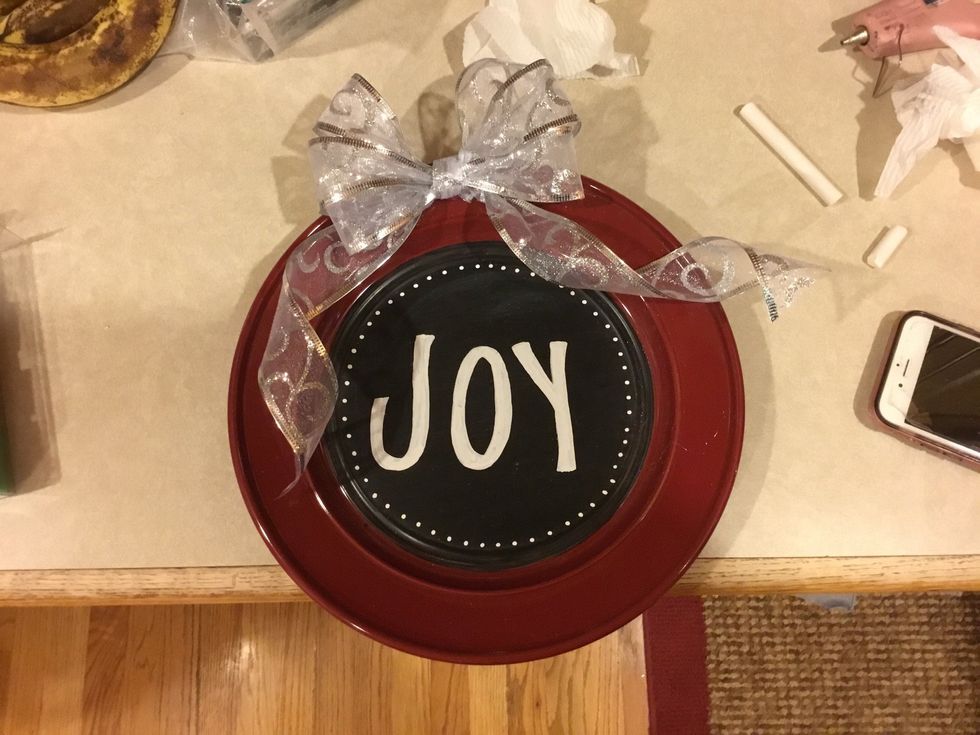
The last step includes adding unique artwork to the plate. I used liquid chalk markers.
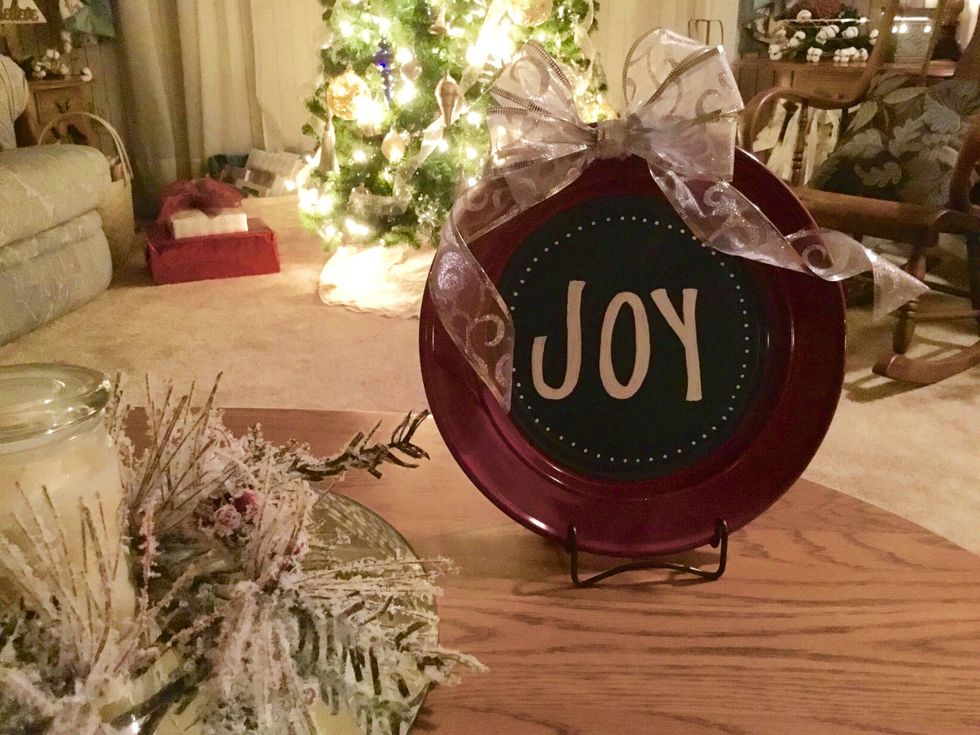
Here's the finished product!