The Conversation (0)
Sign Up
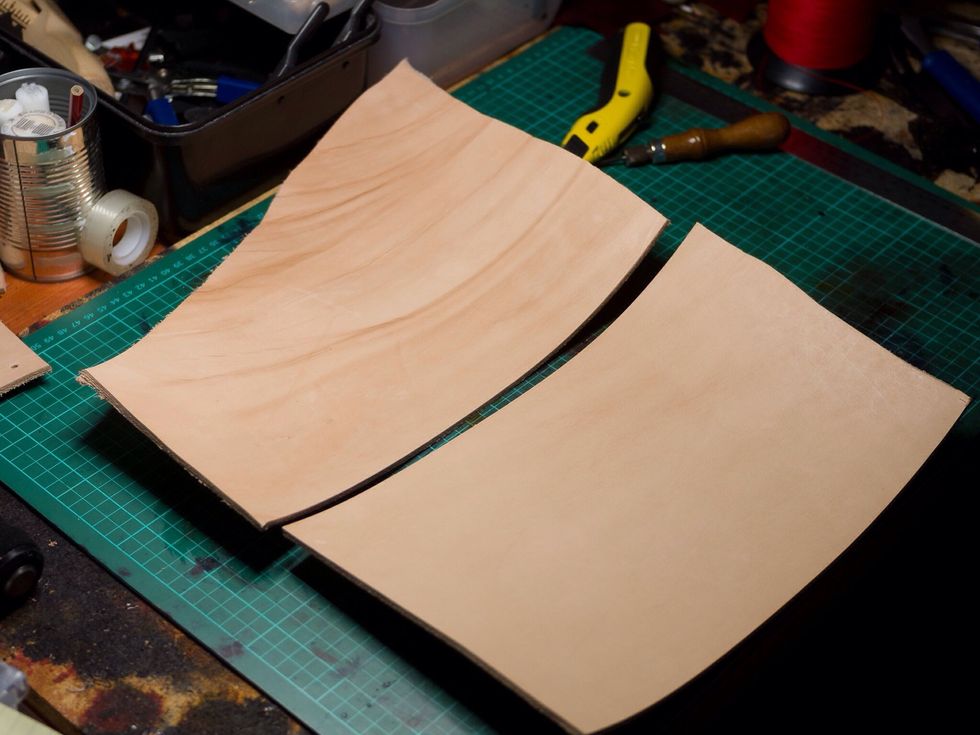
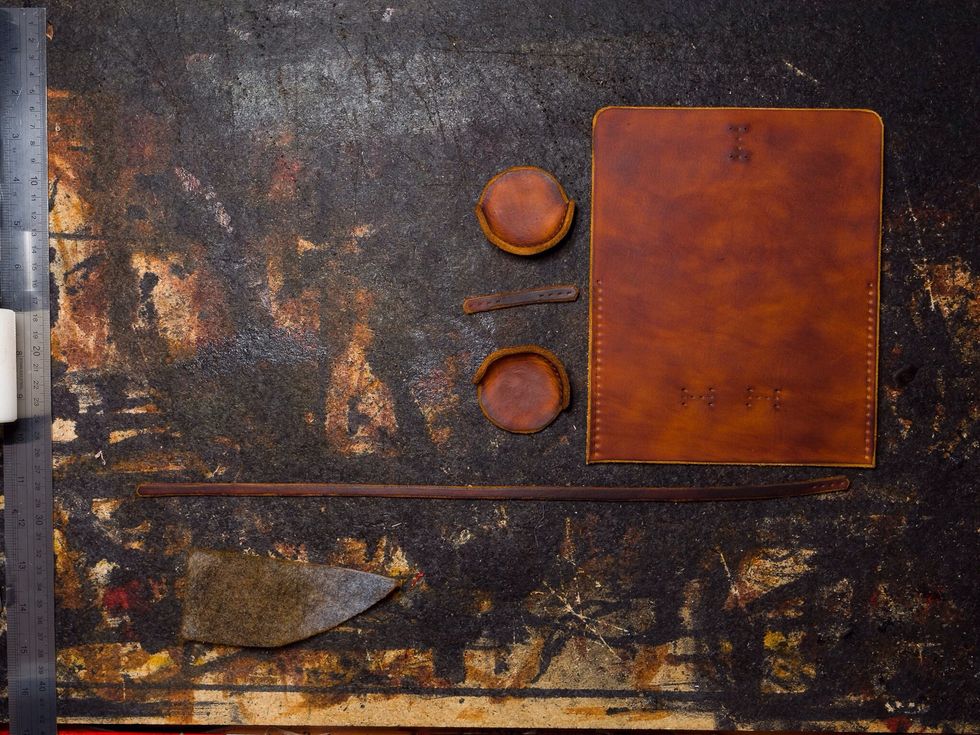
Start out with some 6-7oz vegetable tanned leather (around 2.5mm thickness).
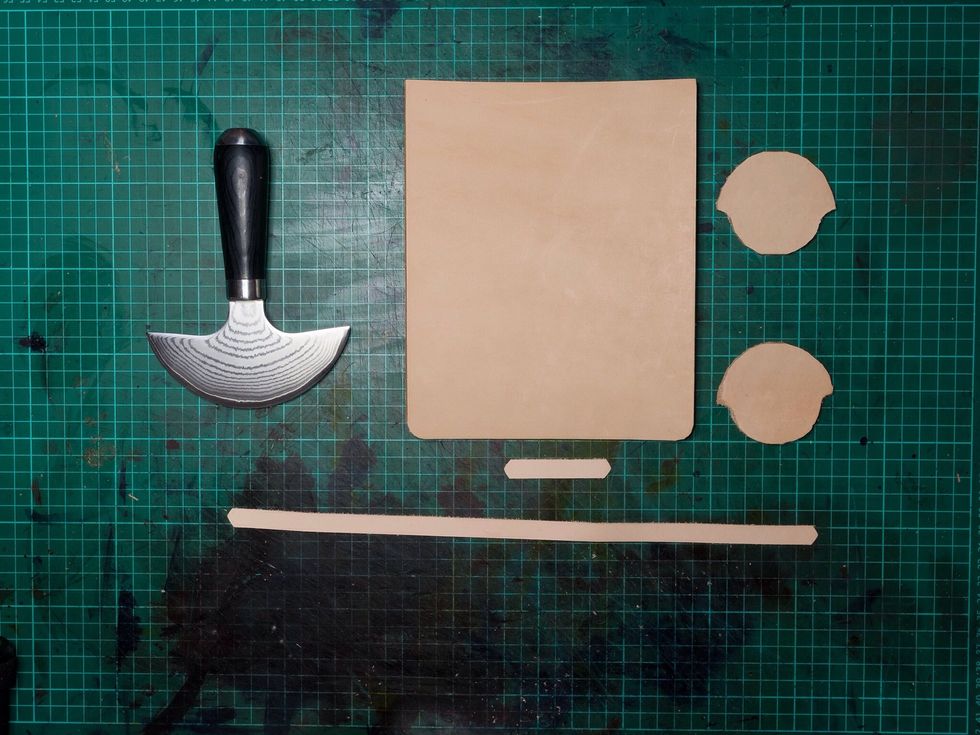
The main part is 16.8cm x 21cm with one side having the rounded corners. Two parts for the sides have to be cut with an outer radius of about 6.8cm and an inner radius of about 5.4cm.
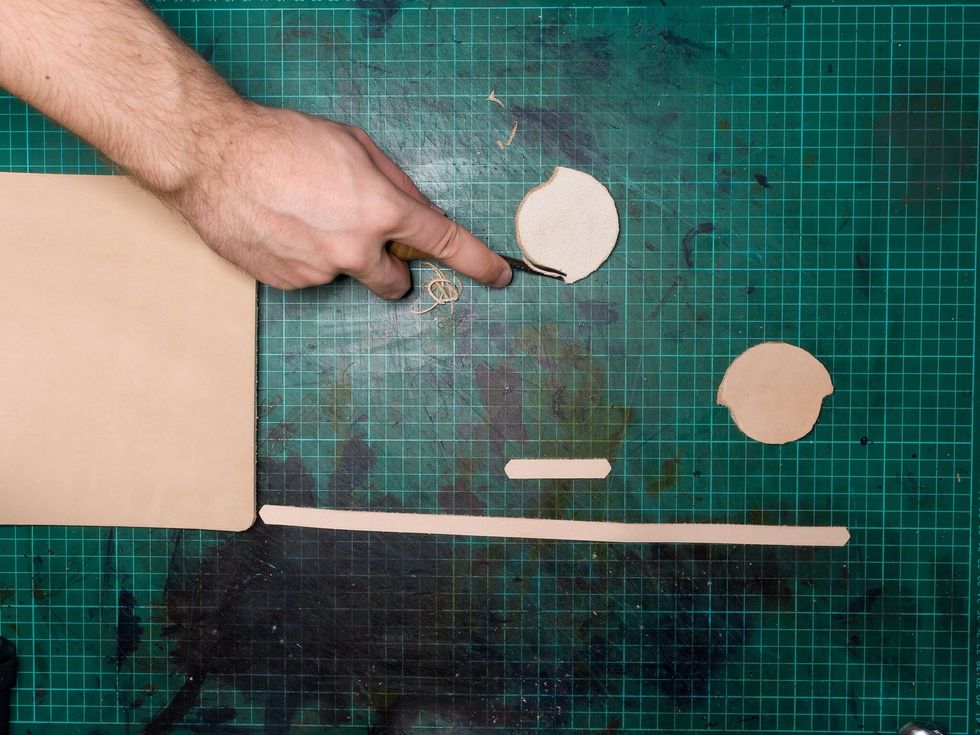
Bevel the edges: Use a #2 beveller to bevel the edges. Be careful where you’re bevelling! The next image shows more details.
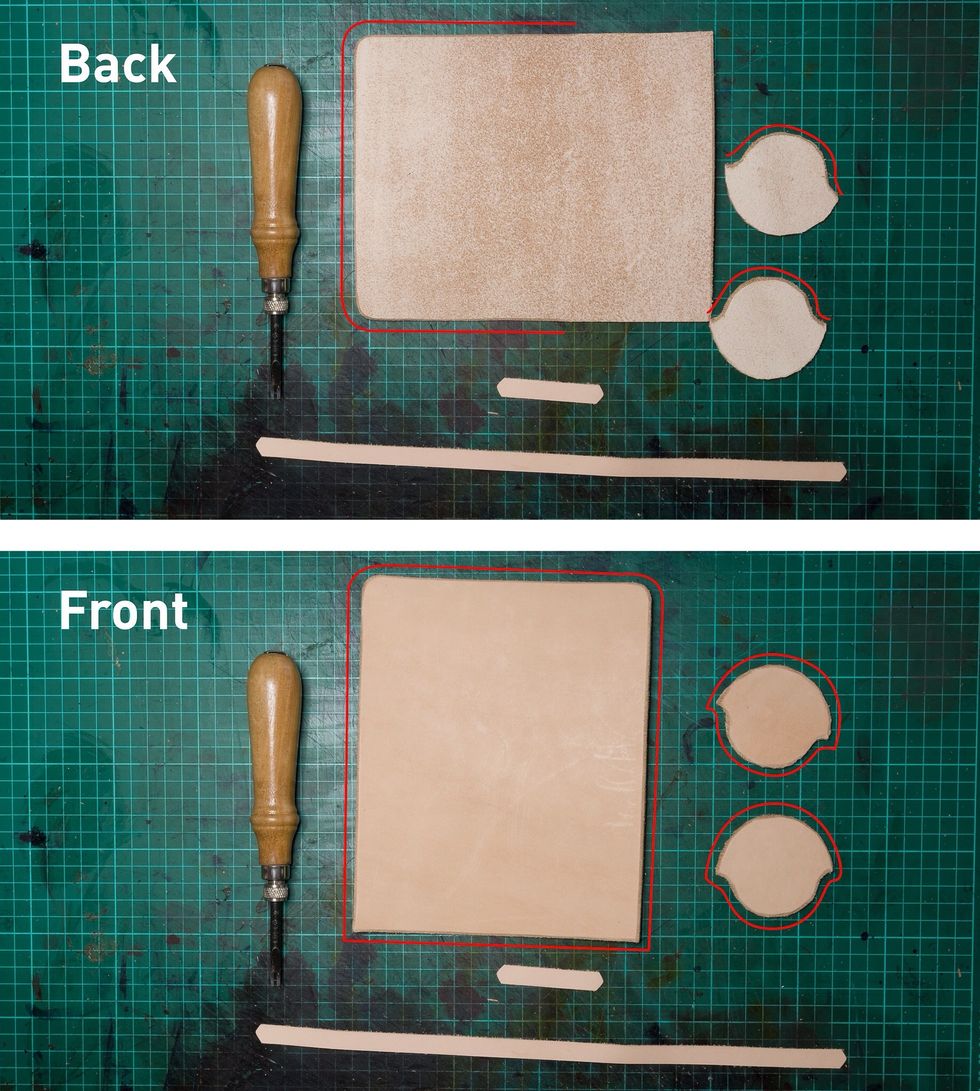
The edges where the sides will be joined with the main leather are not bevelled.
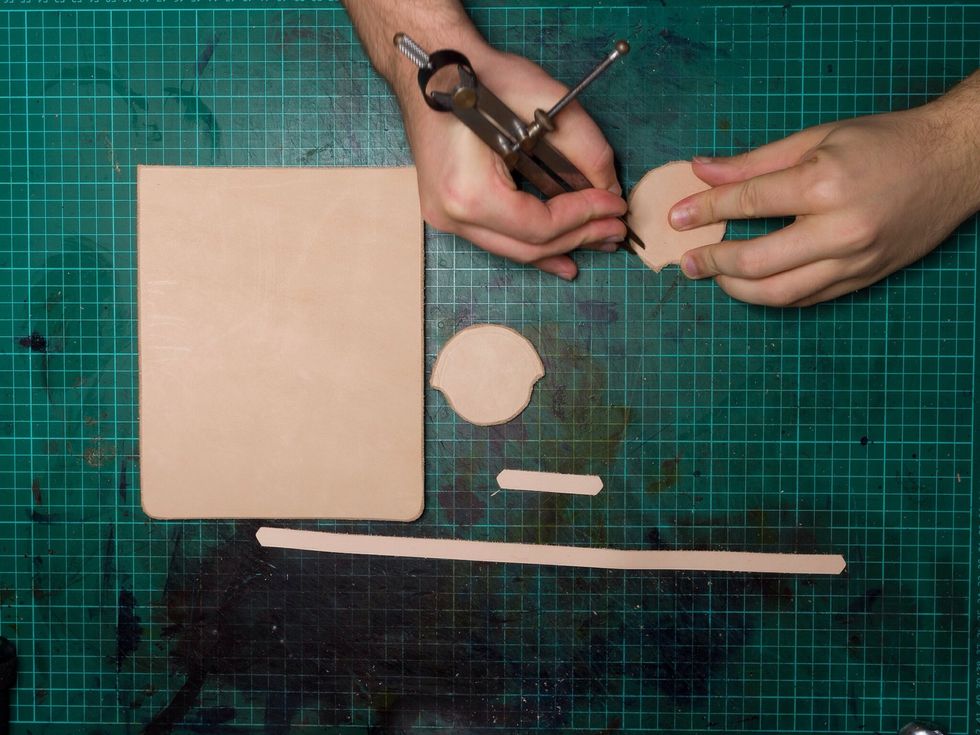
Mark the stitches: Use a wing divider to mark the stitch line about 4mm from the edges.
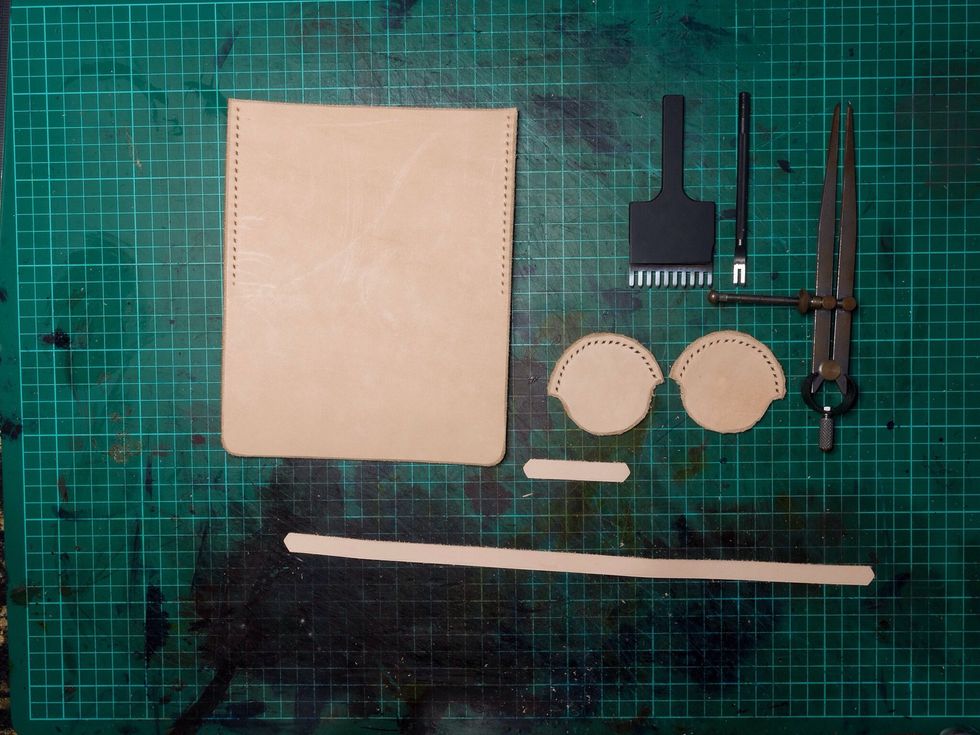
Punch stitching holes: The main piece of leather has 21 stitching holes punched with a 2.5mm punch. The round inside pieces have 20 stitching holes punched with a 2mm punch.
Note: Since the leather is quite thick, the radius of the inside is significantly smaller than the outside and using a closer stitching space helps to compensate for that.
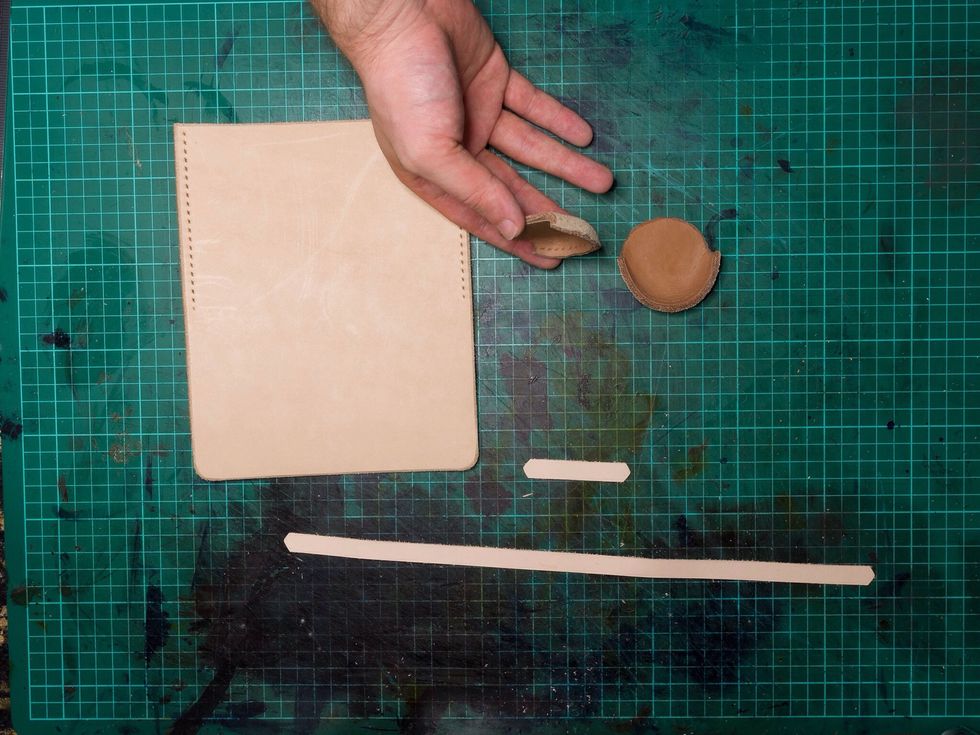
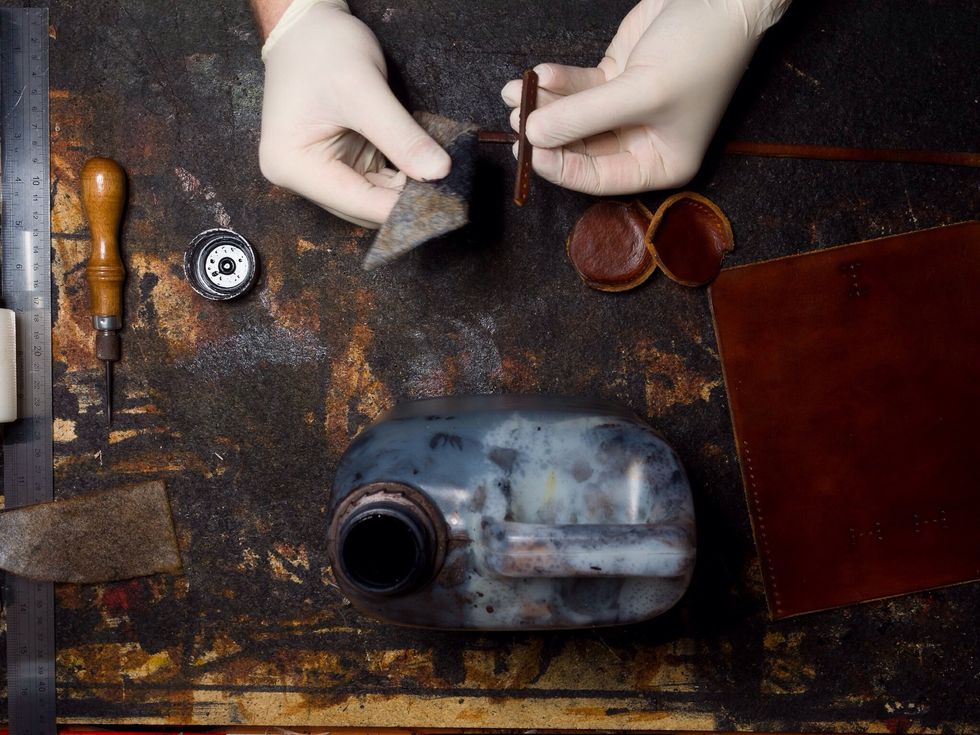
Wet mould the side pieces: Moisten the leather and fold up the sides before letting it dry over night.
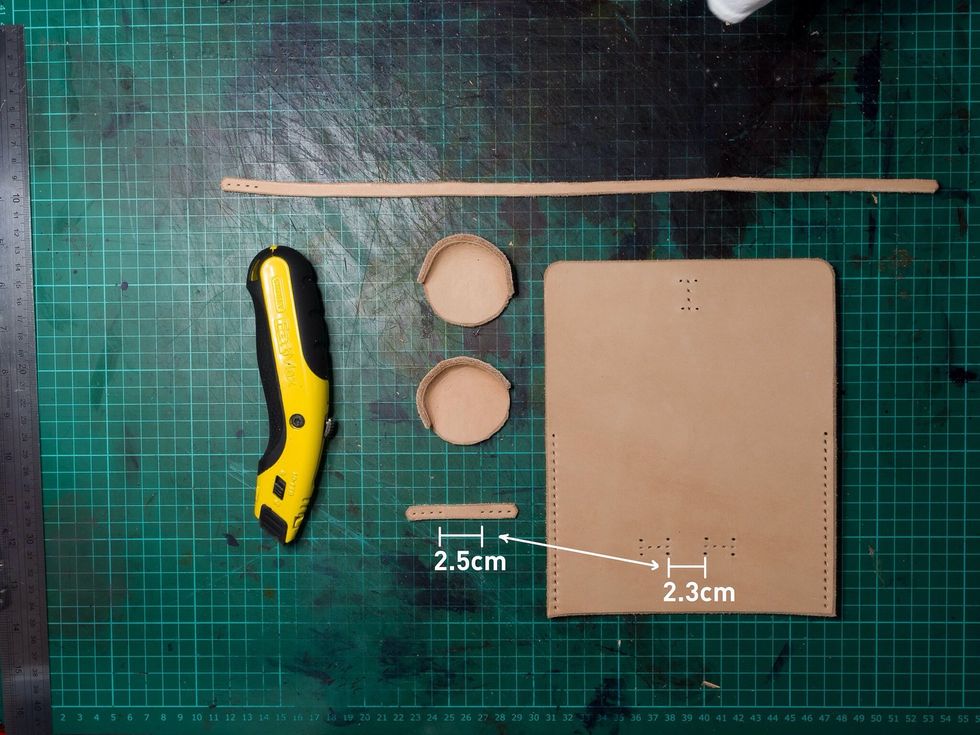
Add stitching holes for the closure: The horizontal strip of leather will have to have some slack to make room for the other piece to fit under it. Make sure to add that extra length
Dye all parts of the case. I used an oil based colour called “Saddle Tan” for this one.
A piece of felt is an easy way to dye the edges black without getting the colour all over the rest of the leather.
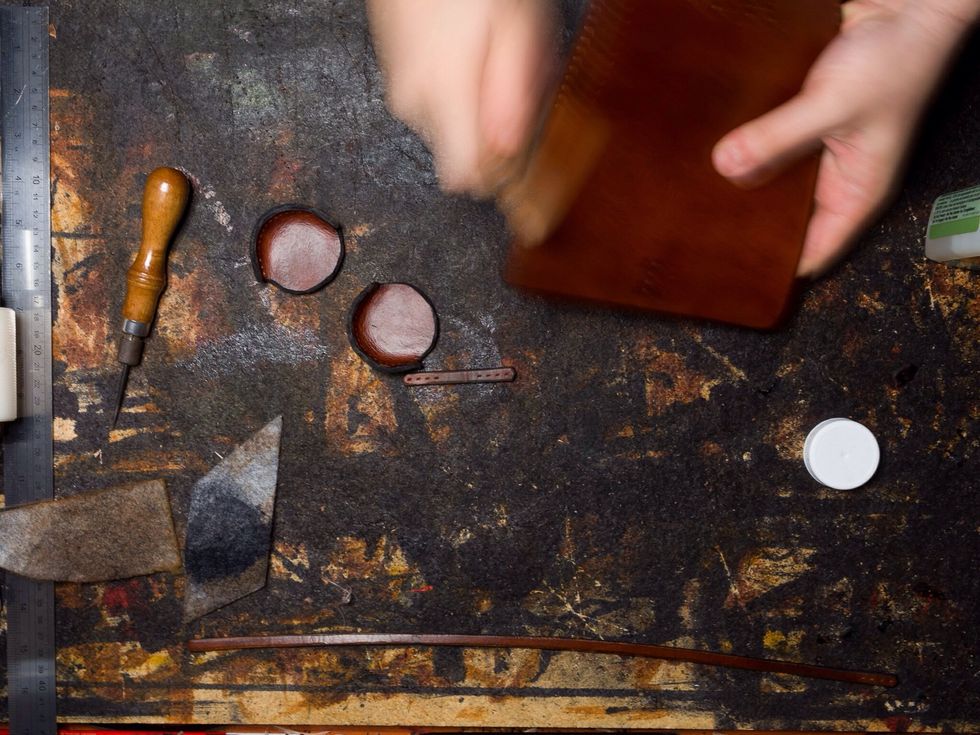
Use a burnisher to smoothen the edges.

I hand stitched the closure on the case using artificial sinew.
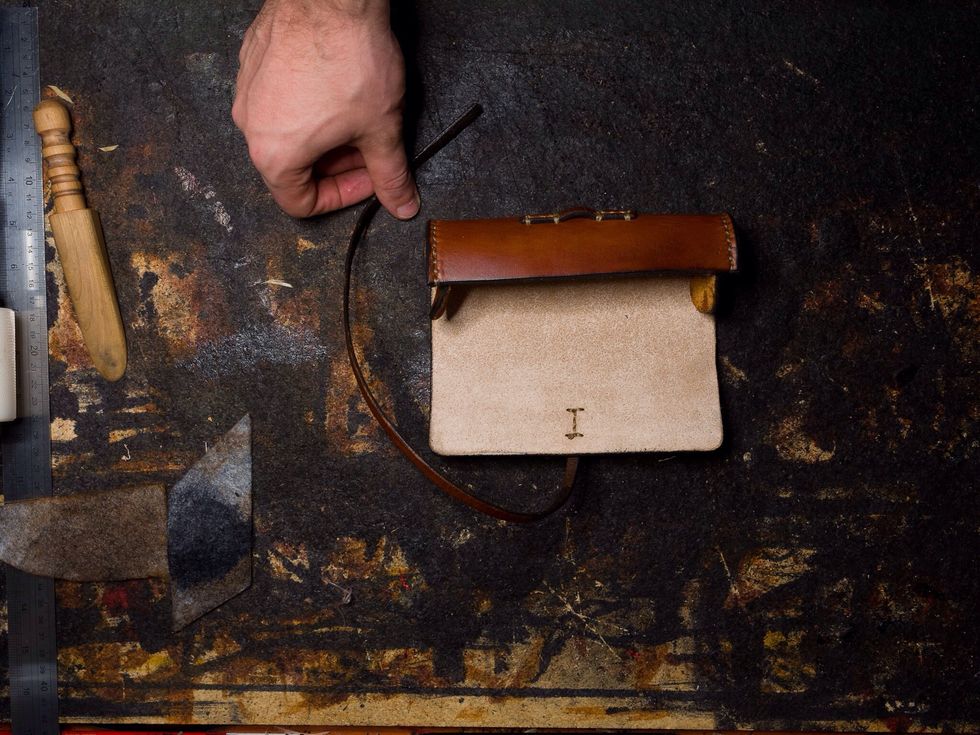
The sides have to be stitched as well before burnishing the edges again and applying any finish to the case. I used Acrylic Resolene to finish the leather.
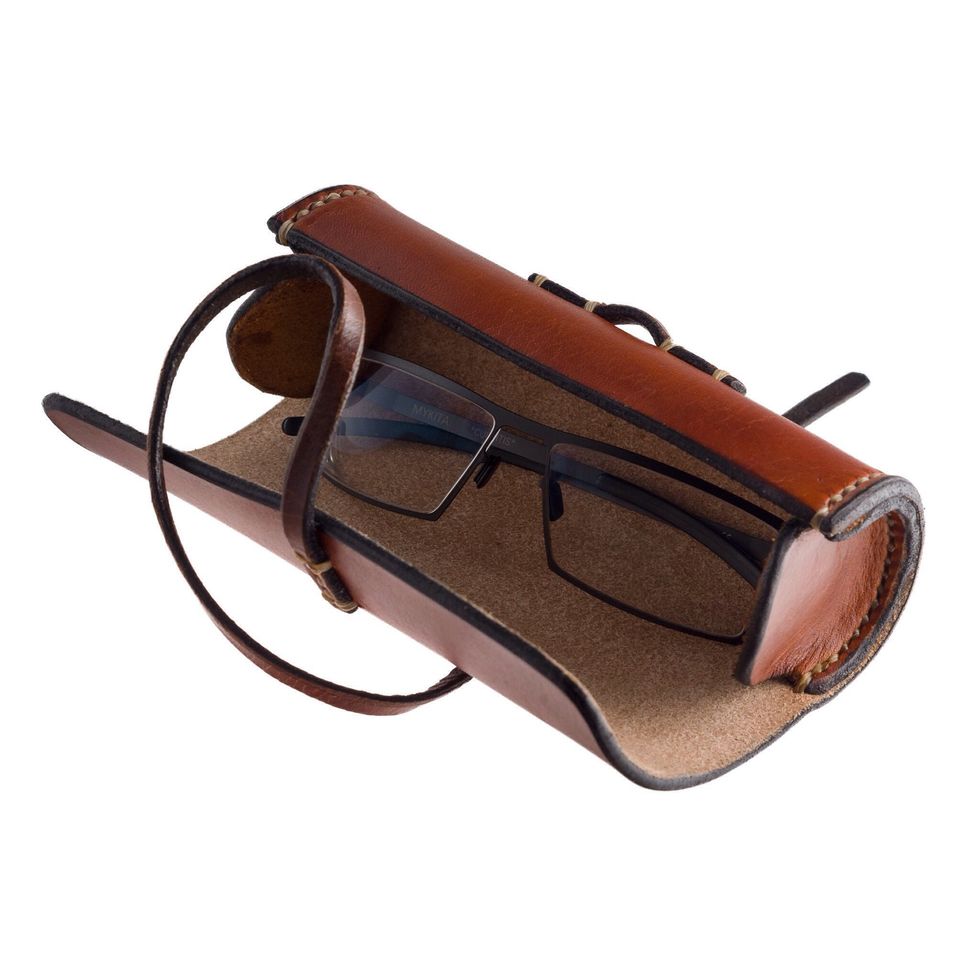
Finished!