How to create a cute wall design using duct tape
Create a Cute Wall Design Using Duct Tape
21
STEPS
TOOLS
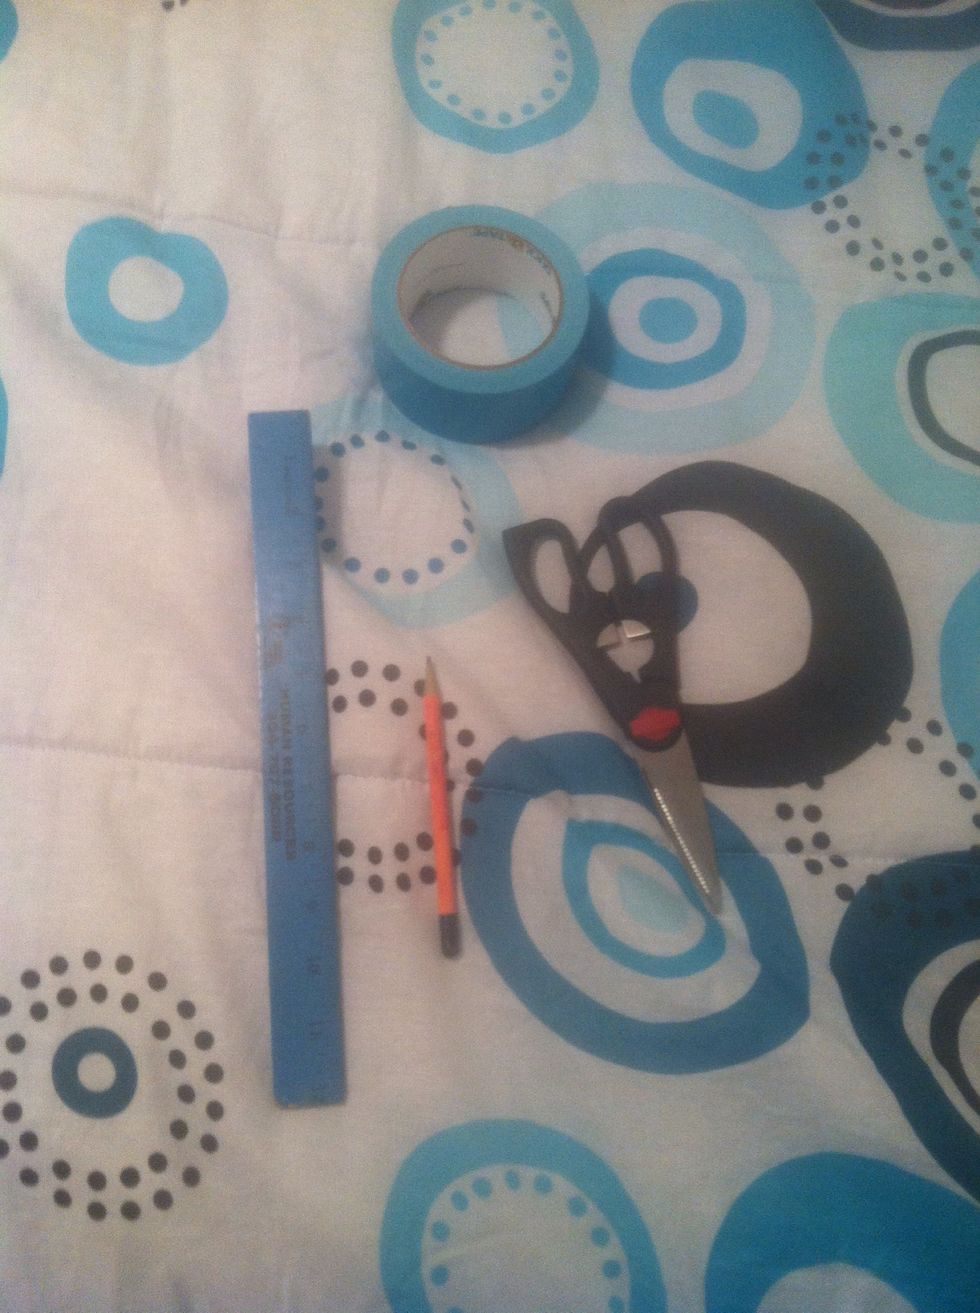
Here are the supplies you'll need! A stepladder or chair is recommended unless you're tall, unlike myself. :c
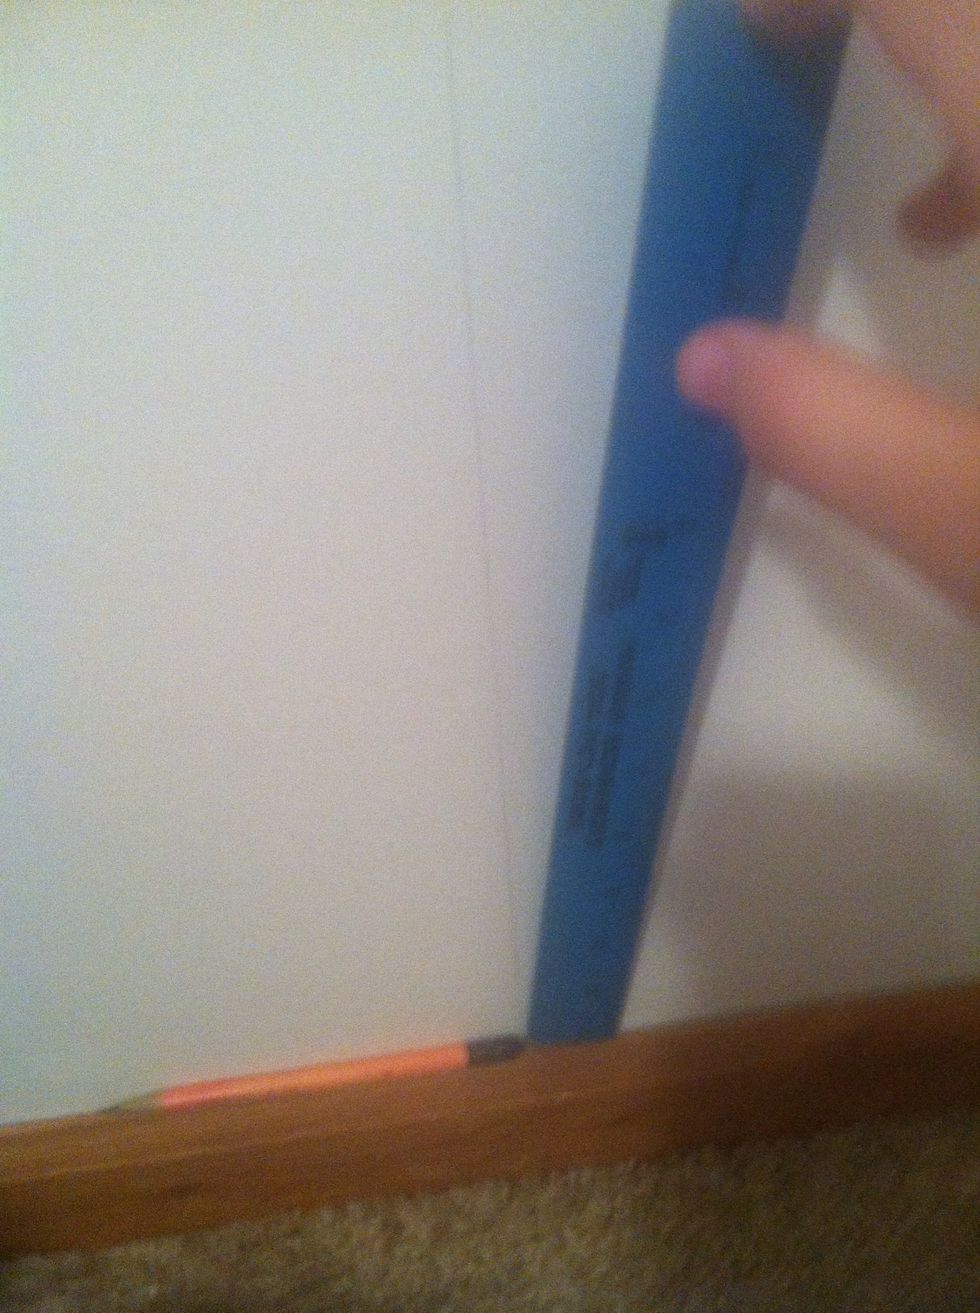
Start by placing a ruler flat against the wall and drawing a line using the pencil. My heights vary for each design around my room so it doesn't look monotonous. This one I made a little over a foot.
(Sorry for the blur!) To make the diamond shape, I went slightly off the side of the line to make a triangle shape. Repeat with the top, making sure they connect.
I'm not an artist or great at geometrical shapes without using a ruler, but I managed to make decent diamonds, even if the angle isn't perfect. It looks good to me!
This is probably near impossible to see, but I don't want to put marker on the wall, so... You should repeat the previous steps until you hit the ceiling. You now have an outline!
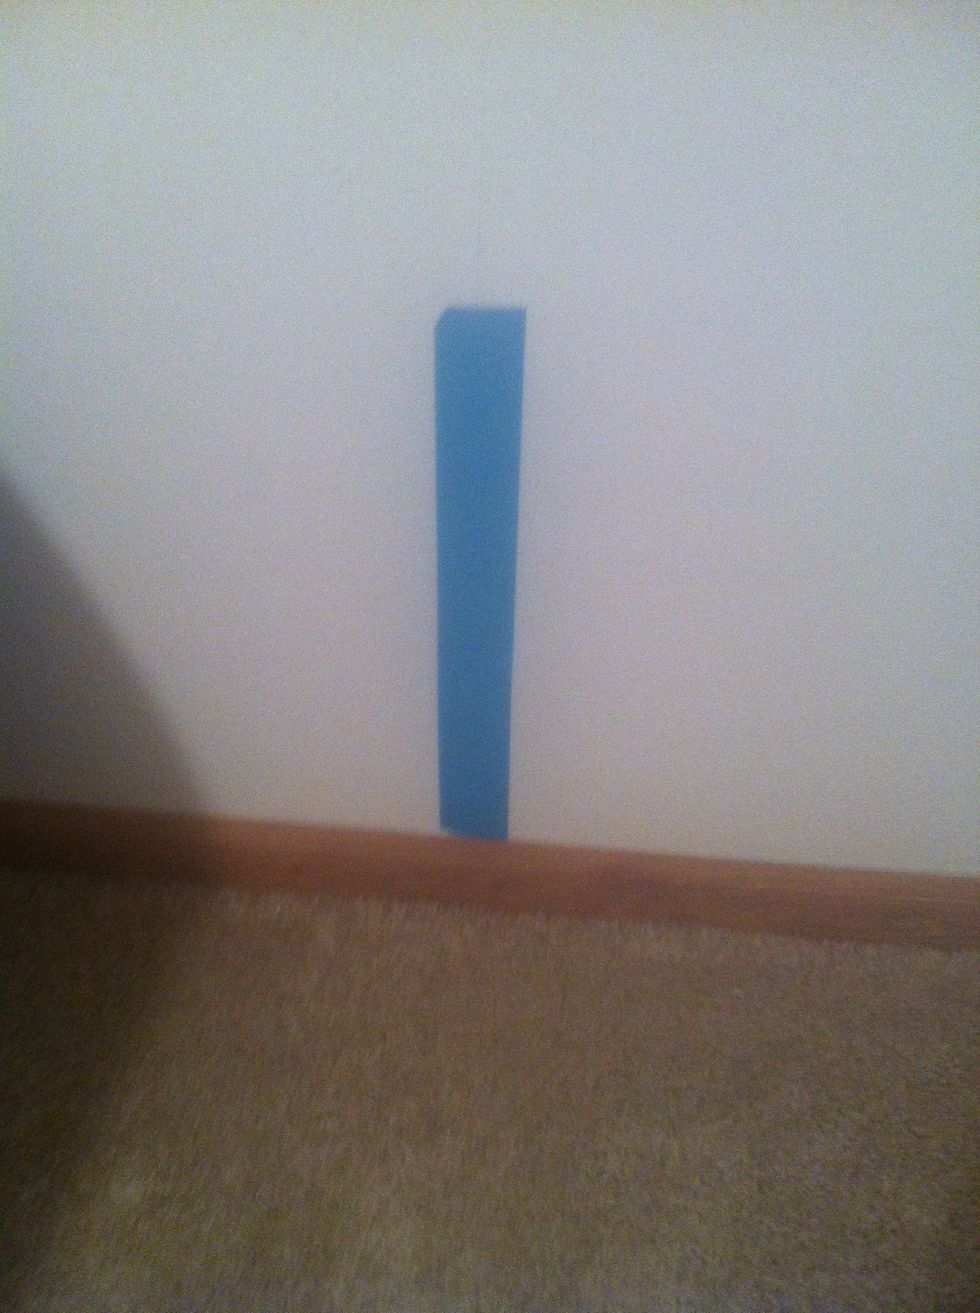
This is a crappy piece of tape, but just follow the lines when placing the duct tape. You may or may not need to cut some edges so the design doesn't look weird.
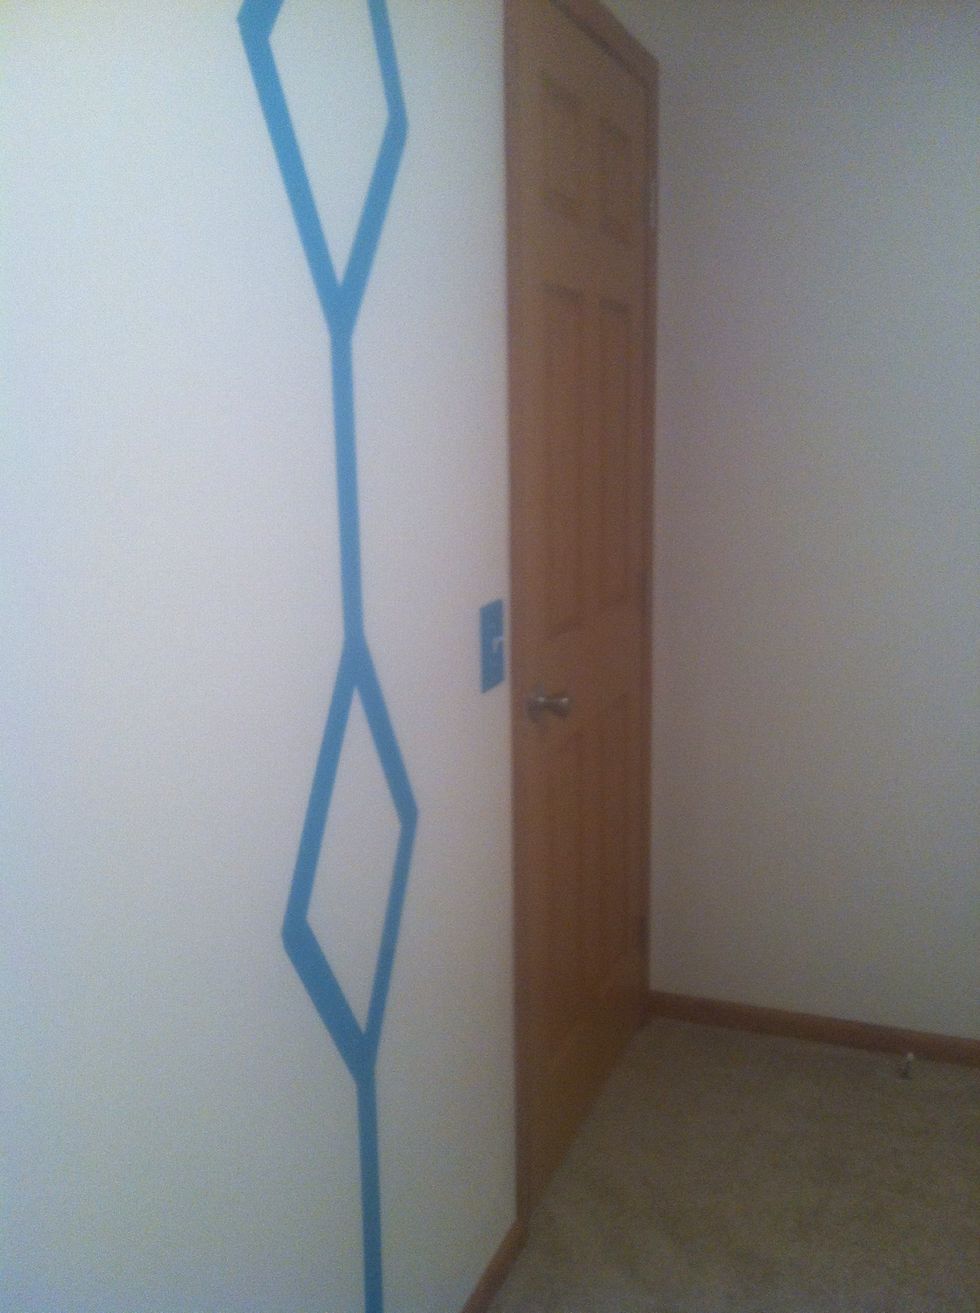
Ta da! Complete! I also decorated the light switch and some old ugly colored wall decorations to make them match the room; all with duct tape! Comment if you want more tutorials!
- Duct tape
- 1.0 Ruler
- 1.0 Pair of scissors
- 1.0 Pencil
- 1.0 Step ladder/chair
The Conversation (0)
Sign Up