The Conversation (0)
Sign Up
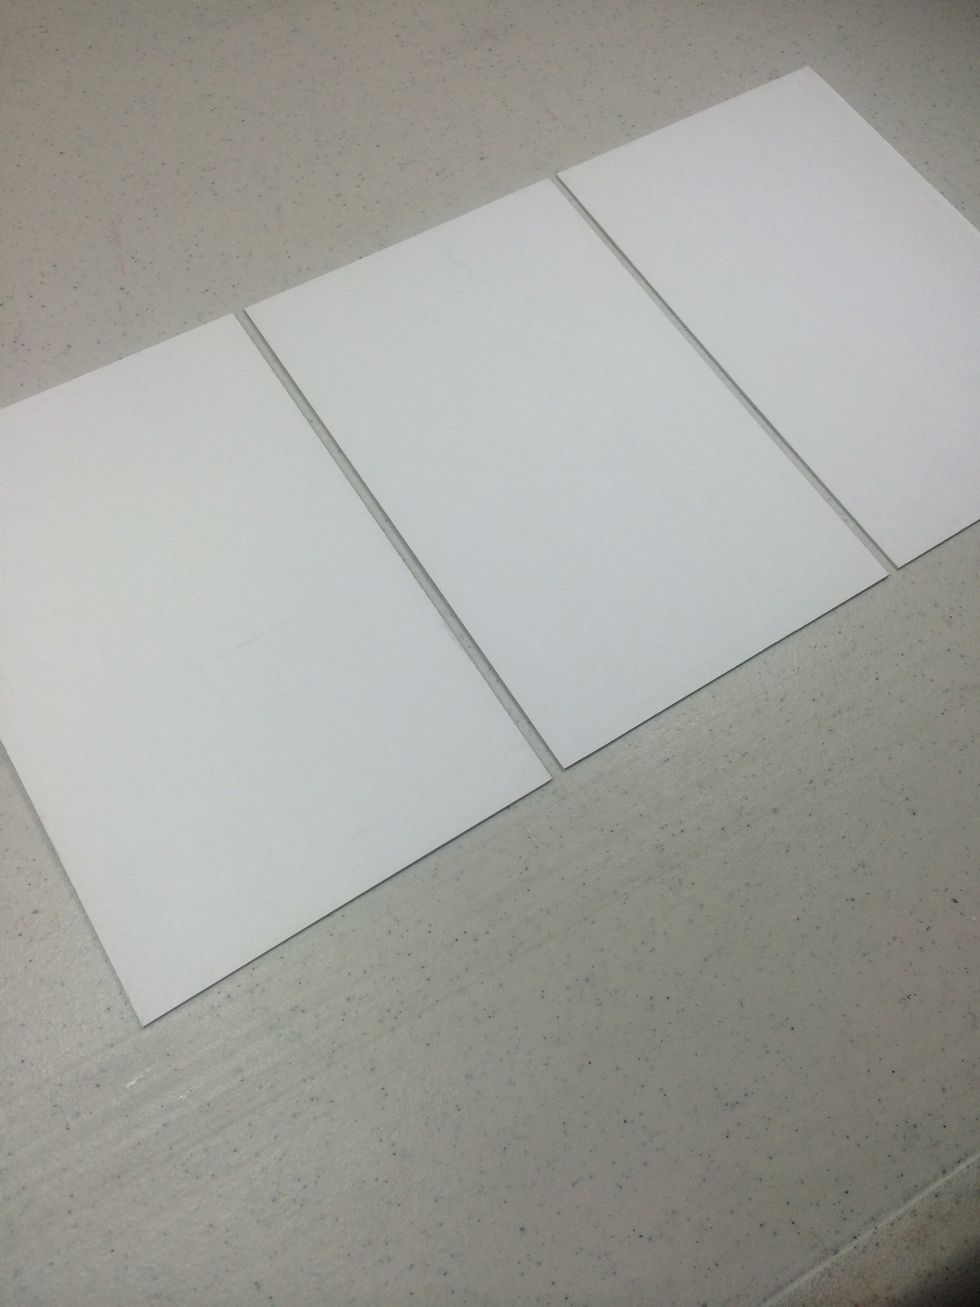
Cut three pieces of sturdy mat or chipboard: two at 5 1/2" x 8 1/2" and one at 5 3/8" x 8 1/2".
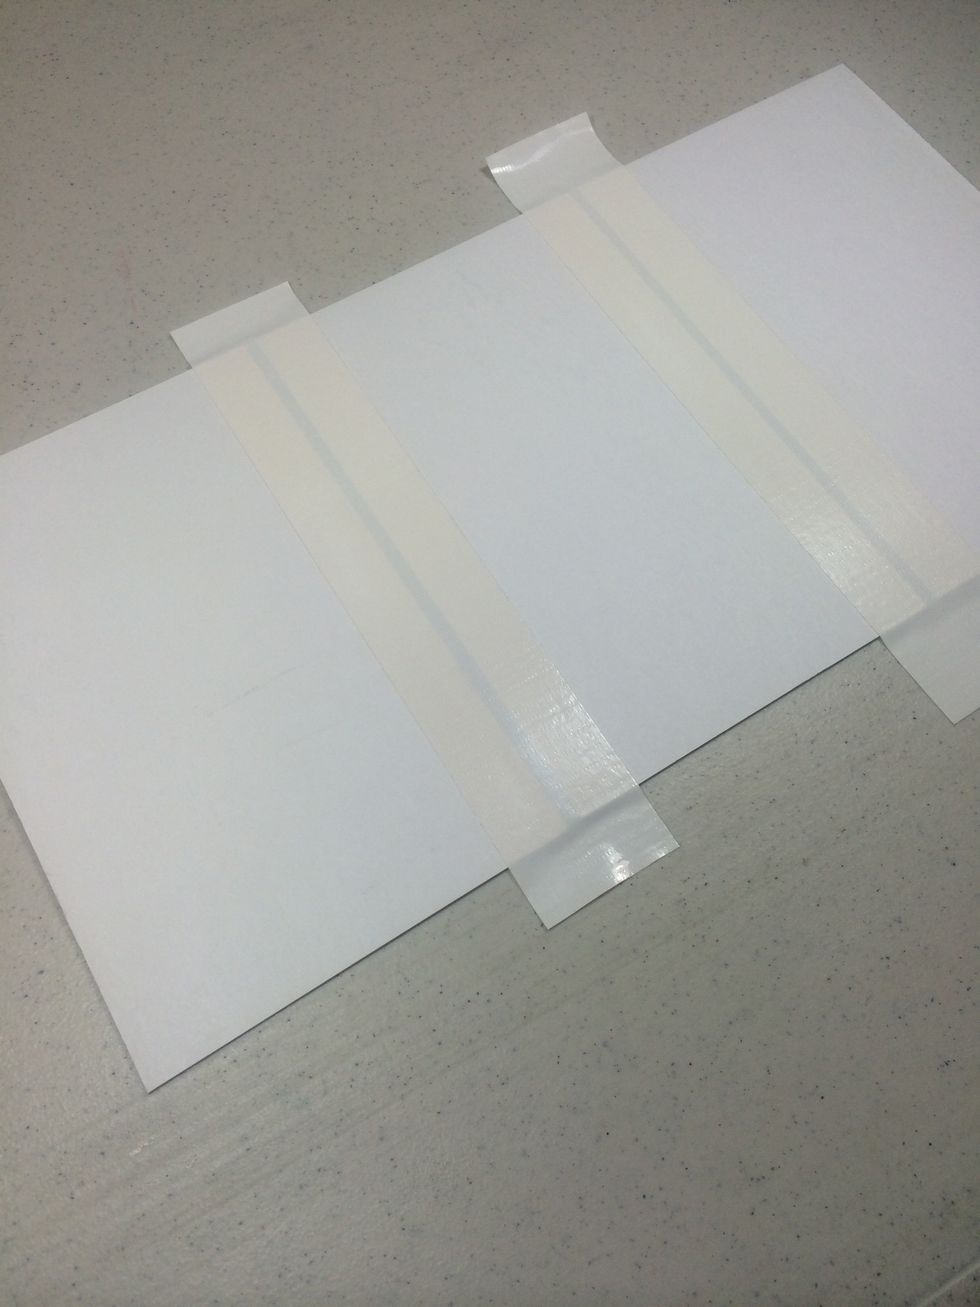
Line them up leaving 1/2" of space between. The smallest one is on the far right. Add white duct tape across seams. This is the interior of the folio.
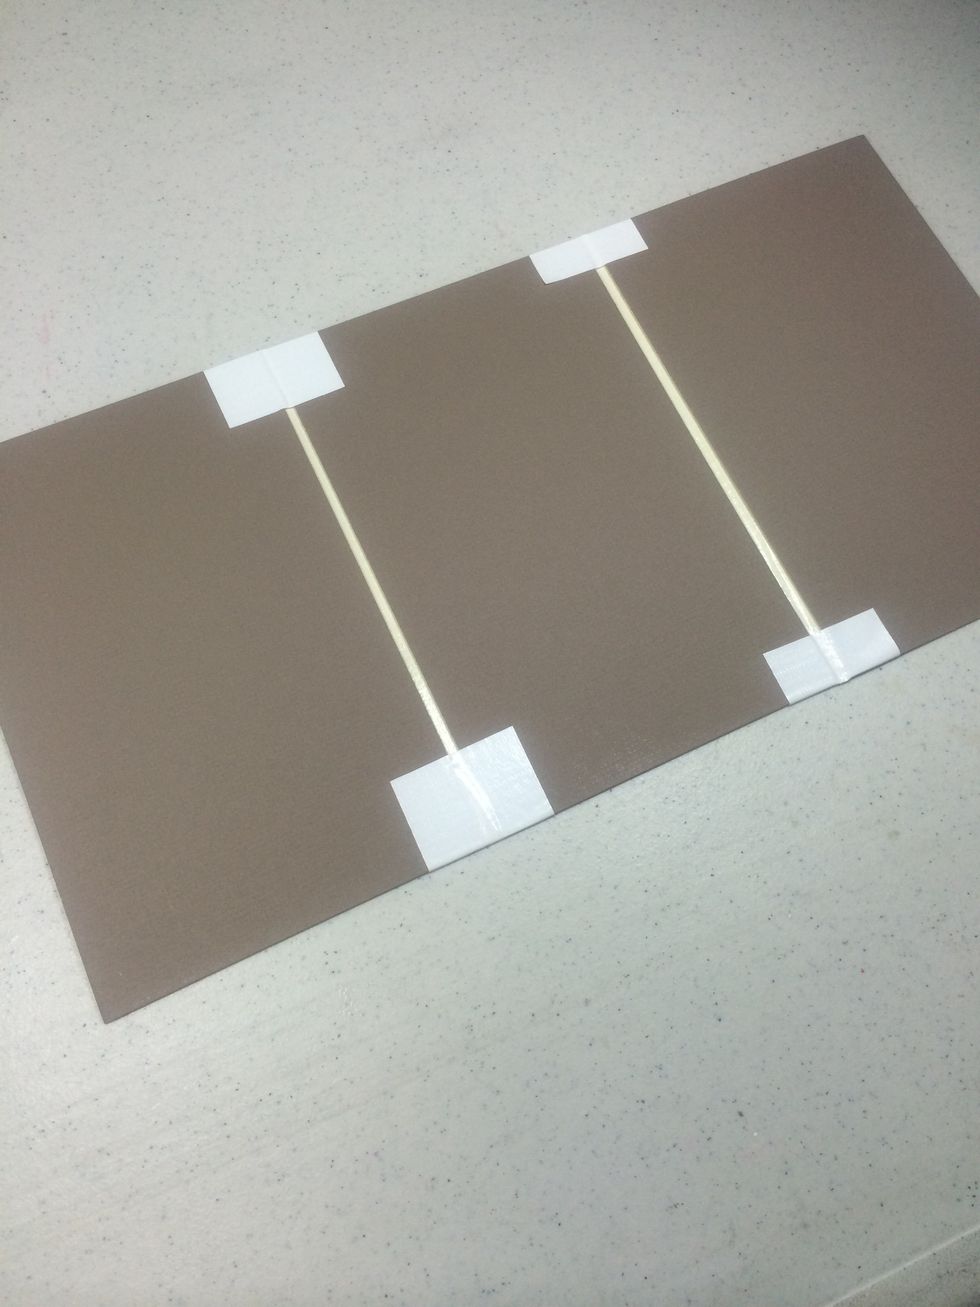
Fold the tape over as shown. This is the exterior of the folio. The smallest panel is now on the far left.
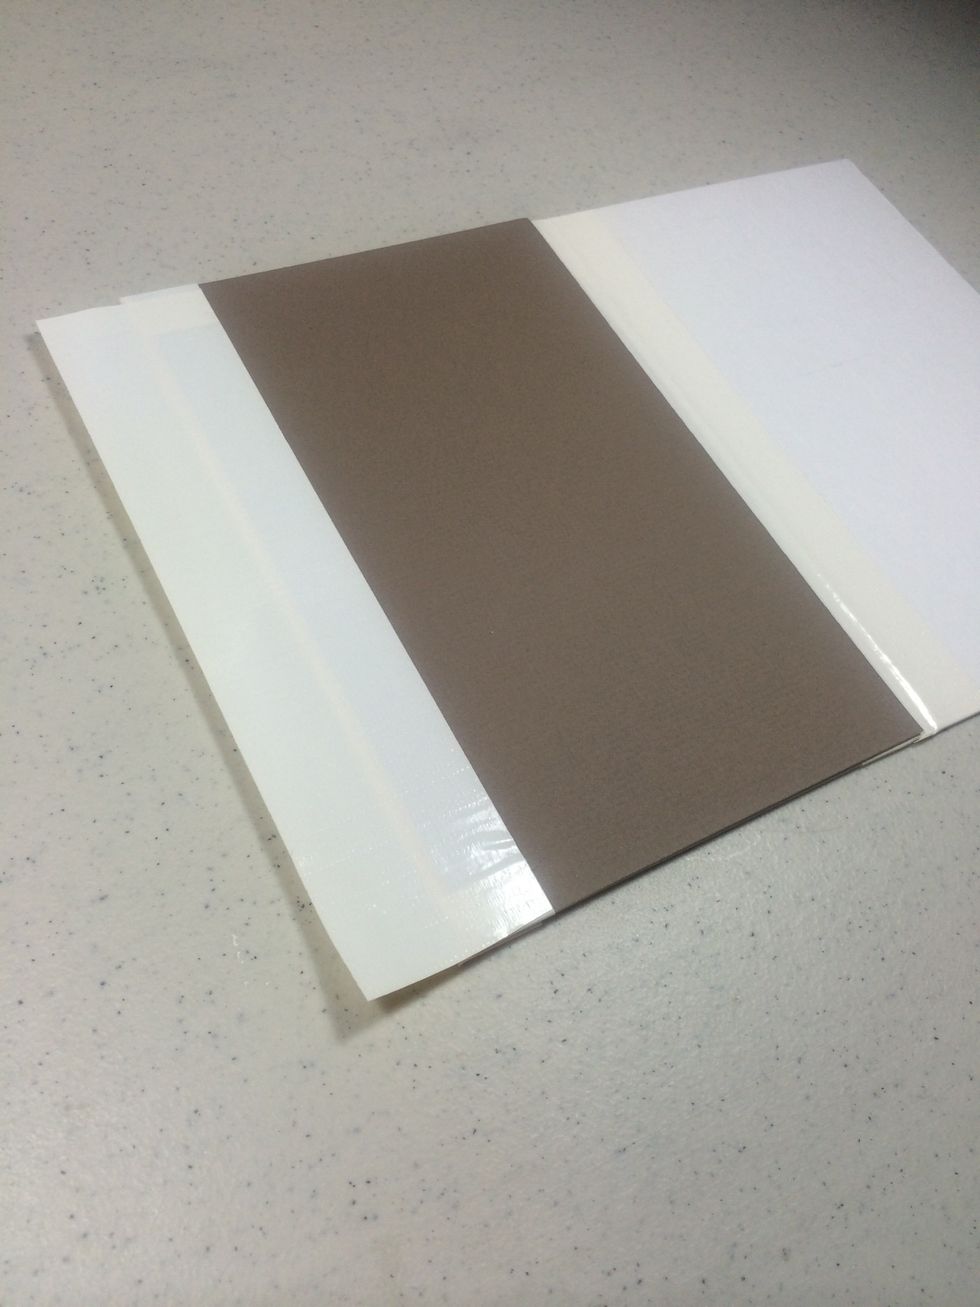
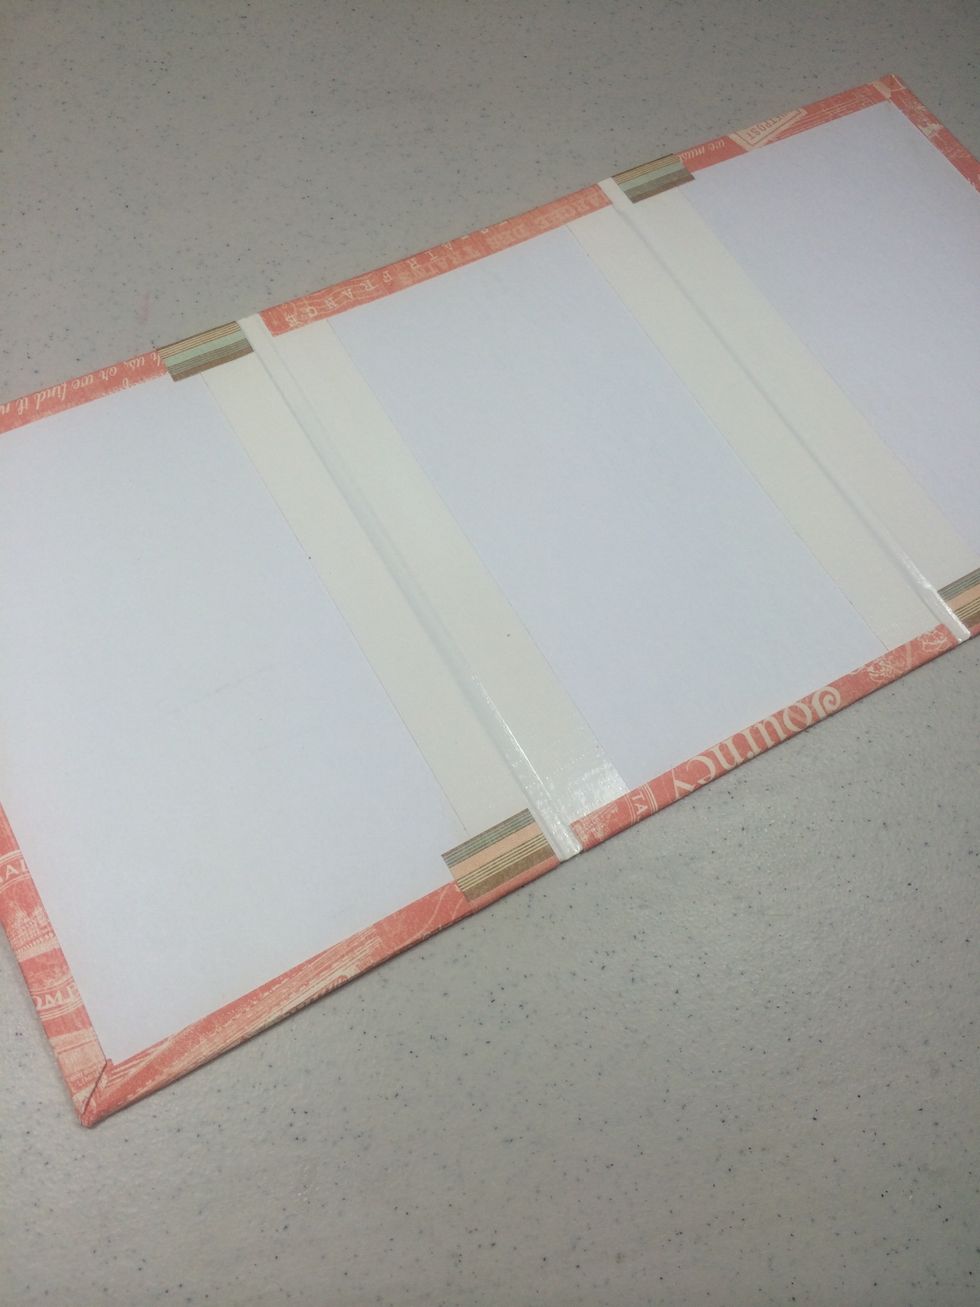
Flip the folio to show the interior again. Fold in the left panel and add another strip of white tape half way across.
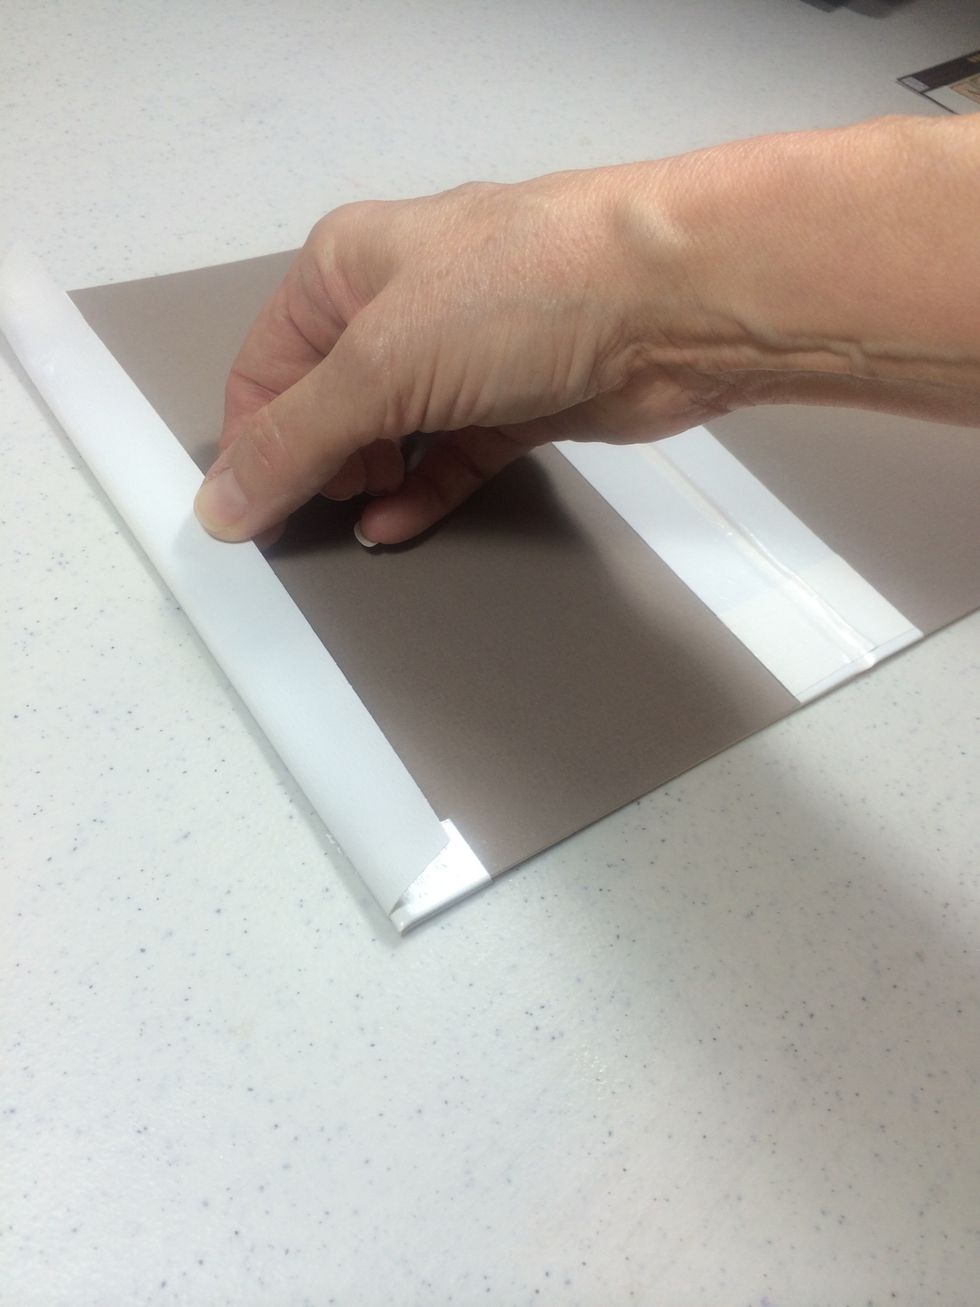
With the panel still folded in, wrap the remainder of tape around to the back. Doing this while the panel is folded will allow it to open and close easily.
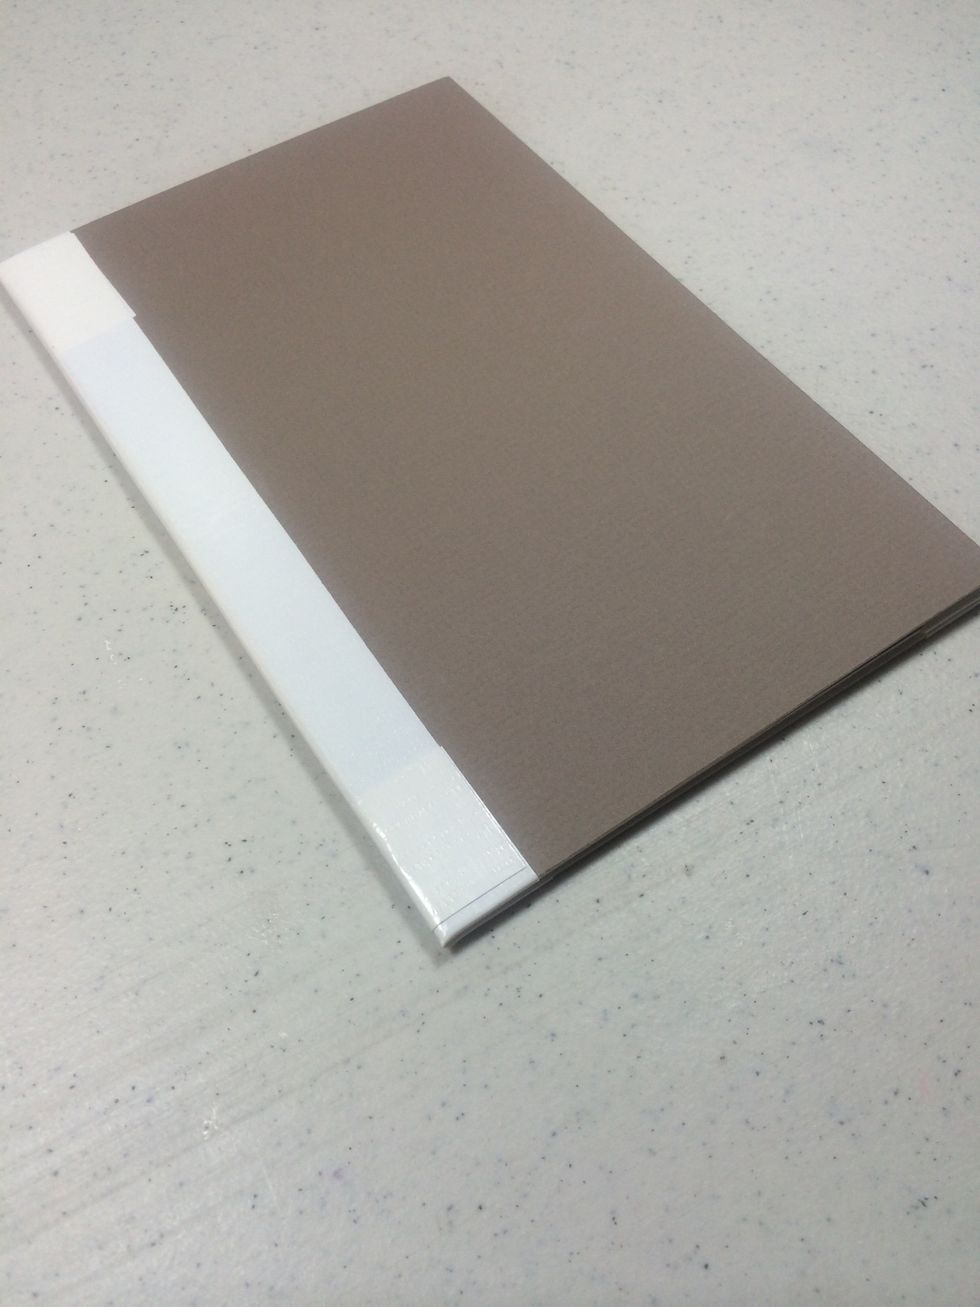
Do the same with the other panel so you now have a tri-fold folio.
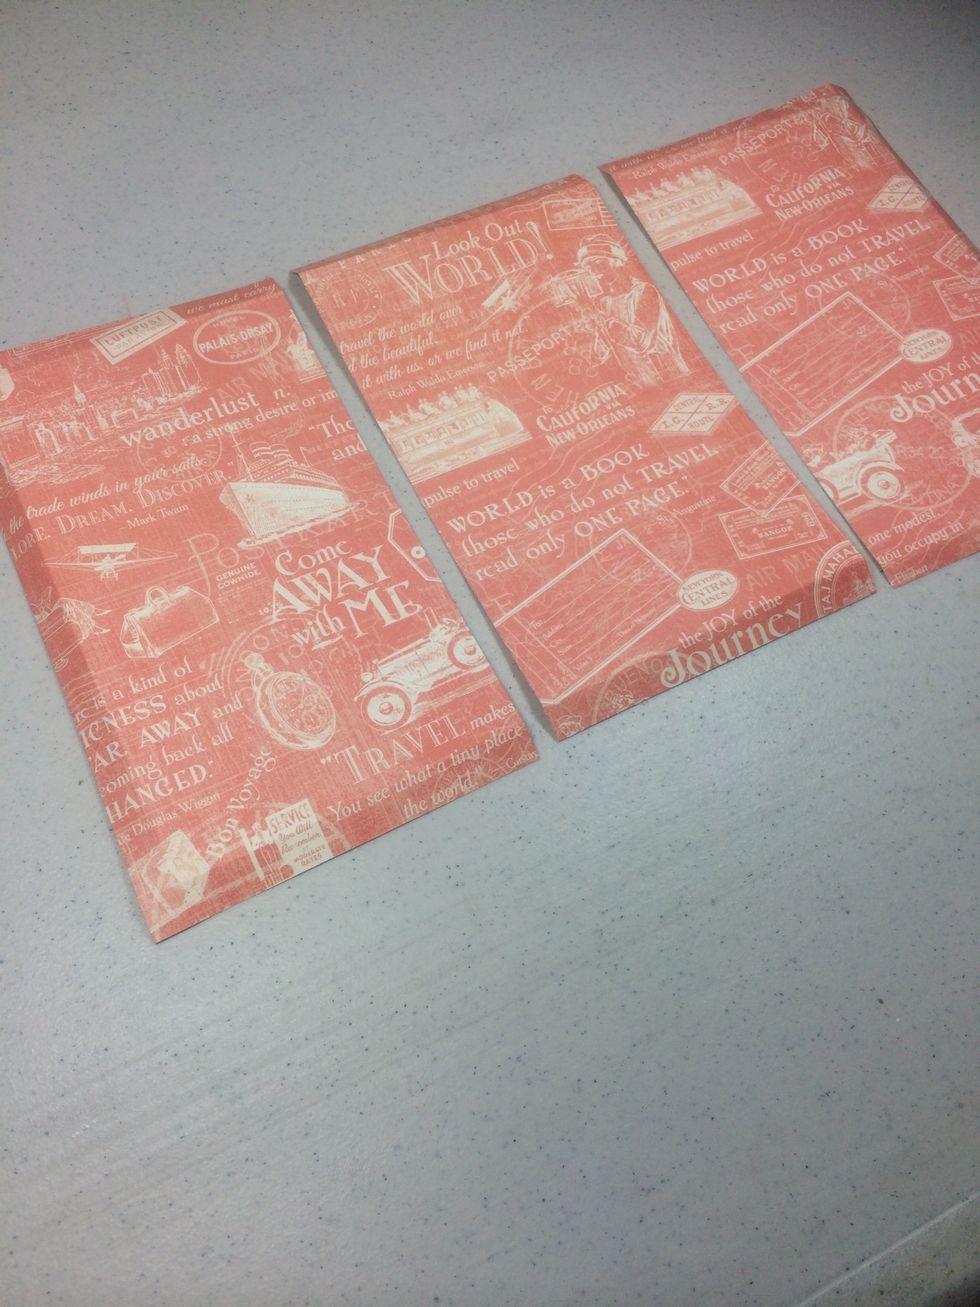
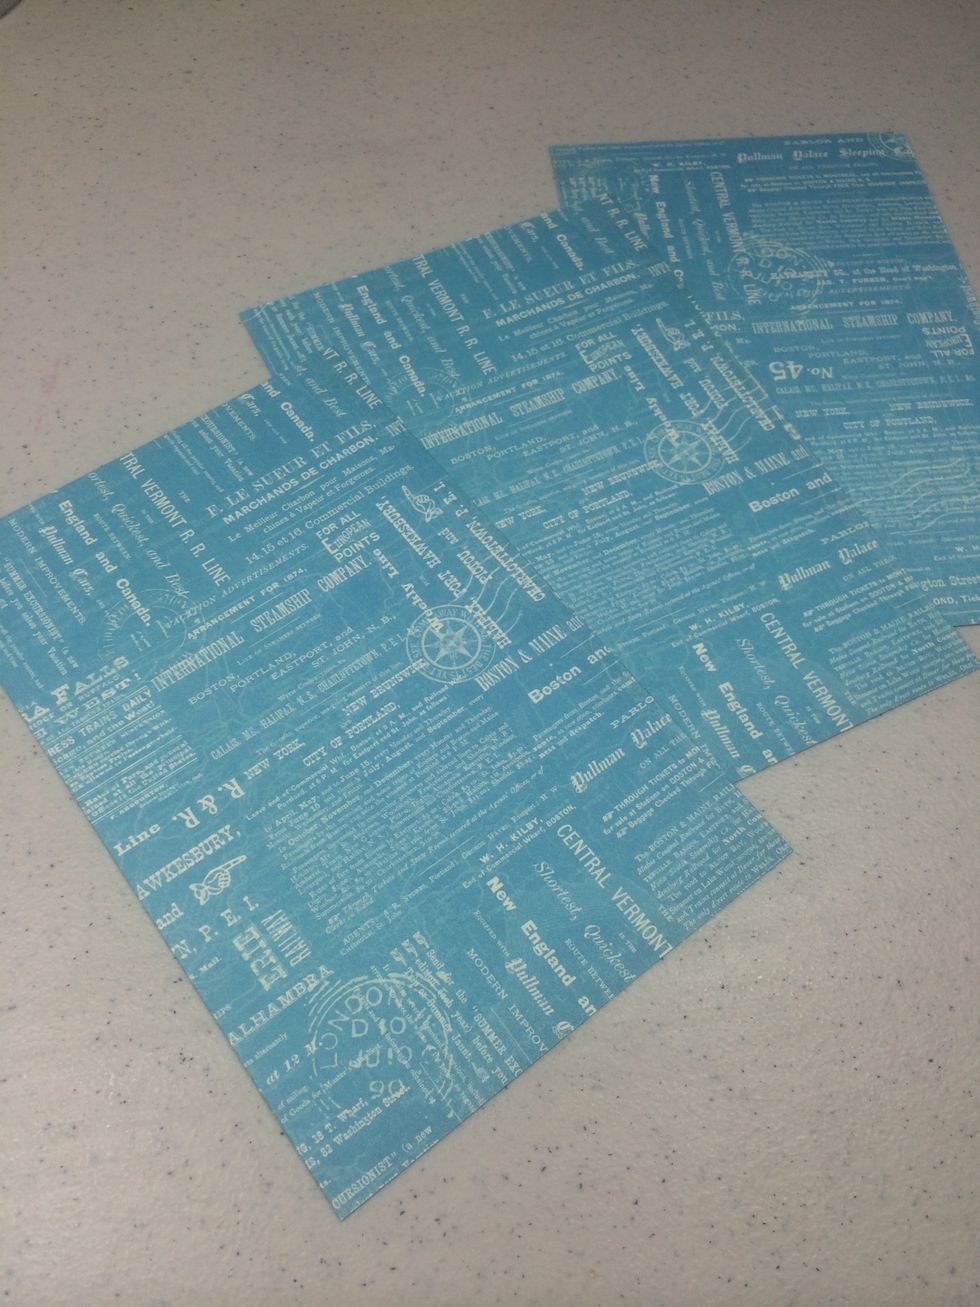
Cut three paper pieces 5 1/2" x 9 1/2". You can score them or simply fold them over your panels. See next step.
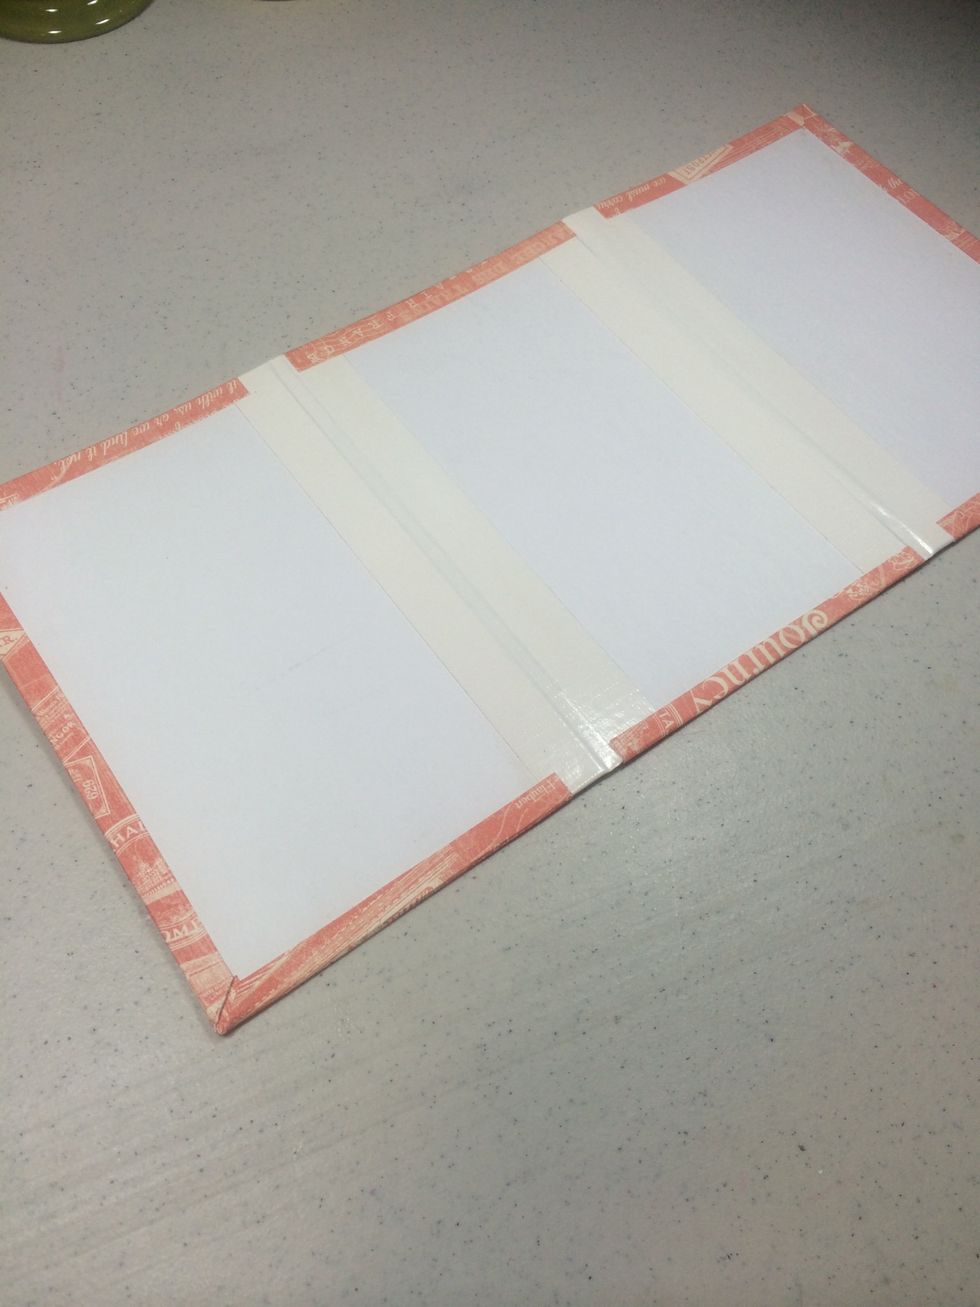
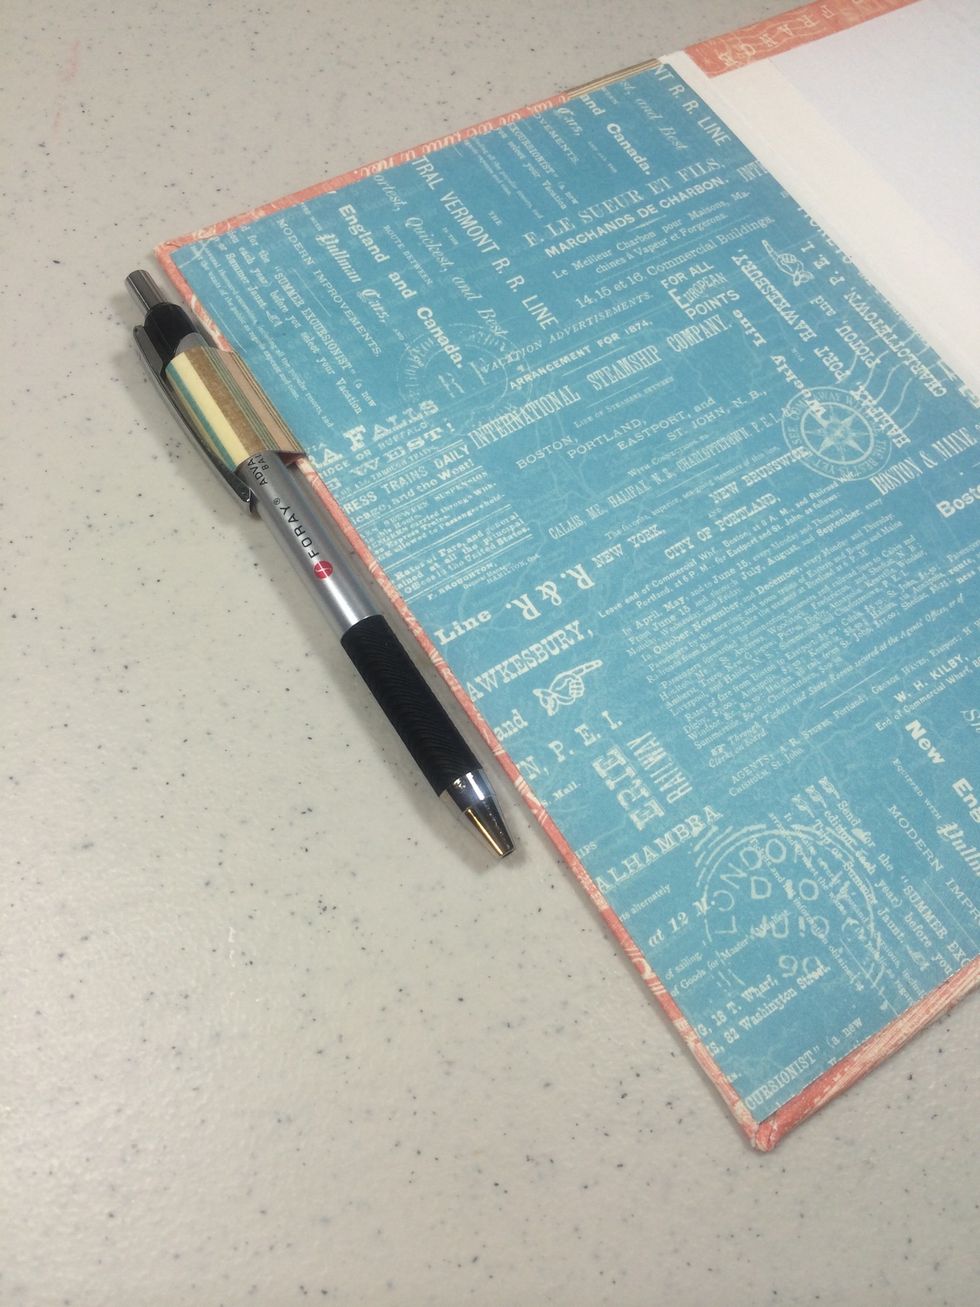
Use adhesive to adhere each to the exterior panels, folding over to the interior as shown. (I used a strong glue stick)
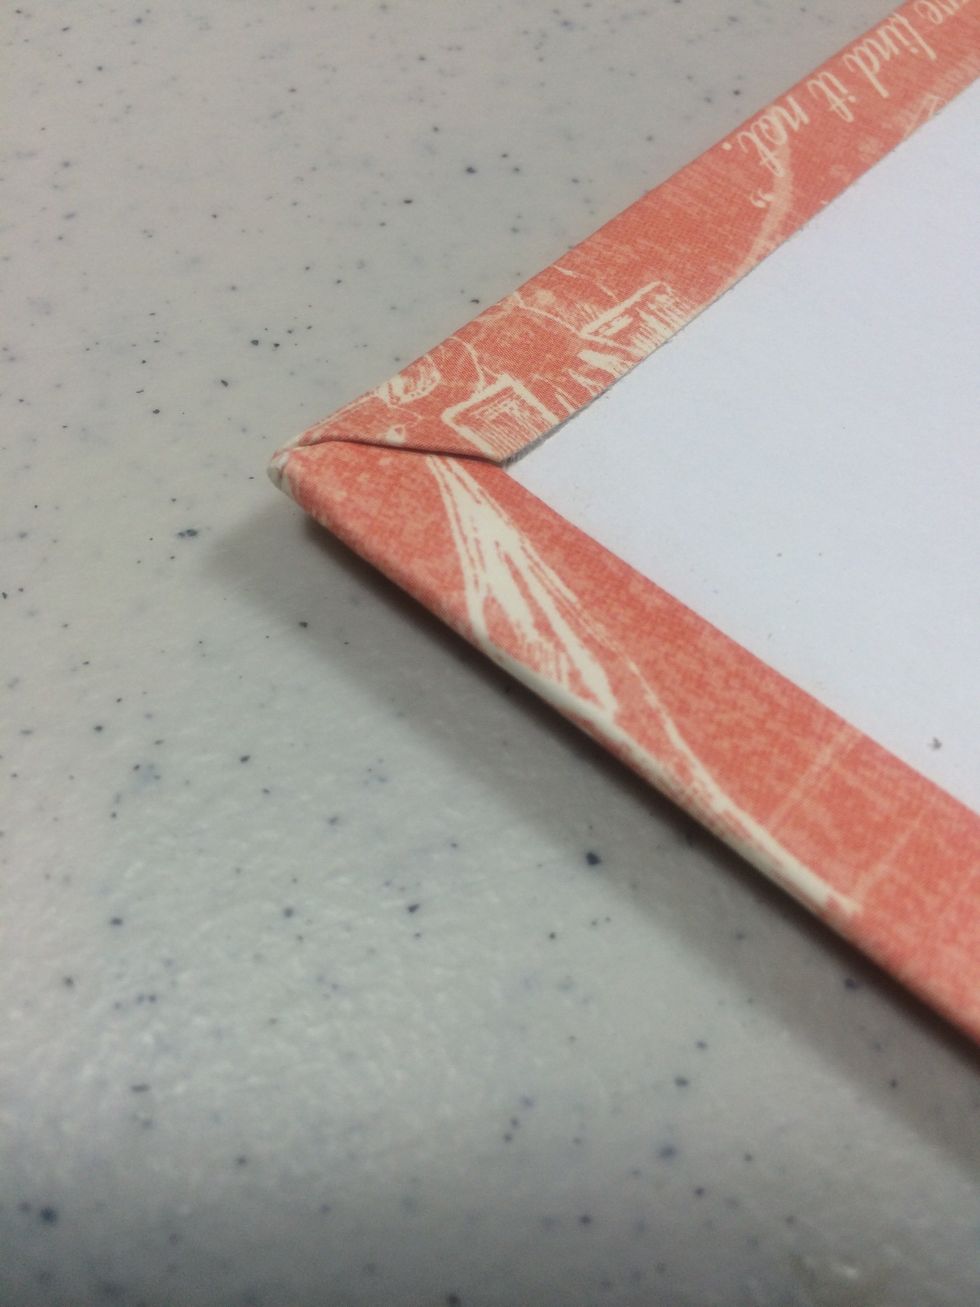
Finish the corners neatly if you like. I adhered the corners first, then folded the rest over it.
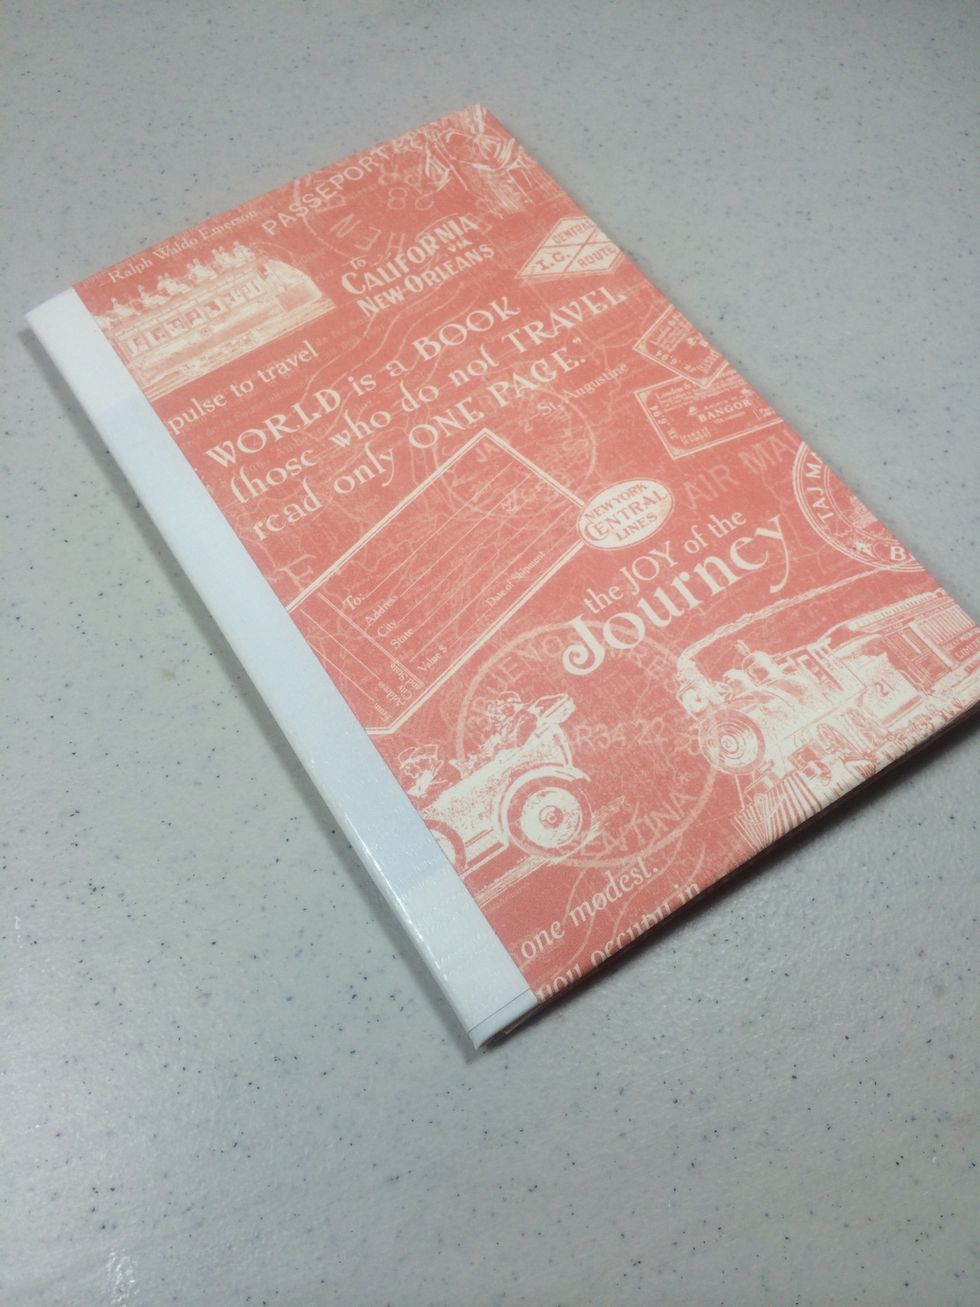
This is how the folio will look when closed.
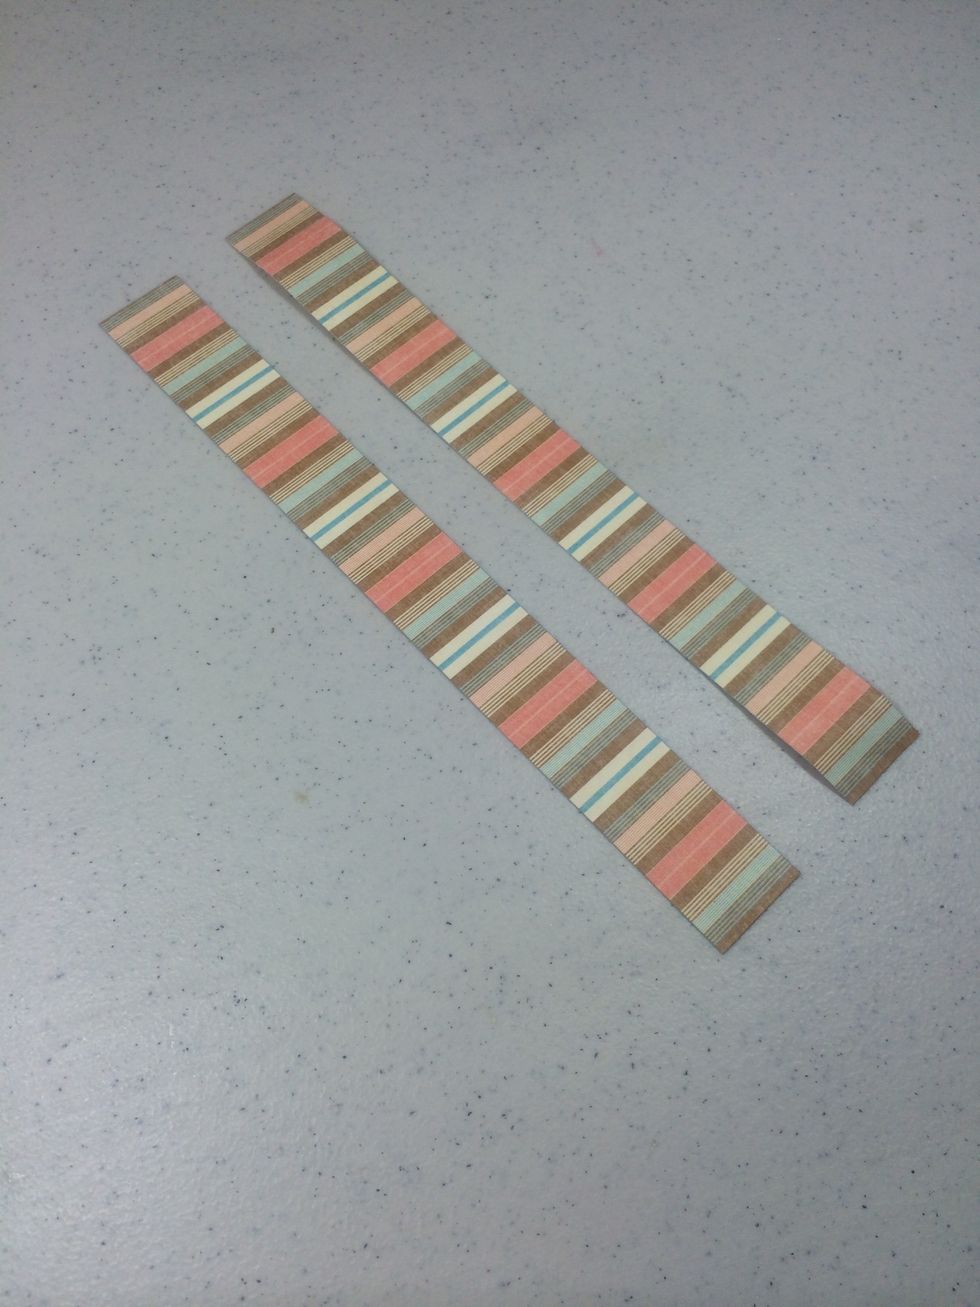
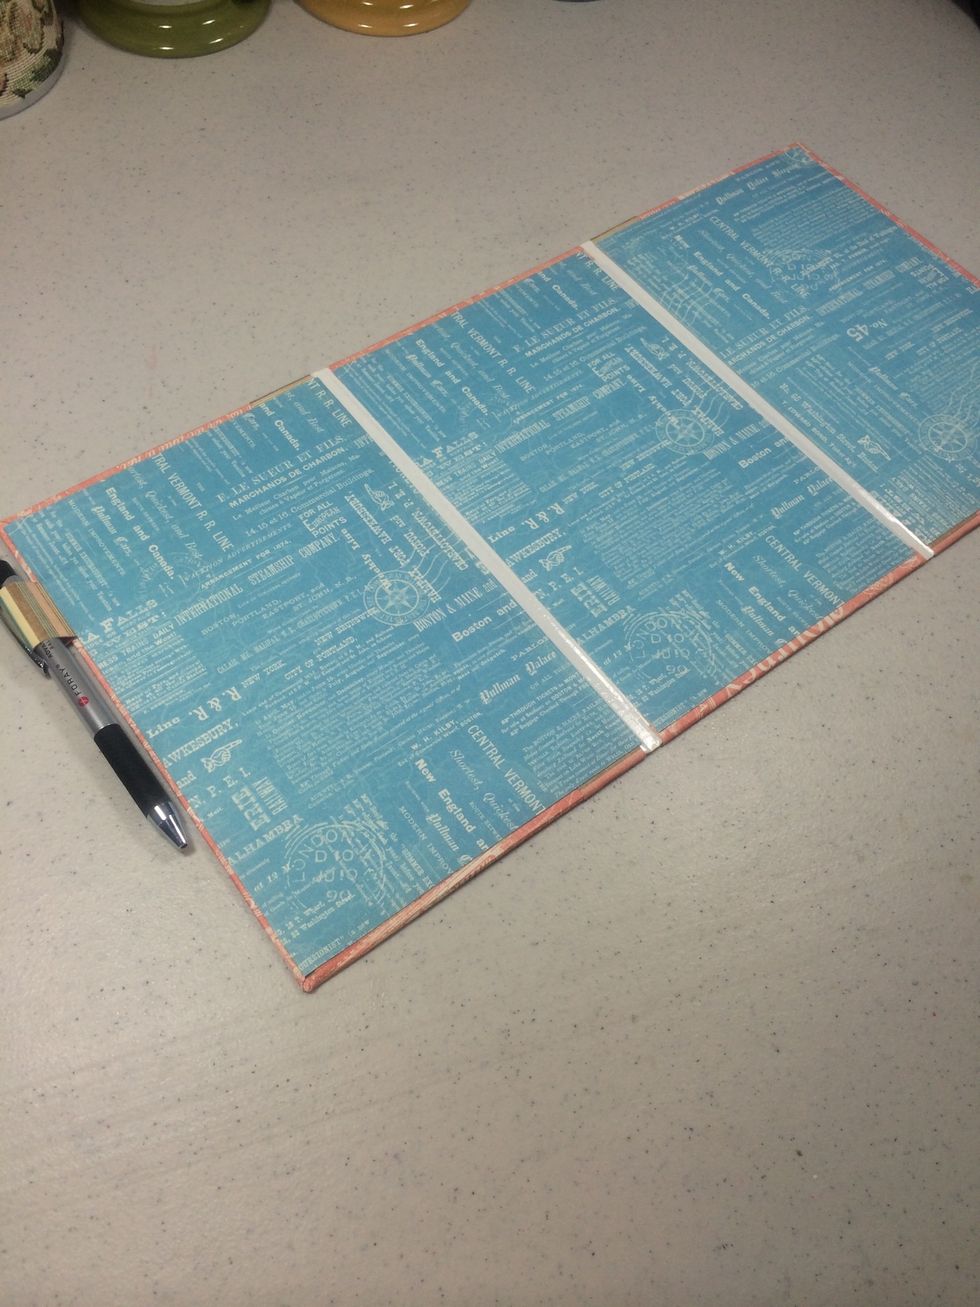
Cut two strips of accent paper at 1 1/8" x 10".
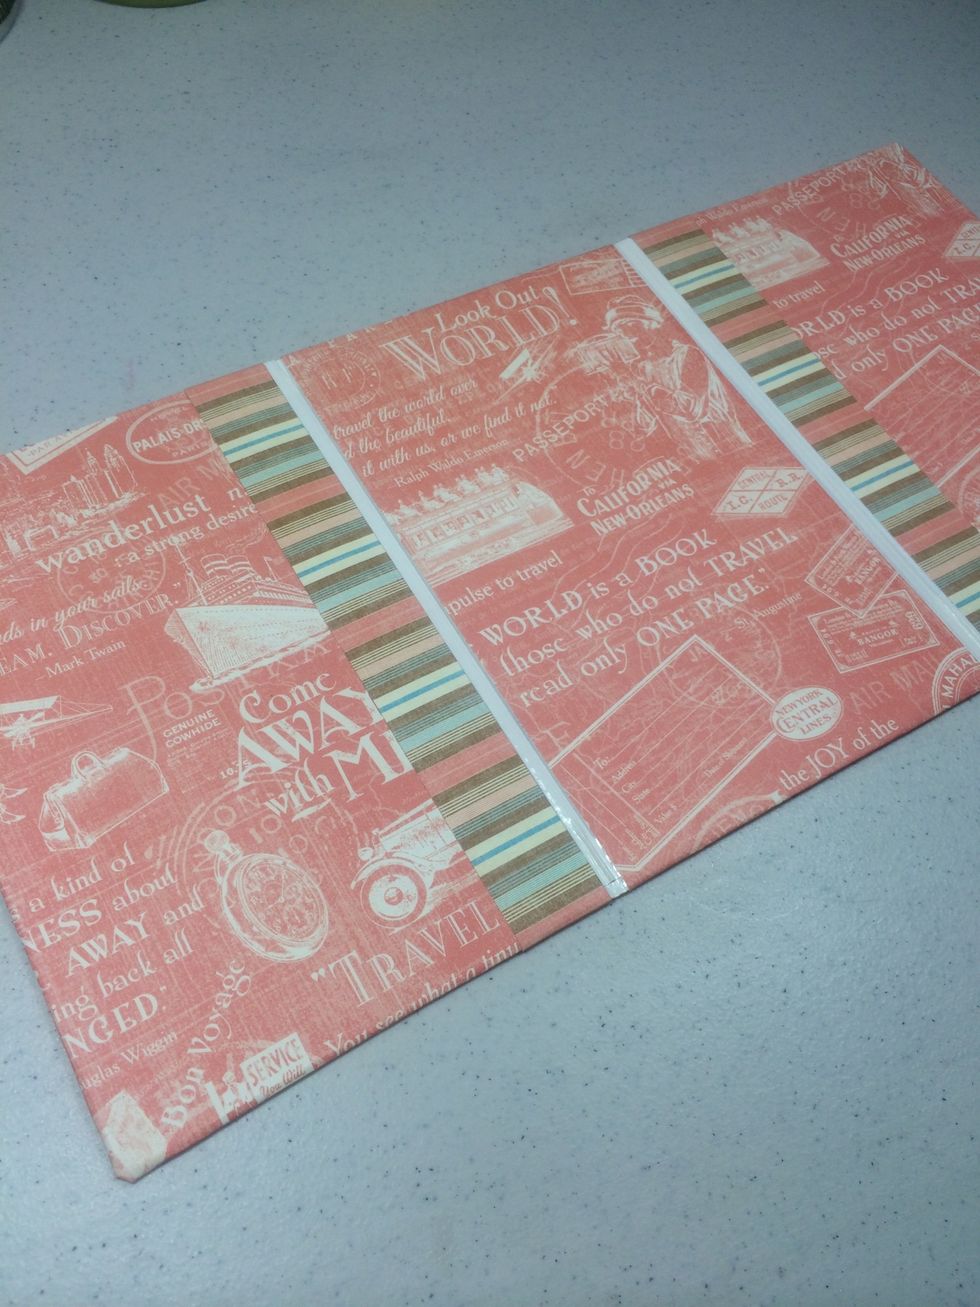
Adhere these strips to the panels as shown.
Fold over the excess to the interior.
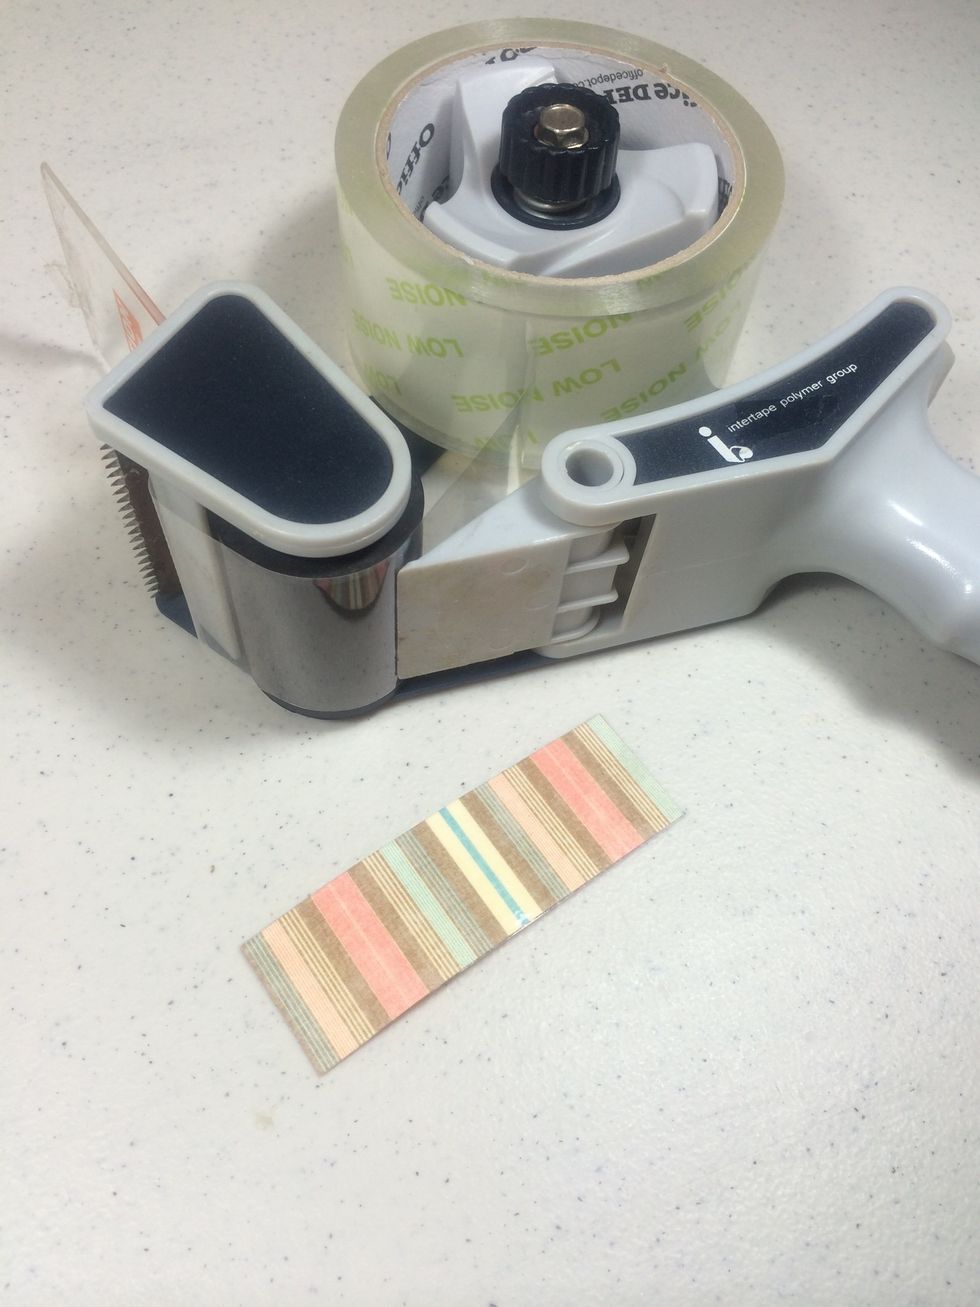
Cut a strip of accent paper 1 1/8" x 3 1/2" then laminate it with a piece of clear packing tape on both sides, trimming any excess.

To create a pen holder, simply meet up the ends of your strip, insert a pen to judge the distance, and adhere the ends together.
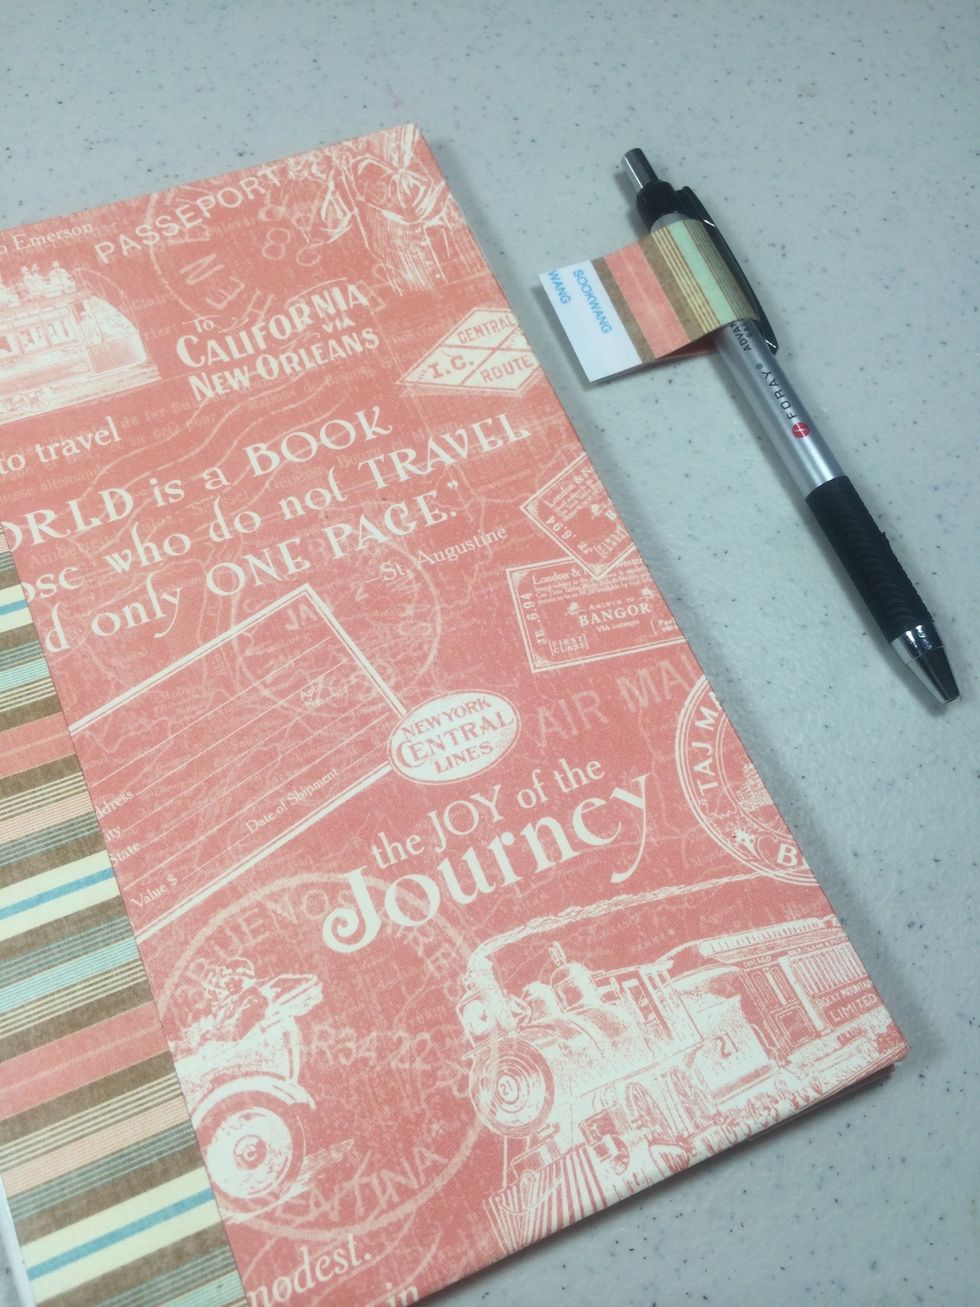
Put strong adhesive tape like Scor-Tape on both sides of the pen holder paper.
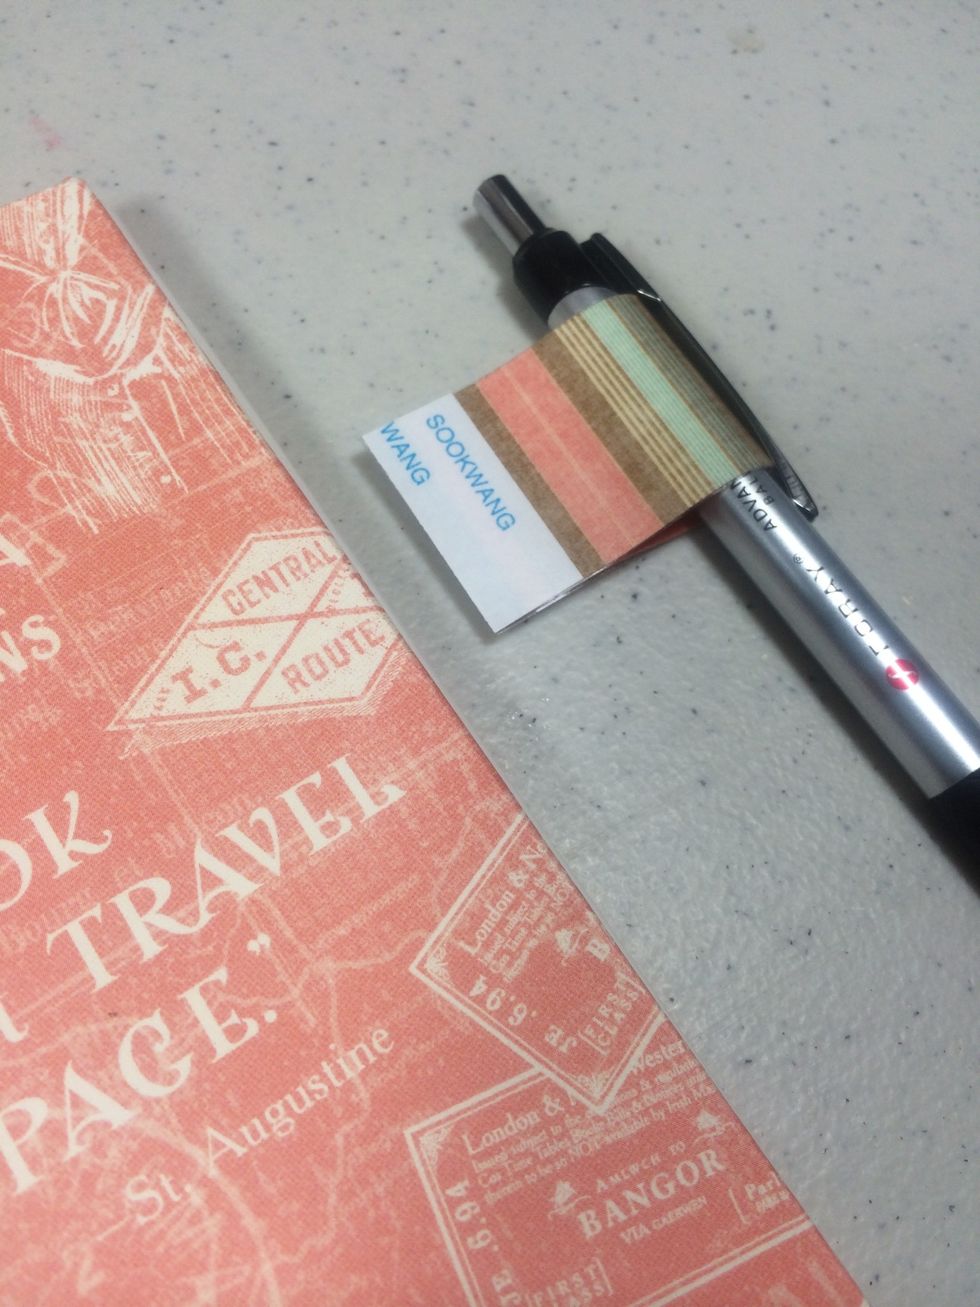
Peel and stick the holder in place to the inside of the front cover panel. Leaving the pen in the paper holder helps to get the positioning right.
For the interior, cut three papers. Two at 5 1/2" x 8 1/2" and one 5 1/4" x 8 1/2".
Adhere one of the two large papers to the left interior page where the pen holder is.
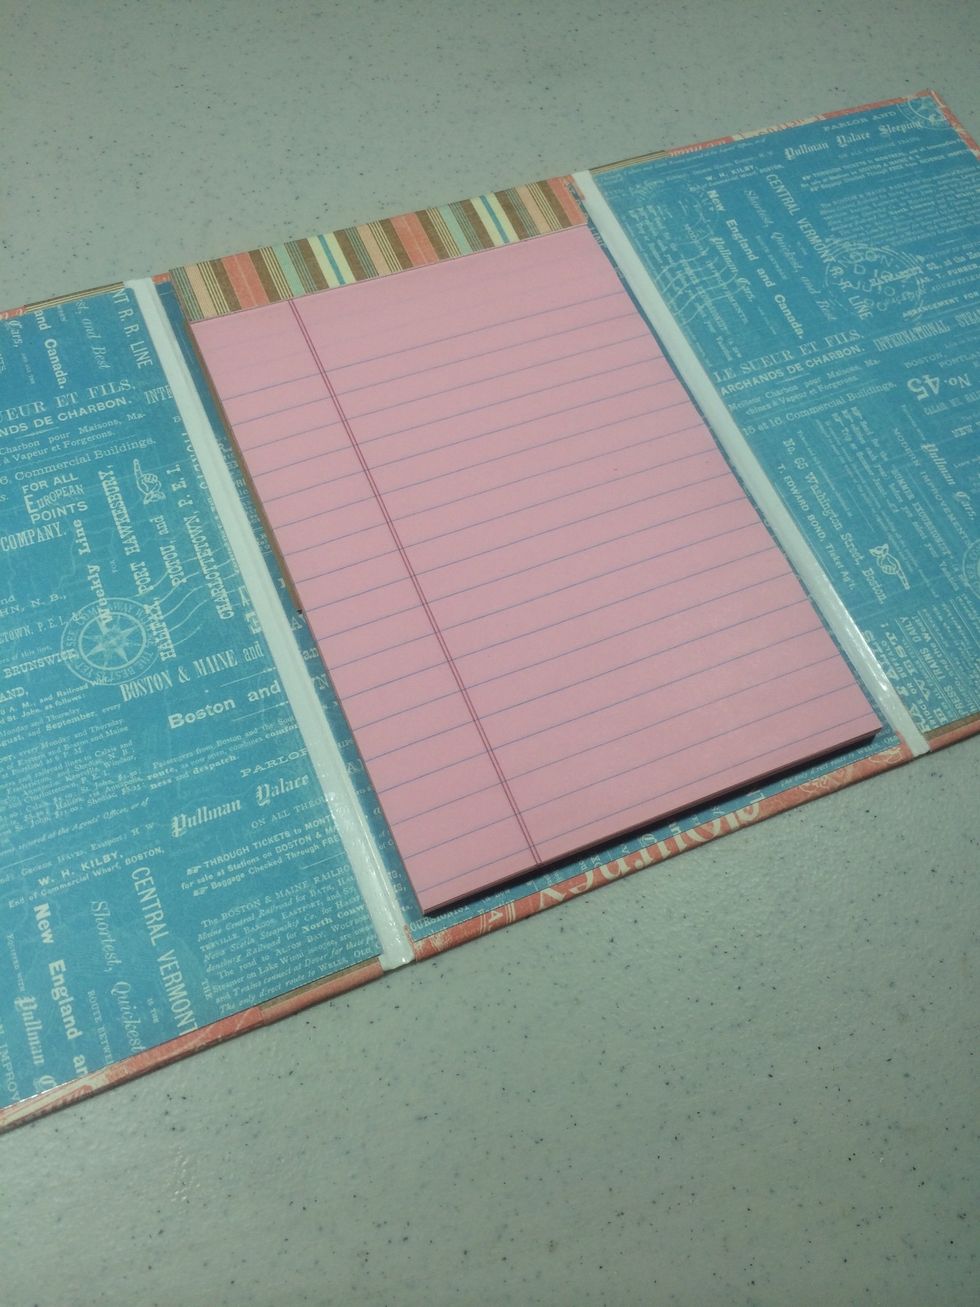
Add the remaining interior papers.
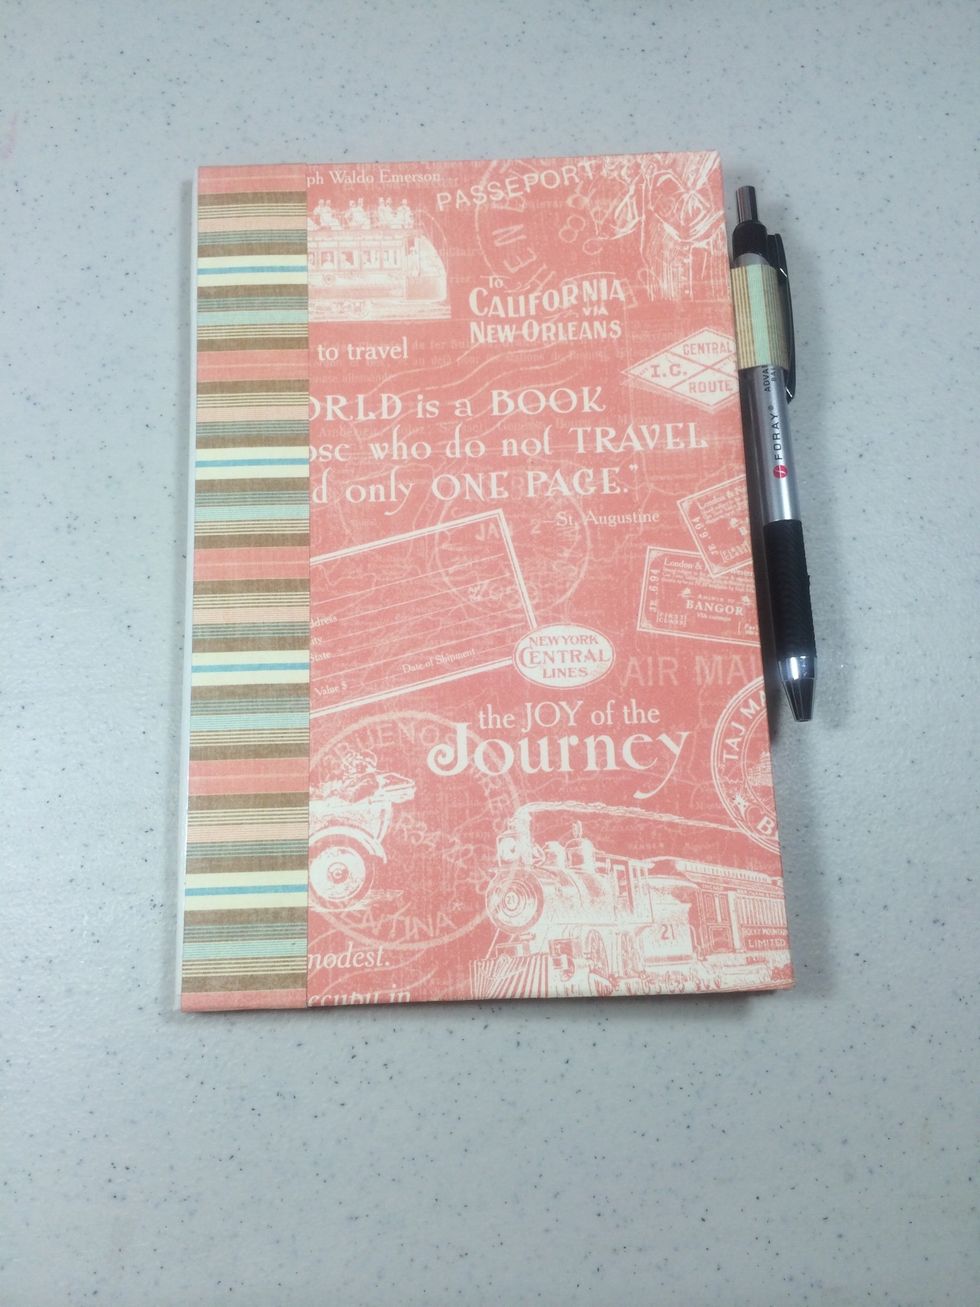
This is how it will look when the folio is closed.
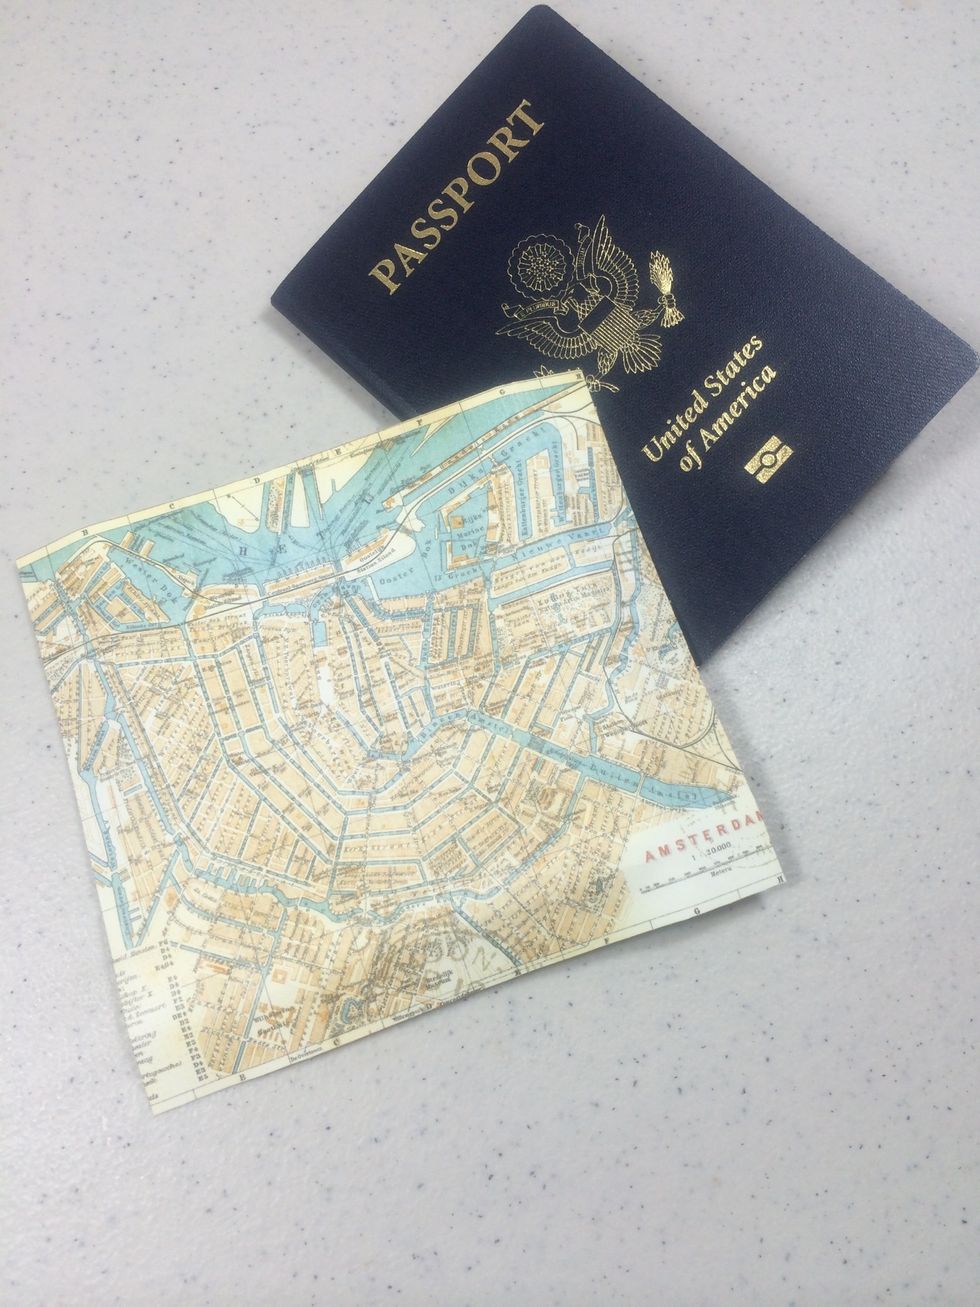
Cut an accent paper to create a passport pocket 5" wide x 4 1/2" high.

Flip the paper face down and lay your passport on top leaving 1/2" space on the right, bottom and left sides. Snip away the two bottom corners.
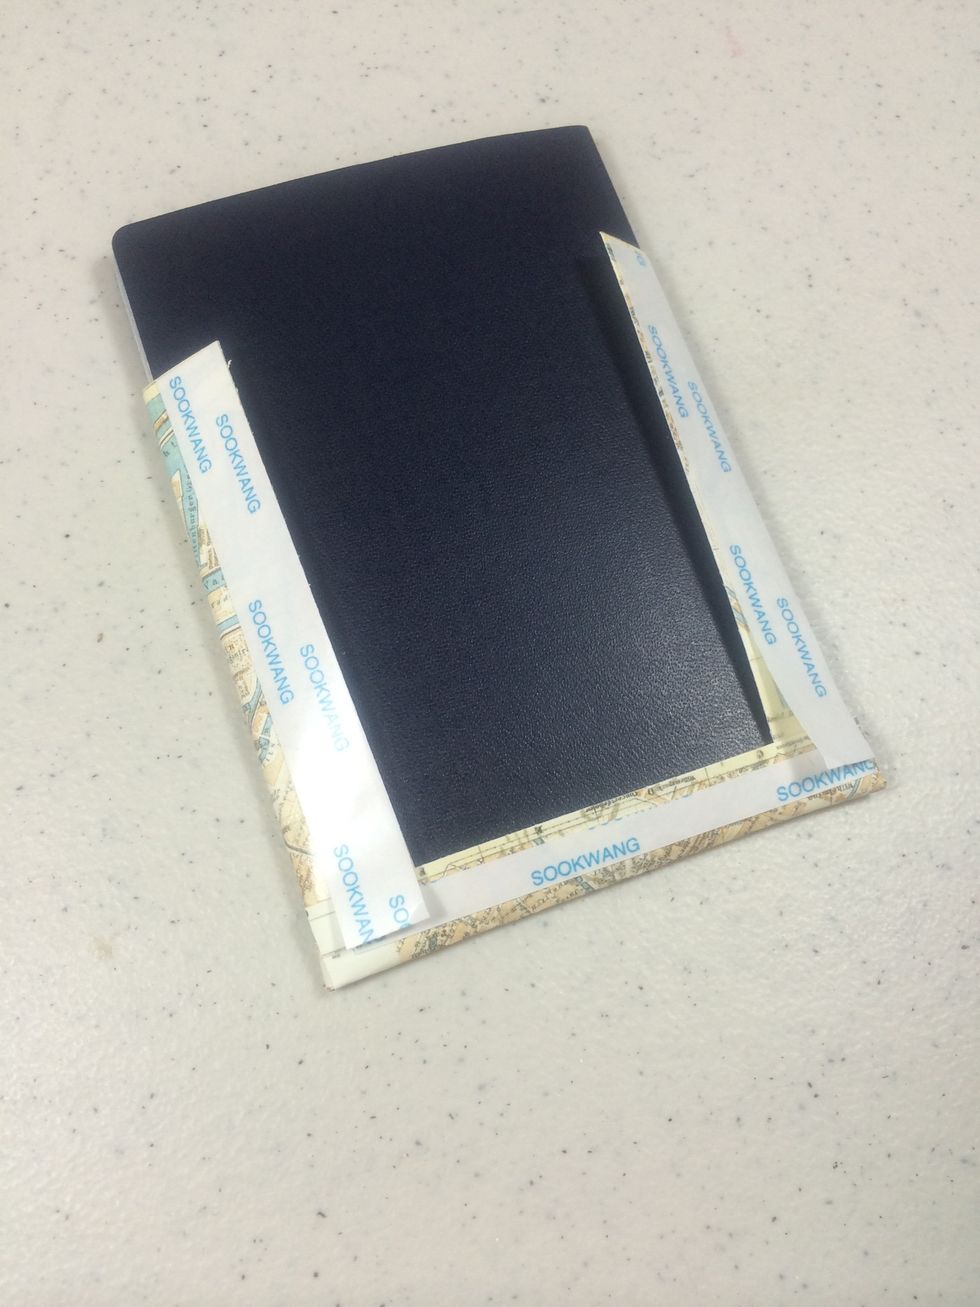
Fold the papers around the passport as shown then add Scor-Tape.
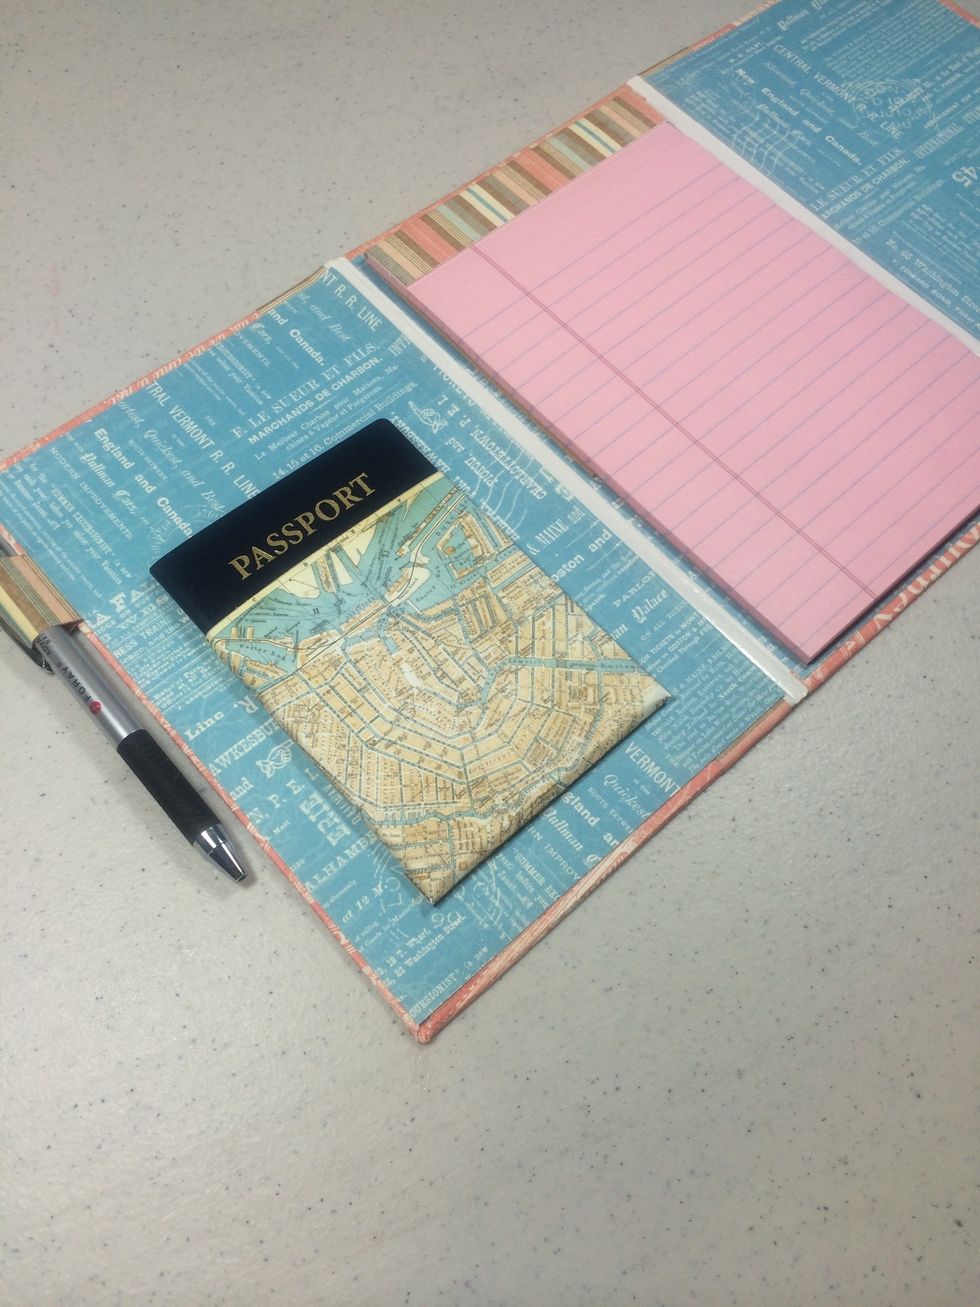
Flip it over and peel and stick the pocket into place.
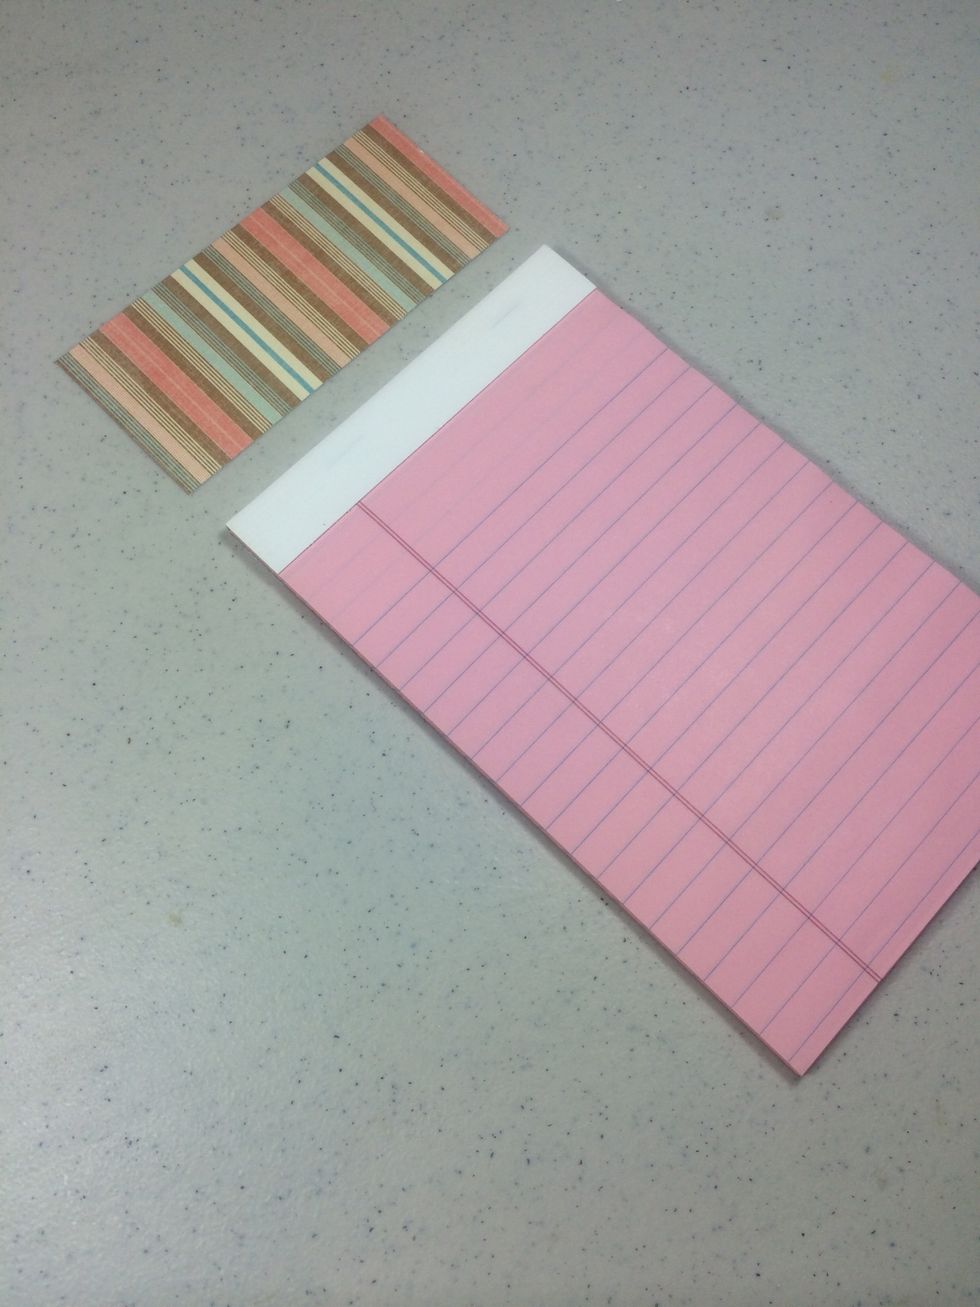
Decorate a steno pad with a piece of accent paper 5" long x 2 1/4" tall.
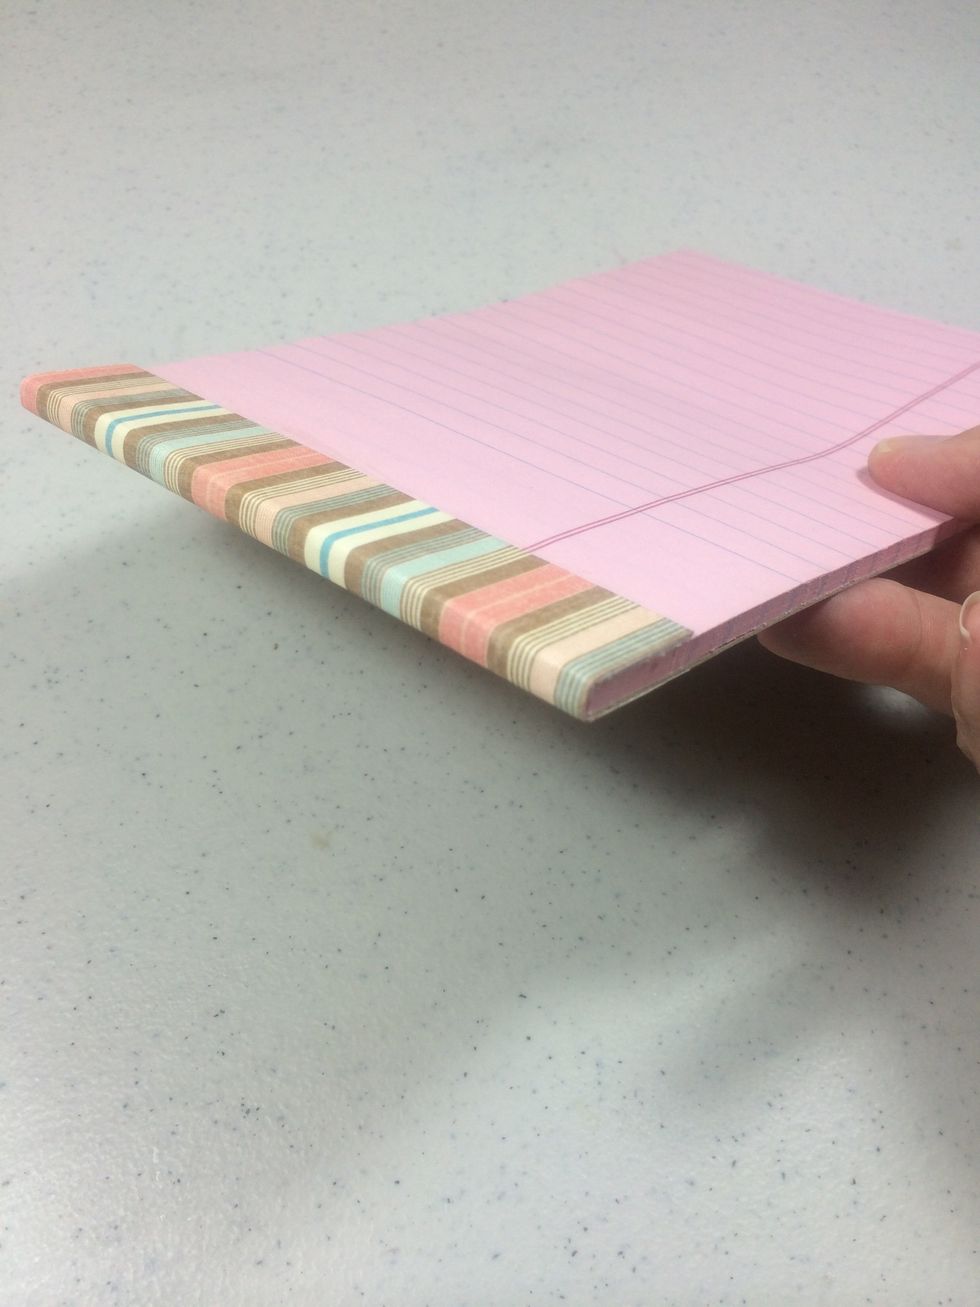
Adhere it to the top of the steno pad and fold over excess to the back side.
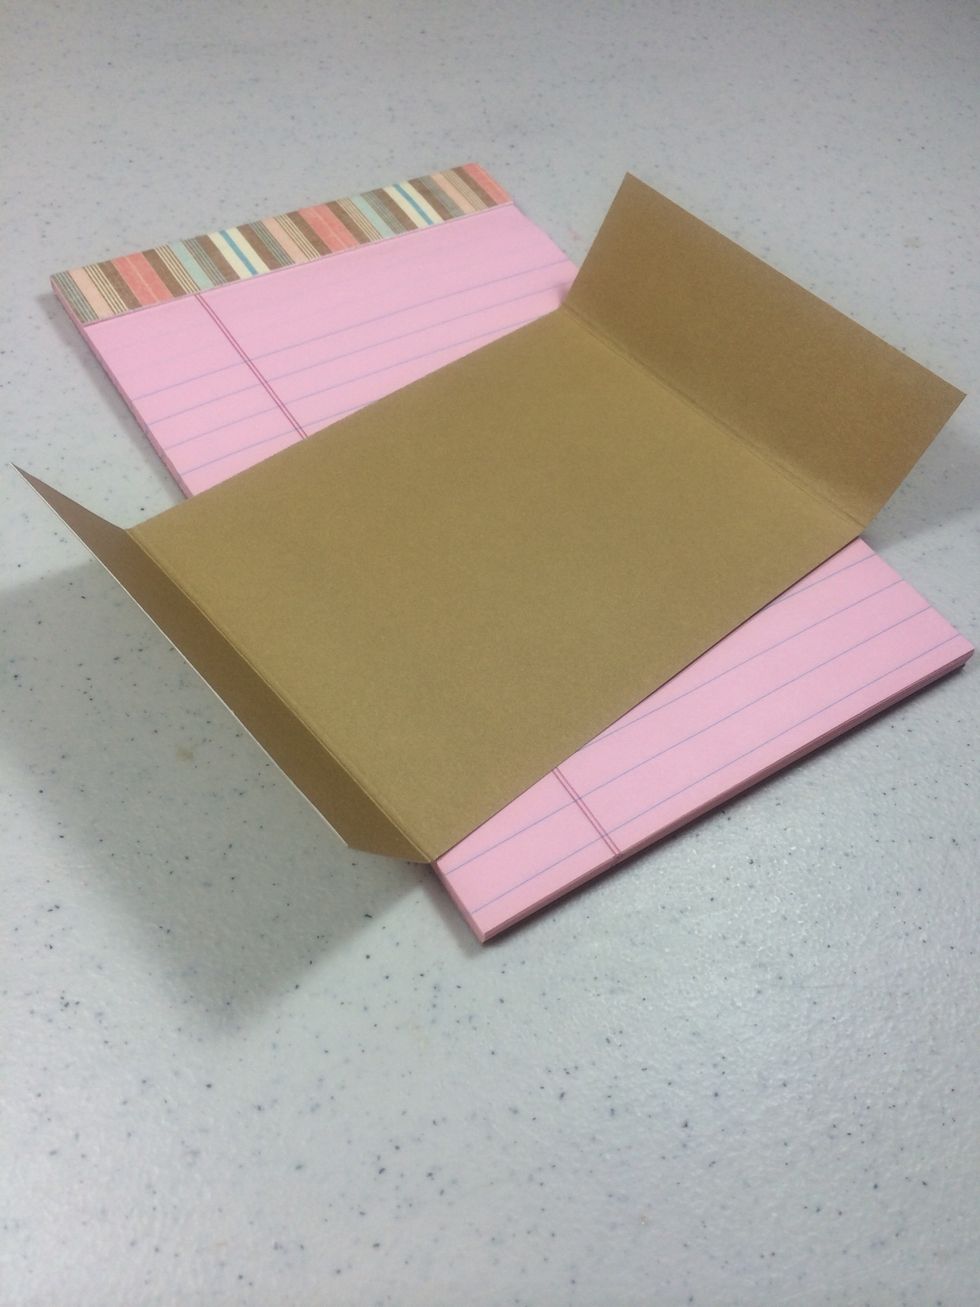
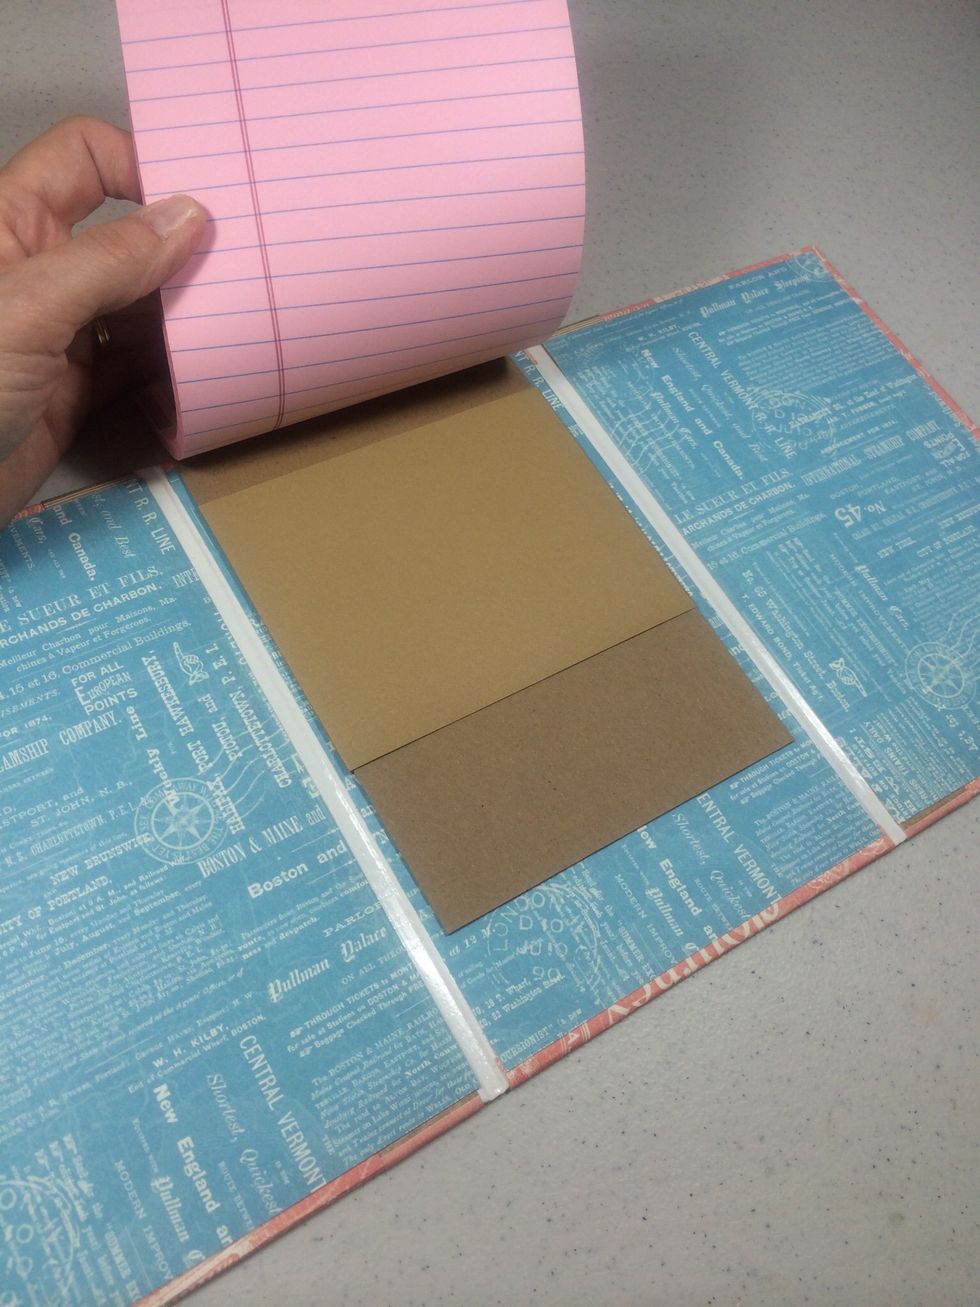
Create a sleeve for a steno pad for the middle panel of the interior of the folio. Cut a tan cardstock piece 8" long x 4" tall.
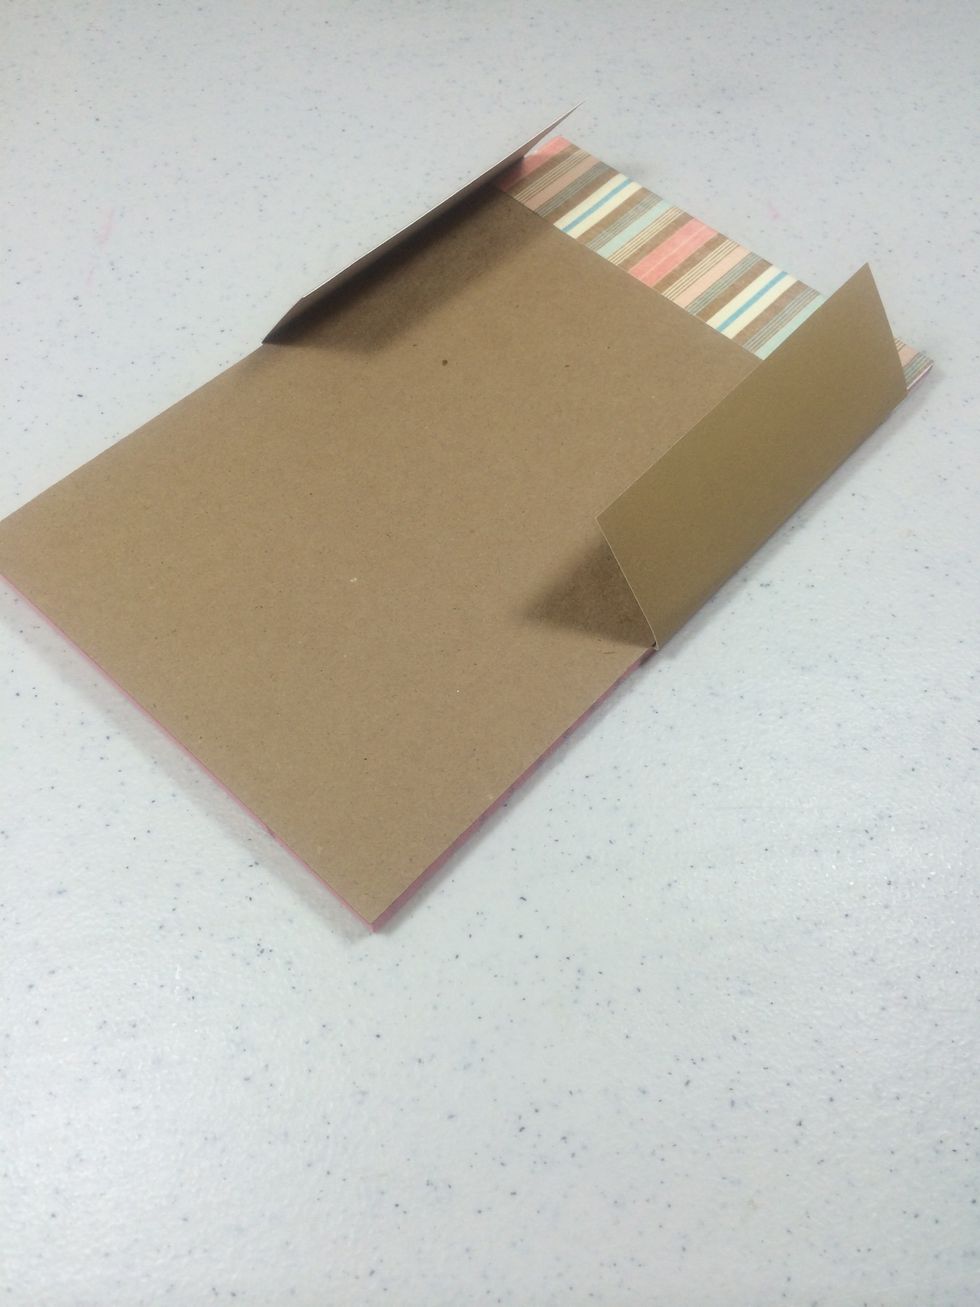
Slide the cardstock piece behind the last page in the steno pad. Lay face down and gently fold both ends around the pad as shown.
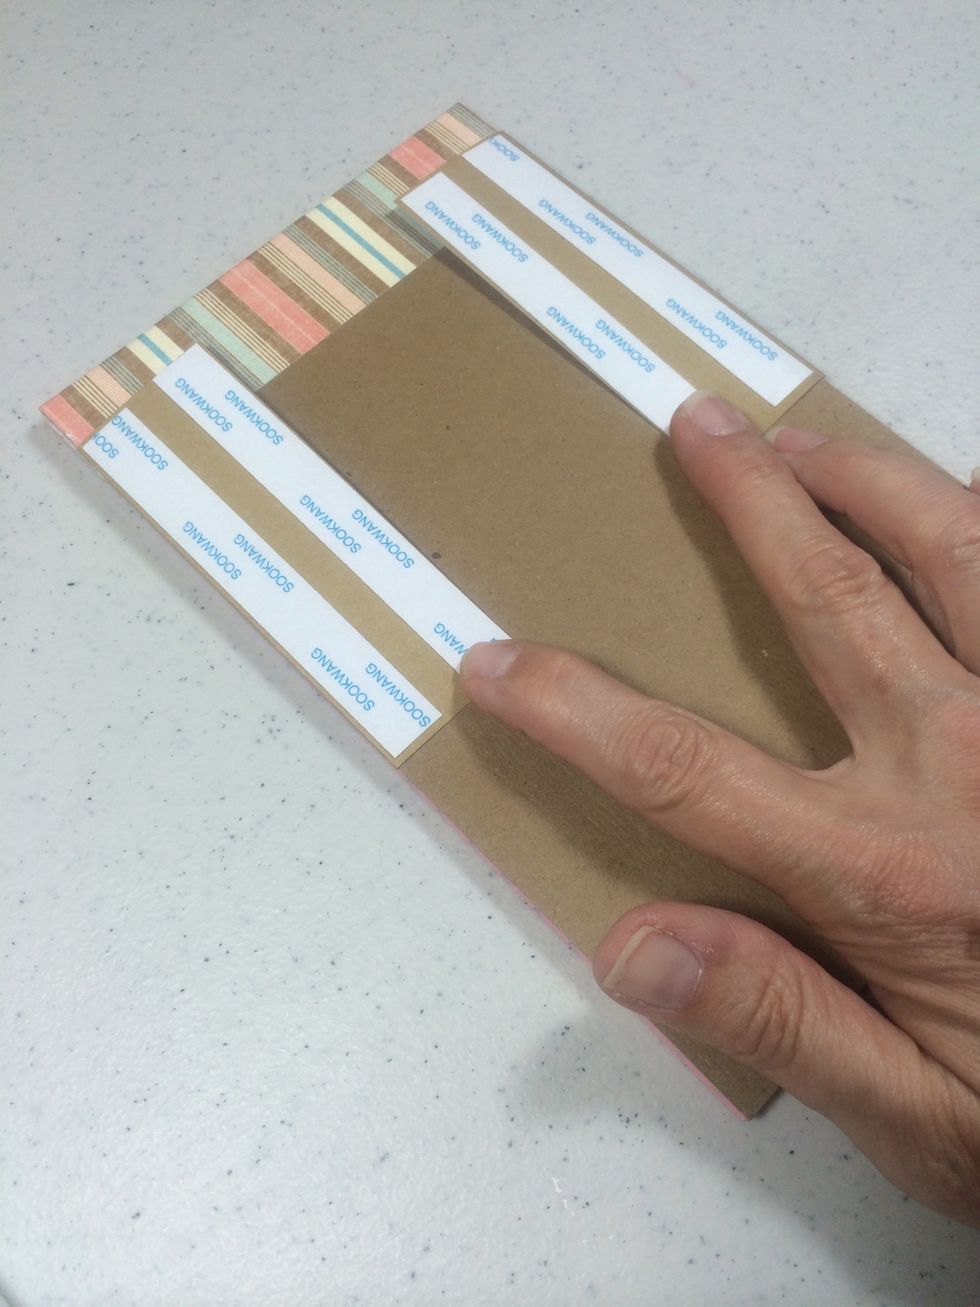
Add some Scor-tape to the side flaps.
Flip it over and peel and stick it into place on the center panel as shown.
The steno pad can be changed out once all the paper is used up by simply sliding it out of the cardstock sleeve and replacing it with a new one.
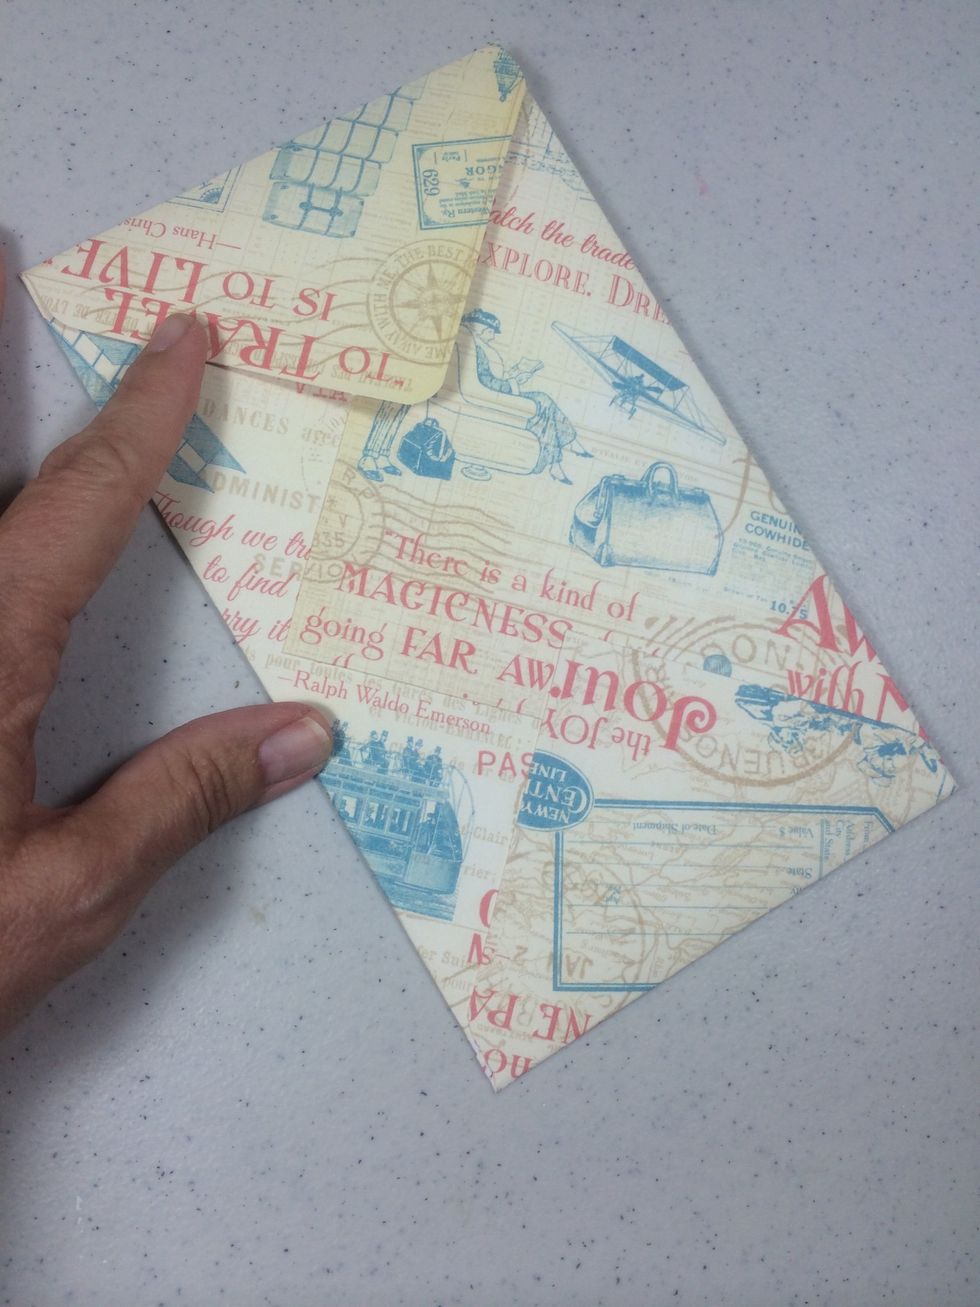
Create a tall envelope for the last interior panel to collect receipts or memorabilia. I created a 4 1/2" x 7 1/2" envelope using the We R Memory Keepers Envelope Punchboard. Adhere into place.
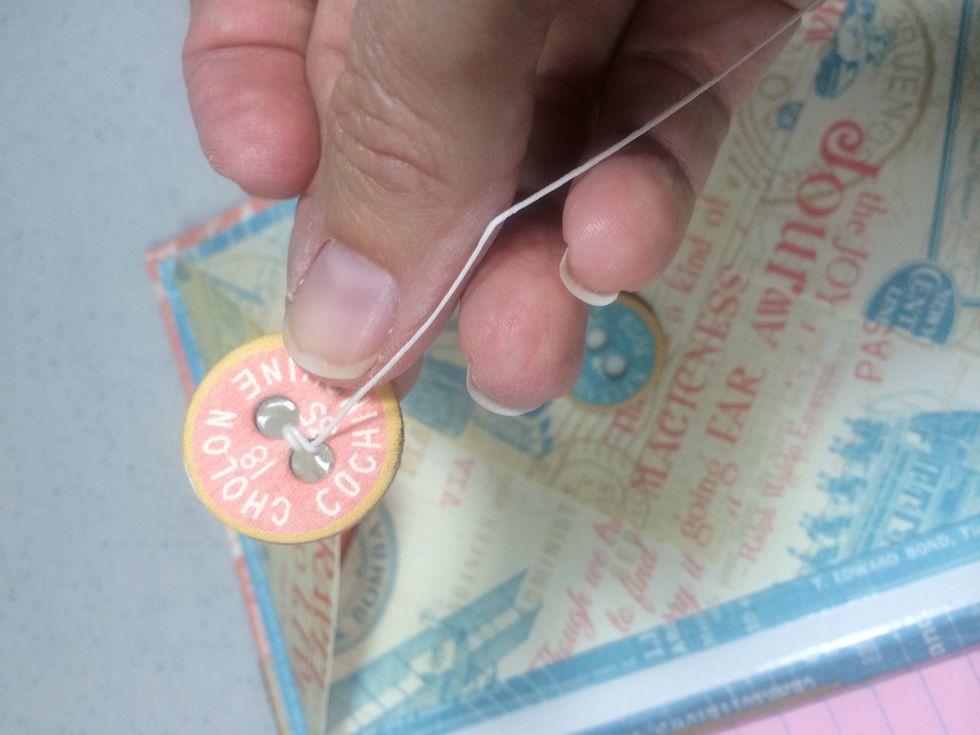
Create a closure for the envelope by inserting a 16" piece of waxed twine through a chipboard button.
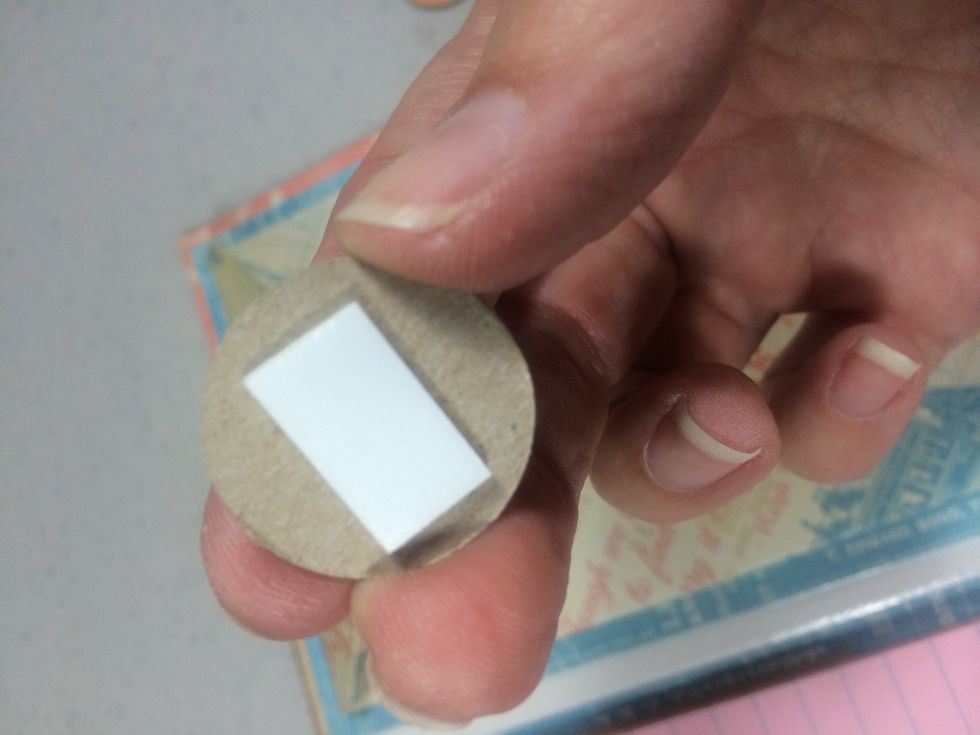
Add foam tape to the back of the button.
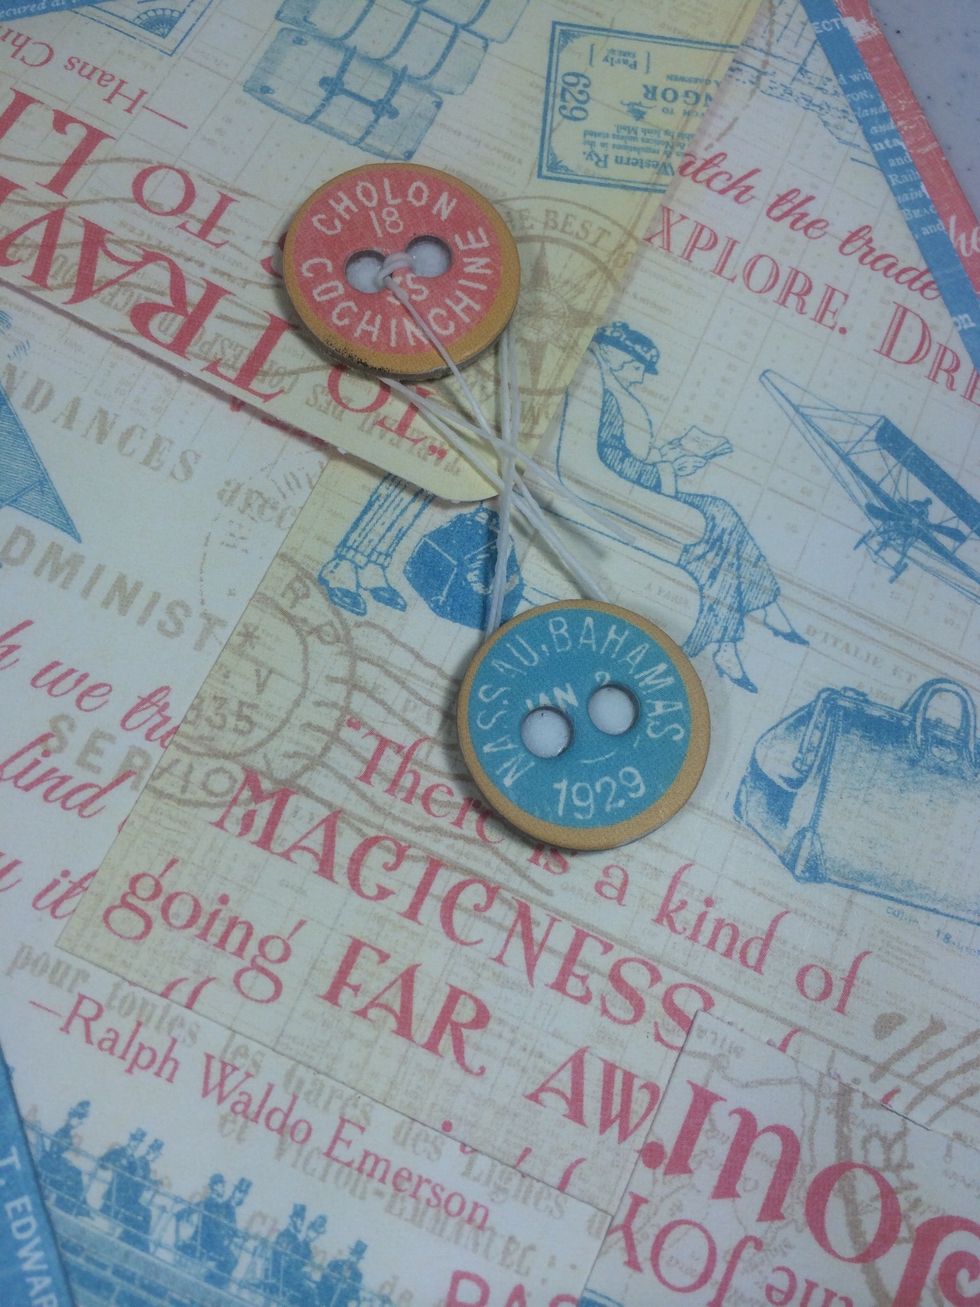
Adhere the first button to the envelope flap. Then add foam tape to a second chipboard button and adhere to the envelope as shown. Wrap the twine in an 8 fashion around the buttons to secure.
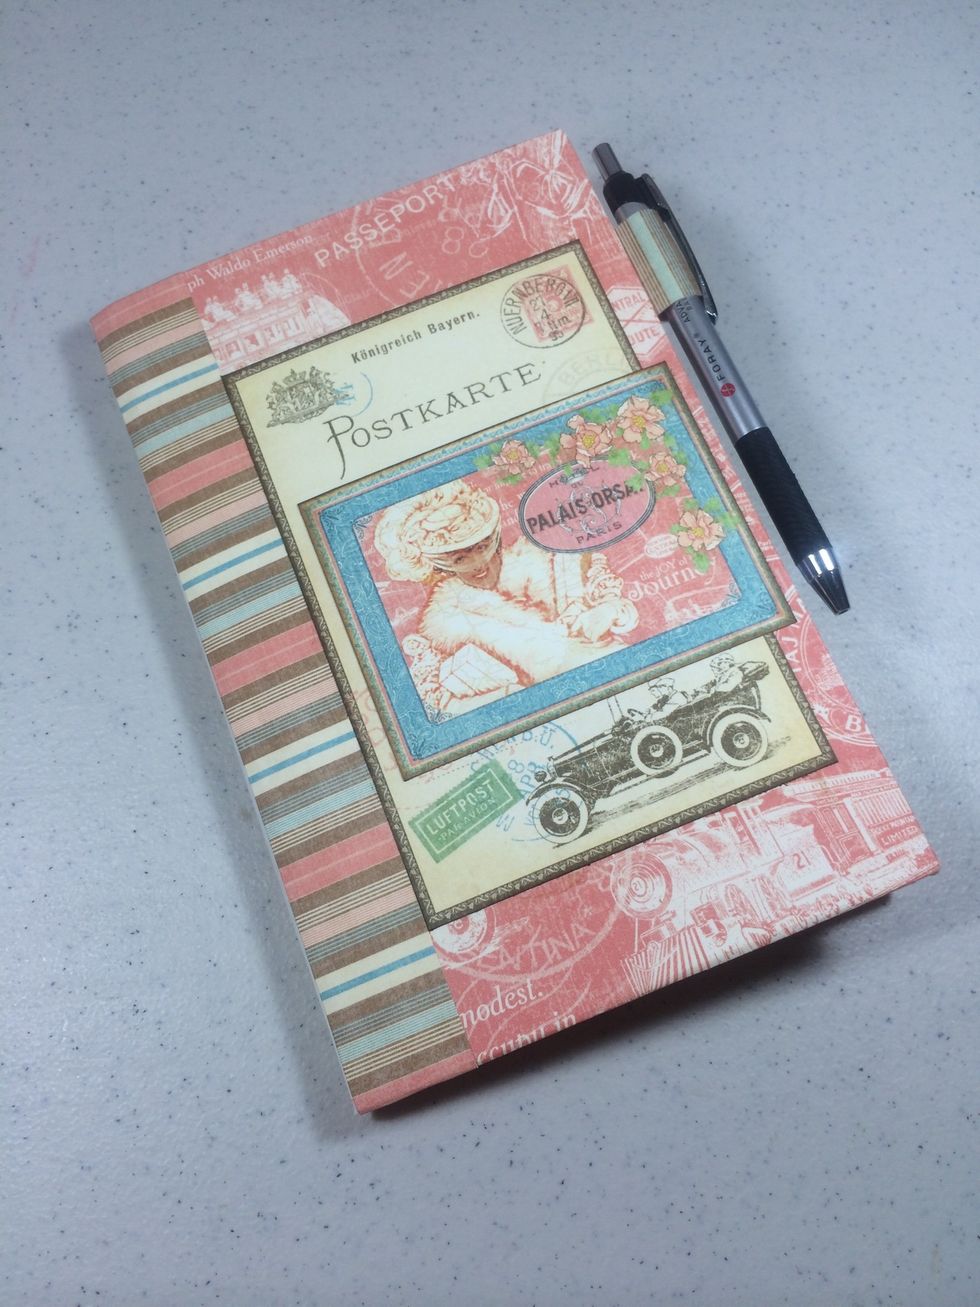
Decorate the front cover of the folio by layering some cut-aparts as shown.
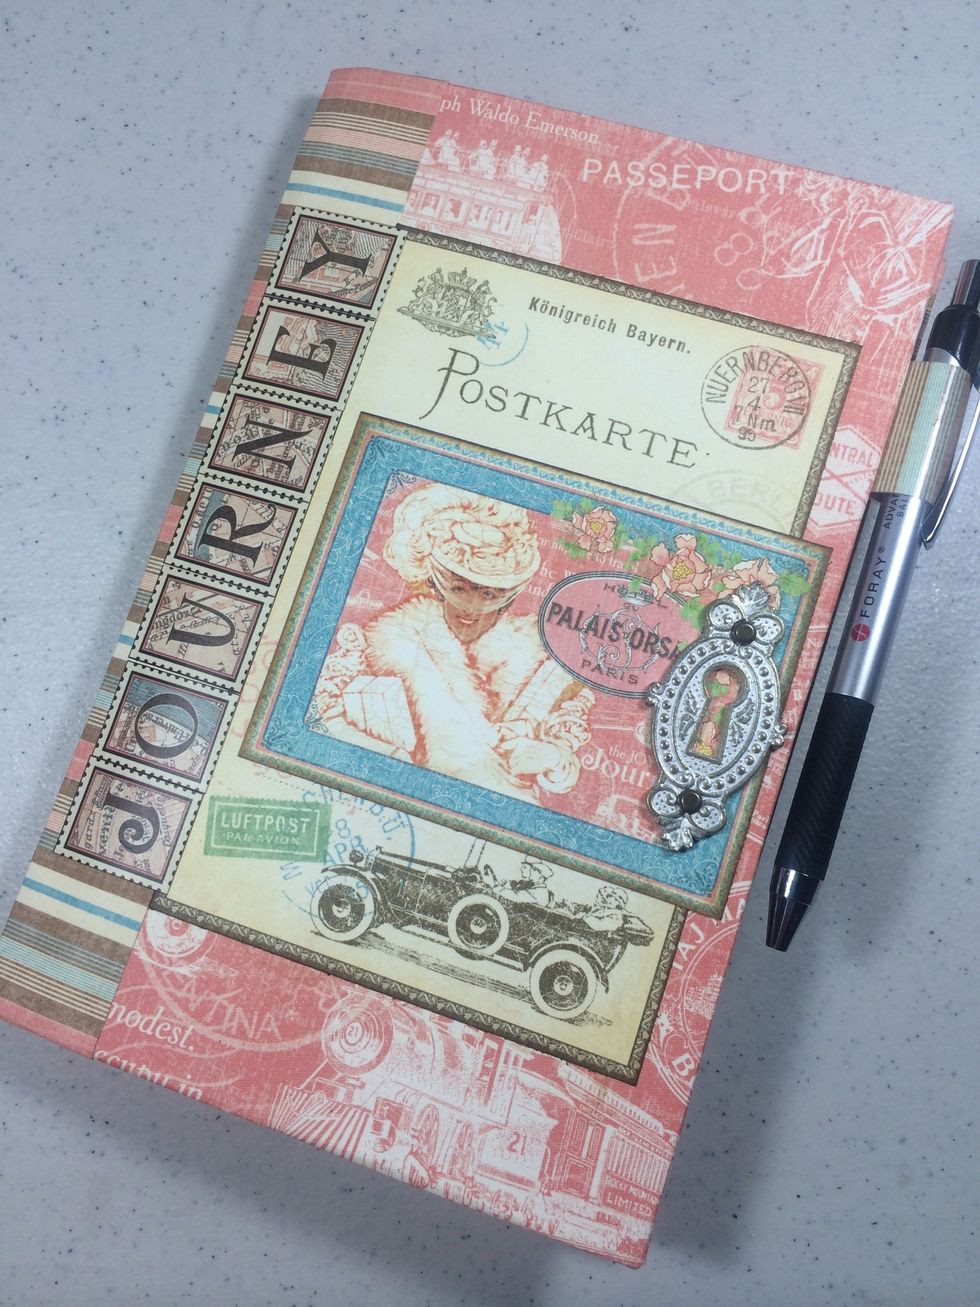
Add letter stickers along the left side to spell "Journey" or you could personalize it with a name.
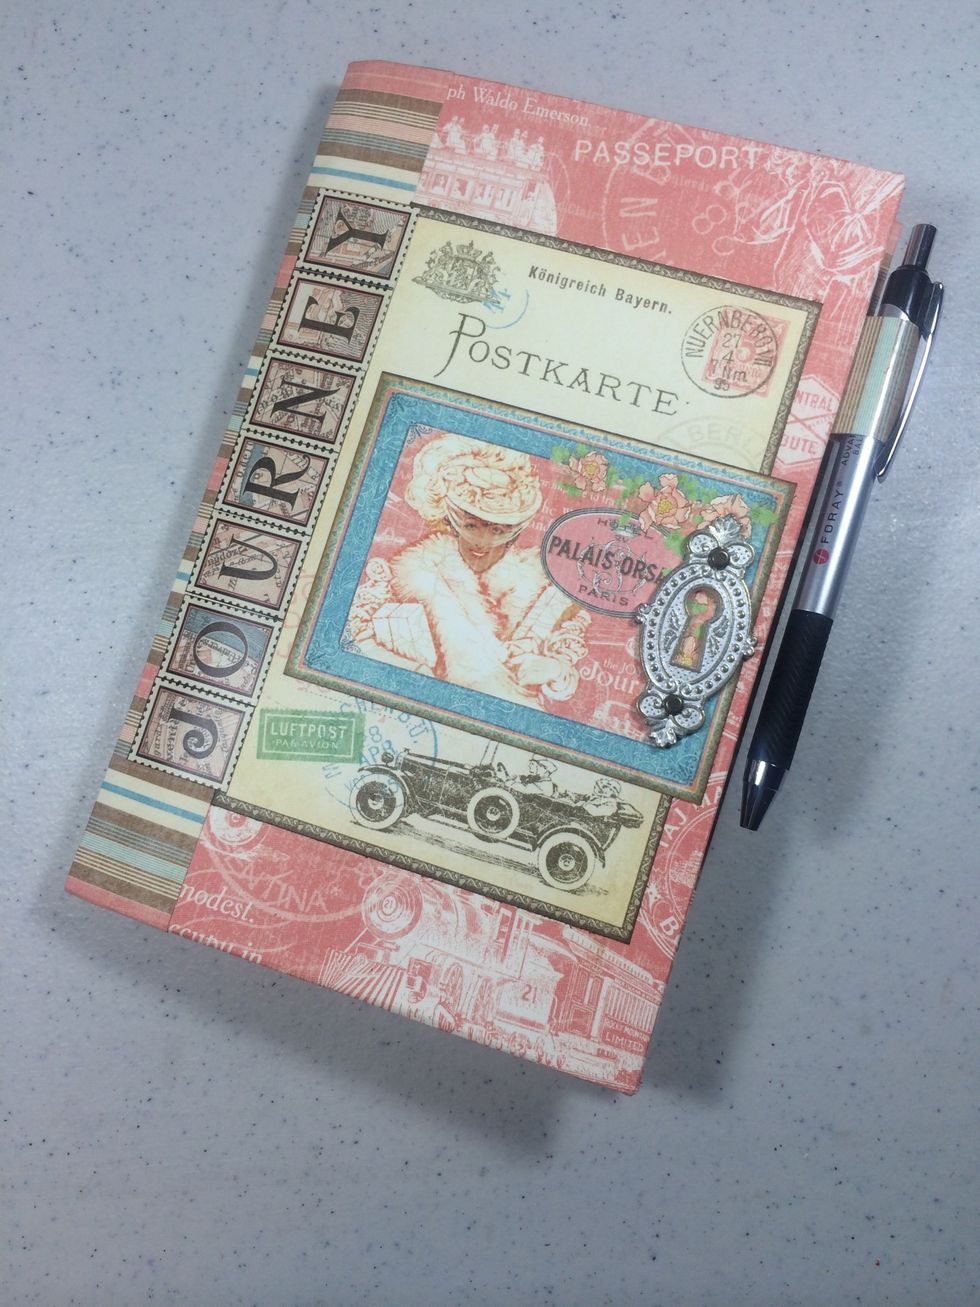
Use strong metal glue like E6000 to adhere a Shabby Chic metal keyhole to the cover.
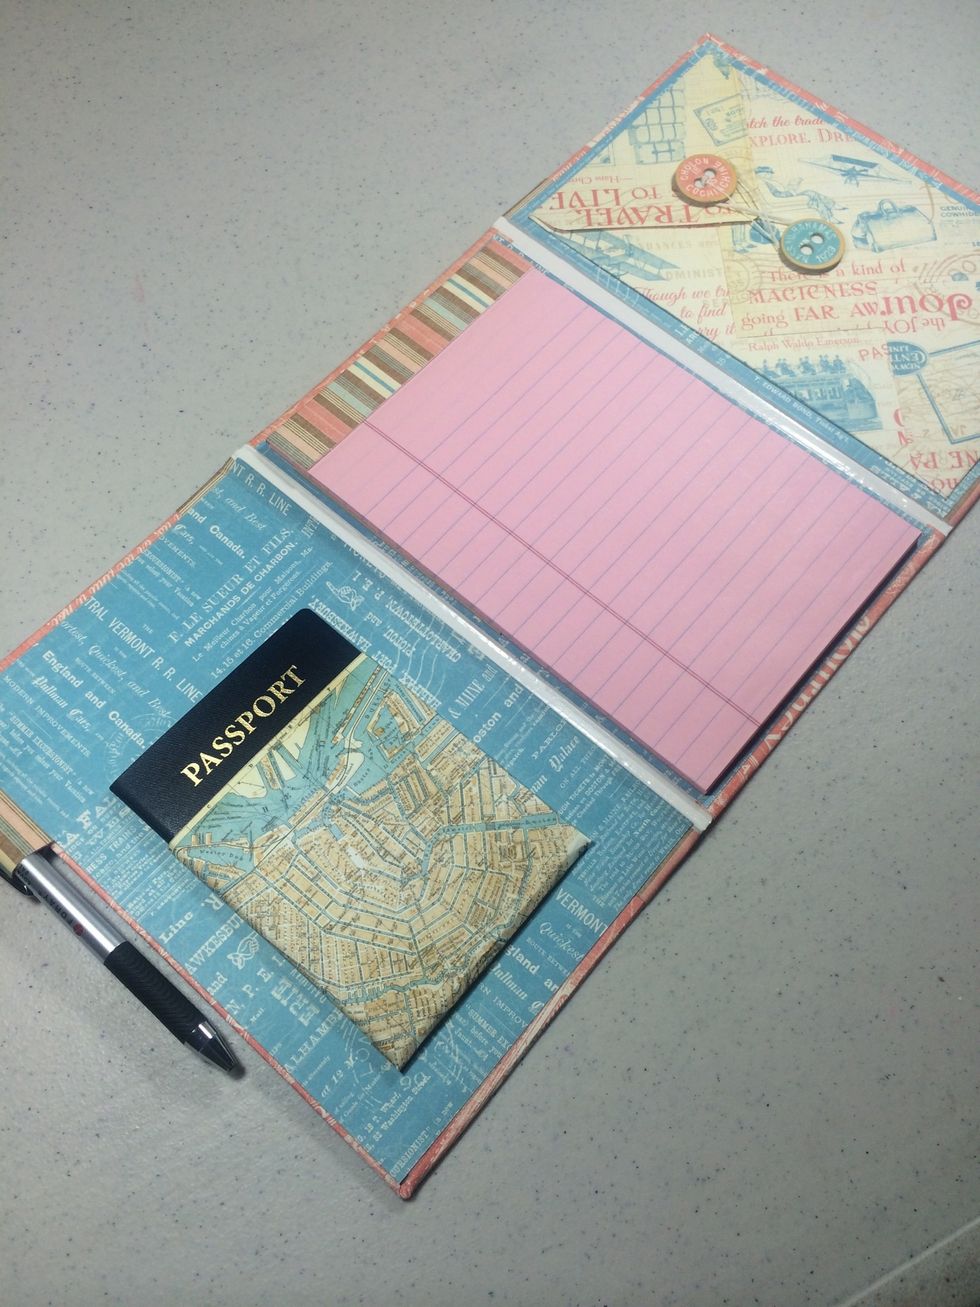
Your travel folio is done! Now you can jot notes throughout your travels and collect memorabilia in the handy pocket.
For more inspiration and ideas, visit my blog at AnnettesCreativeJourney.blogspot.com